So you don’t have a lot of money, and that $900 jewelers bench with a million awesome features is about $899 out of your budget range, don’t worry you have options.
Lets start with a simple way to organize your tools and keep them at the ready without having them laying all over the place.

1. go to the hardware store and buy a cheap multi tip Torx screw driver. These are the ones that let you open all those strange shaped screws (like hex, star, start with dot, etc). You can get a cheap one that will work just fine for this project. You will most likely only use this thing a couple of times in your whole life so don’t bother with the really fancy ones. You need this because hard drive makers refuse to use normal screws.

2. Go to the junk yard and find where they put the computers waiting to be recycled. Open up as many as you can find and remove the hard drives. They look like this. You will need a normal Philips head screwdriver for this and a bit of patience. Also be aware that some people allow the insides of their computers to get really filthy…you have been warned. It doesn’t matter if the hard drives work, we will be destroying them later.

3. Find a nice spot and spend some quality time removing lots and lots of tiny little screws. Hard drives have a million little screws holding them shut, they also like to hide them under stickers. Open them all up.
4. Find and remove all the magnets from inside them. Each hard drive has one or sometimes two. Be very careful as these are seriously strong magnets. They can jump, and pinch your fingers between two of them easily. Most of them are on little mounting brackets, these will come in handy later. This will also require that you remove lots of little screws and again they like to hide them under stickers. Don’t be afraid of just tearing them out. The instant you exposed that hard drive to air you ruined it…so its kind of pointless to worry about it now.
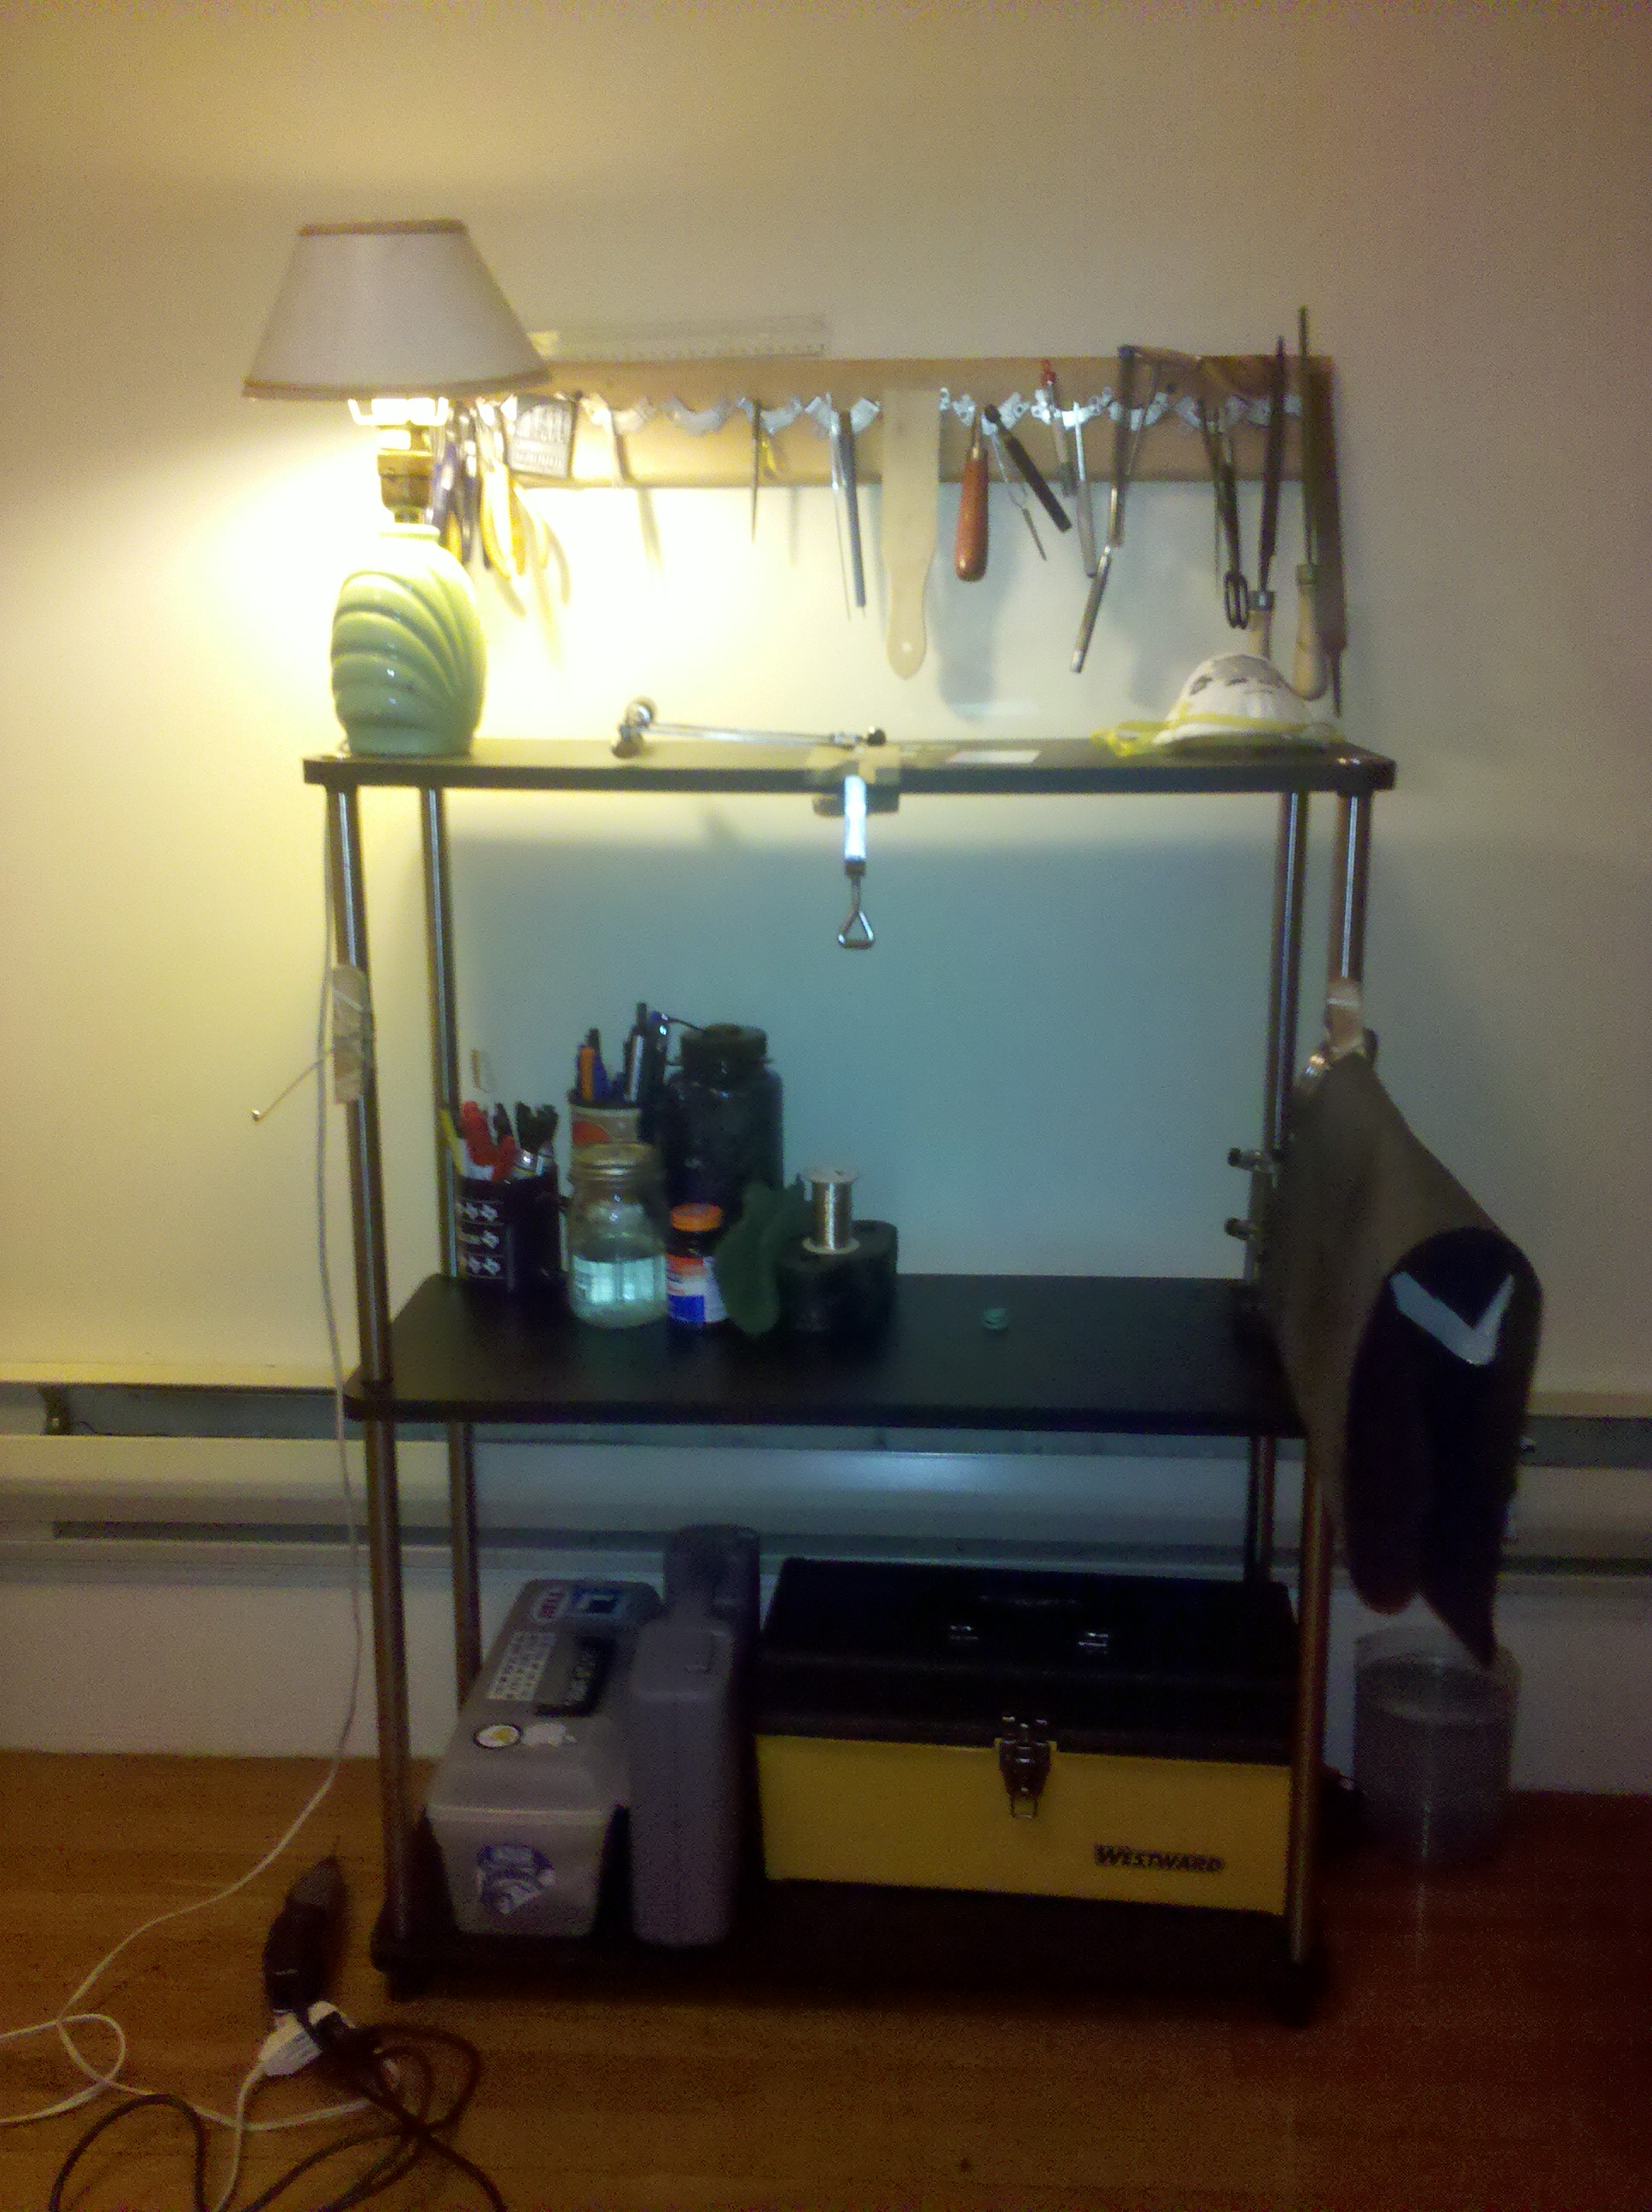
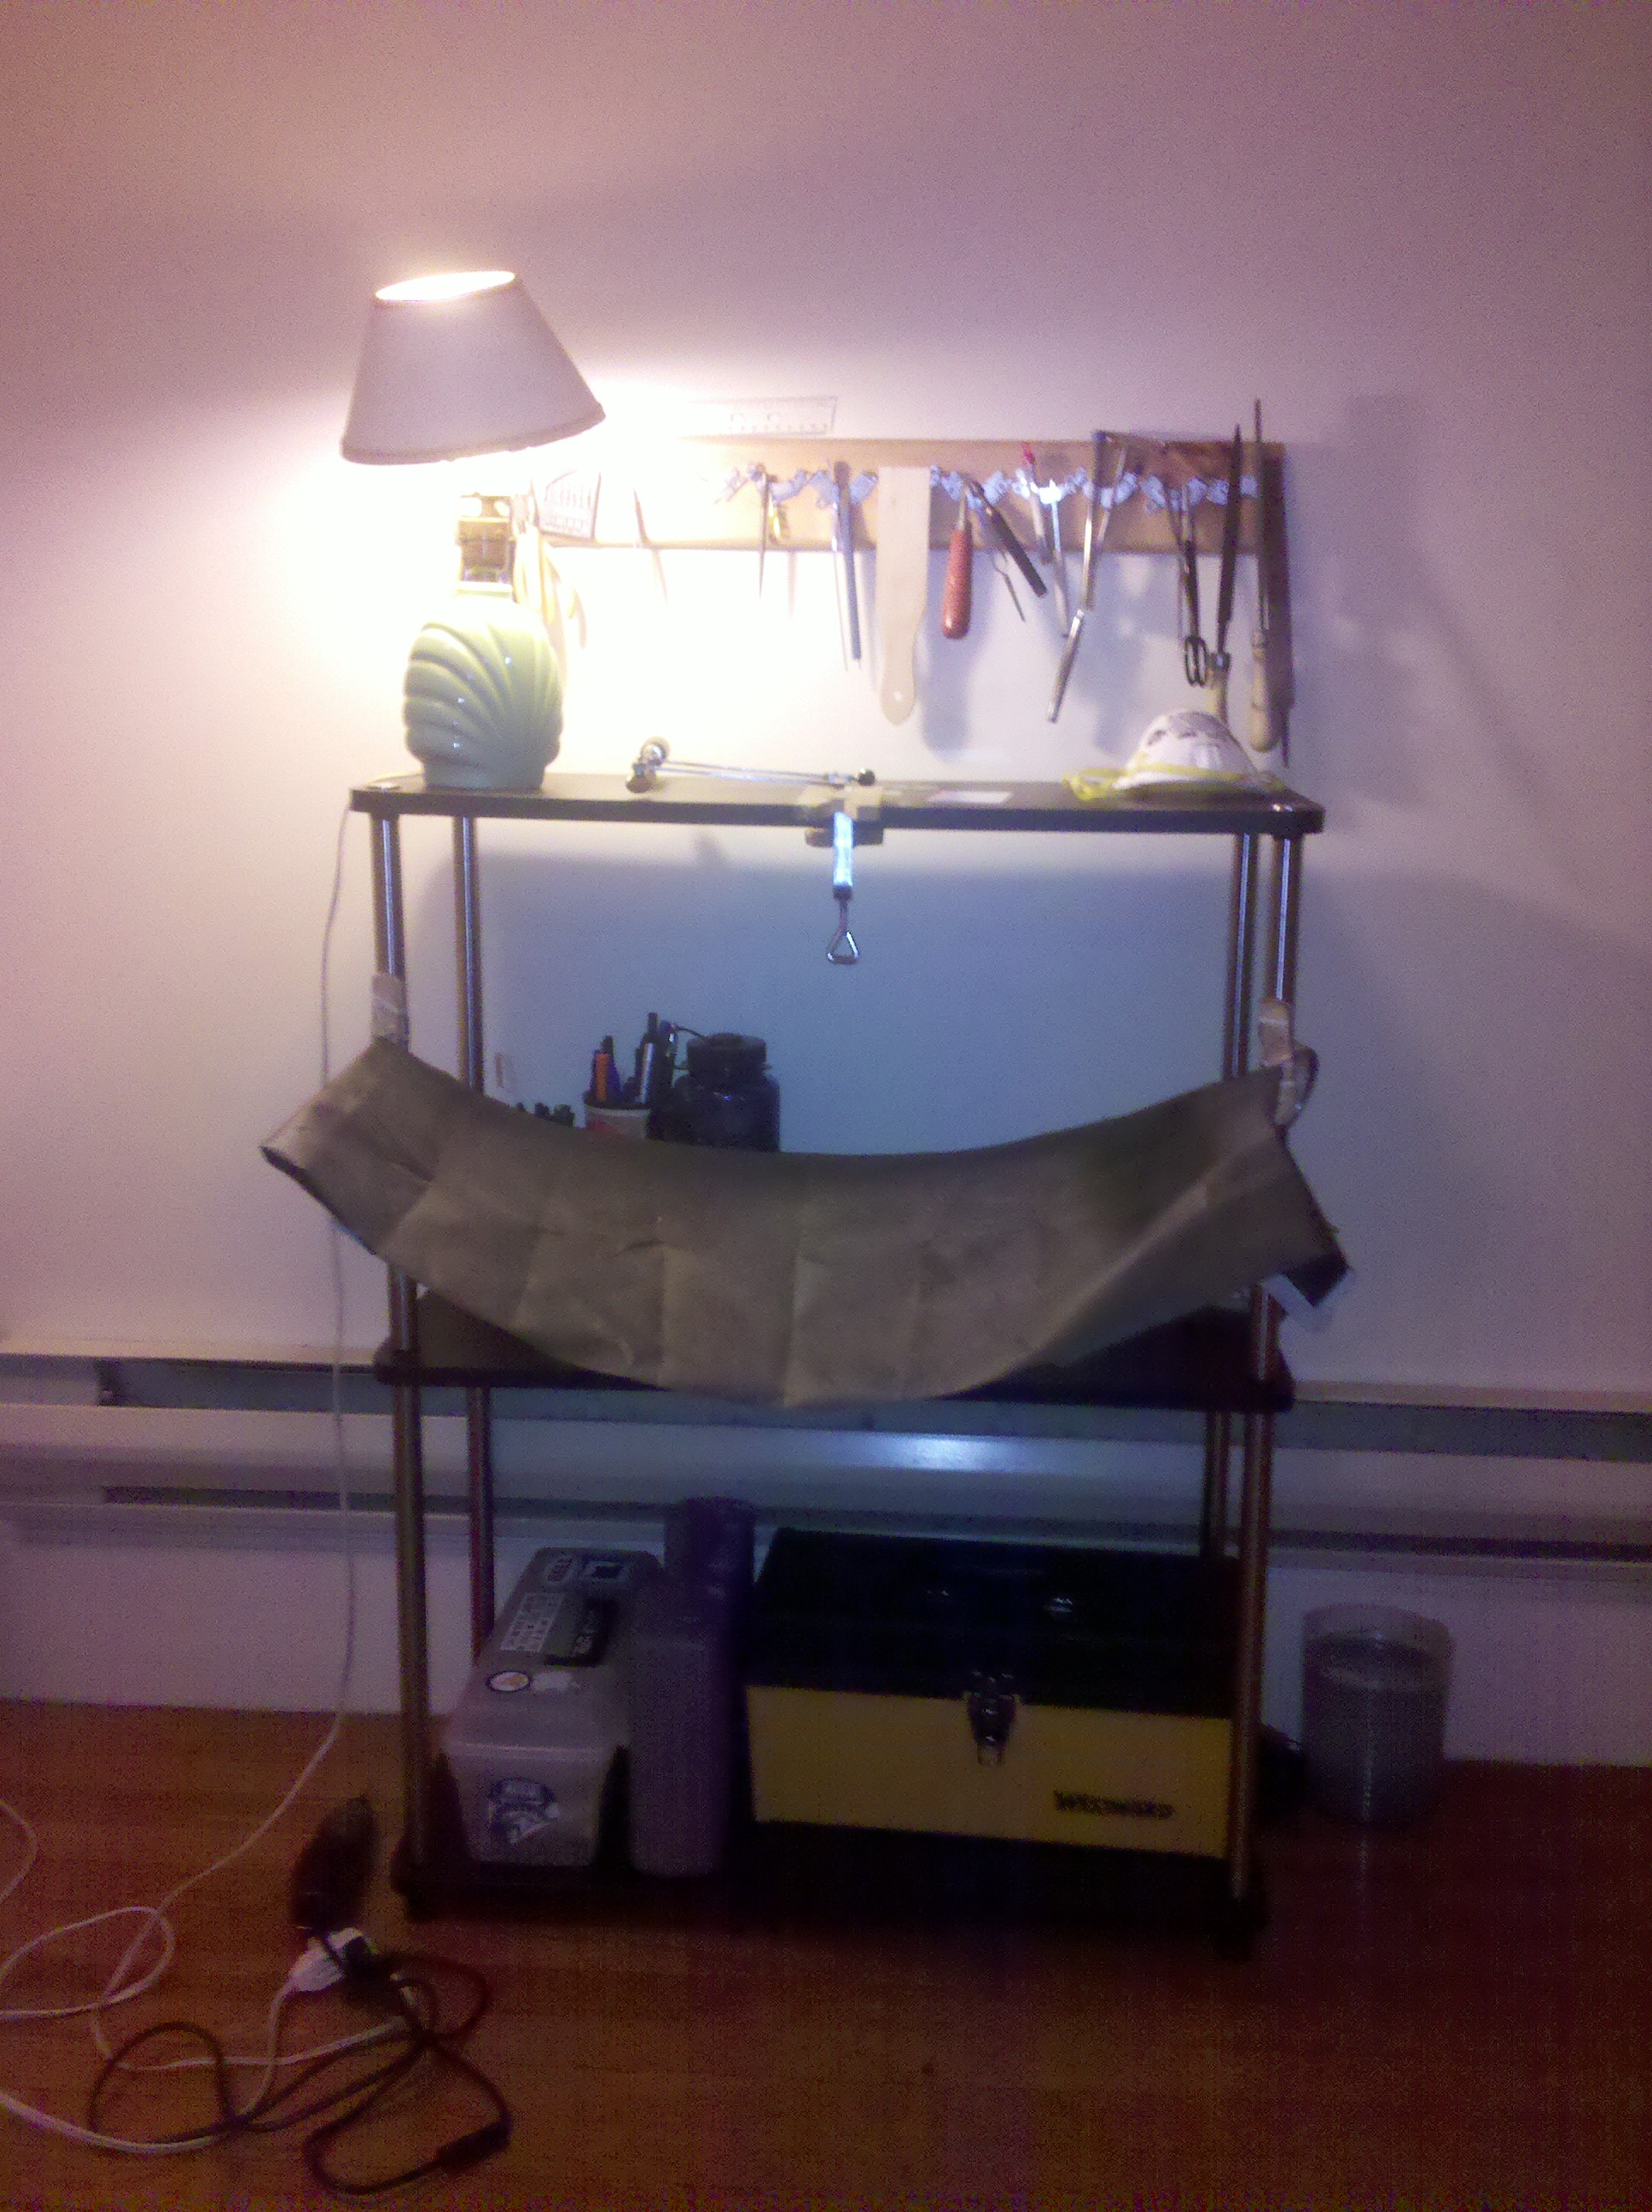
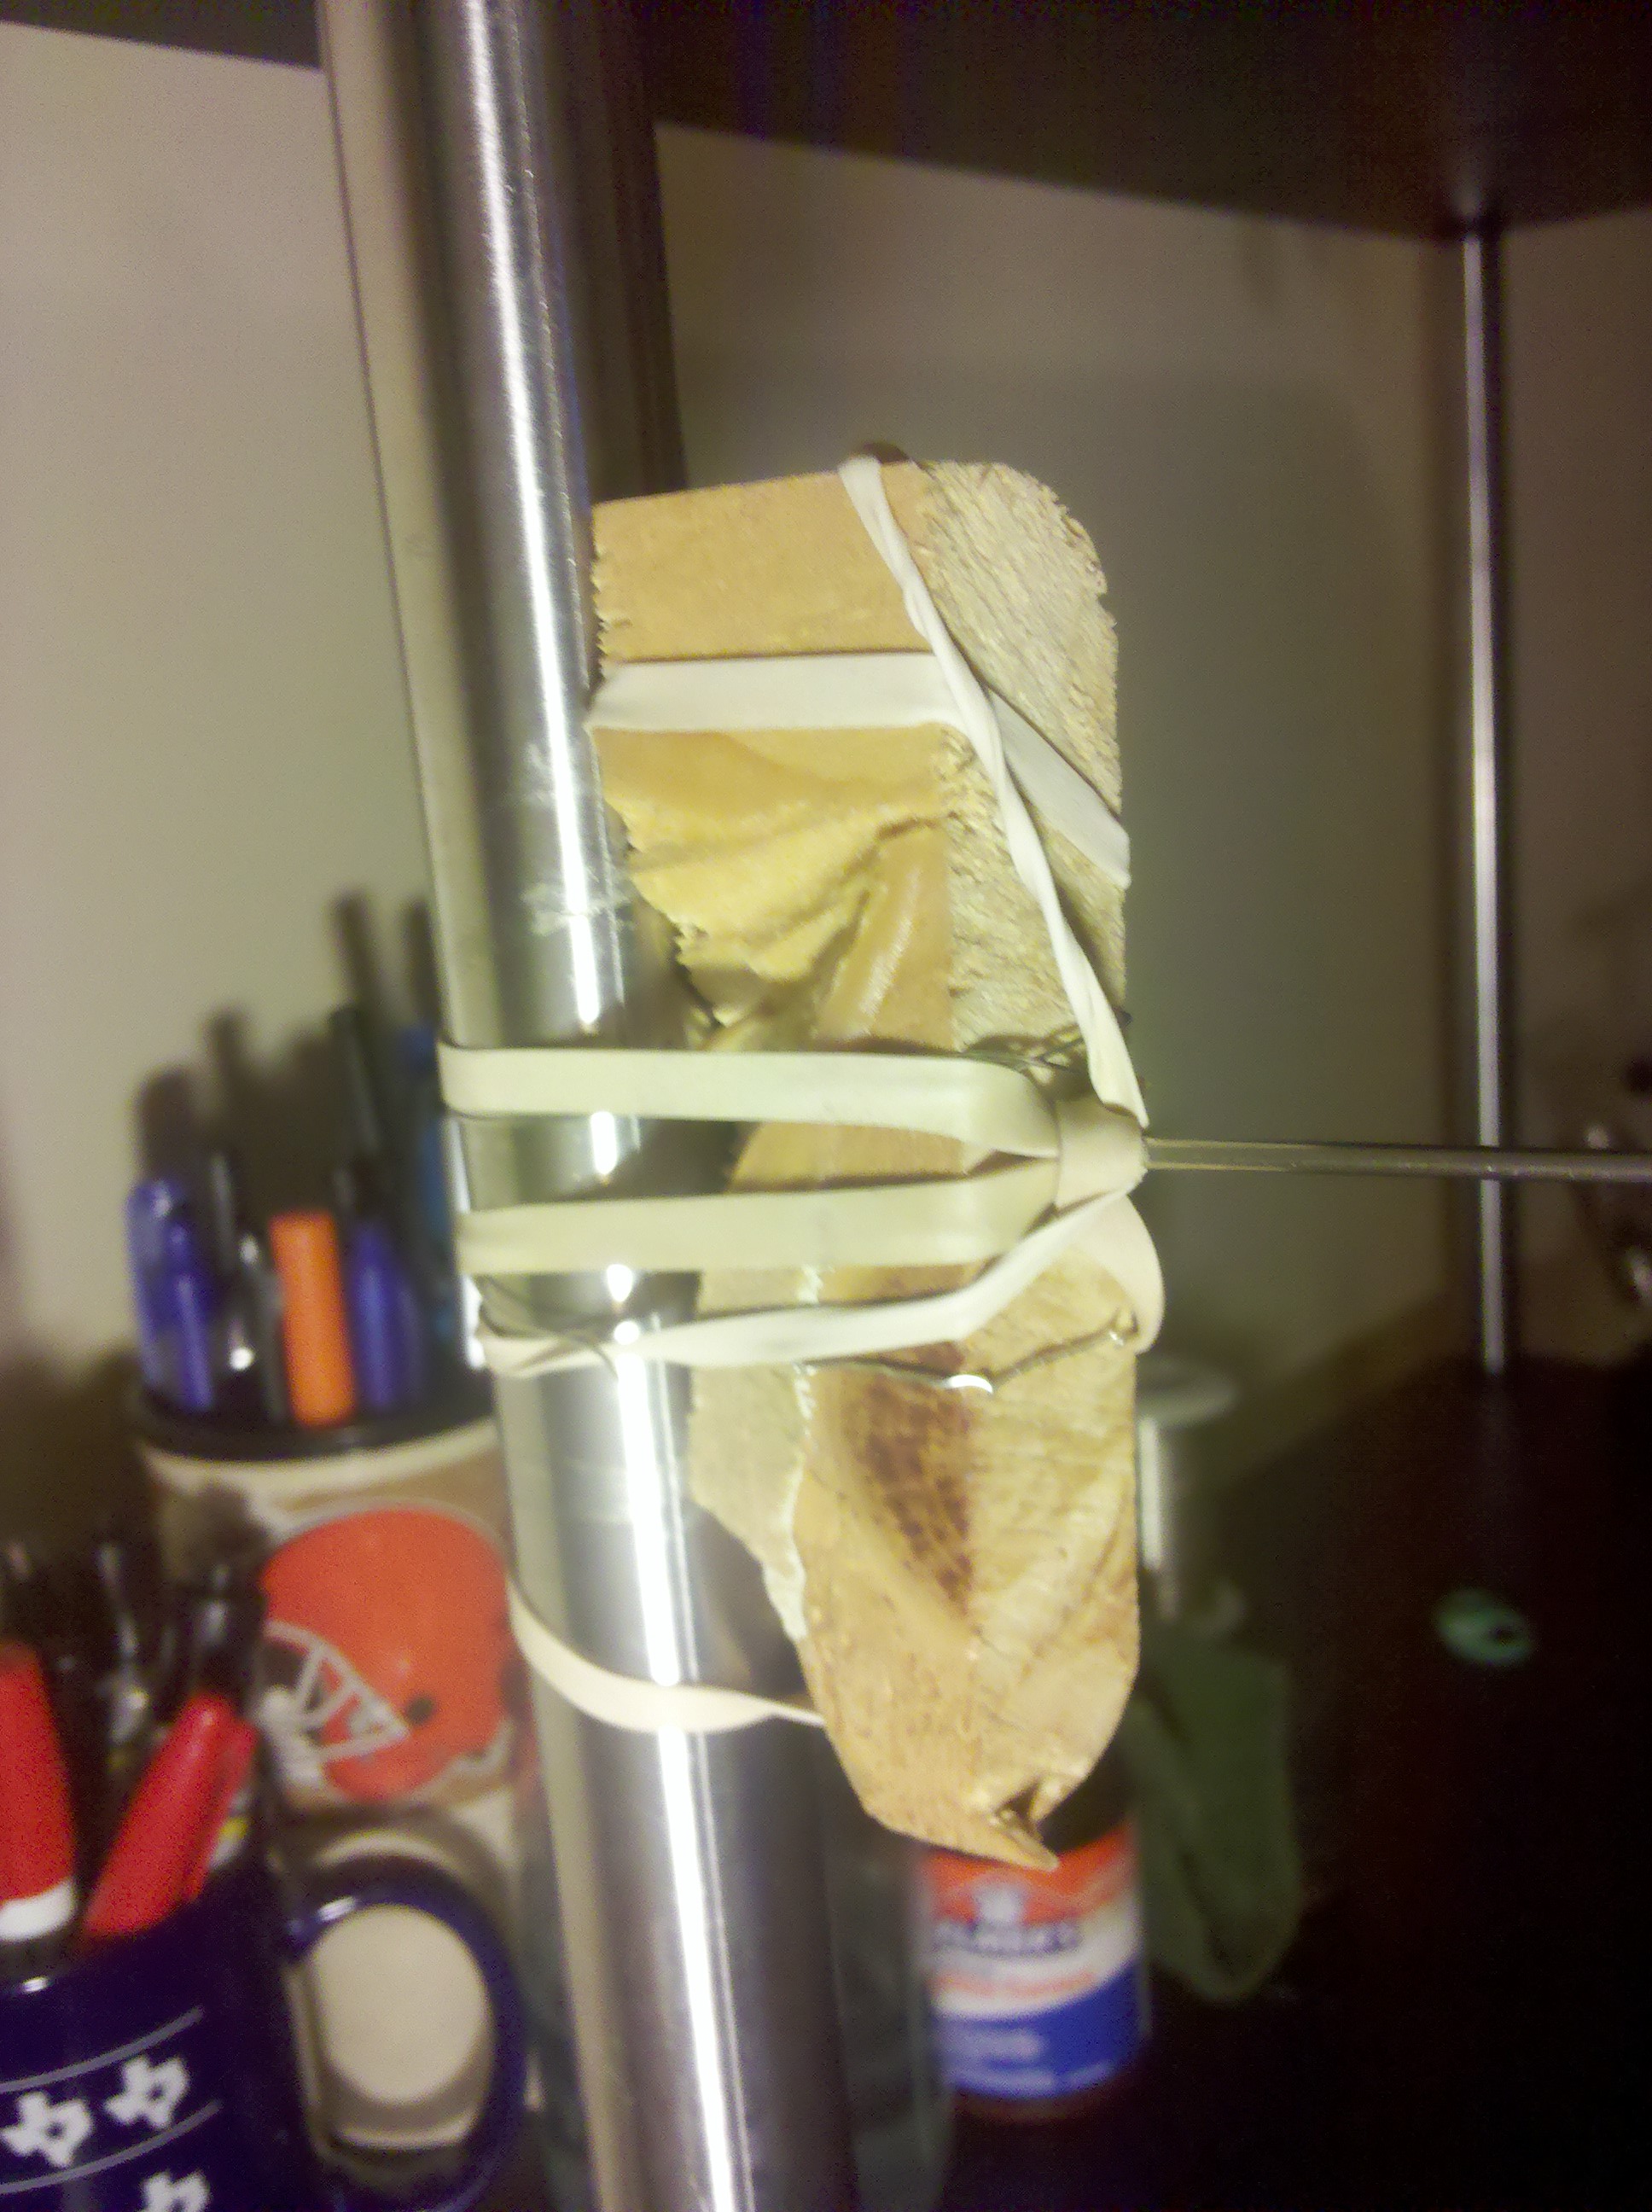
5. Find a piece of wood. Use a strong glue like gorilla glue or similar to glue the magnets equally spaced on the wood. Once they dry, use a couple wood screws to mount the wood to the wall, and blamo you have a super geeky tool holder. Here is mine in action. The magnets are strong enough to hold a lot of tools on one little pad, and it allows me to keep the tools up off the shelf I use as a bench.


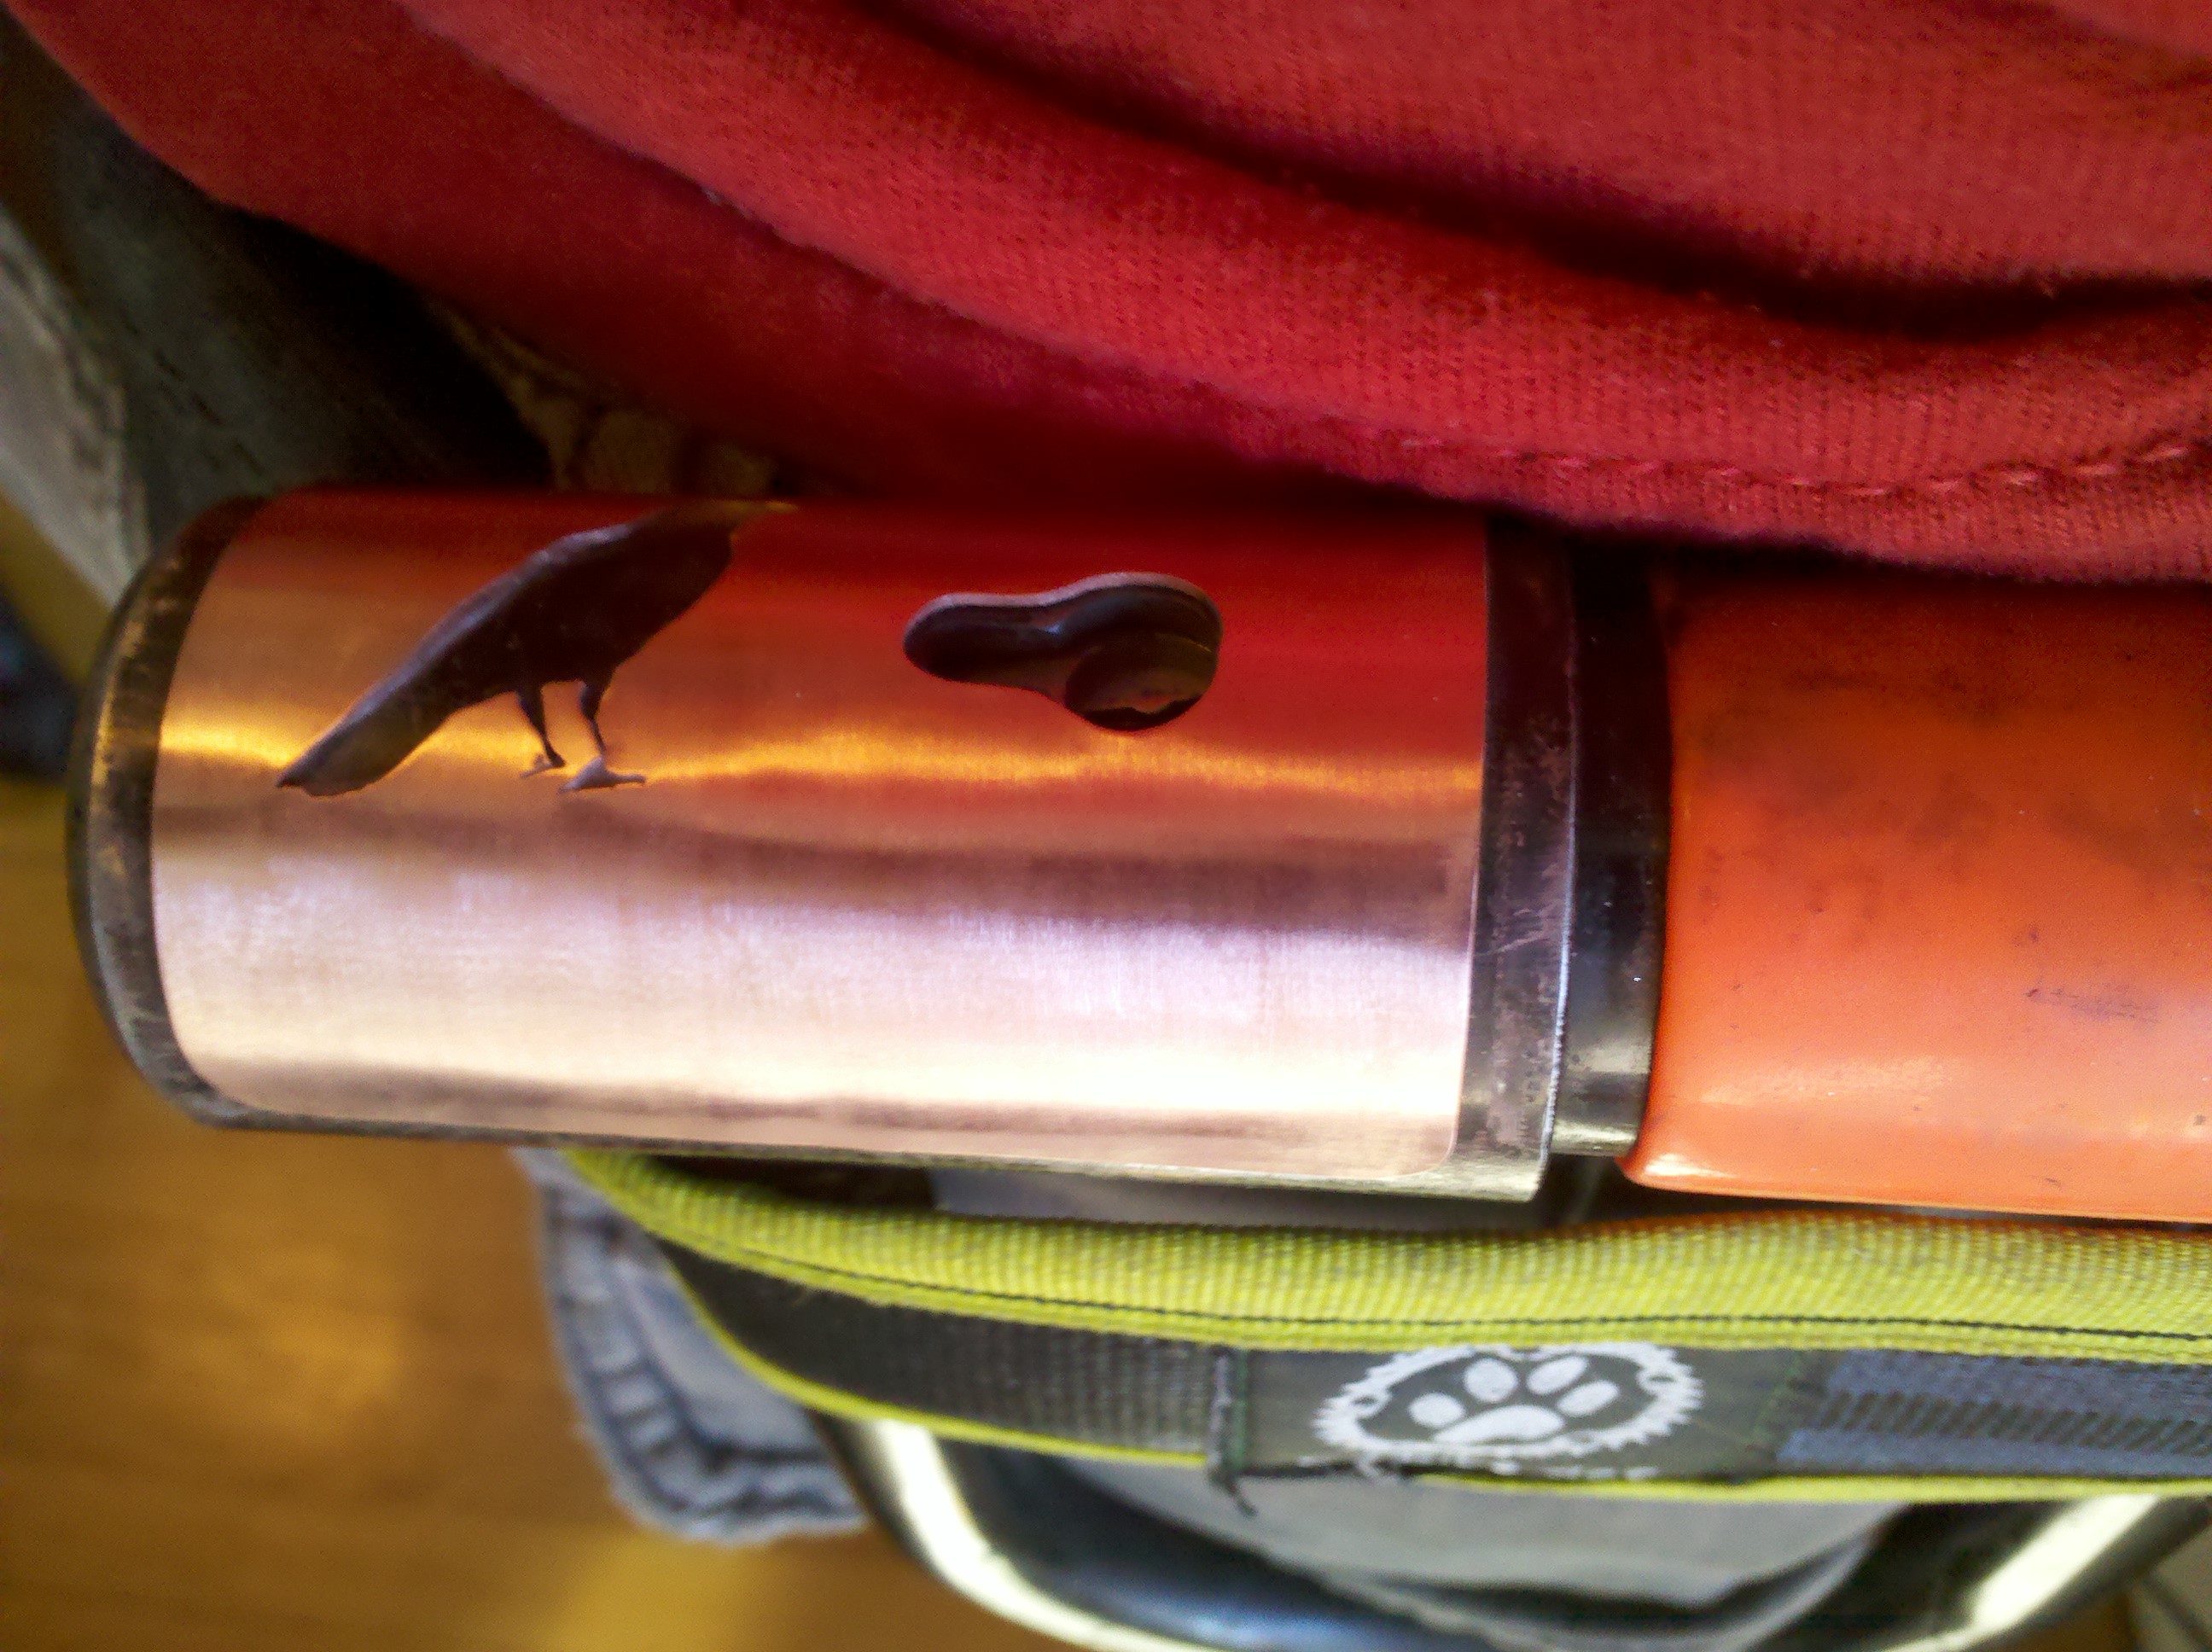
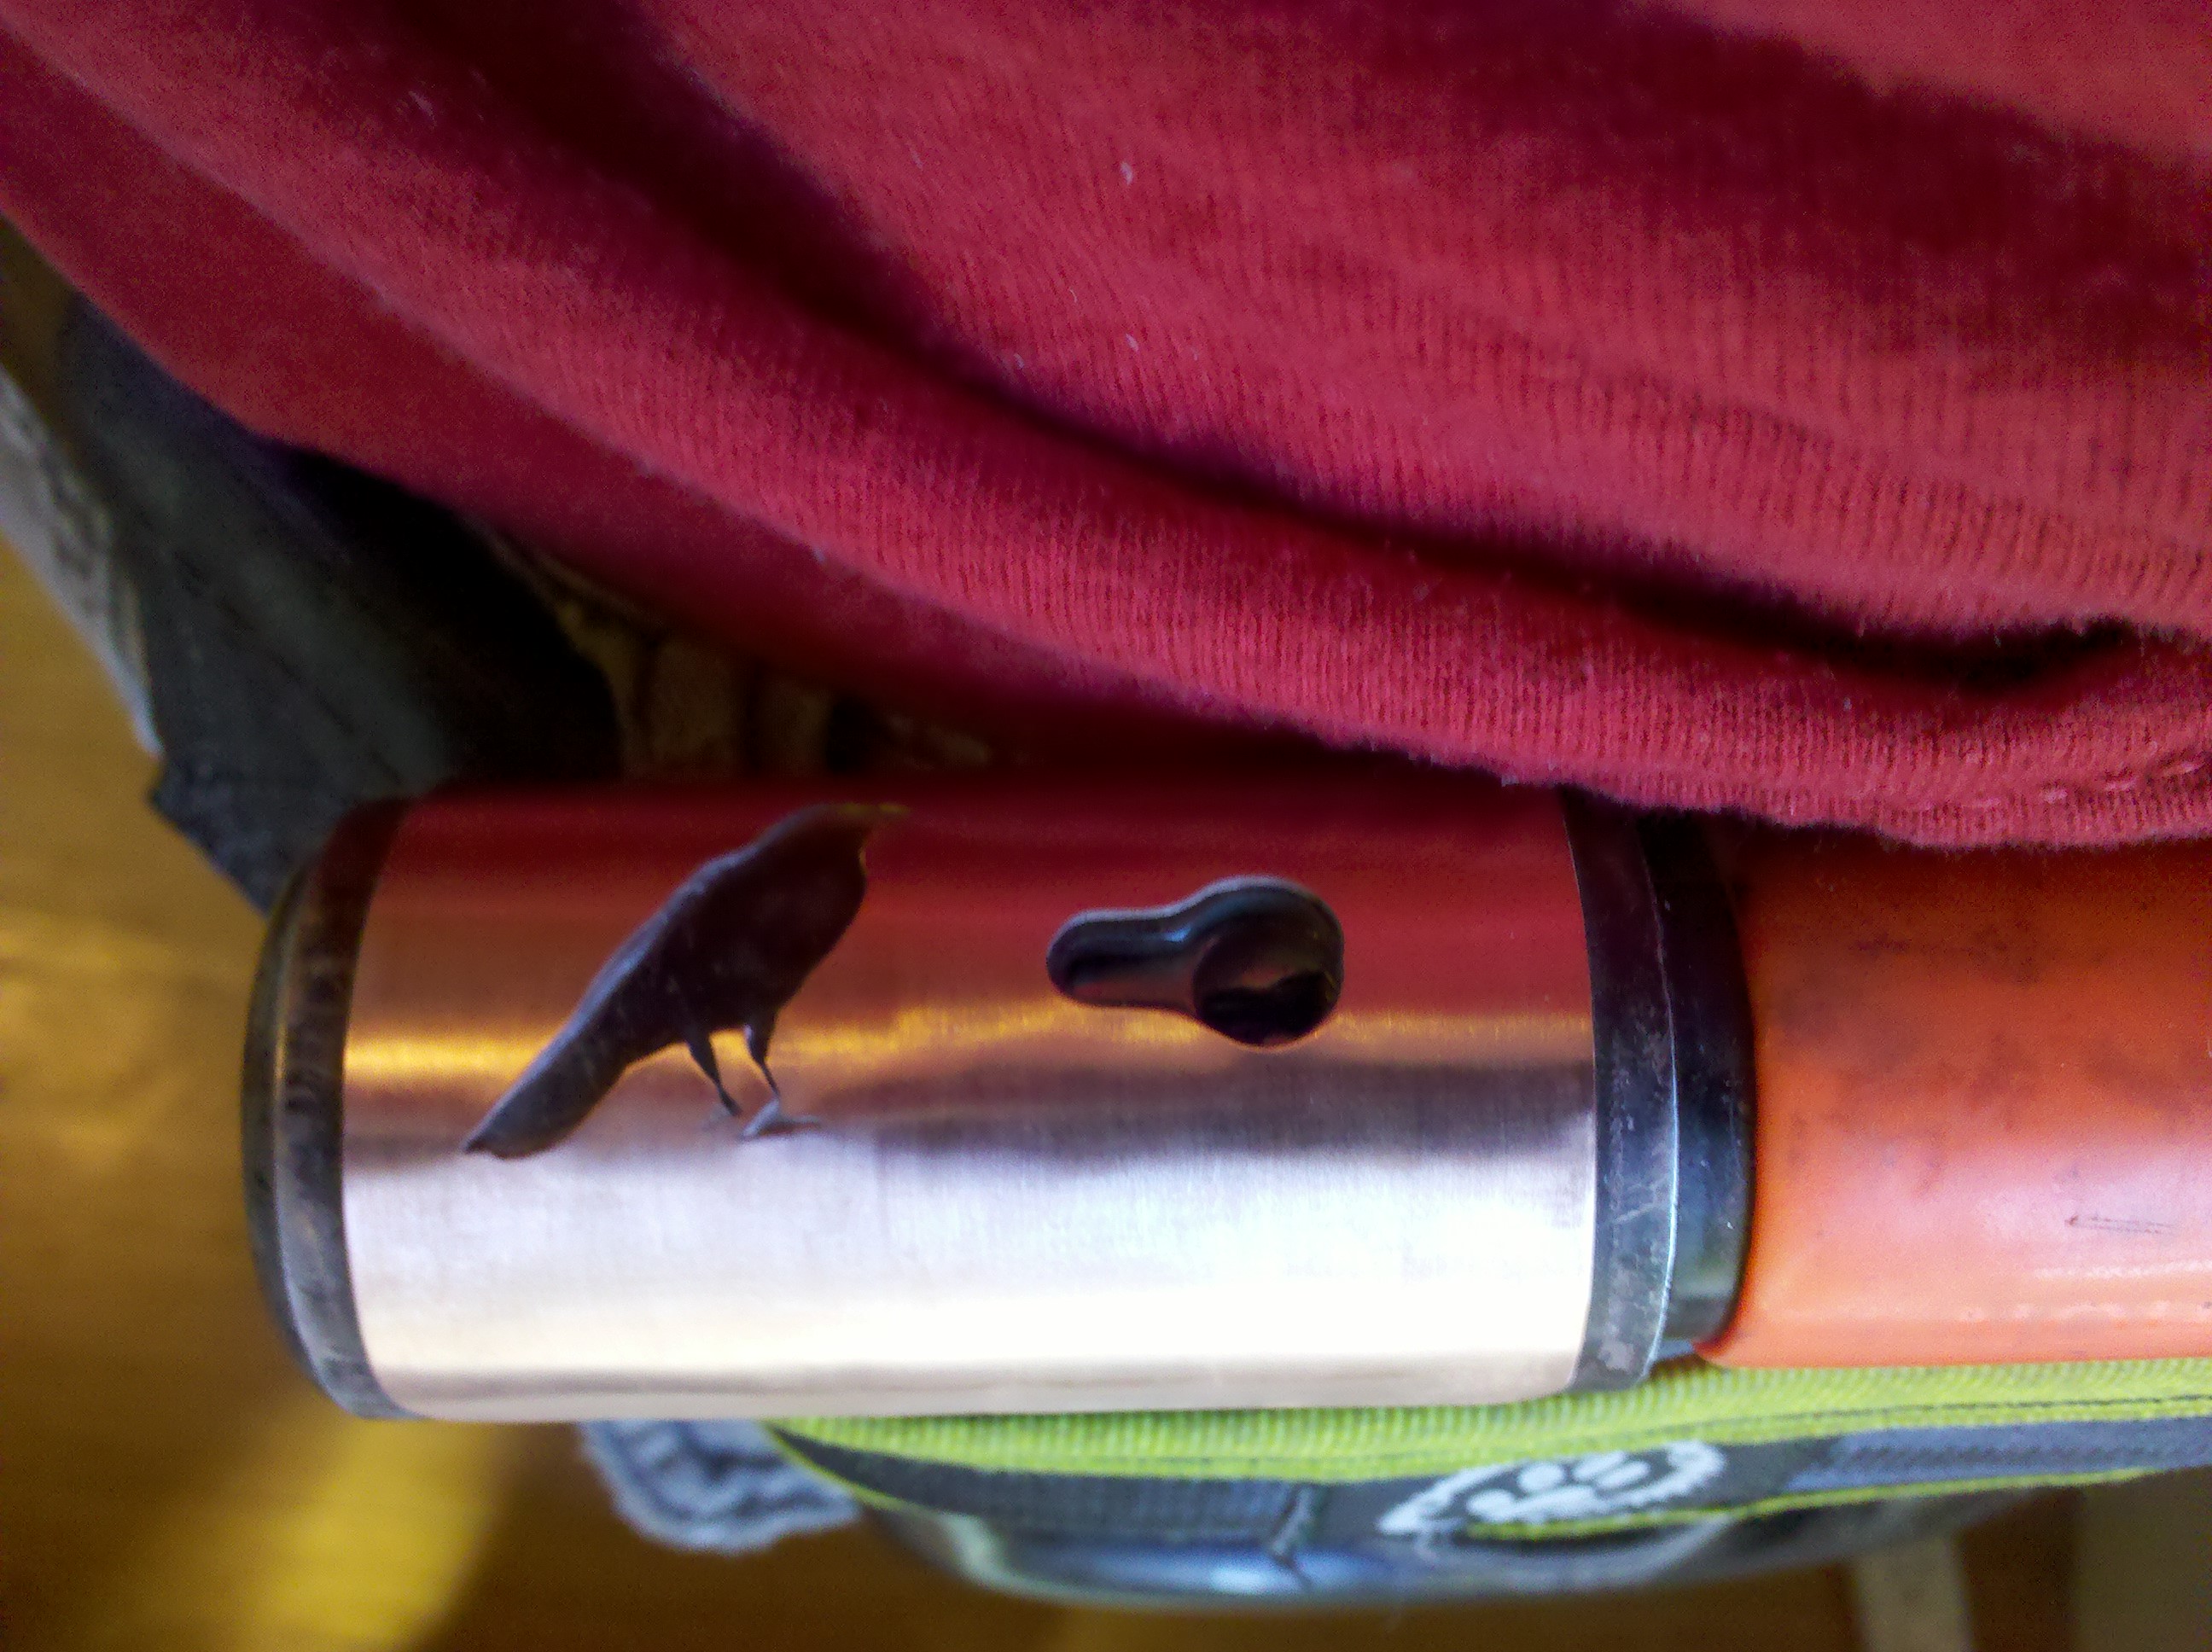
The total cost of this project for me was about $12 the cost of the screw driver tips. If you already have such a screw driver this project is basically free. Any scrap of wood will do, and most people have a wood screw or two laying around (if not see if you can salvage a couple from broken furniture at the dump). I would like to warn again about the amazing power of these magnets, be careful as they can jump towards each other if you get them even a couple inches next to each other. They obviously will also ruin your credit cards etc. They also tend to magnetize your tools slightly, which only matters if you are working with Iron or nickel based metals. This only really comes into play with the files…as the dust wont fall off of them. As almost all of my work is done with copper/brass/bronze/silver this has not been a problem for me.
I really like this little piece in my studio, I use it constantly. Its a simple but easy way to keep all your tools in close reach but out of your hair.