I have never been confused with someone who has a lot of money. Which can be tough because jewelry and metal smithing is far from an inexpensive hobby. So I am going to post a bit about building a studio without going into debt.
!. Don’t buy things you can get for free.
There is an abundance of free stuff laying around that is perfect for a metal working studio. Old metal pipes can become ring and bracelet mandrels. Scrap metal from the junk yard can become strike plates. People throw away wire that can be stripped and used to make copper chains. Scrap metal found on the ground can be cleaned and used in pieces. There is an abundance of materials that can be used both as tools and as material literally laying around (ride your bike around on trash day and just peek into what people are throwing out, you will be amazed. The local transfer station/dump drop off is also a wealth of material. I am constantly amazed by how much very nice metal is just tossed out.
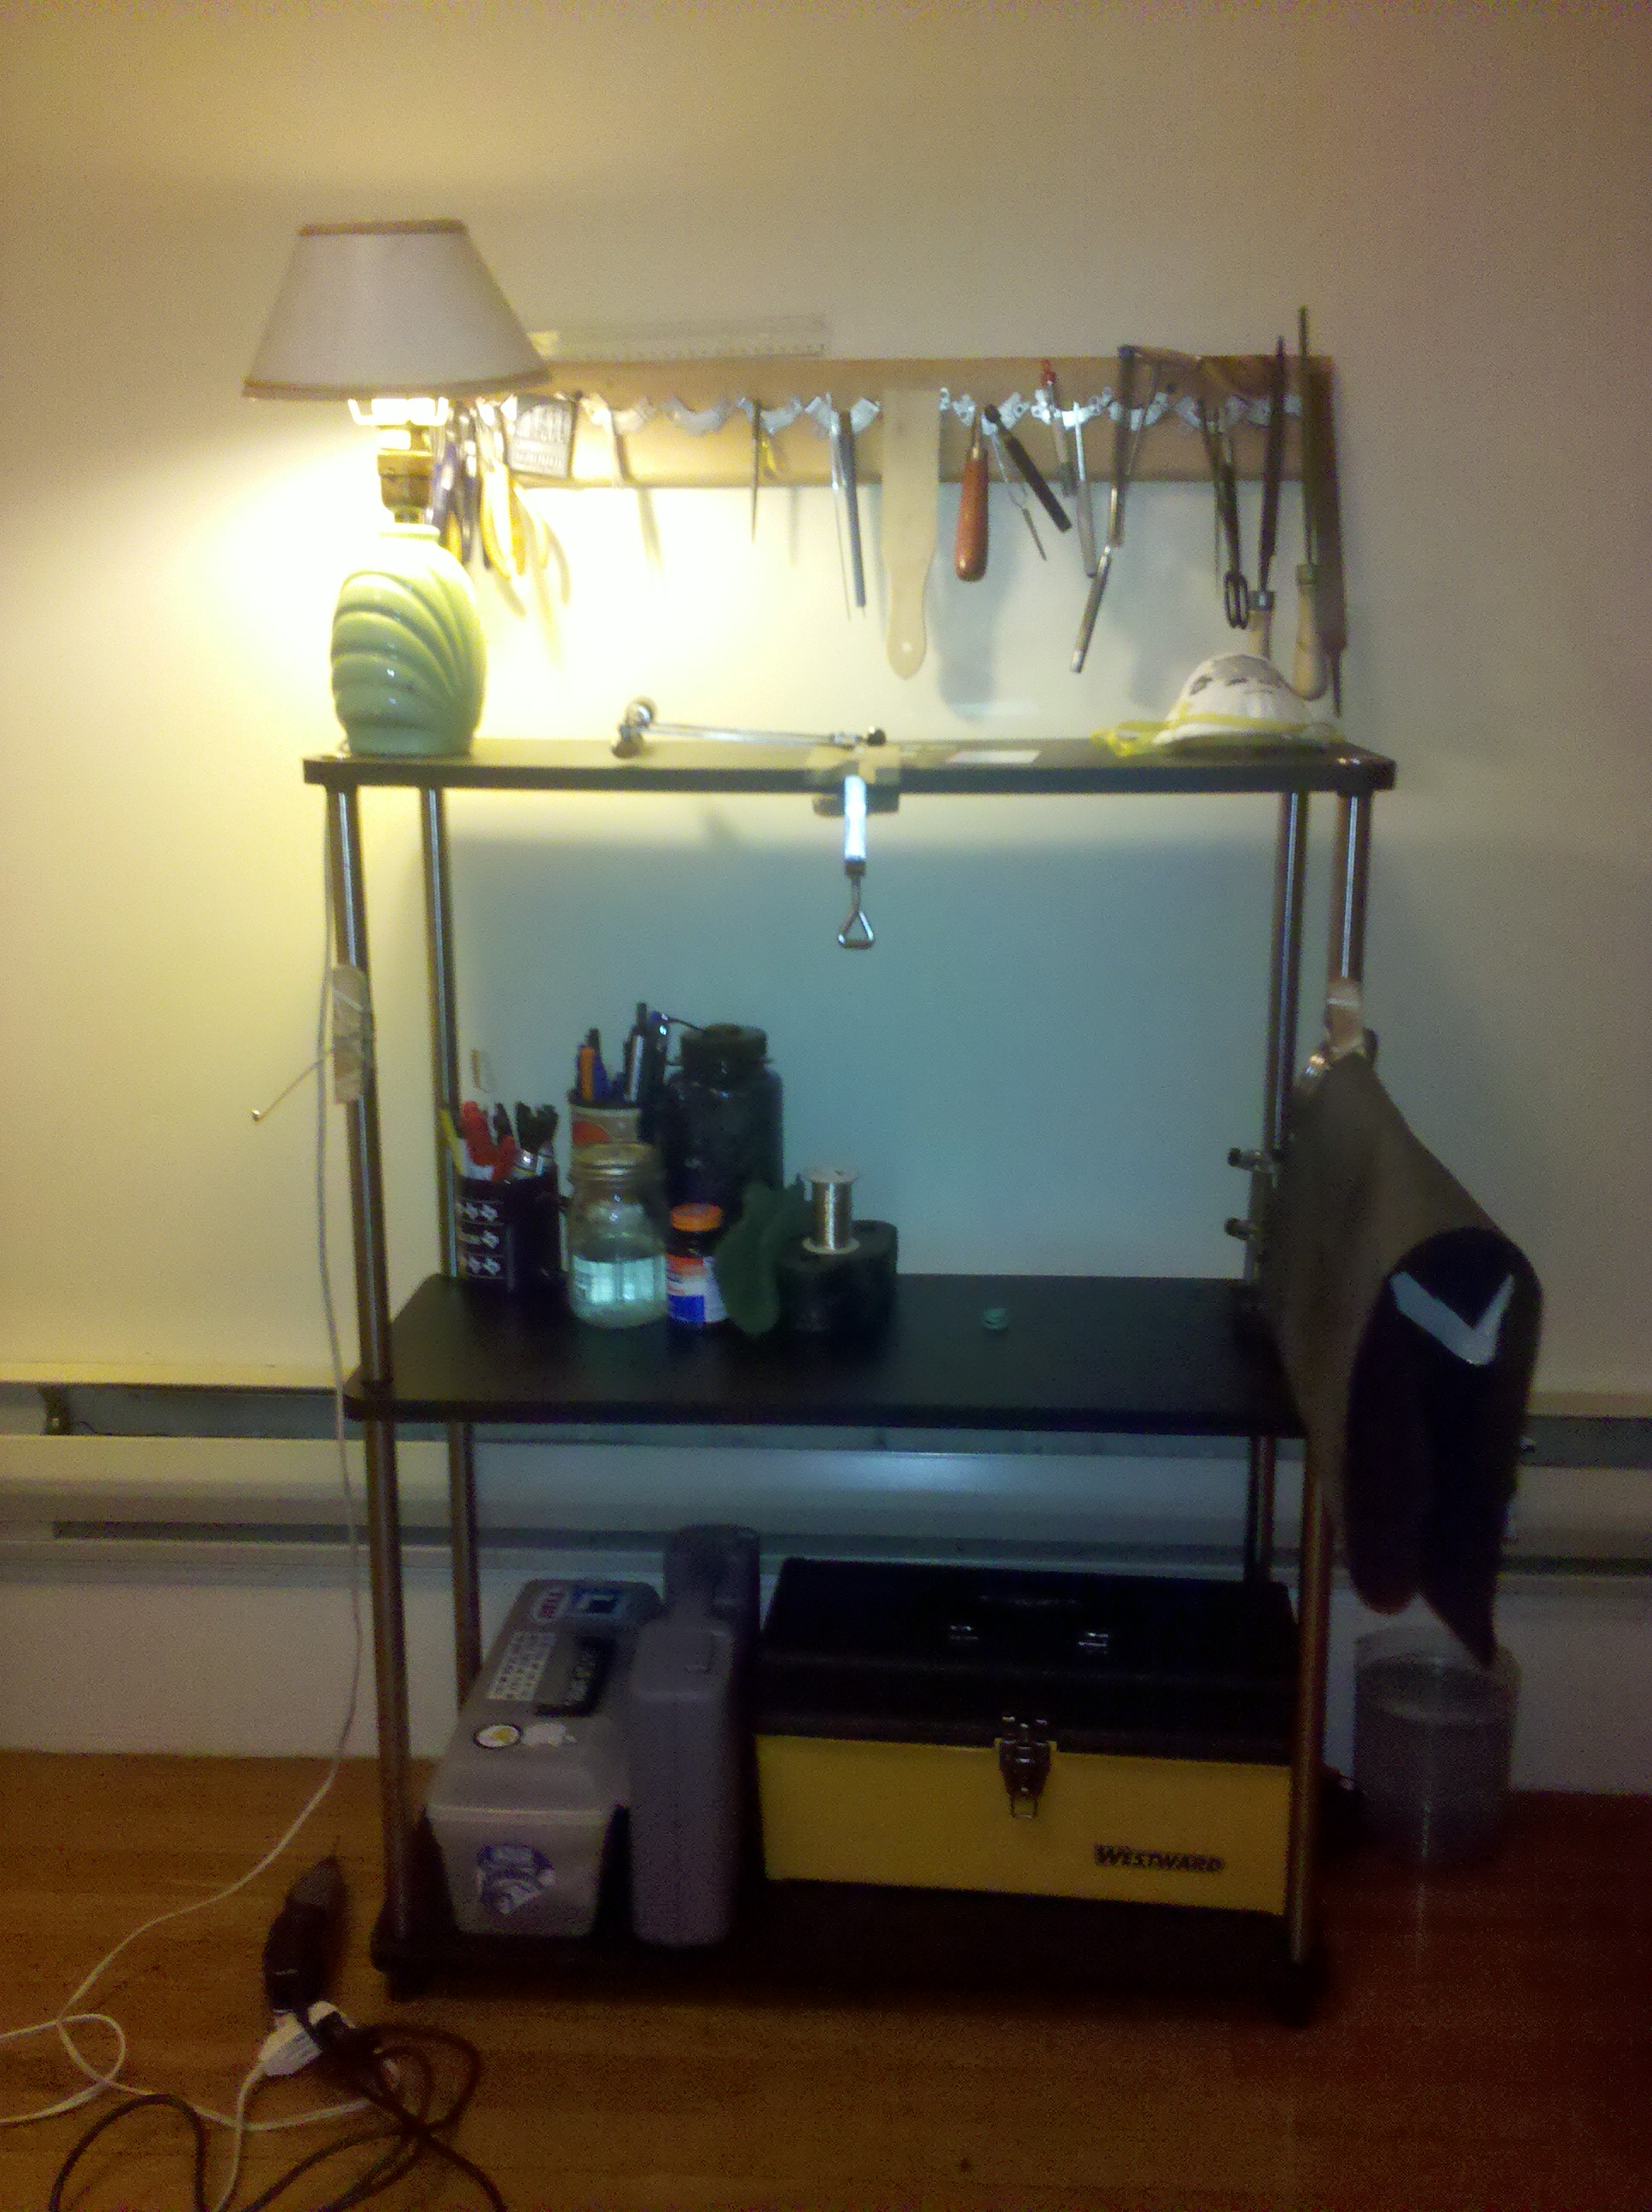
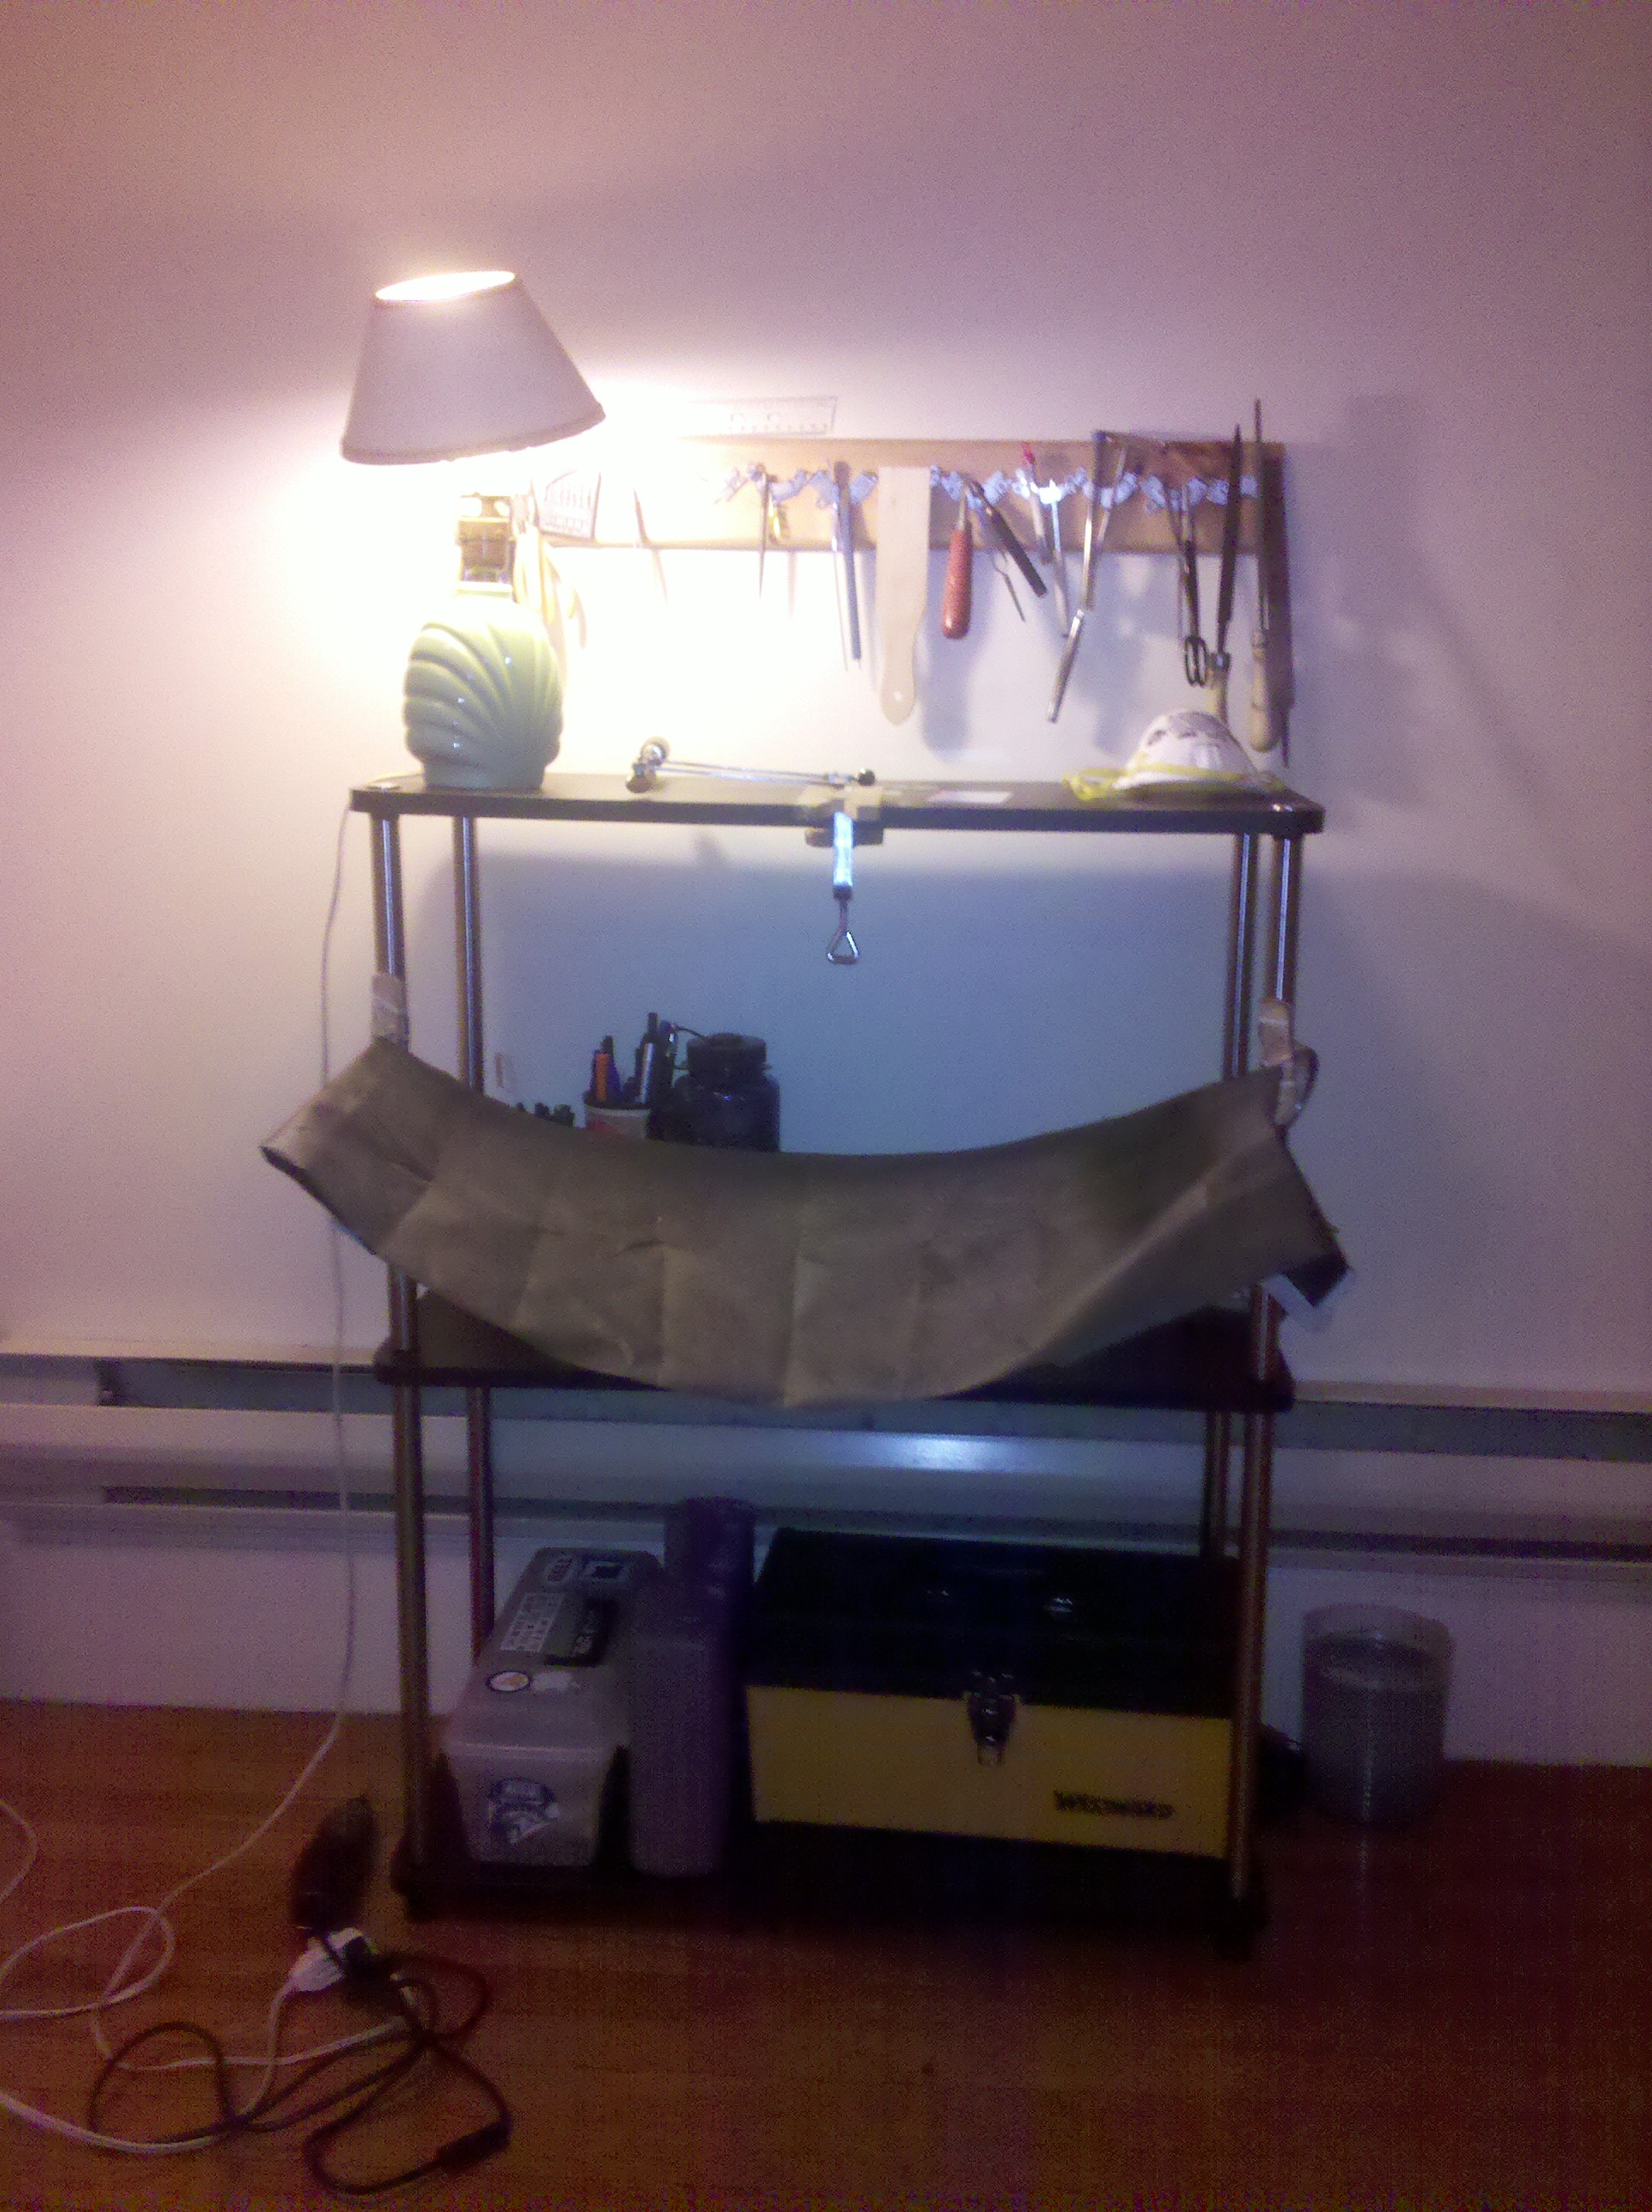
I also use services like Freecycle, and Craig’s List to pick up things people are giving away for free. You don’t want that crock pot anymore…score! Just got myself a new pickle pot. You have a set of shelves you want to get ride of, can someone say new jewelers bench!
Keep a list of things you need/want in your head and be on the look out for items that will fulfill that list. I have gotten about 50% of the things in my studio from the trash or for free off the internet.
2. Buy the tools you need for each project
You can fall victim the “I might use this some day” temptation to buy every tool you see, but if you are broke you must resist this impulse and buy the tools you need for each project. In this way you can slowly accumulate tools without breaking the bank.
I started off by purchasing one small jewlers kit that came with an assortment of the most commonly used tools (I think it was this one). It got me up and running with a lot of tools that I needed (and a bunch I didn’t, its hard to know what you will use, but almost all of the stuff in that kit gets regular use now). But since then I have tried to only buy tools when I need them.
3. Make your own tools if you can
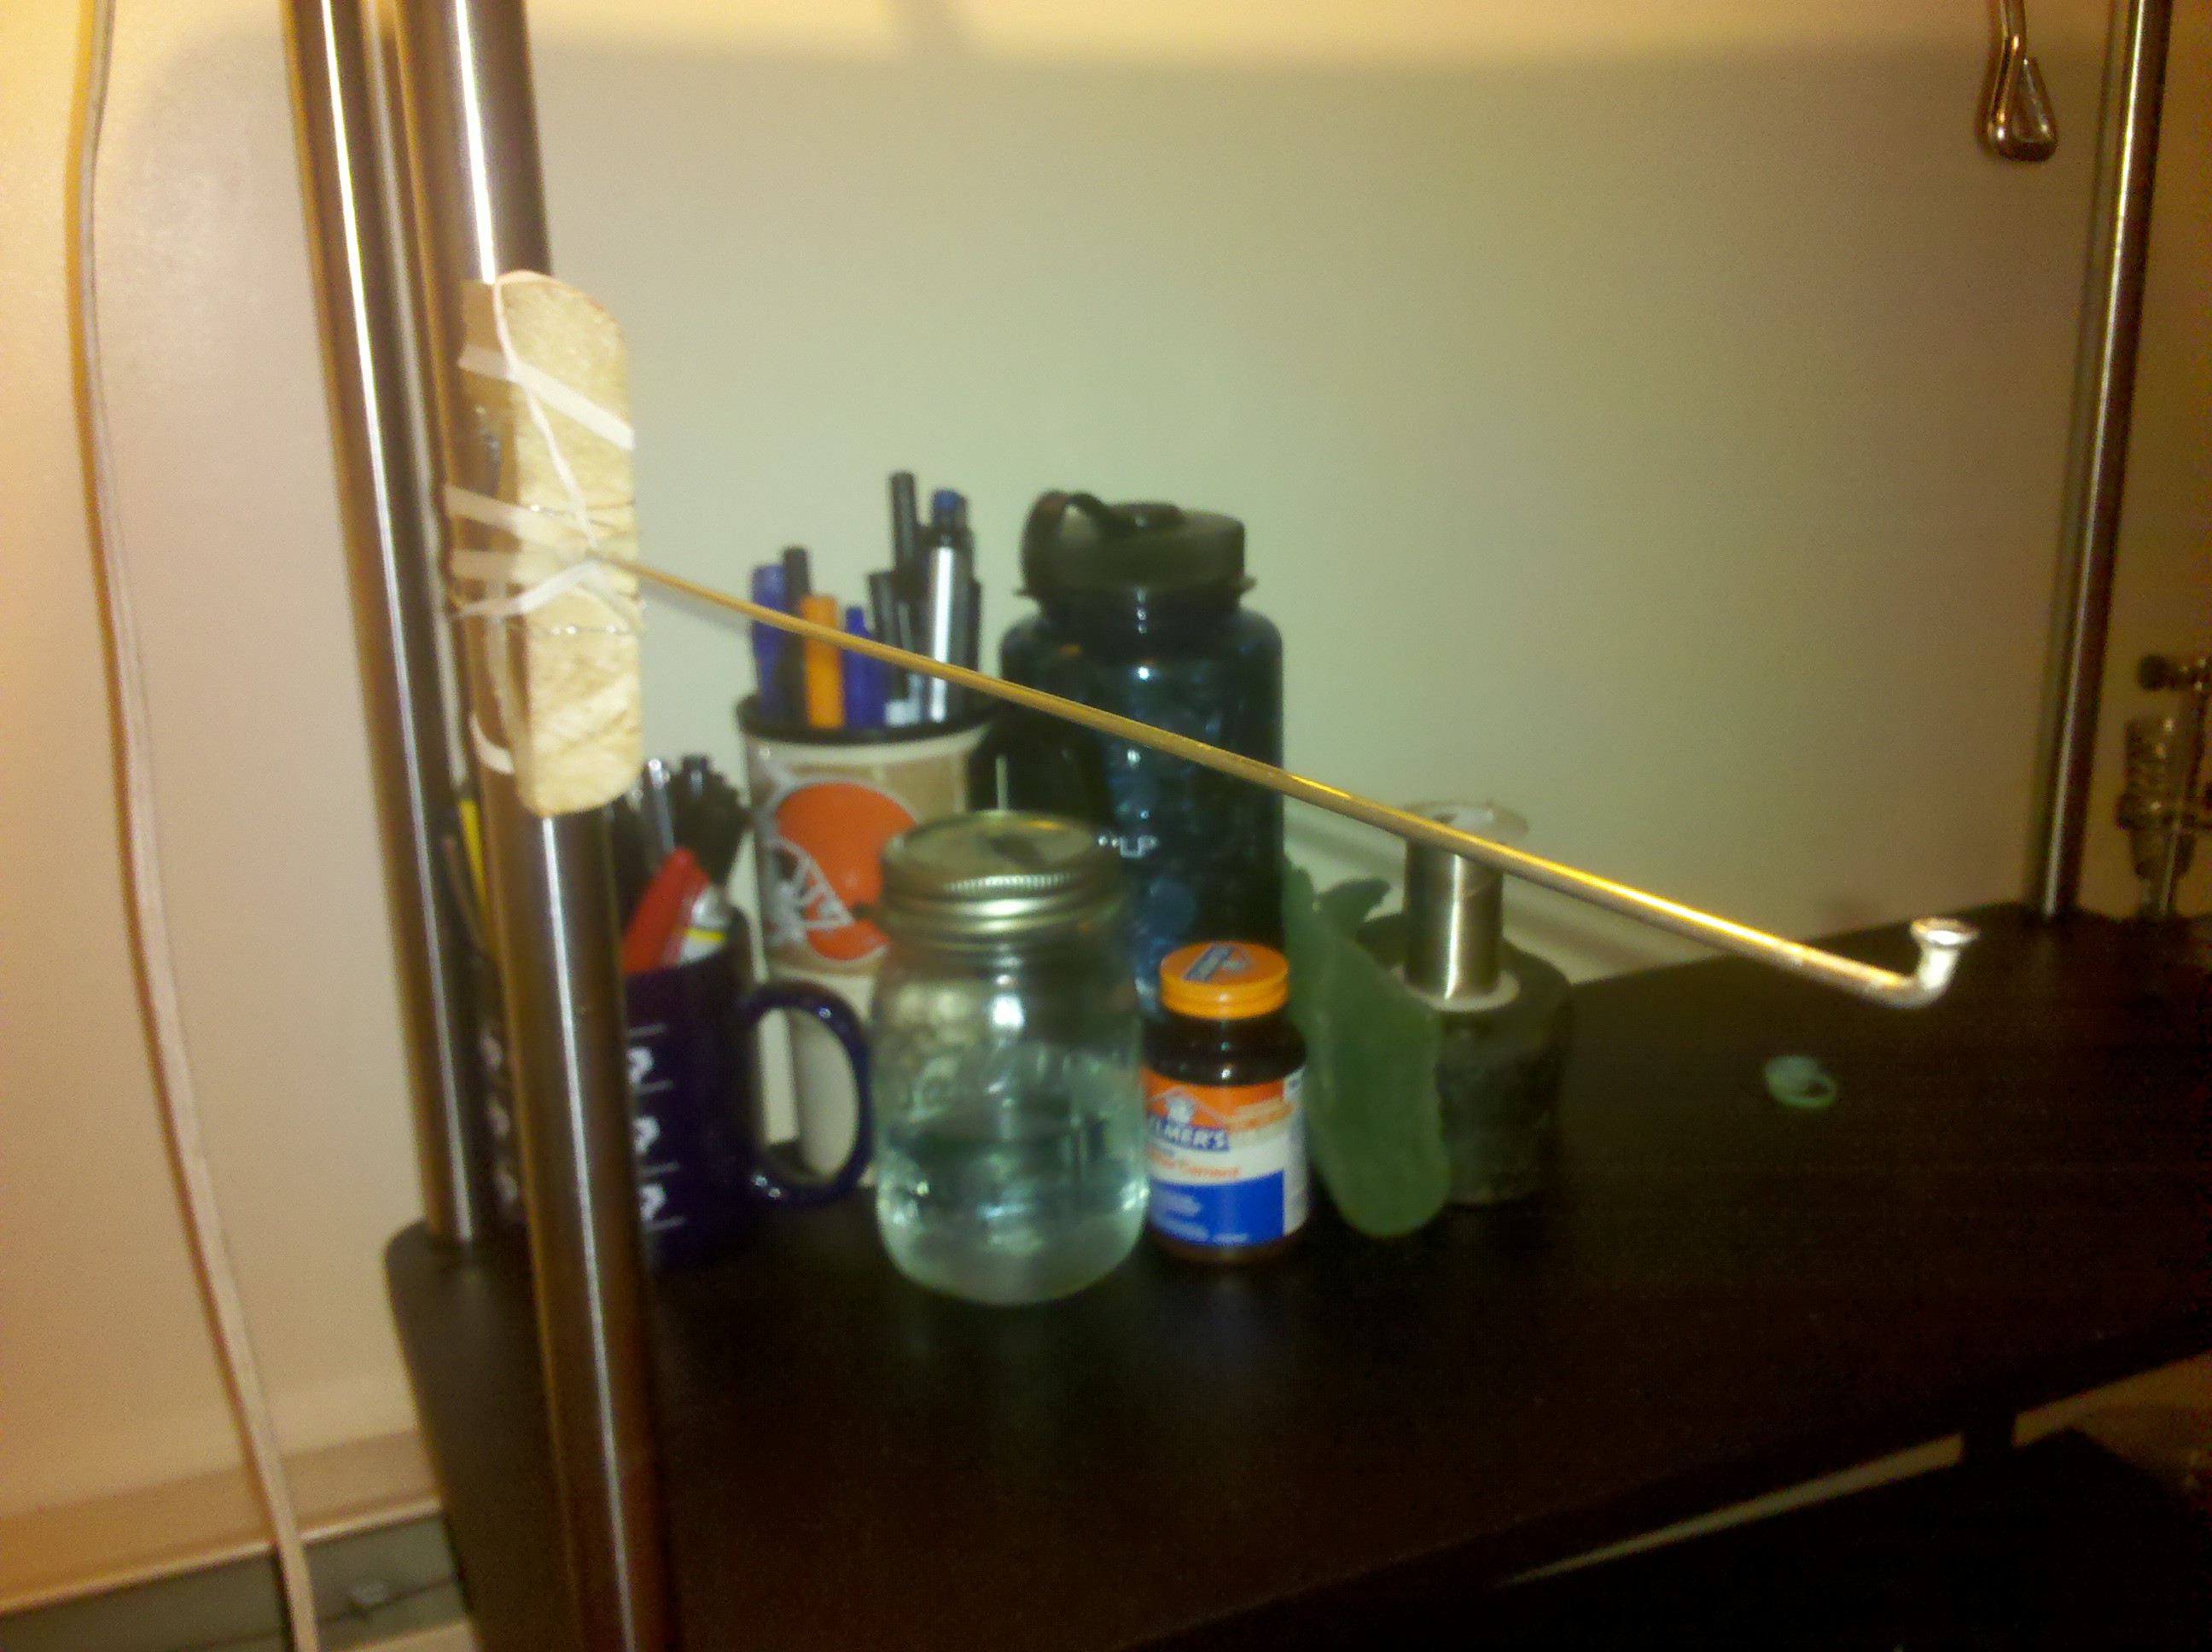
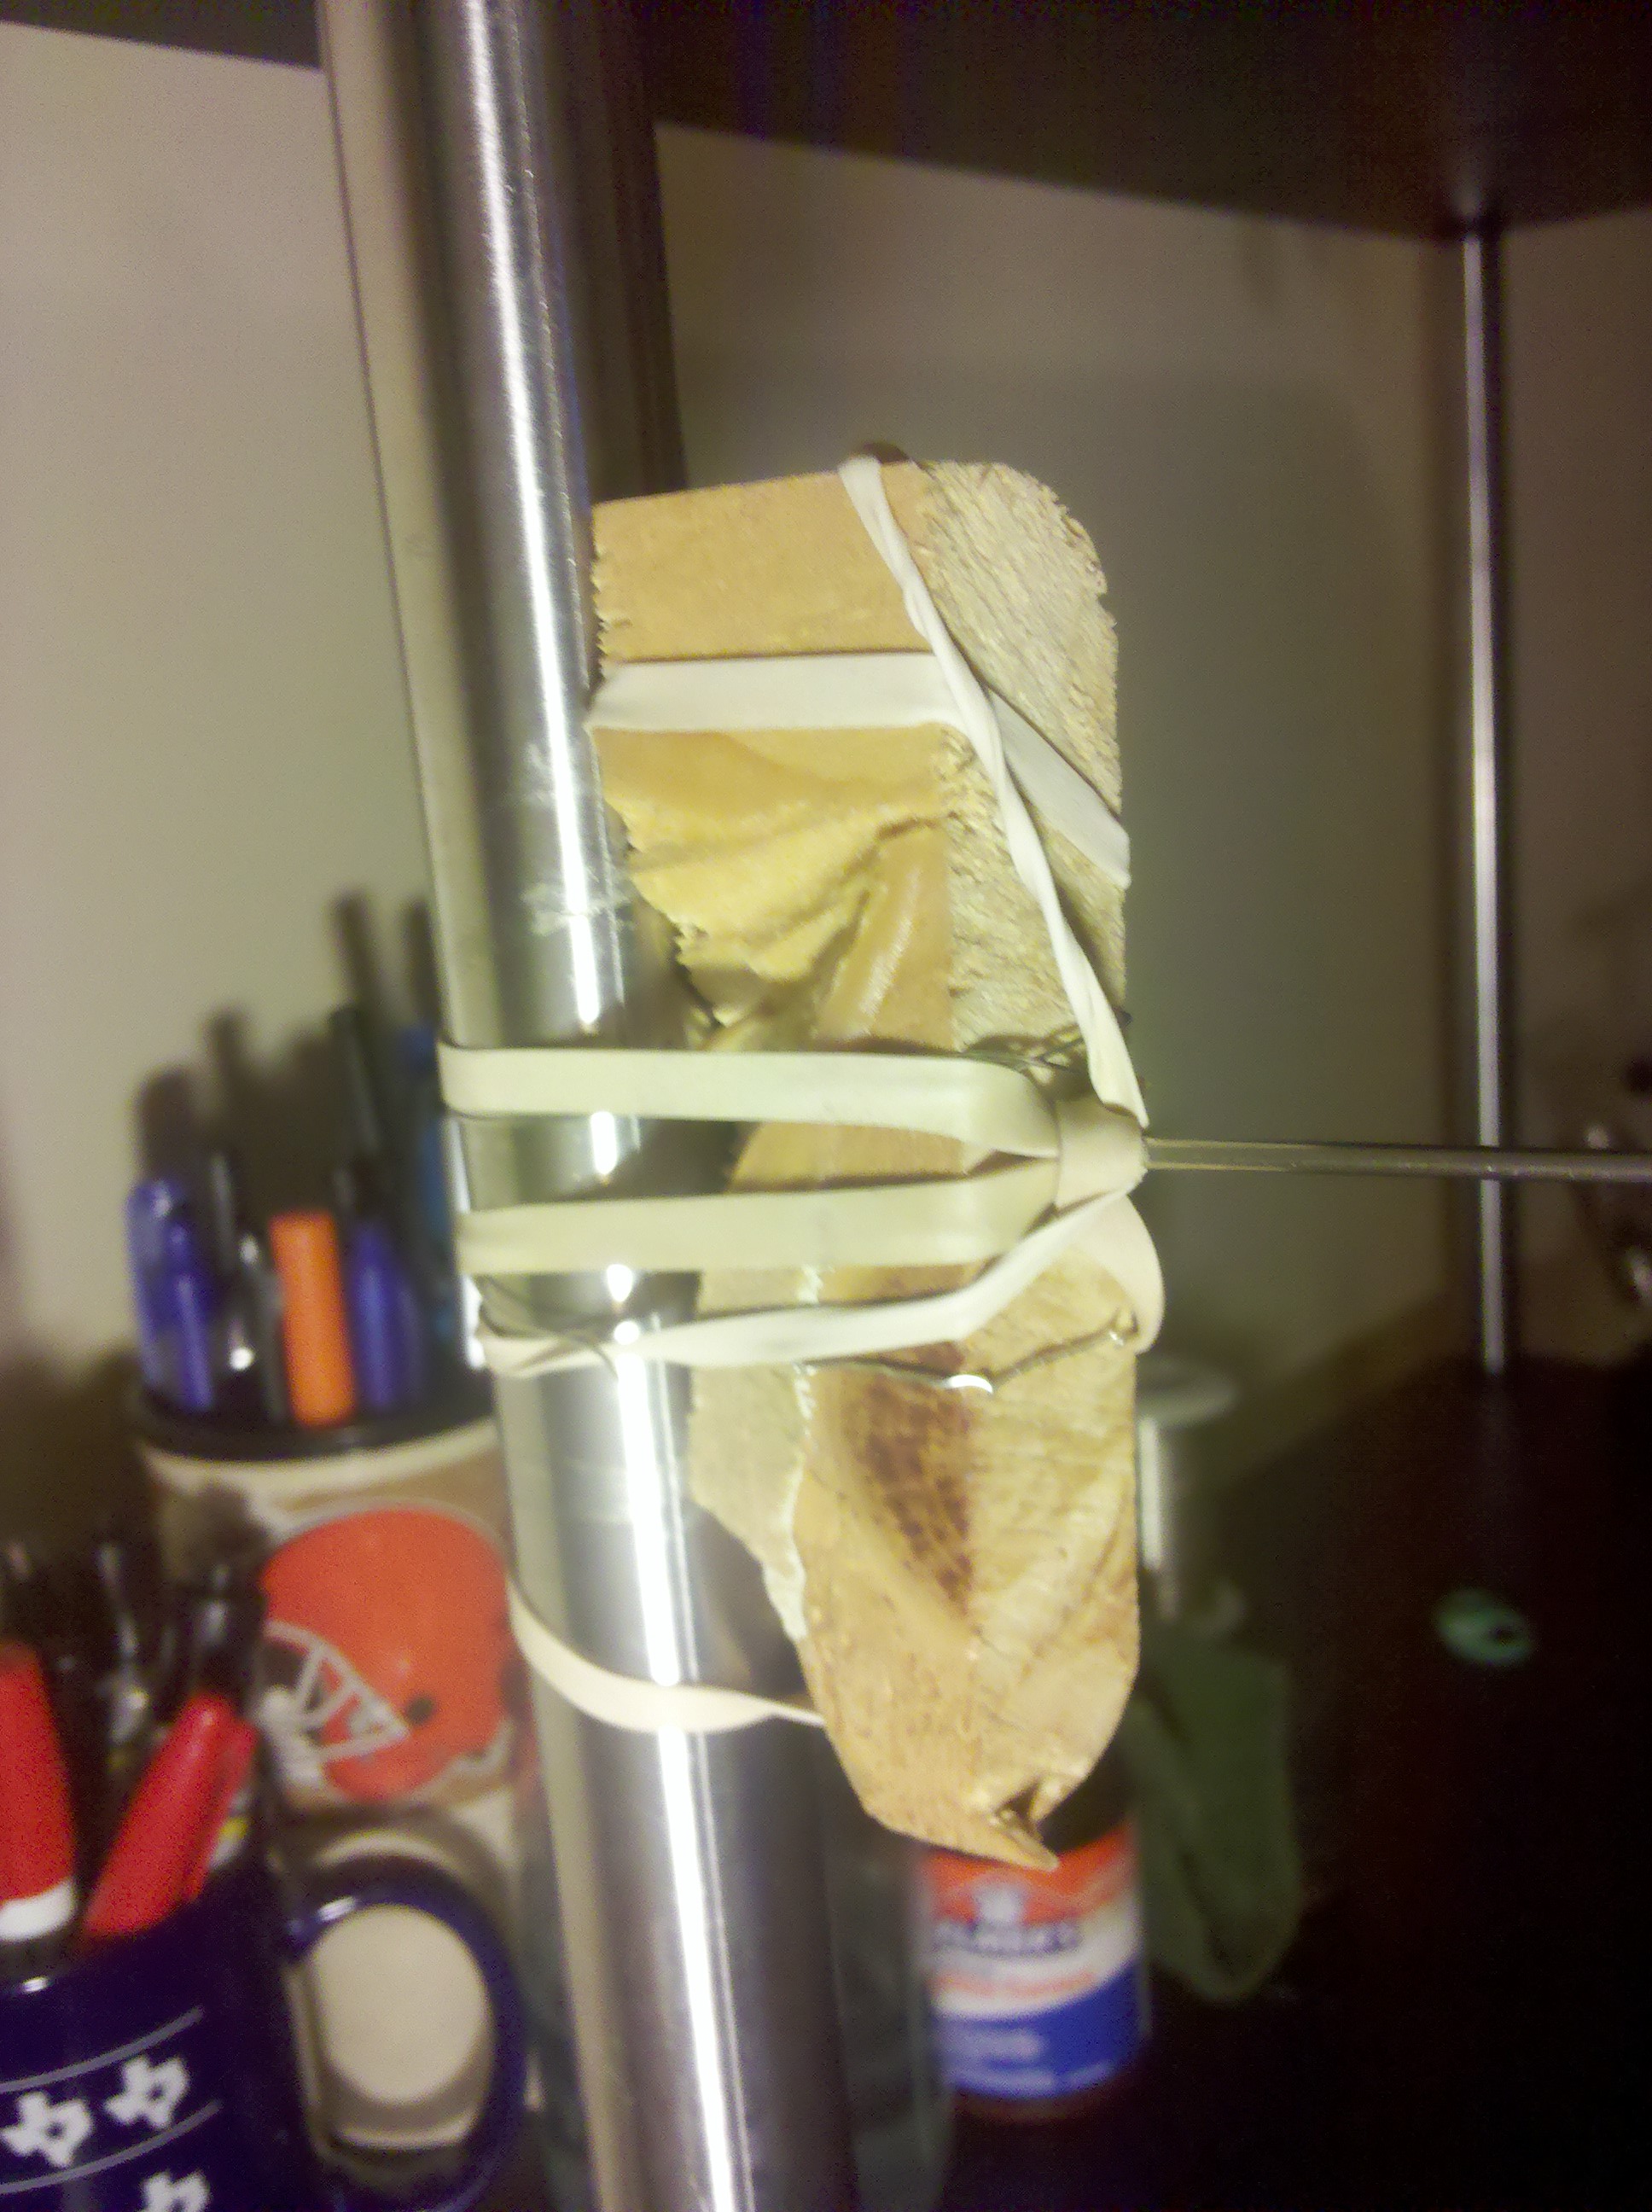
I needed a tiny mandrel for my dremel tool to hold sand paper. I could have gone online and dropped some cash to have it sent to my house (no local stores didn’t have anything even close to what I needed), but I had some thick bronze wire stock laying around so I carefully sawed a notch down the middle and whalla my own custom made sand paper holder for about 20 cents and a couple minutes of work.
You might be surprised how many things you can make yourself. If that doesn’t work you can often get tools from the hardware store and “modify them.” I bit of work with some files, sand paper, and polish. Suddenly that cheap ball peen hammer from the hardware store now has a mirror finish and works great to apply texture to copper. Sure it wont last forever, but I can always polish it up again when it starts to wear out. That extra elbow grease saves me a lot of cash.
4. Shop around
A couple extra hours spent on Google comparing prices from different websites or calling different local stores can save you a bundle. Metal prices can vary a bunch. Some local stores might have something that is more expensive but has no shipping (heavy stuff + long distance can rack up a lot of shipping costs) which might be a better bargain. It is tempting to just go to Riogrande or similar stores and order everything, but a bit of hunting can get you great deals.
5. Boot strap
Eventually you are probably going to want to start selling your stuff. Either you open an Etsy store, start going to craft fairs, or something else, my advice is start small. Don’t make a thousand of your new earring design. Make 5 see if they sell, if they do use the money to buy more materials and make some more. In this way you can use the sale of your initial work to fund future growth in your shop.
Many people jump in head first spending hundreds or even thousands of dollars on stuff only to find out half way through that they are not as interested in this work, or that they want to go a different direction, or that what they thought would be popular isnt. If you use the sales of your work to fund the accusation of more material you can get out at any point without having a lot of debt. I also find this method gives me a little more time to practice and try new ideas because I am always working on little batches of stuff rather than doing the same thing over and over and over.
6. Ask for advice
Go around to local jewelers, art schools, online forums, scrap metal dealers, Google, craft clubs, etc. These people probably know more about where cheap stuff is than you do, and most of them are happy to share that kind of information. You also get an added benefit of being able to make friends, and get someone to bounce your ideas off of while at the same time saving some cash by getting the inside scoop.
I hope these at least give you a general idea of how to slowly (and it will take time) build up your studio with a good supply of tools, materials, and furniture. I am going to post a couple more posts with actual projects (cheap bench, cheap tool holder, etc).