Posted on

Thing A Week 12: Dune Enamel Pin

I wanted to get a Dune themed enamel pin, and I couldn’t find anyone selling what I wanted.  I looked into making your own DIY enamel pins, and EVERY single page I went to was not instructions on how to make your own, but instead instructions on how to order them from companies in china who make enamel pins.

So like many things in my life, instead of paying someone else to do it, I just decided to do it myself.


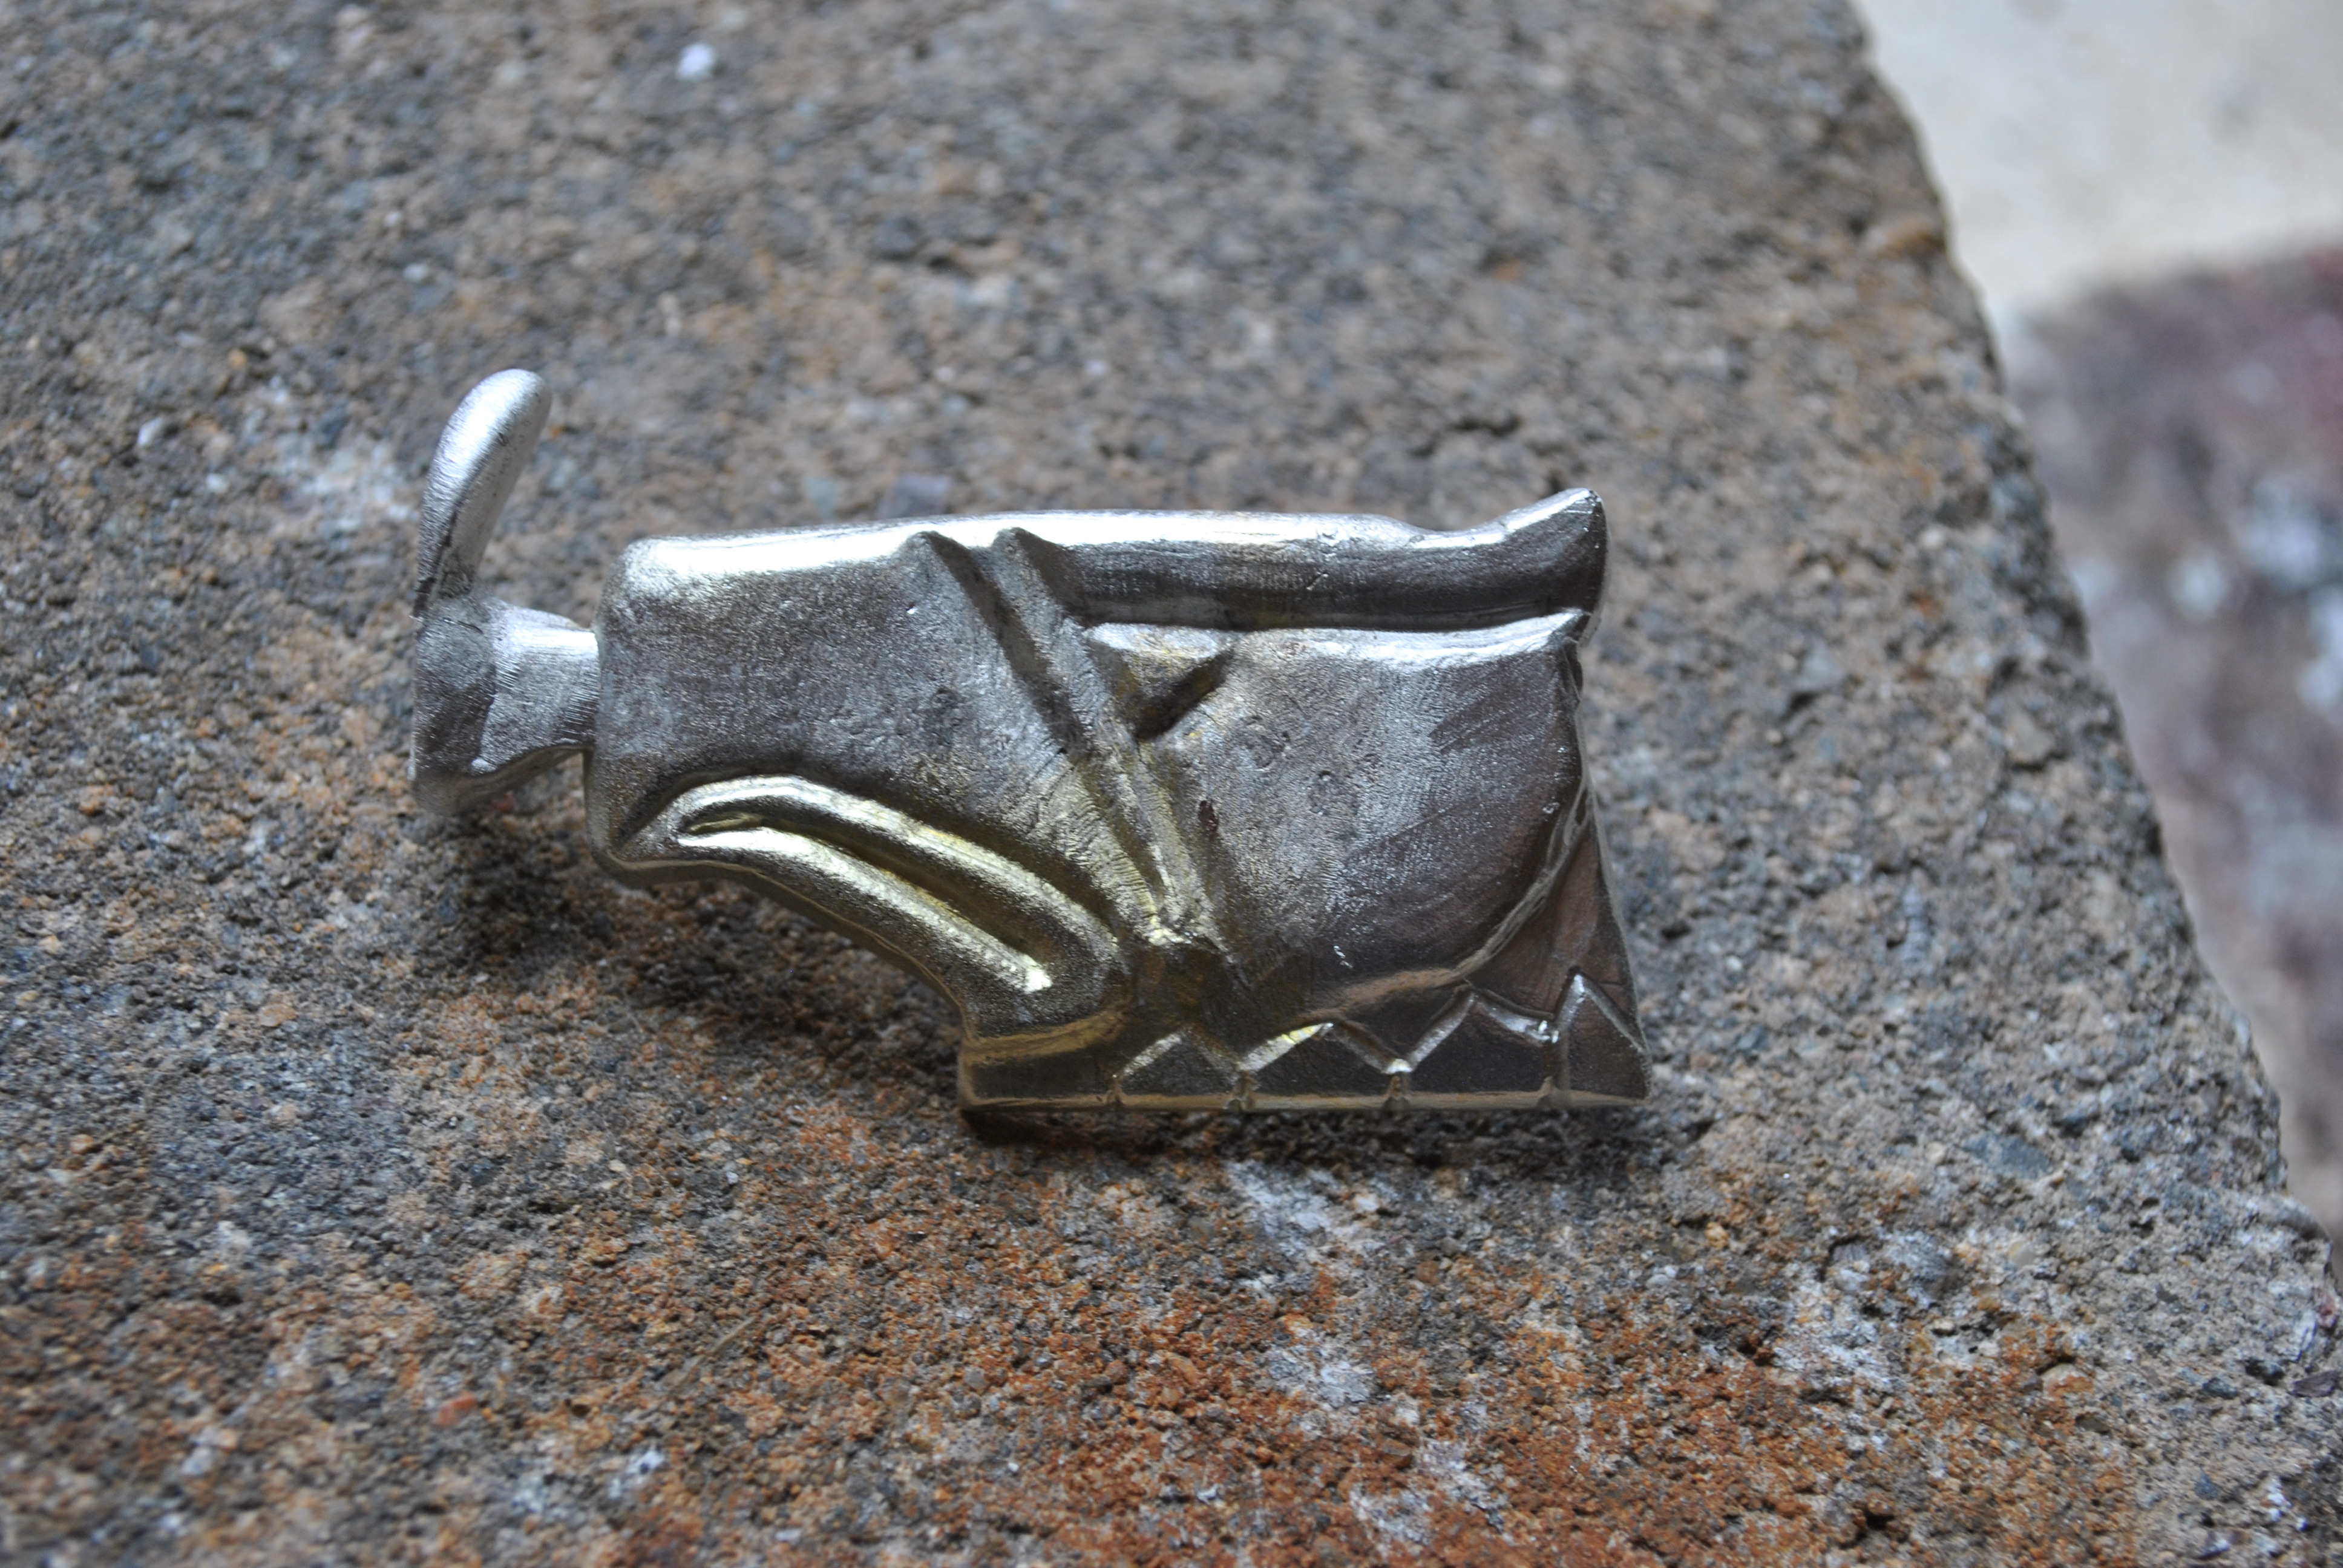
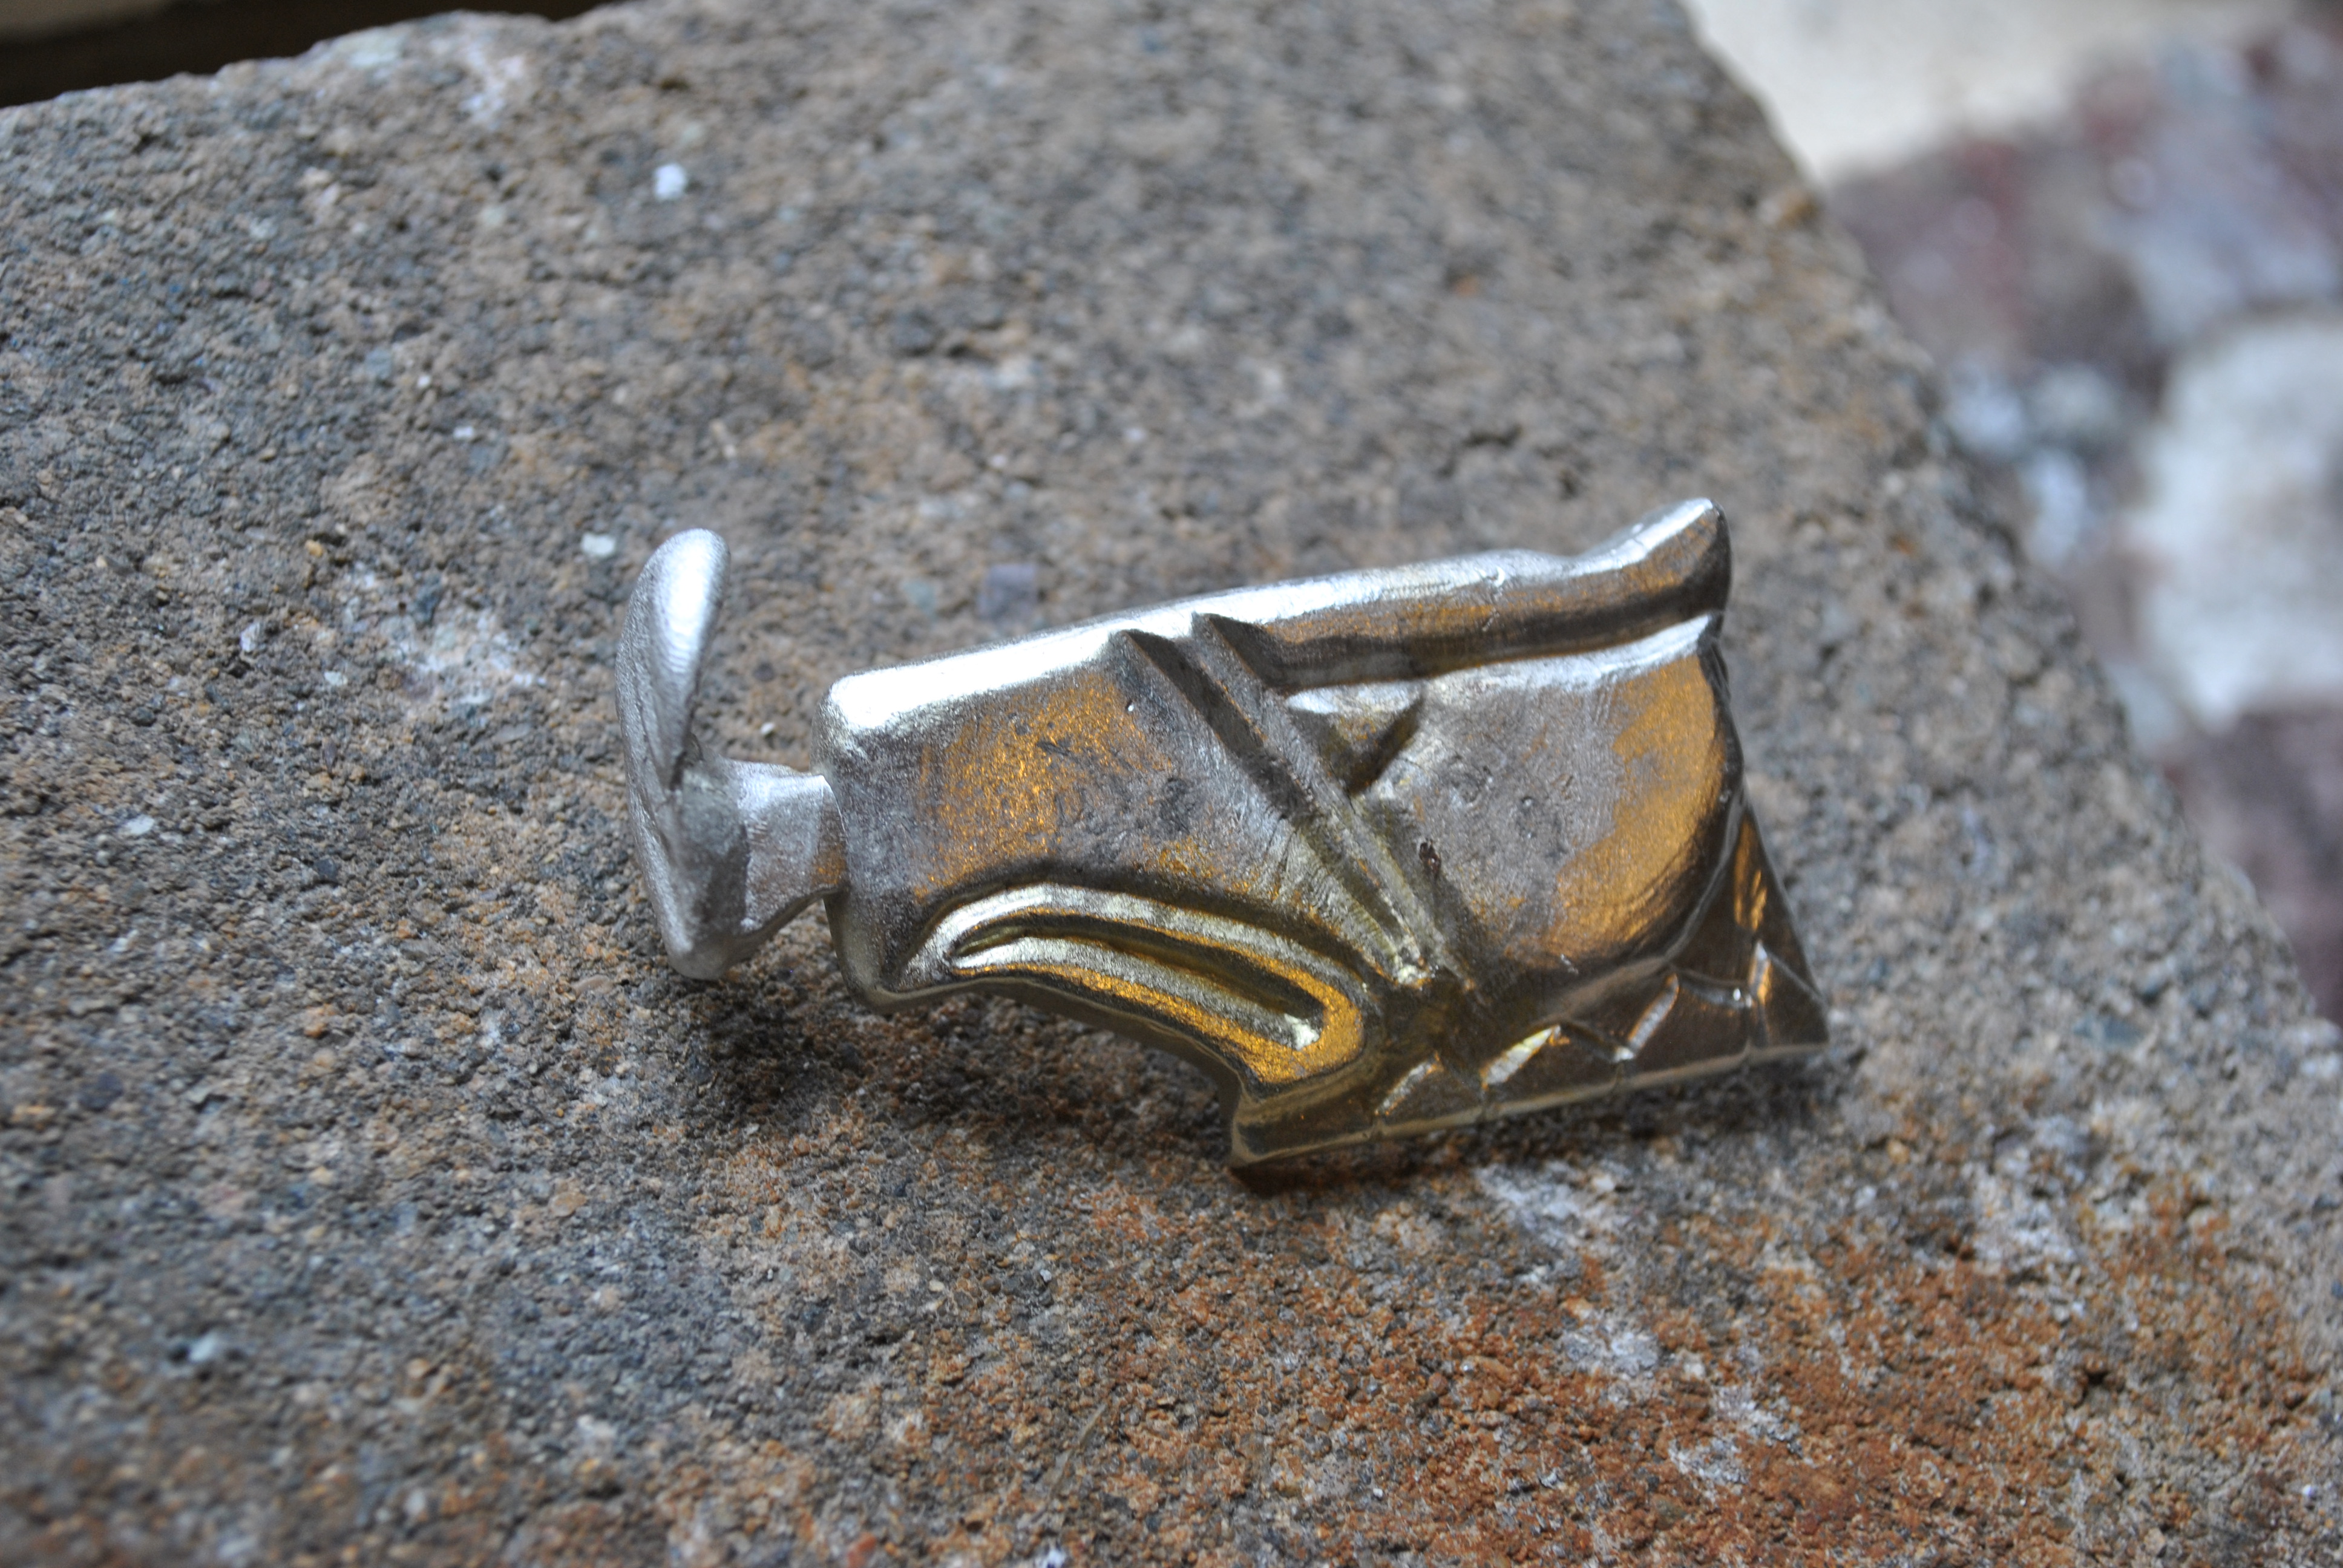
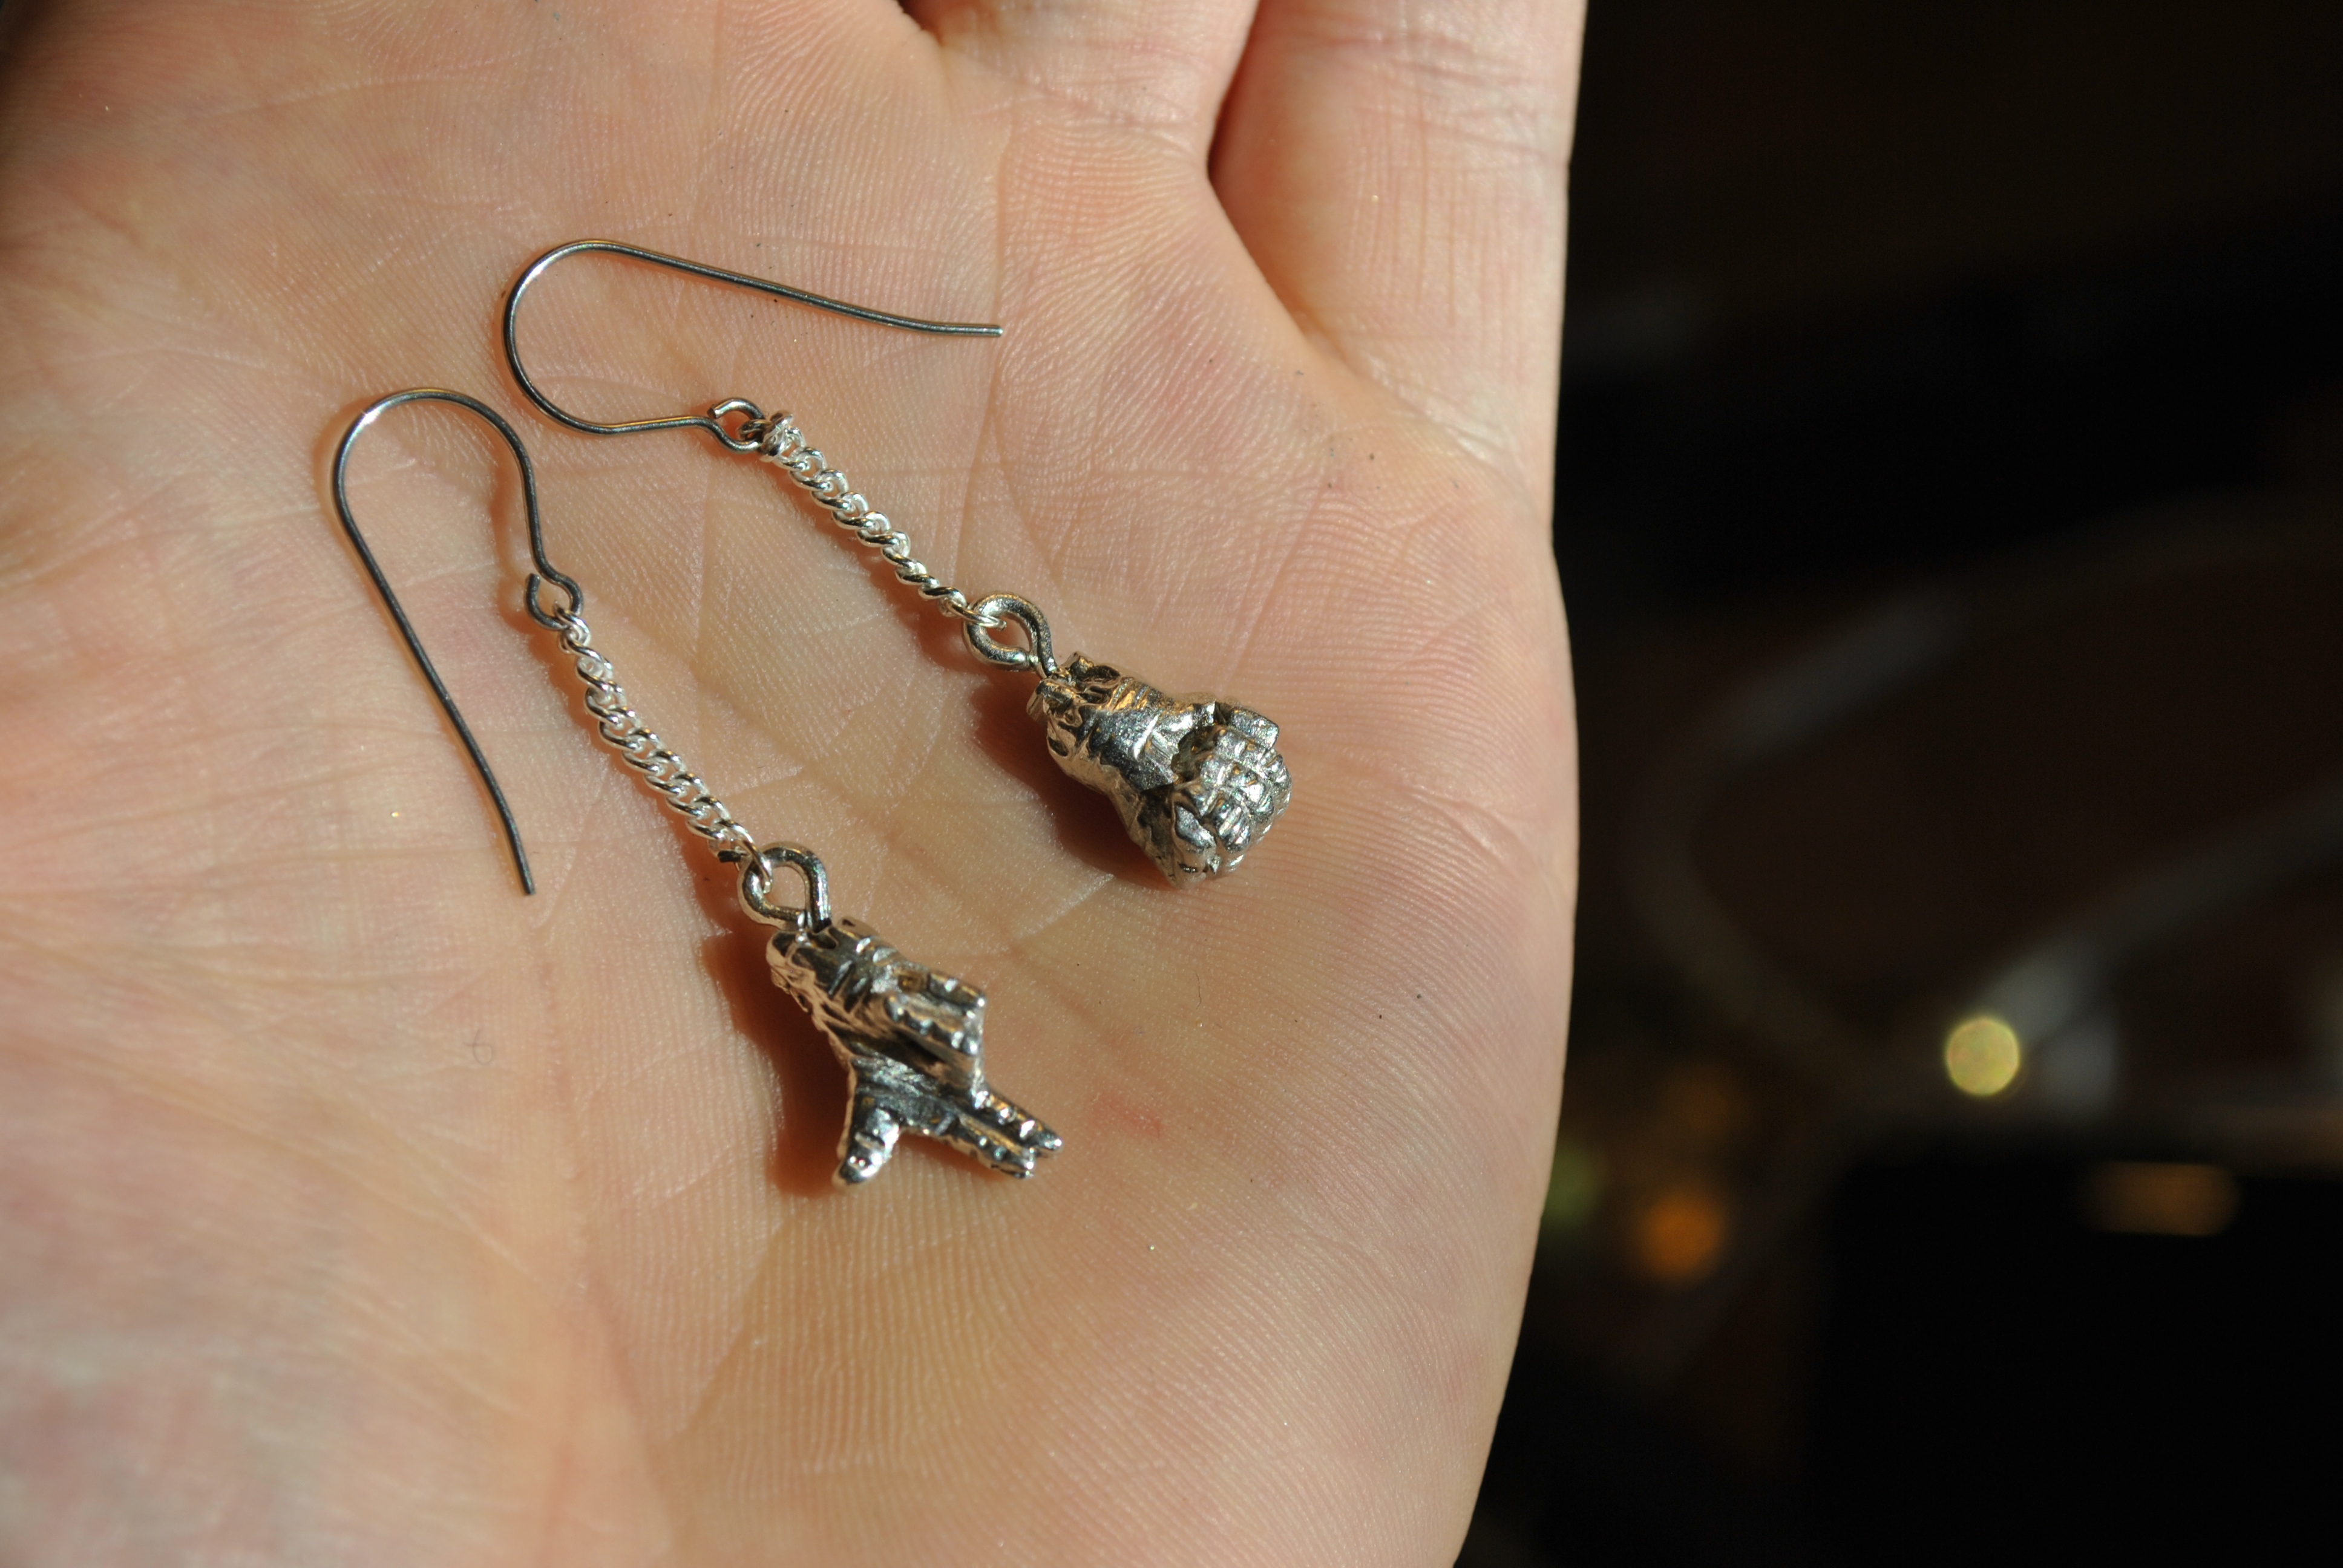
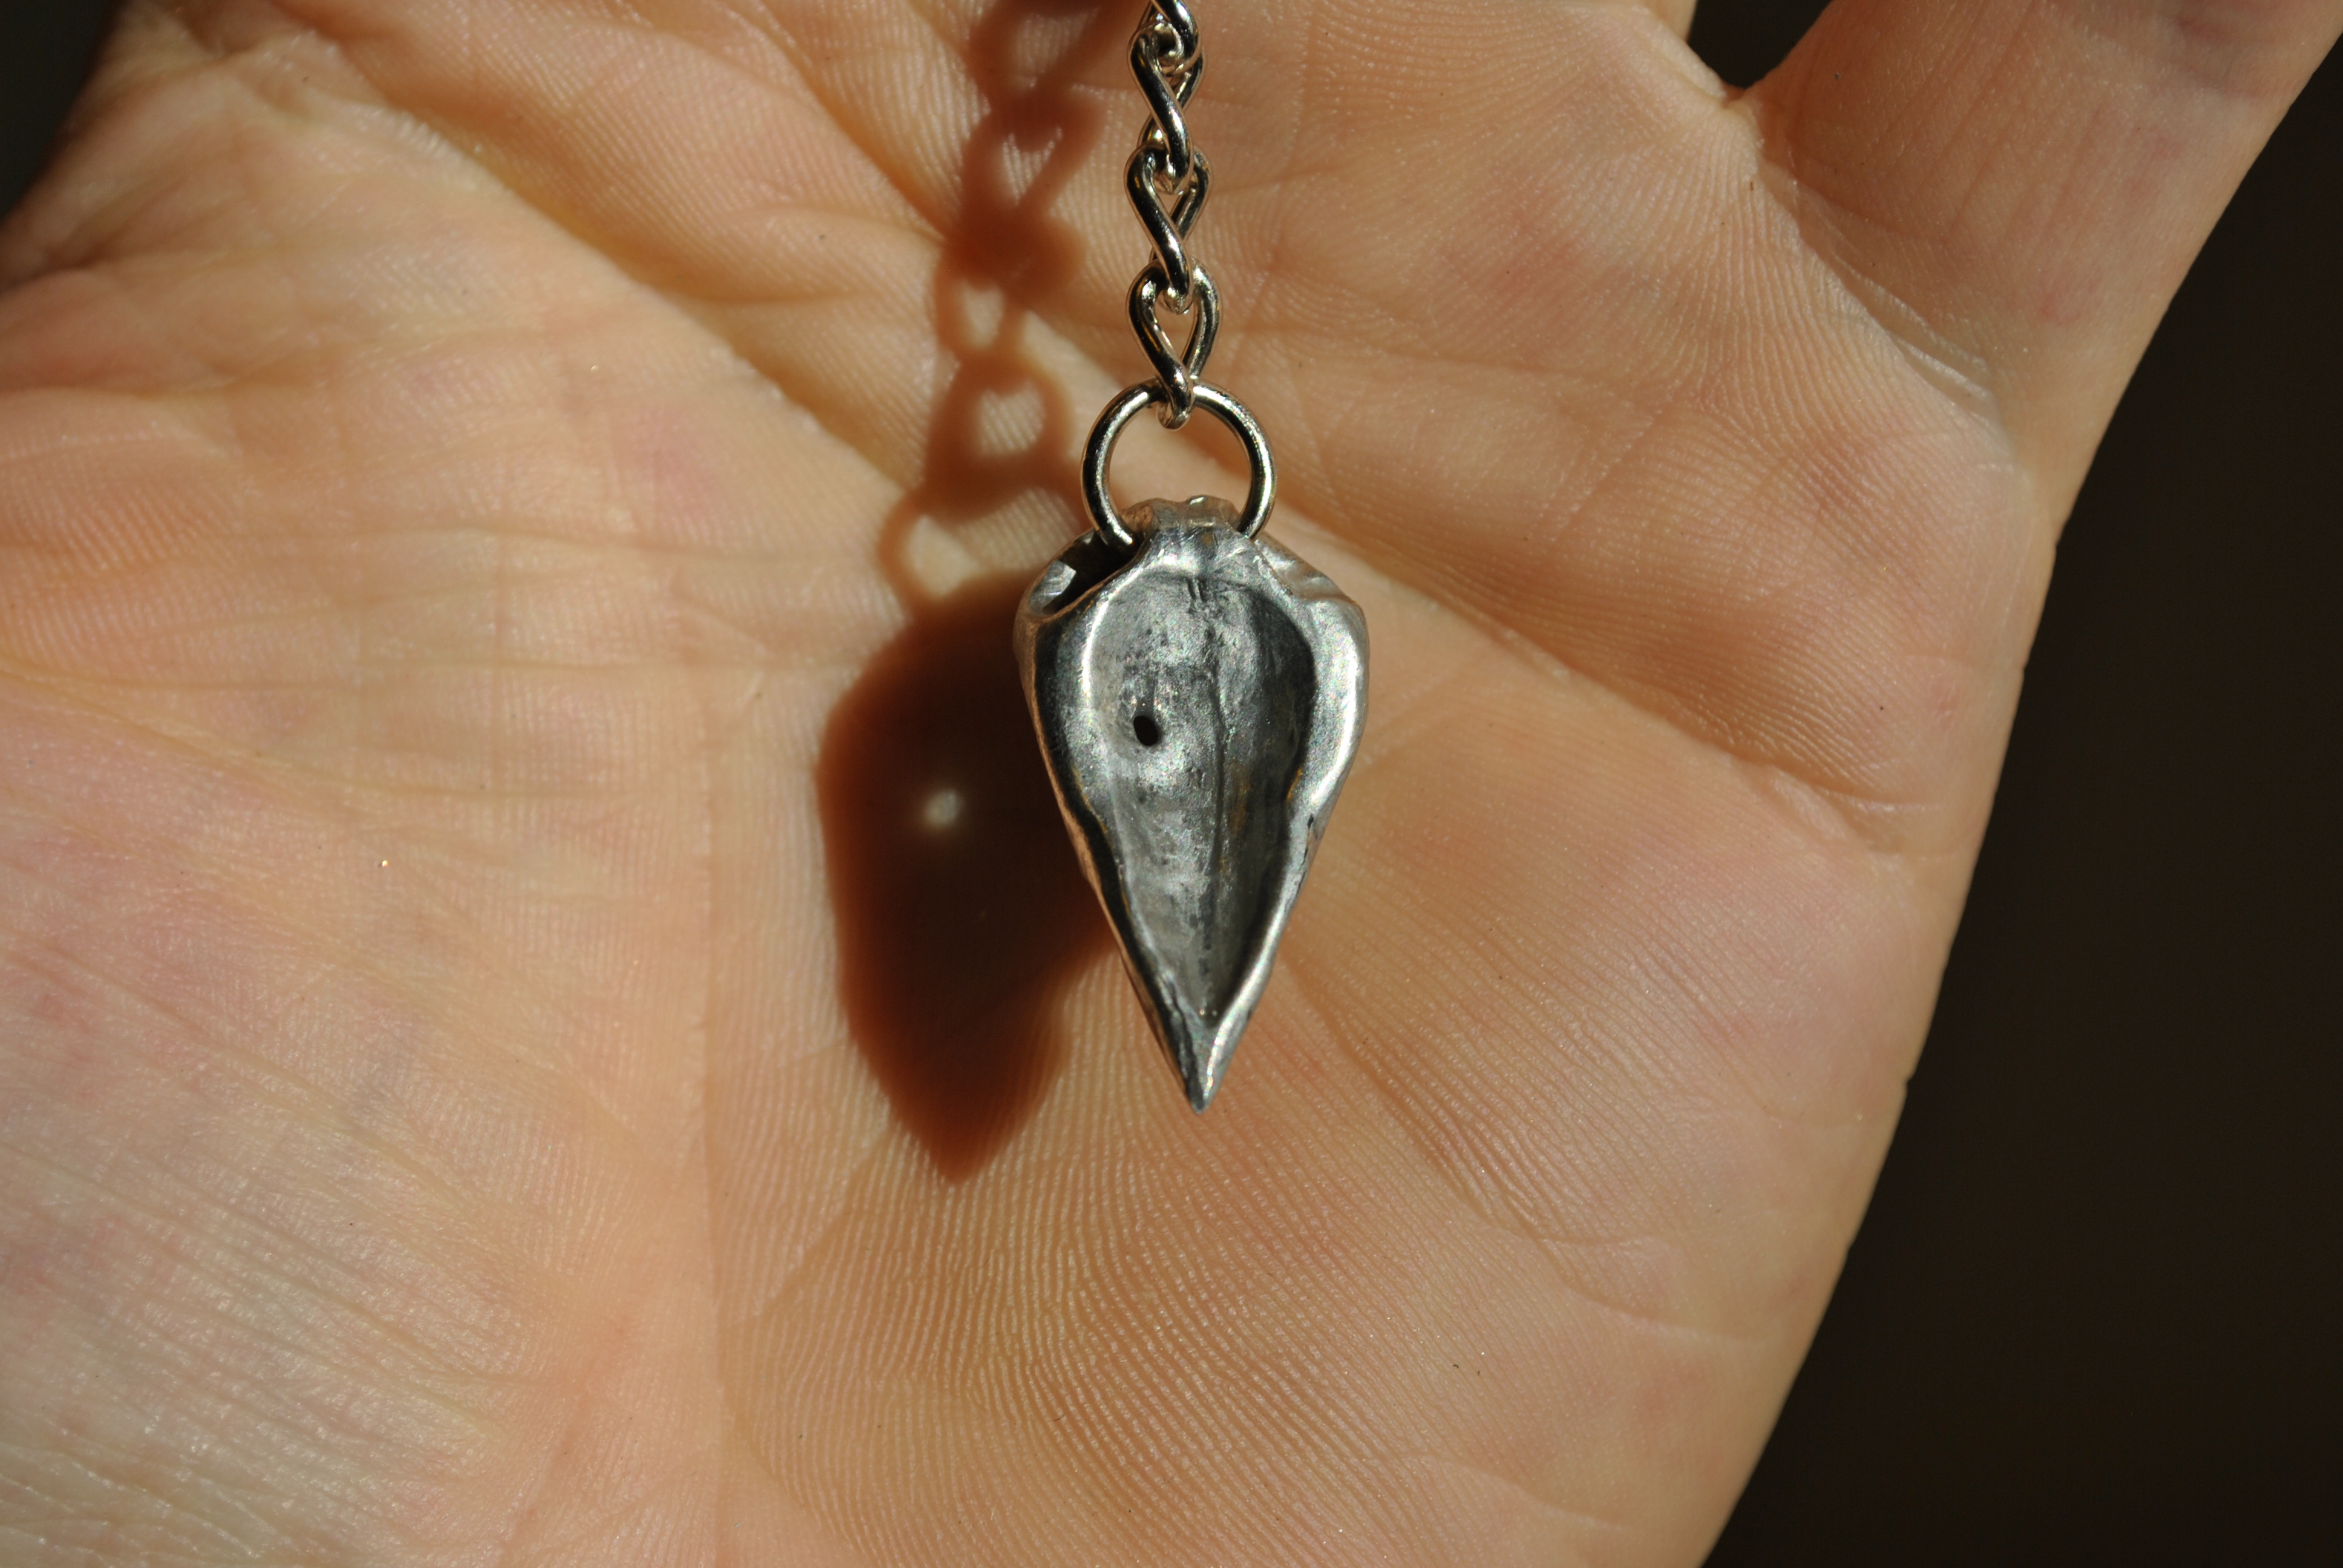
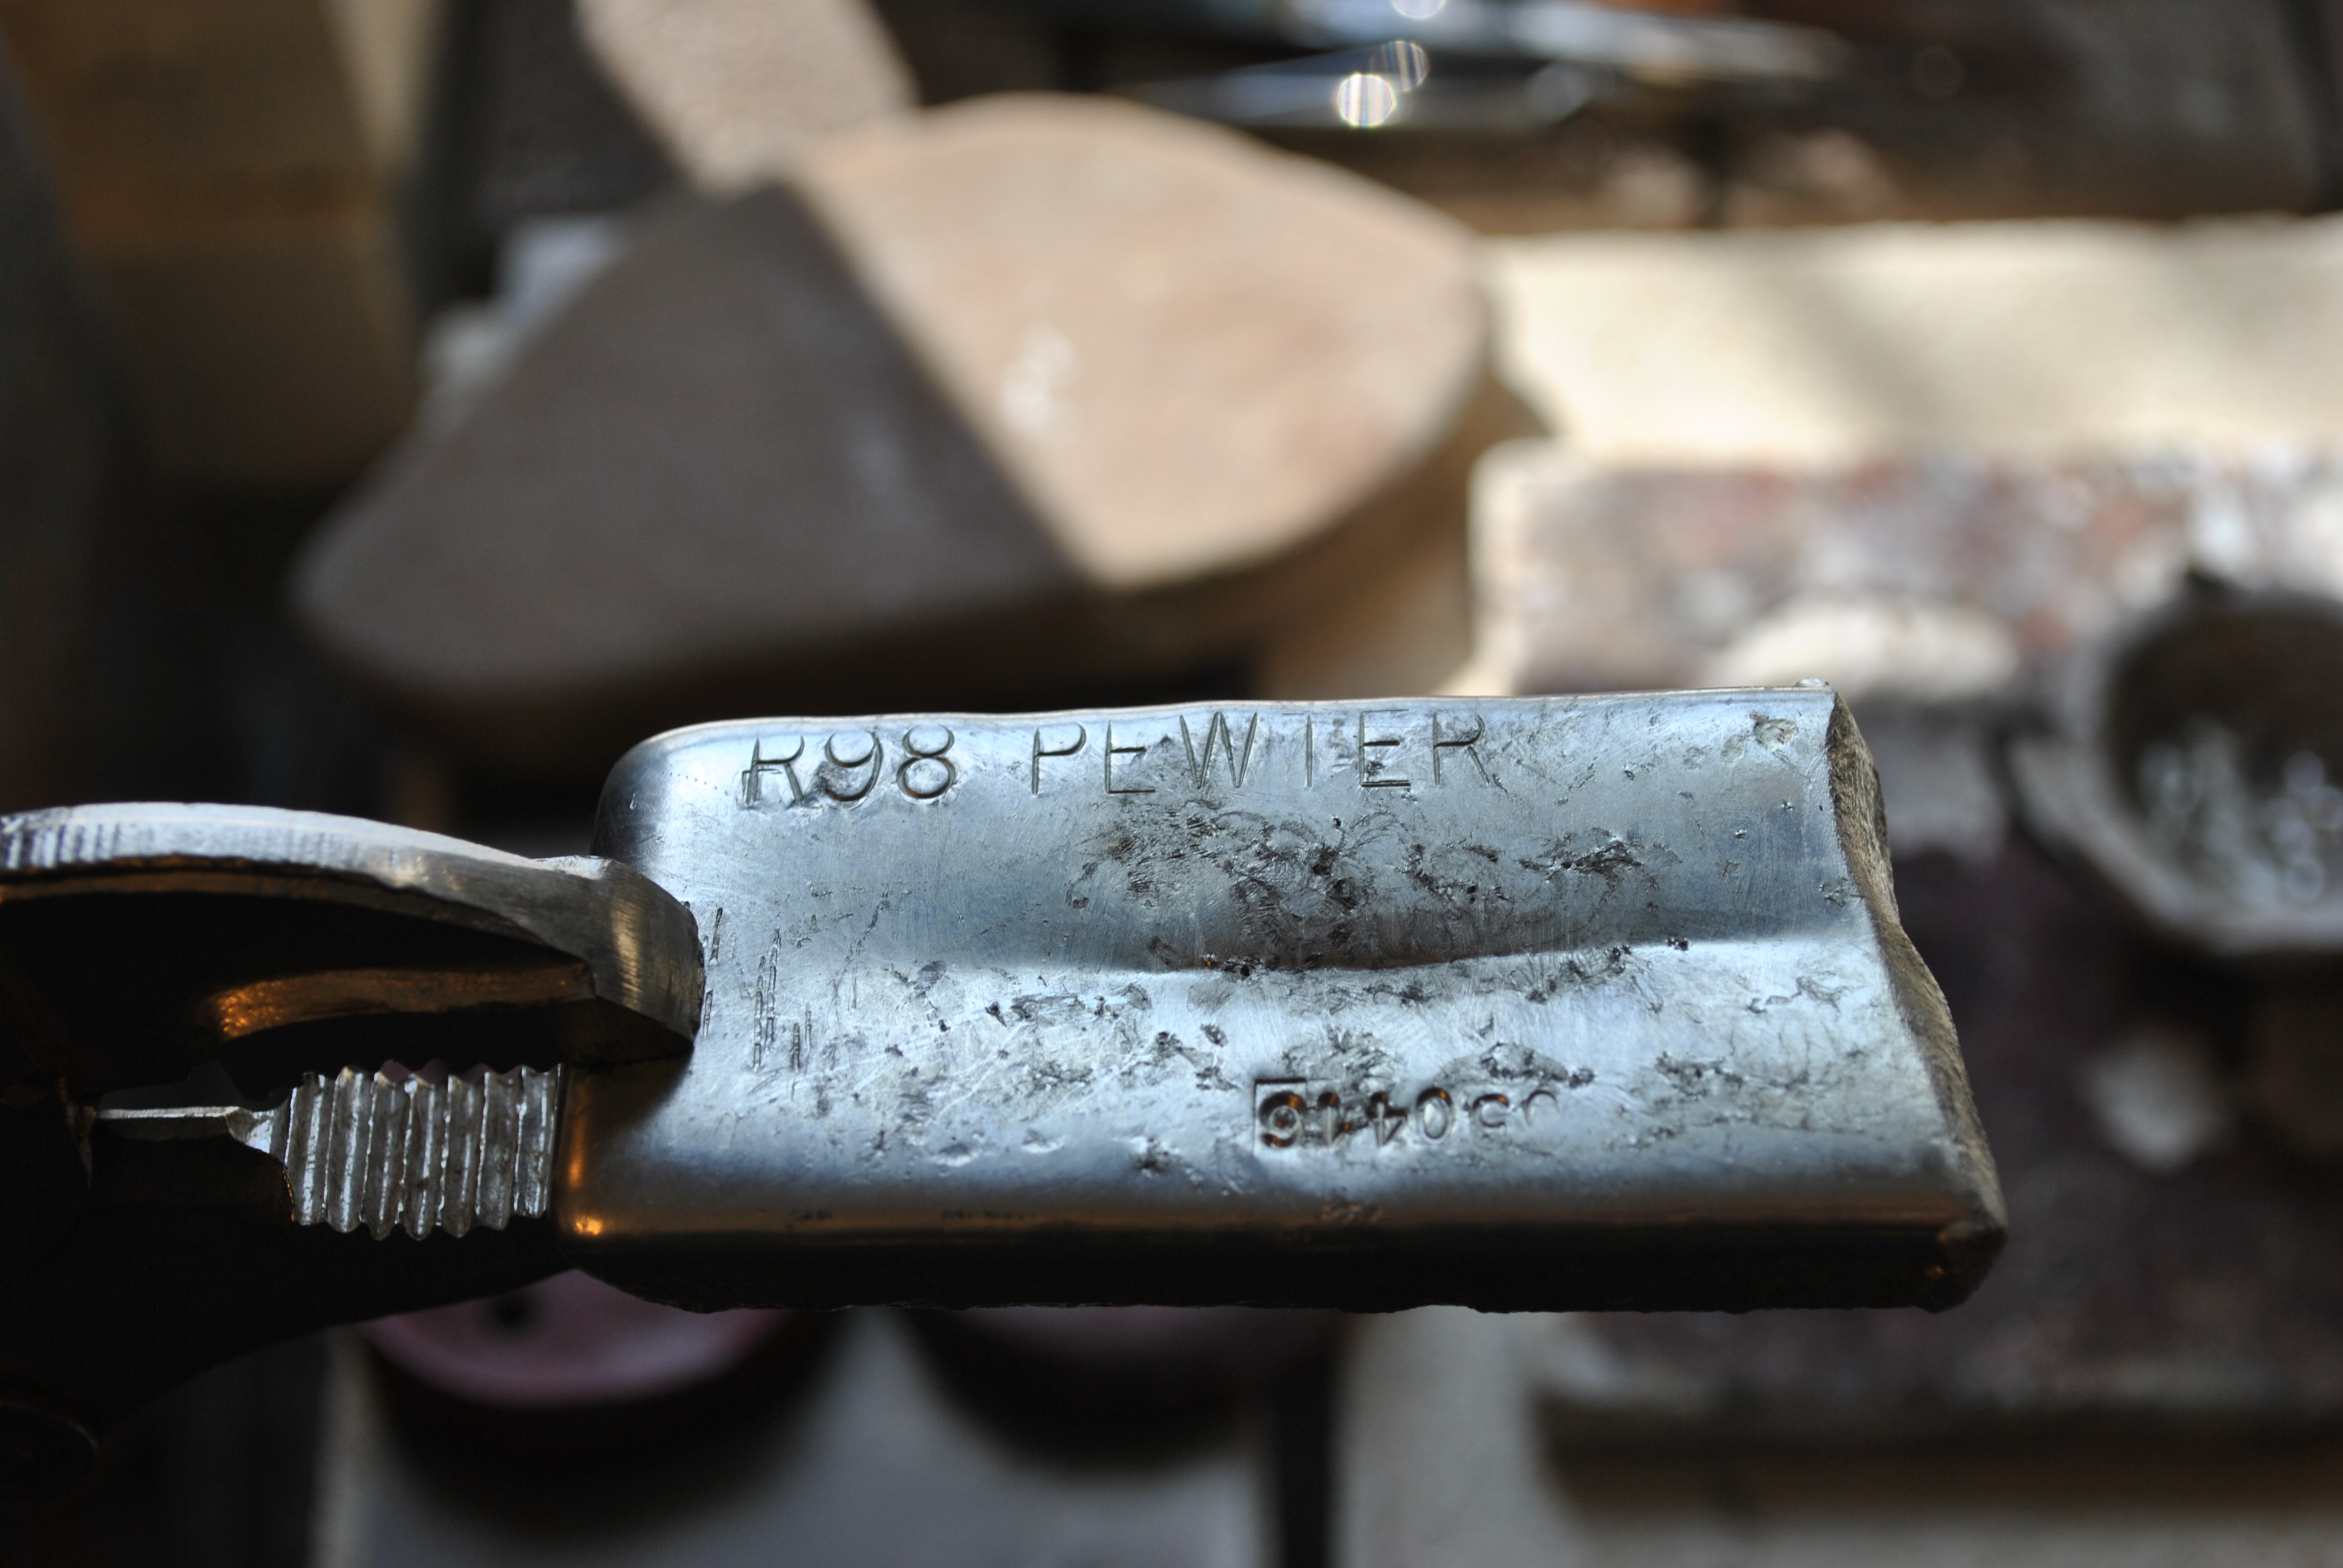
I did some research and found that most enamel pins are just copper or nickle plated pewter.  I have experience casting pewter so I figured, lets just go for it!


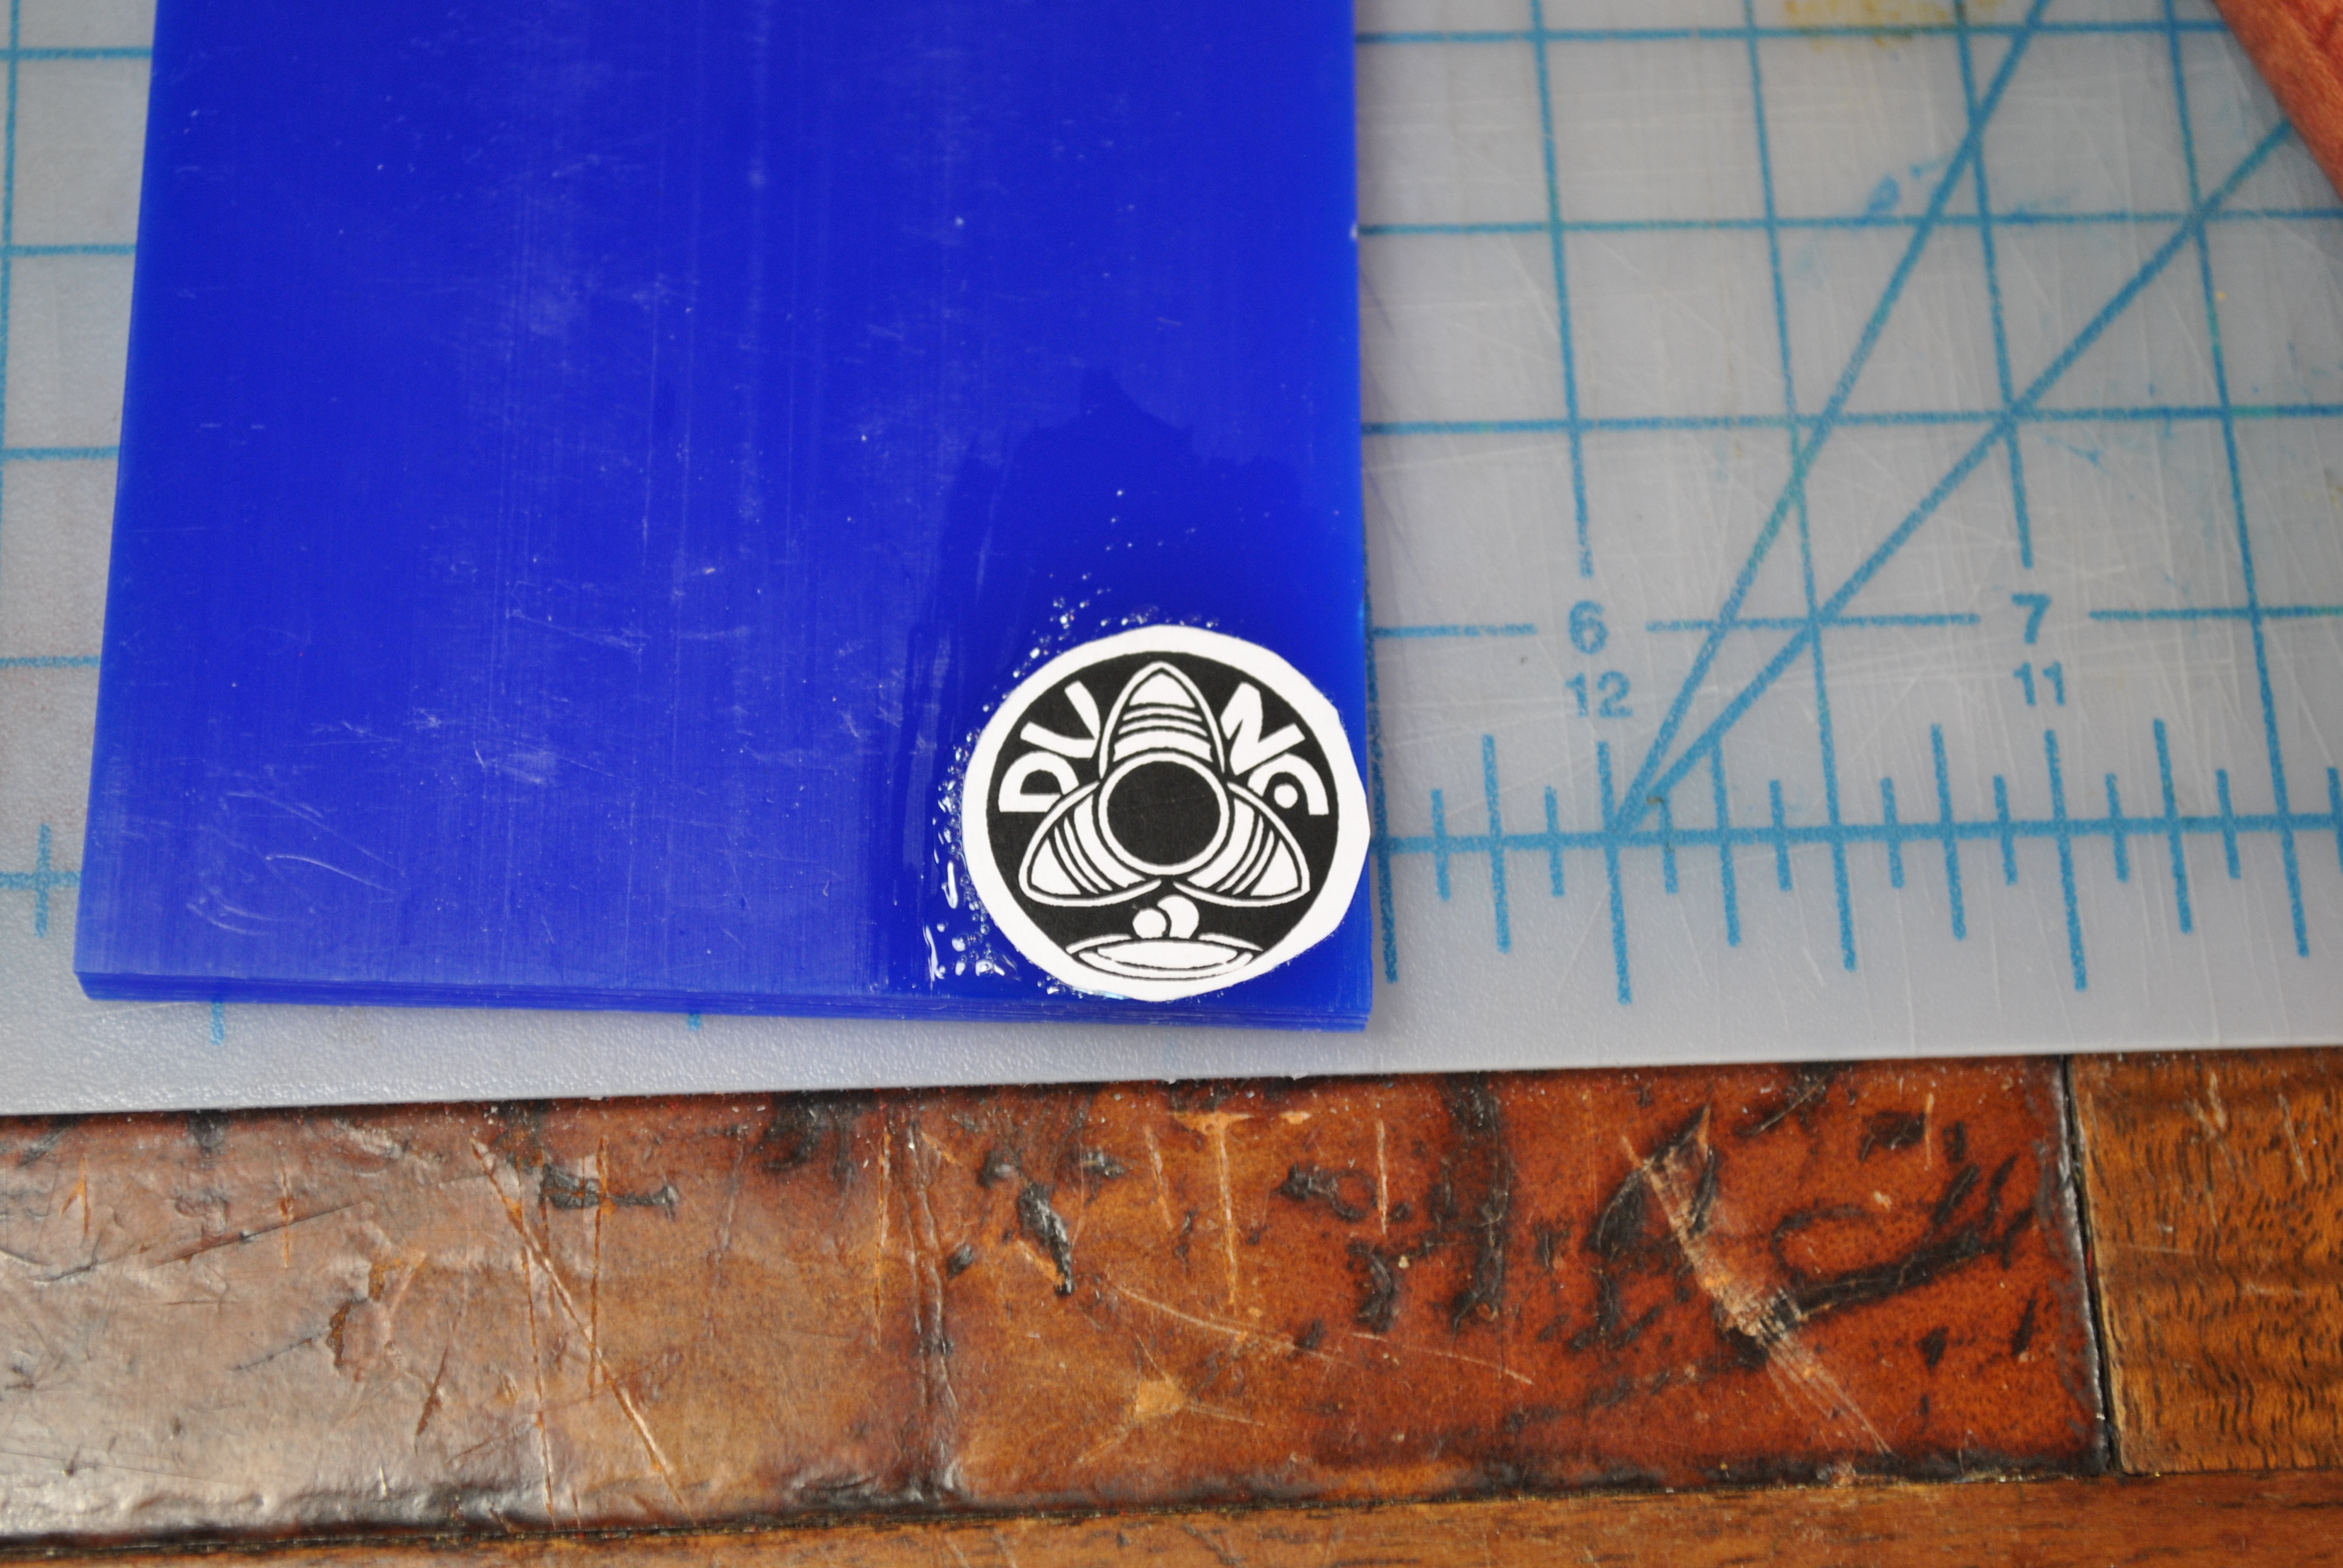
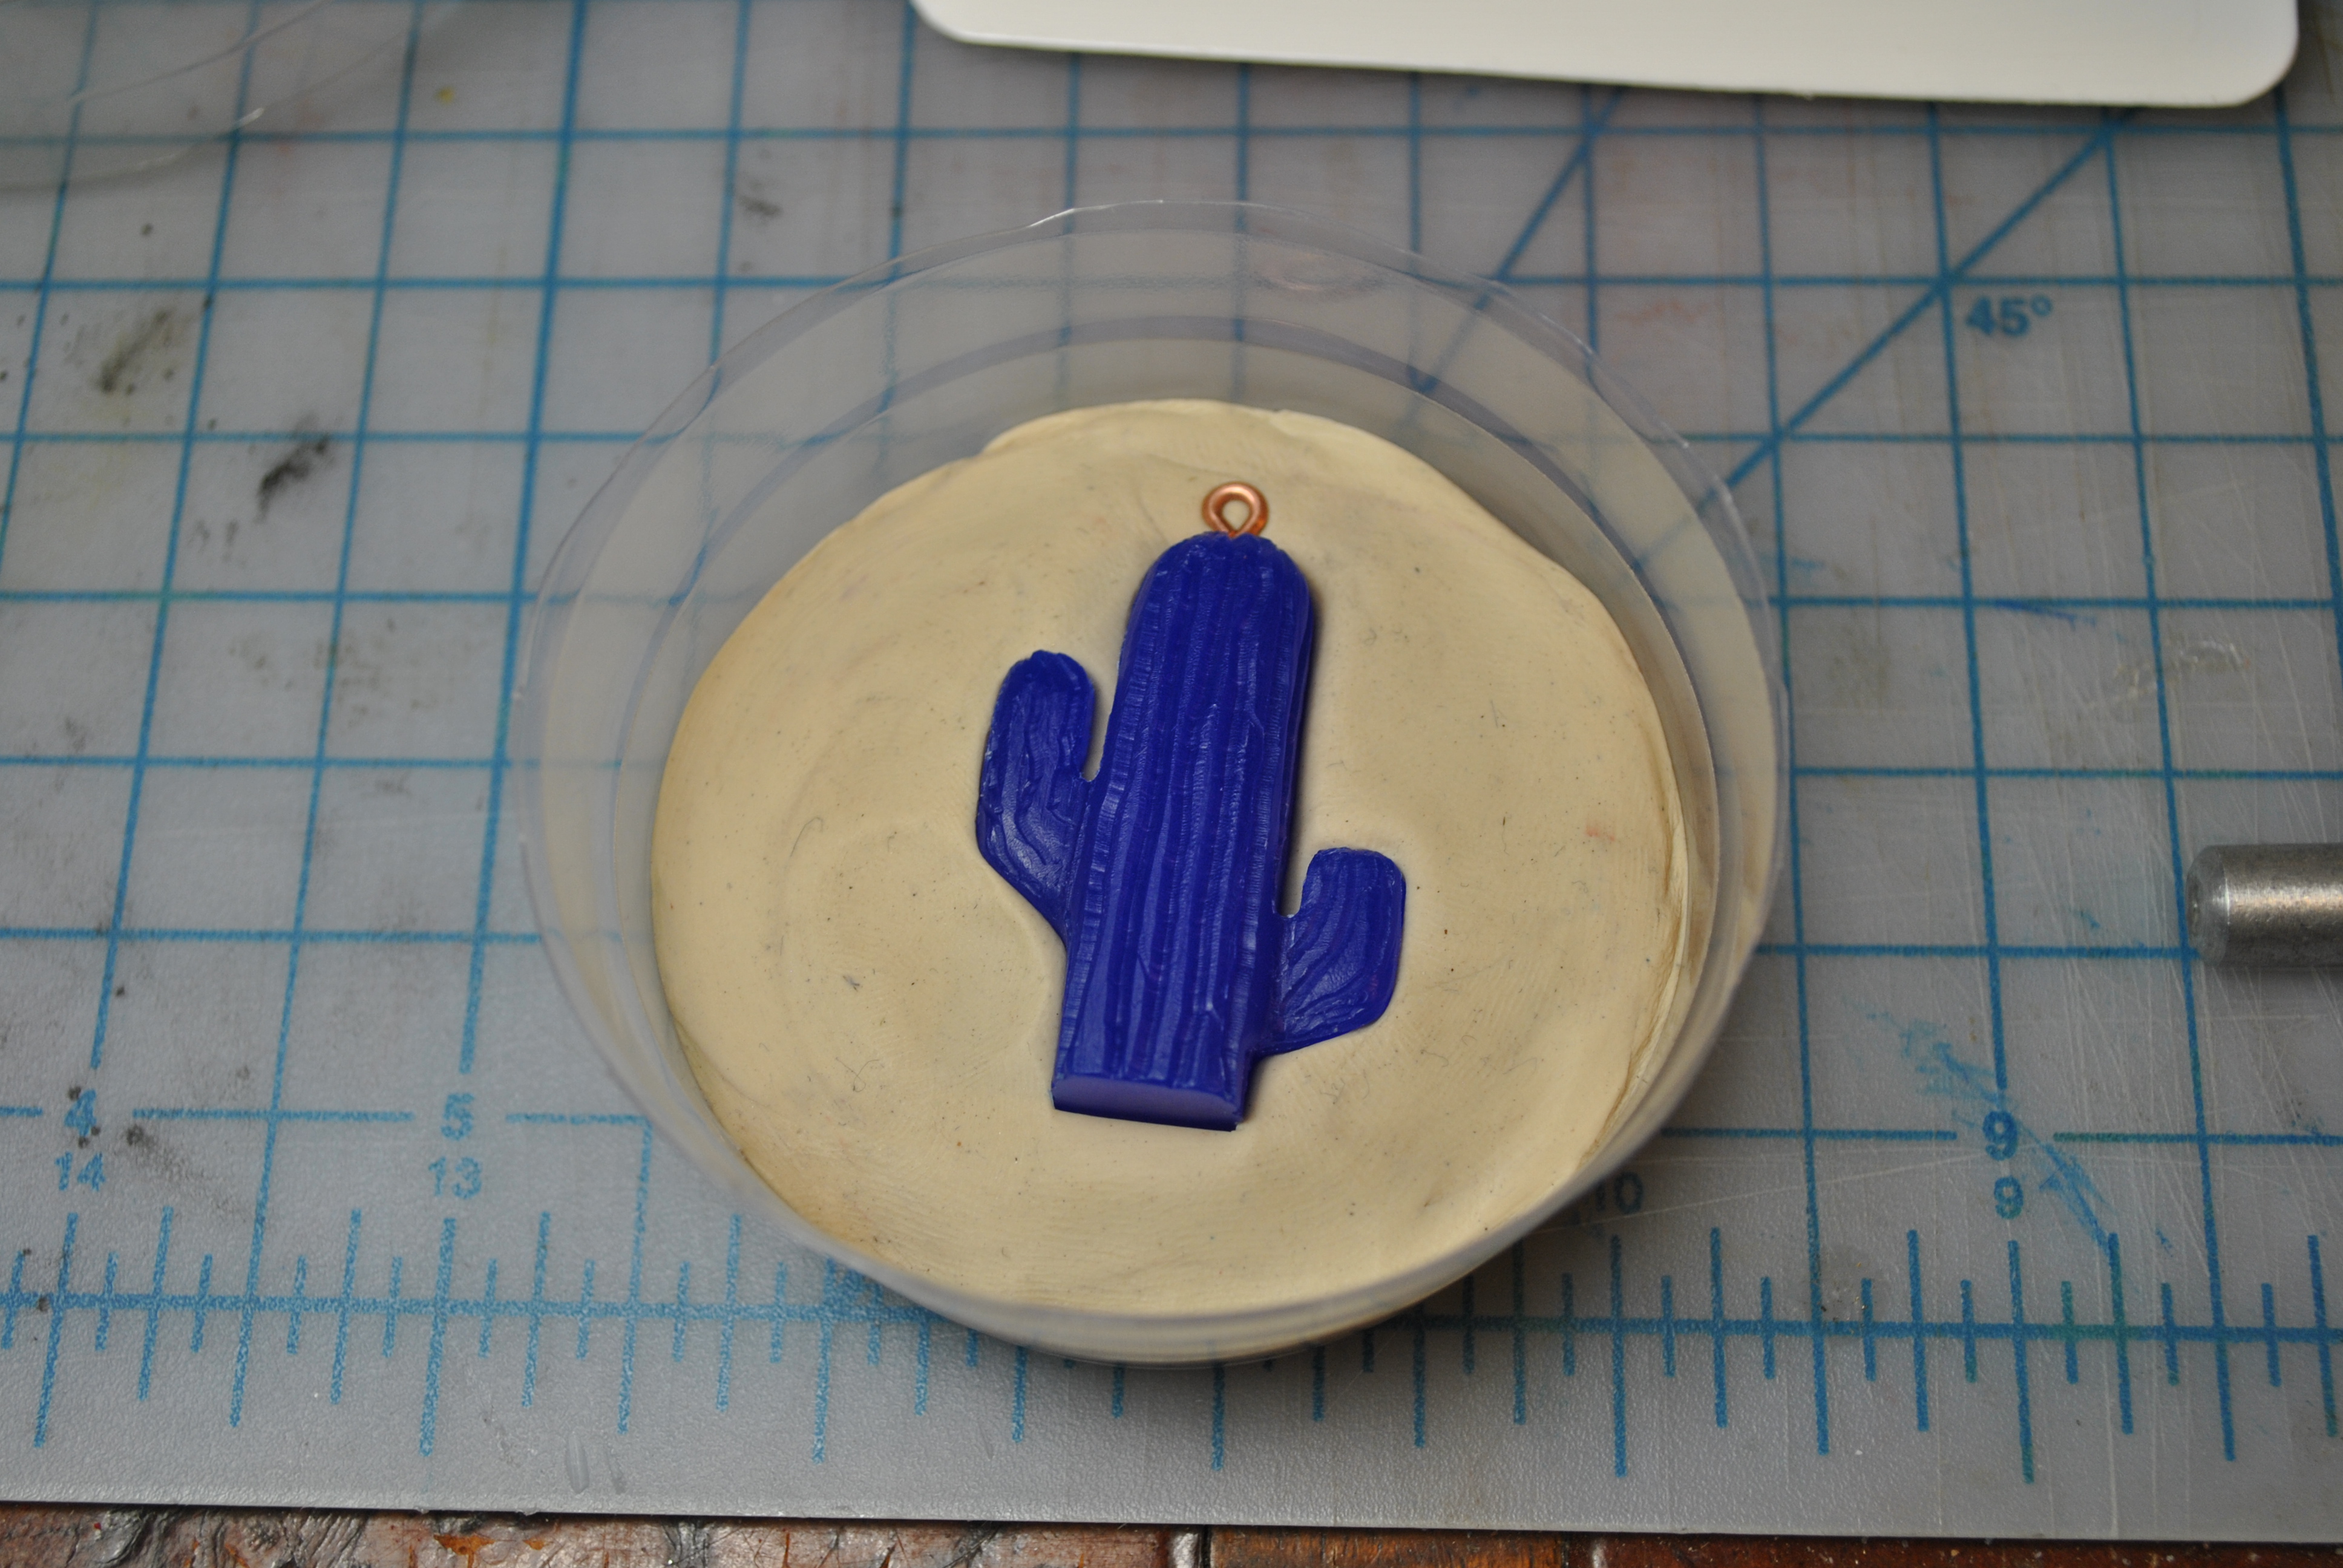
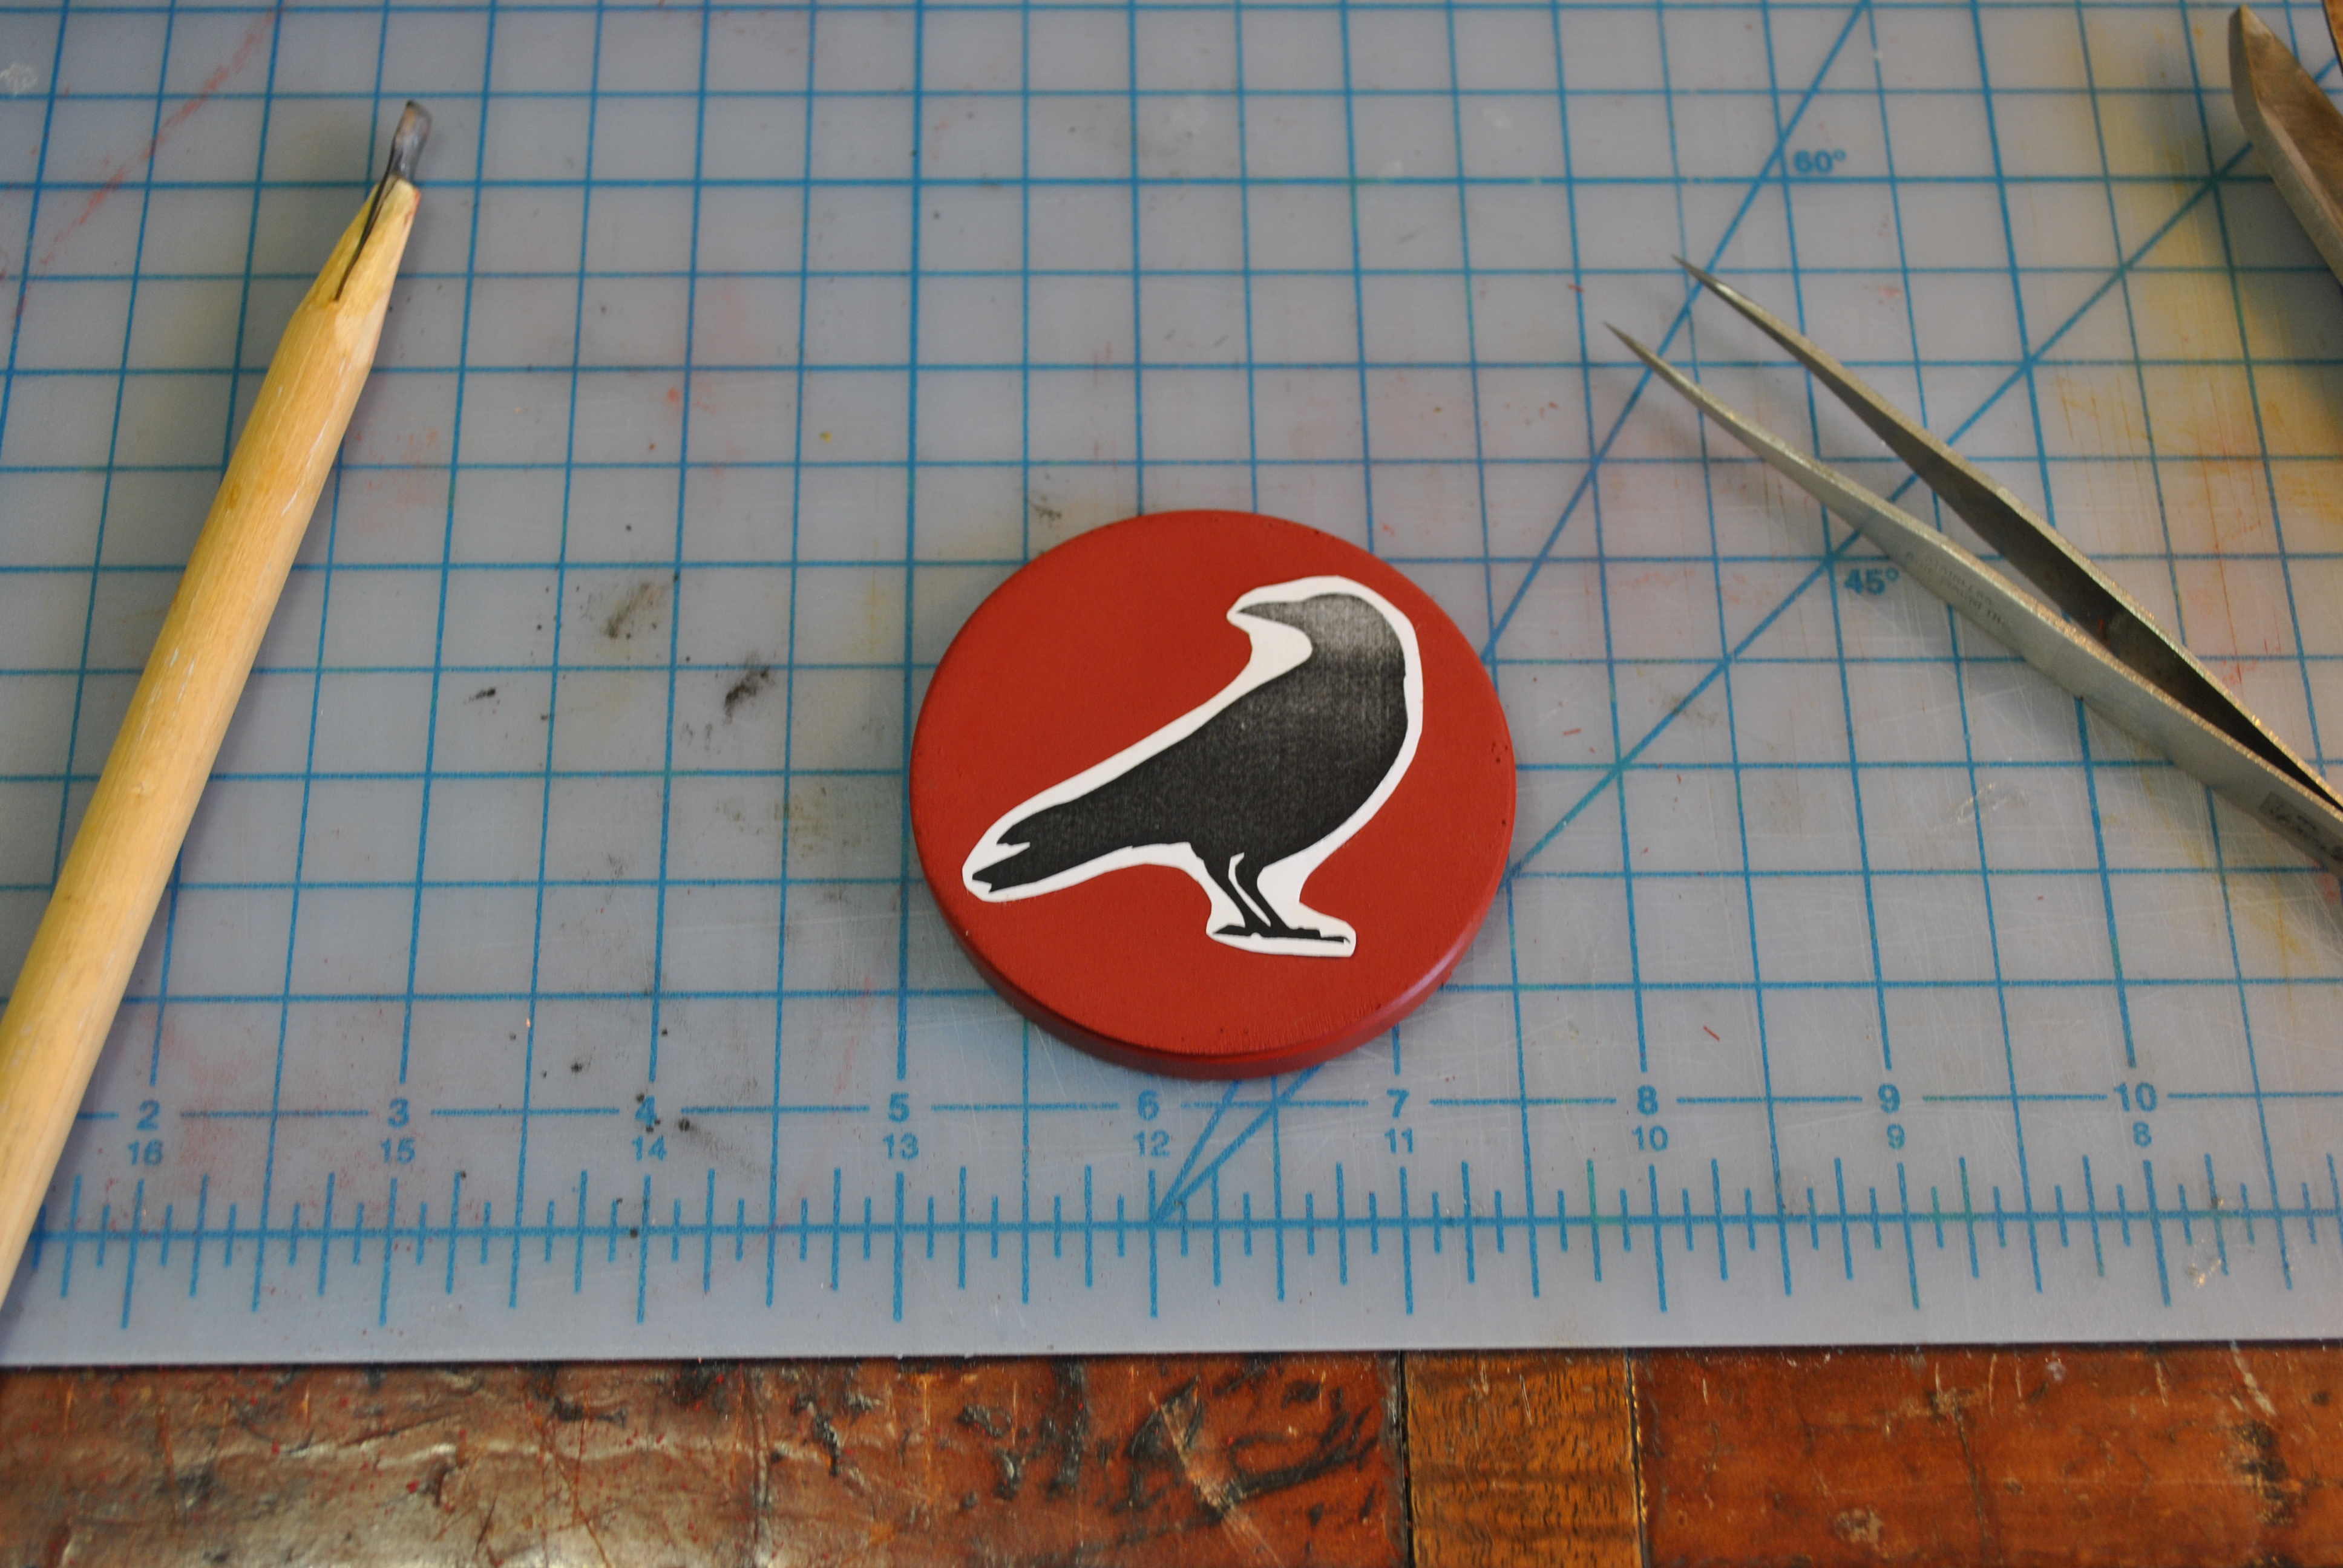
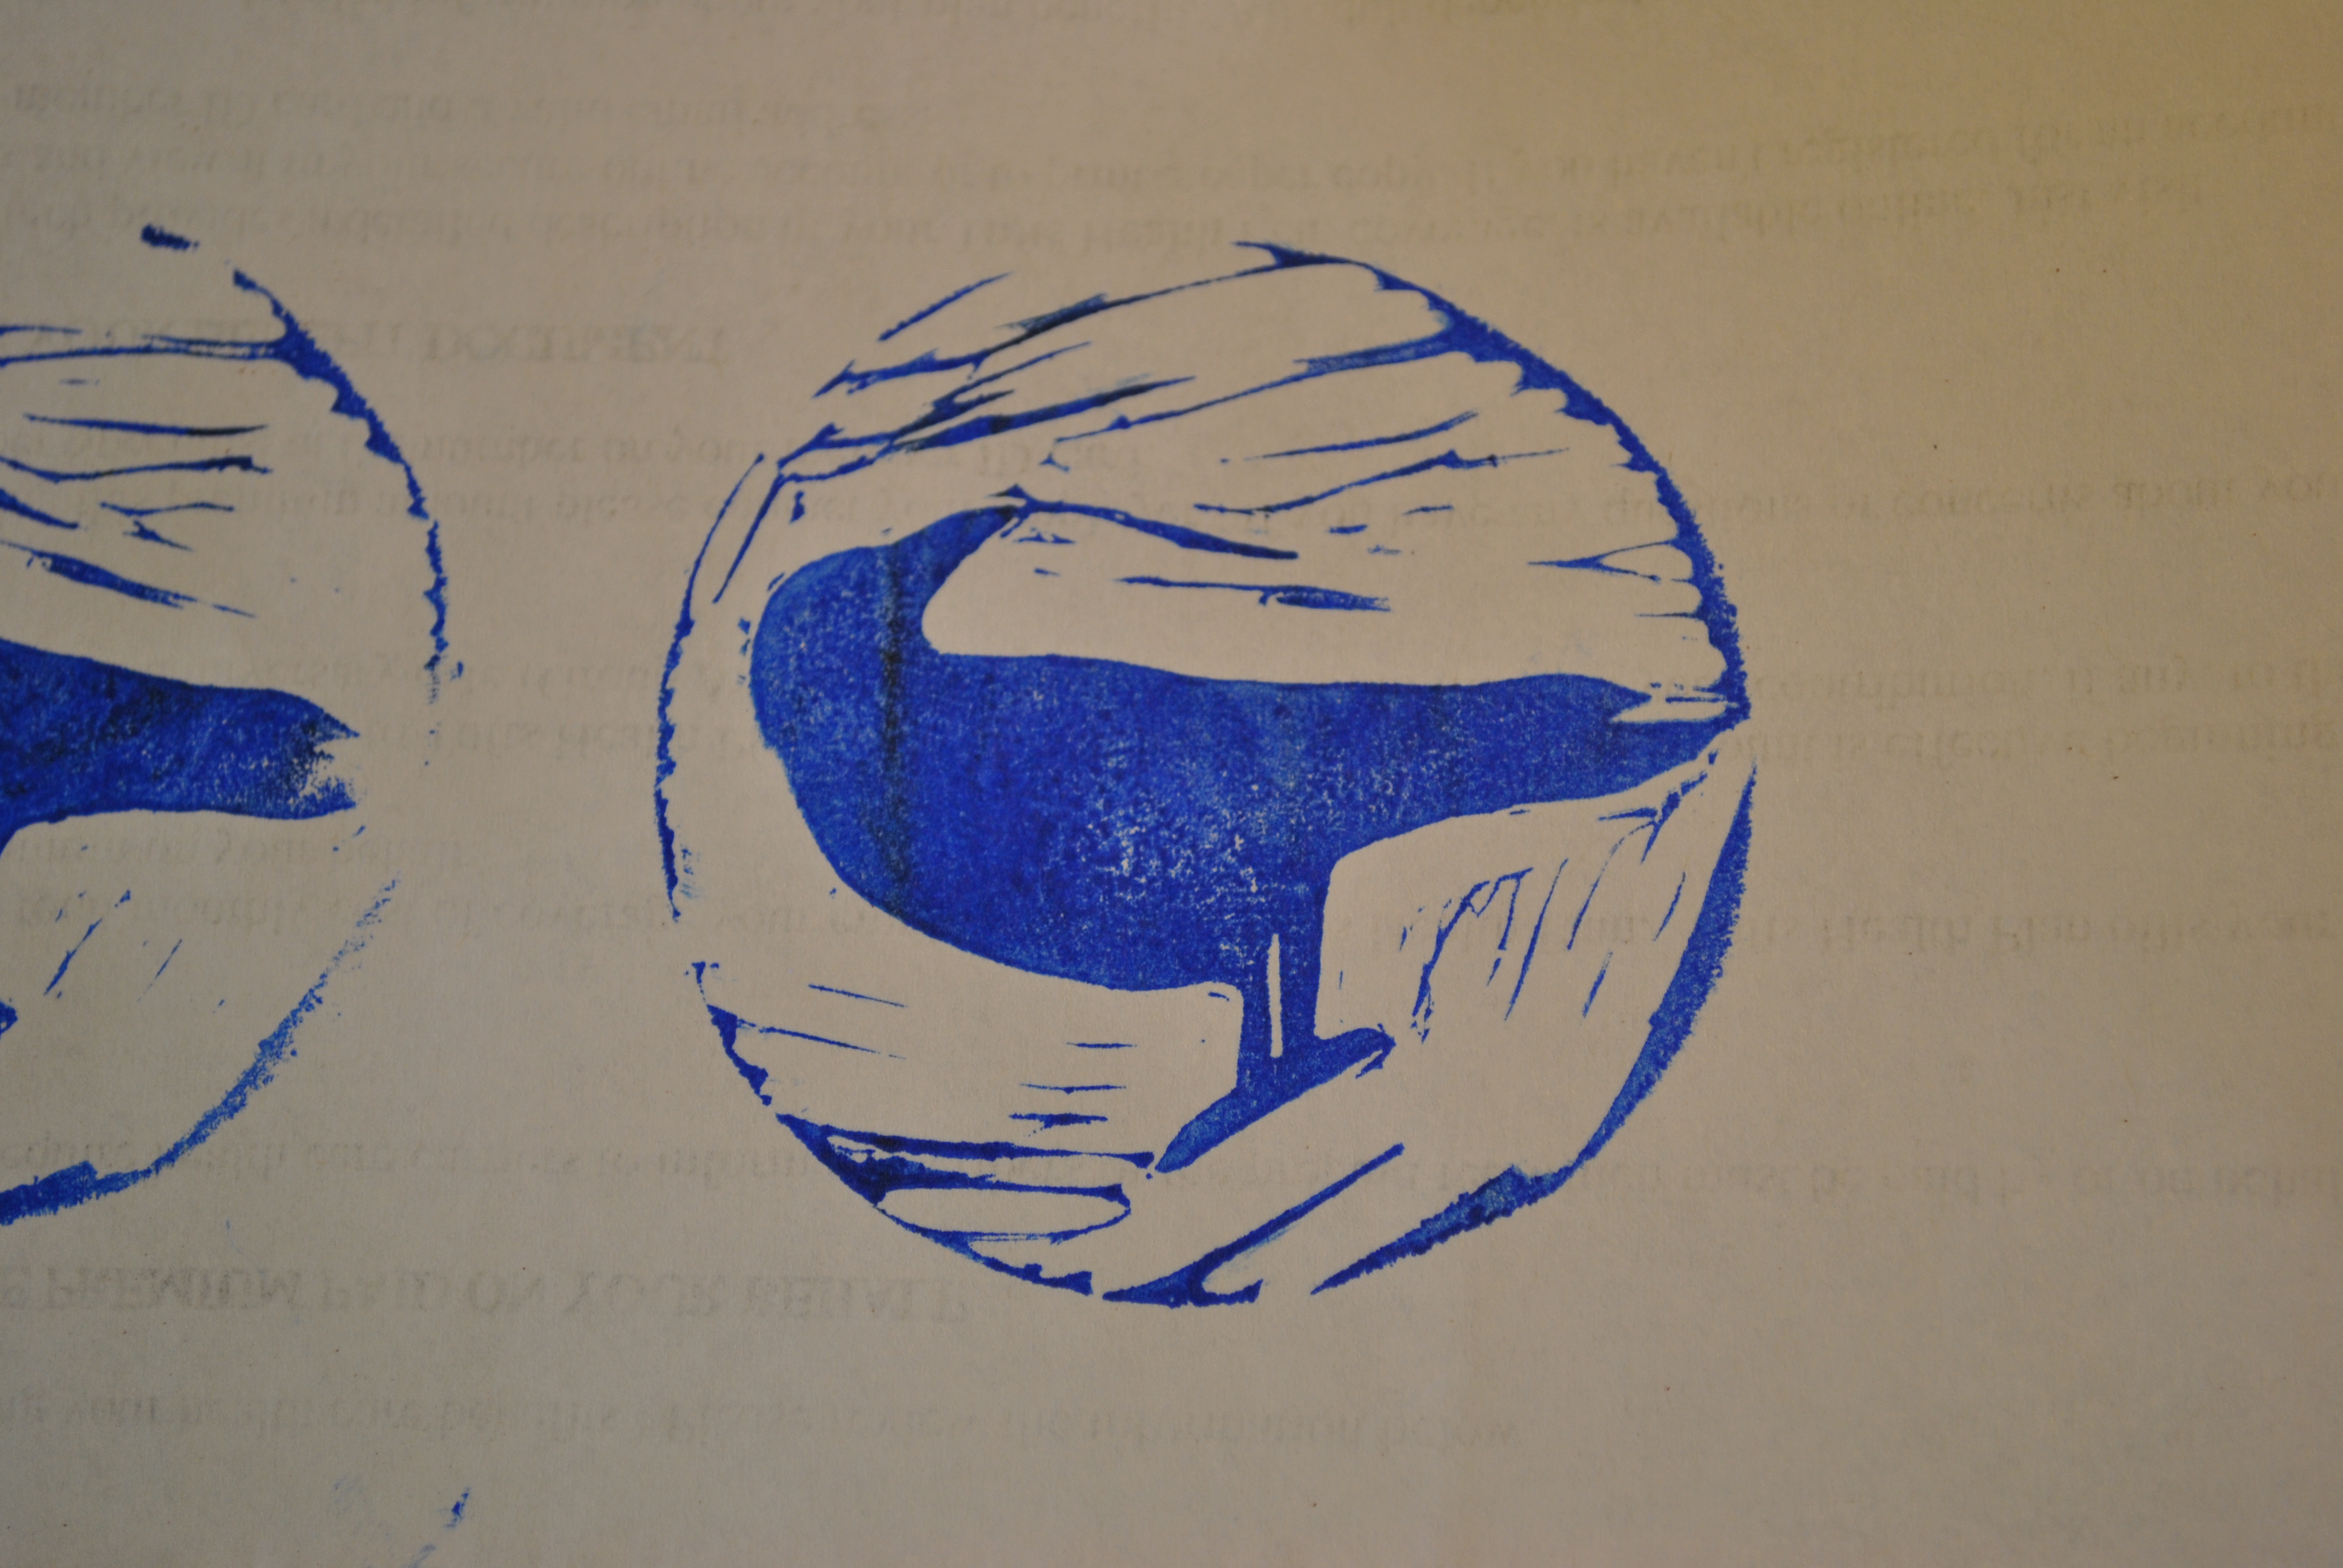
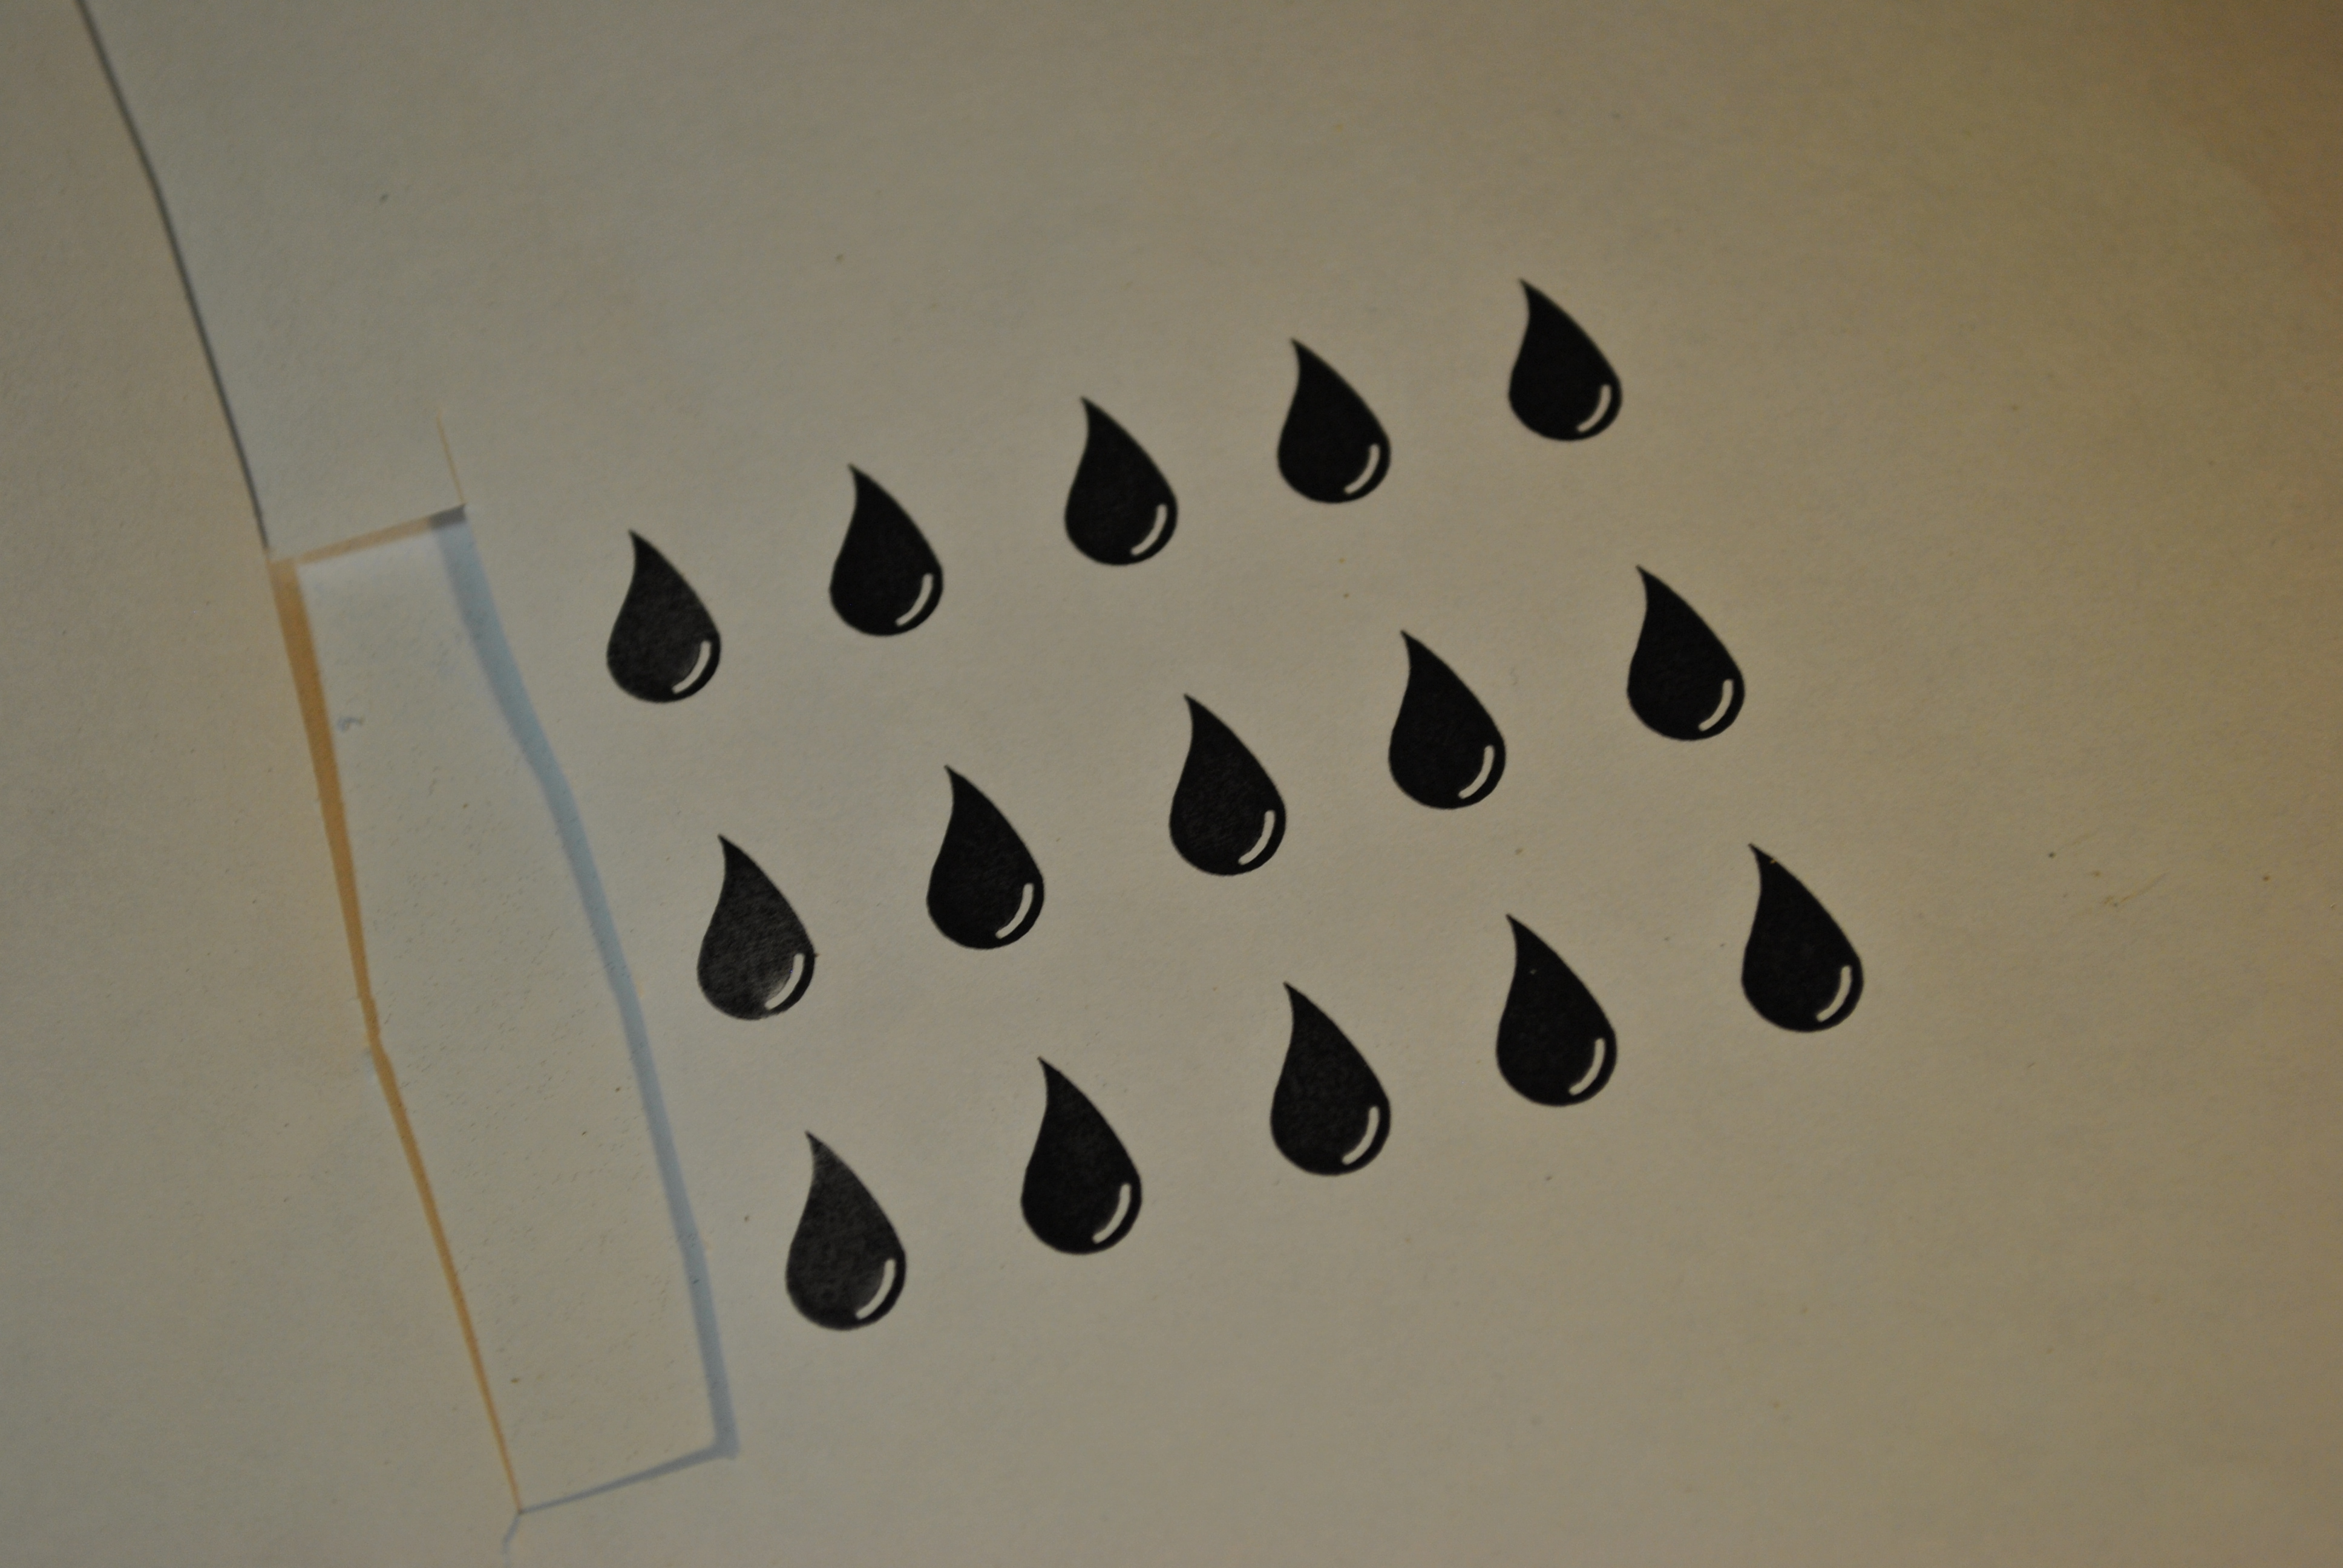
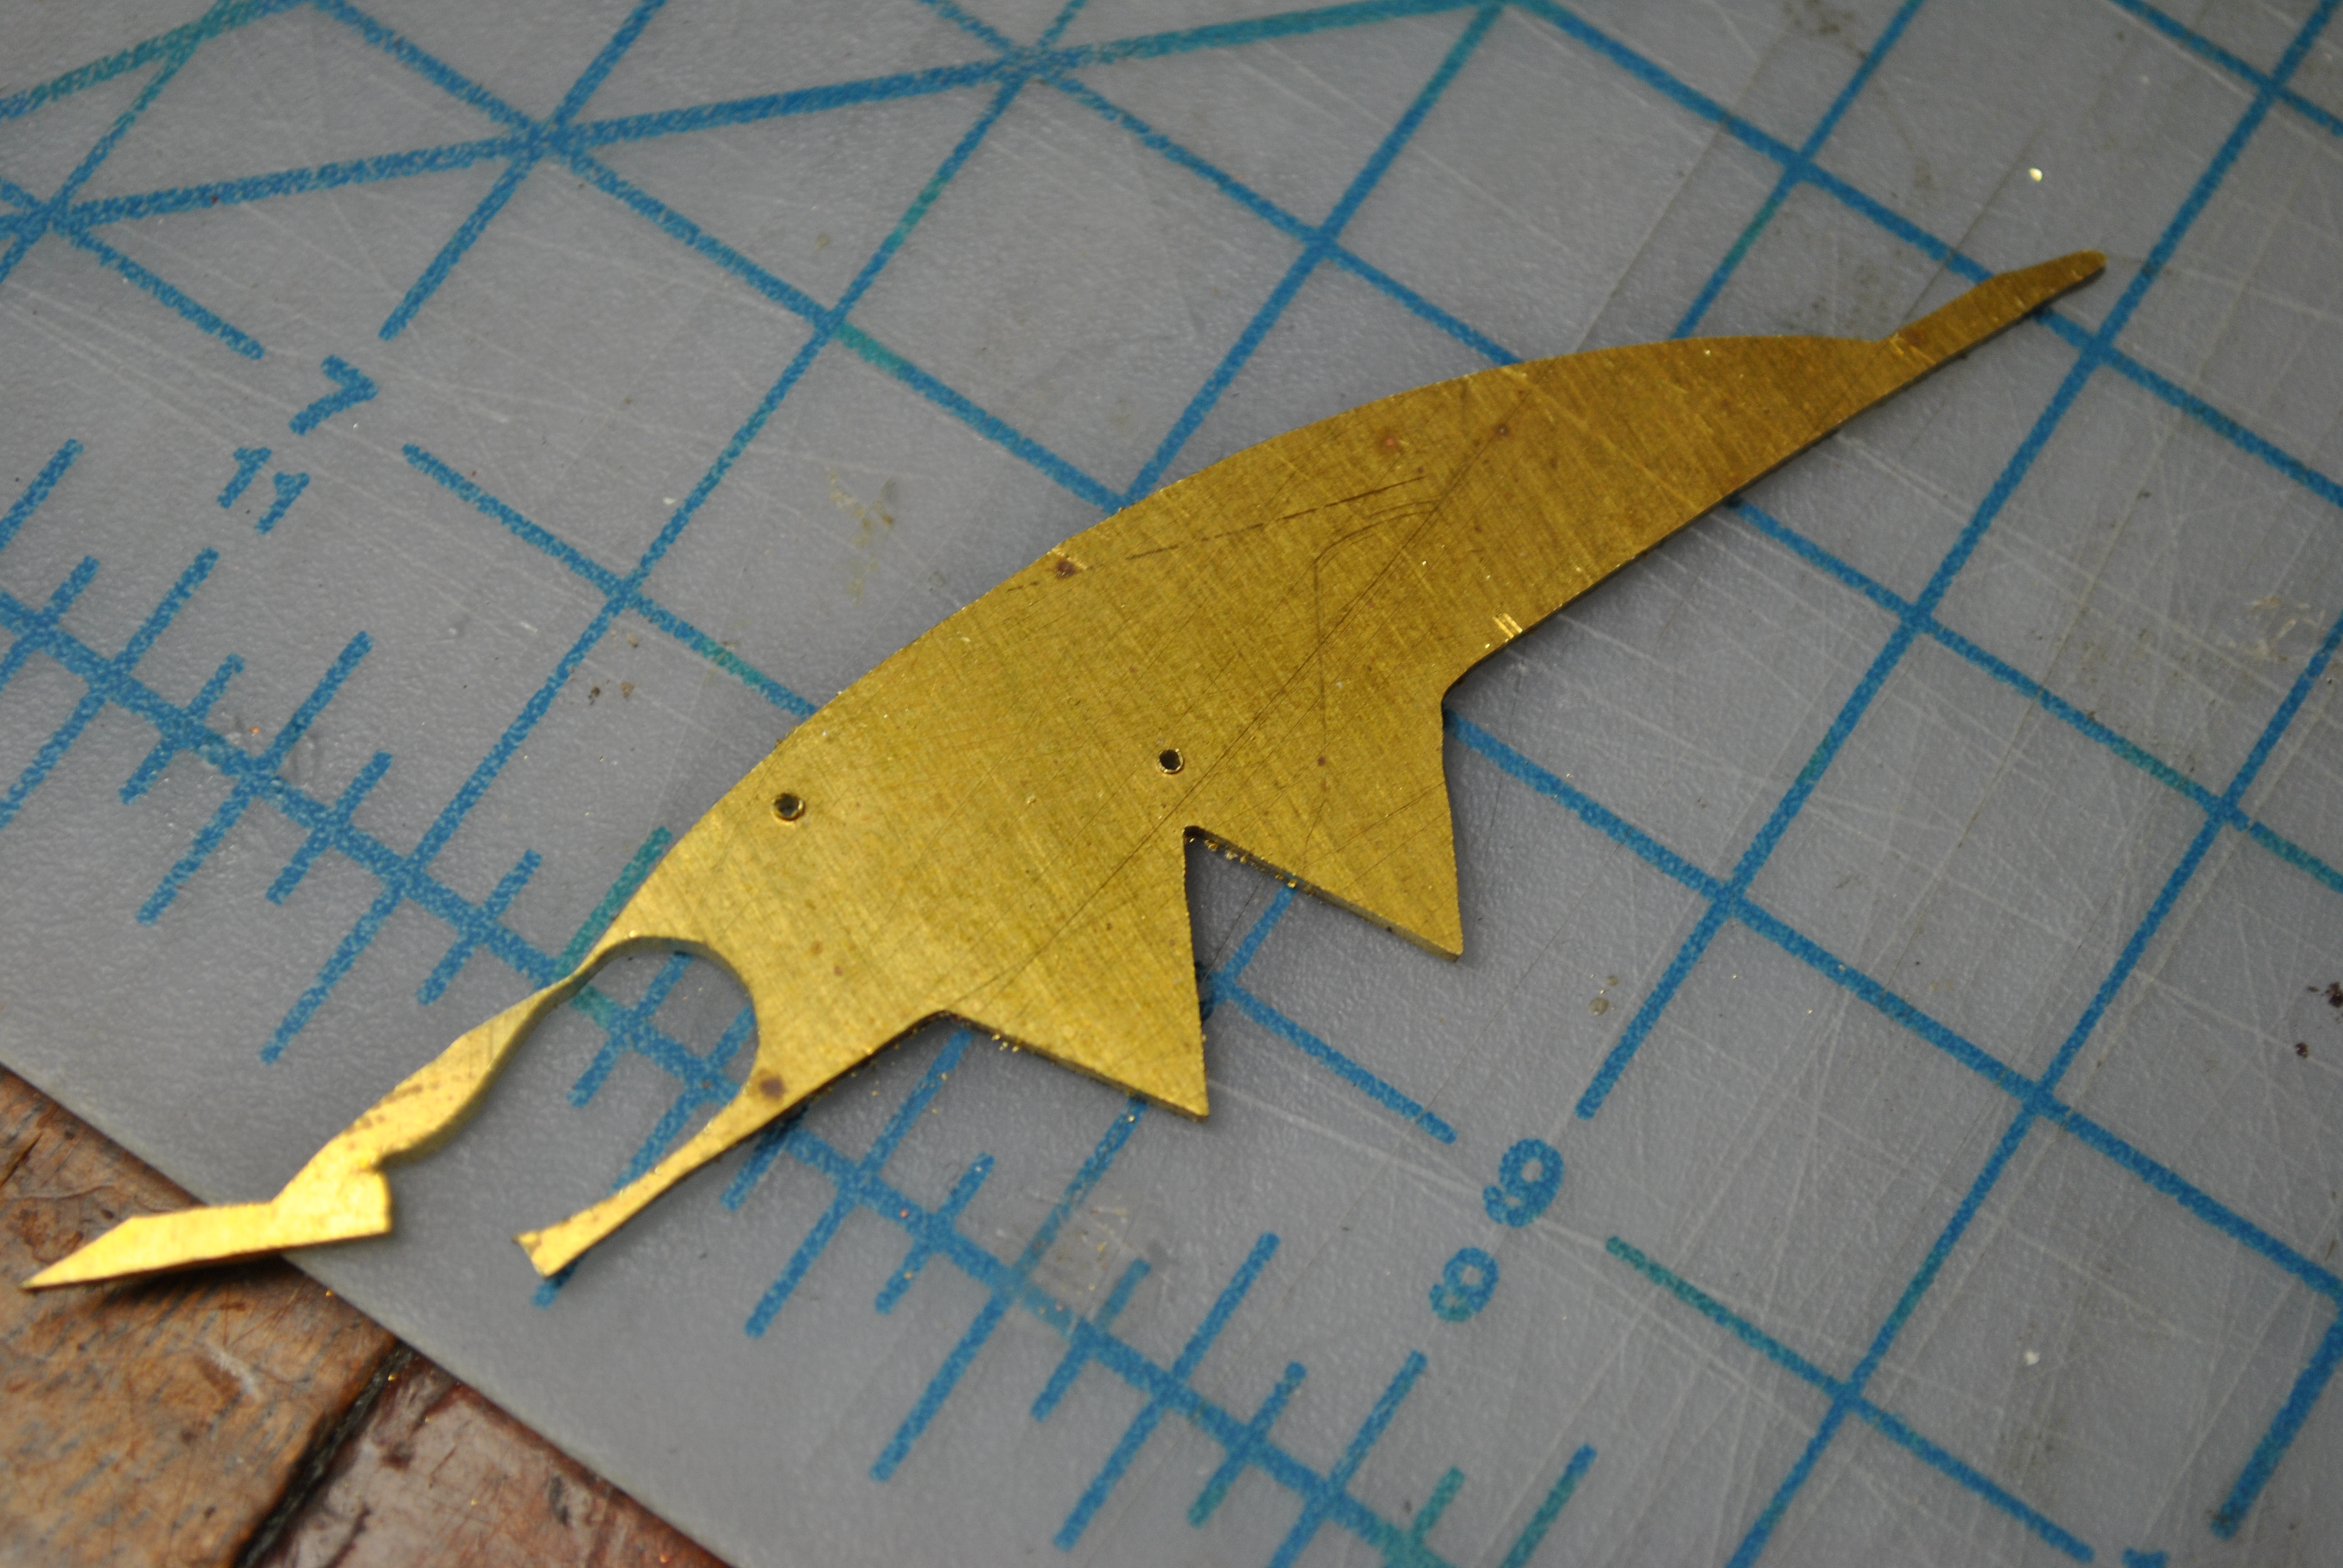
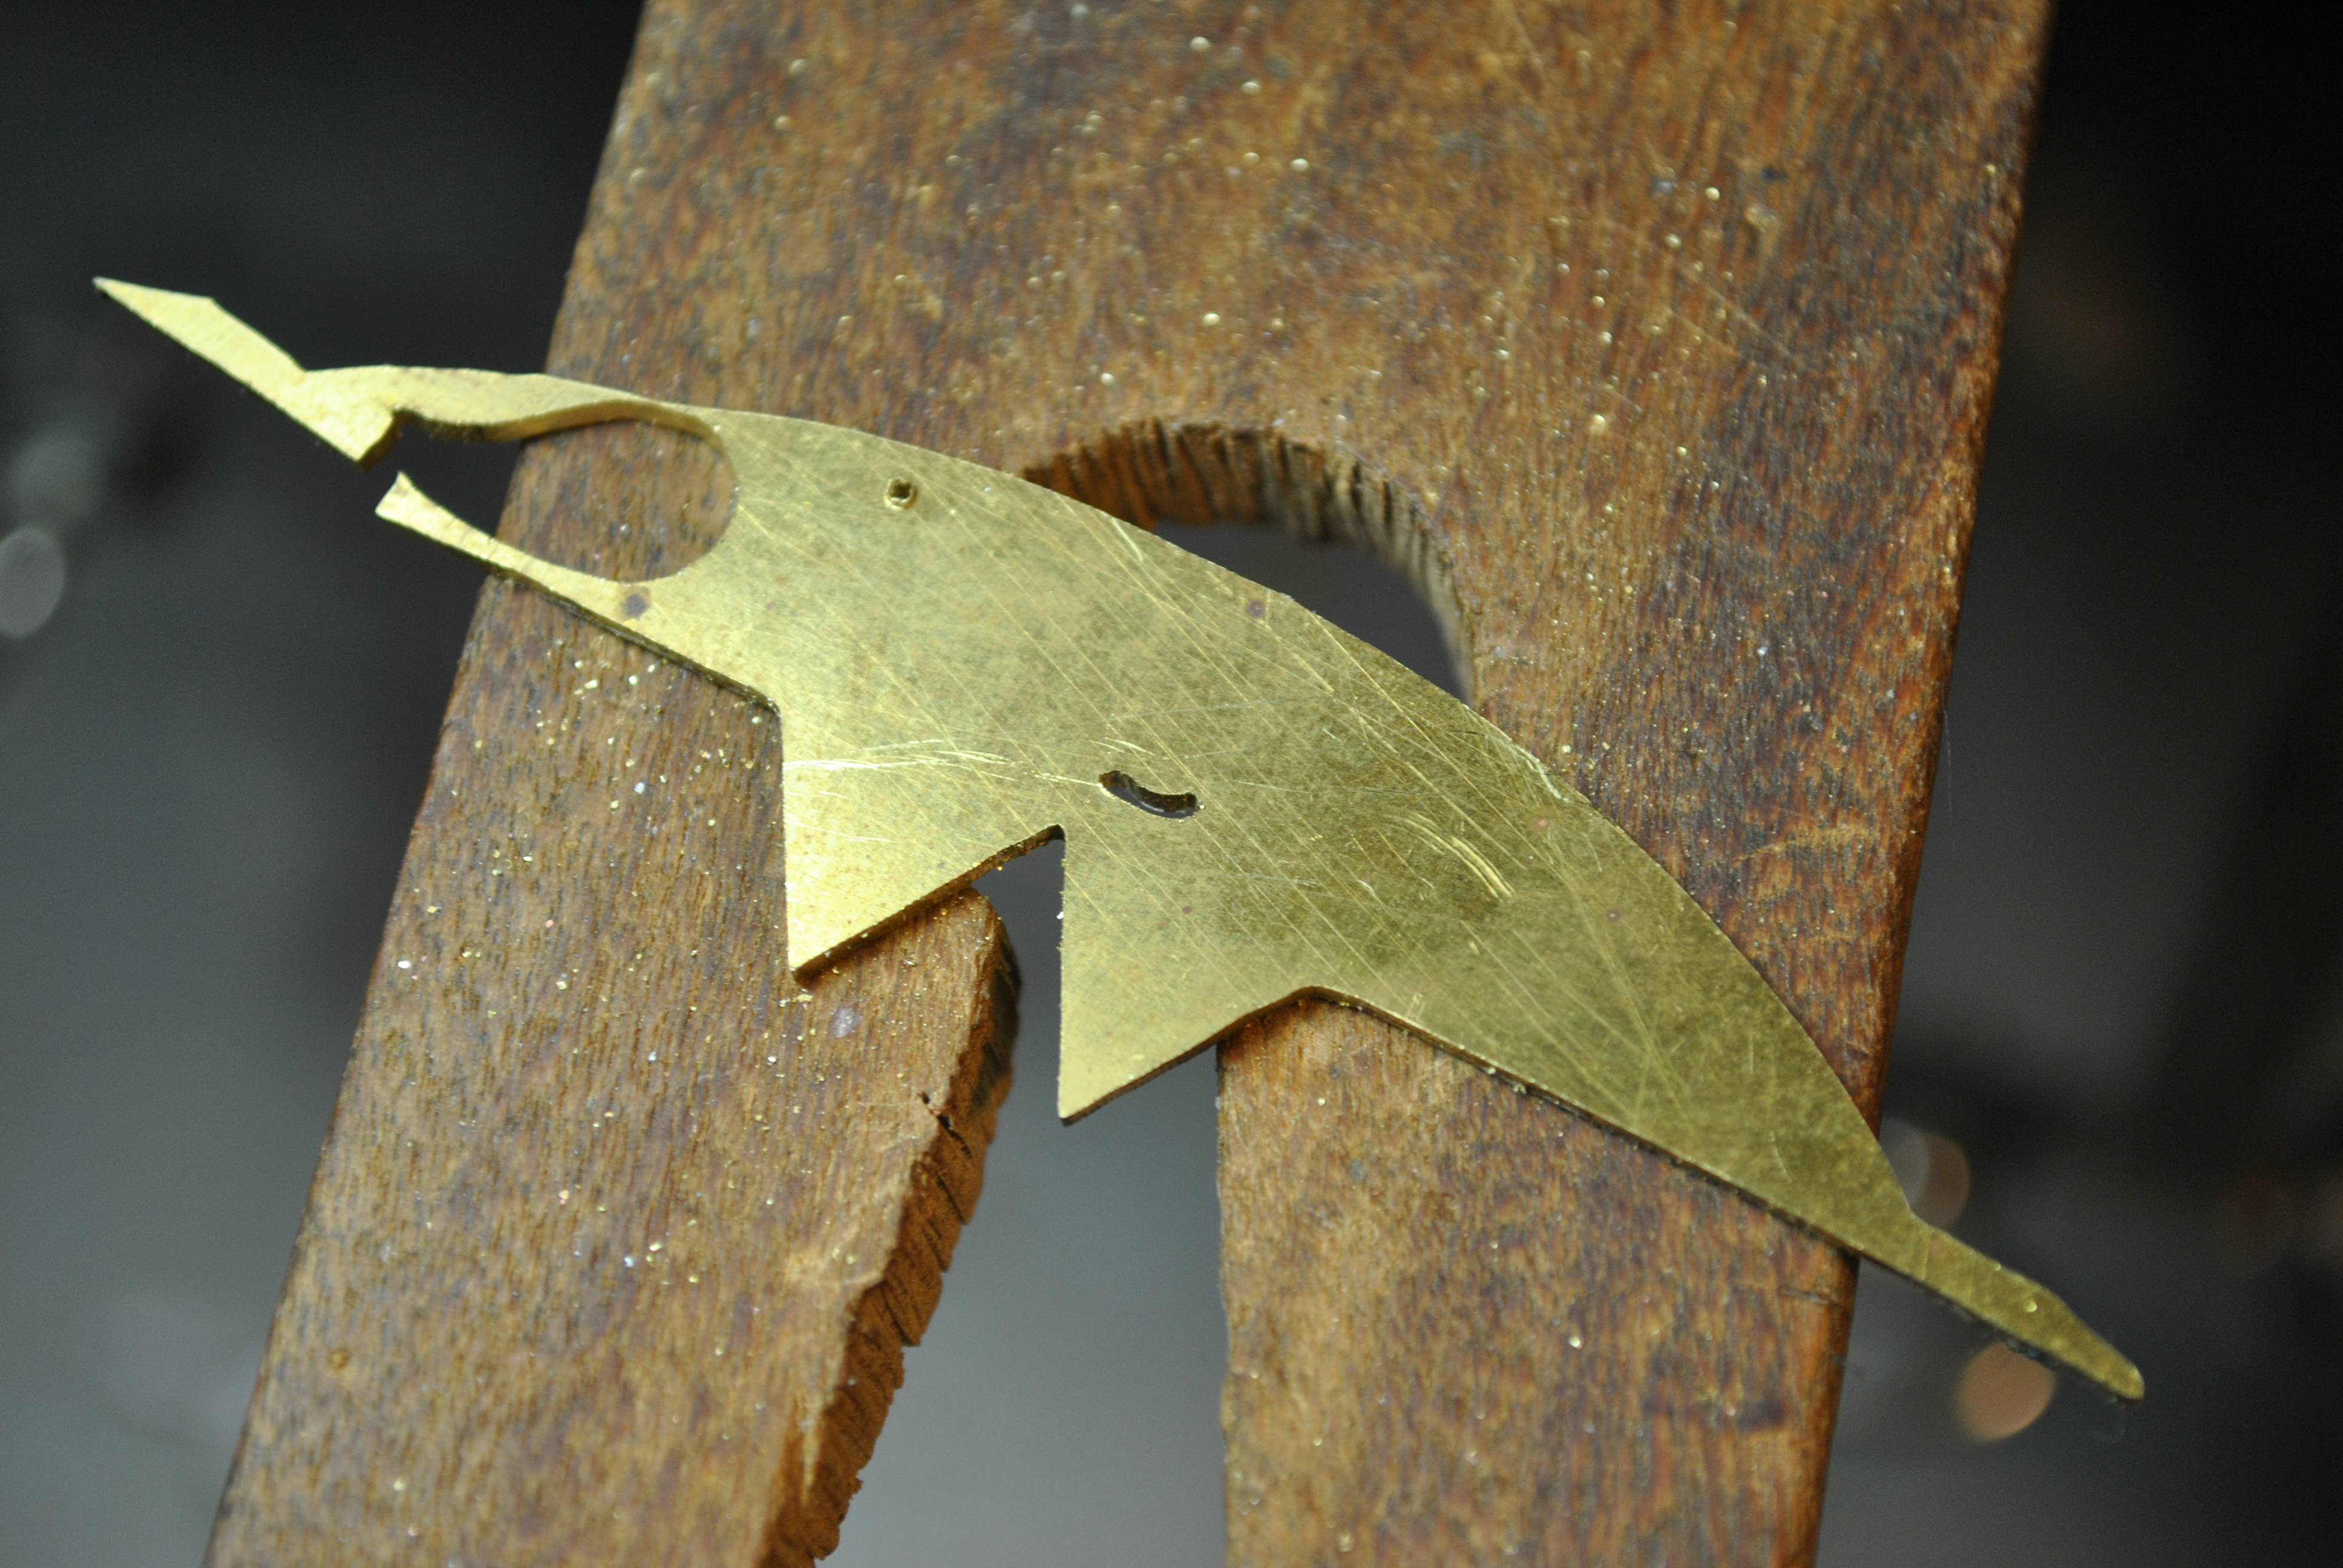
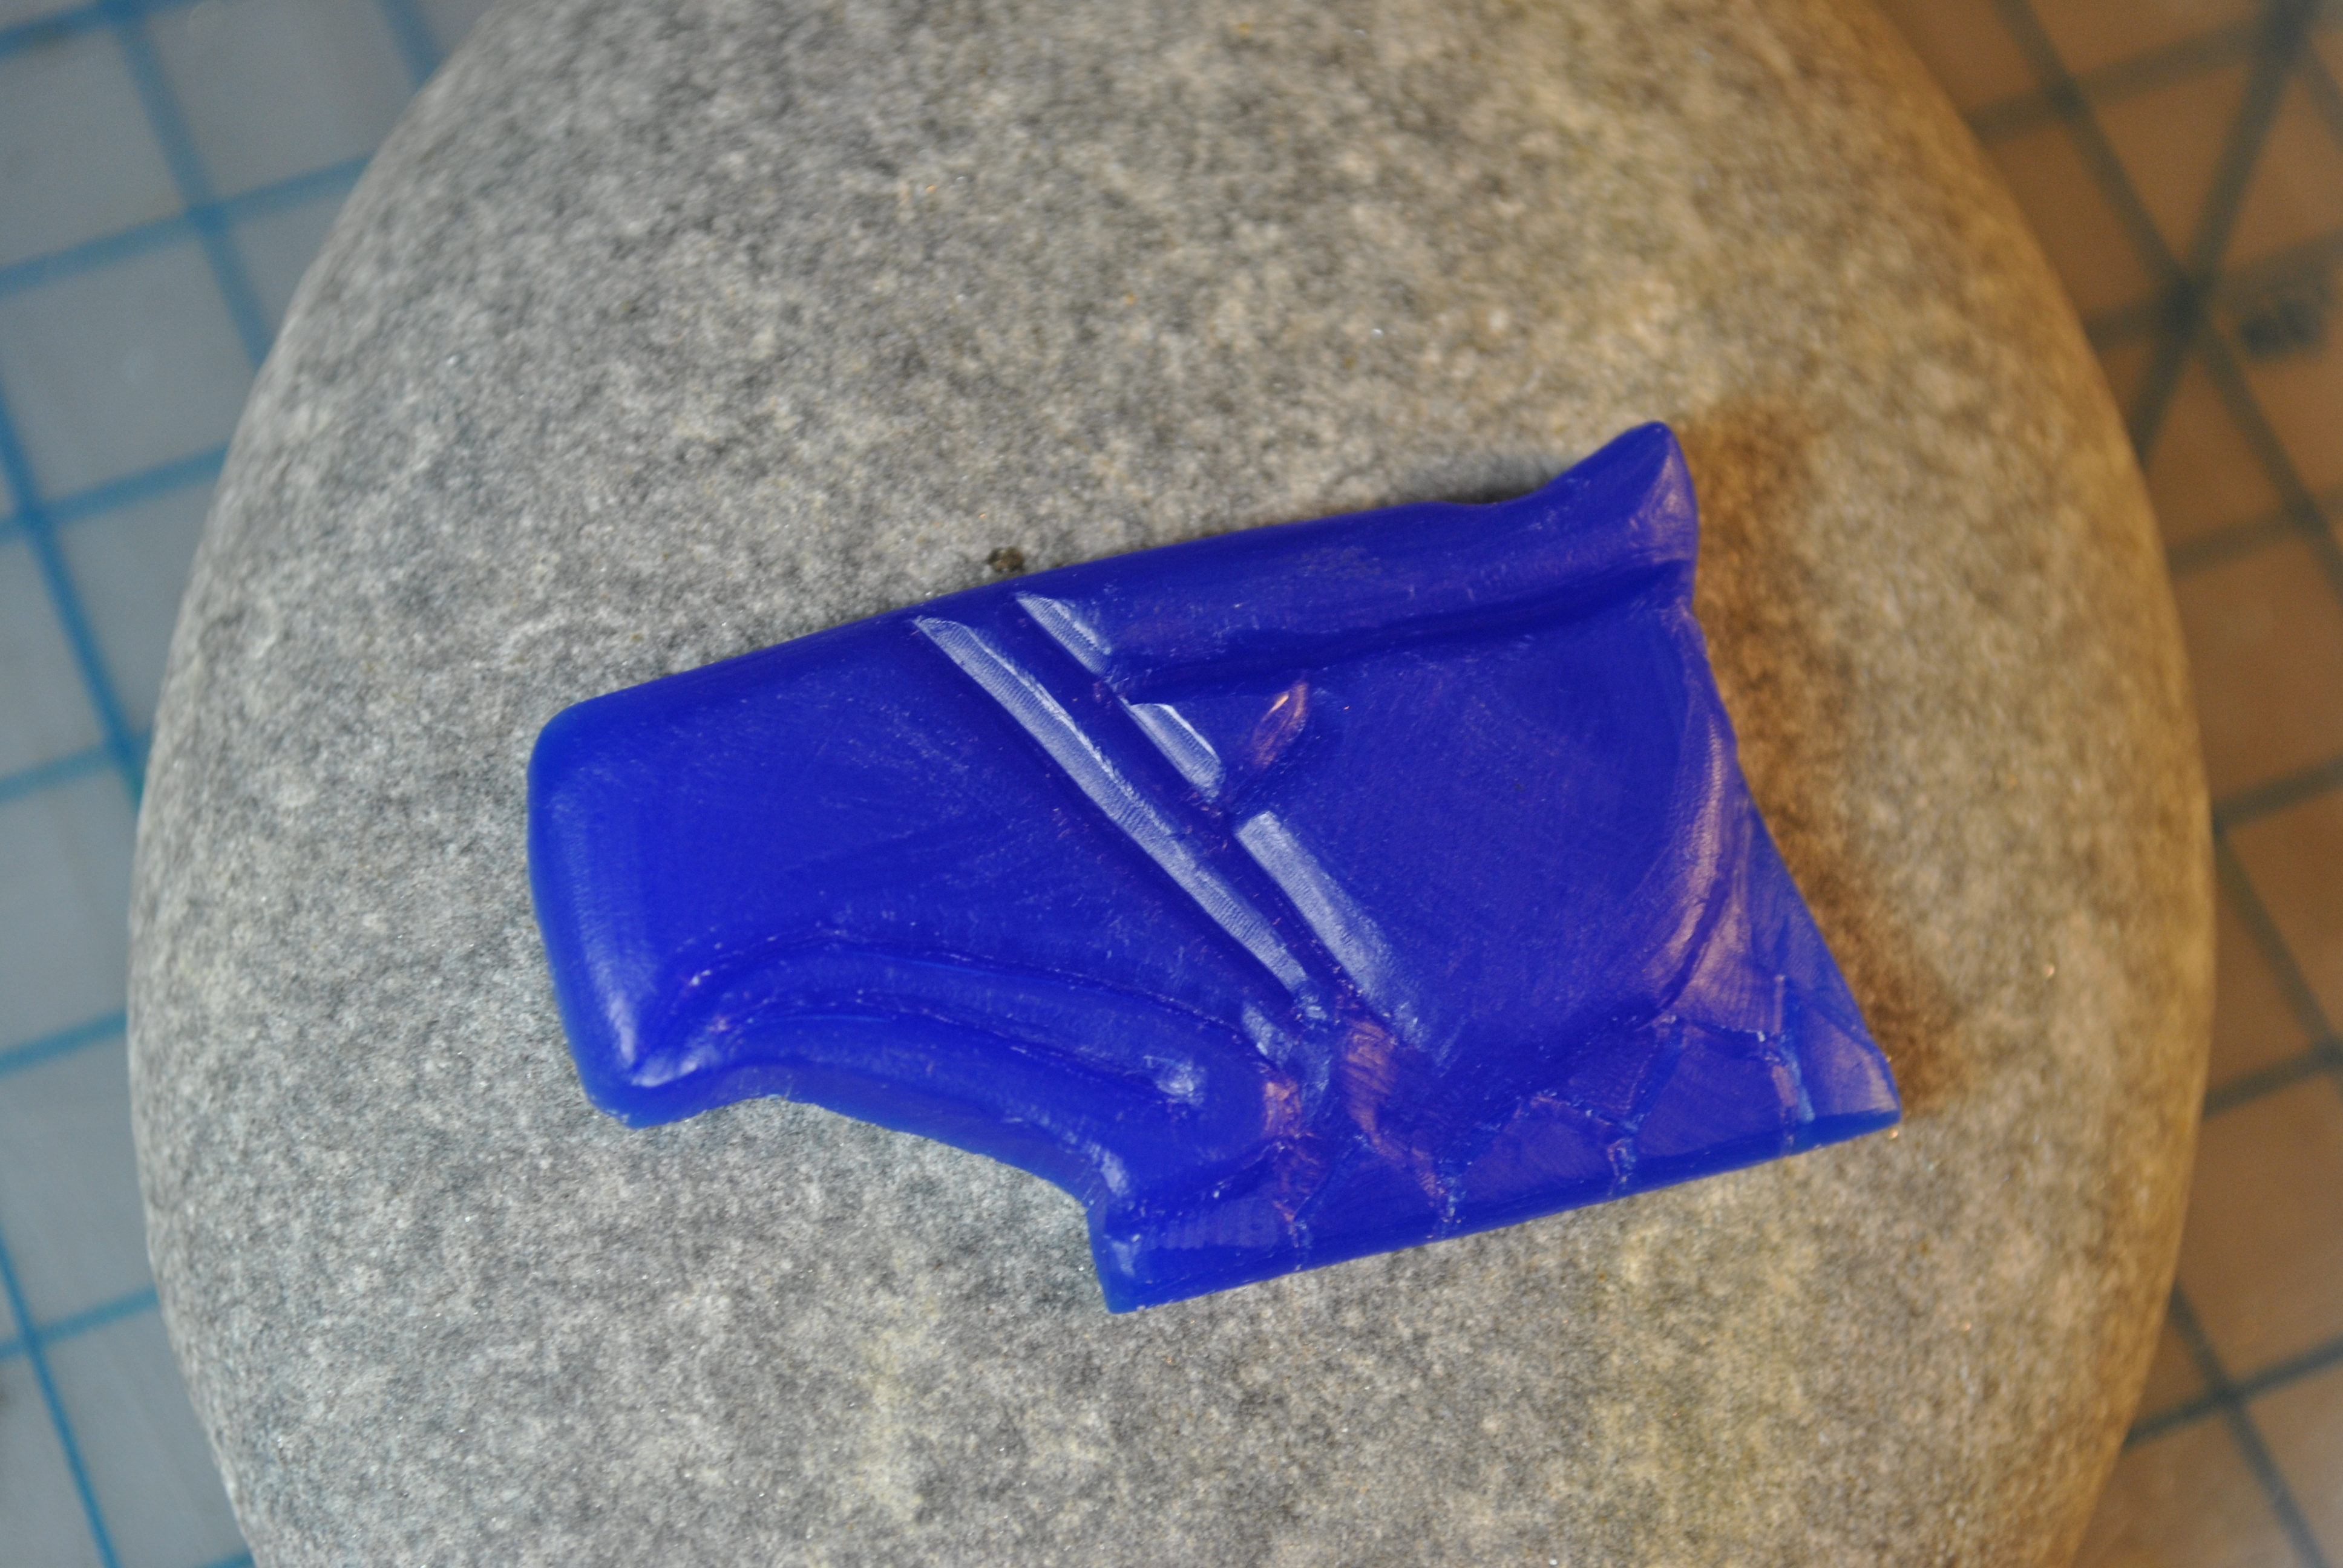
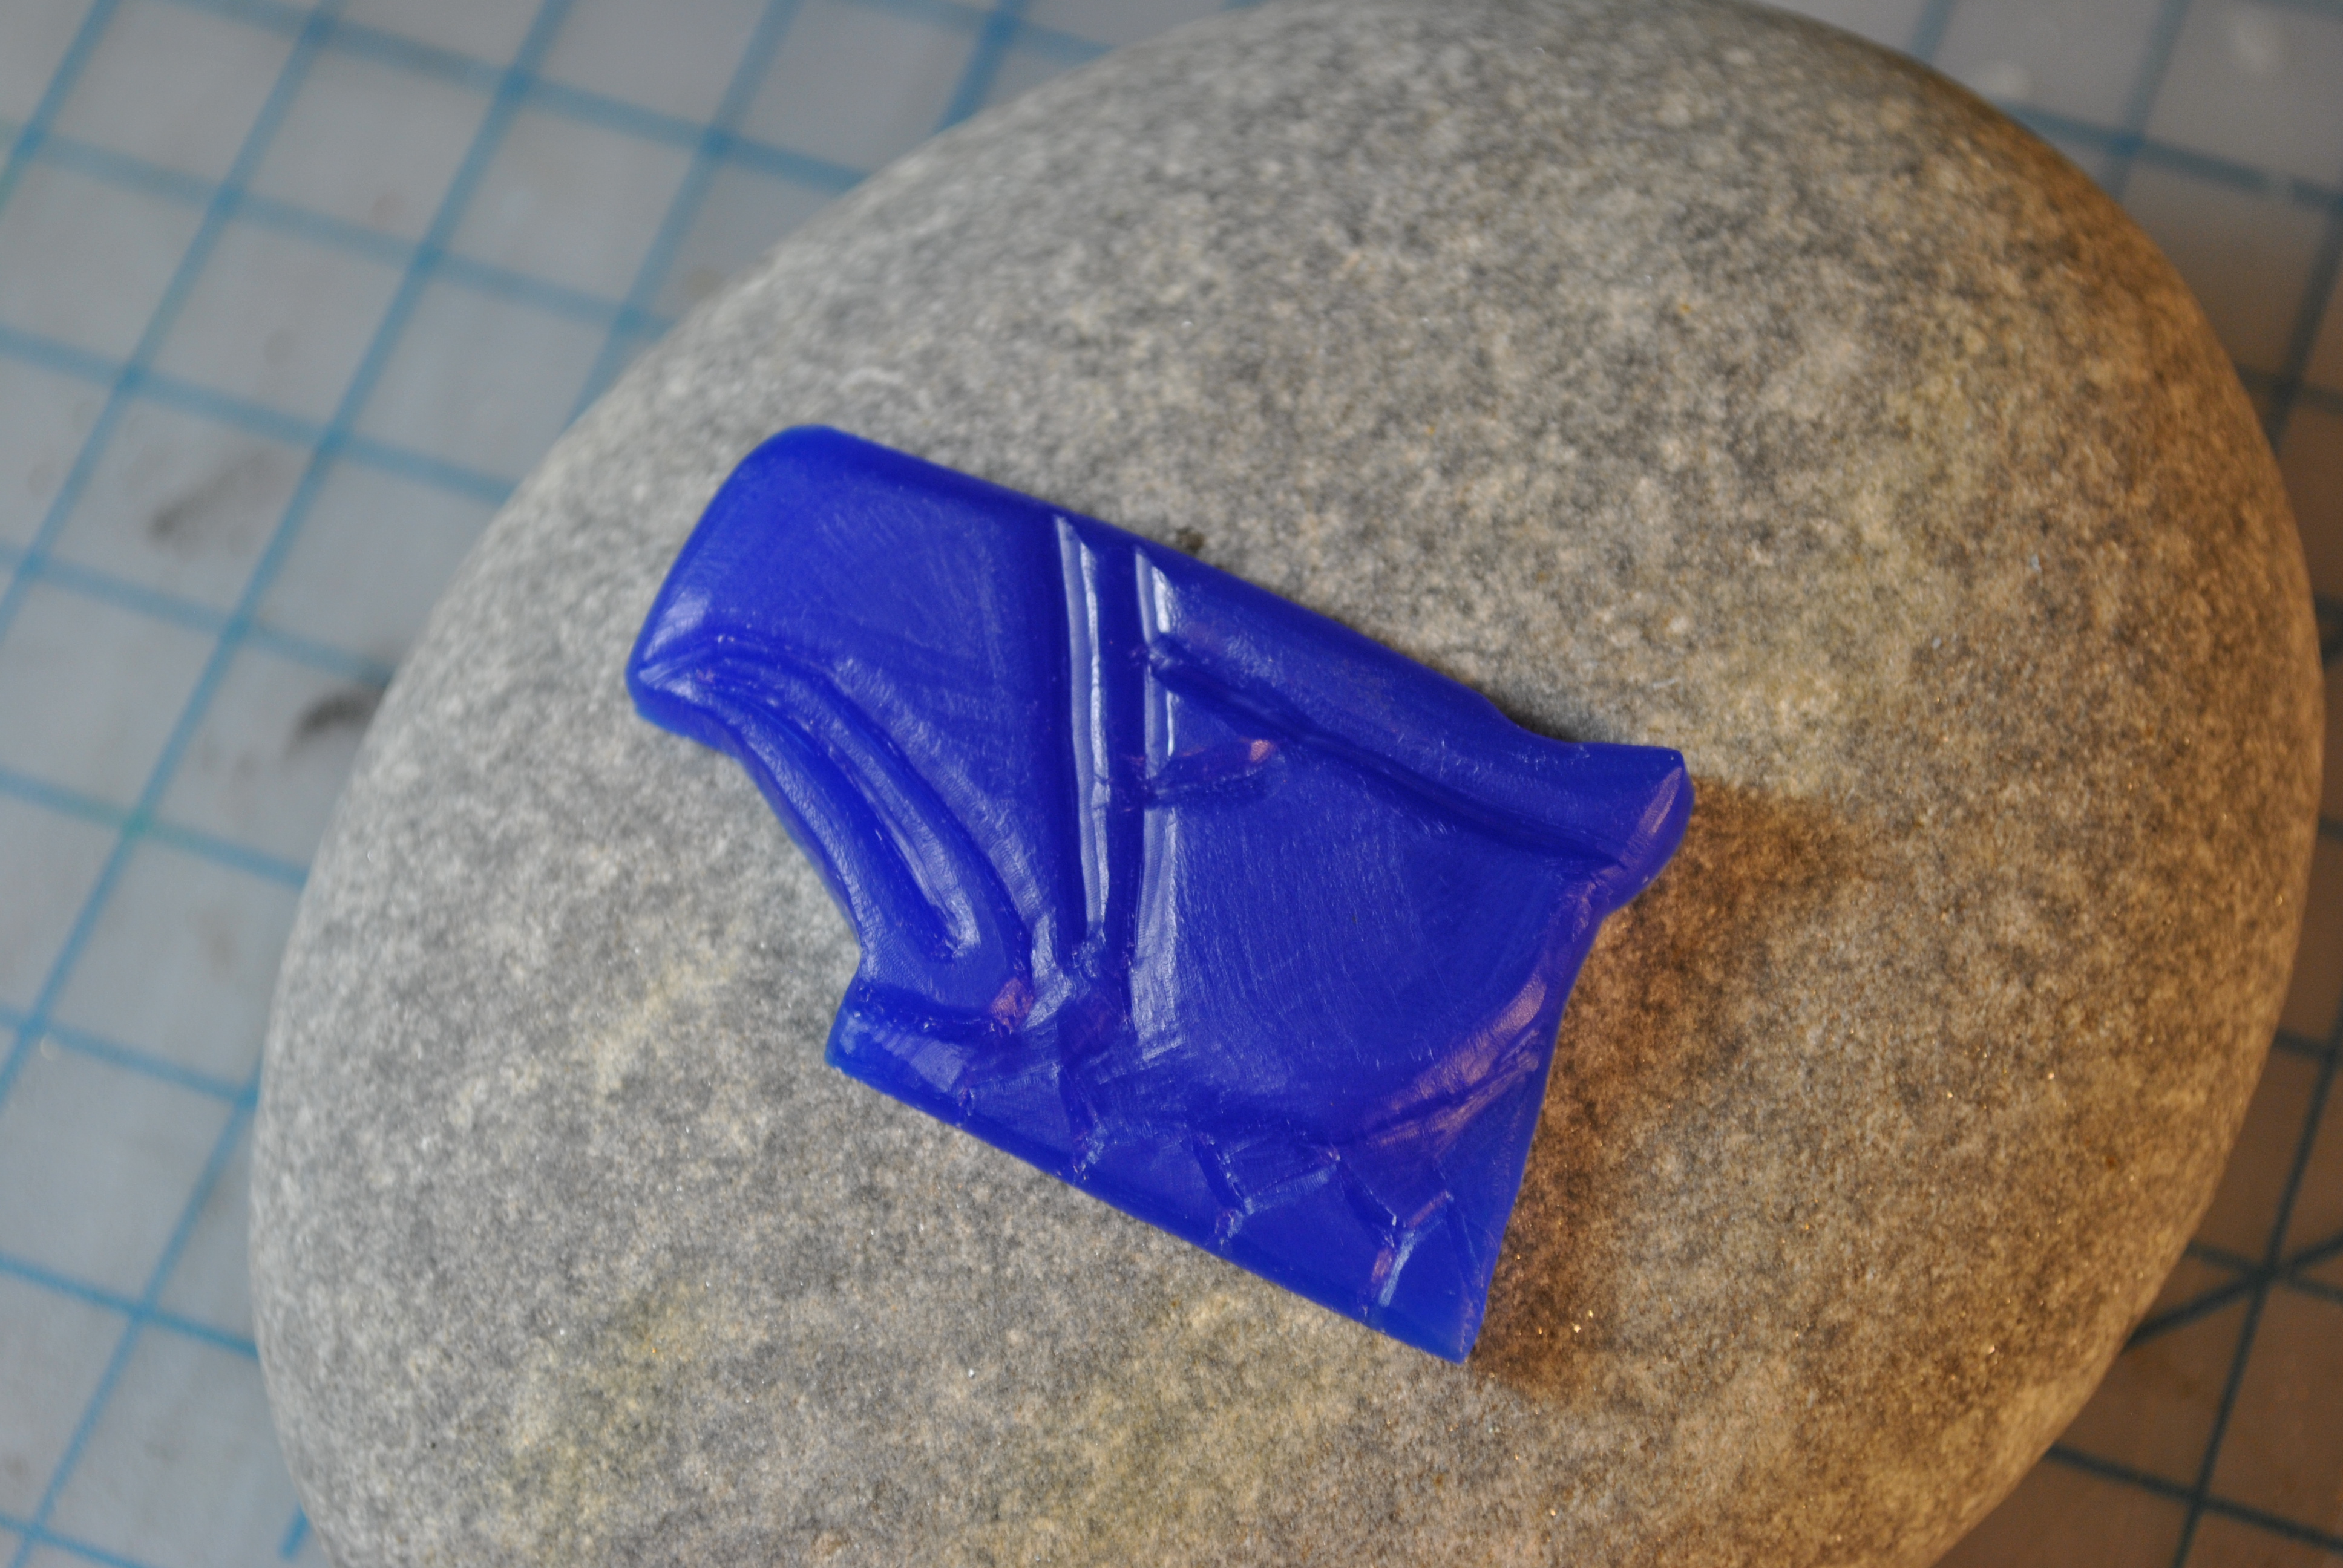
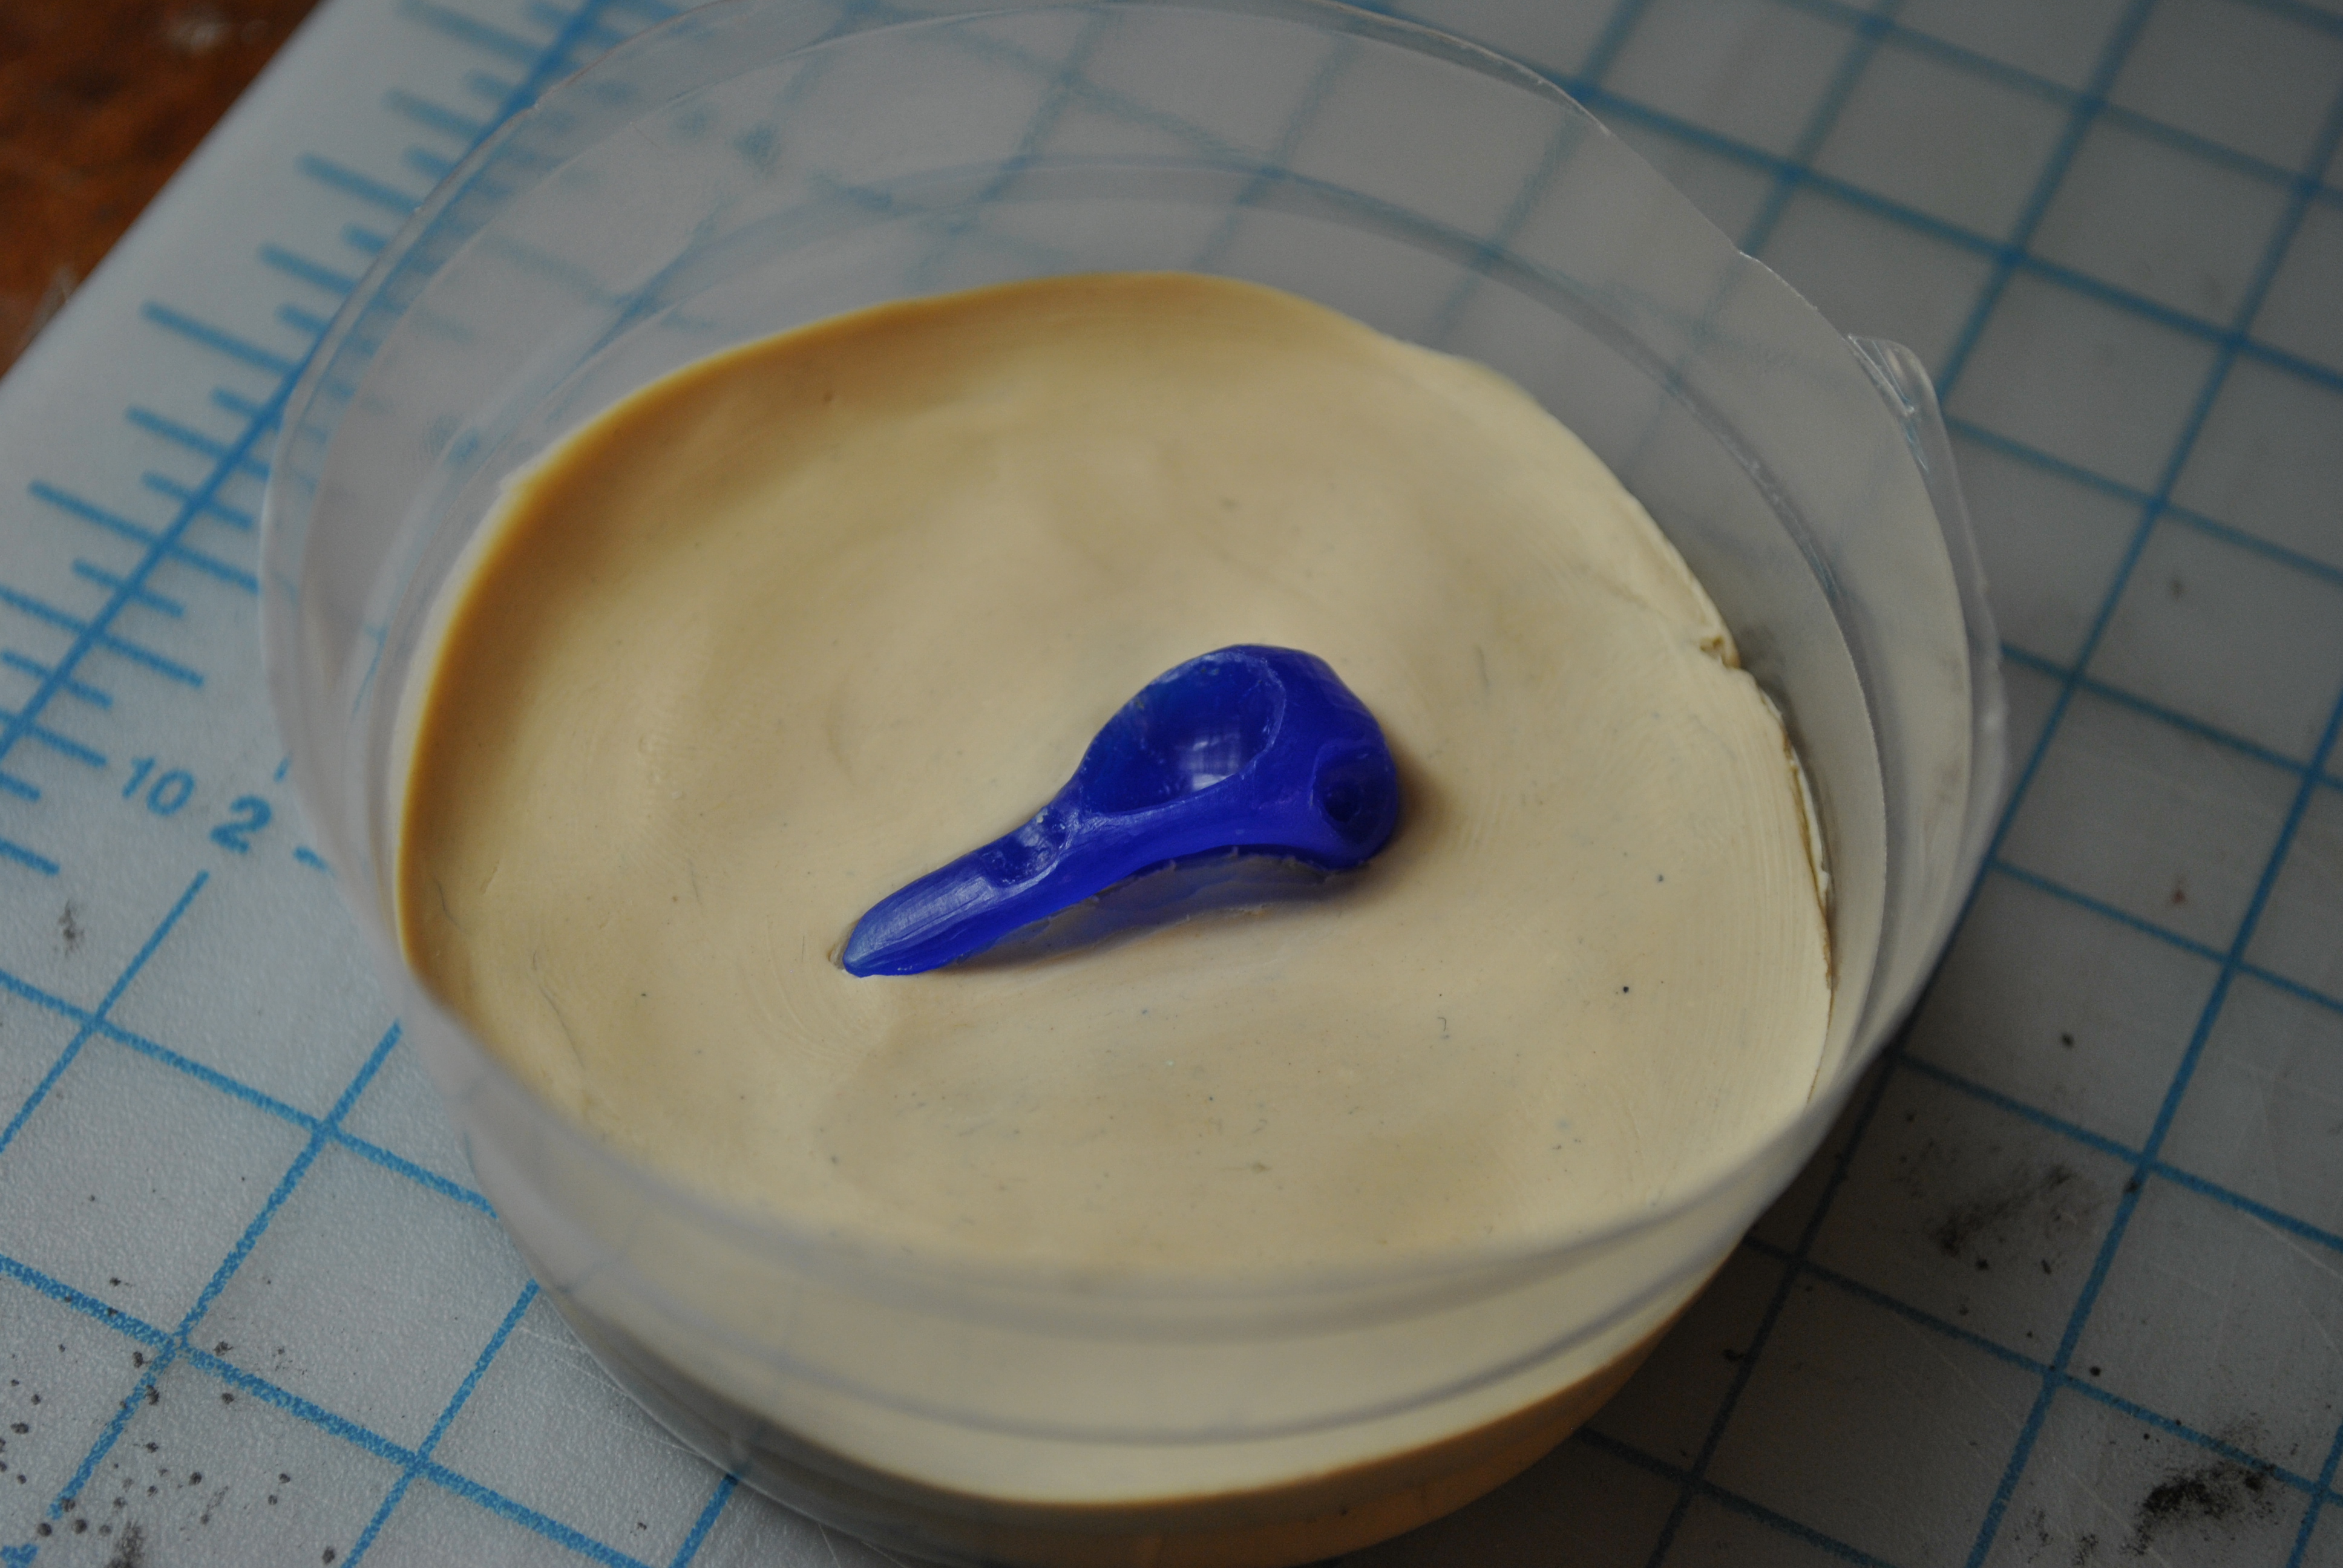
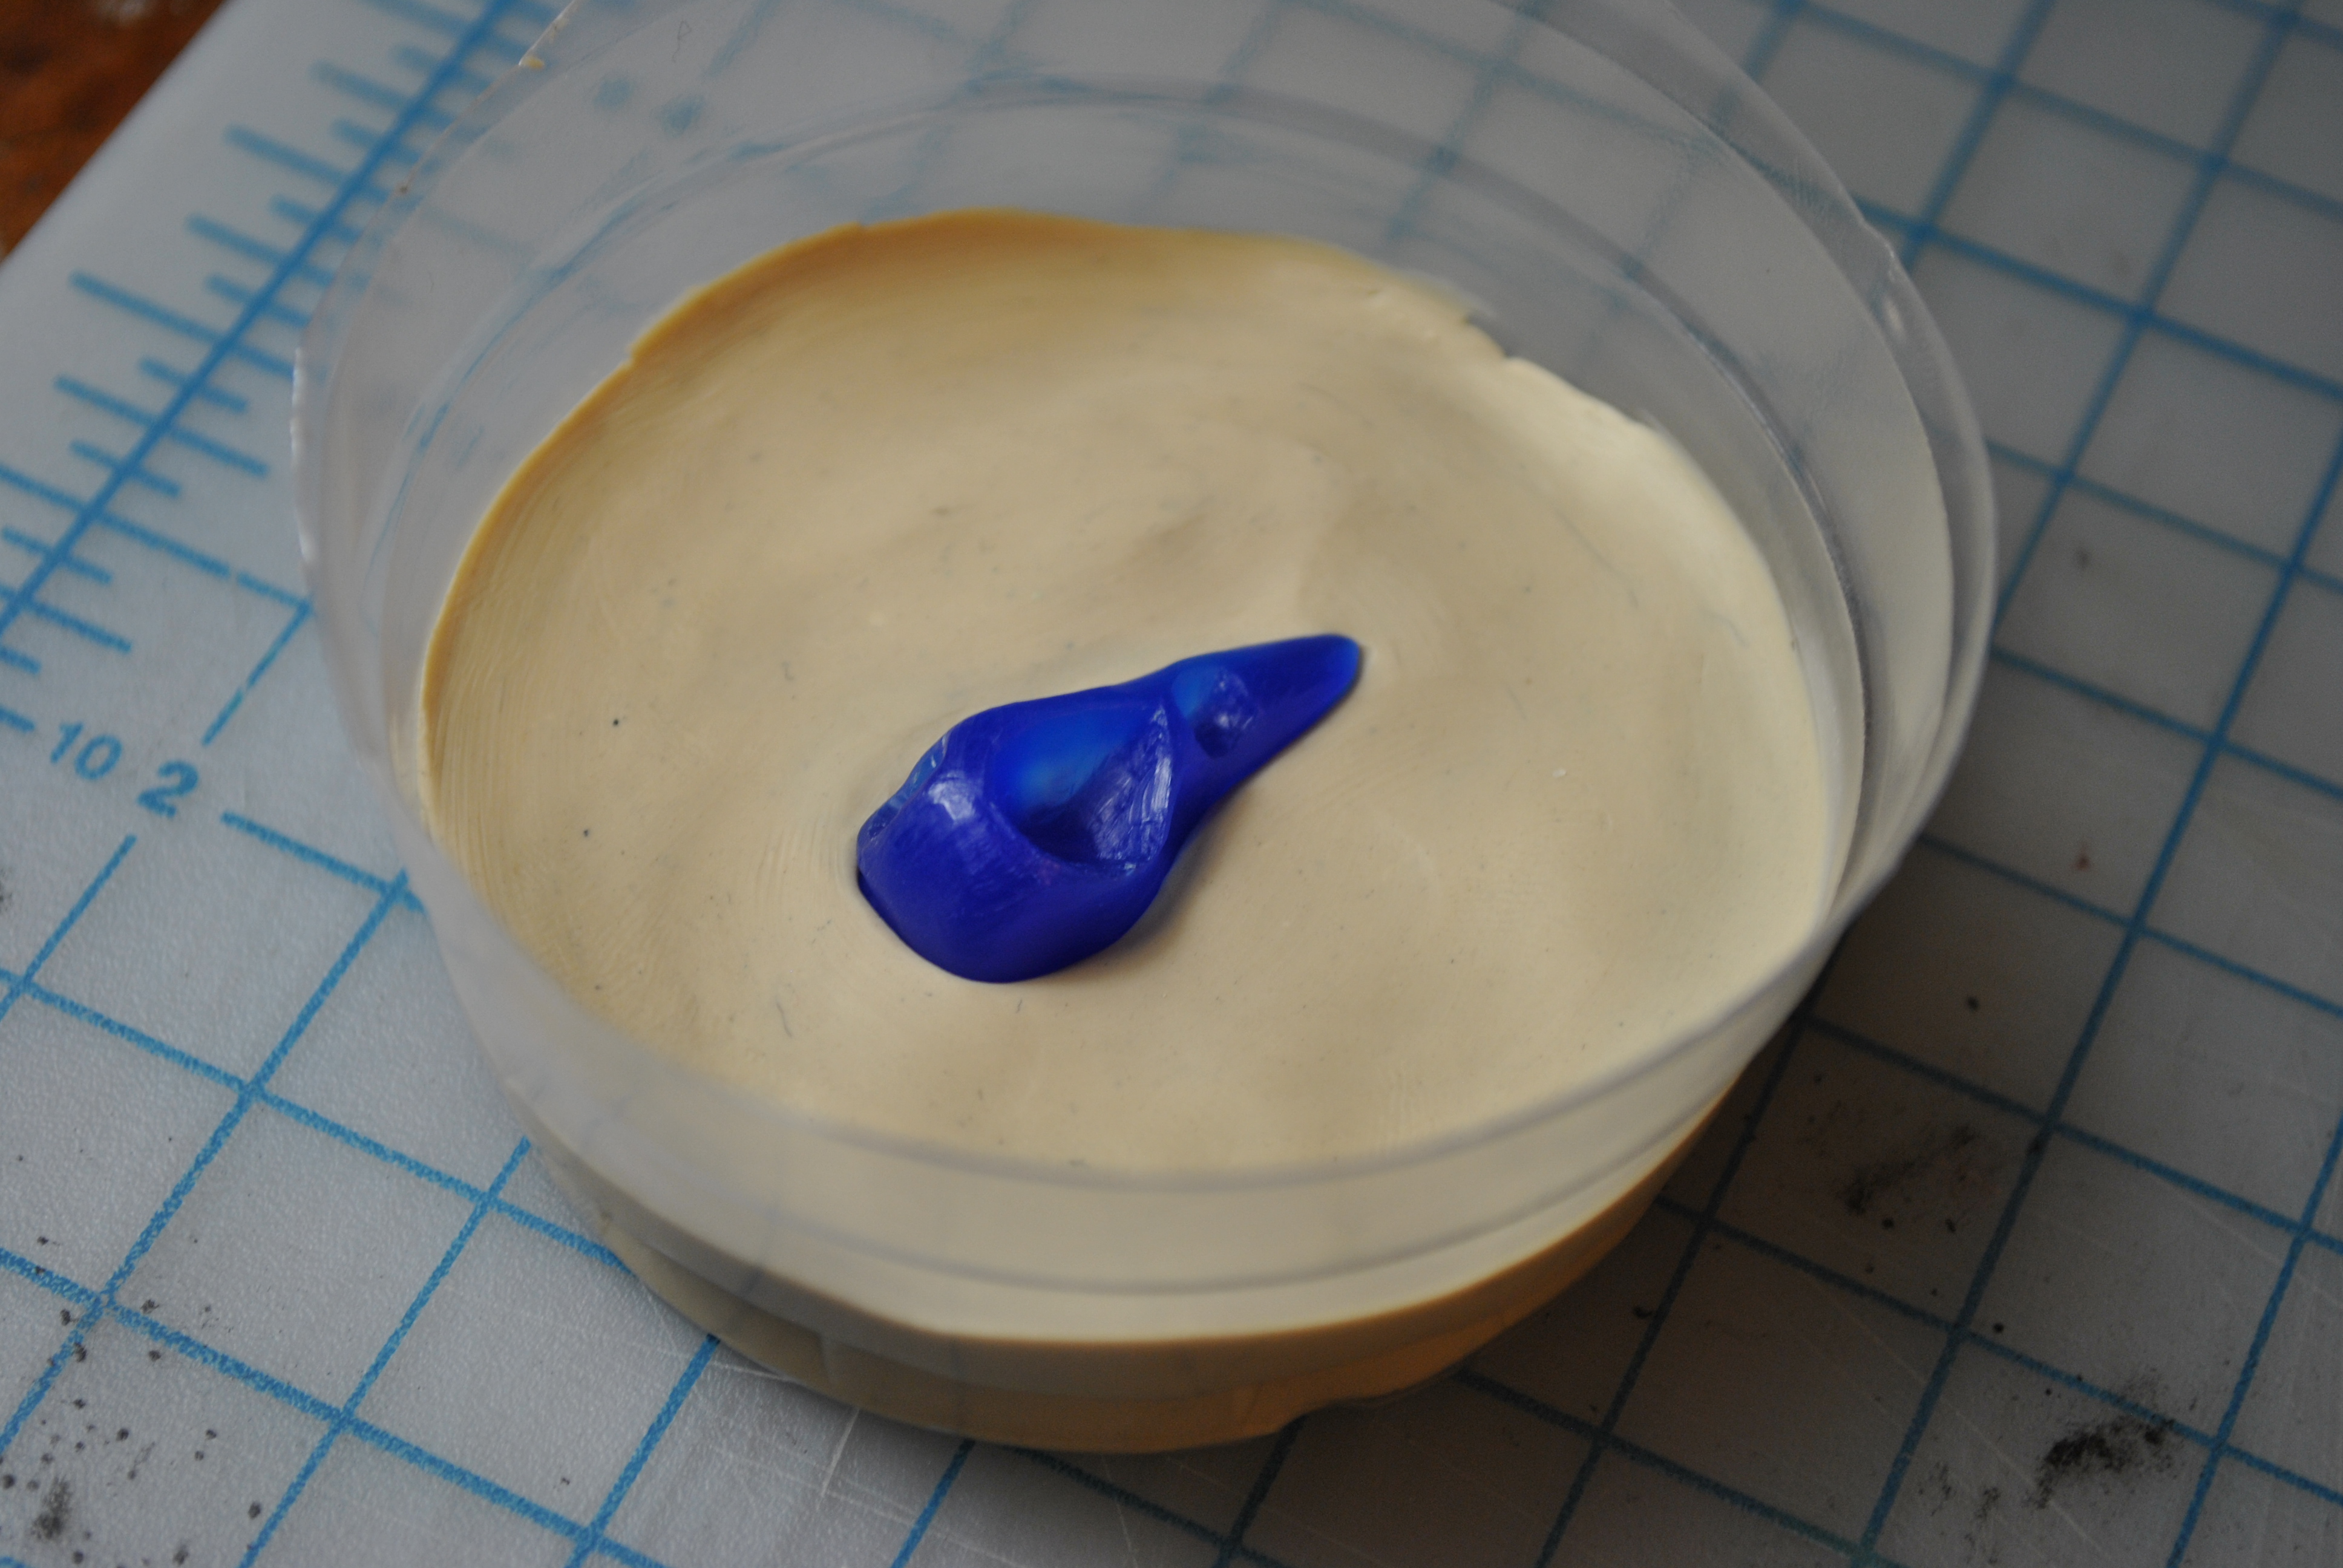
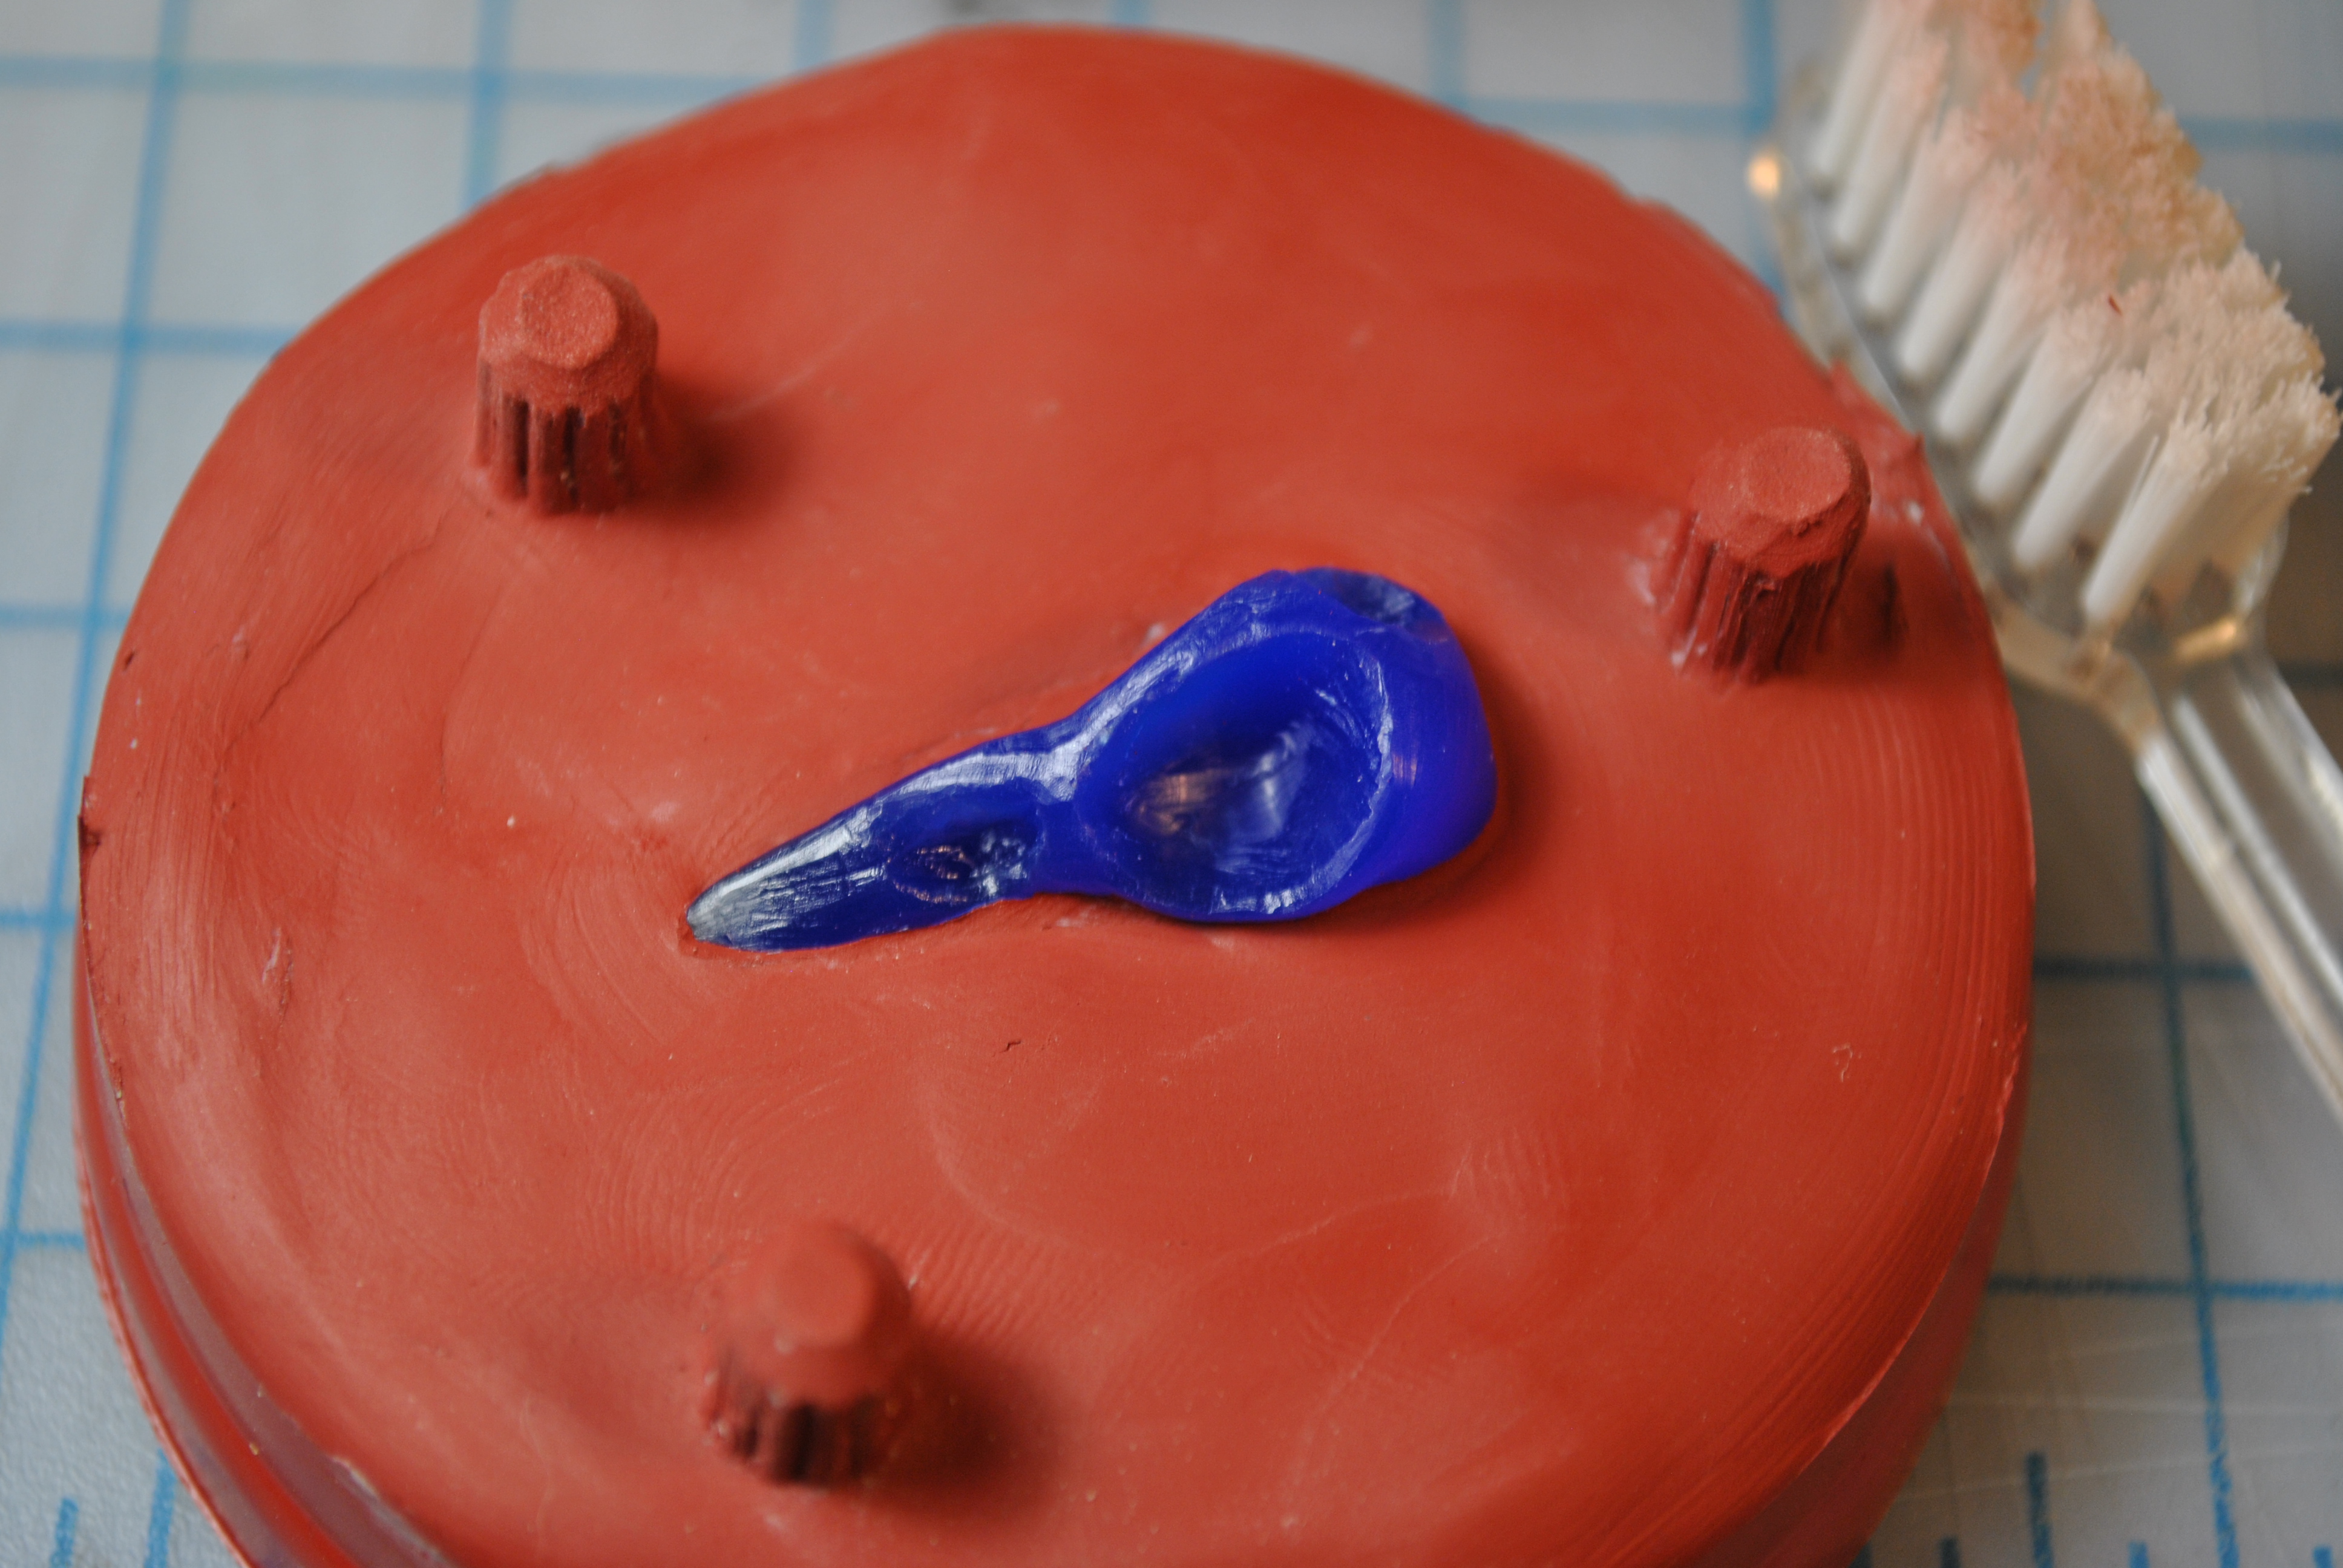
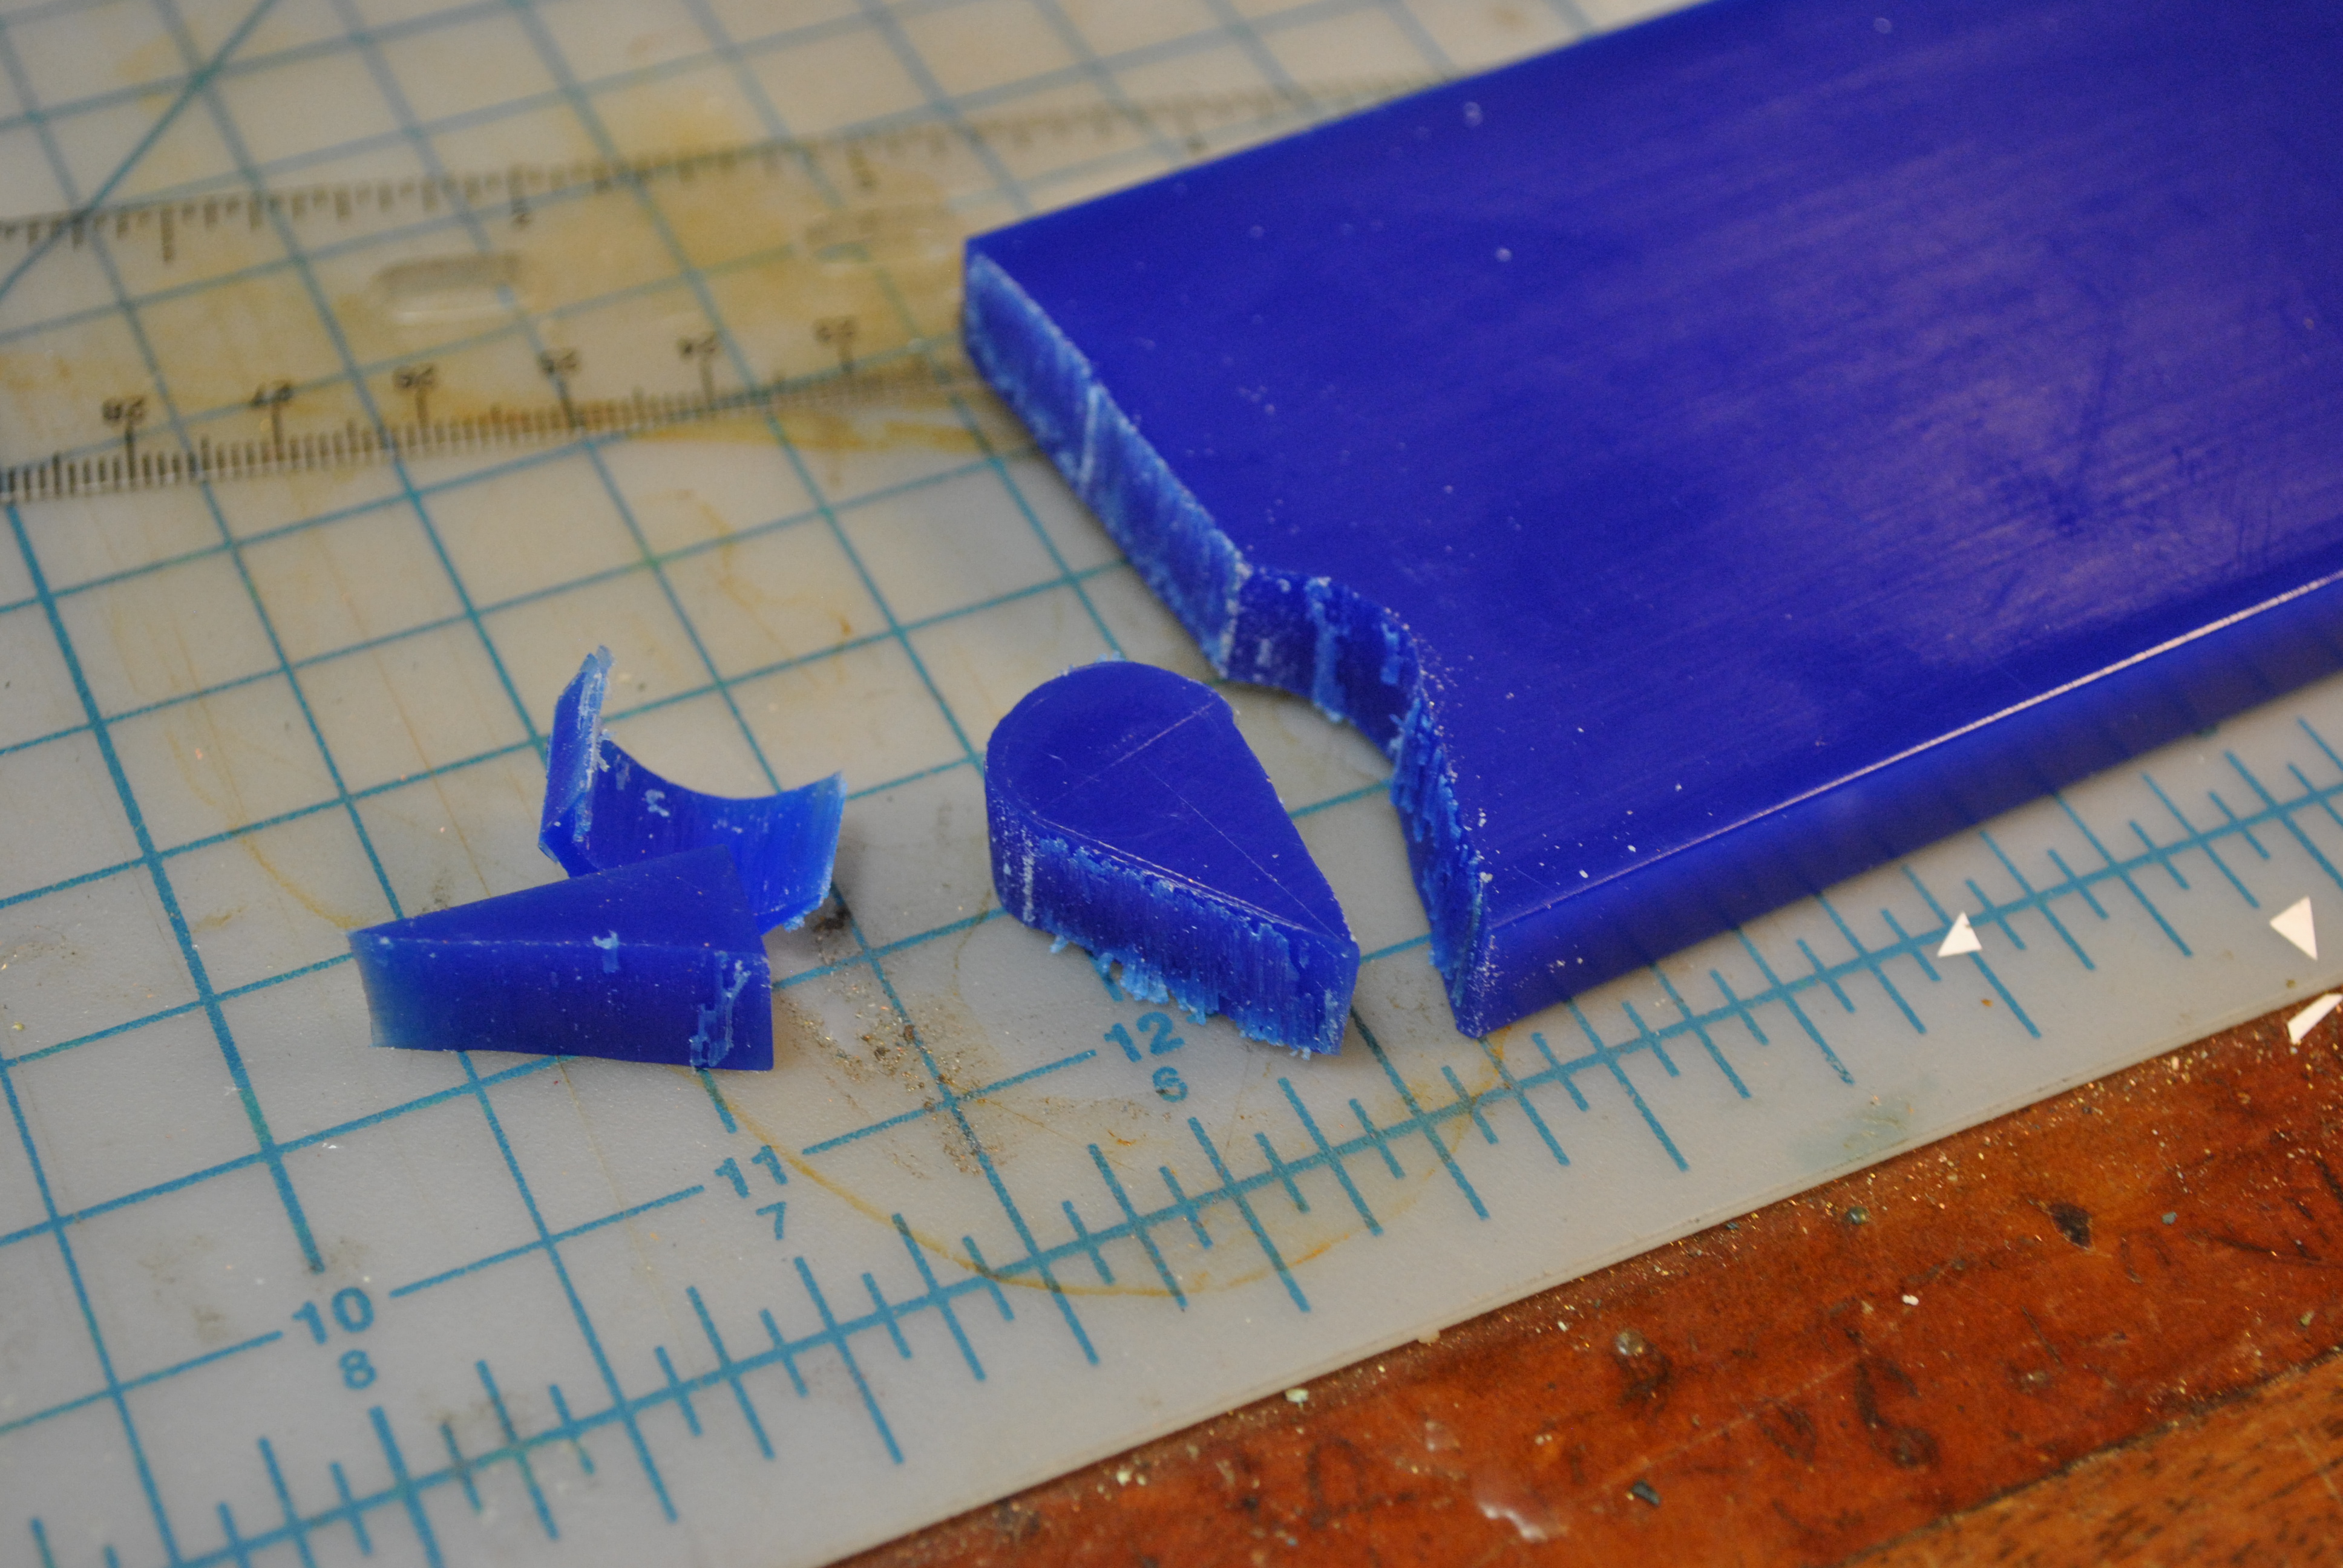
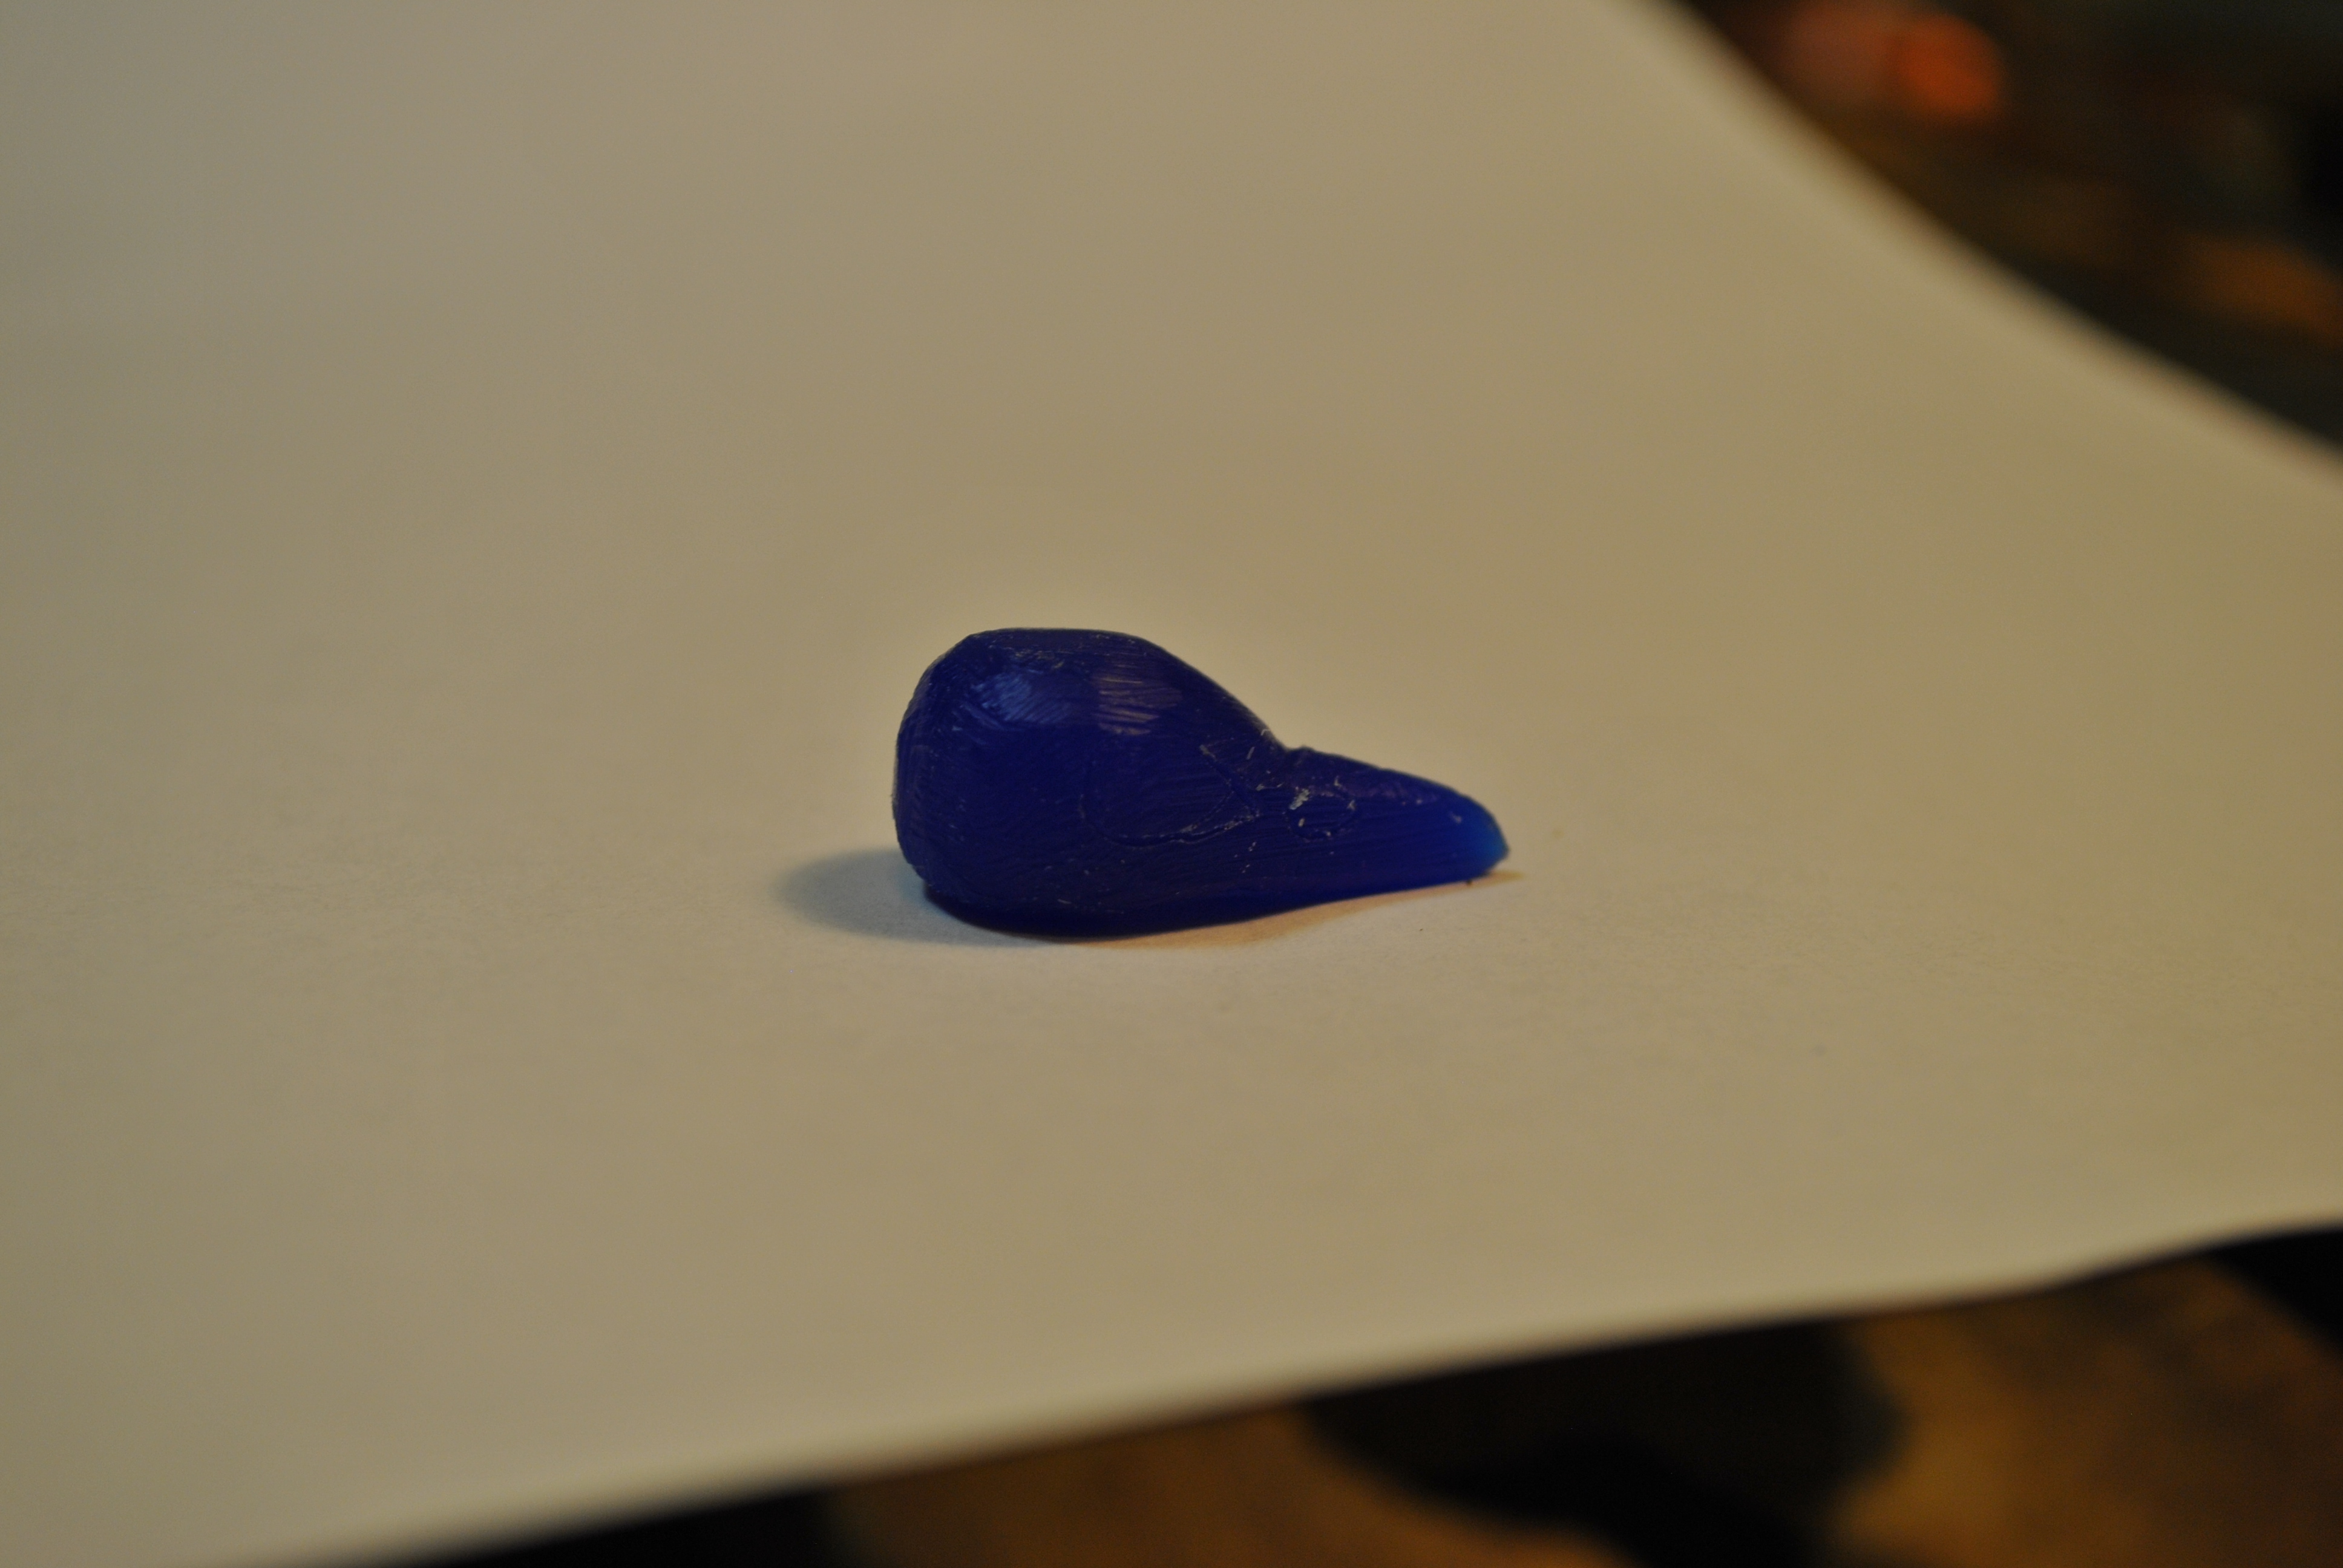
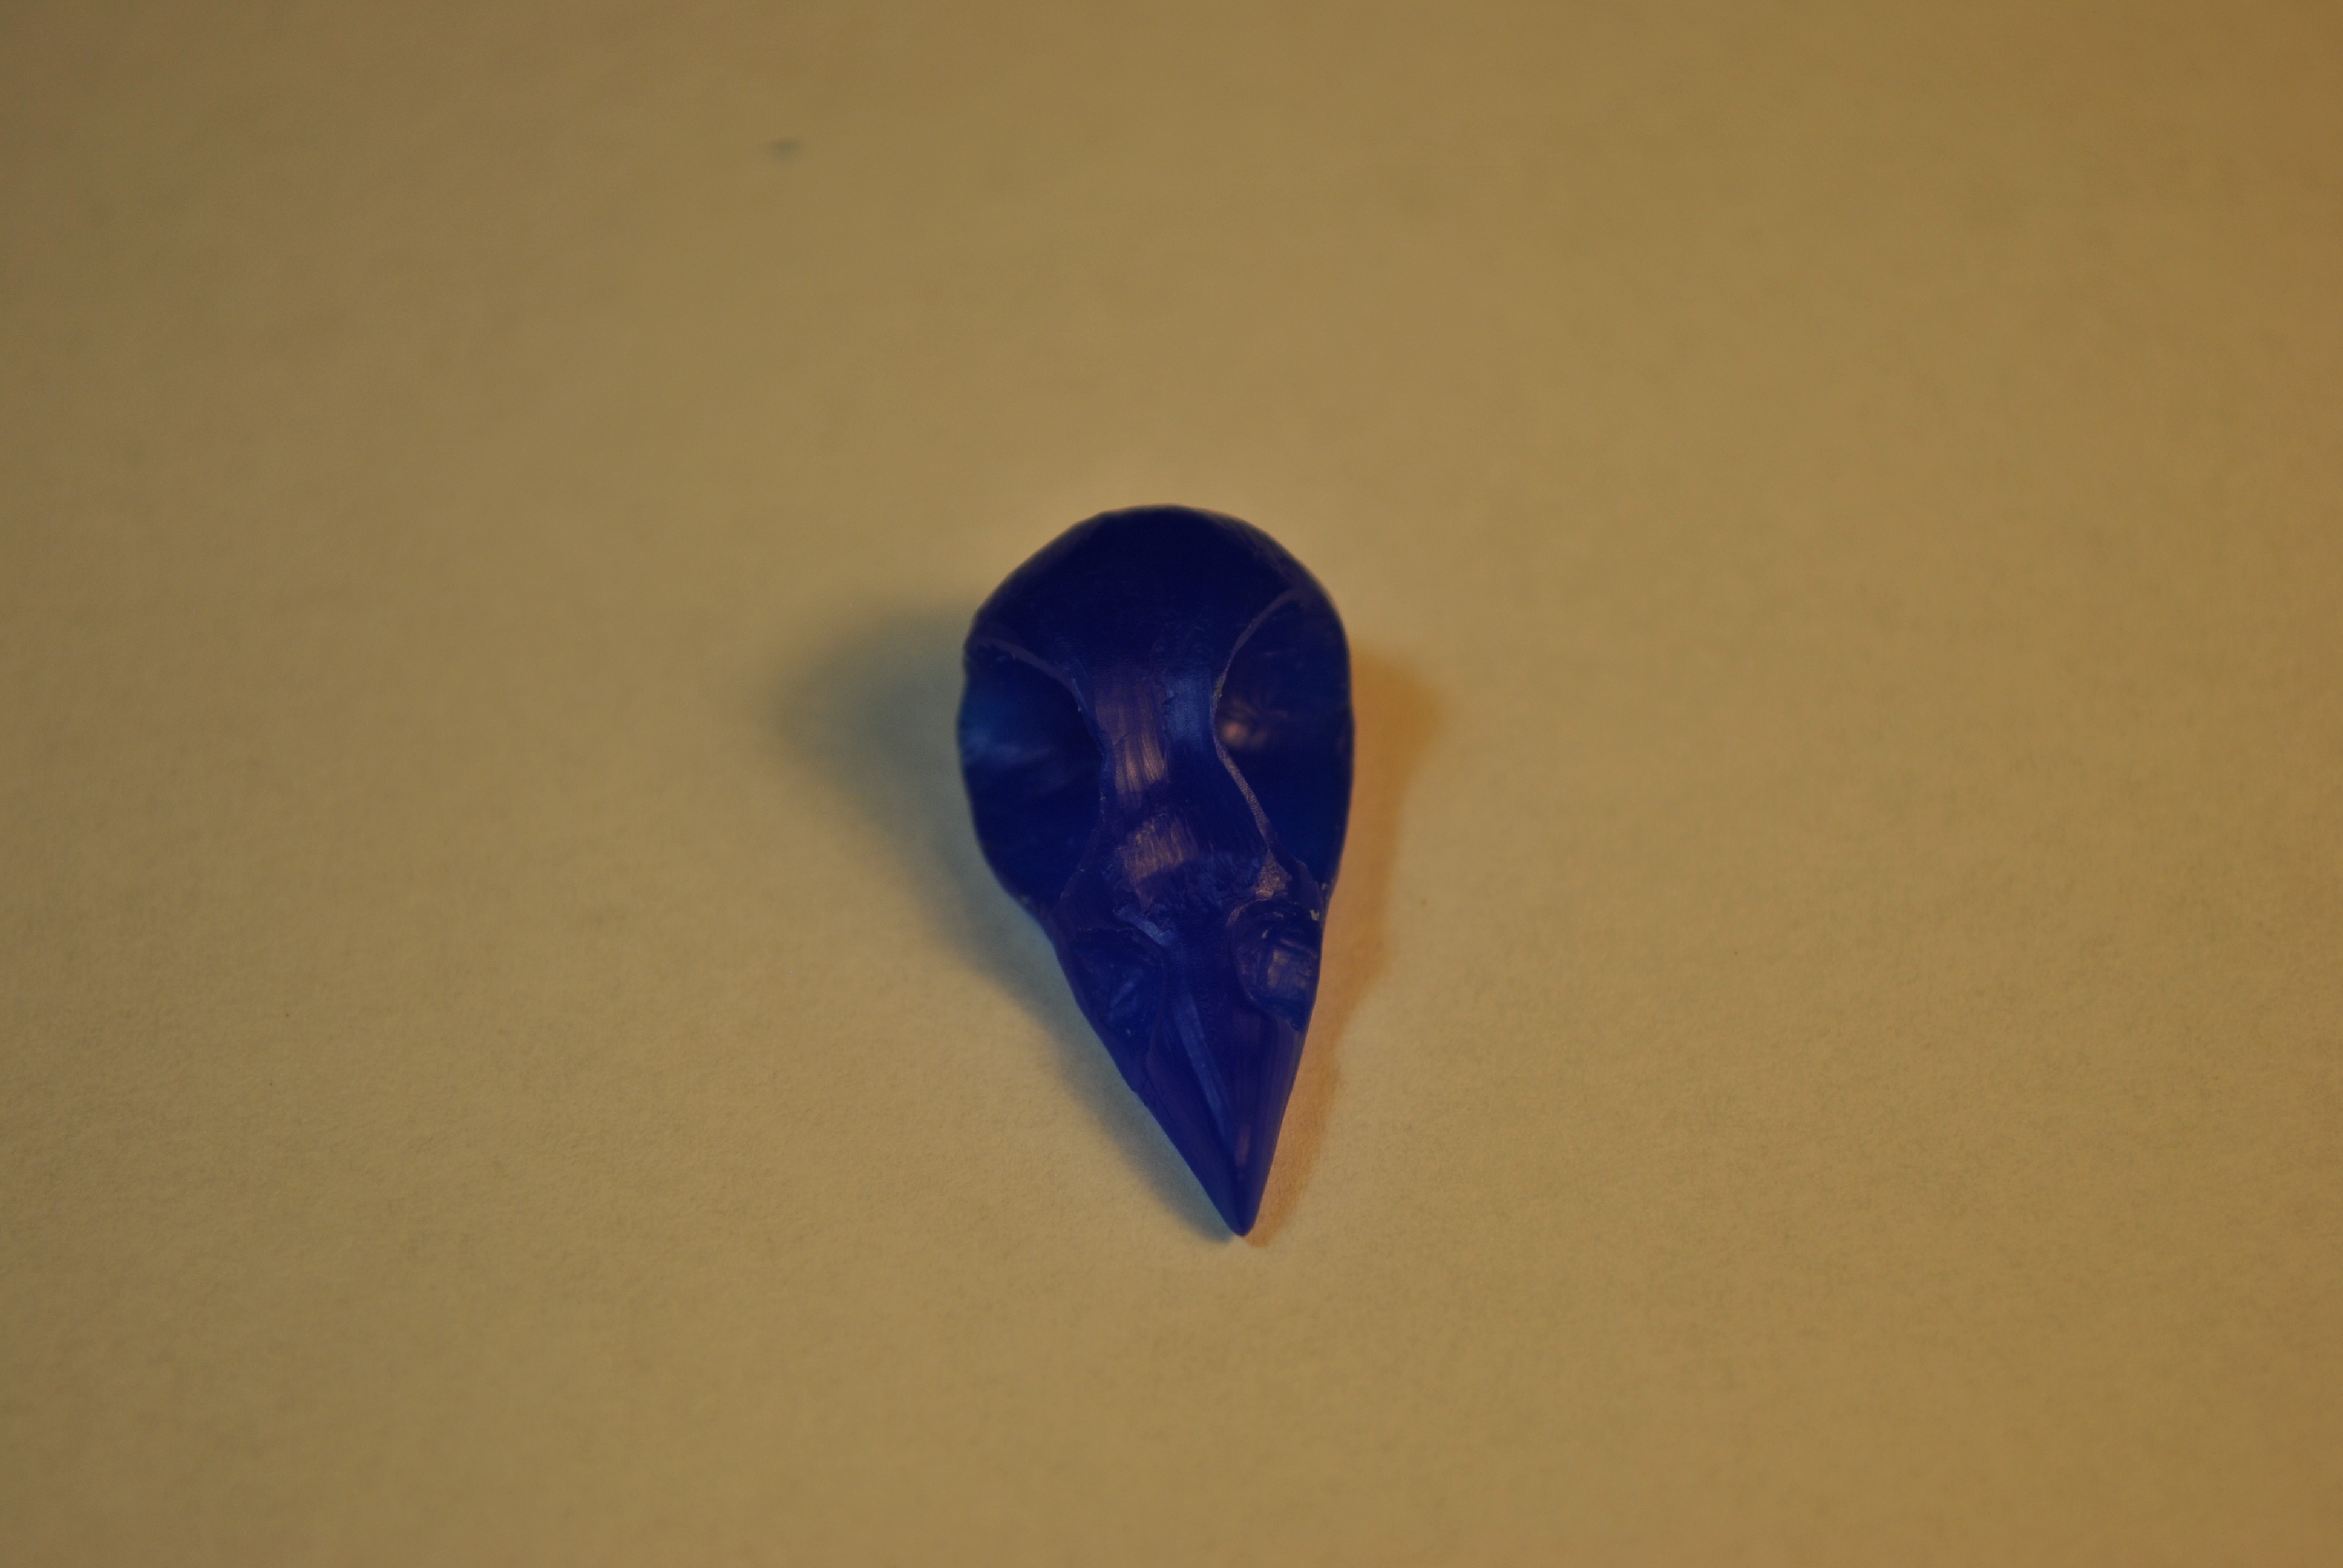
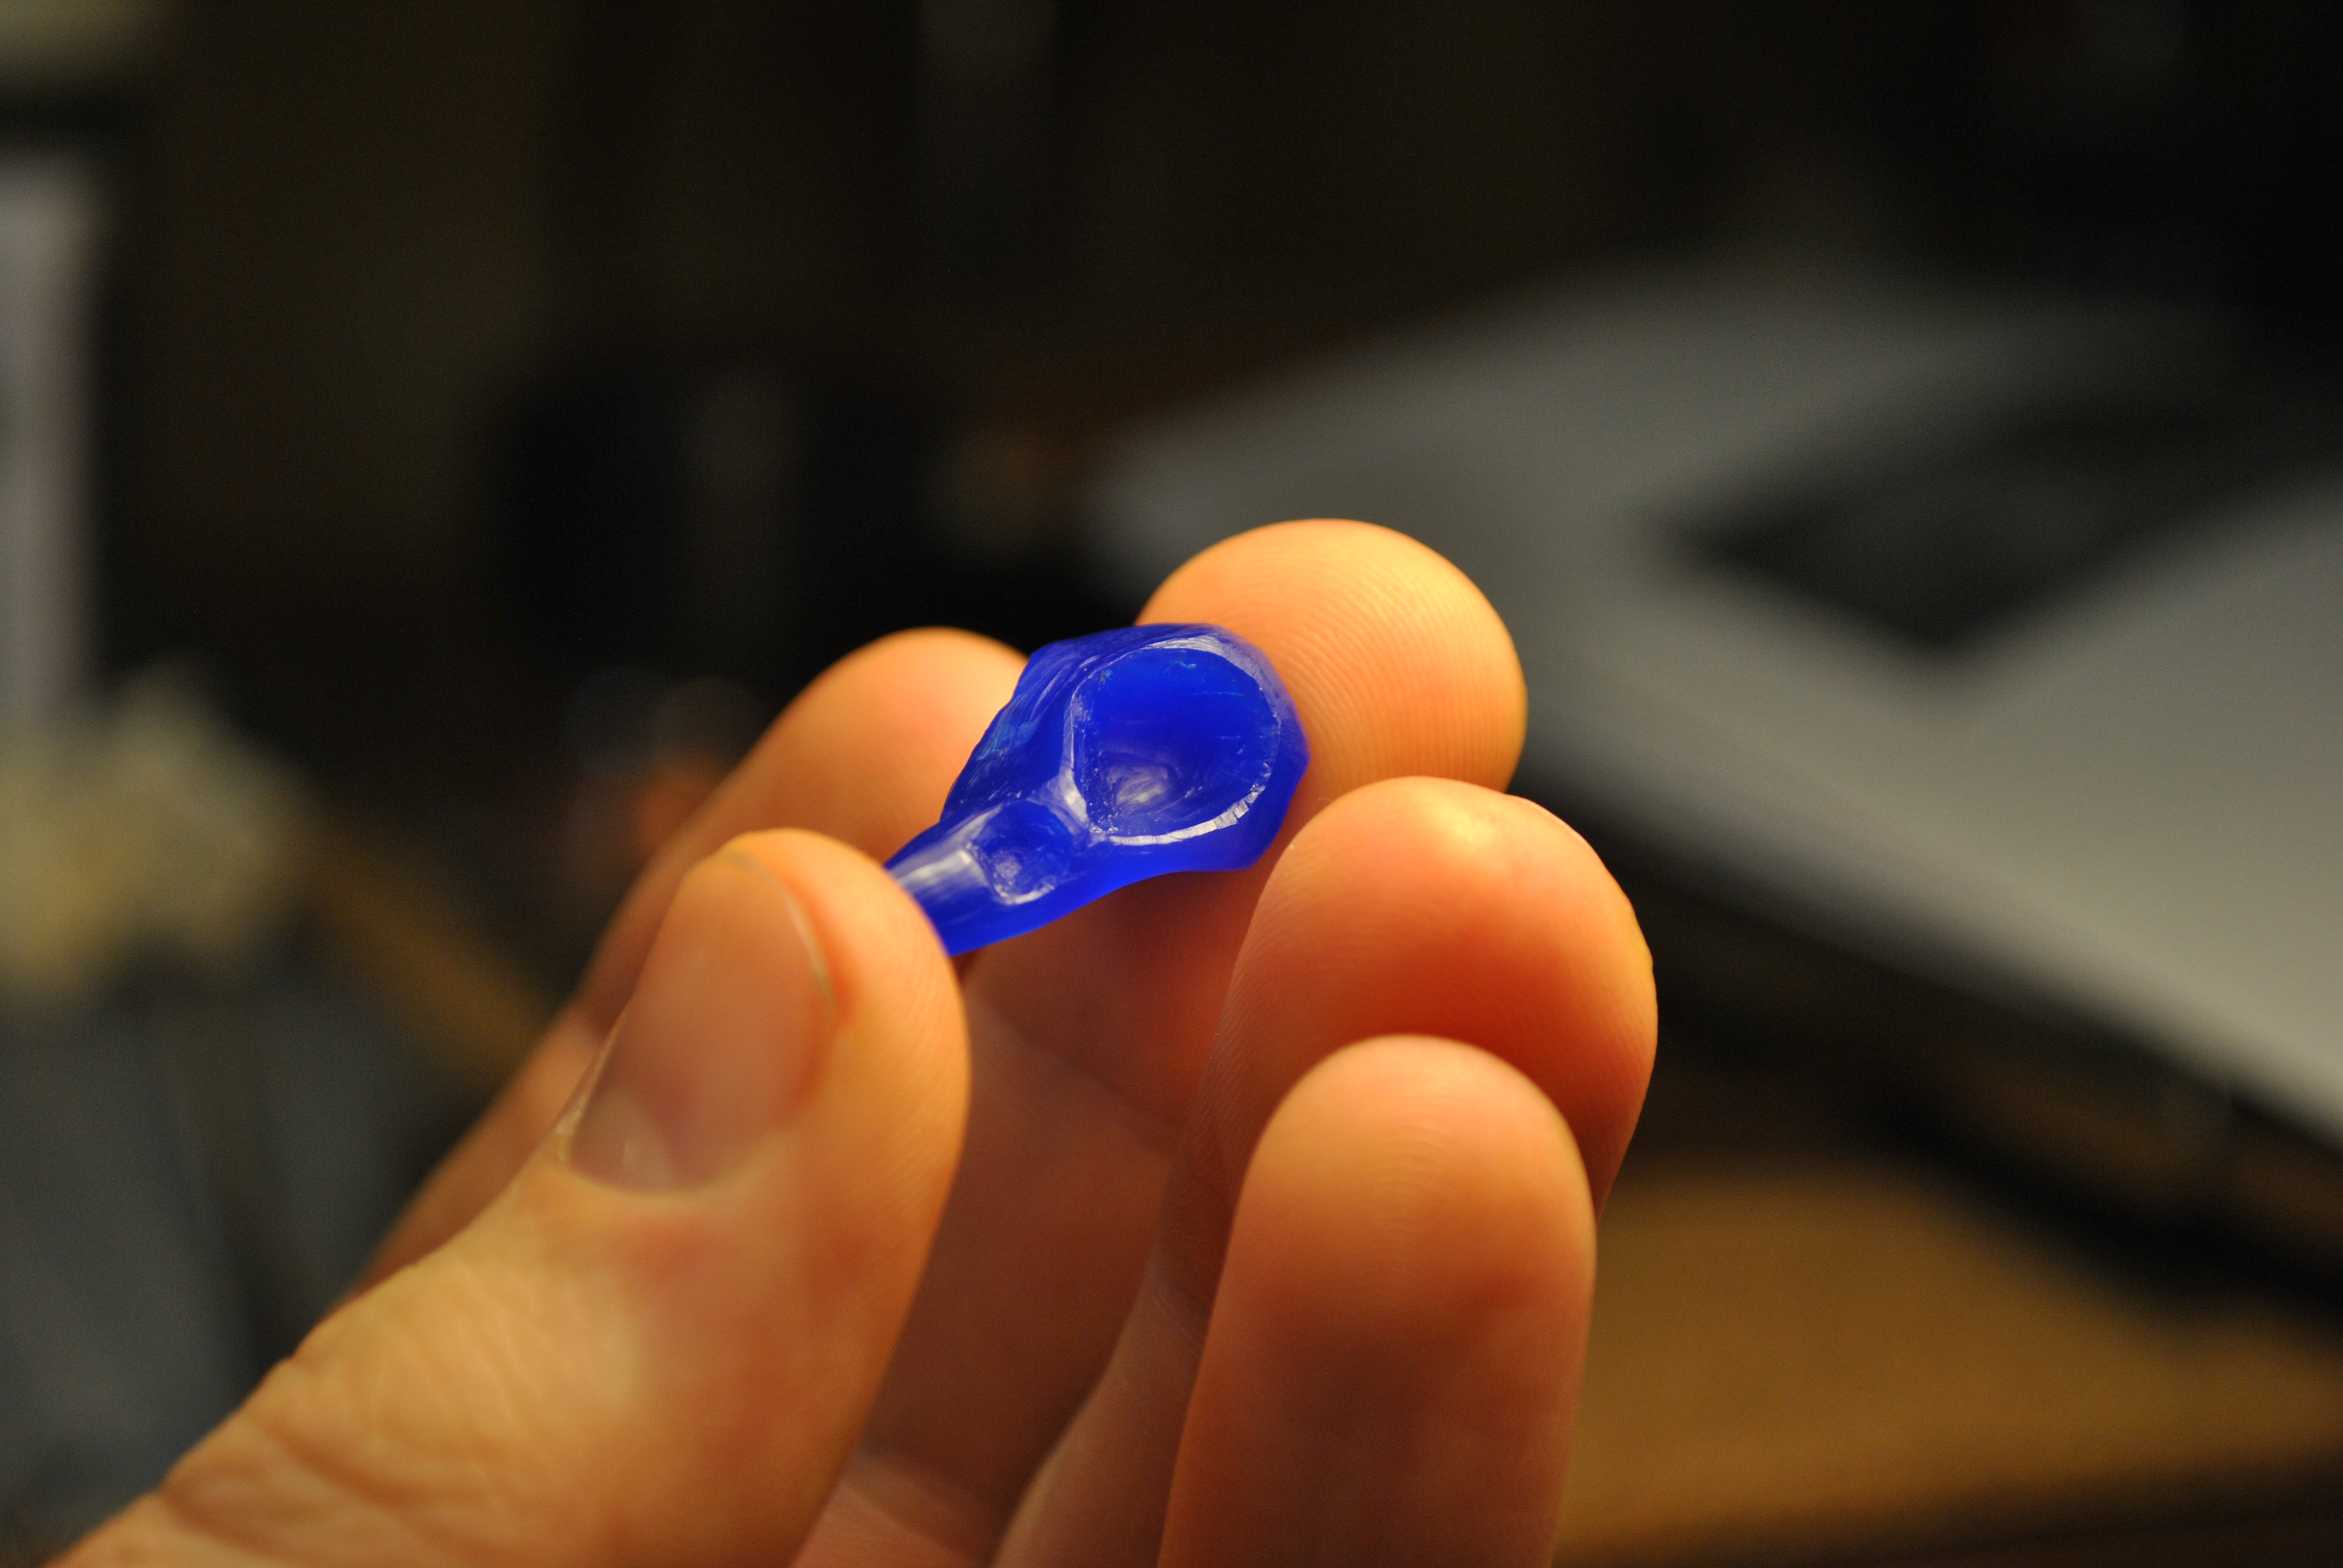
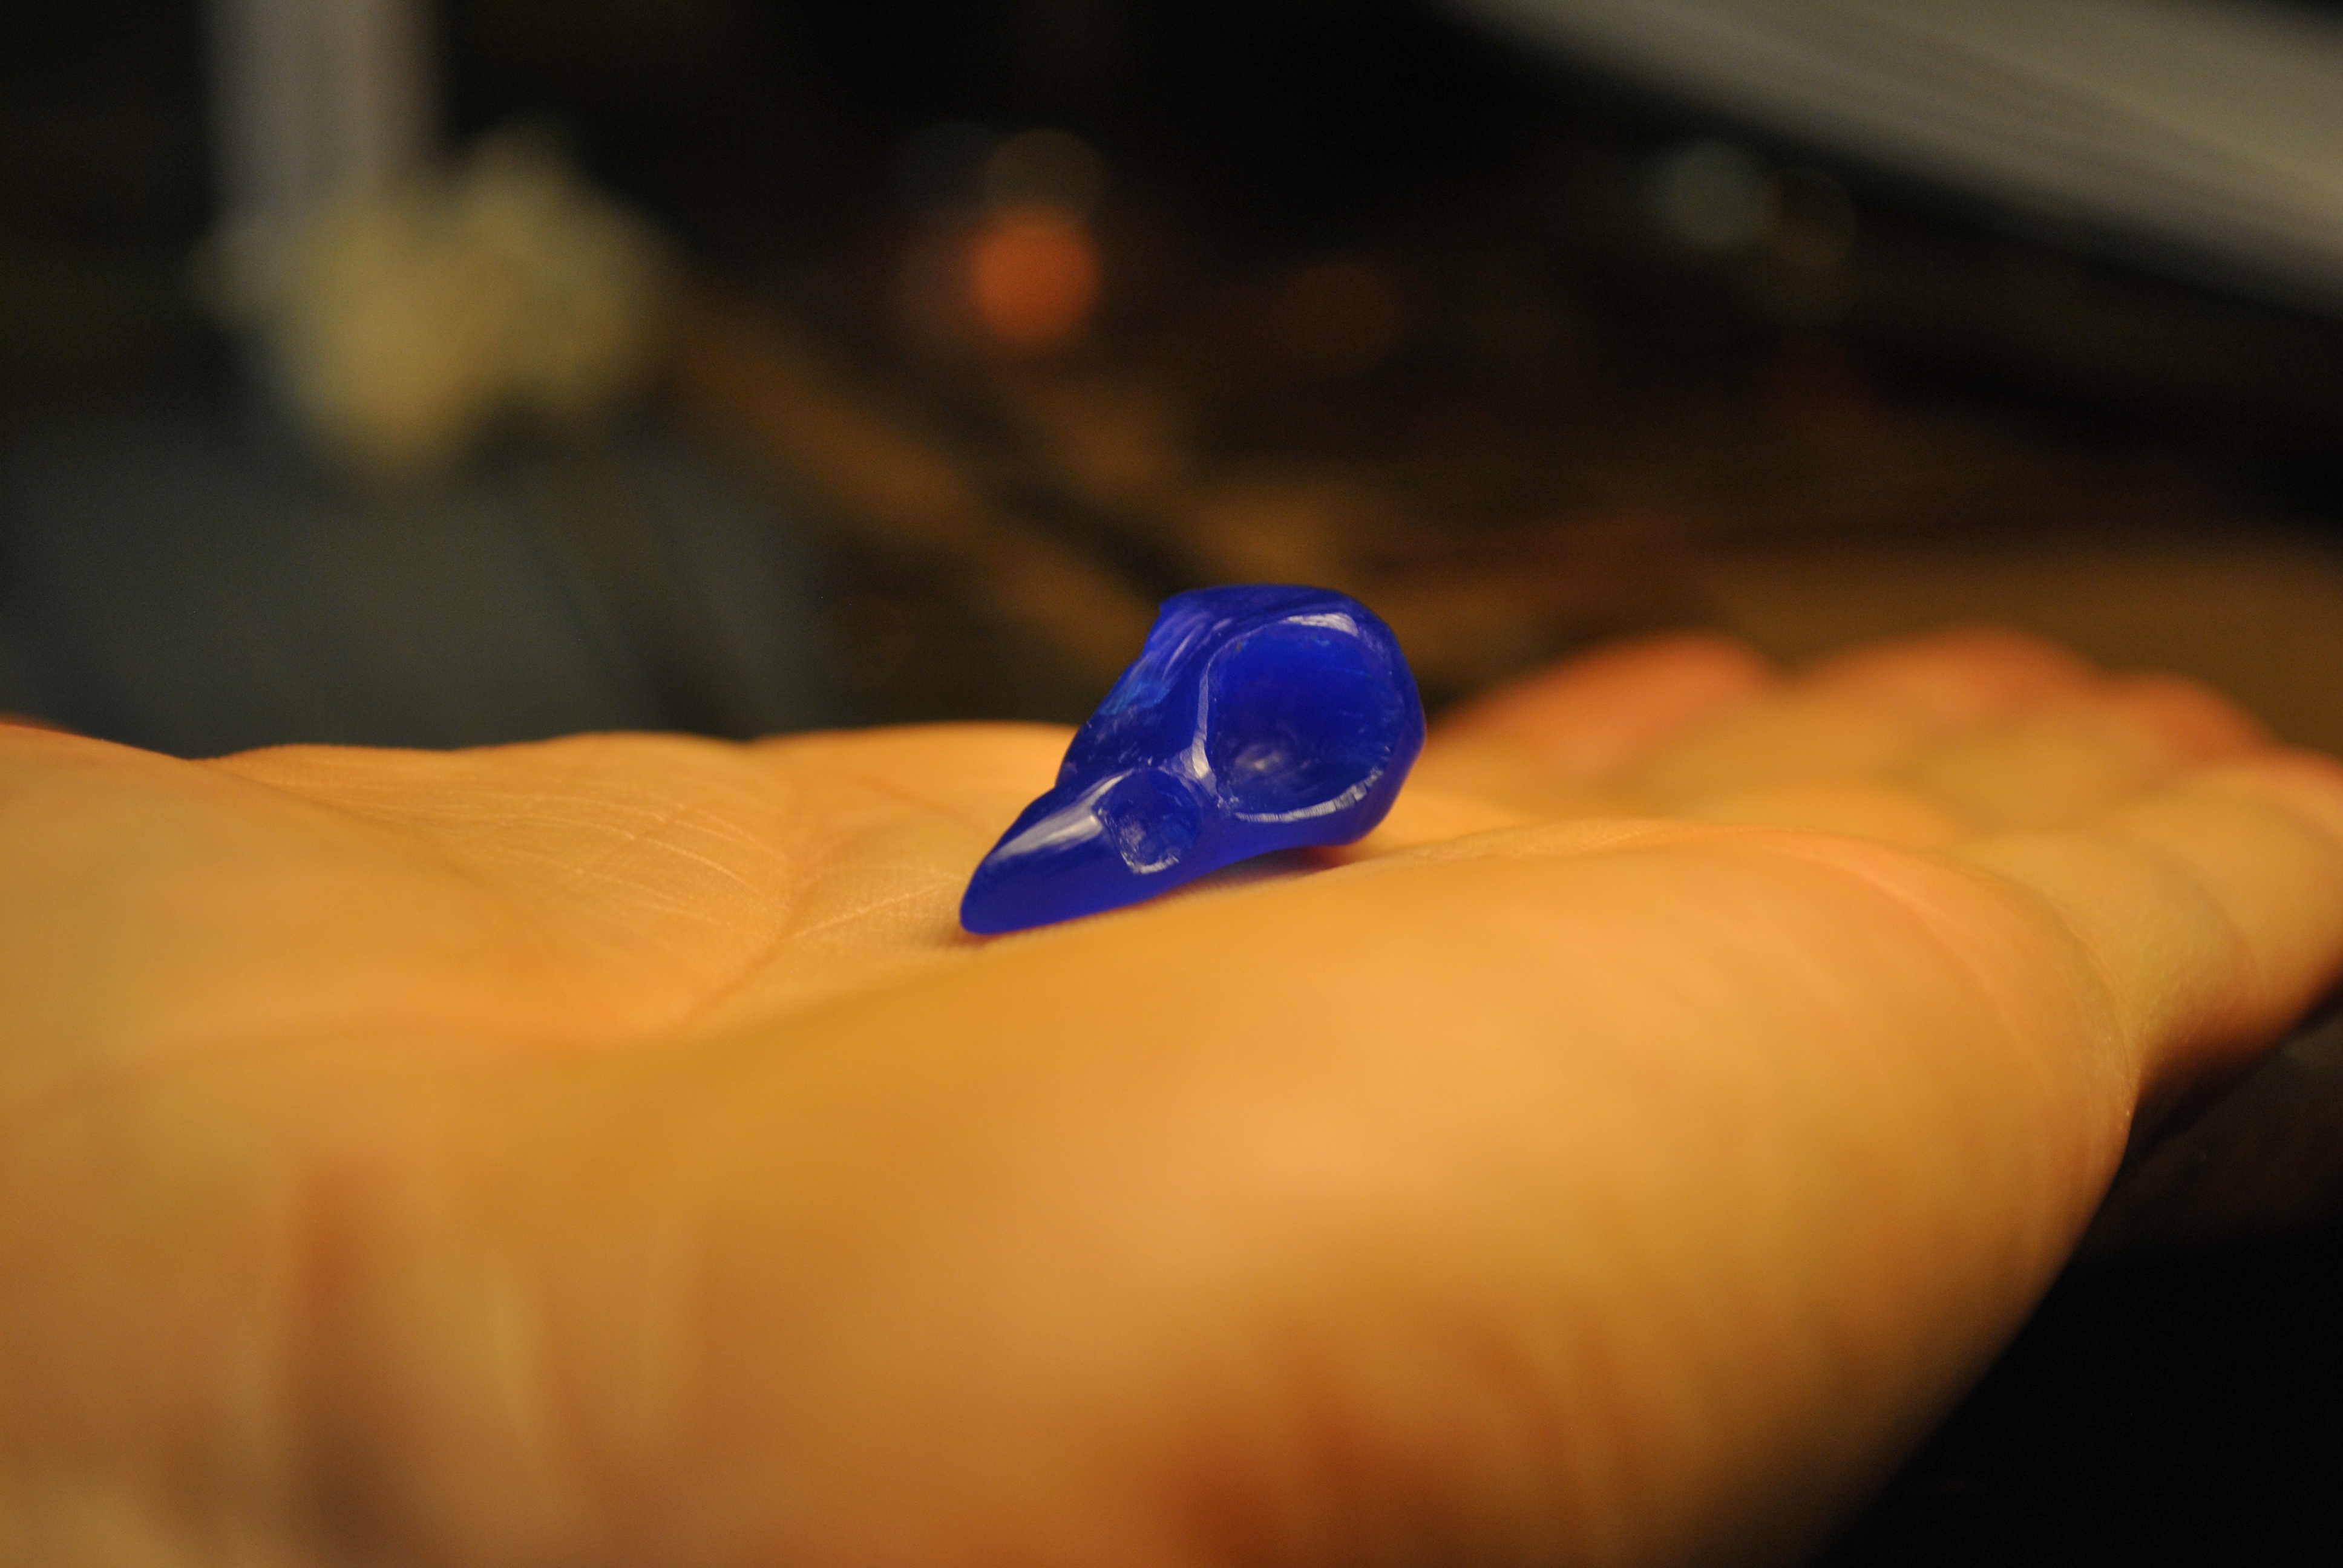
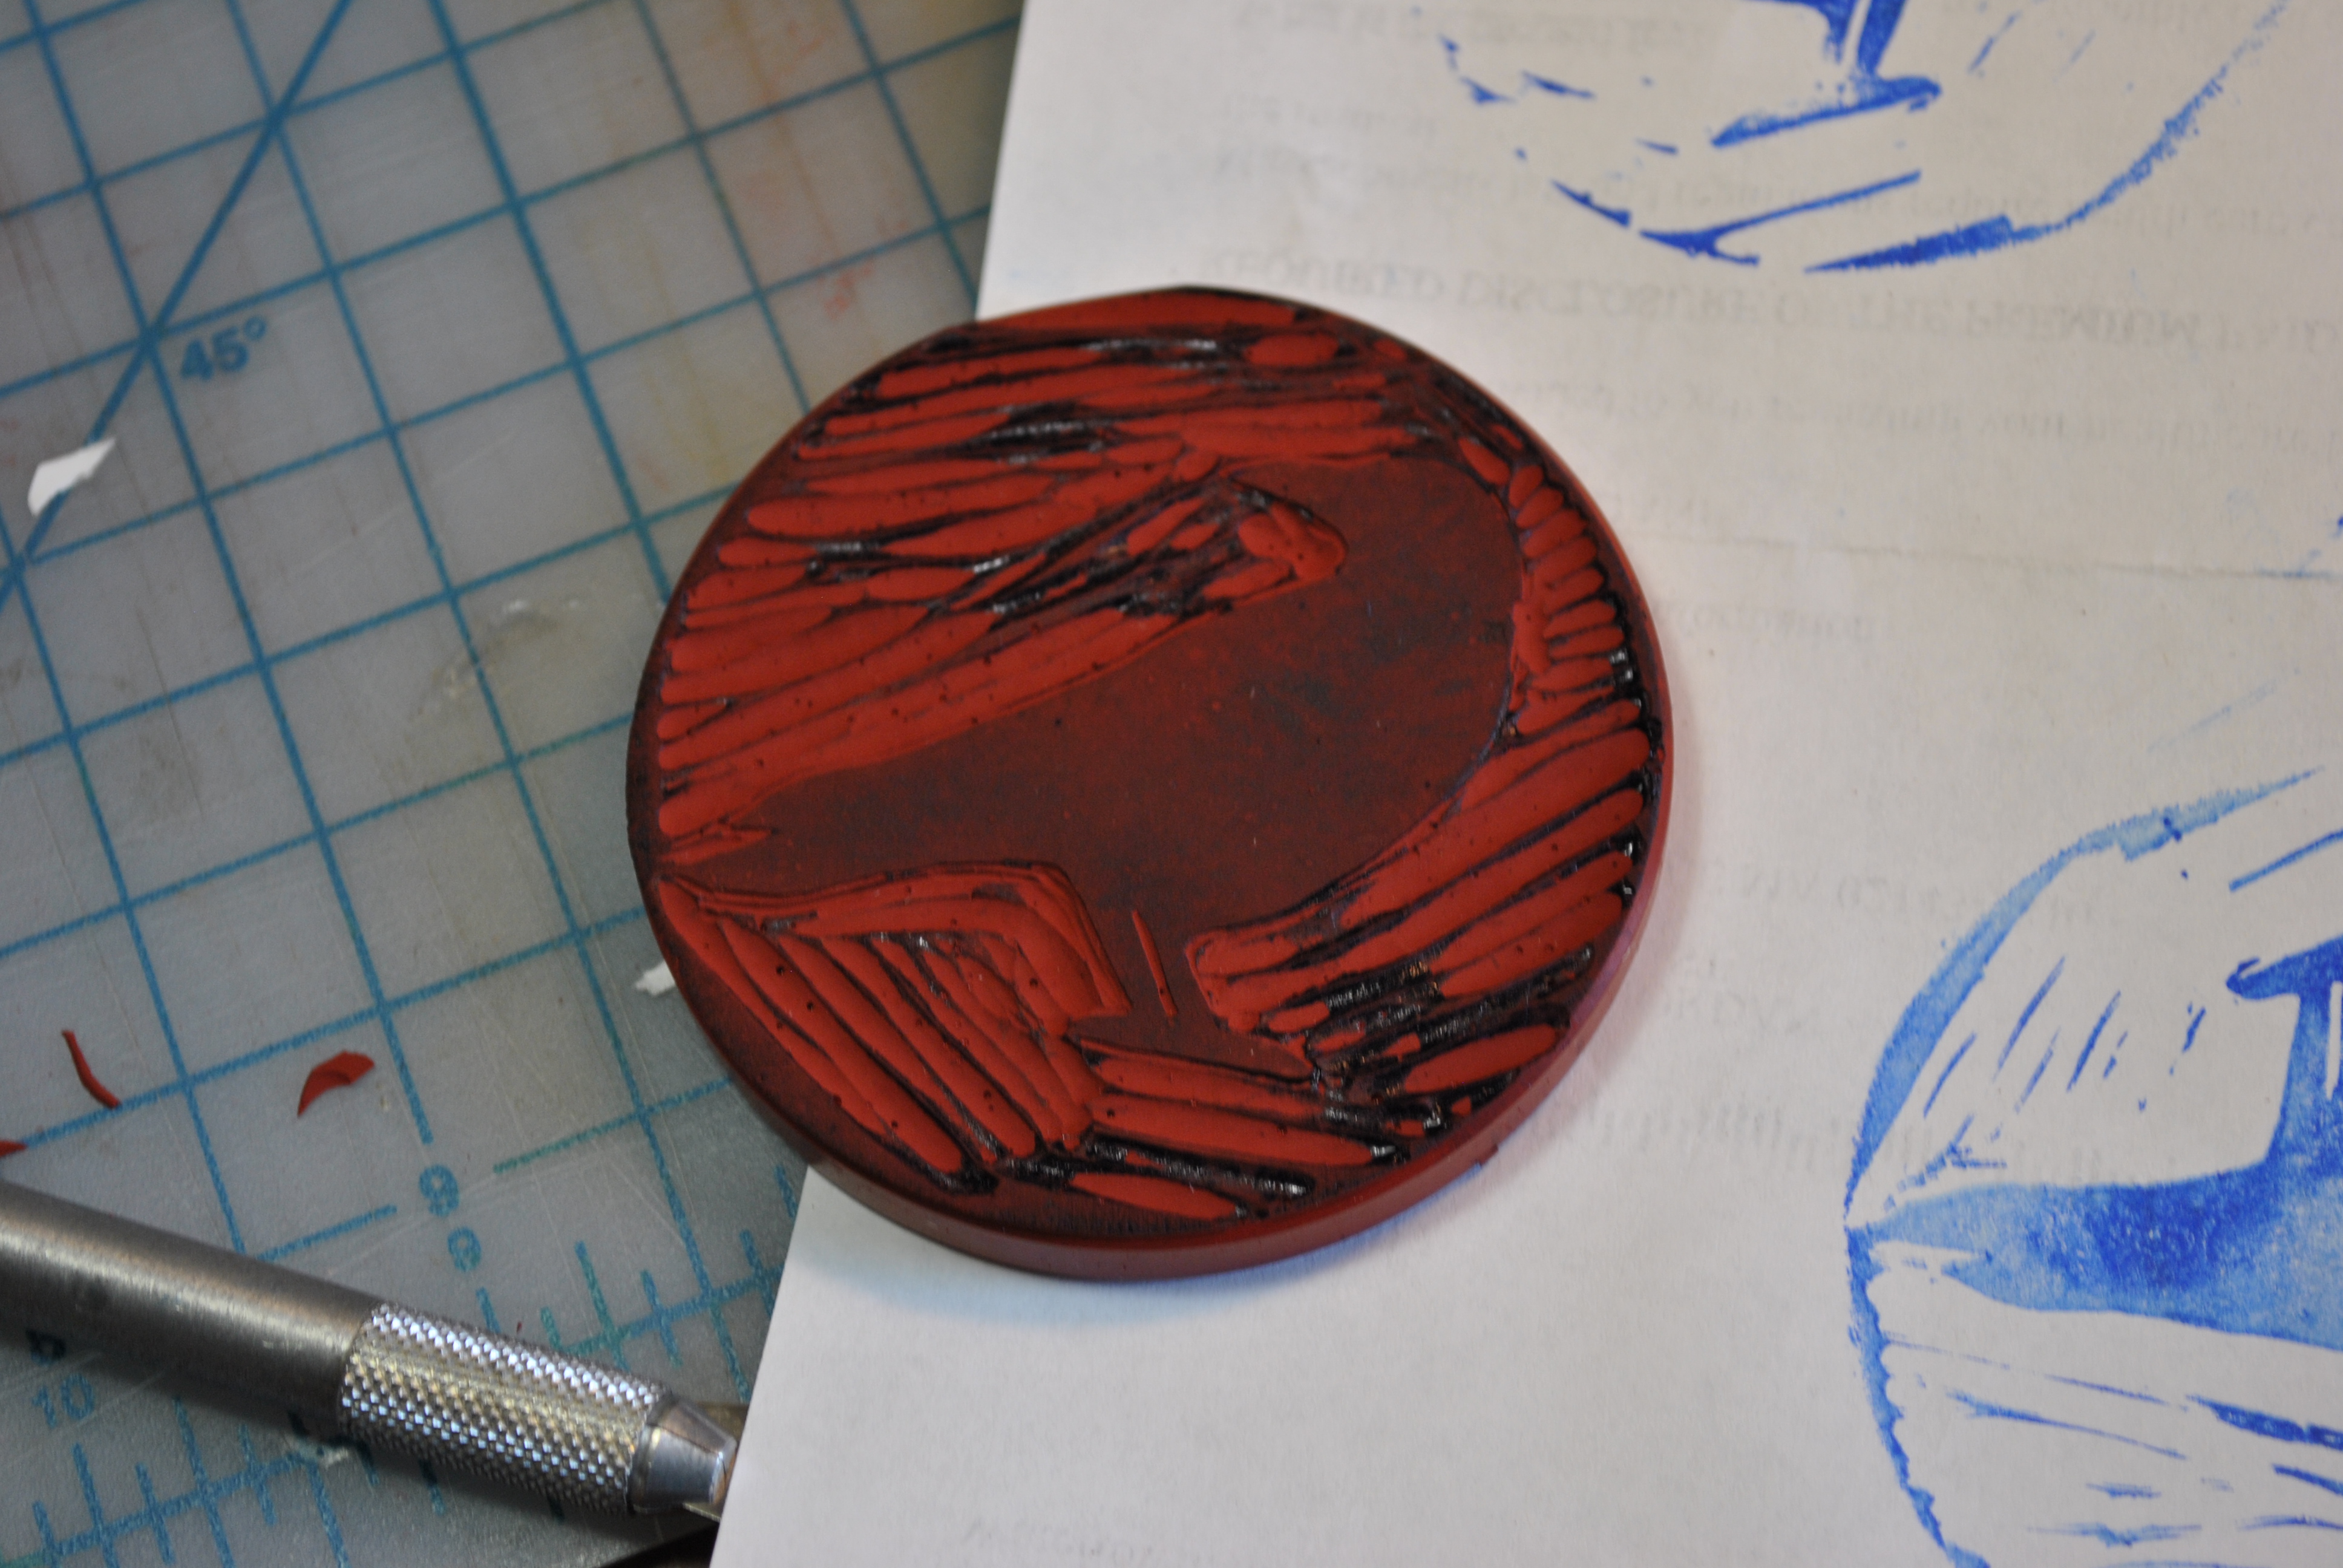
Step one was design something in illustrator, print it out and glue it to some matt’s wax carving wax.

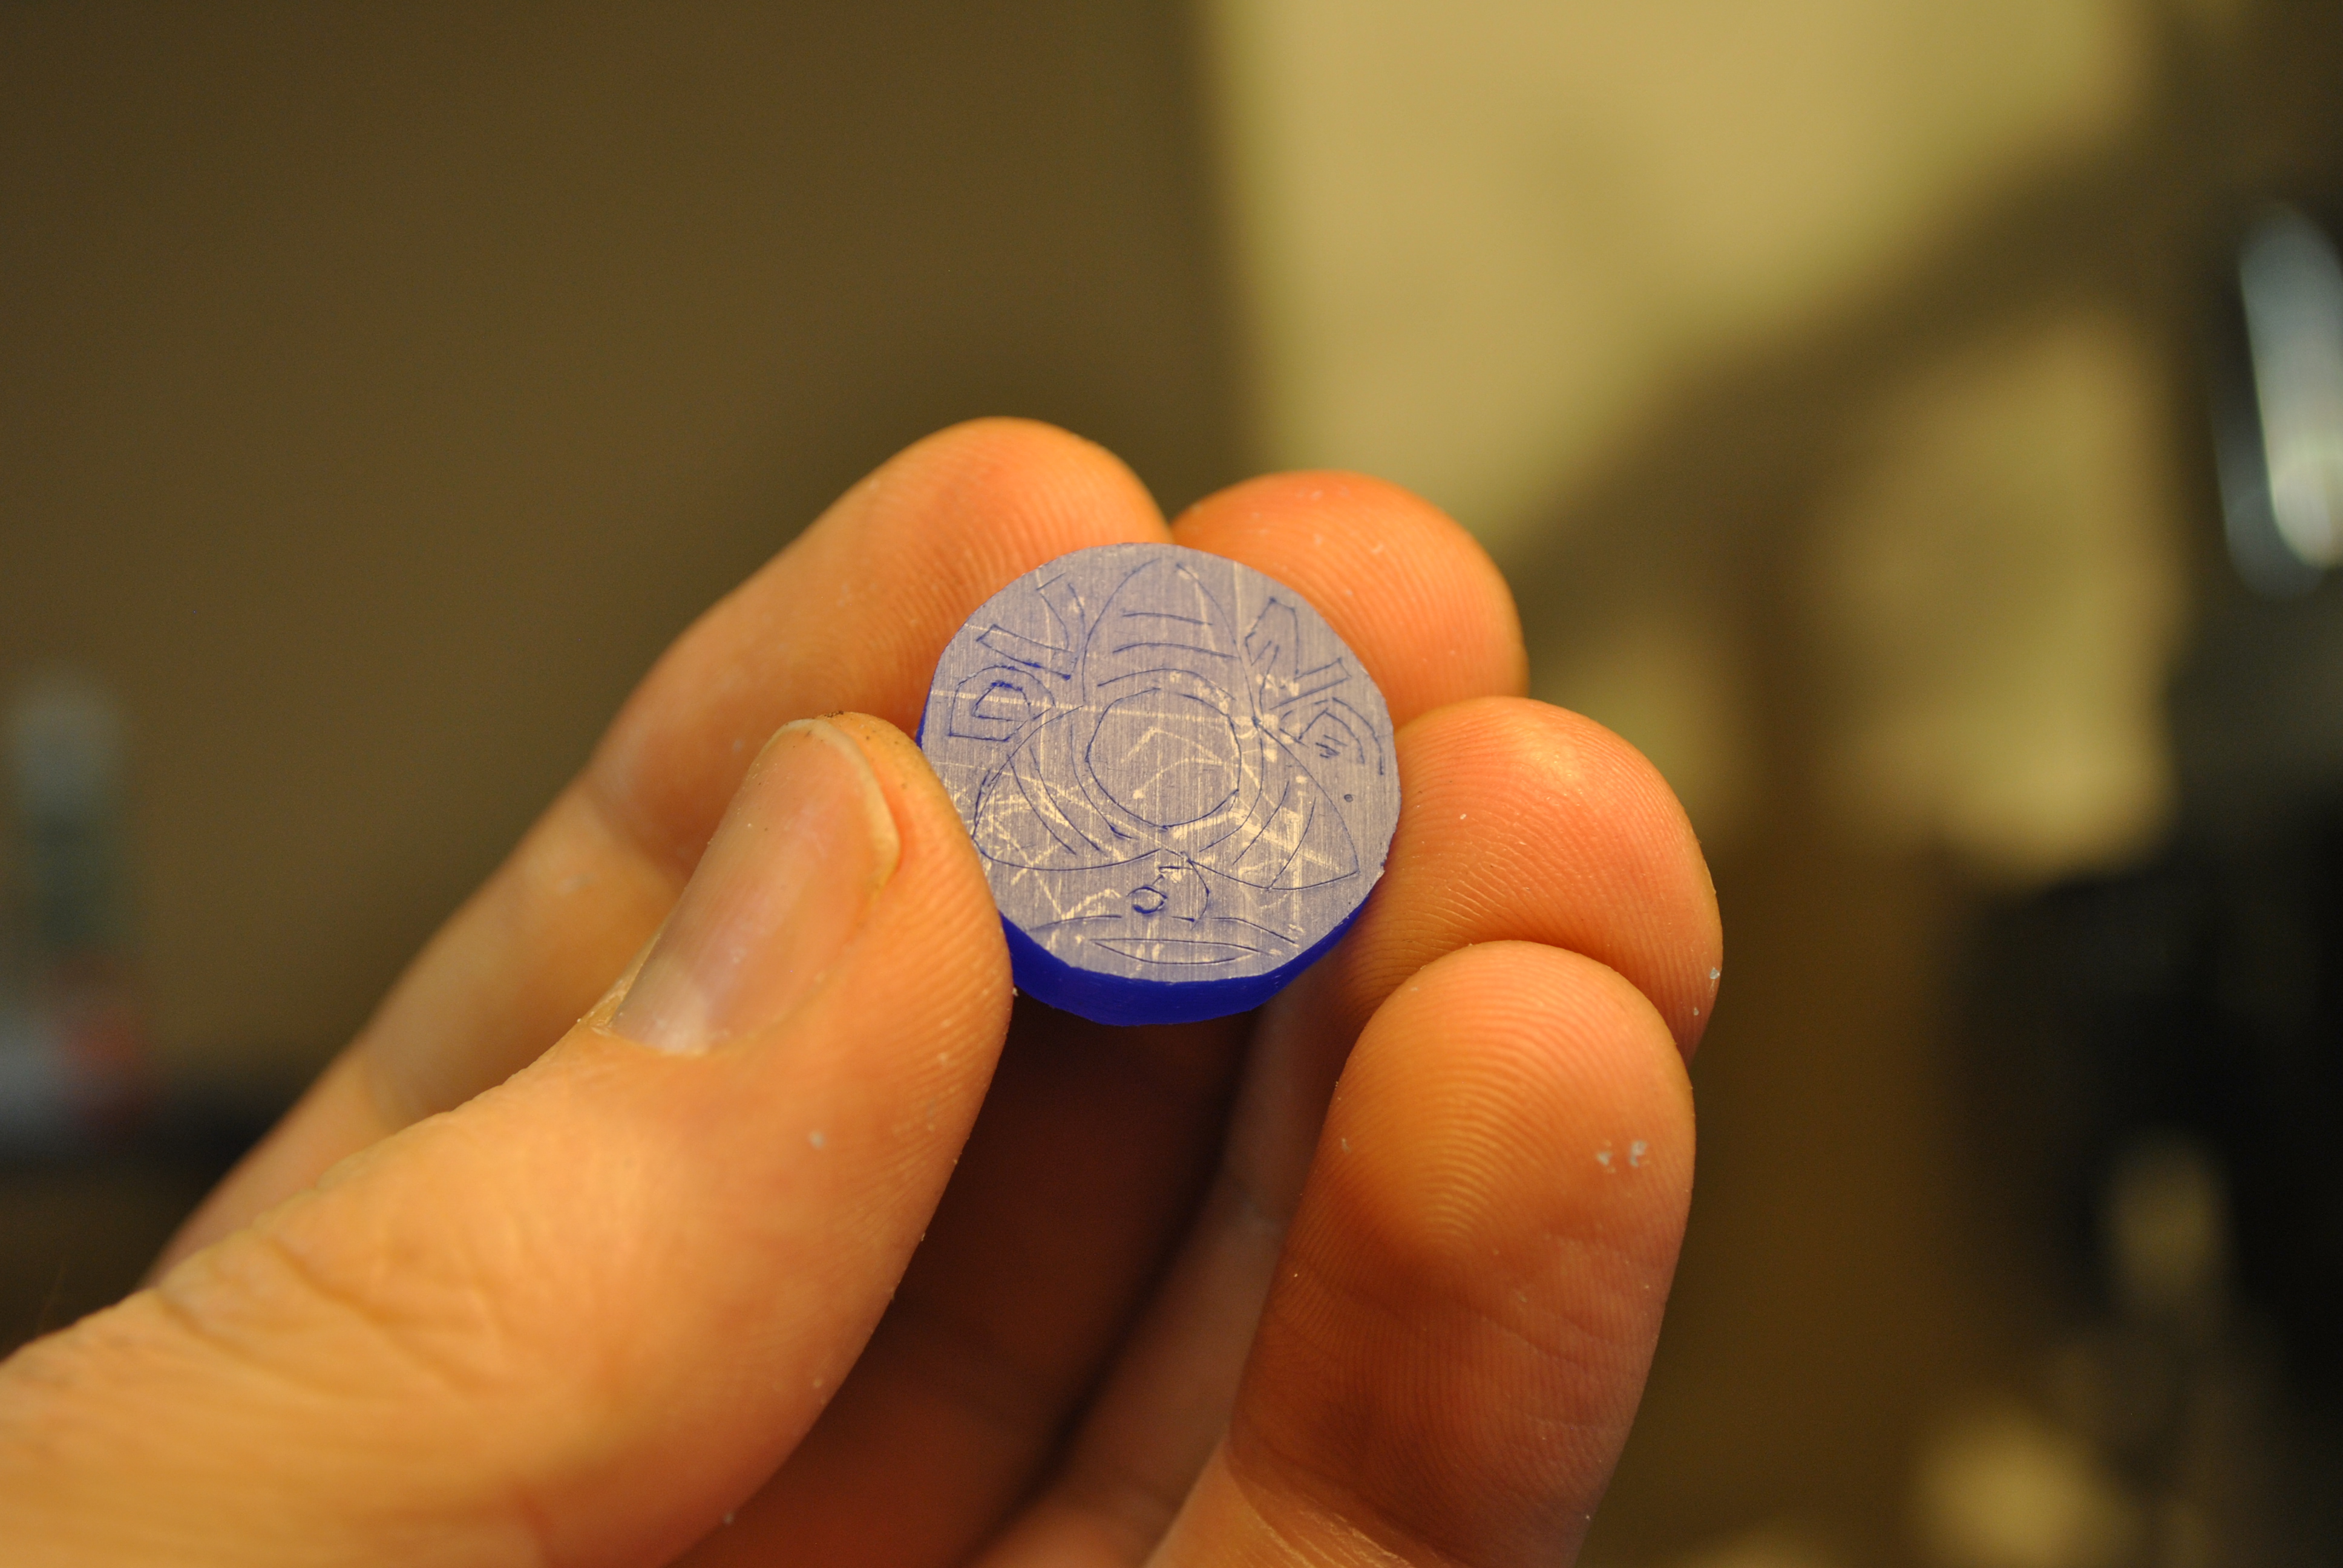
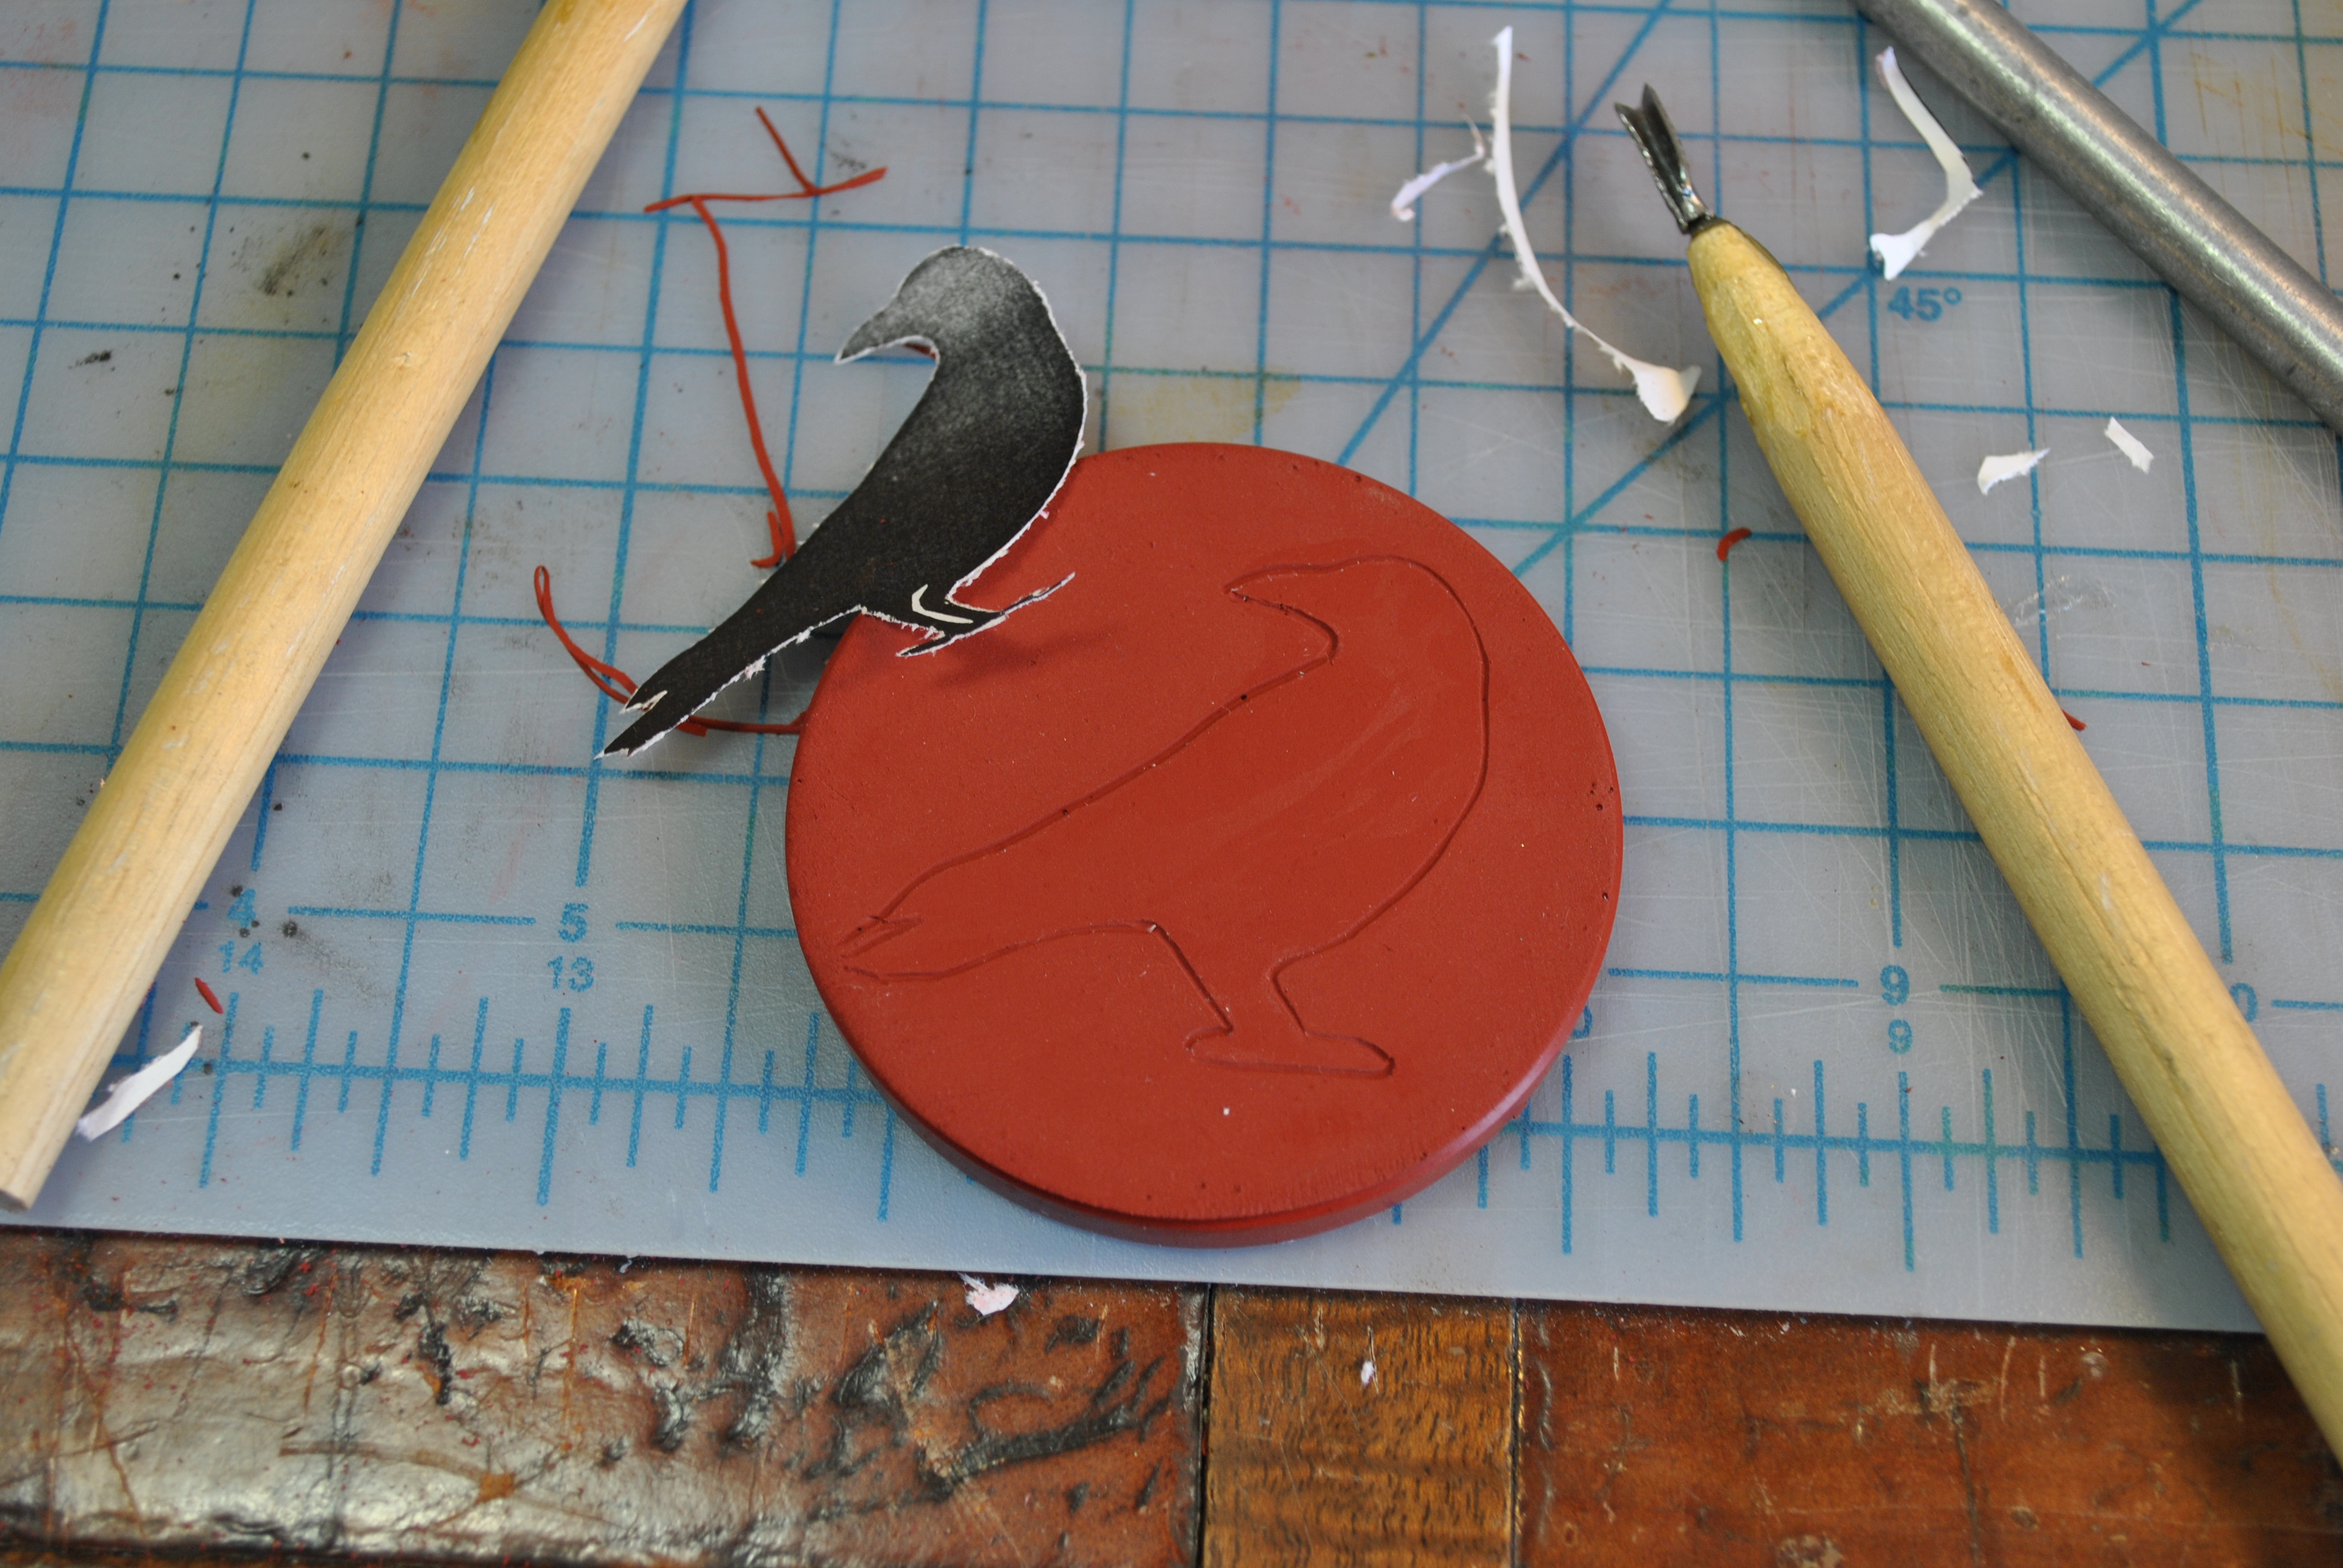
I used an X-acto knife to cut the design onto the wax

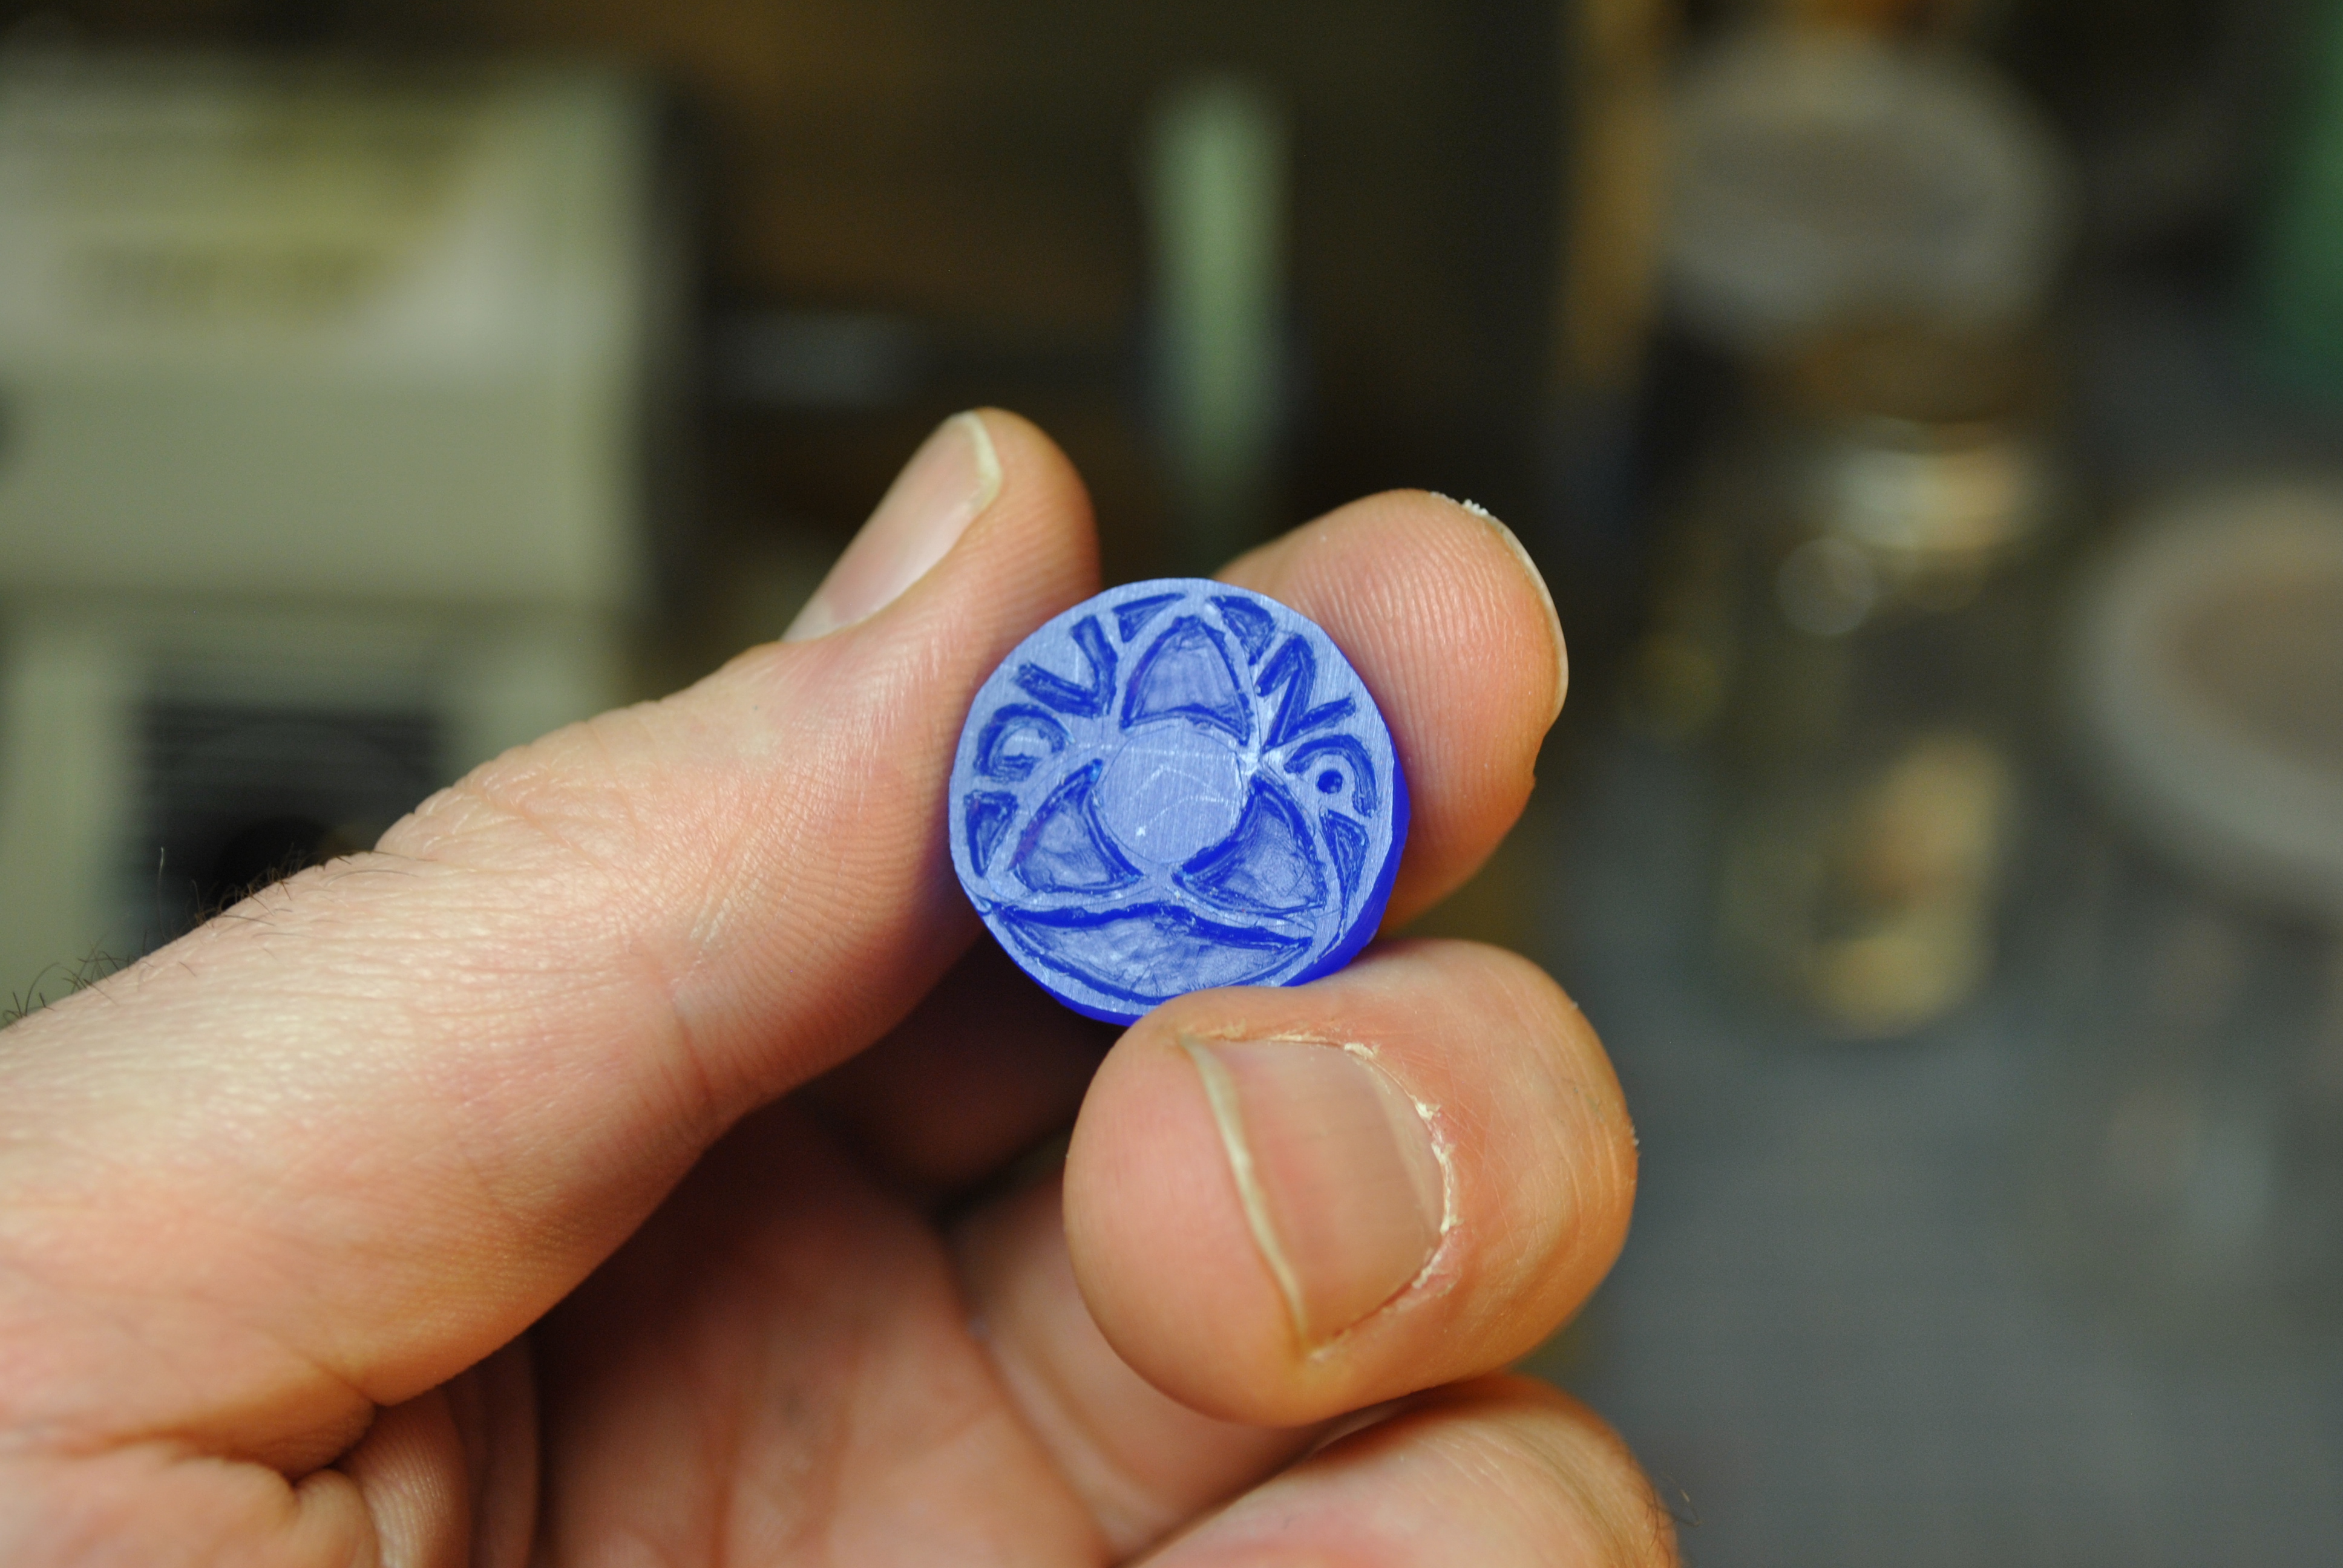
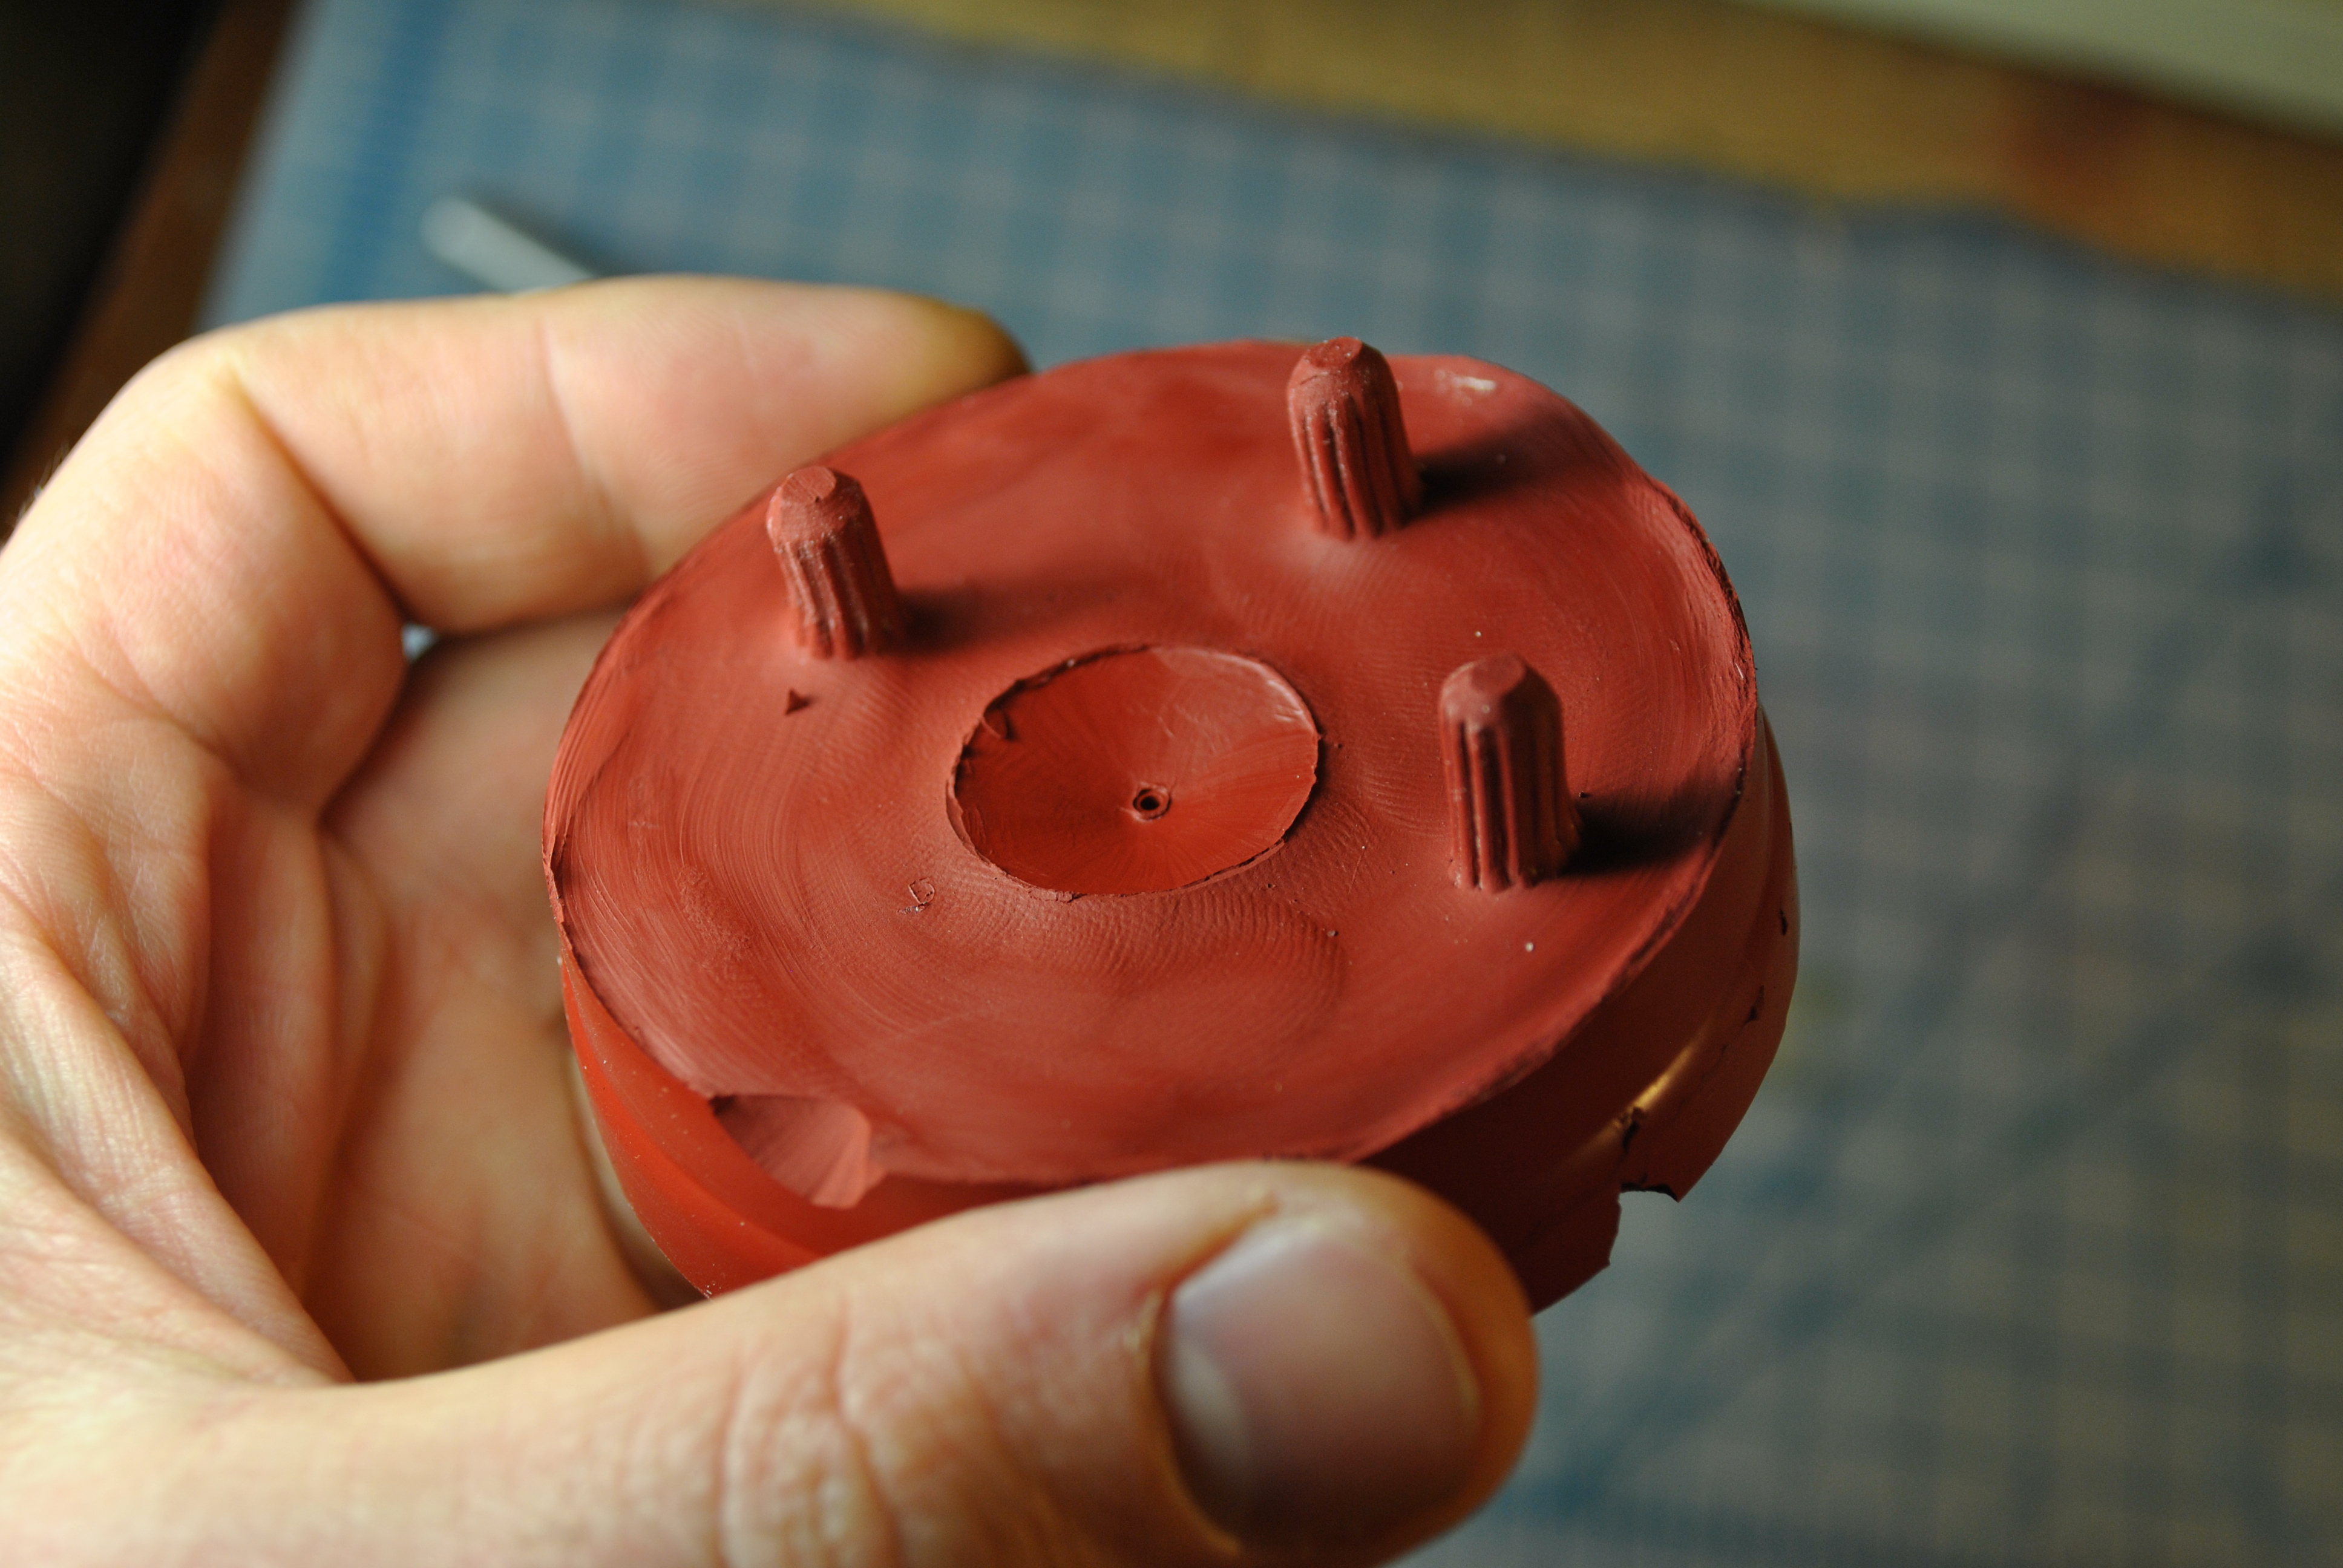
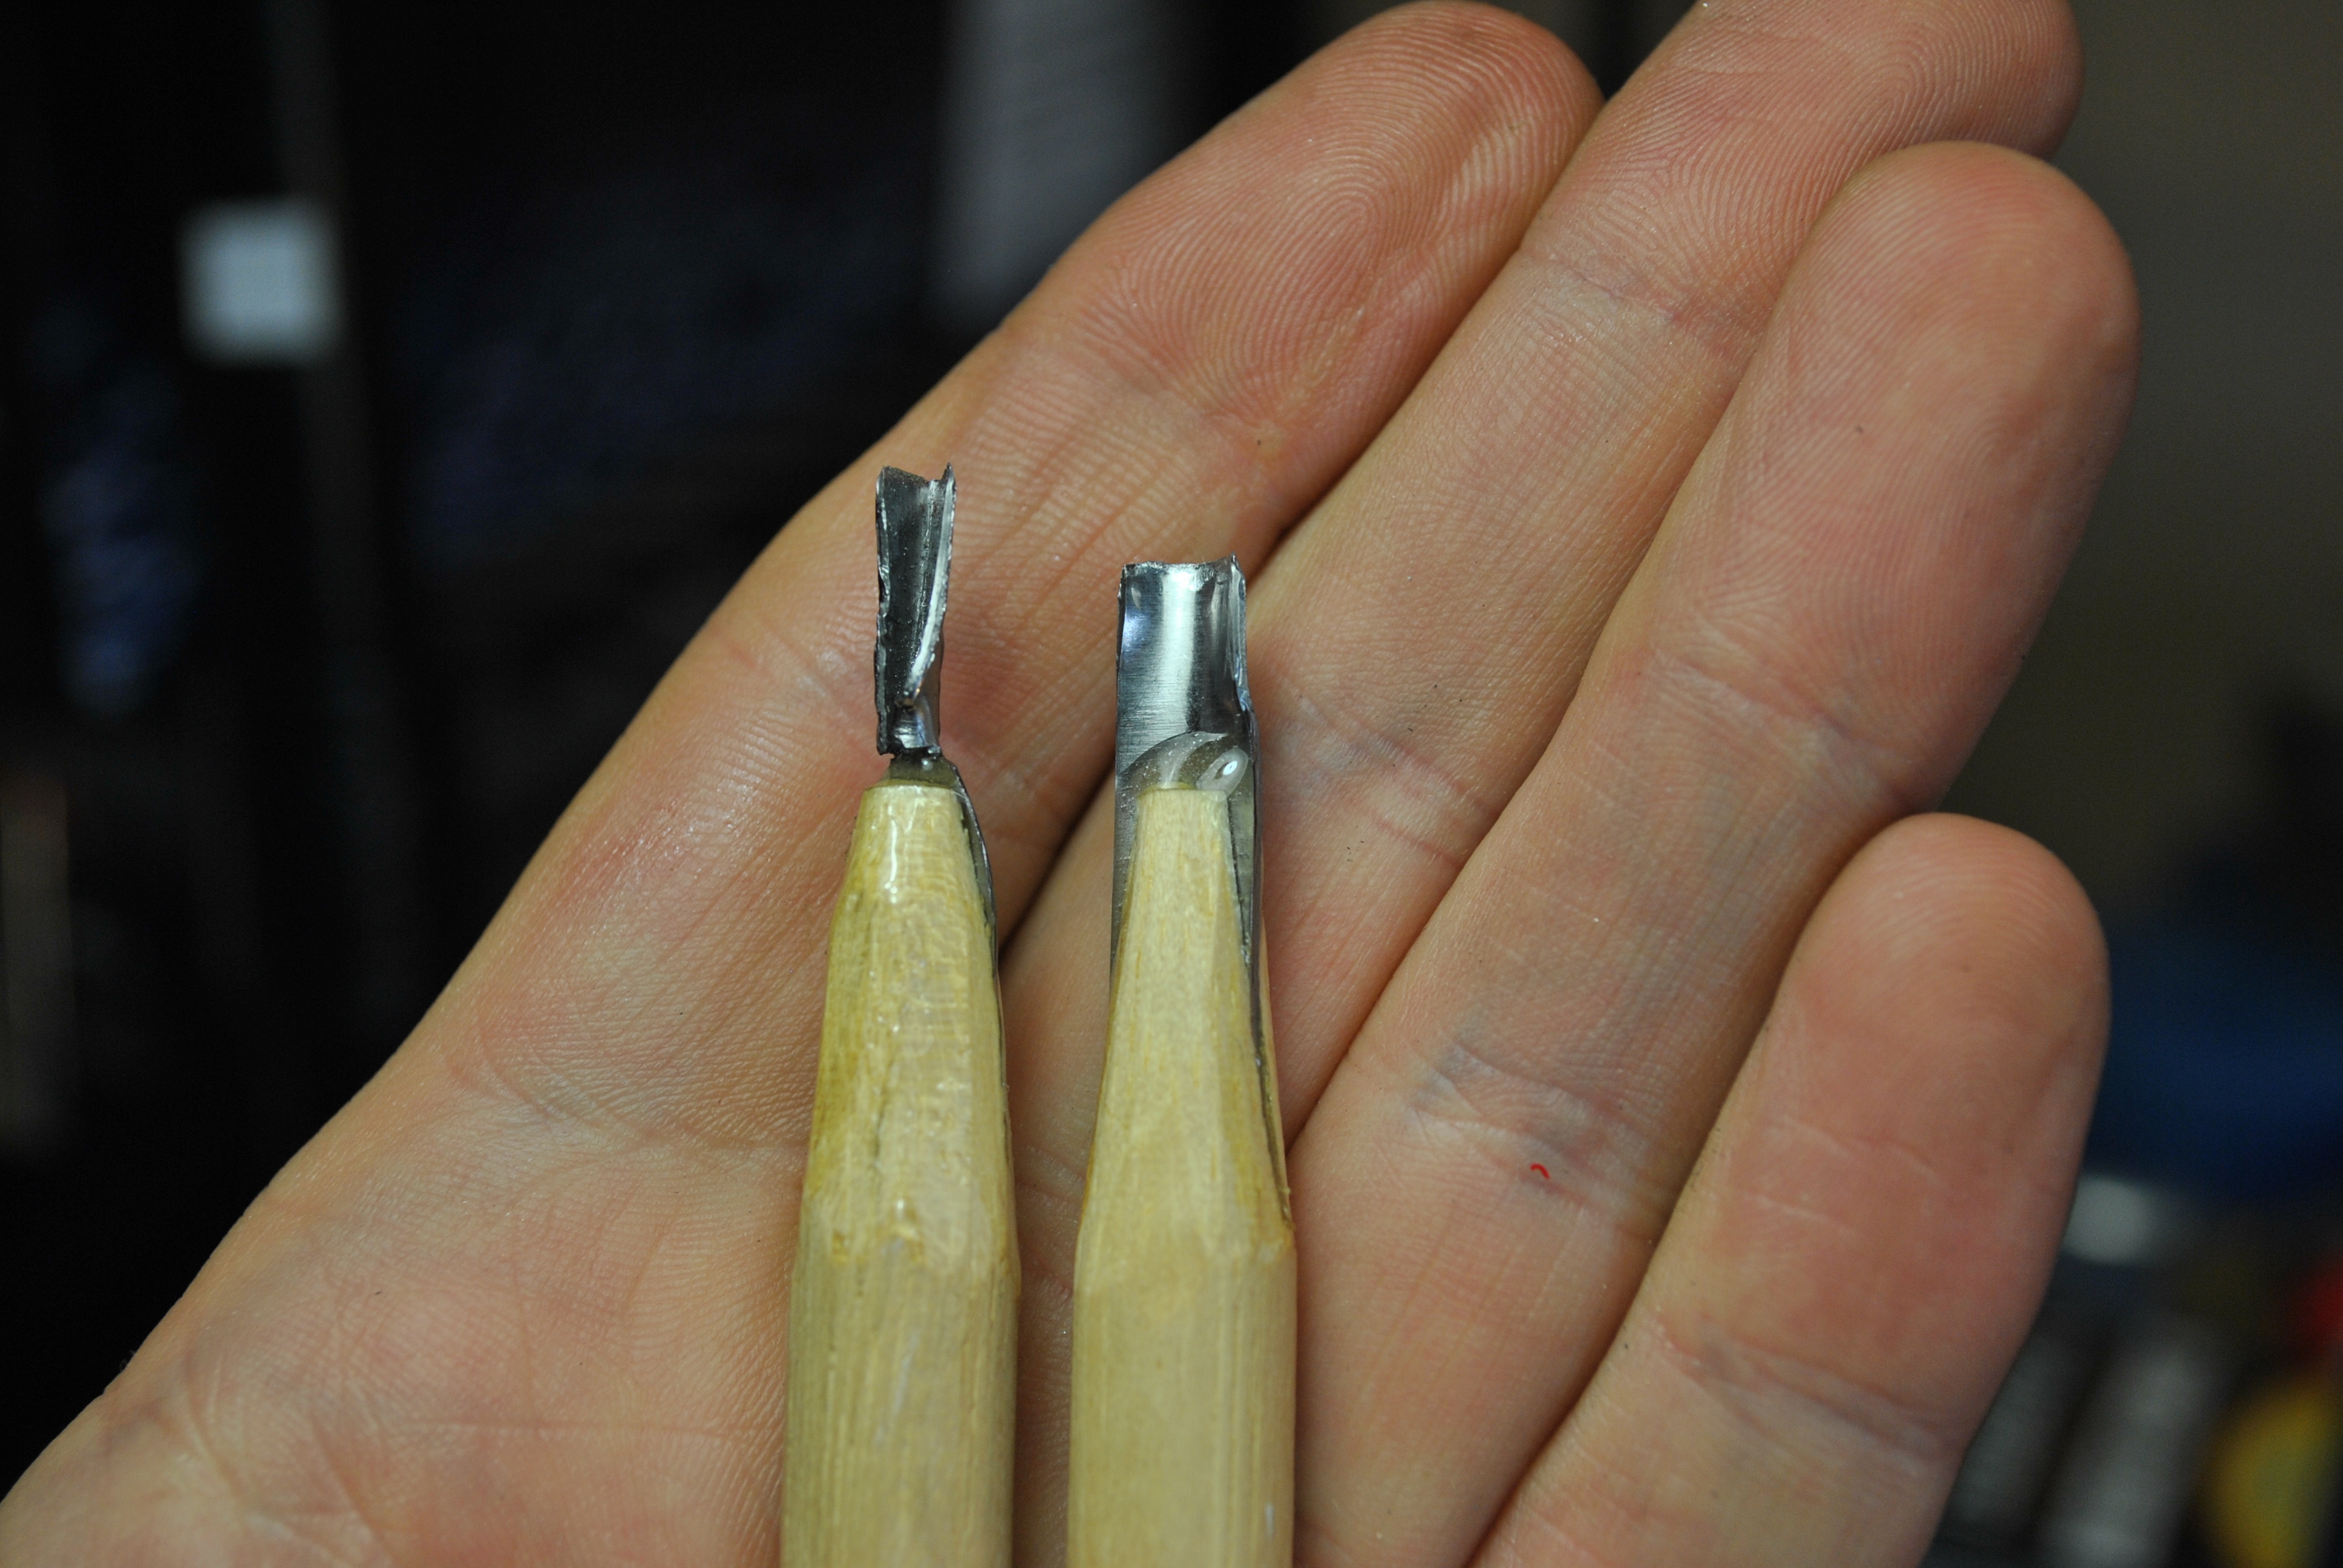
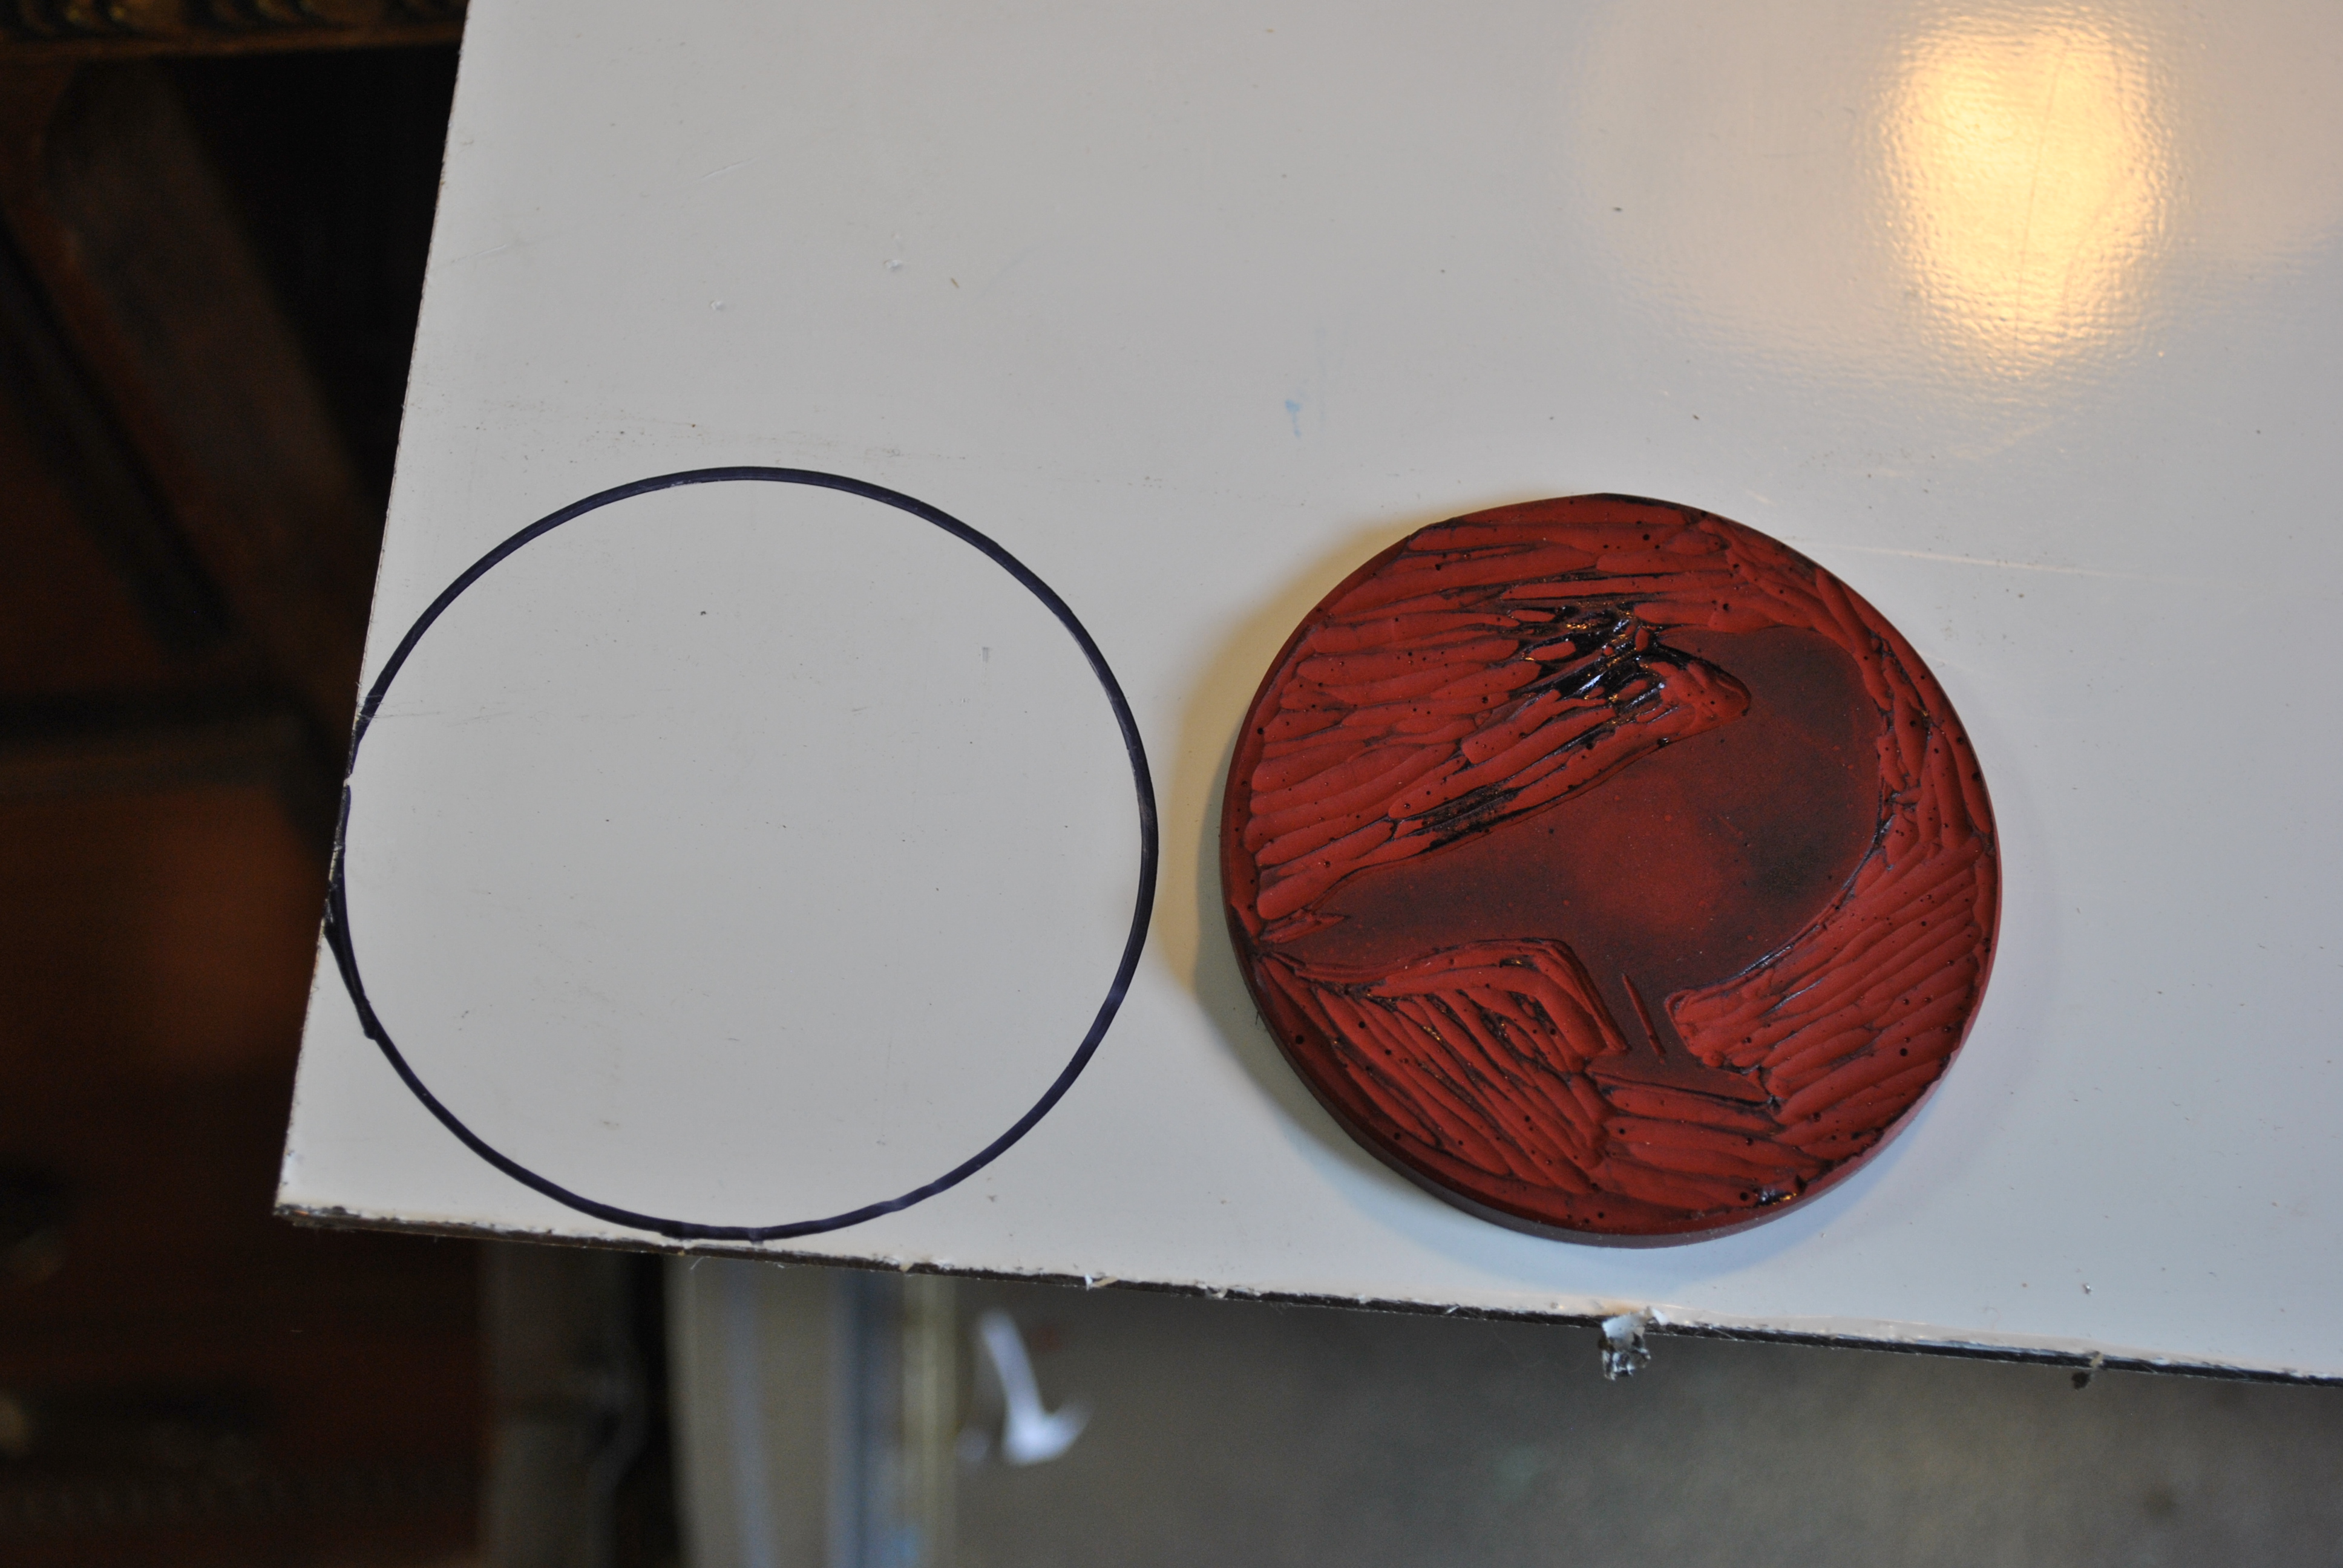
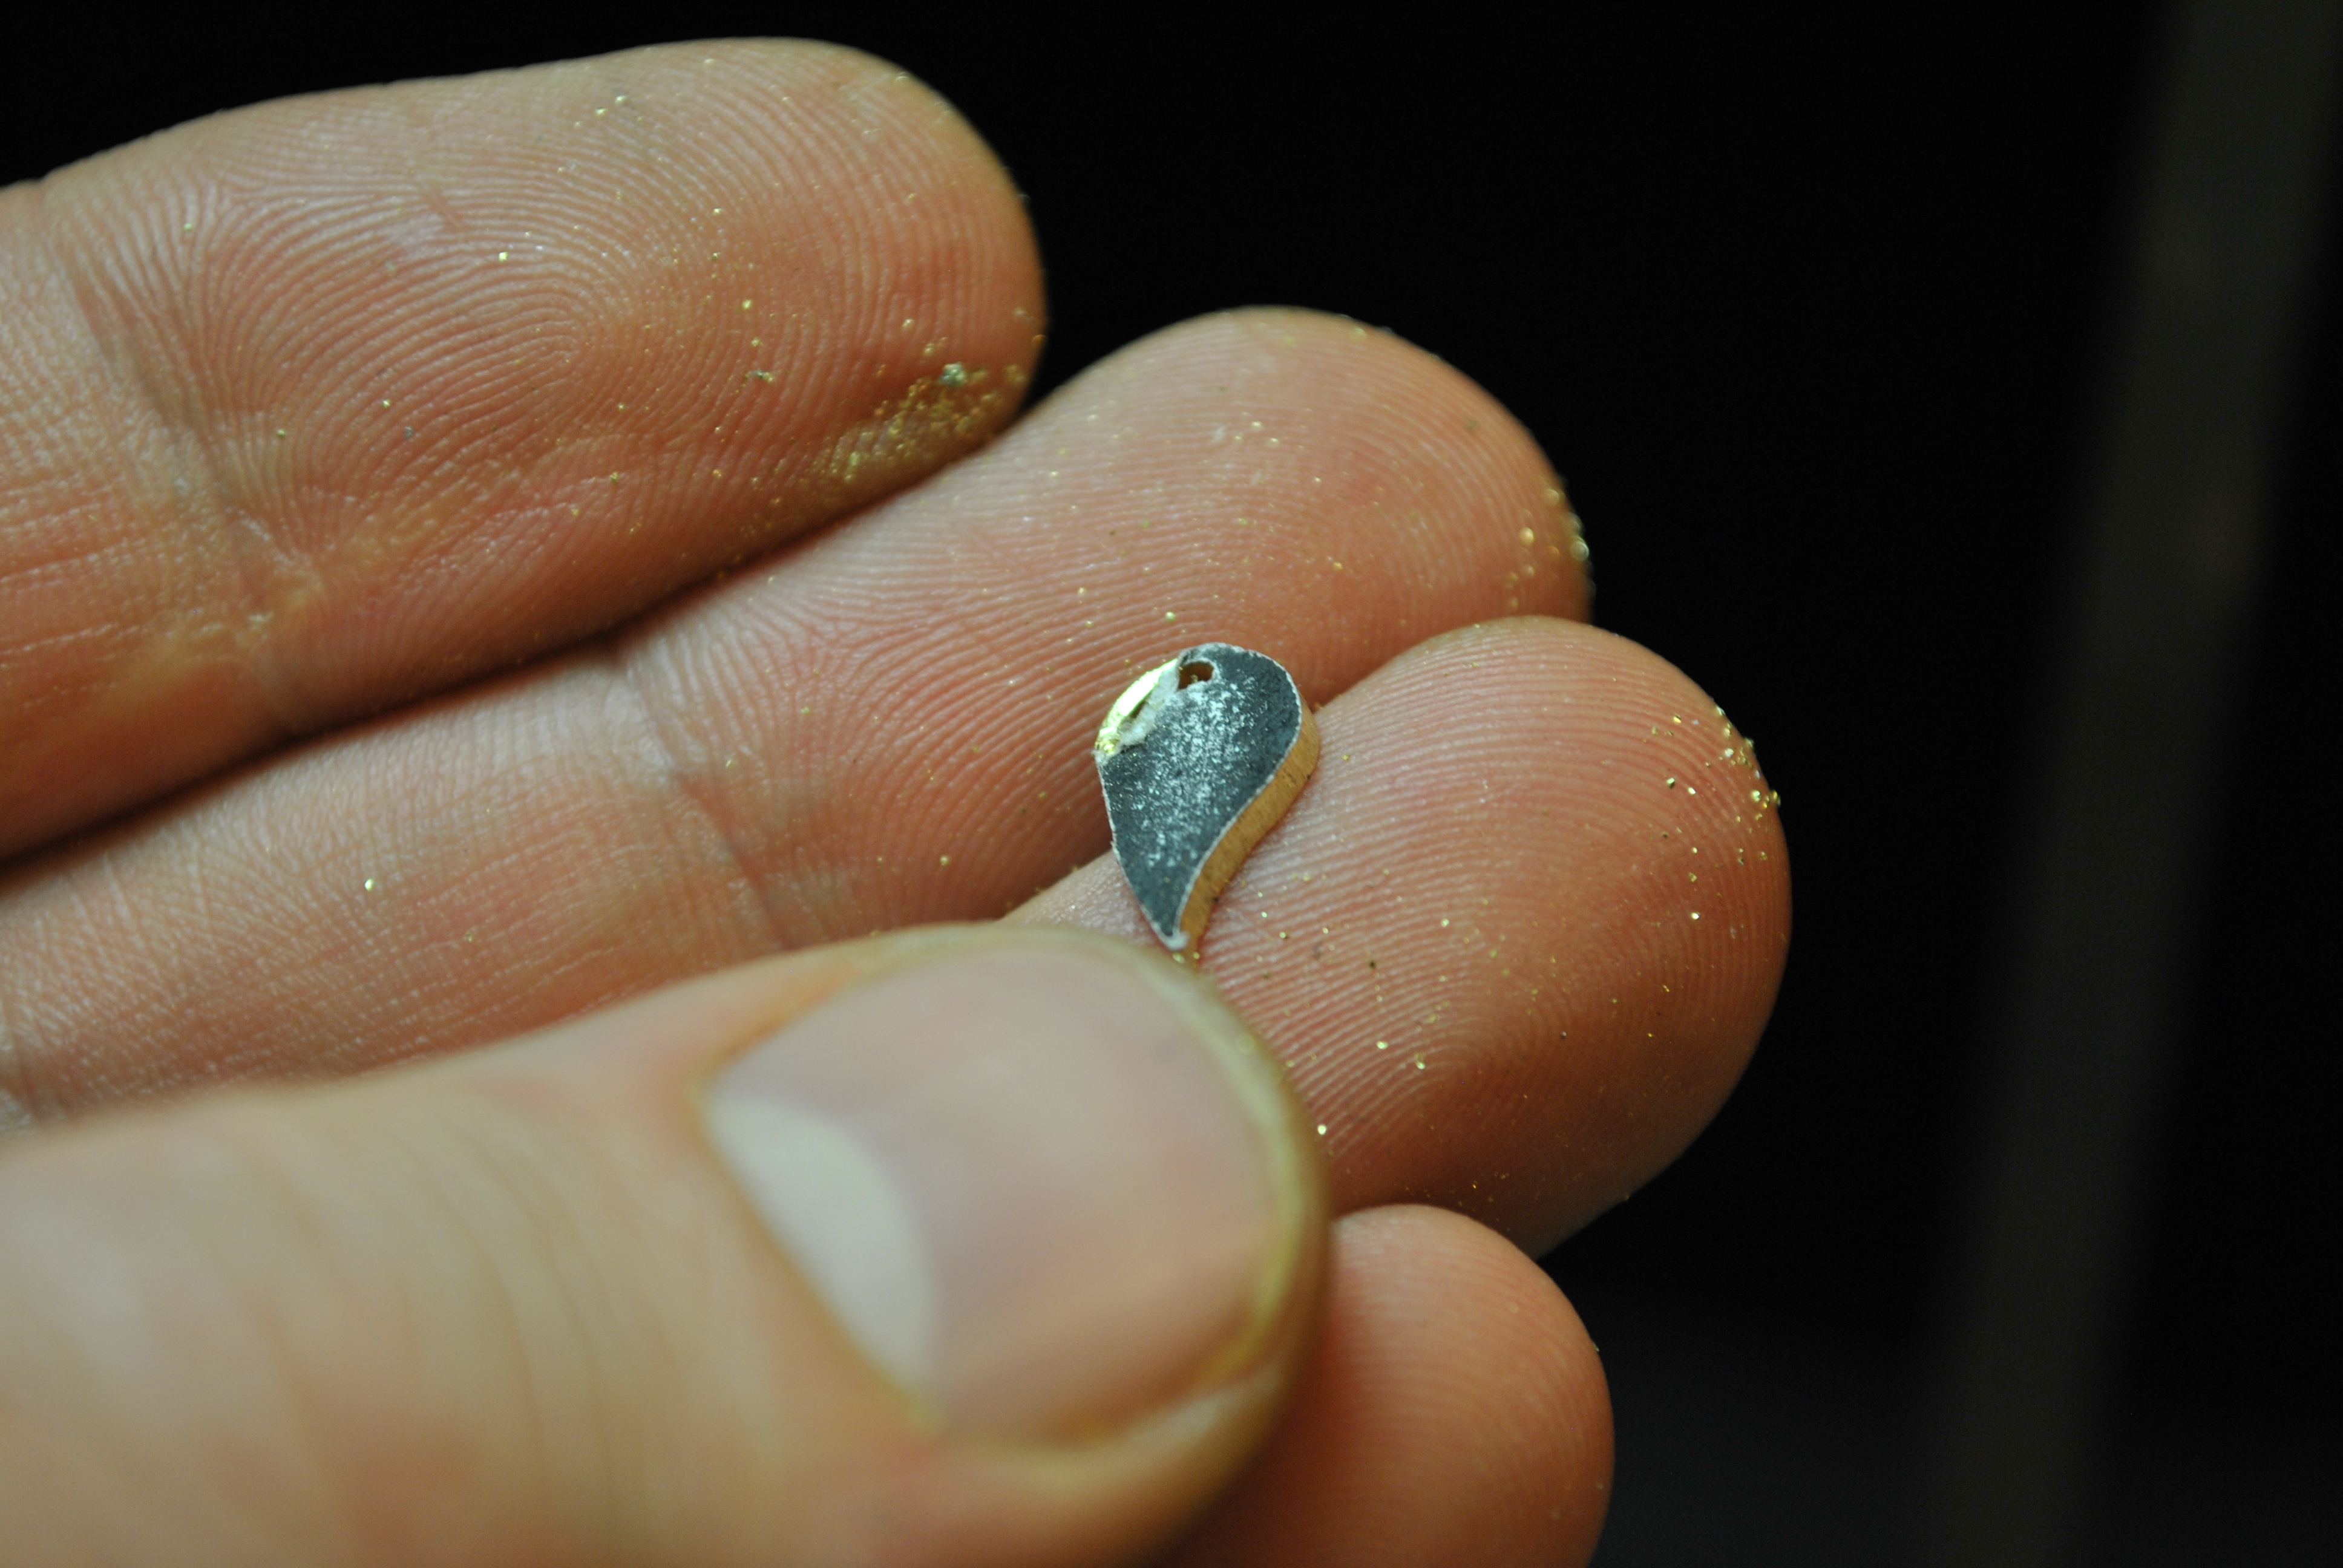
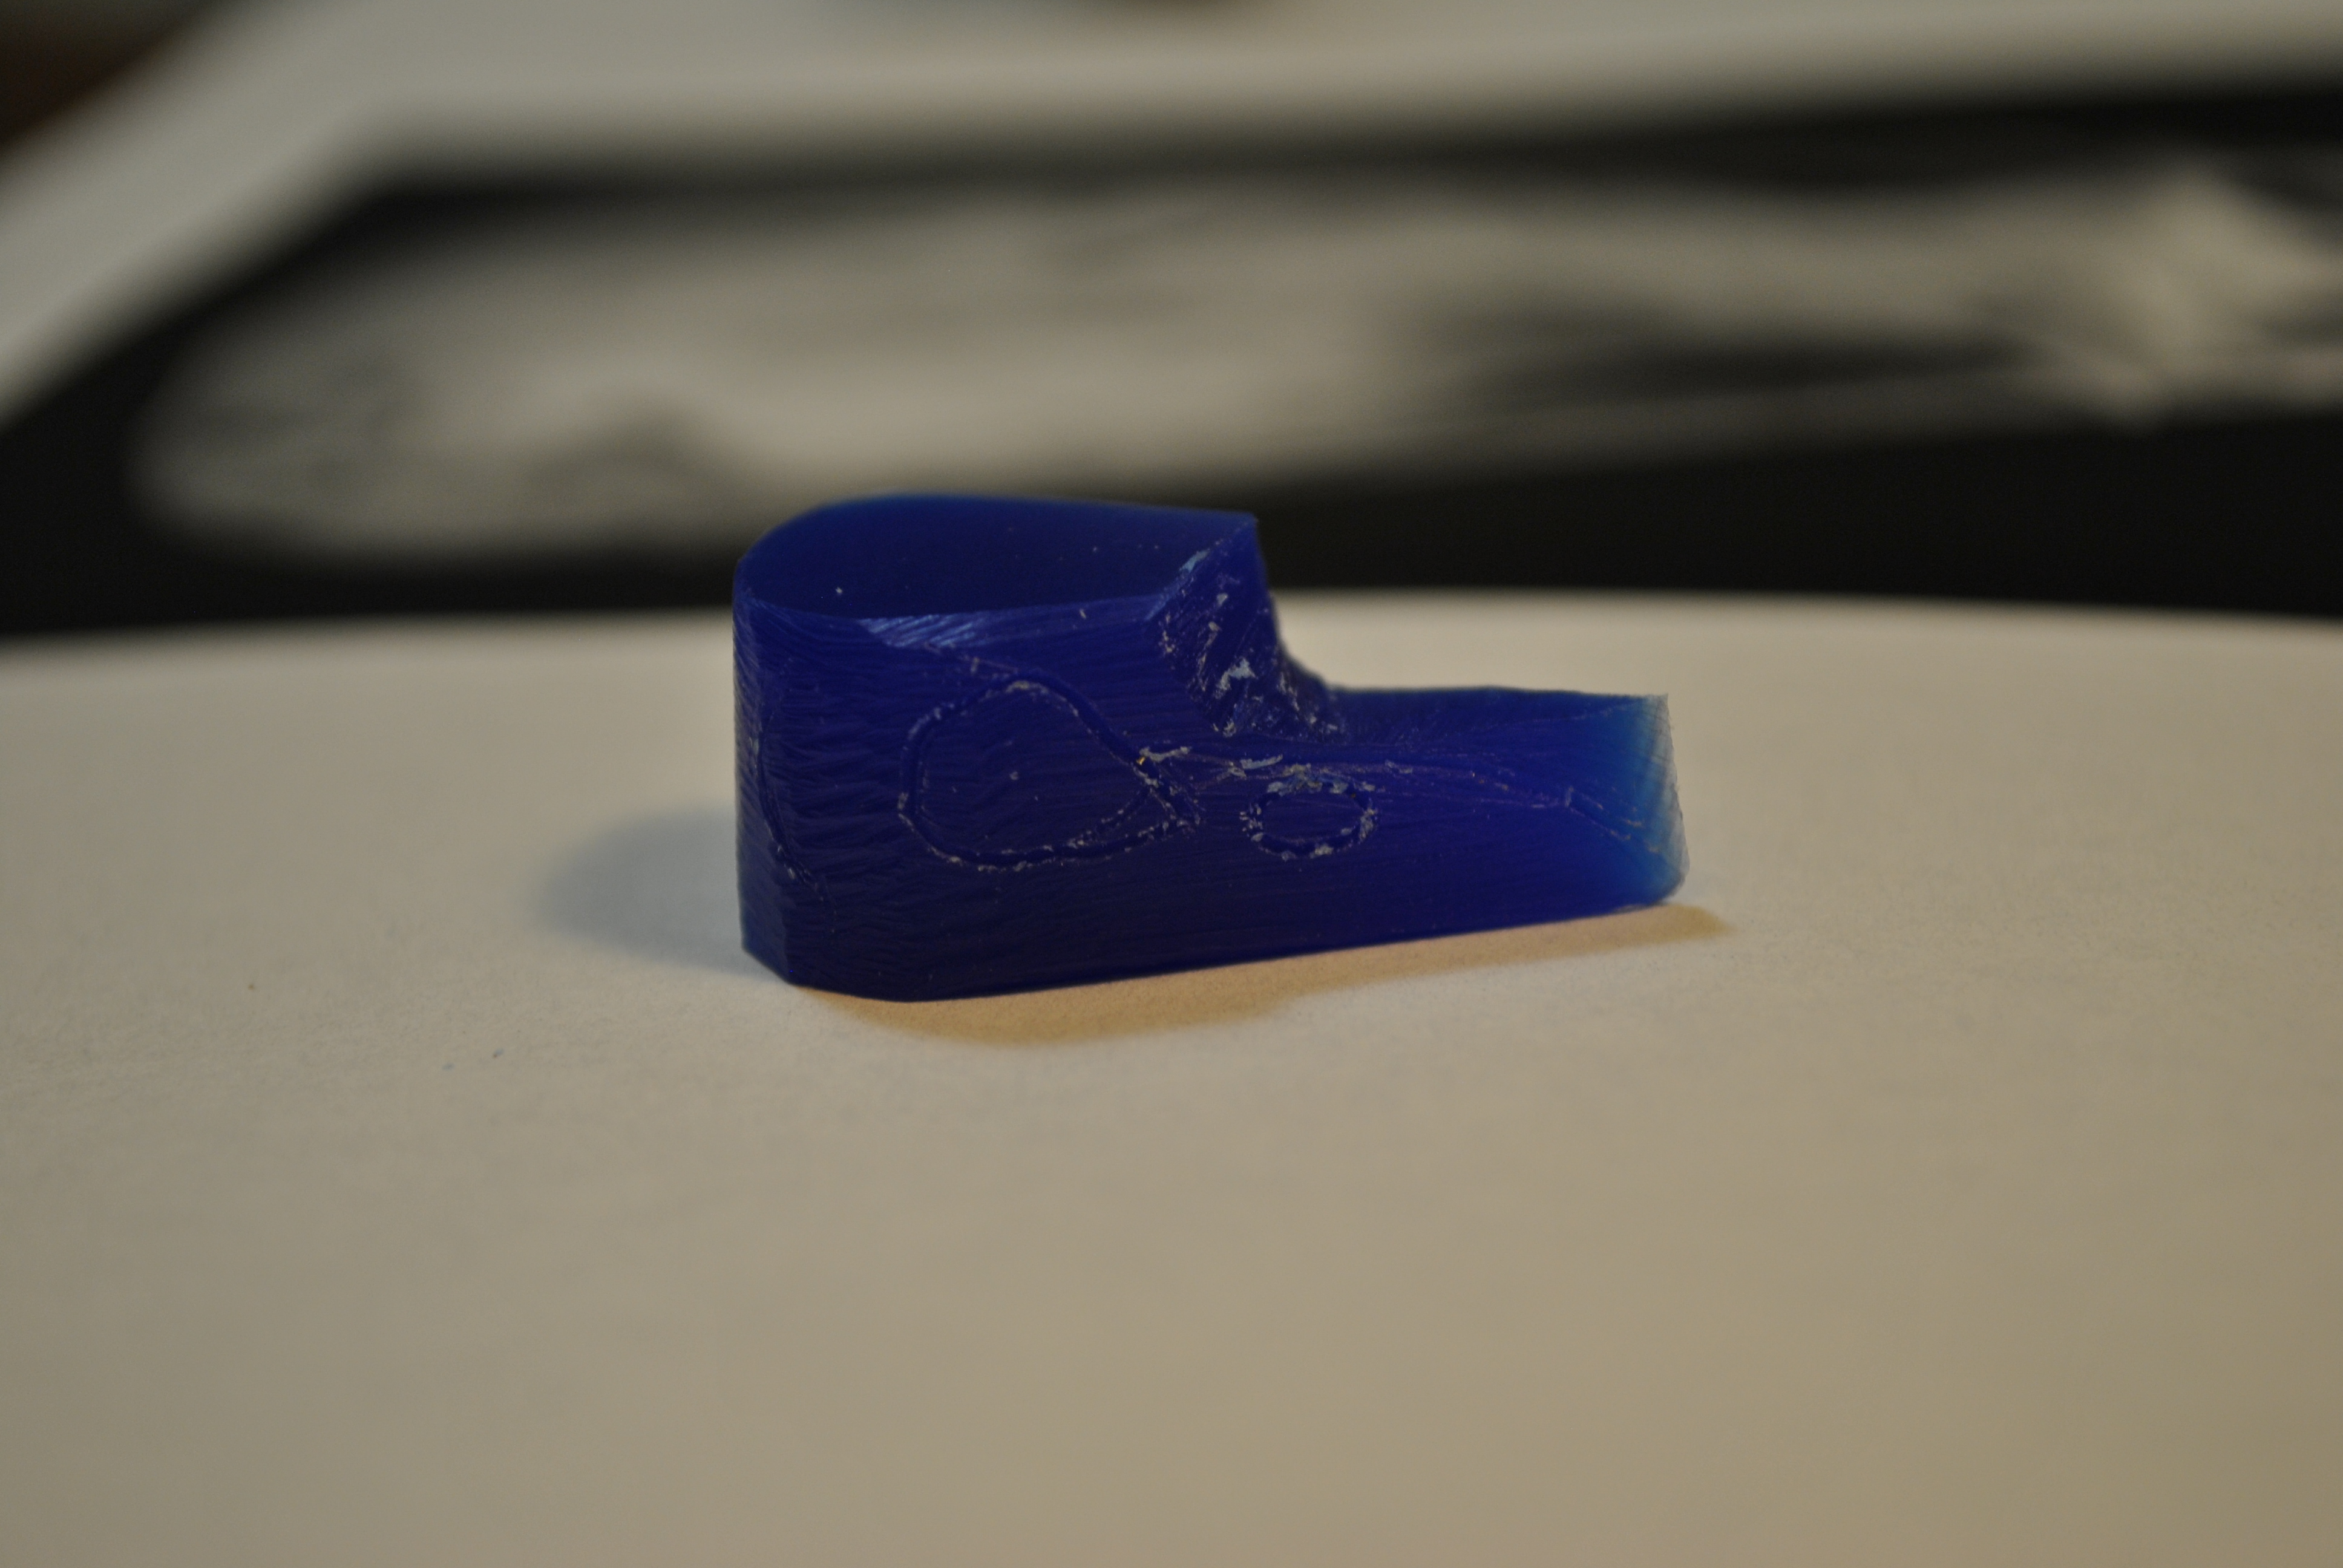
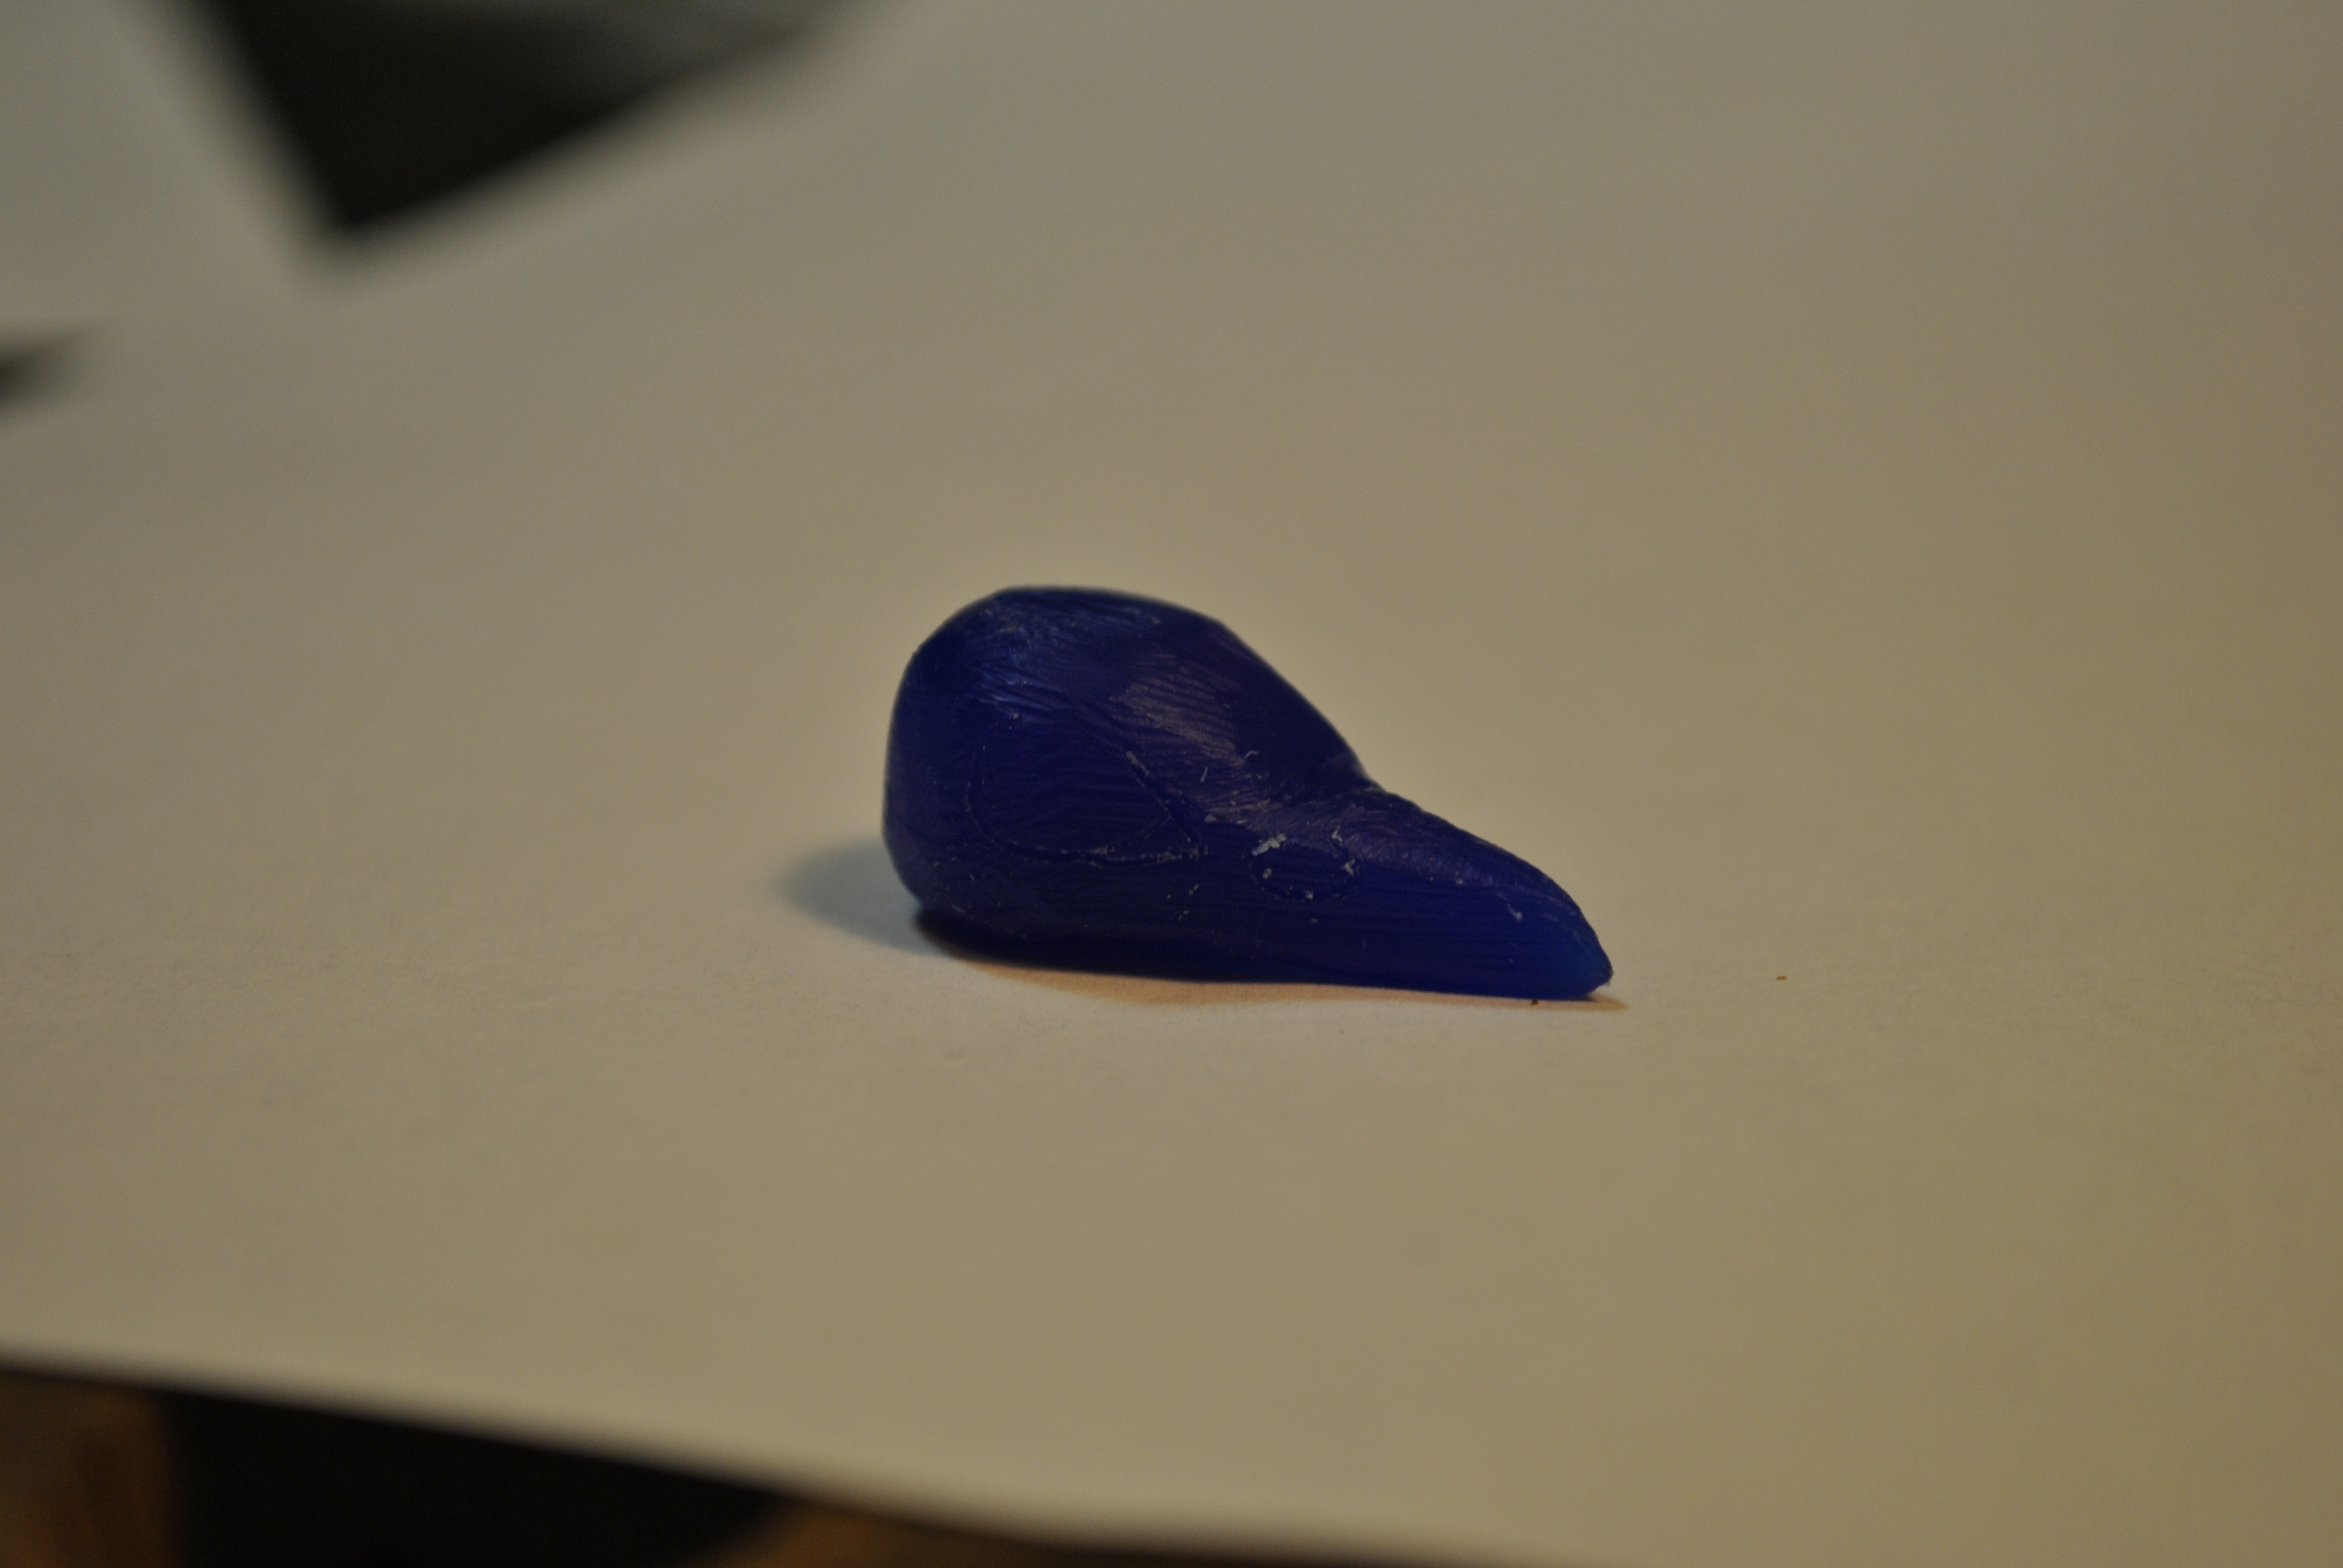
Using my home made wax carving tools I carefully removed about 2 mm deep of wax.

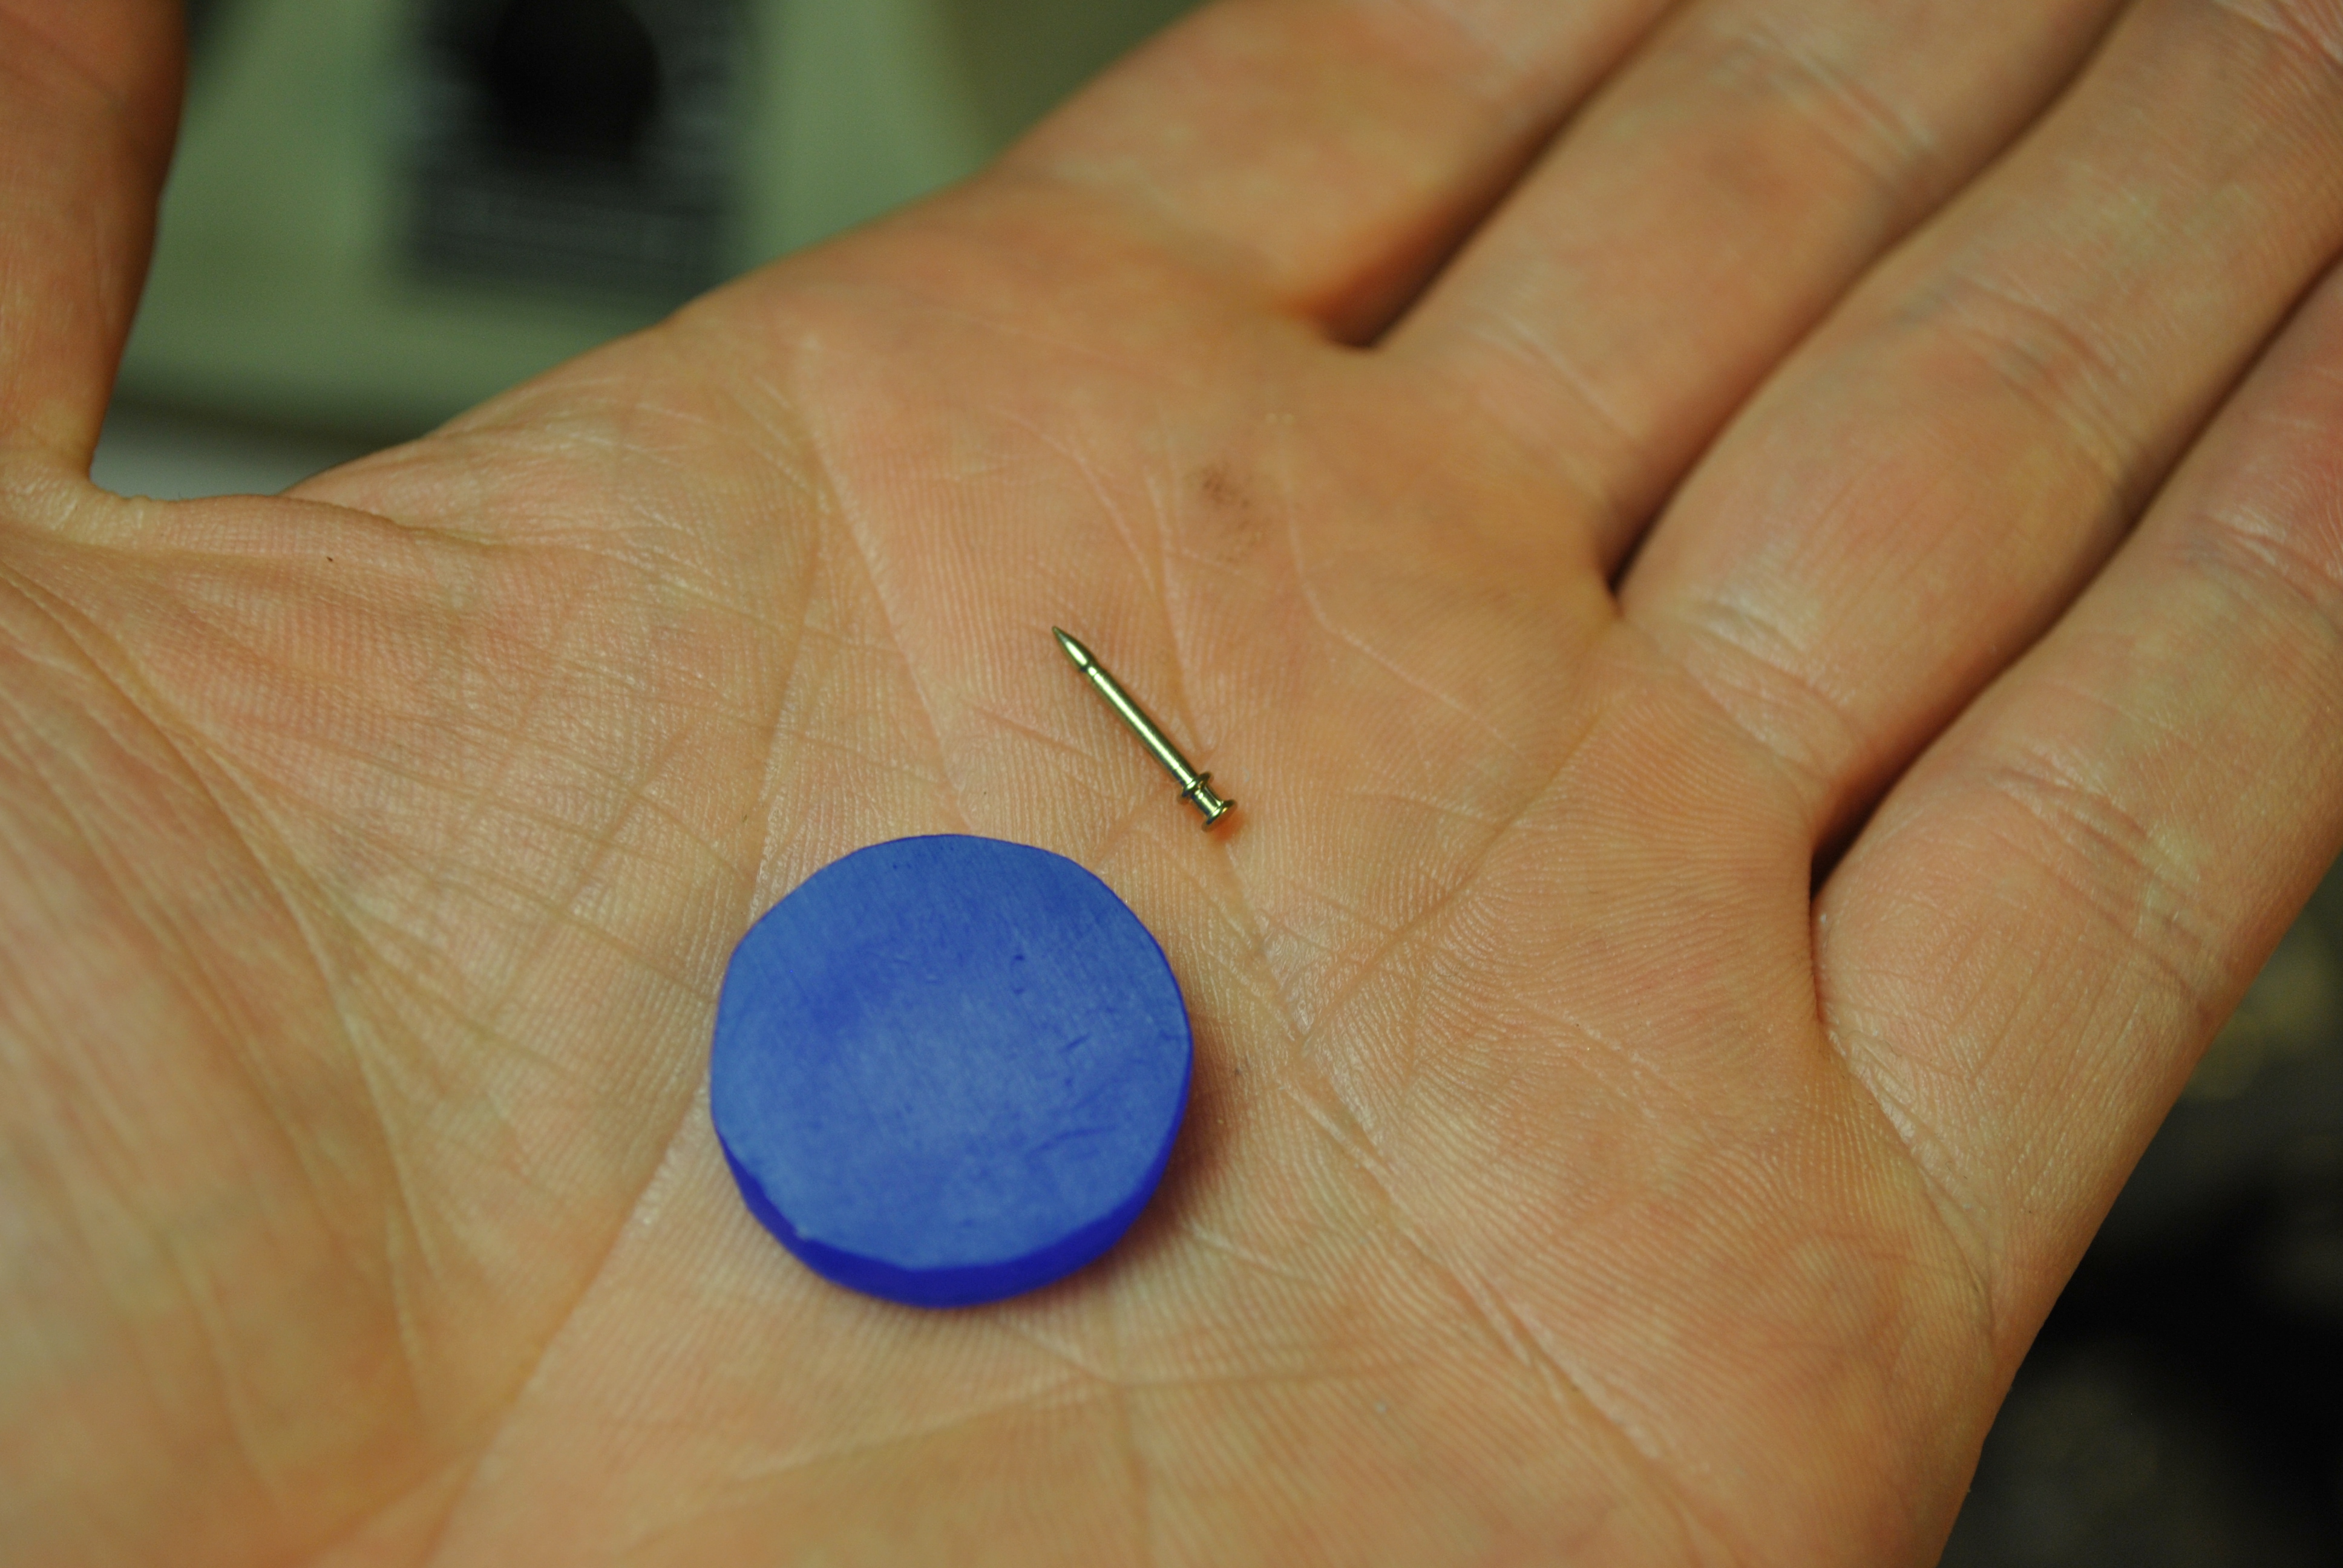
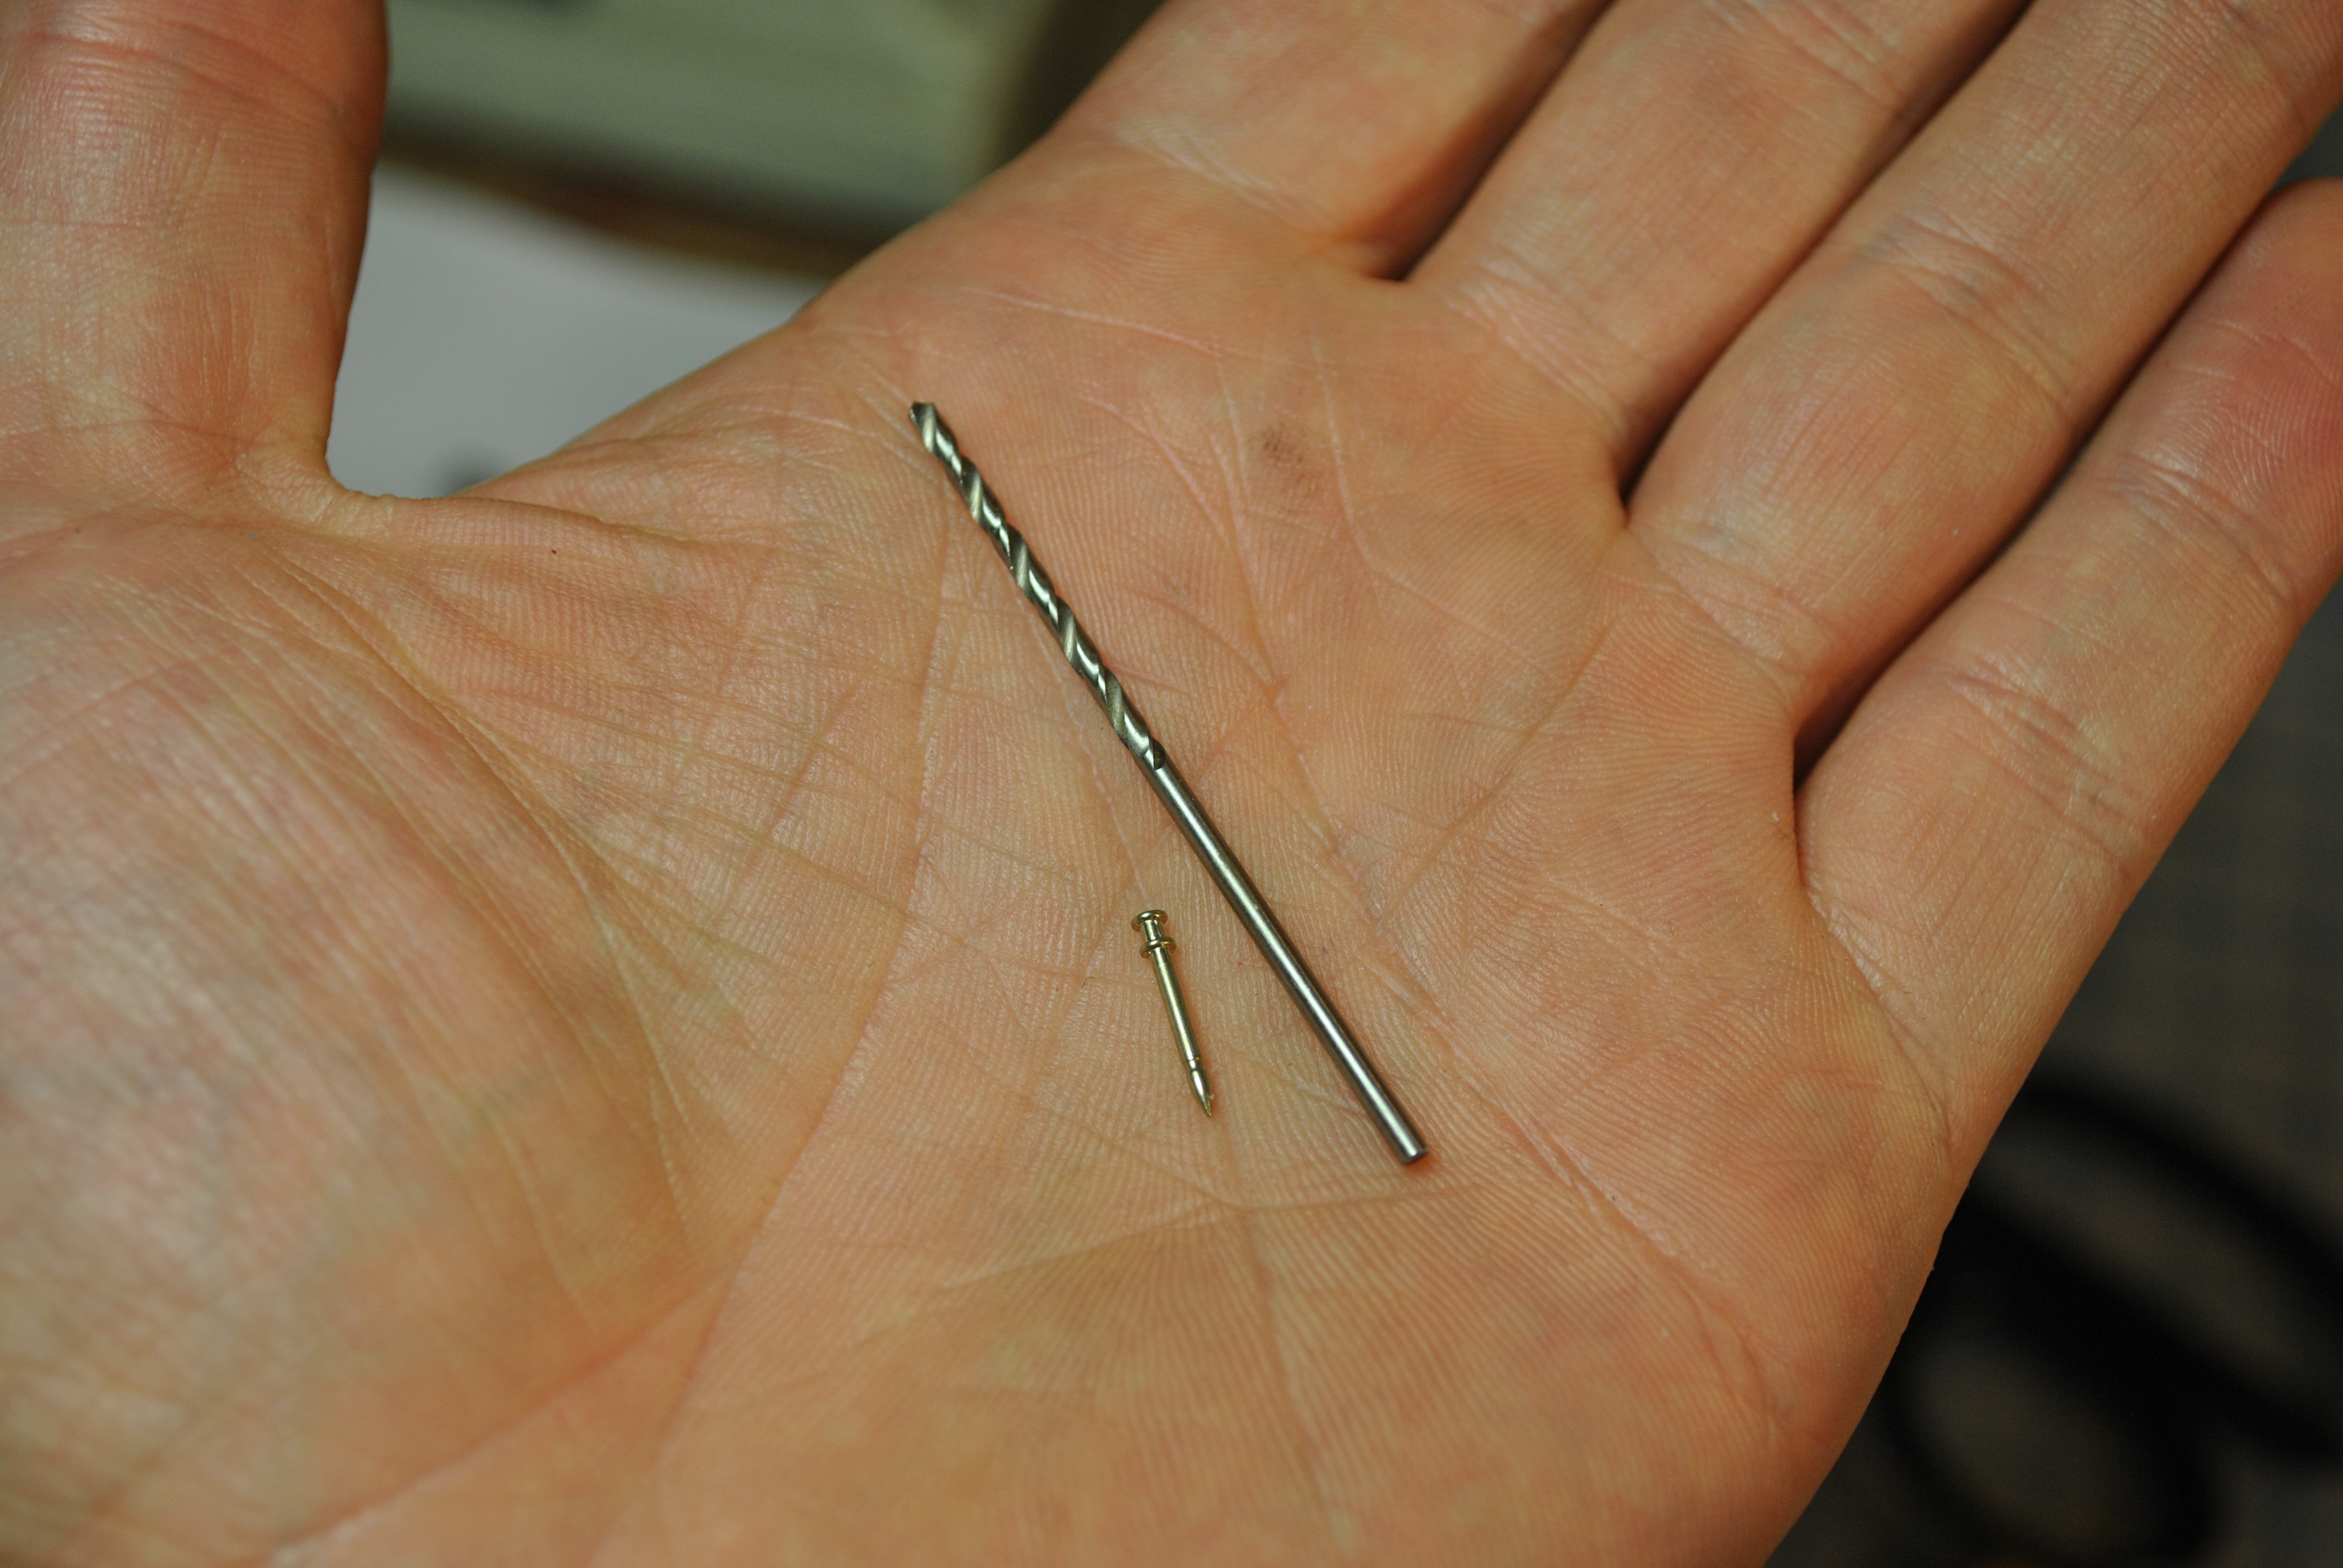
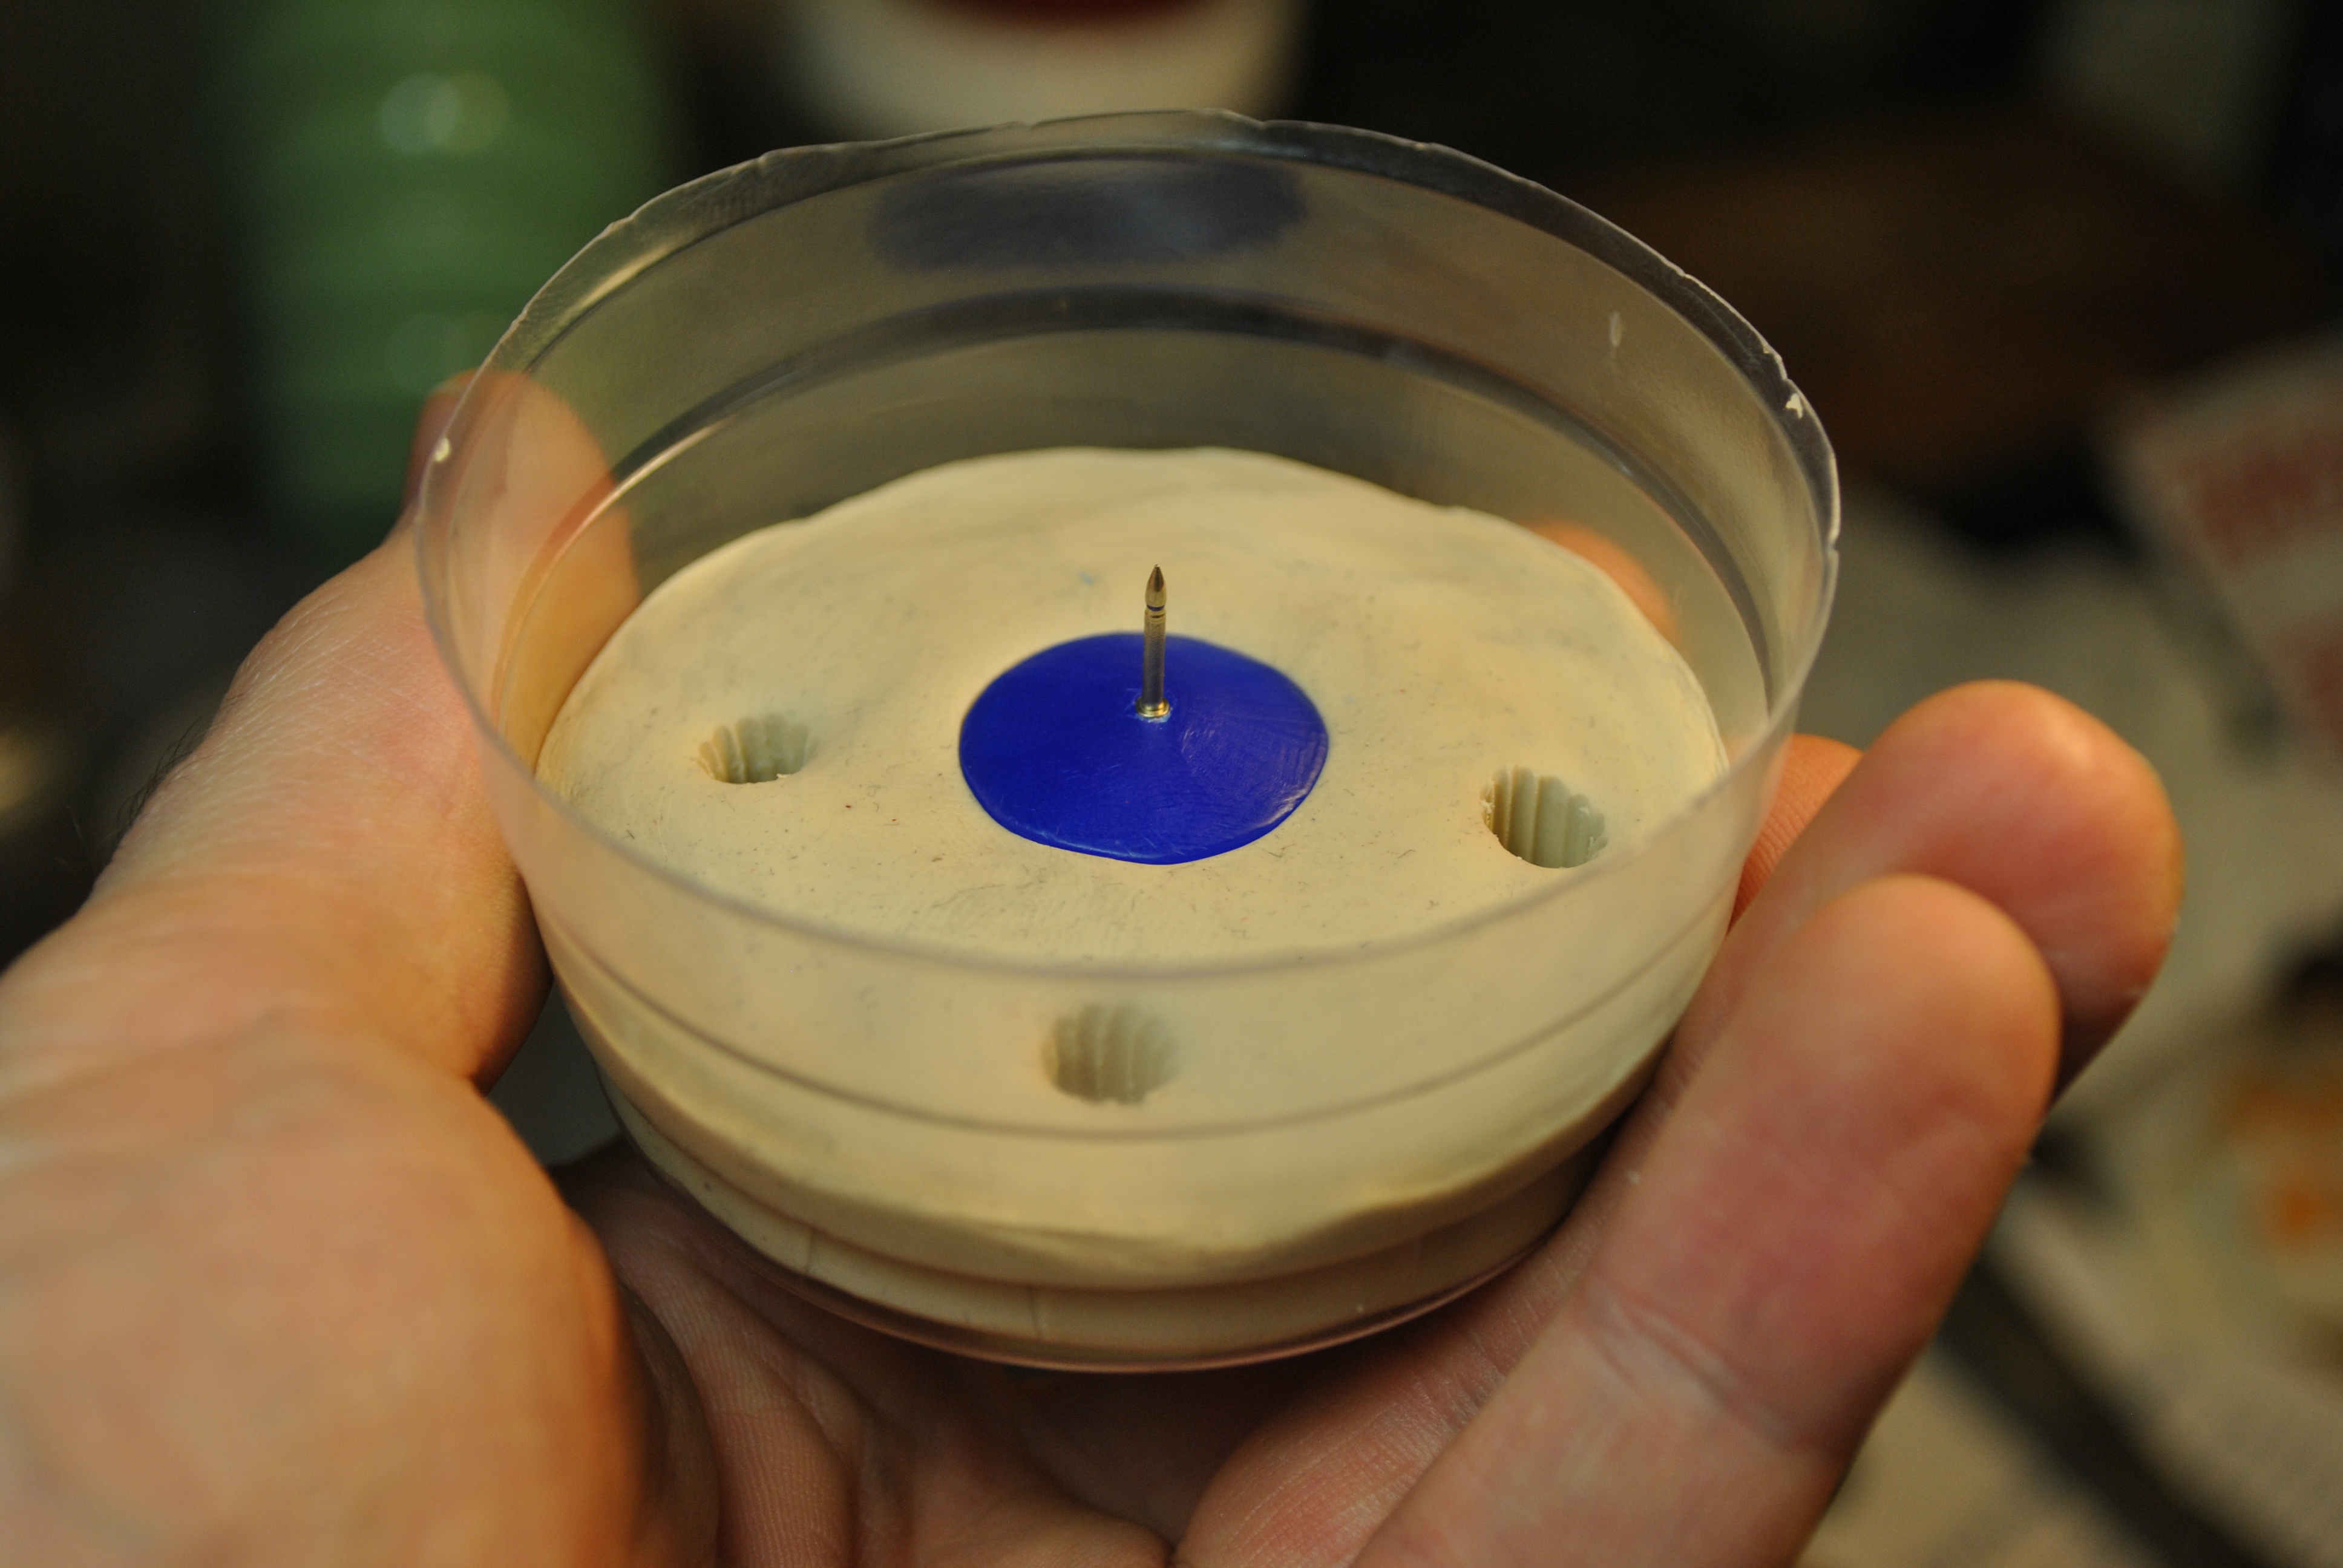
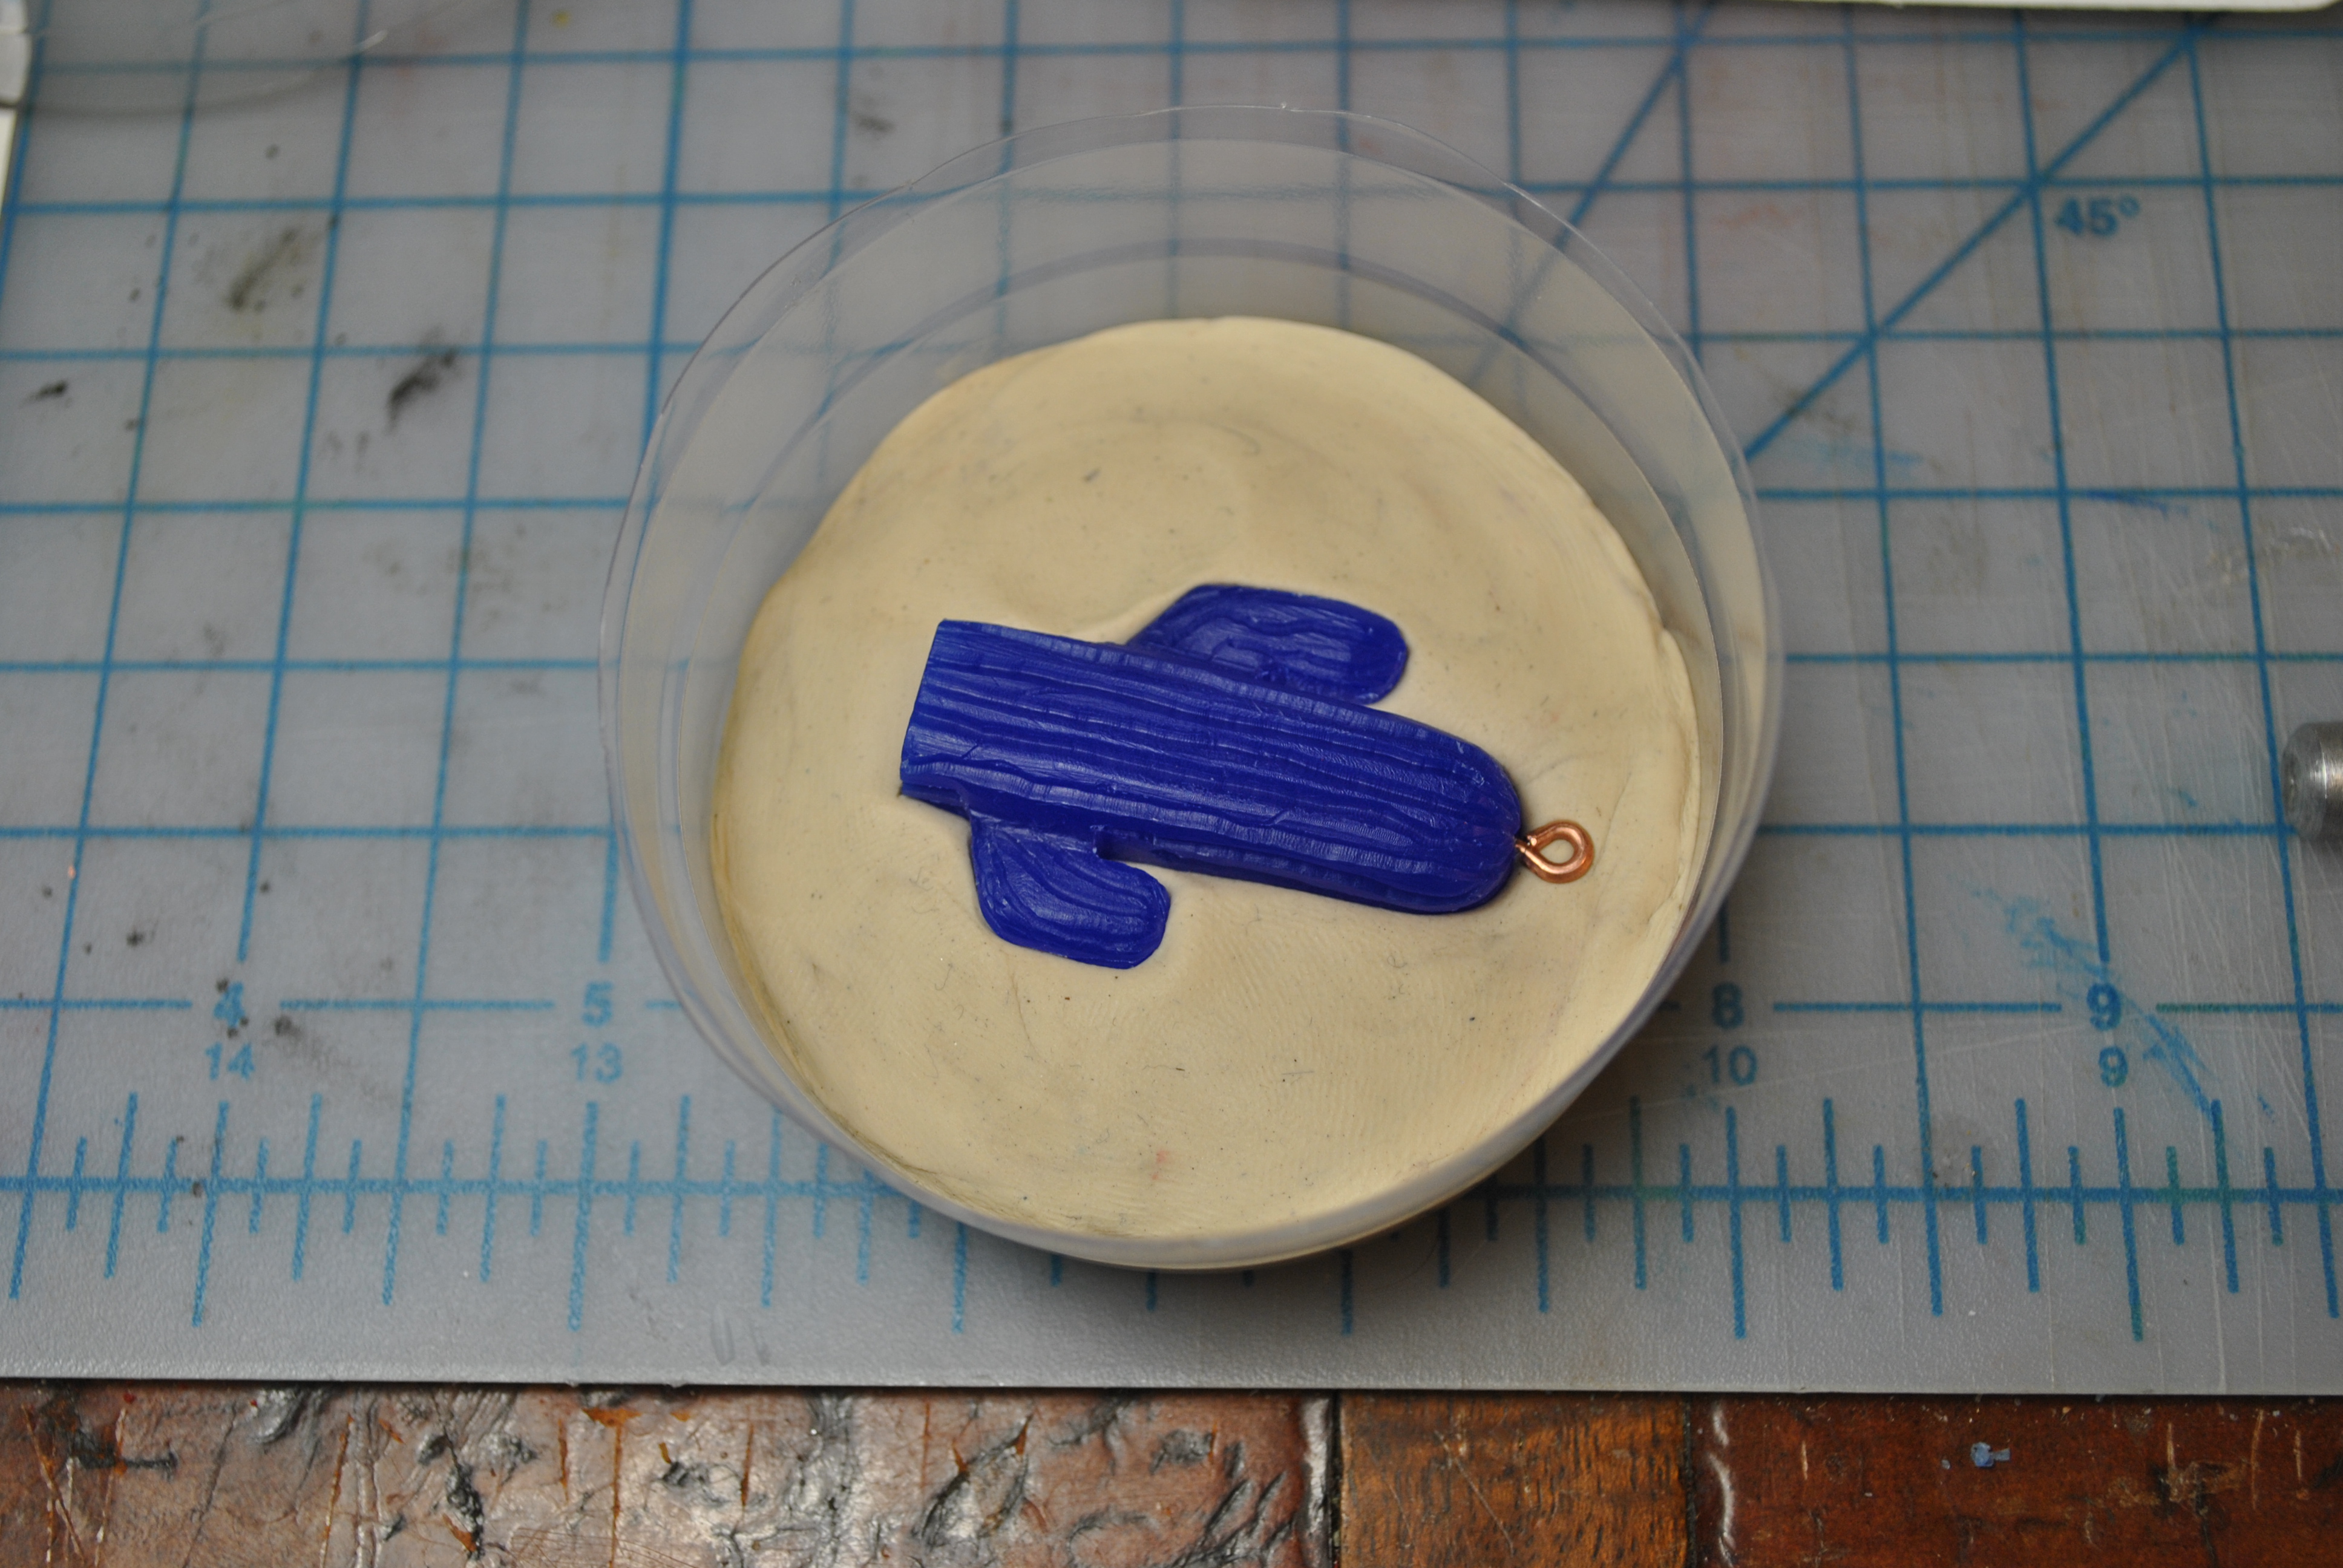
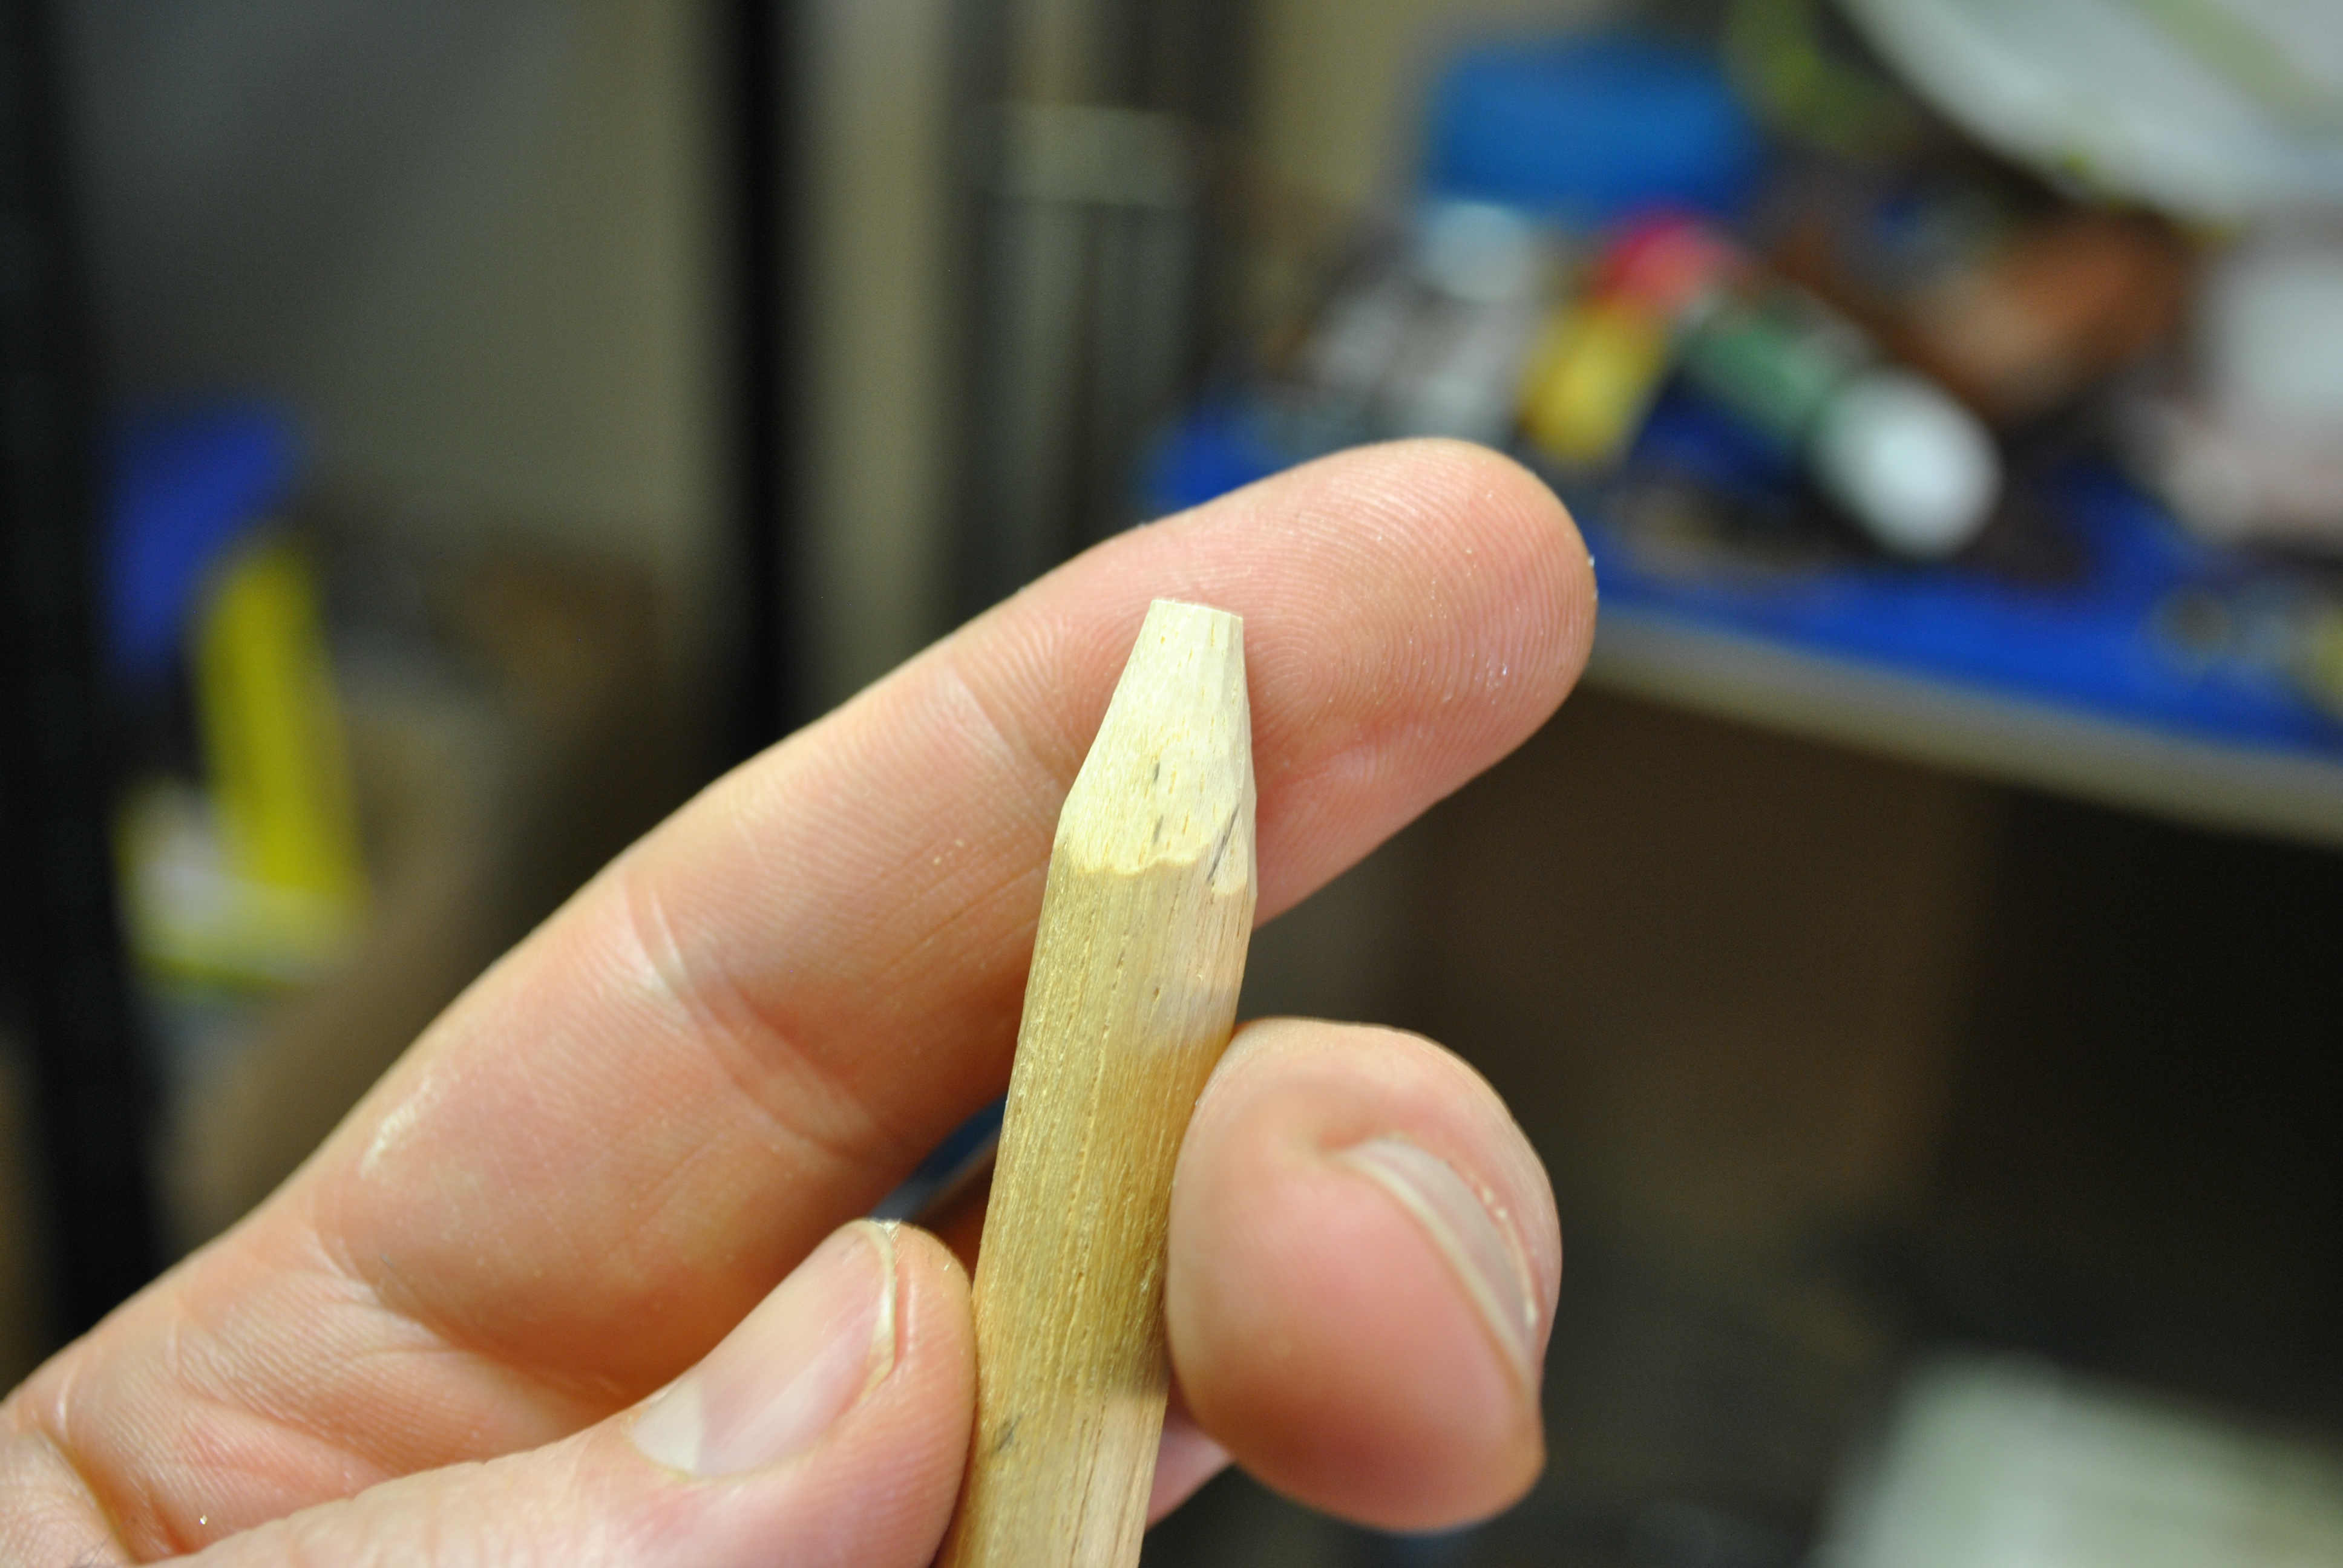
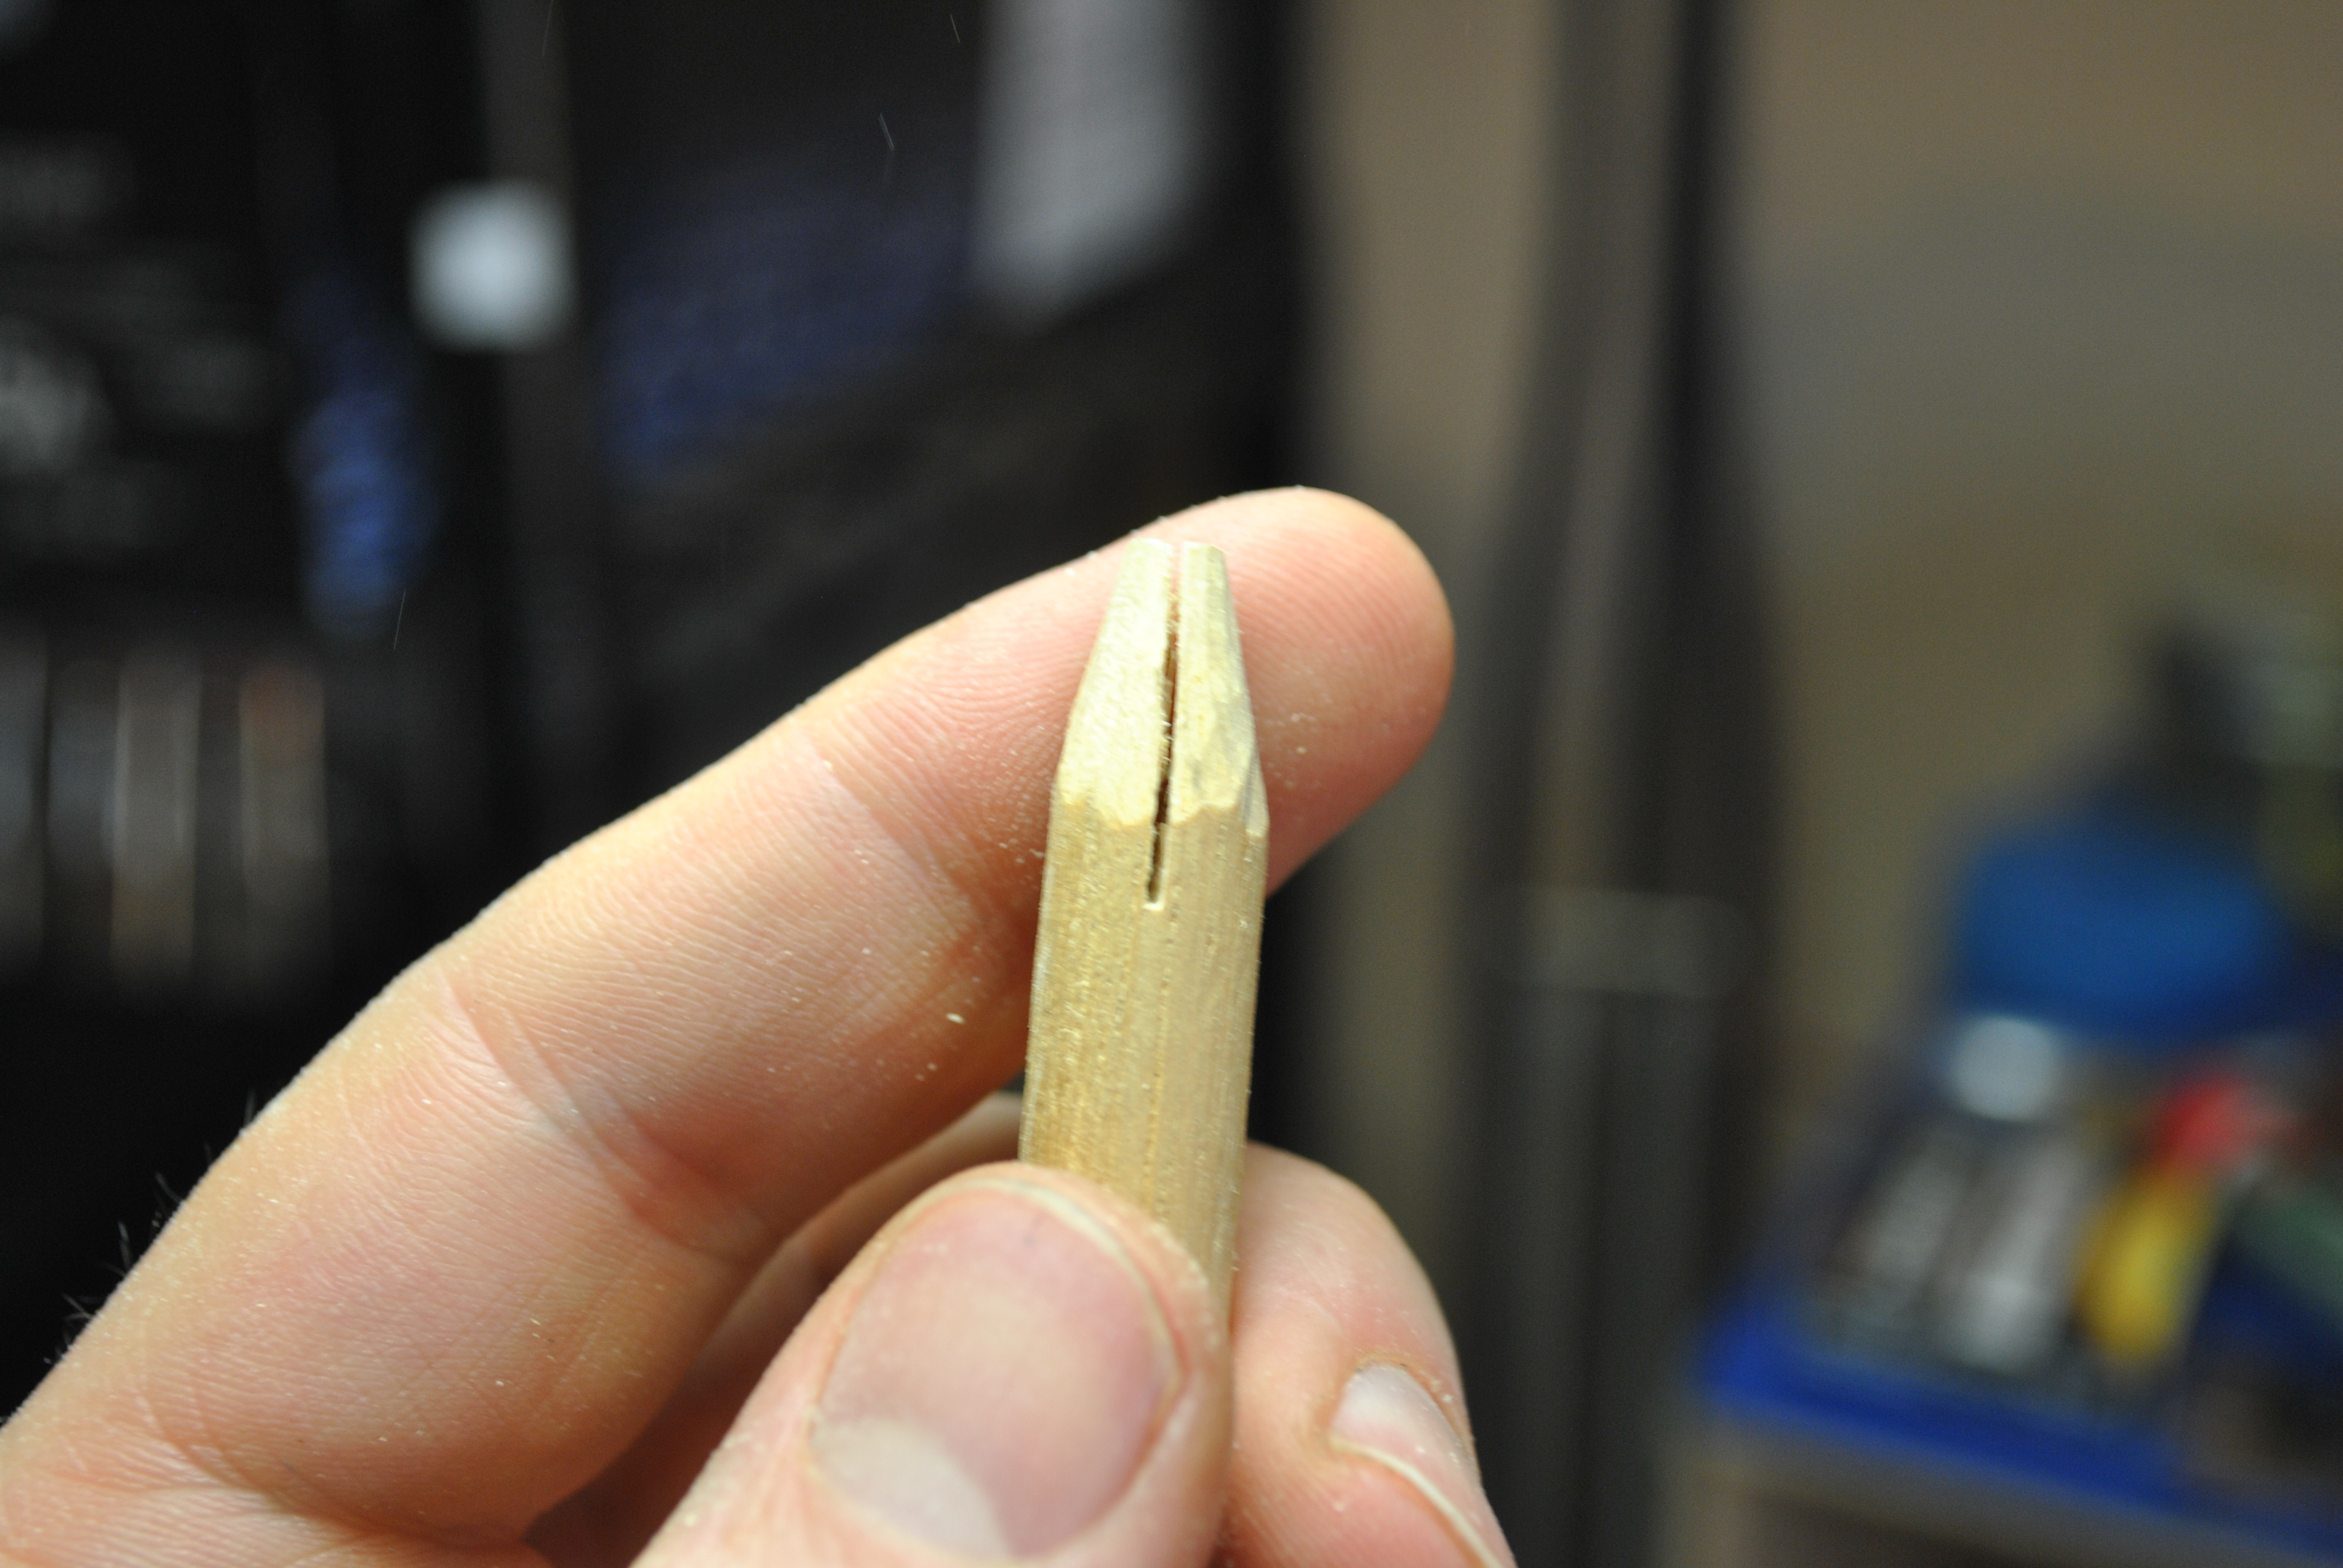
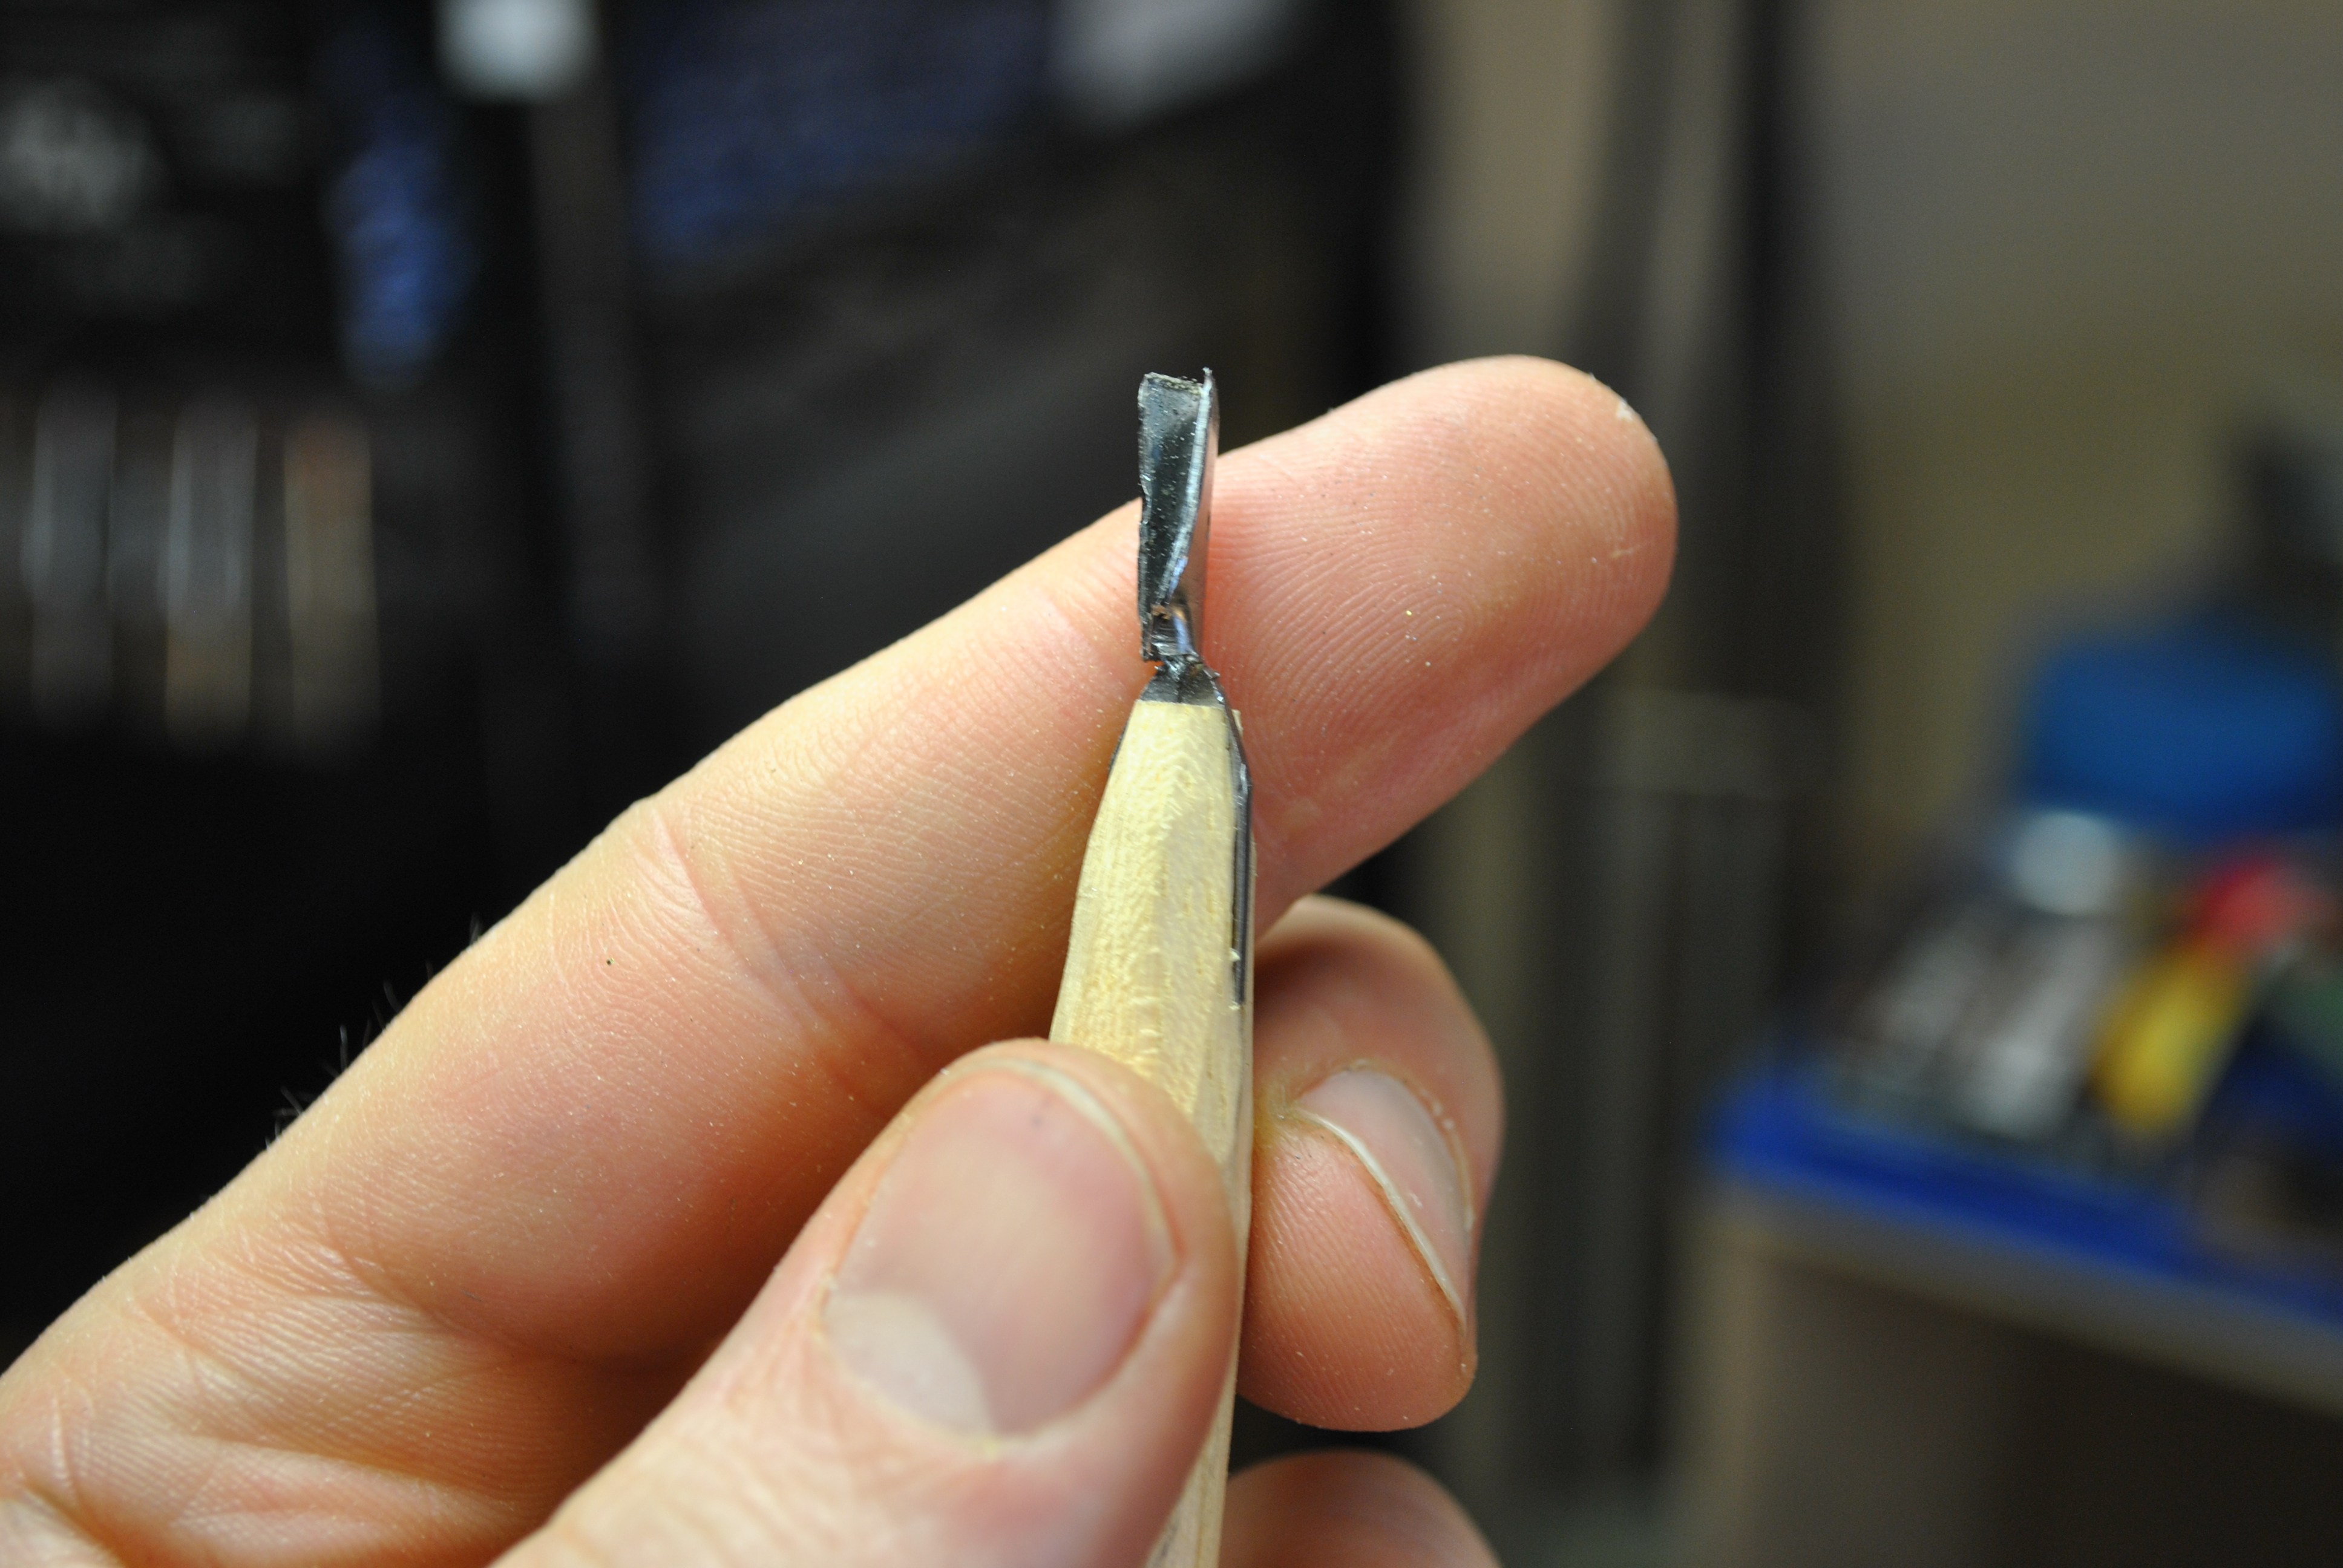
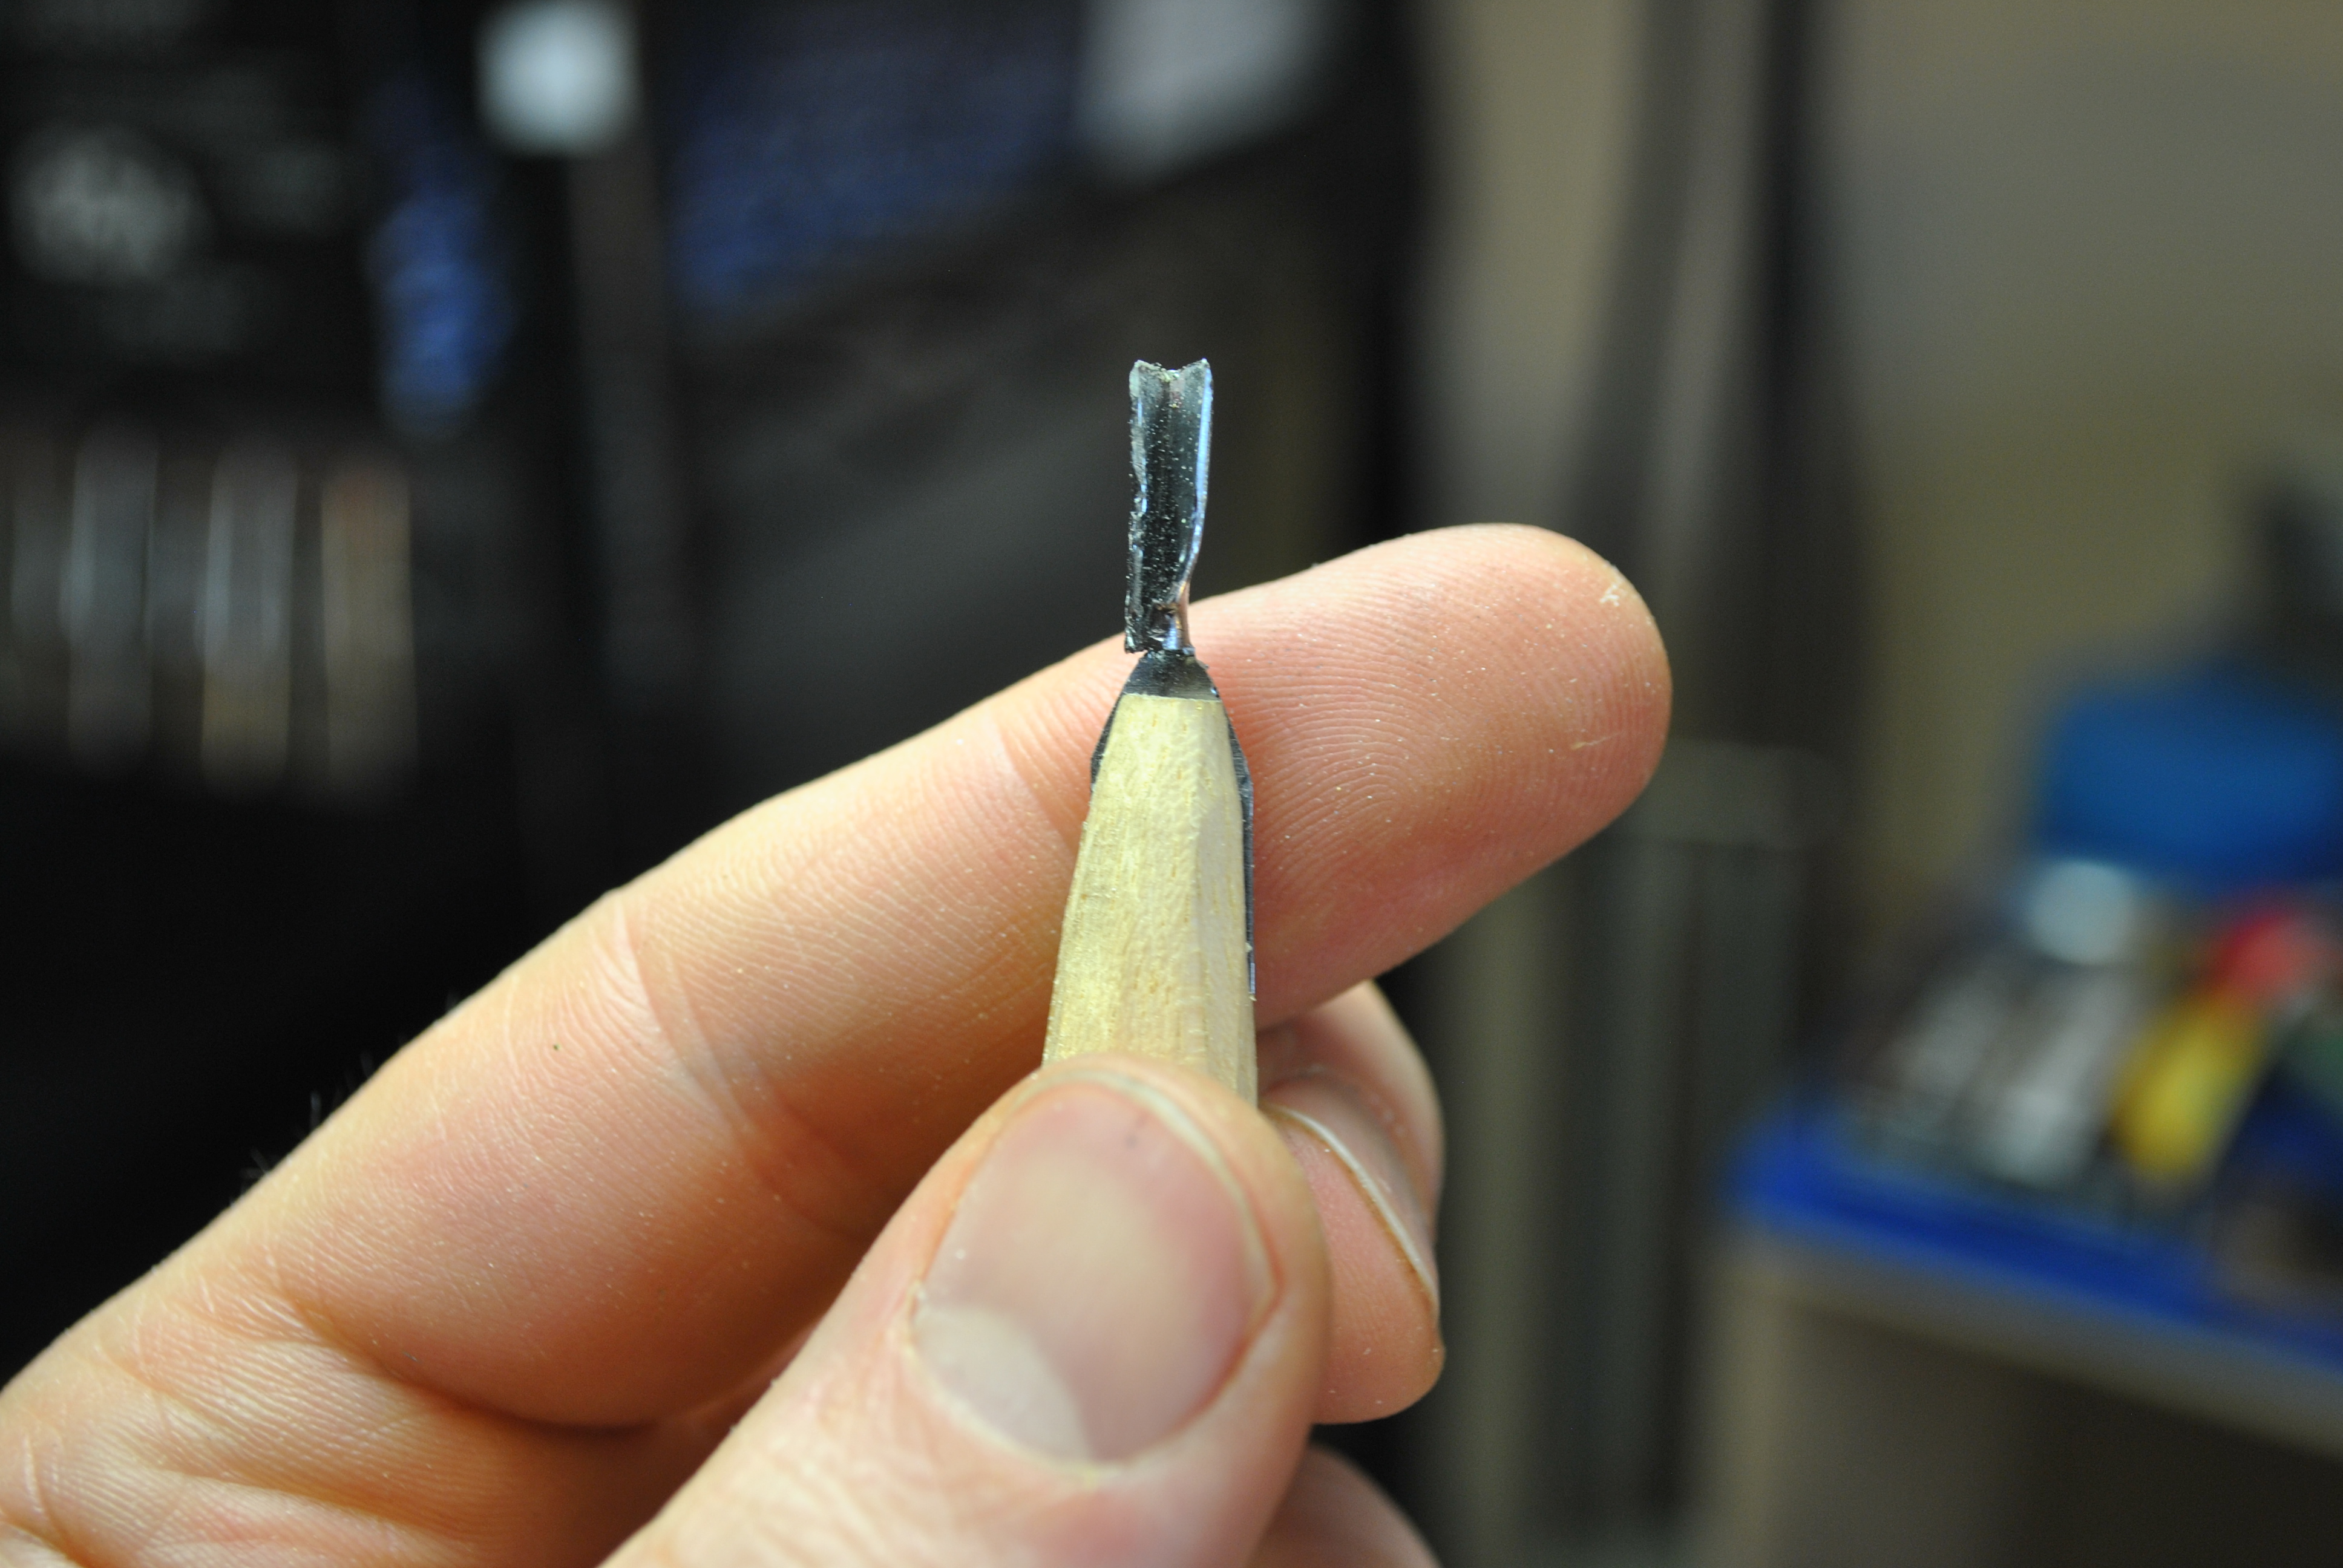
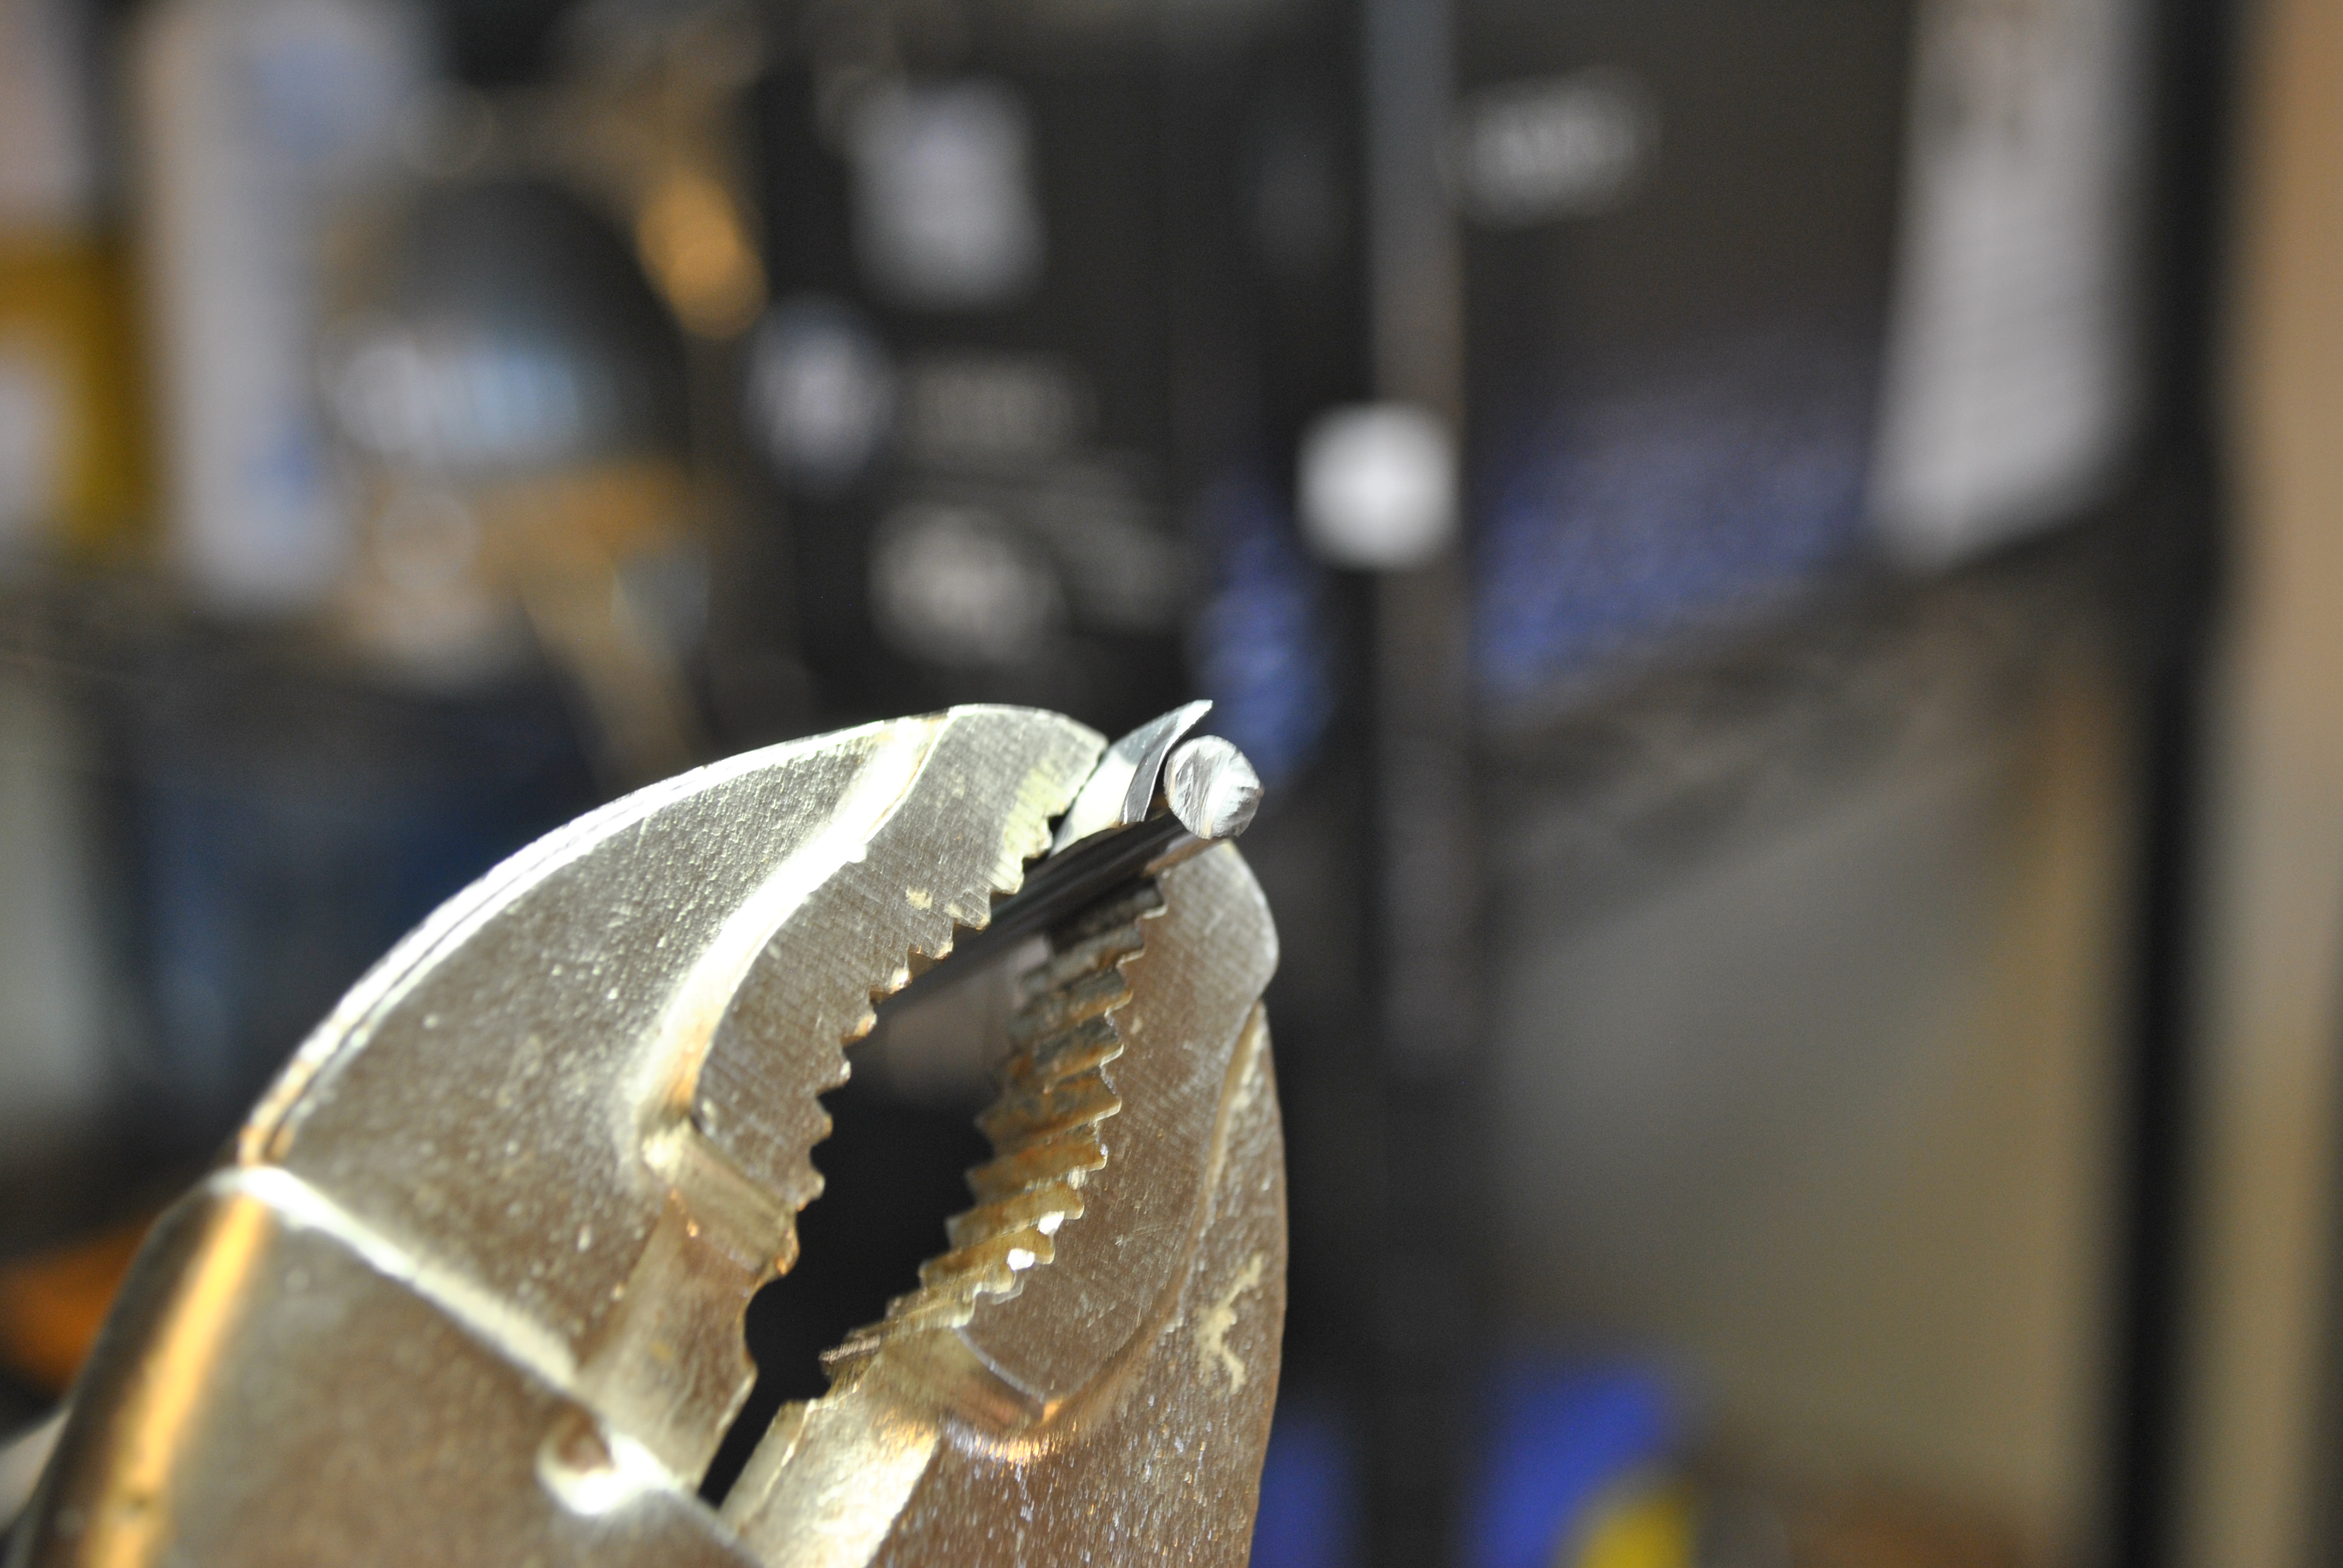
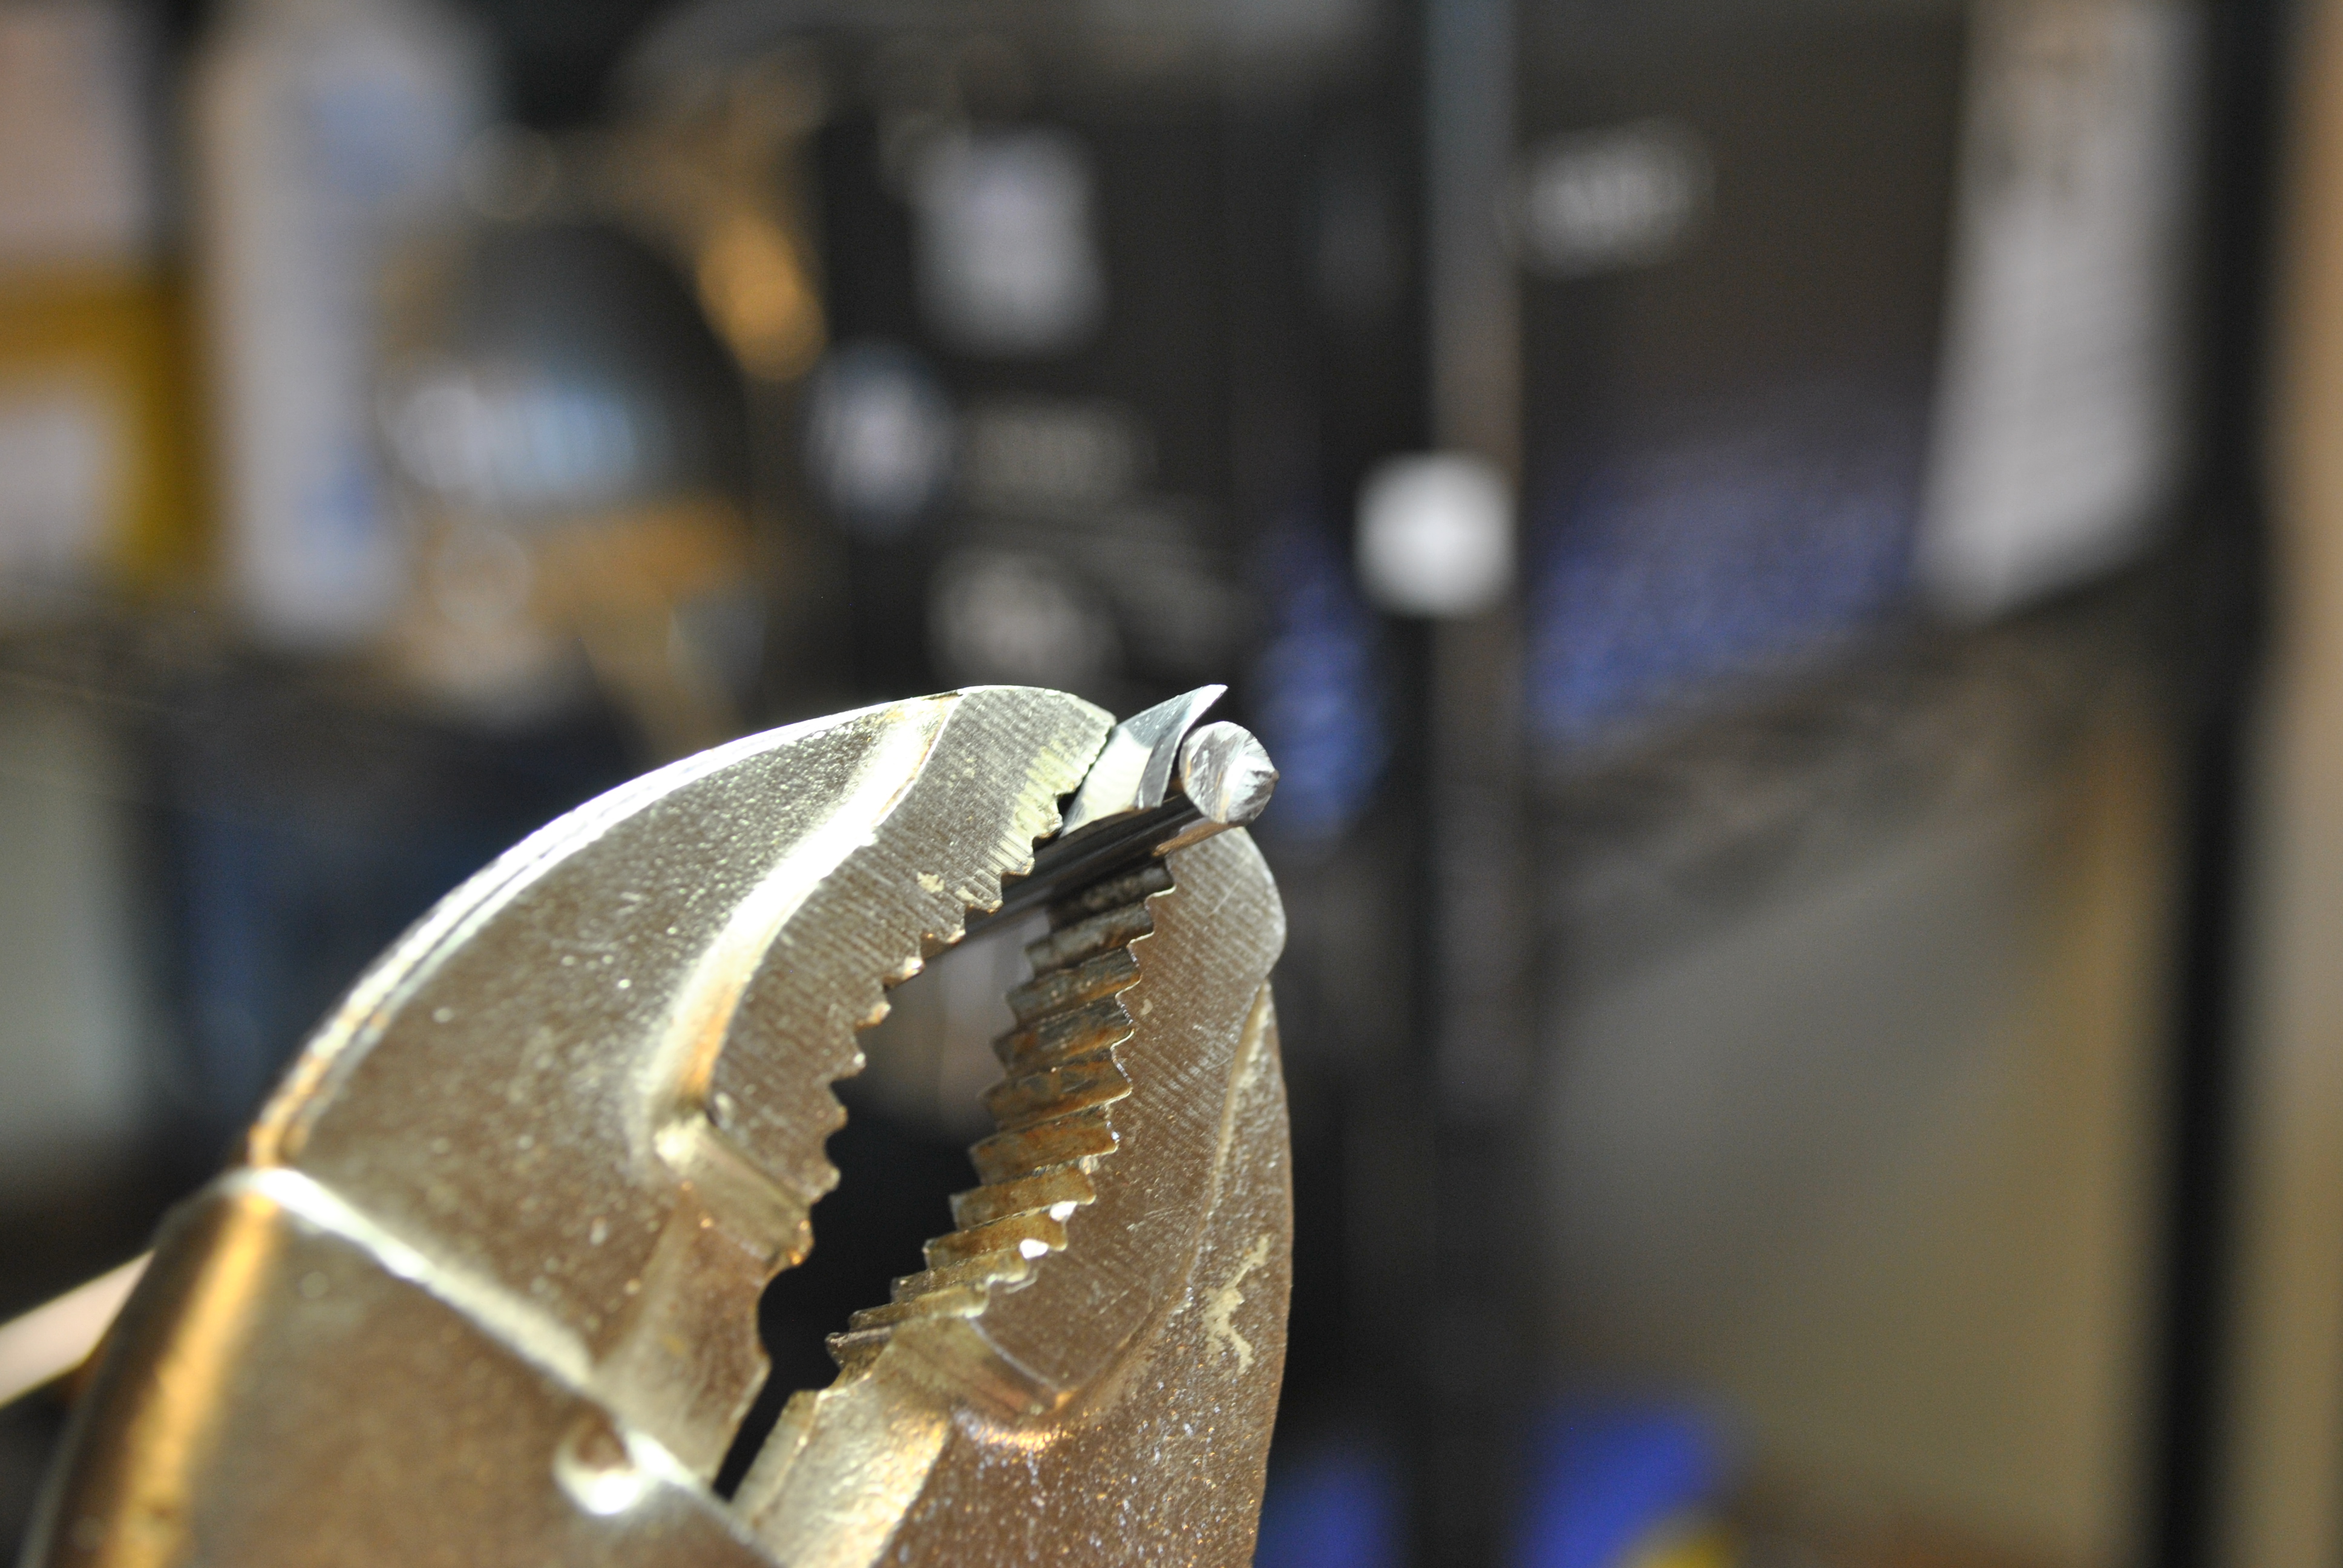
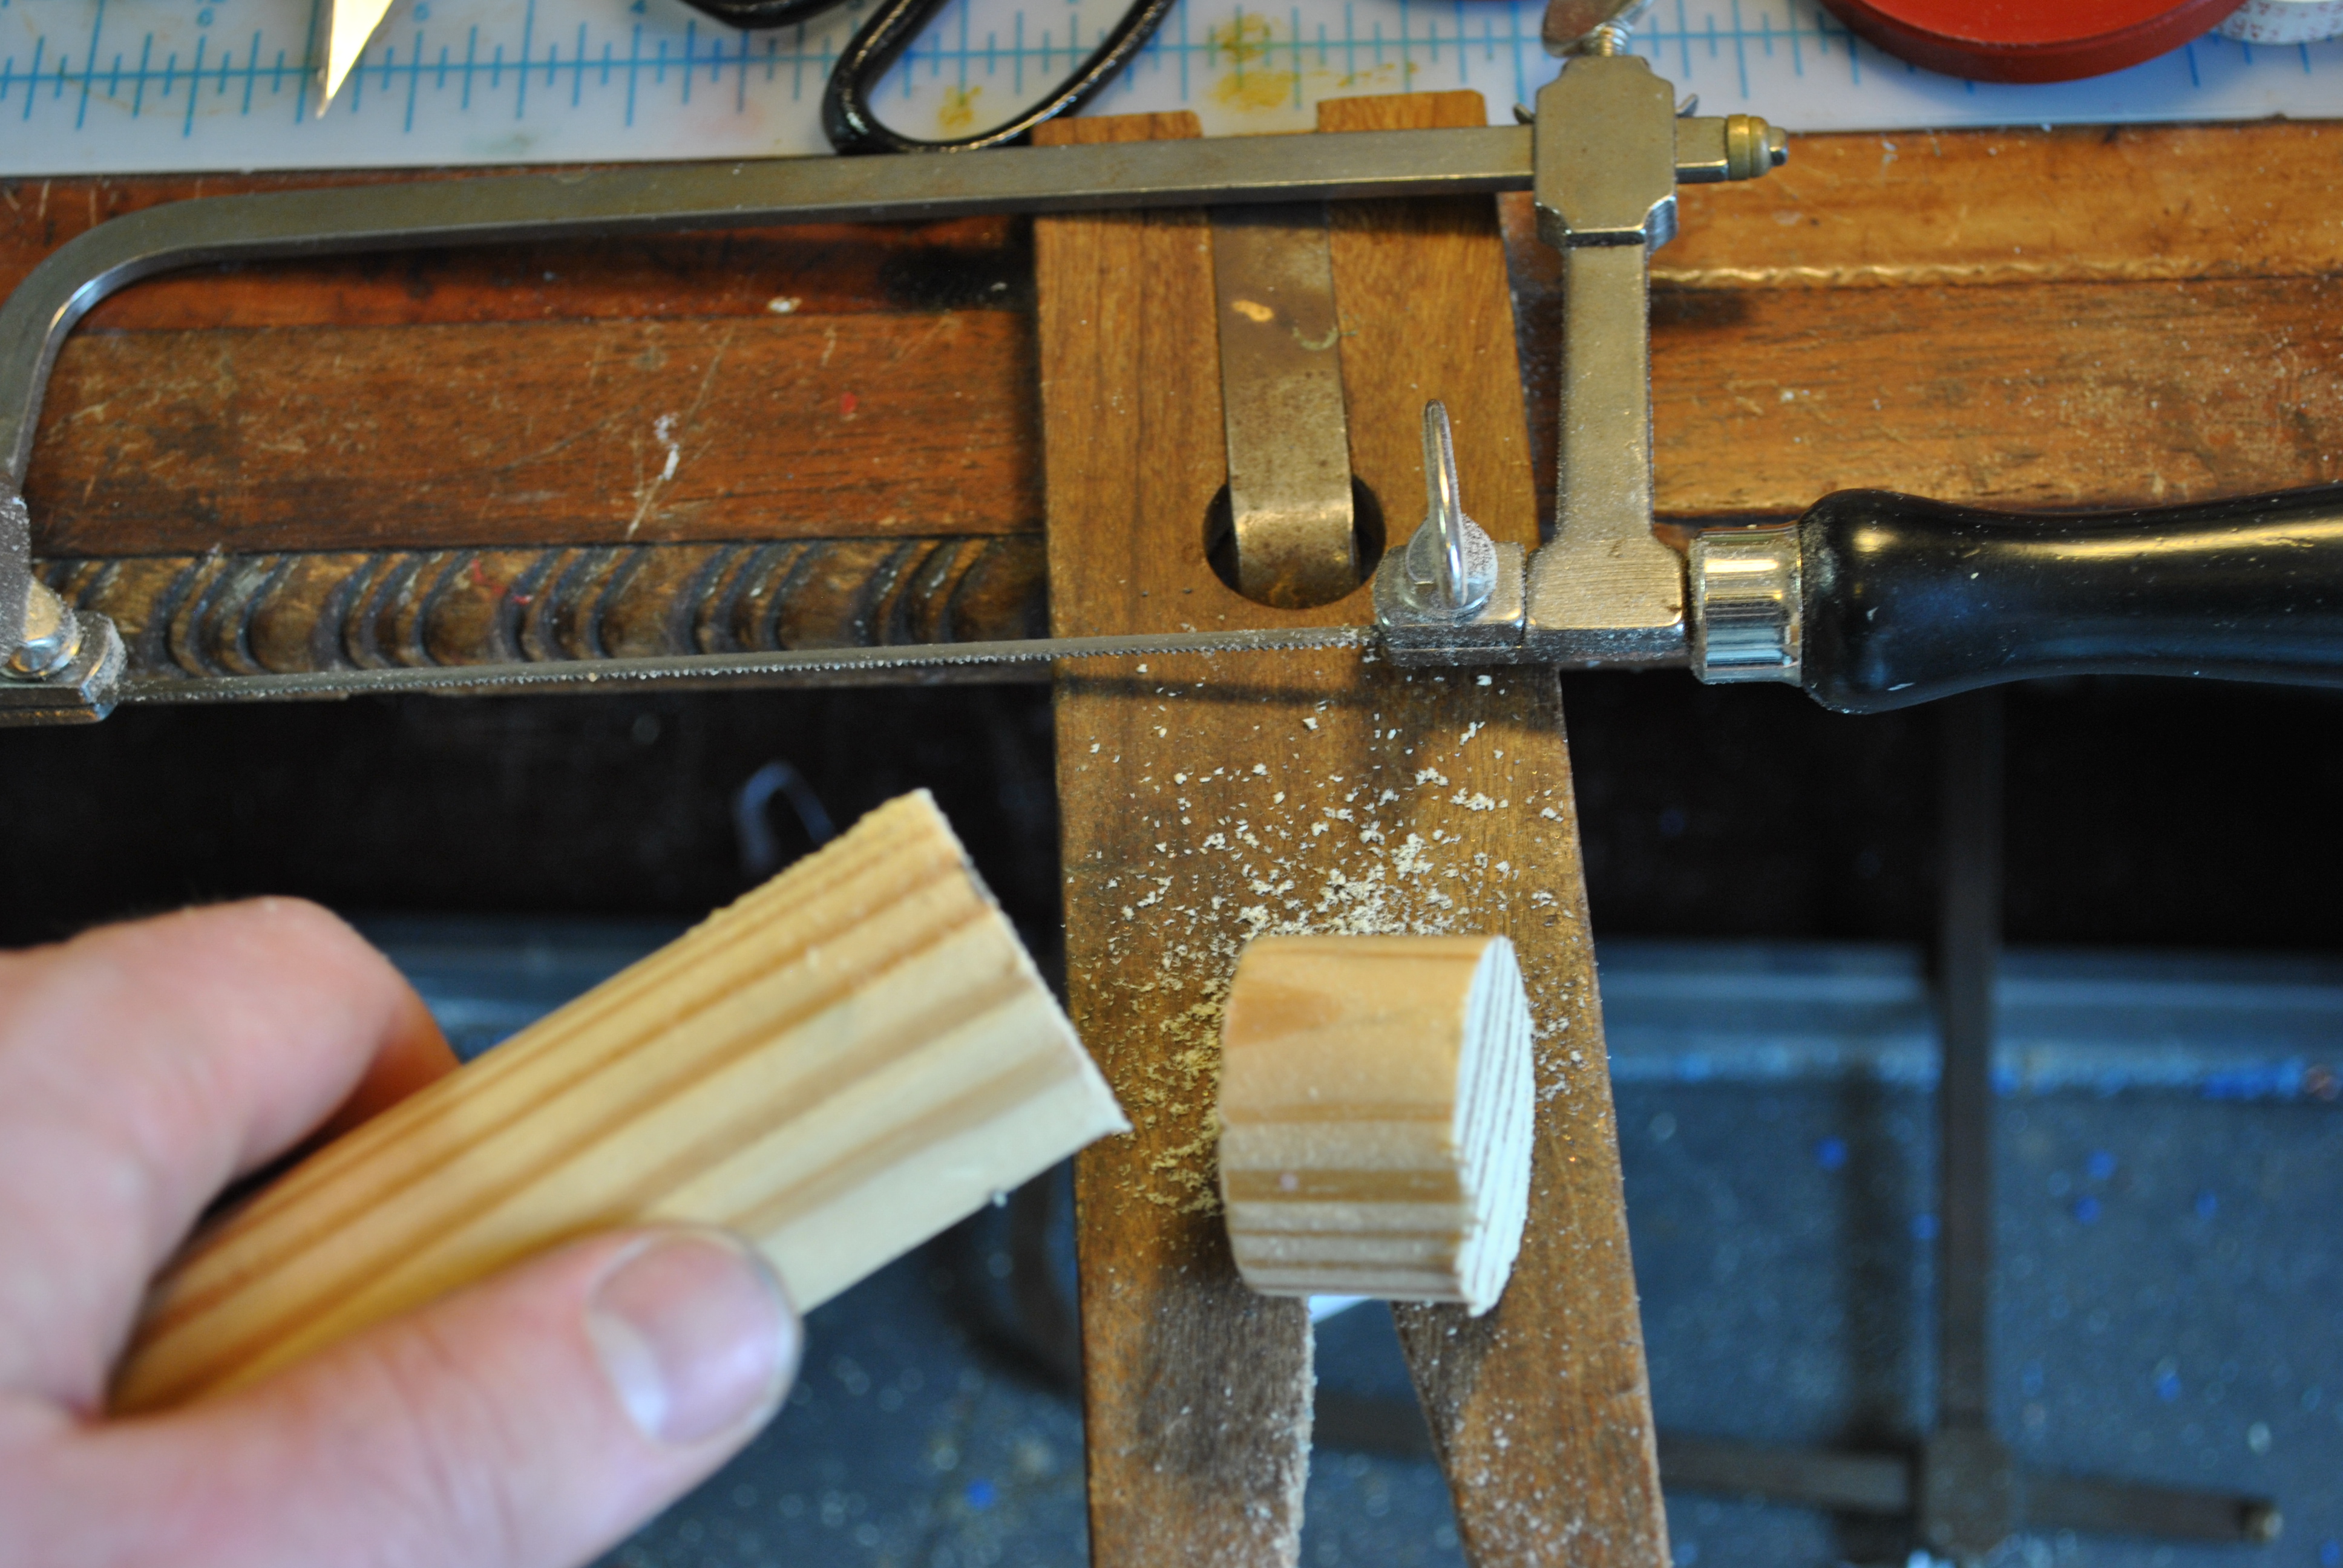
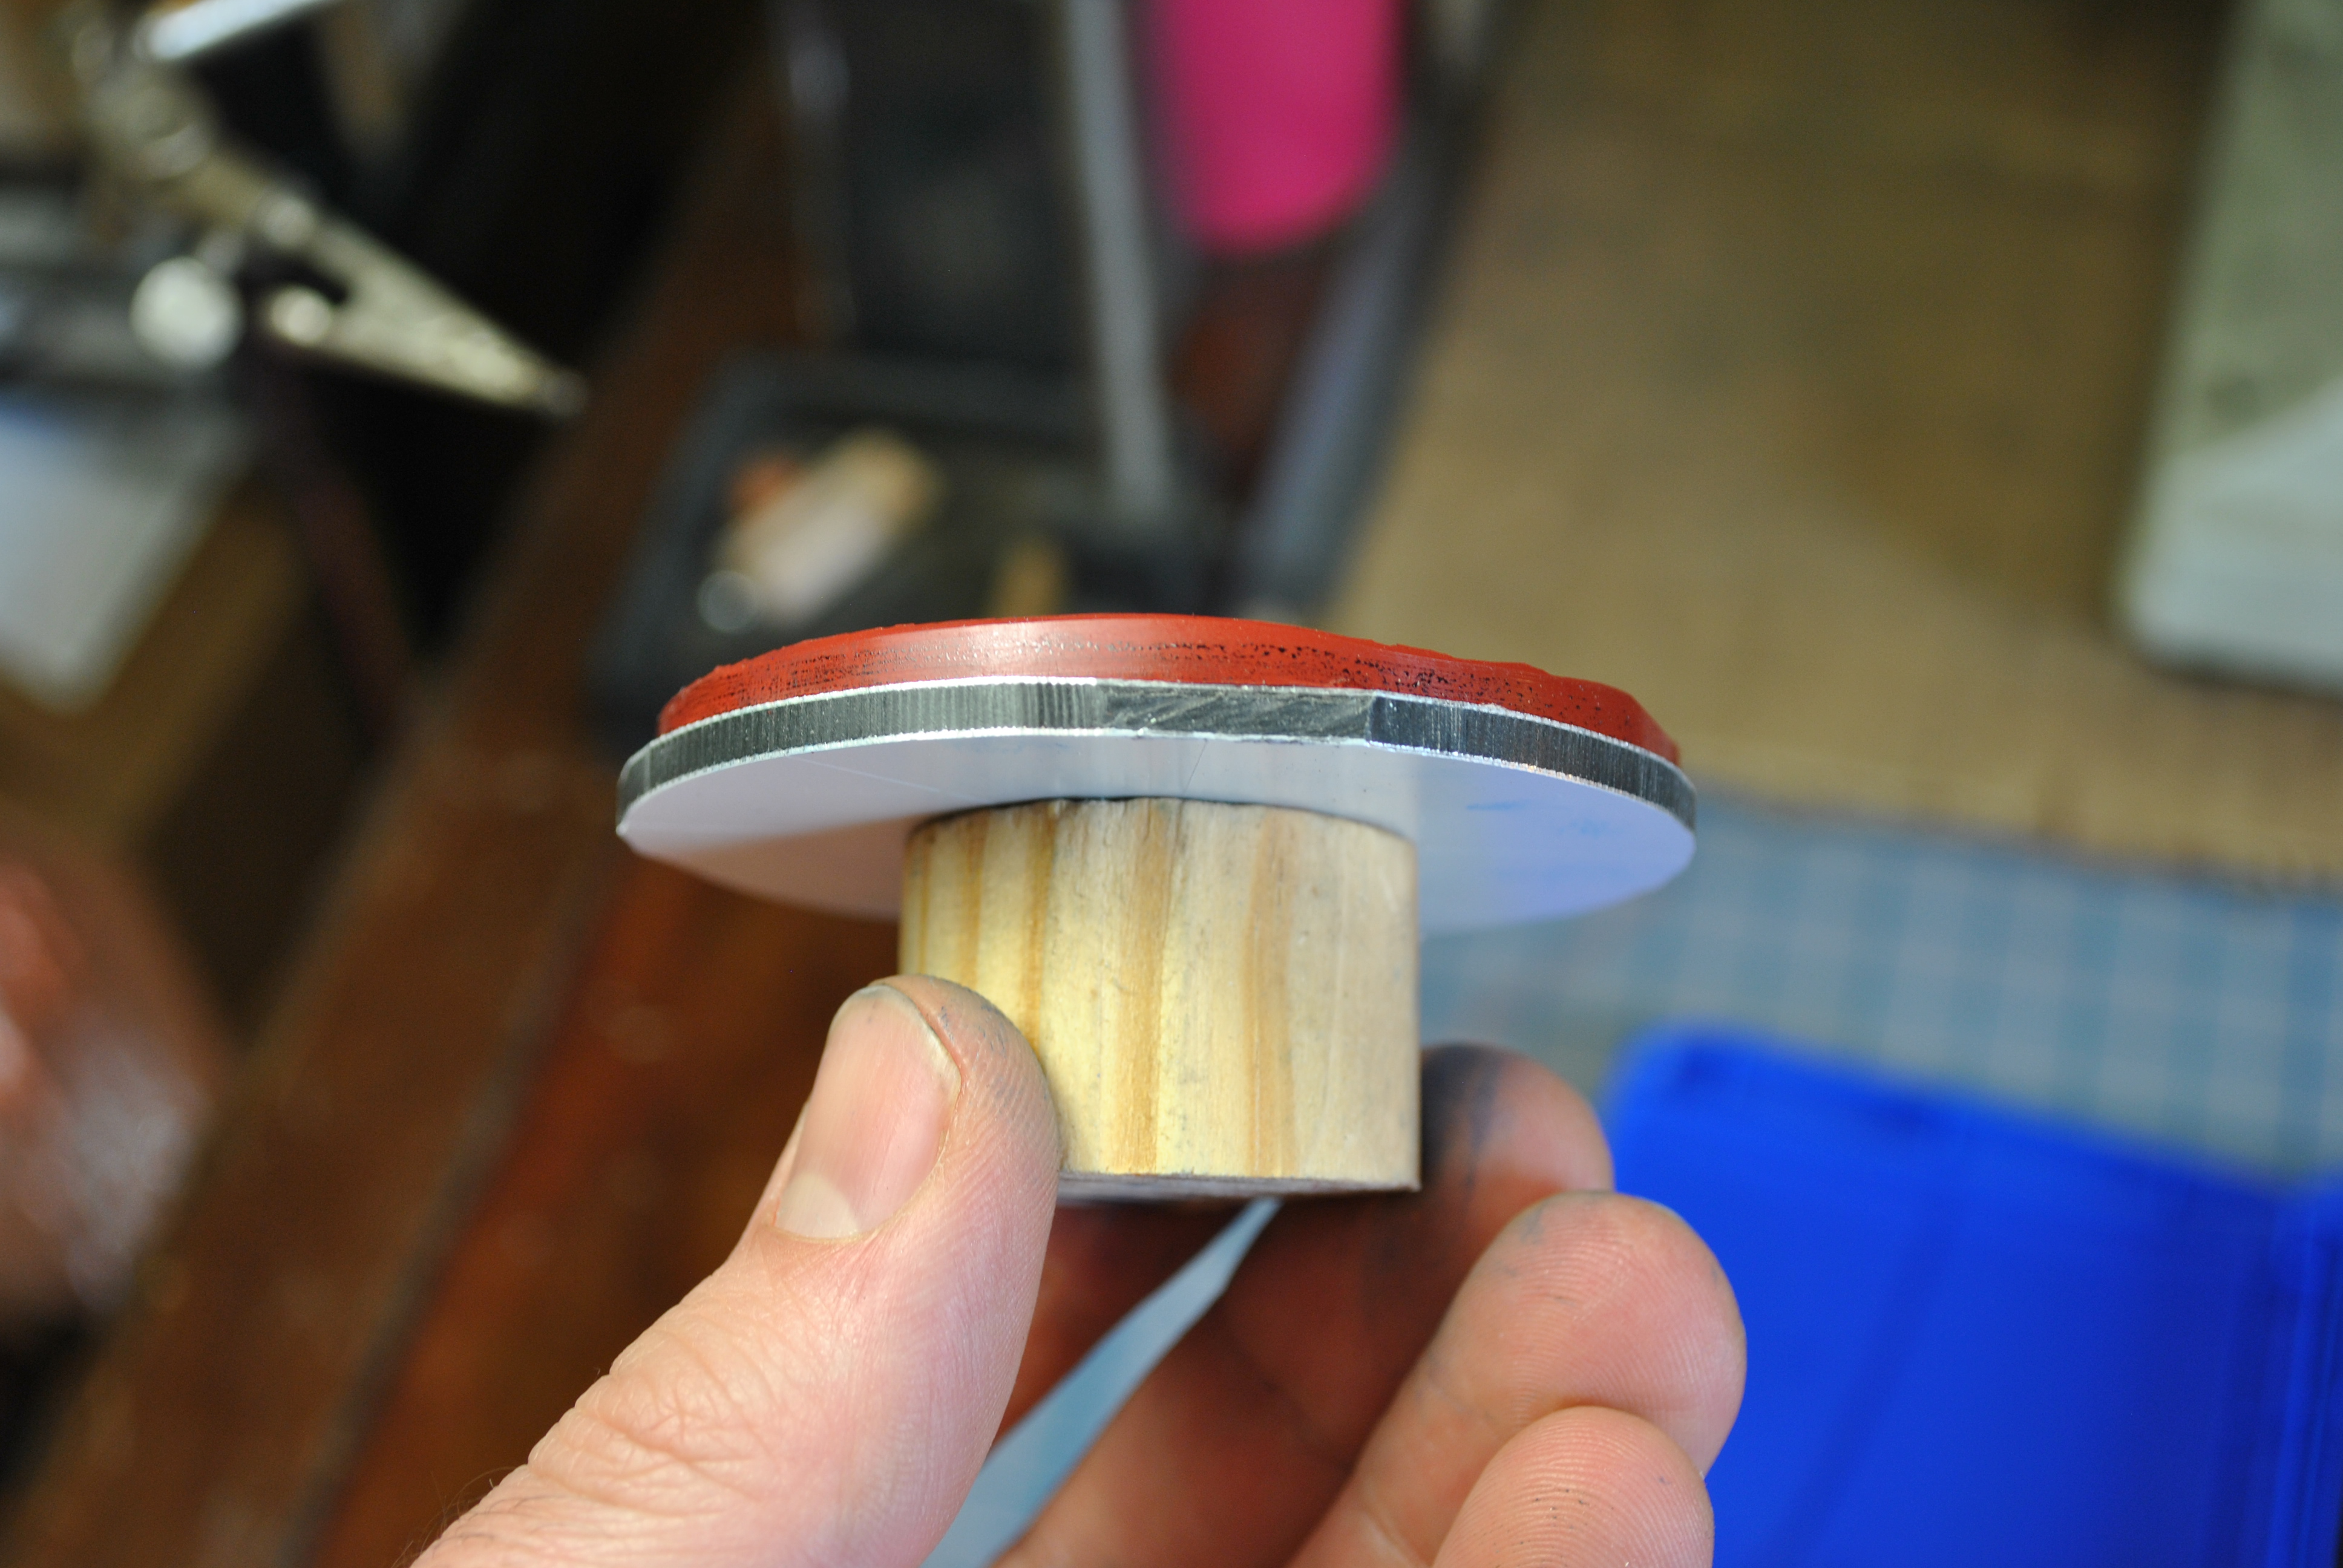
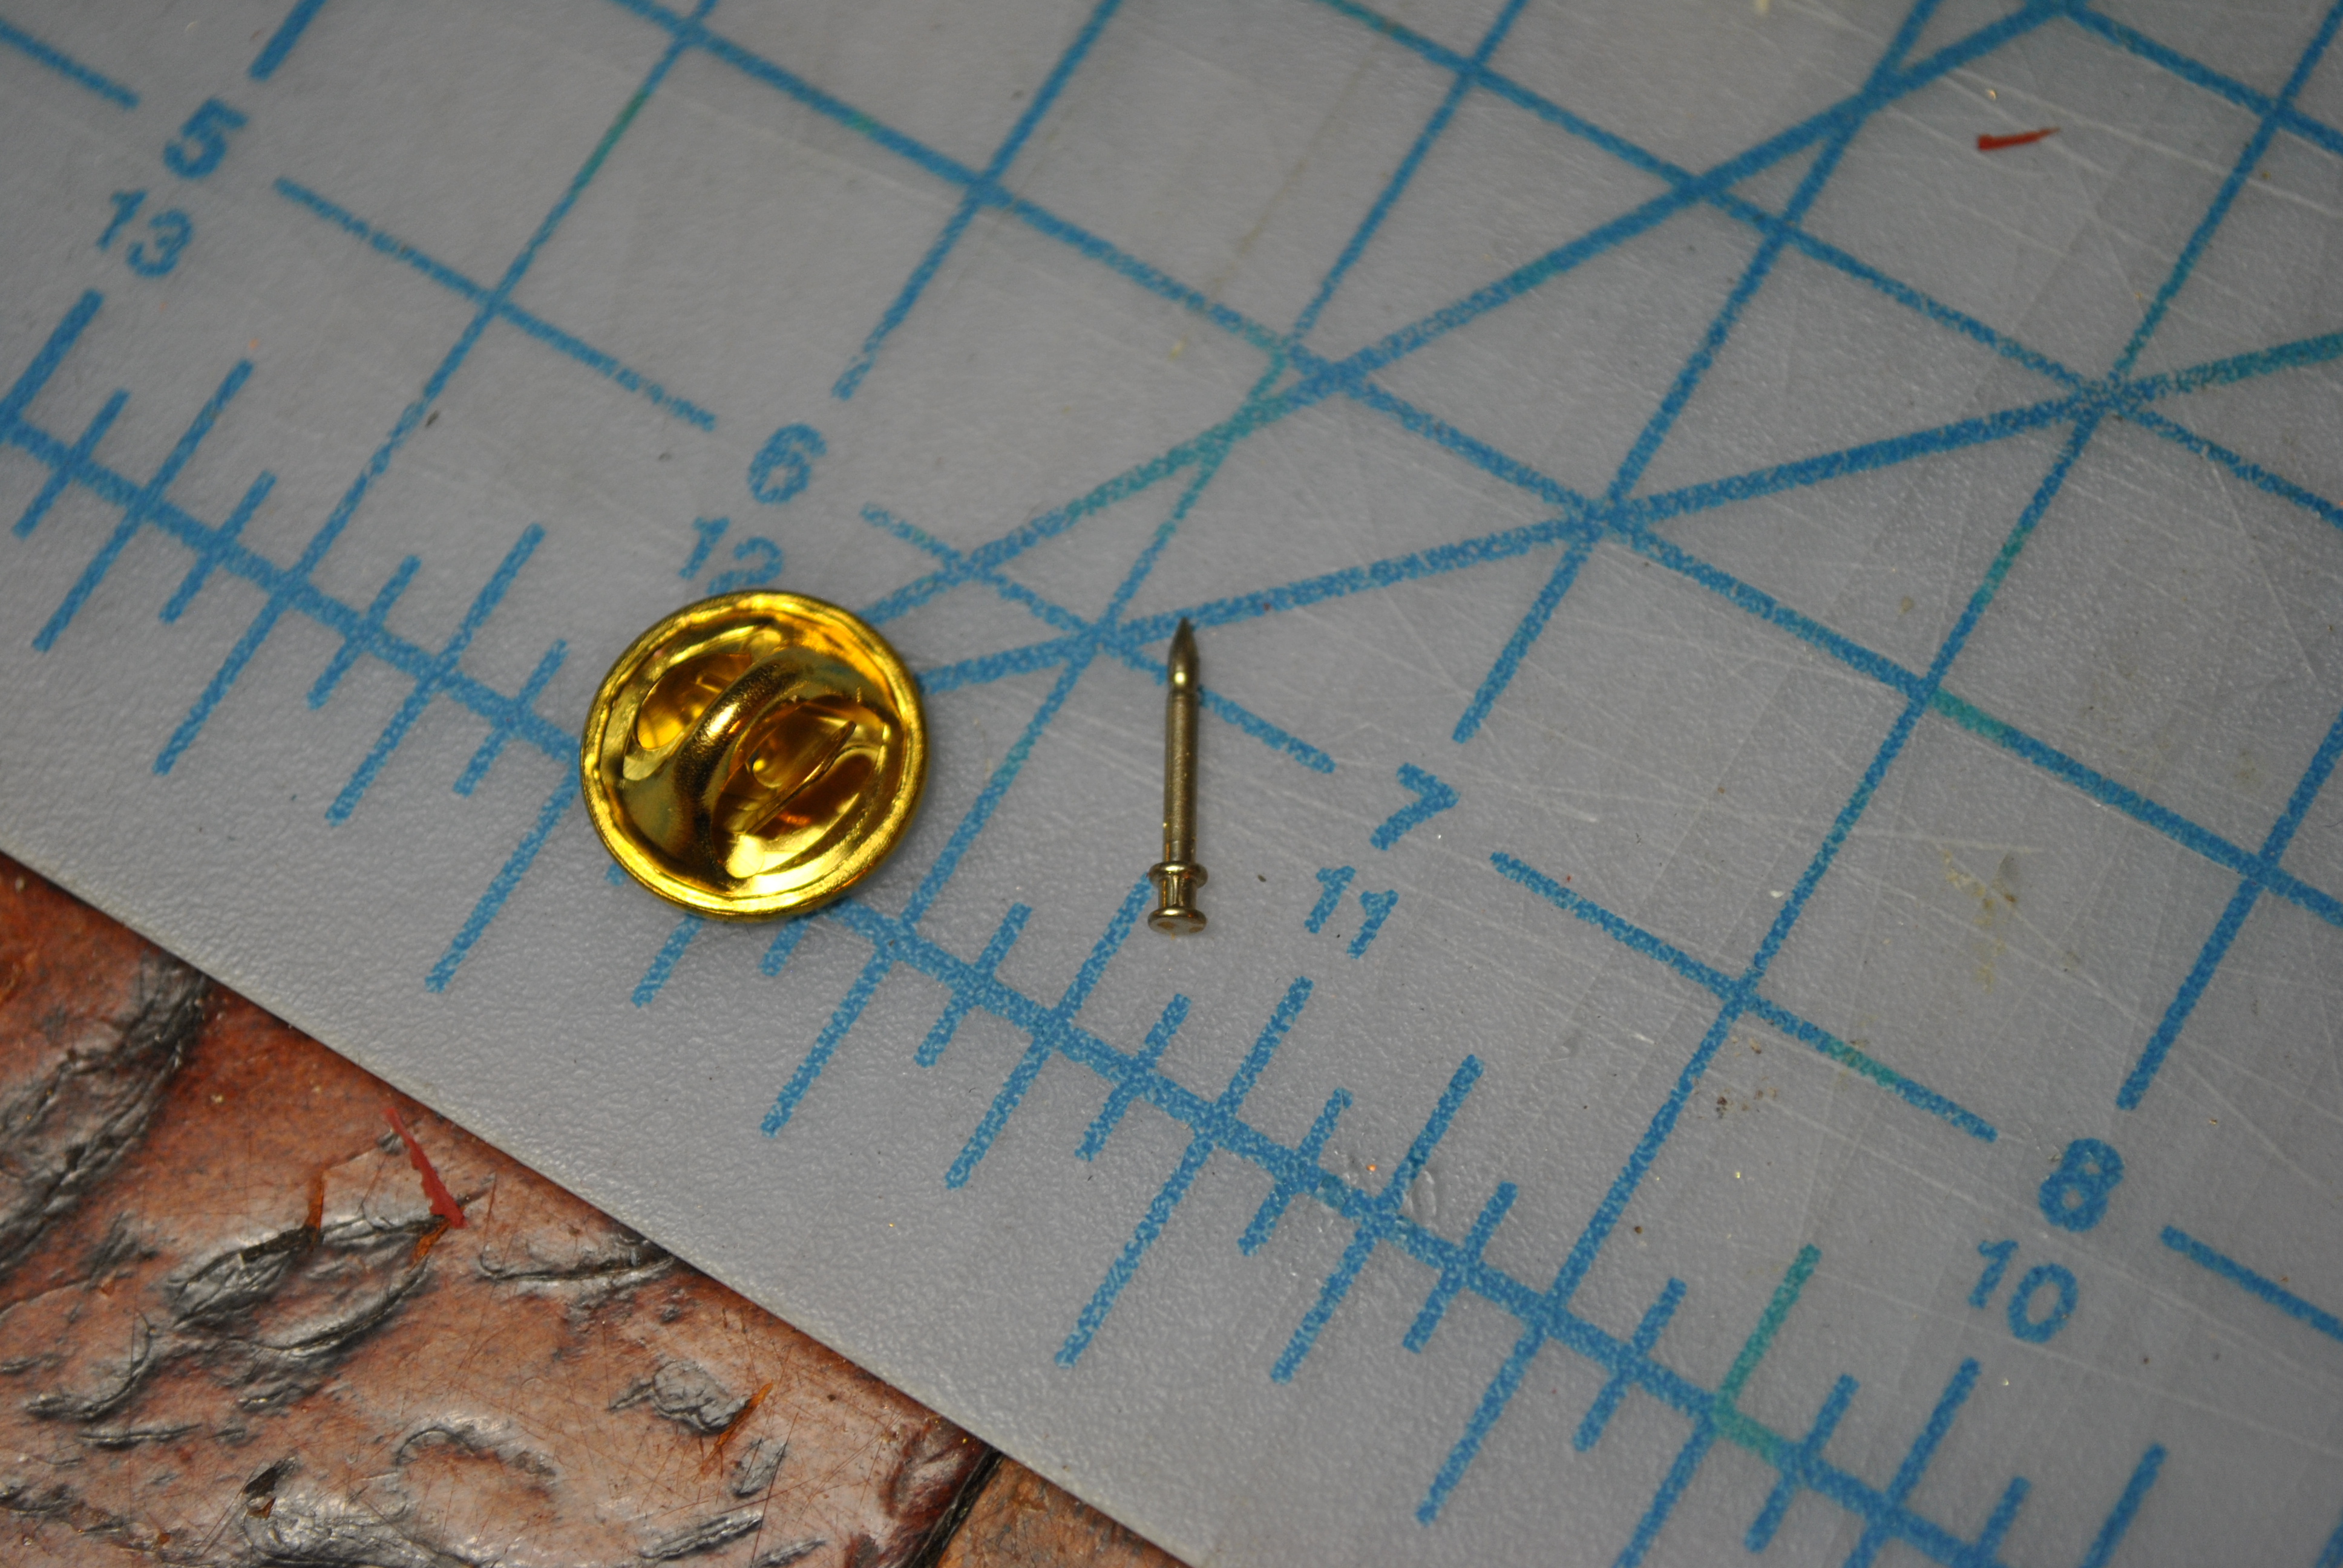
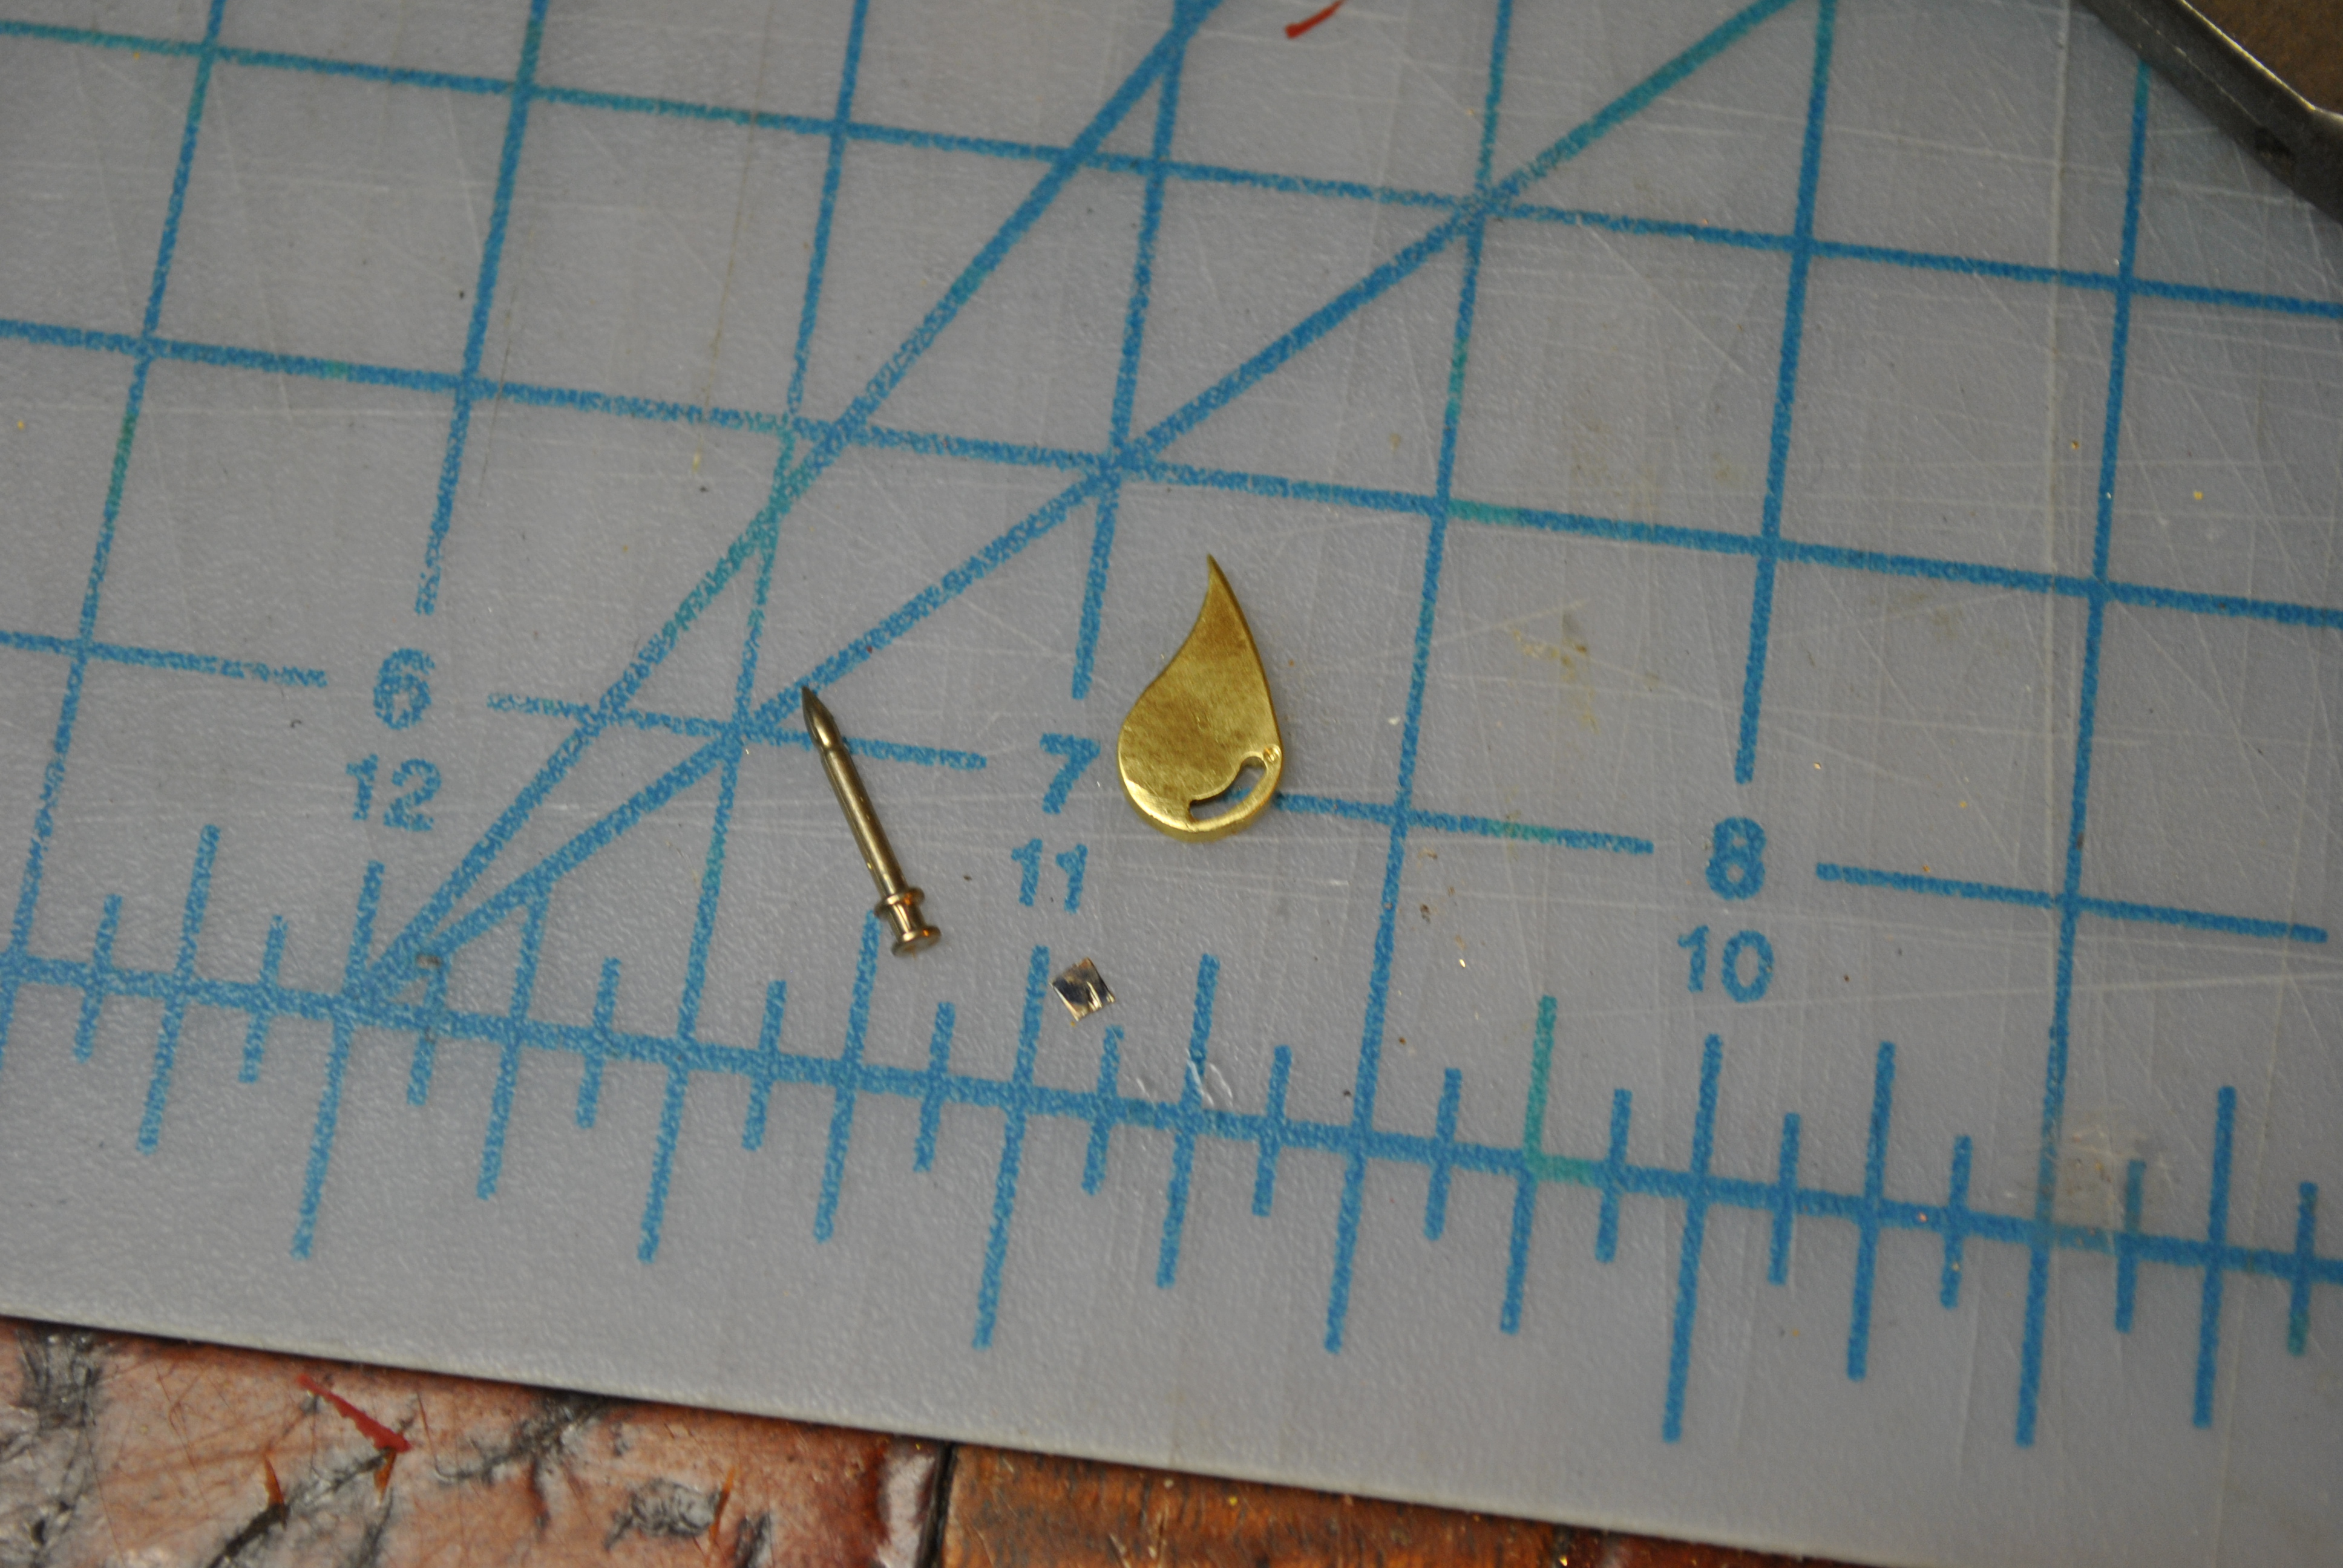
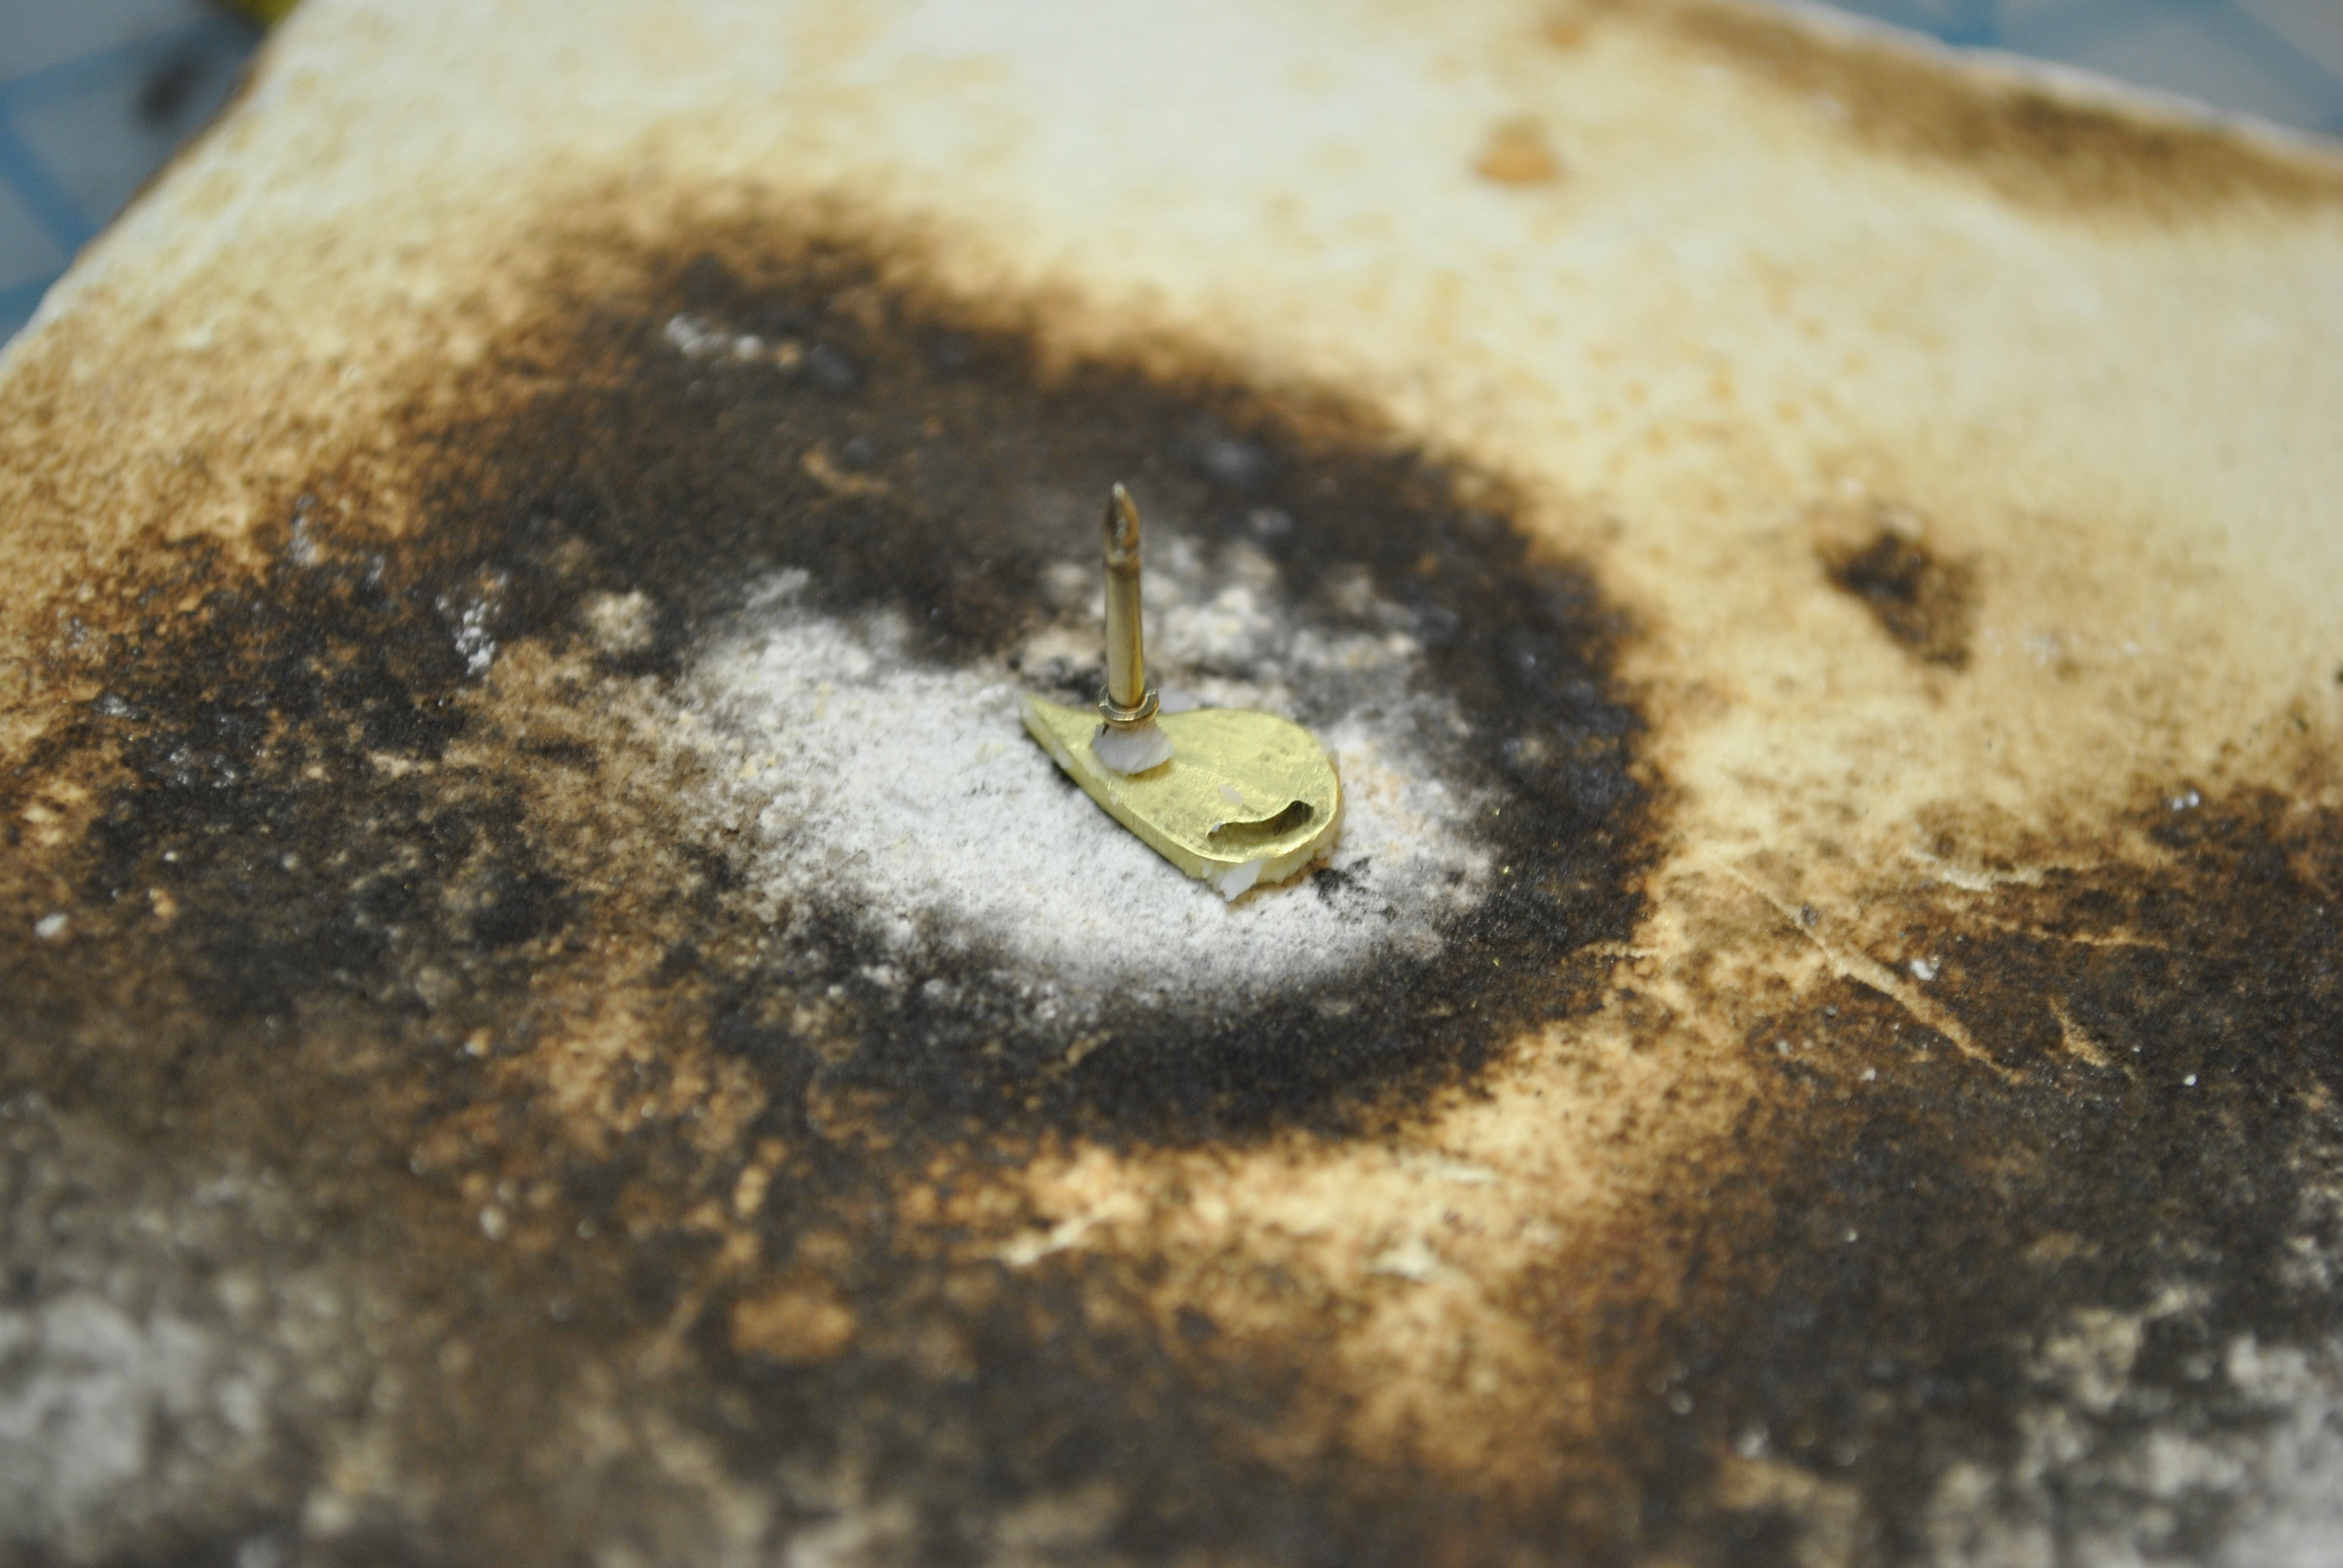
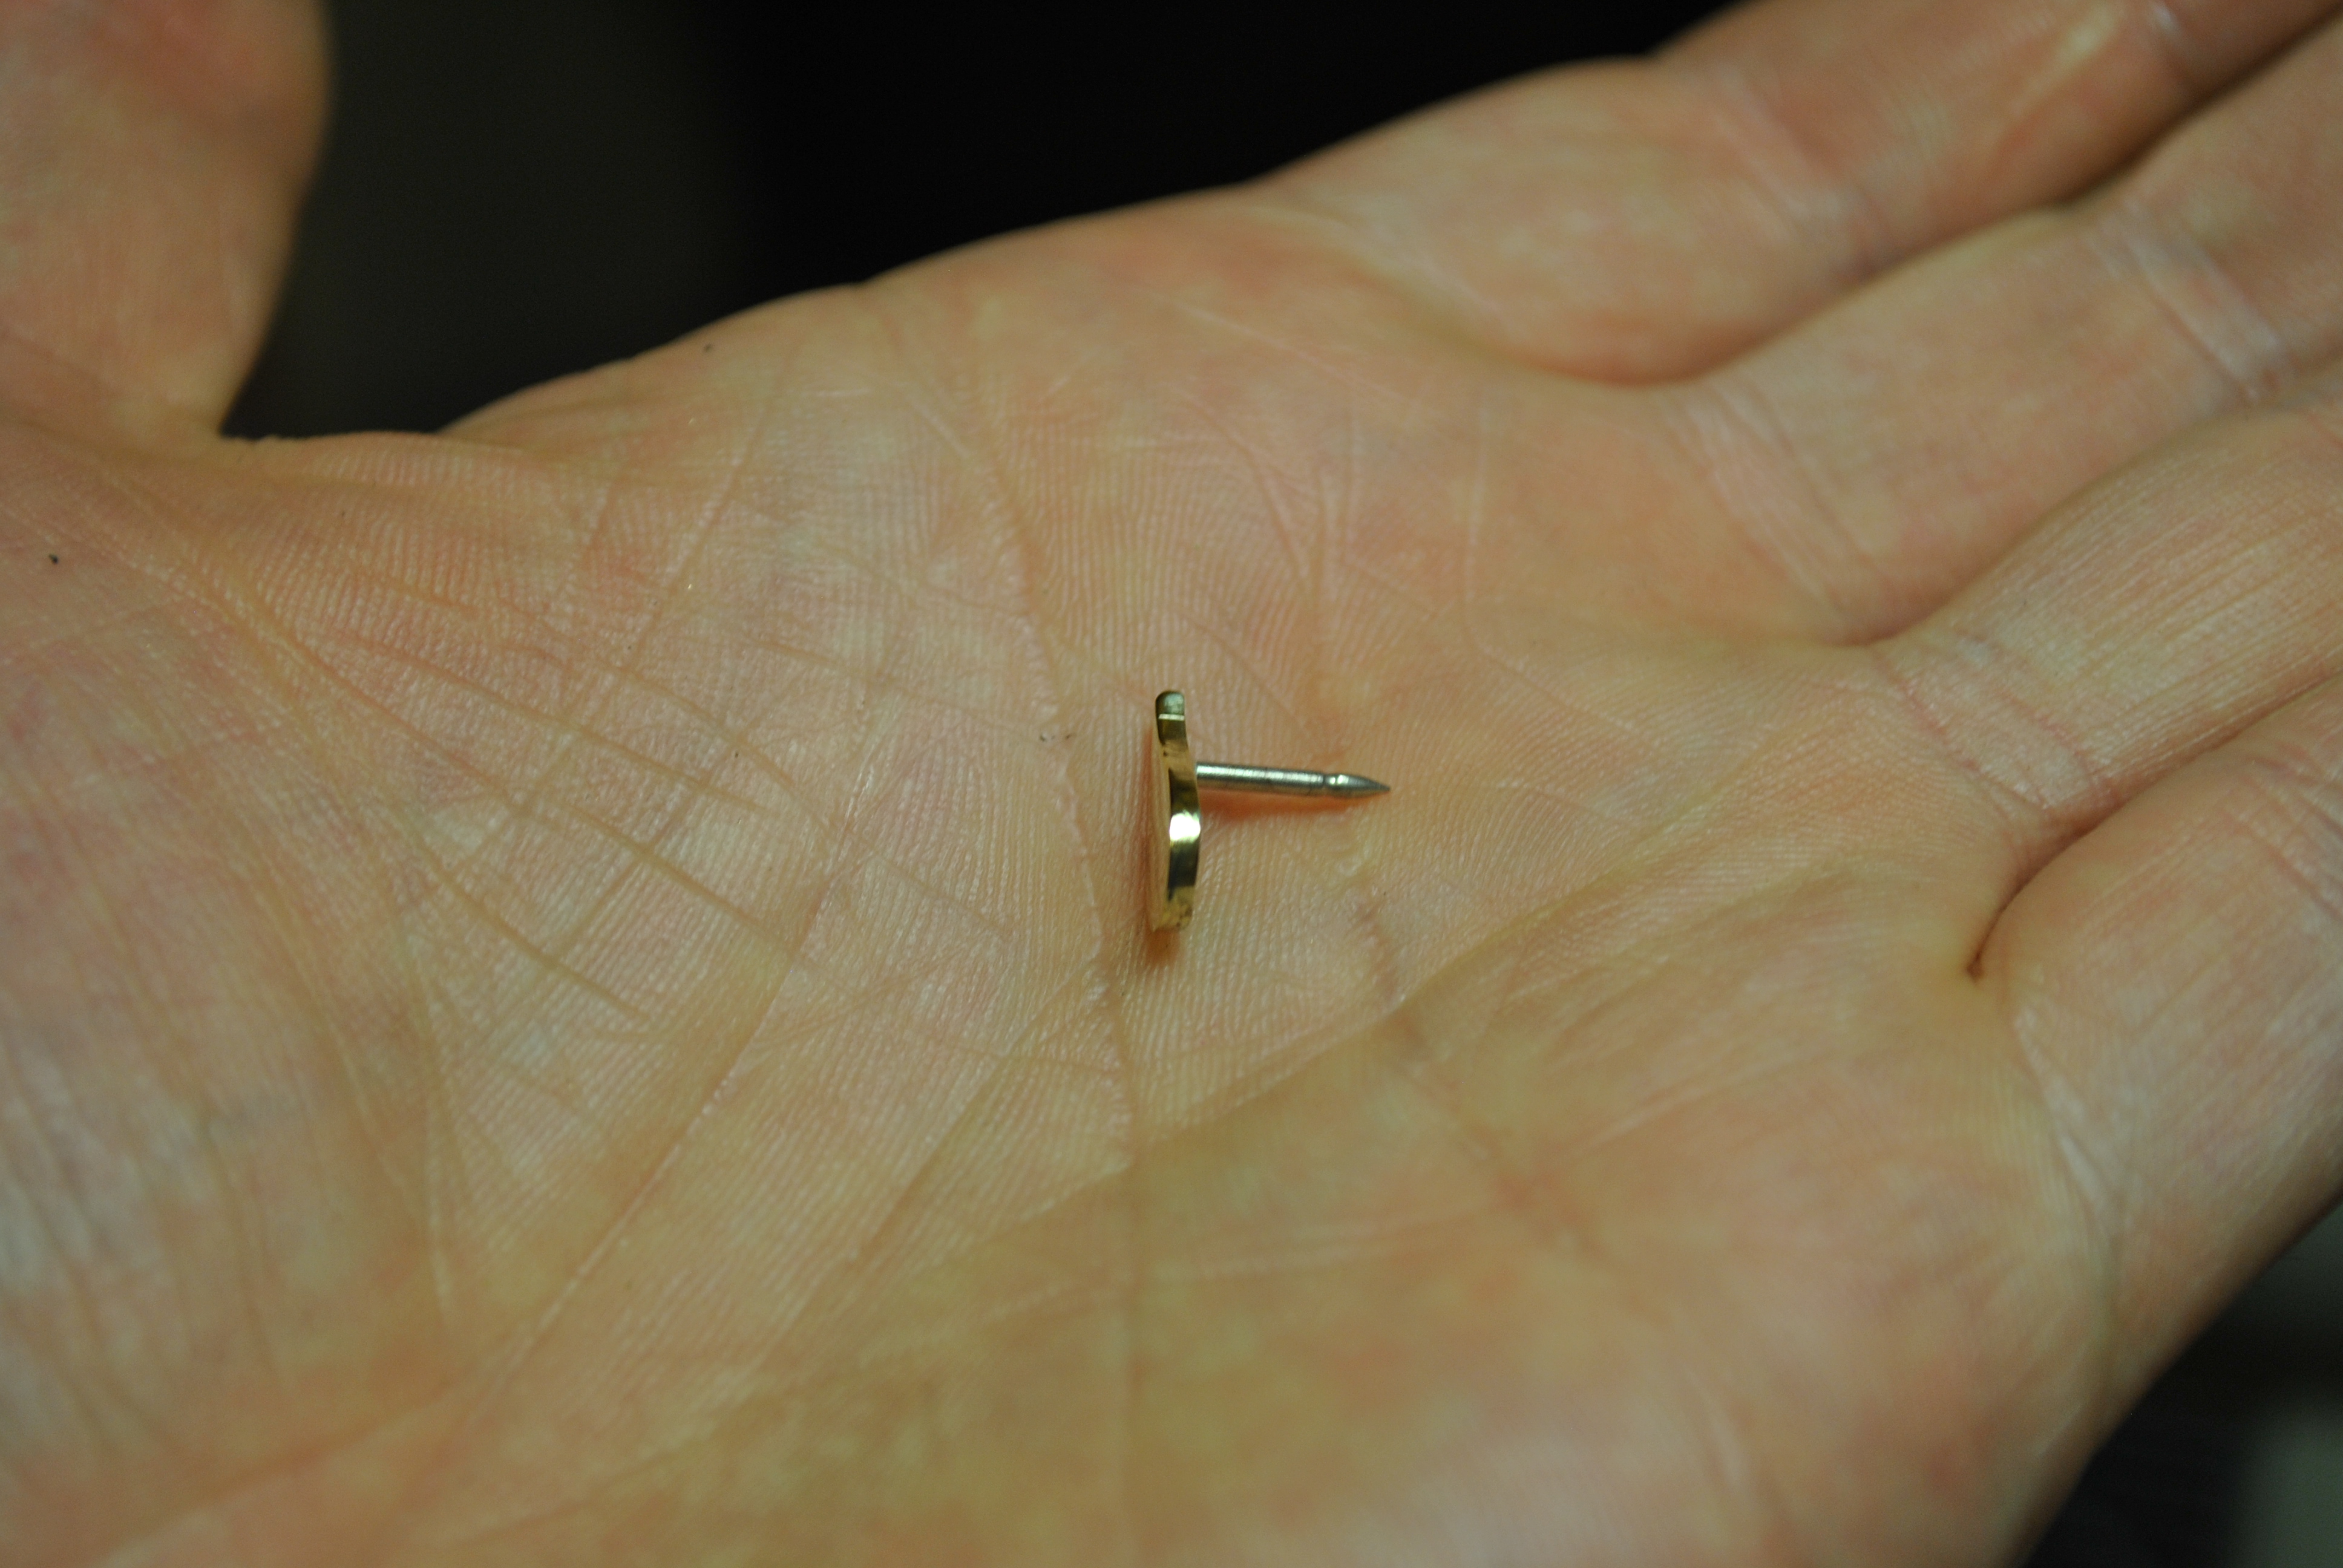
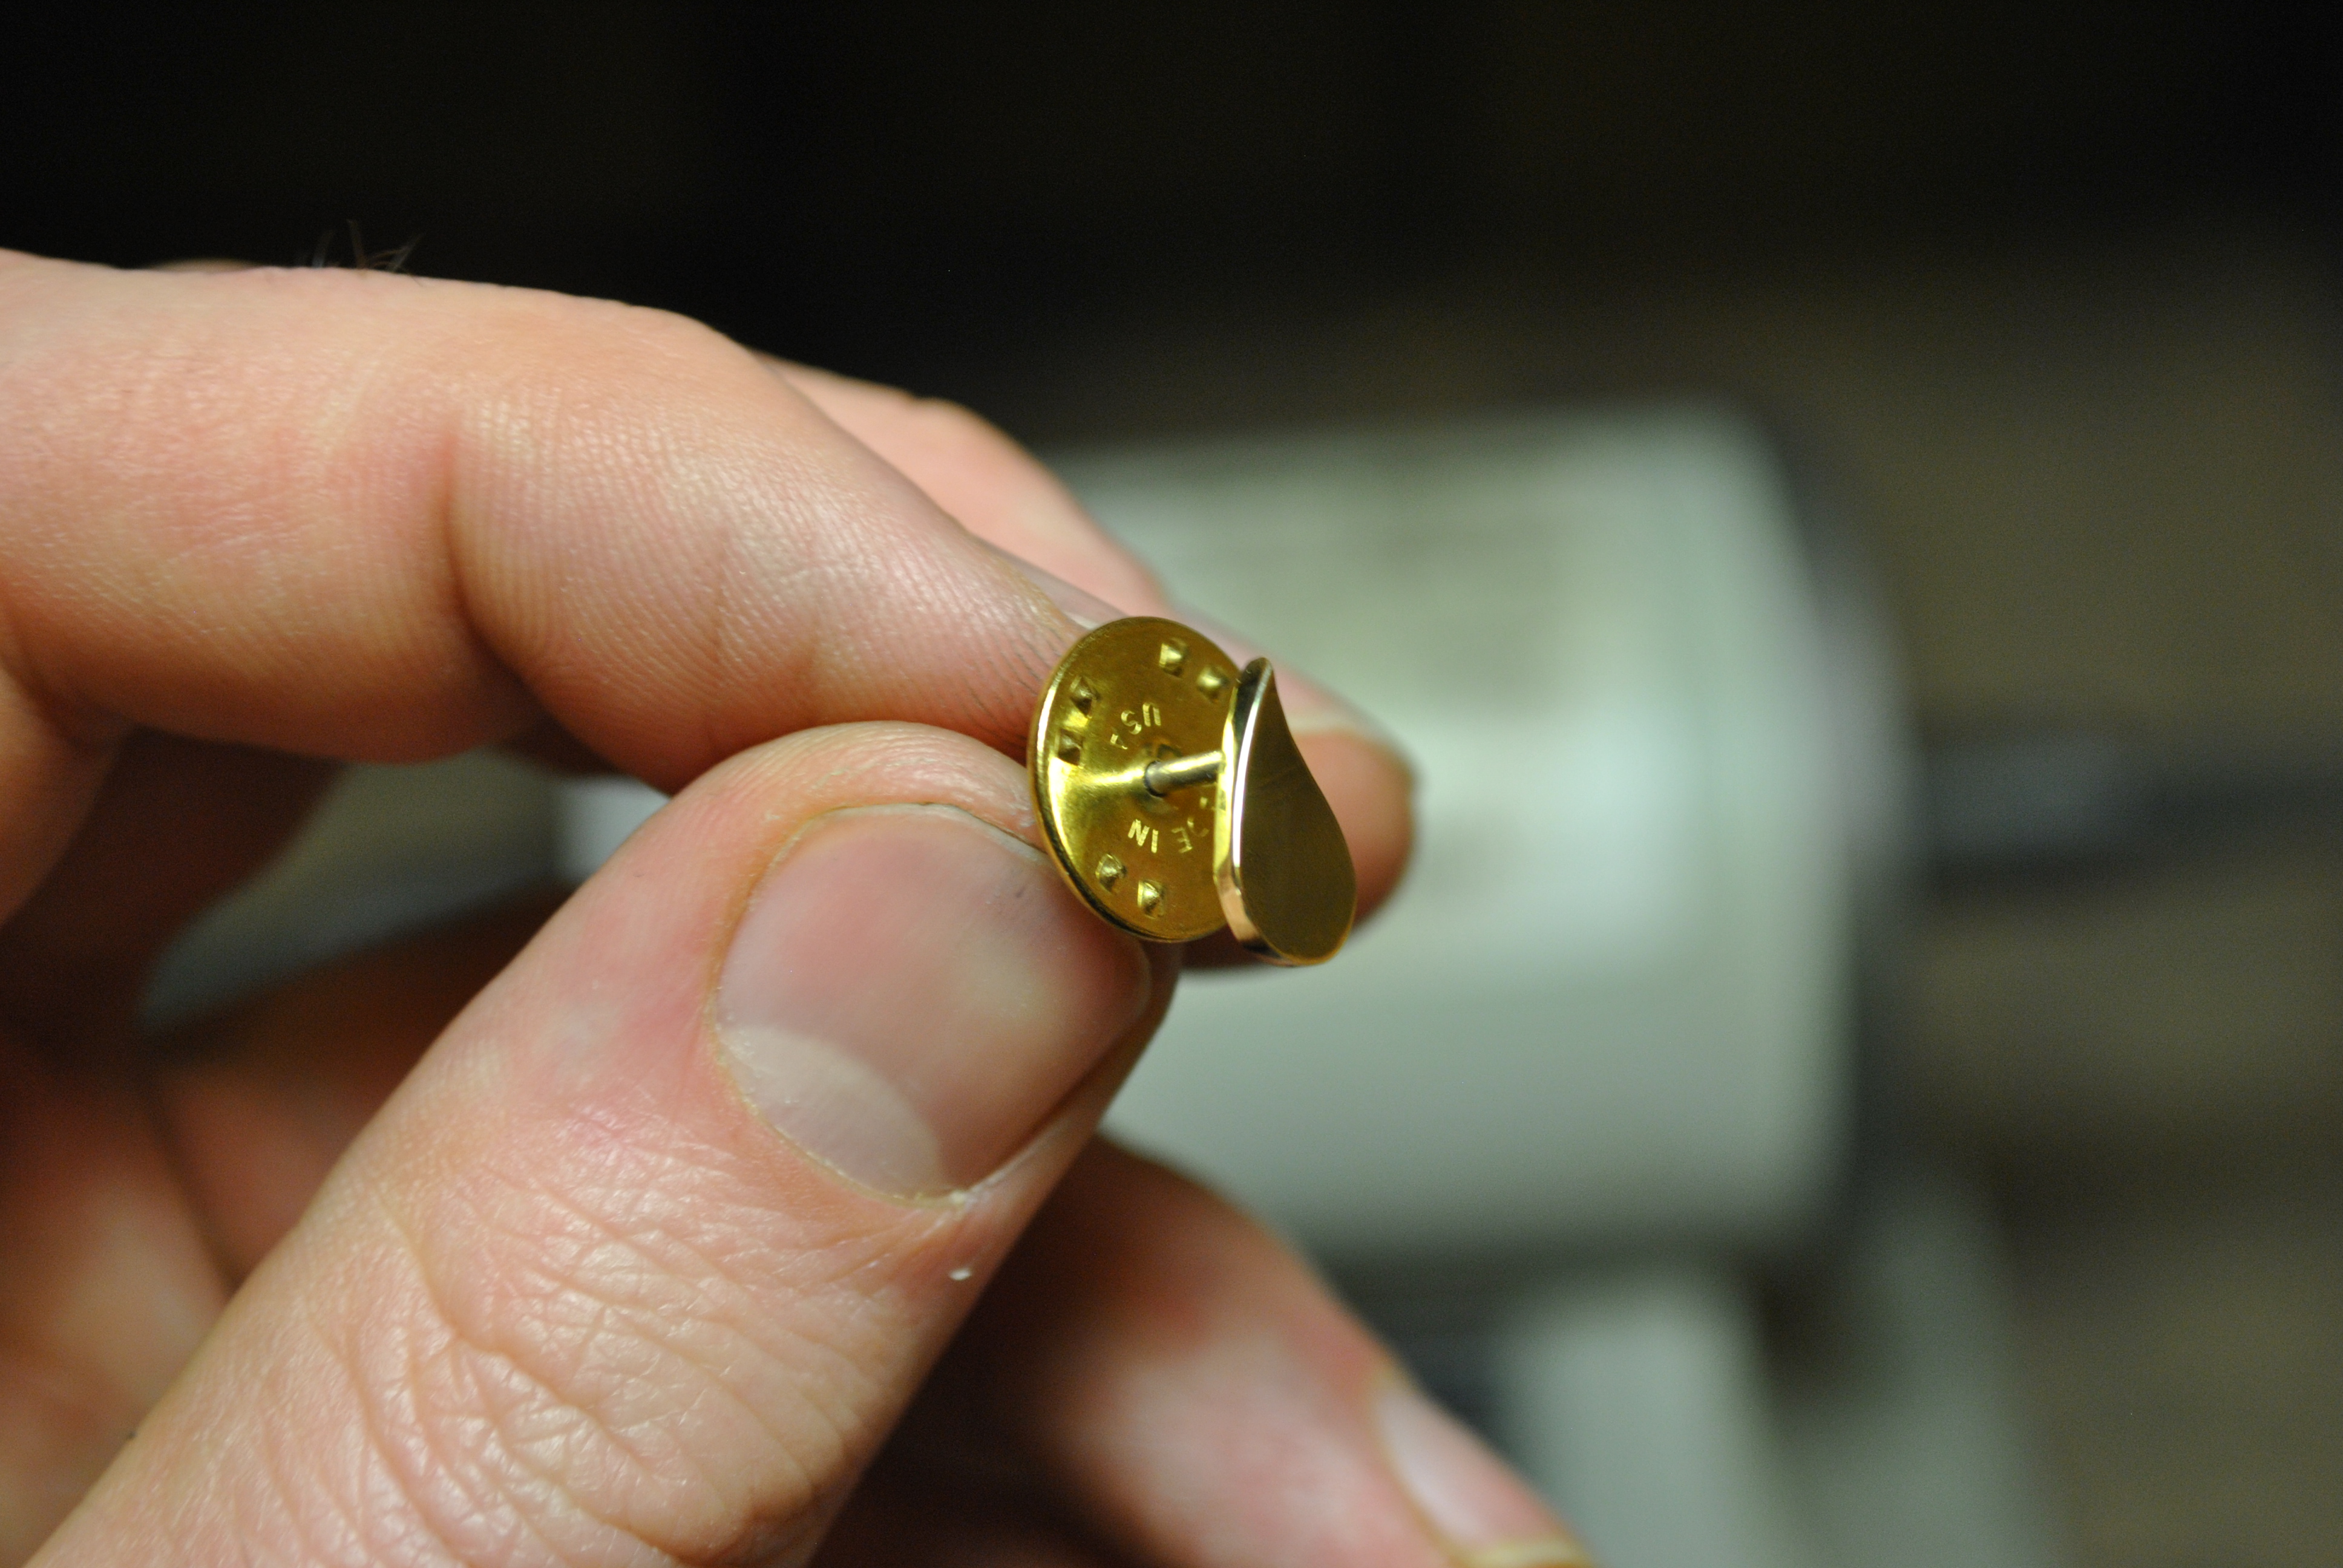
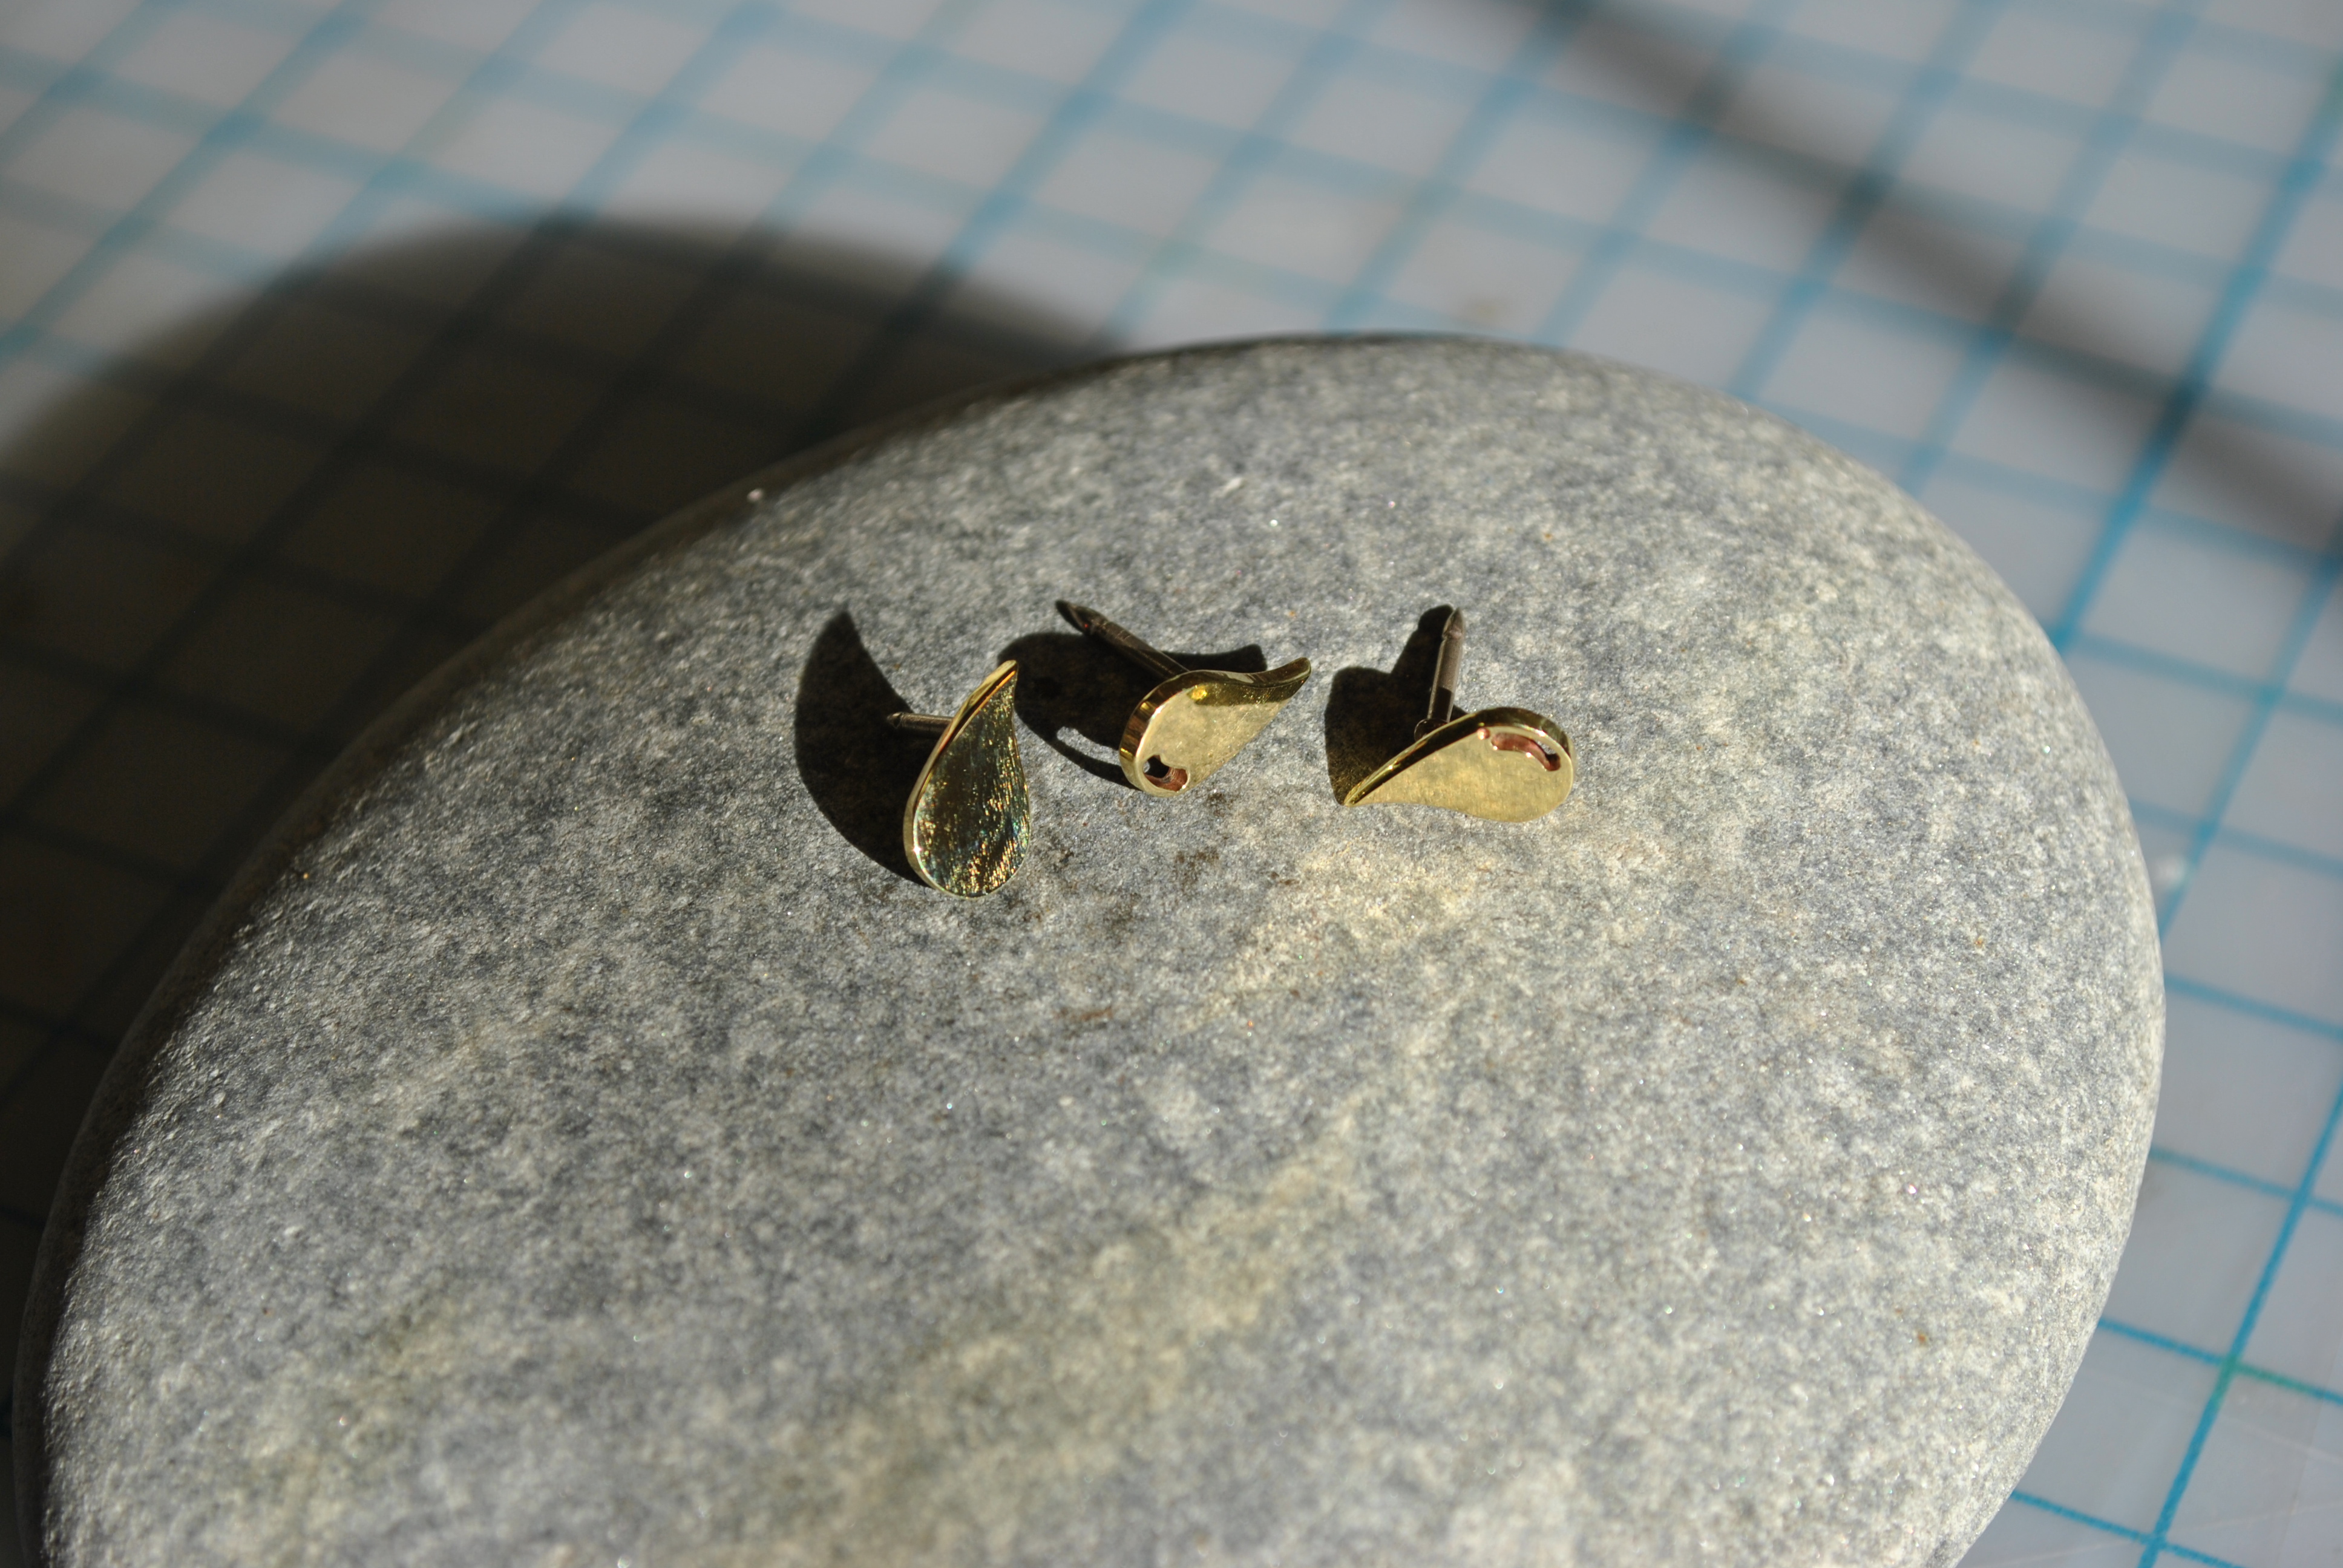
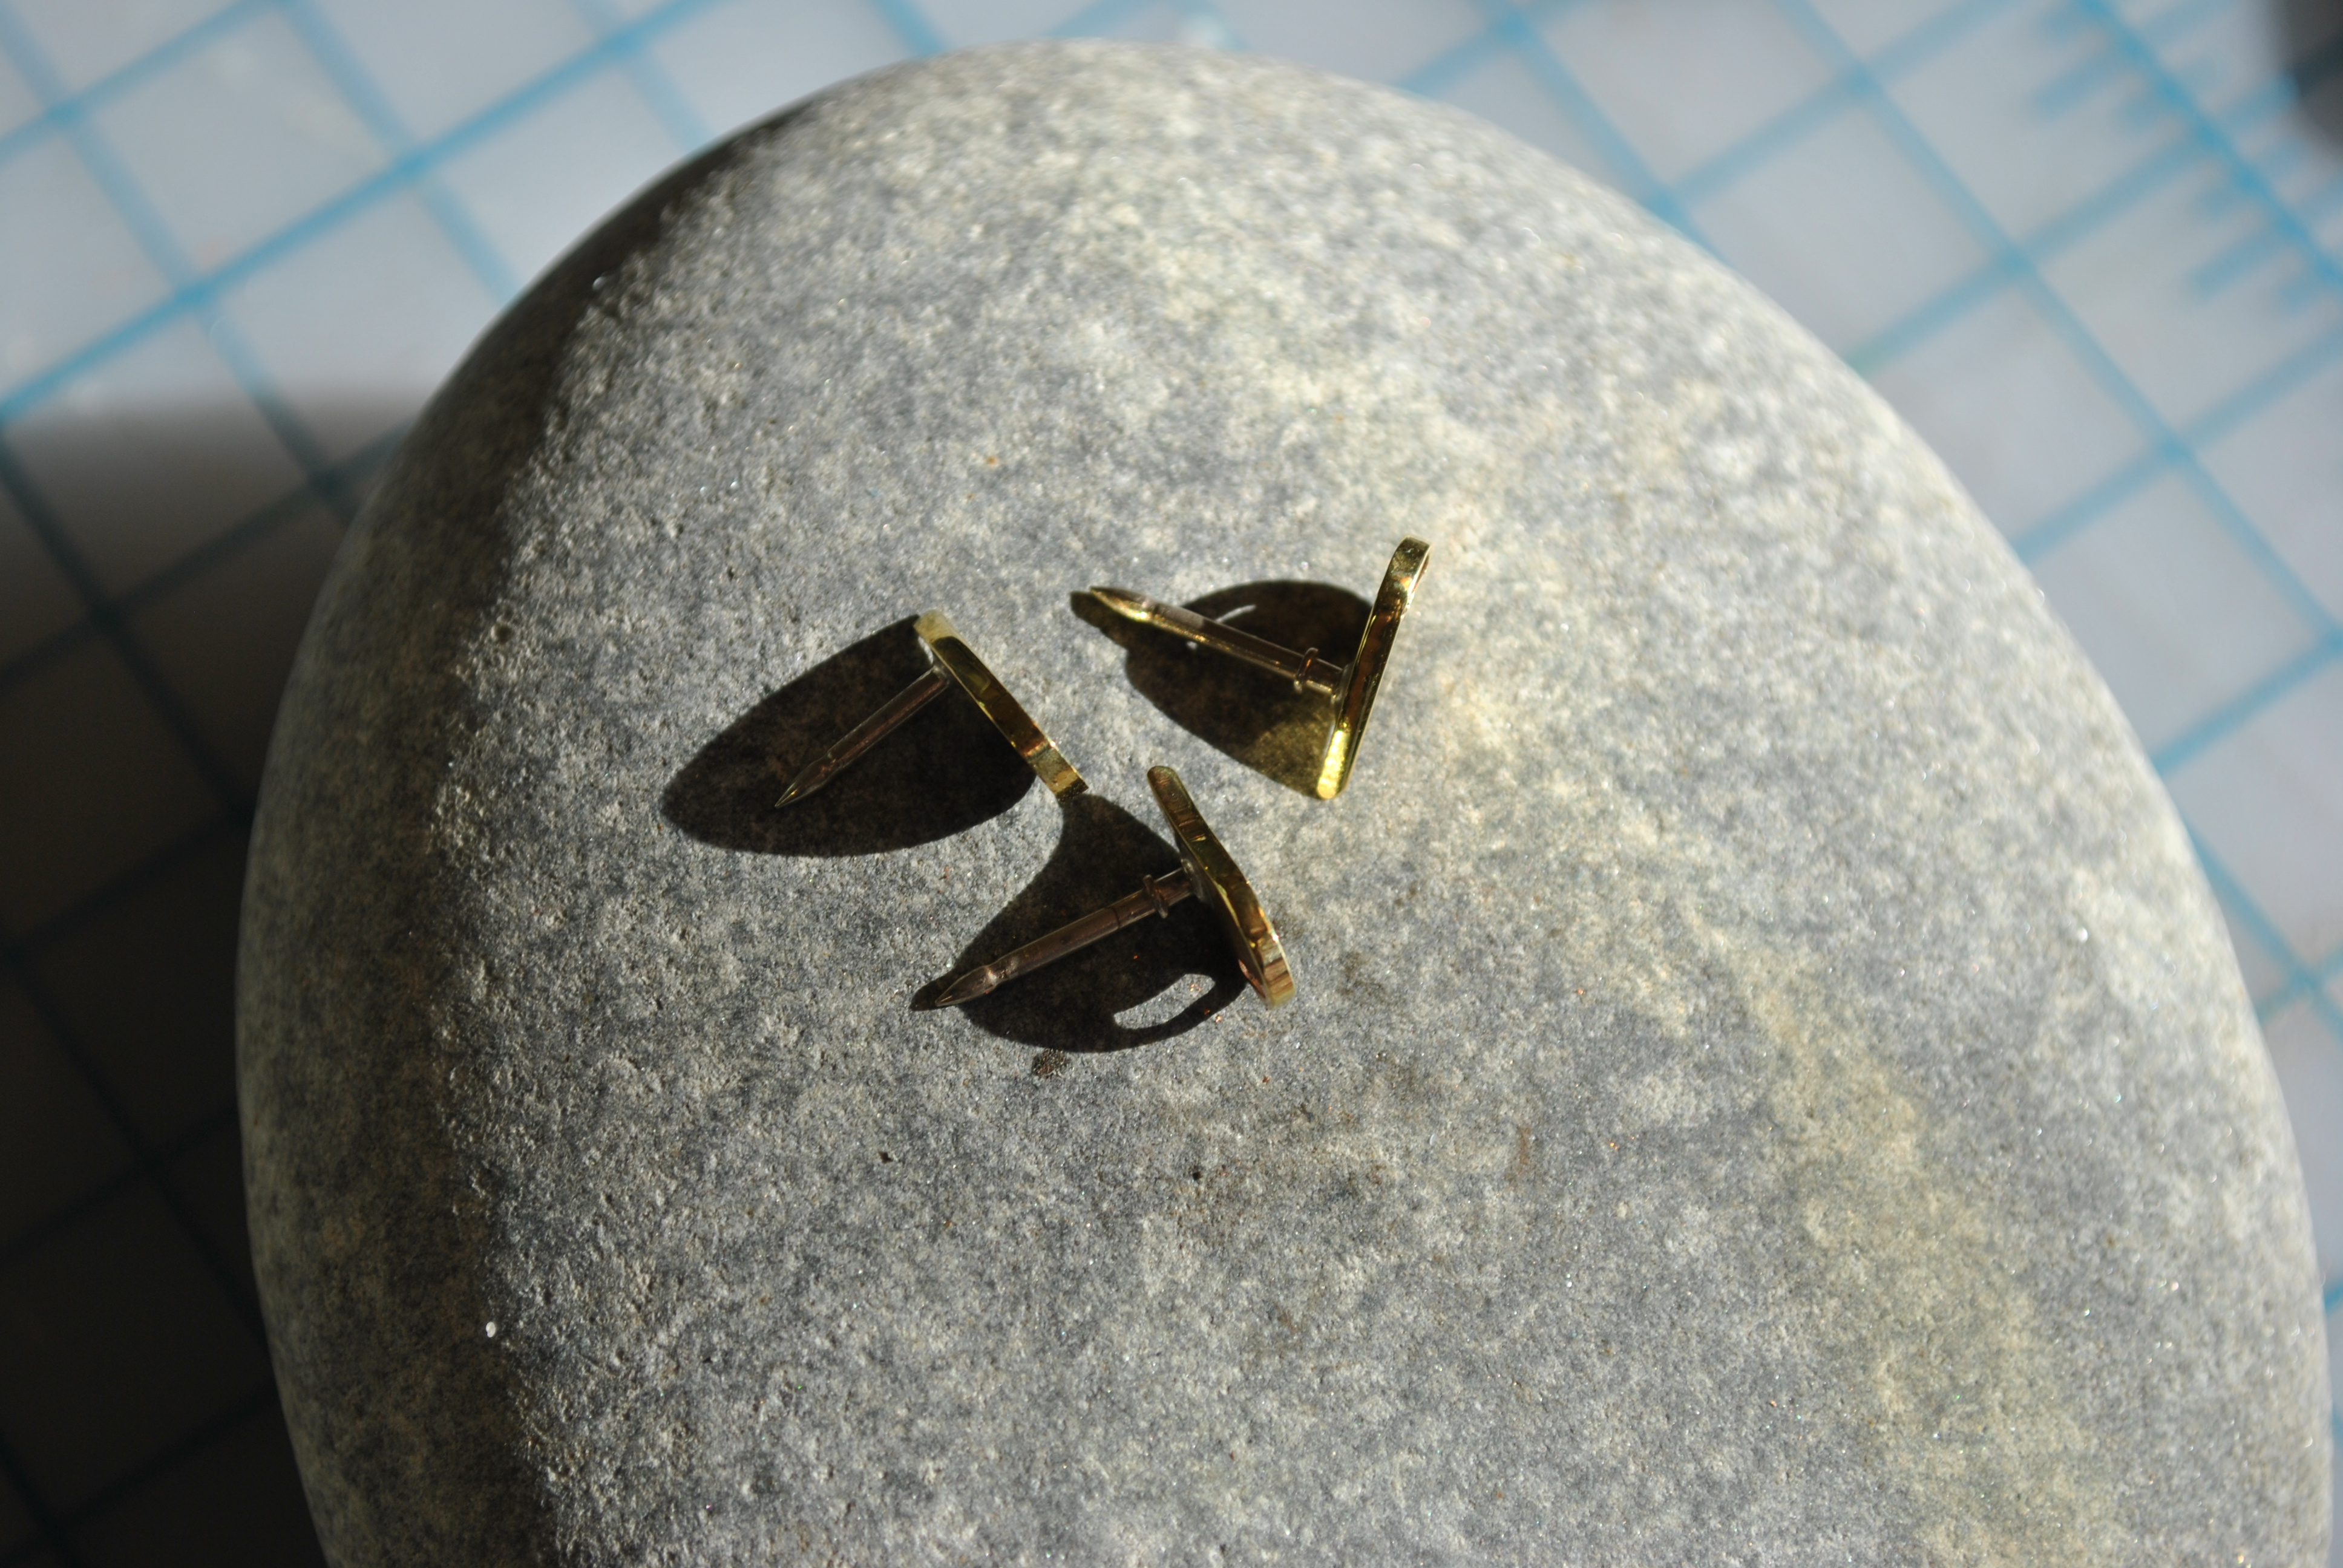
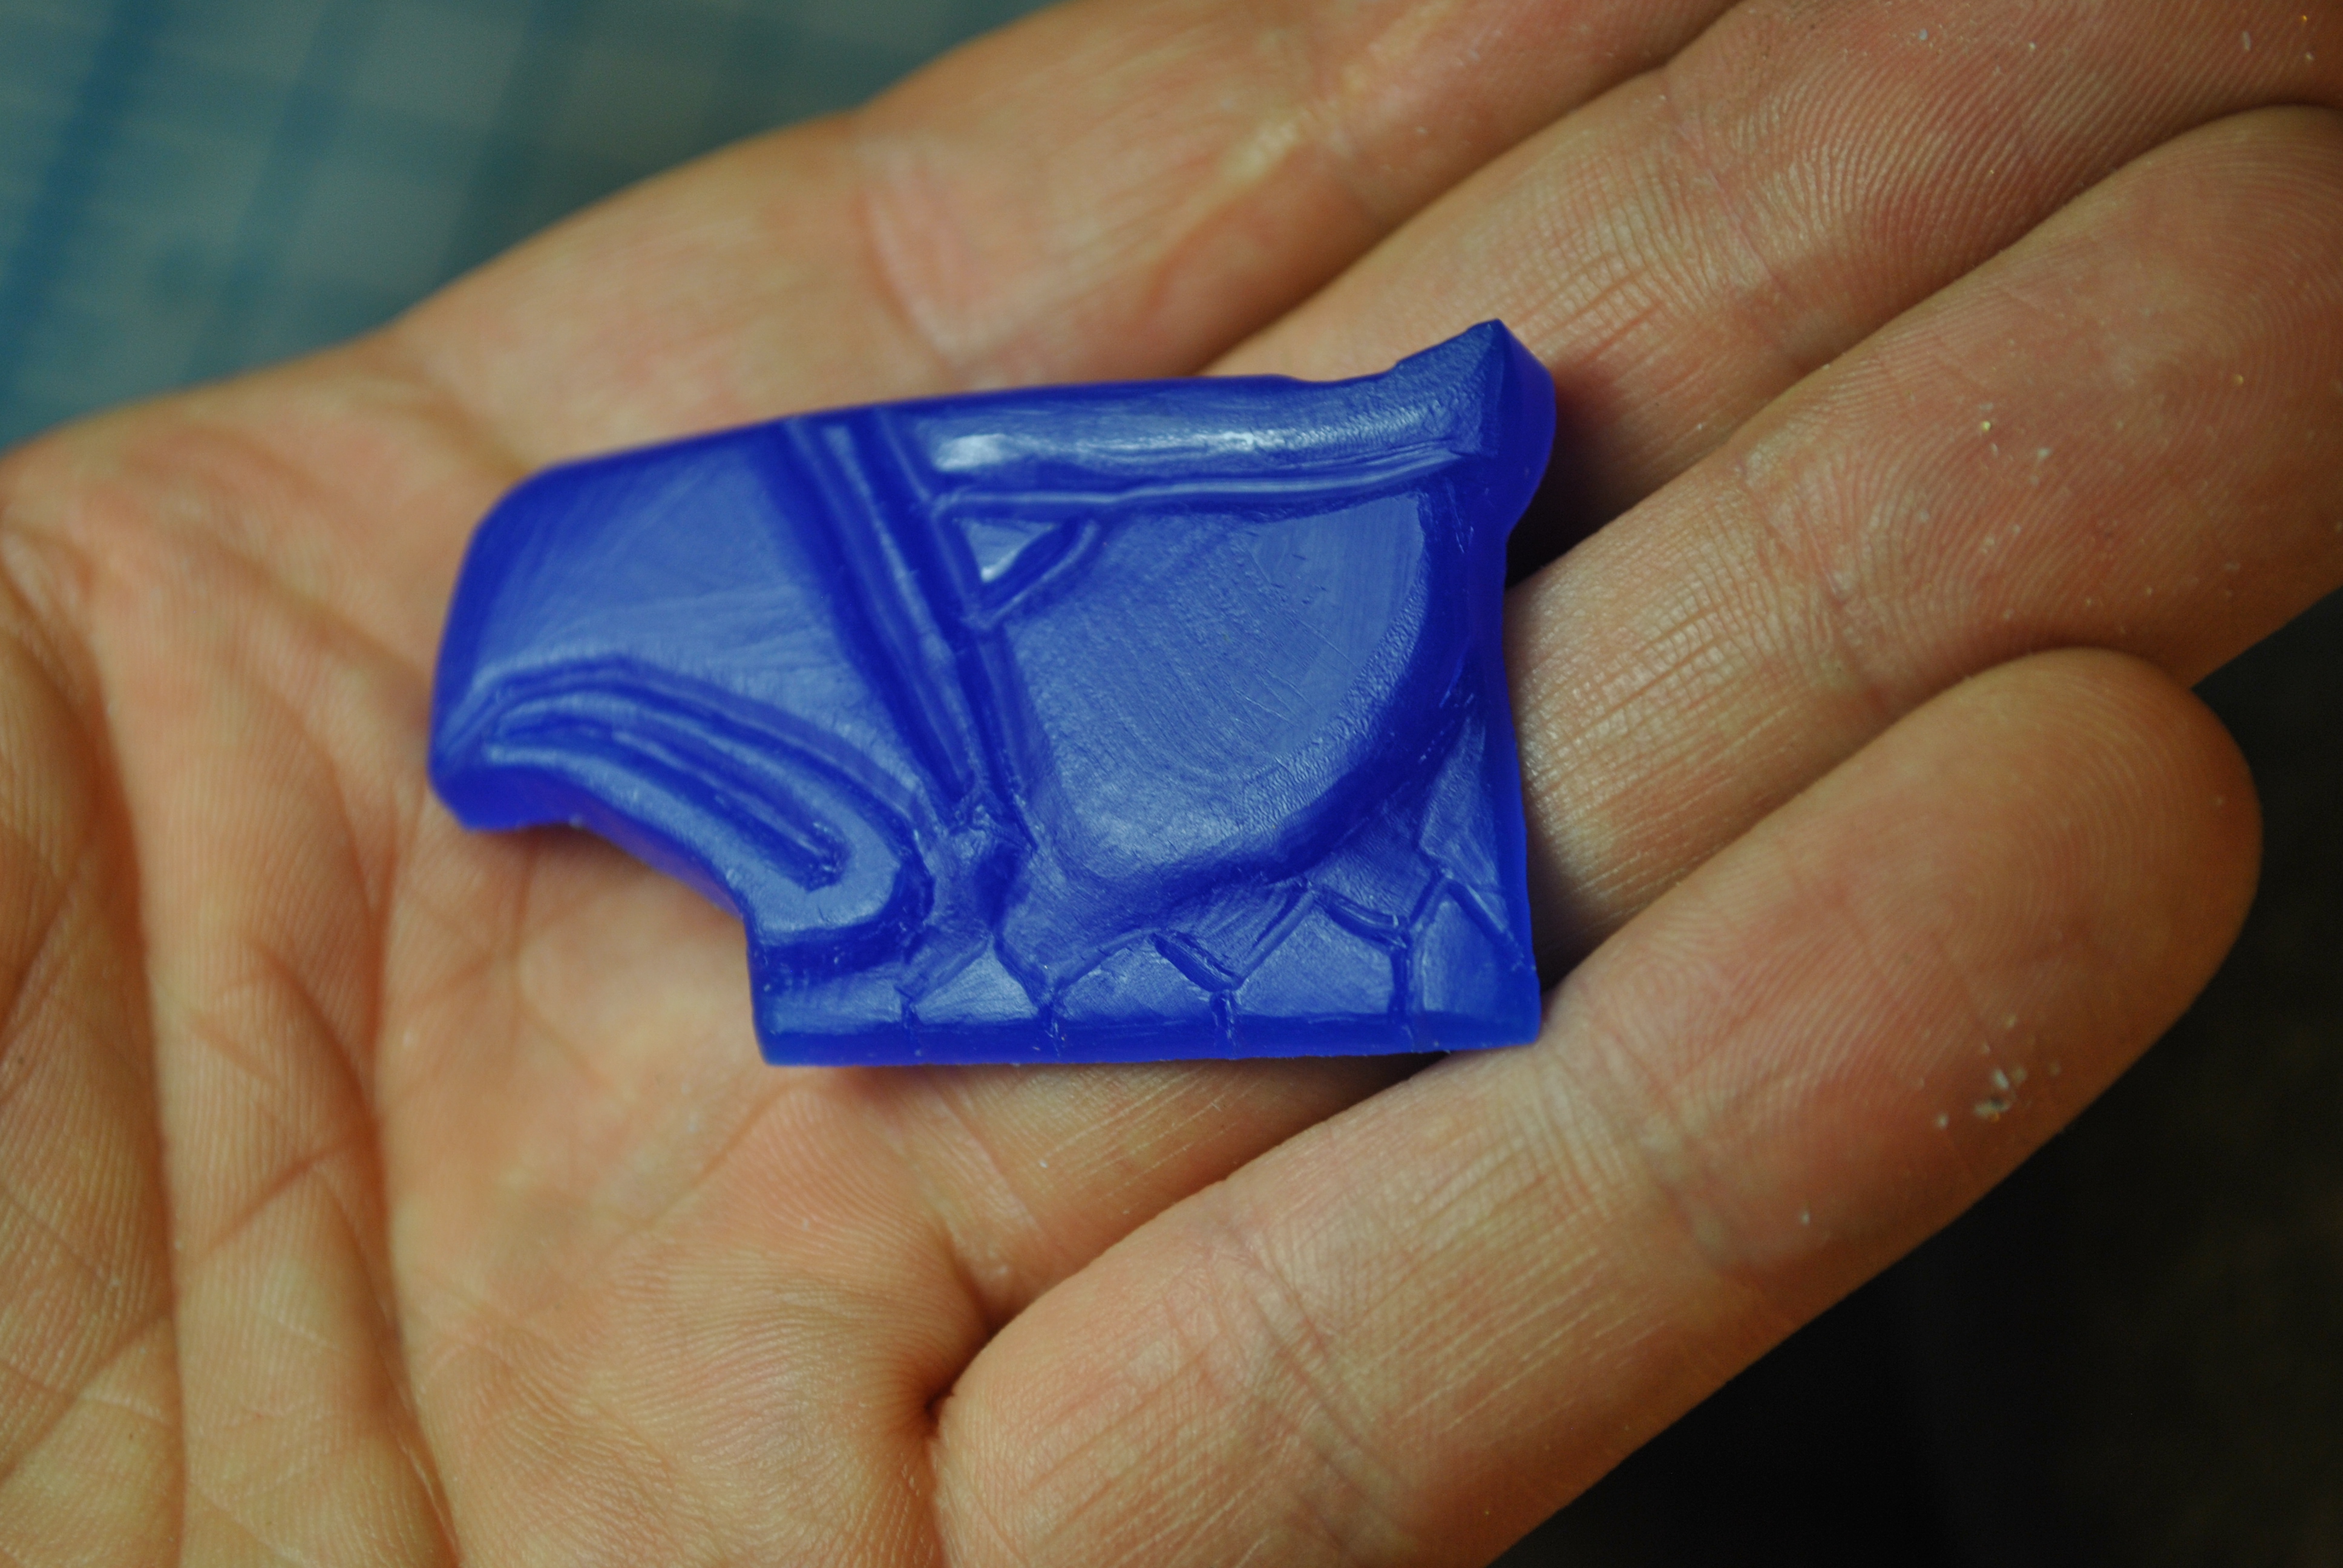
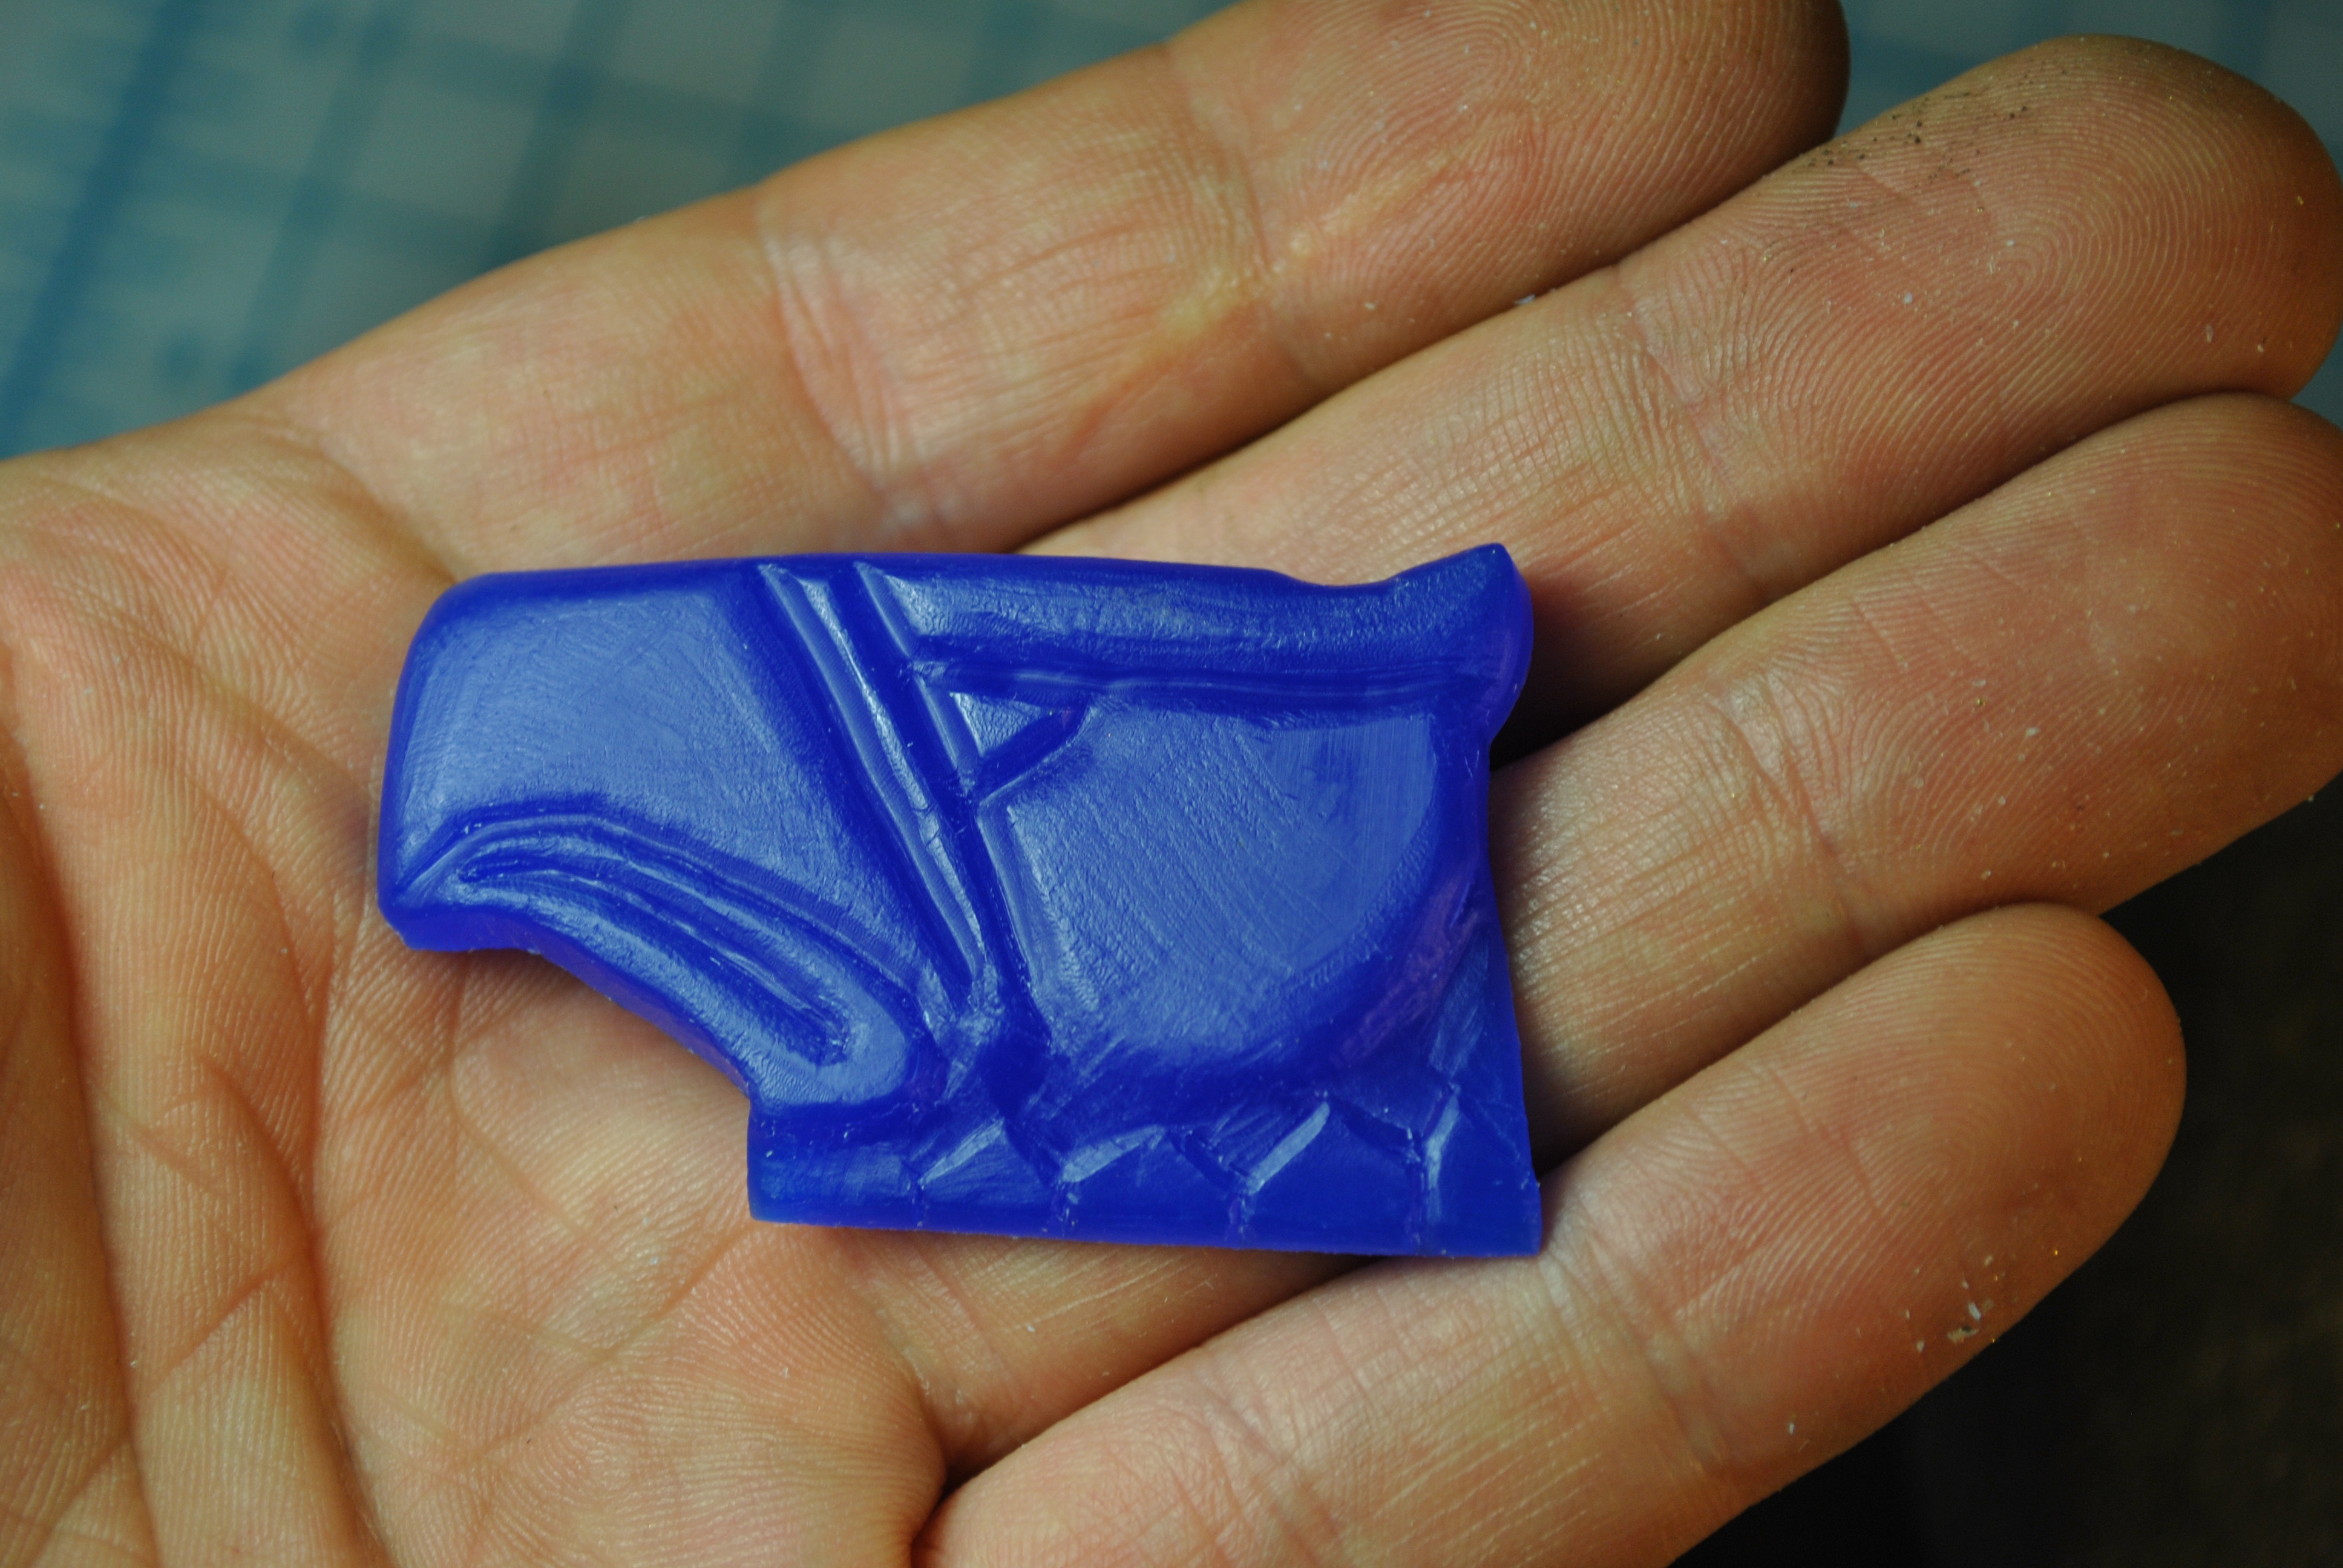
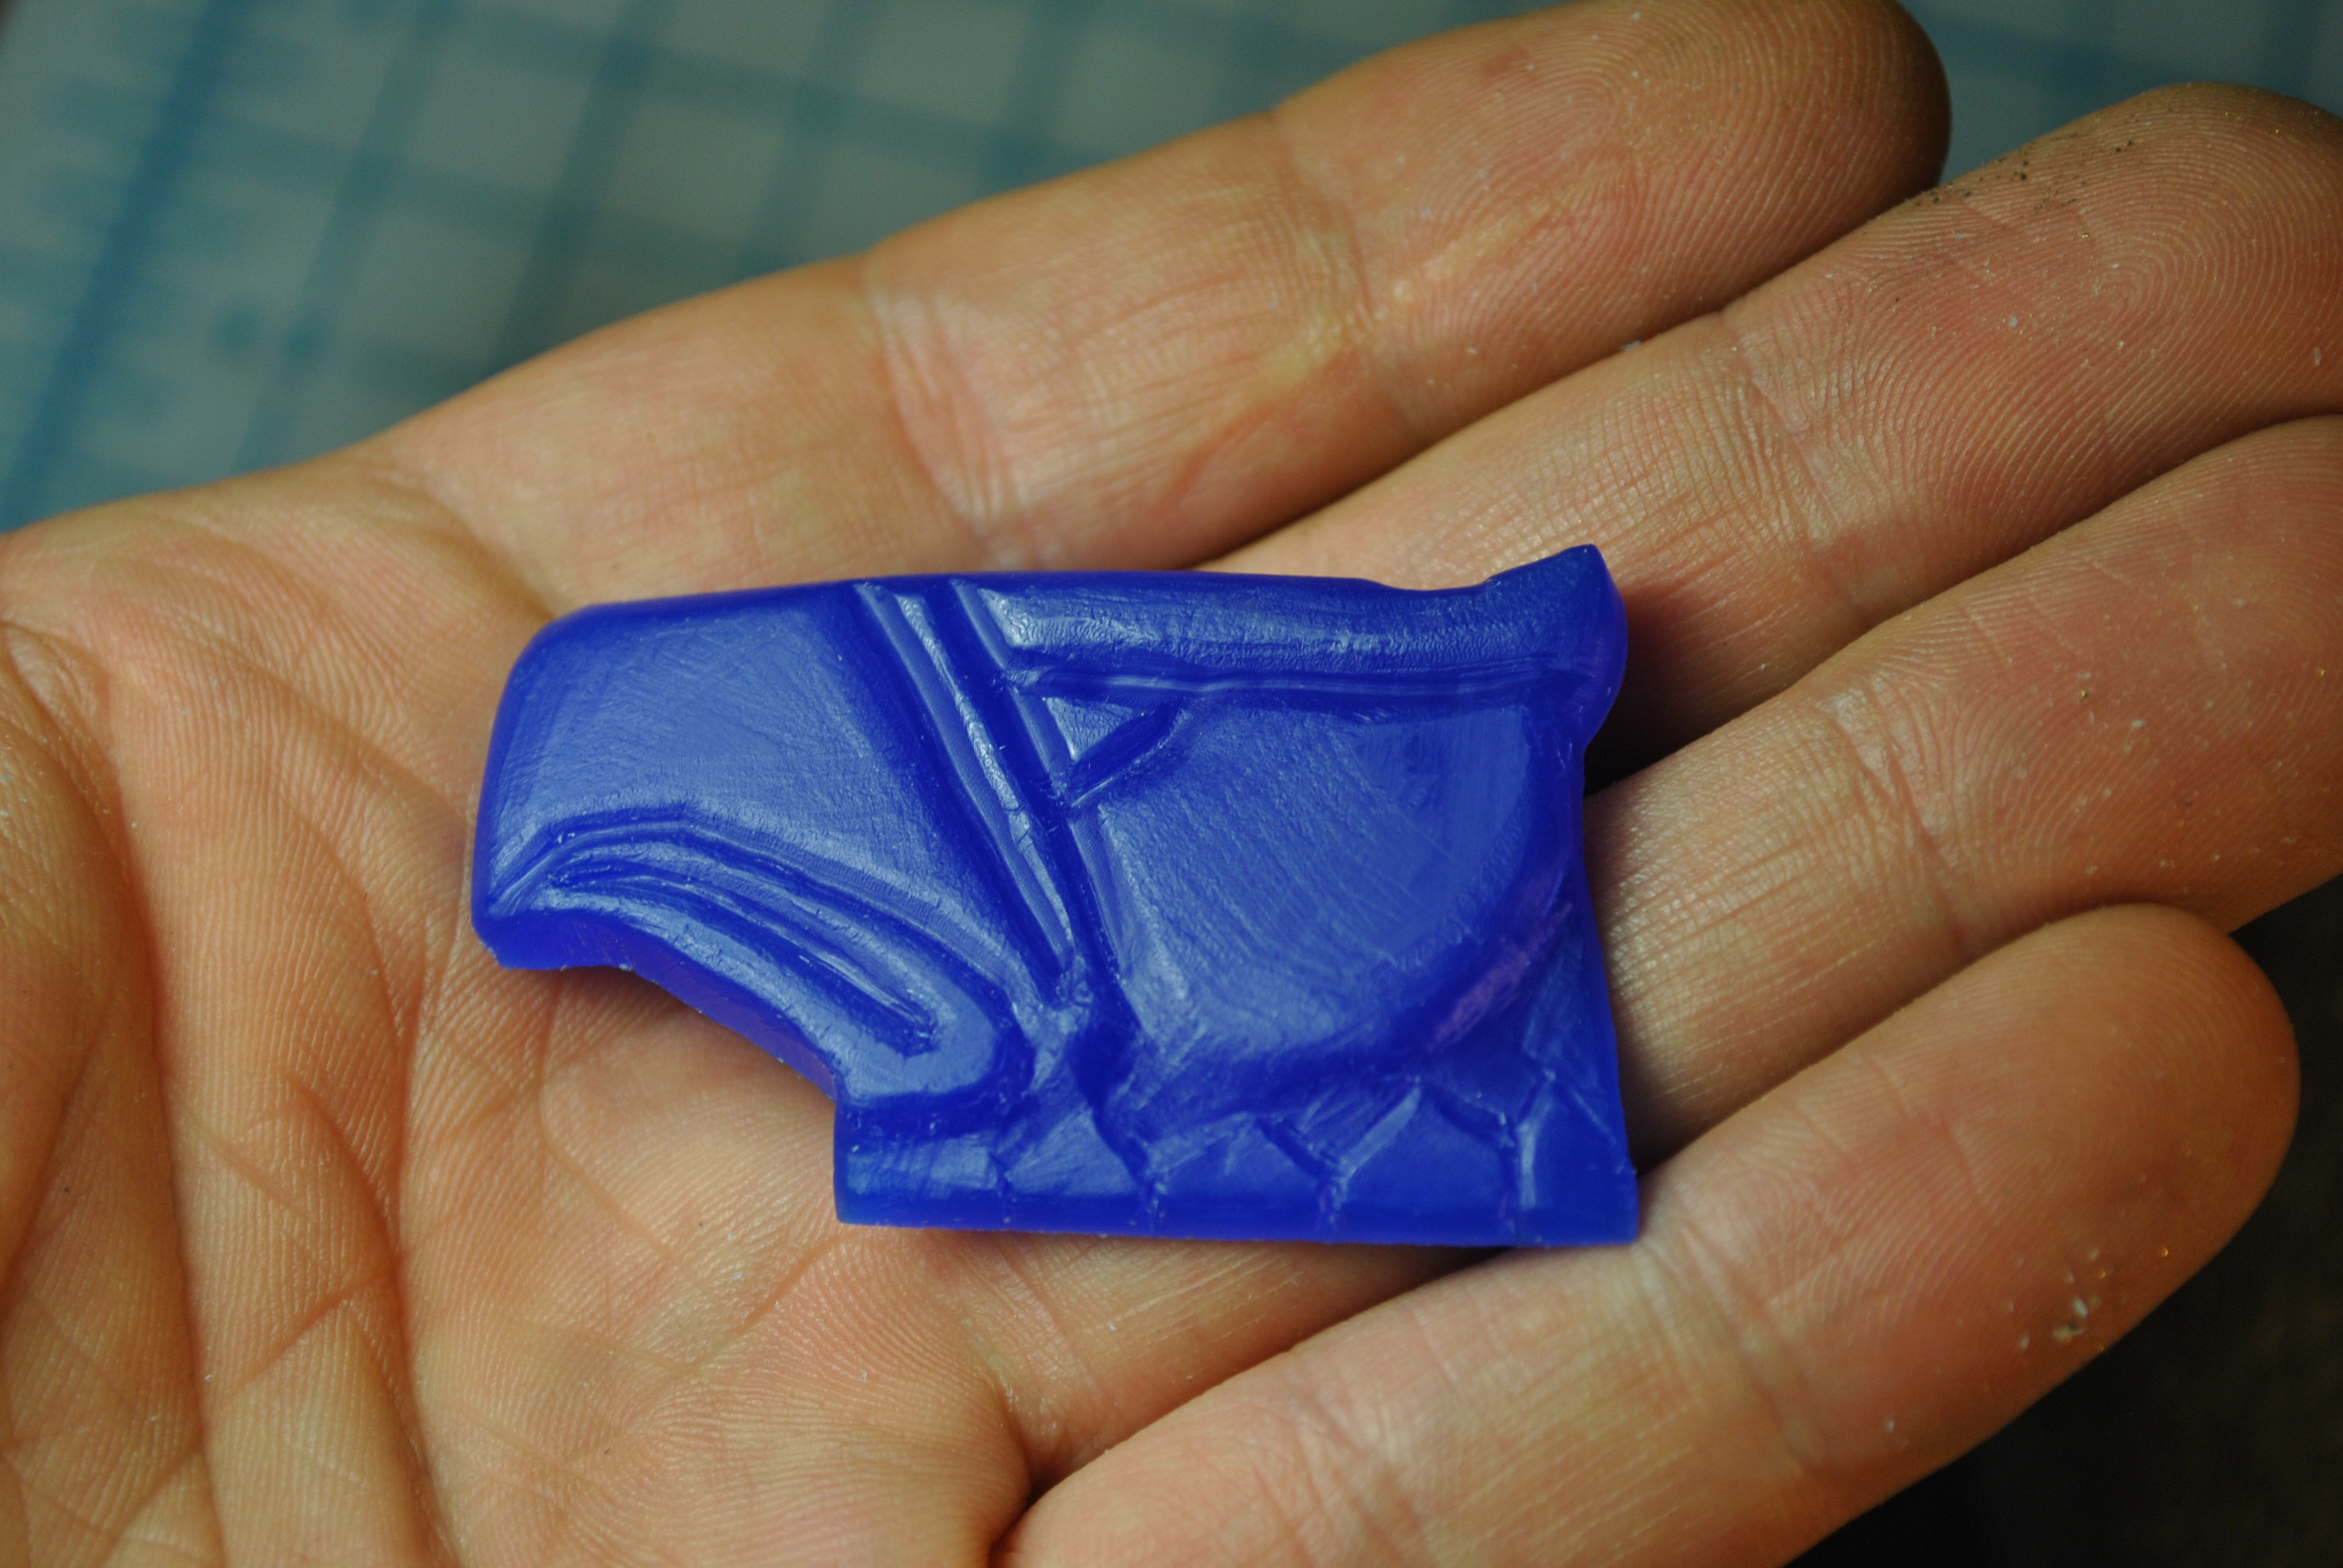
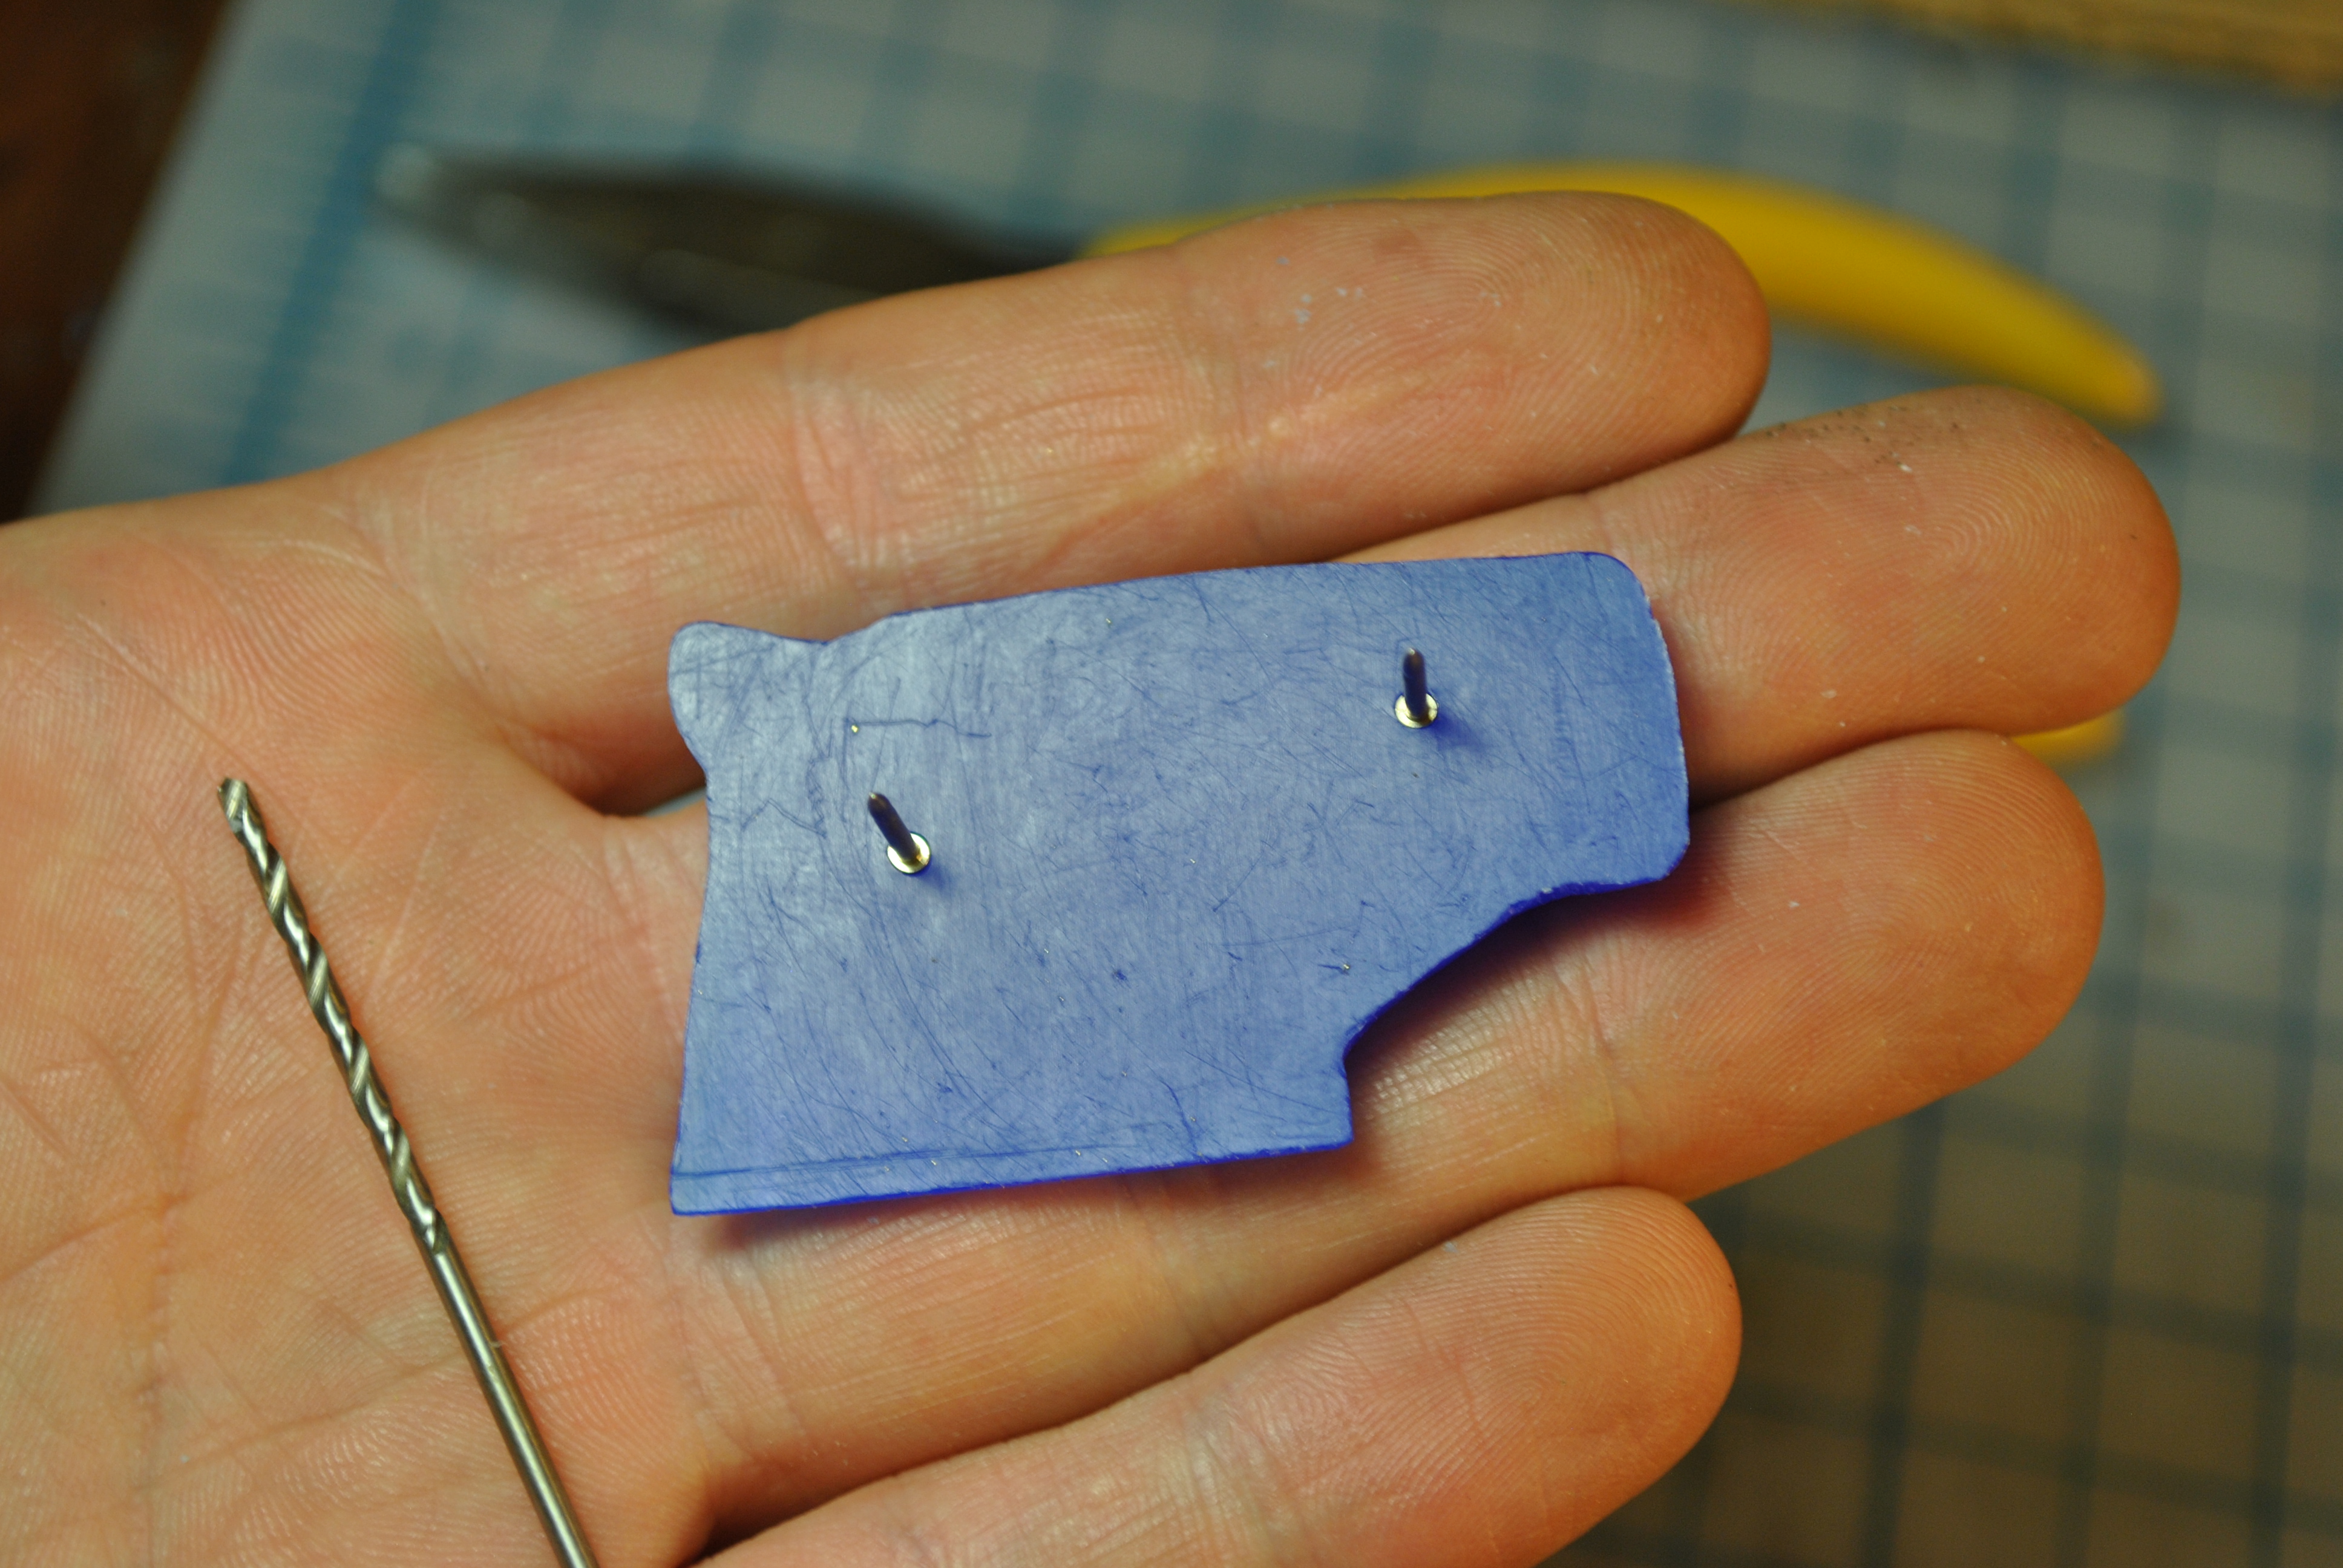
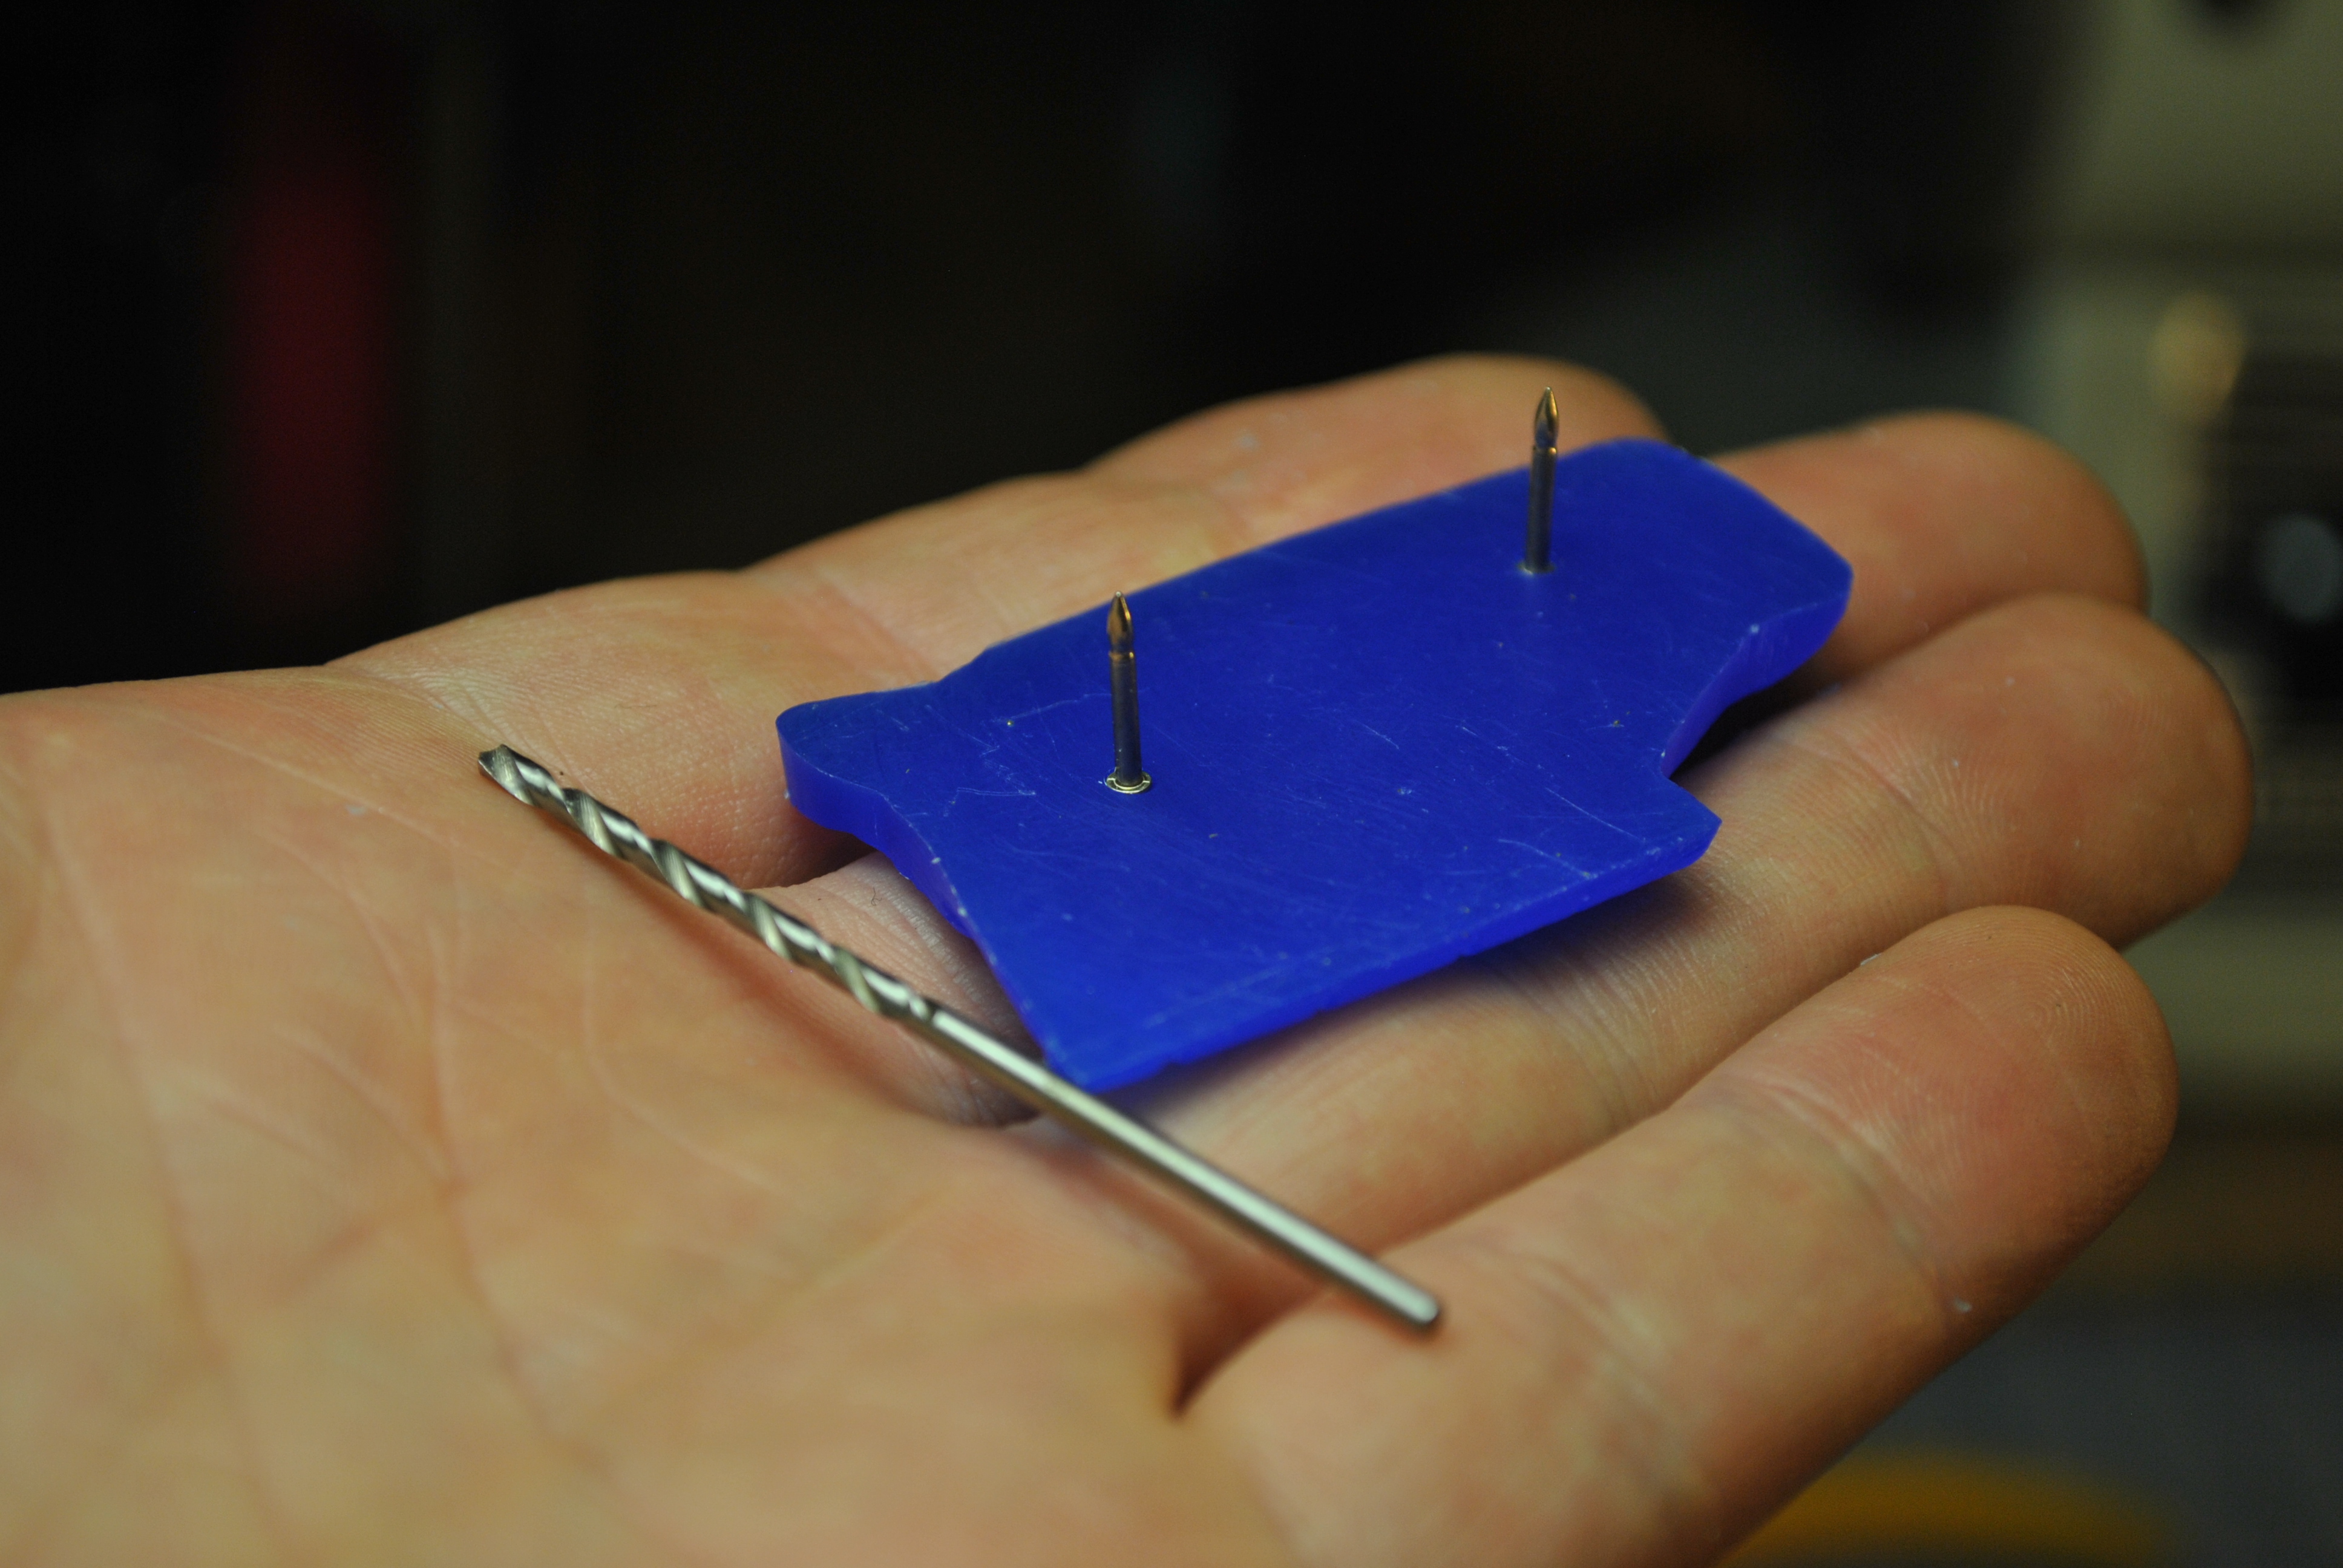
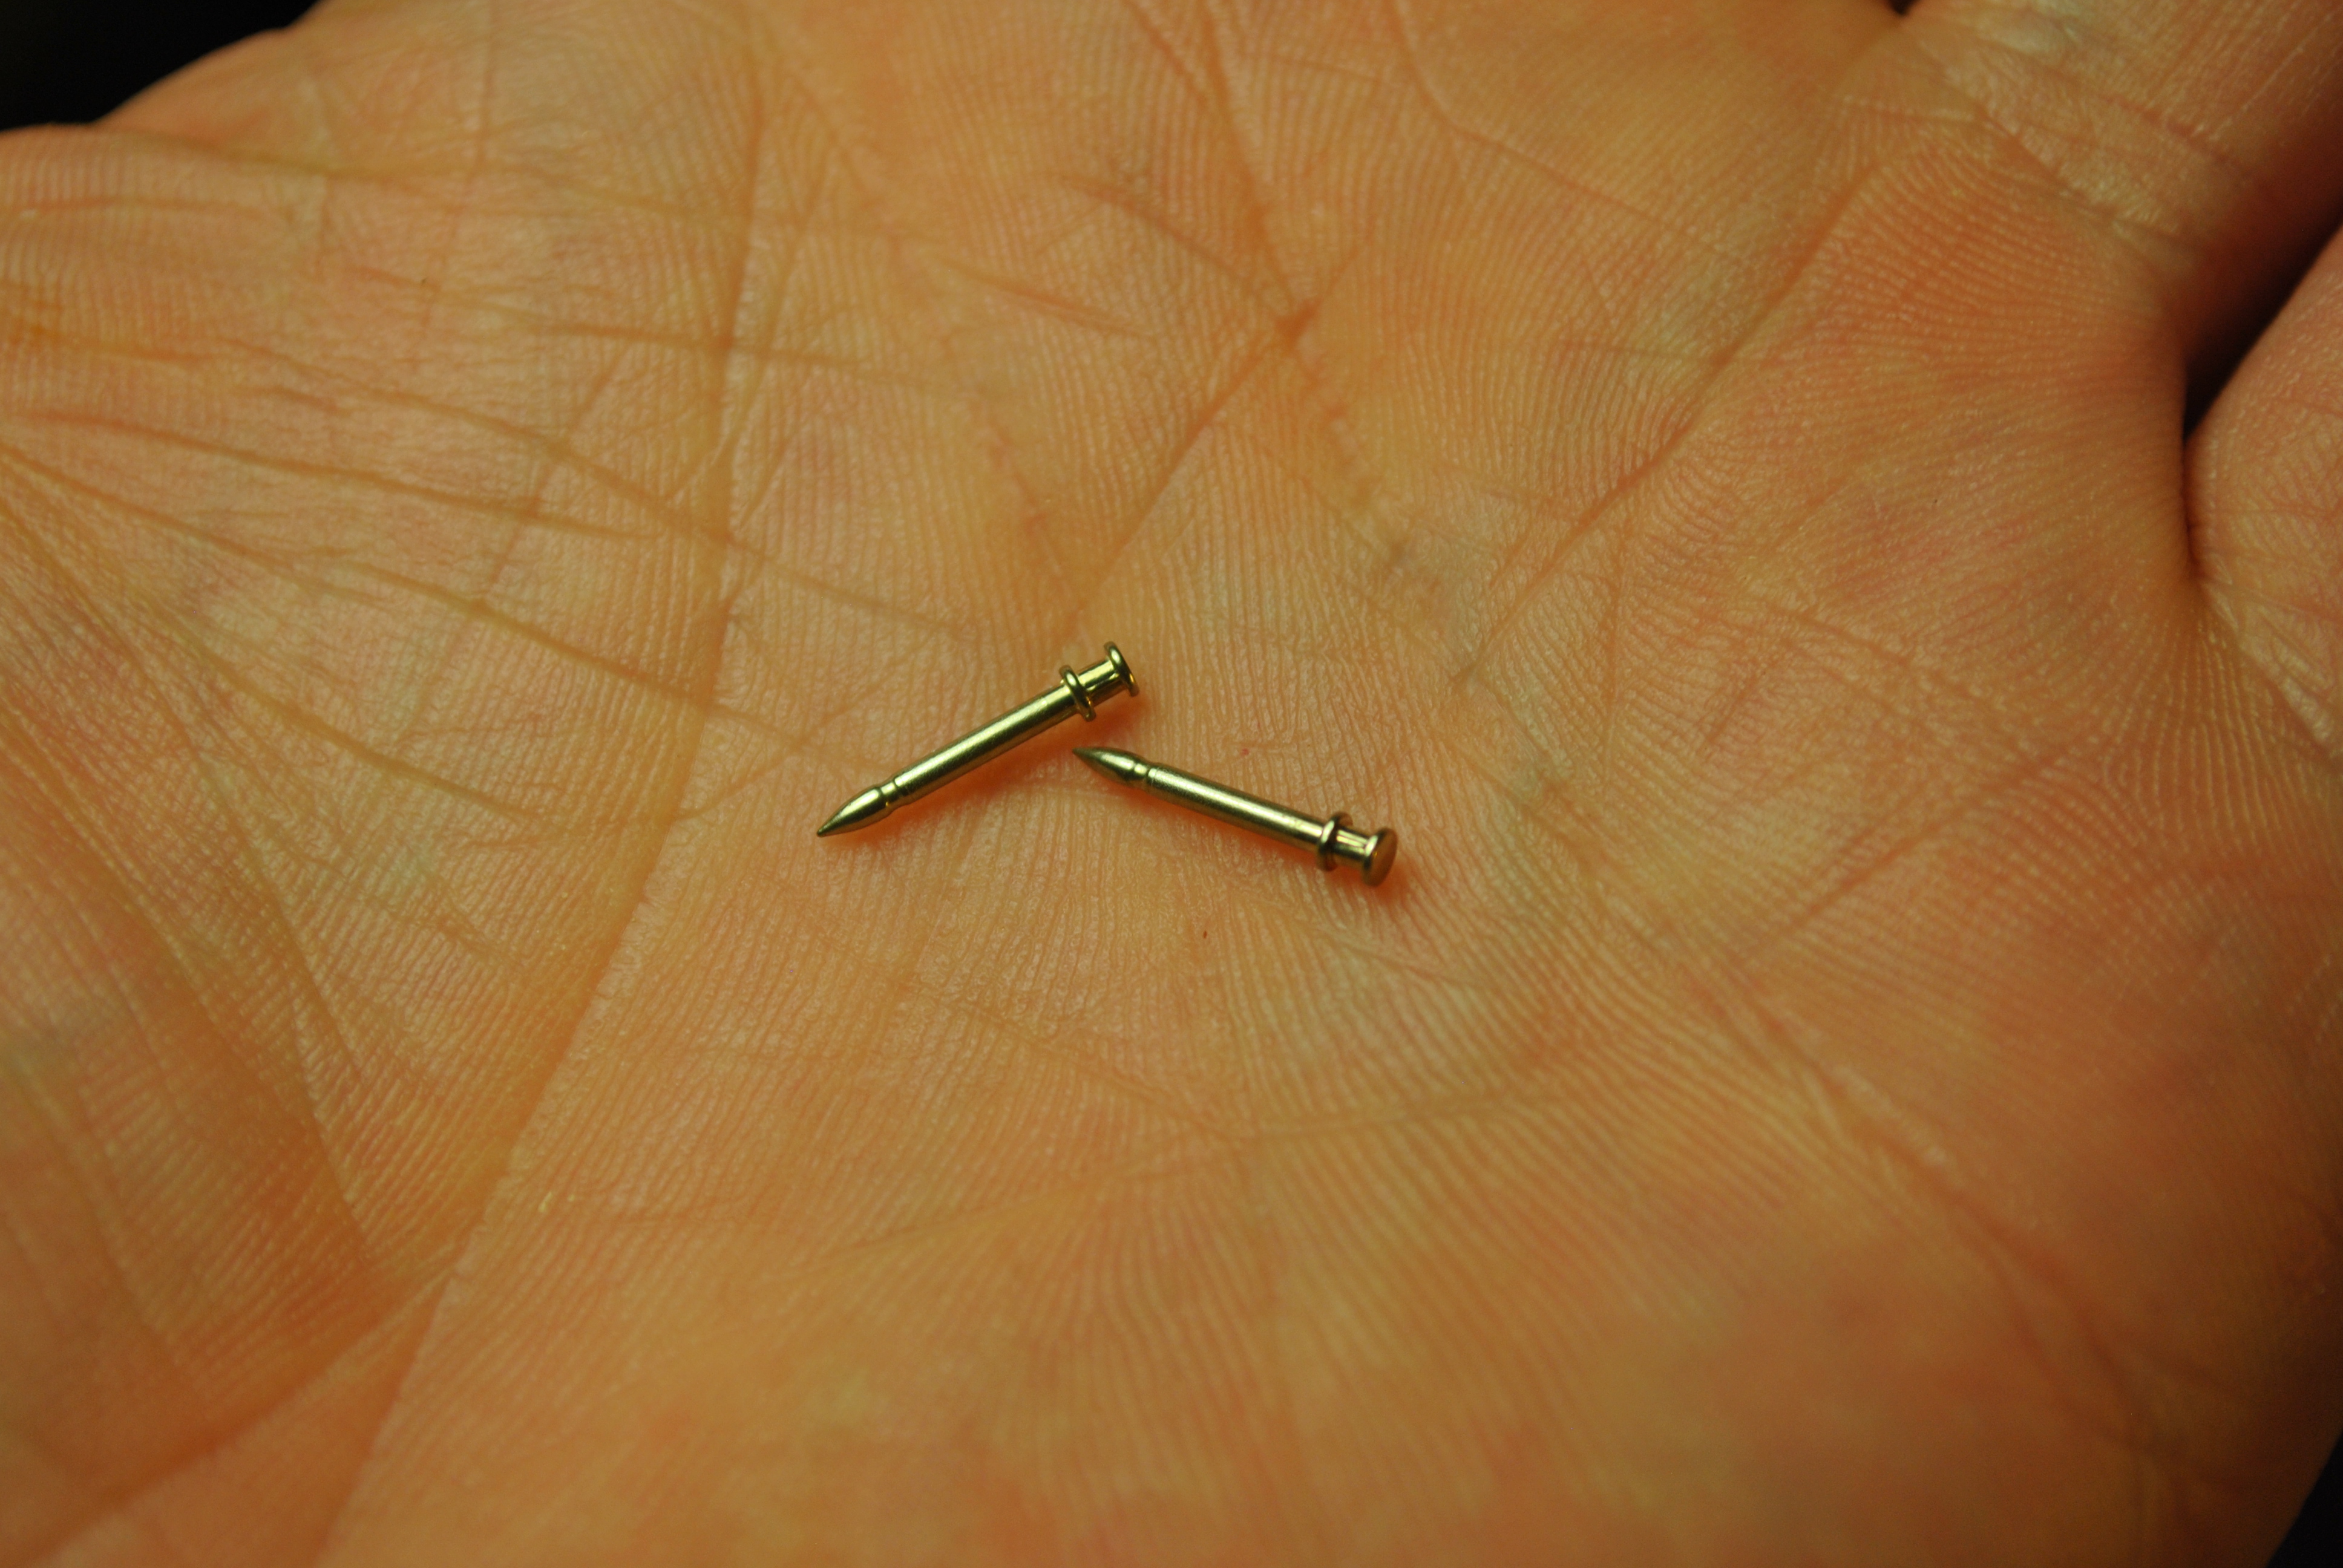
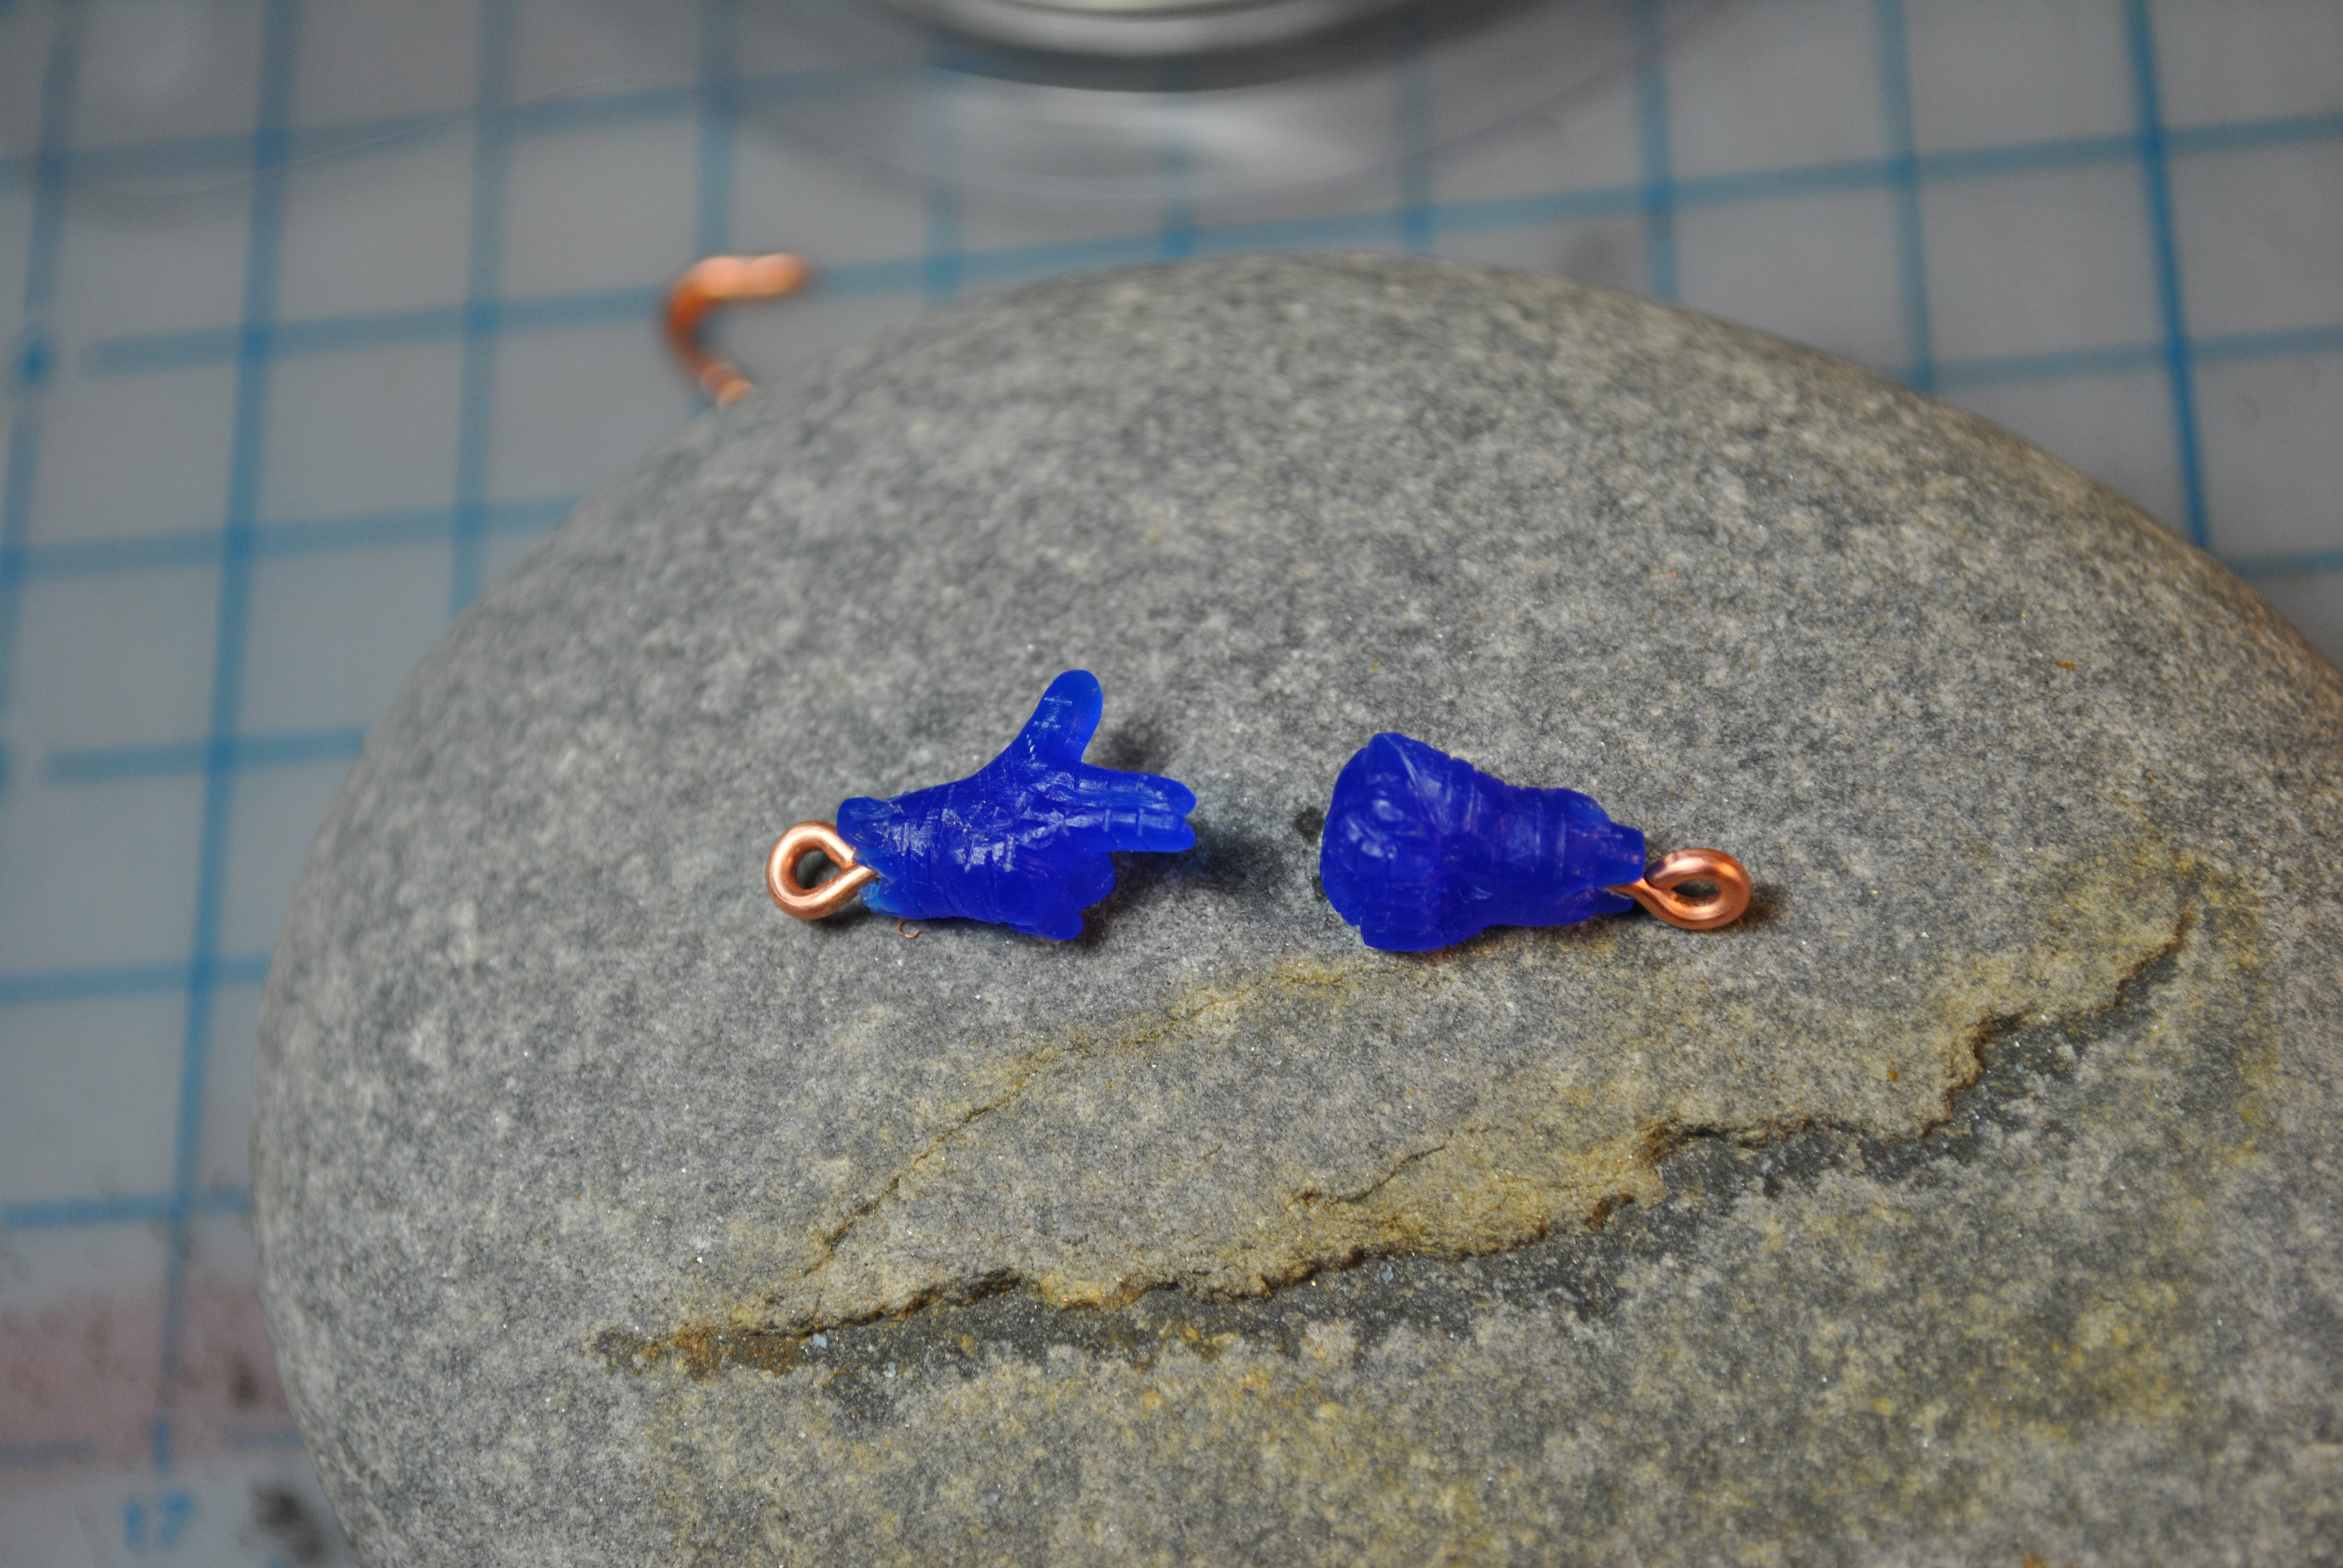
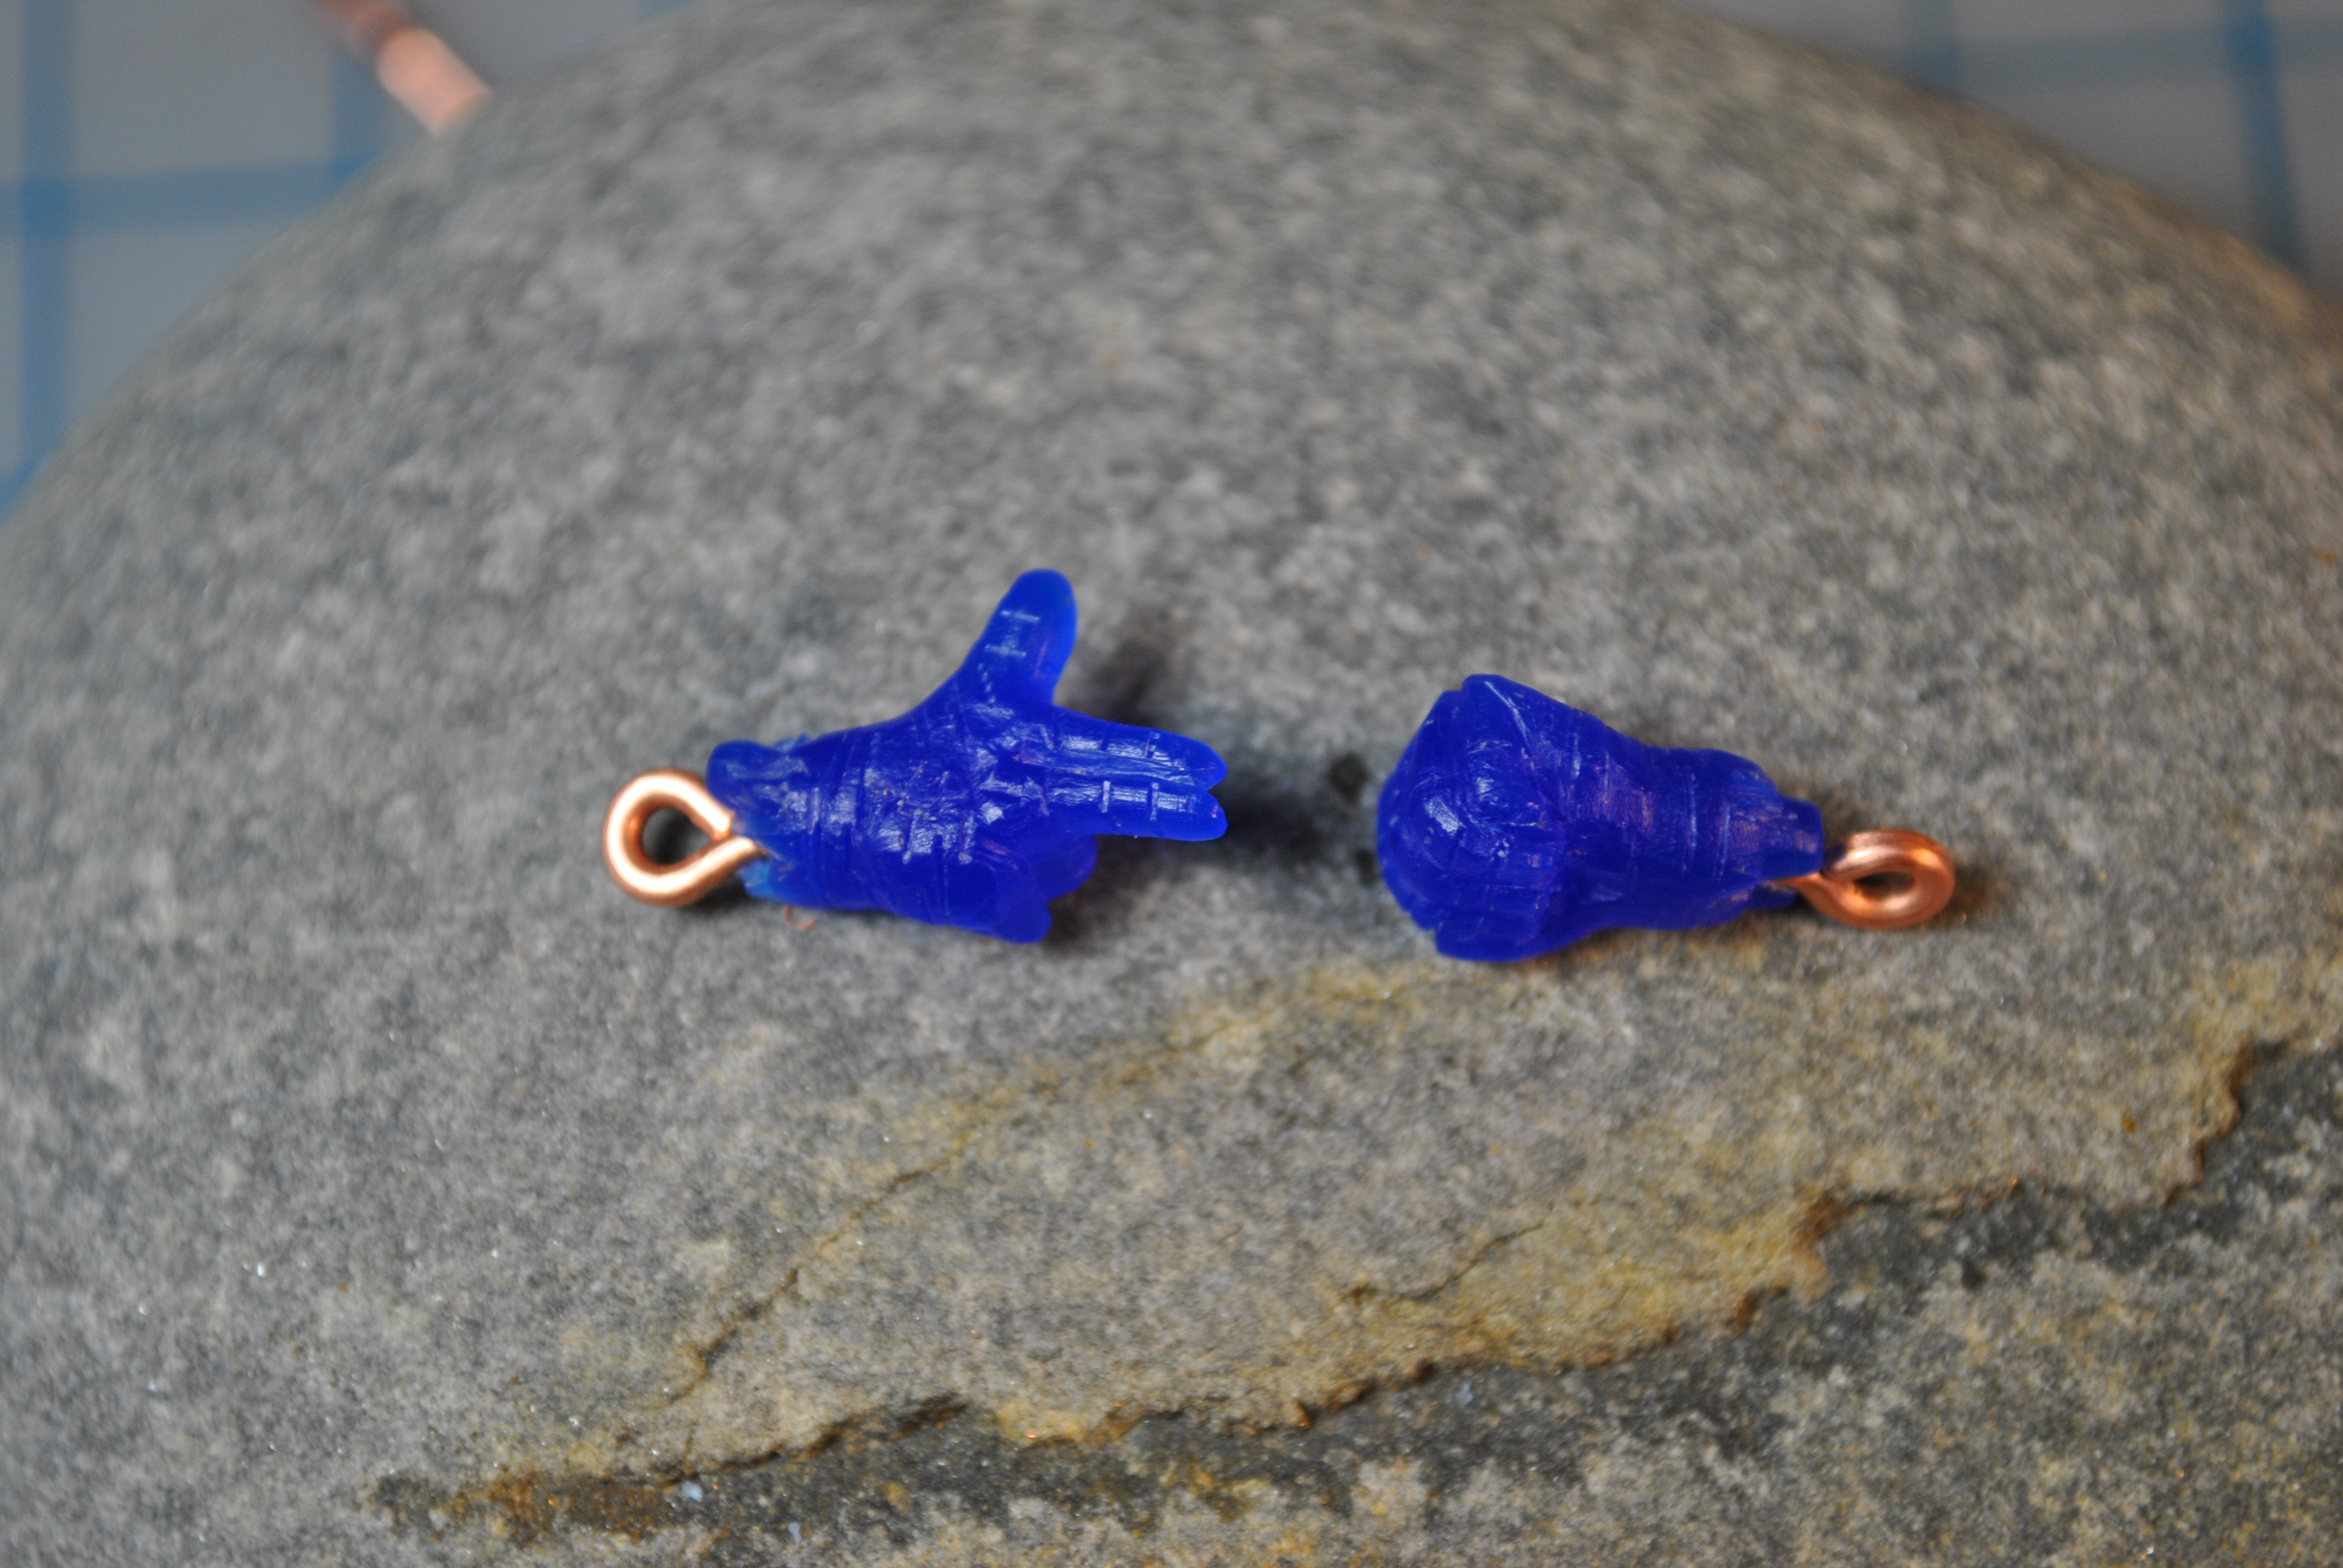
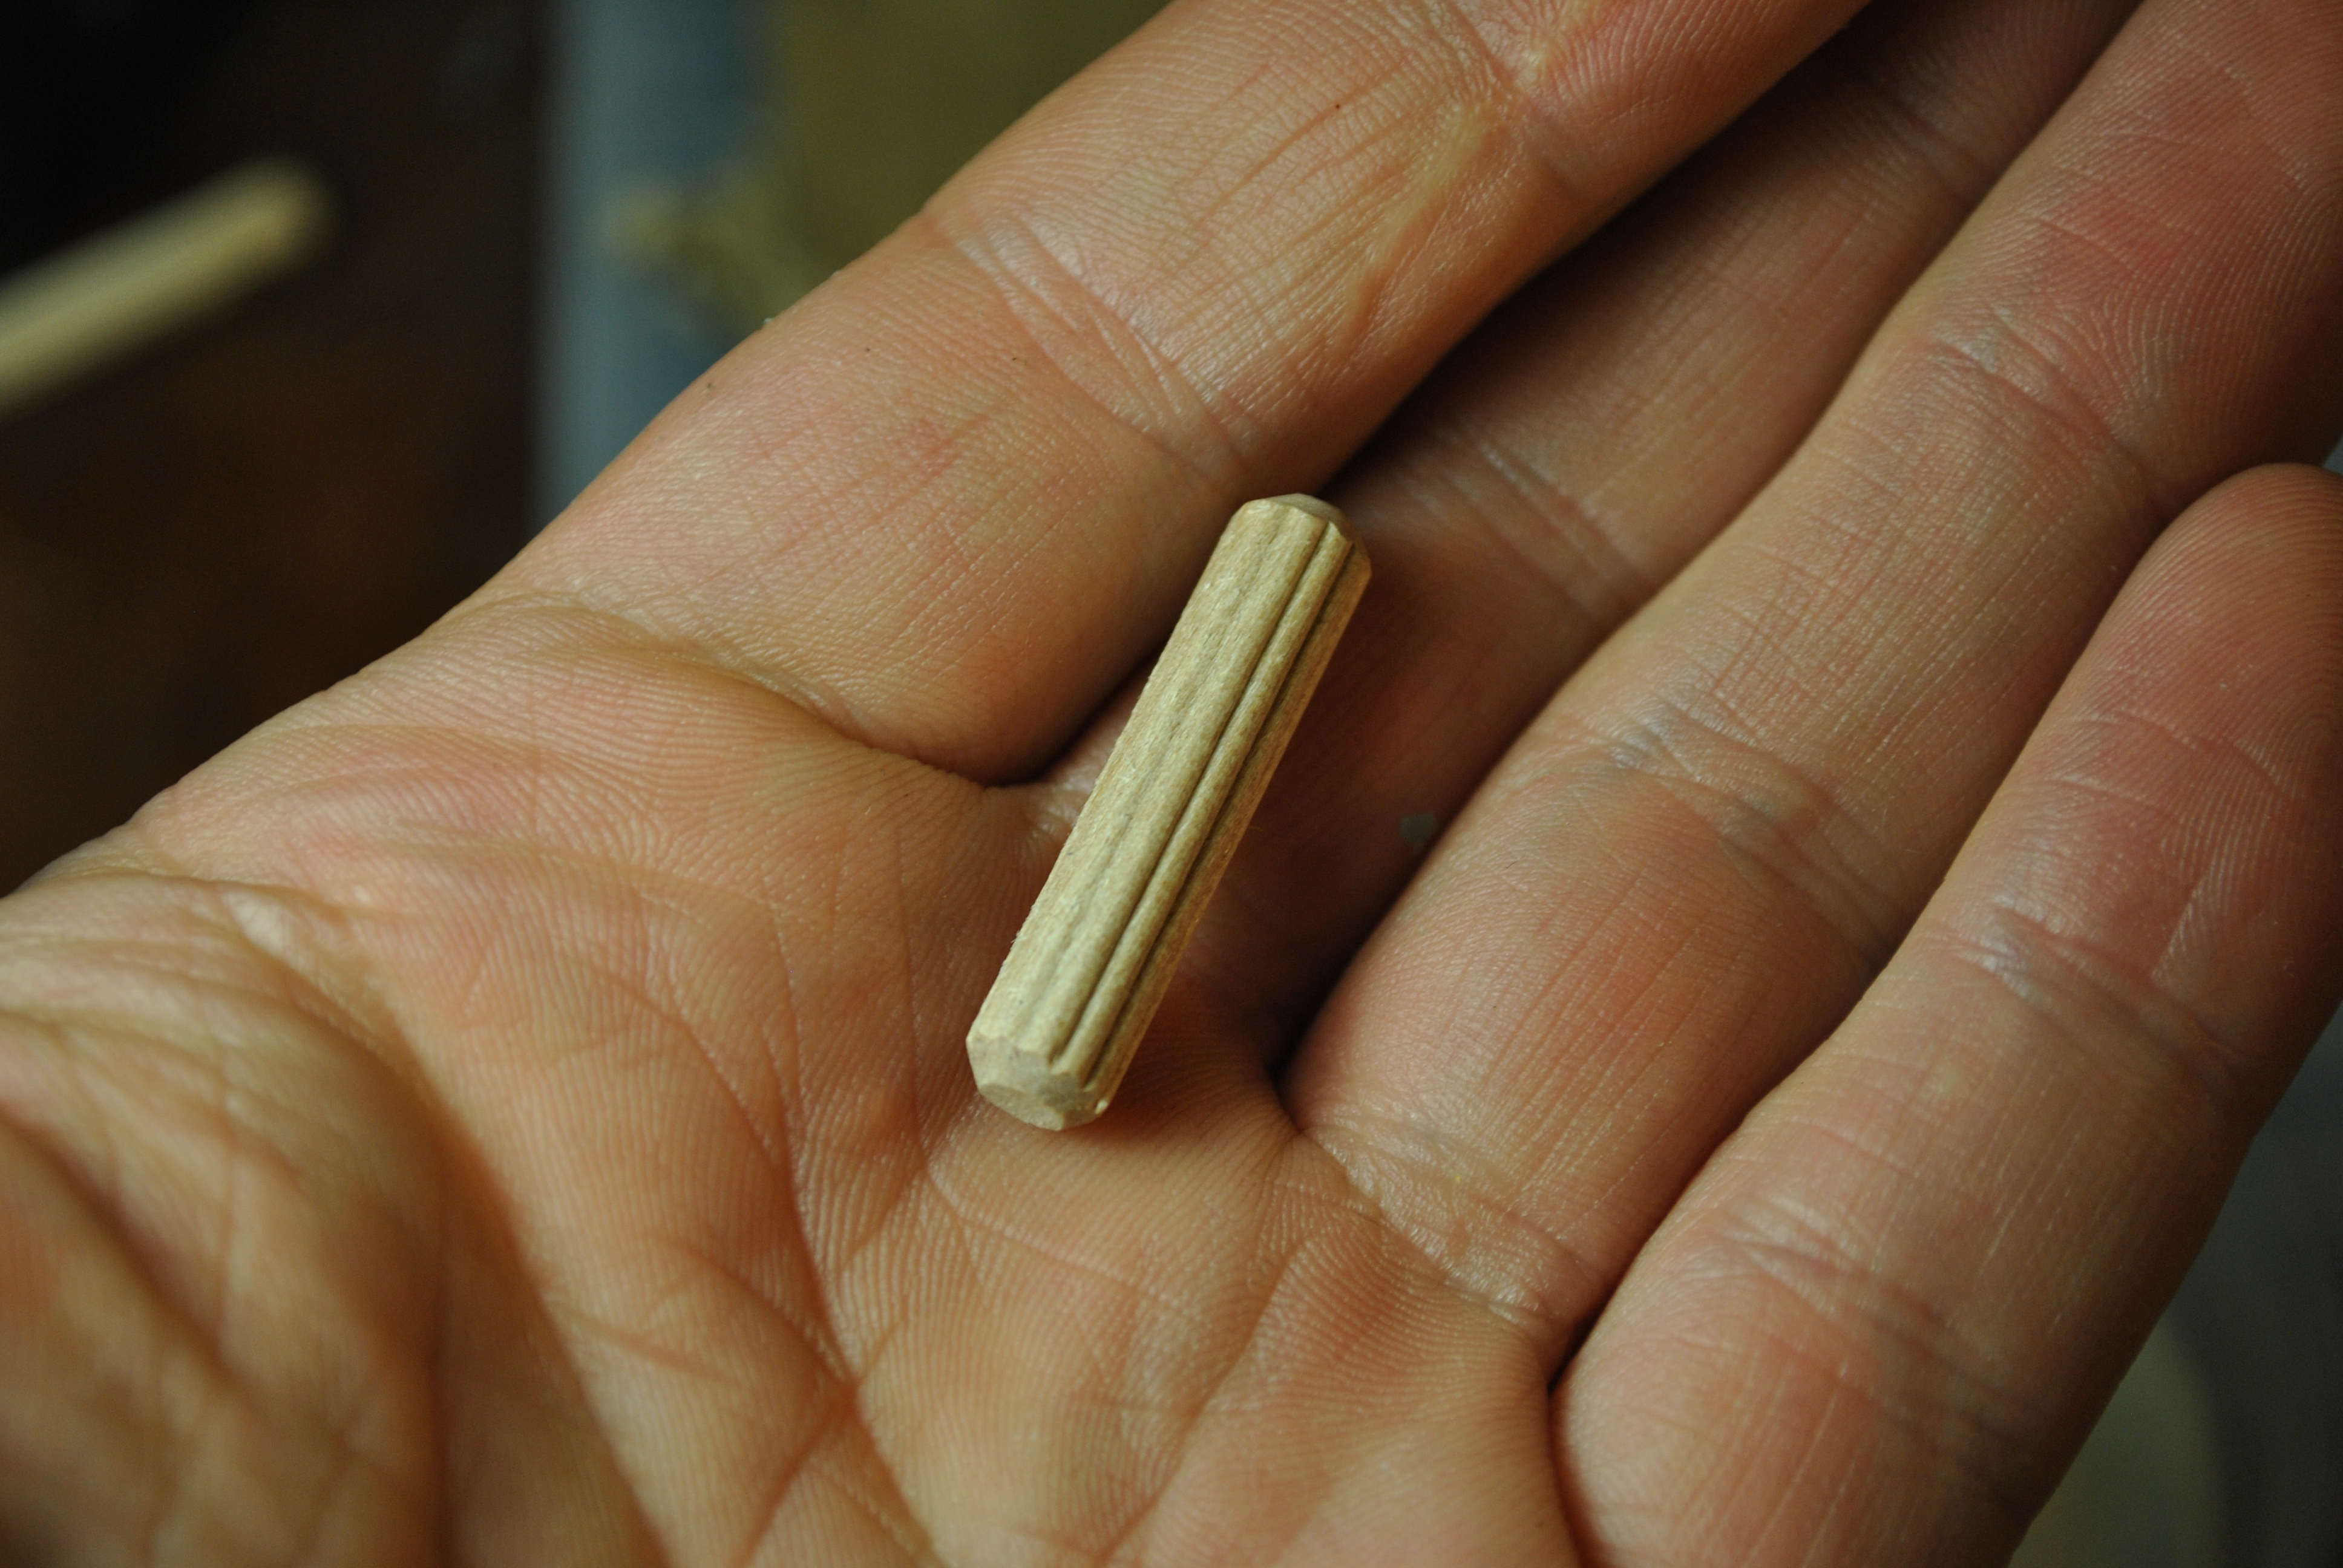
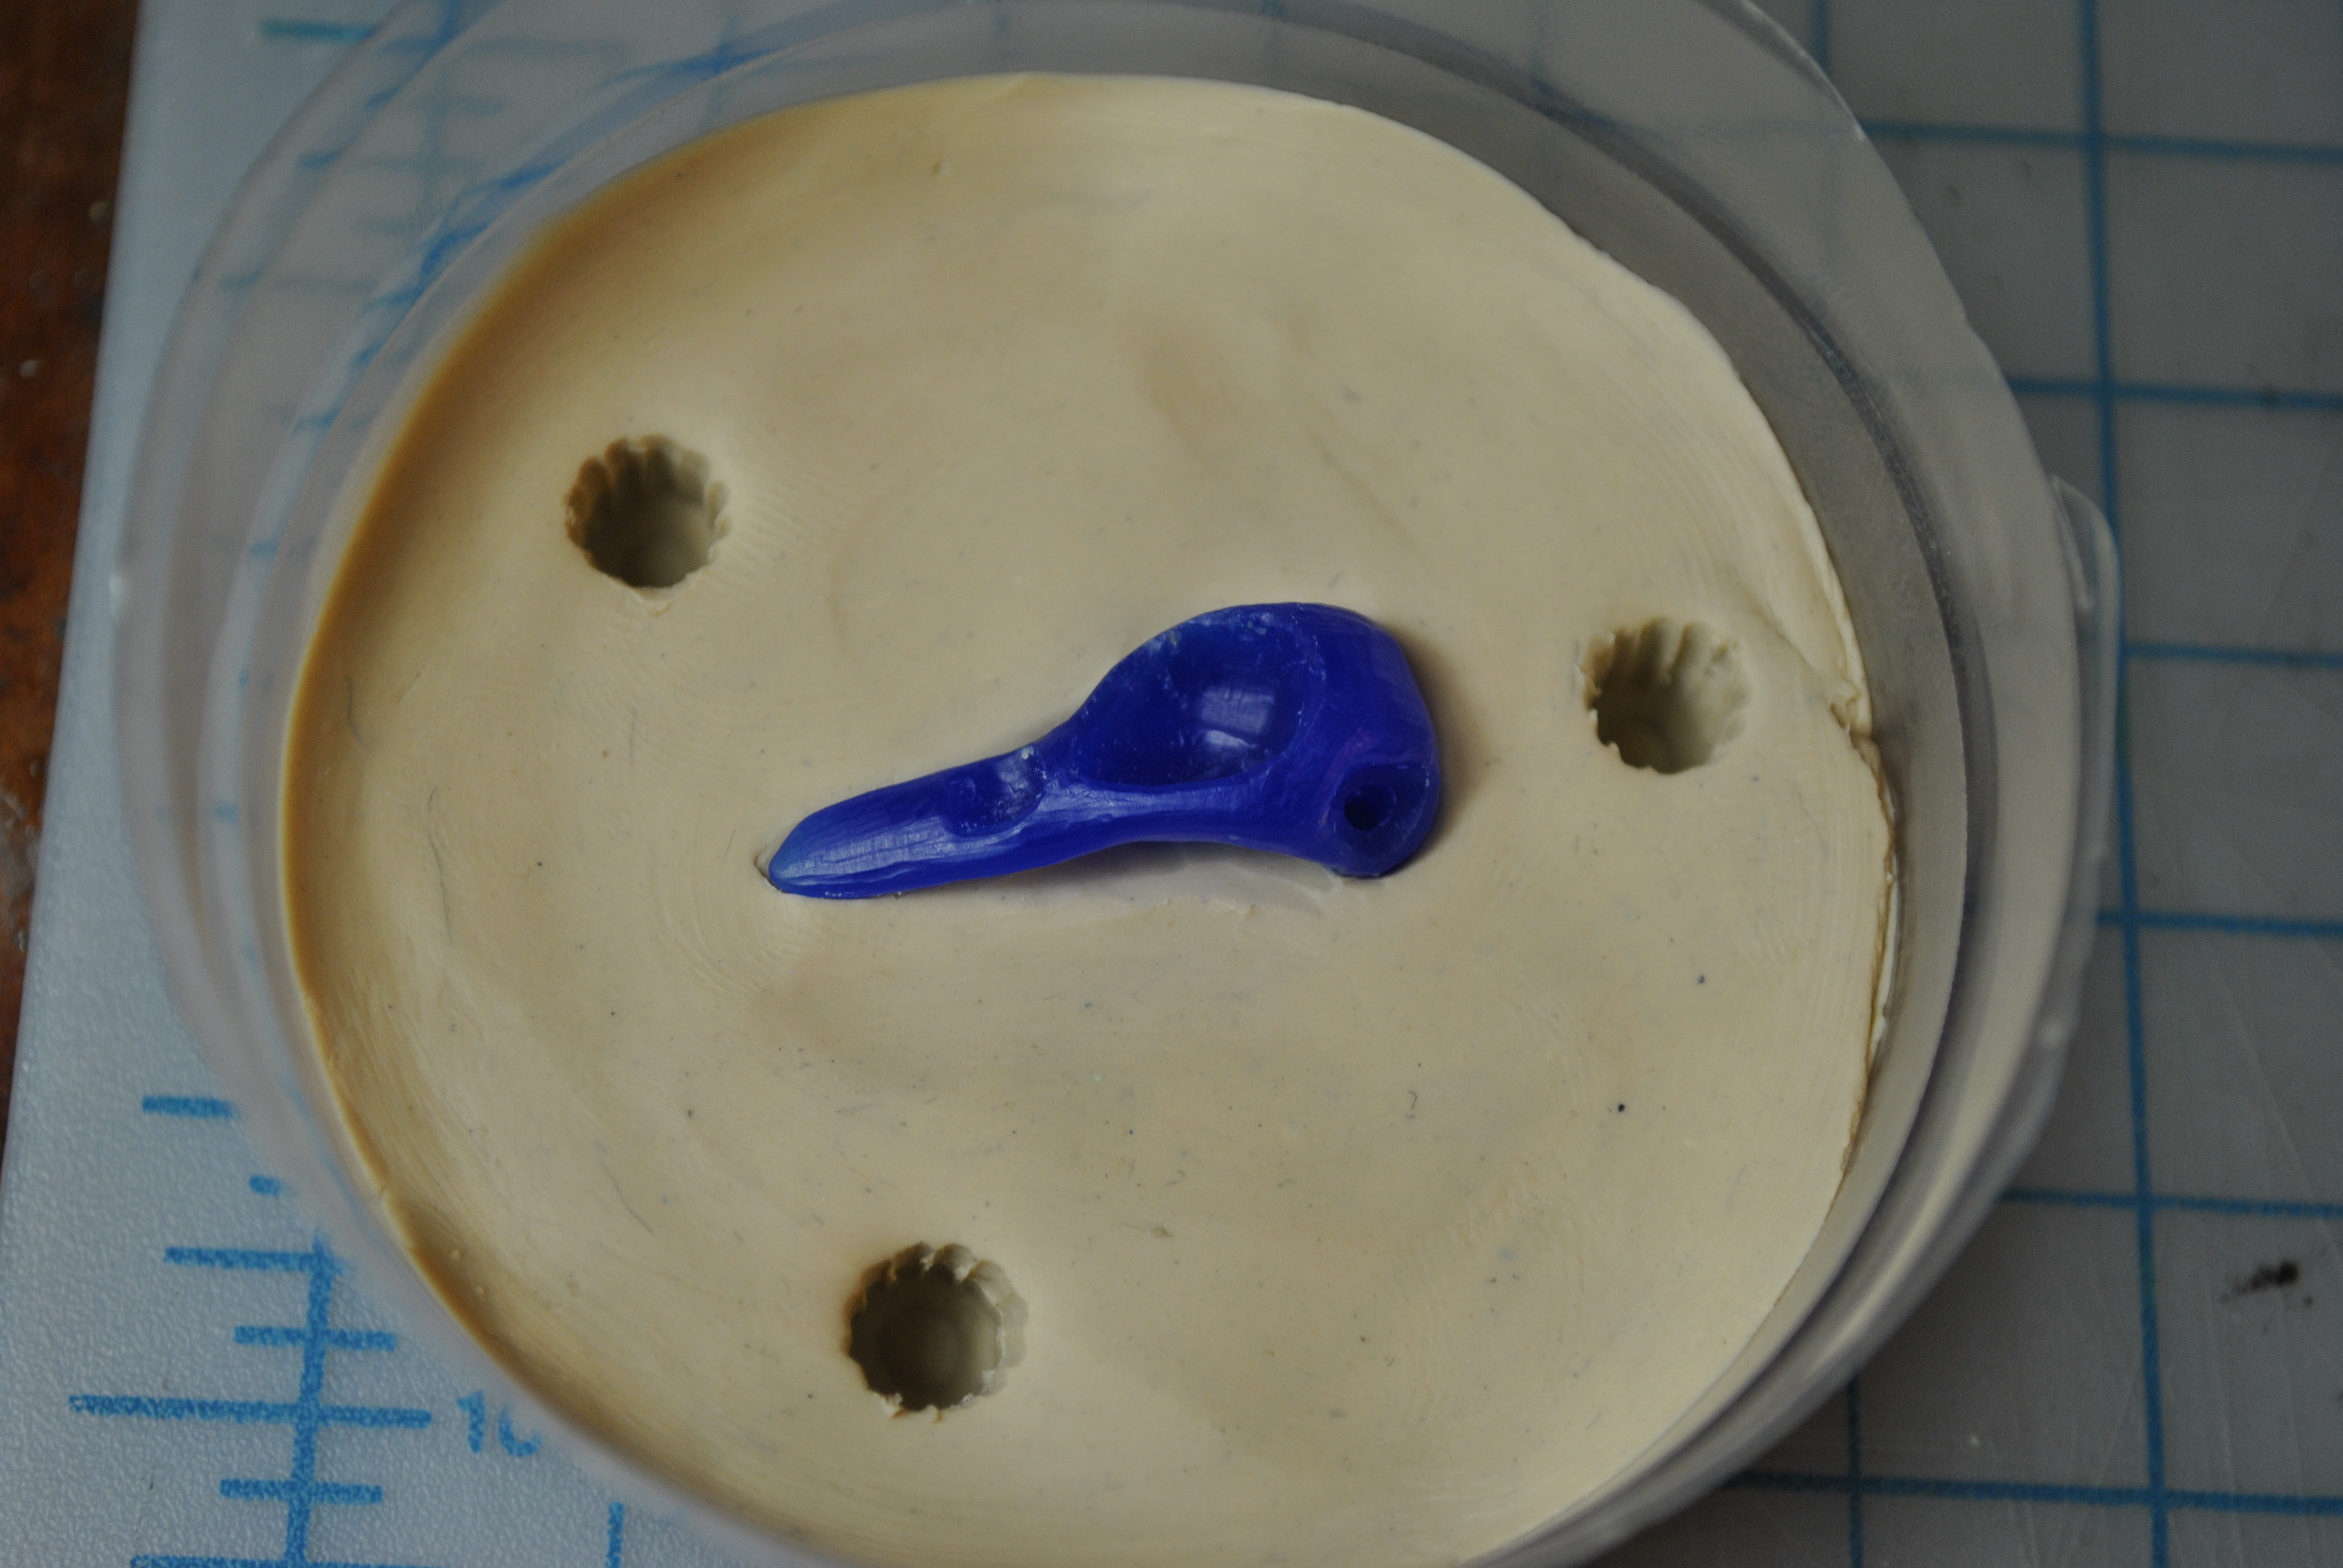
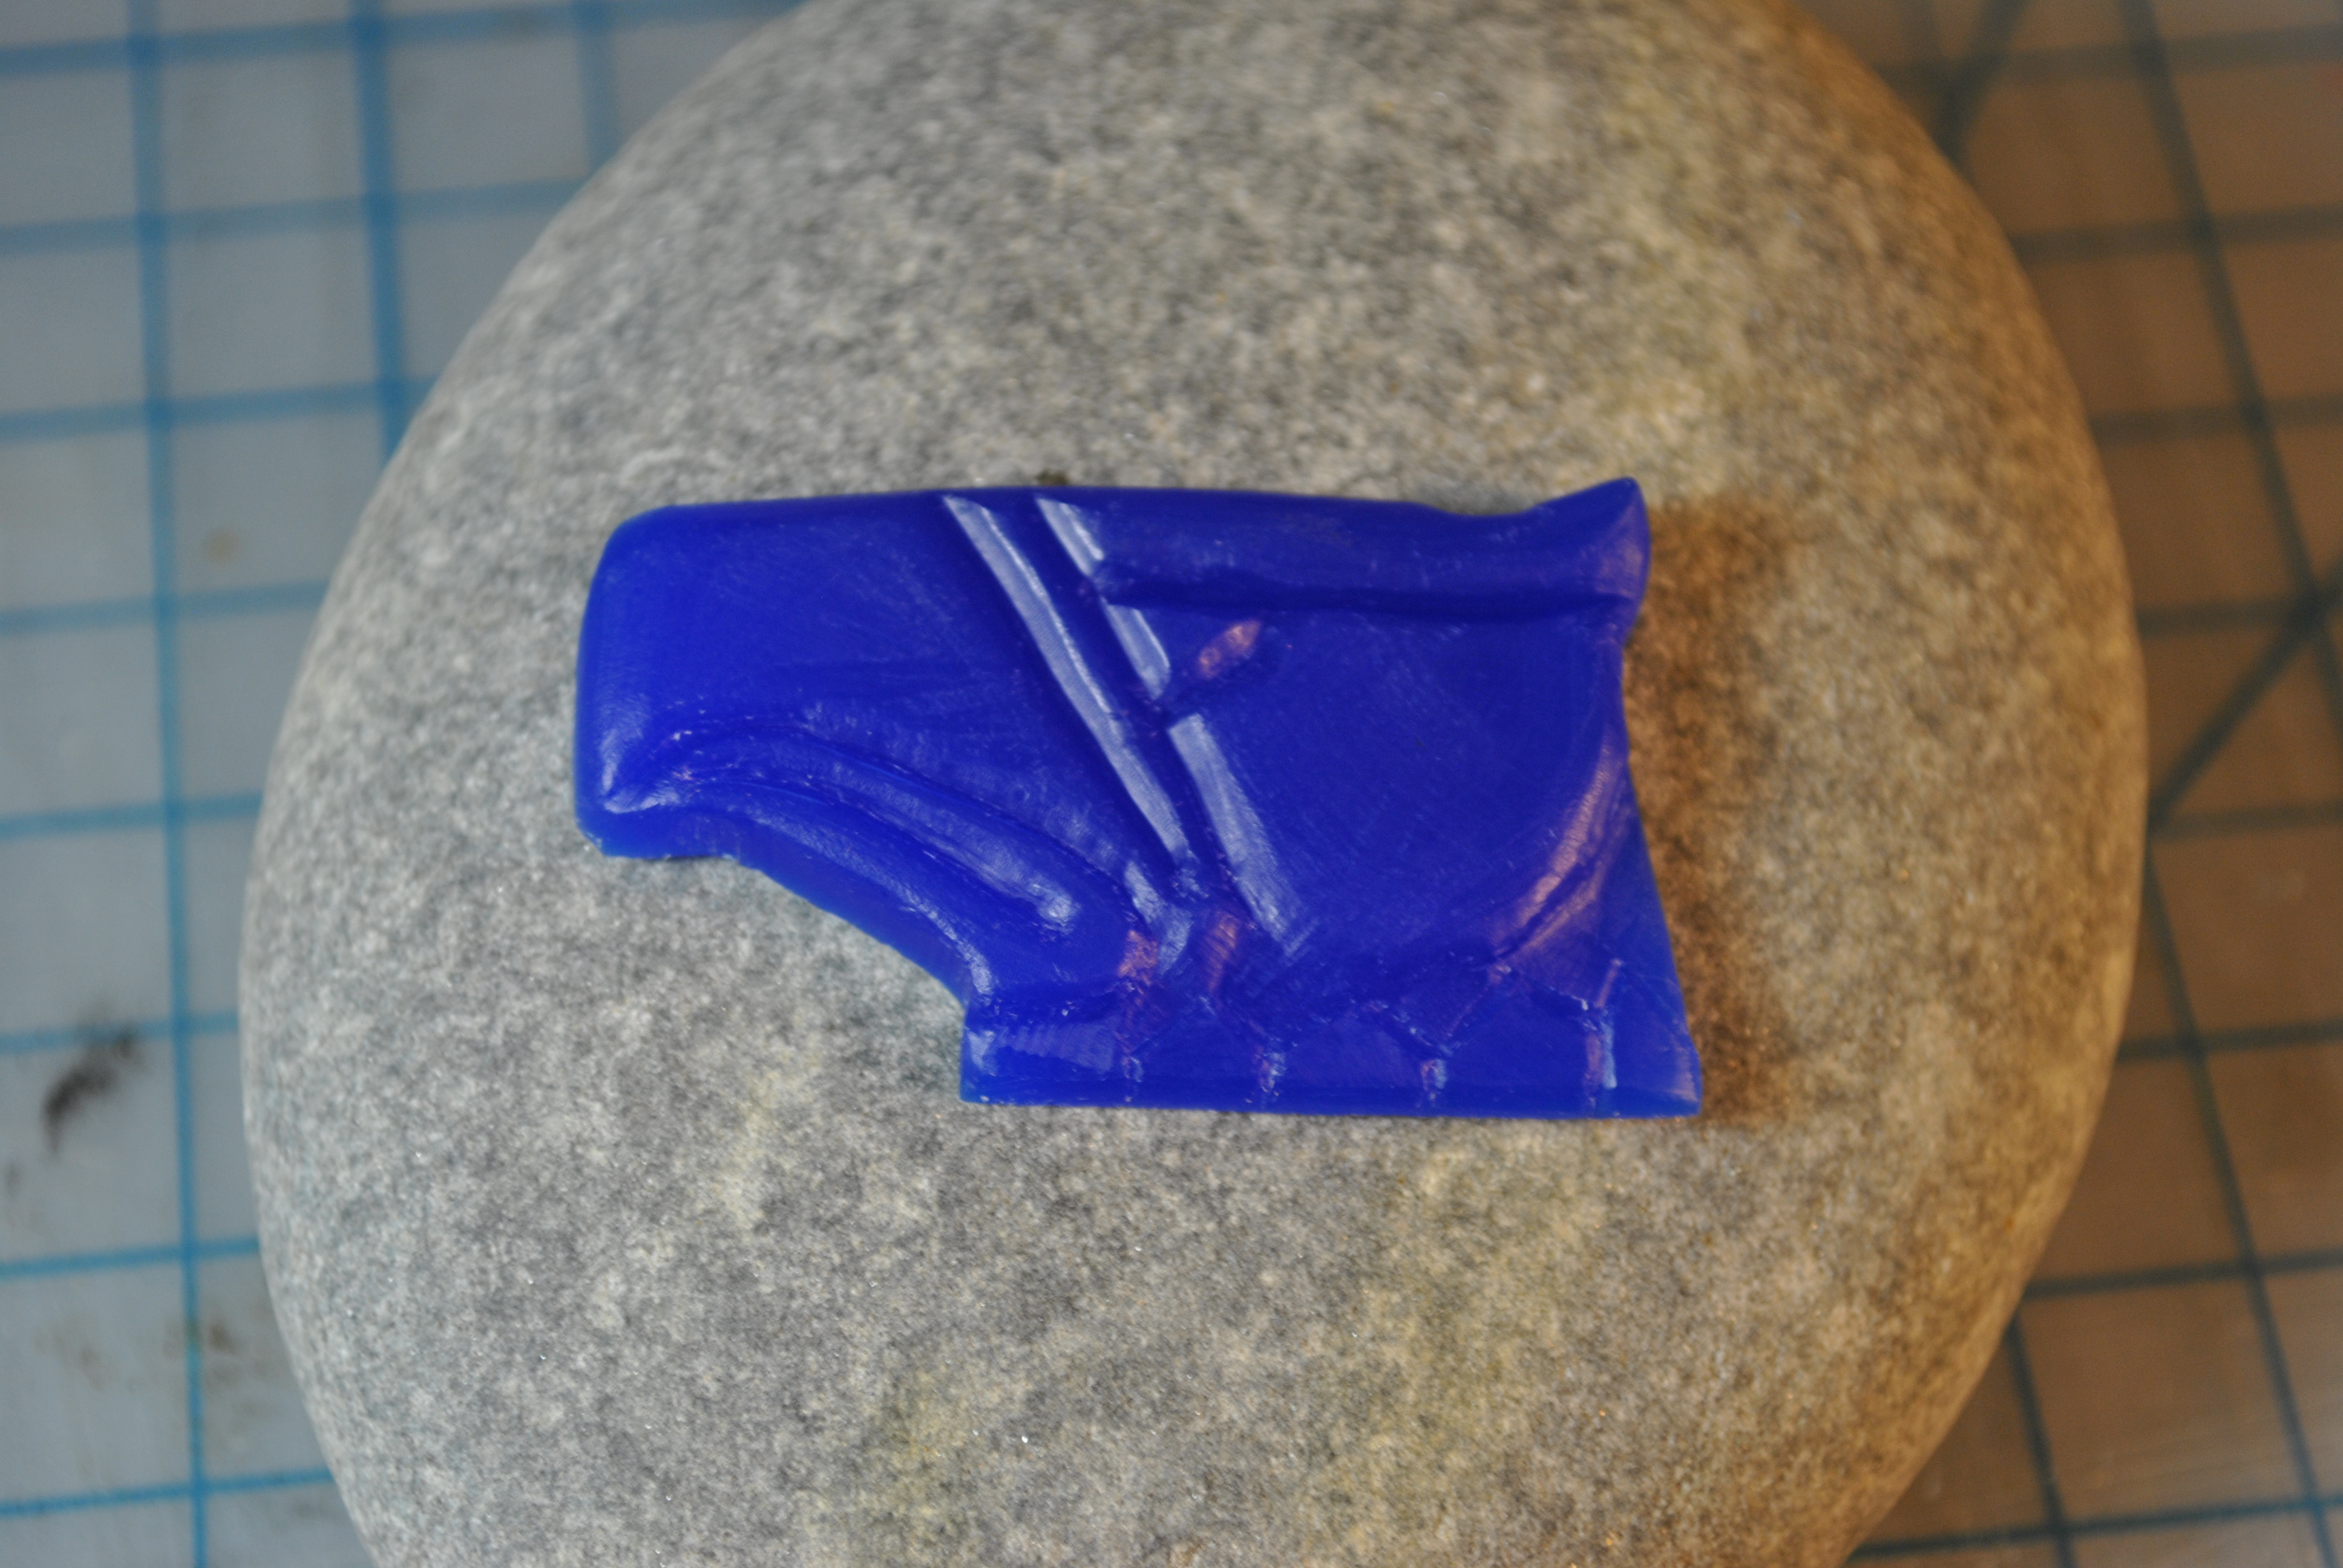
Next I used a drill bit in my hand to slowly remove a hole for the backing pin.

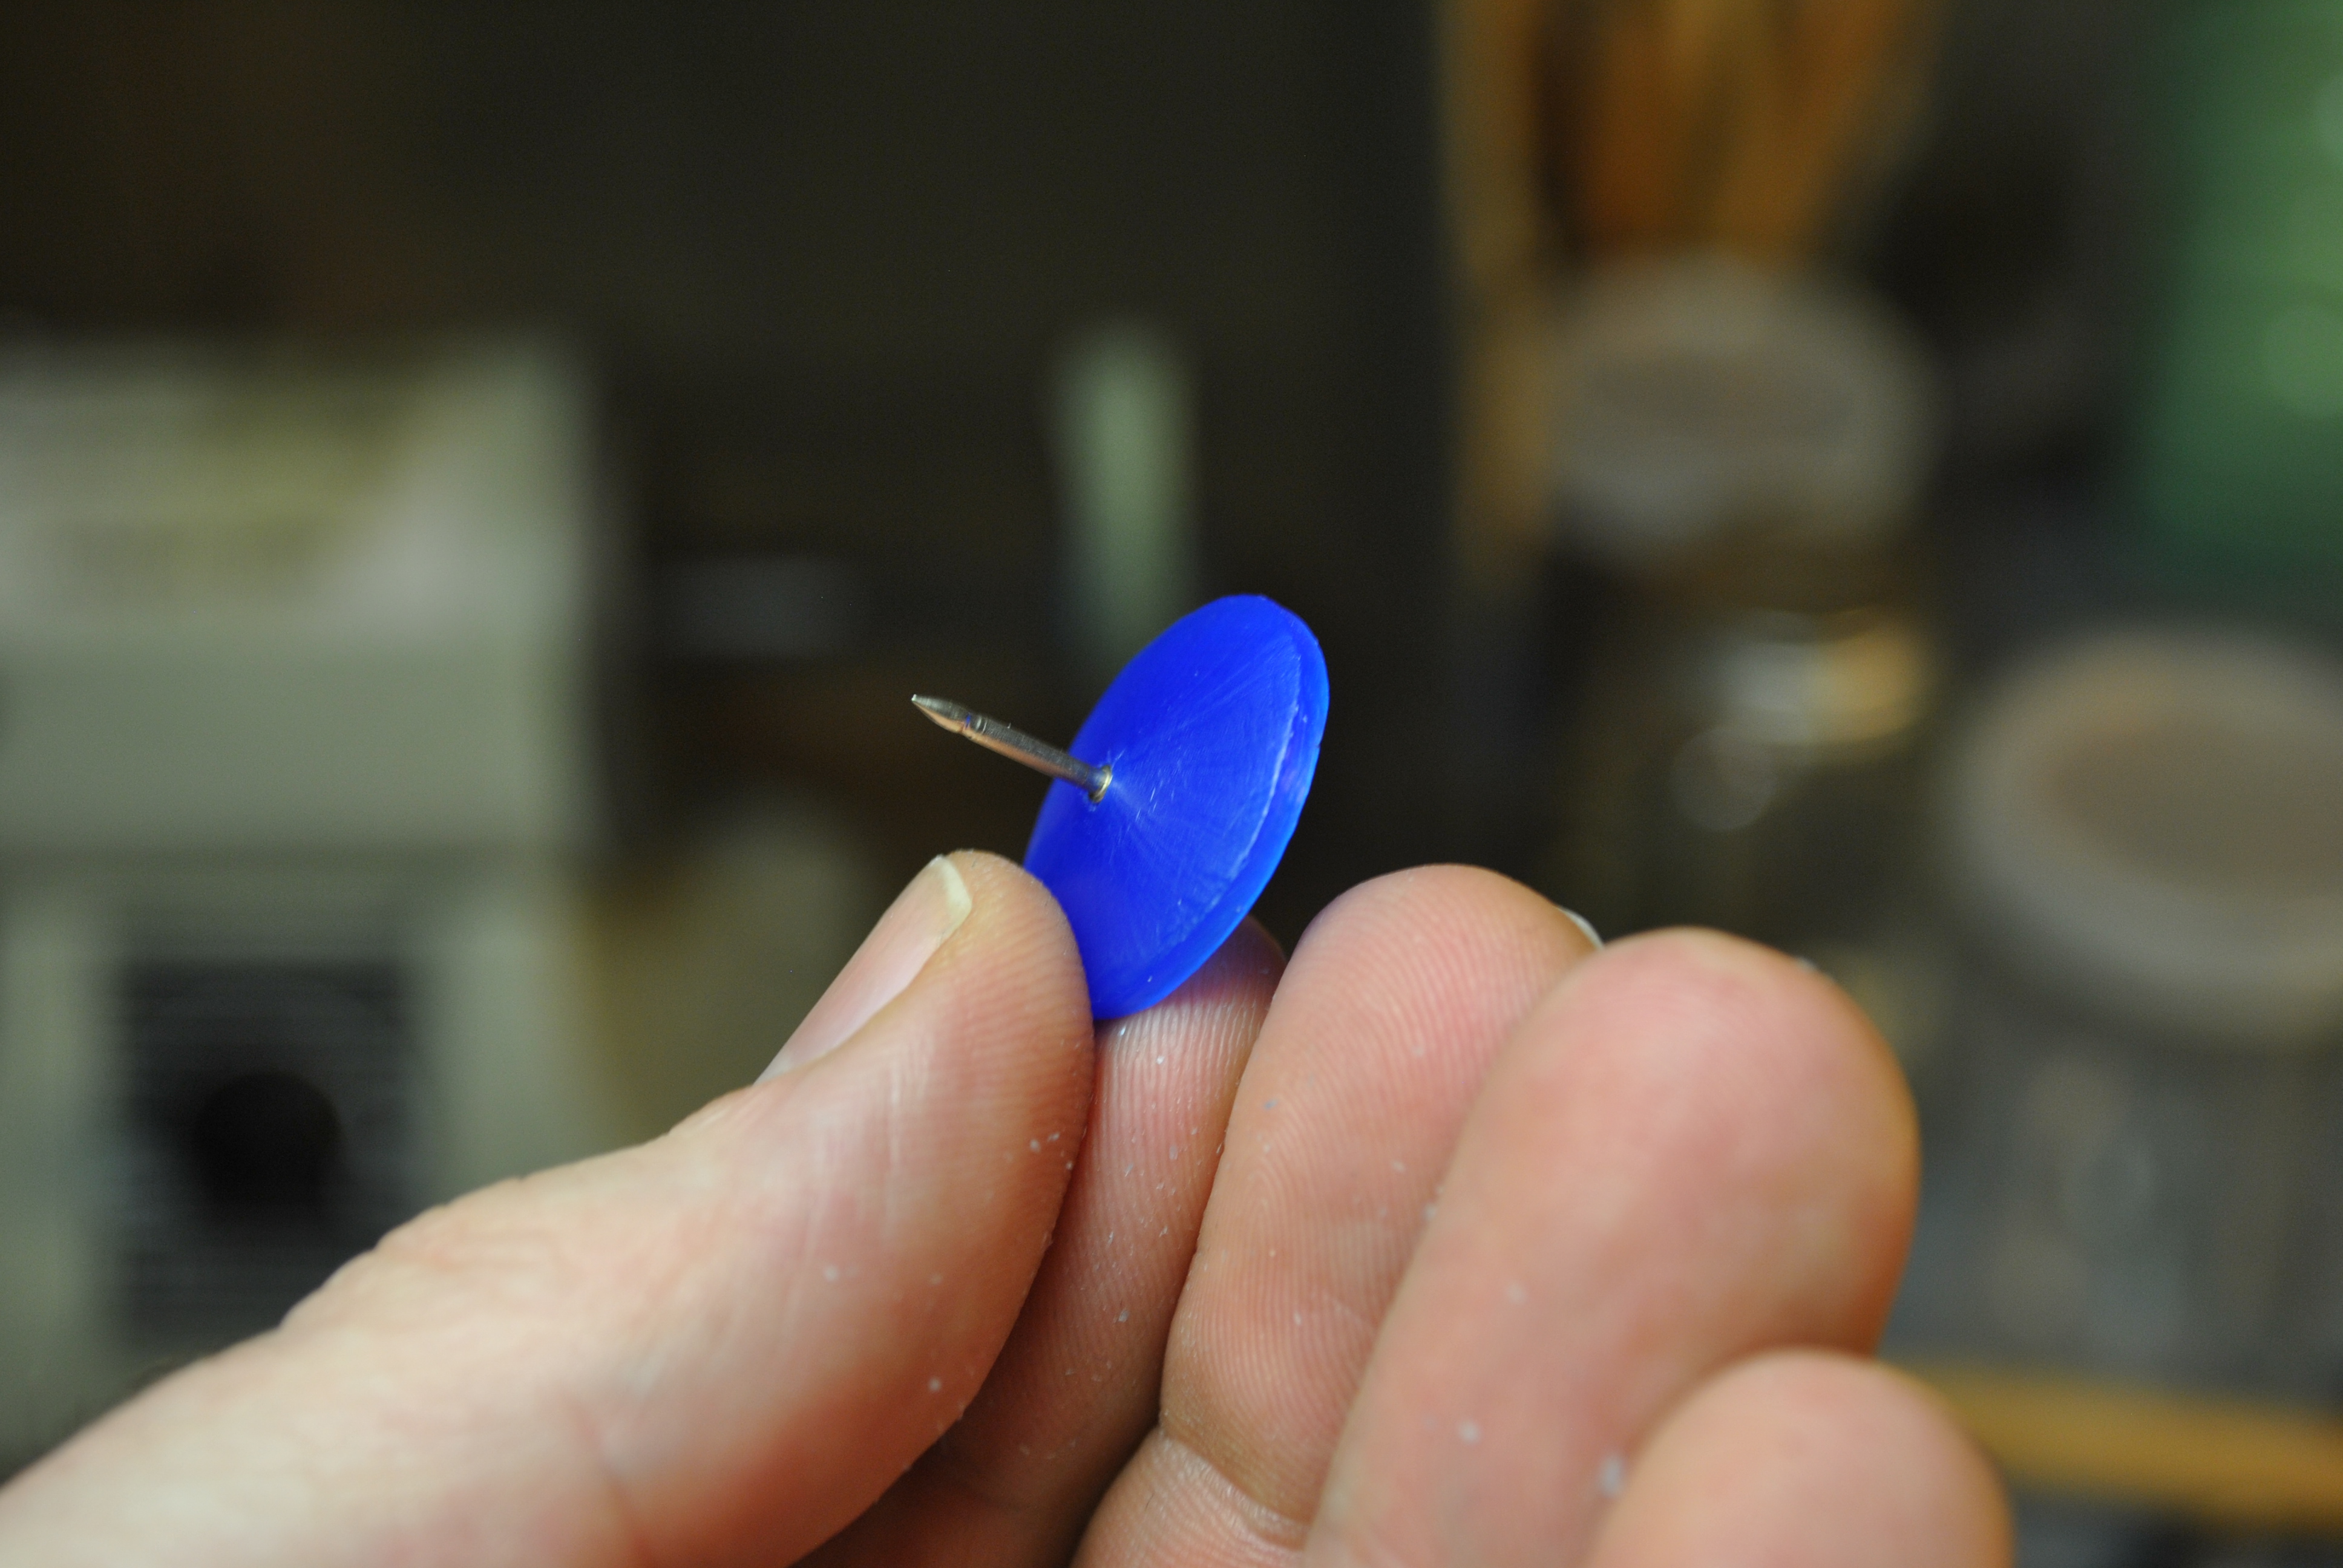
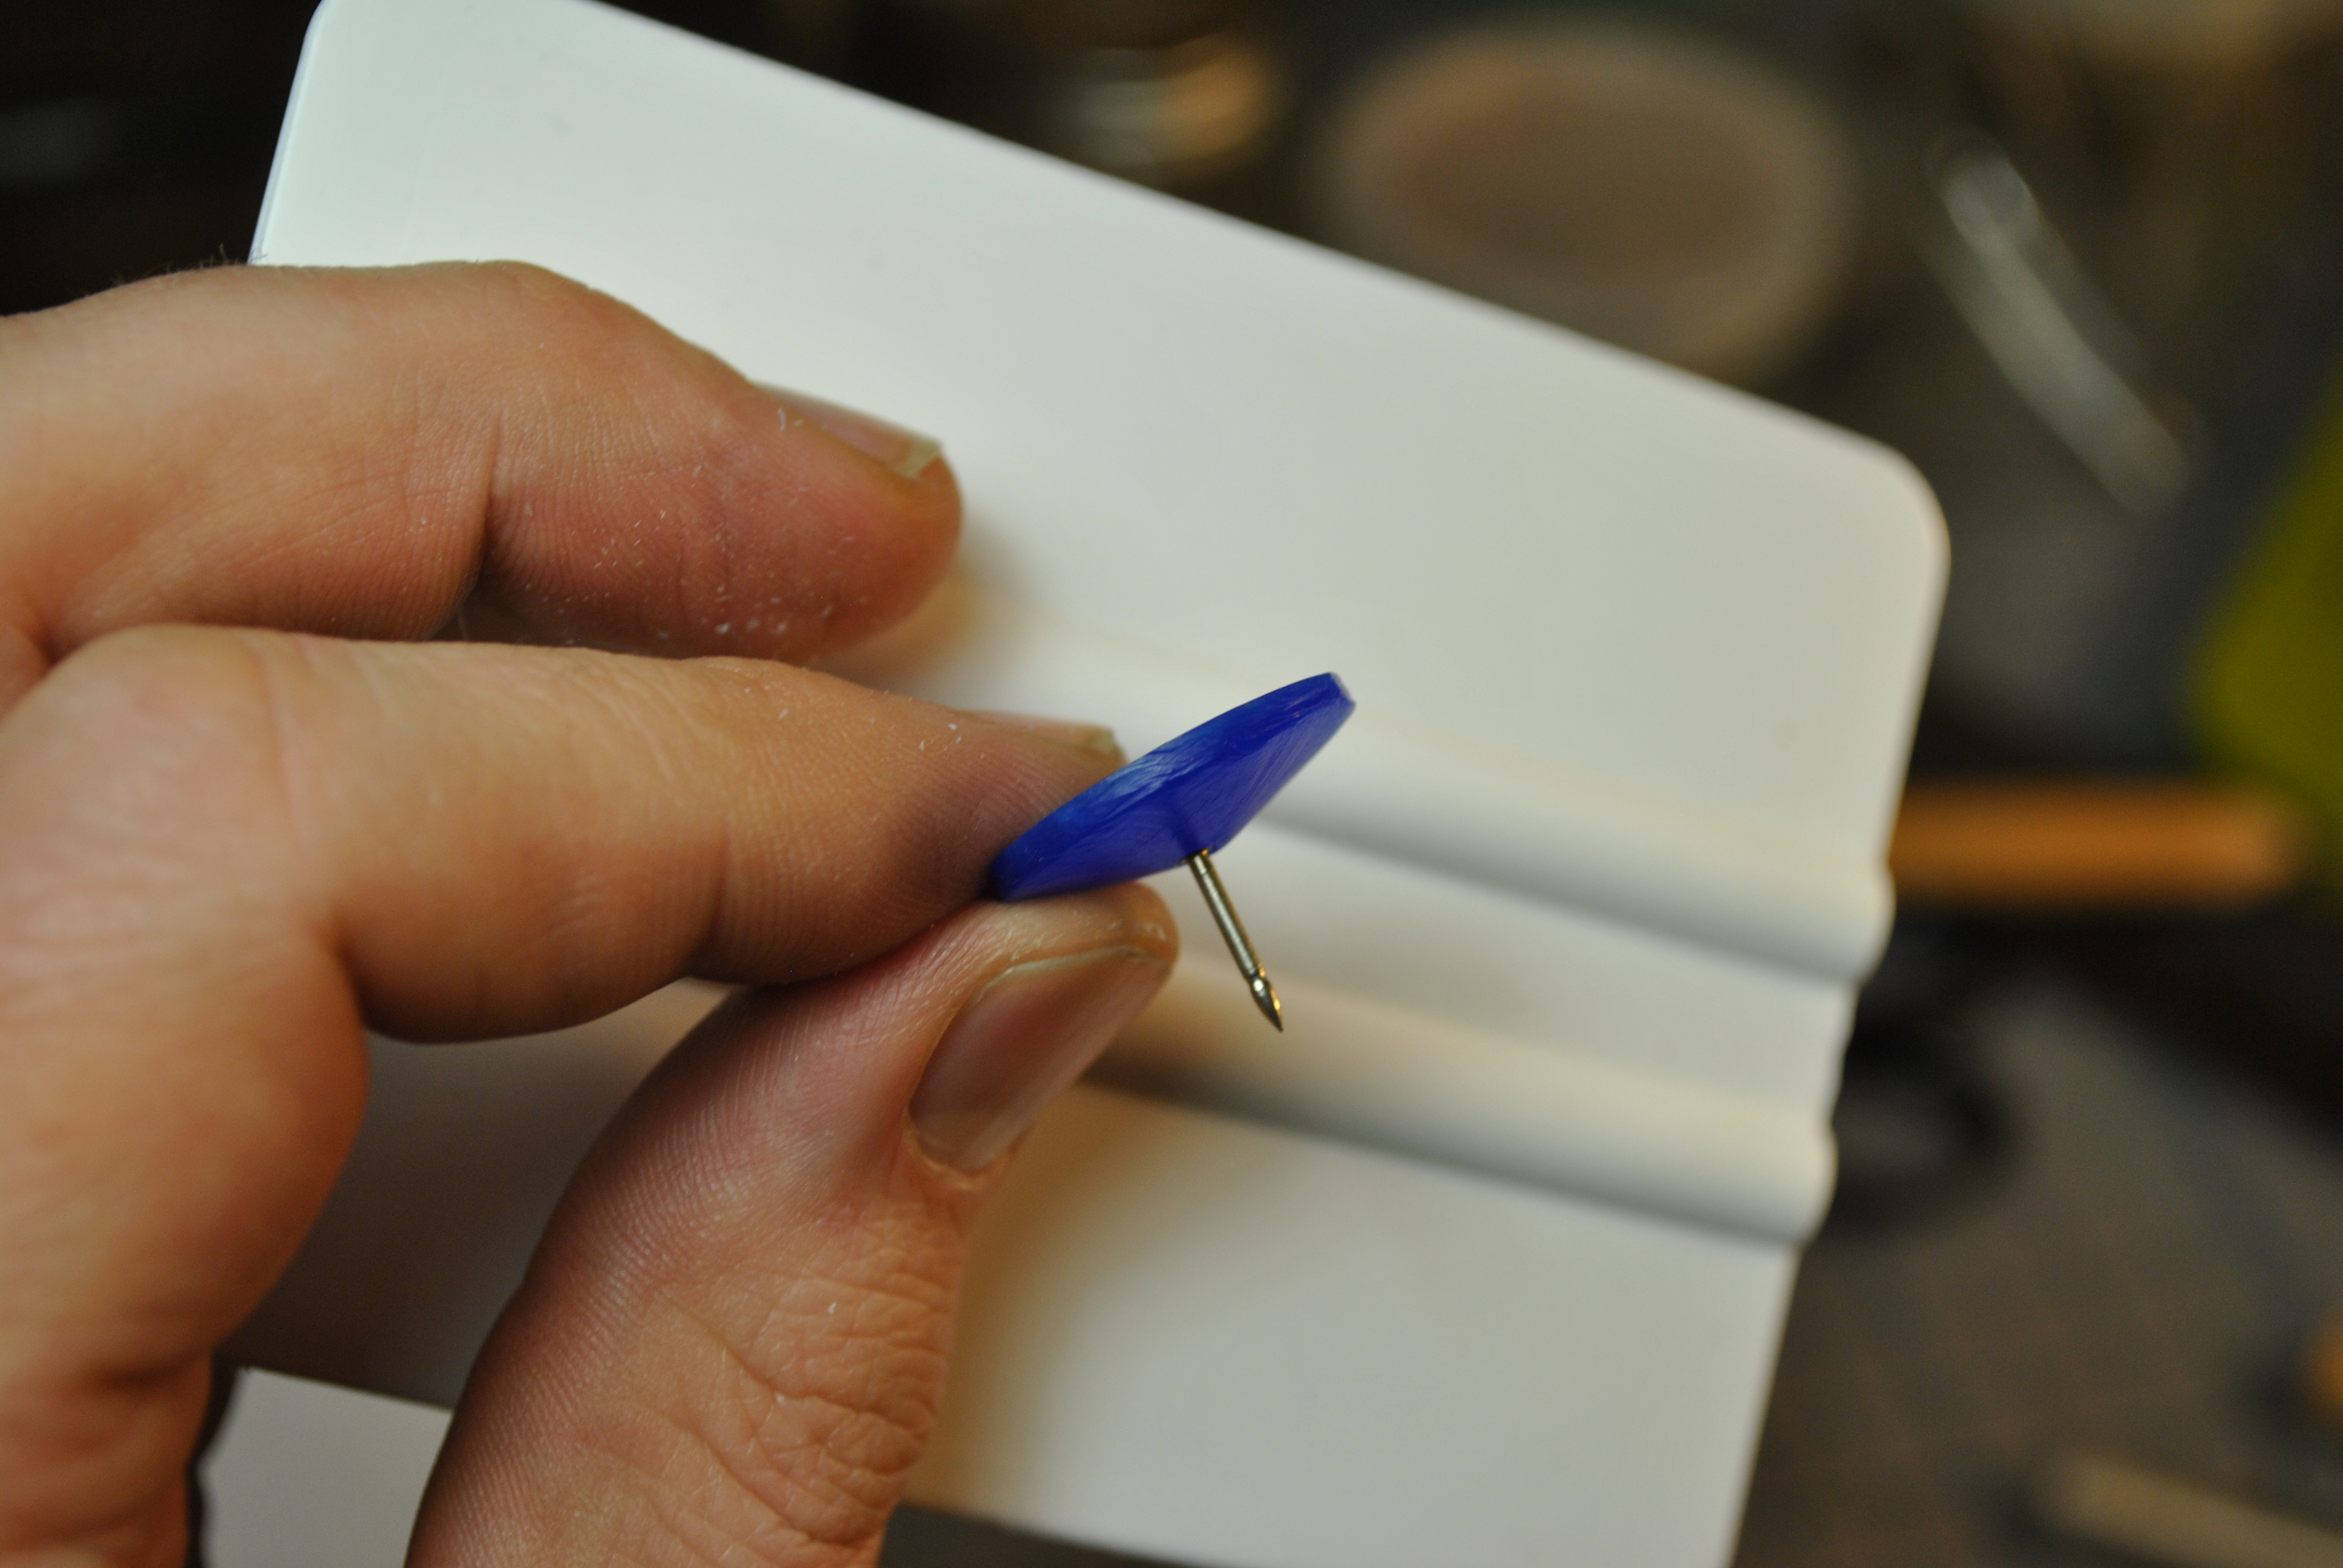
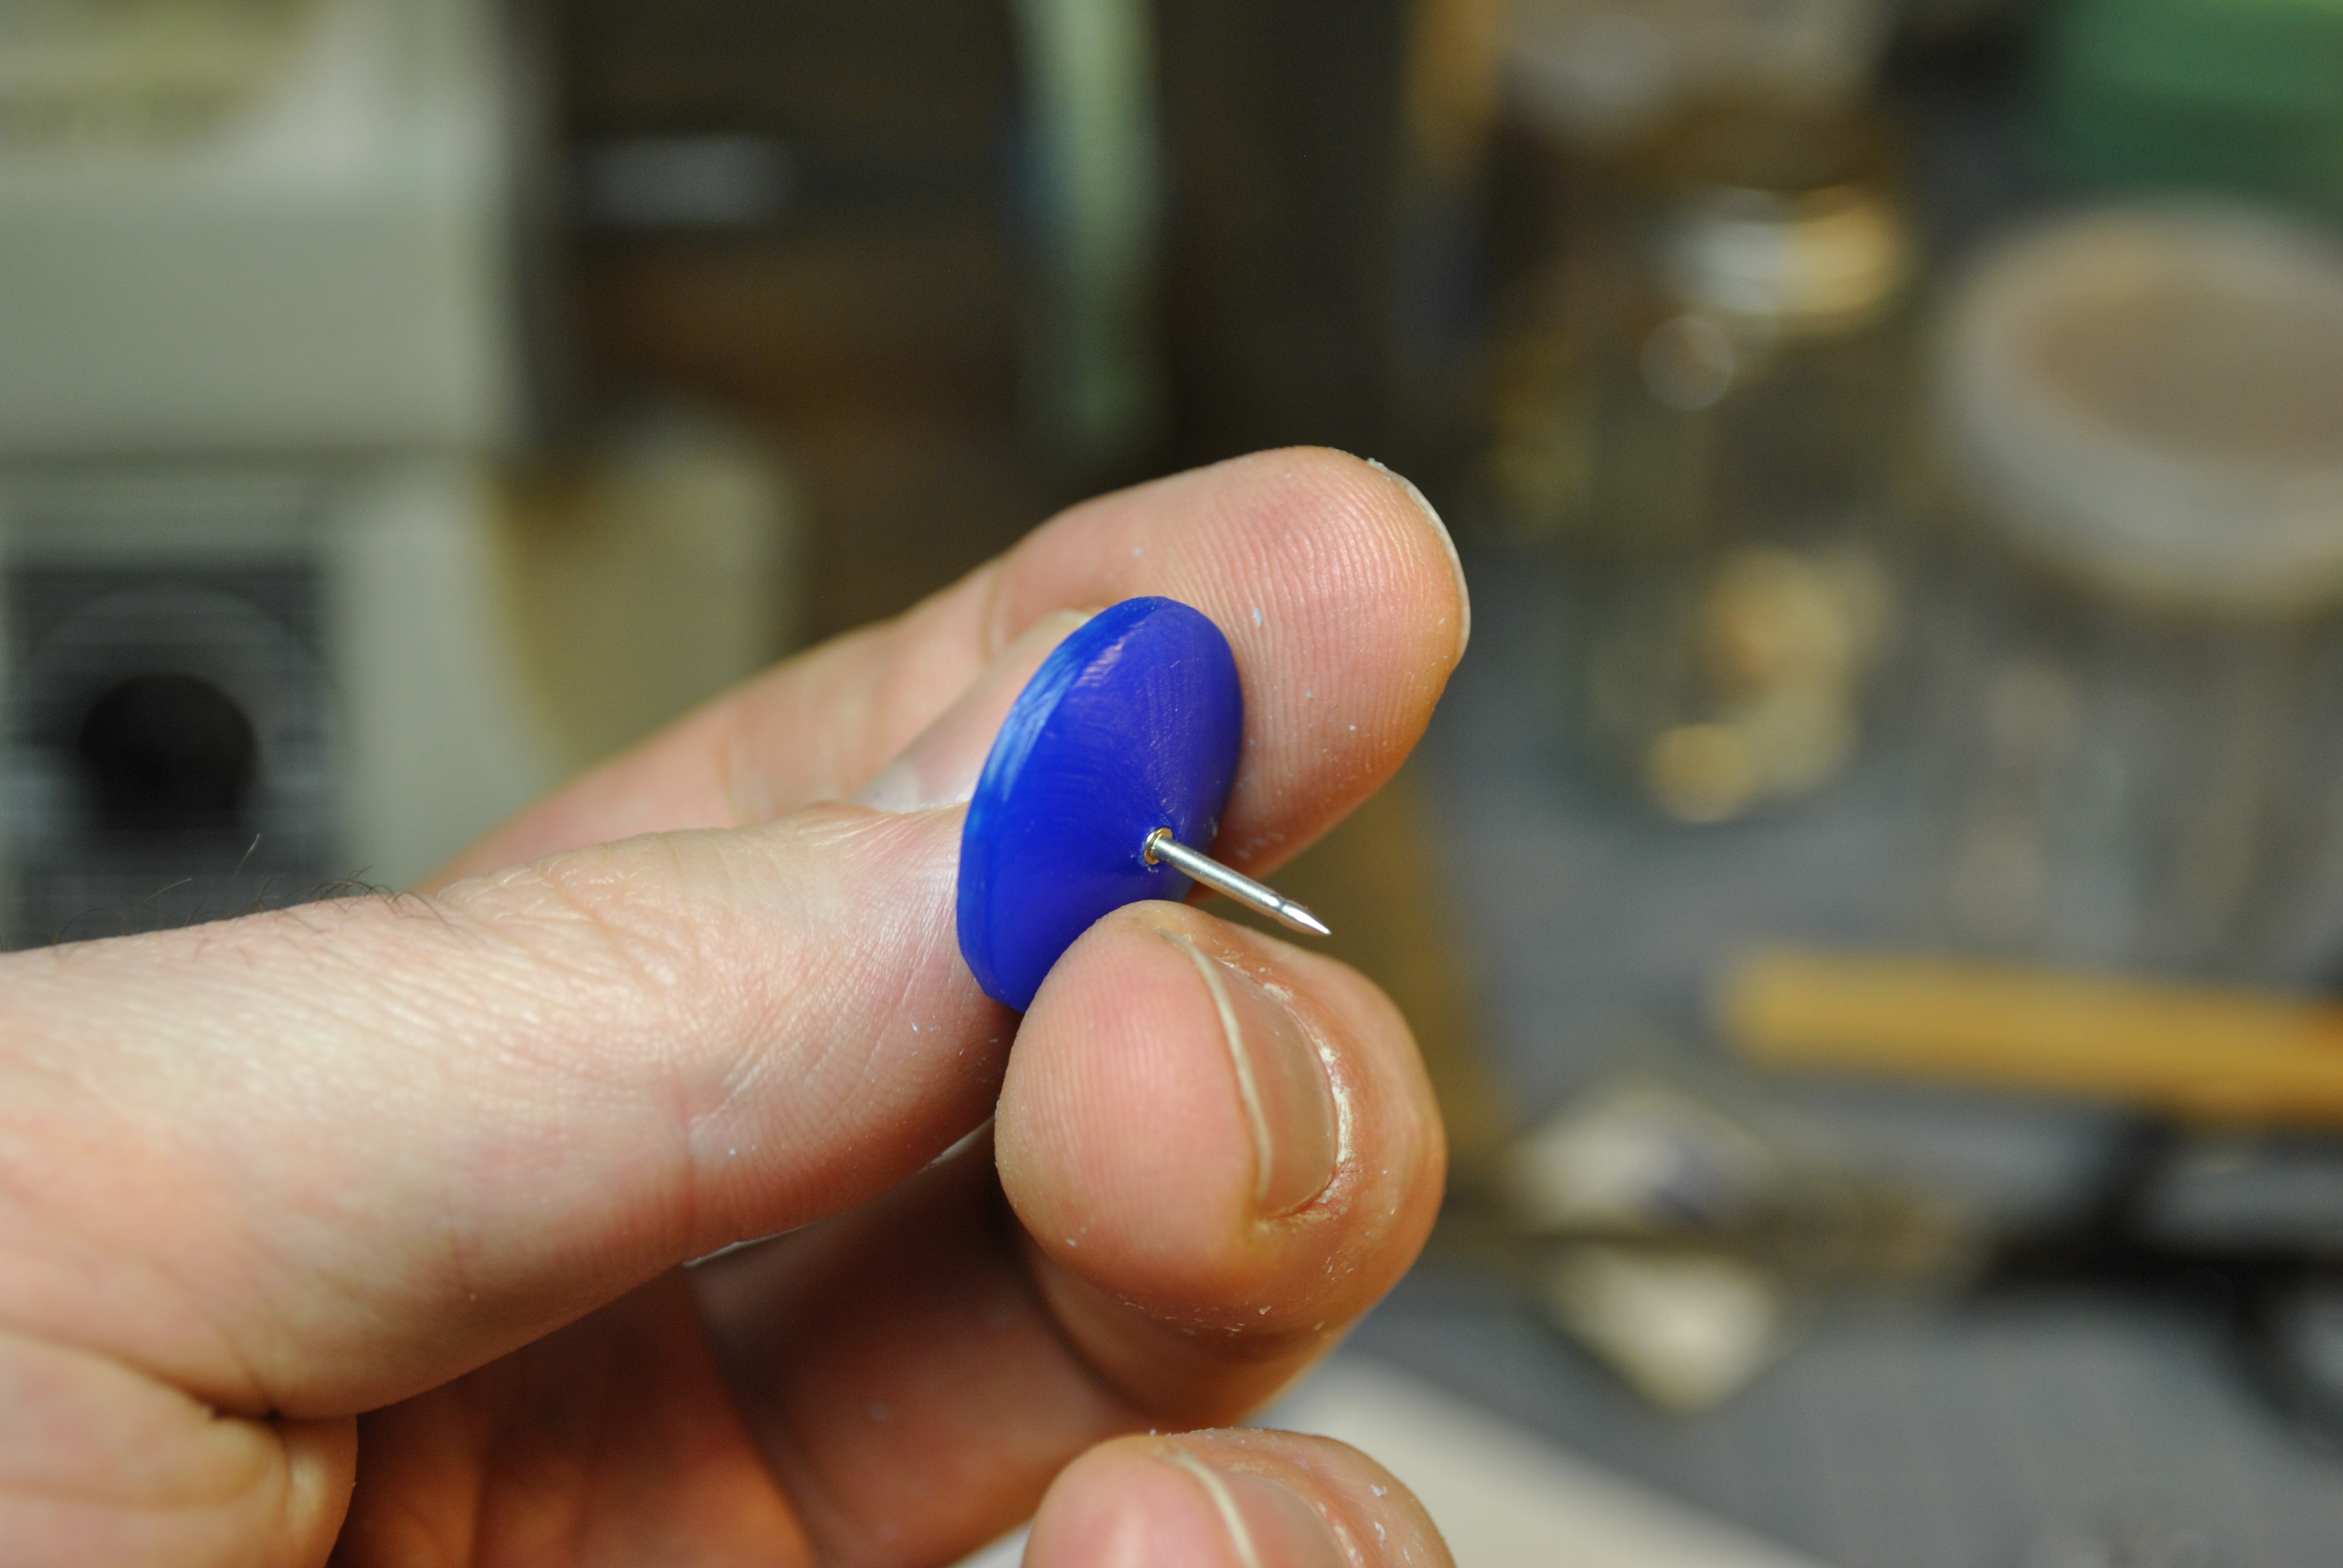
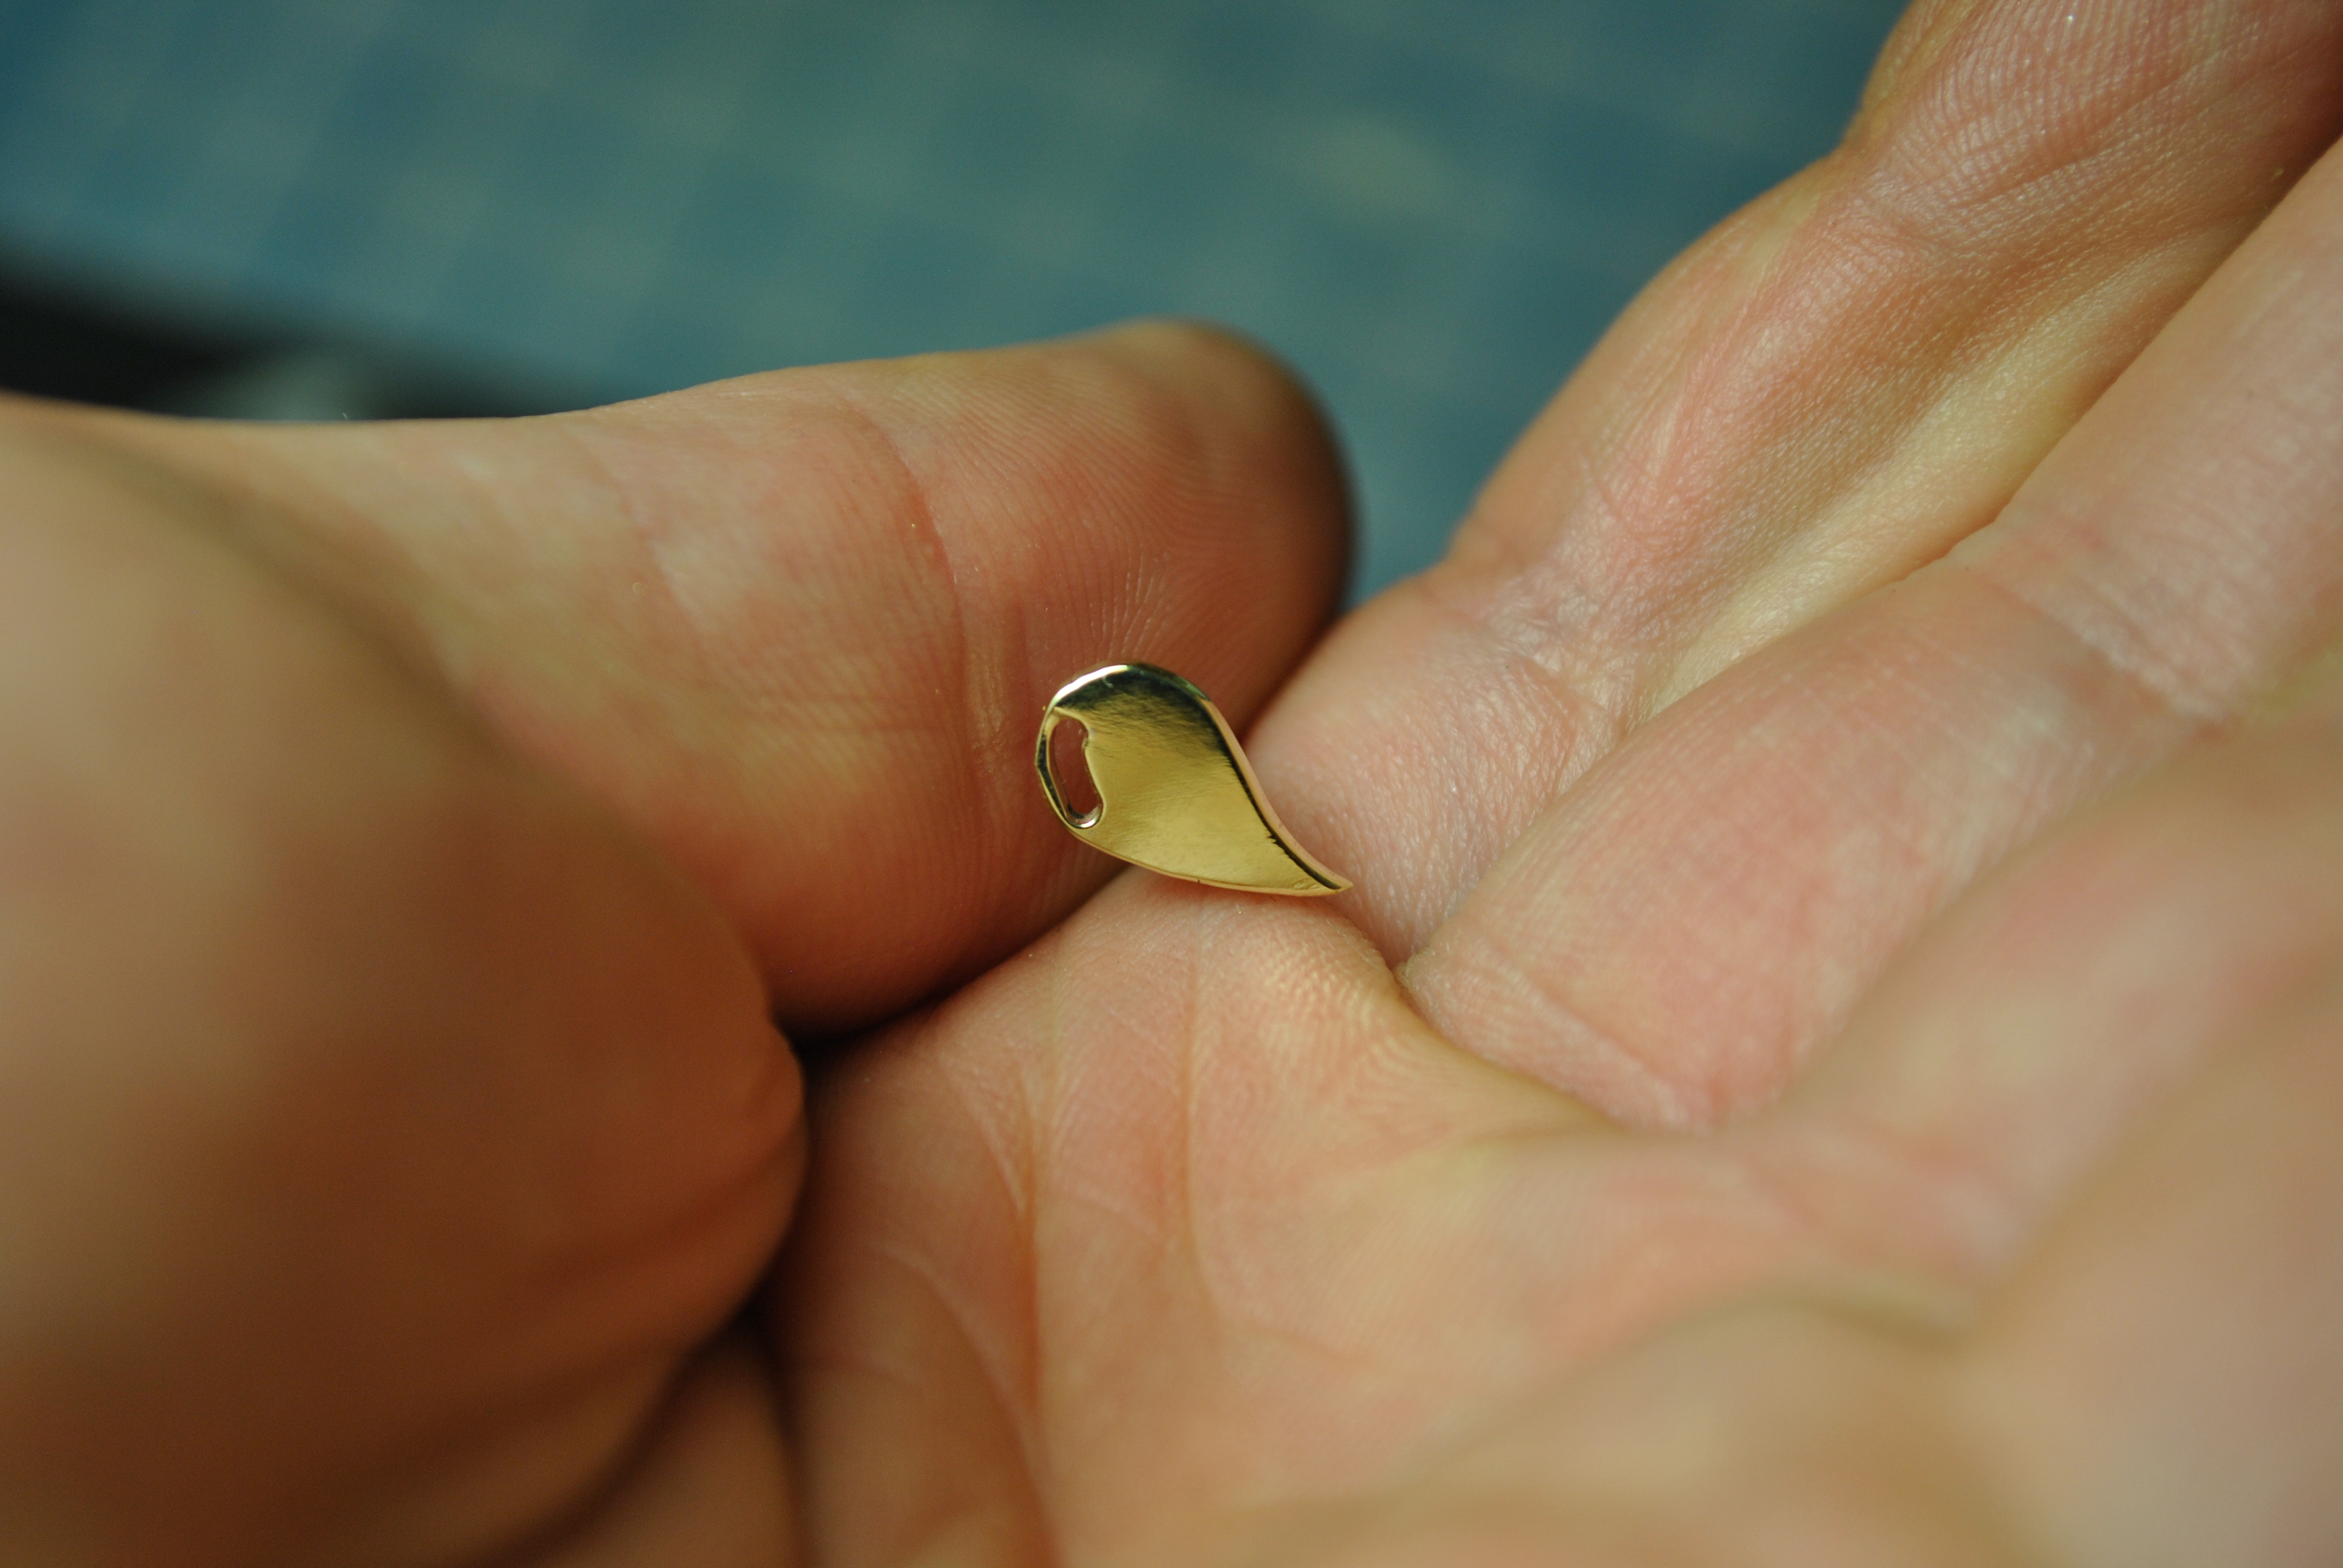
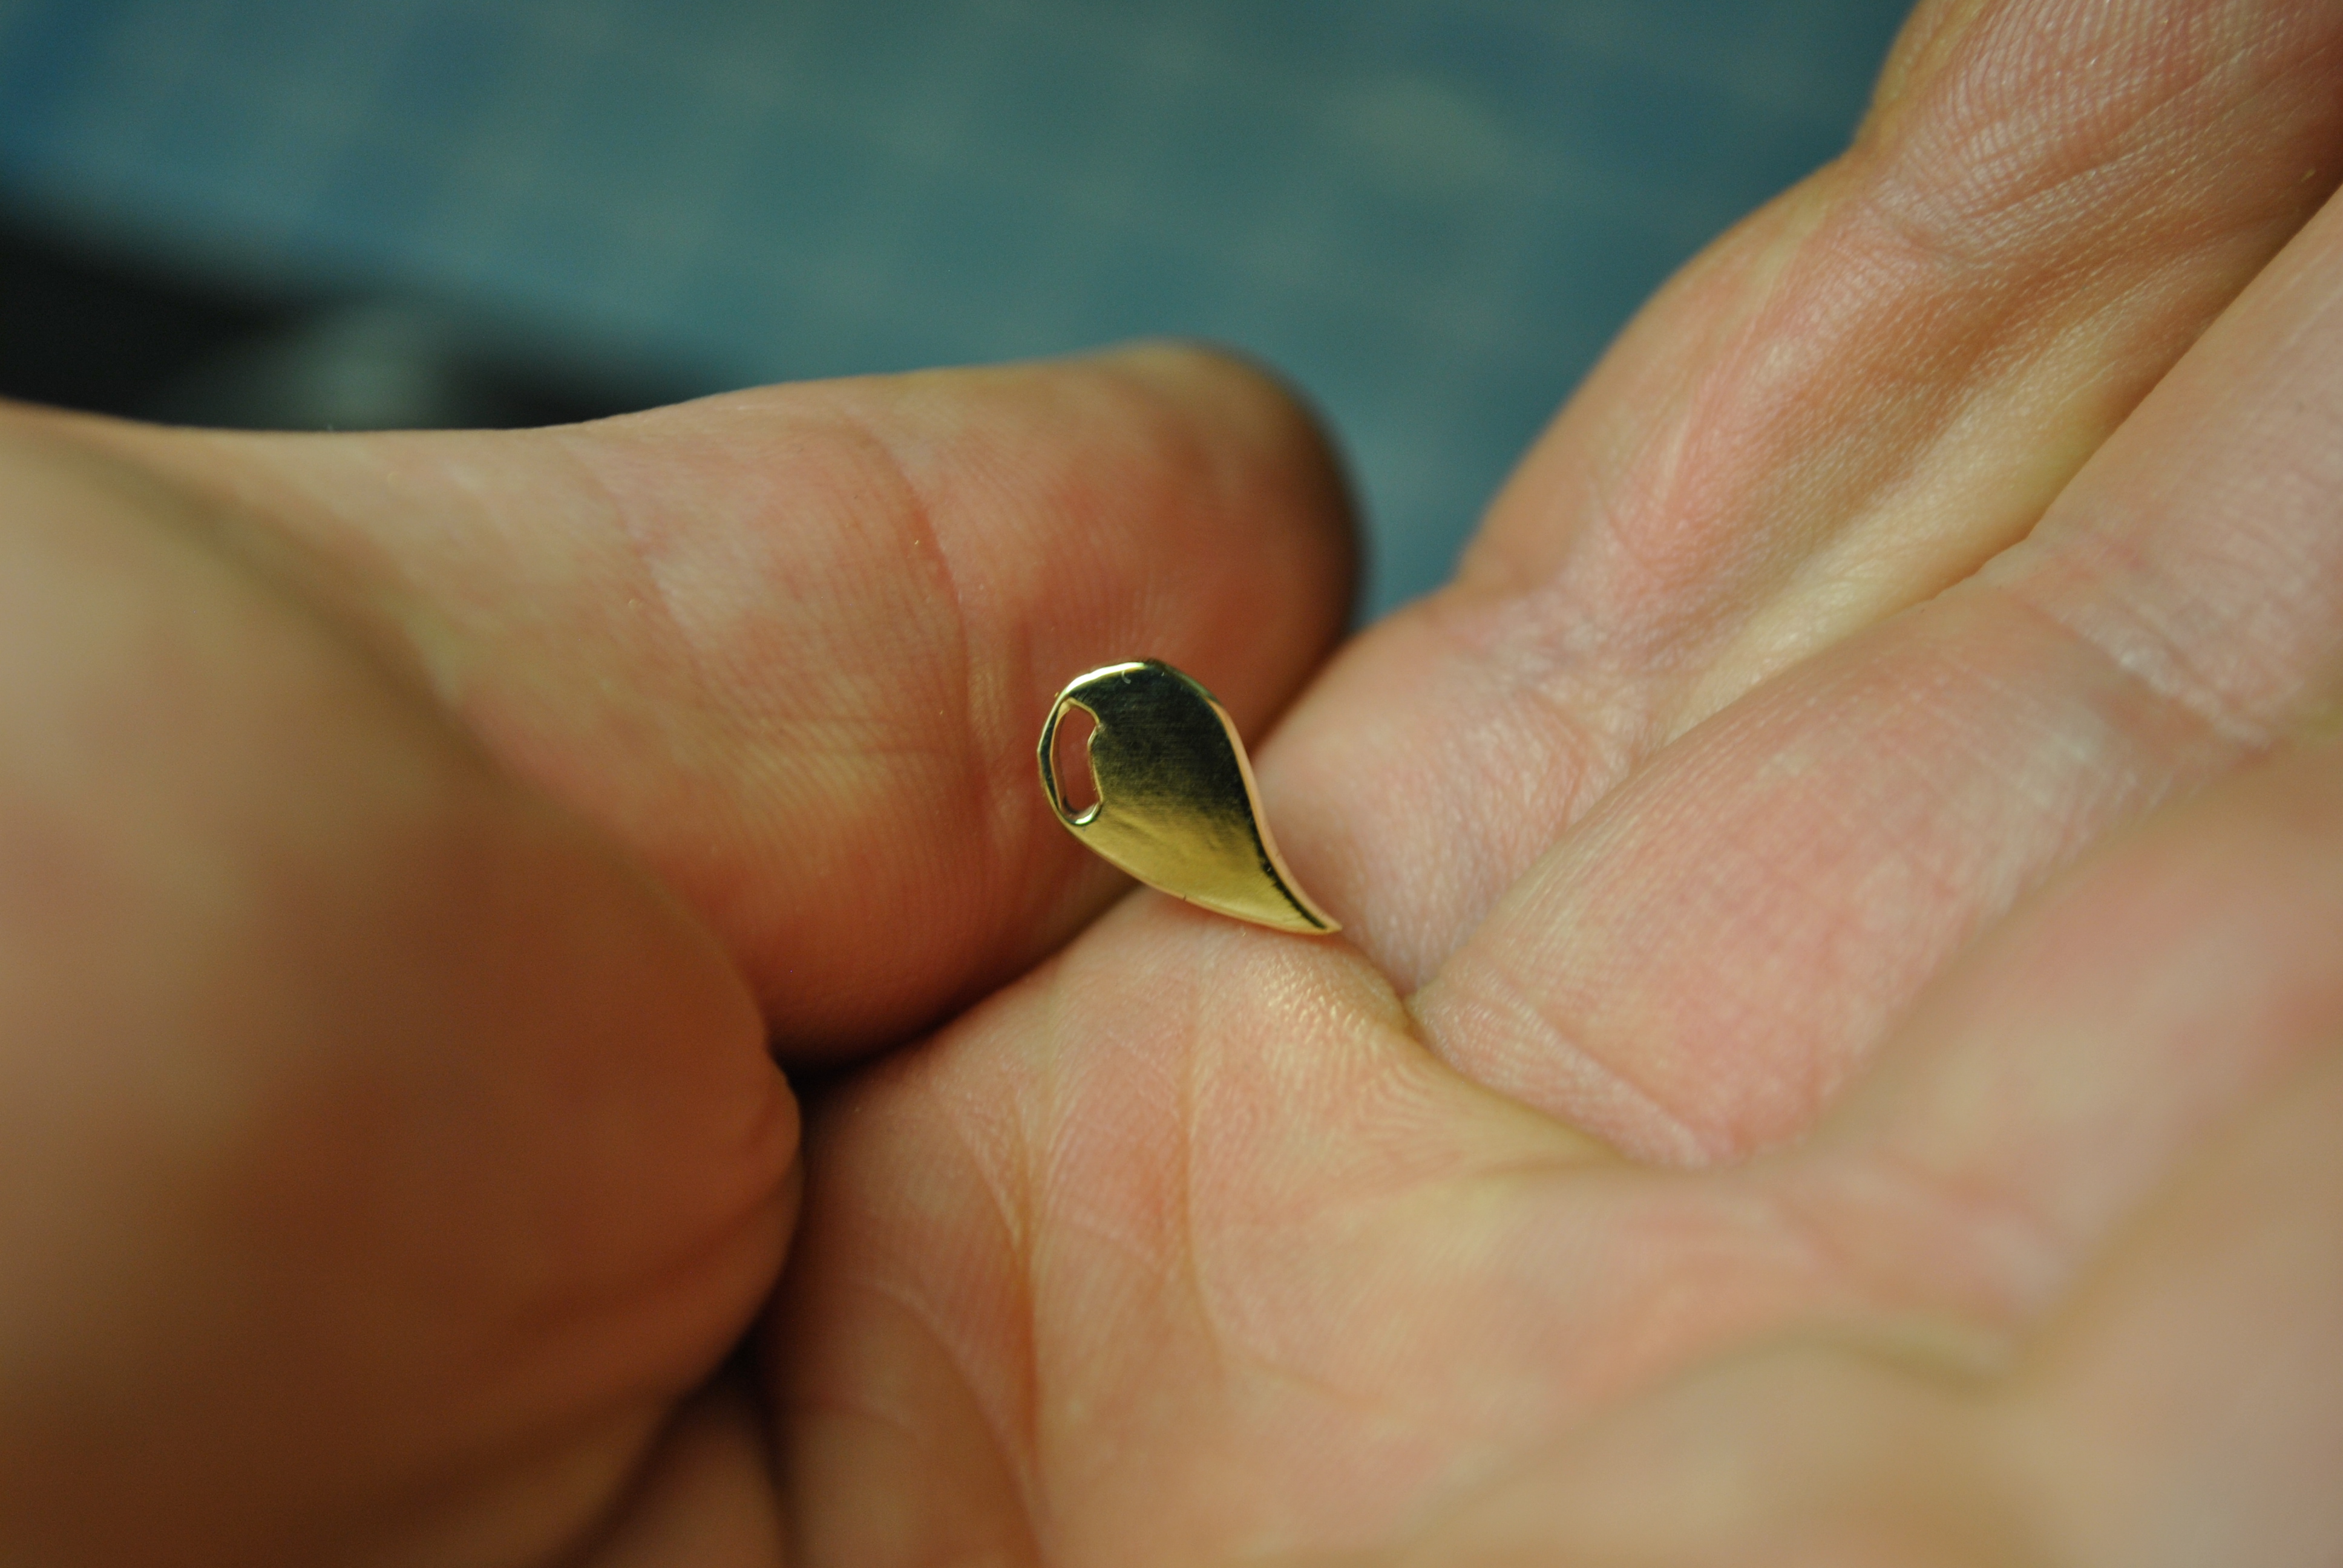
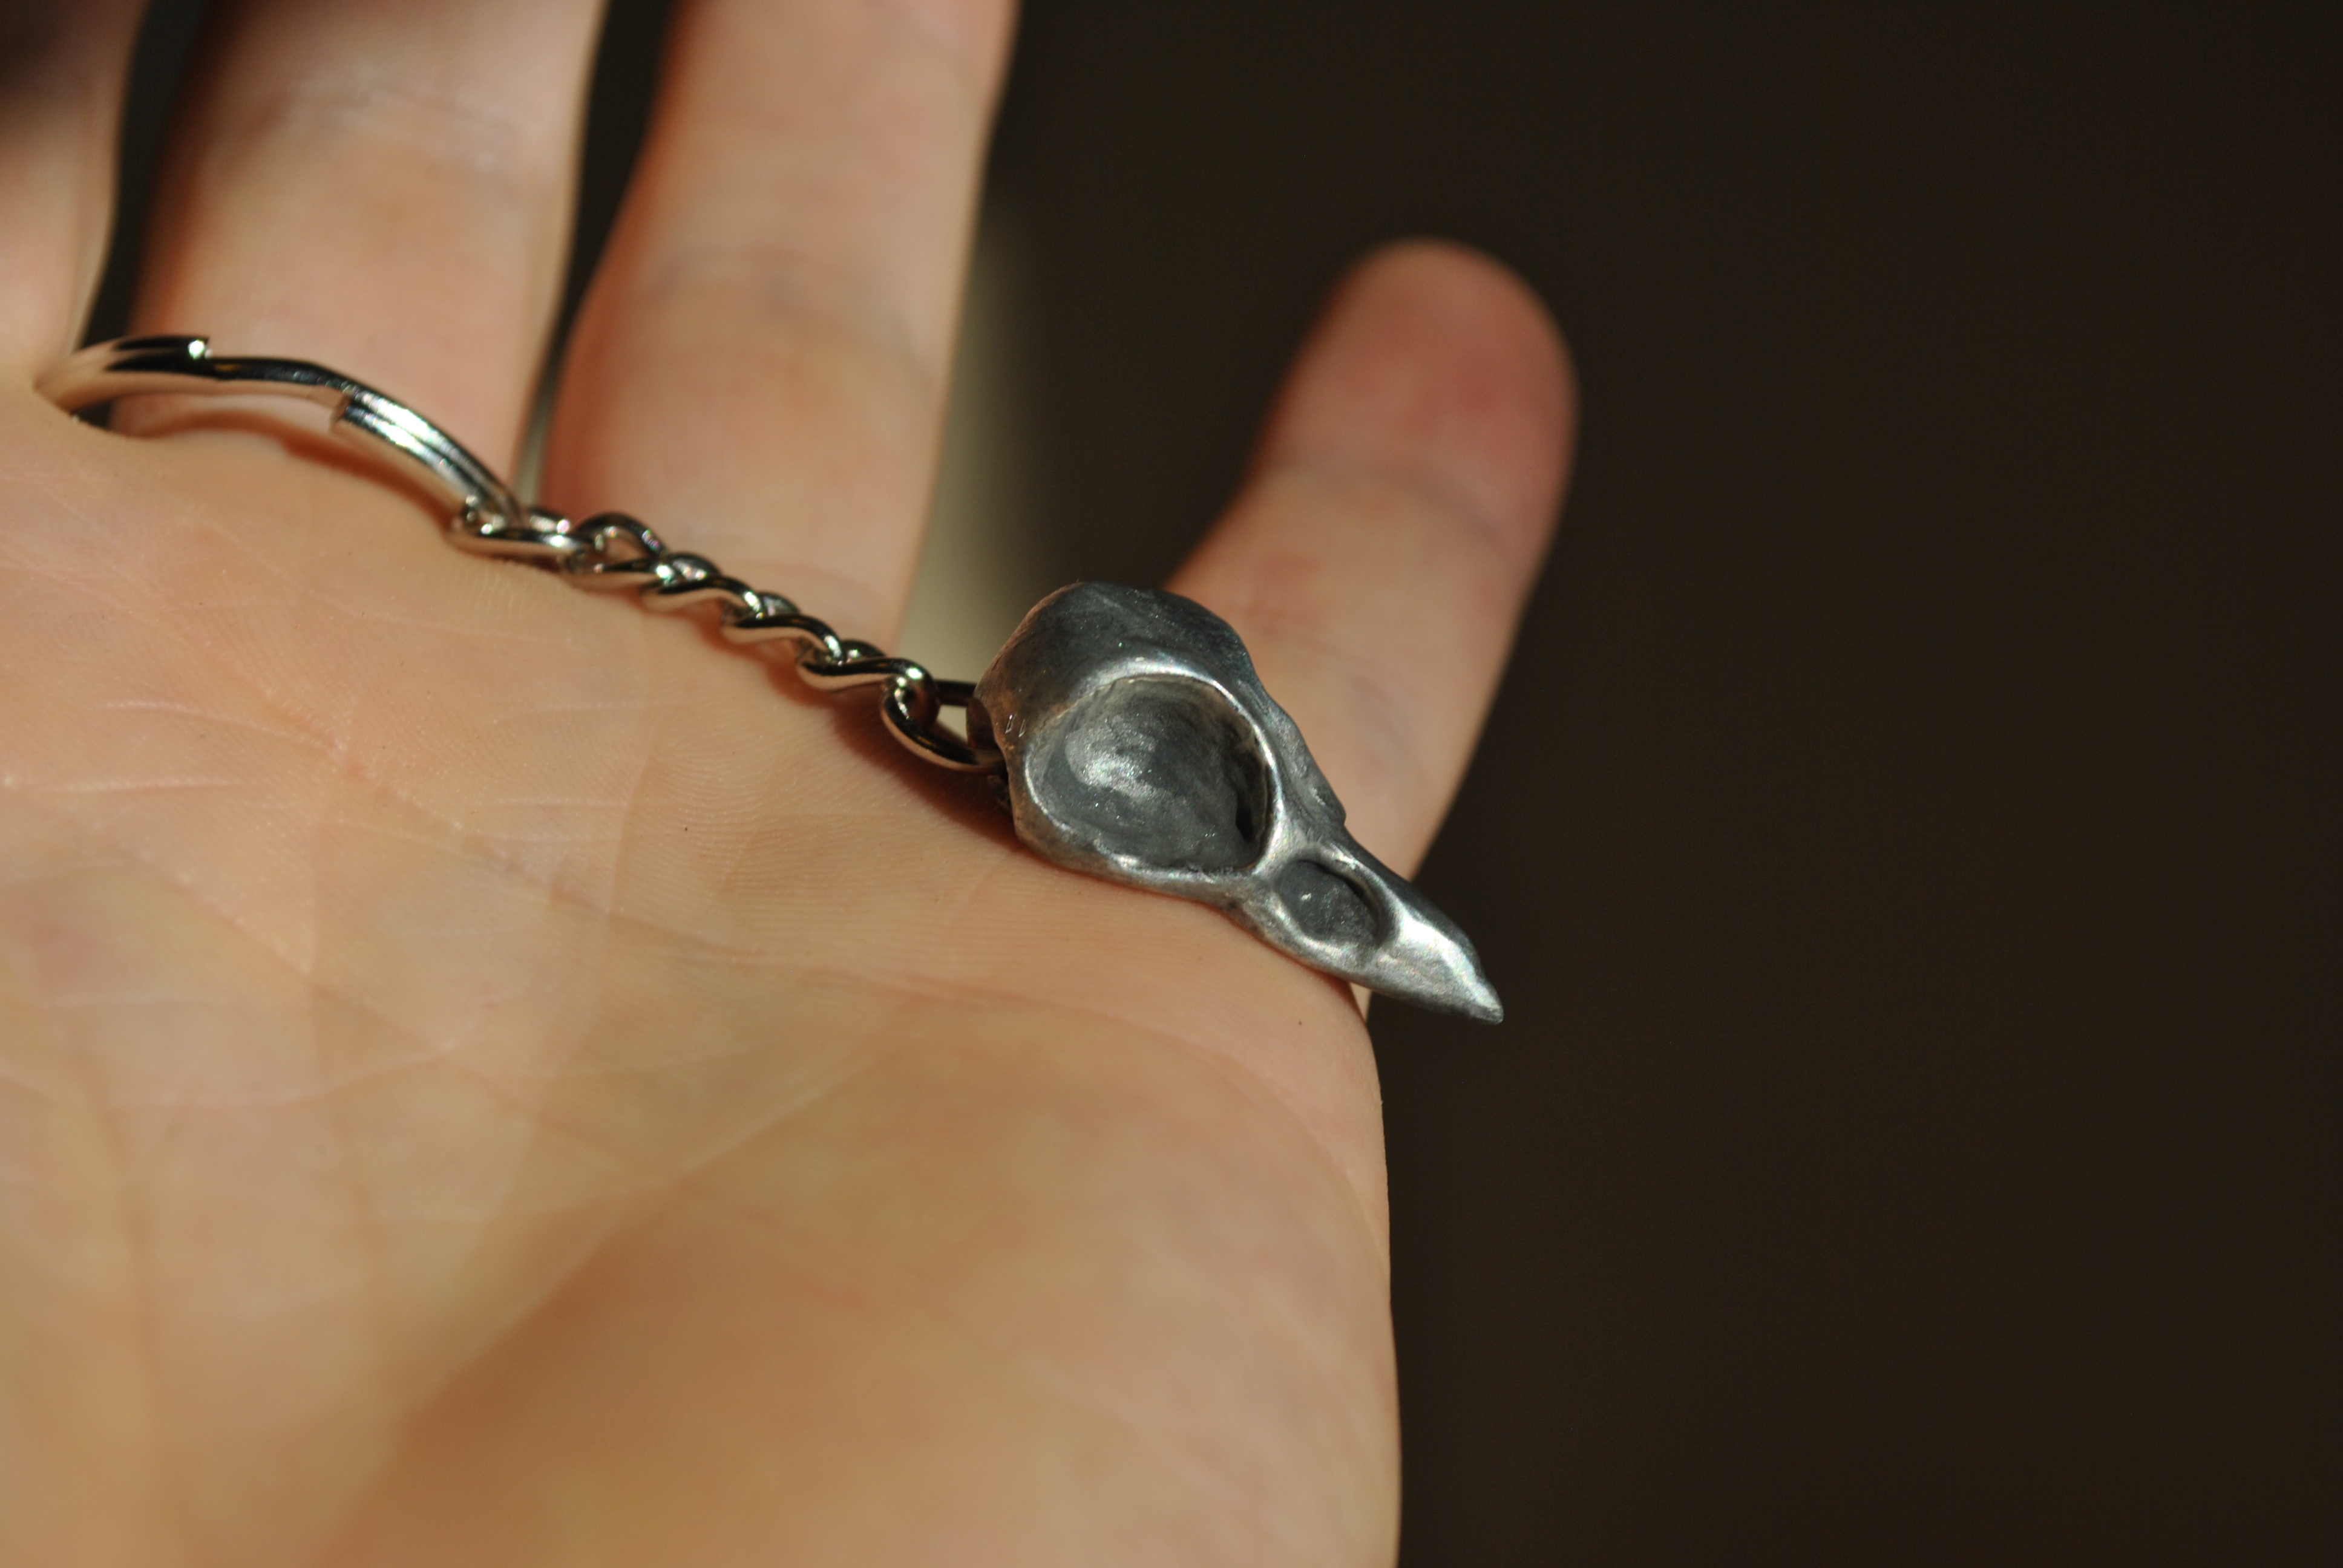
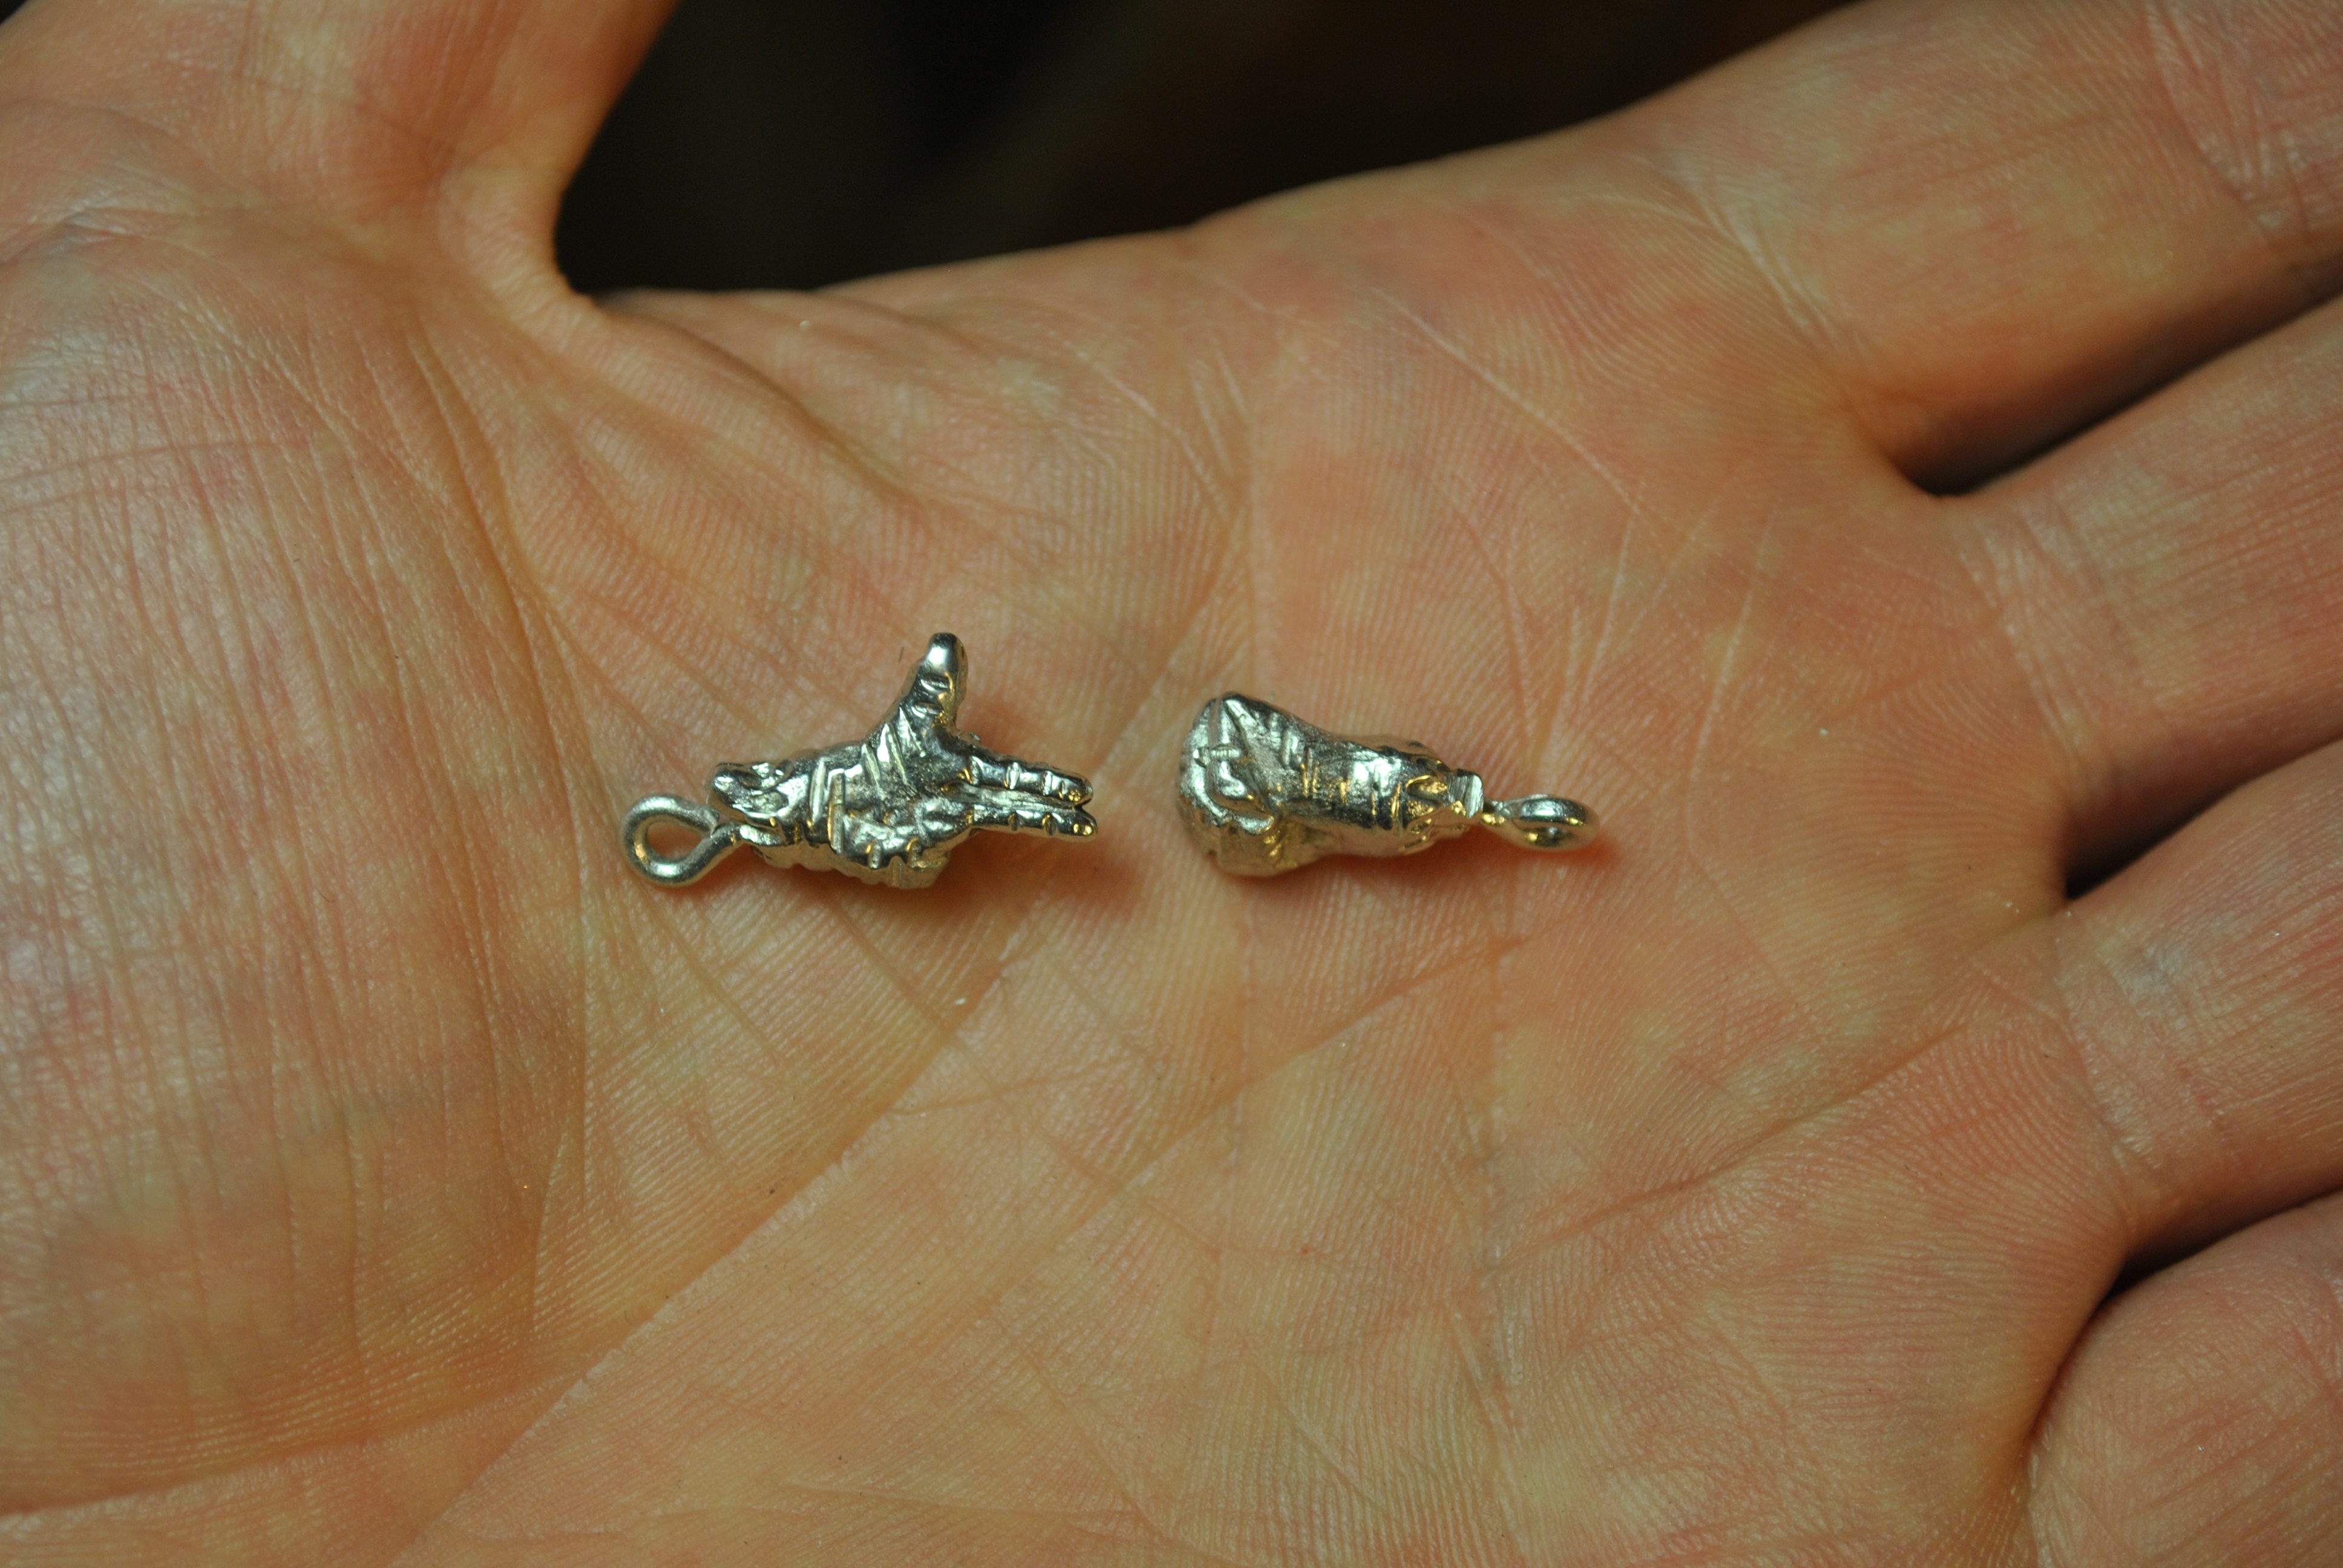
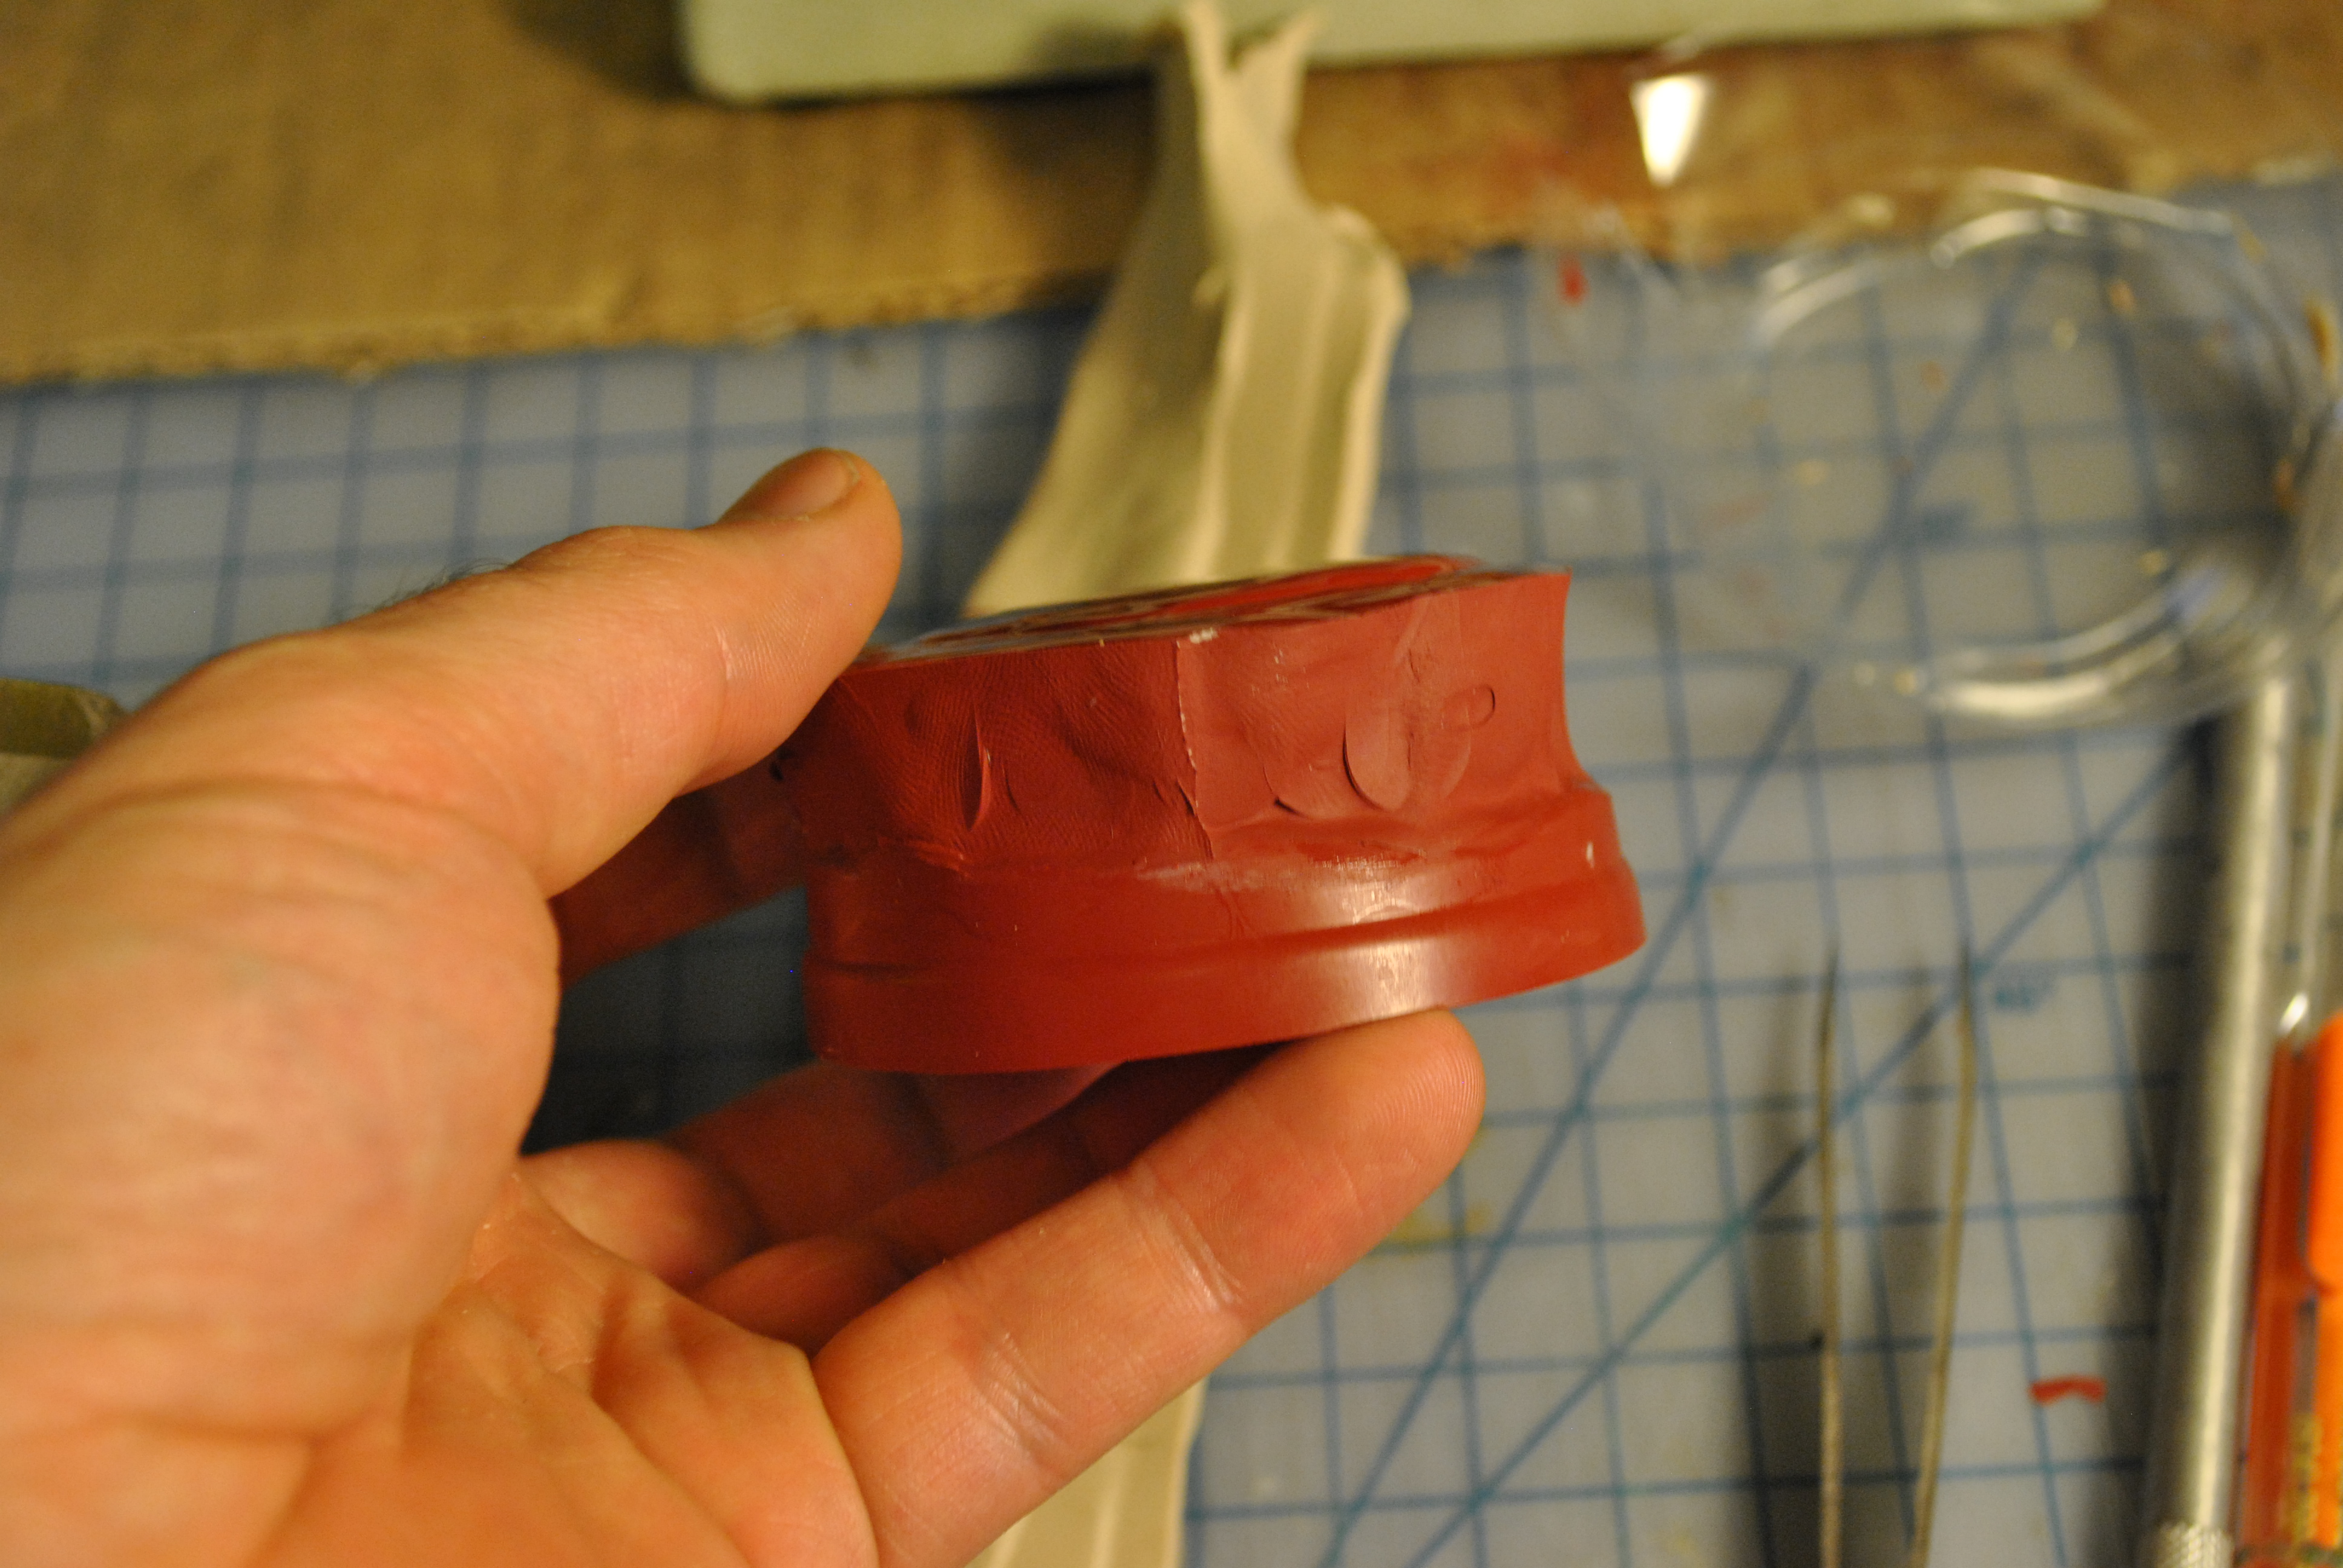
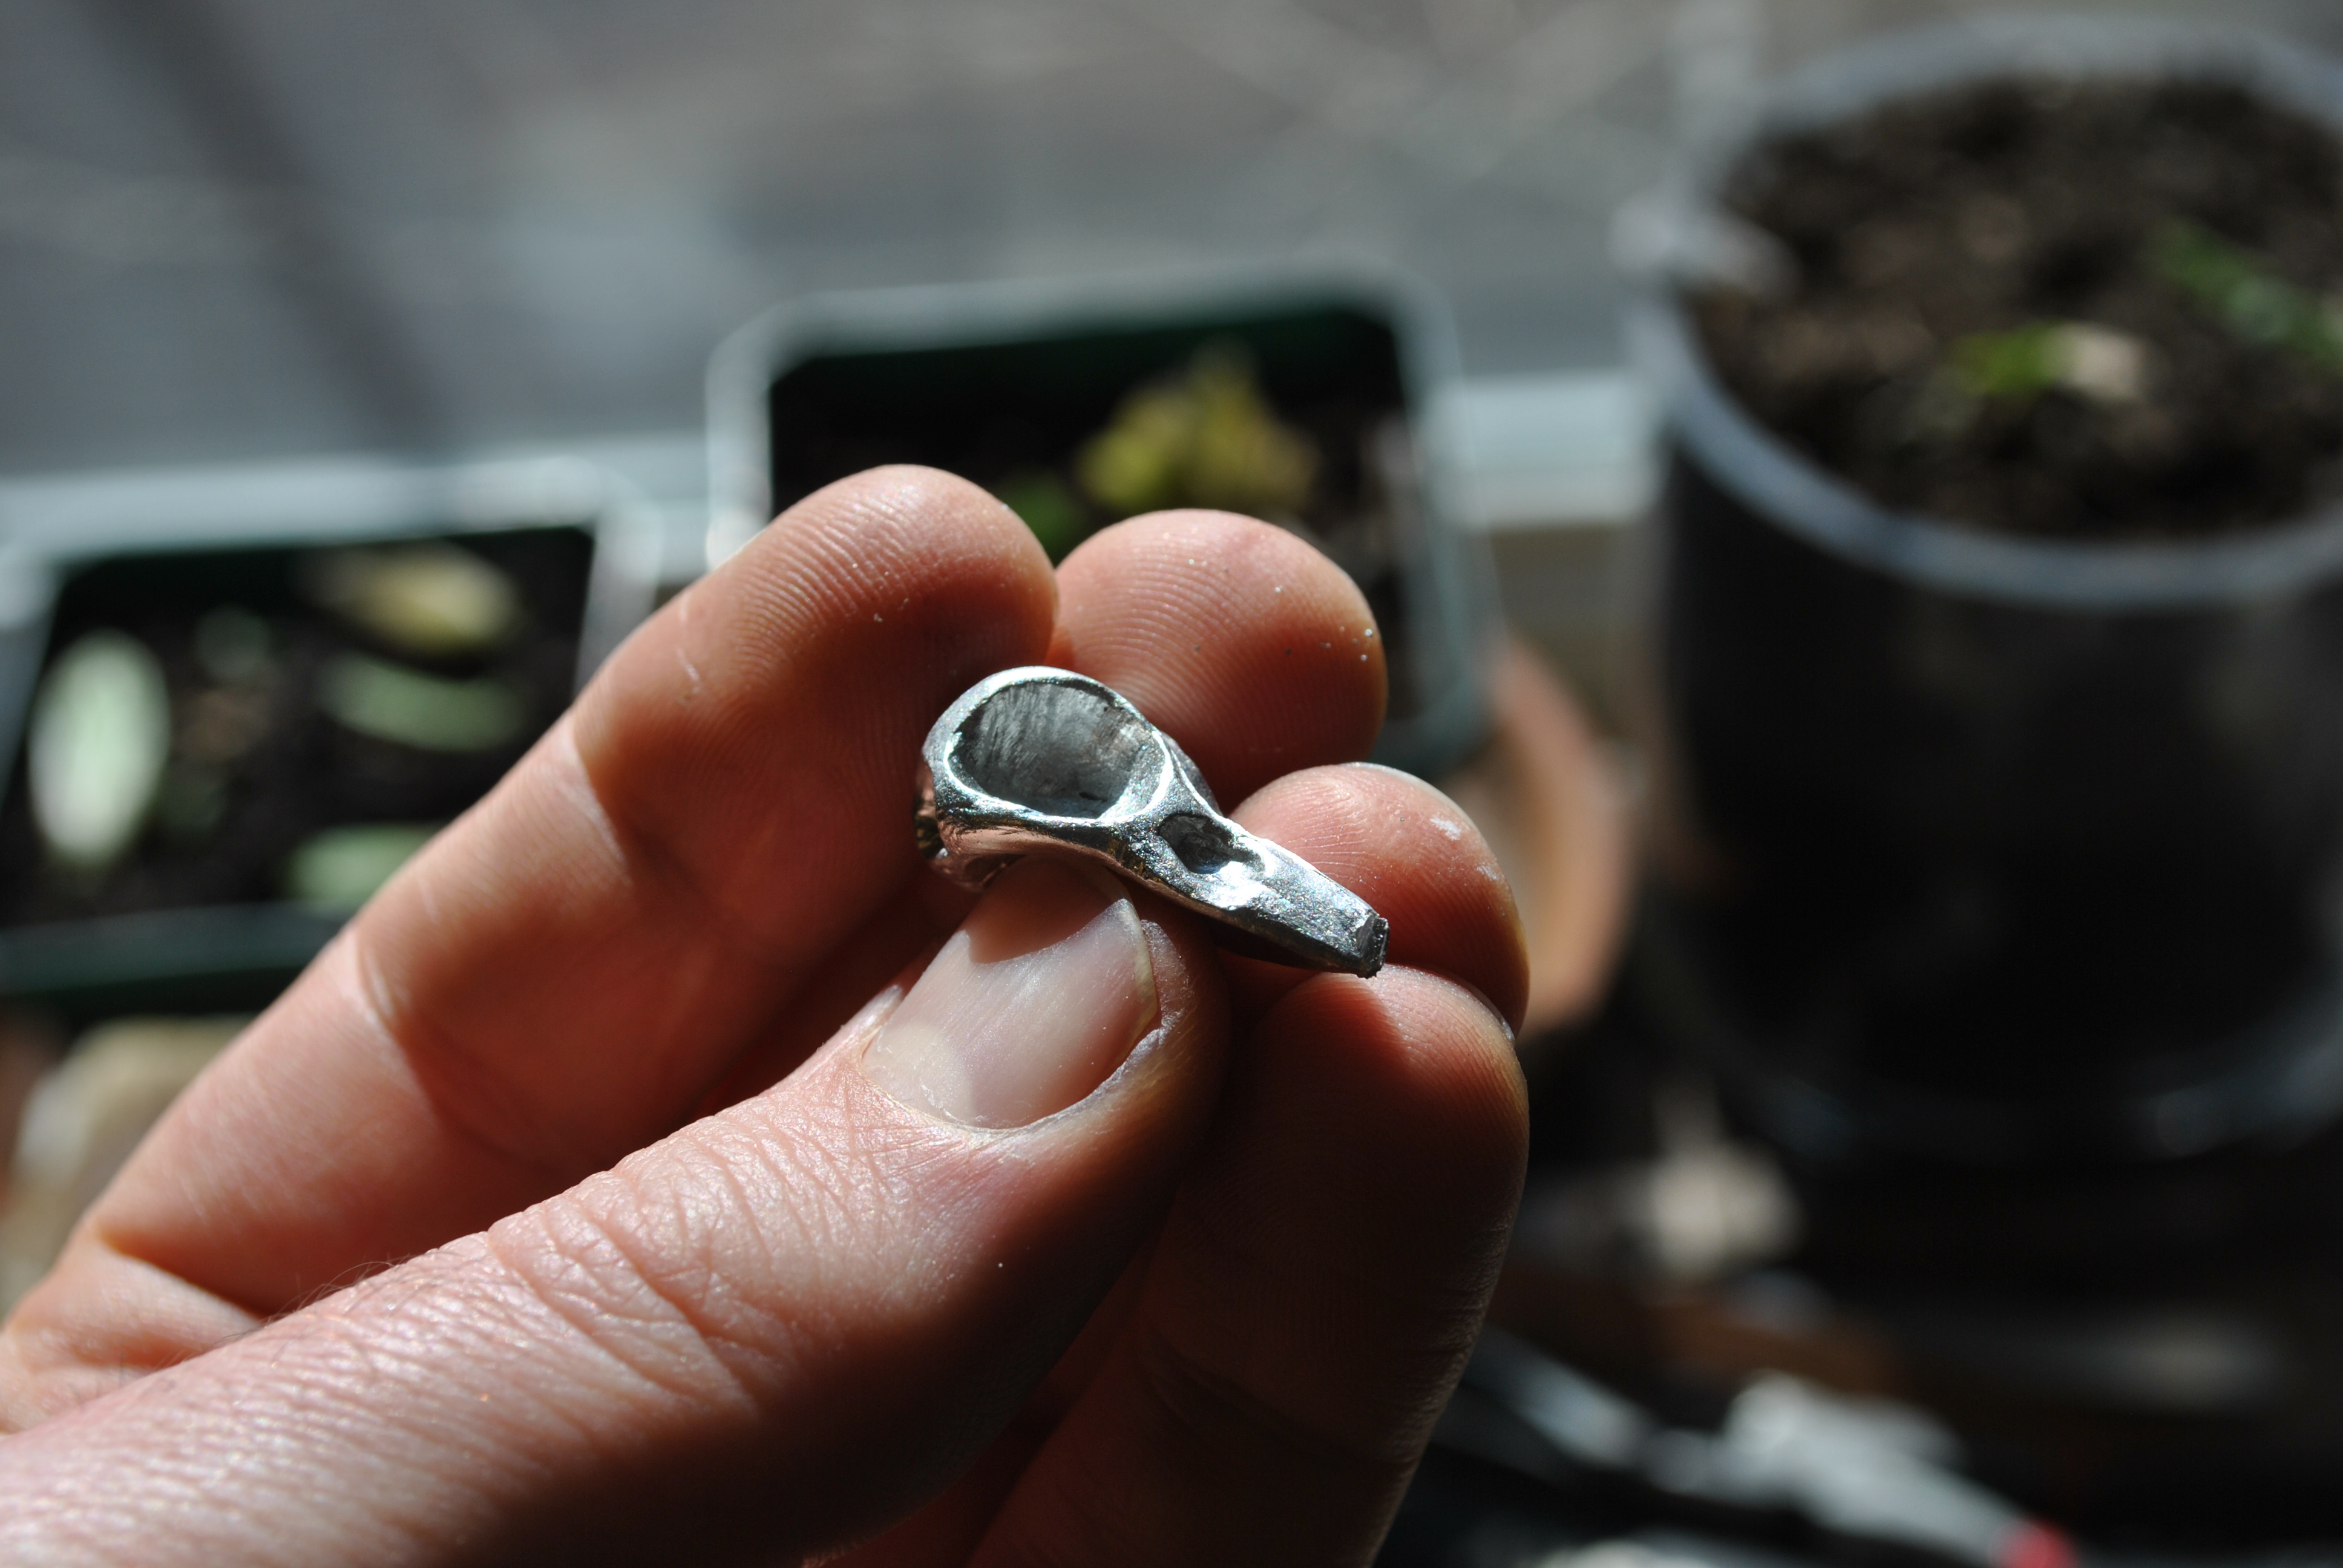
I didn’t want the pin to weigh a million pounds so I used a file to taper the back of the pin down towards the backing pin.

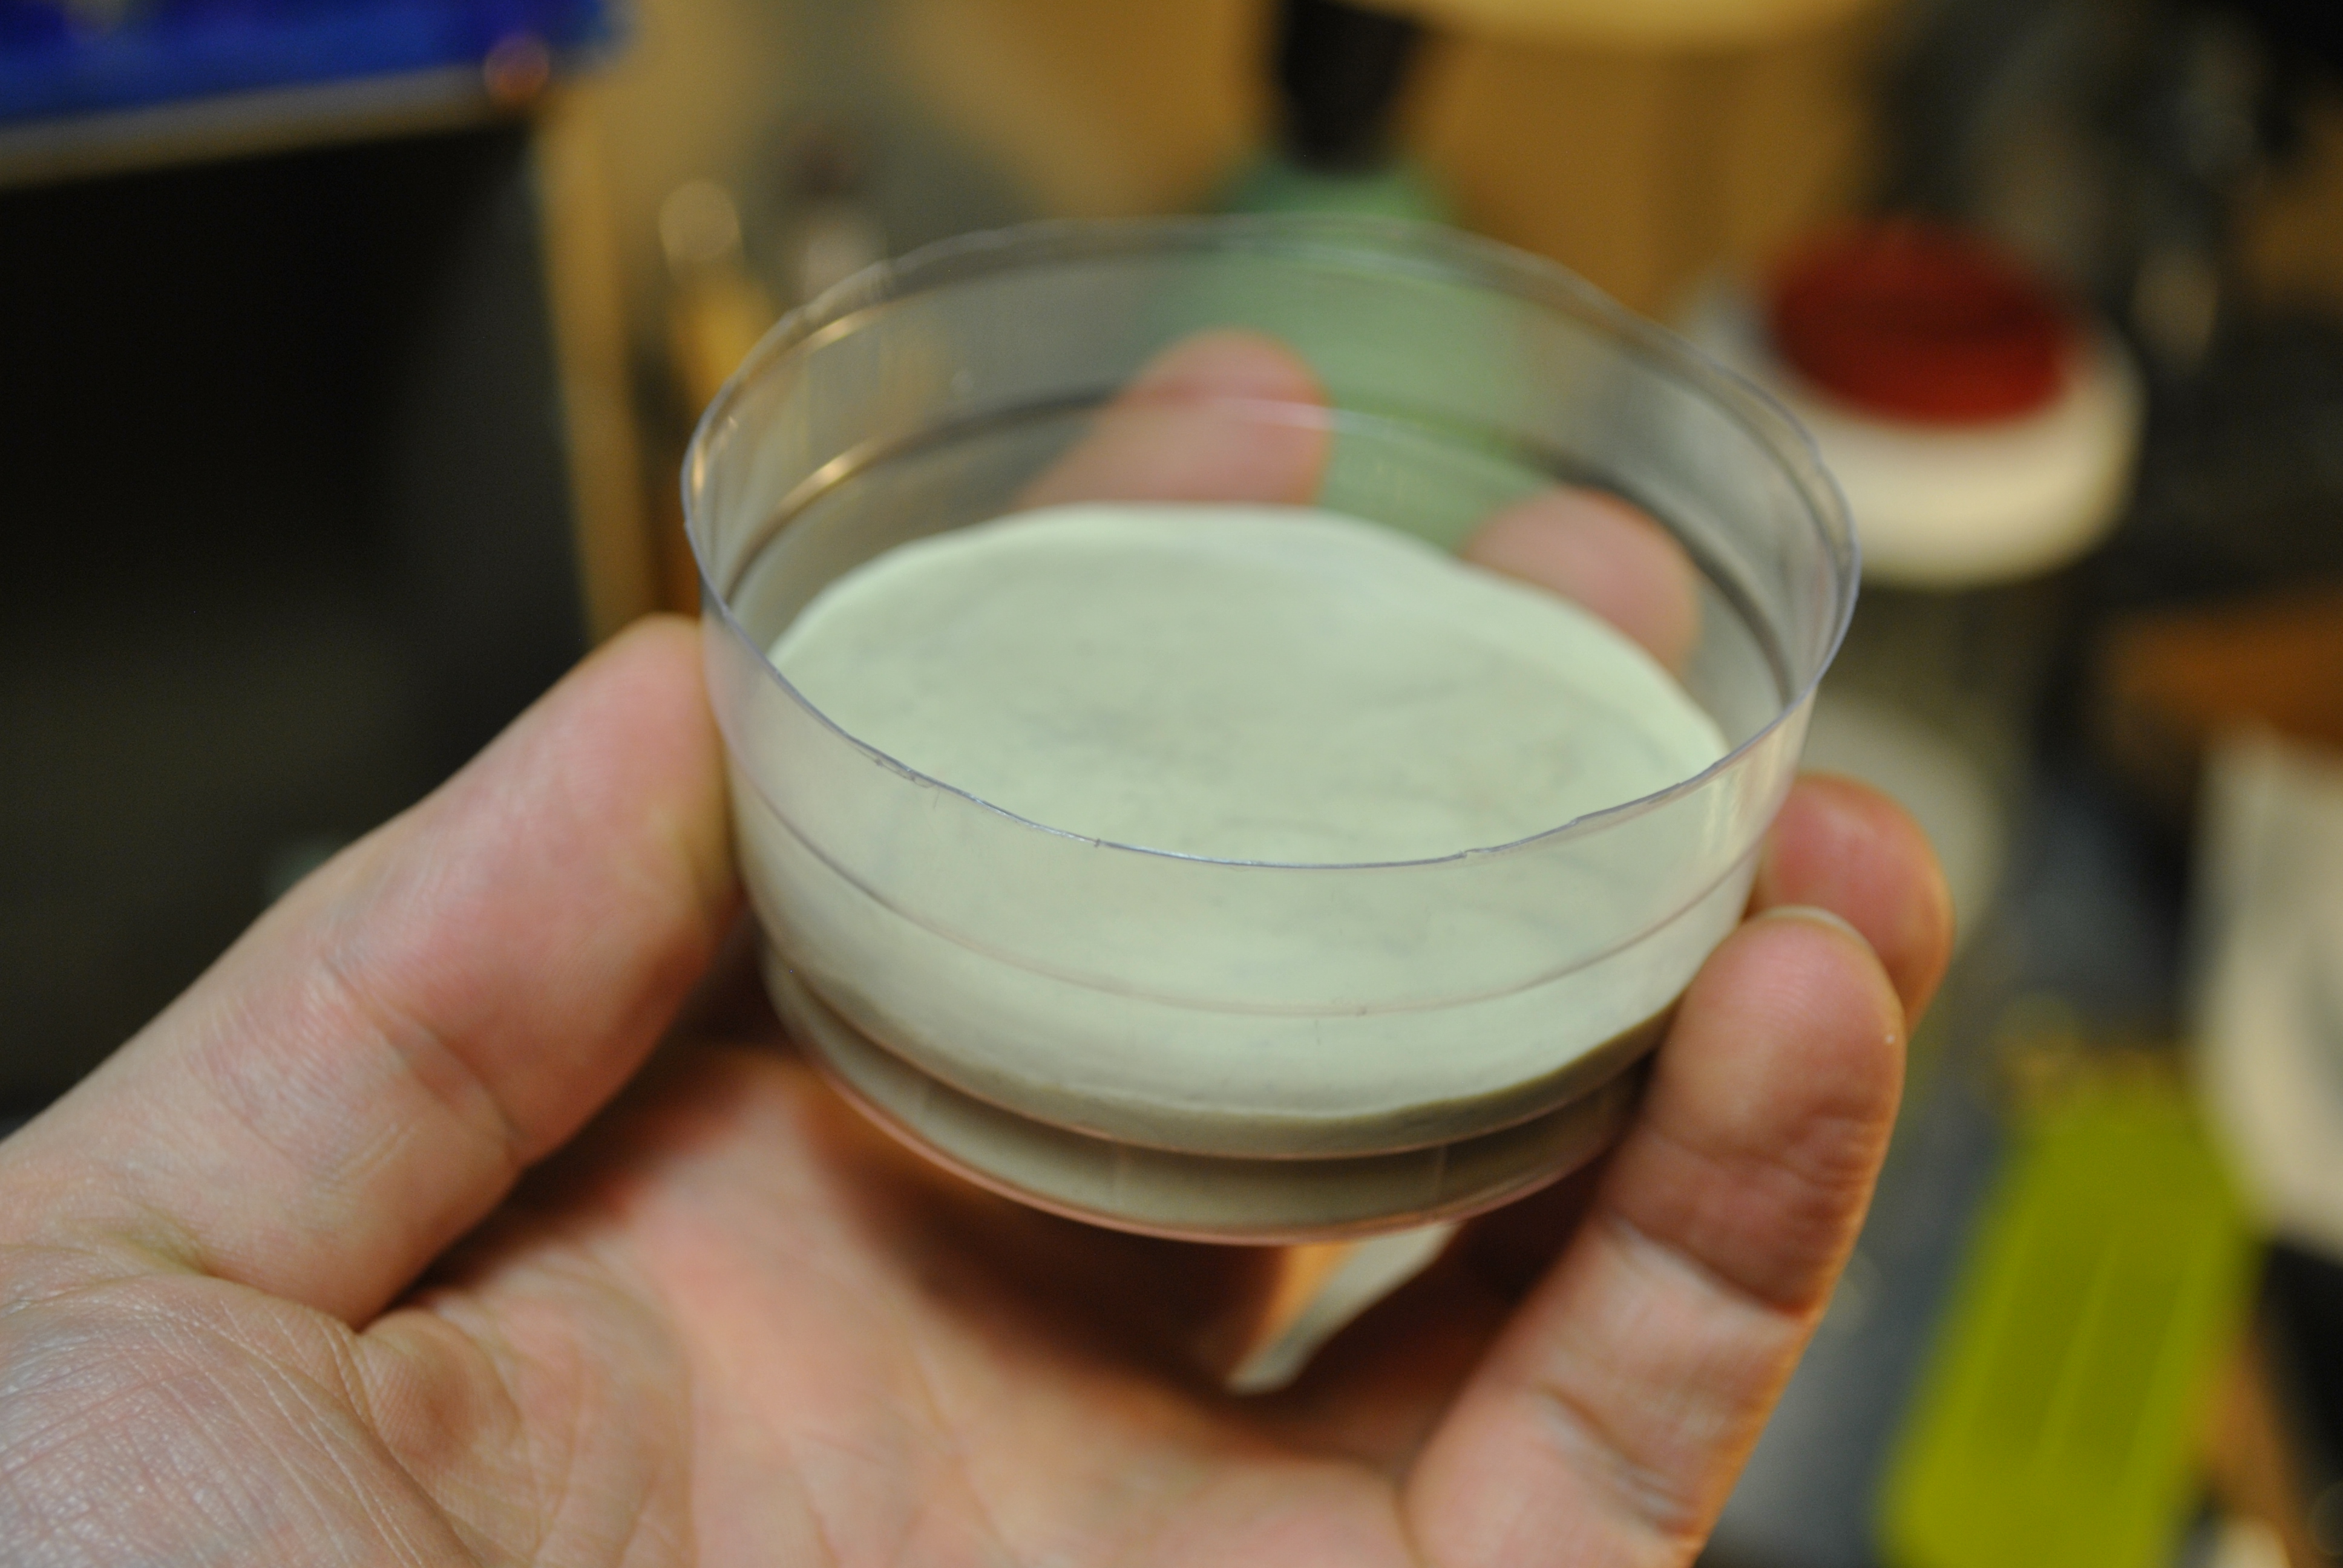
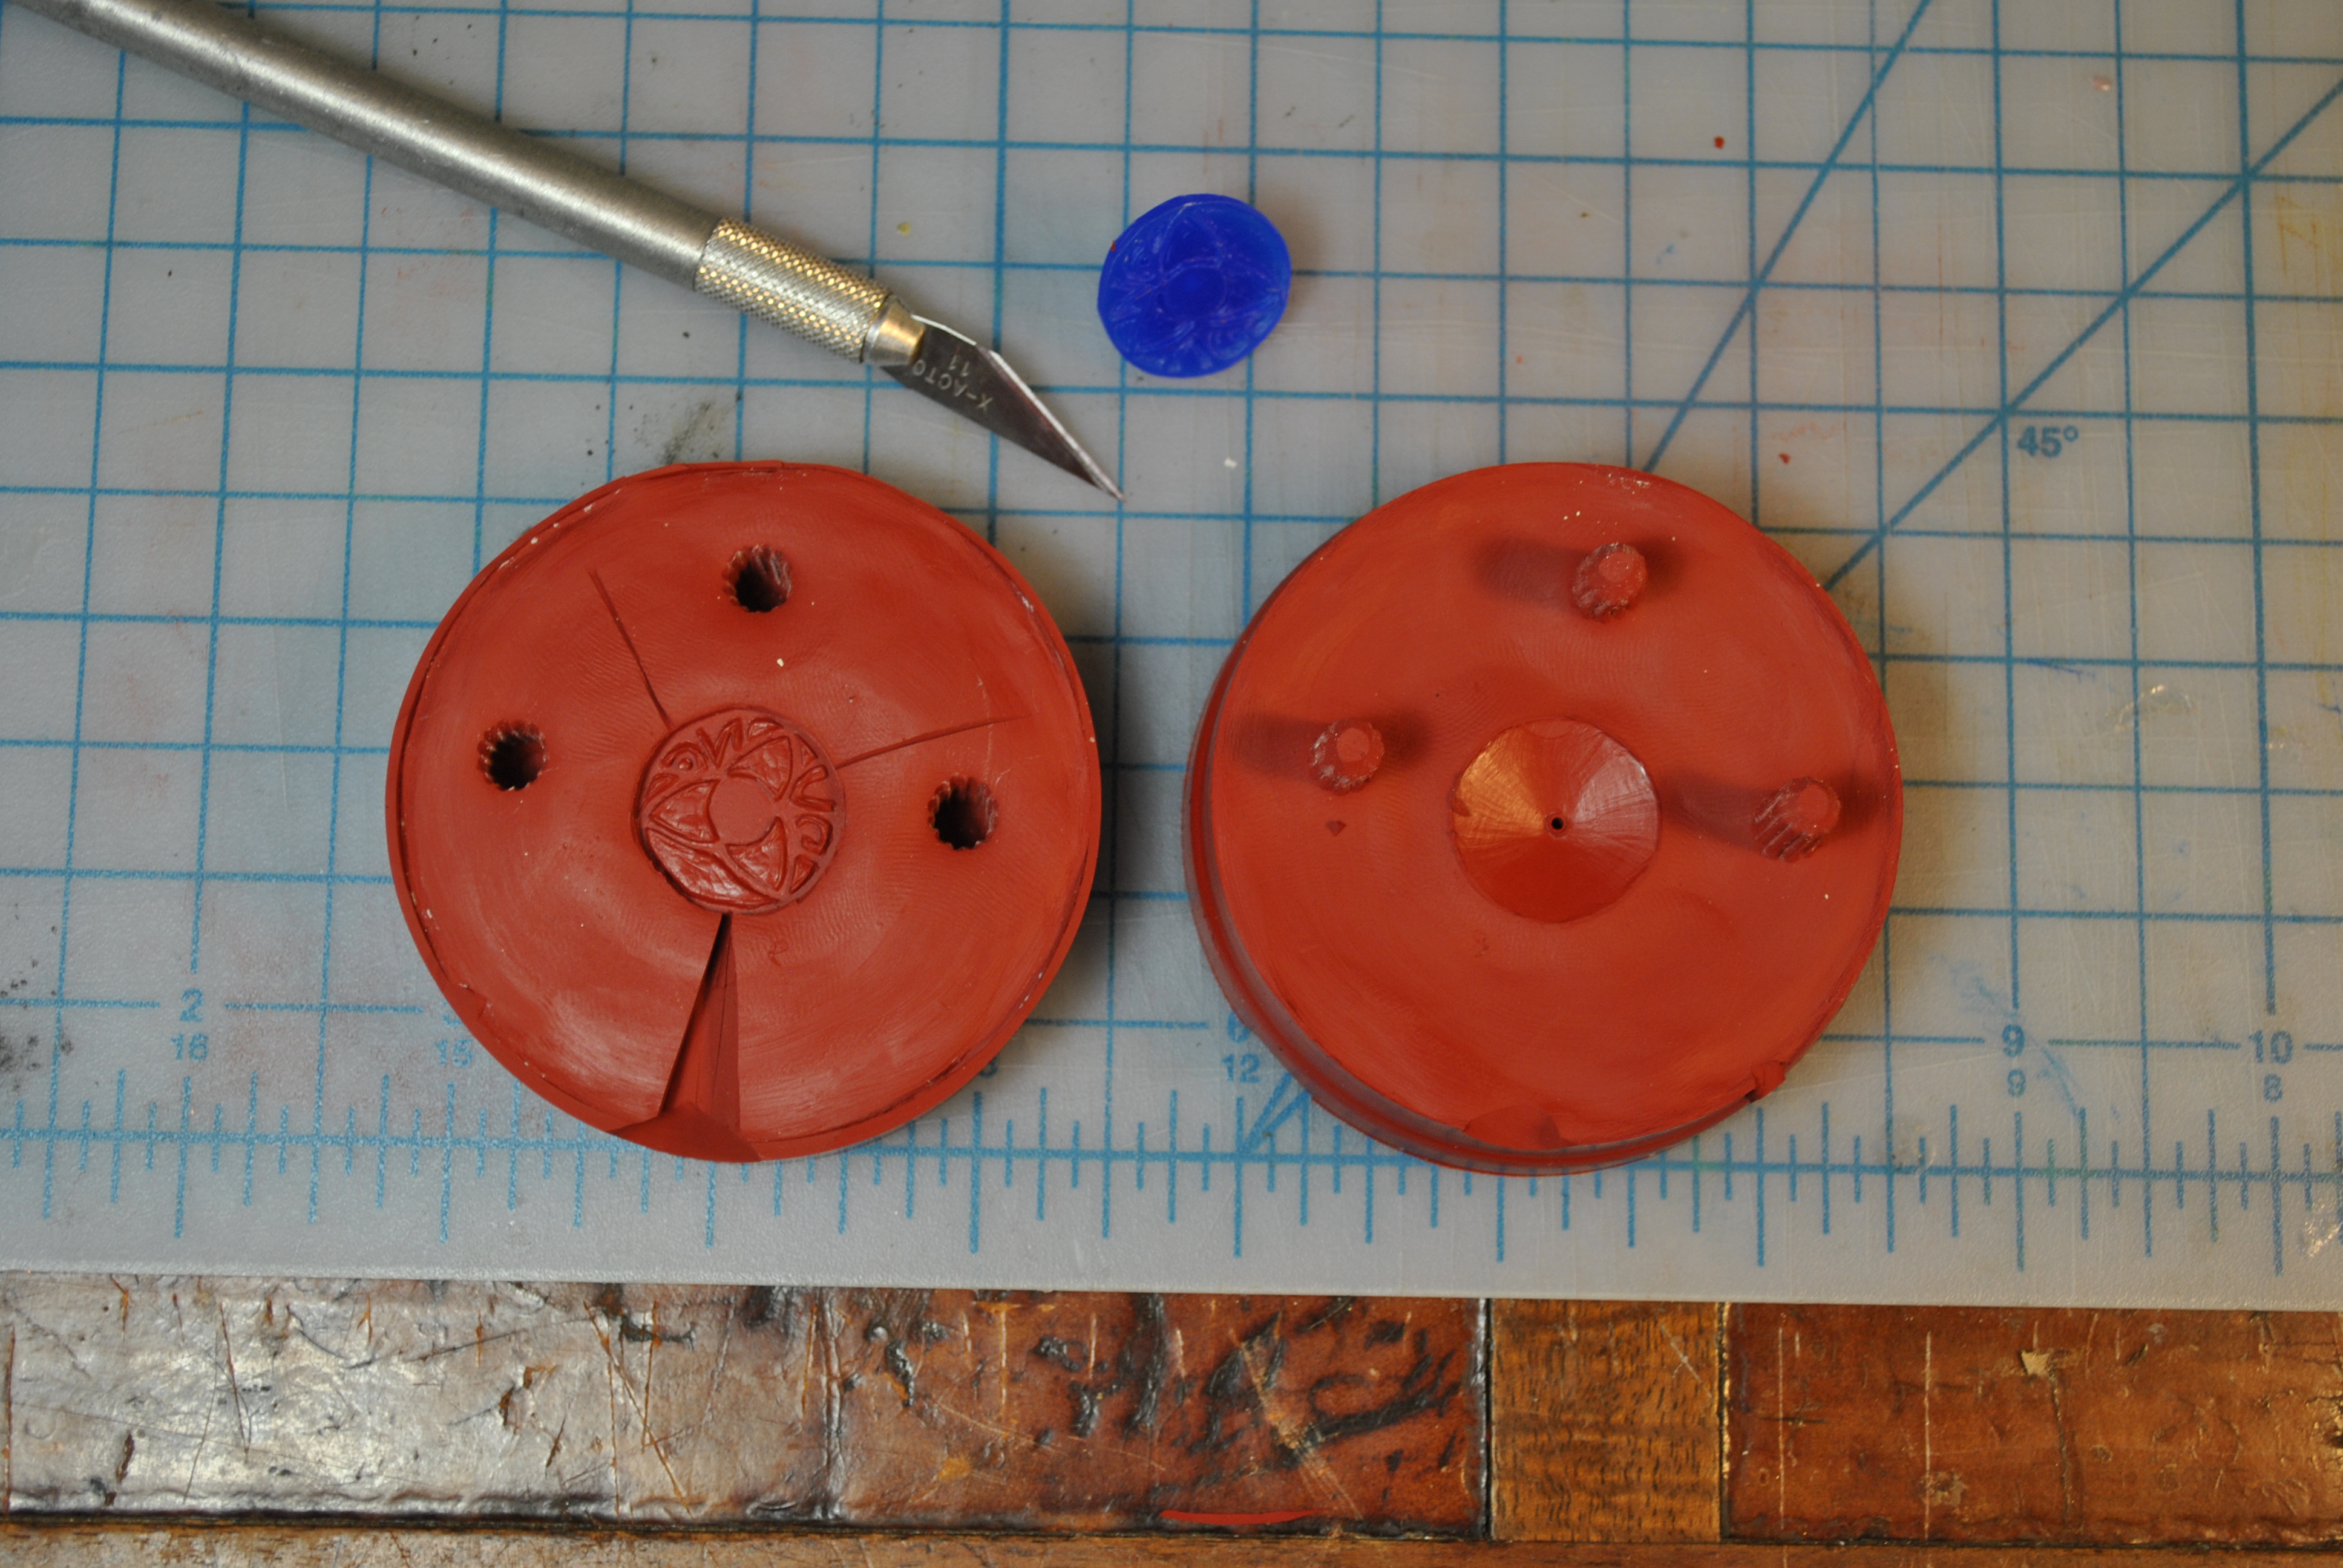
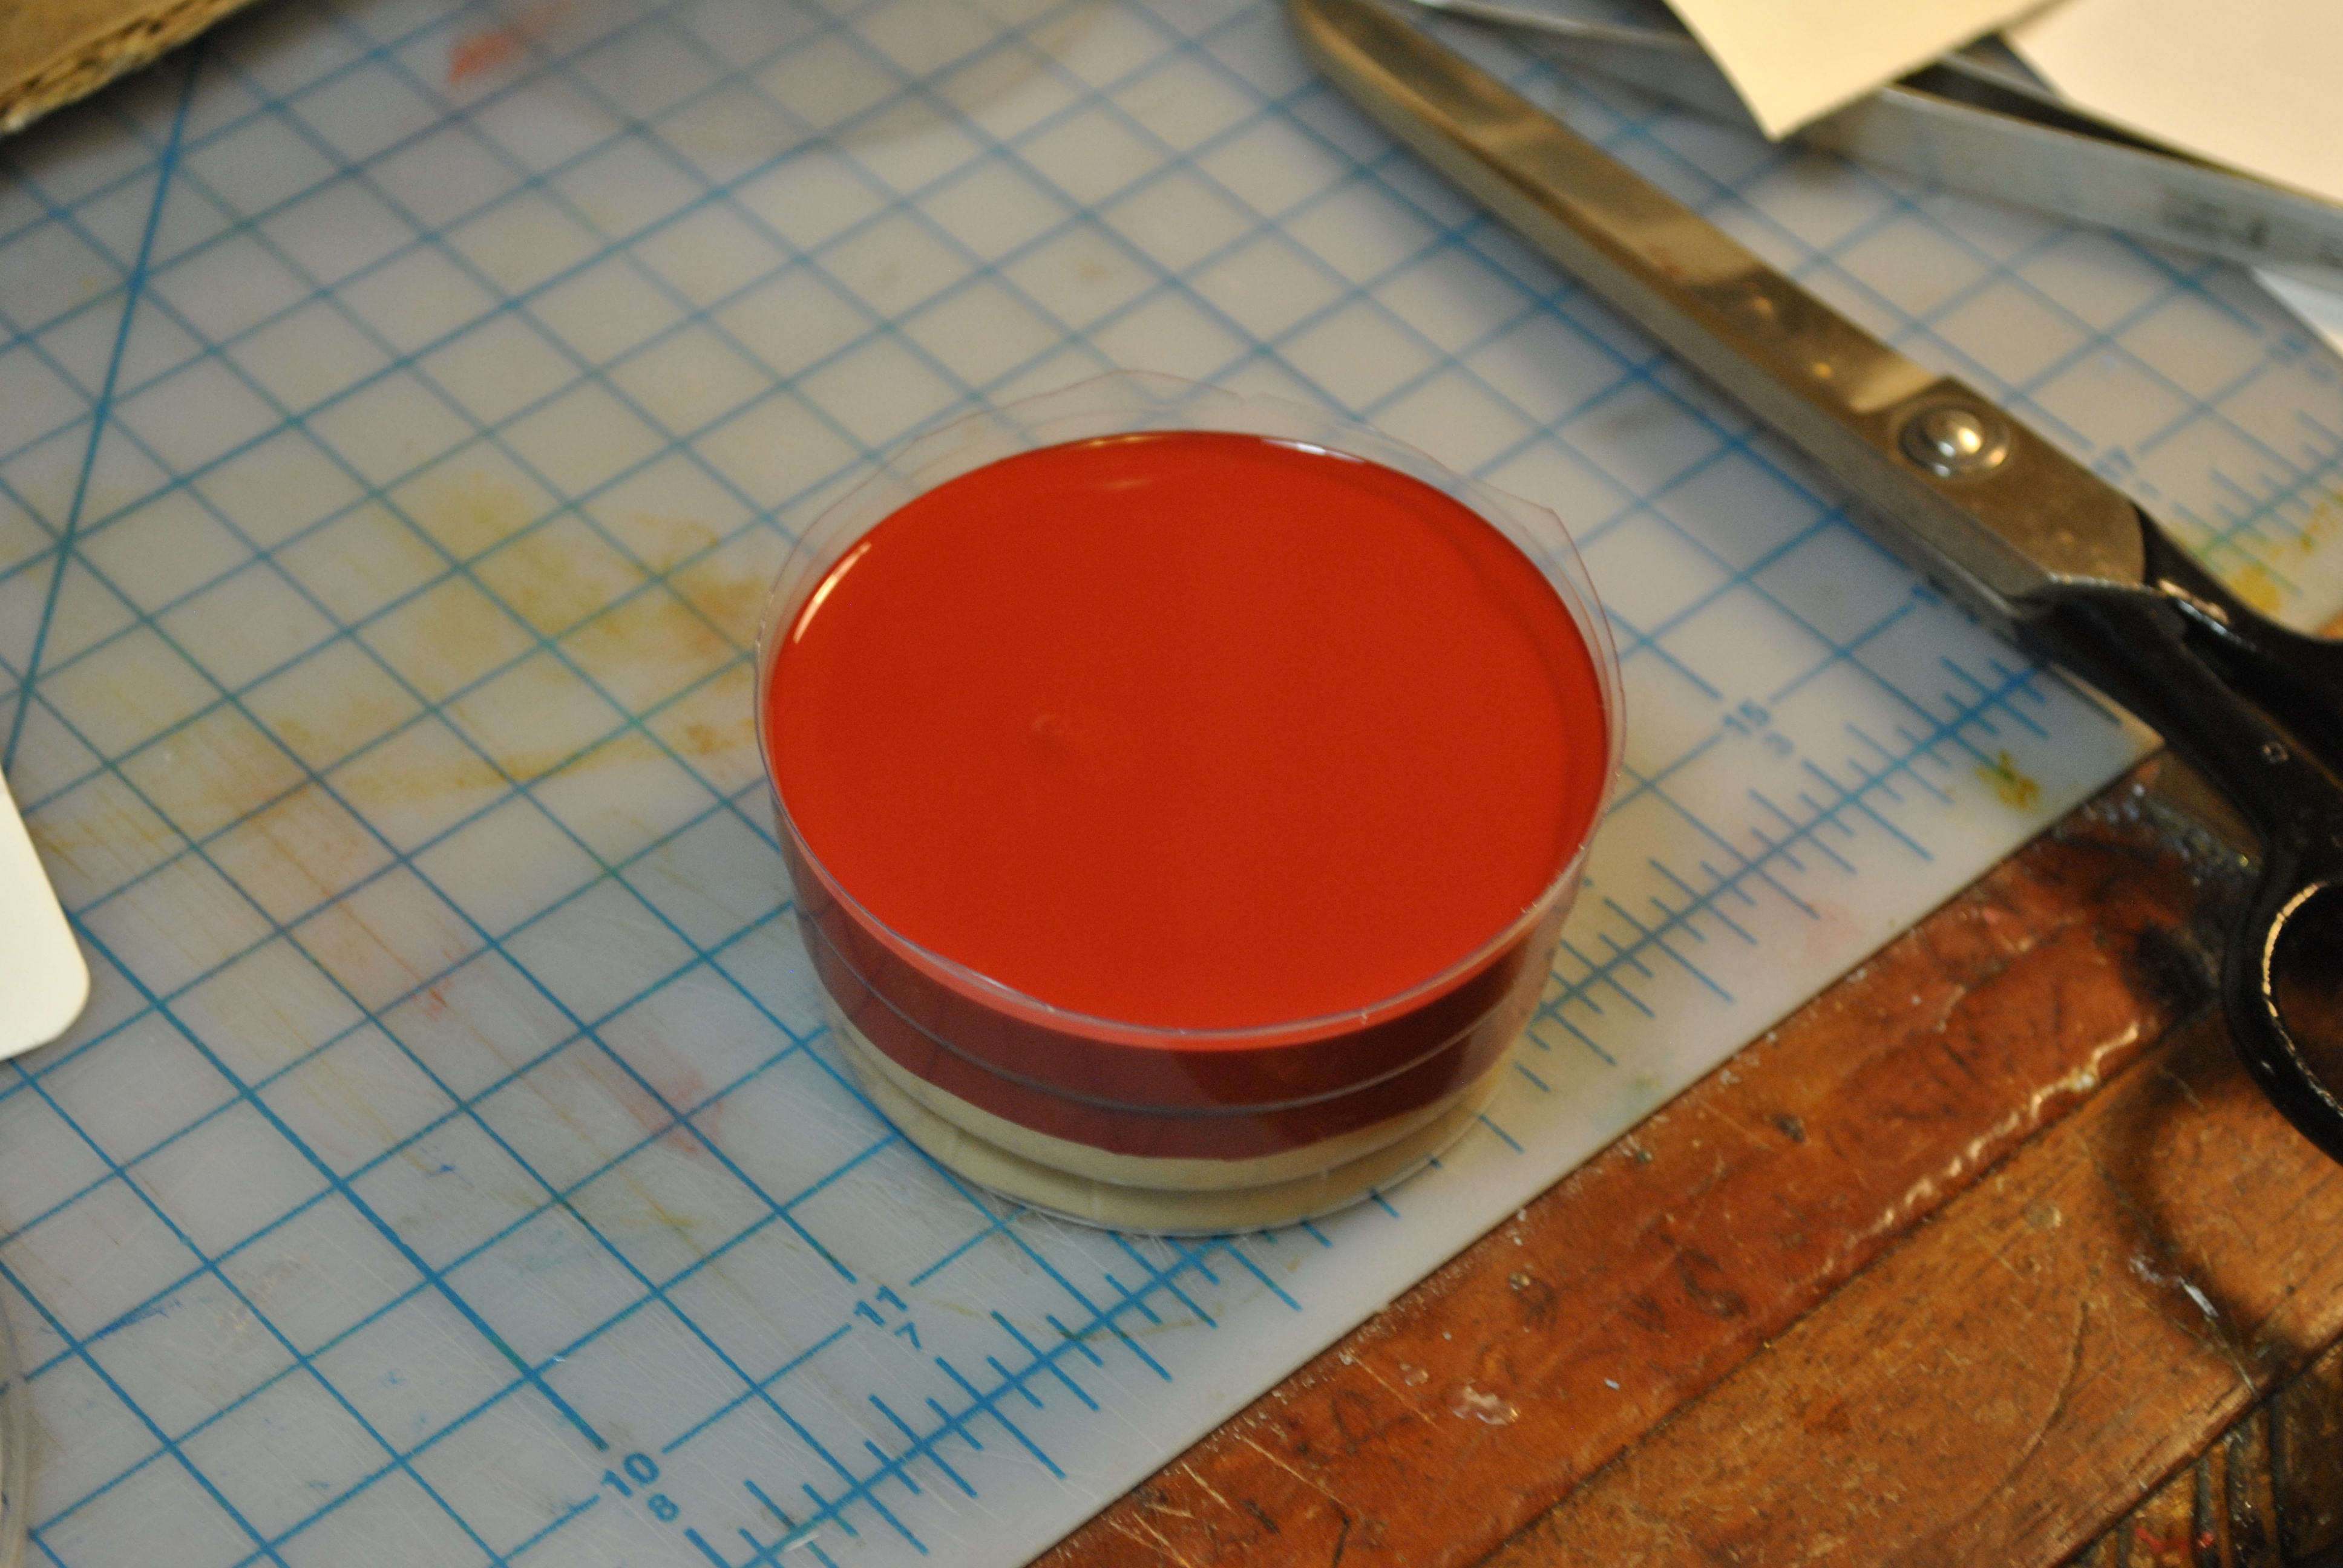
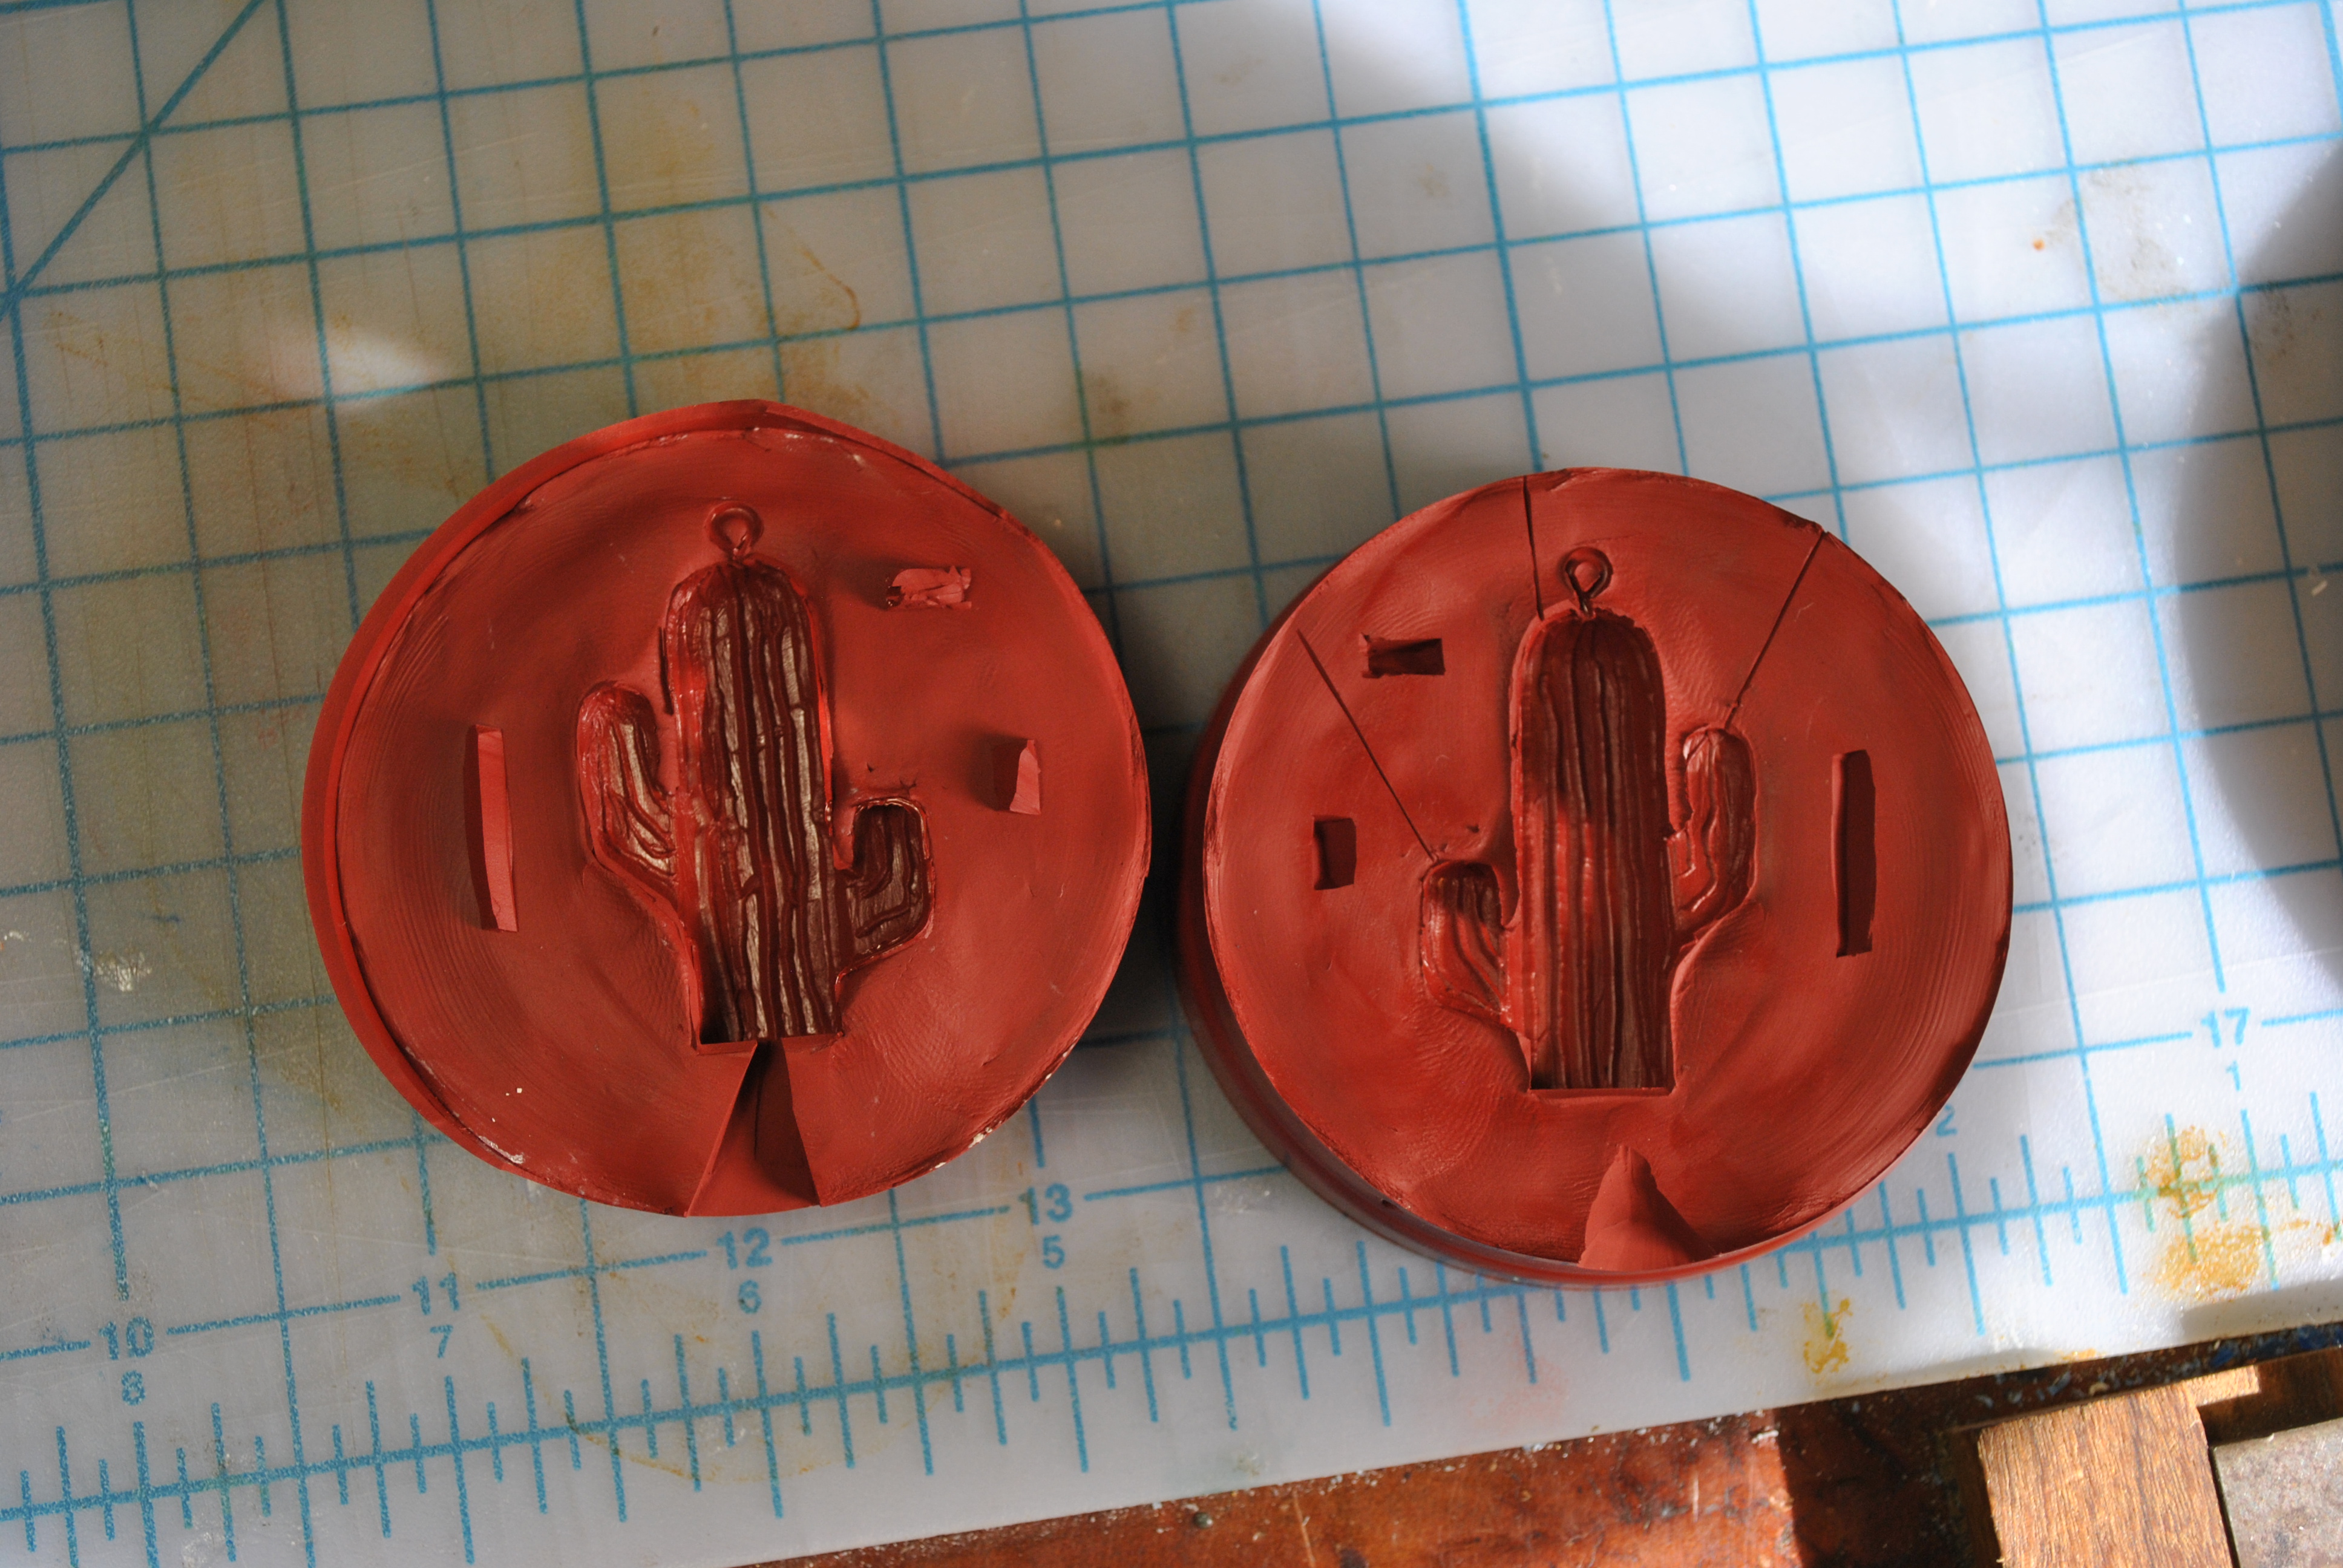
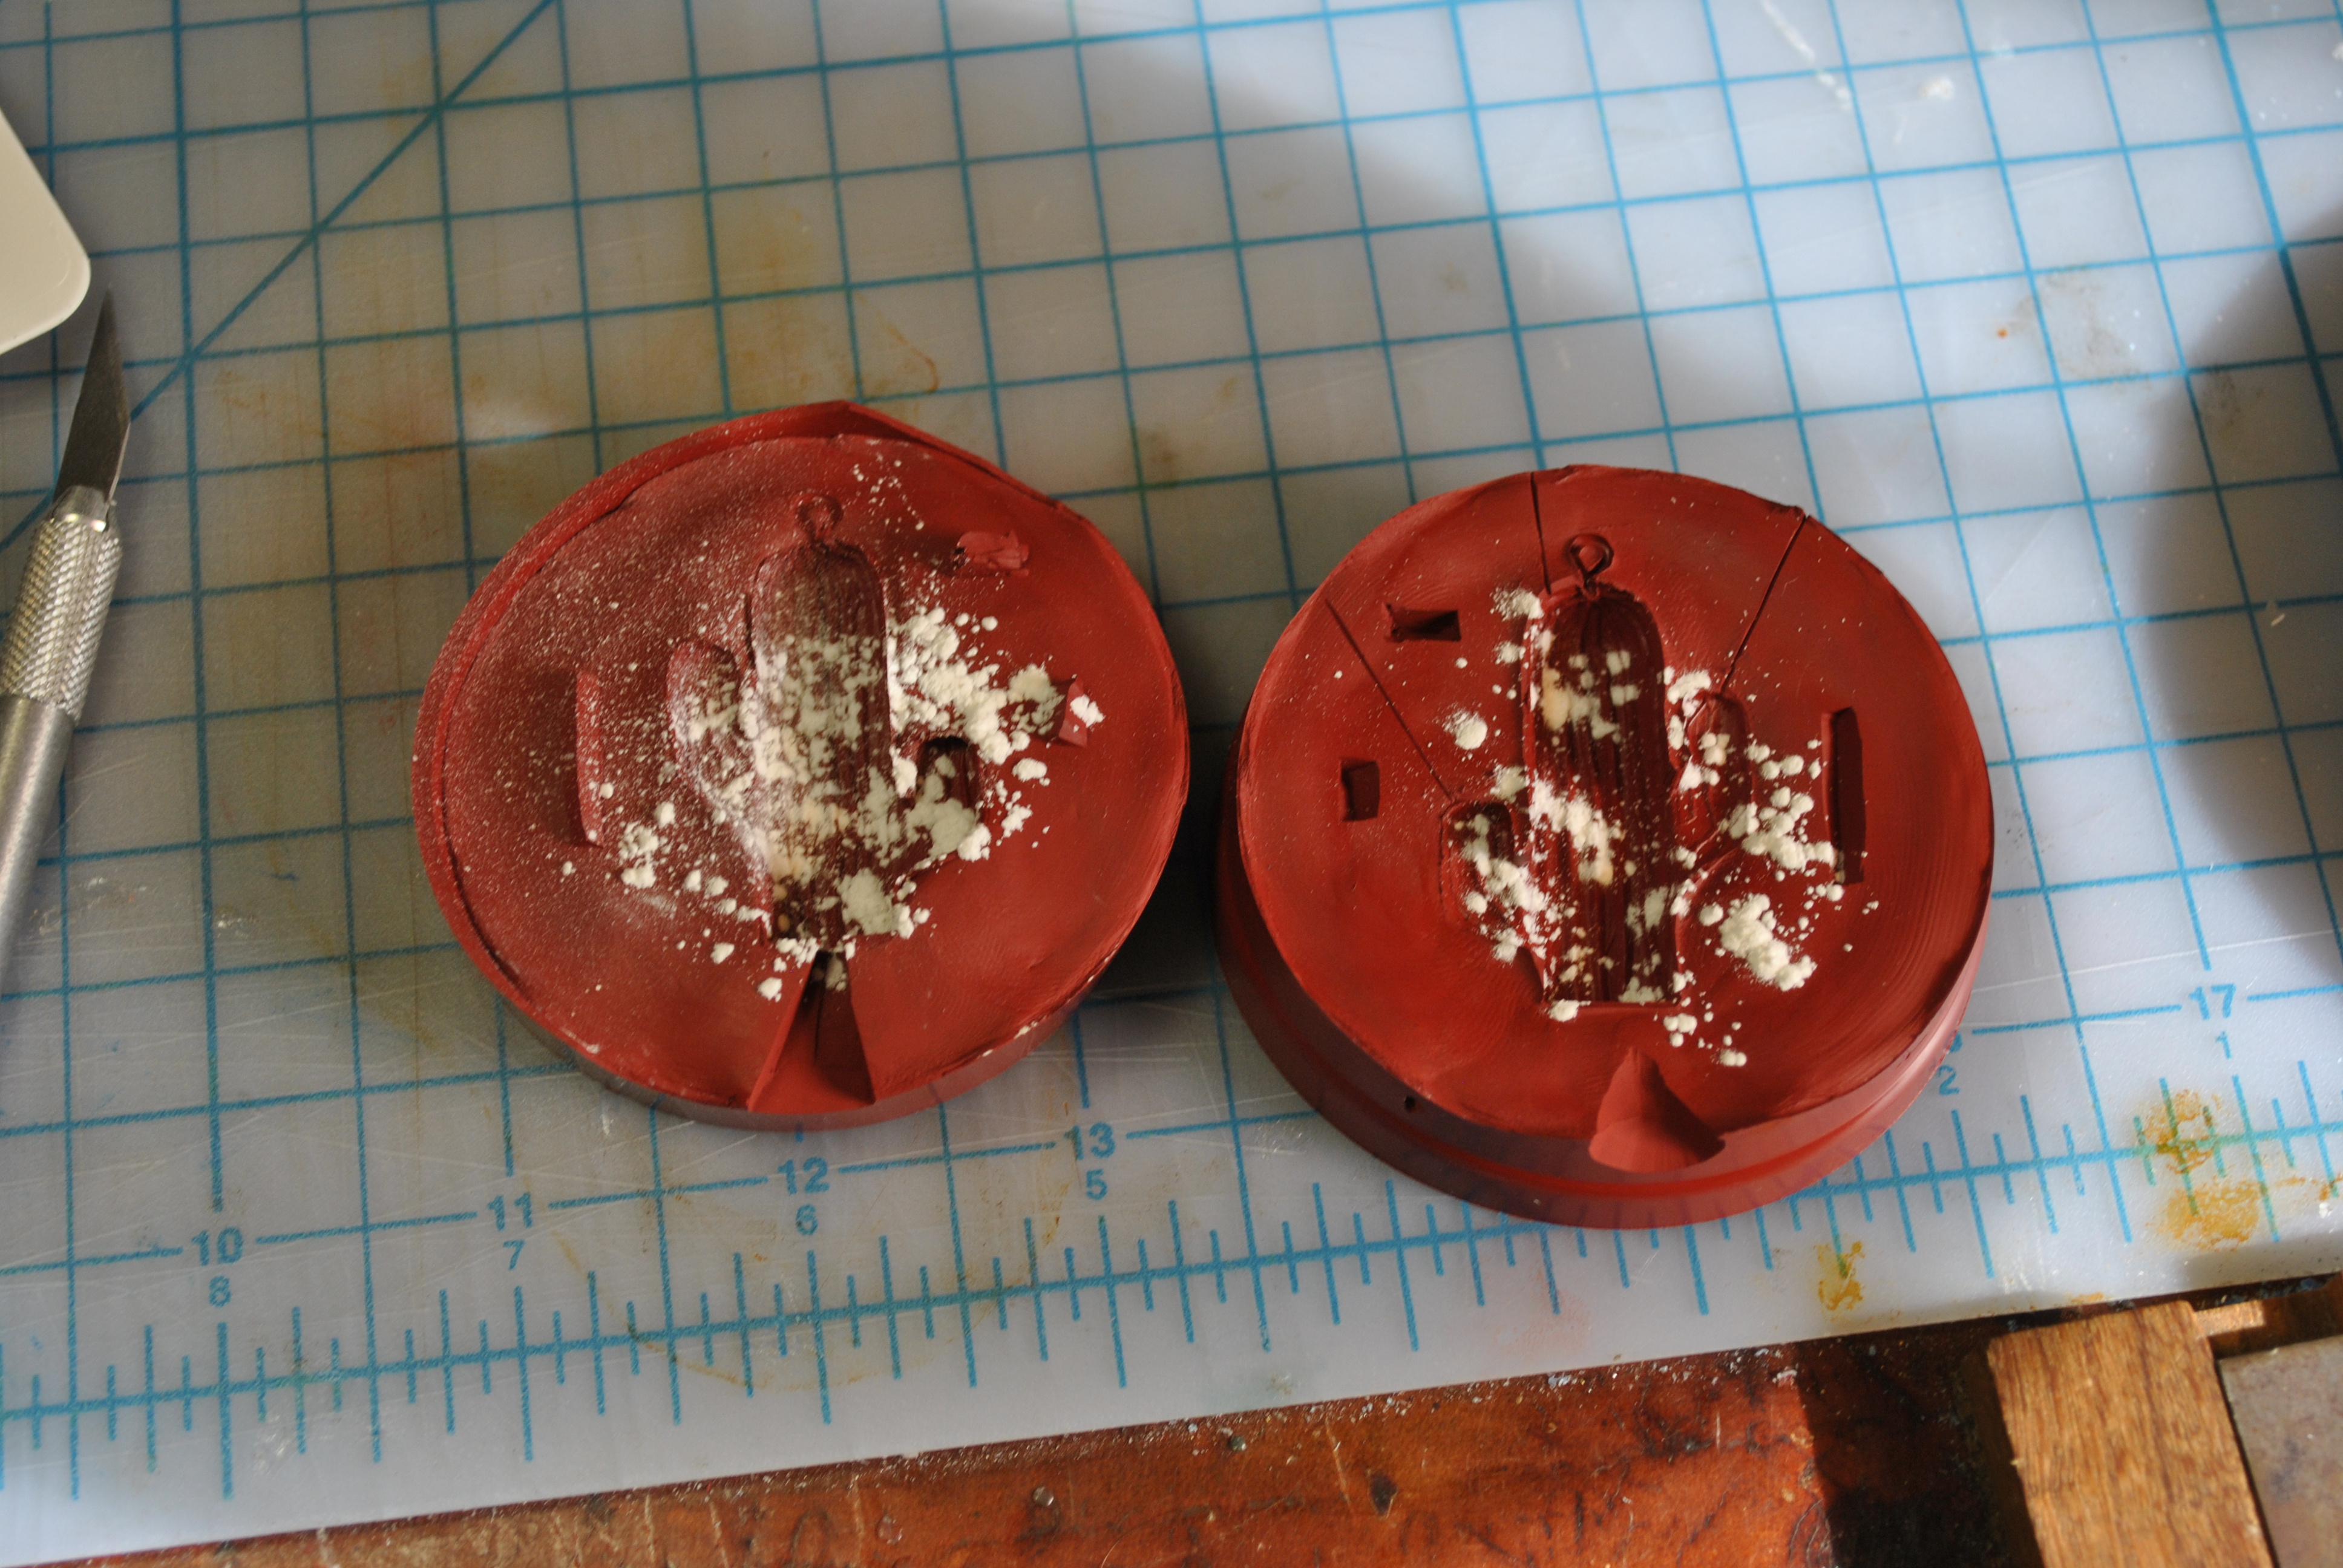
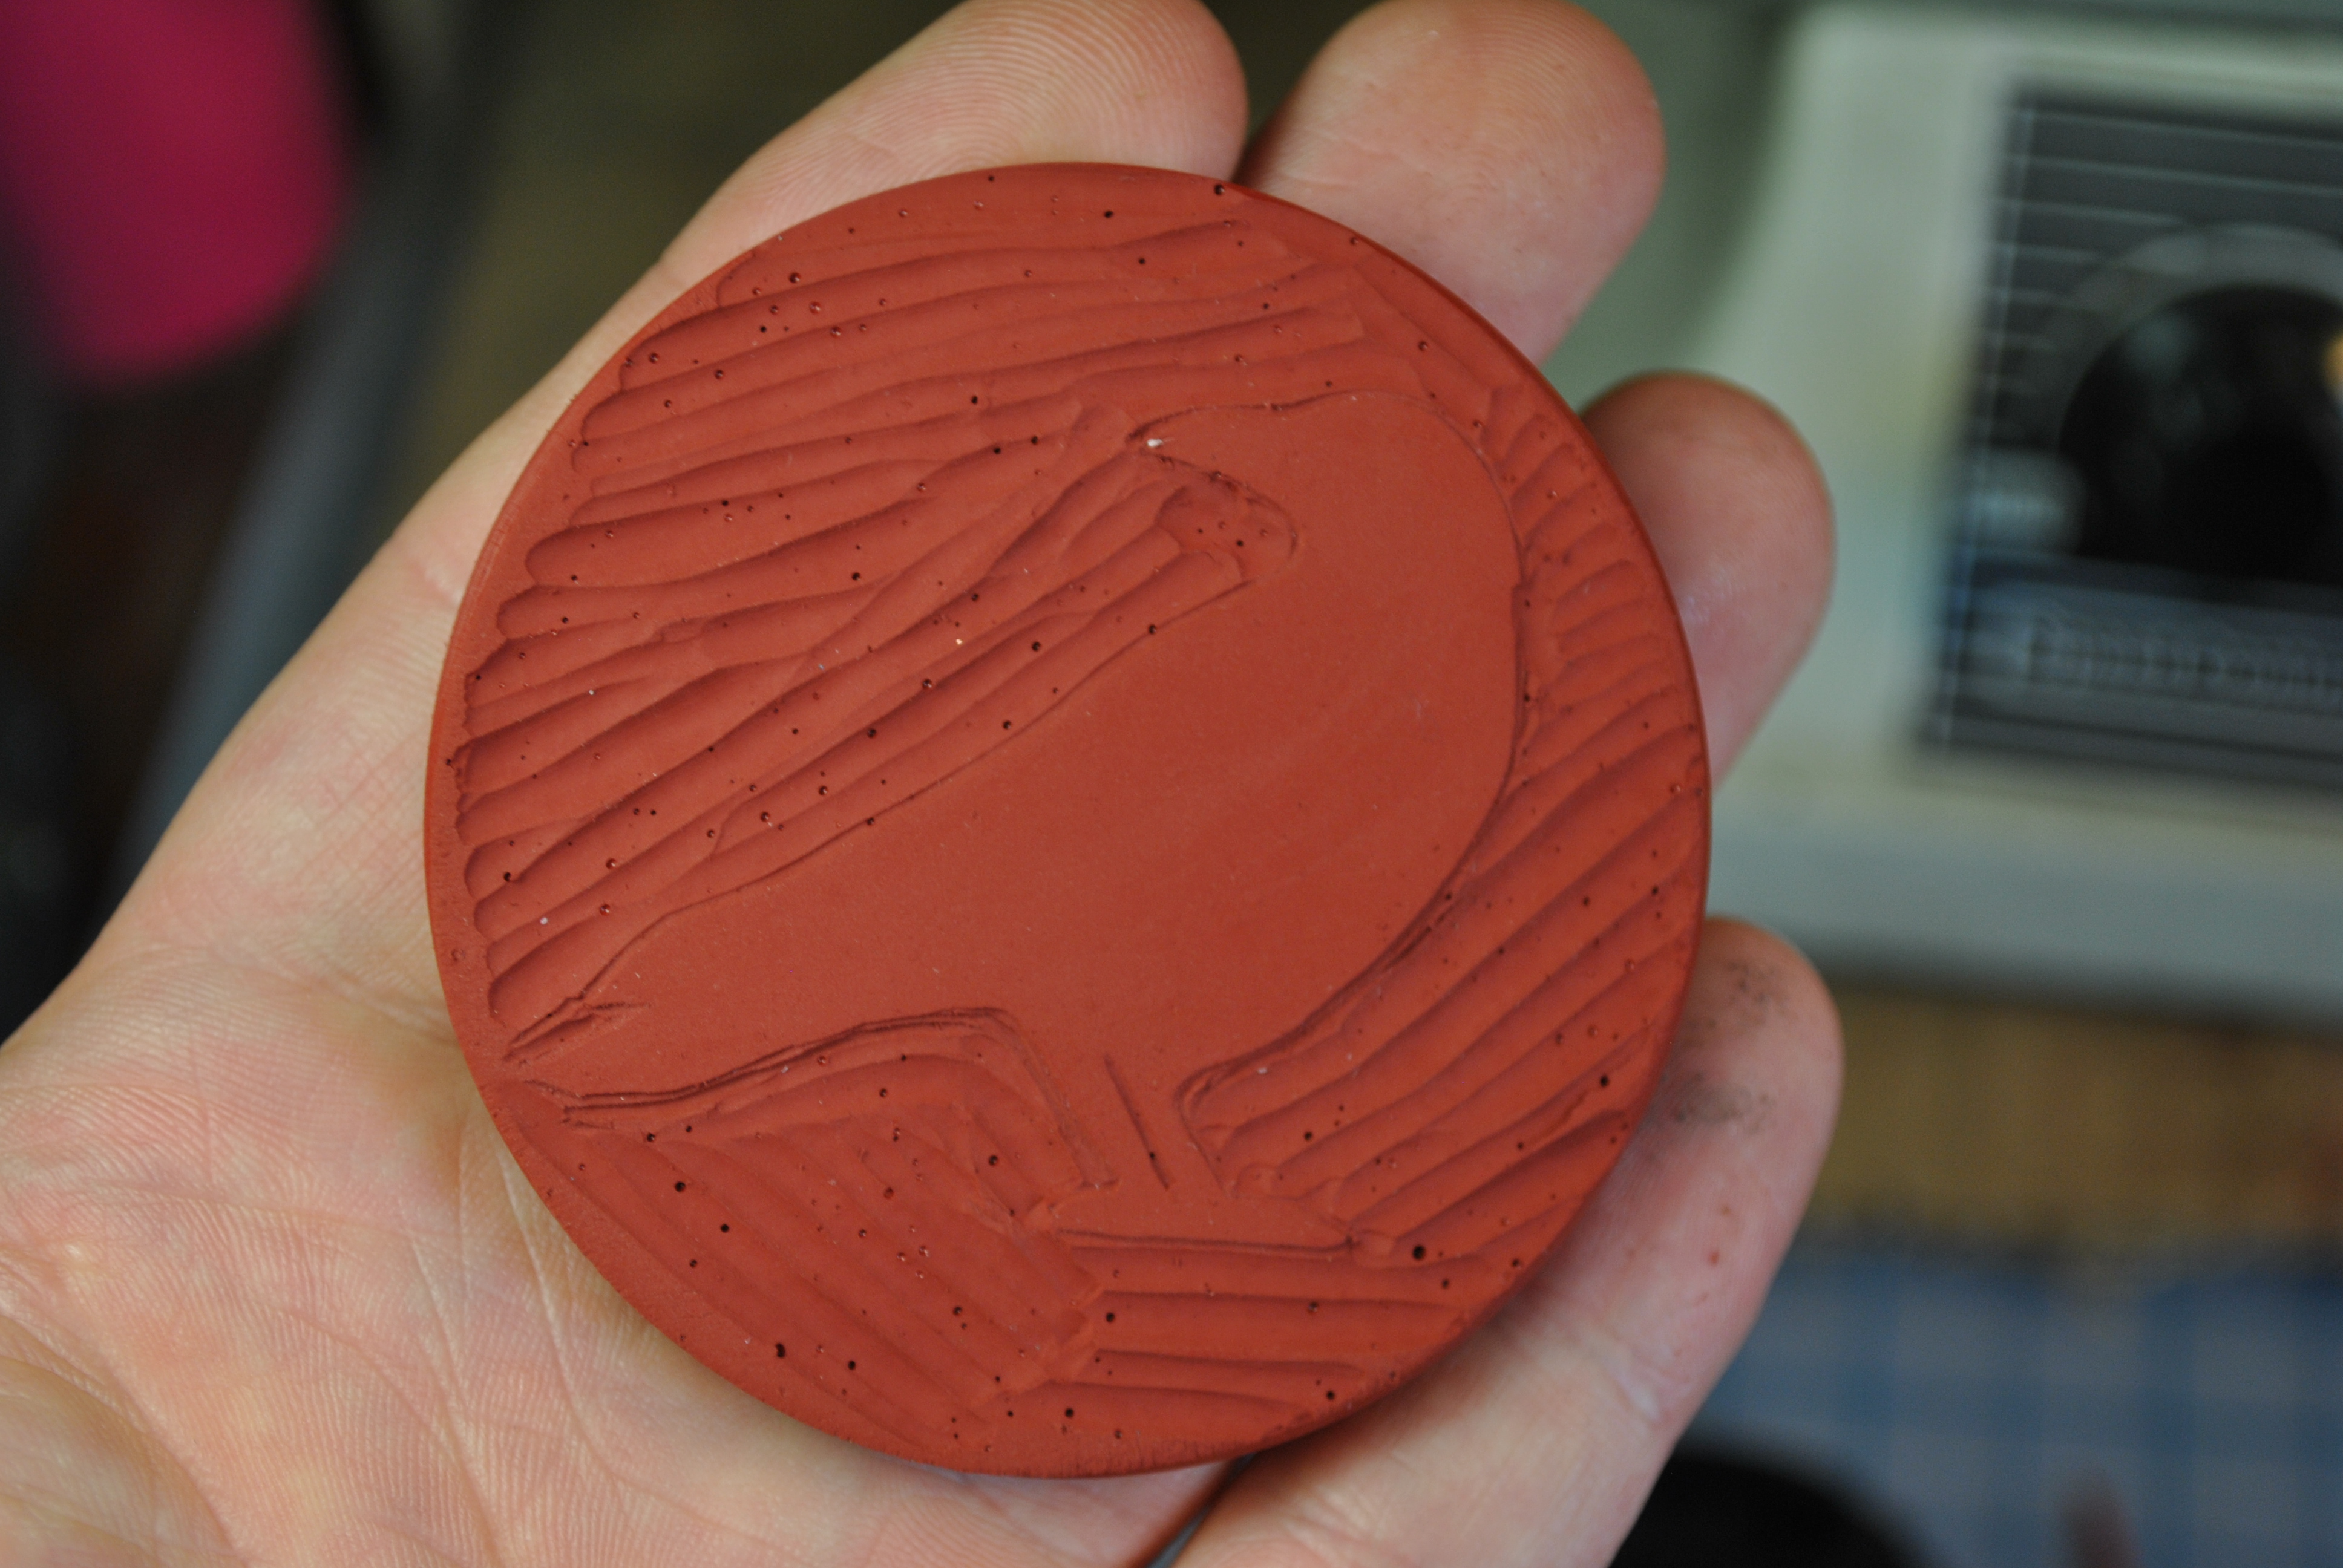
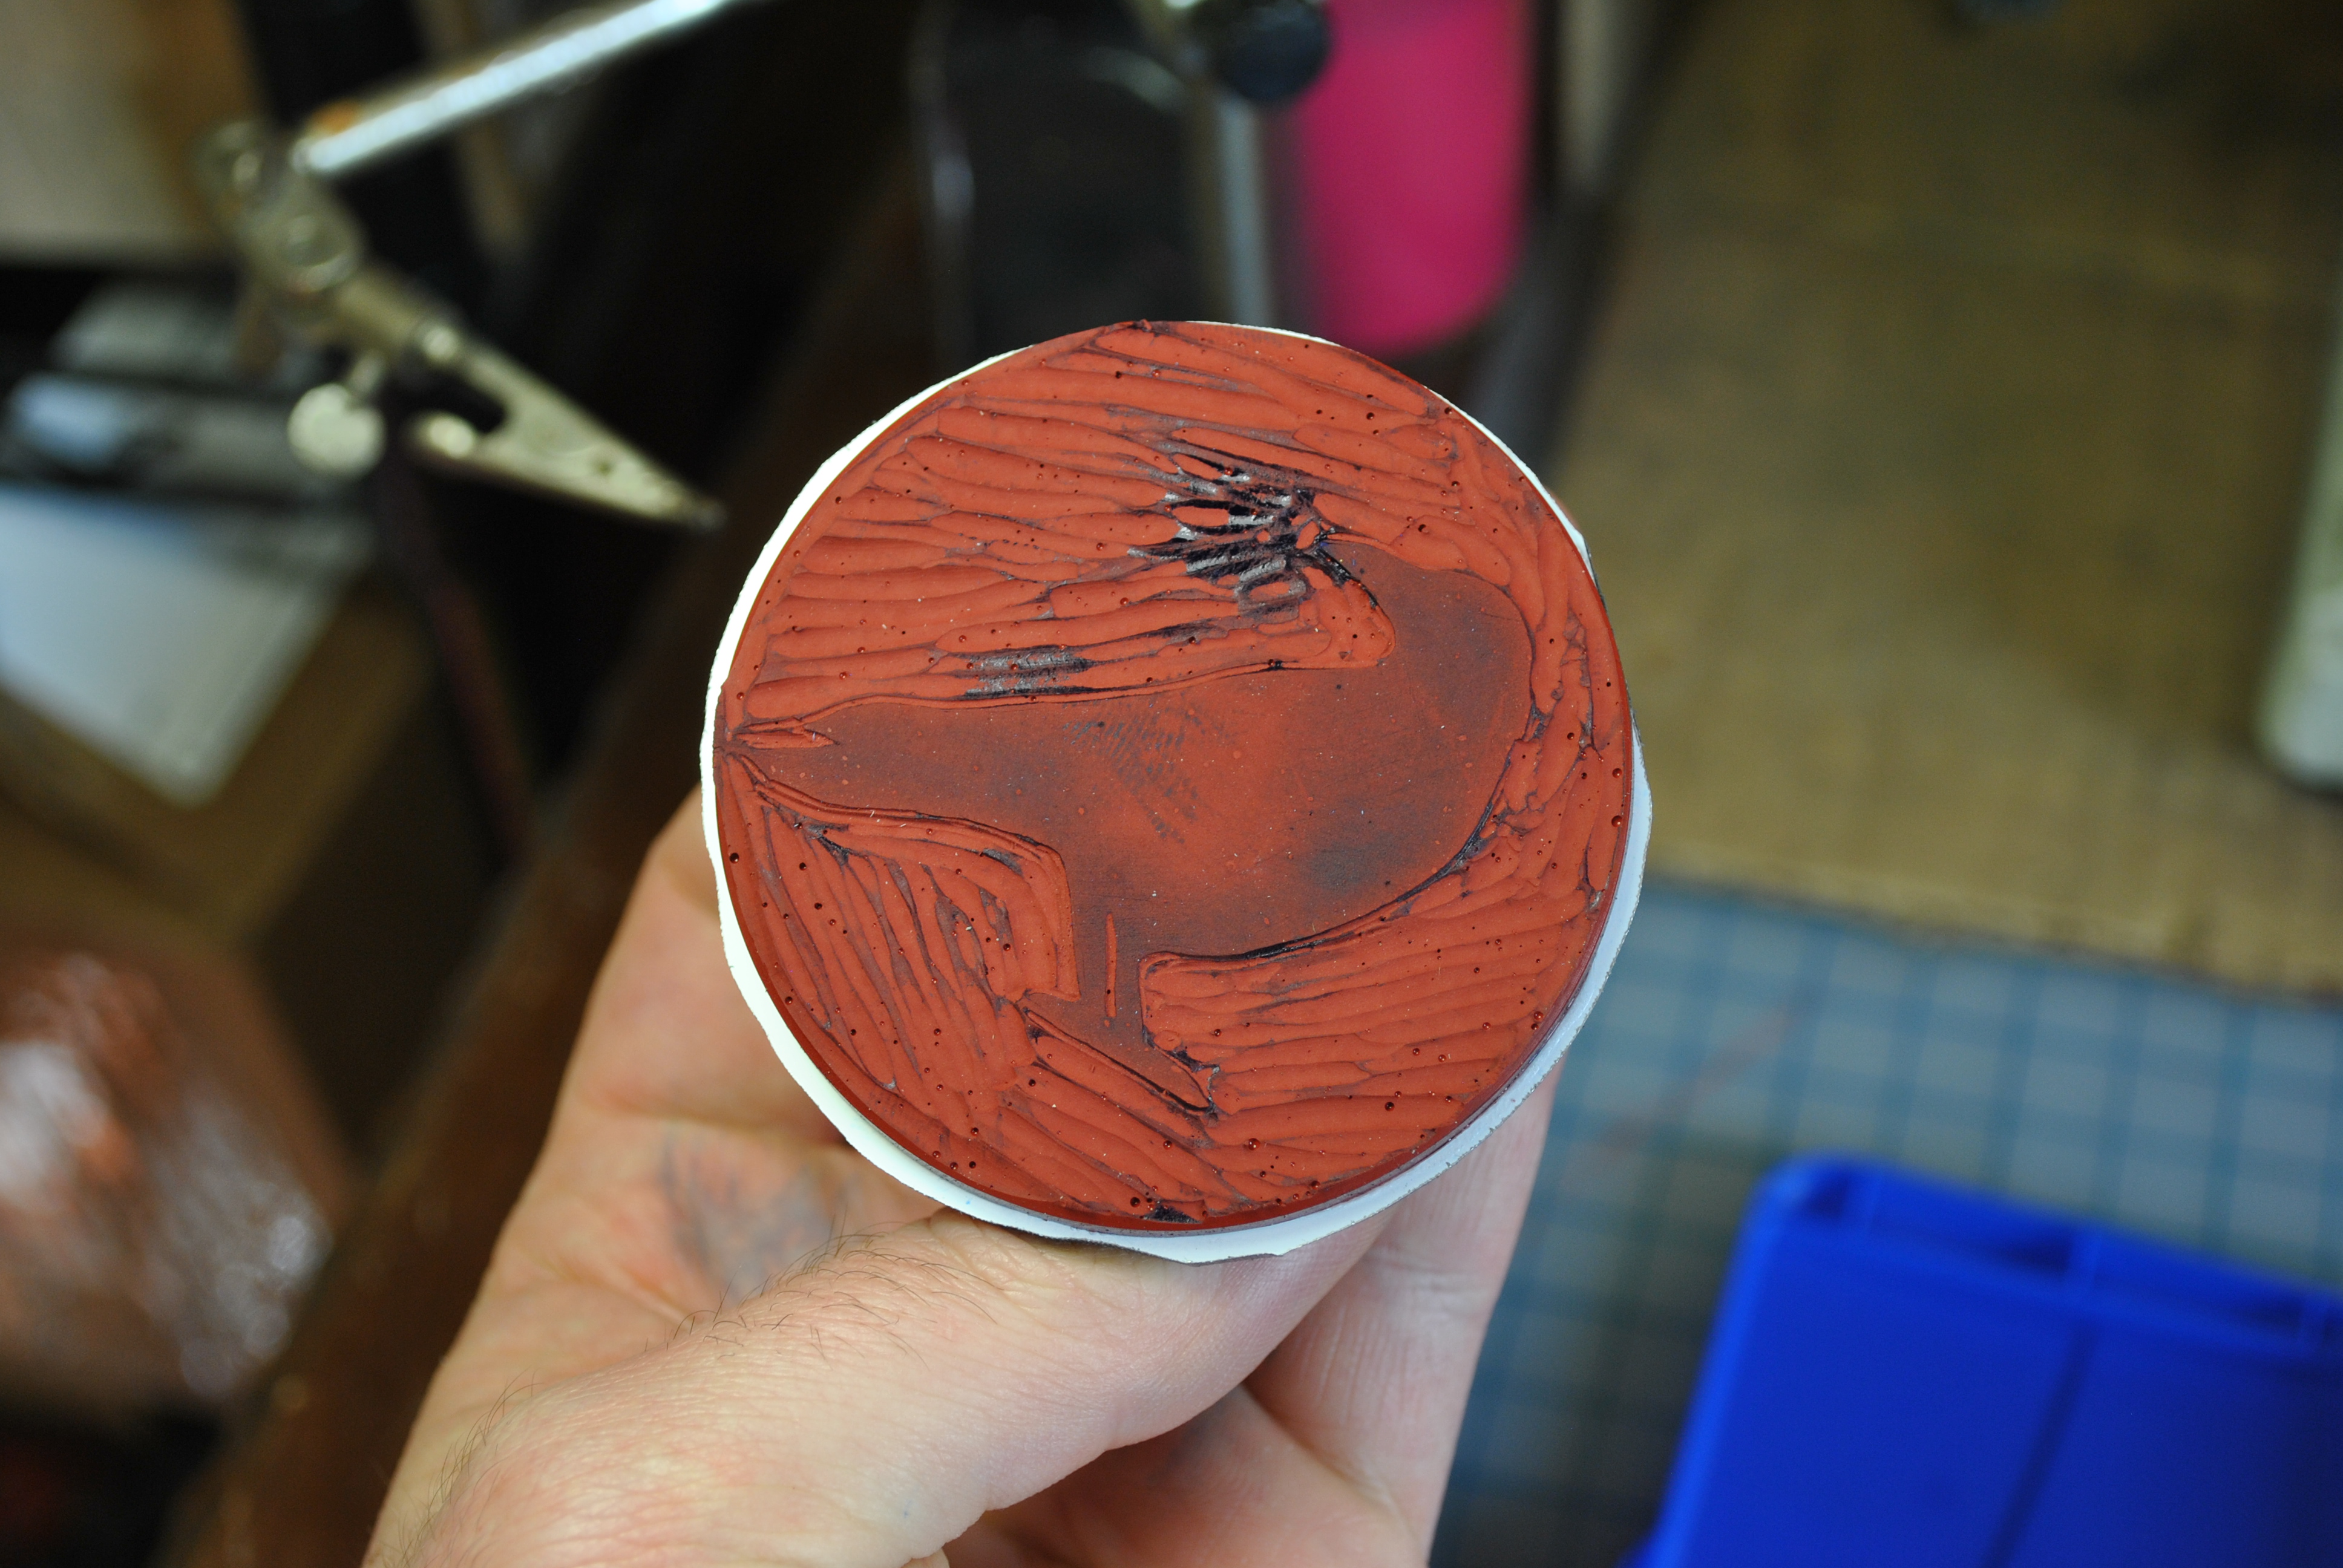
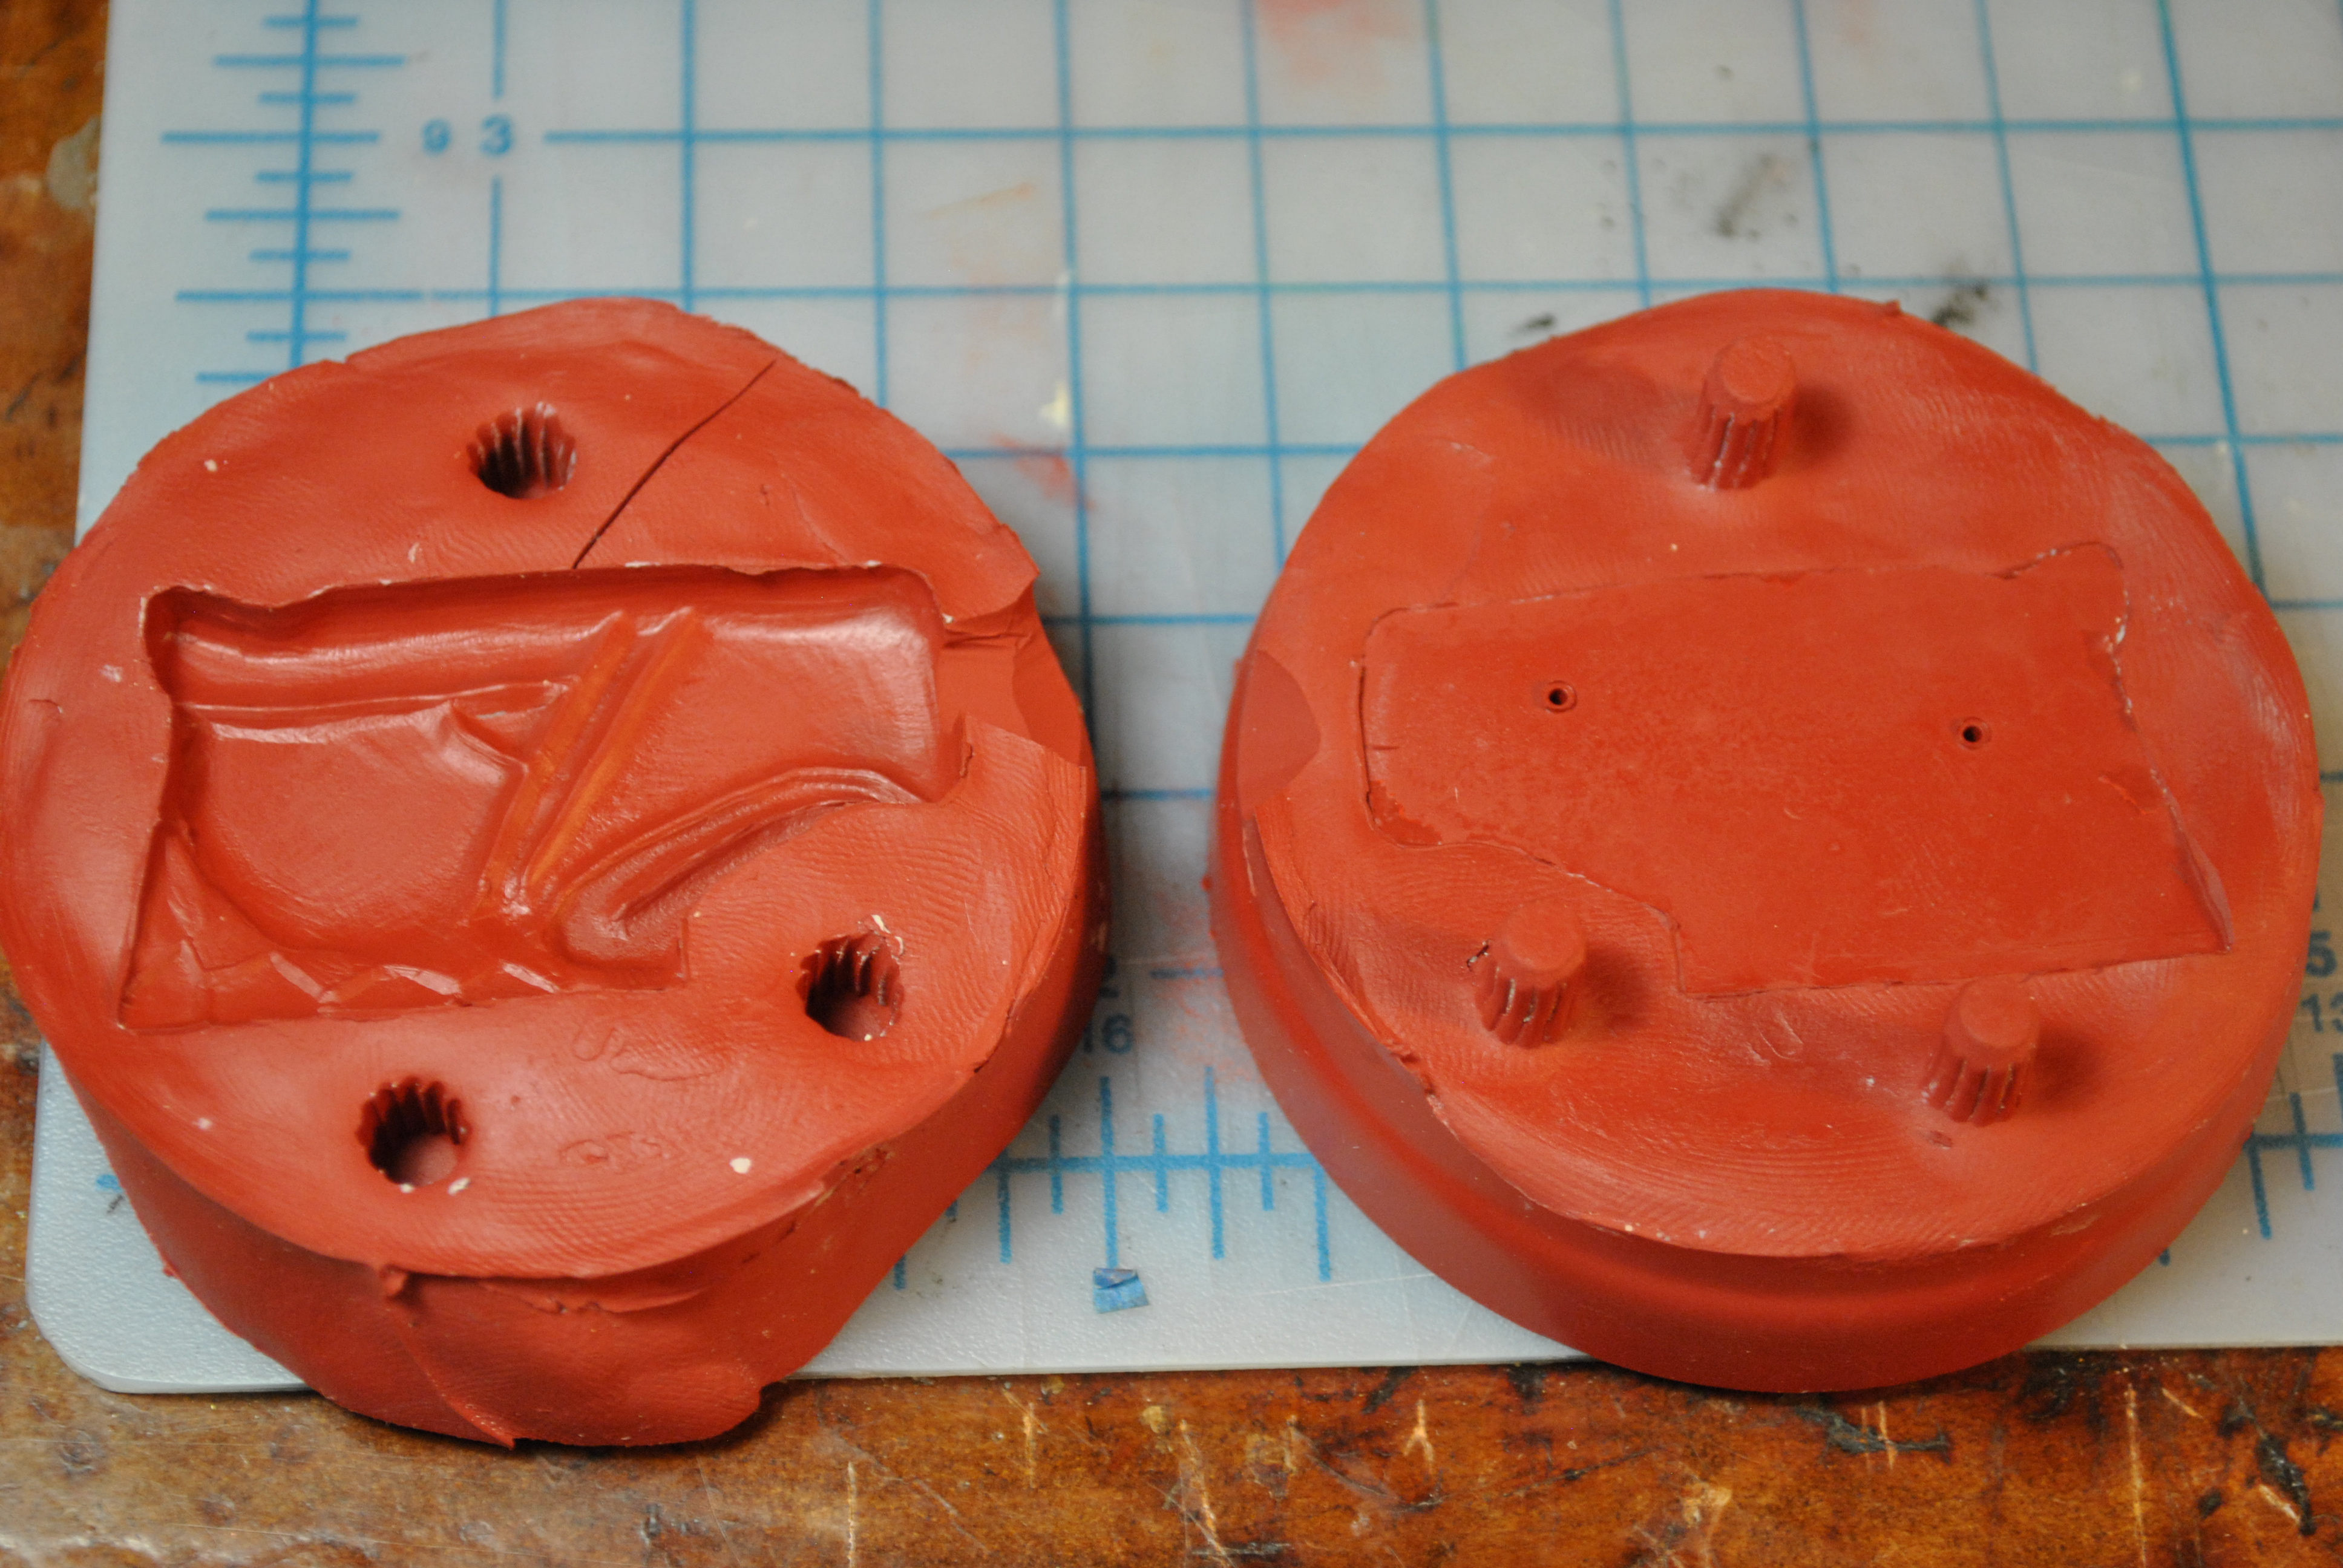
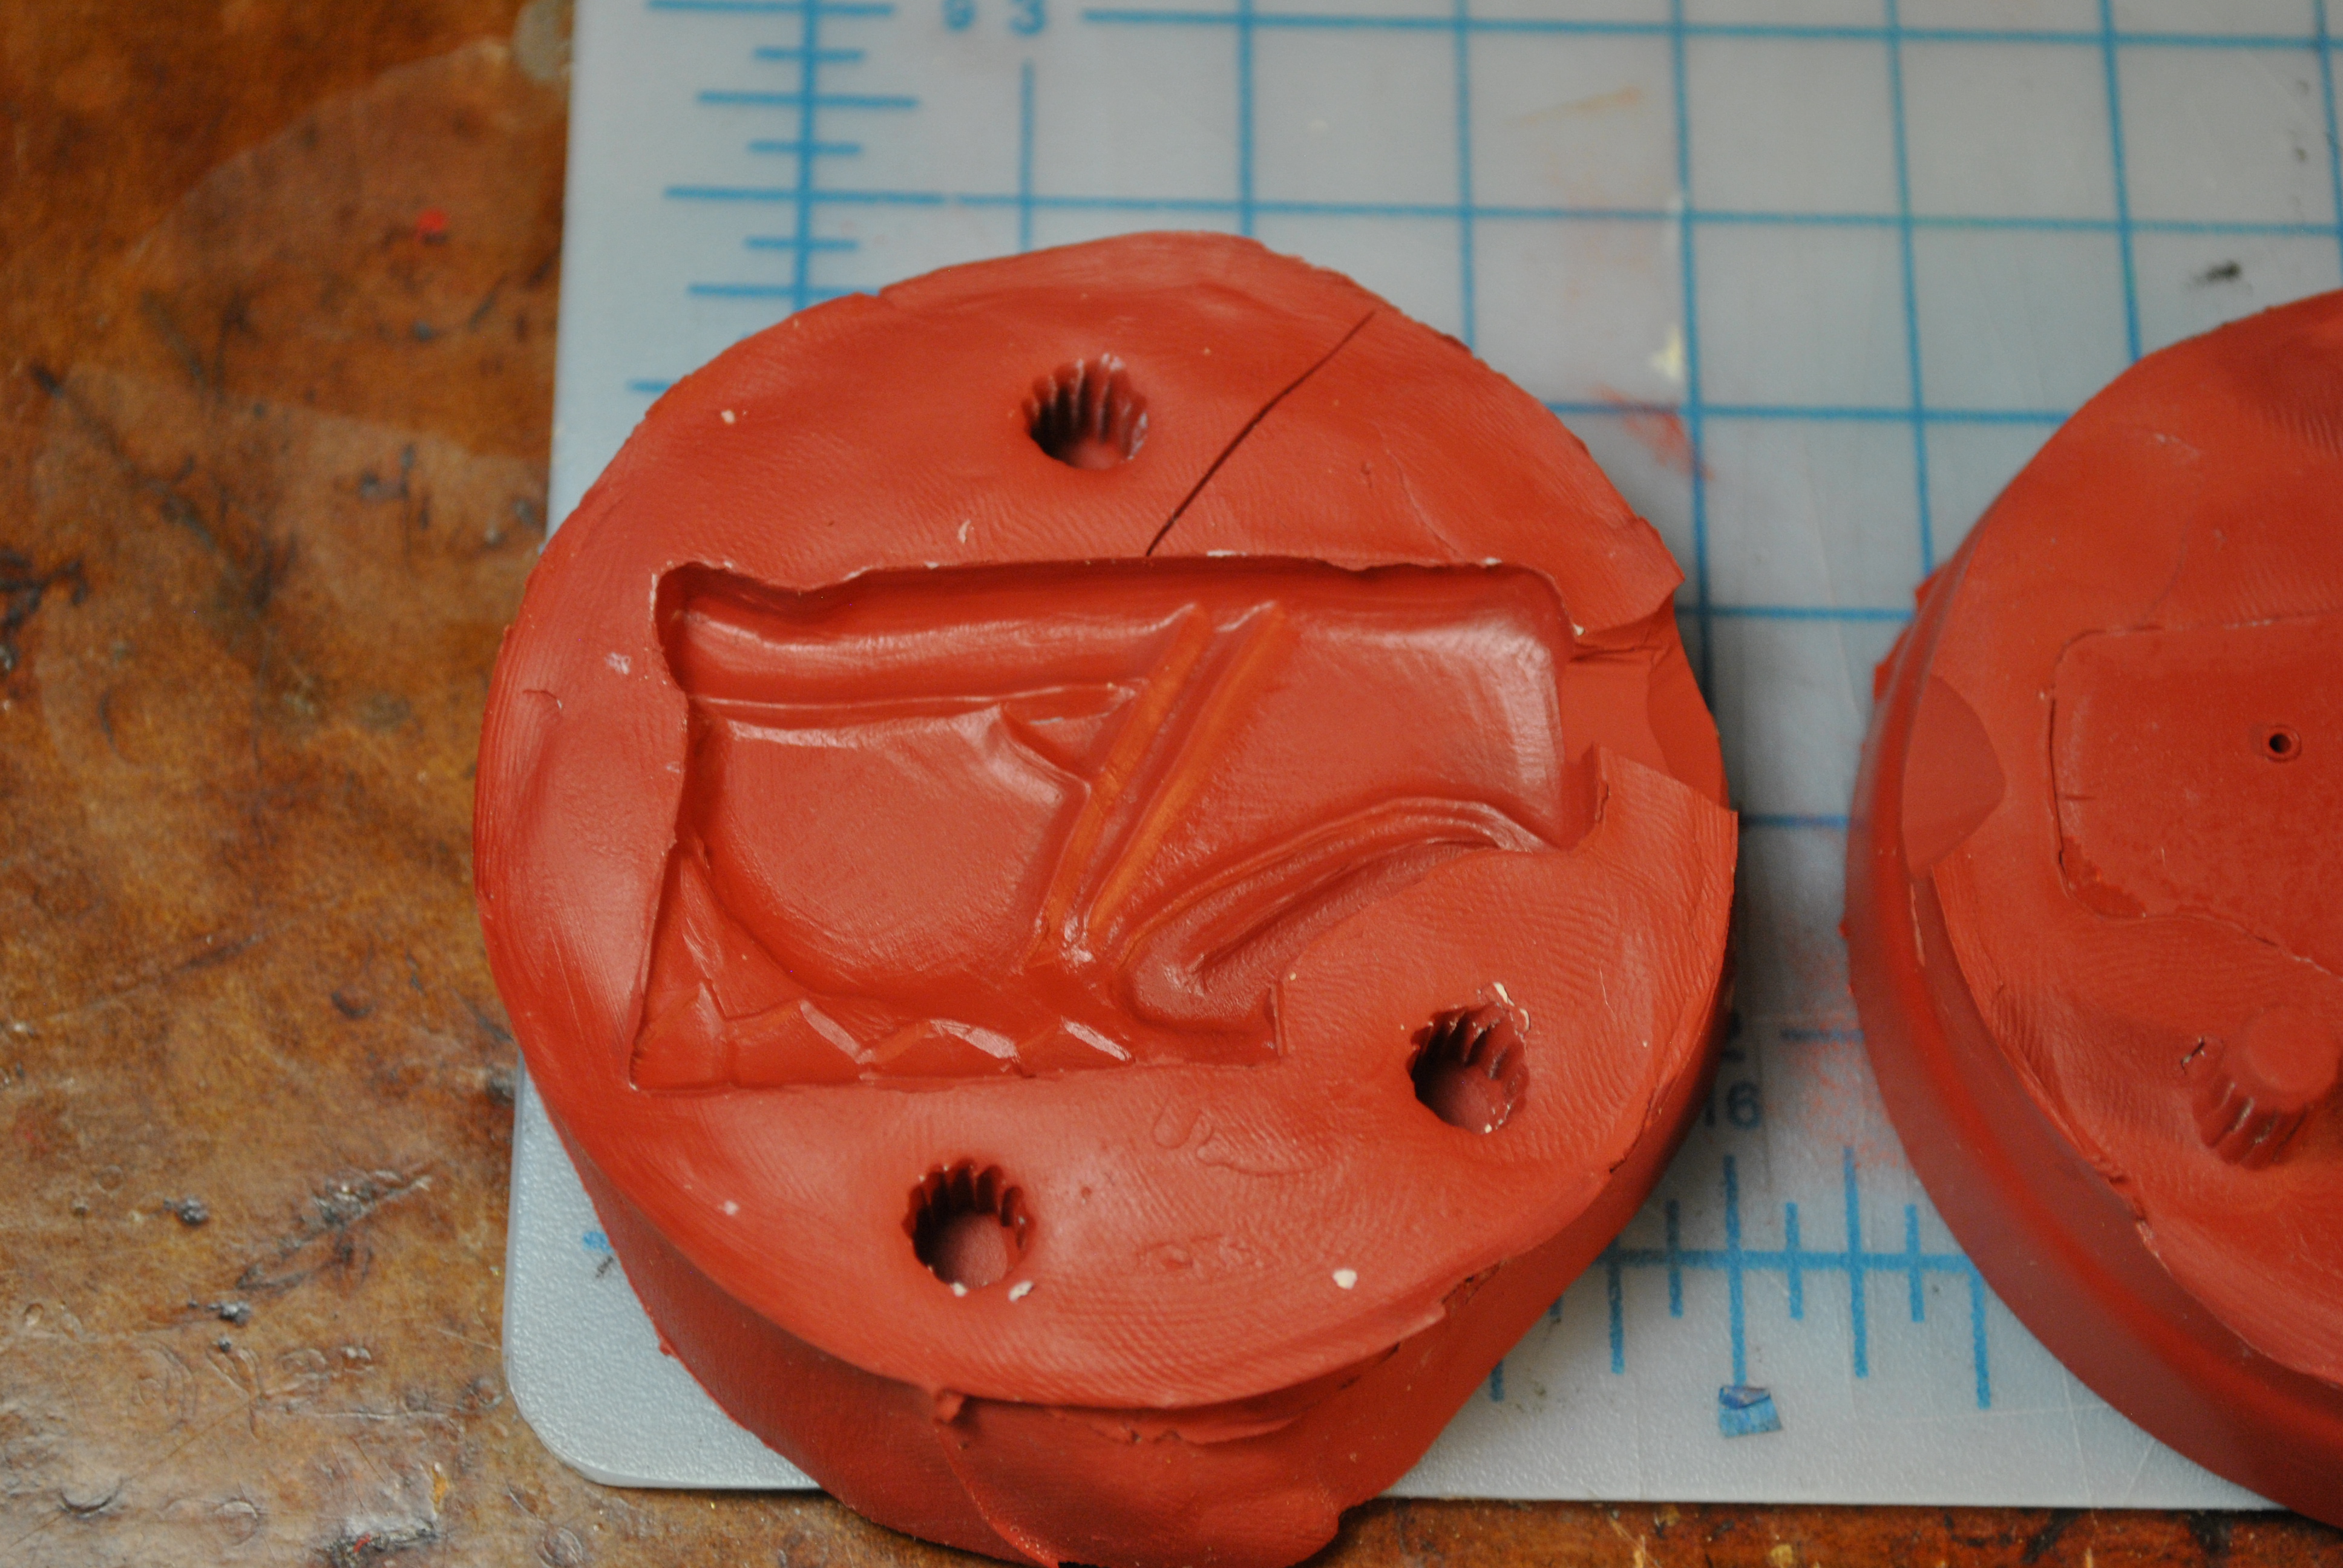
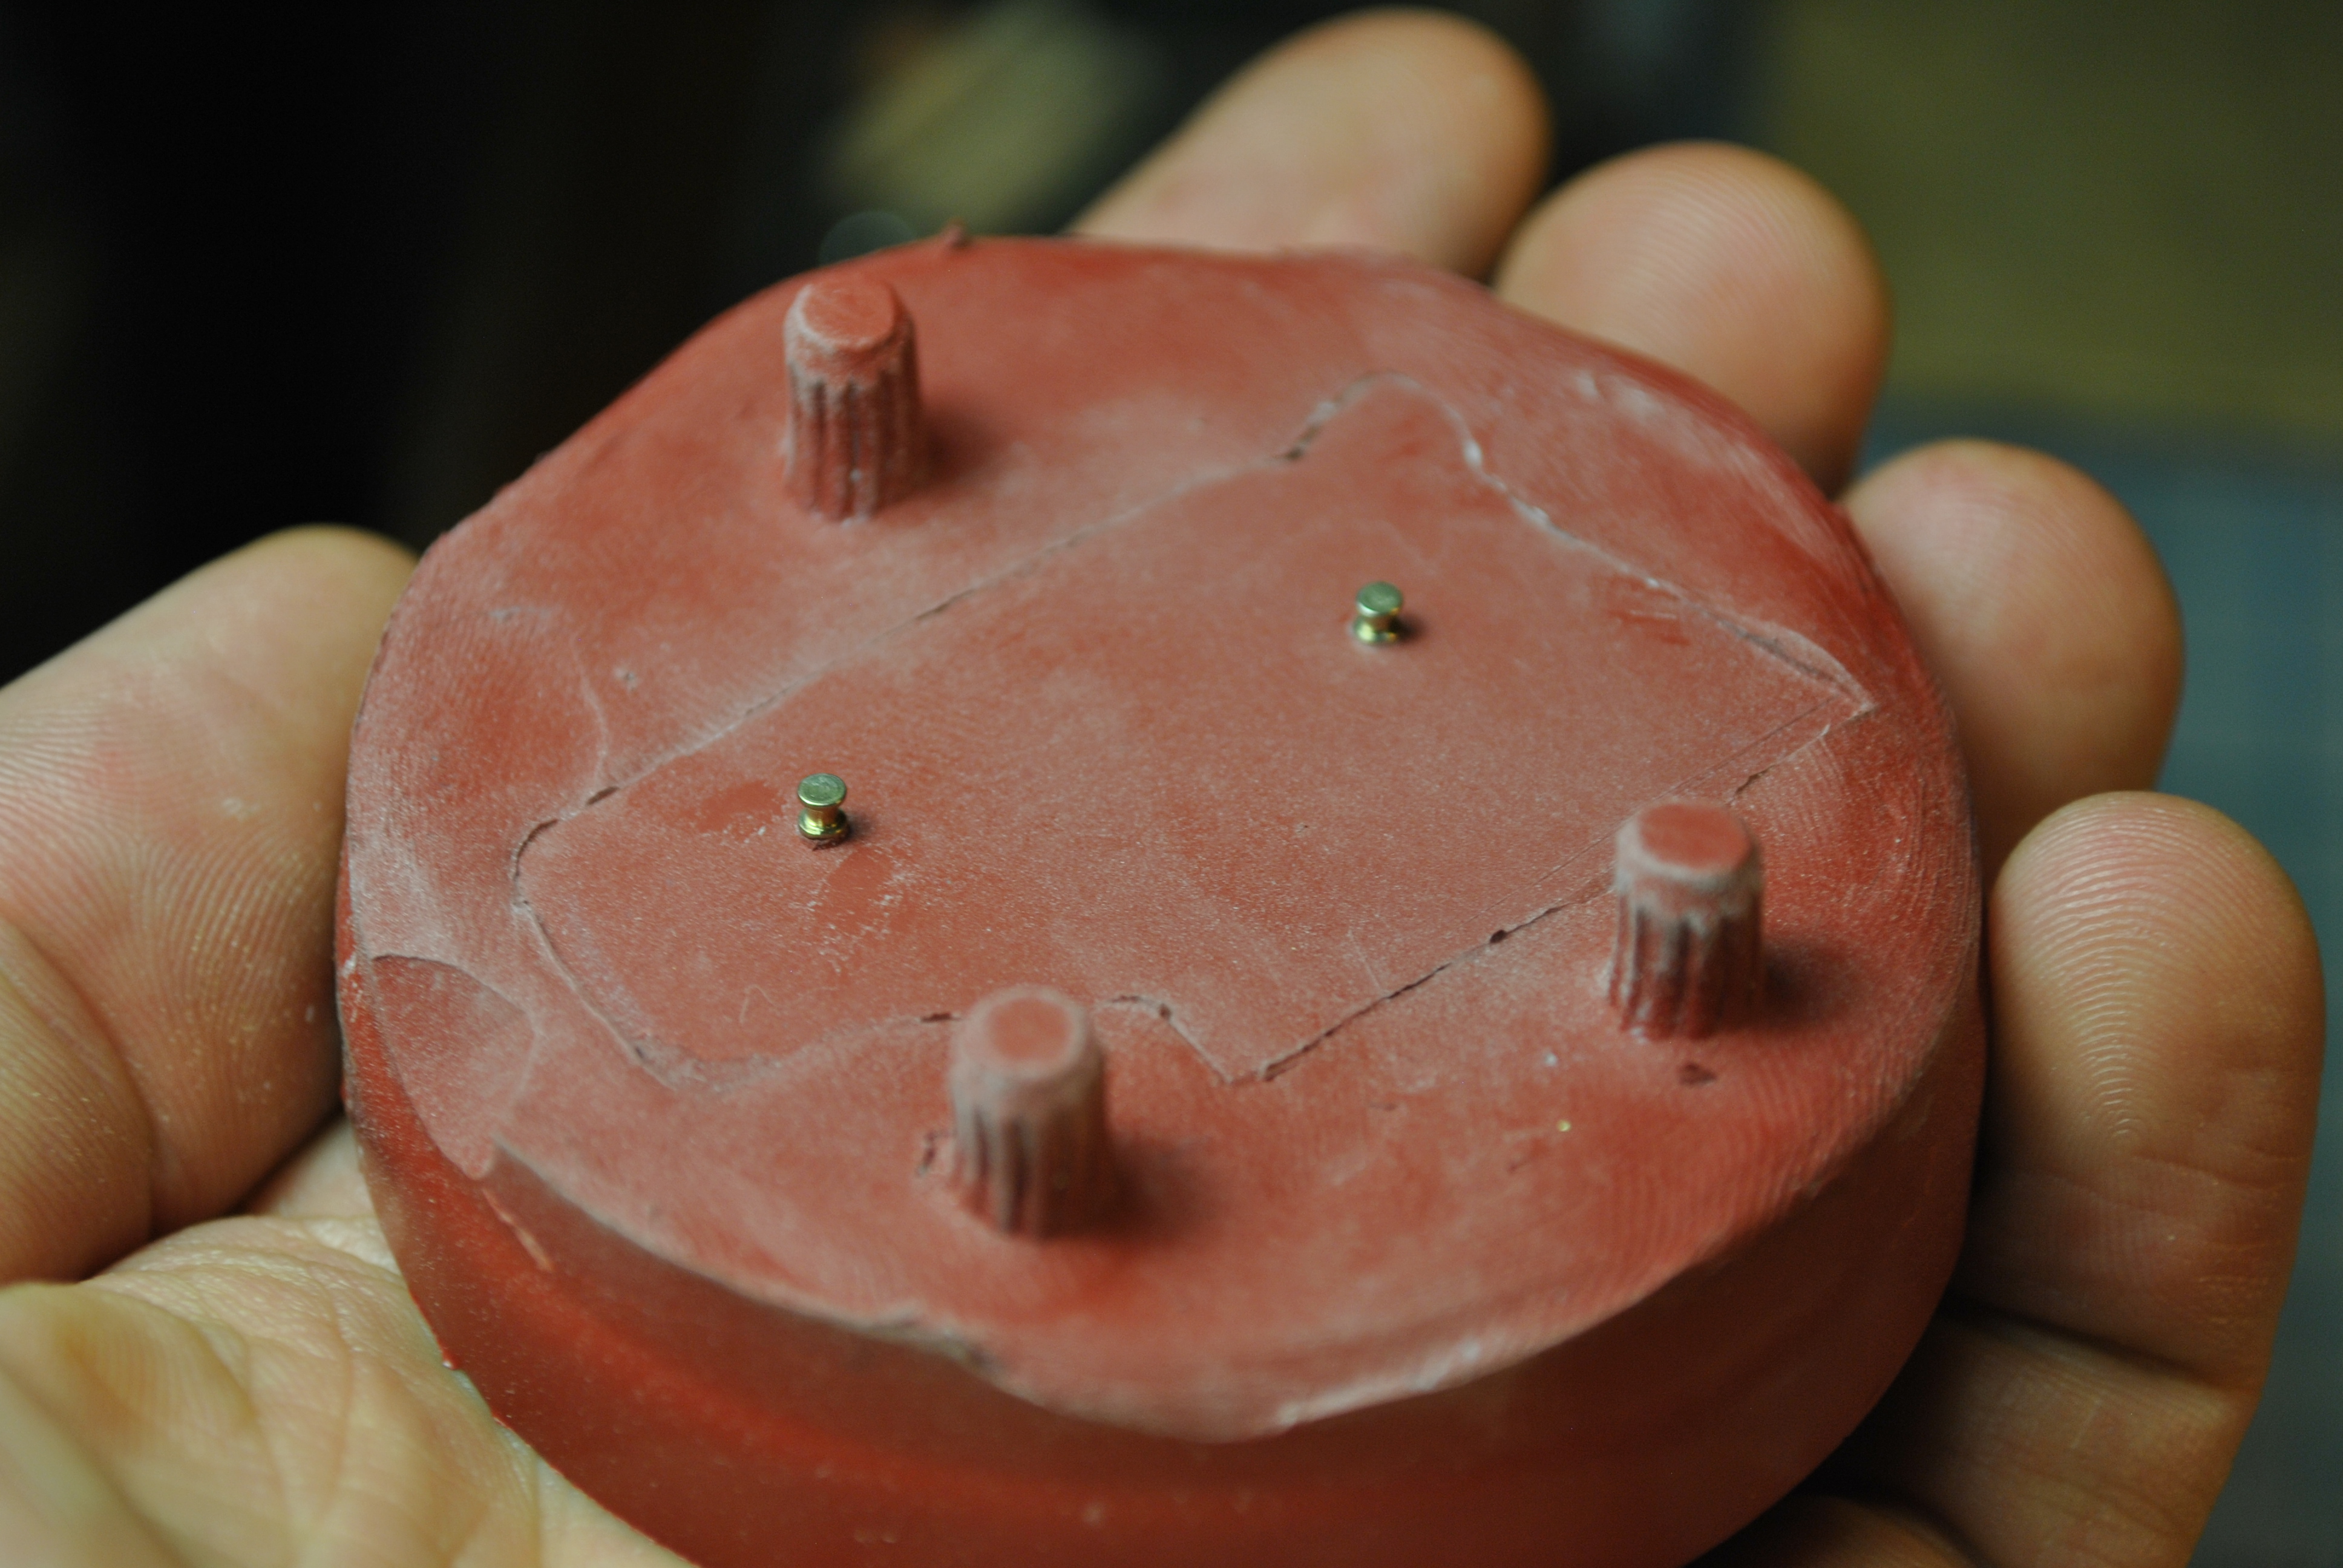
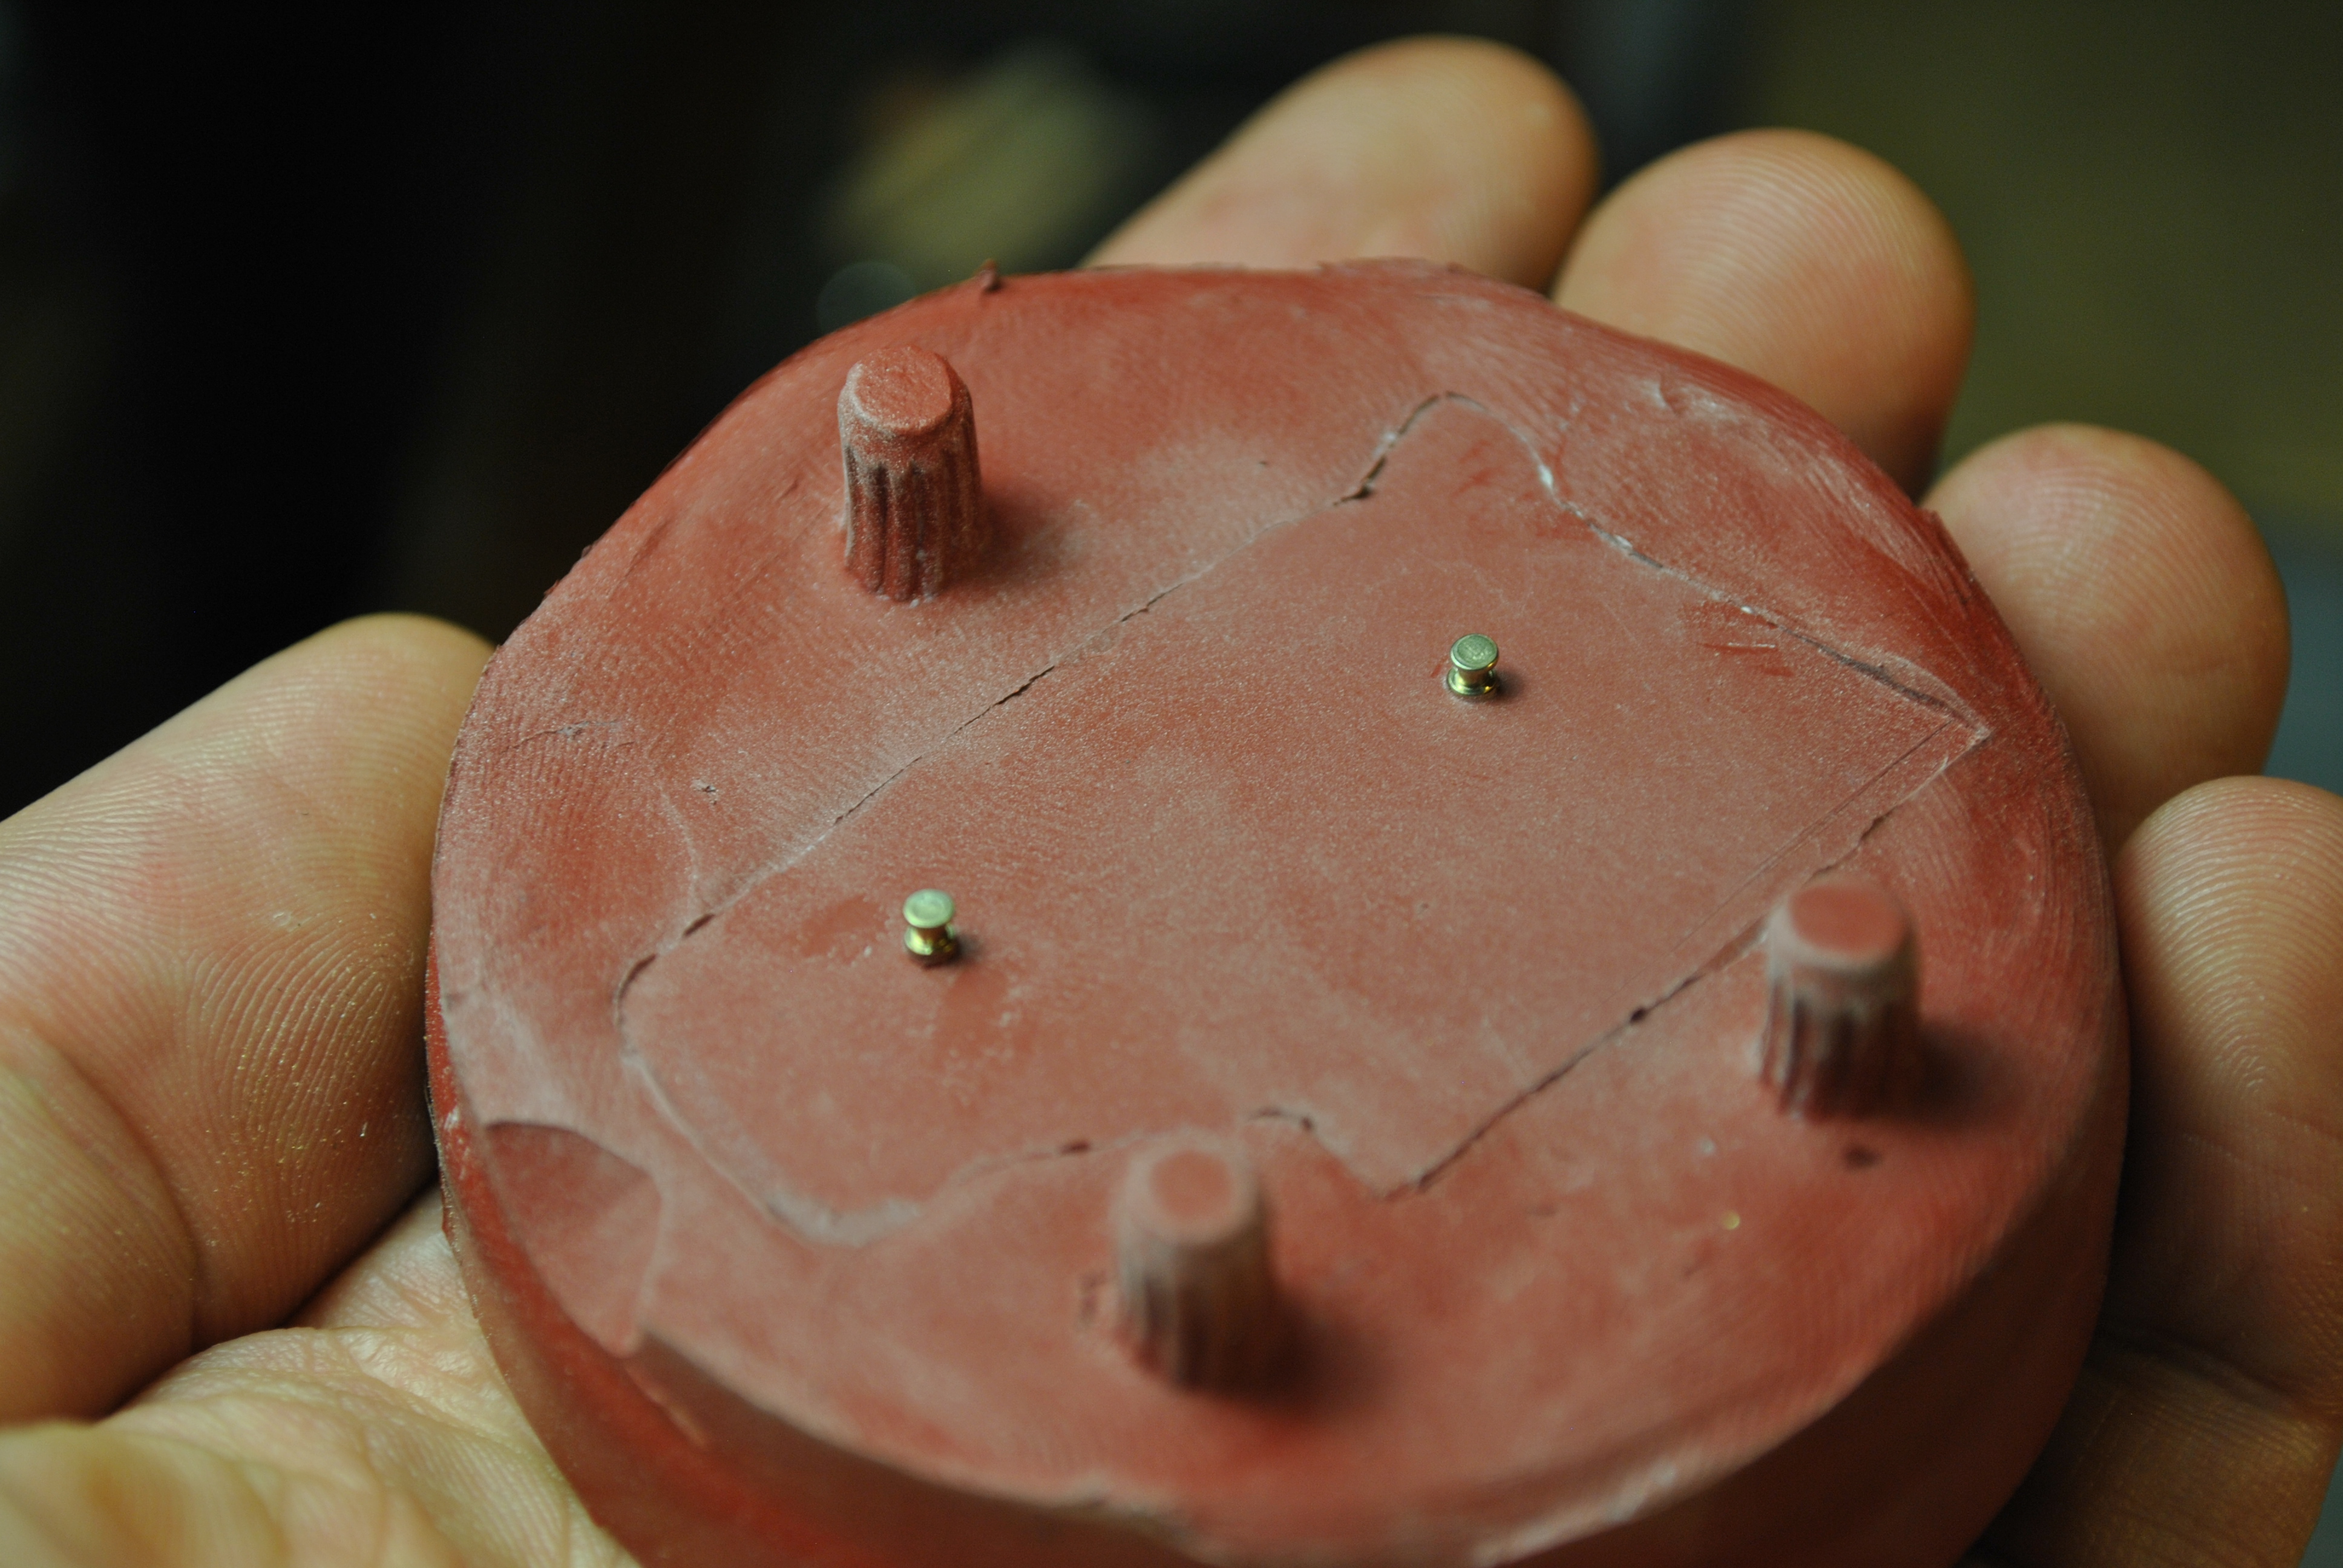
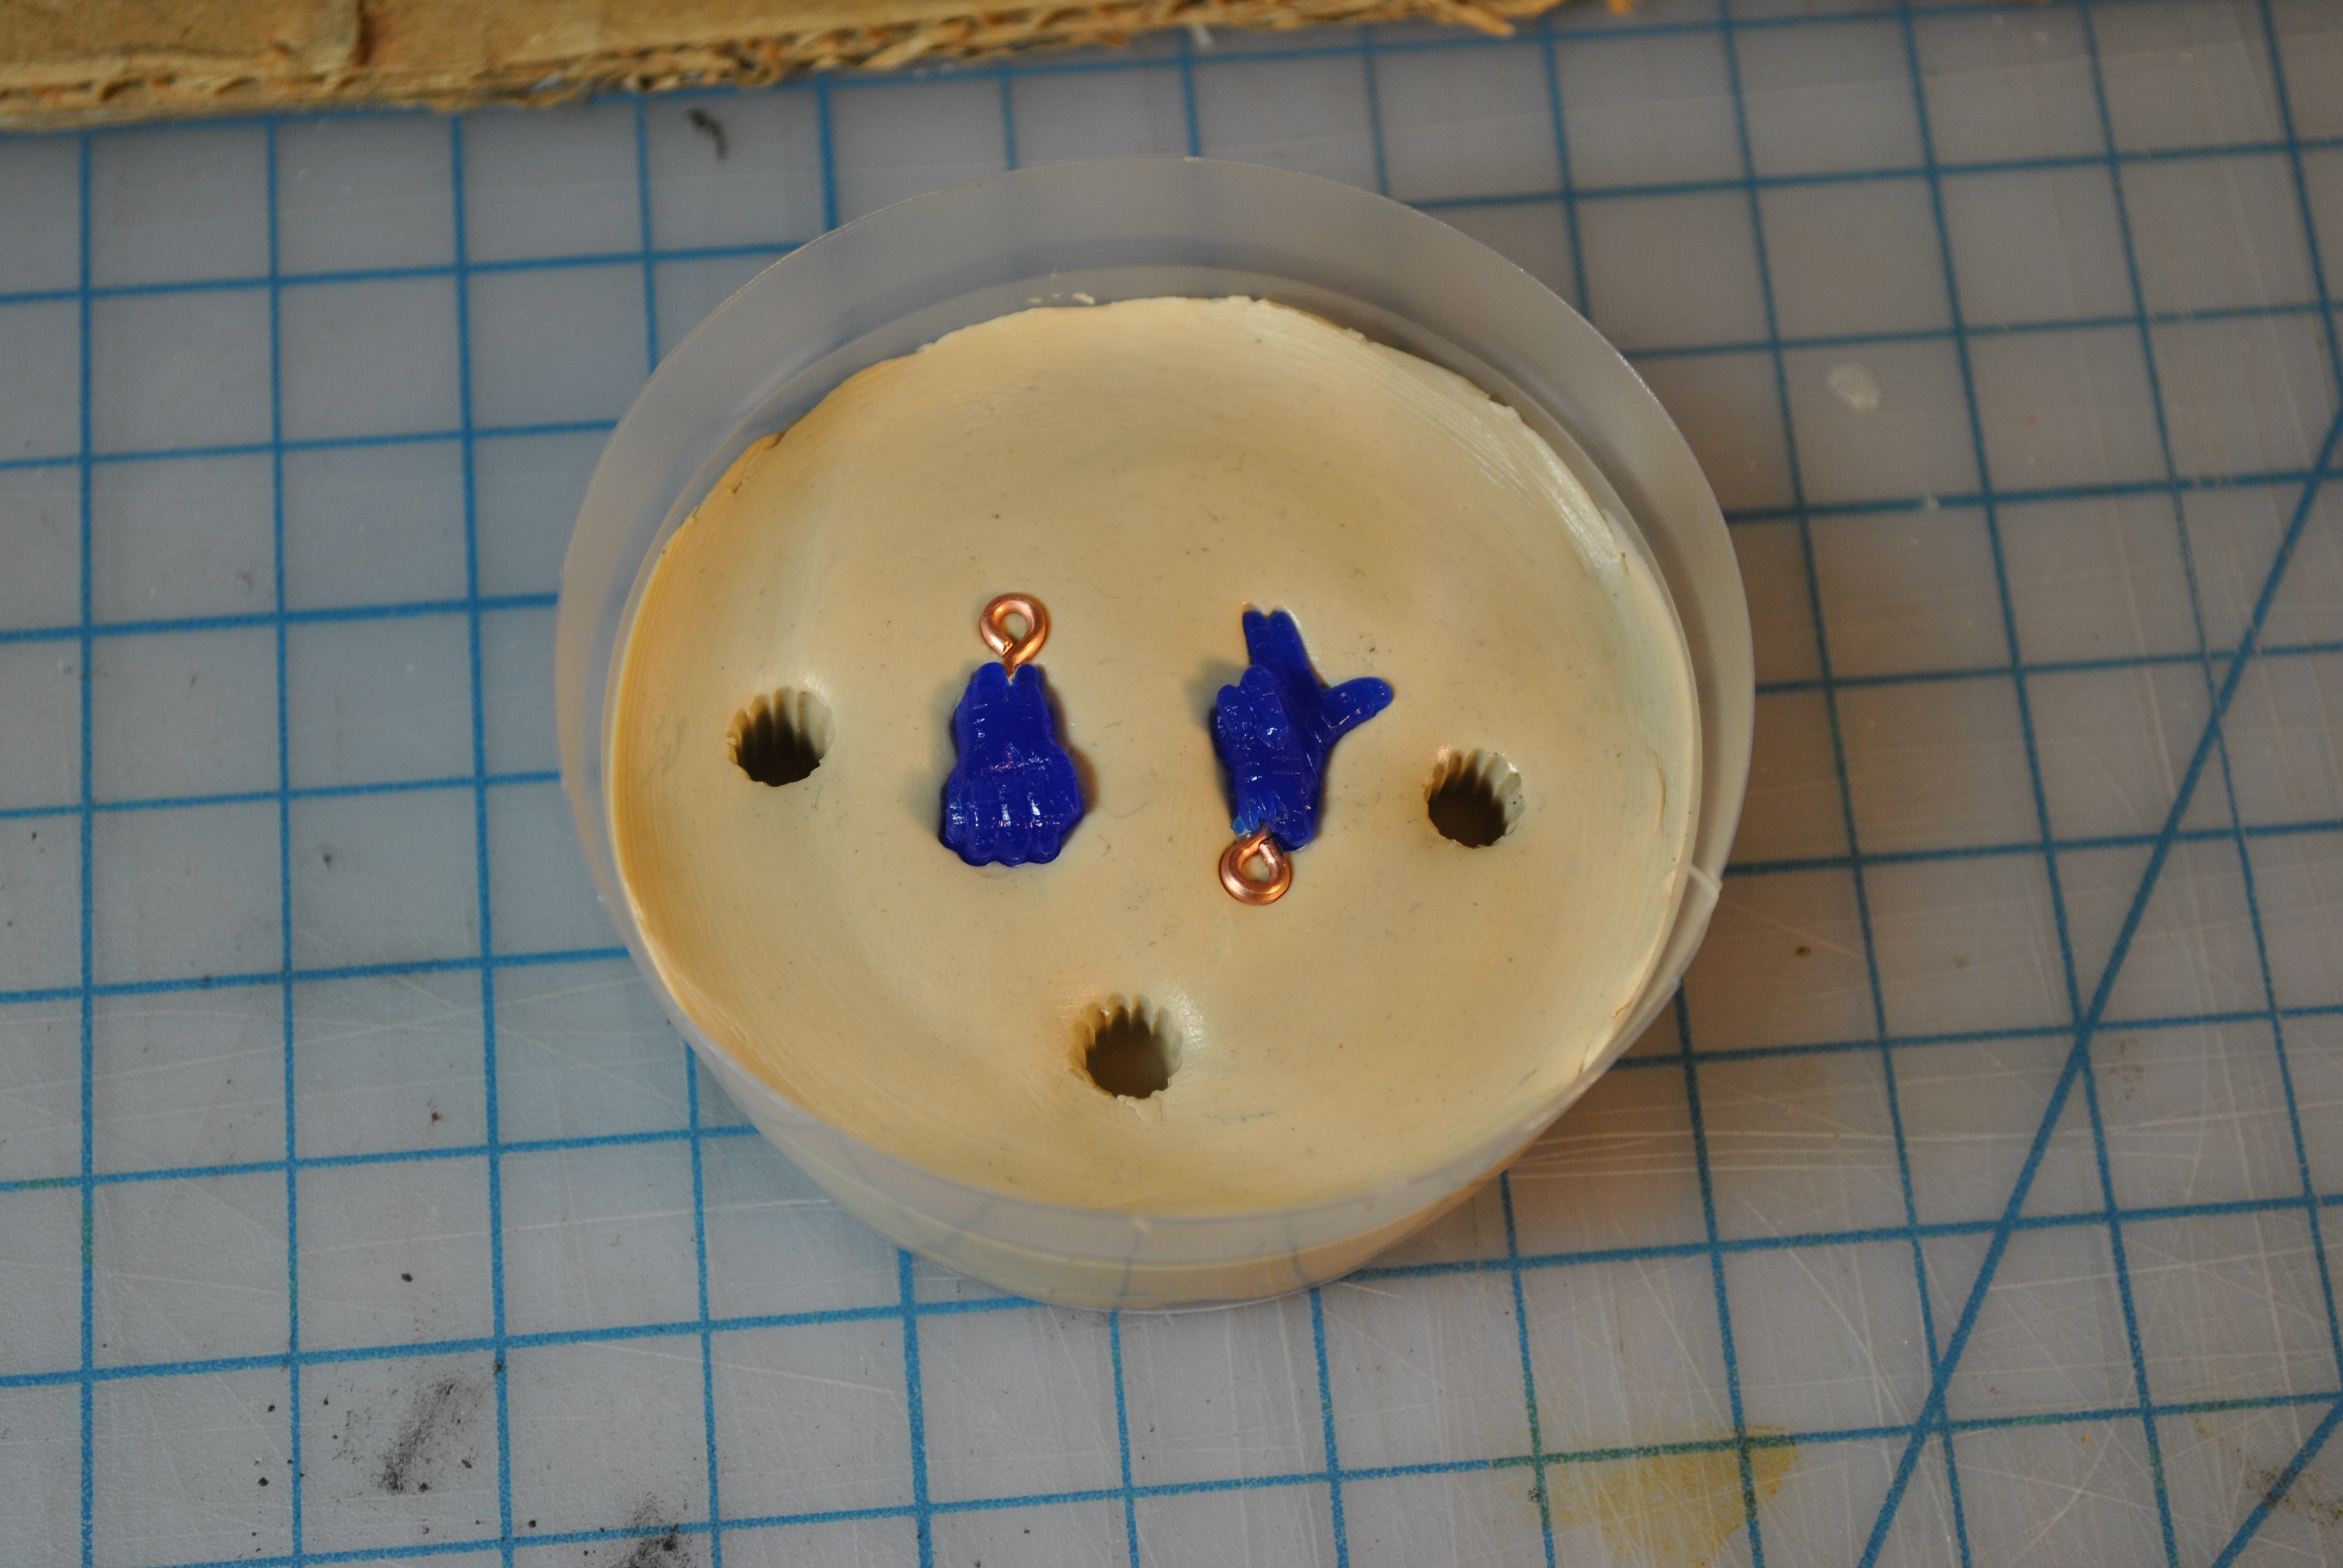
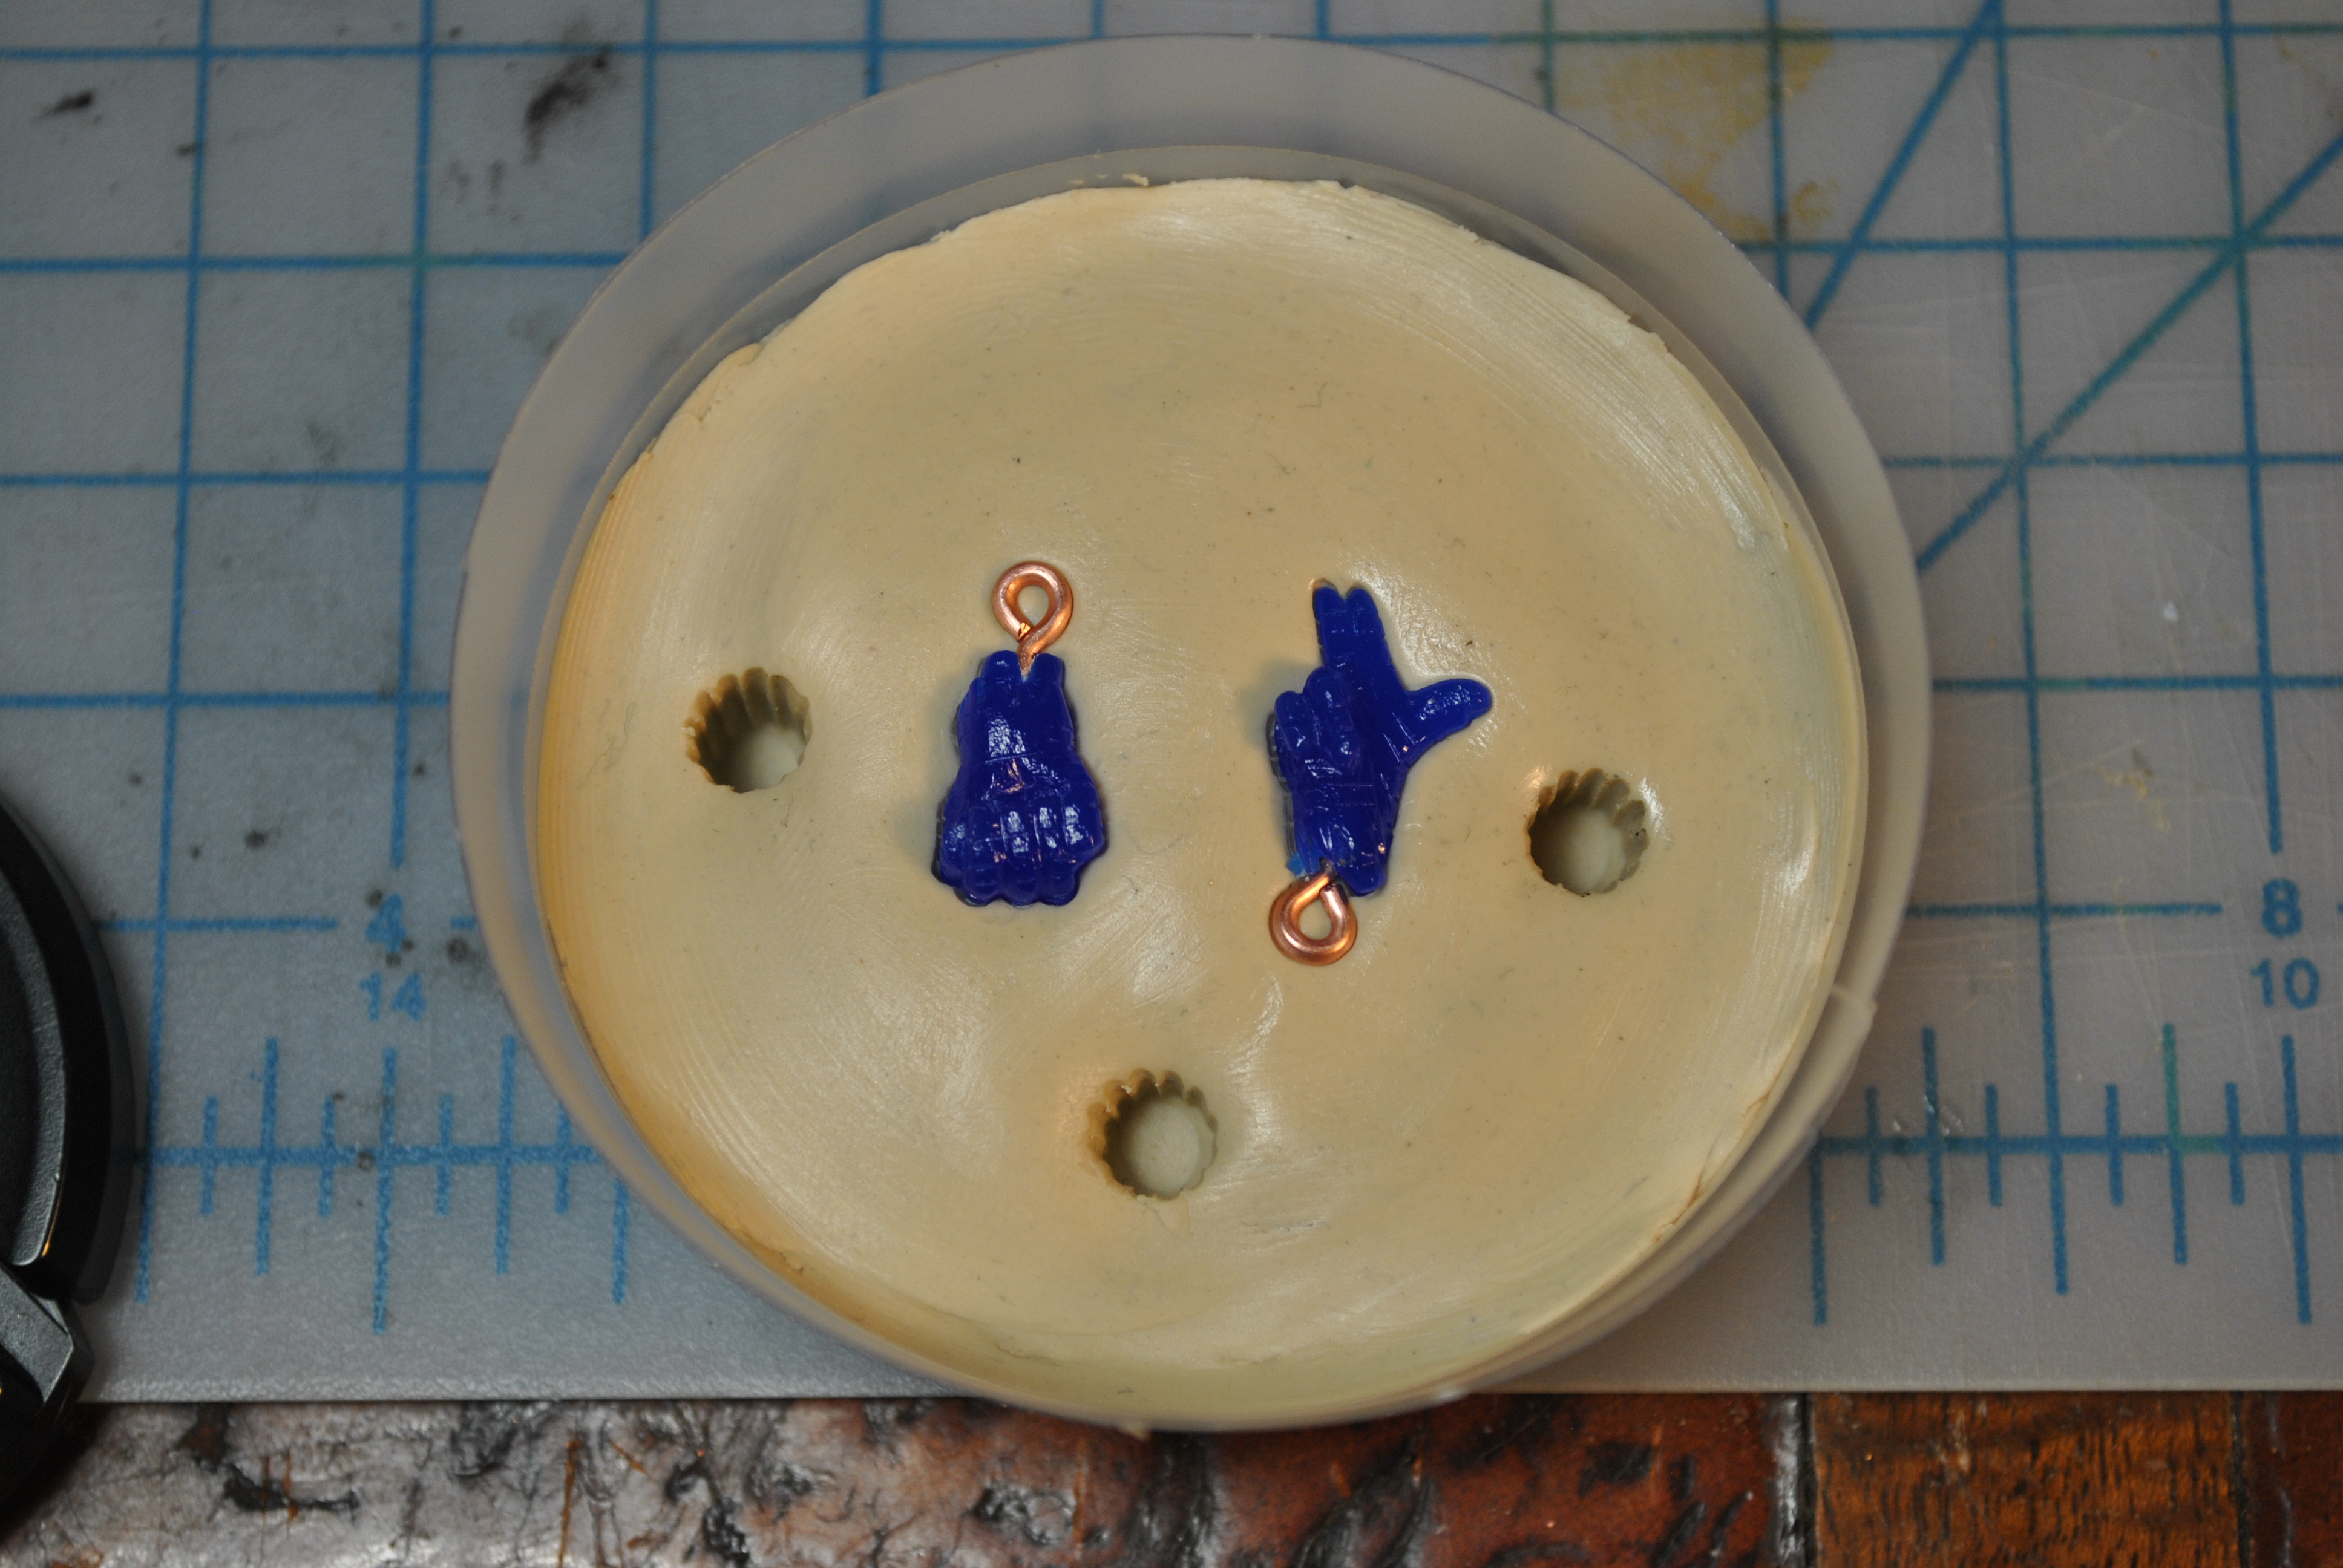
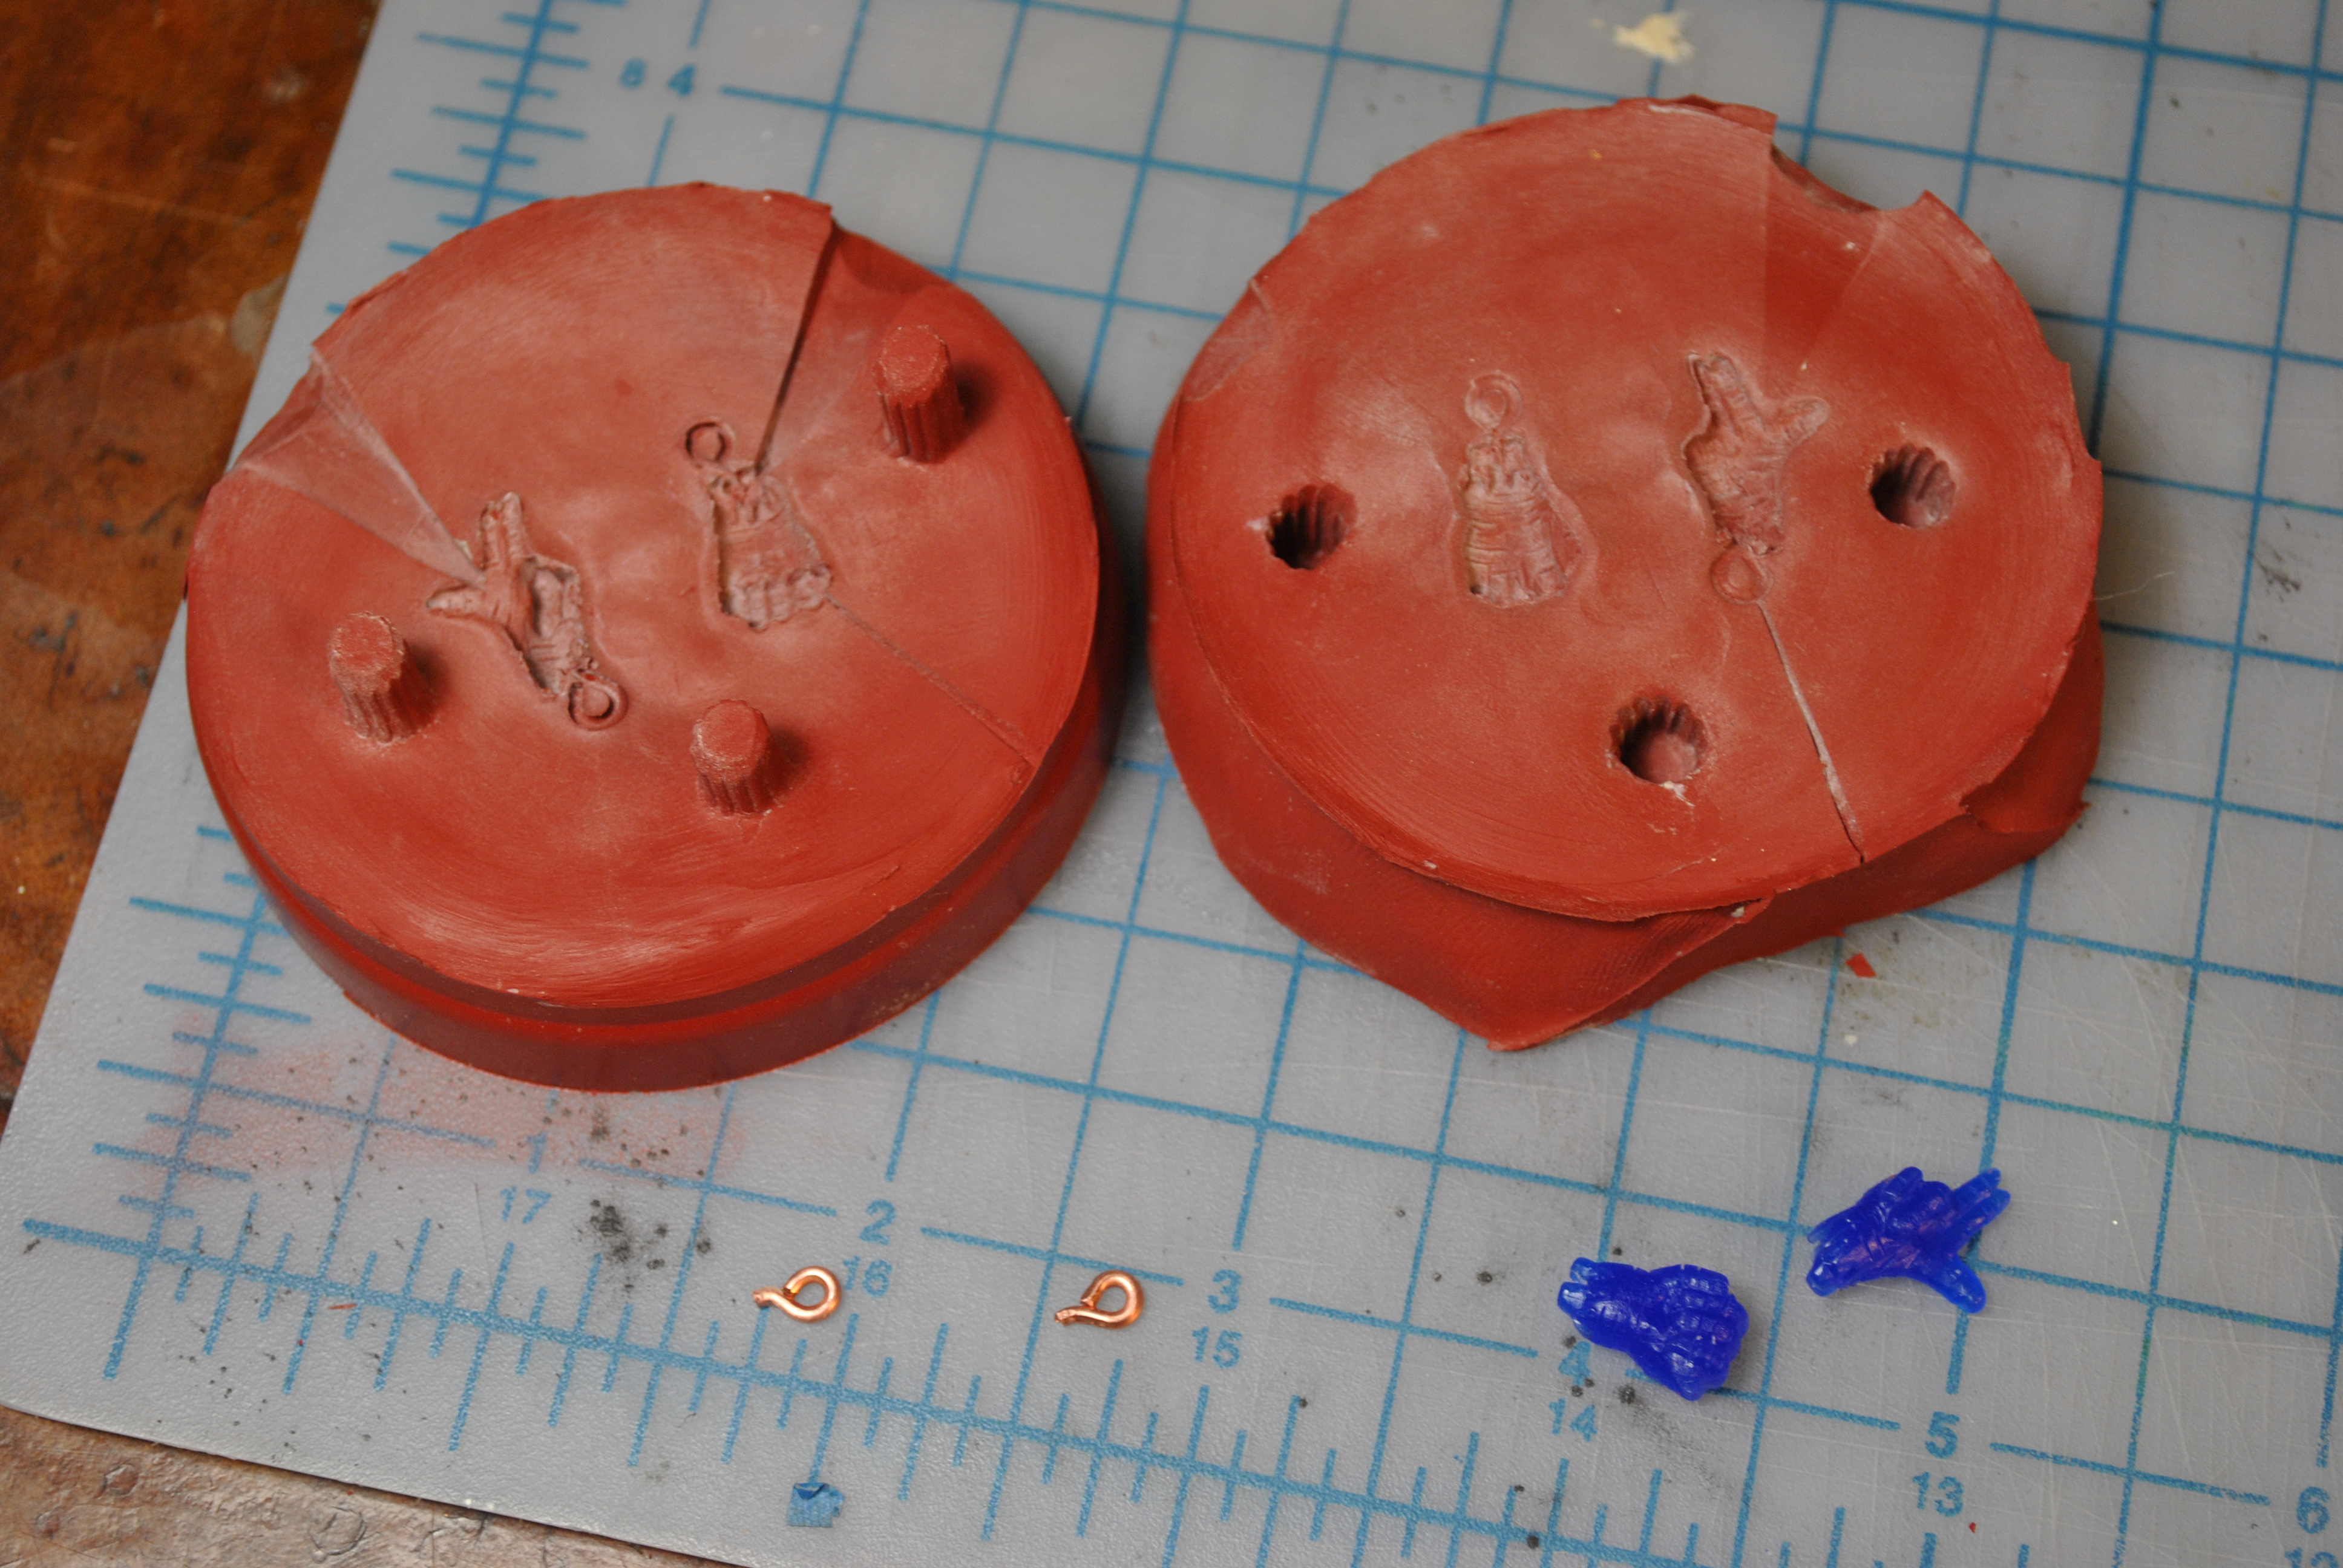
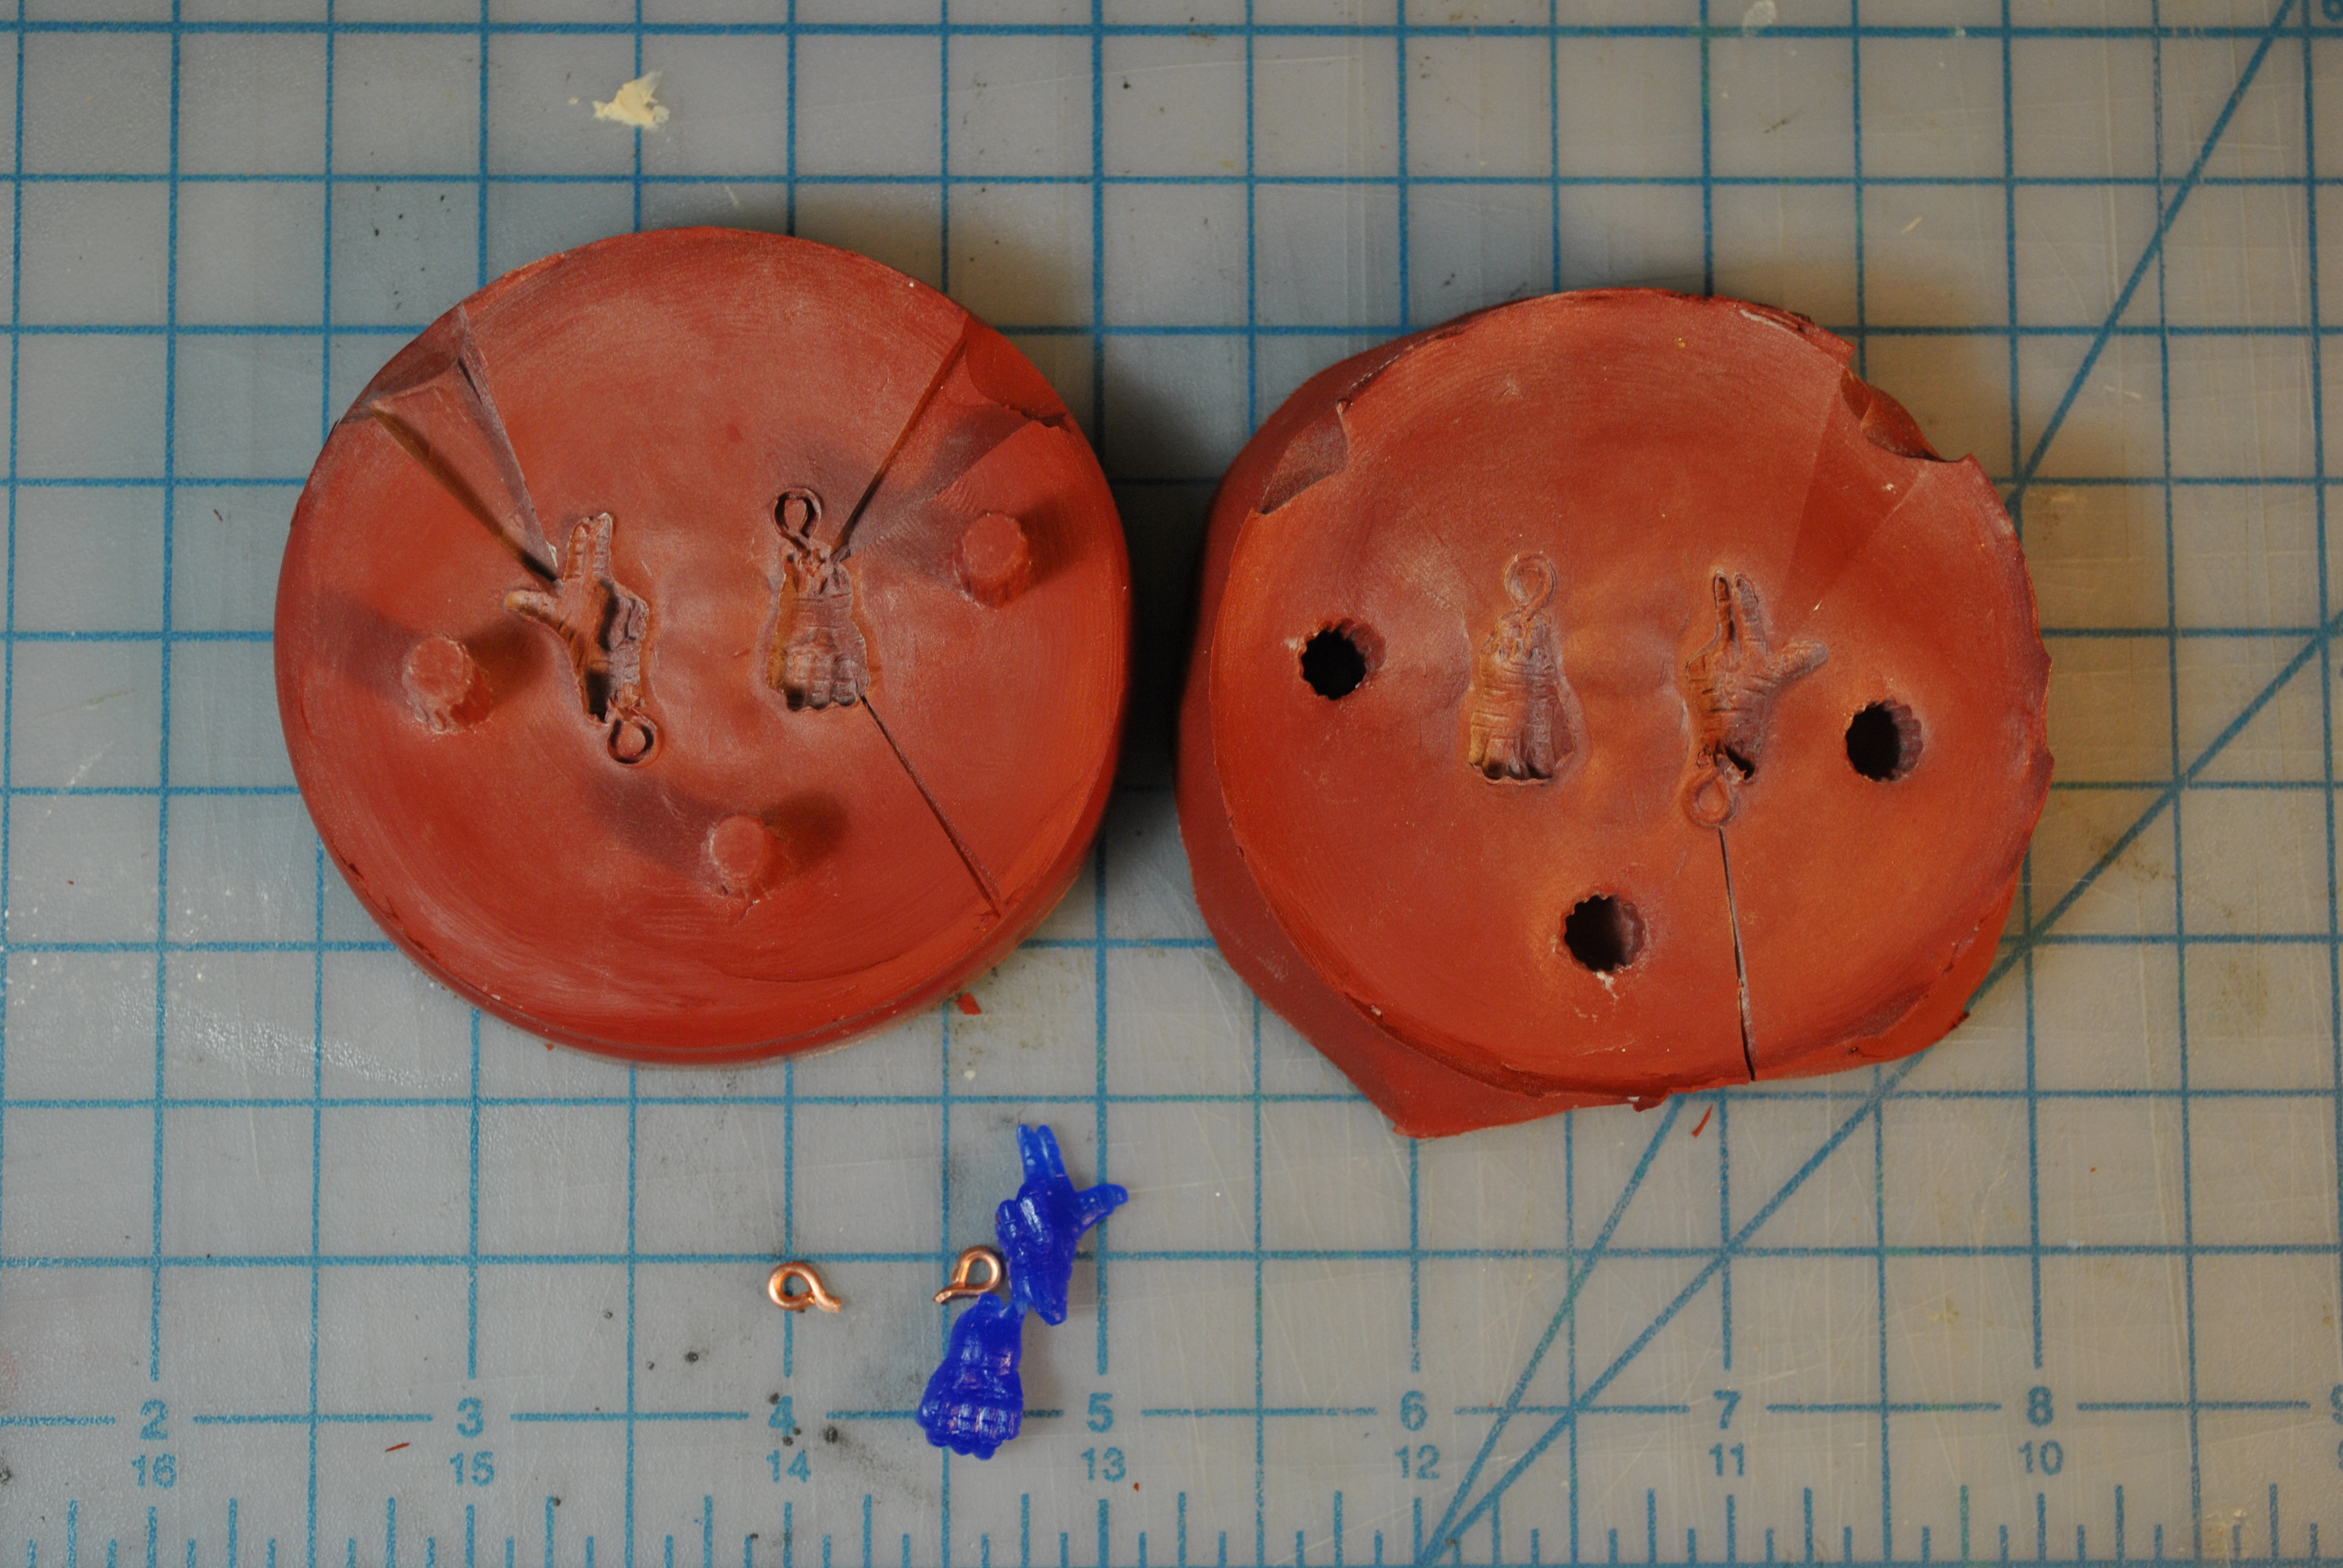
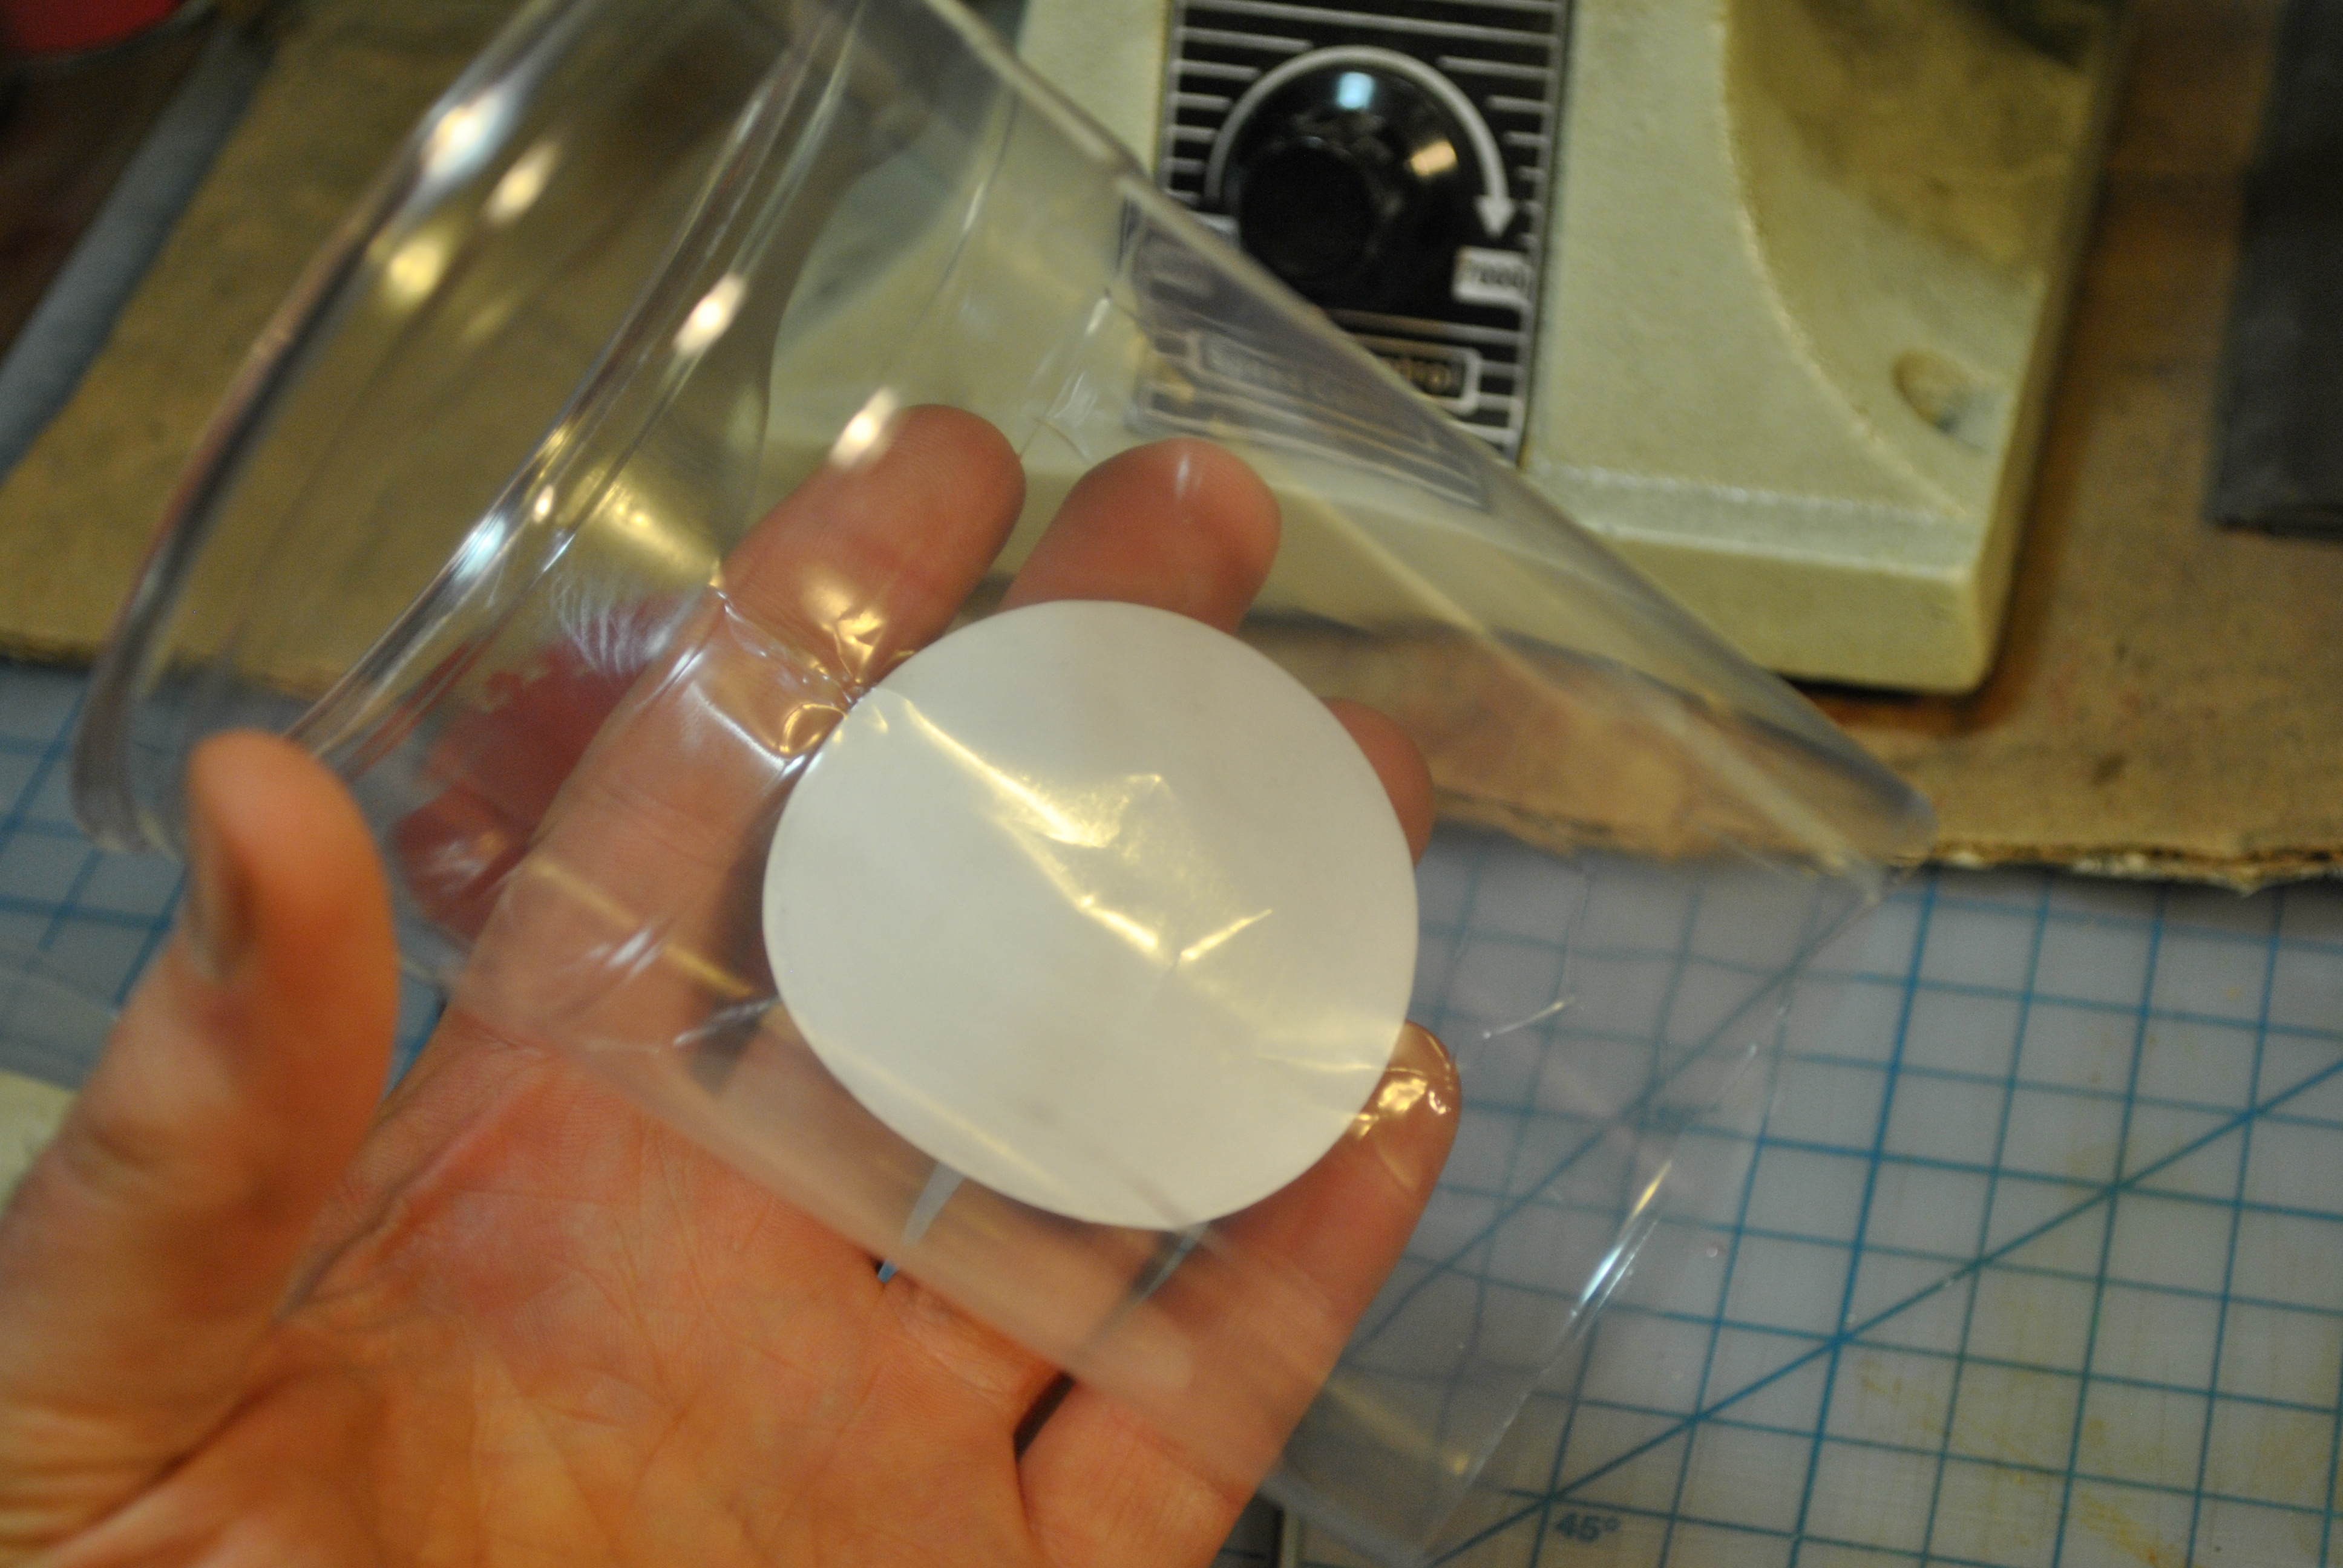
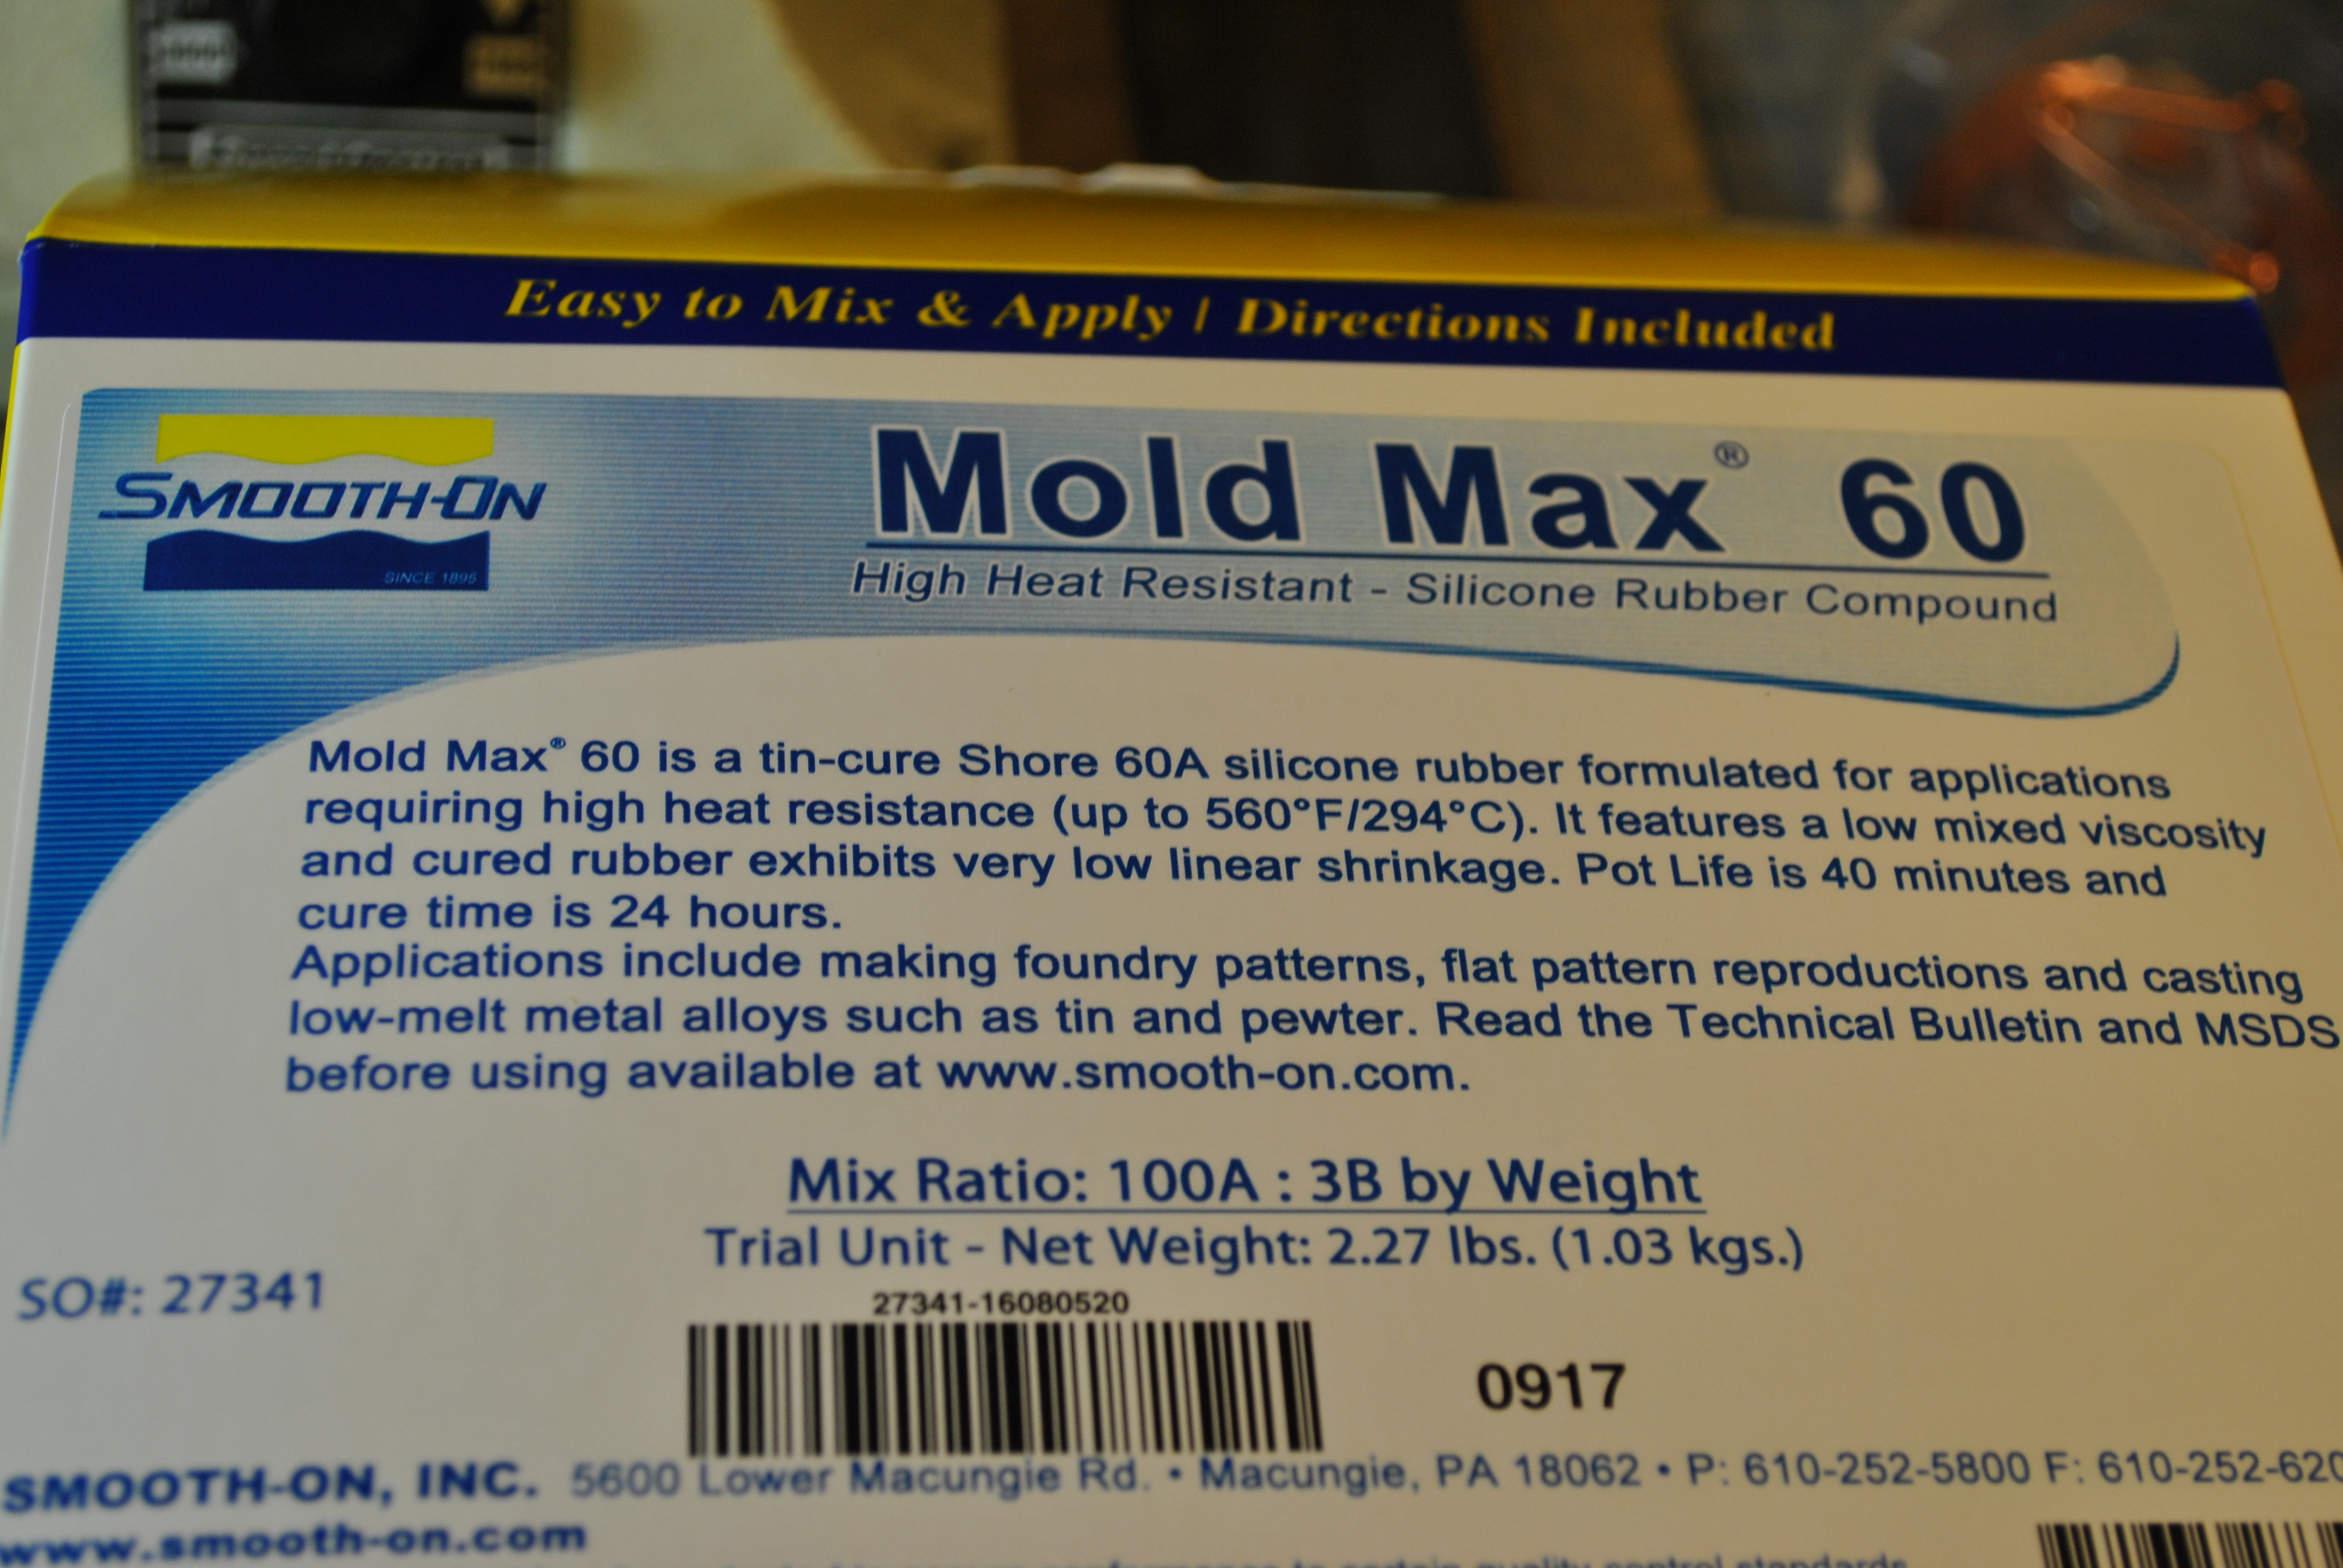
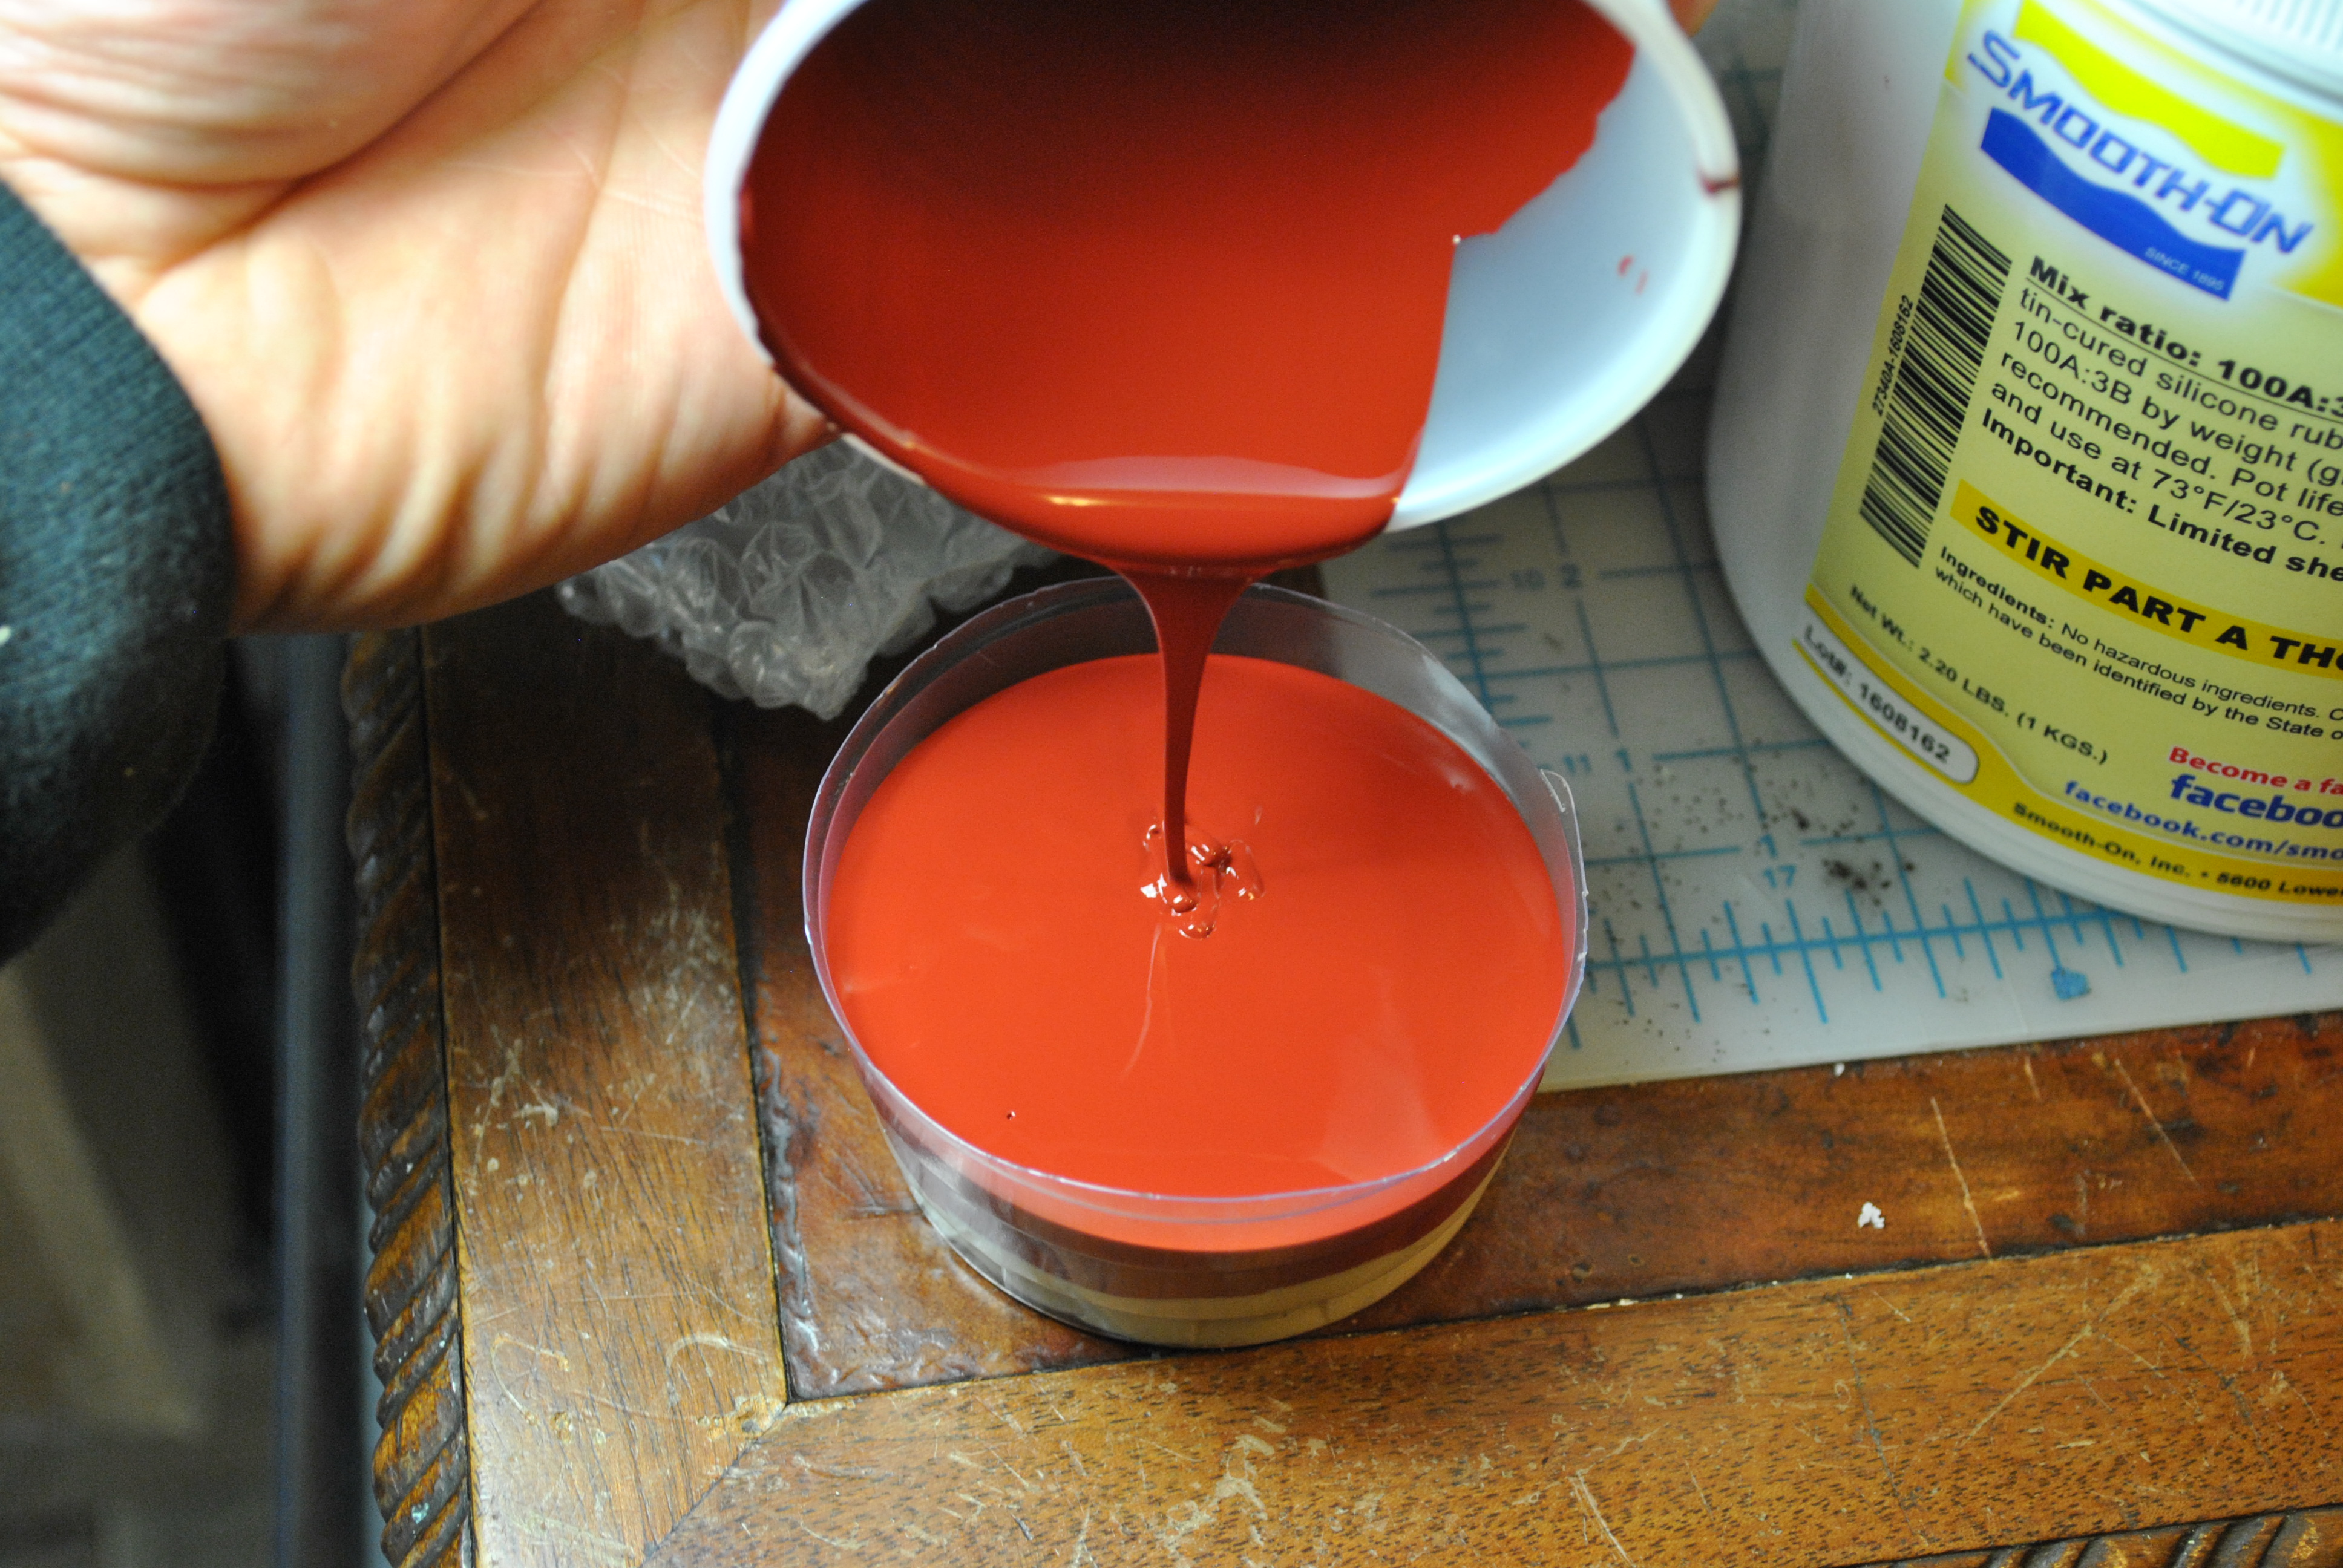
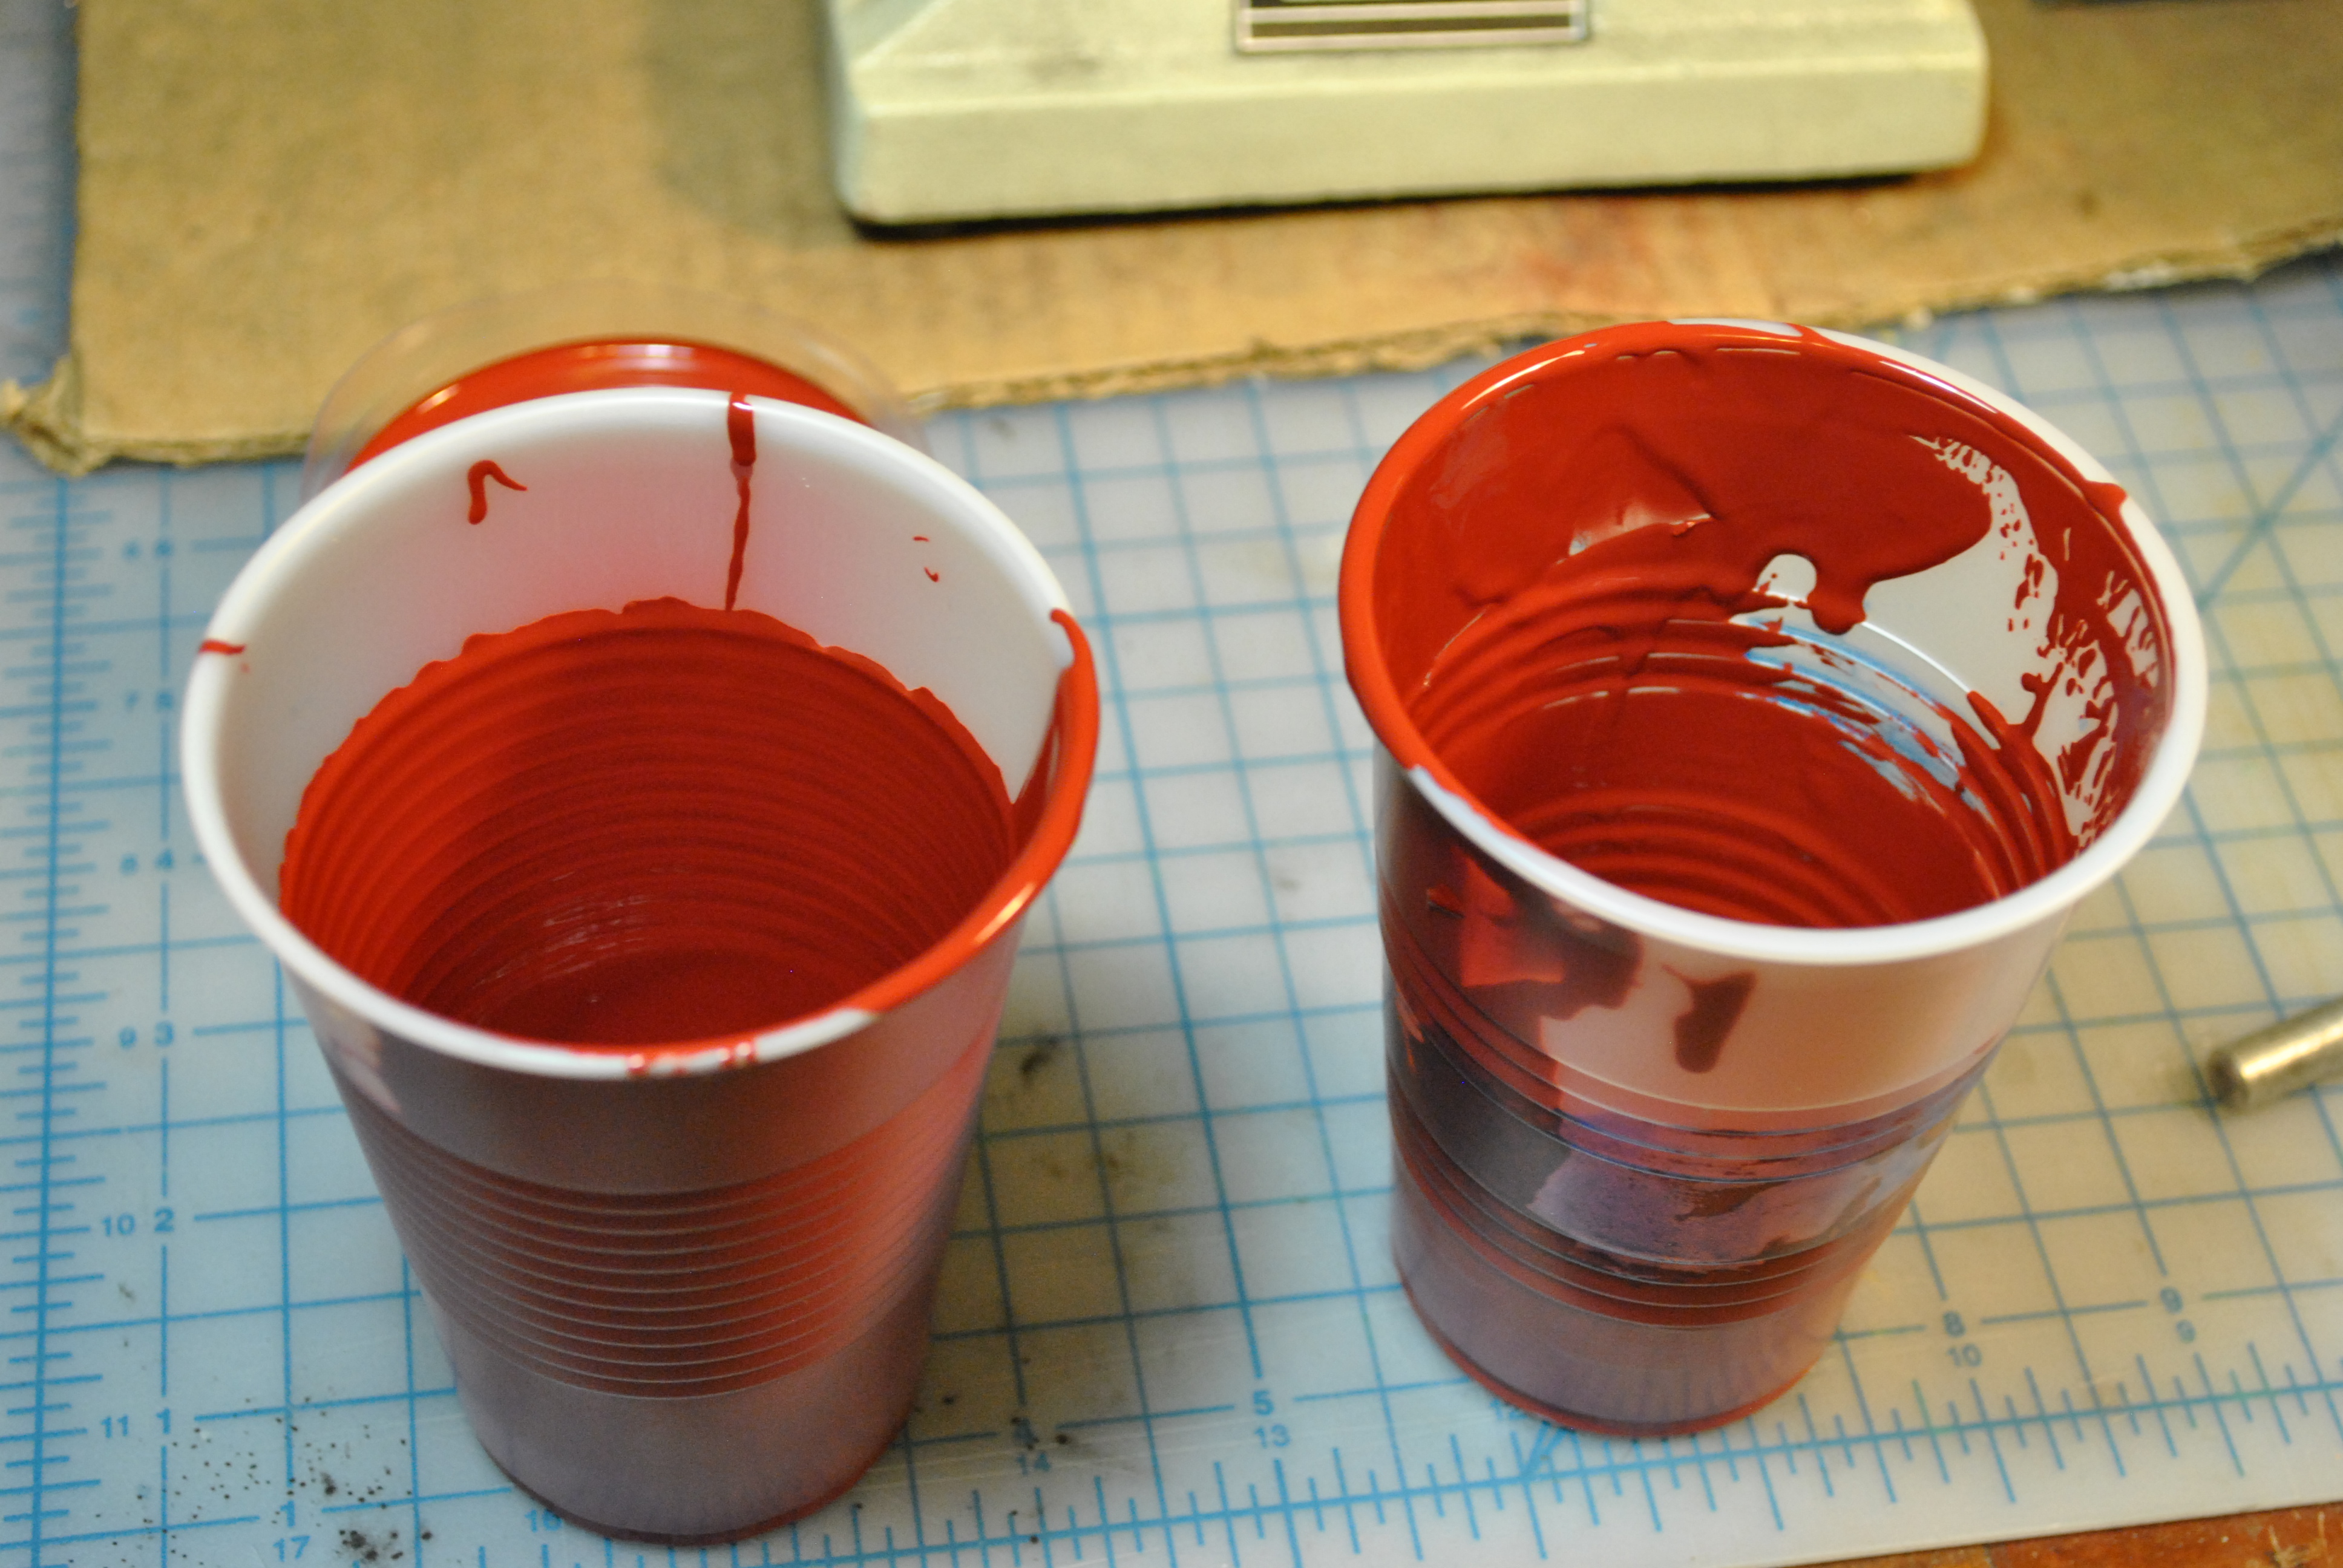
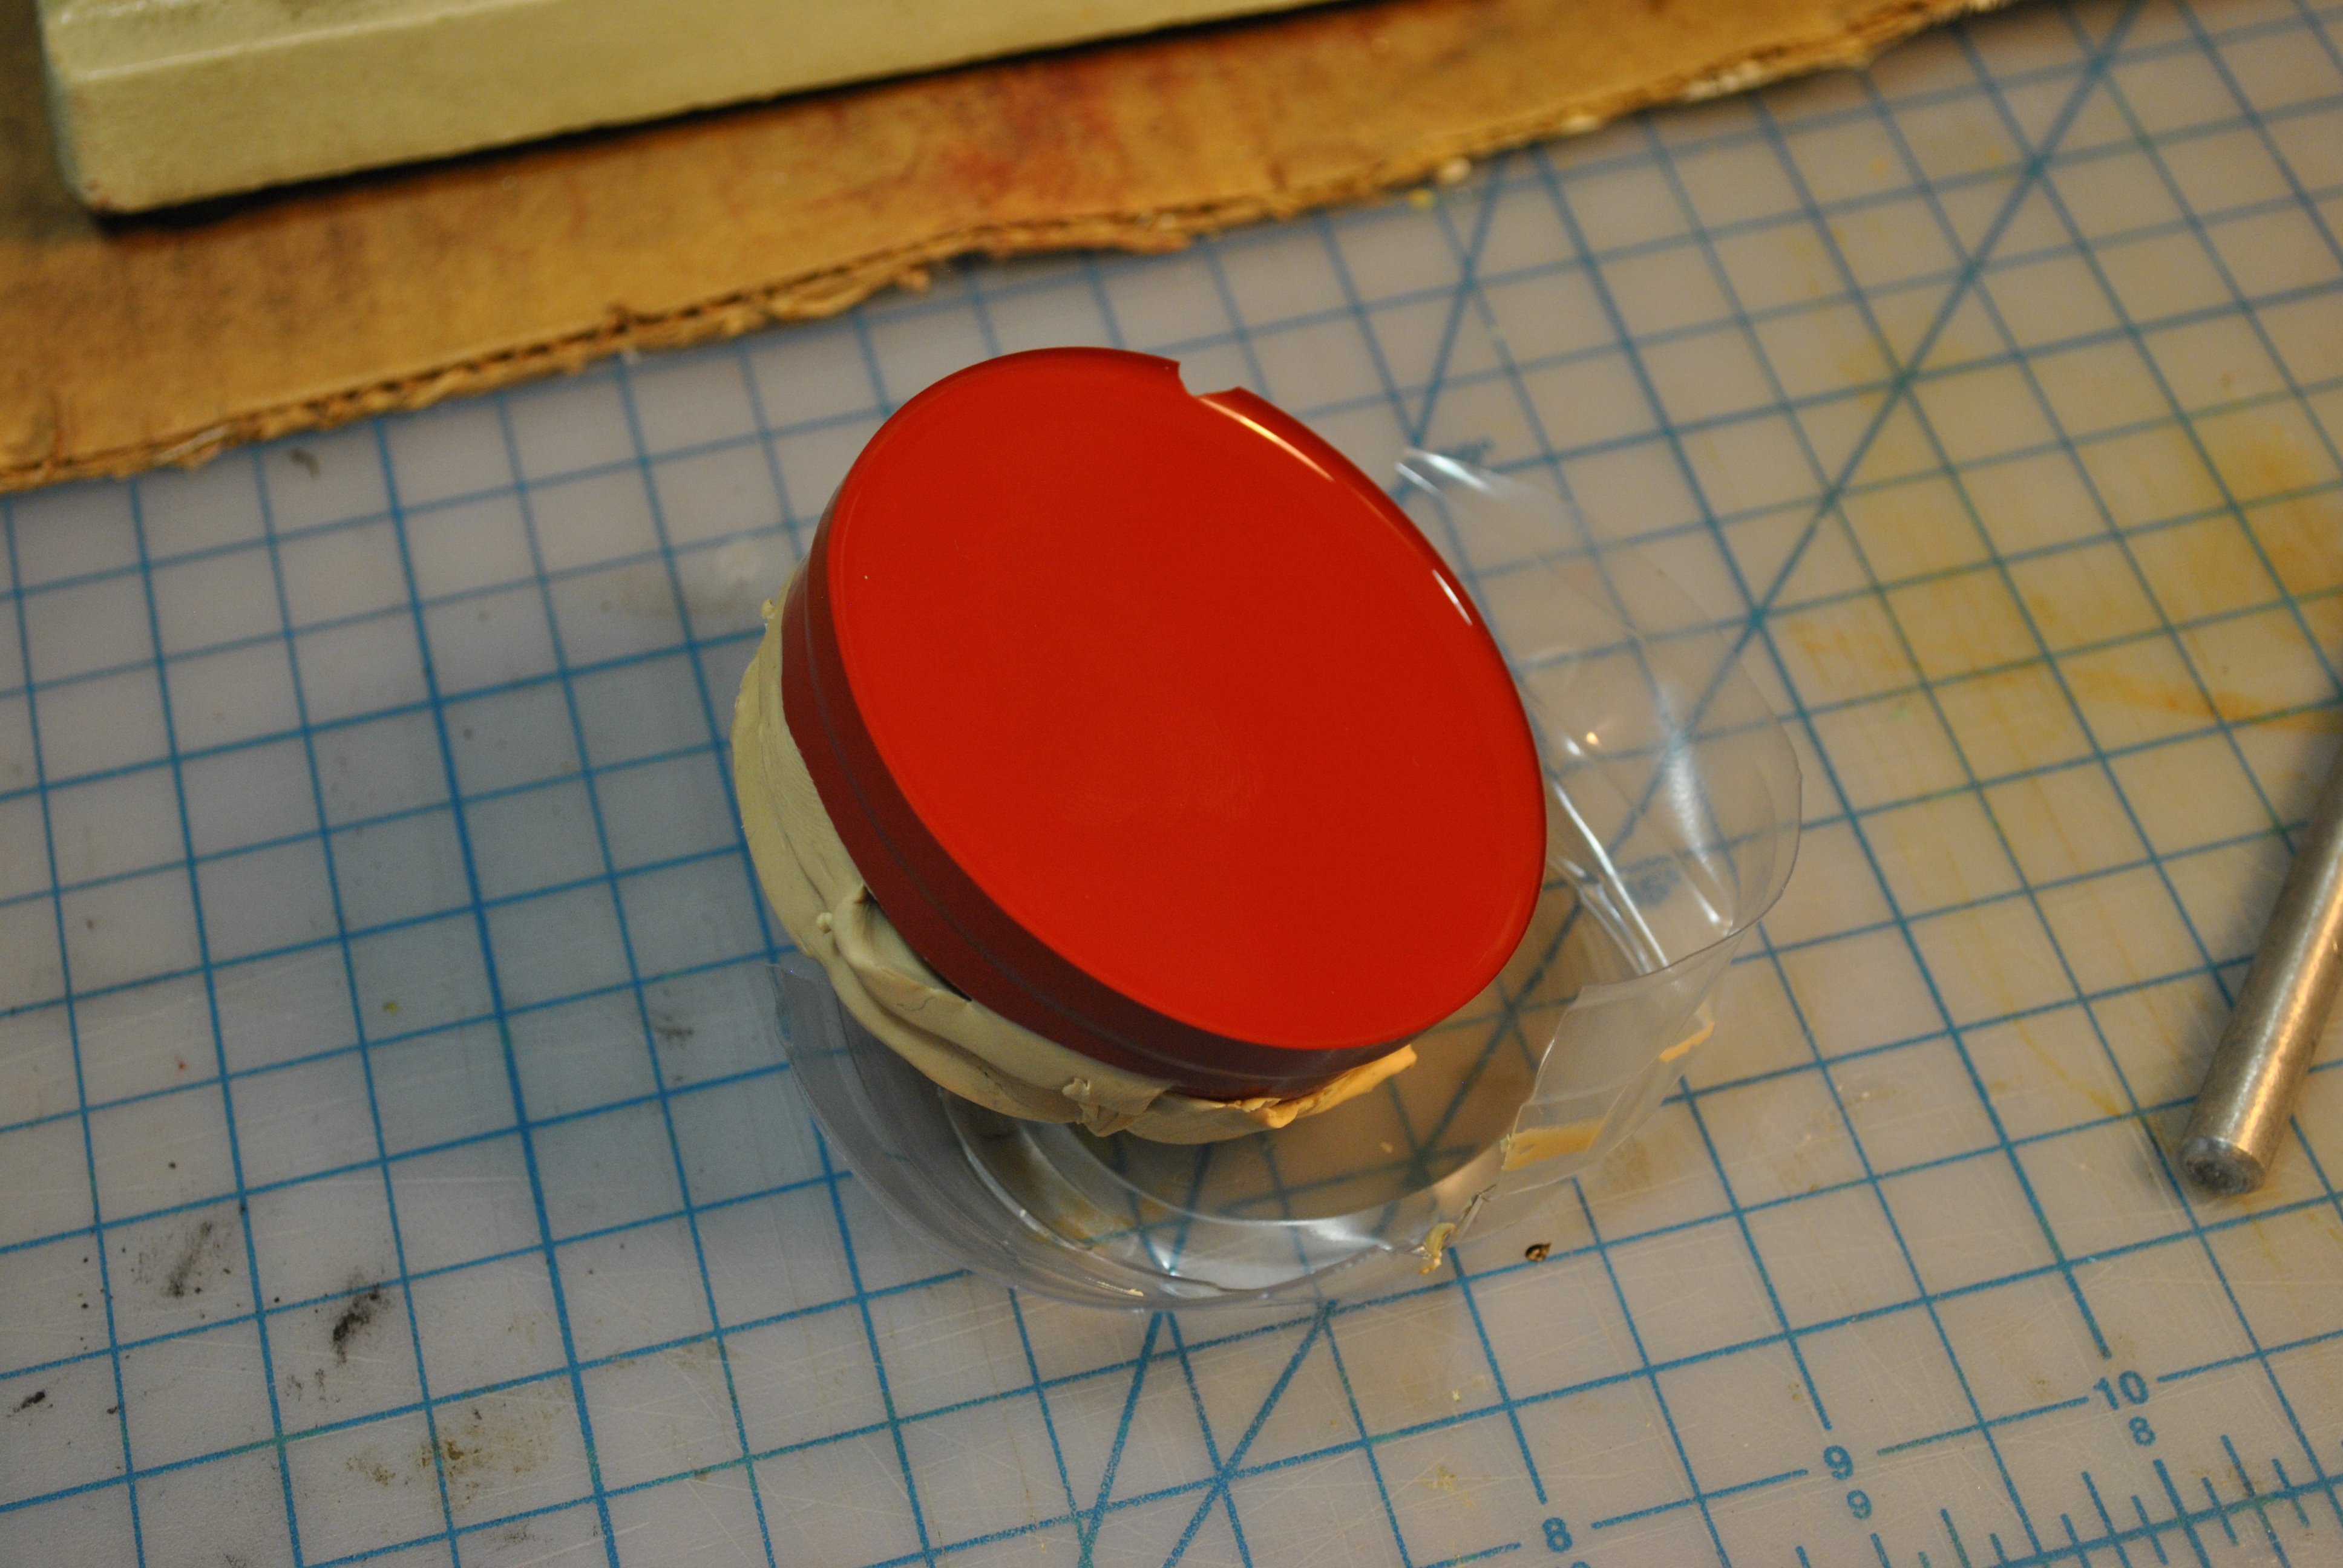
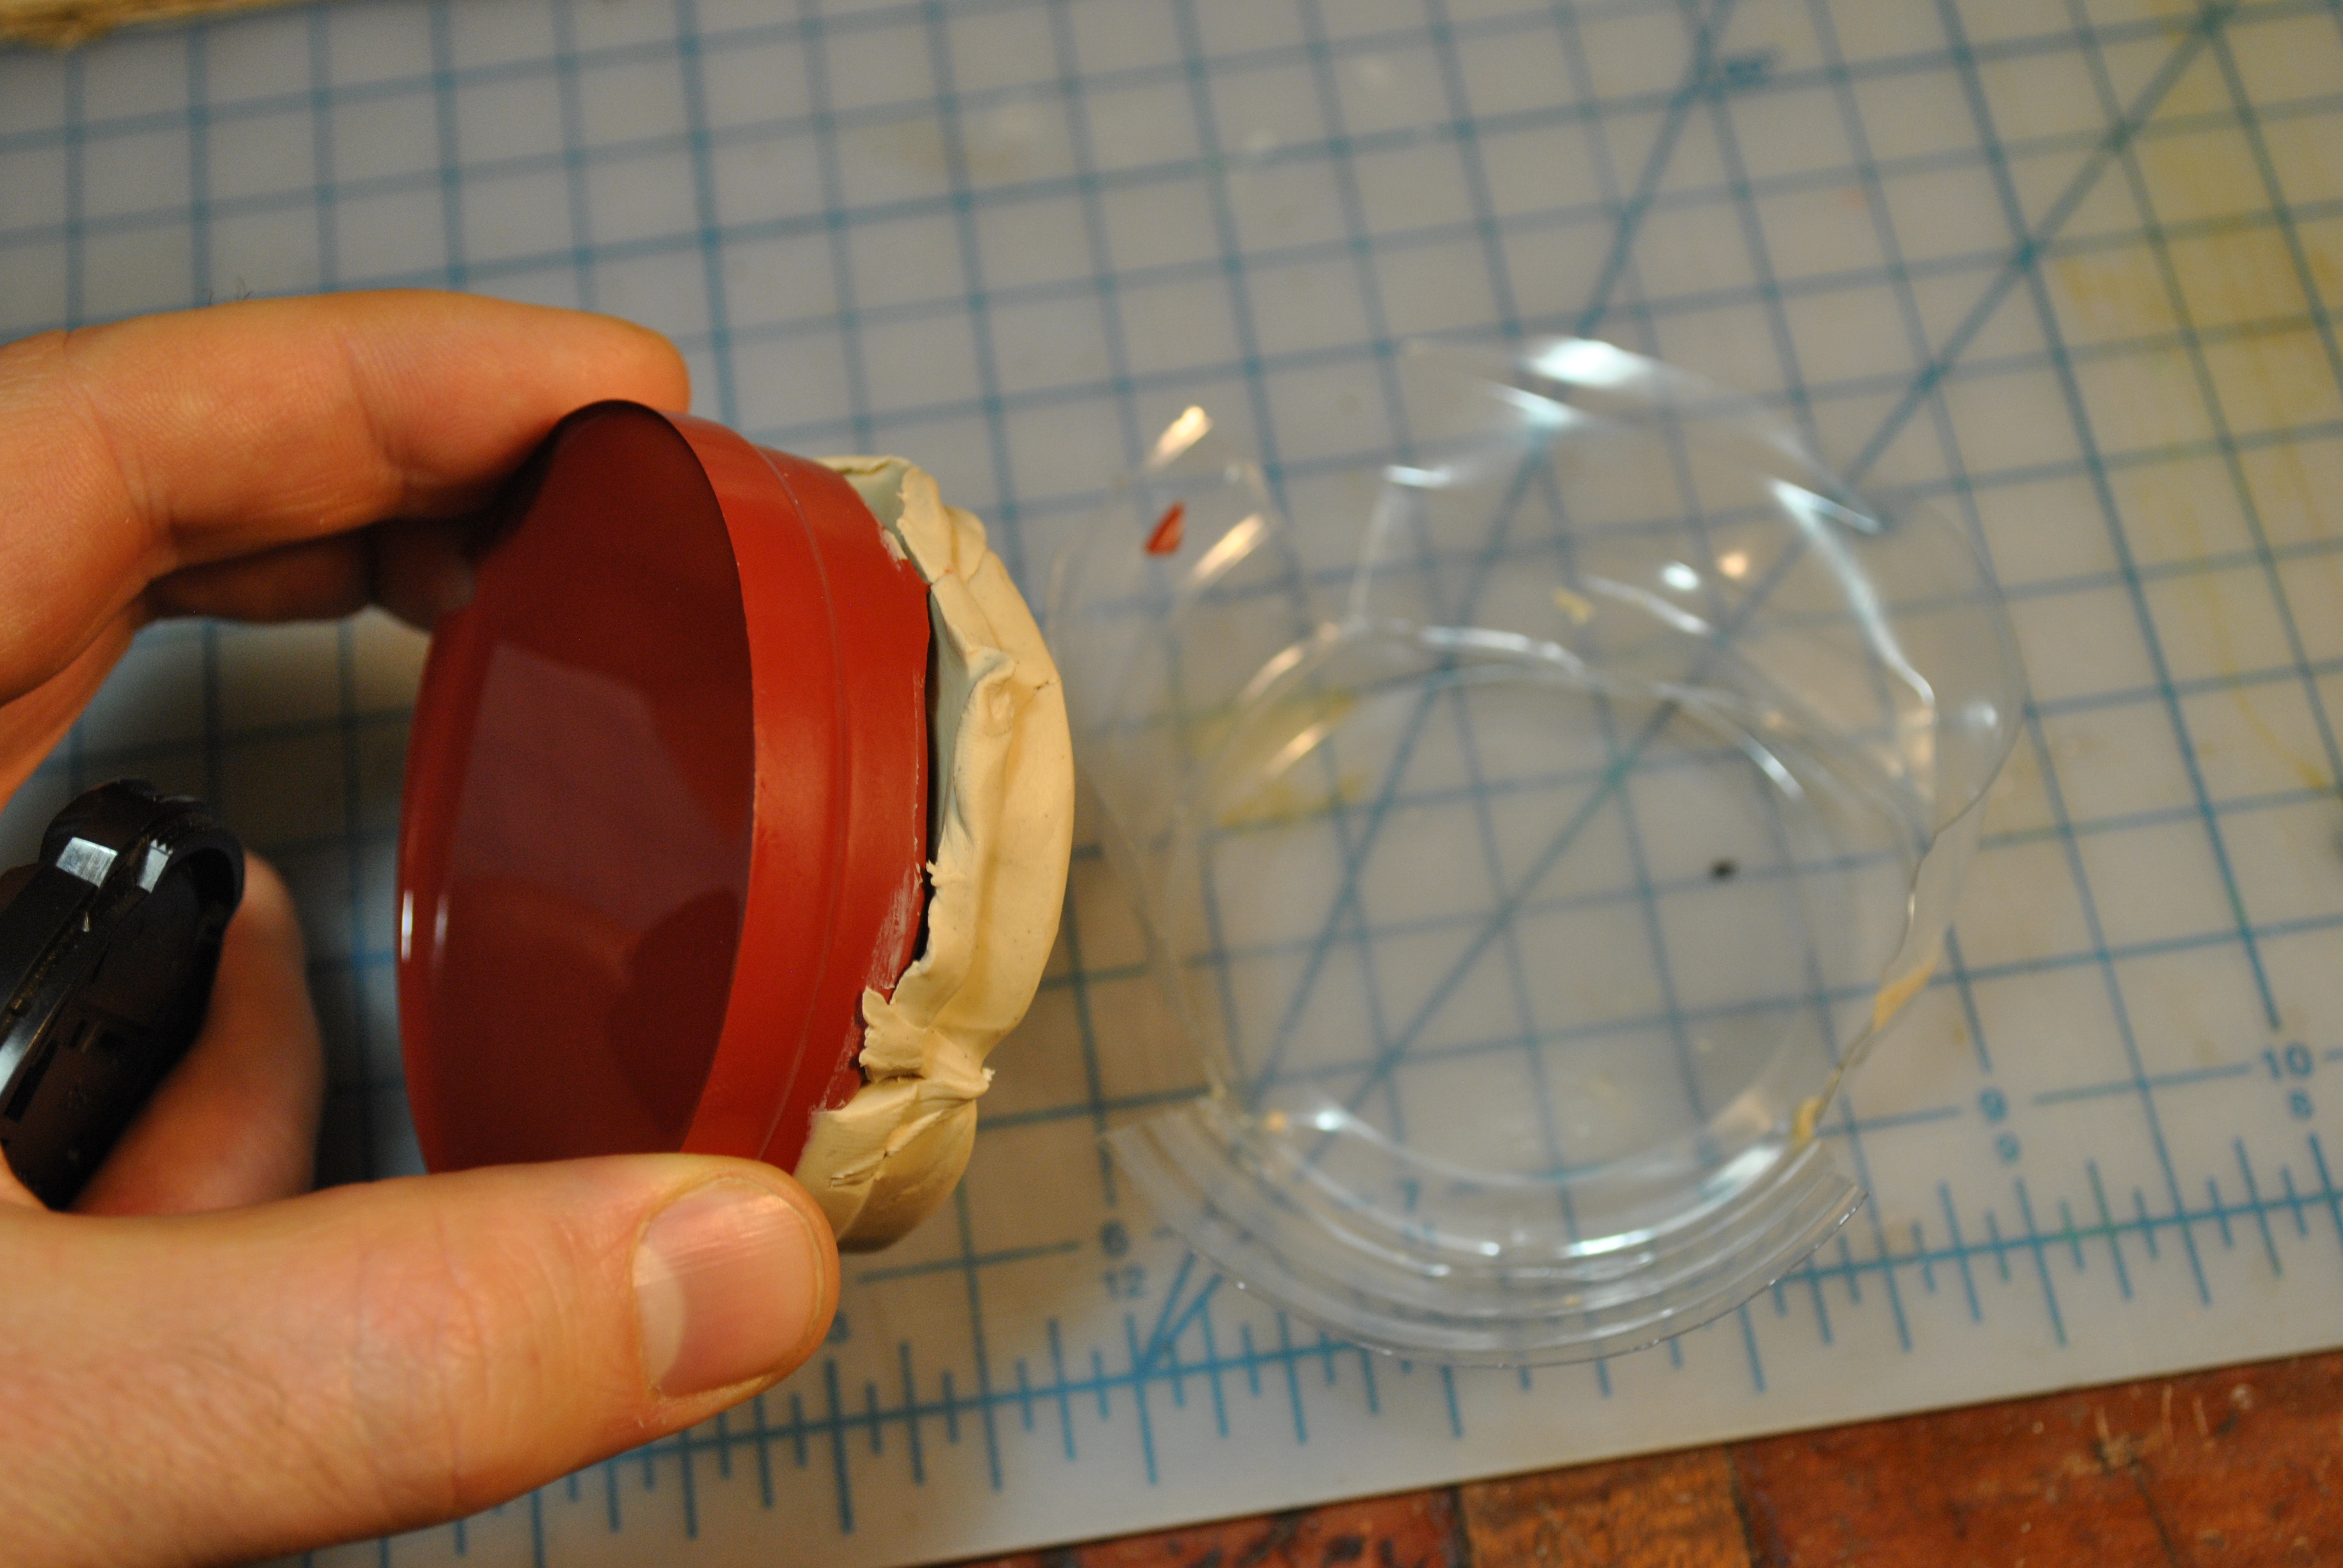
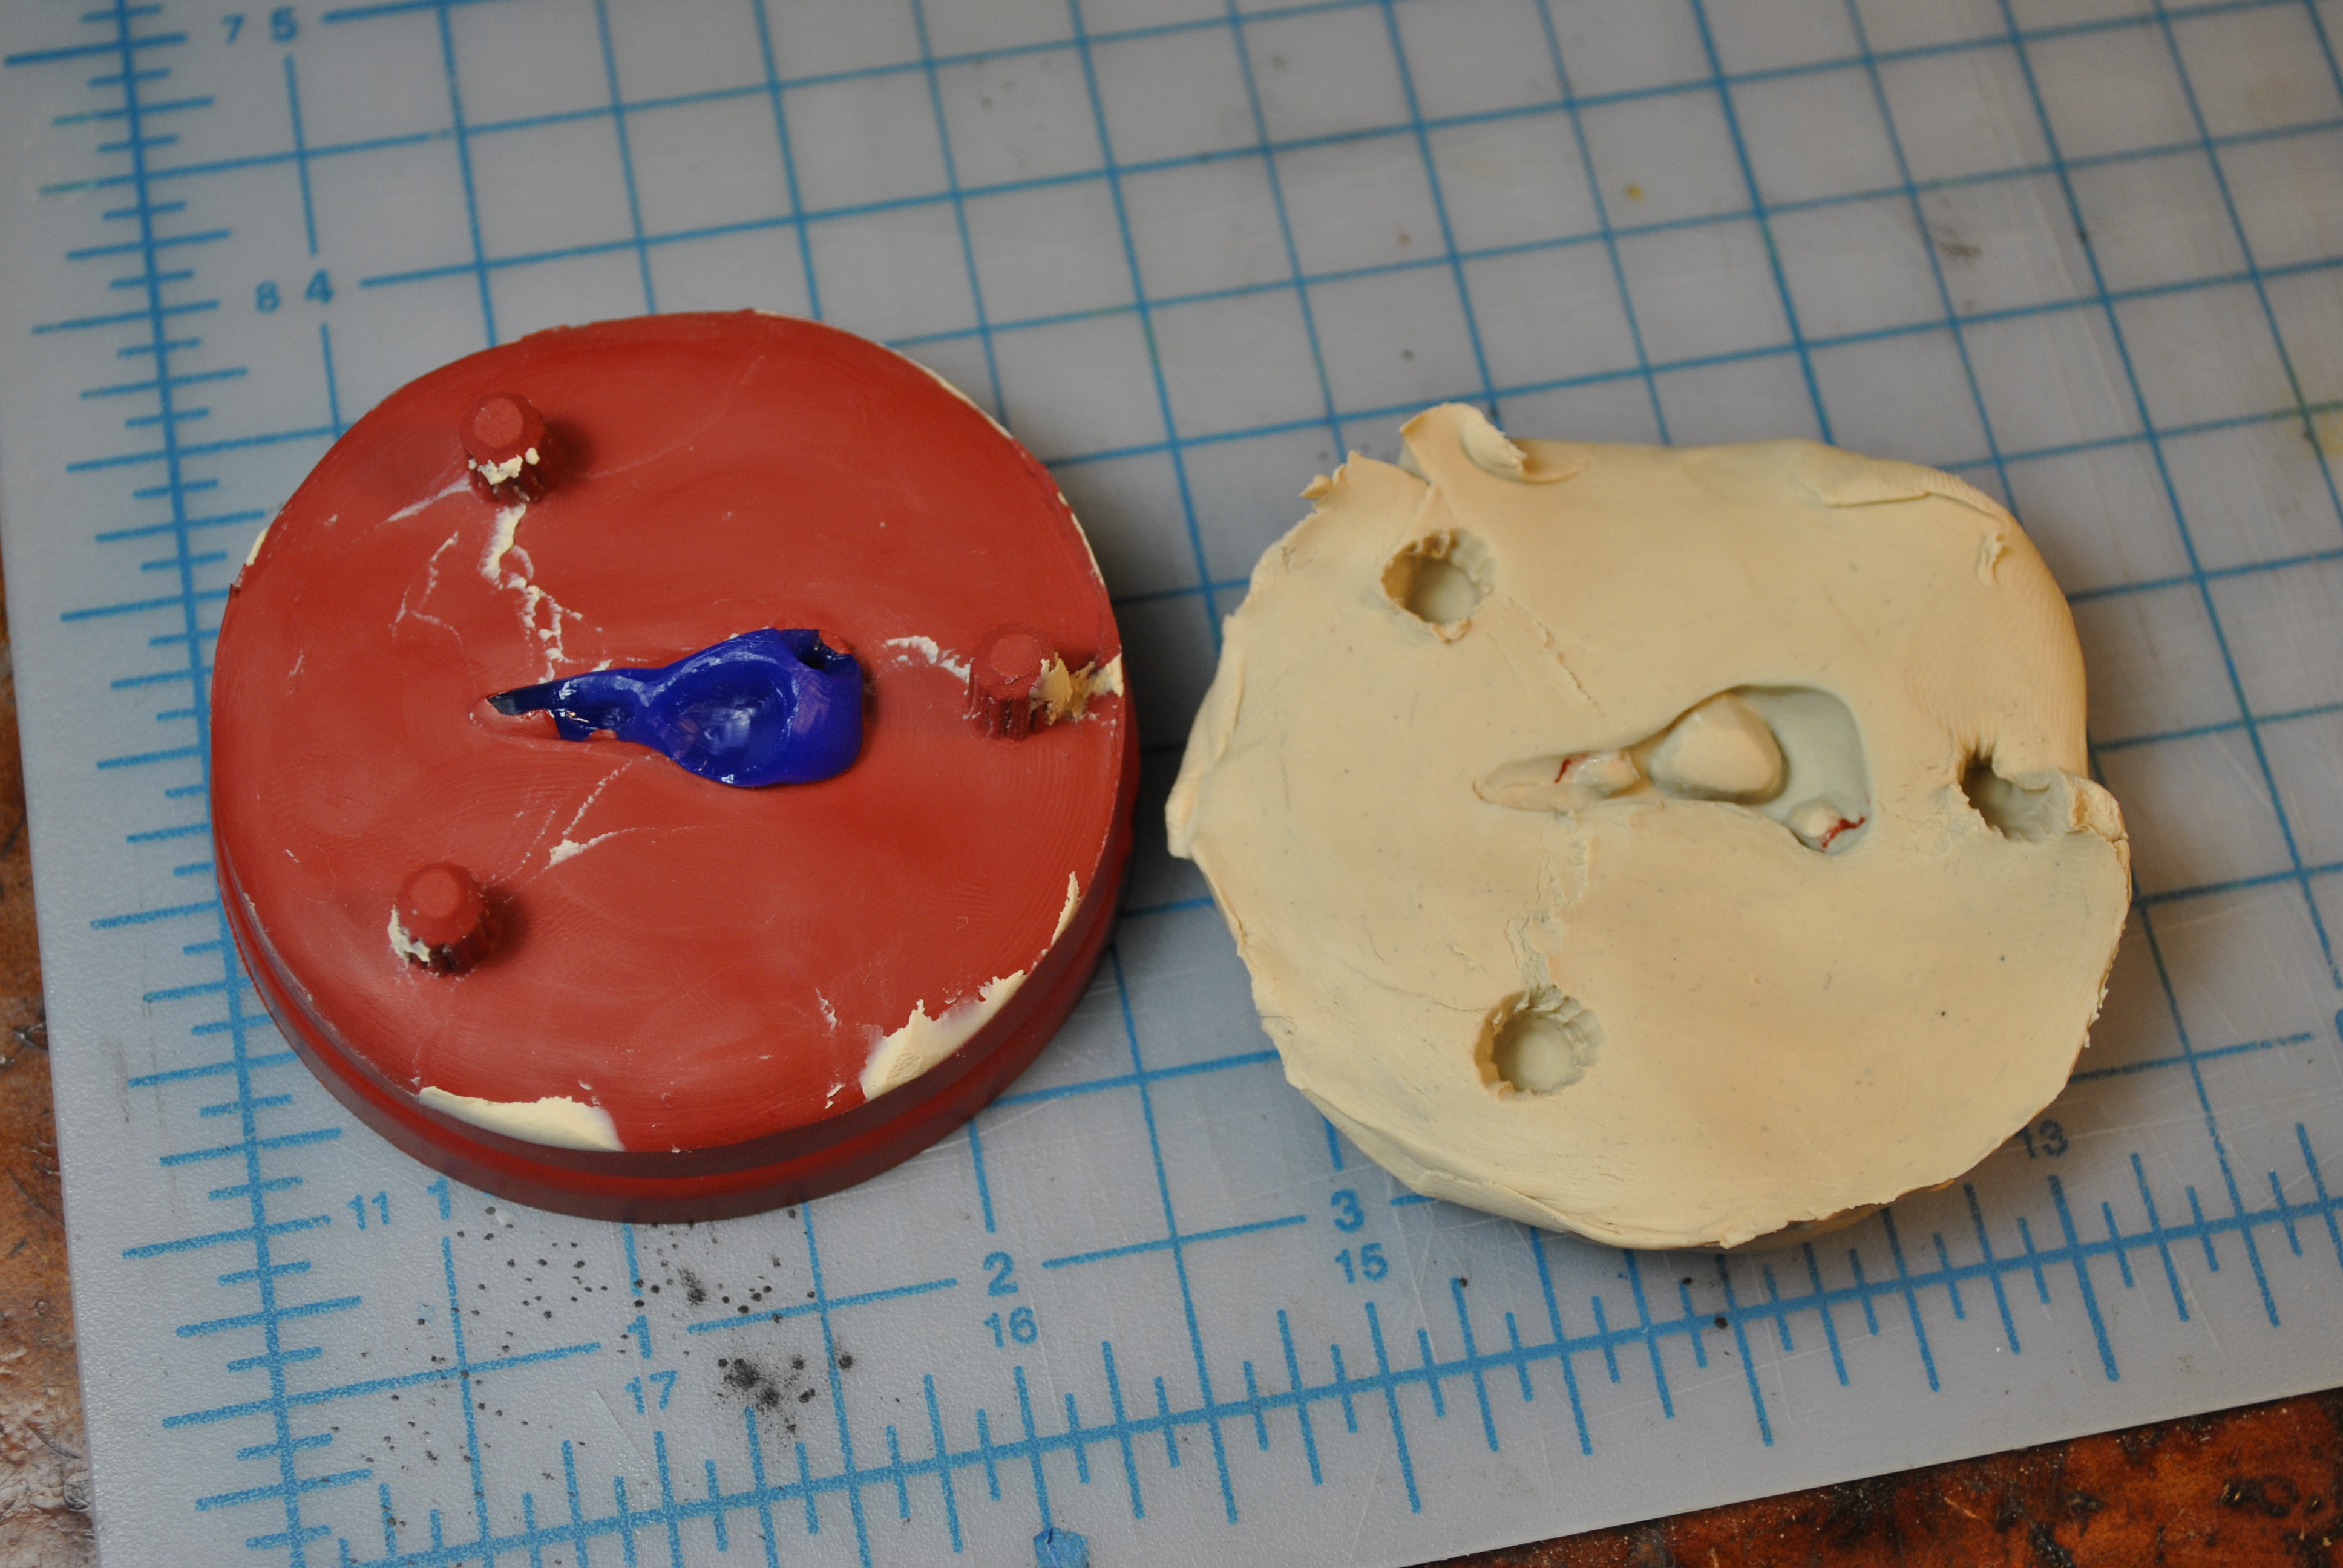
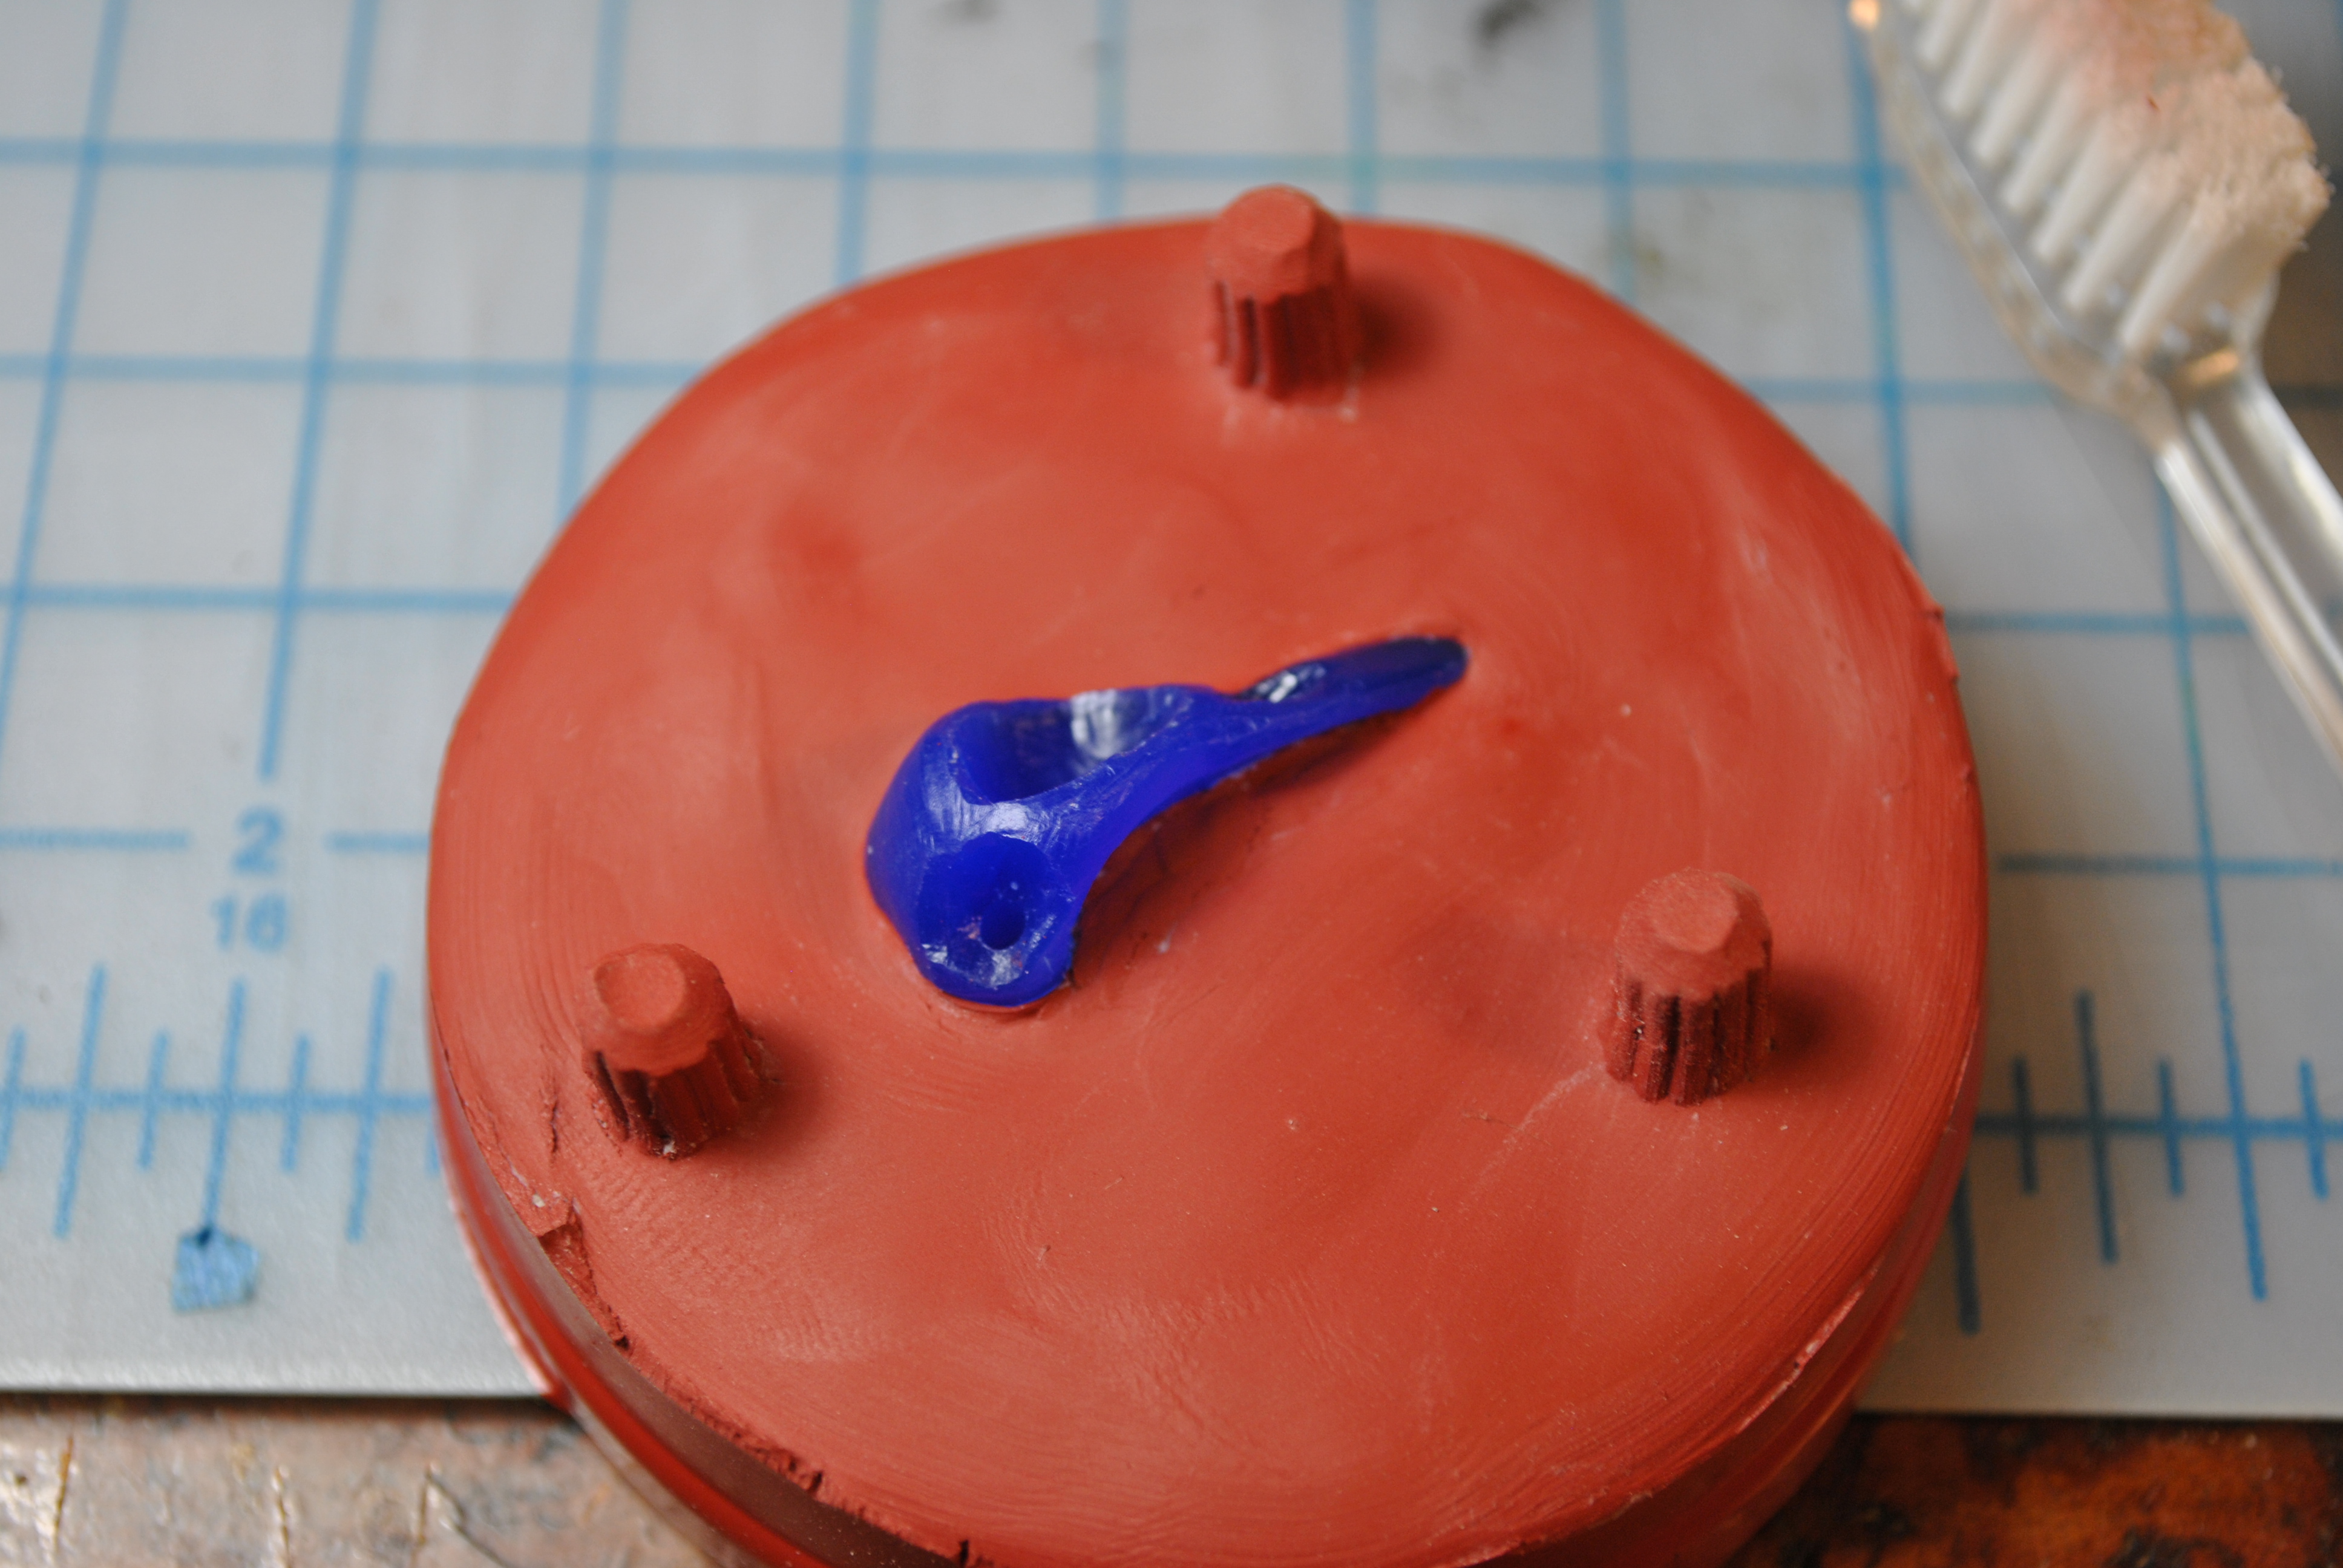
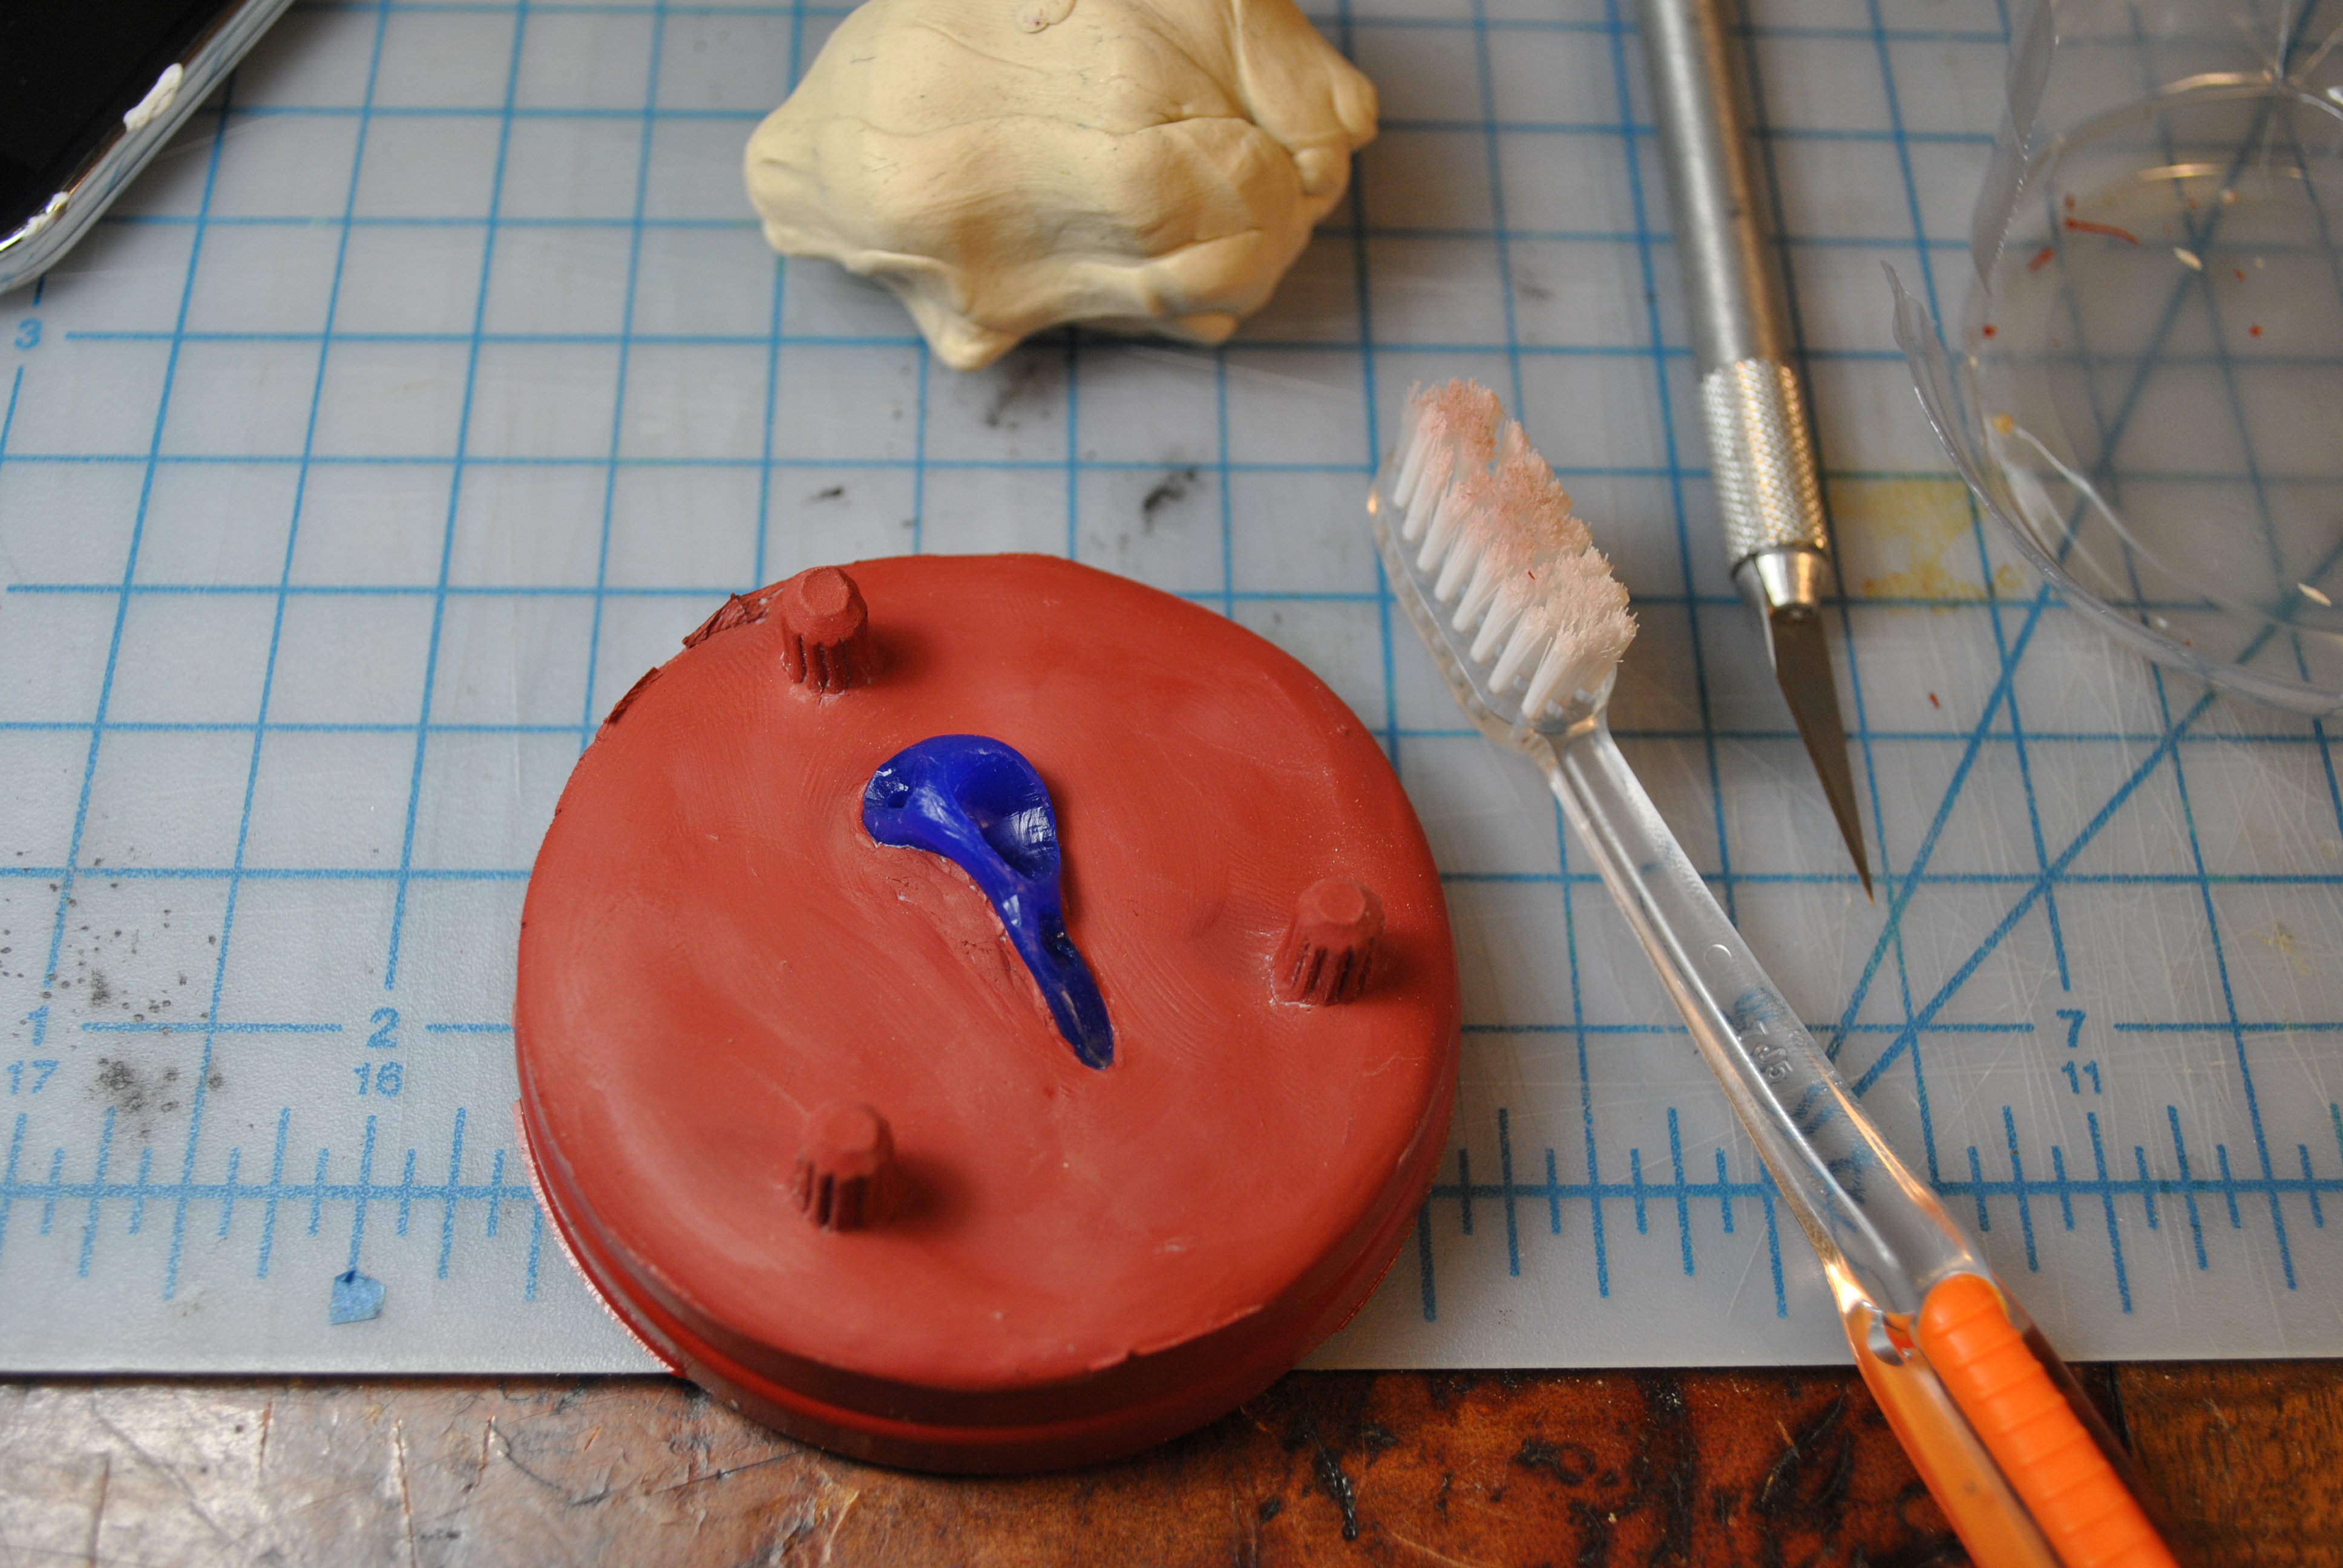
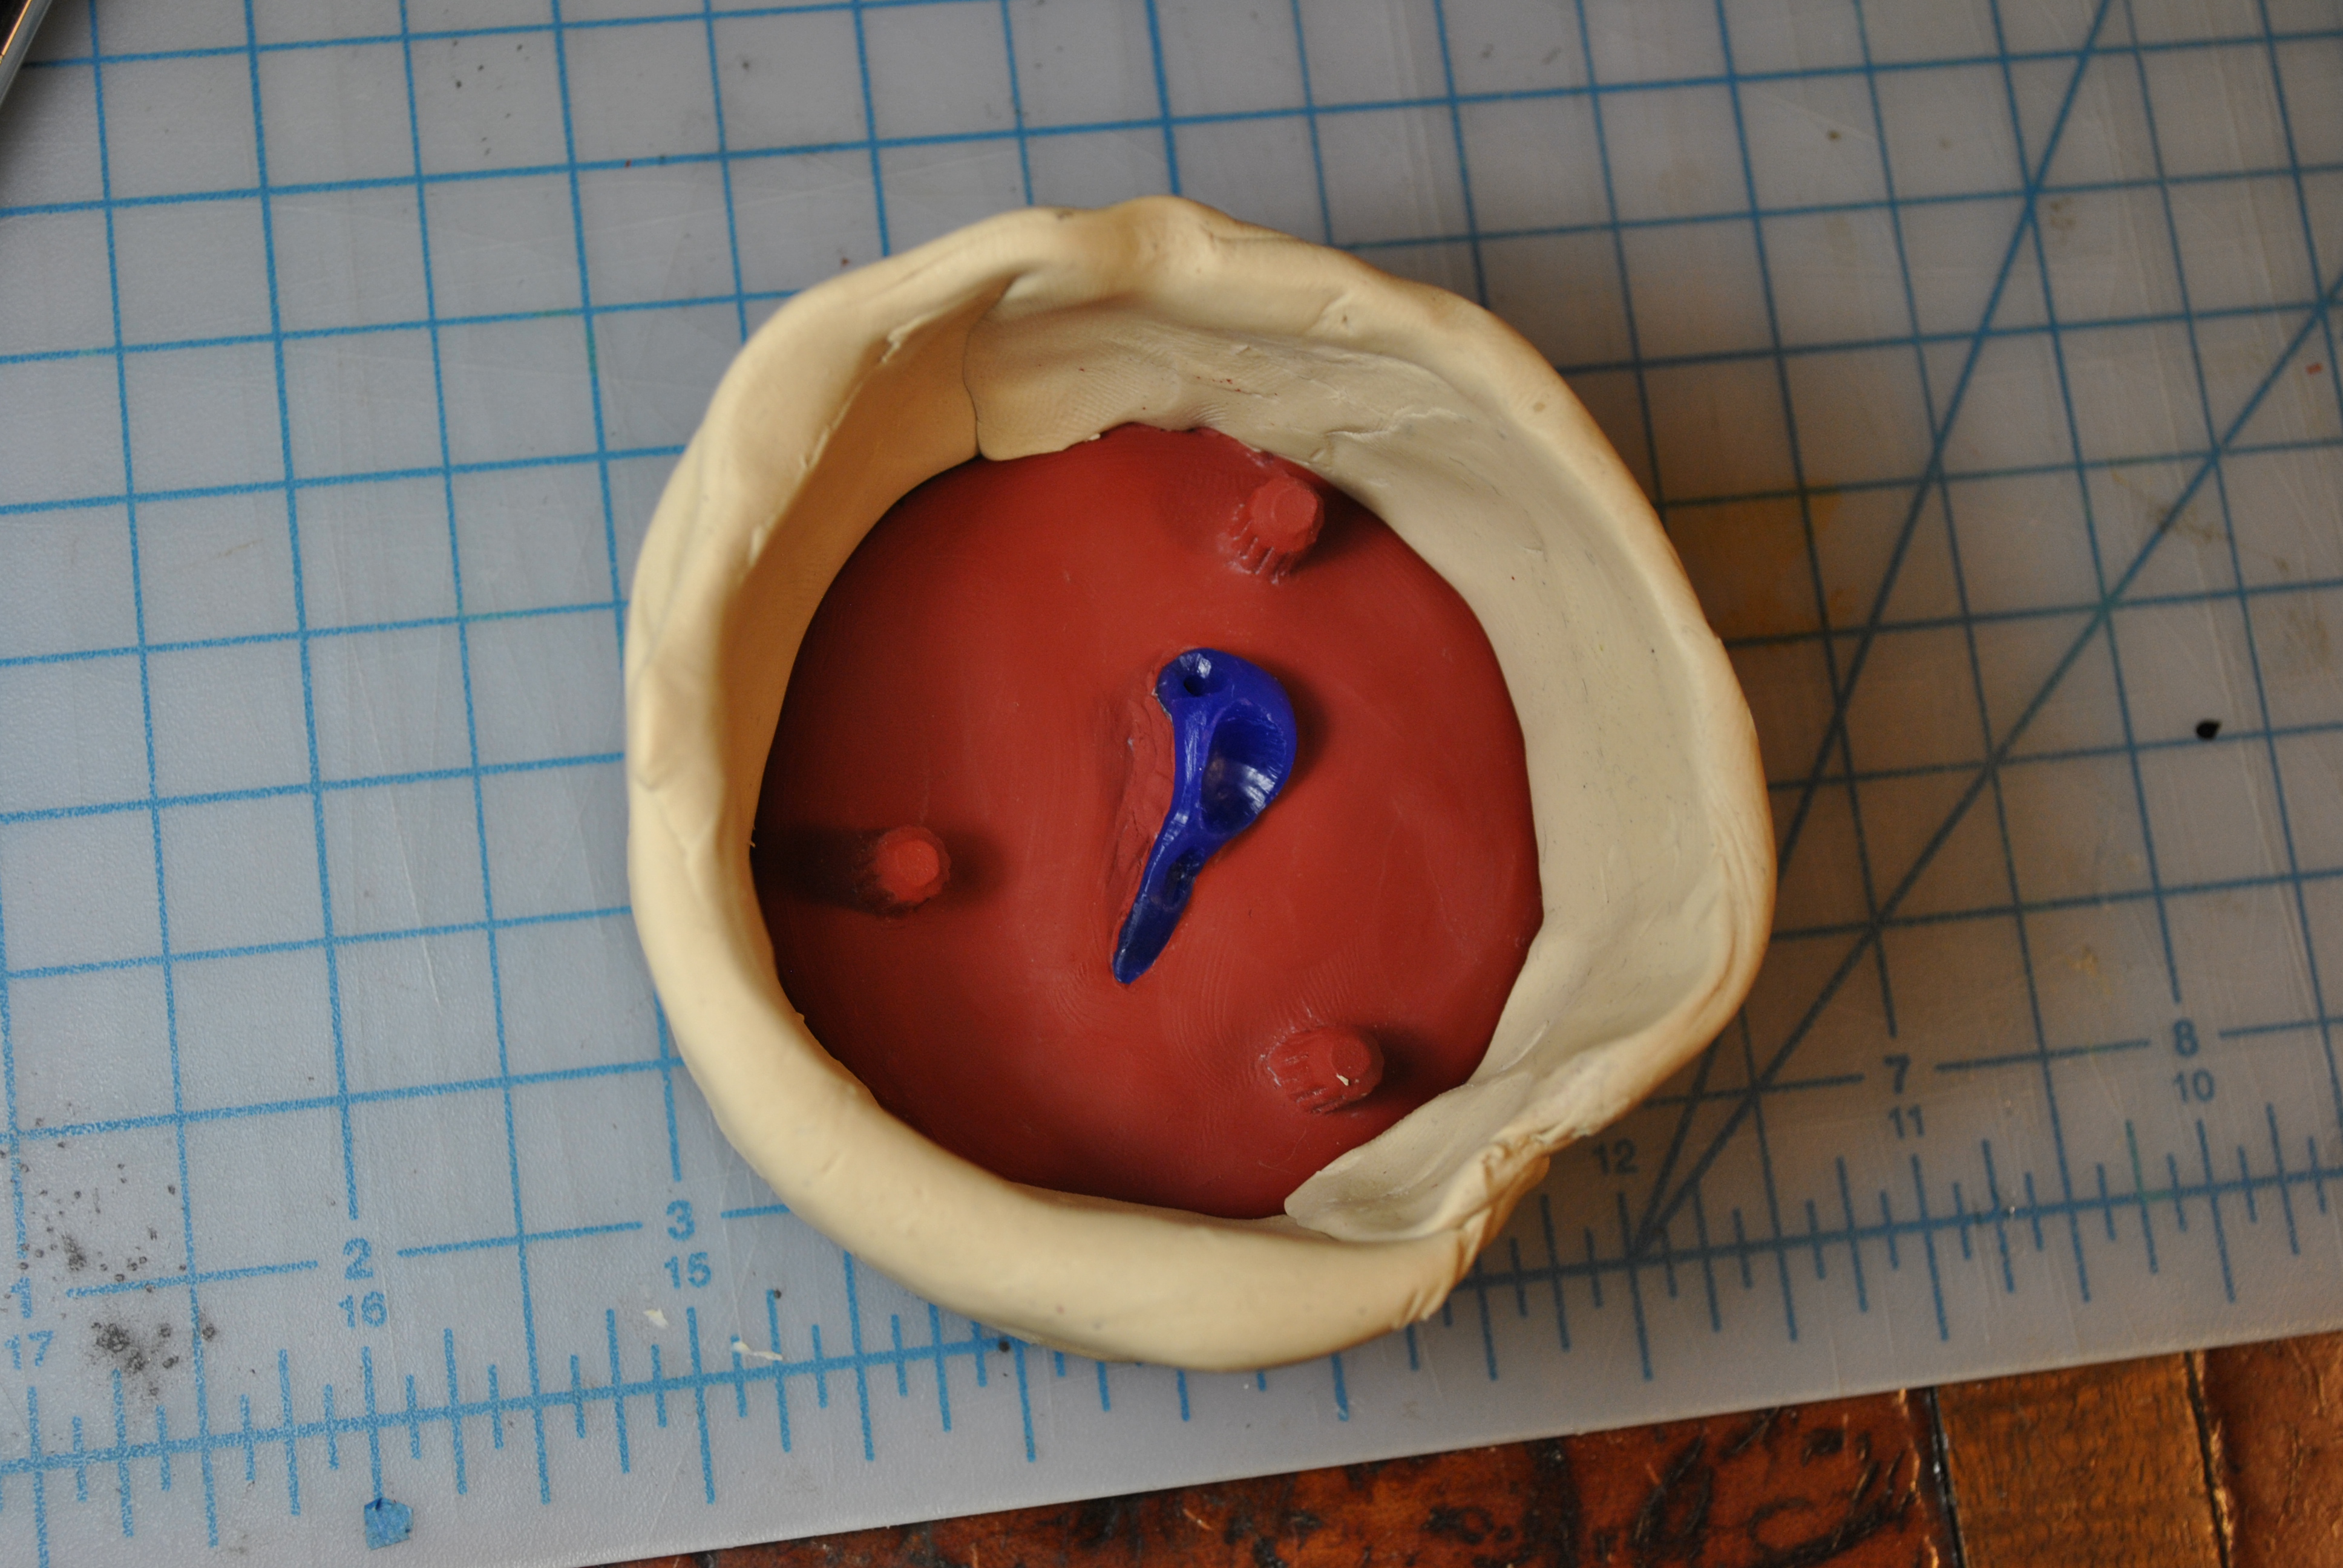
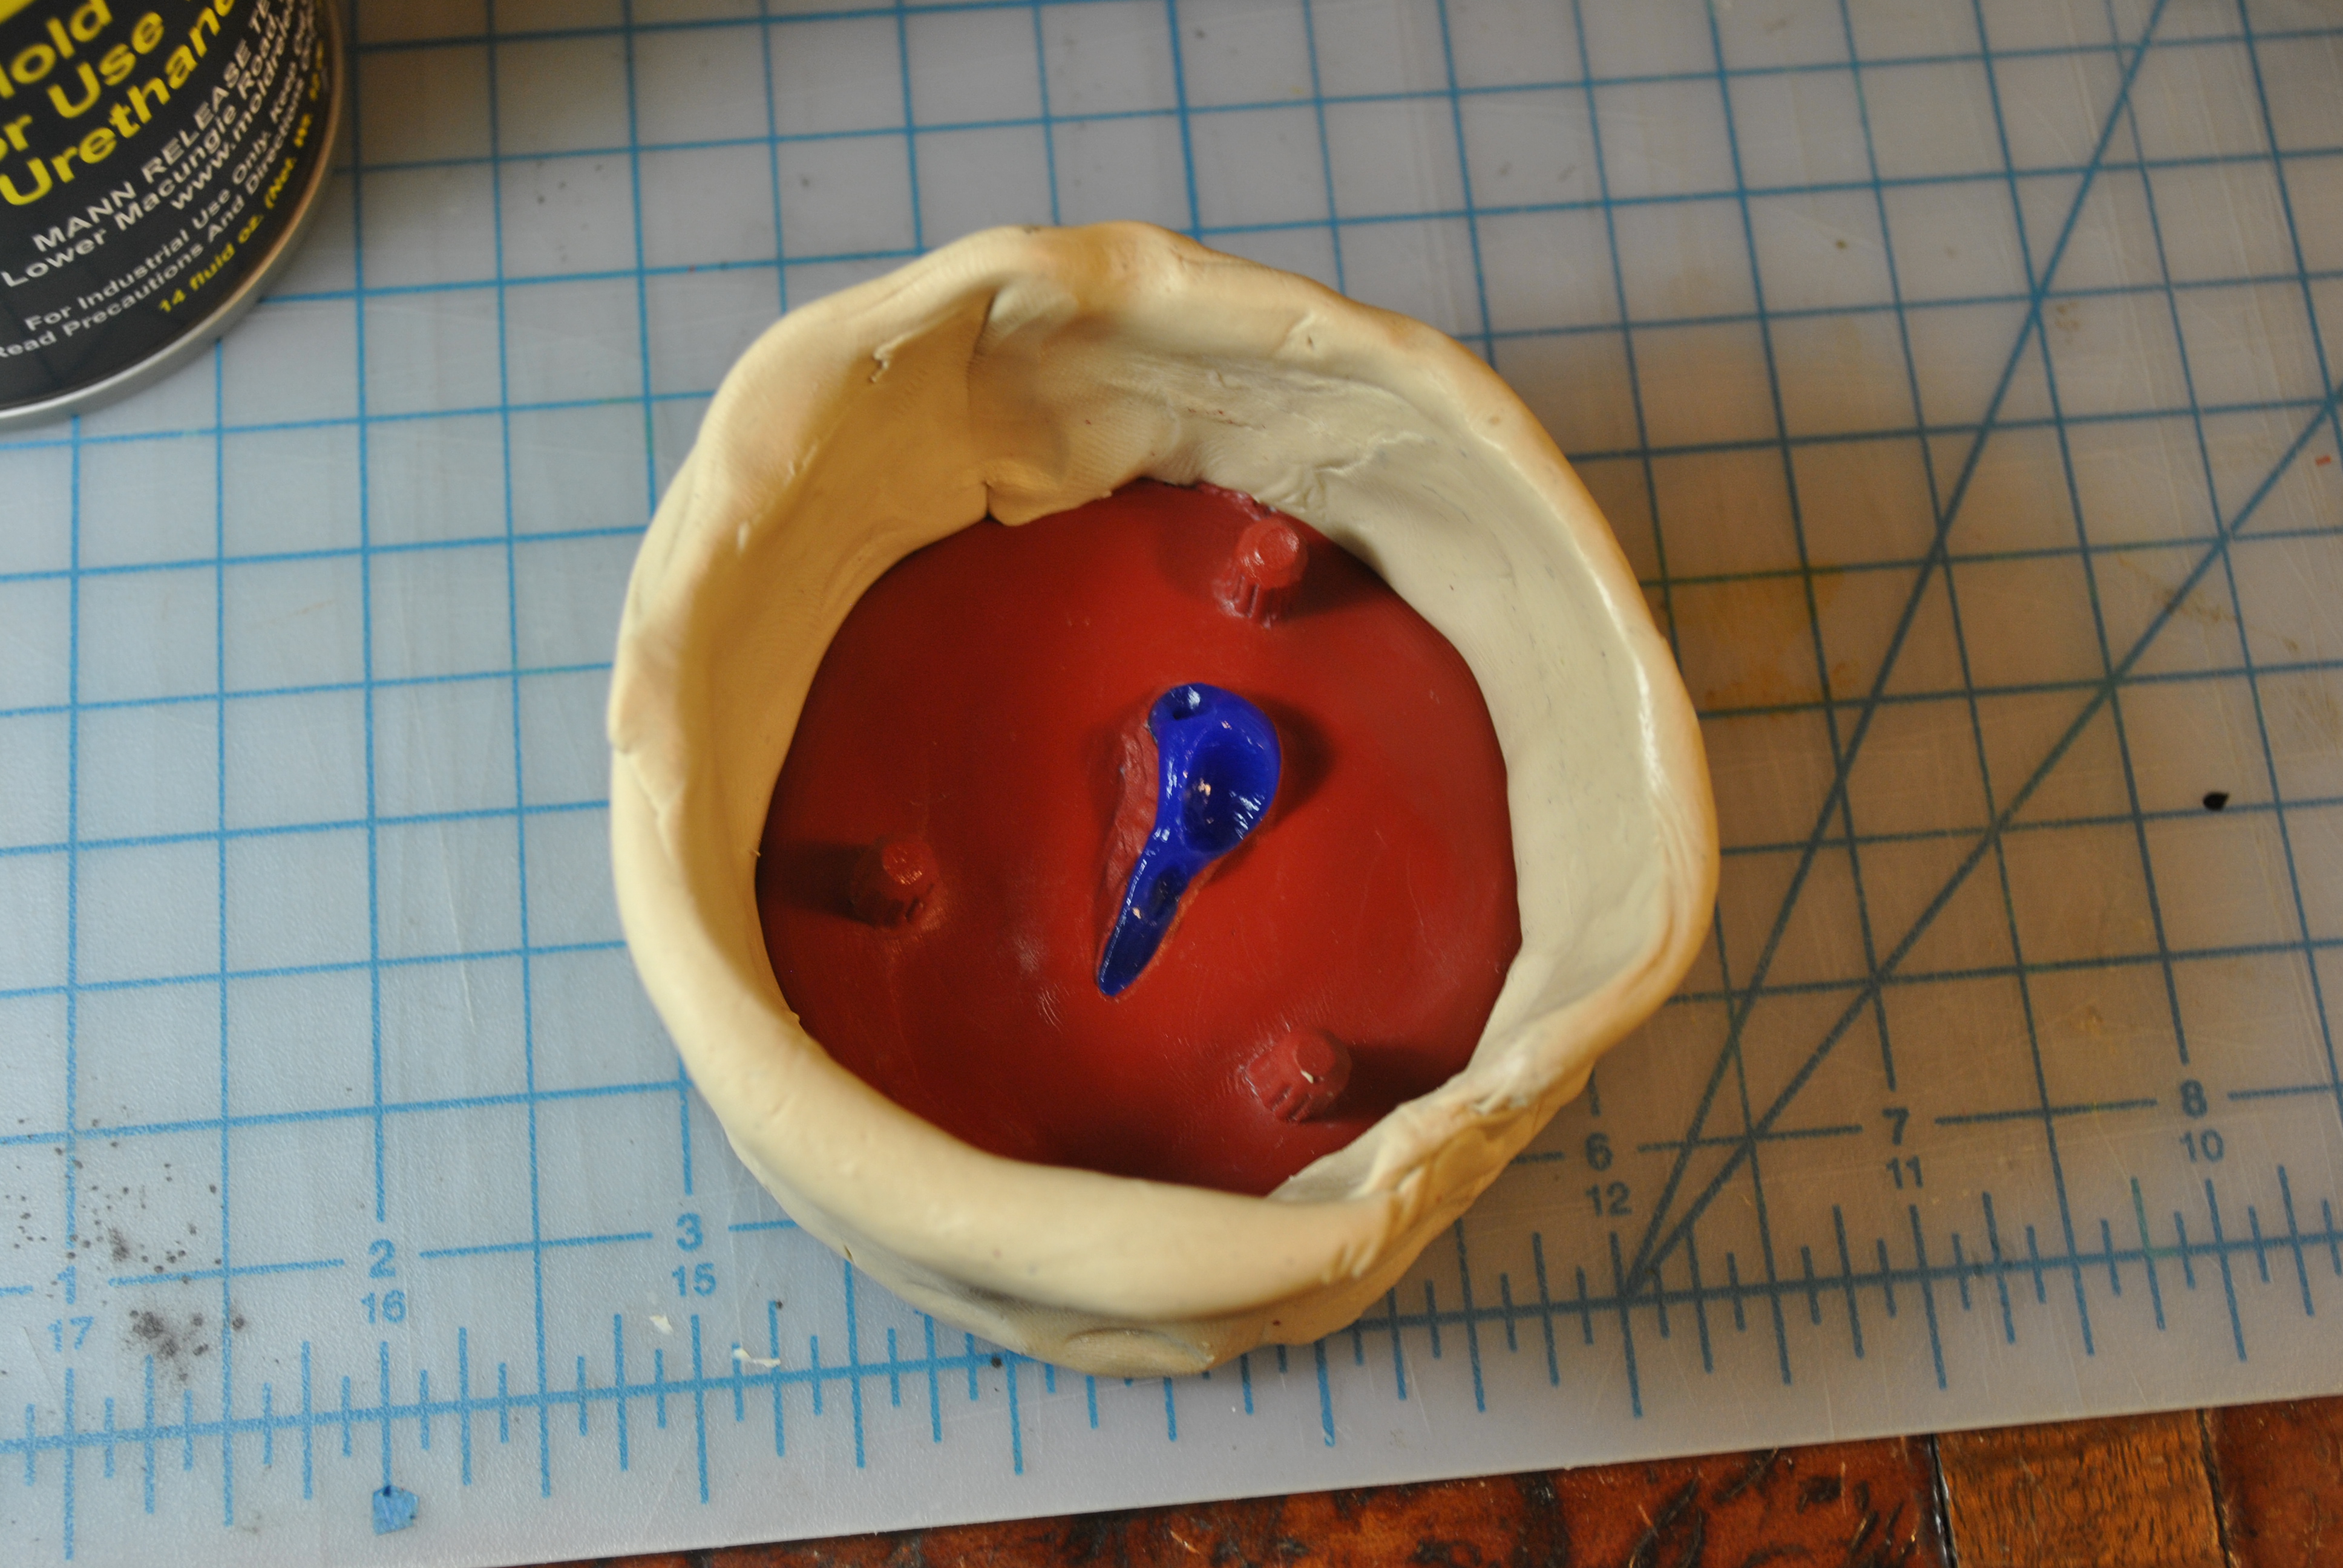
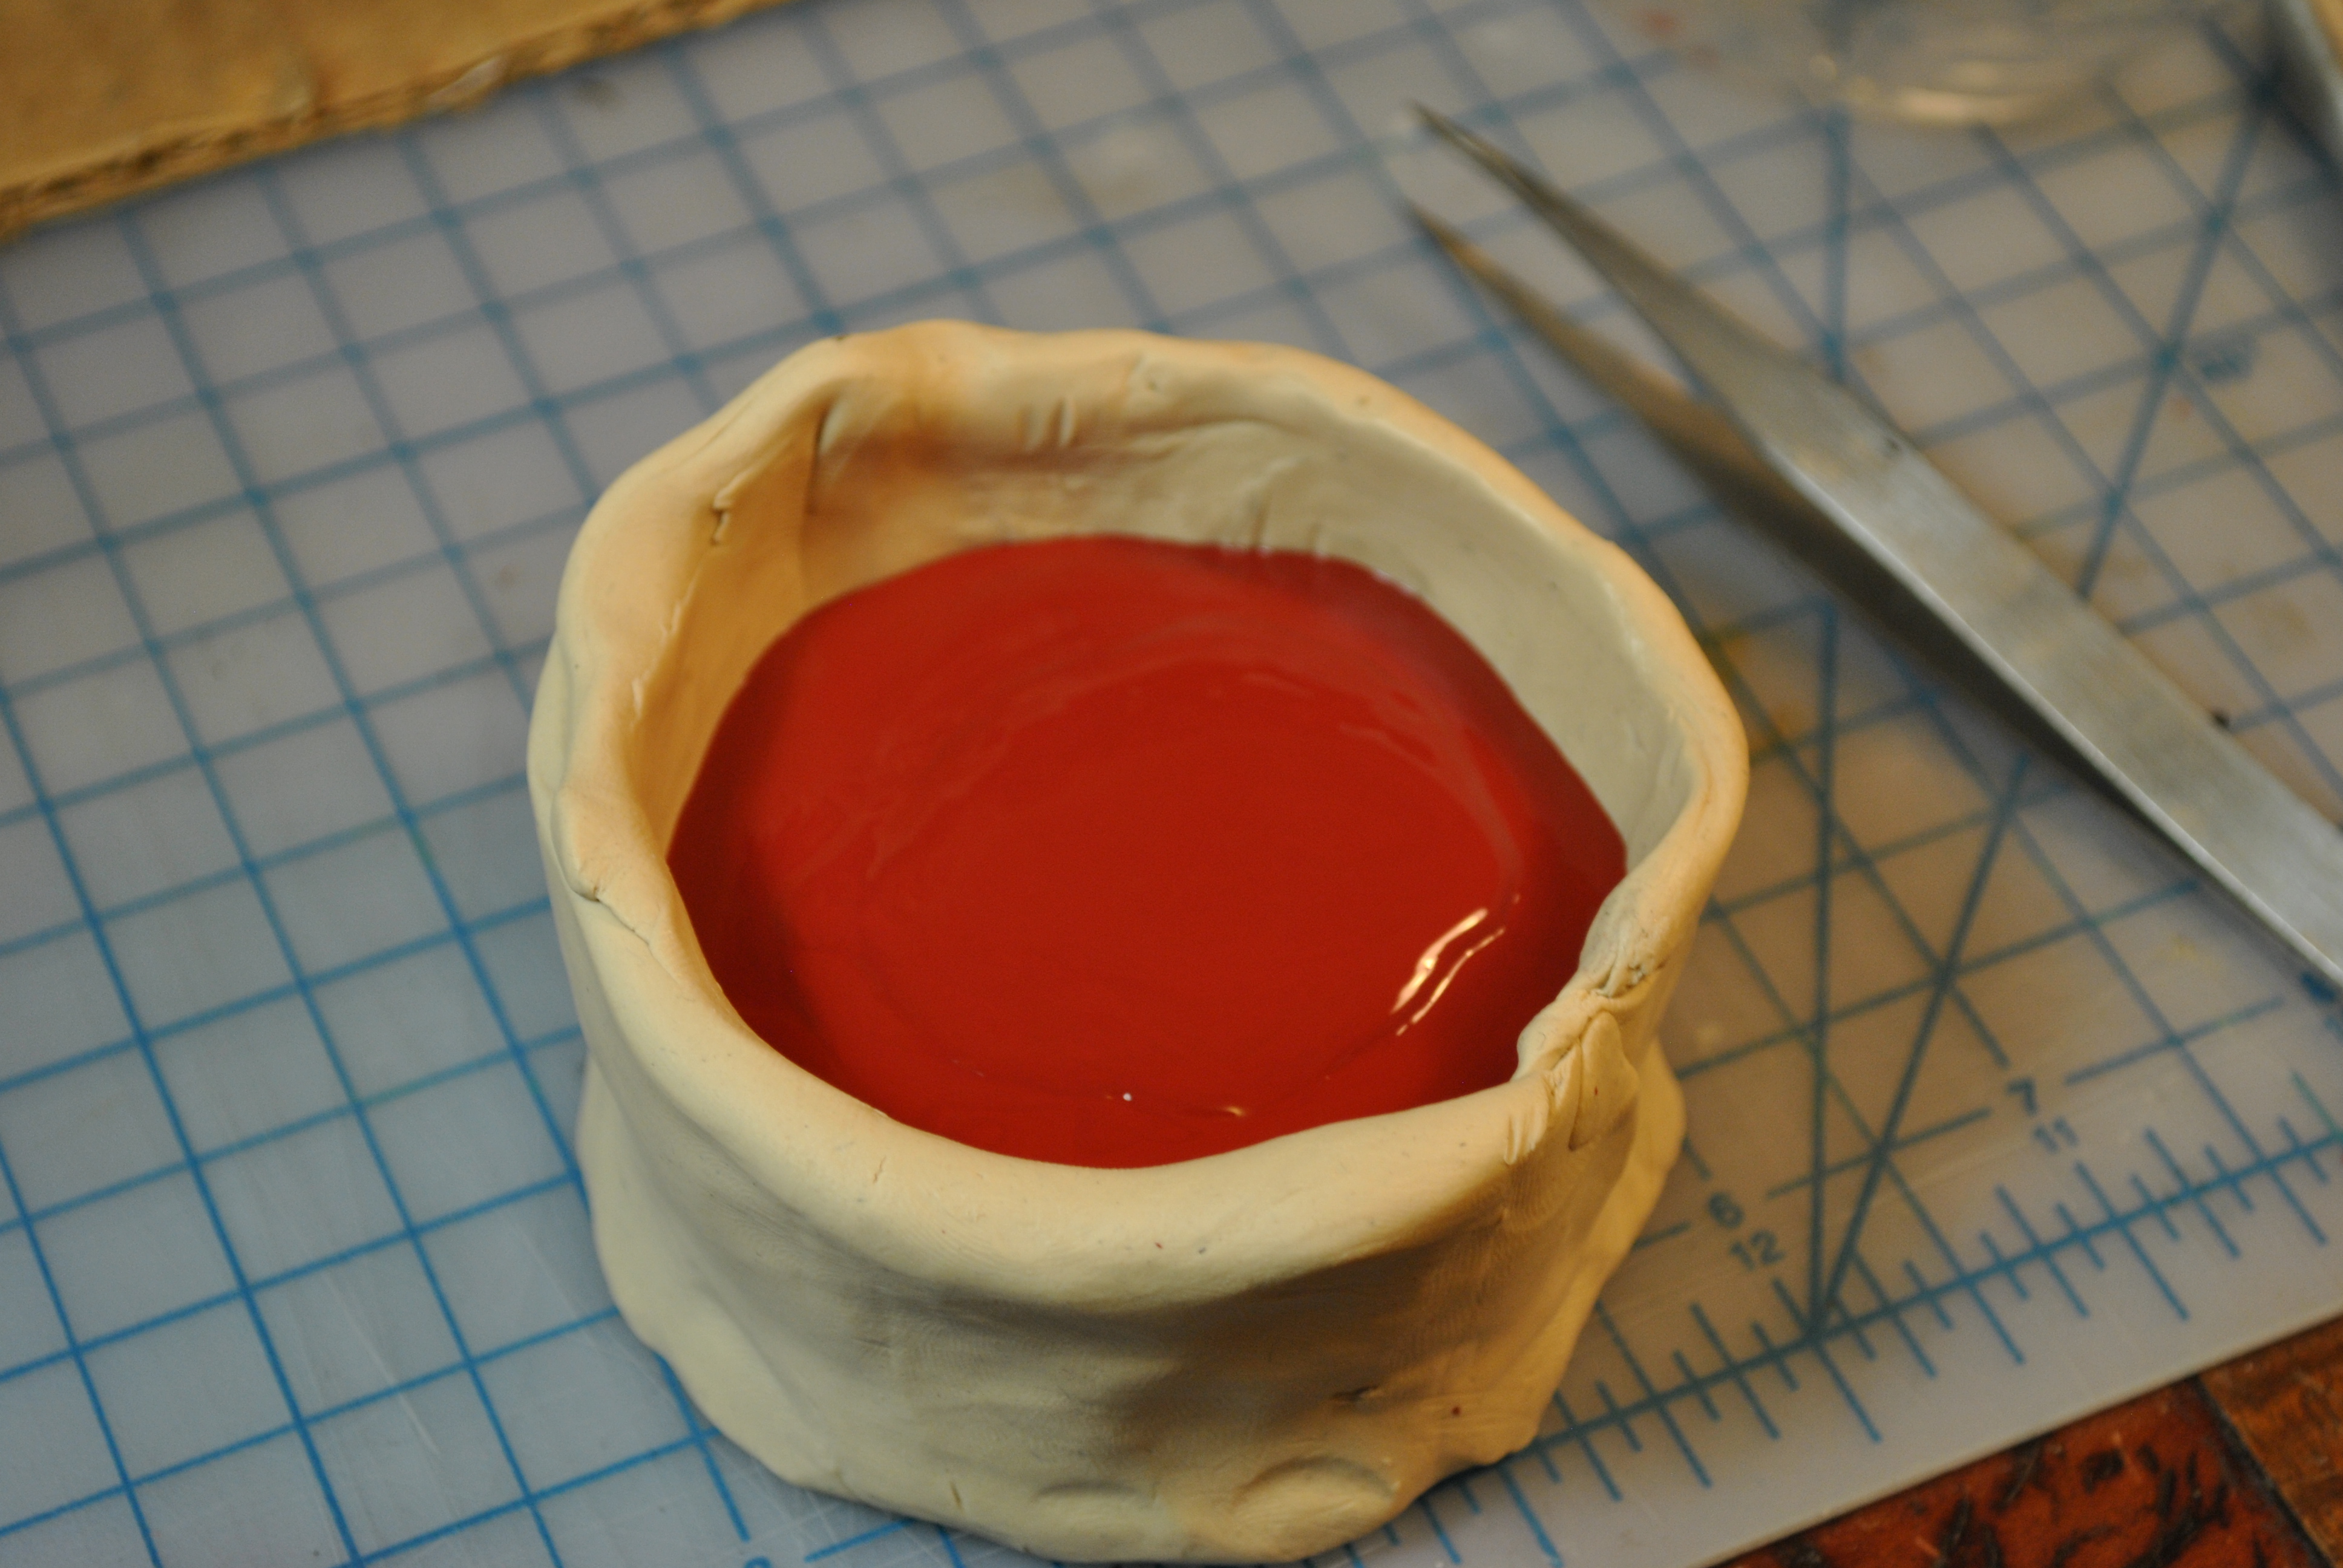
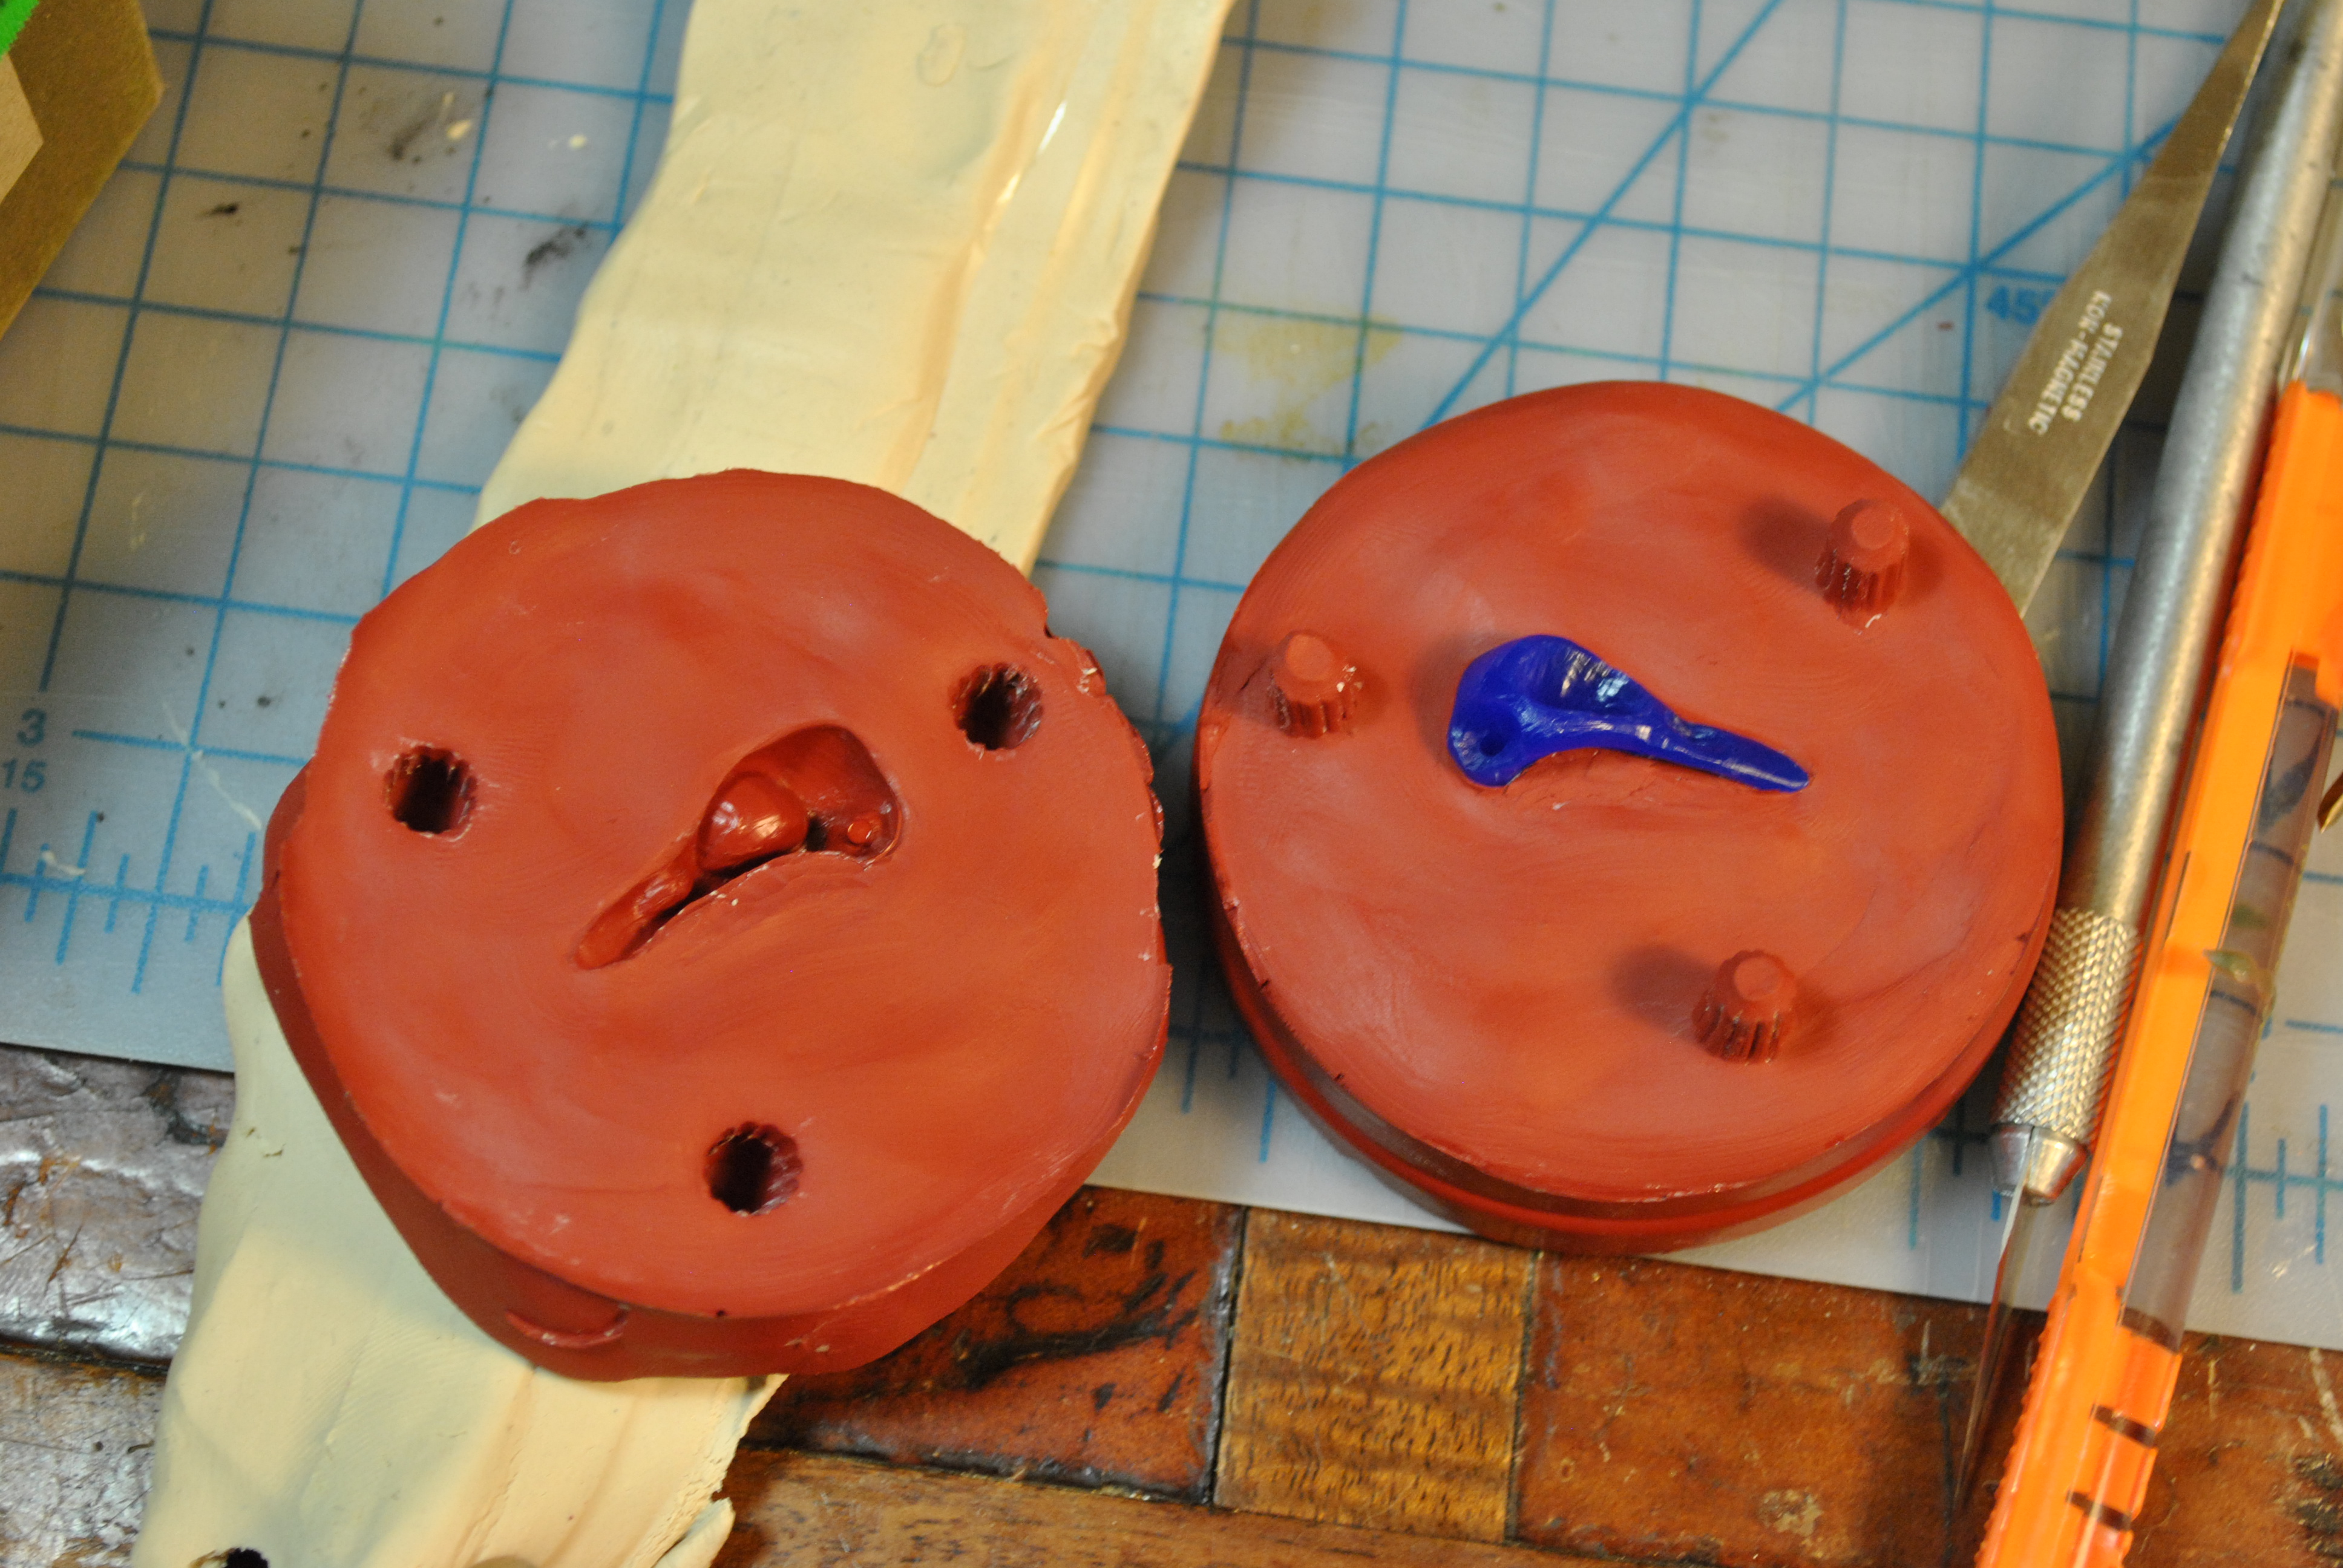
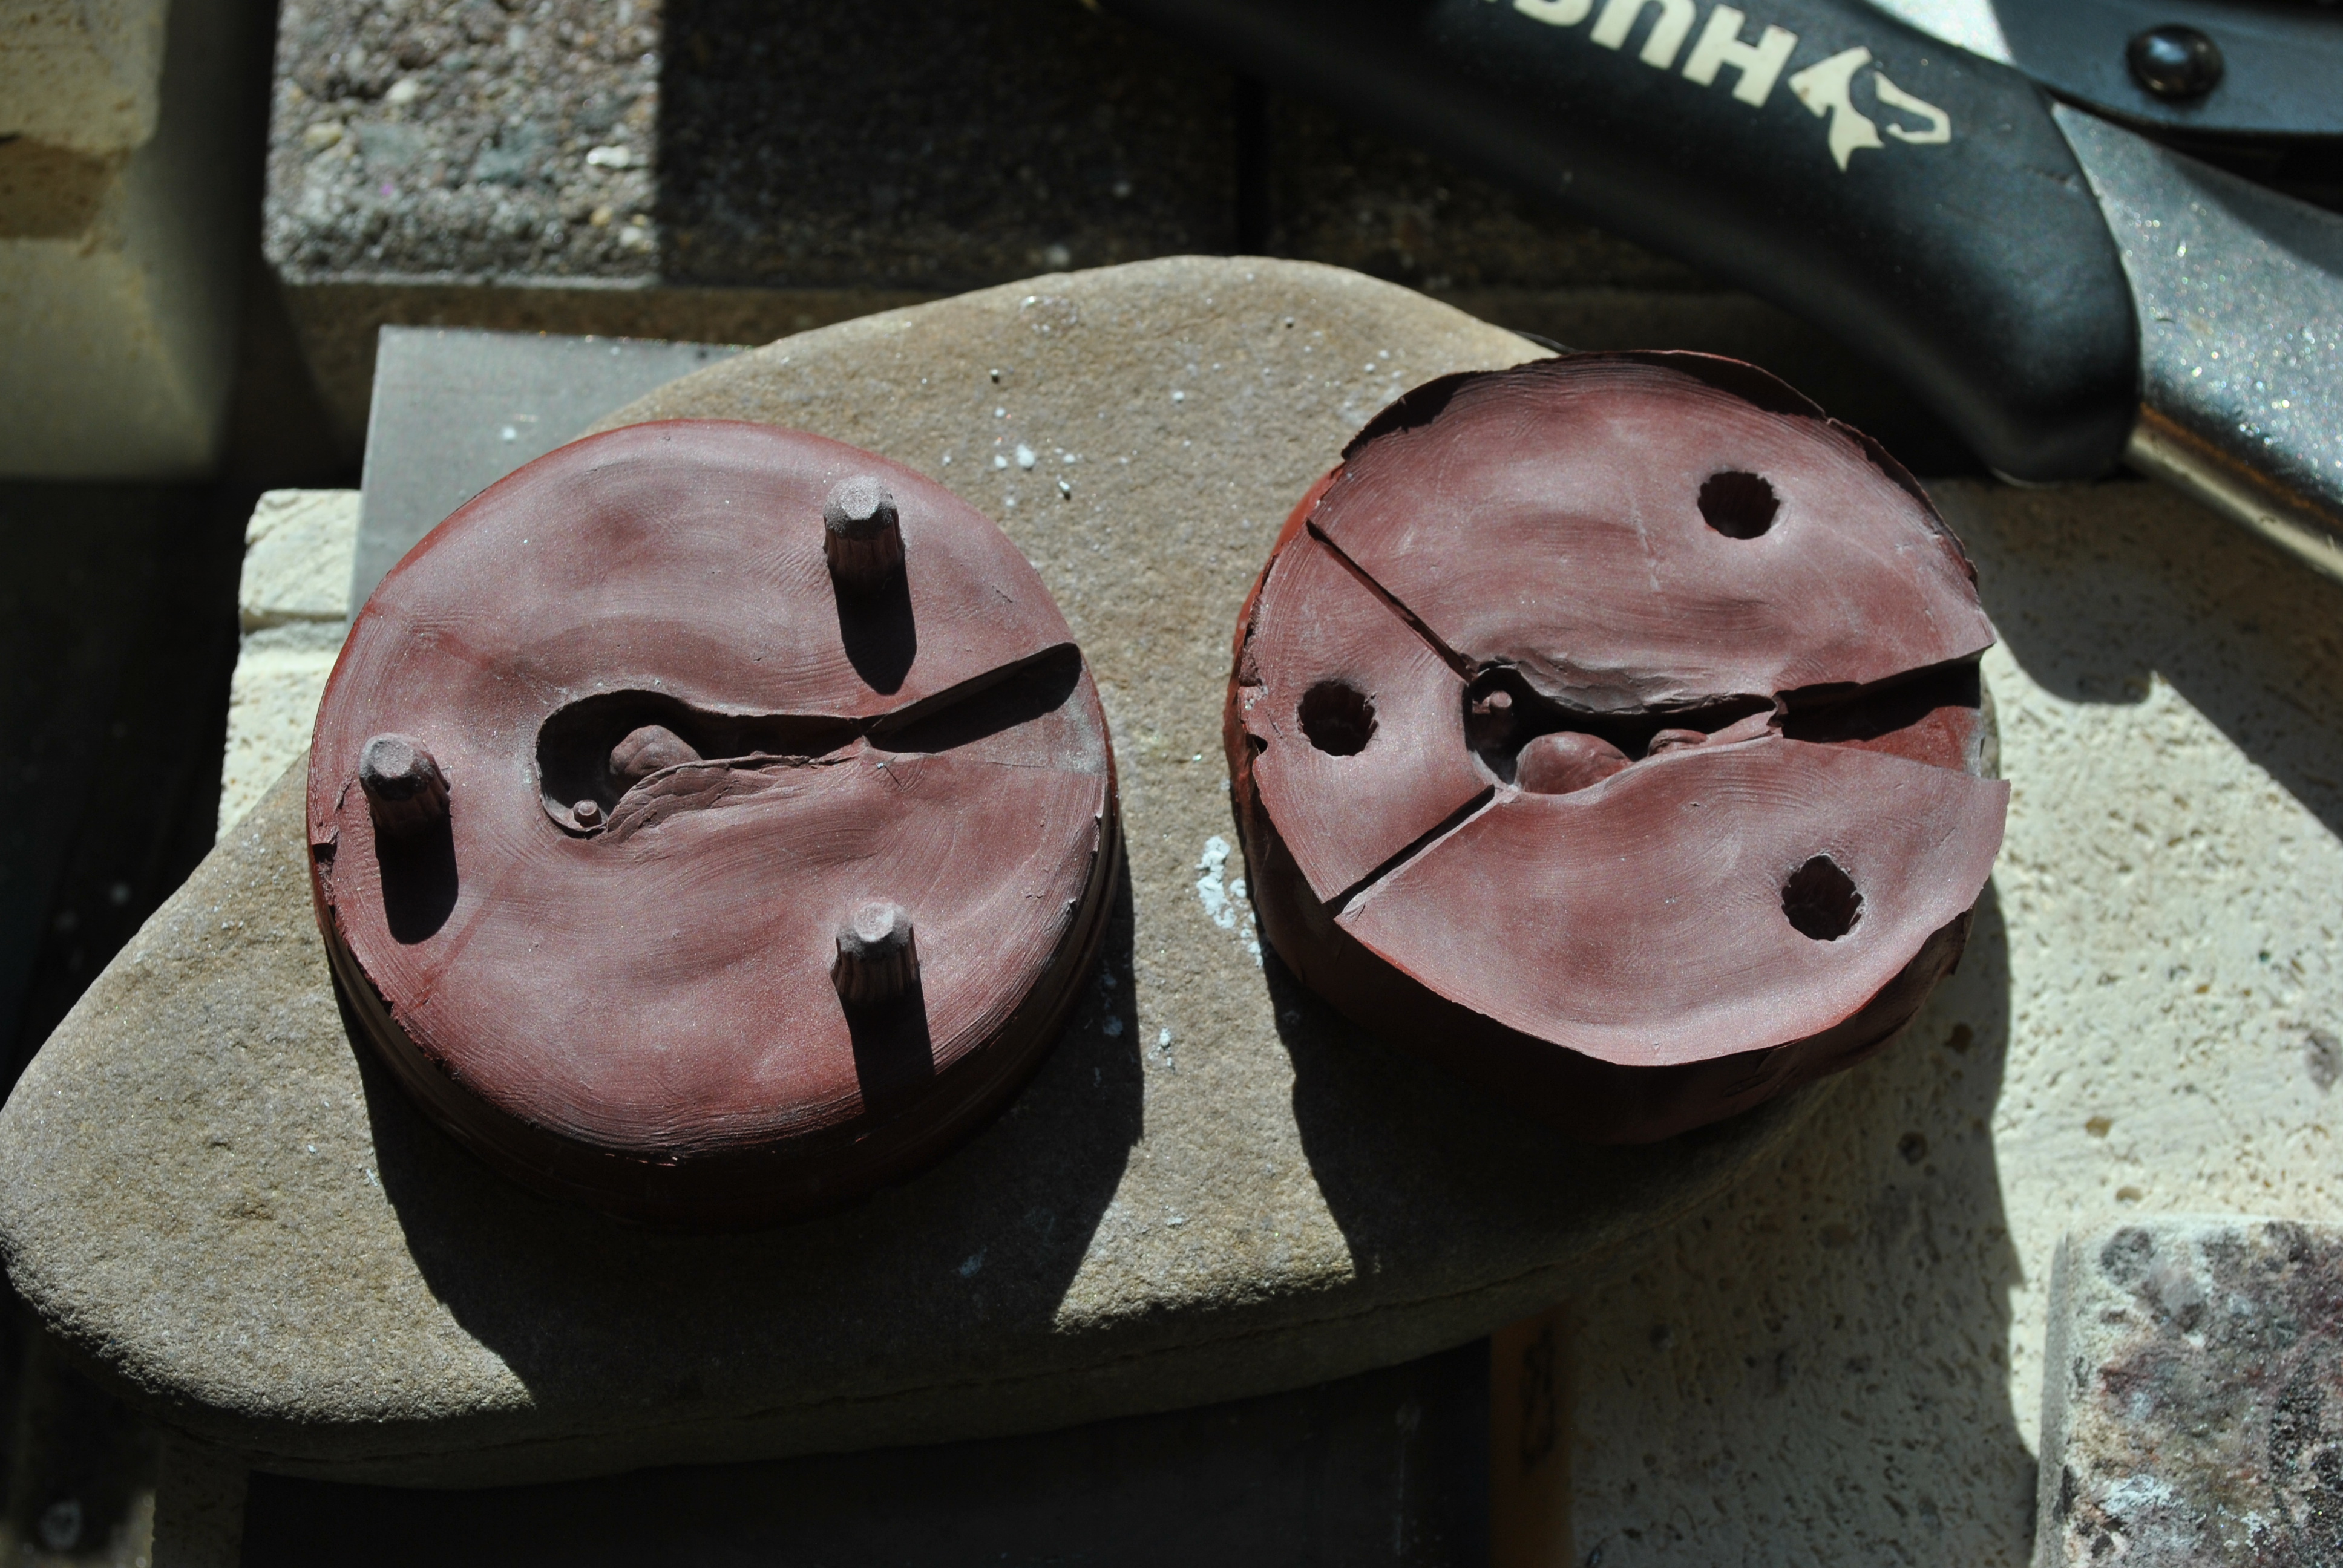
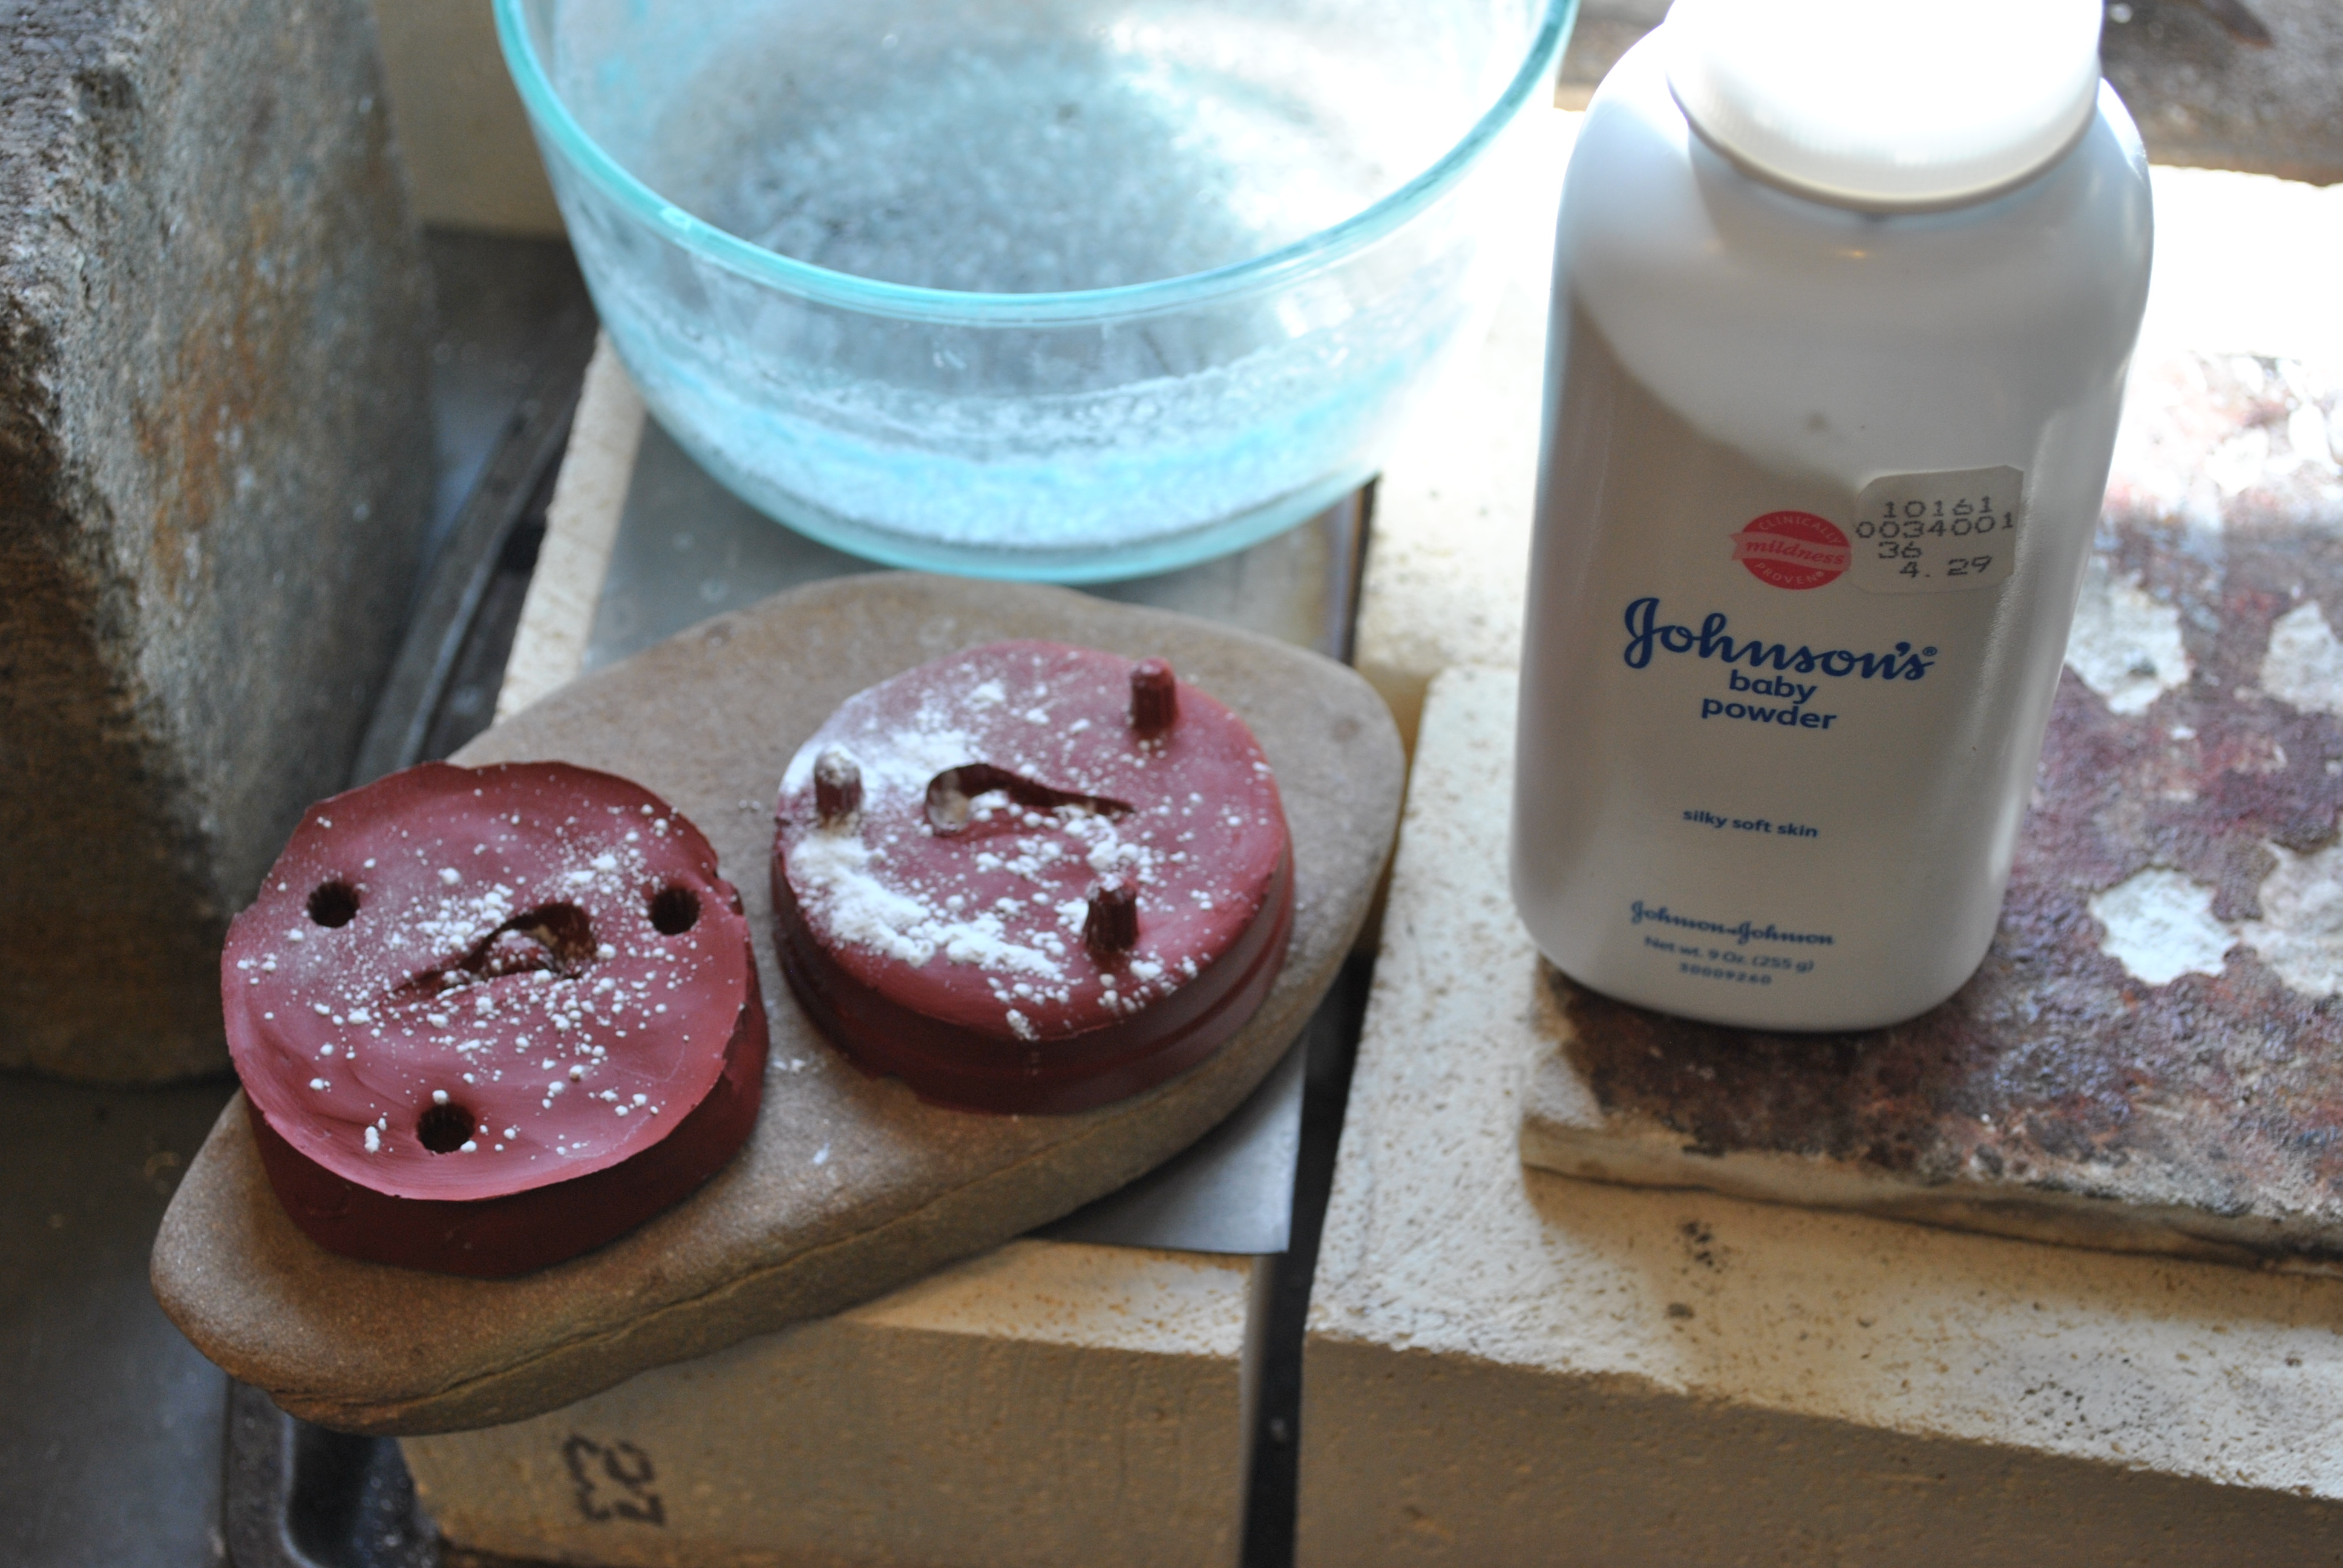
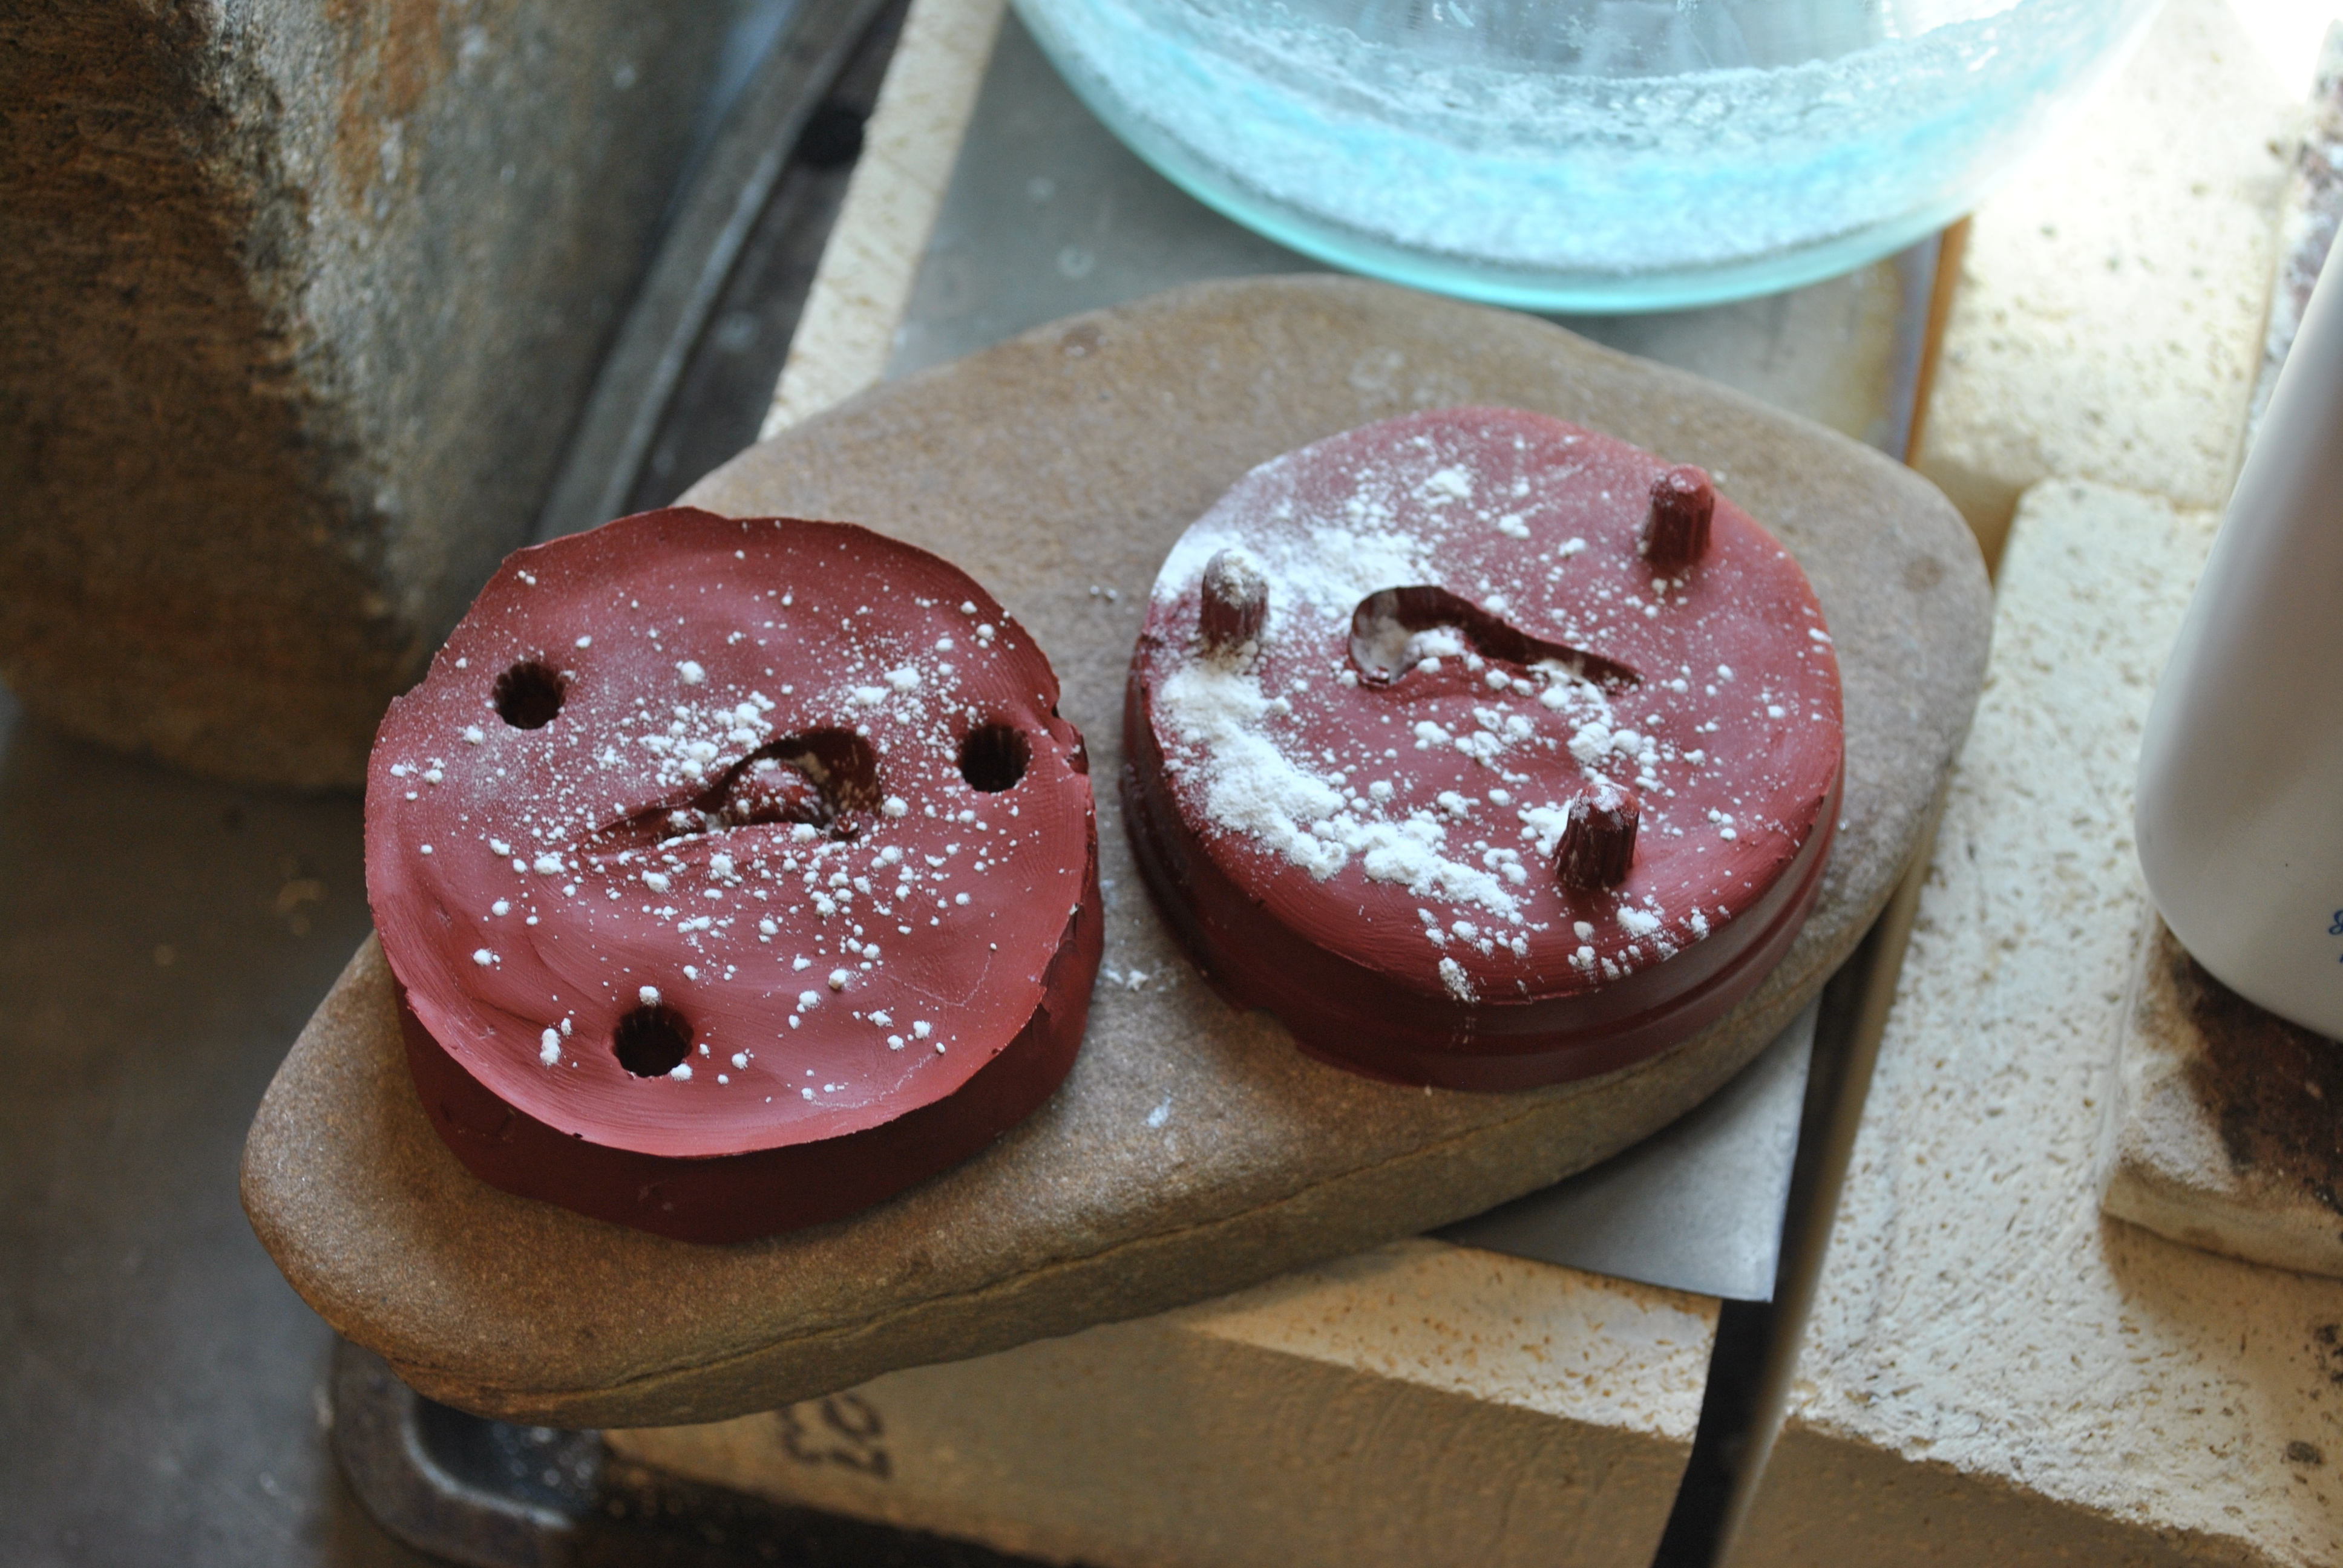
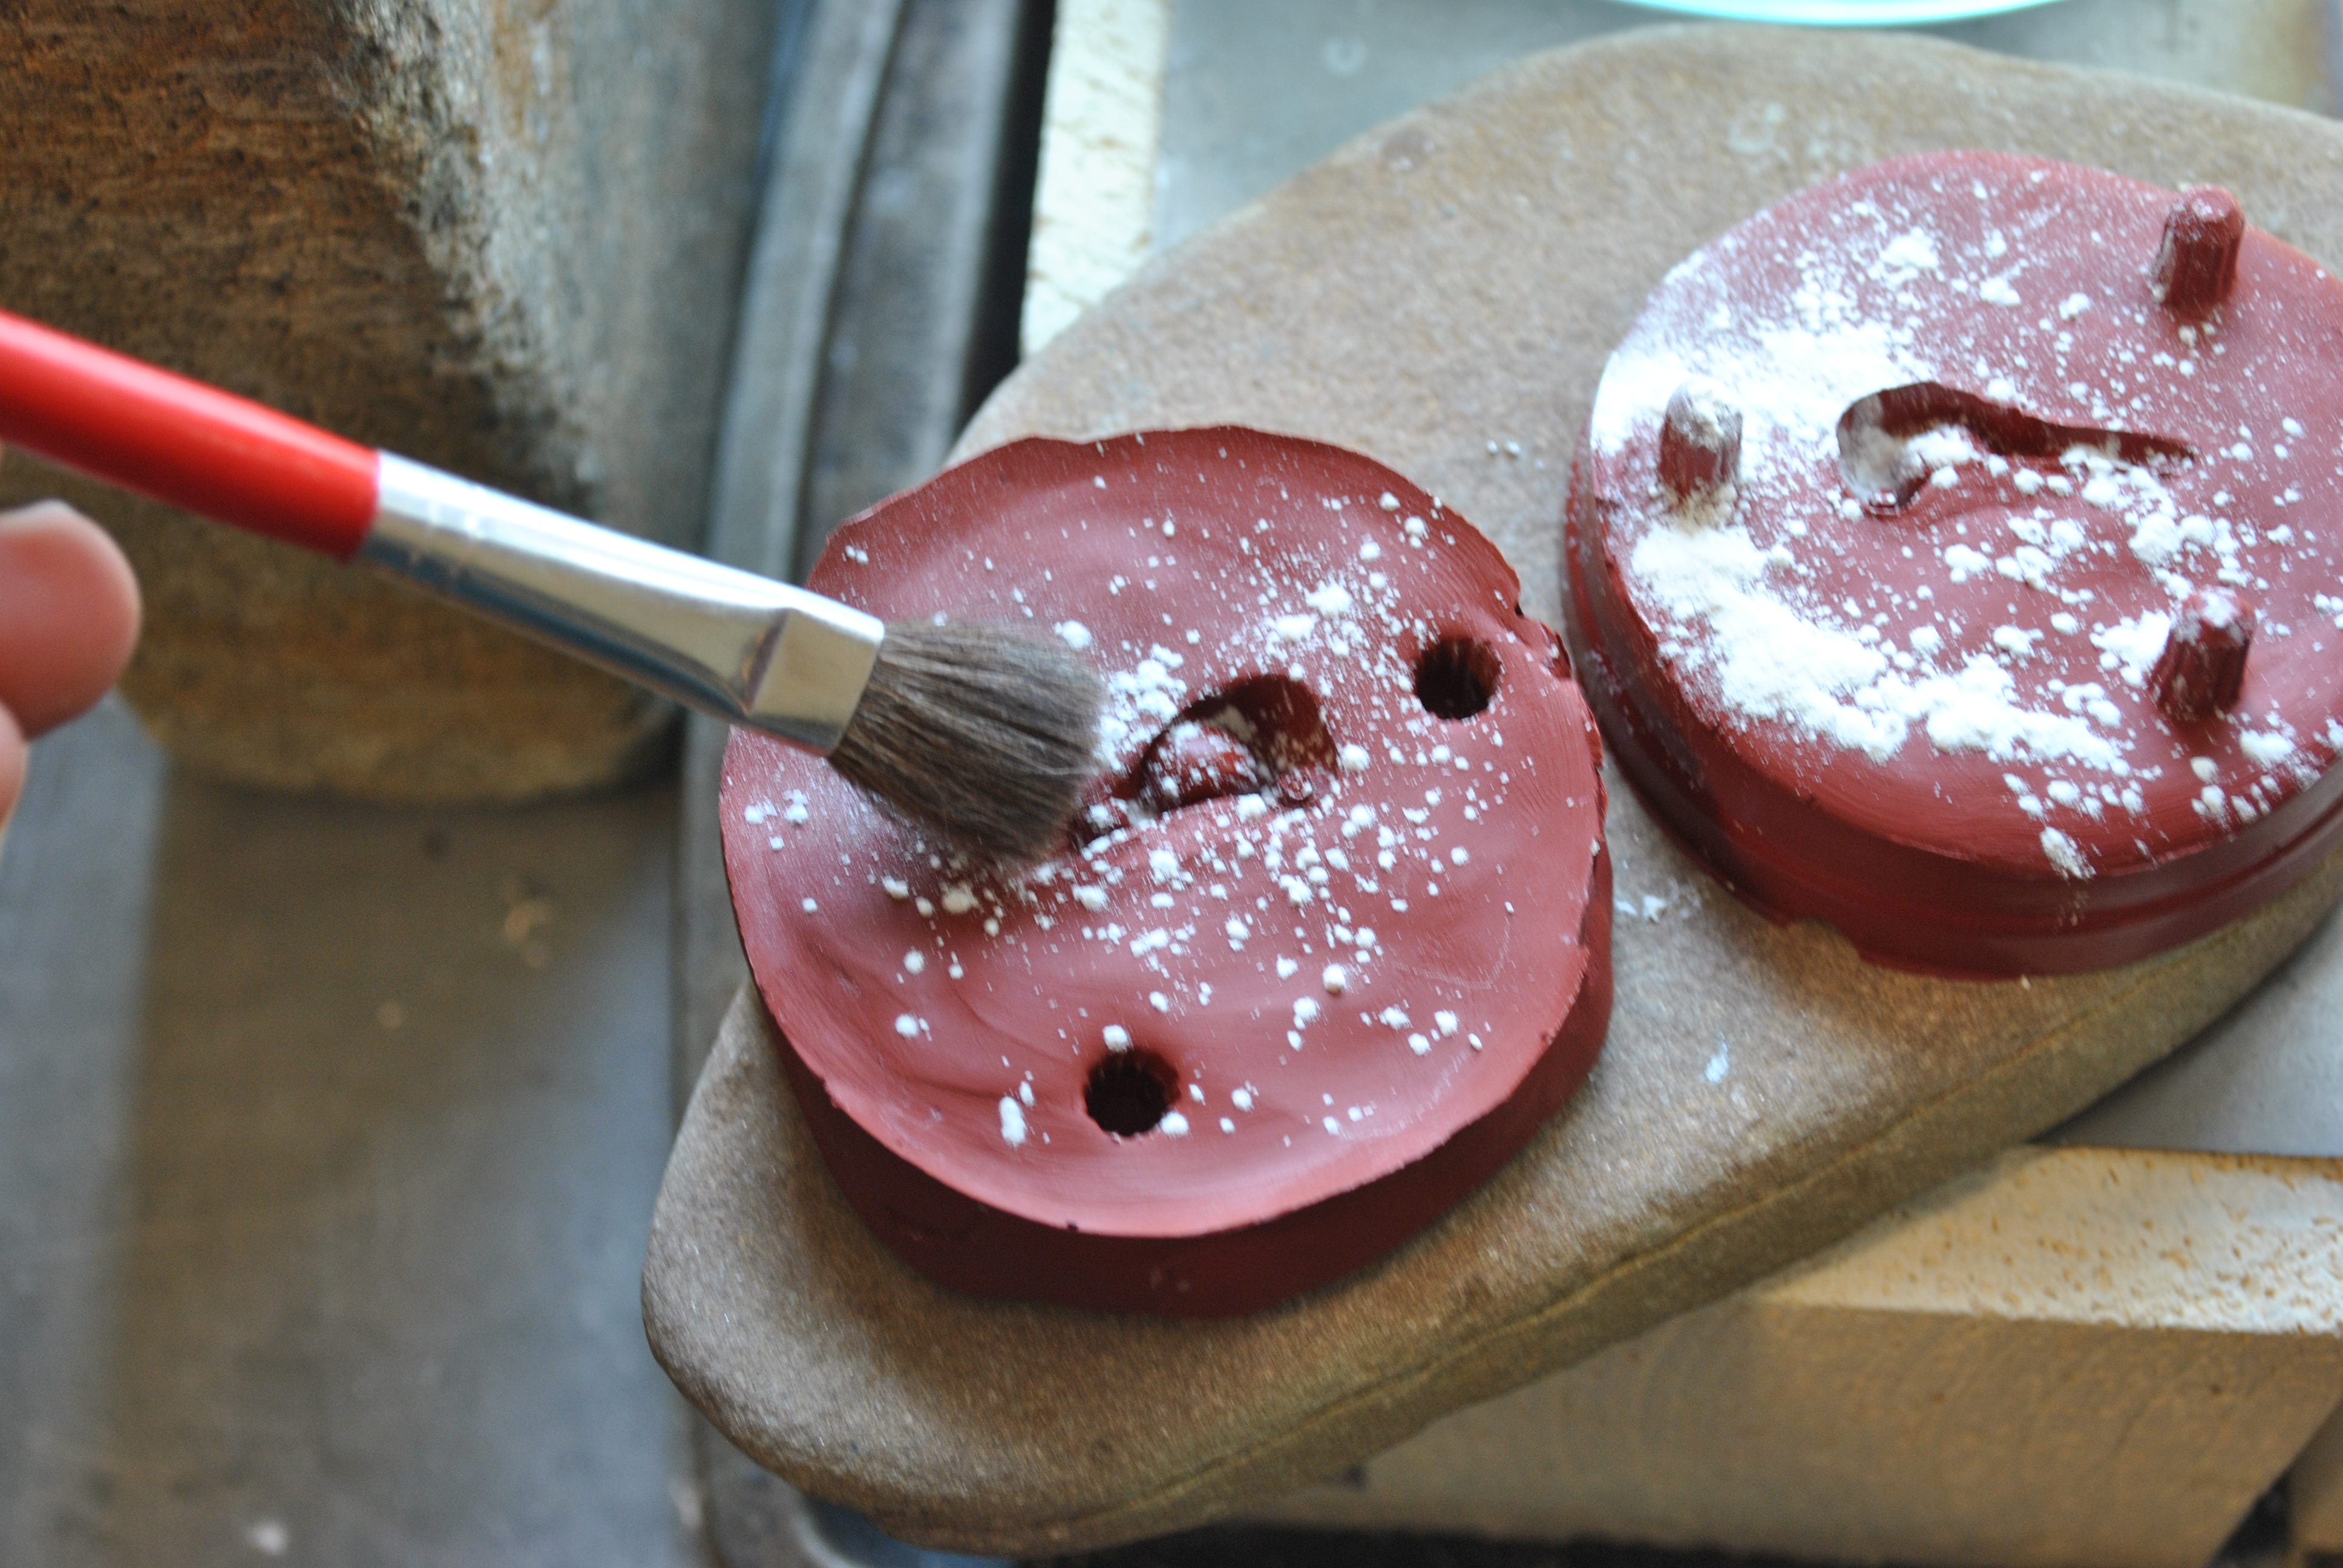
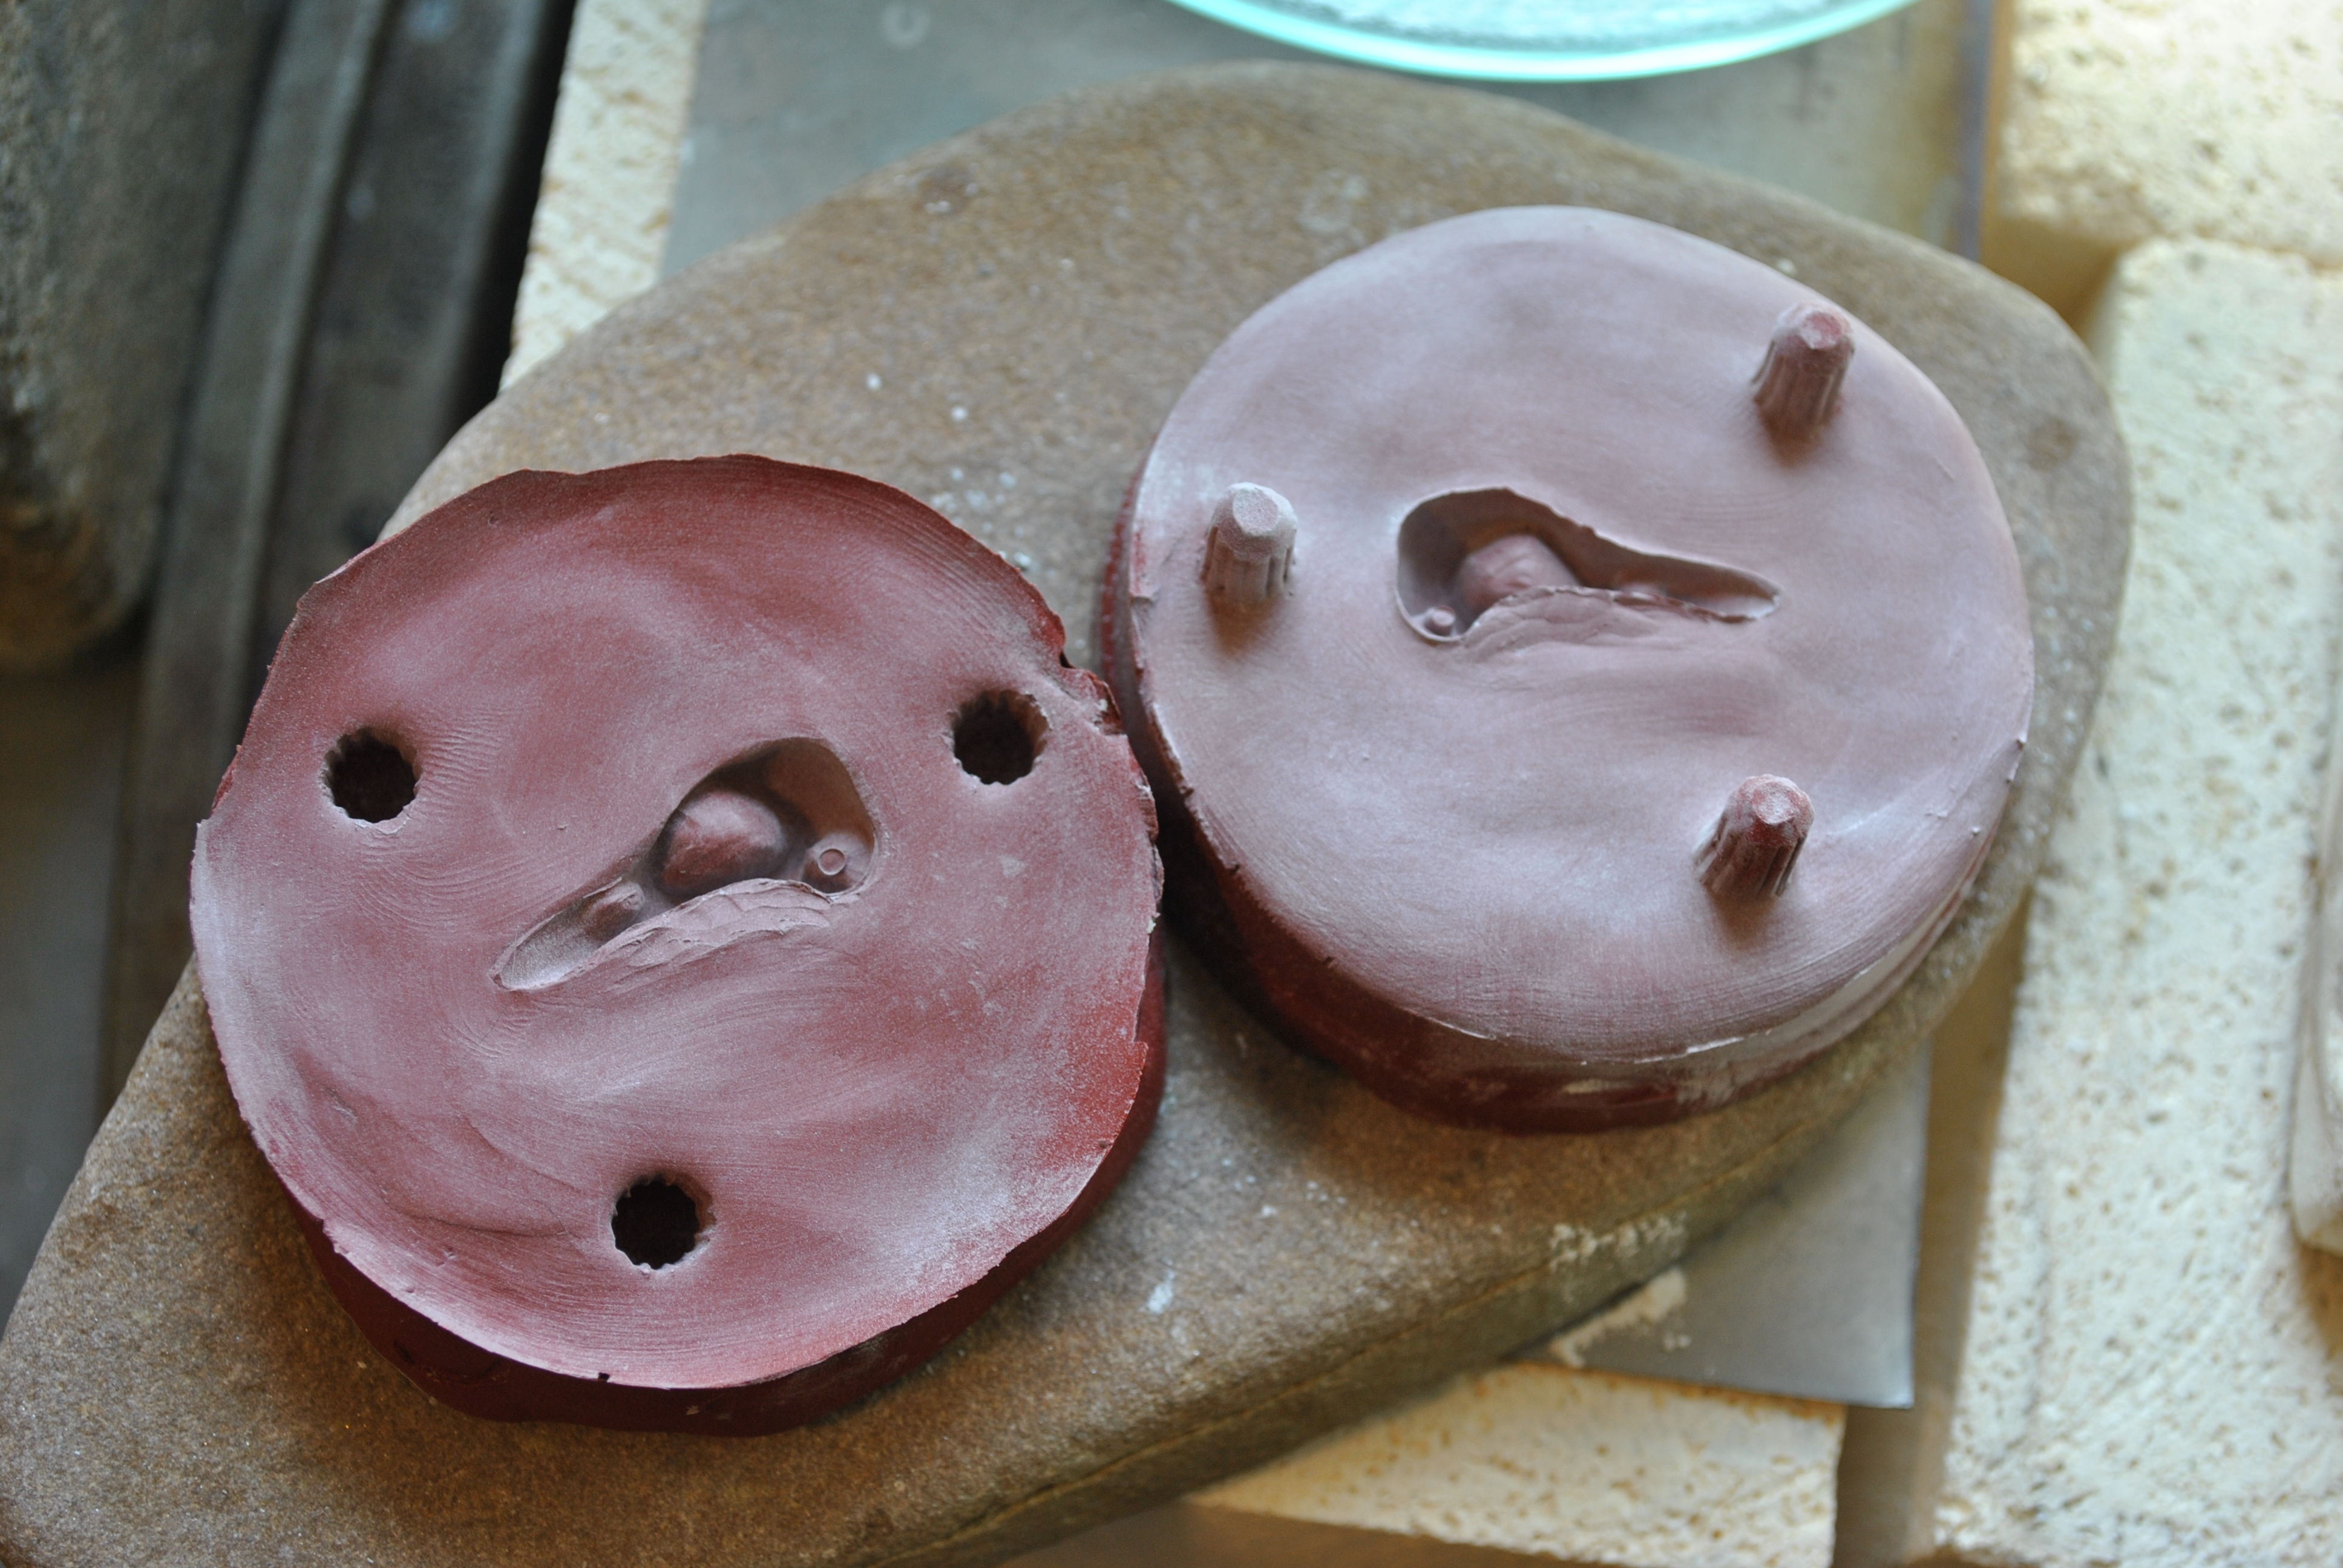
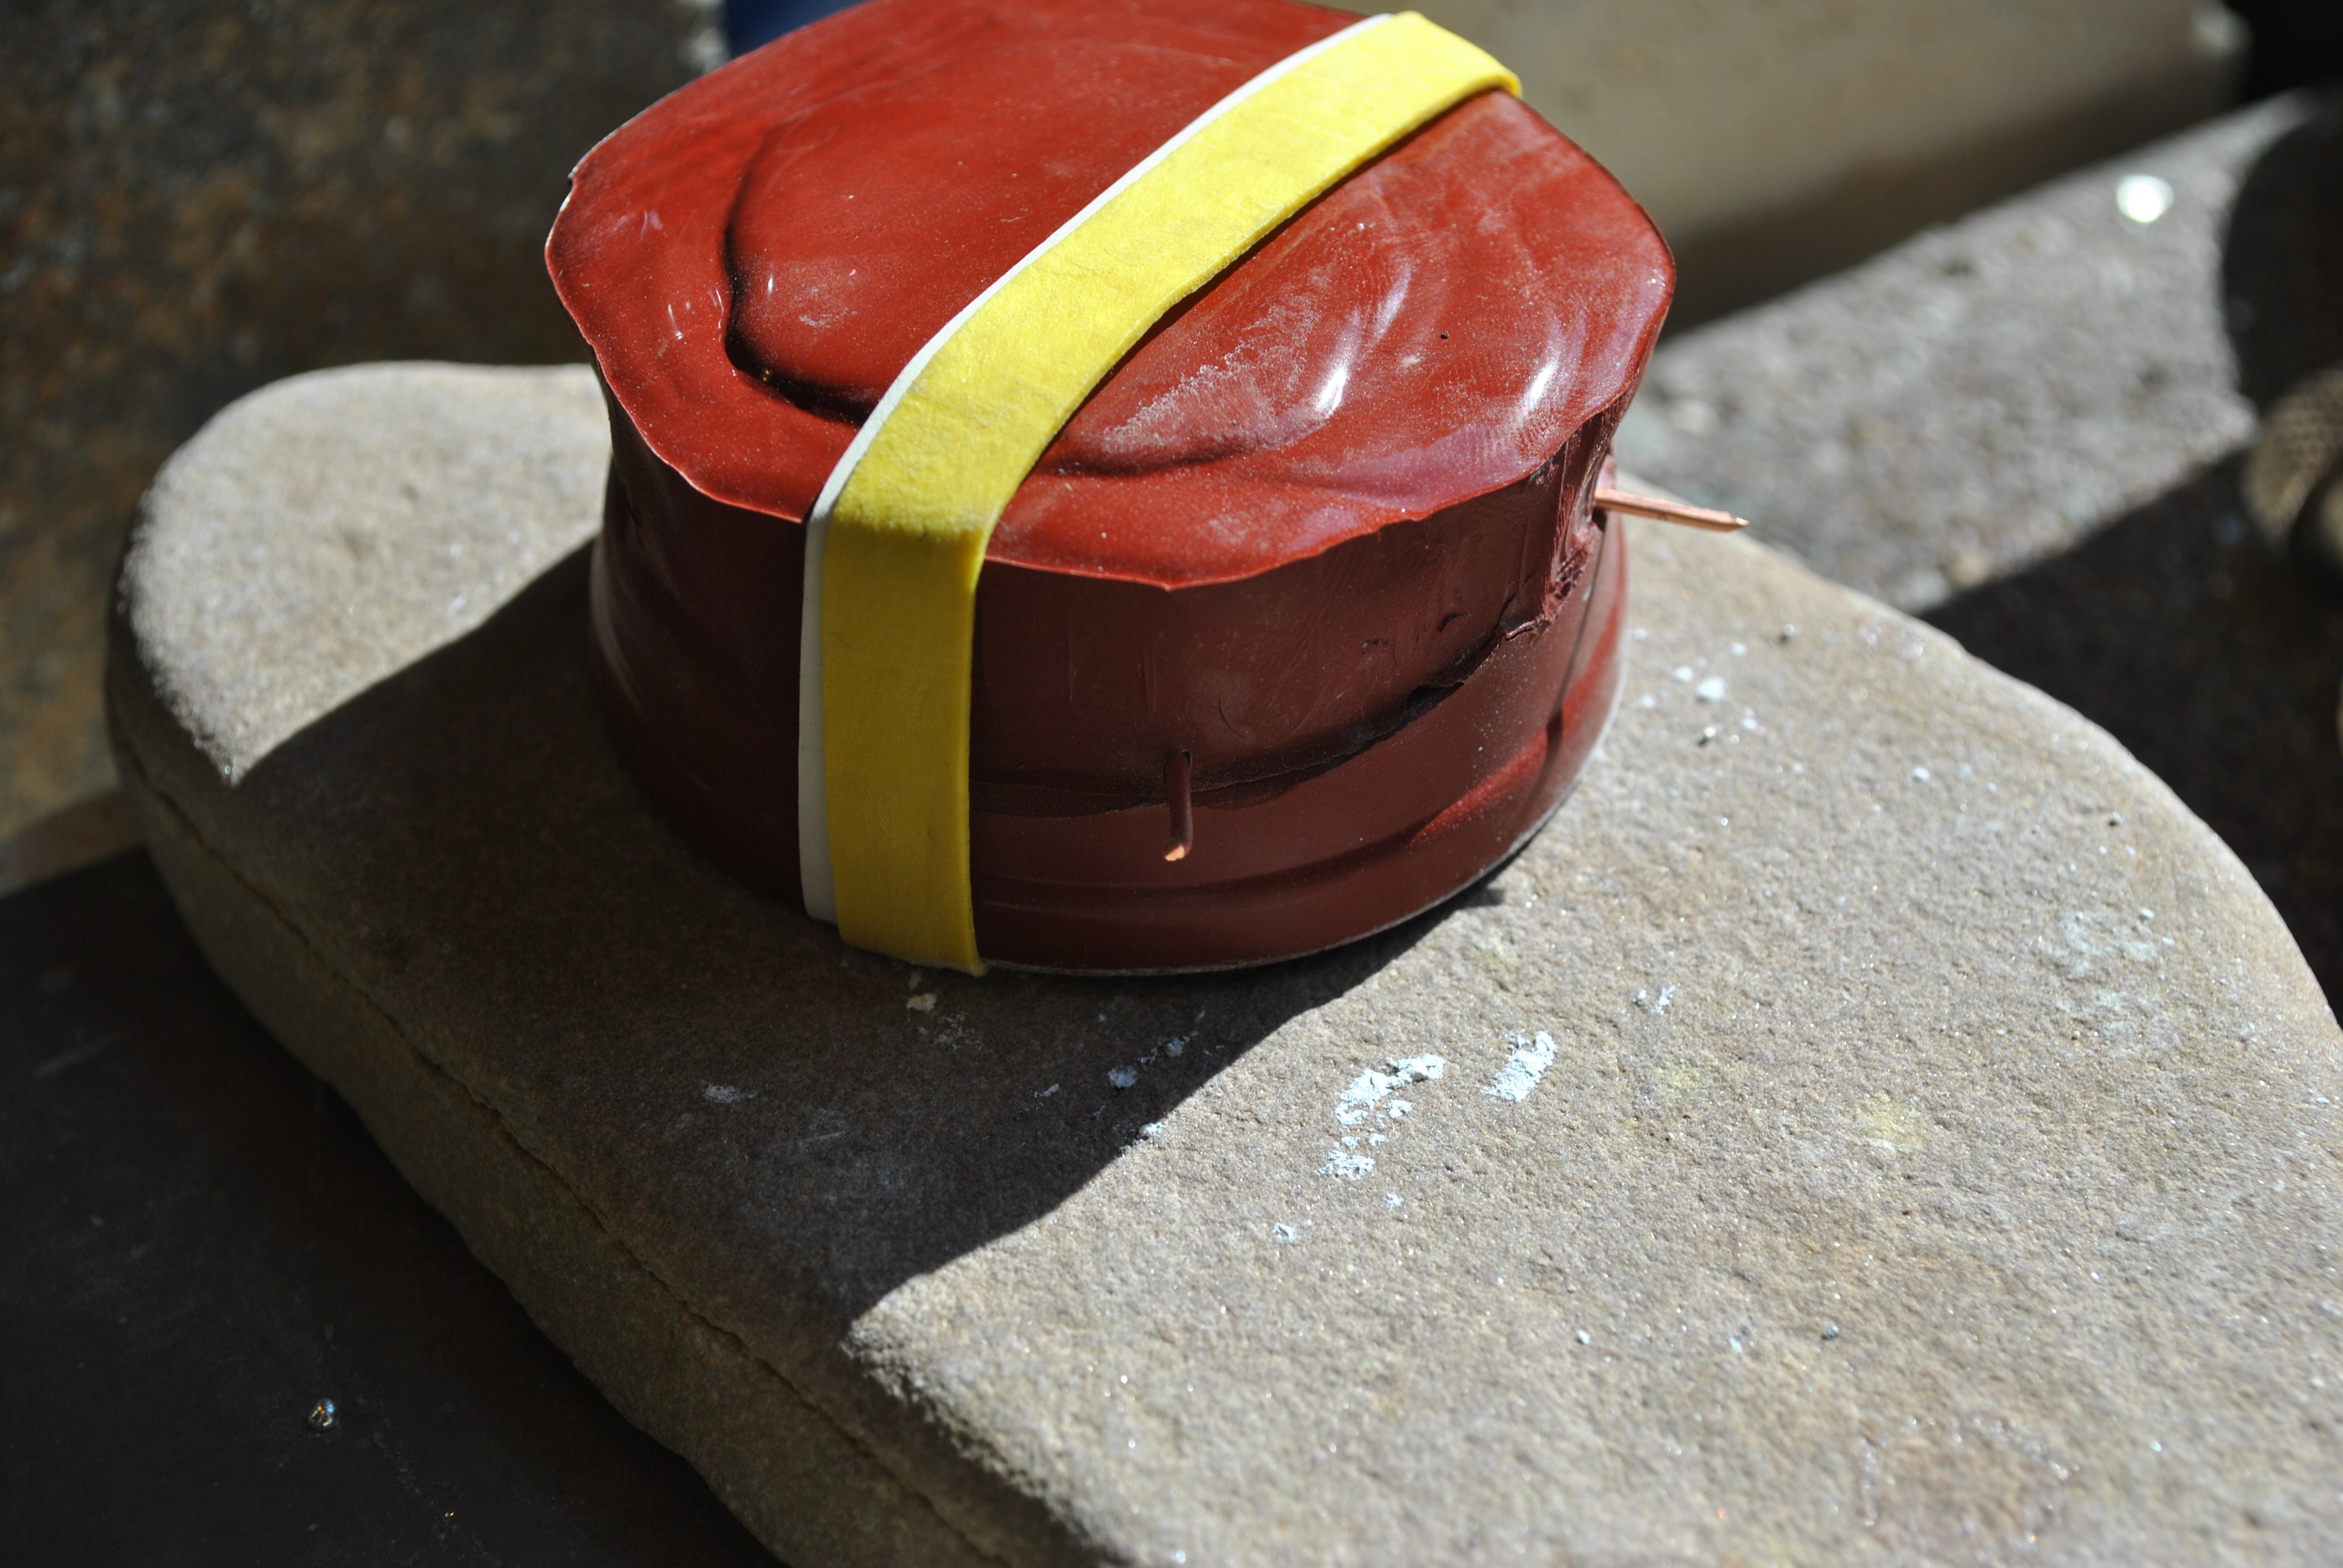
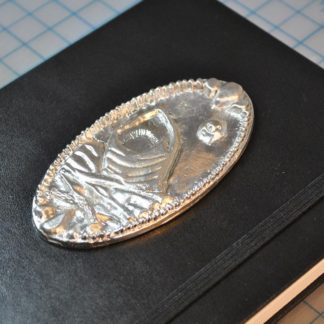
Next I used Mold Max 60 from Smooth On, to create a small two part mold.  See other projects for details on the casting process.

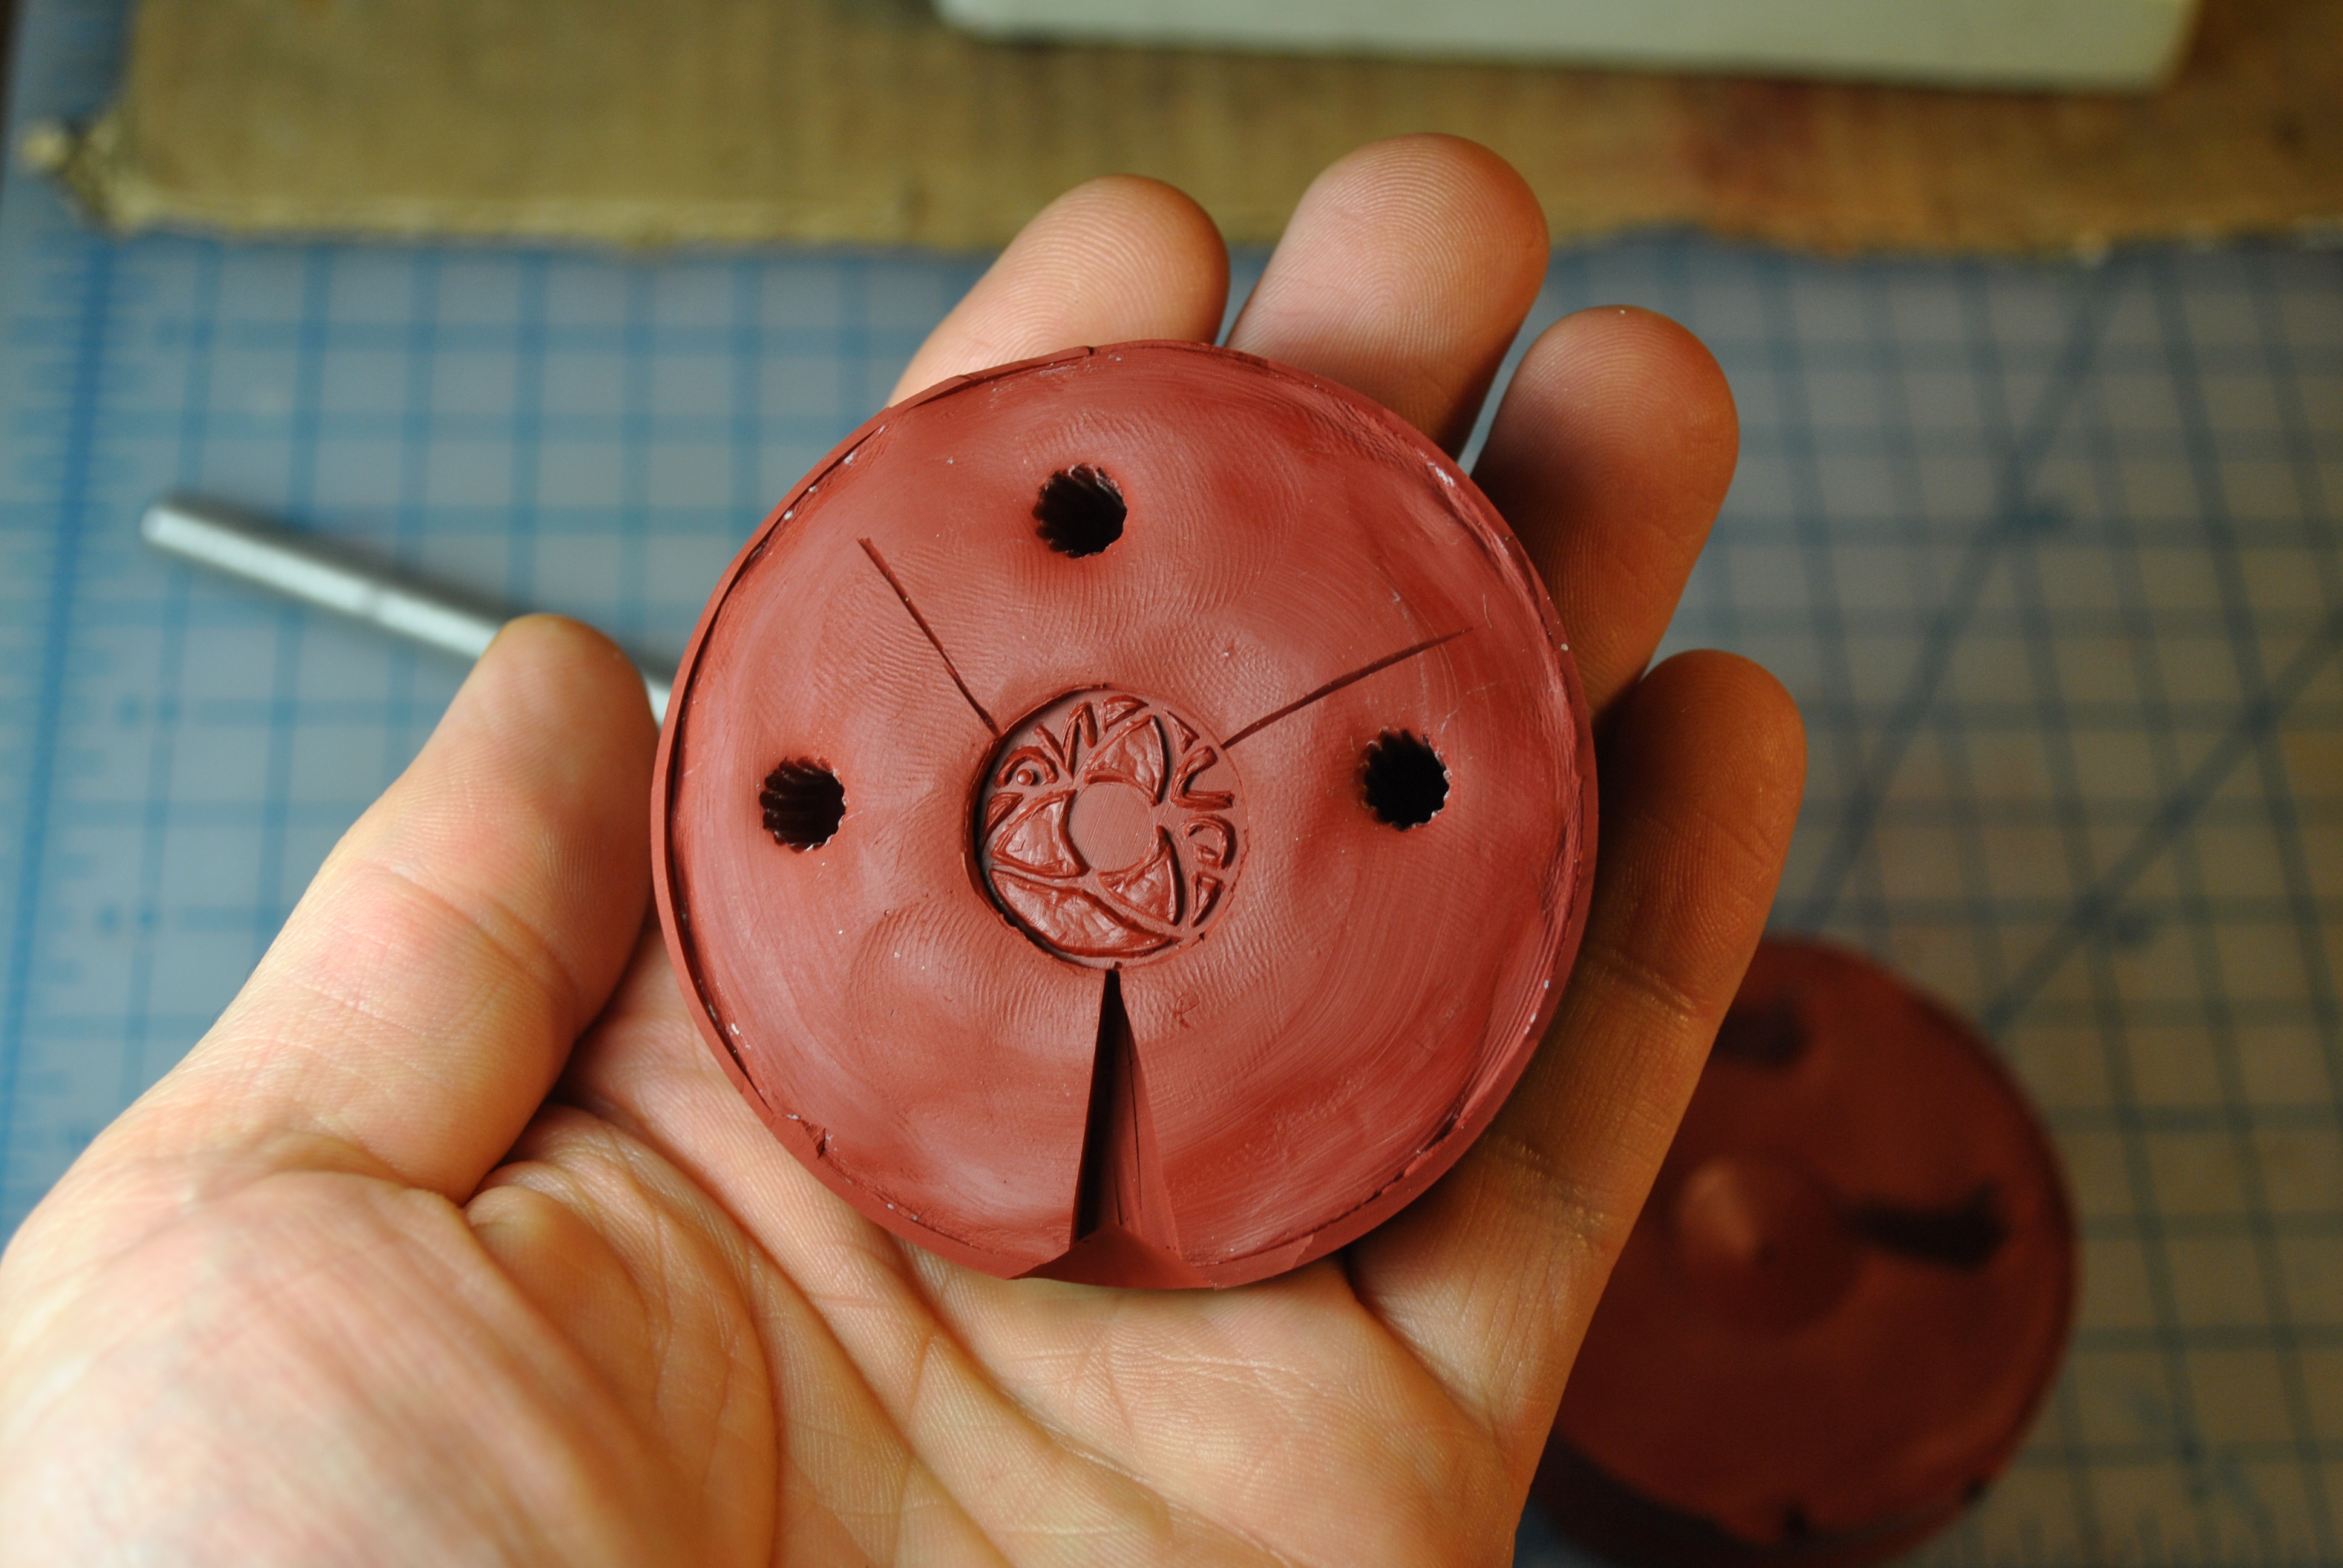
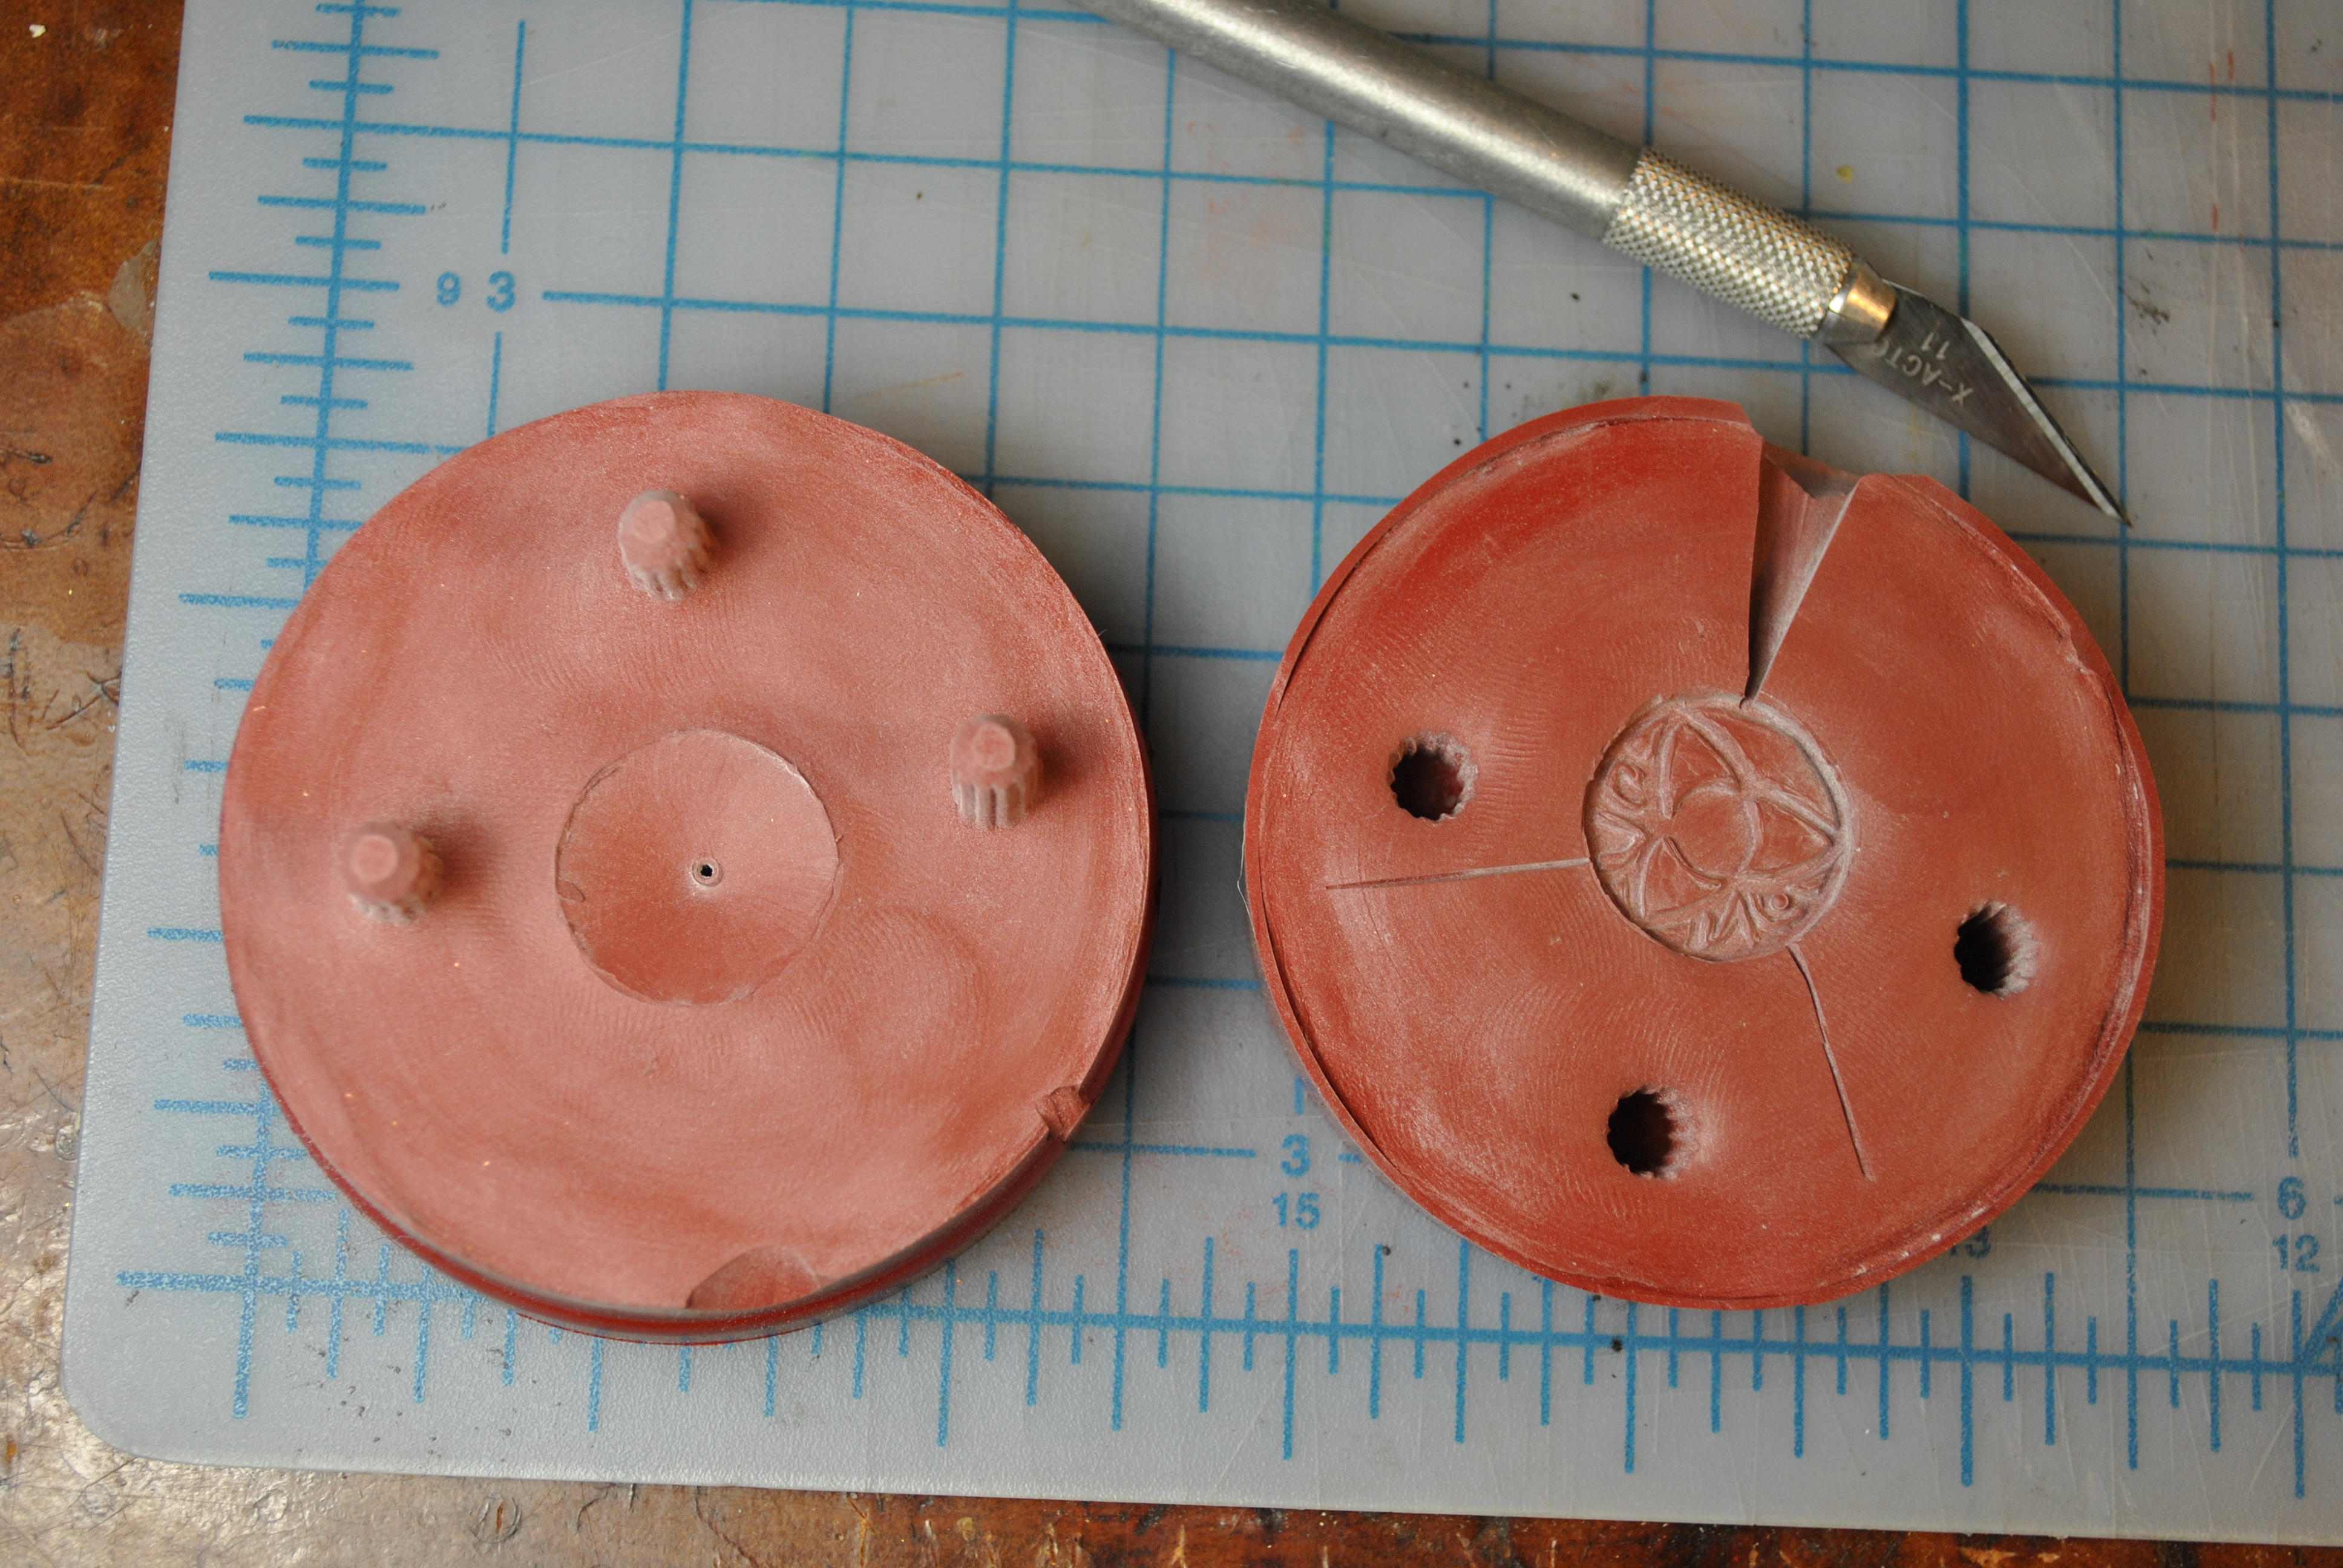
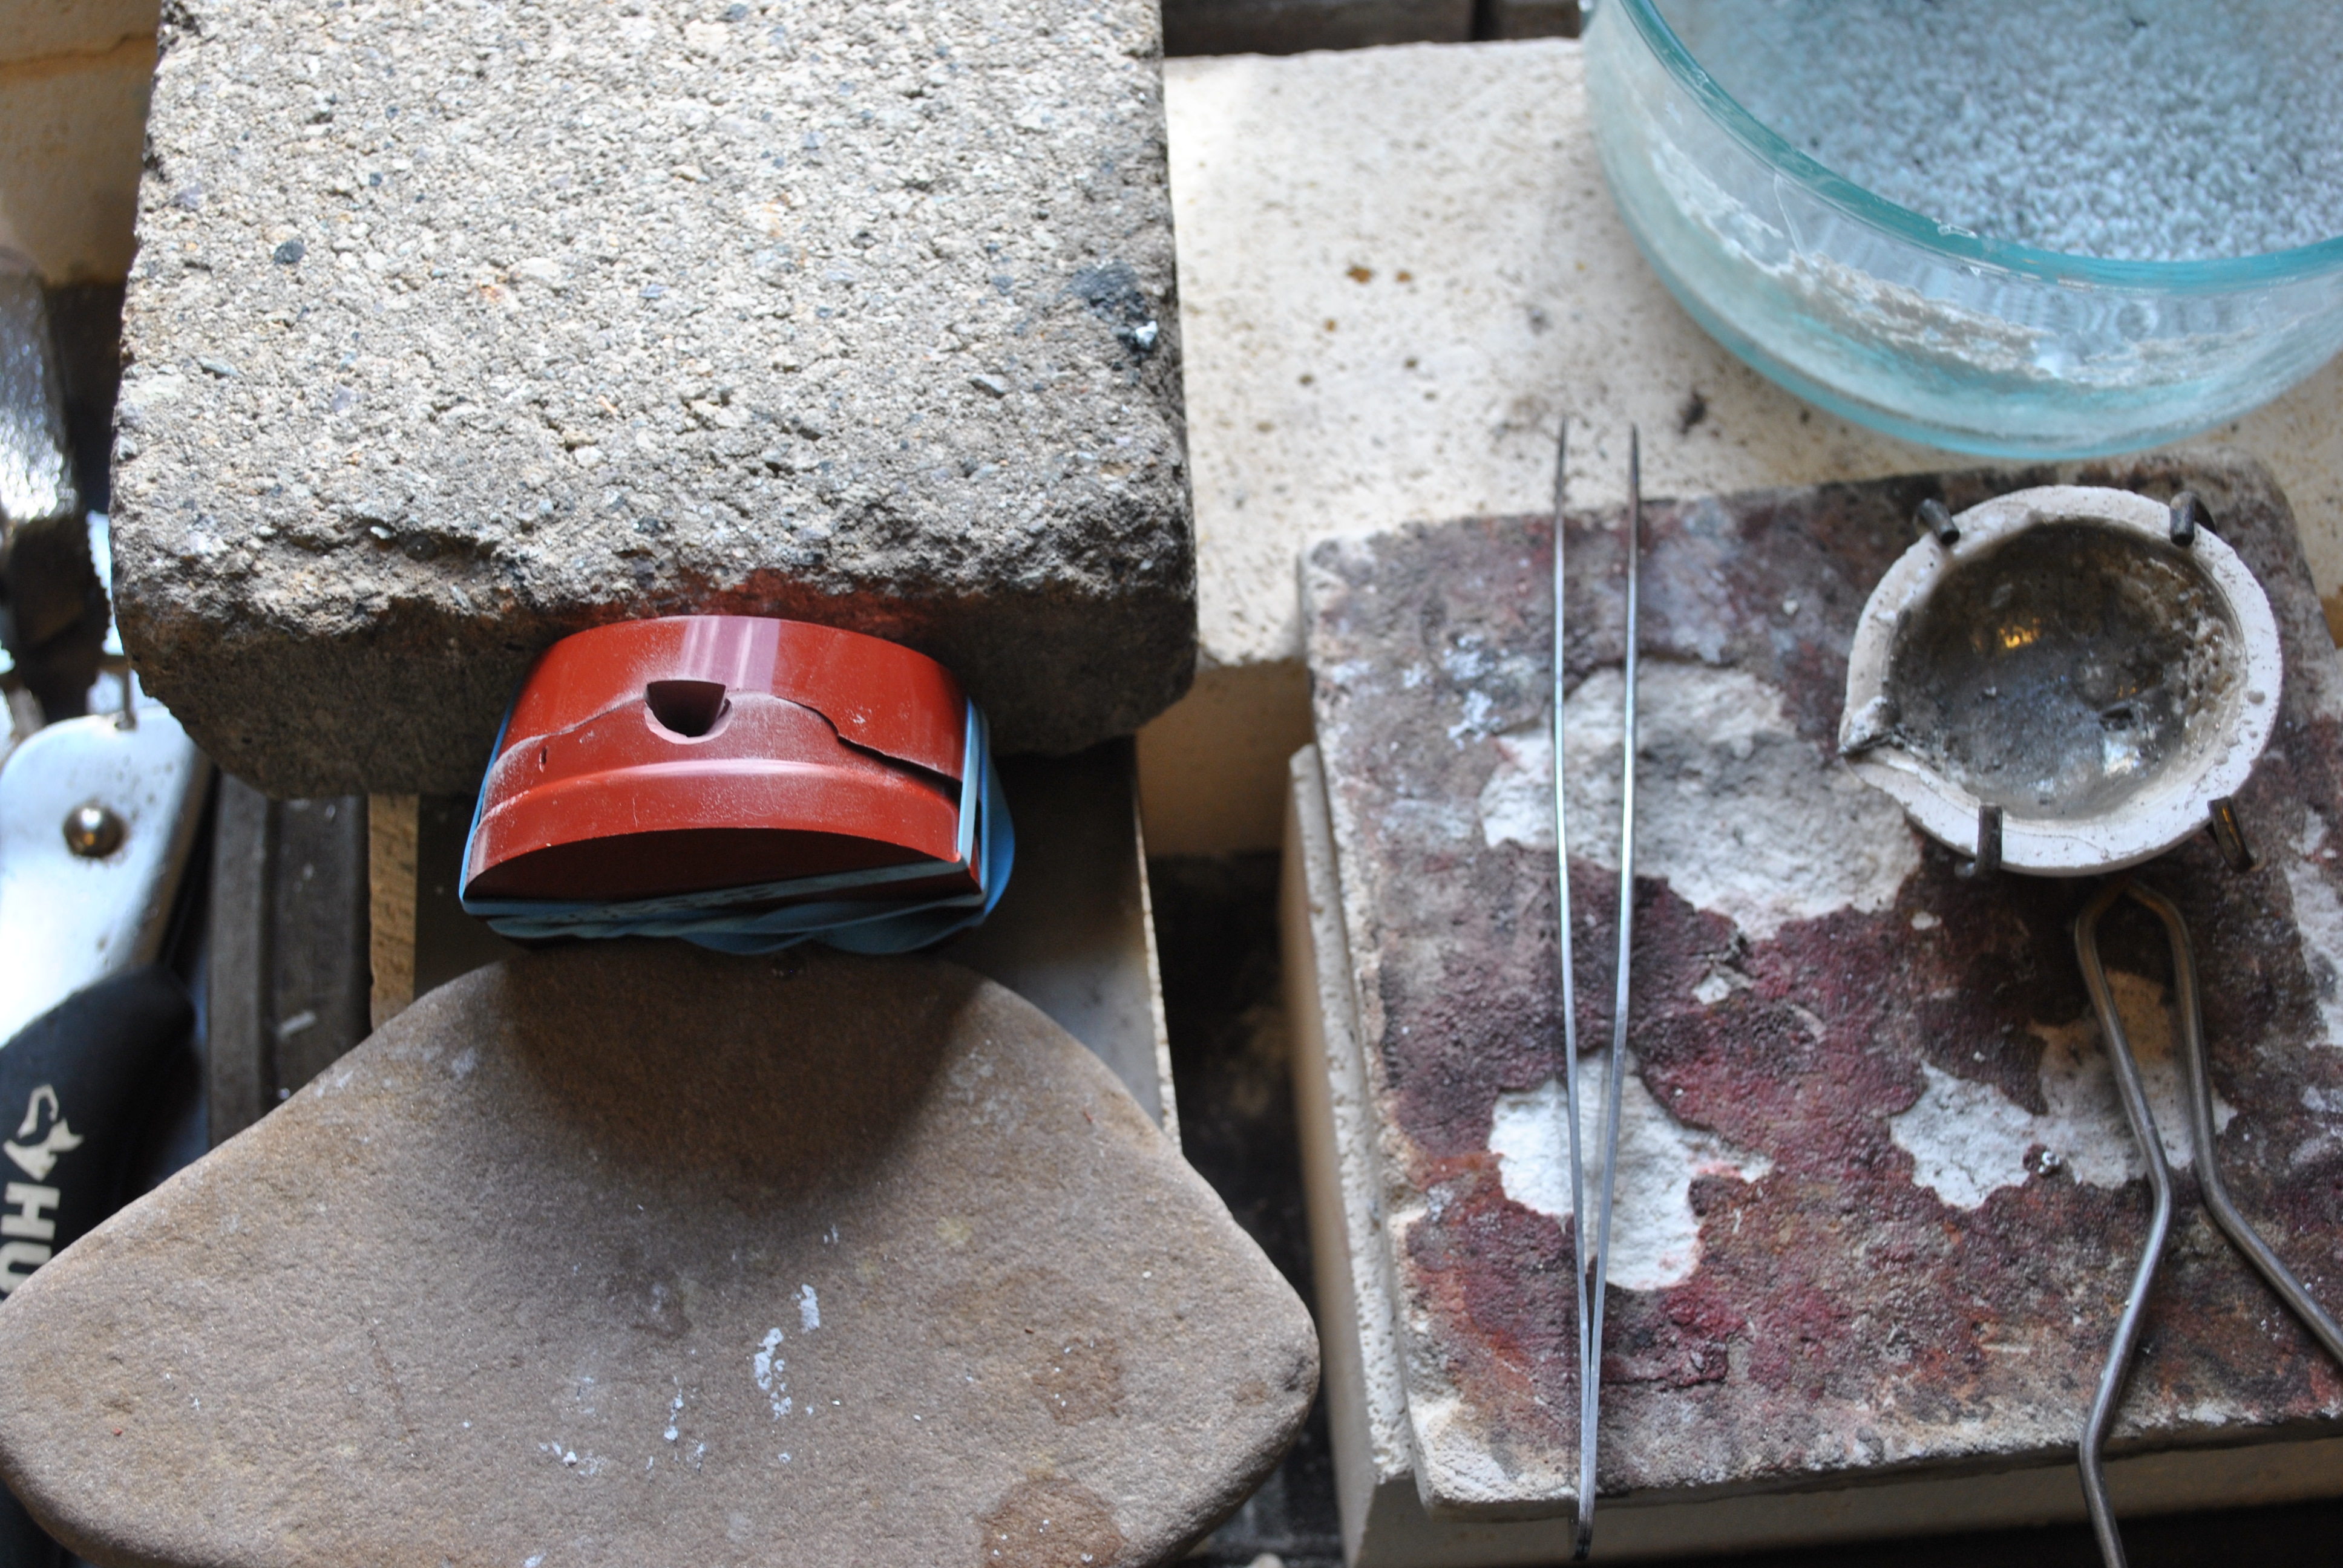
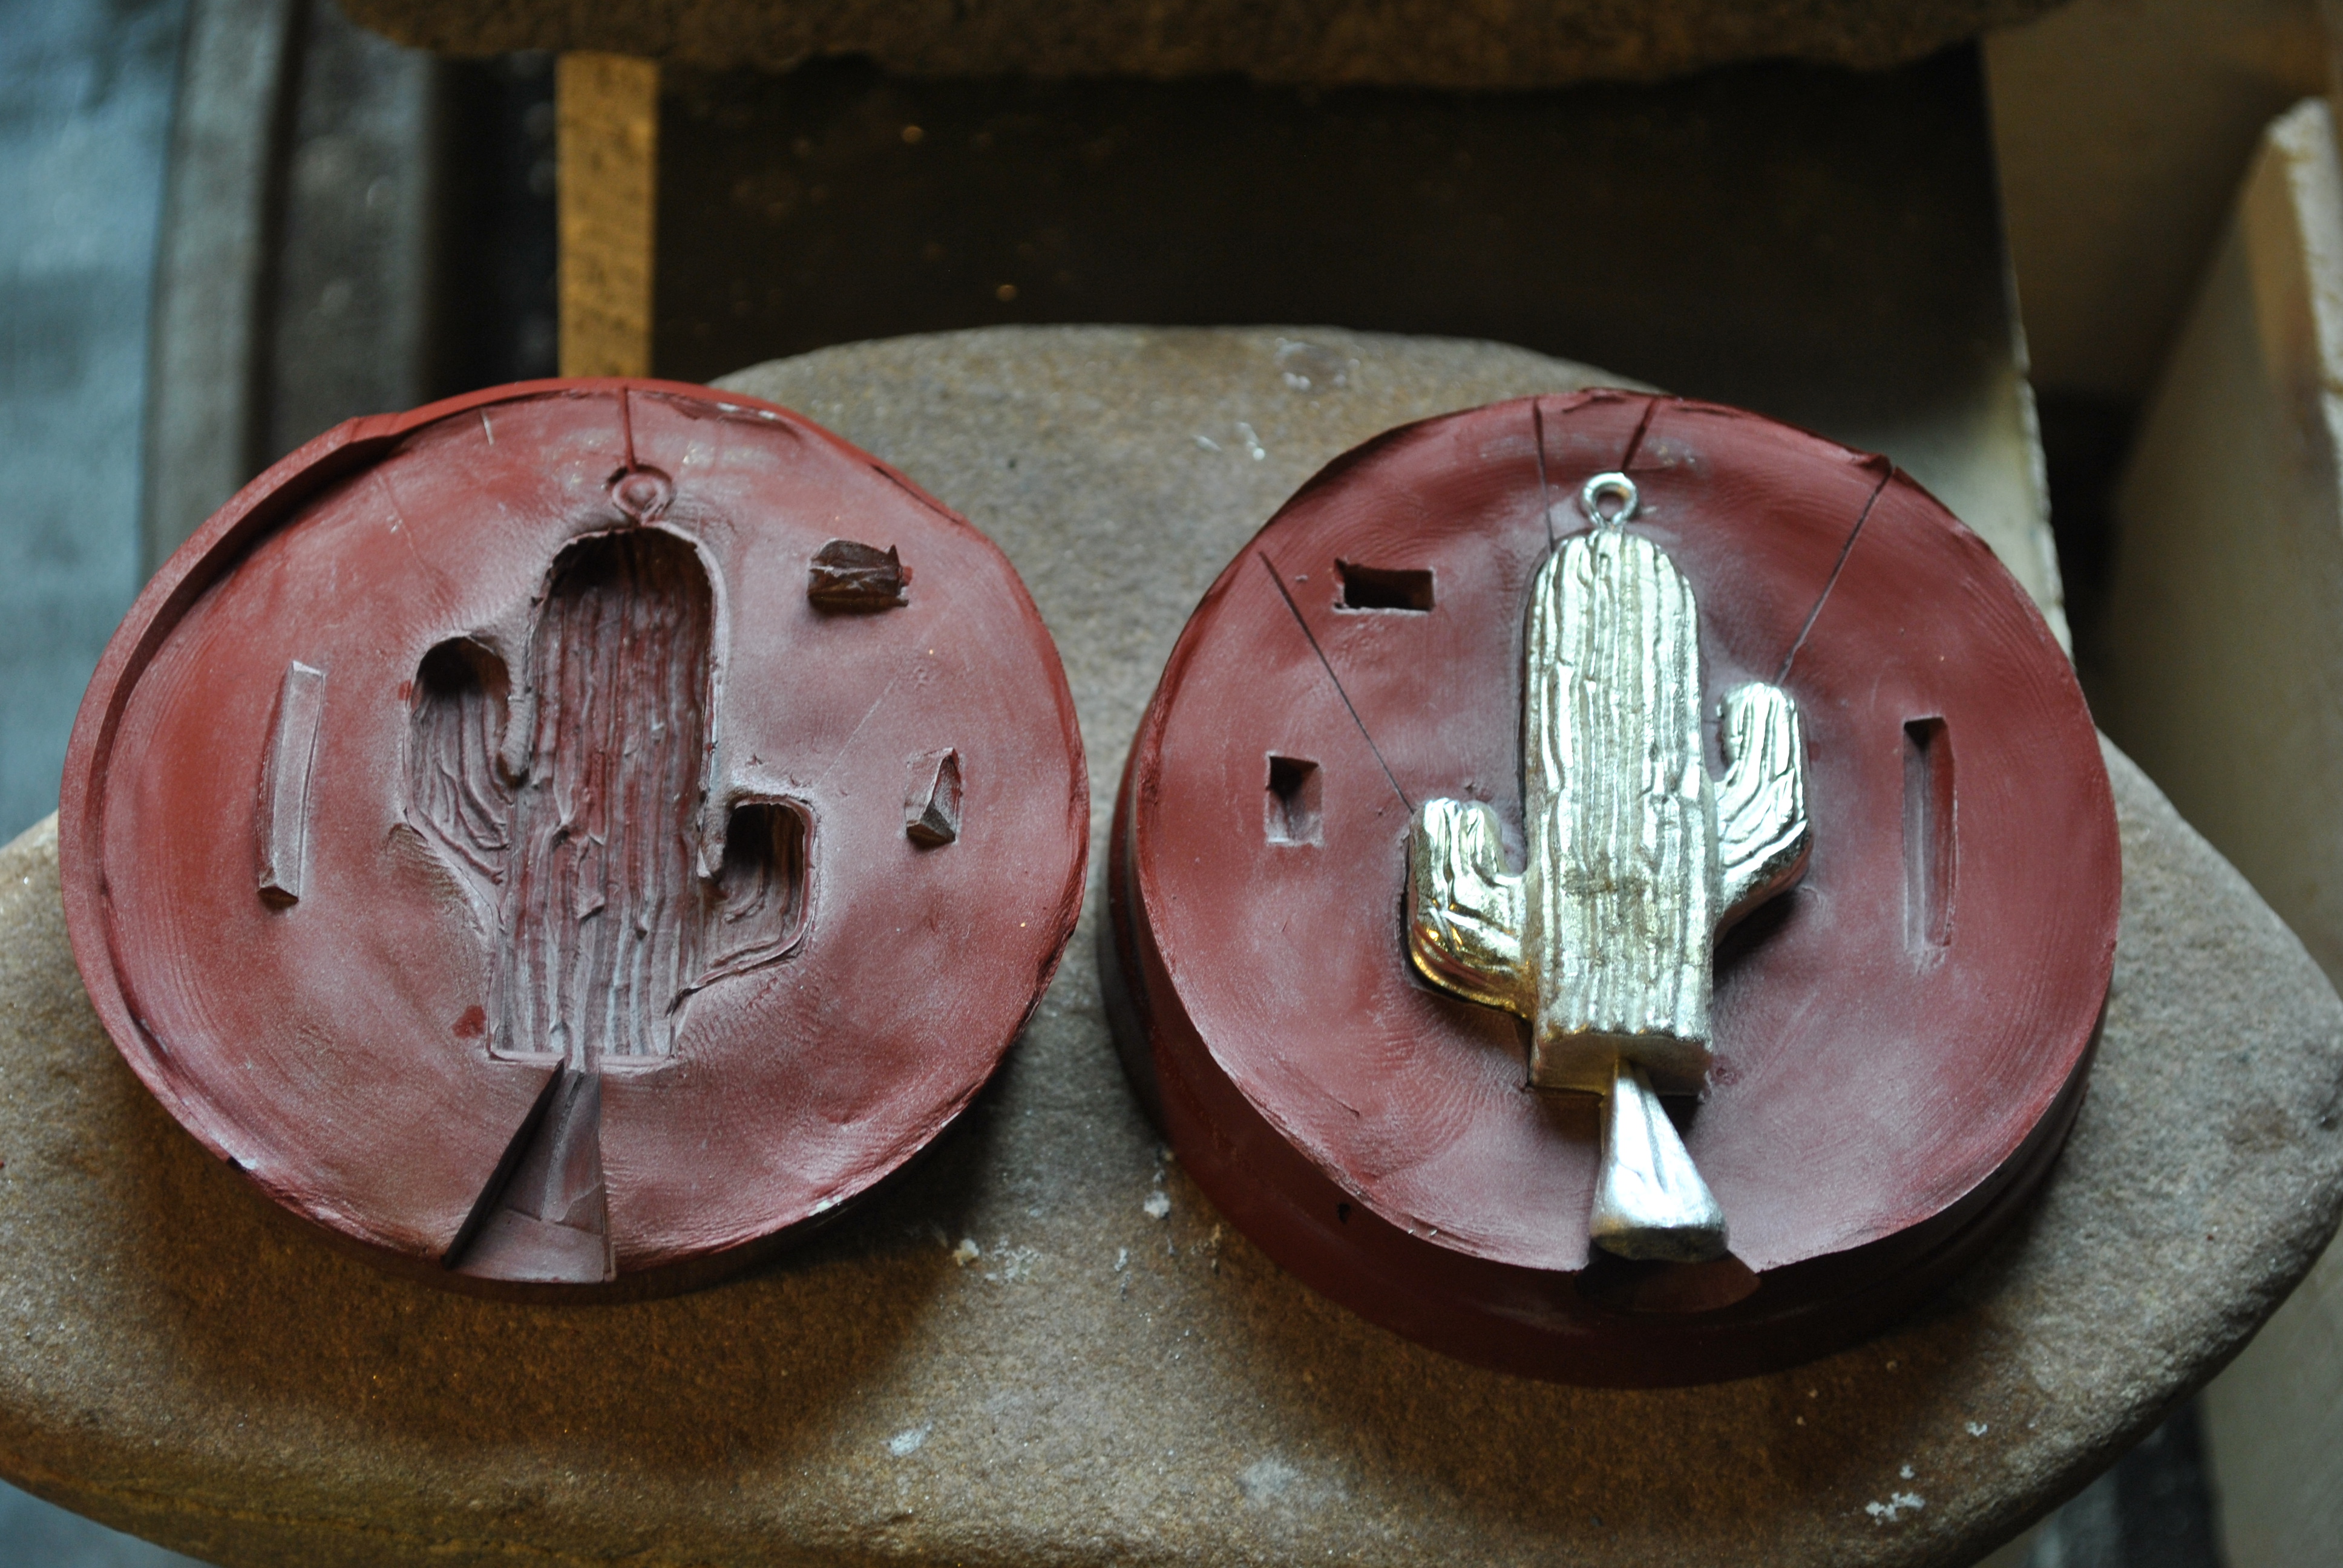
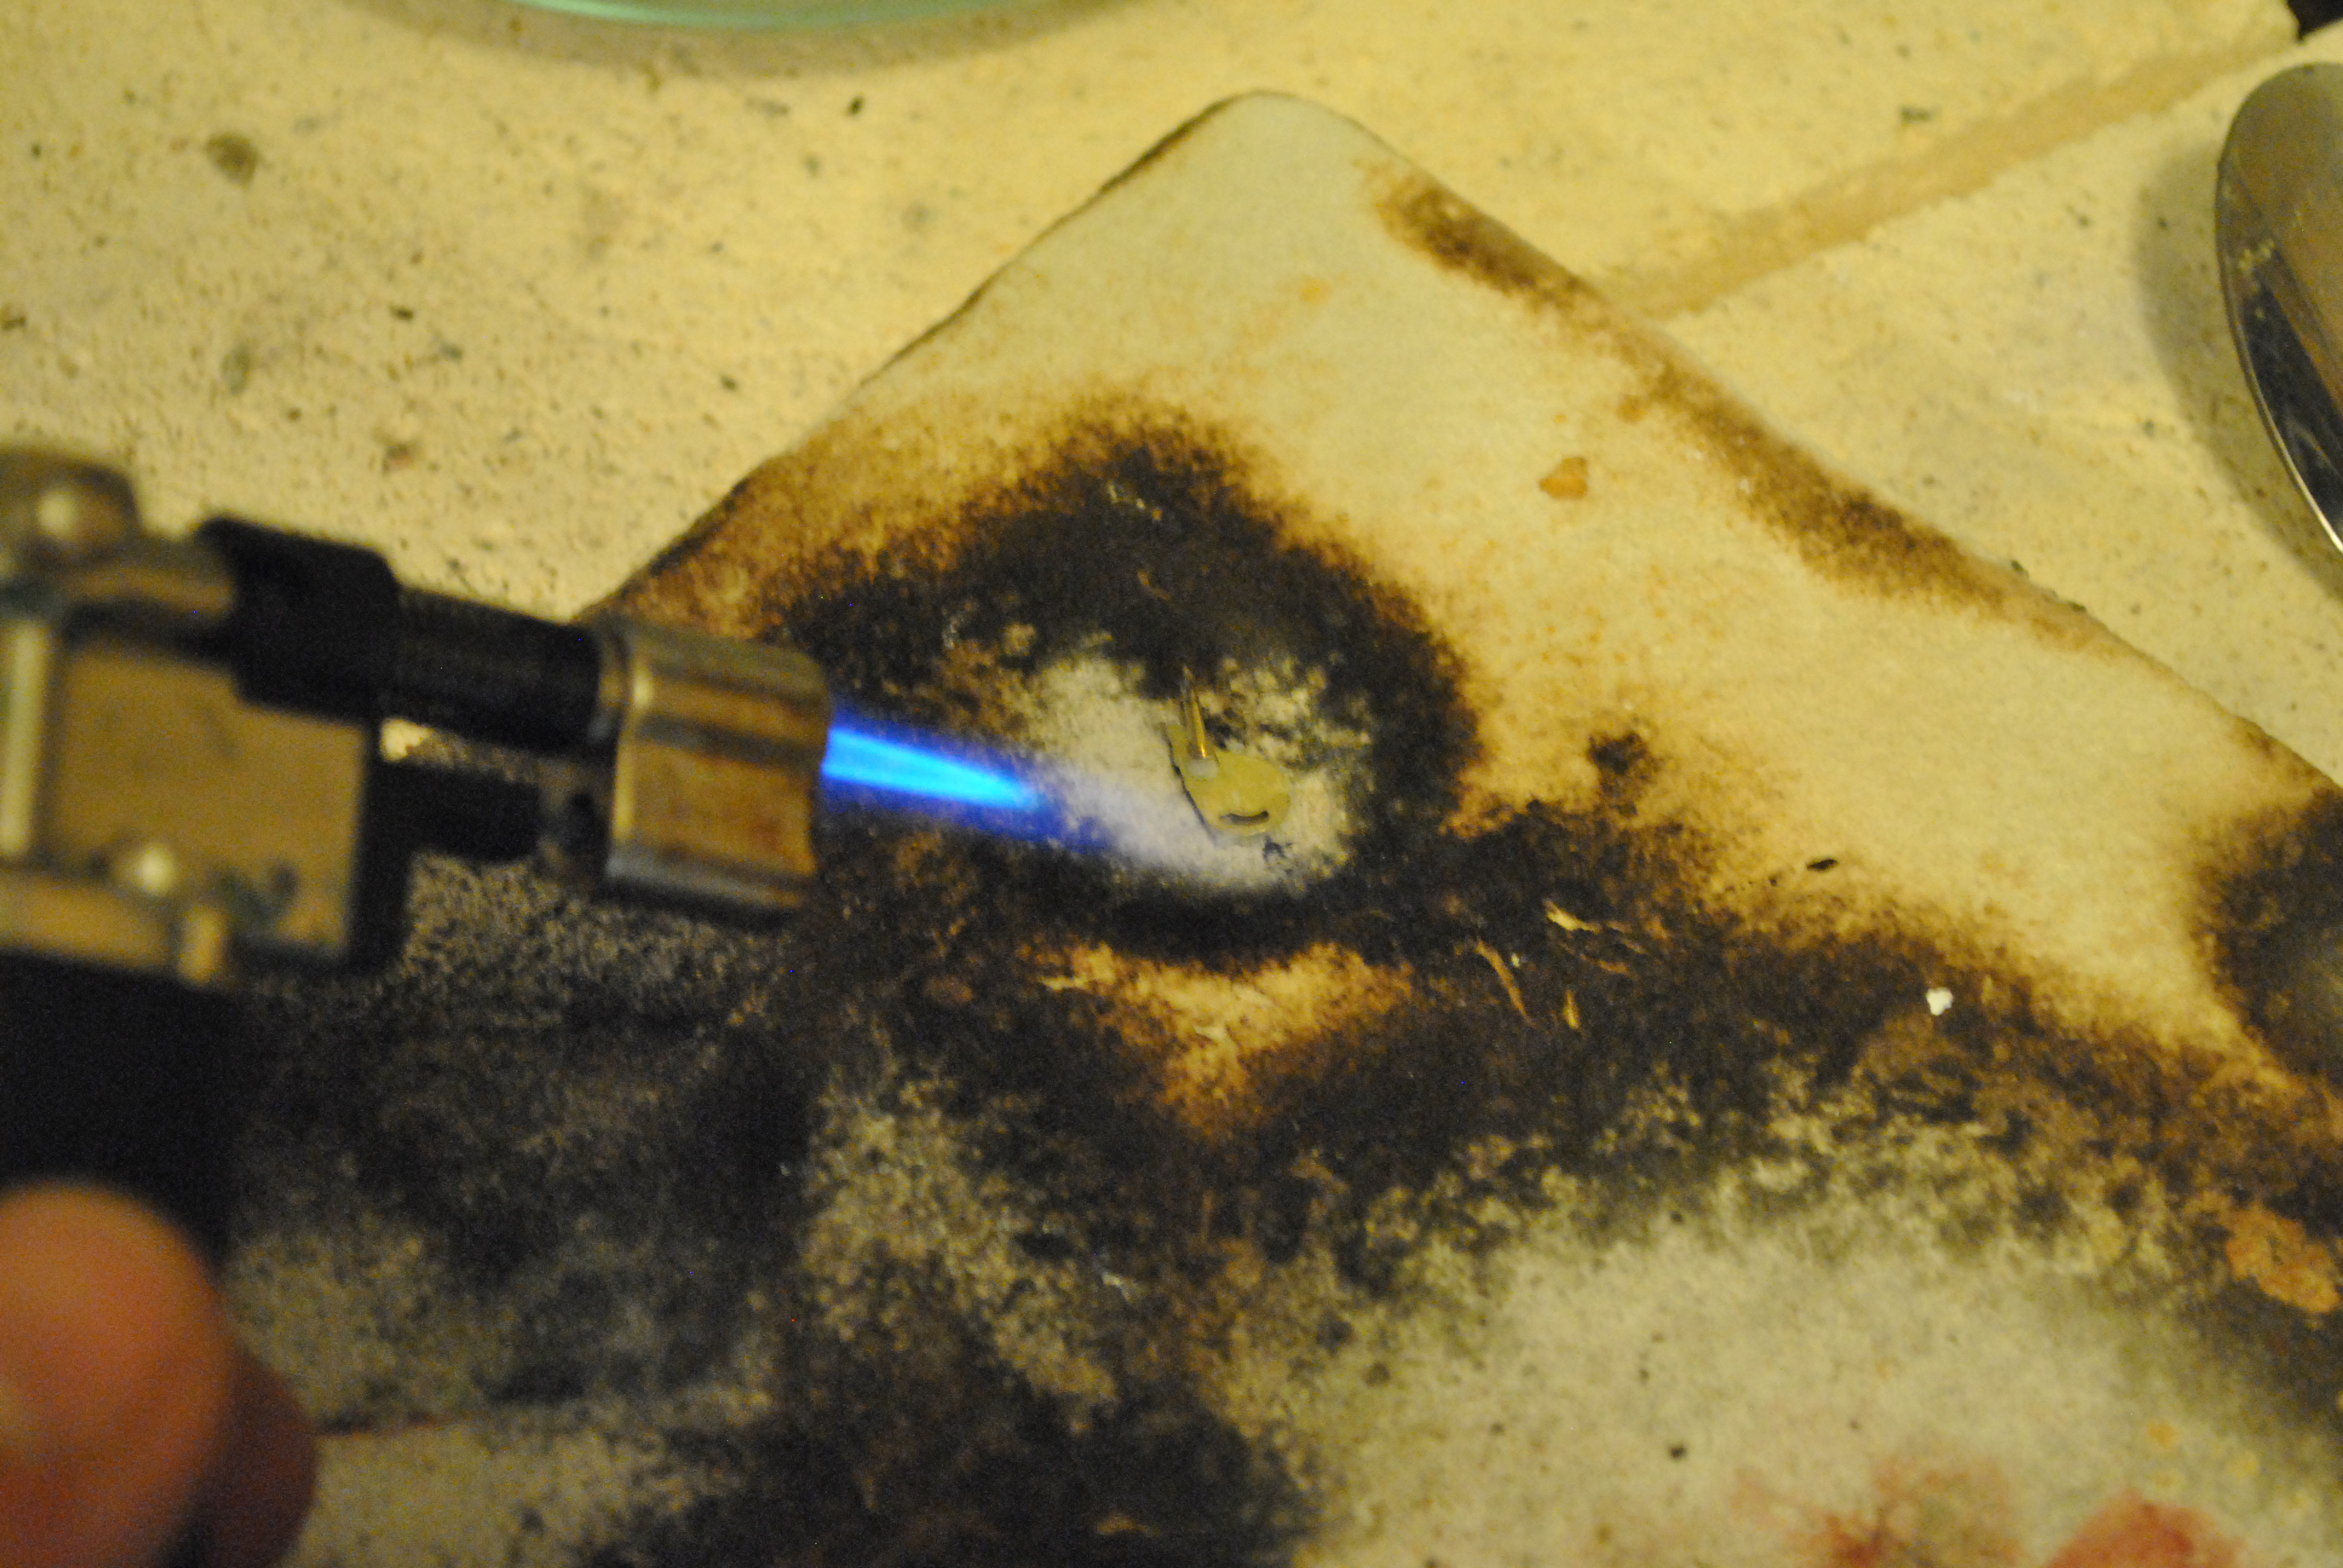
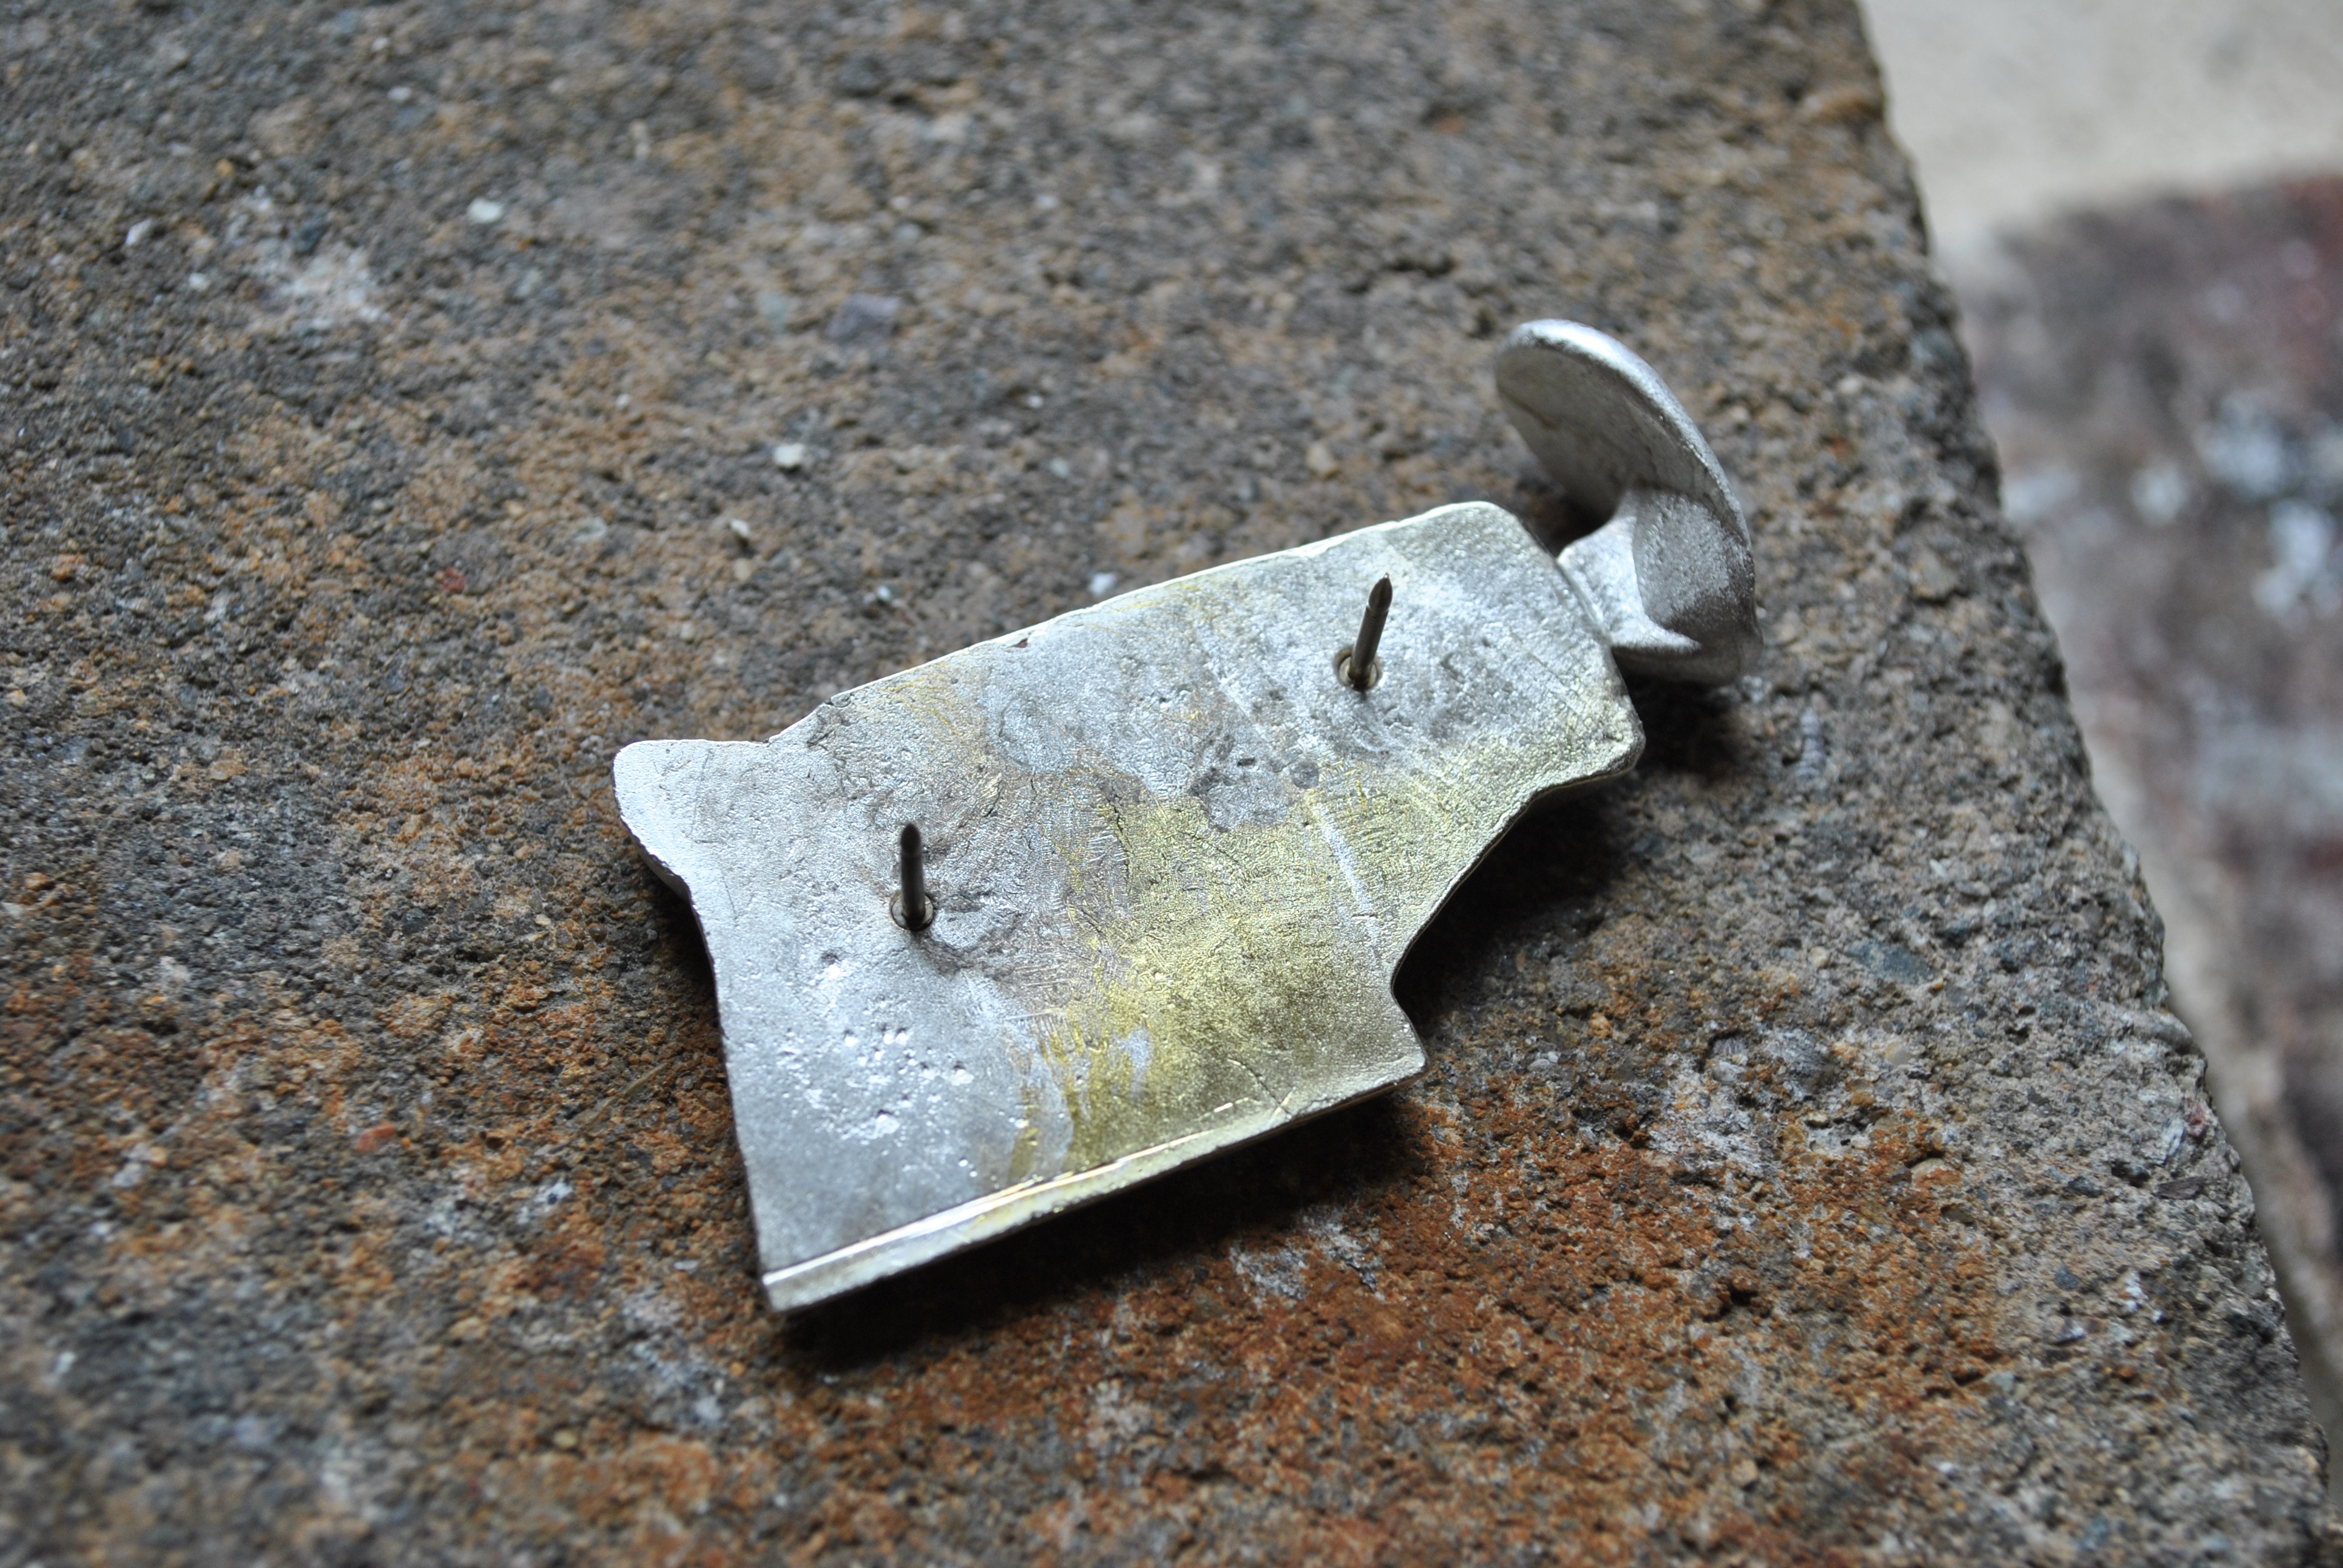
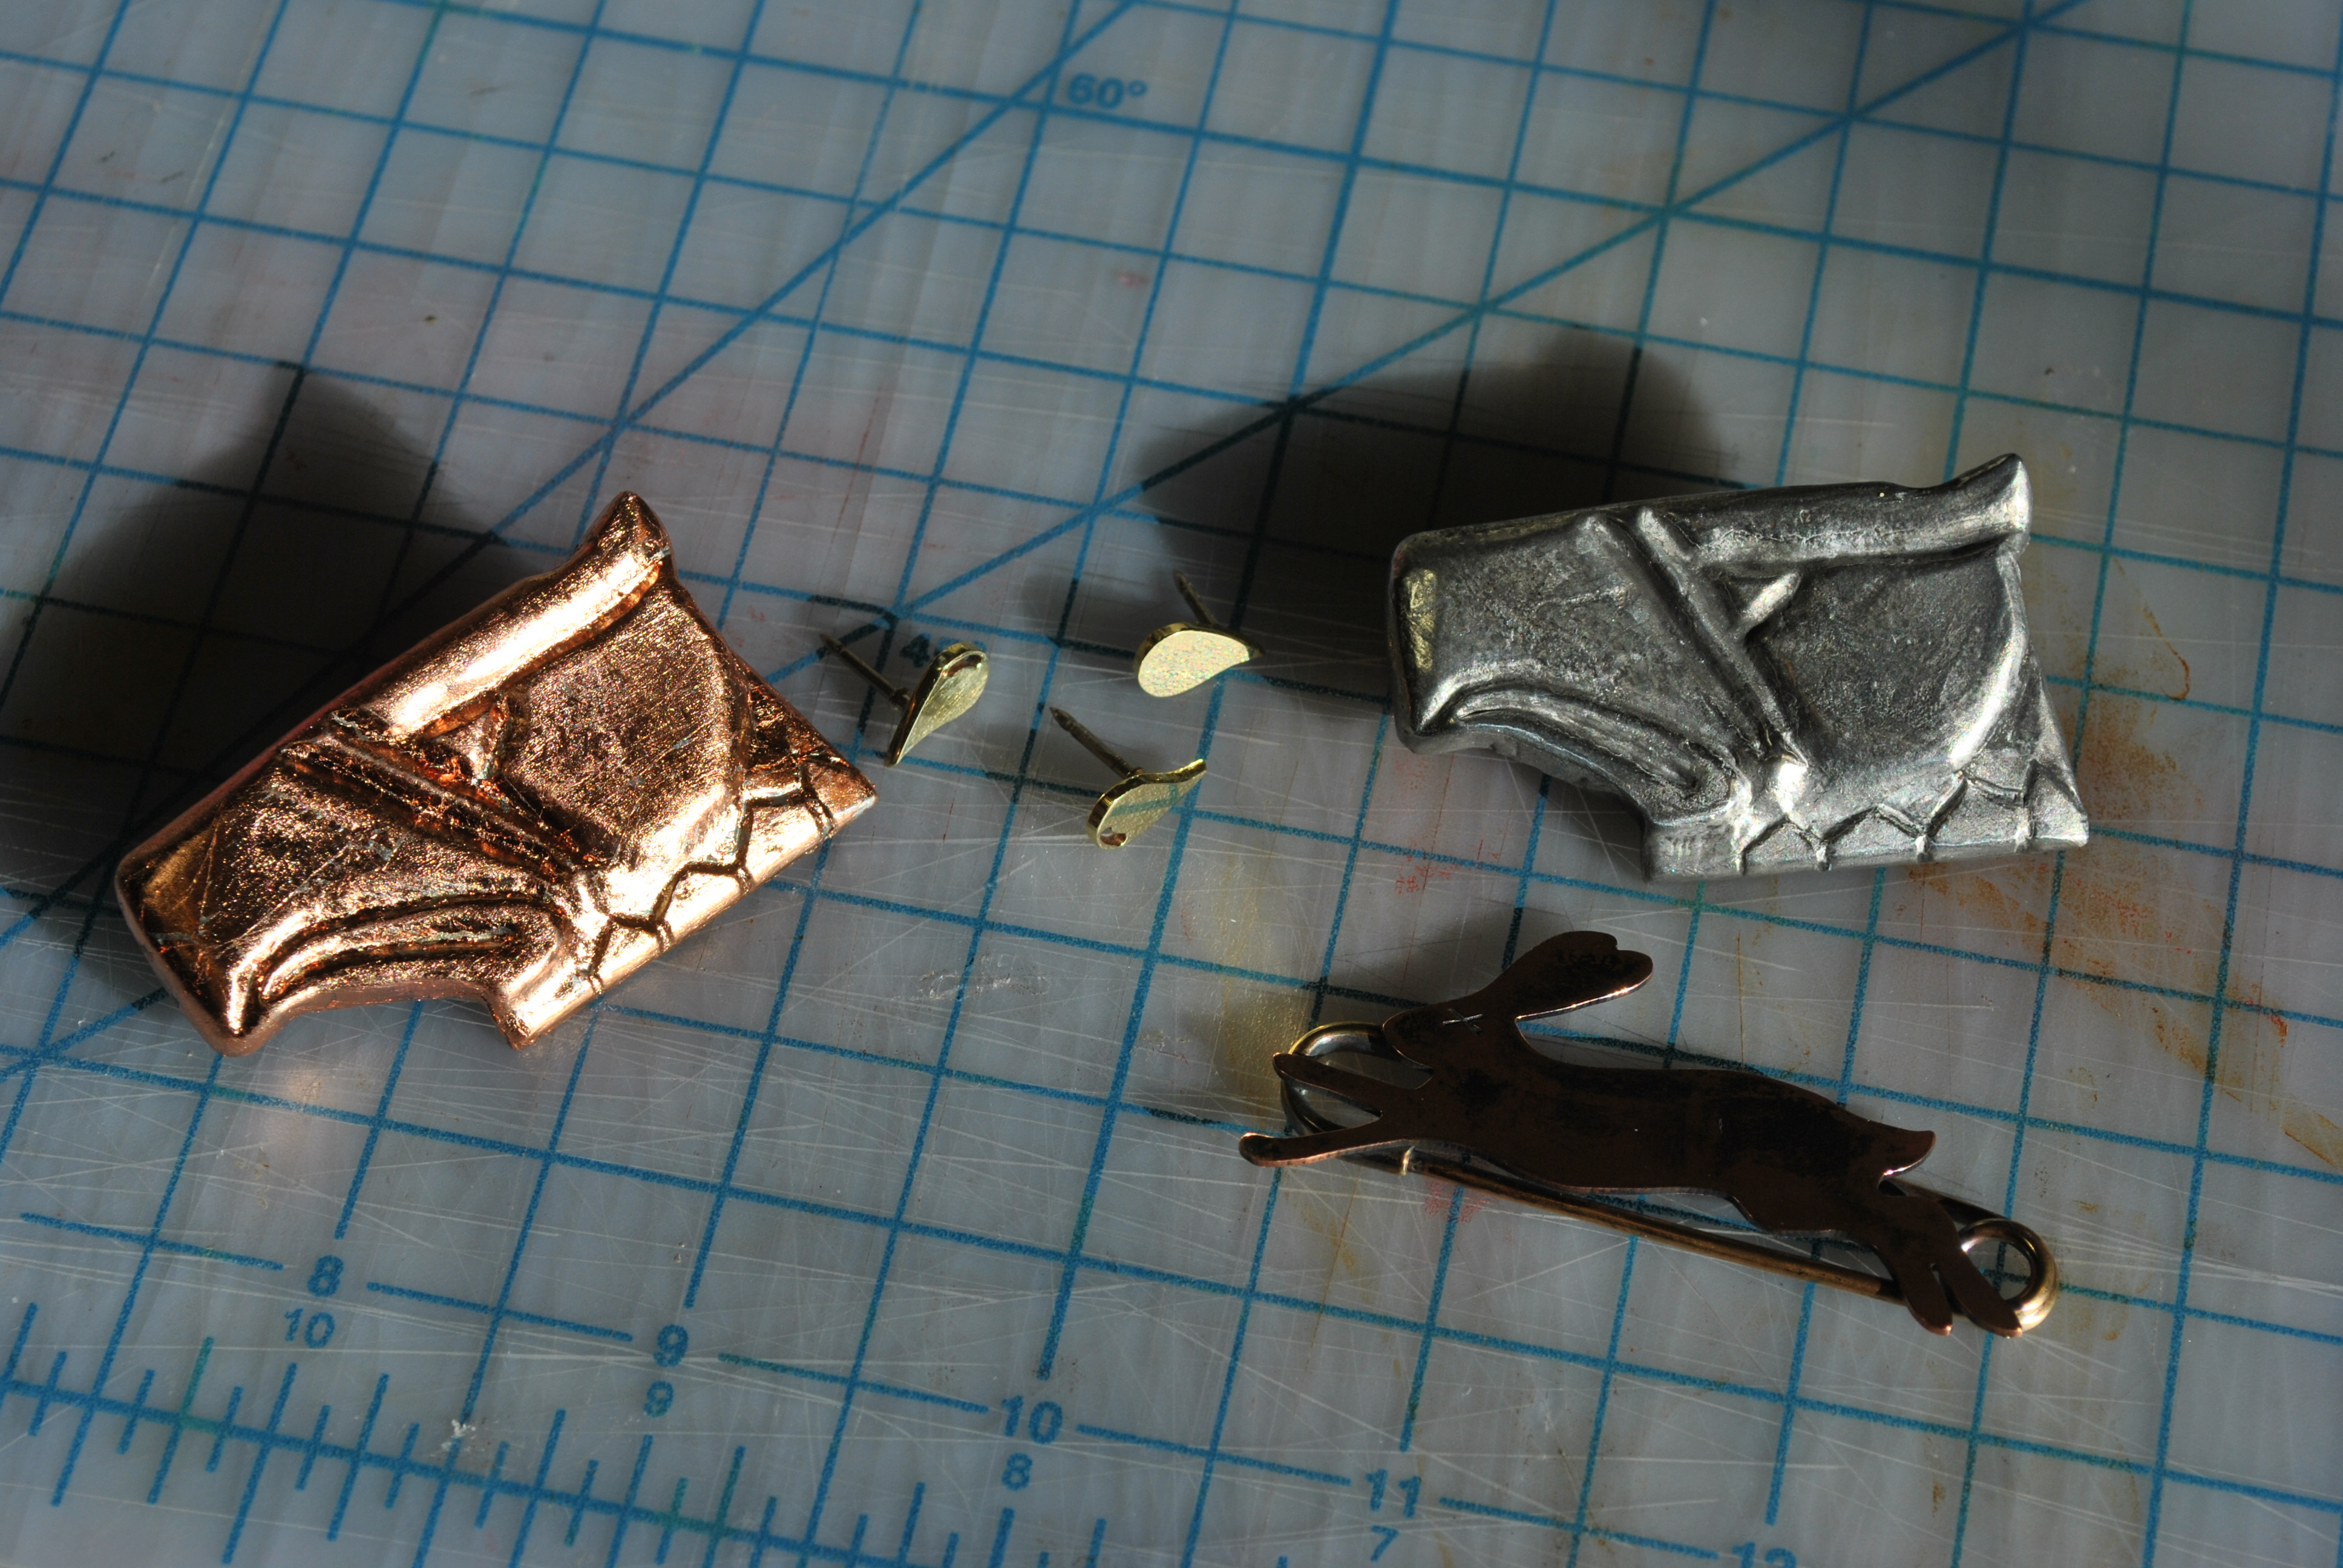
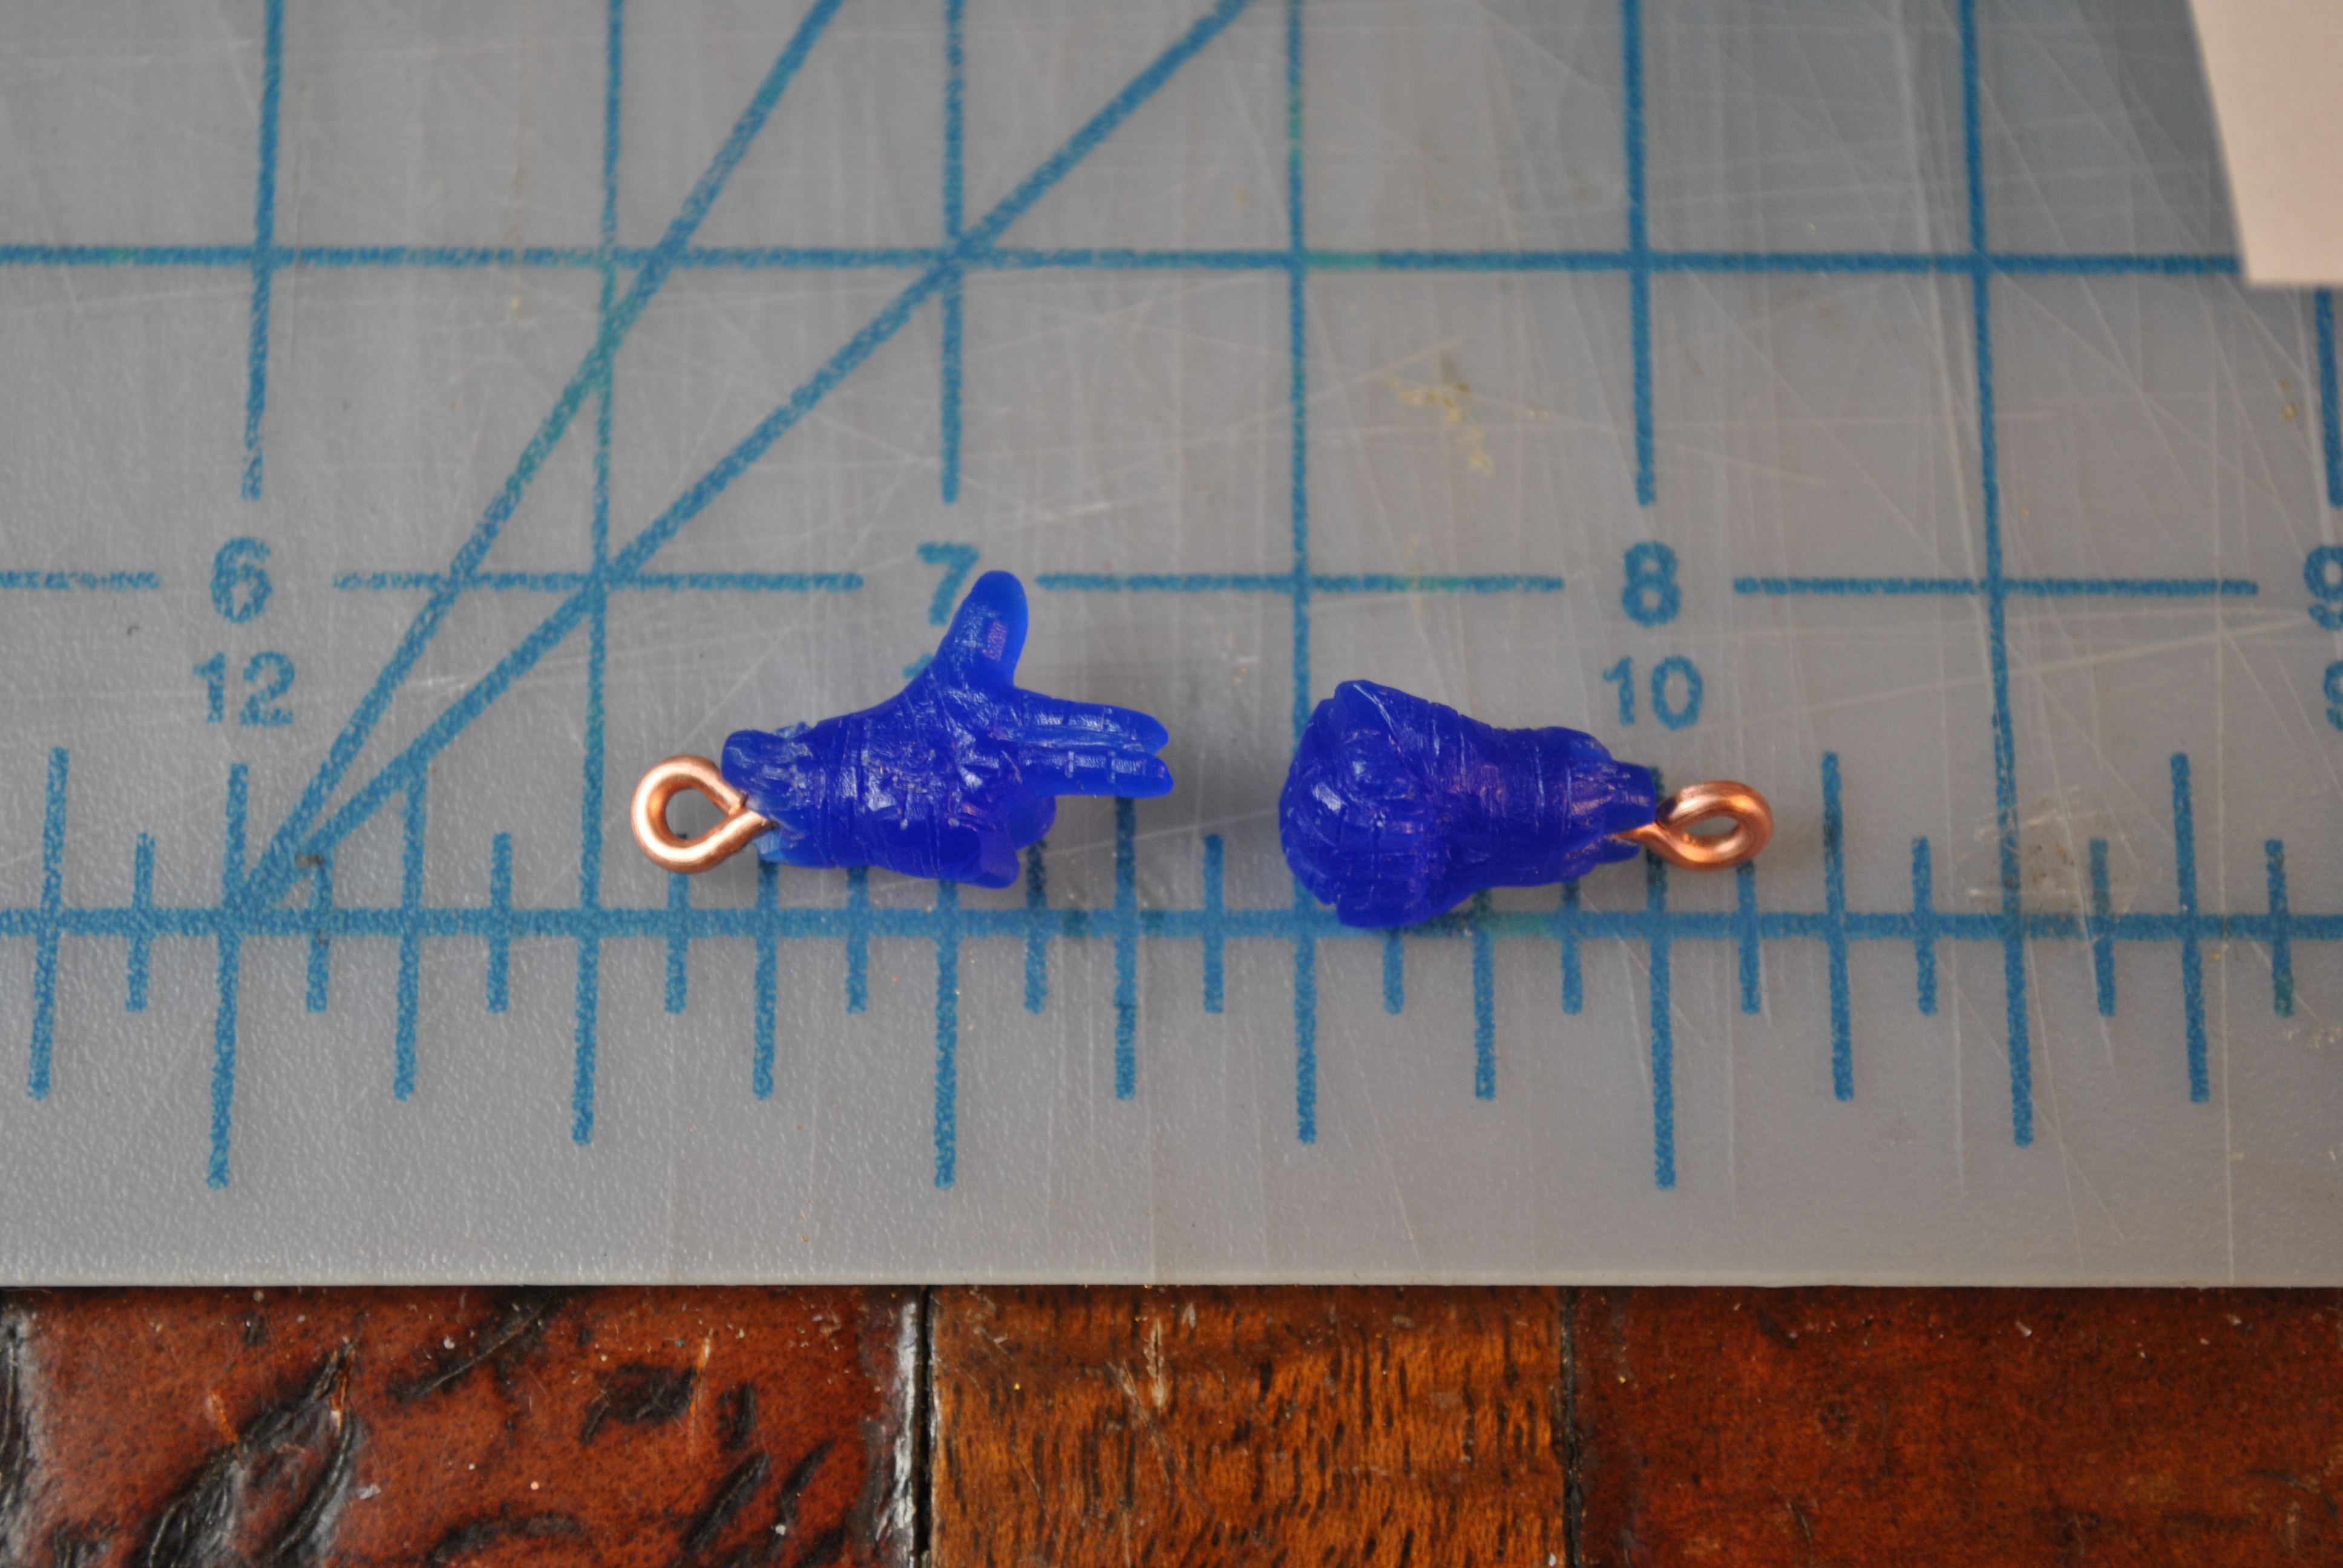
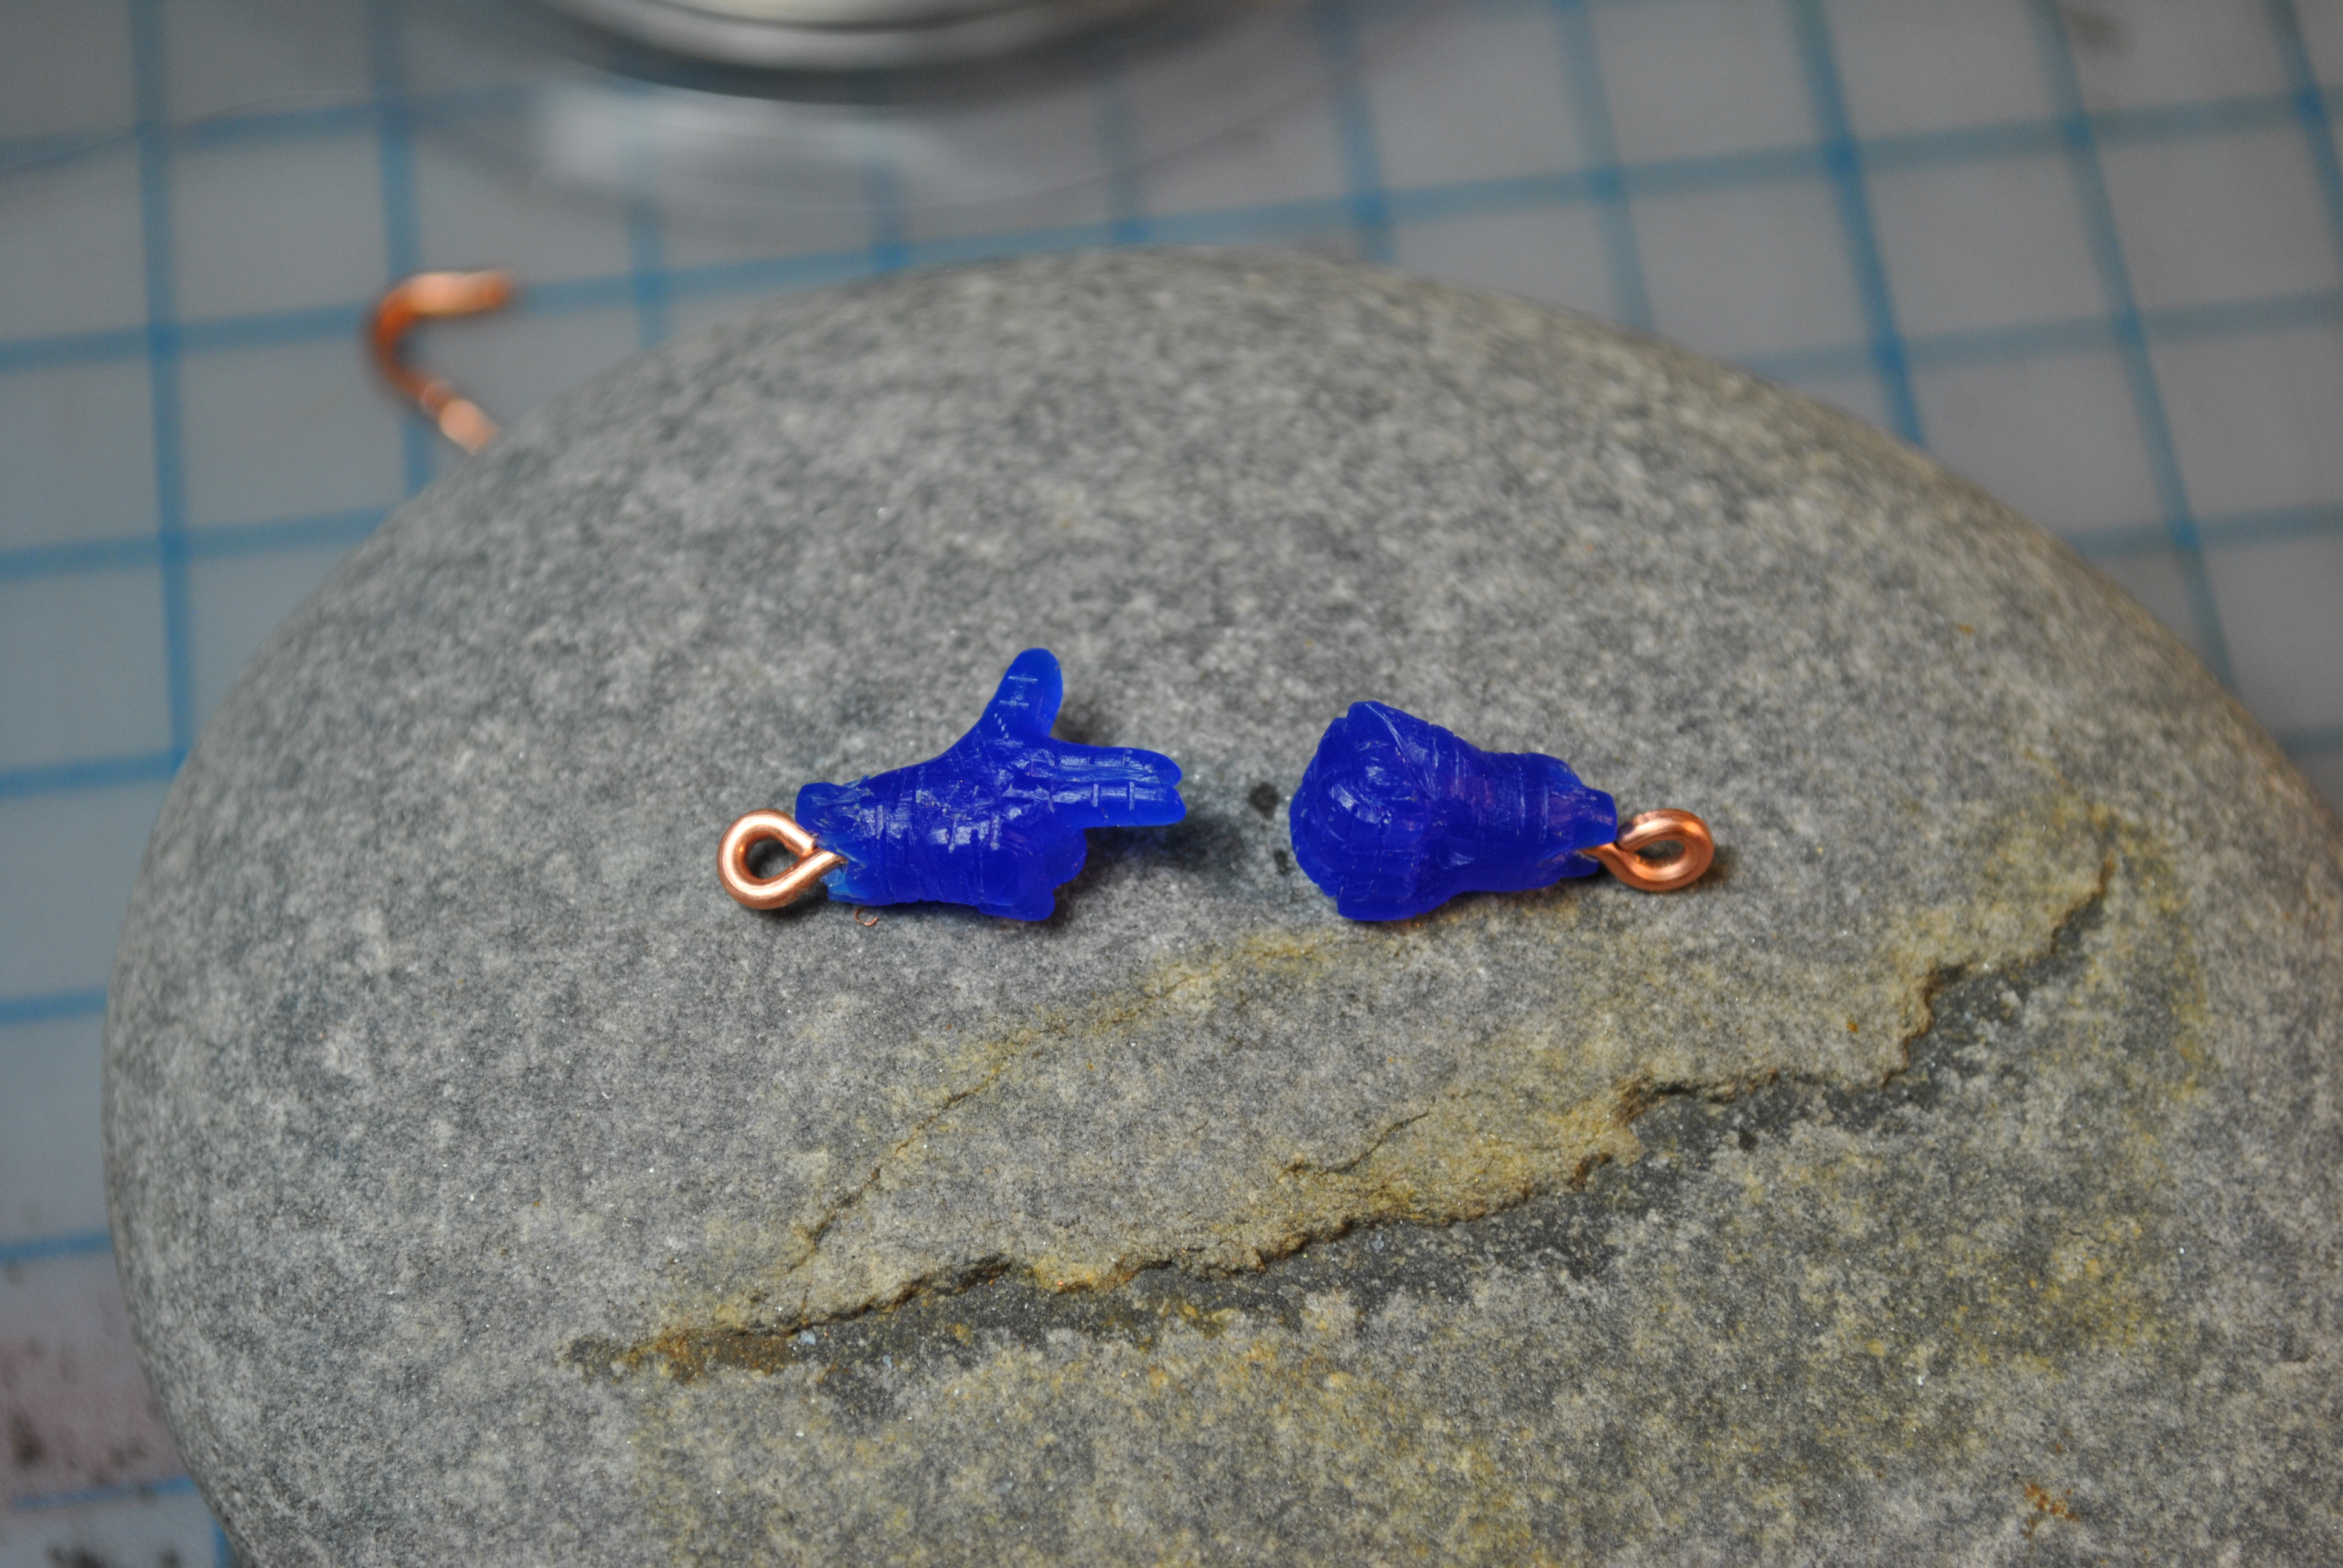
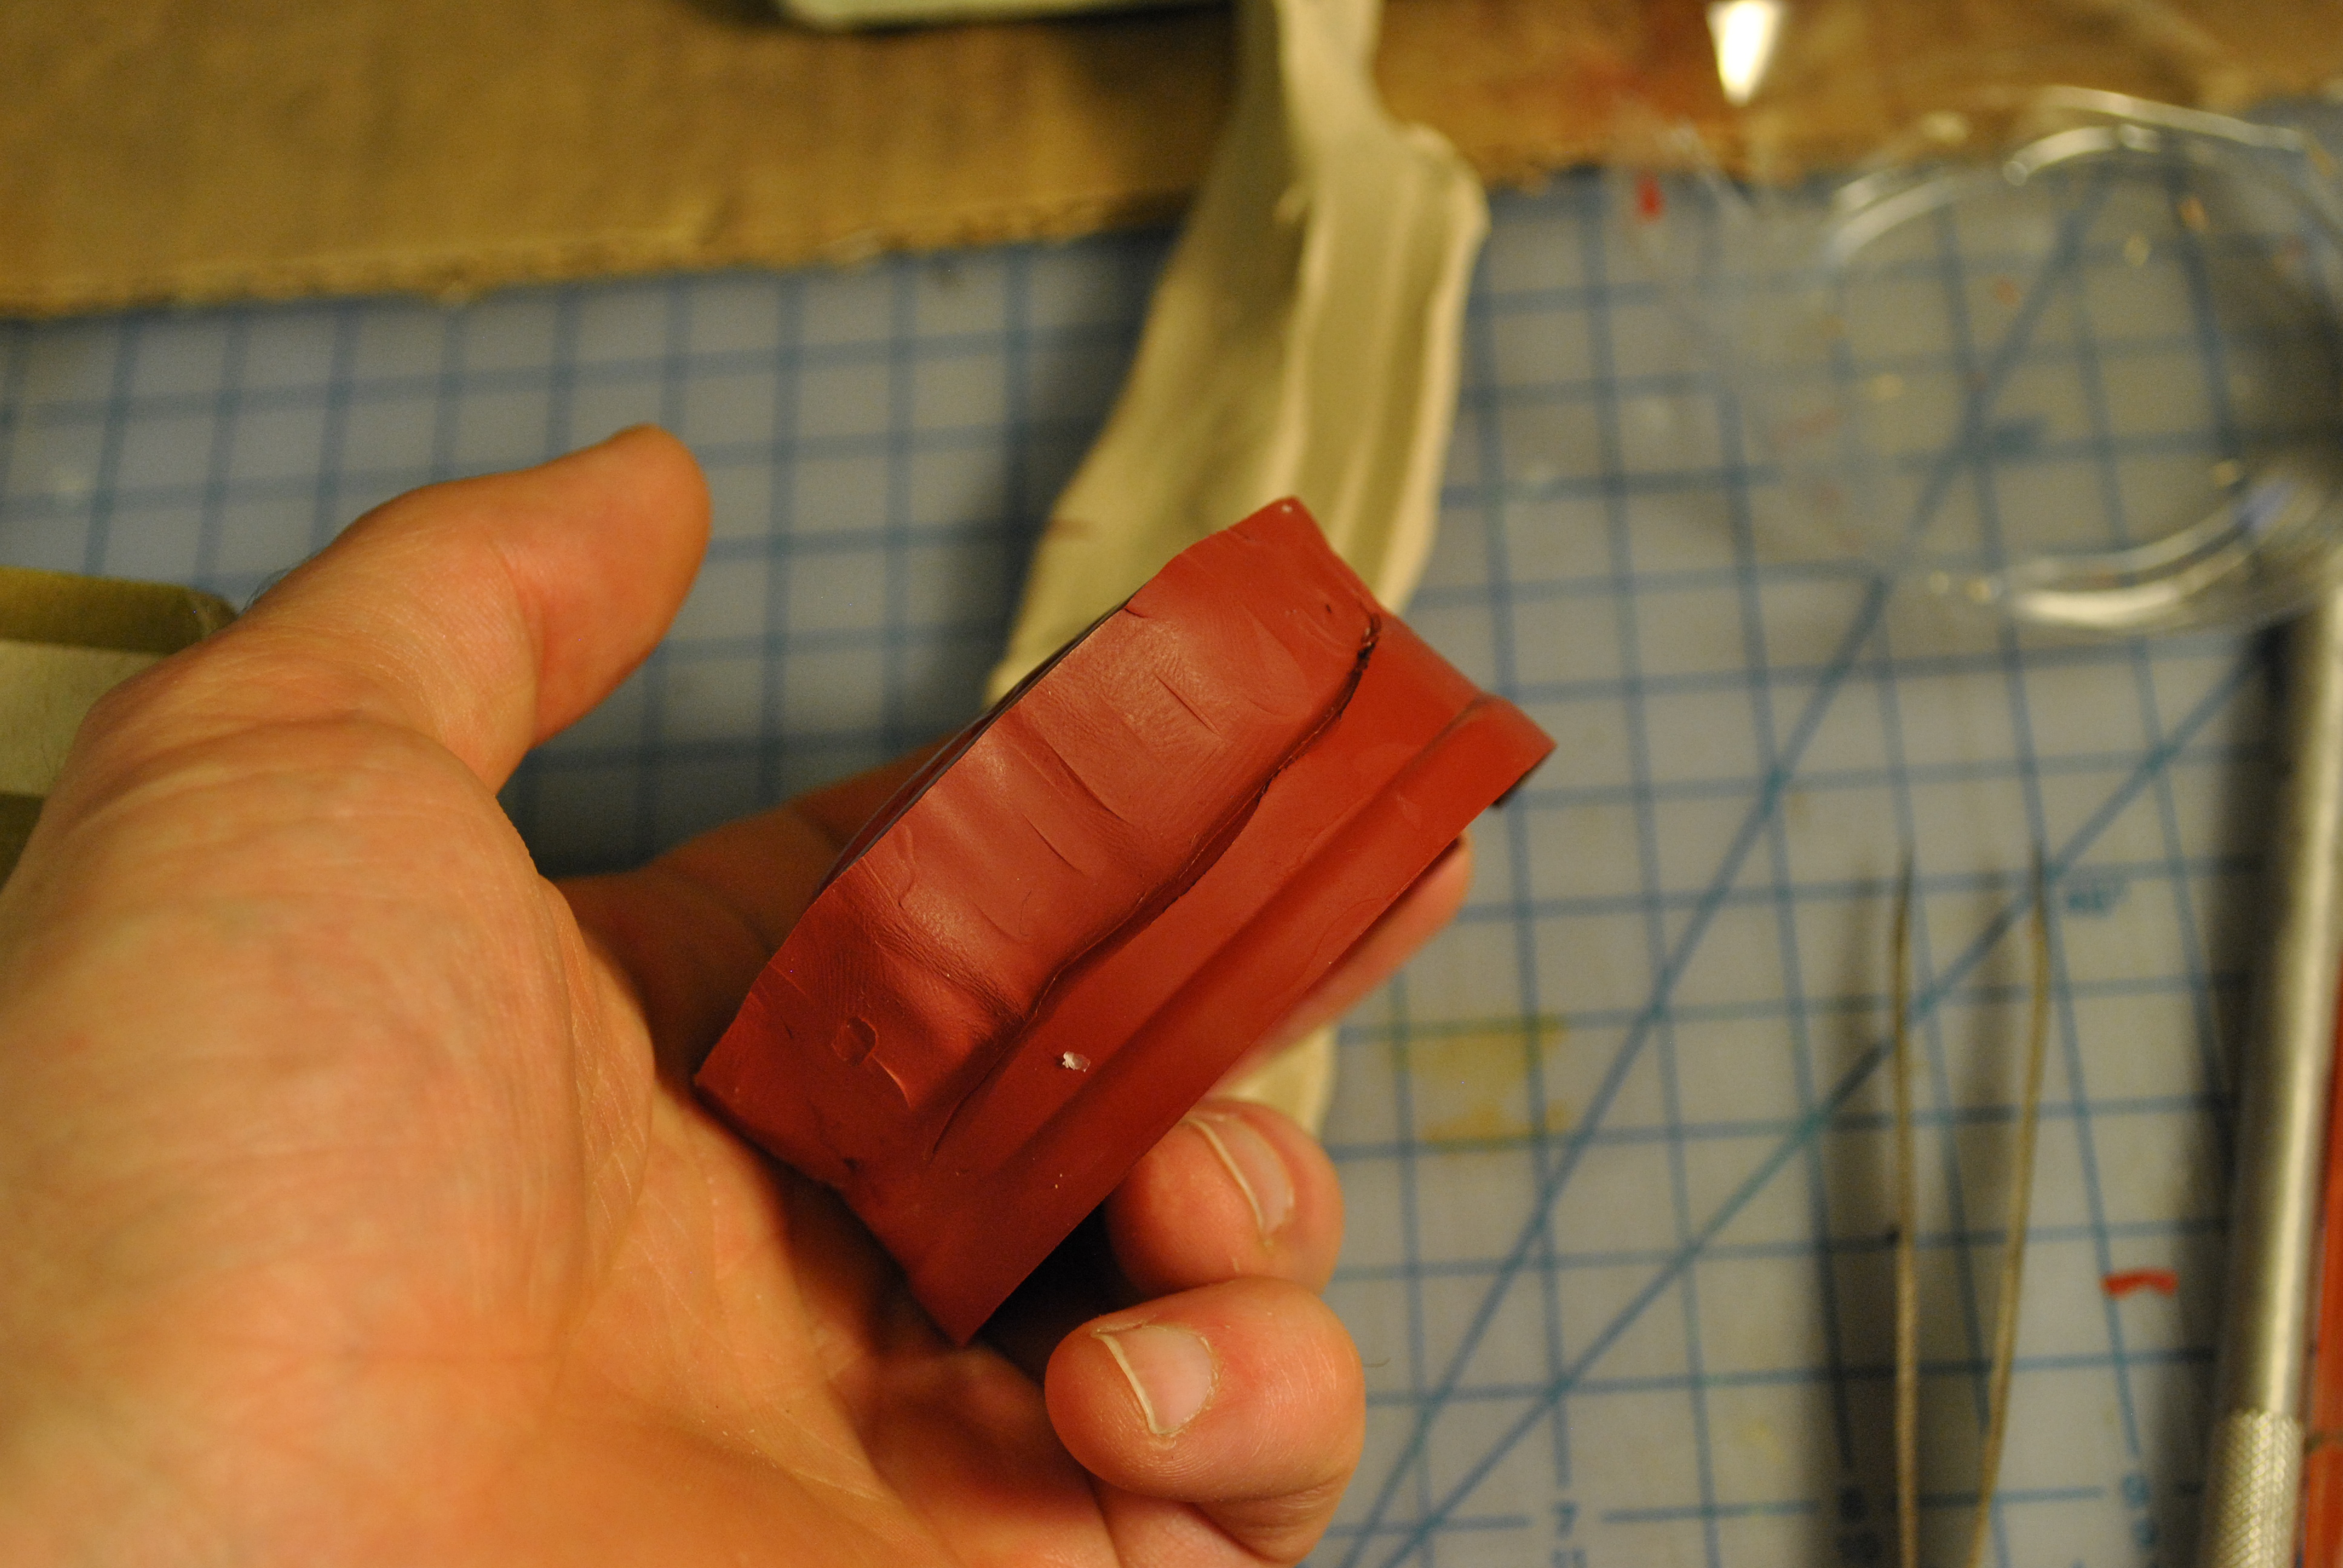
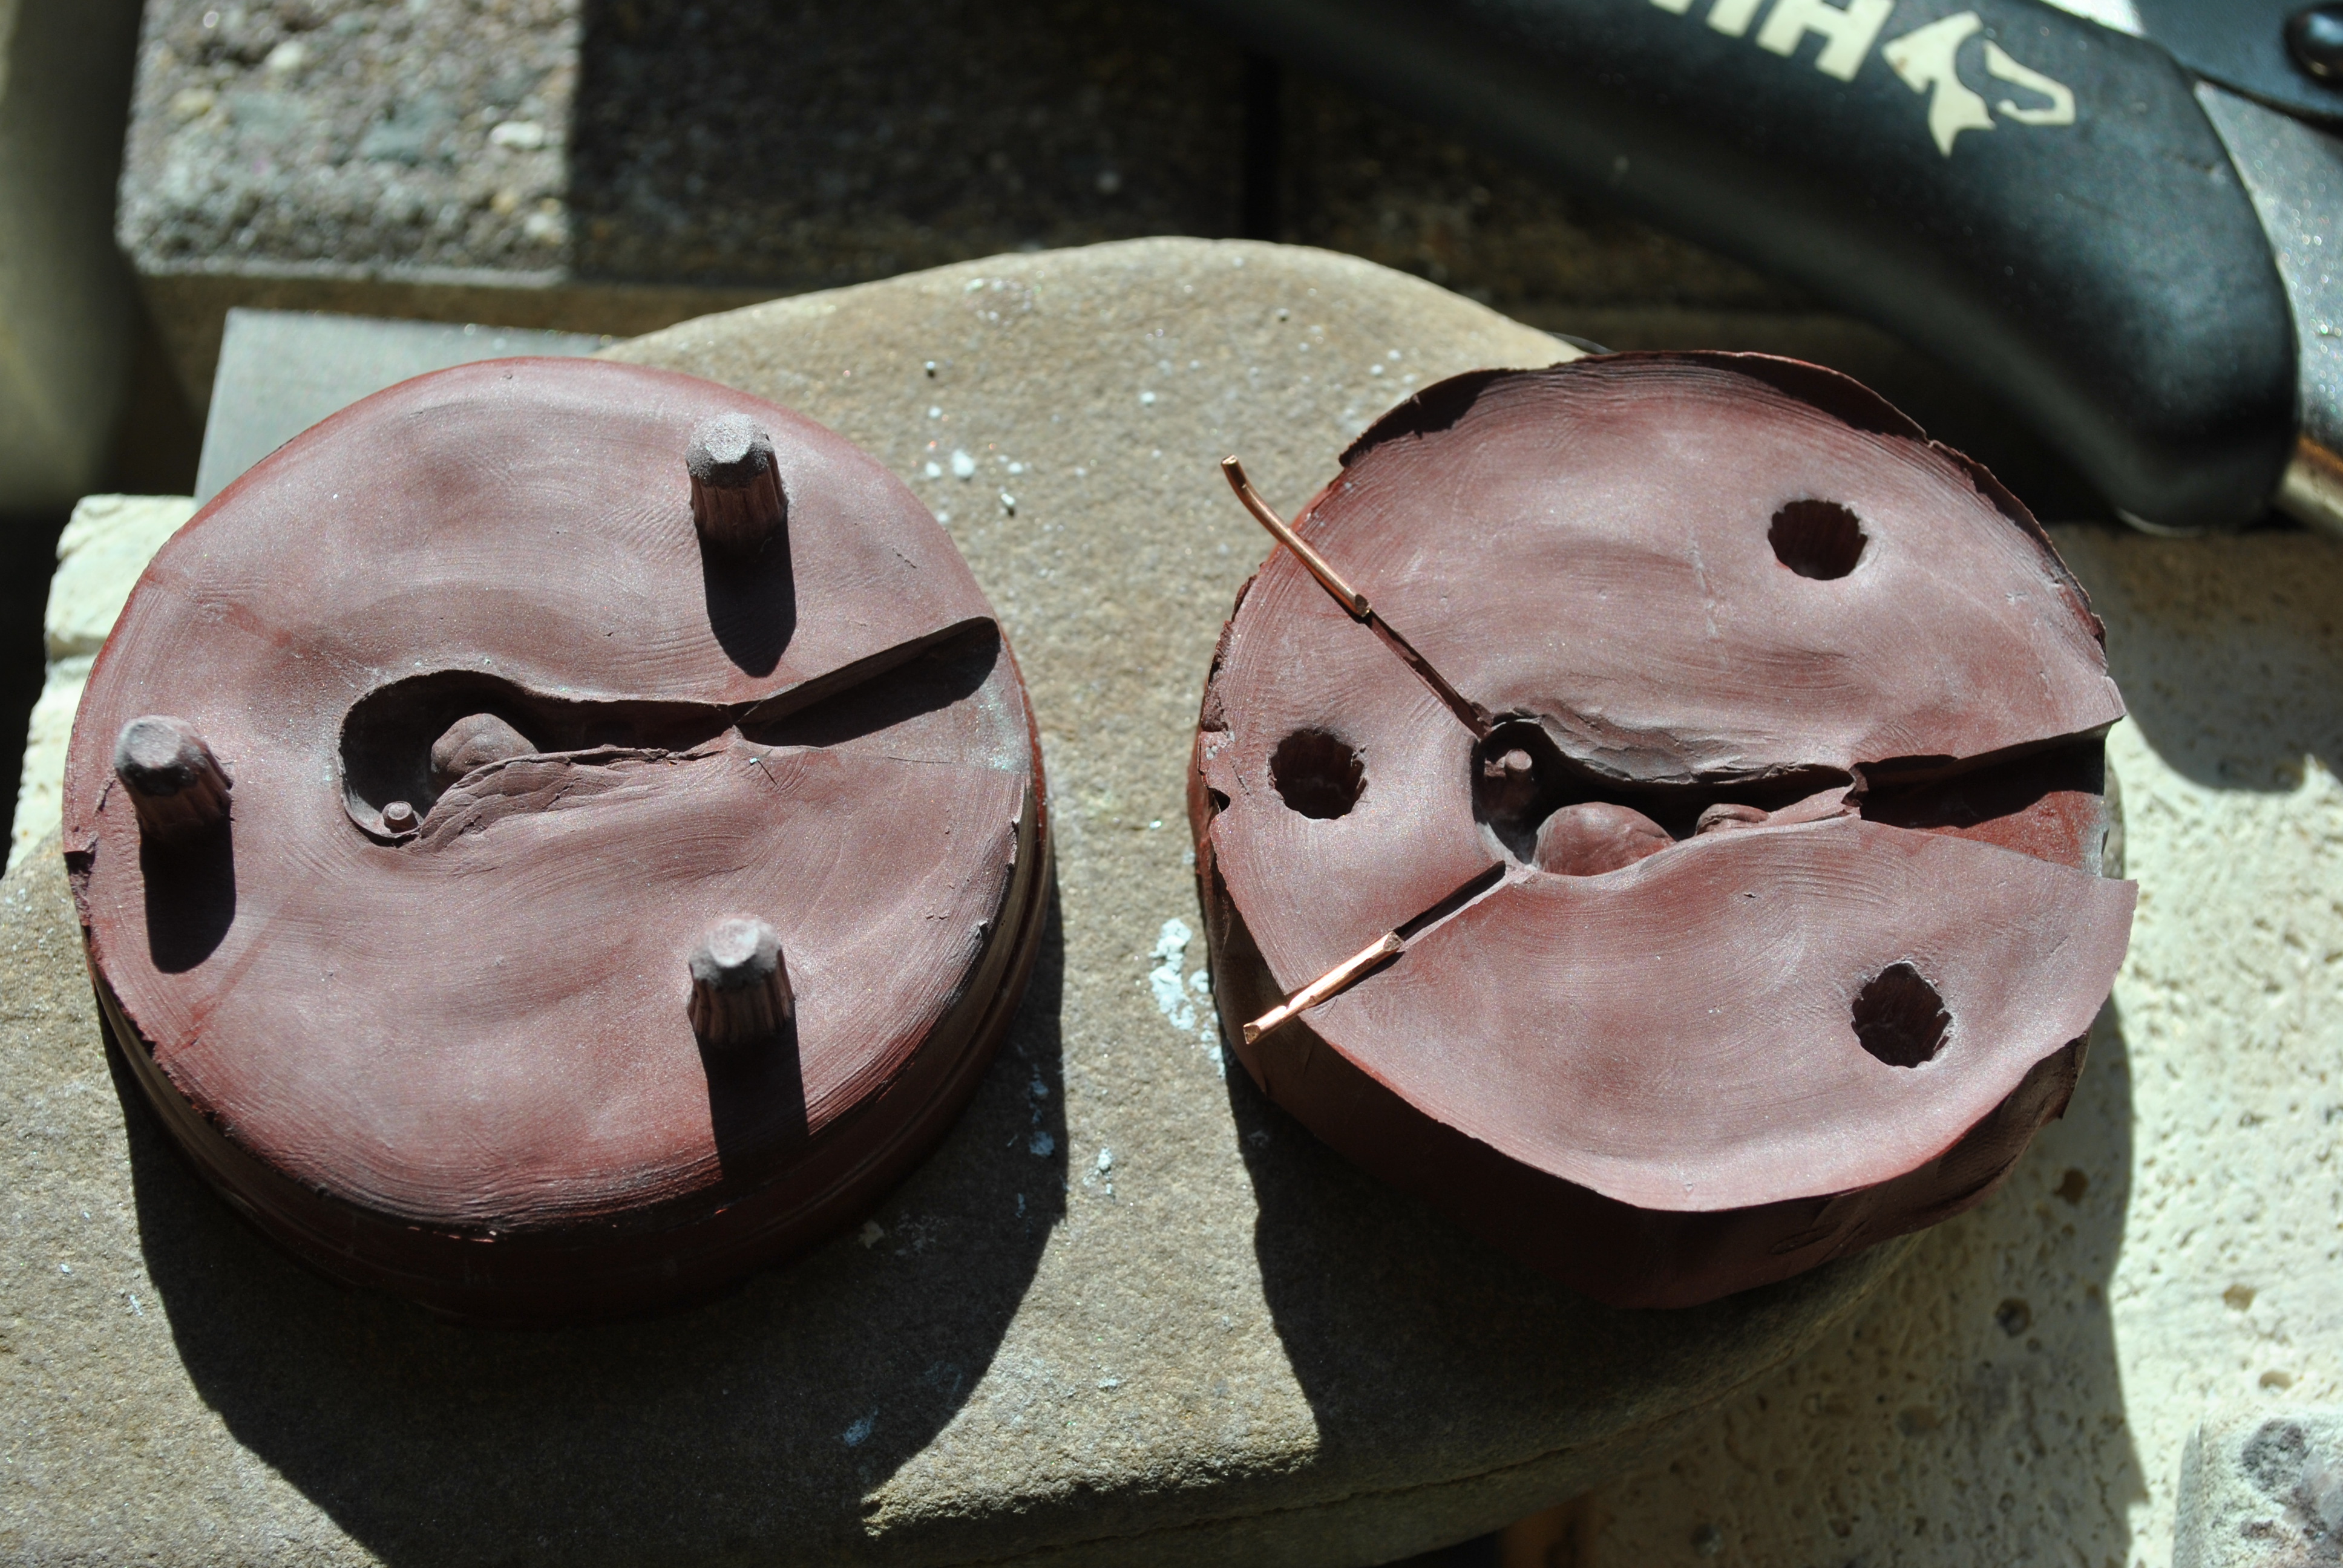
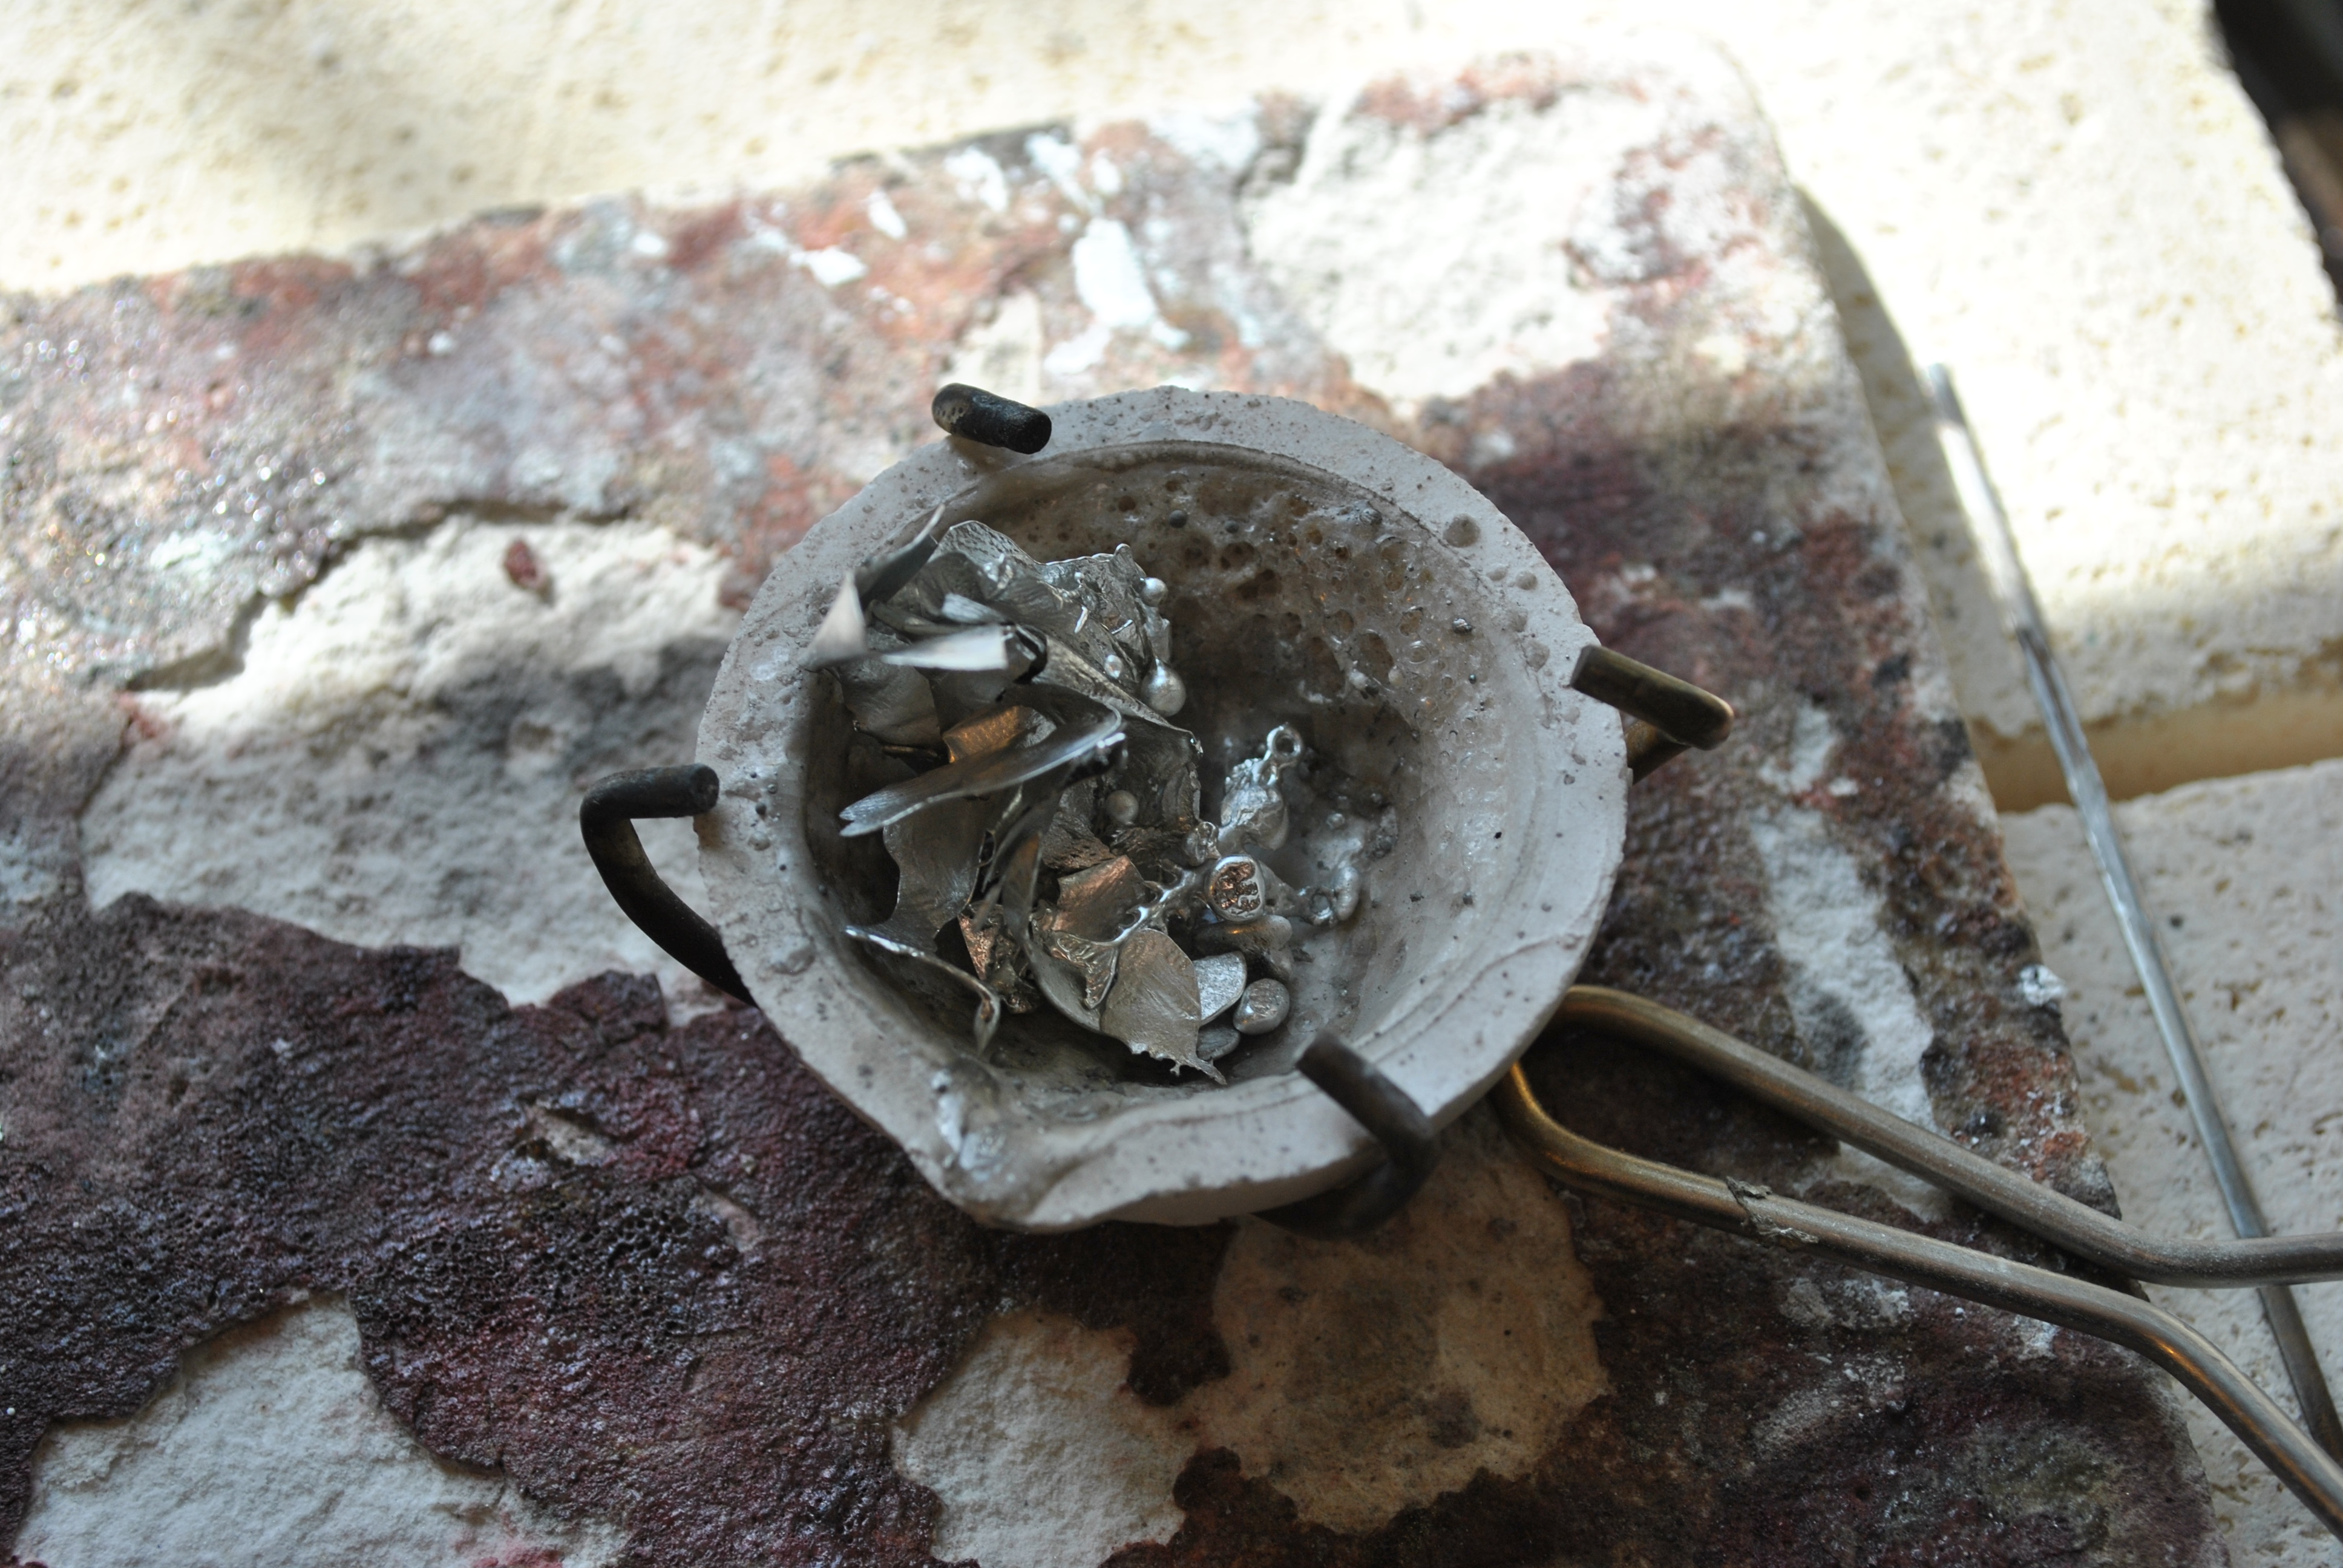
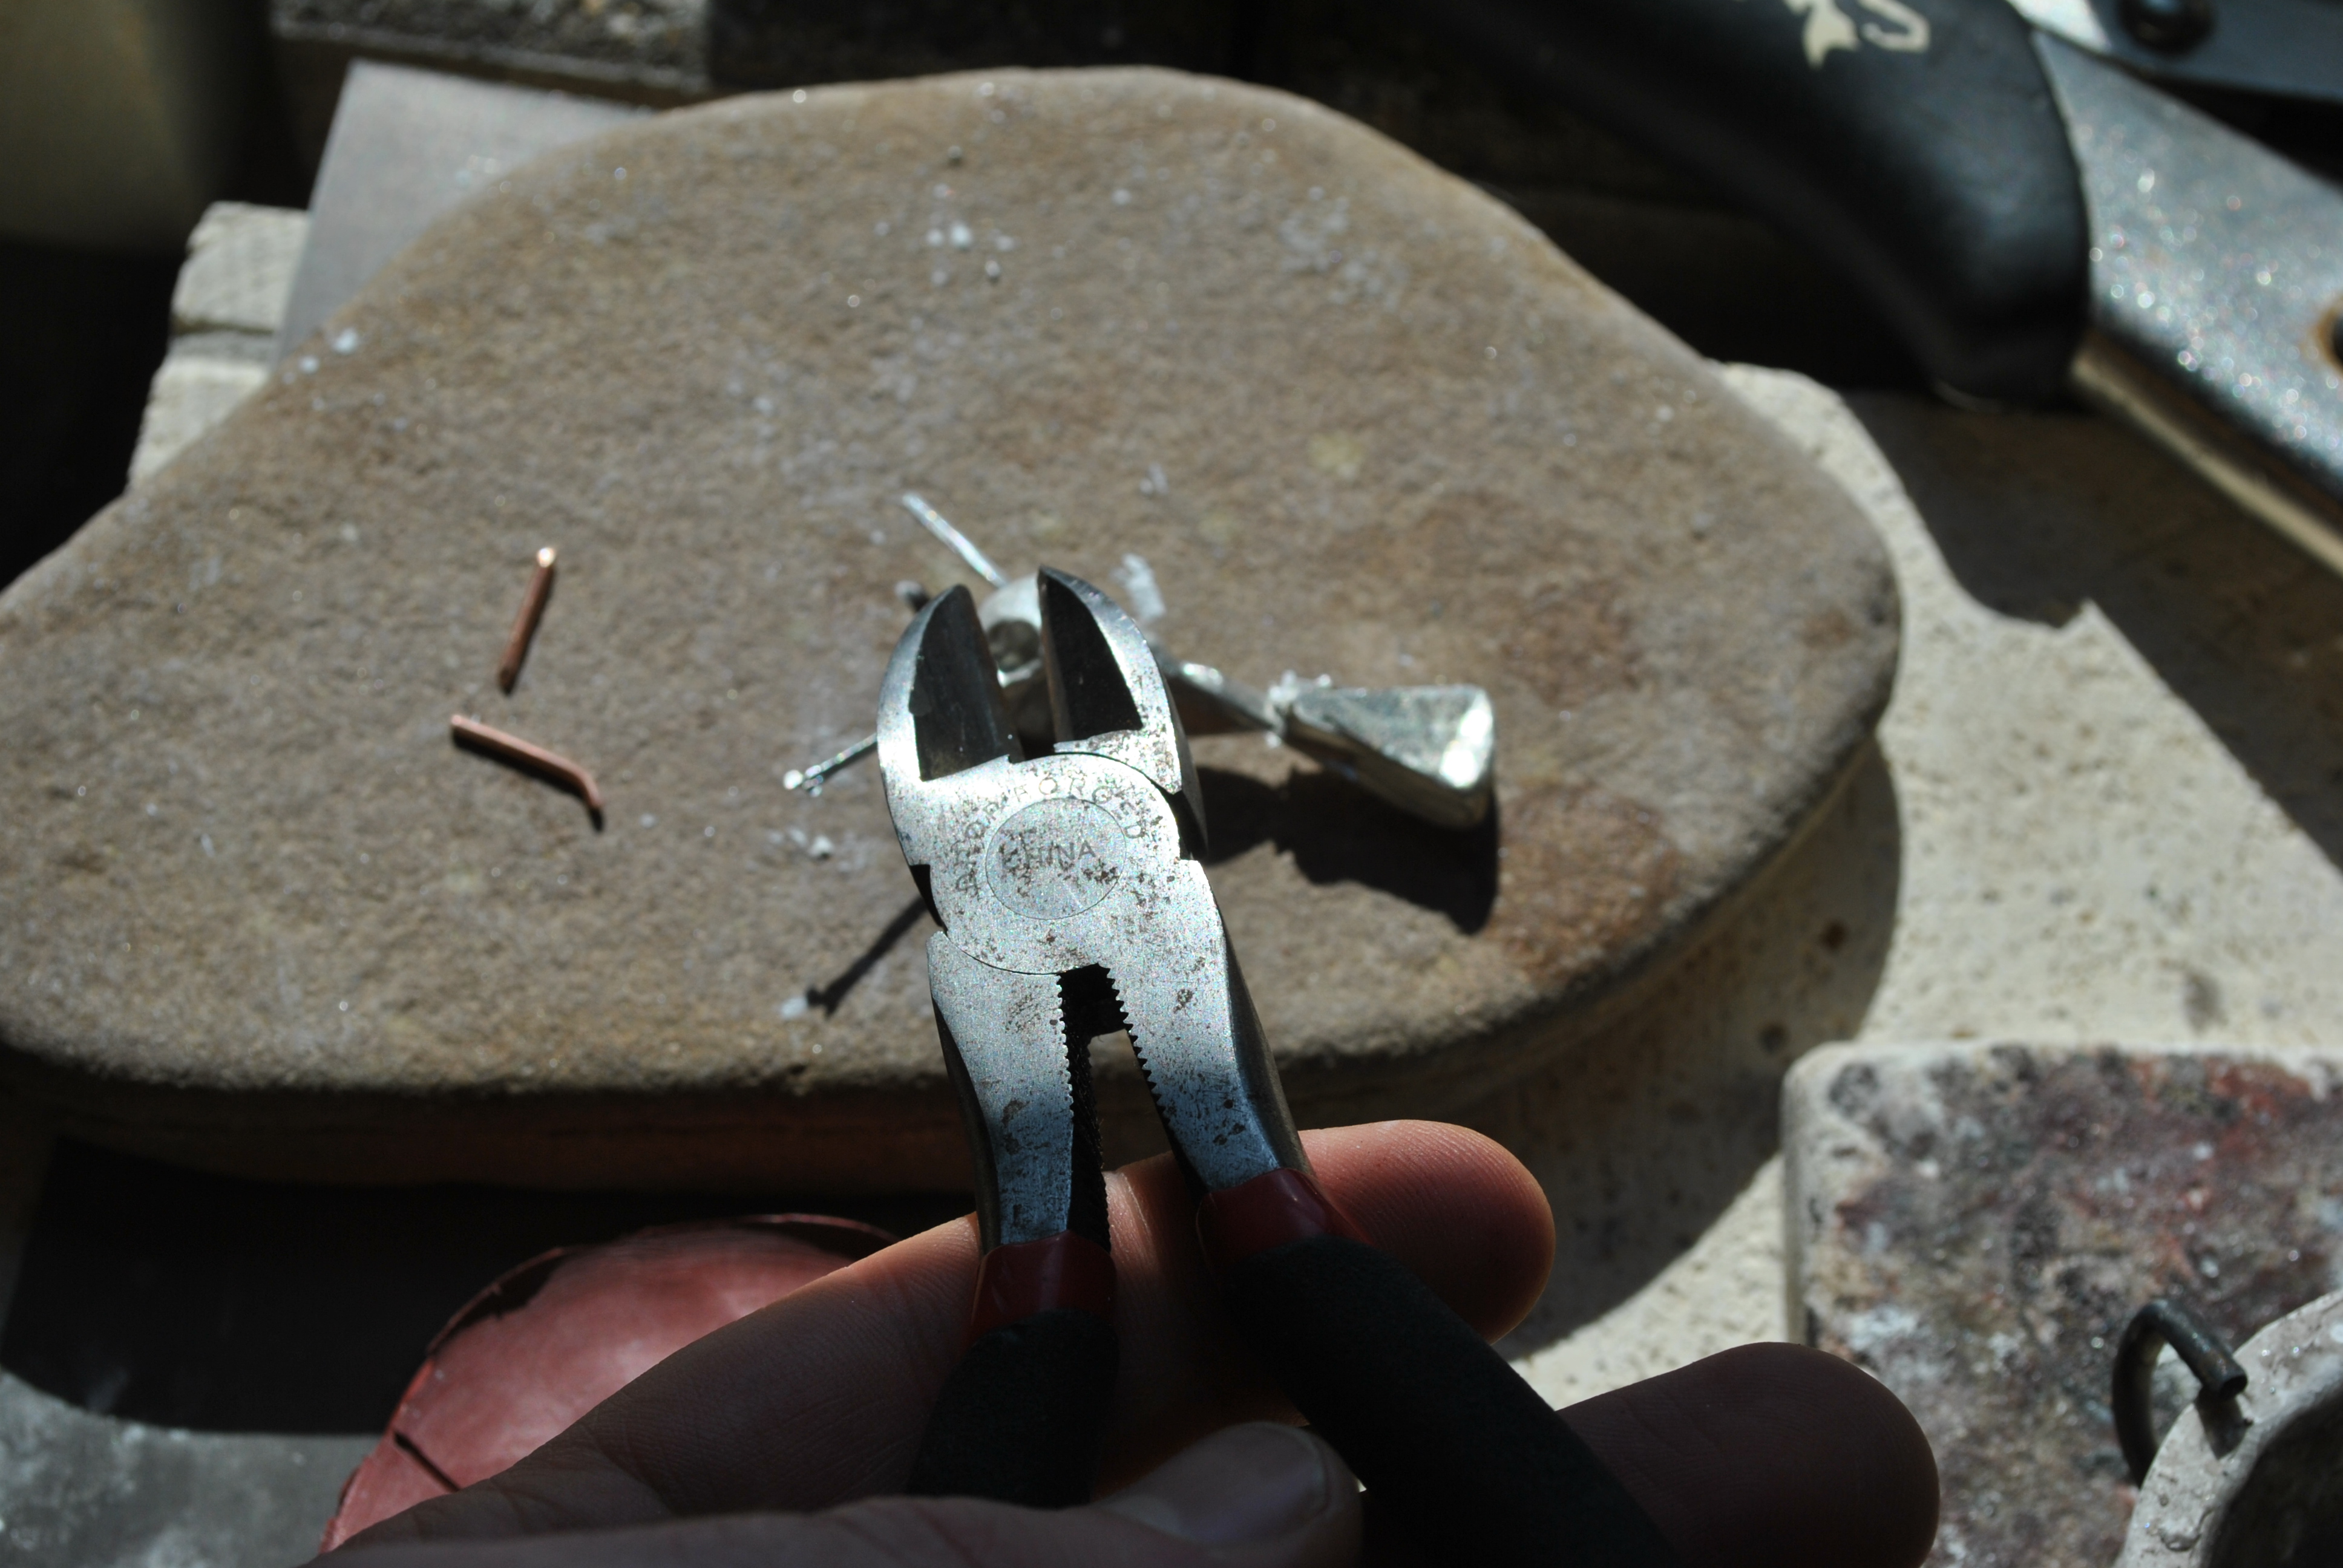
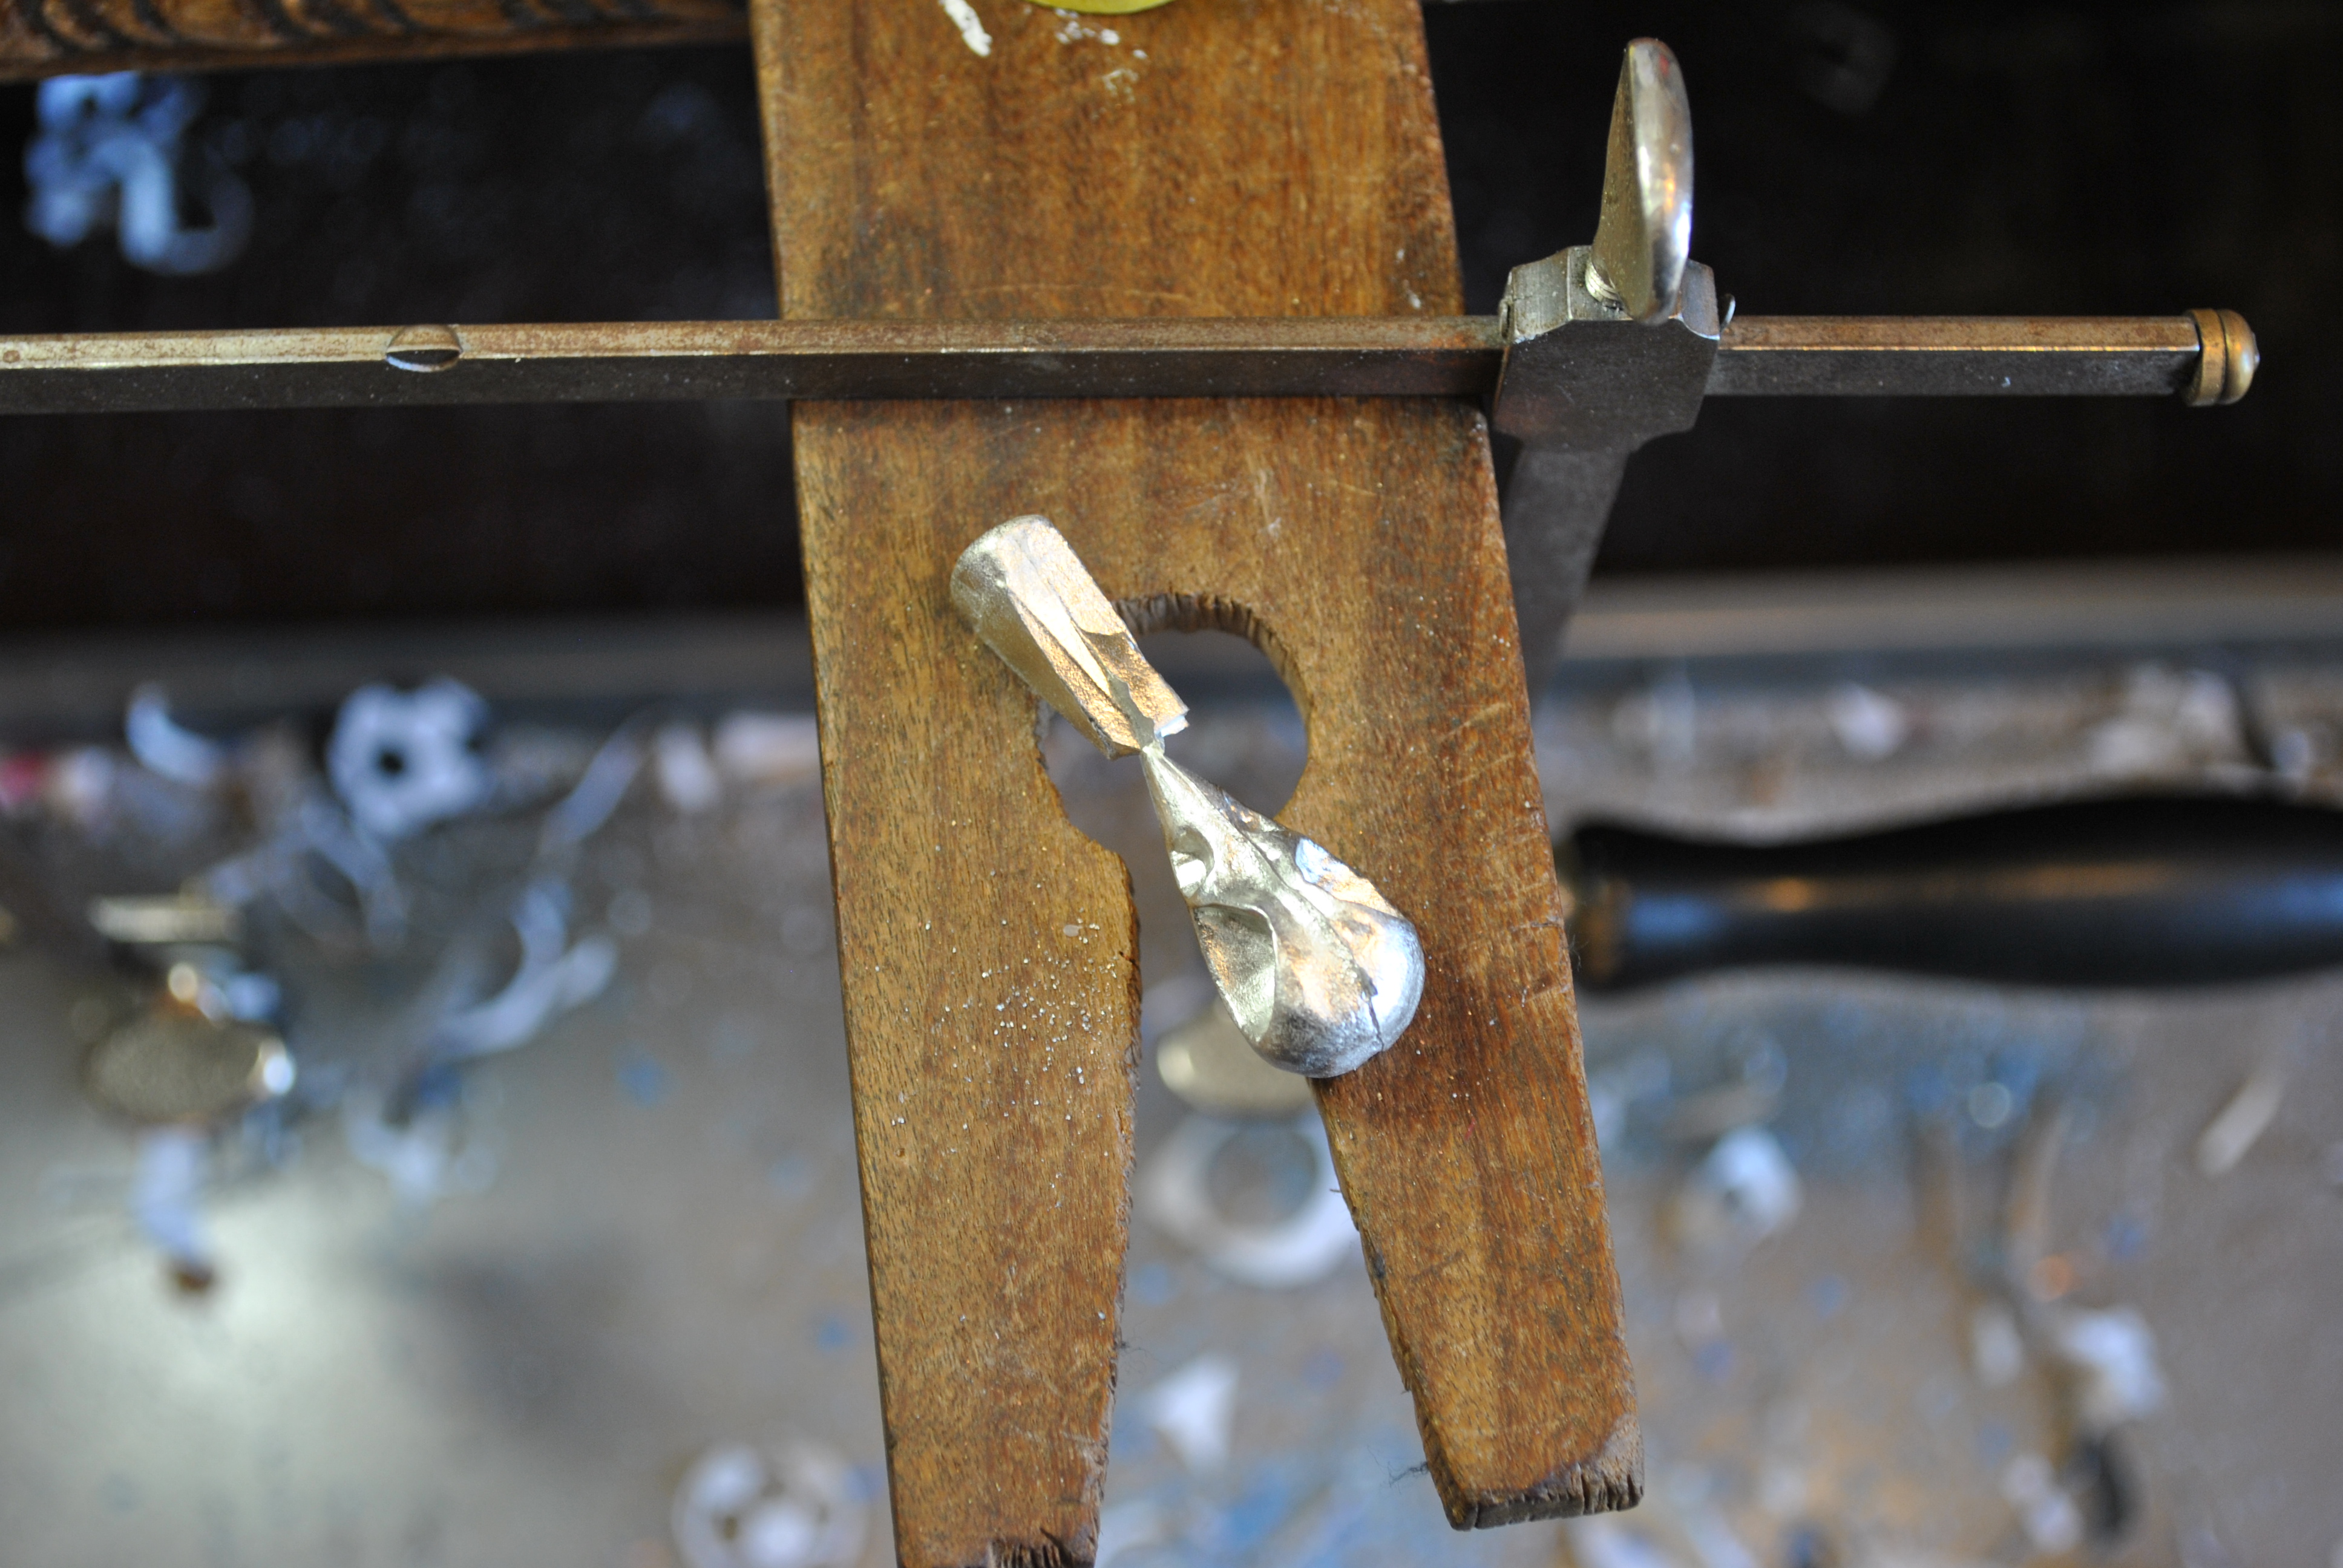
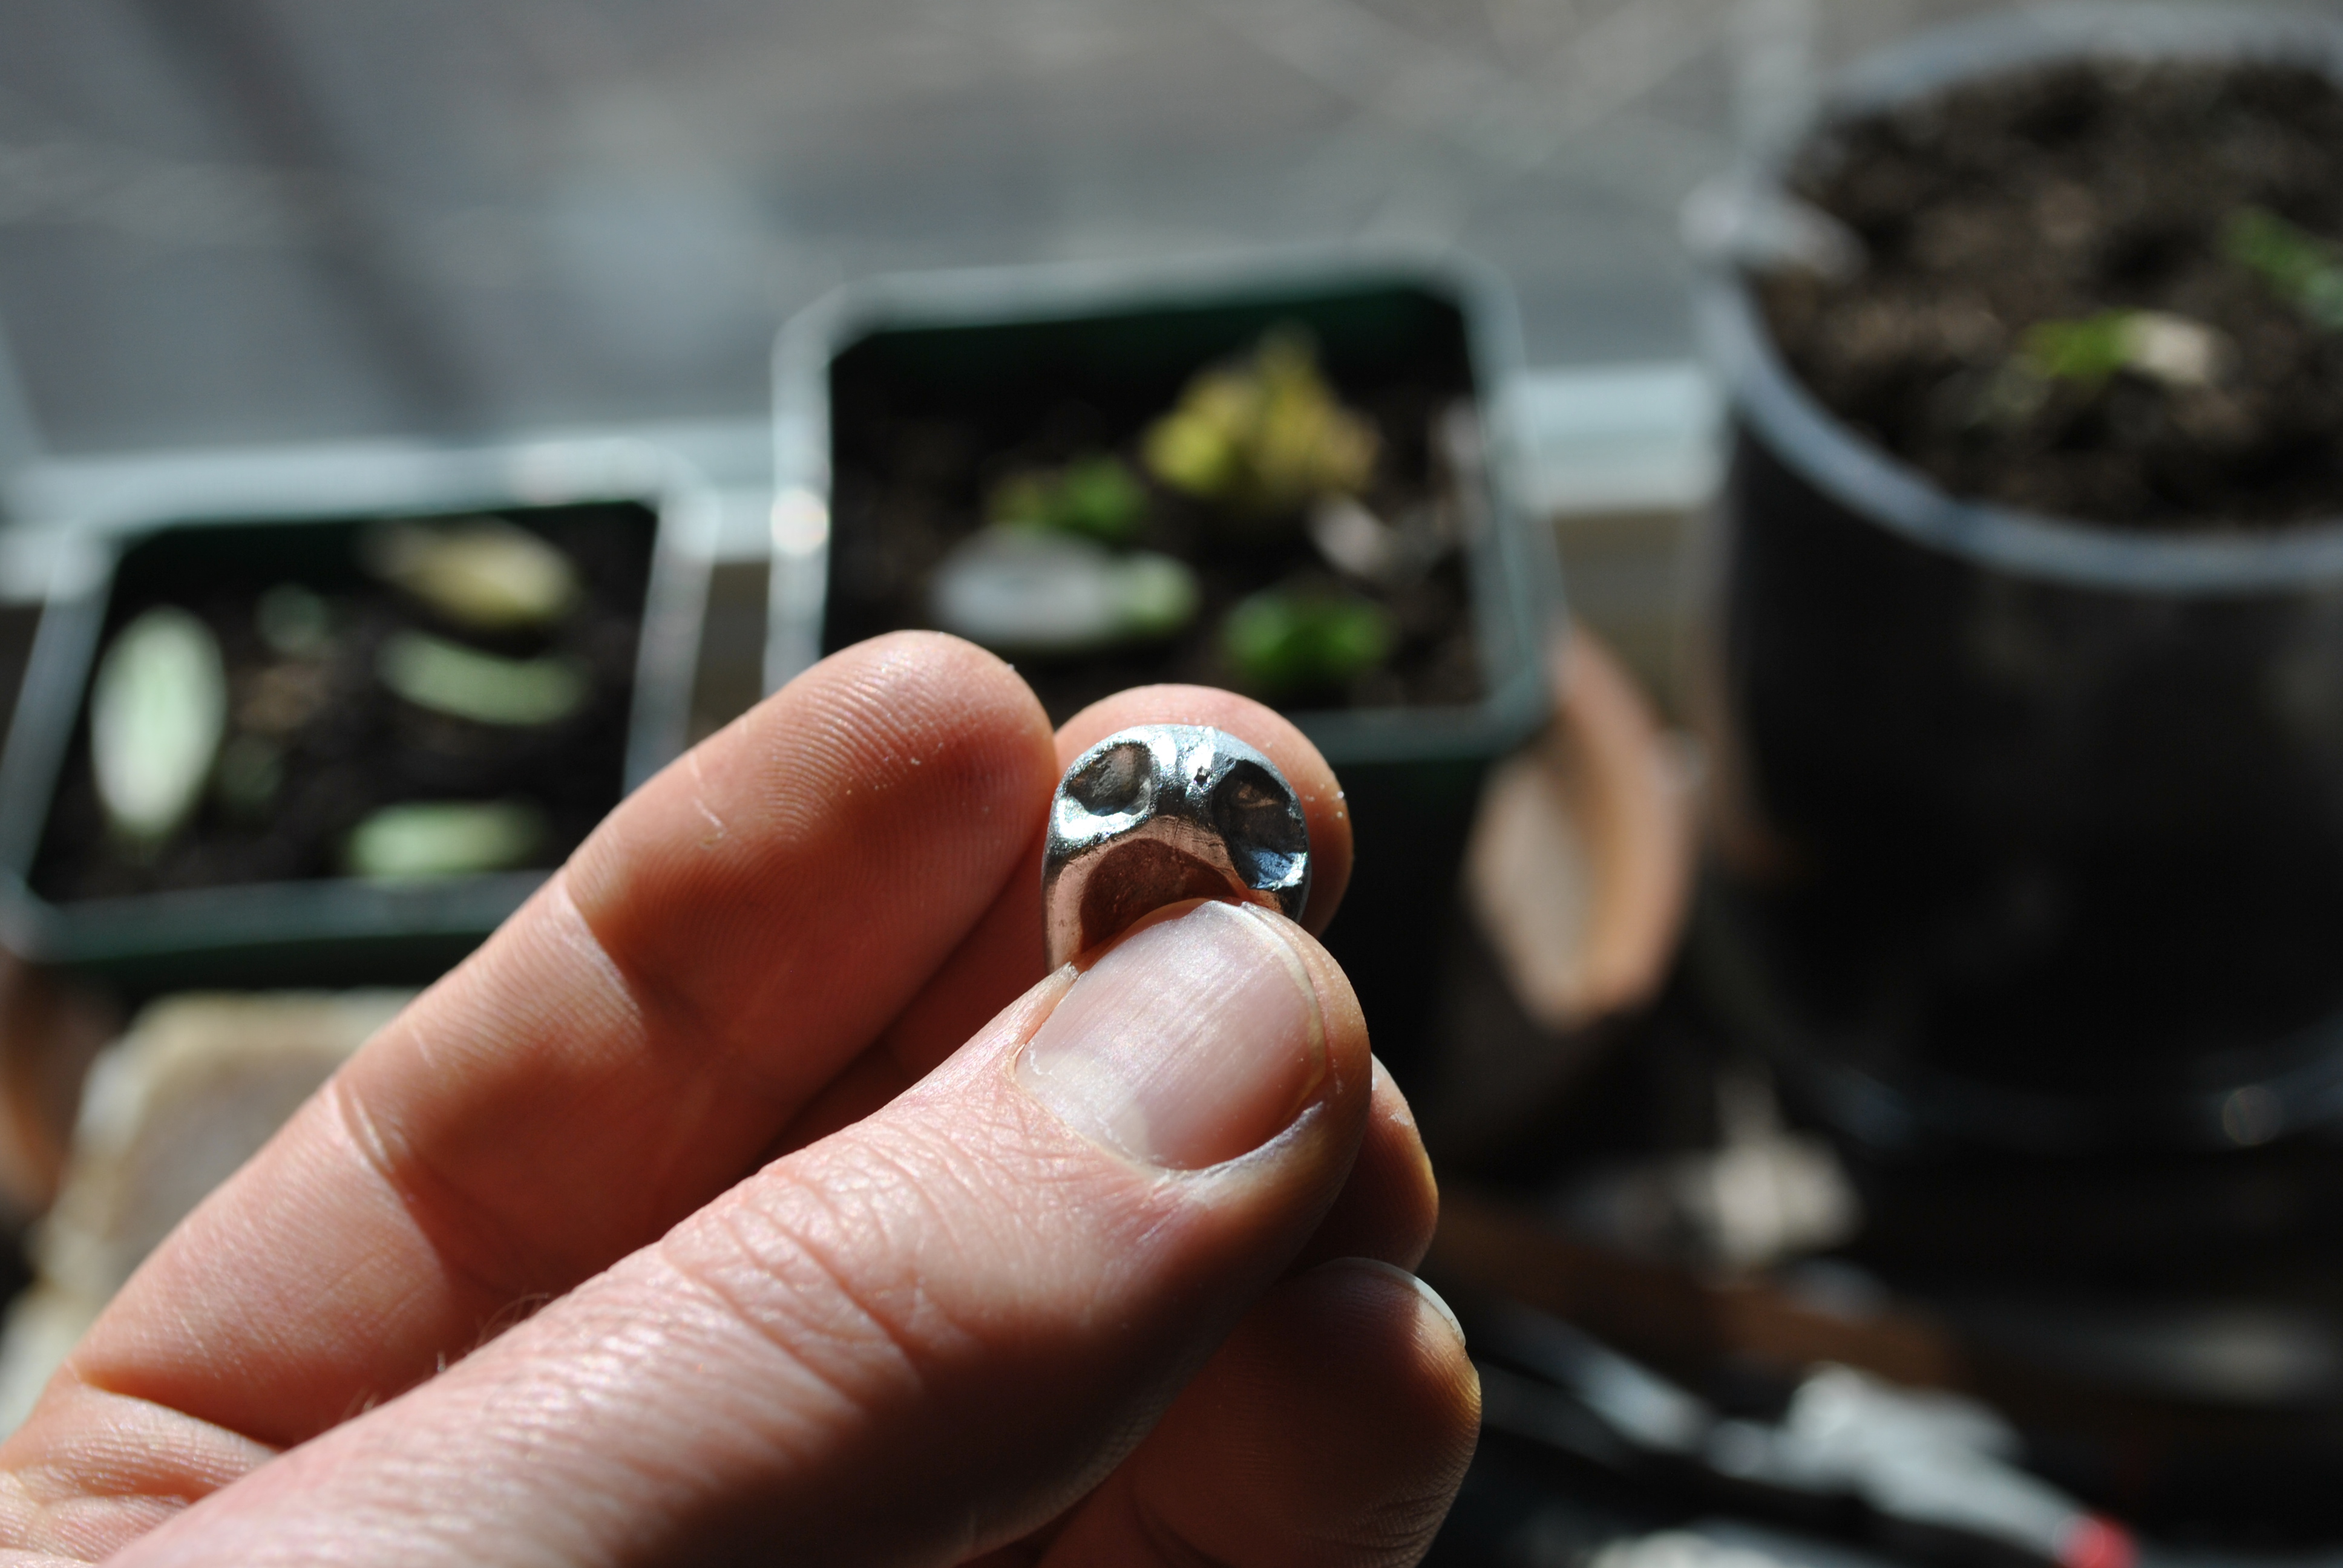
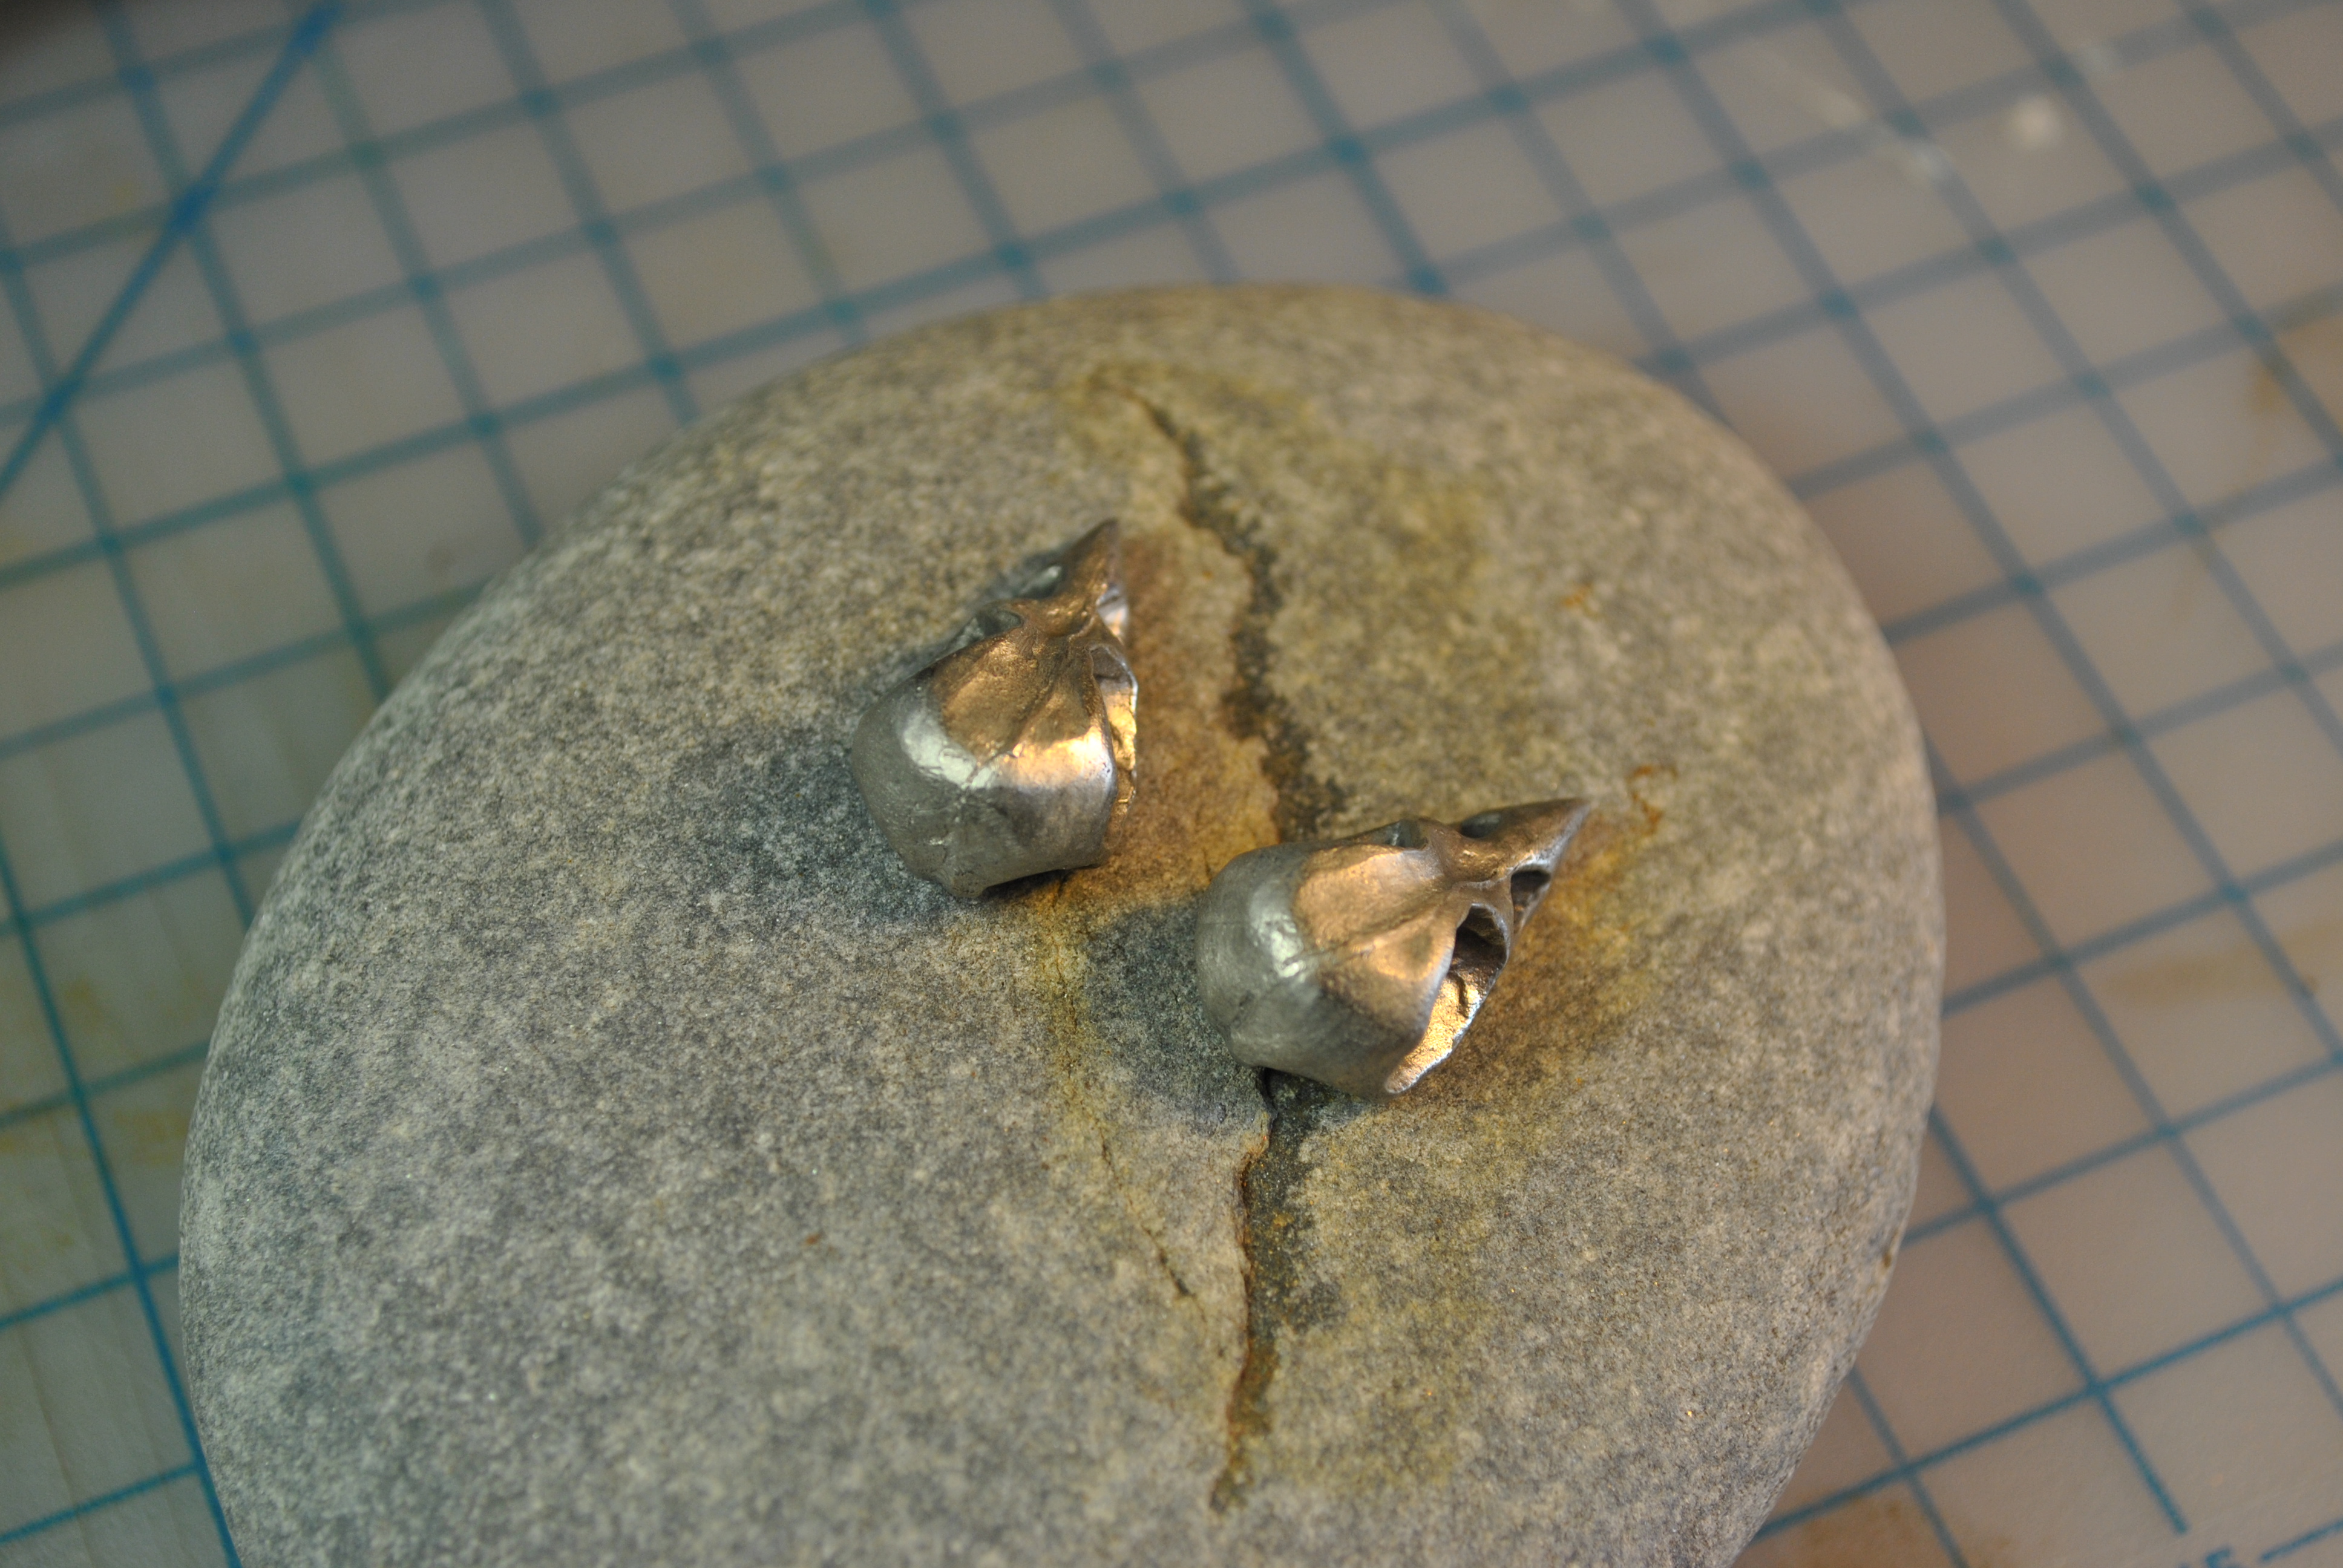
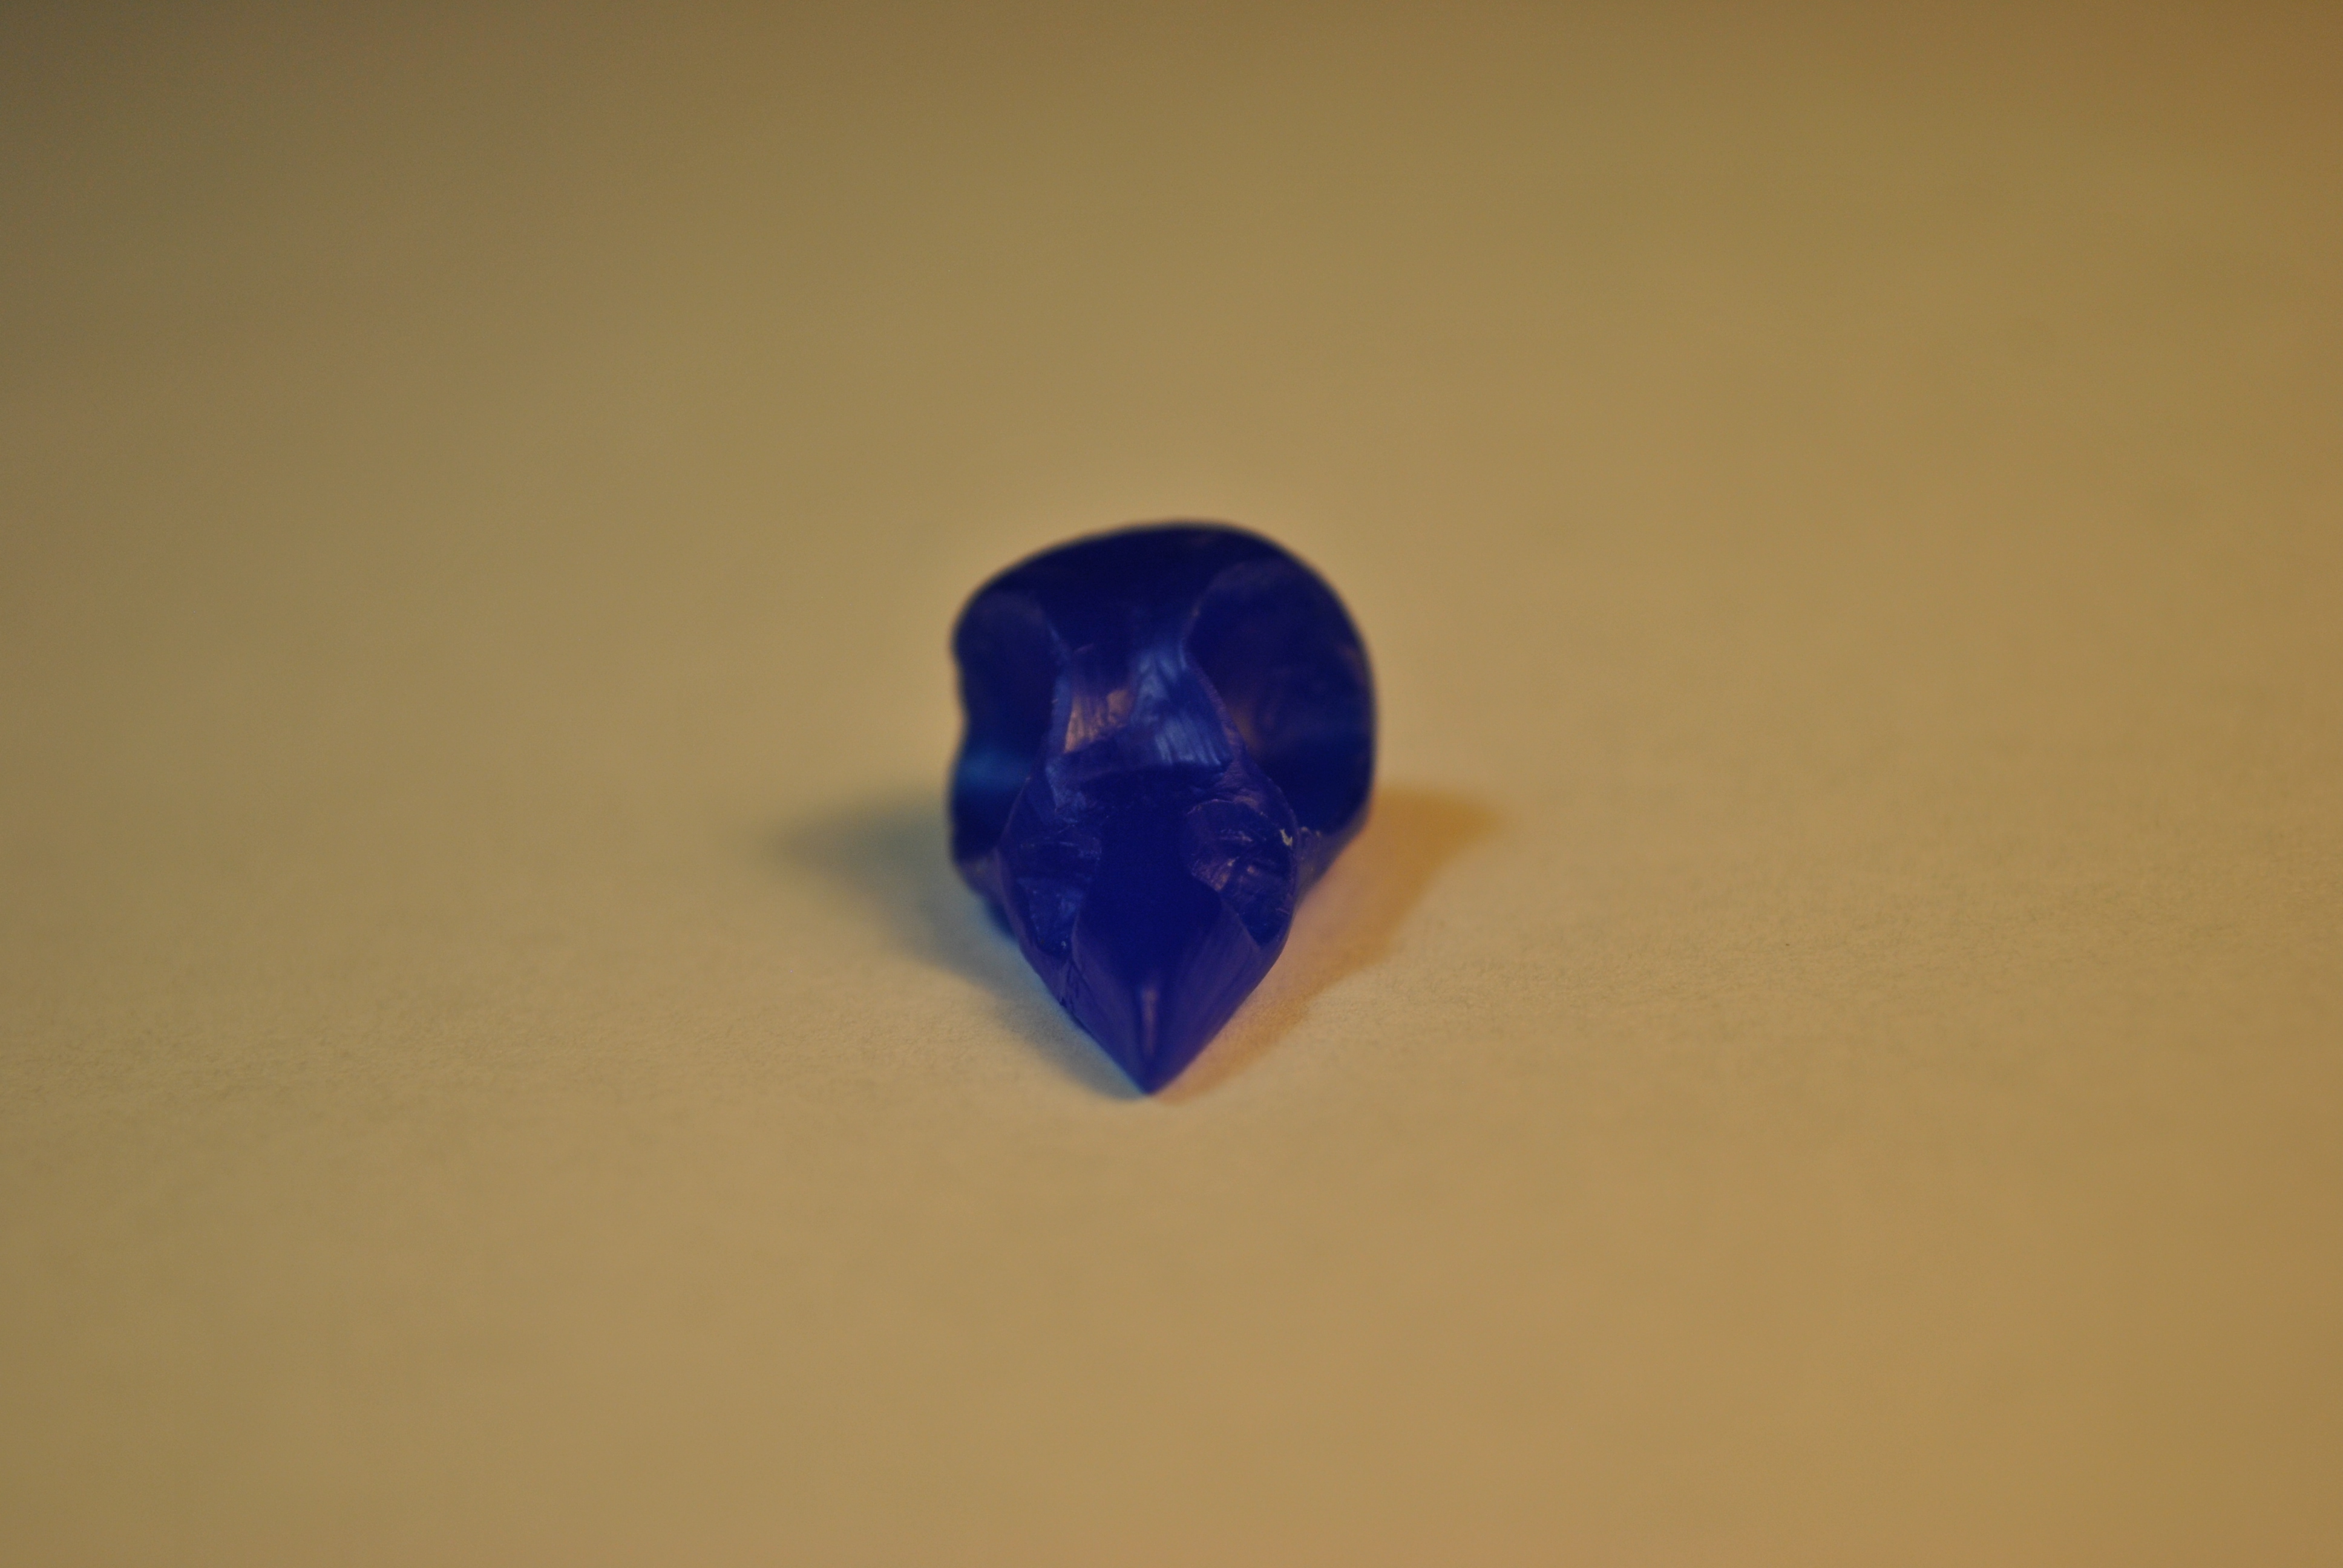
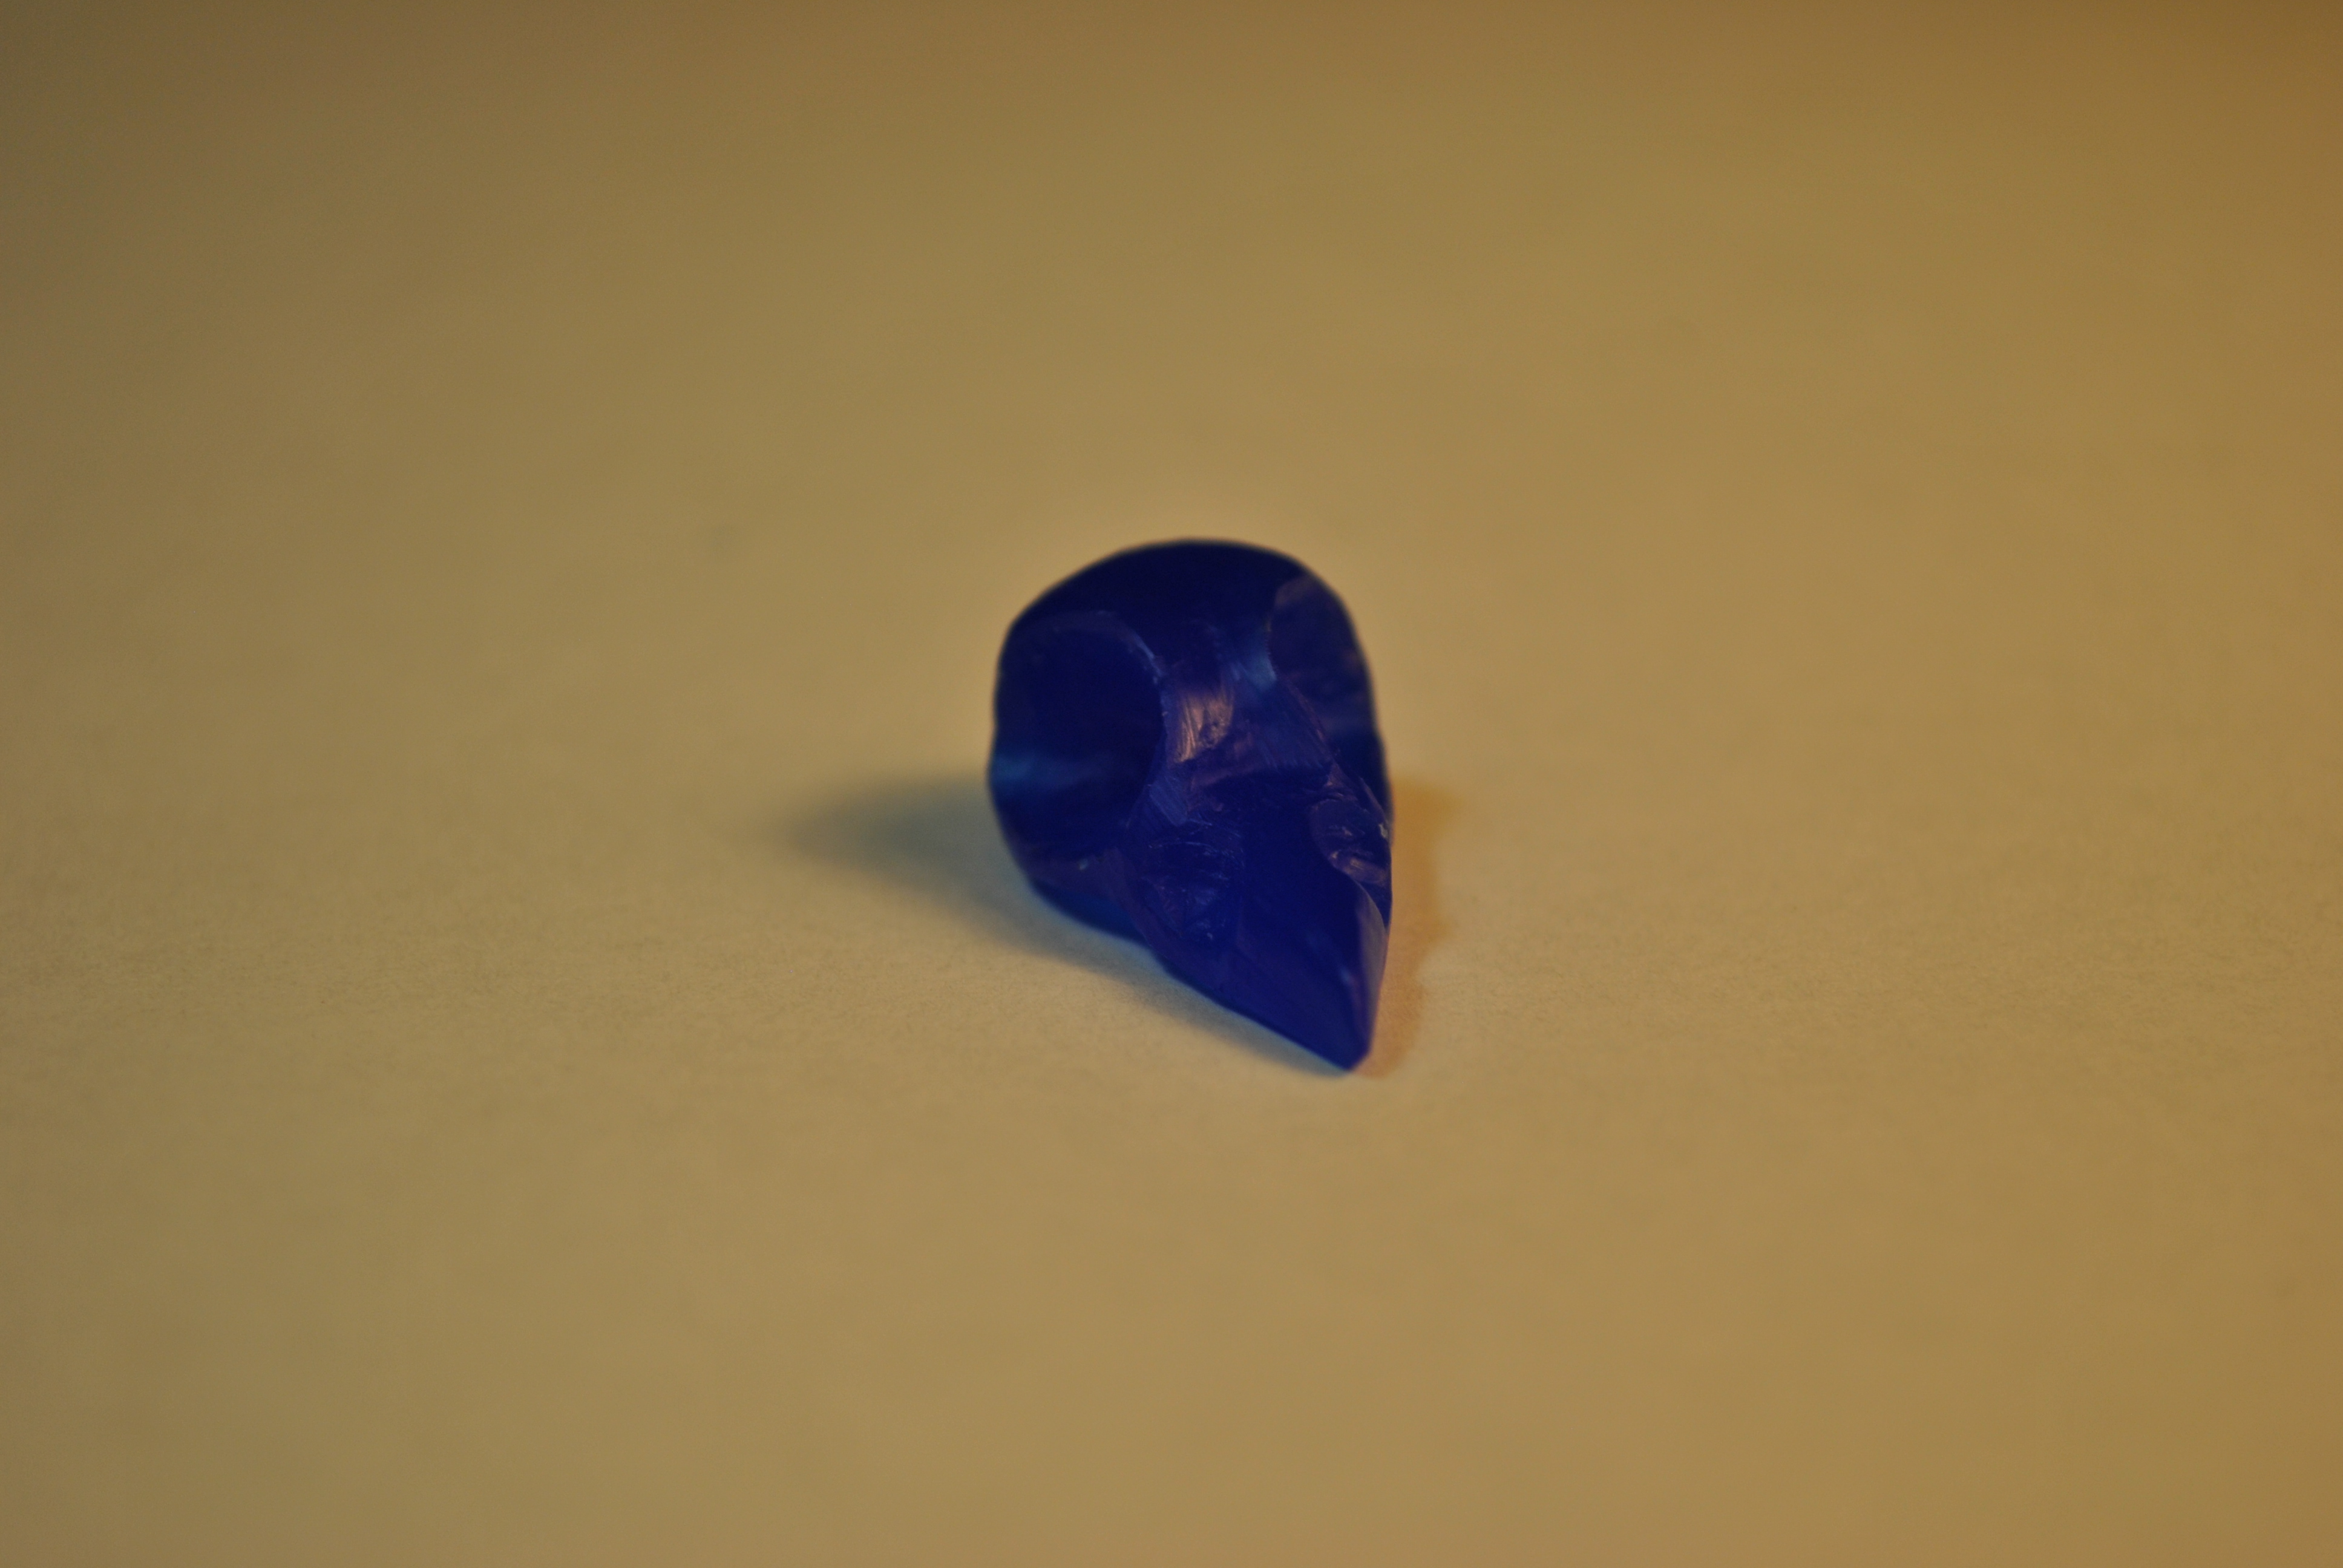
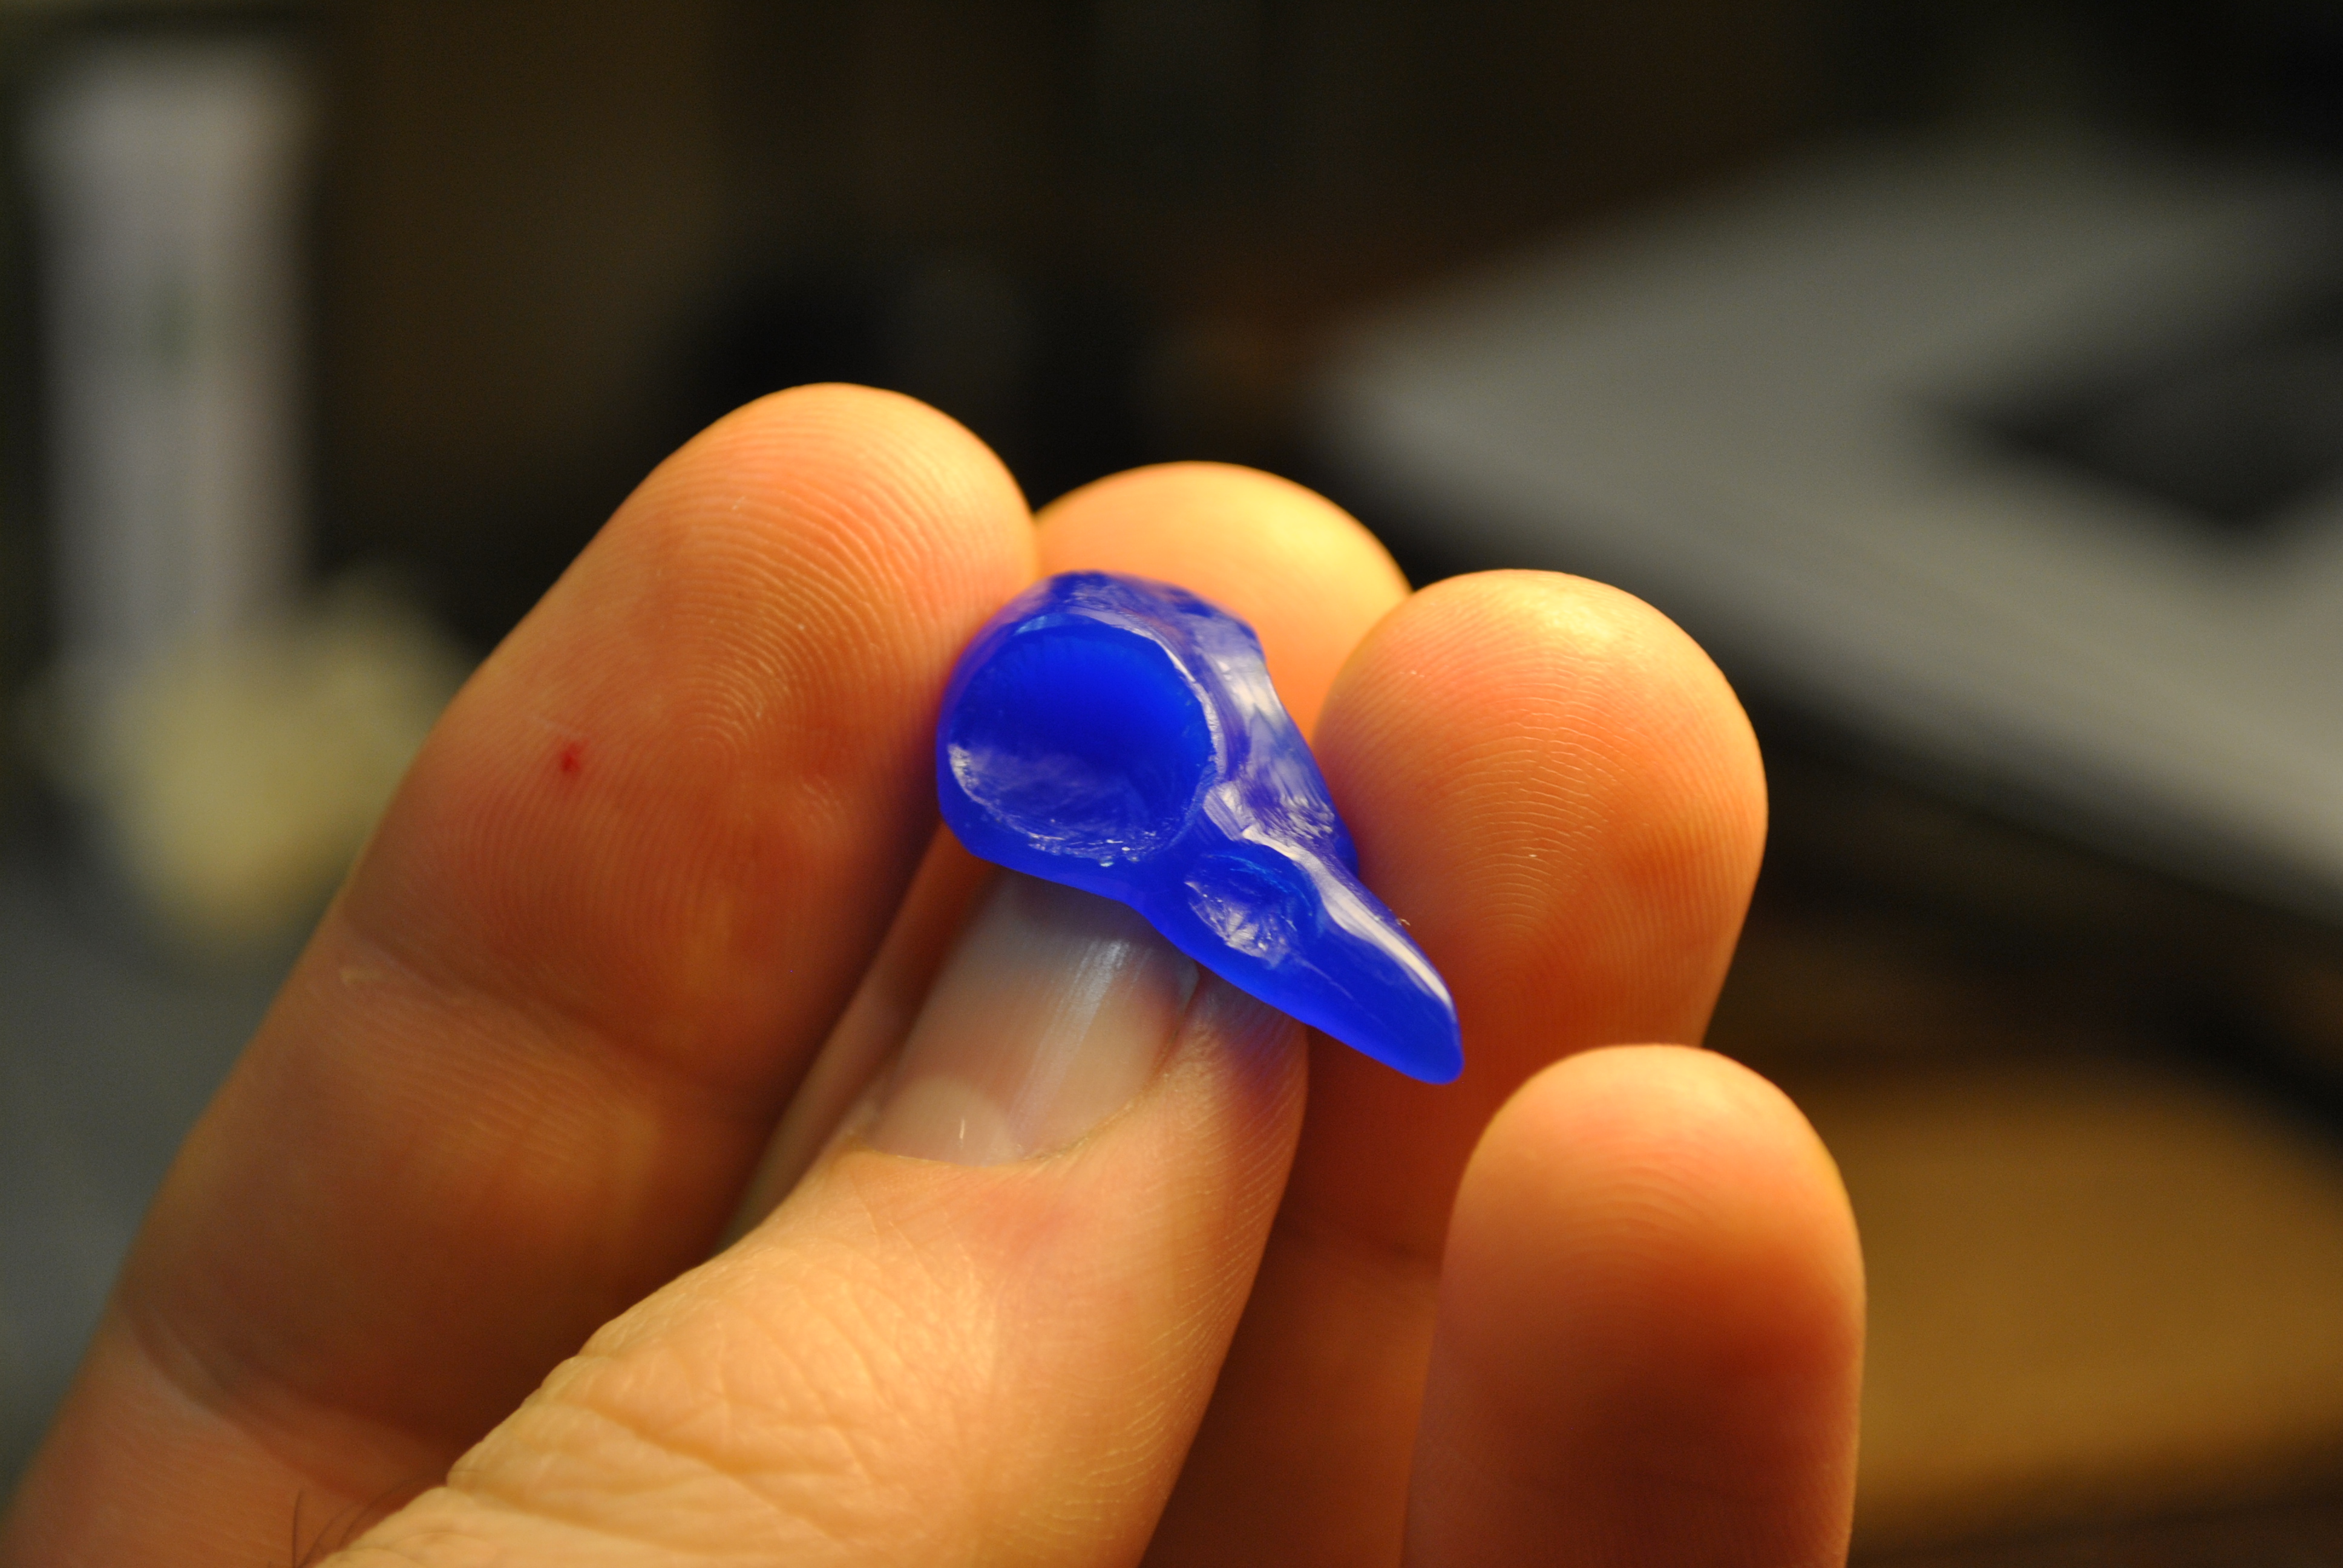
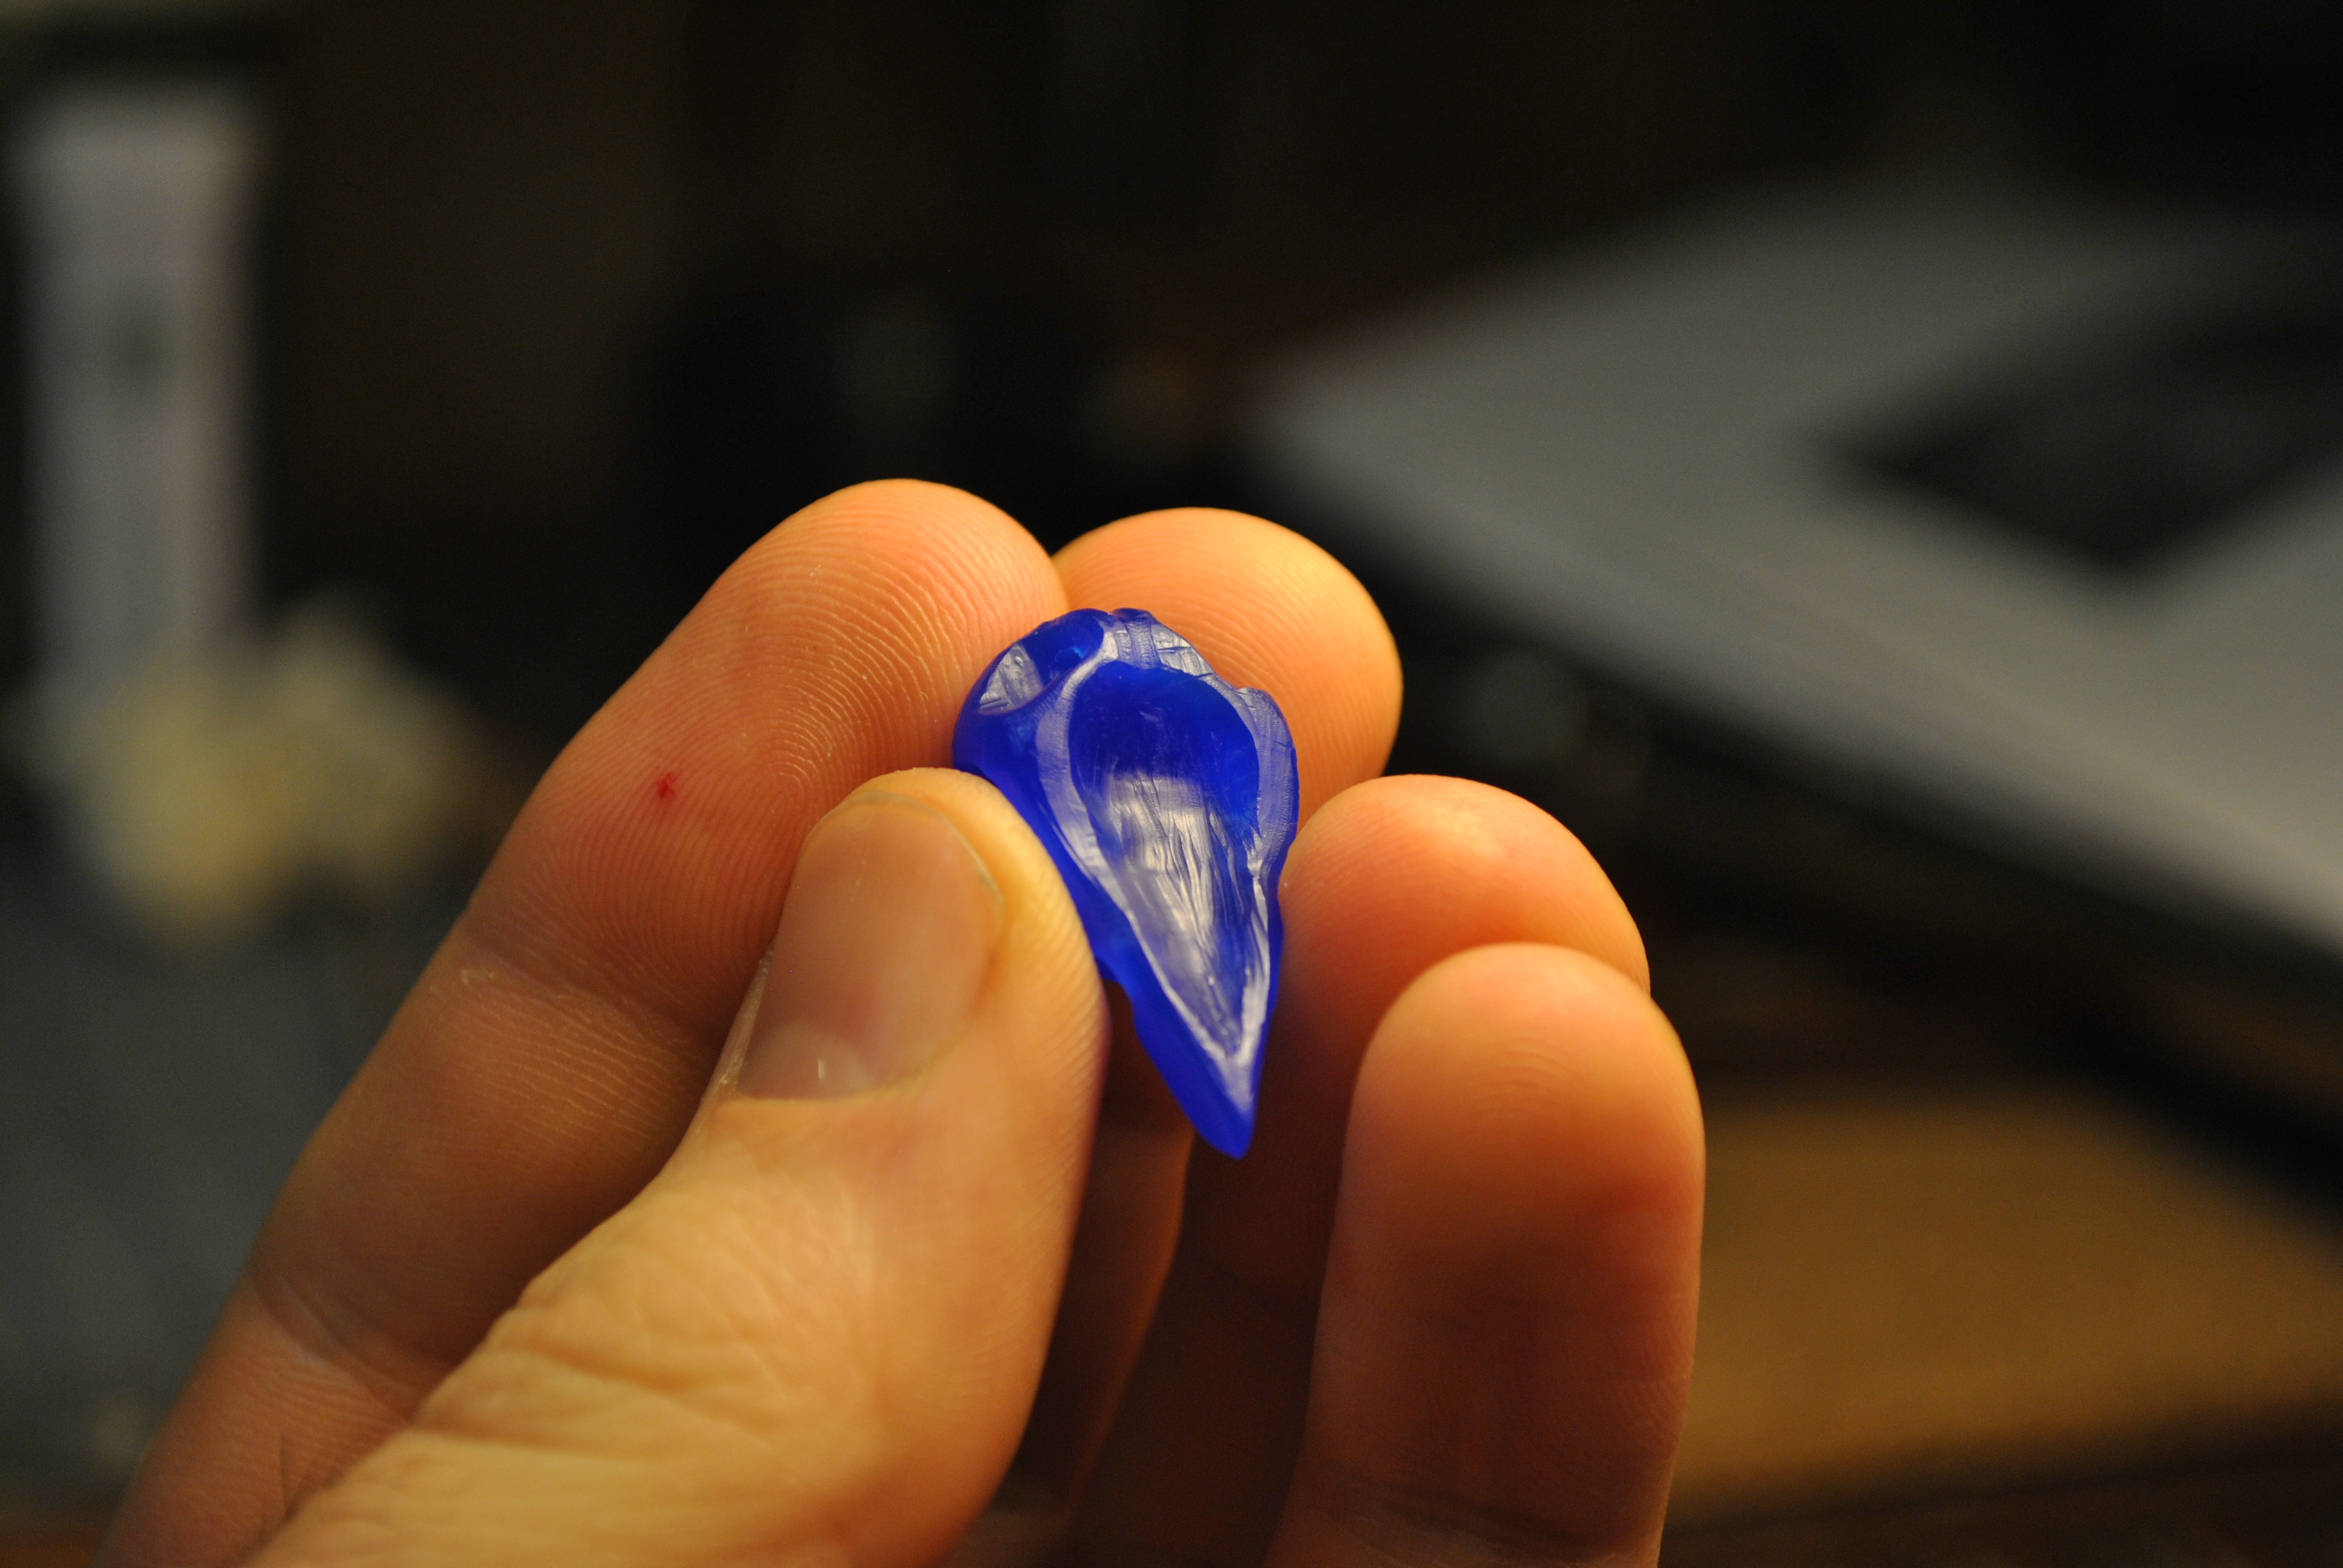
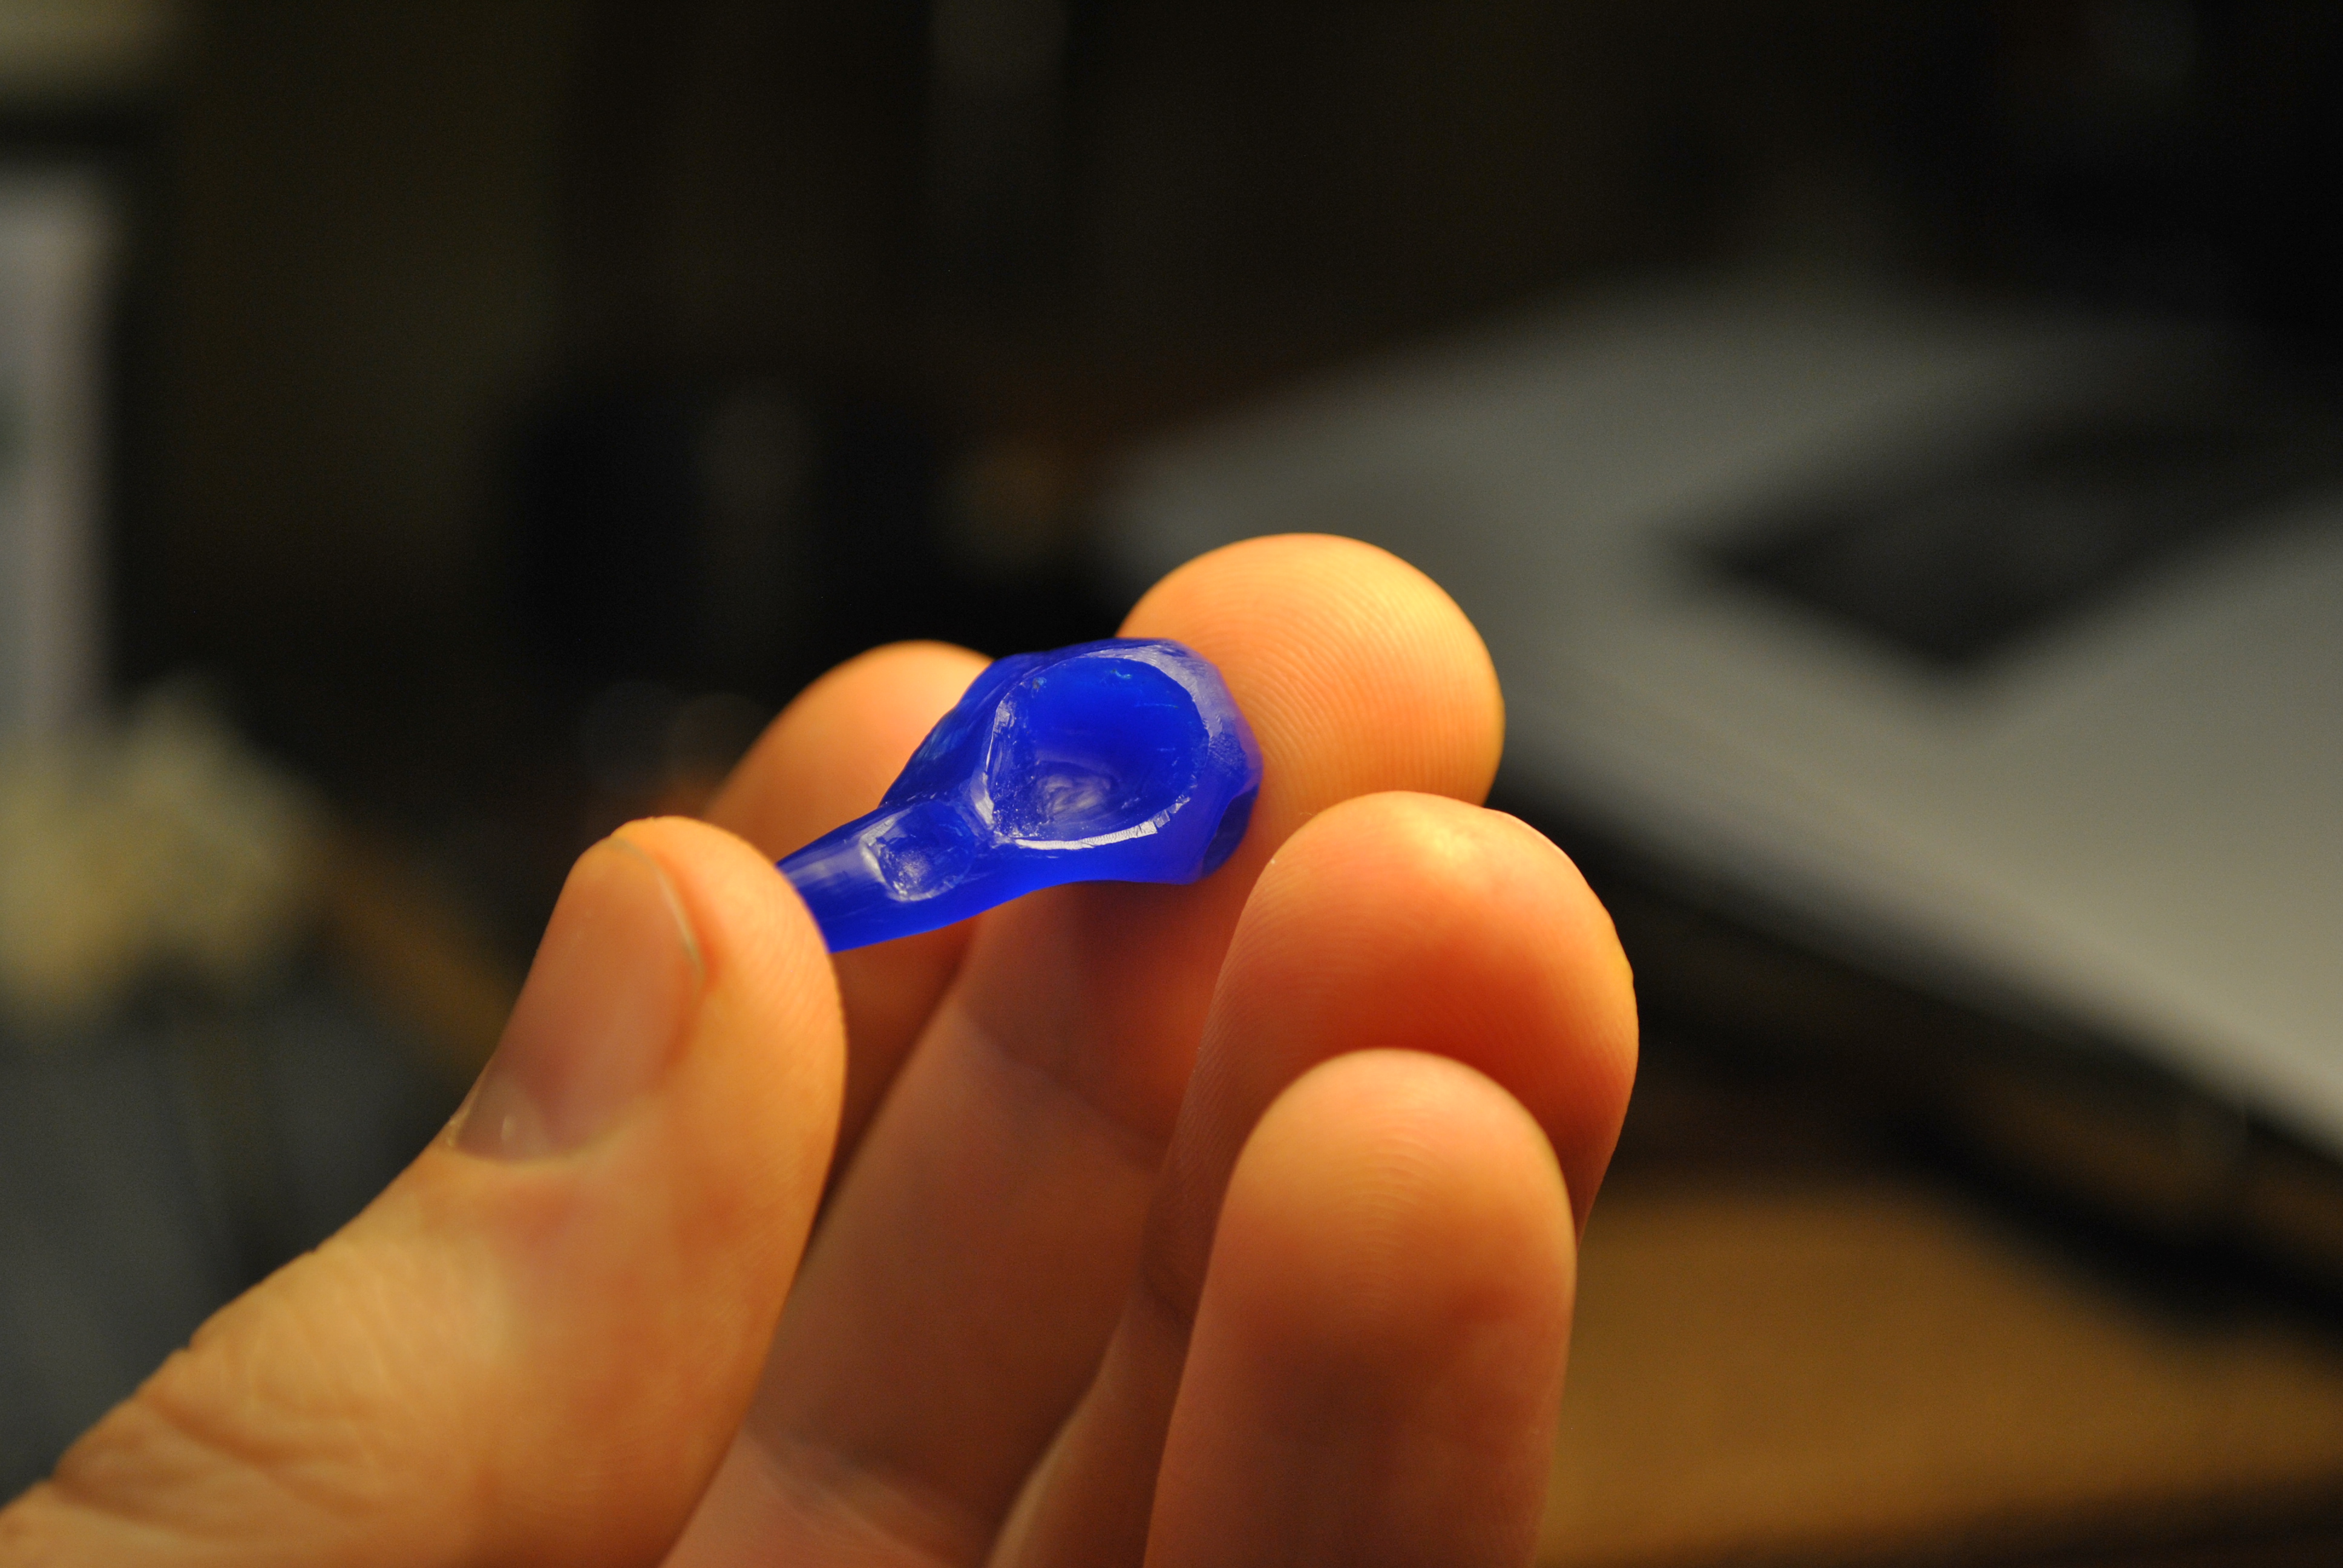
I used a hobby knife to clean up any flashing, as well as cutting in the pour spout and the air vents.  I places a pin in the small pin hole on the left, and then poured the pewter.

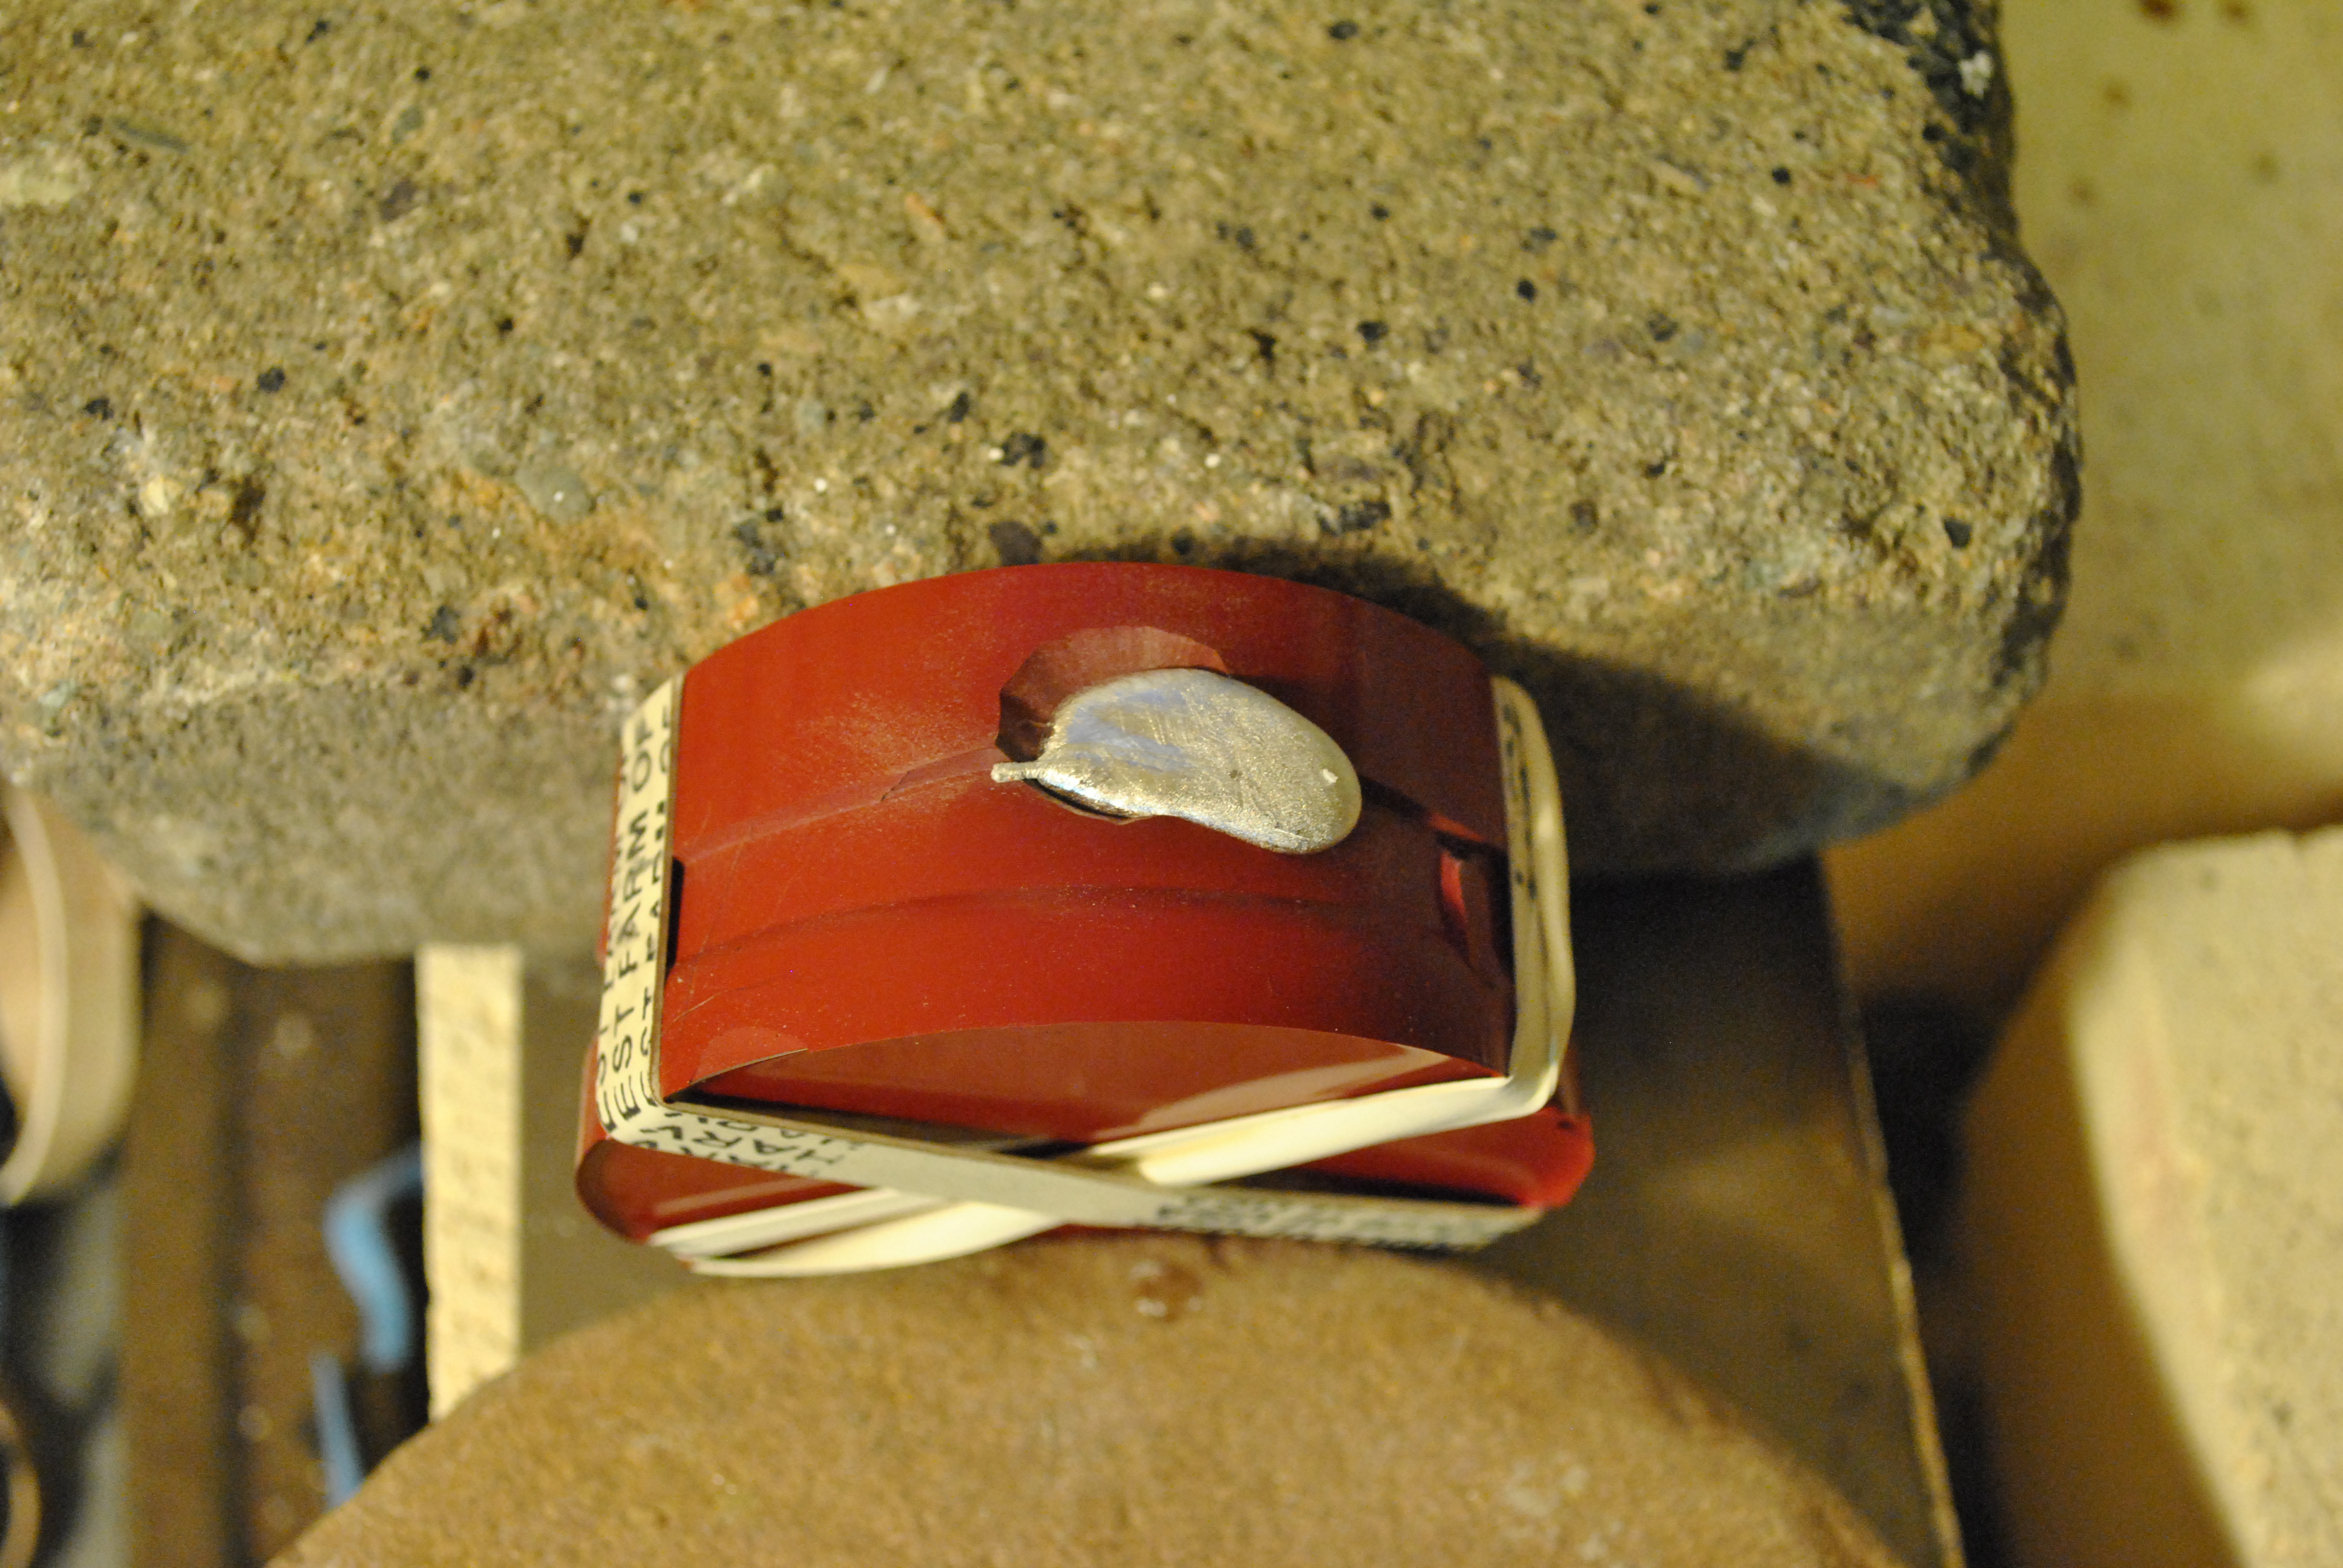
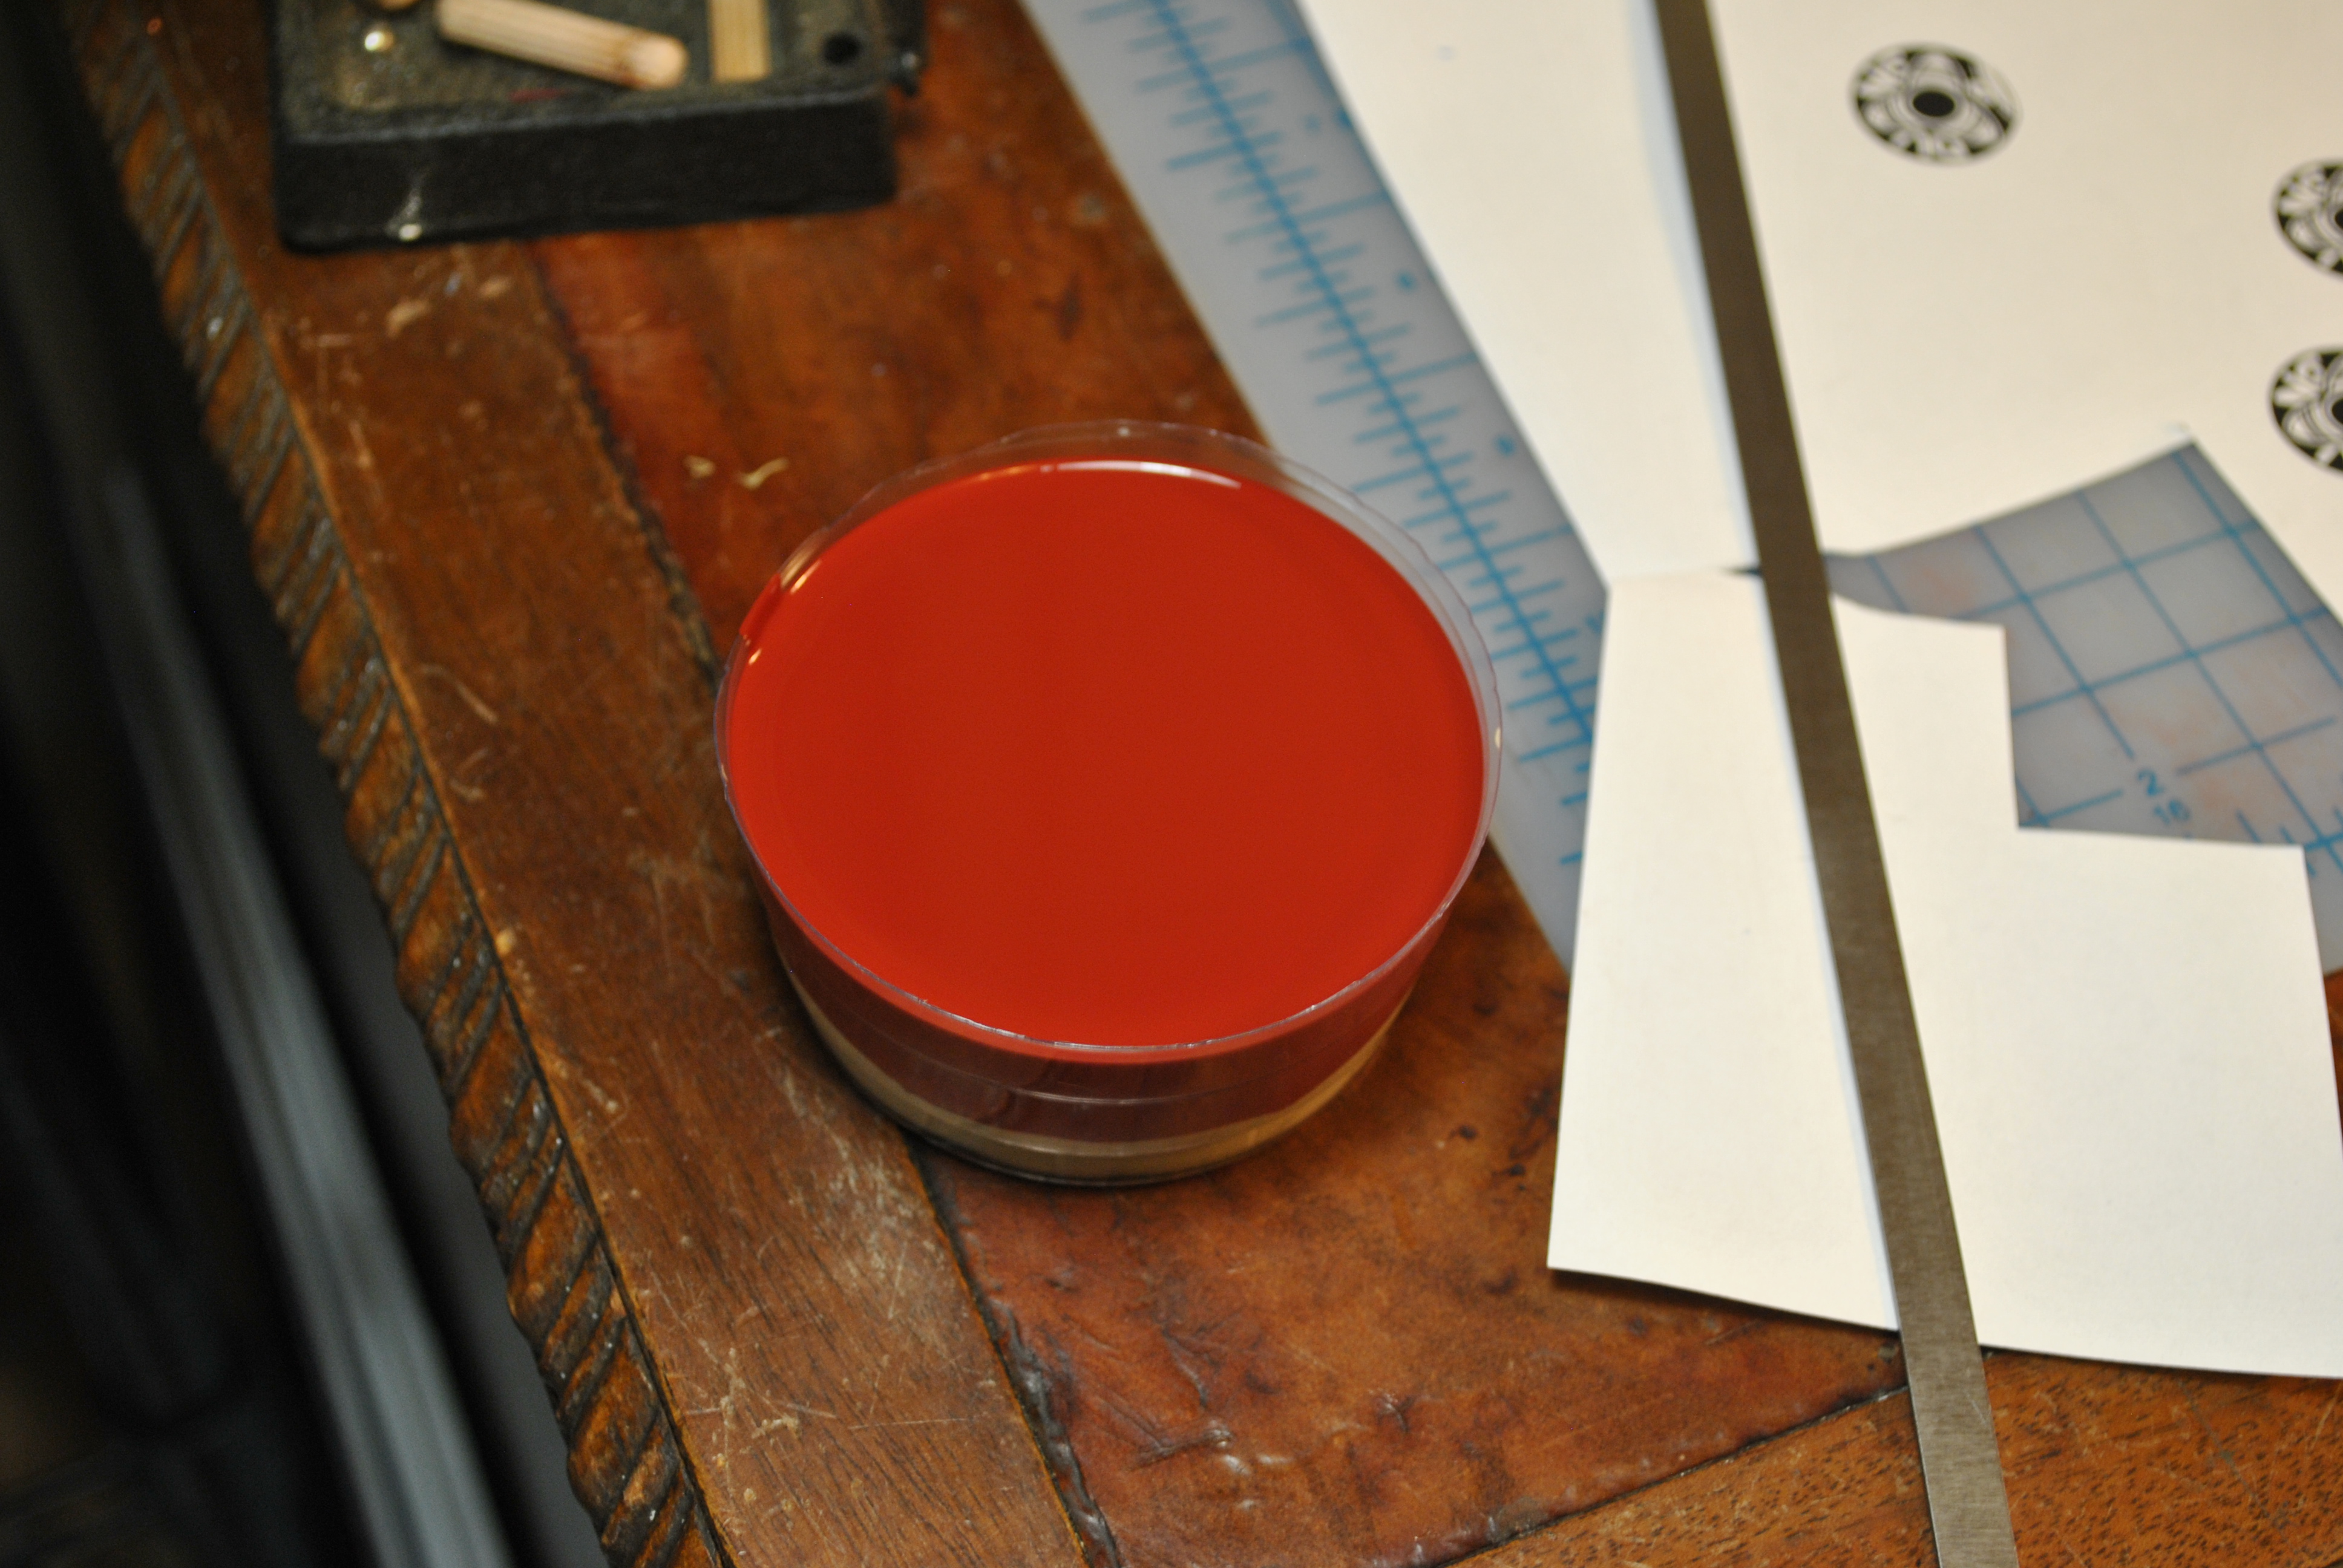
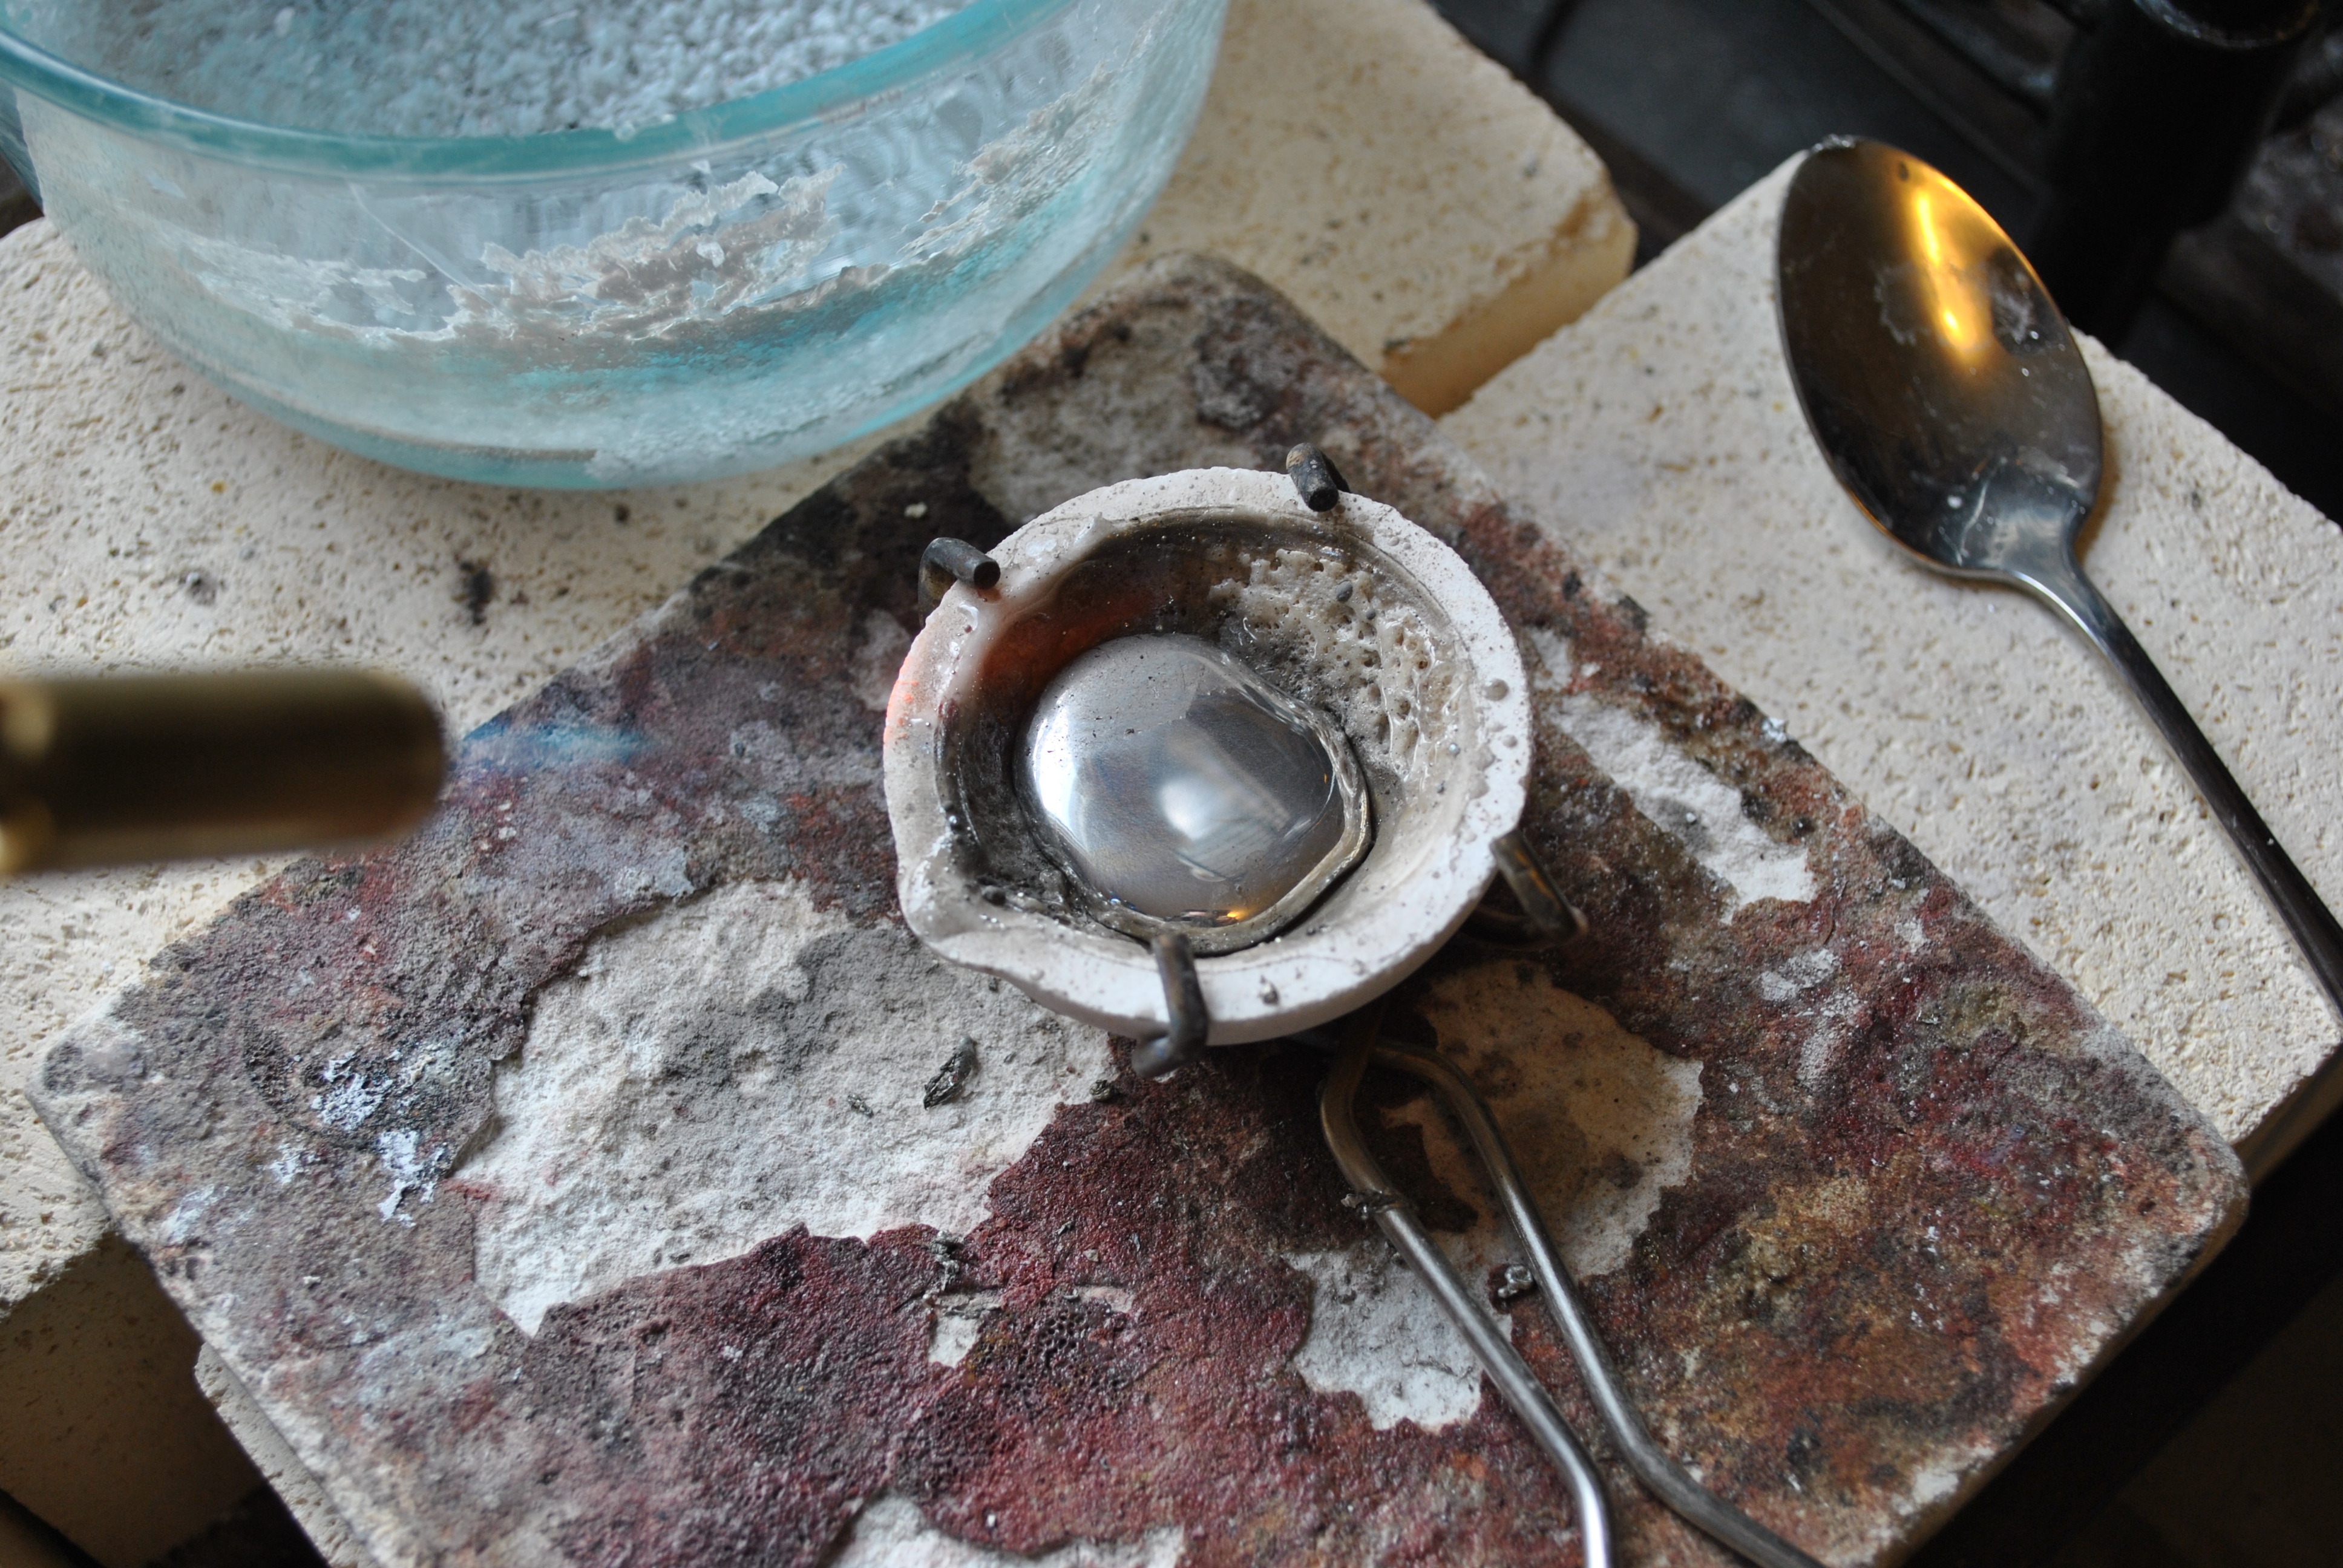
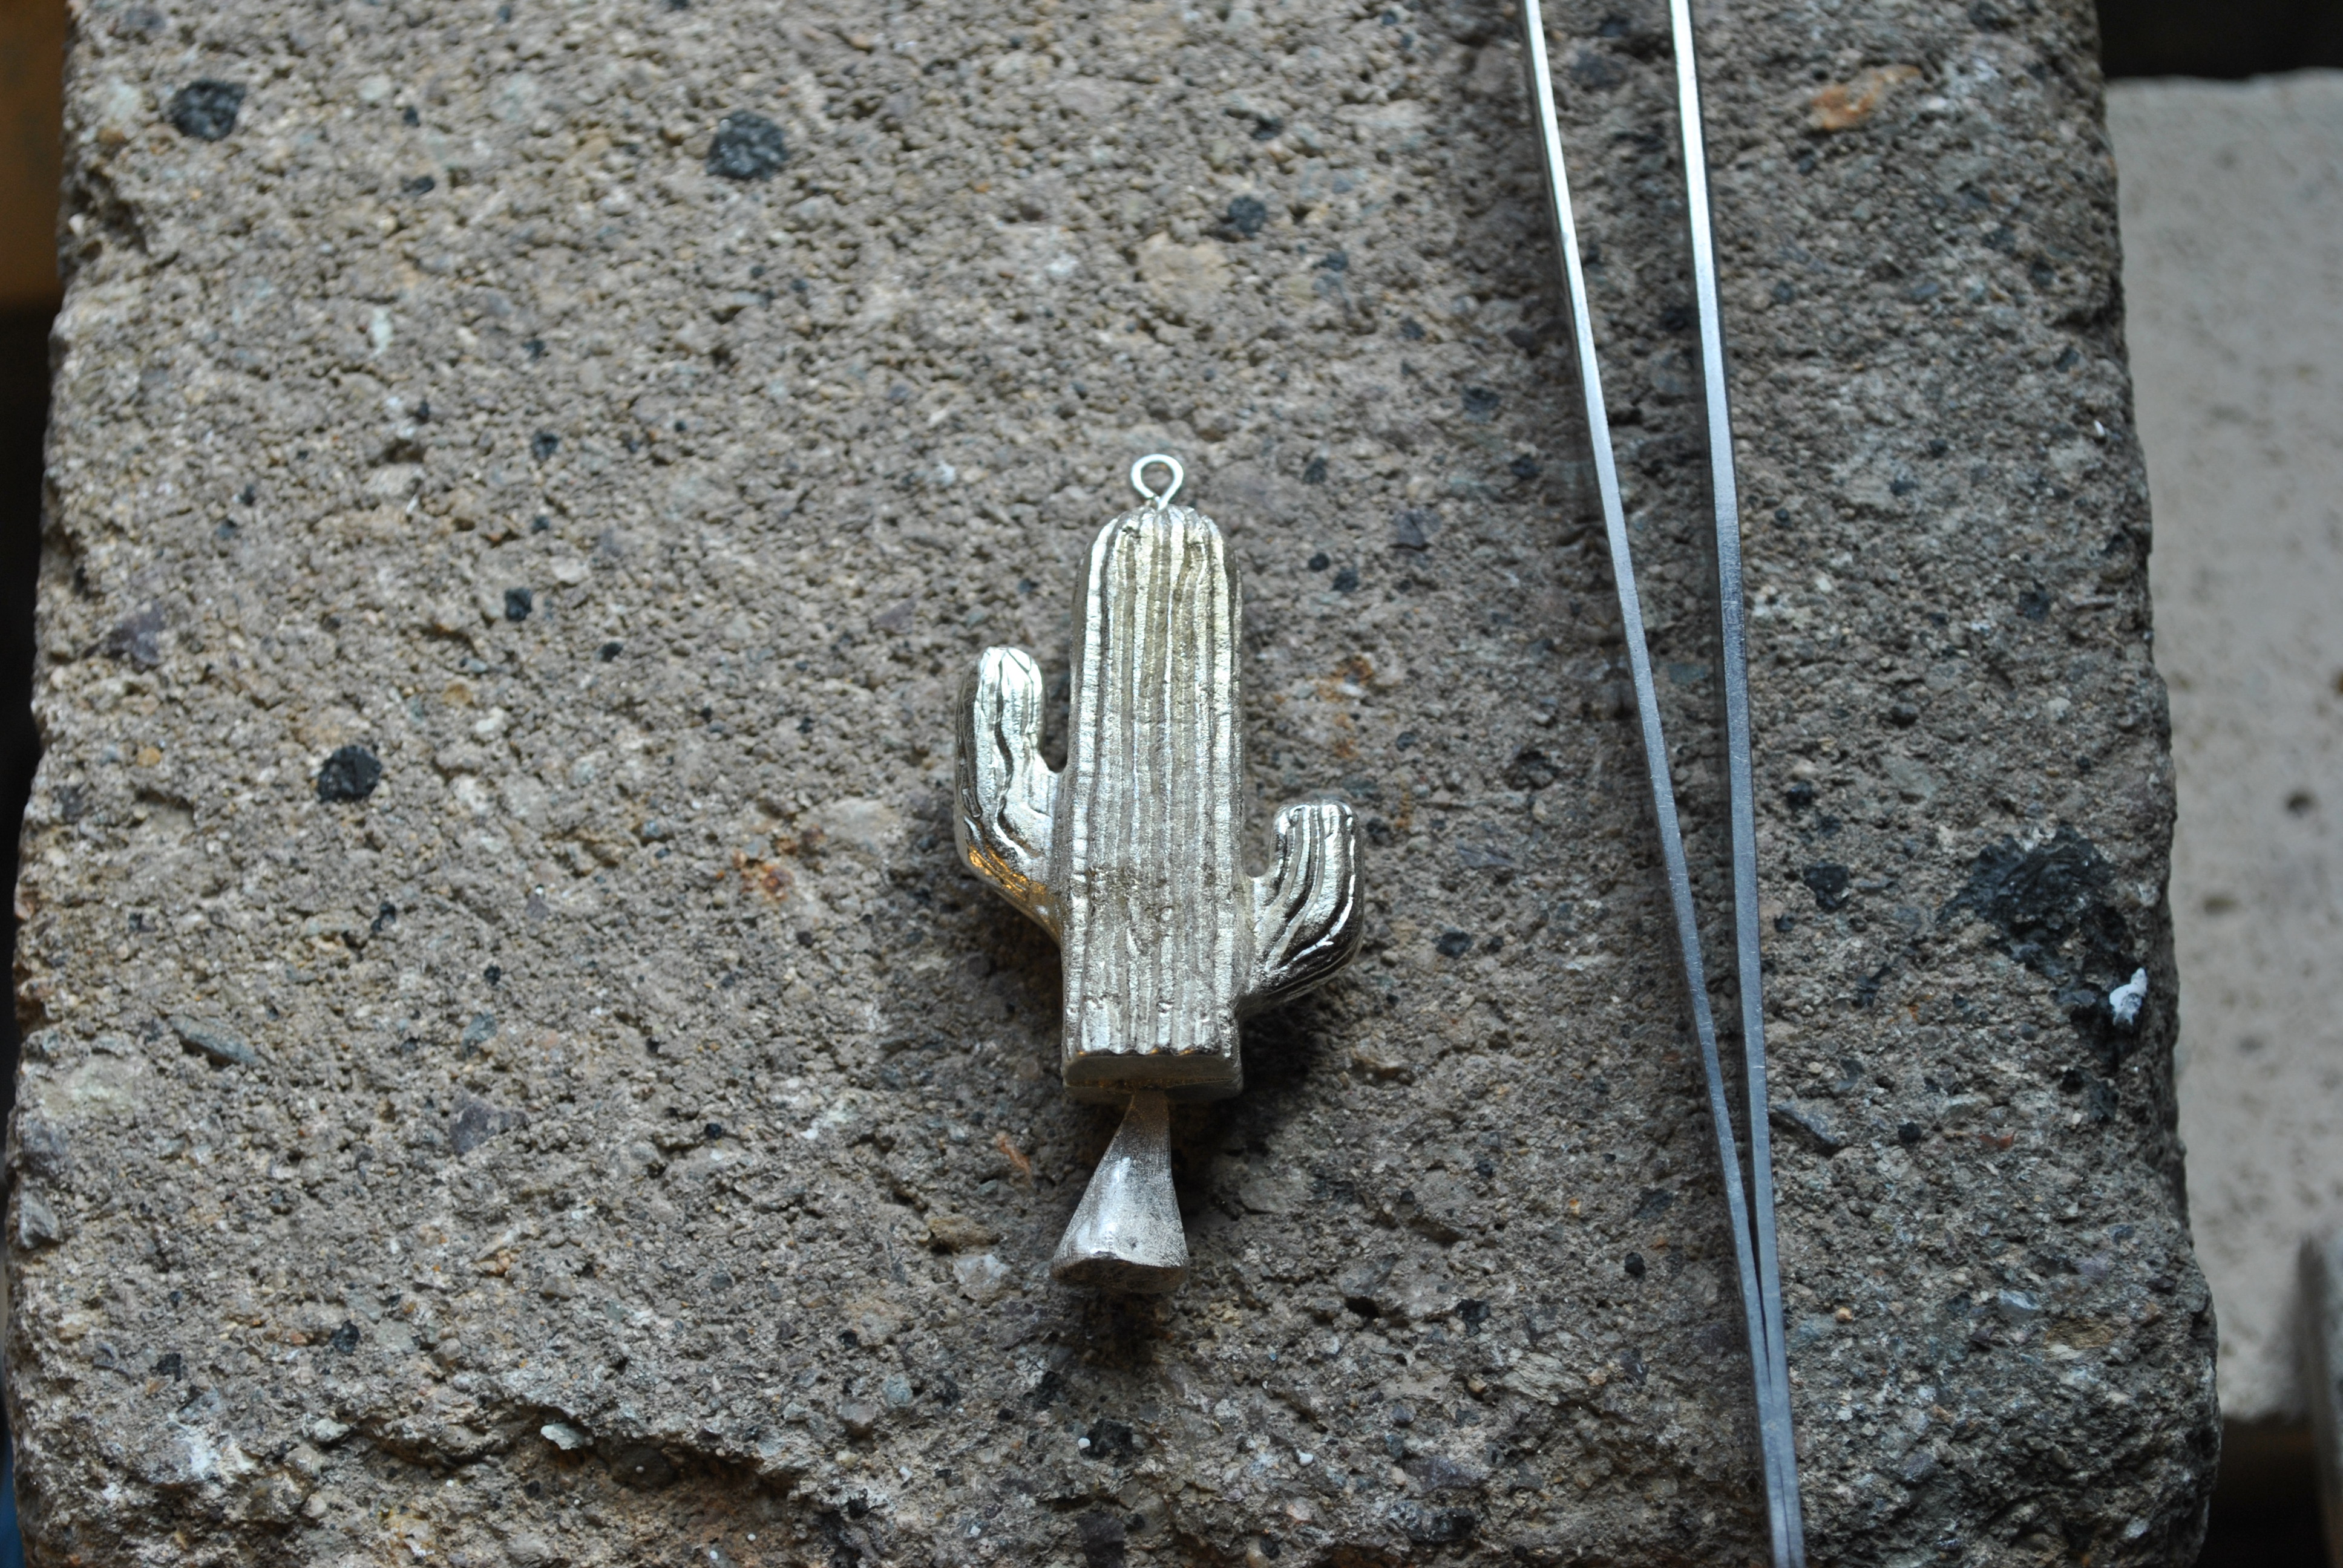
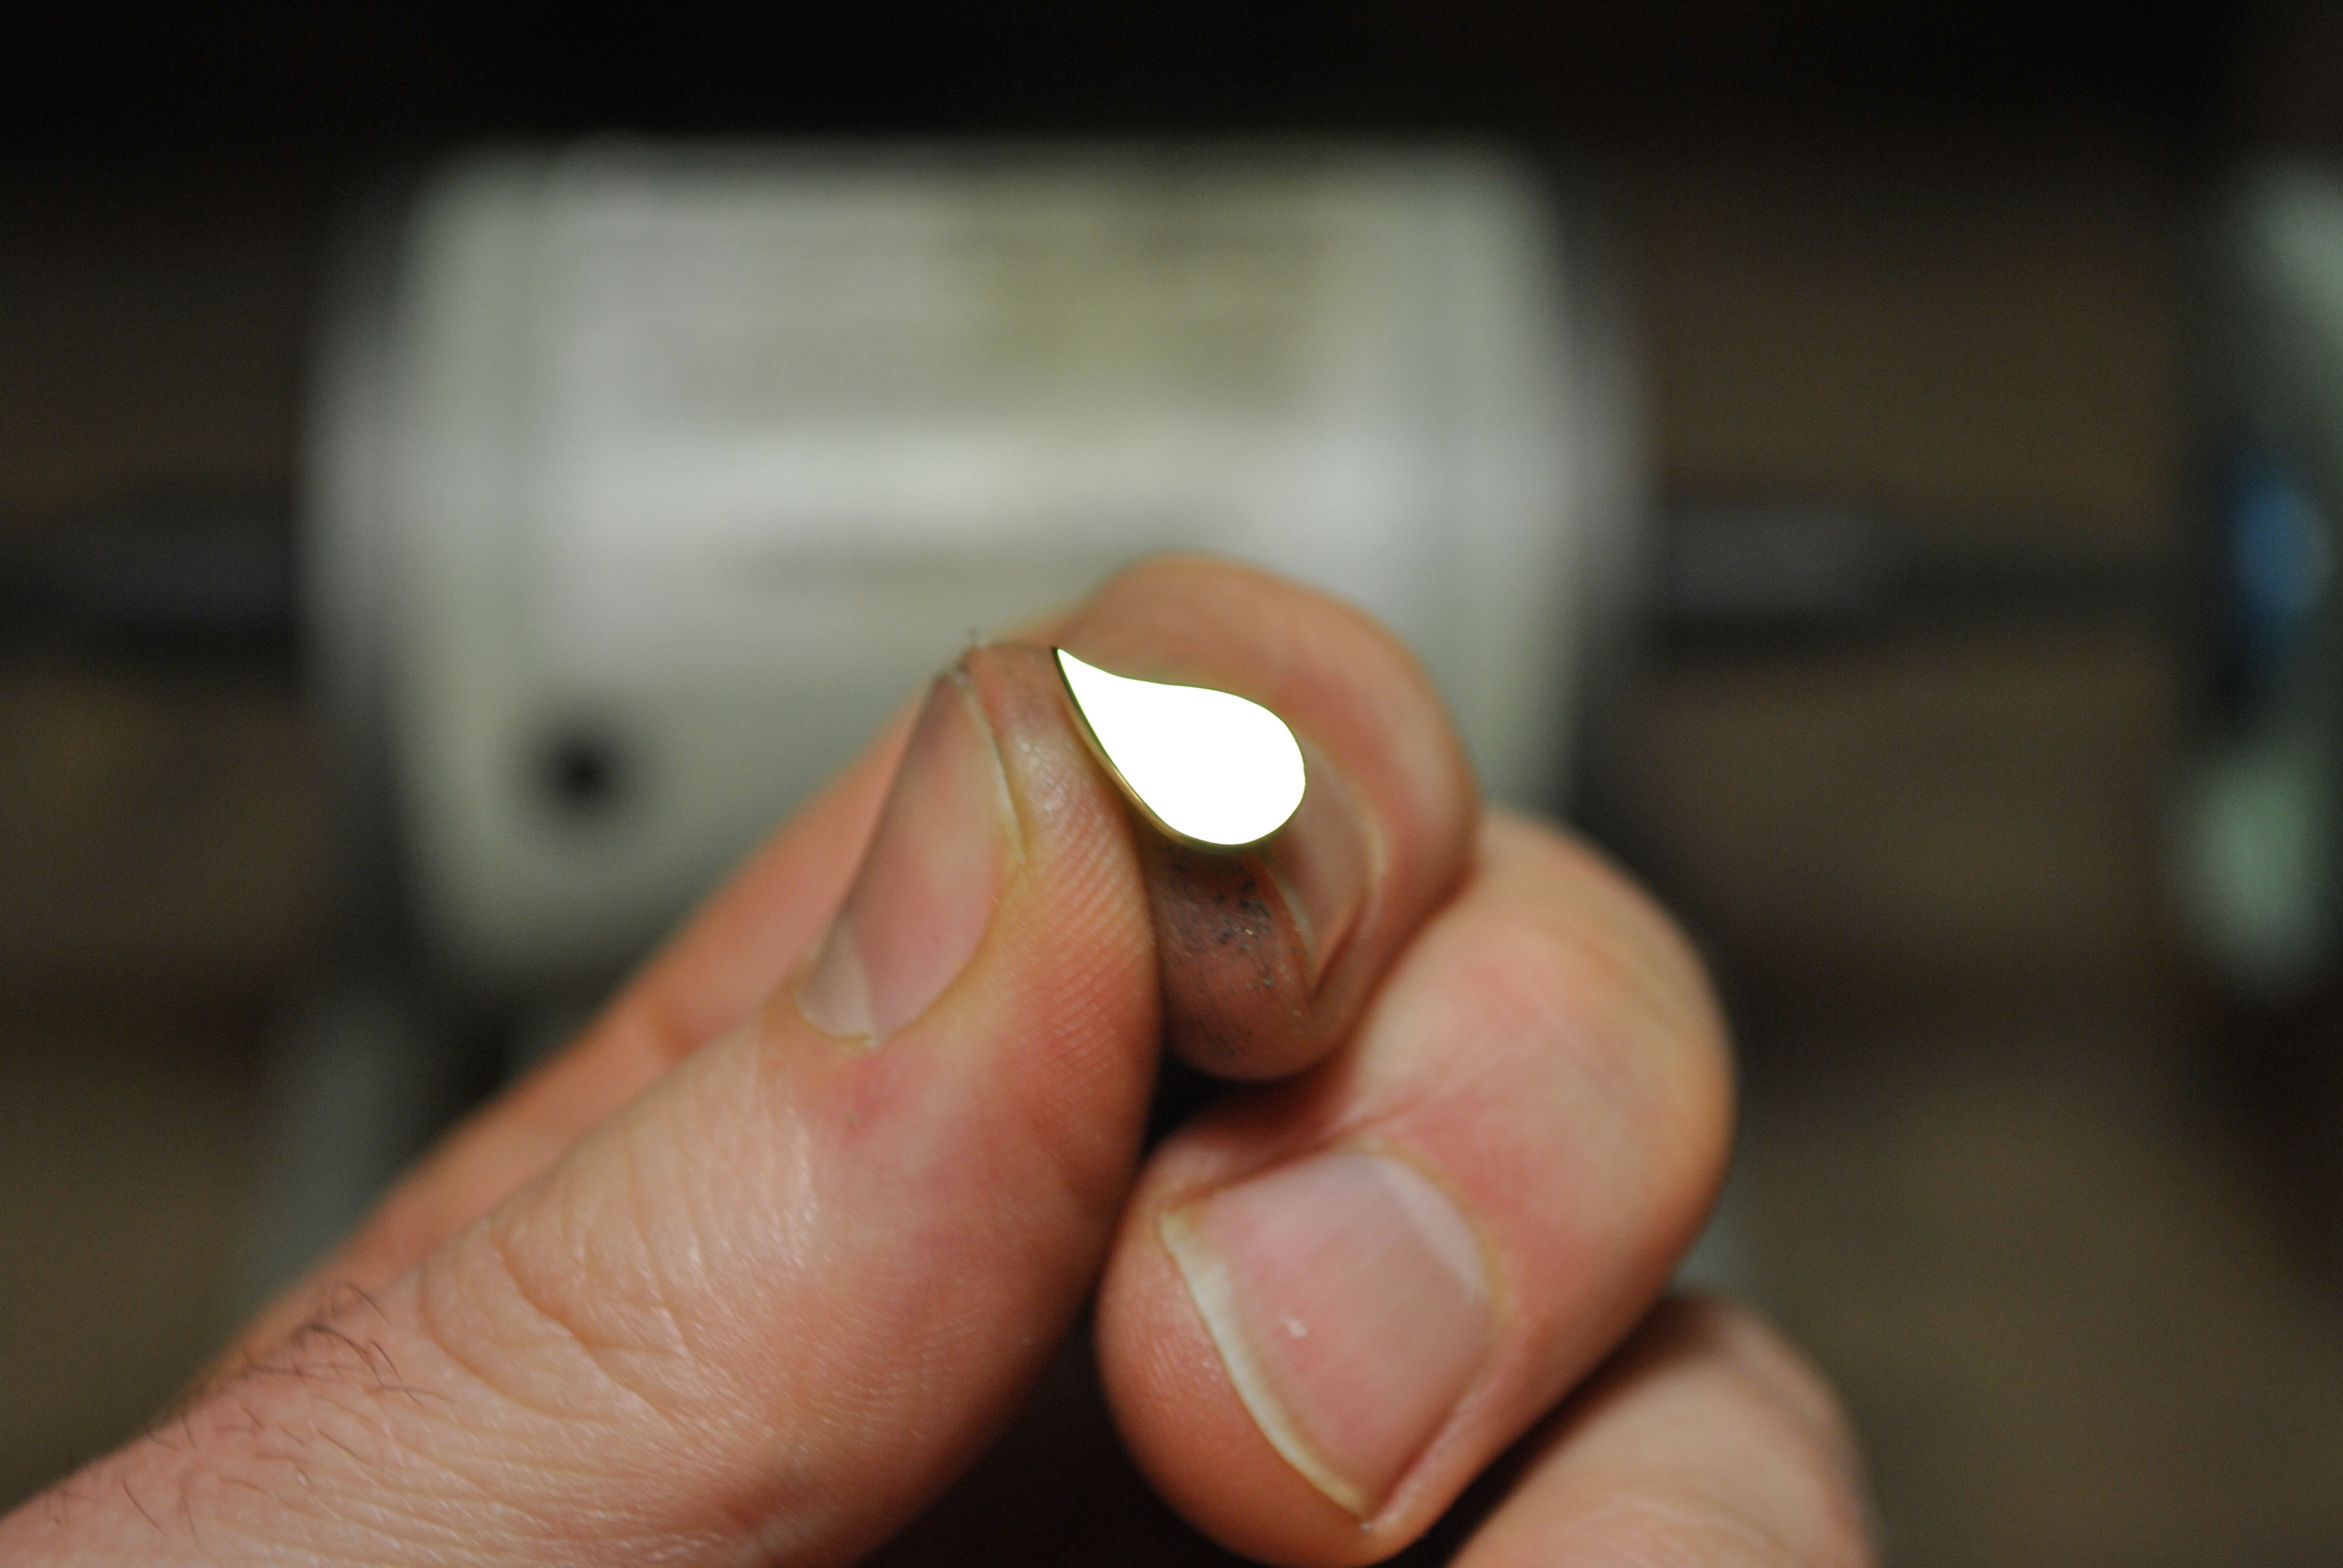
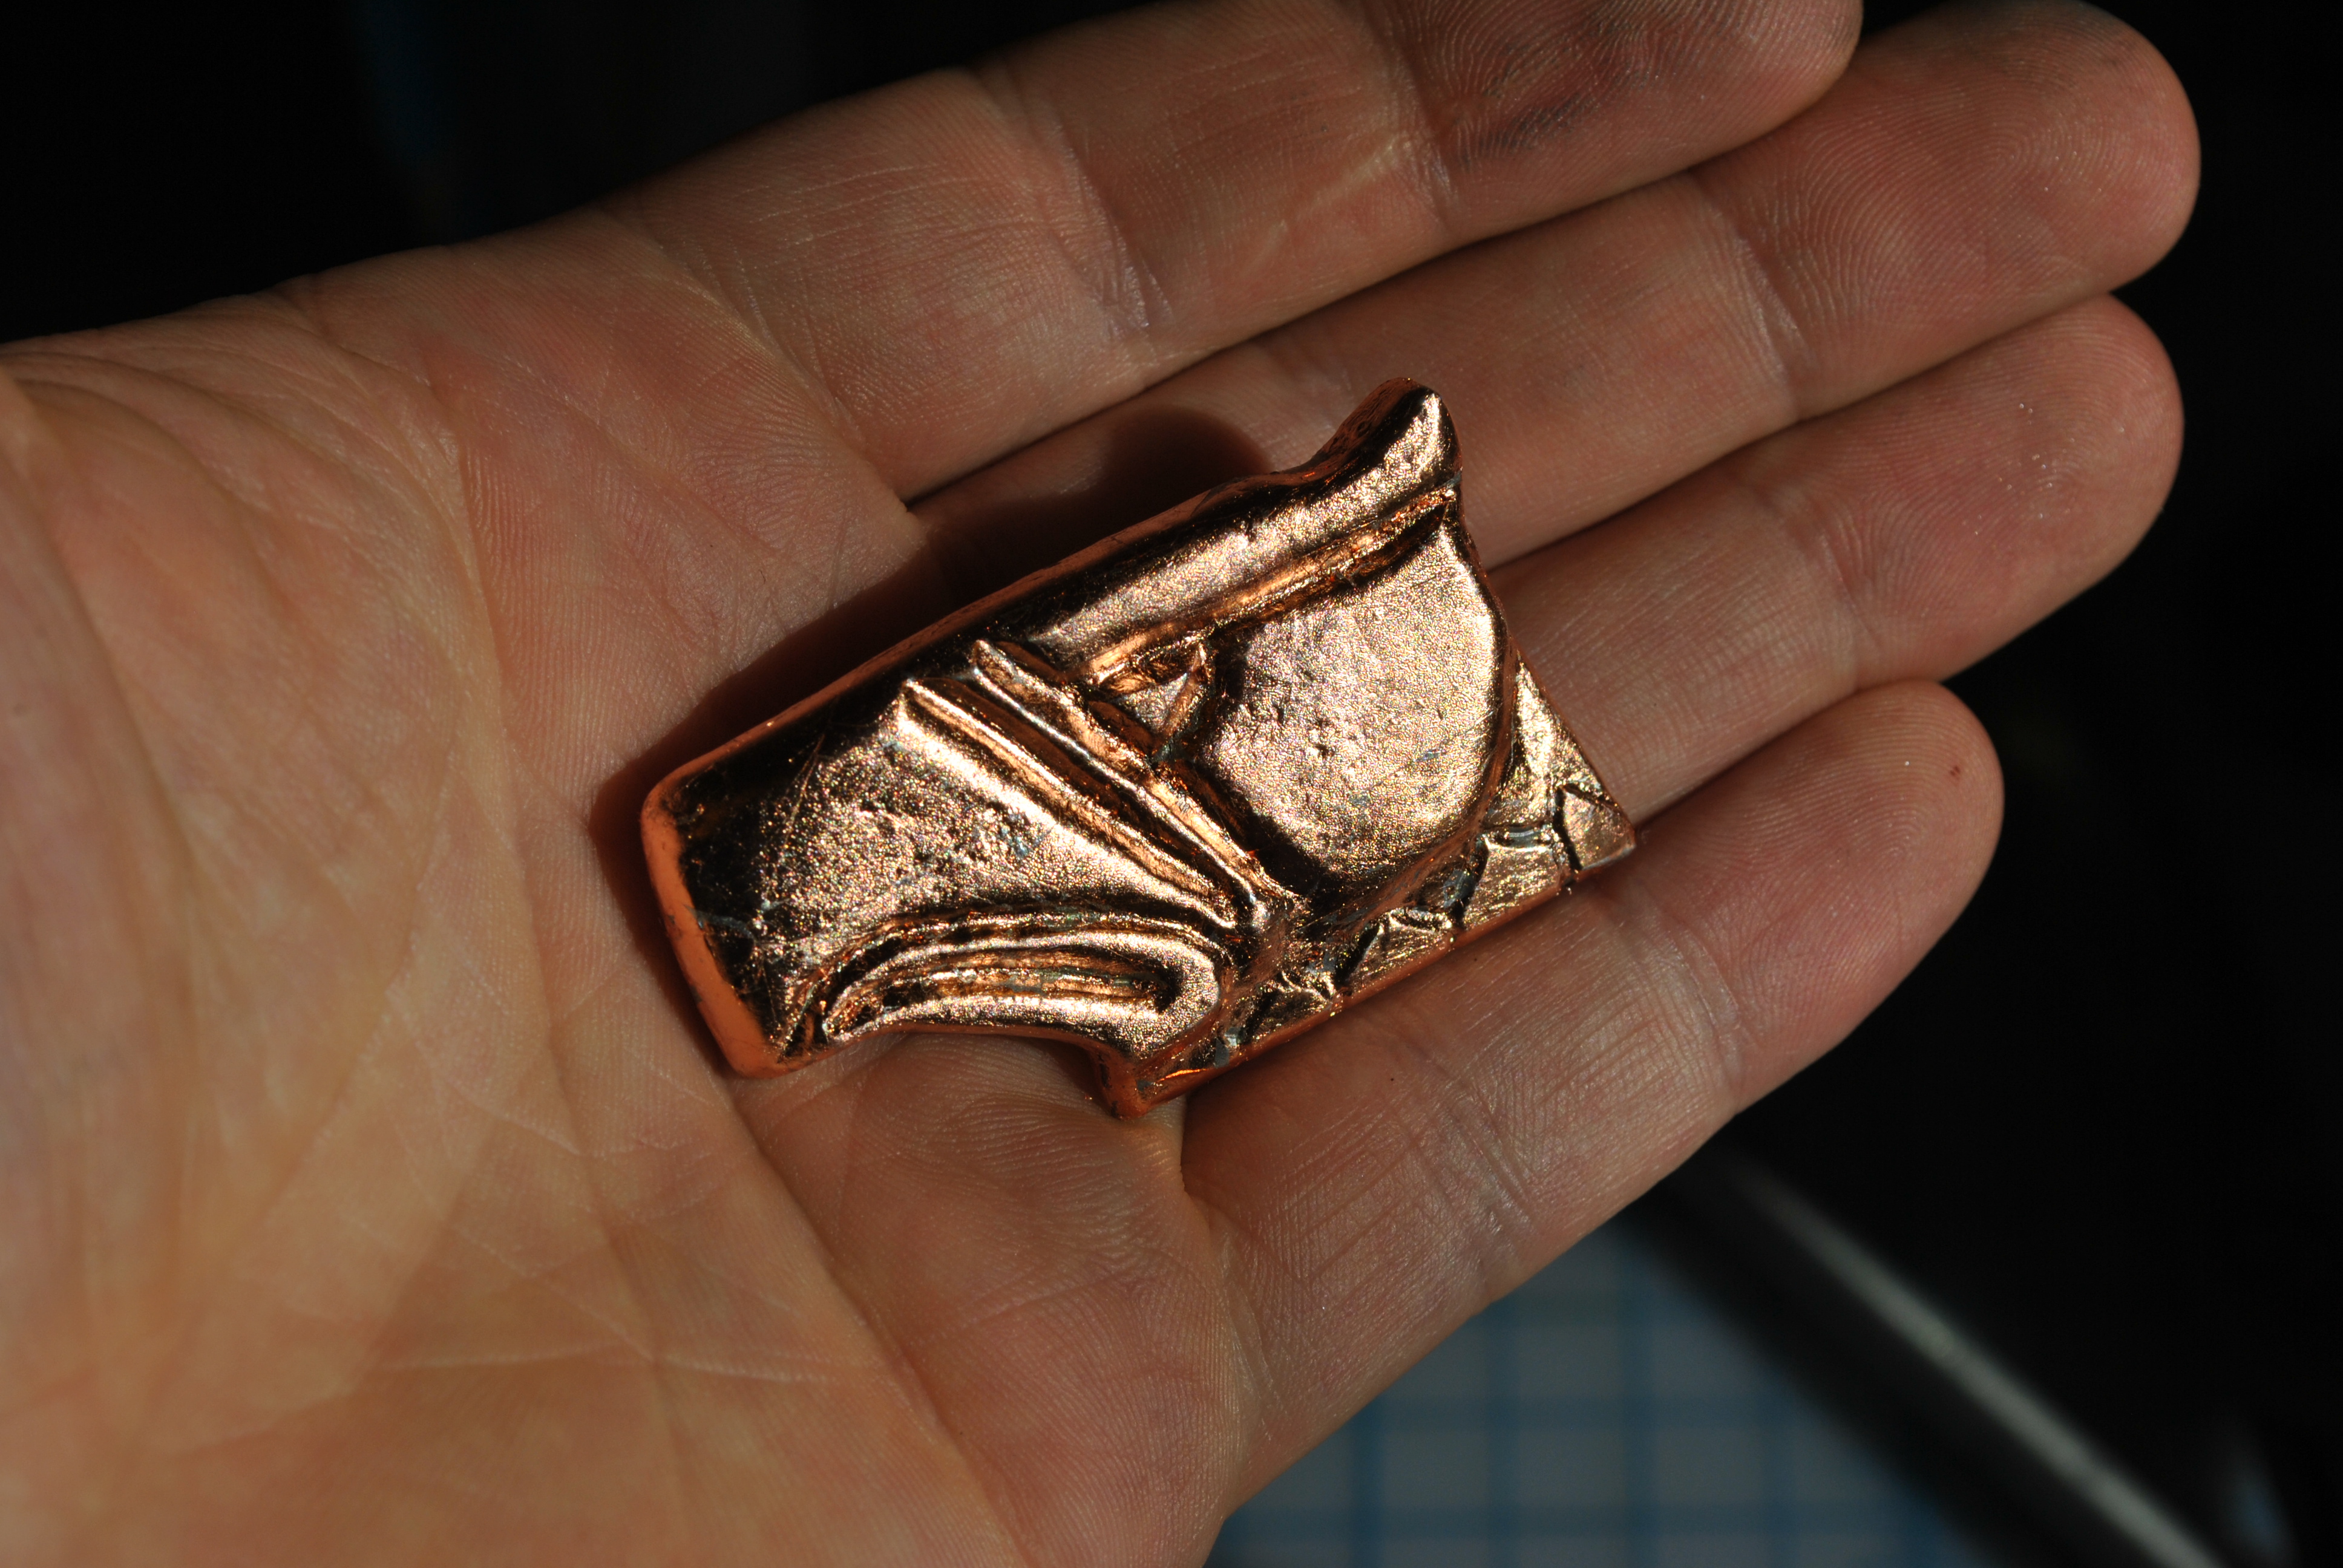
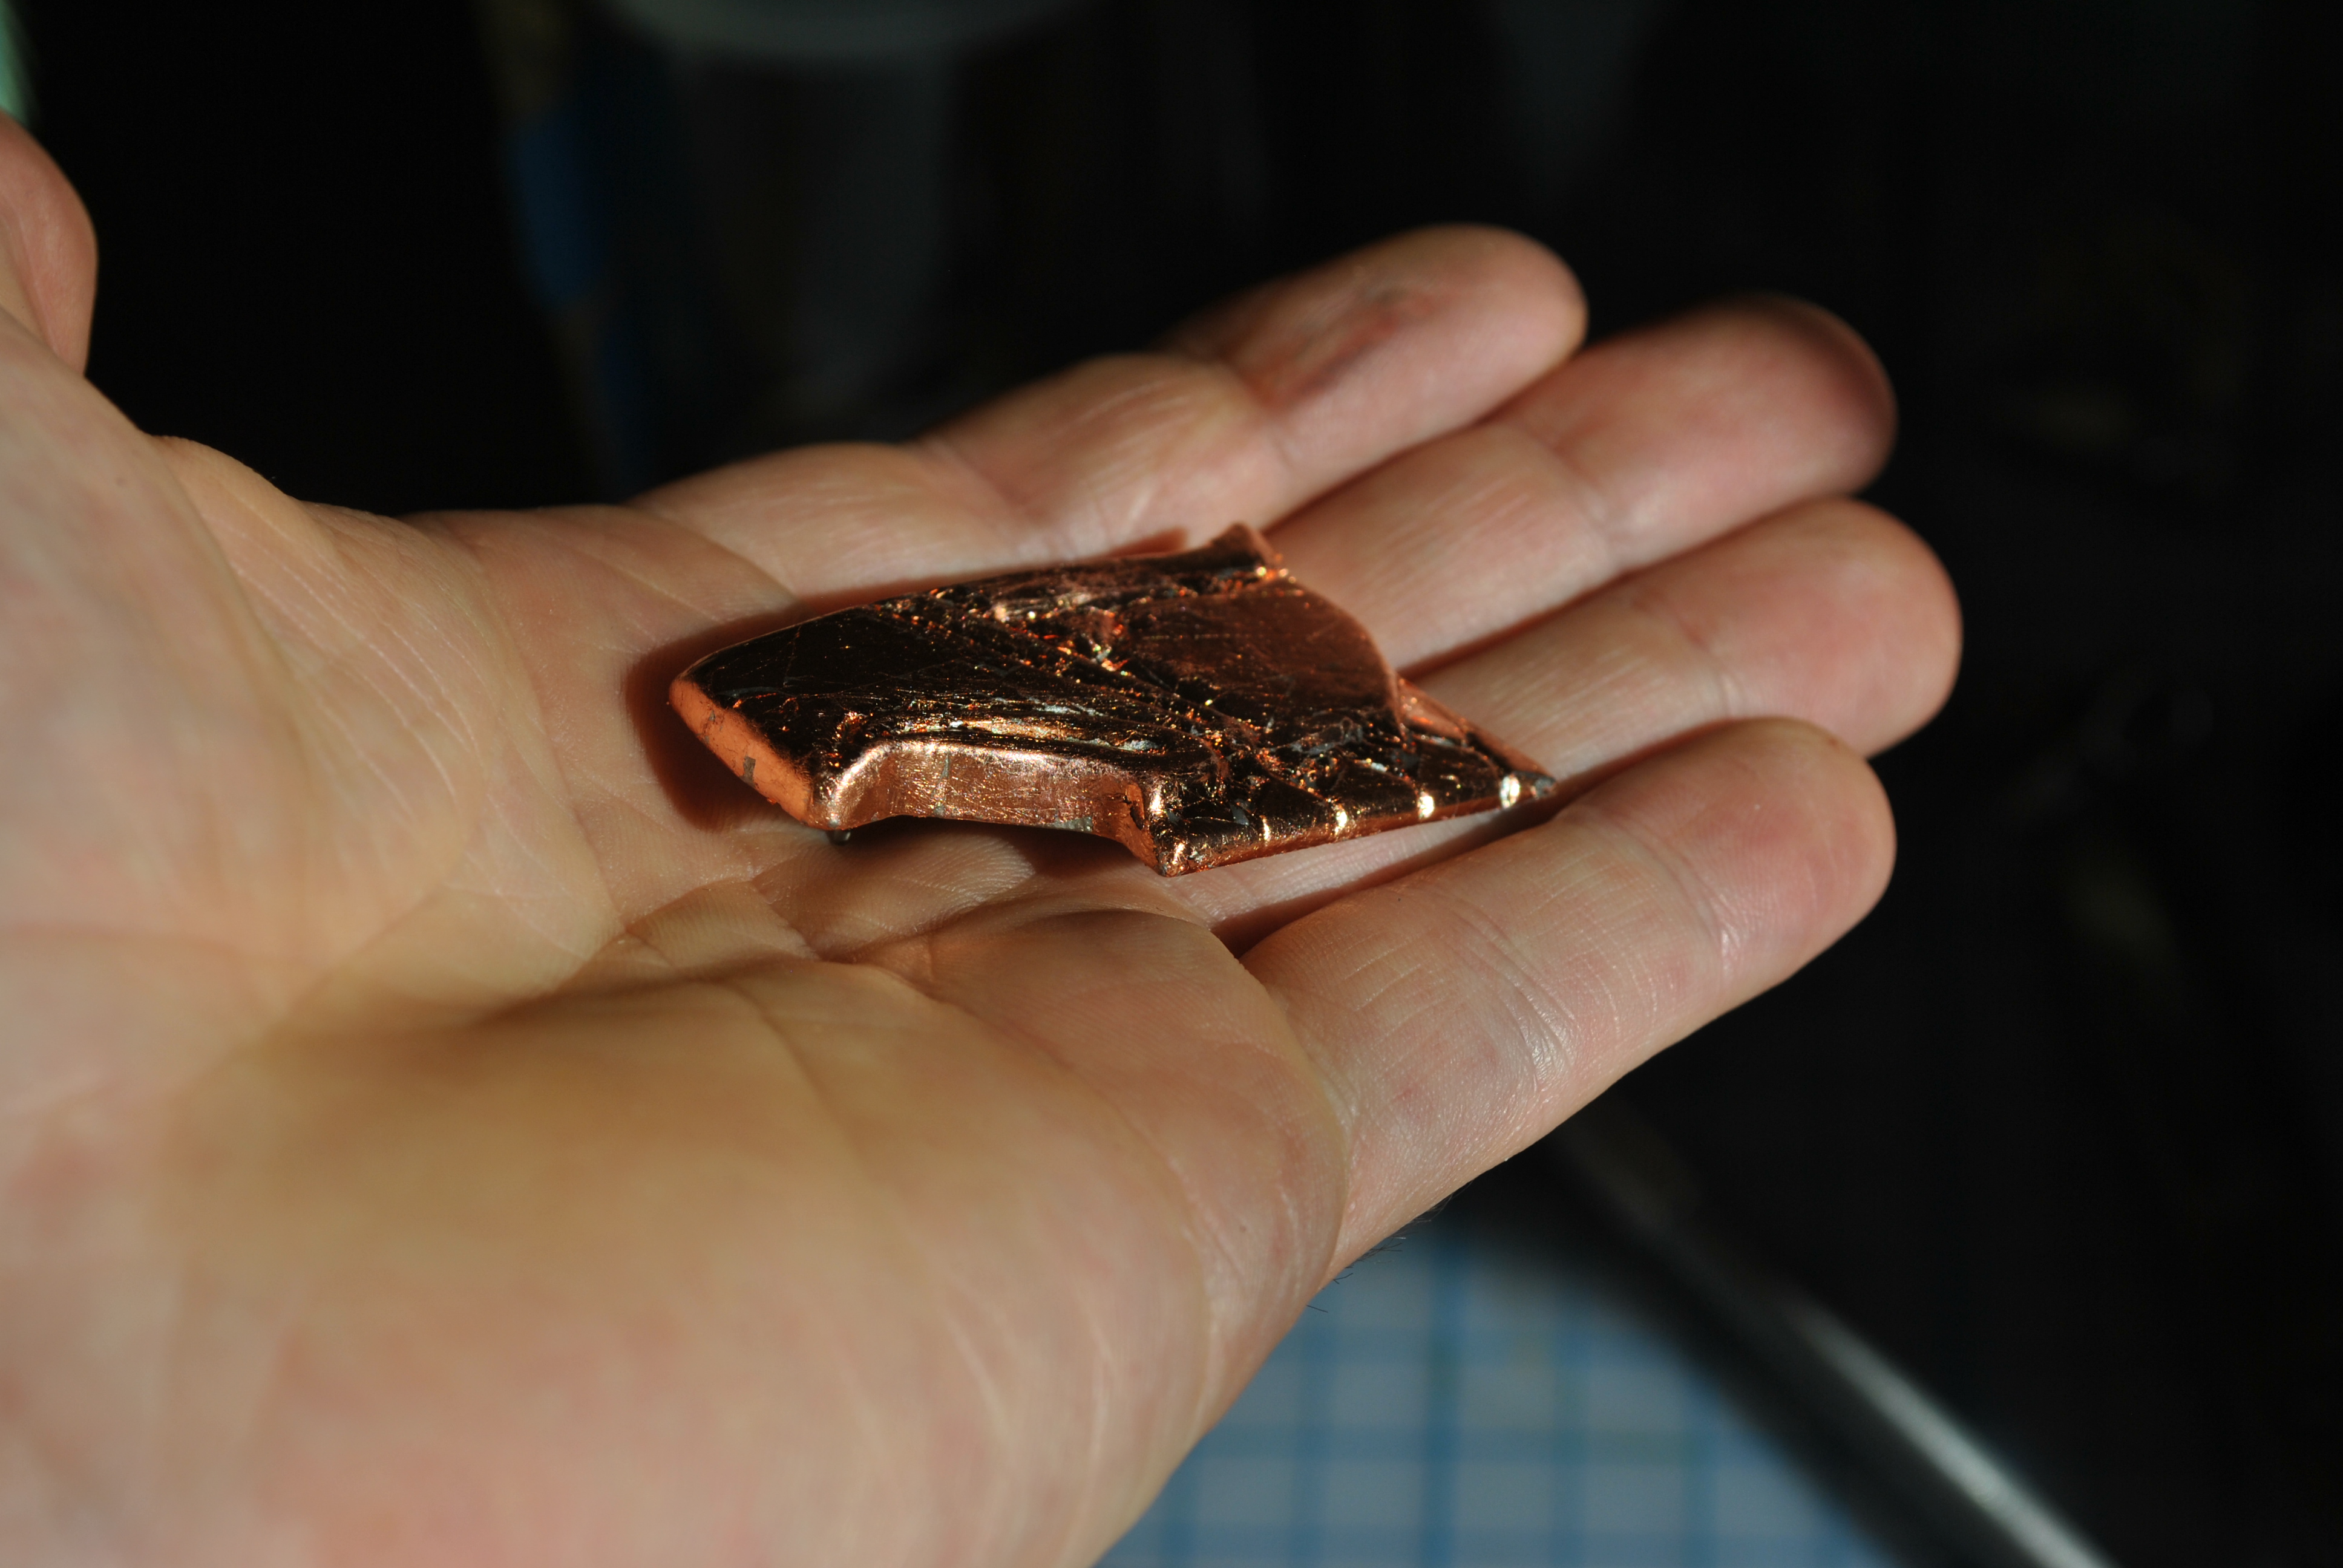
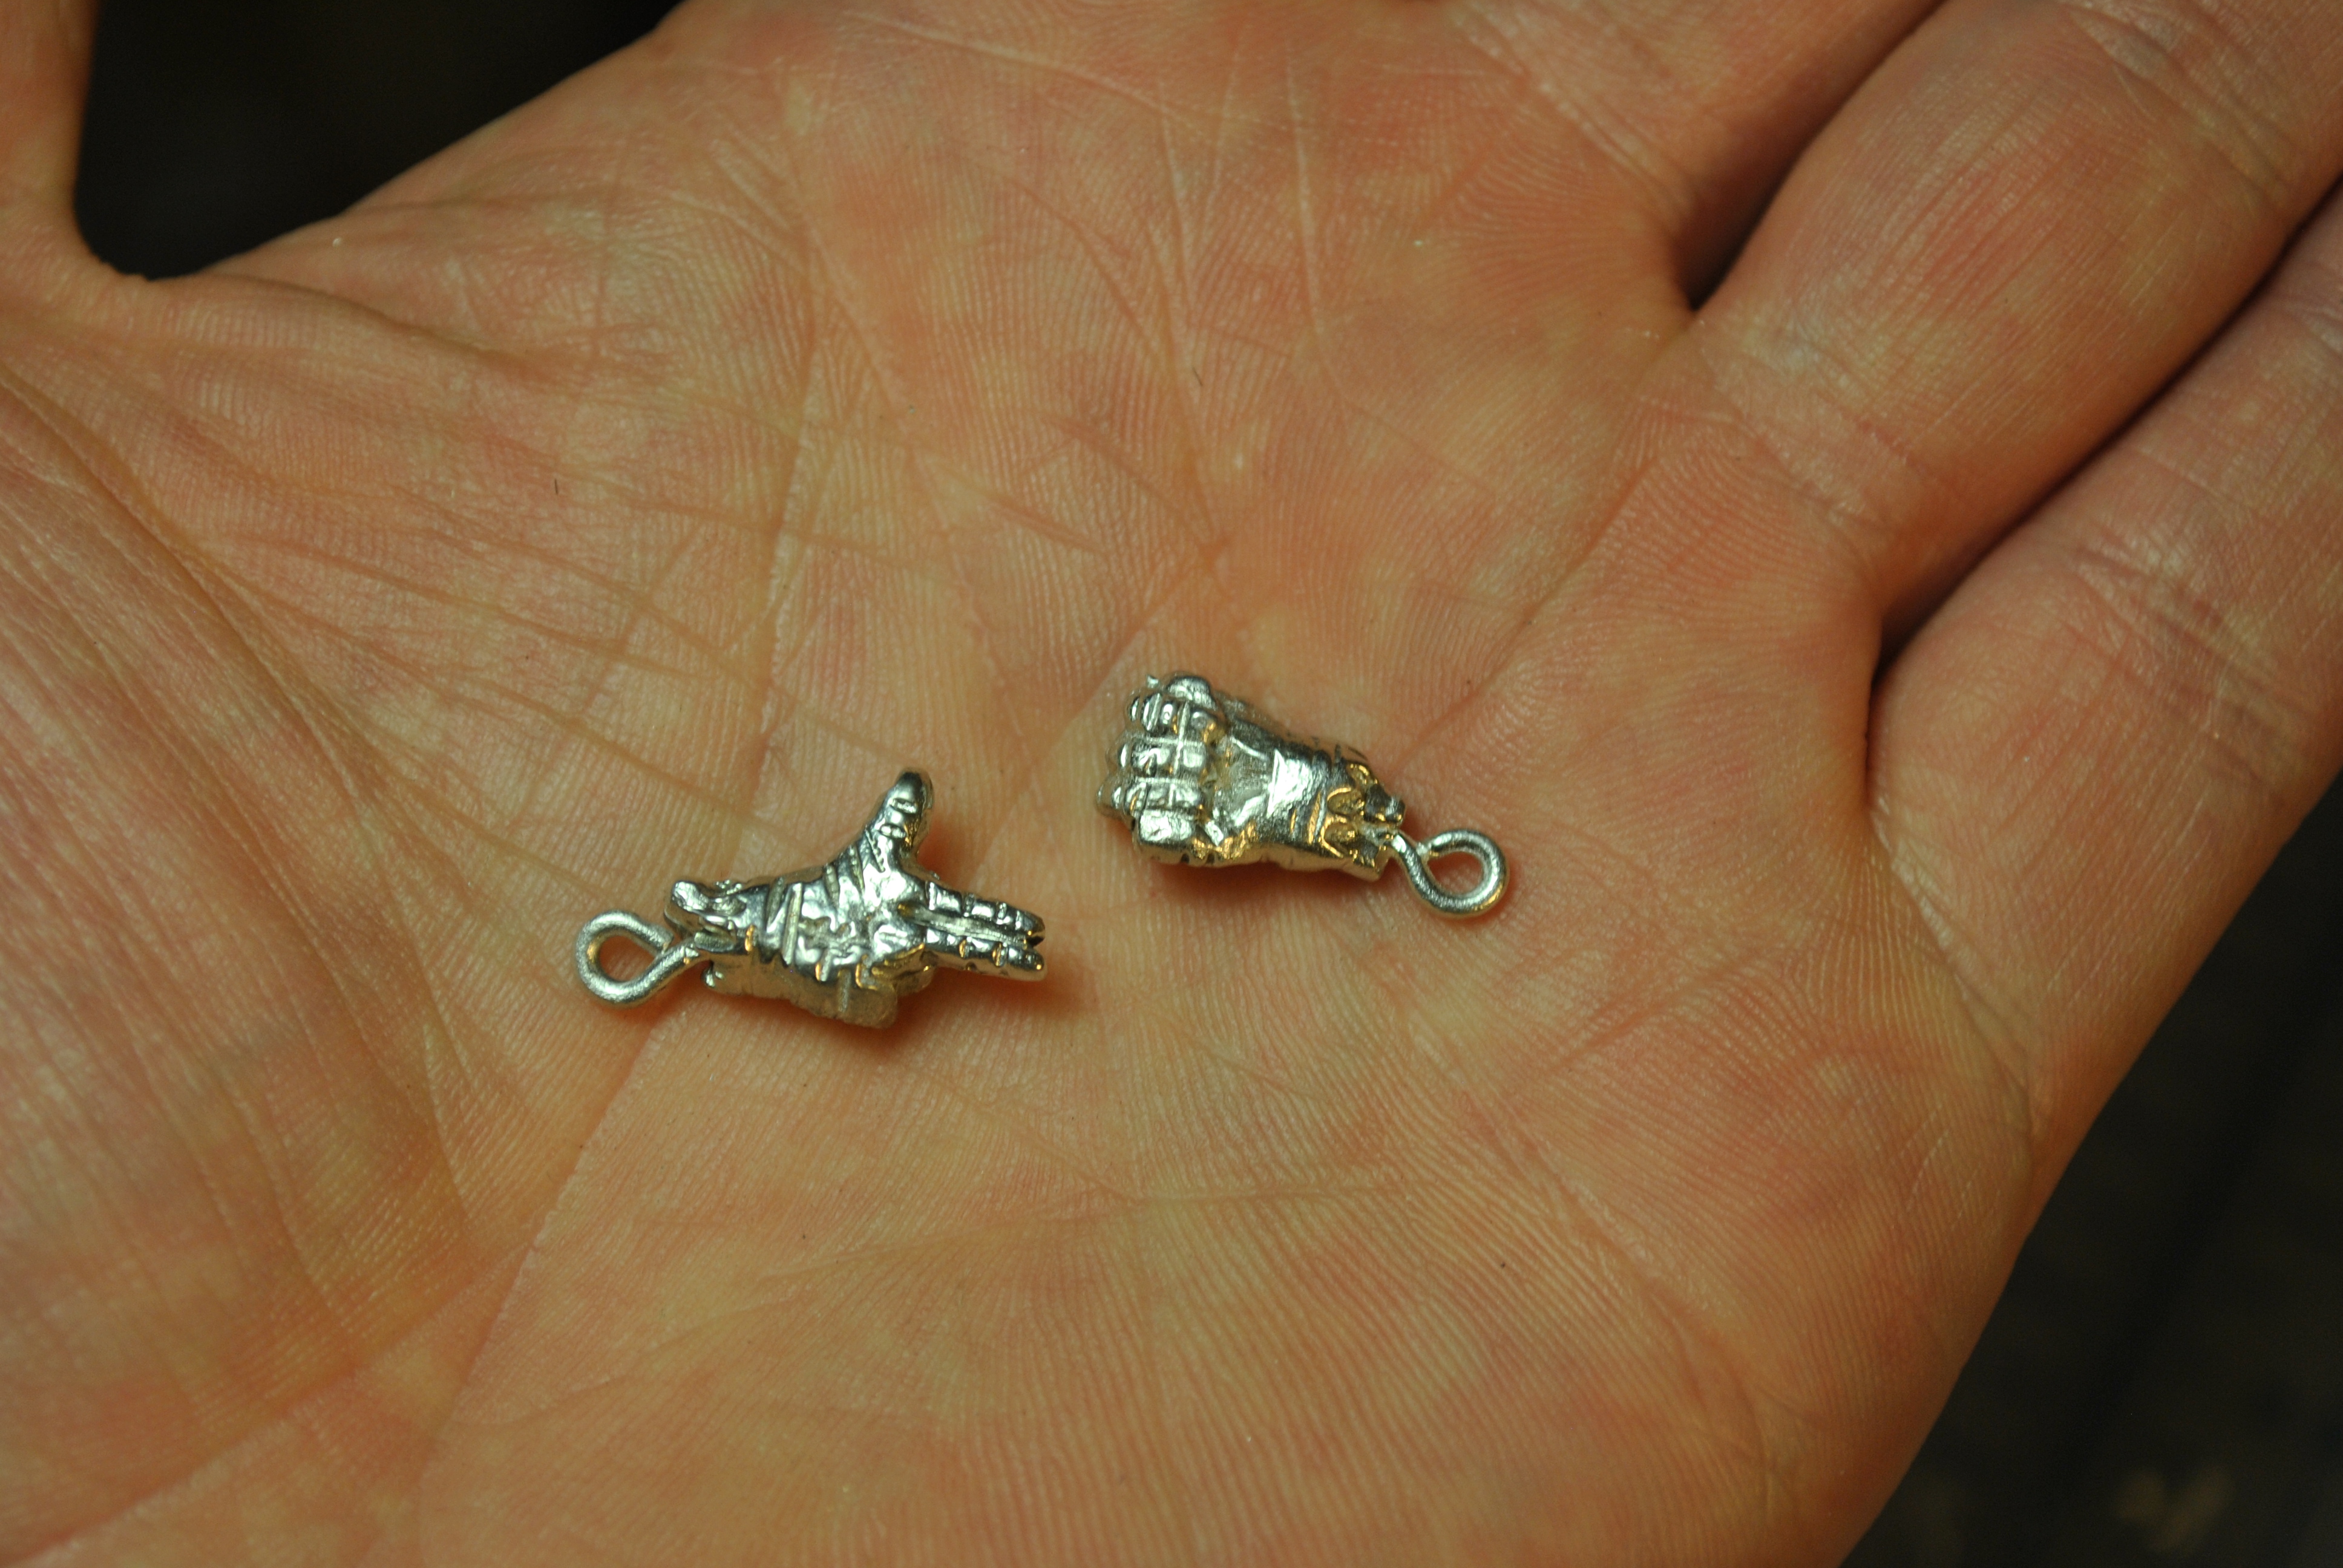
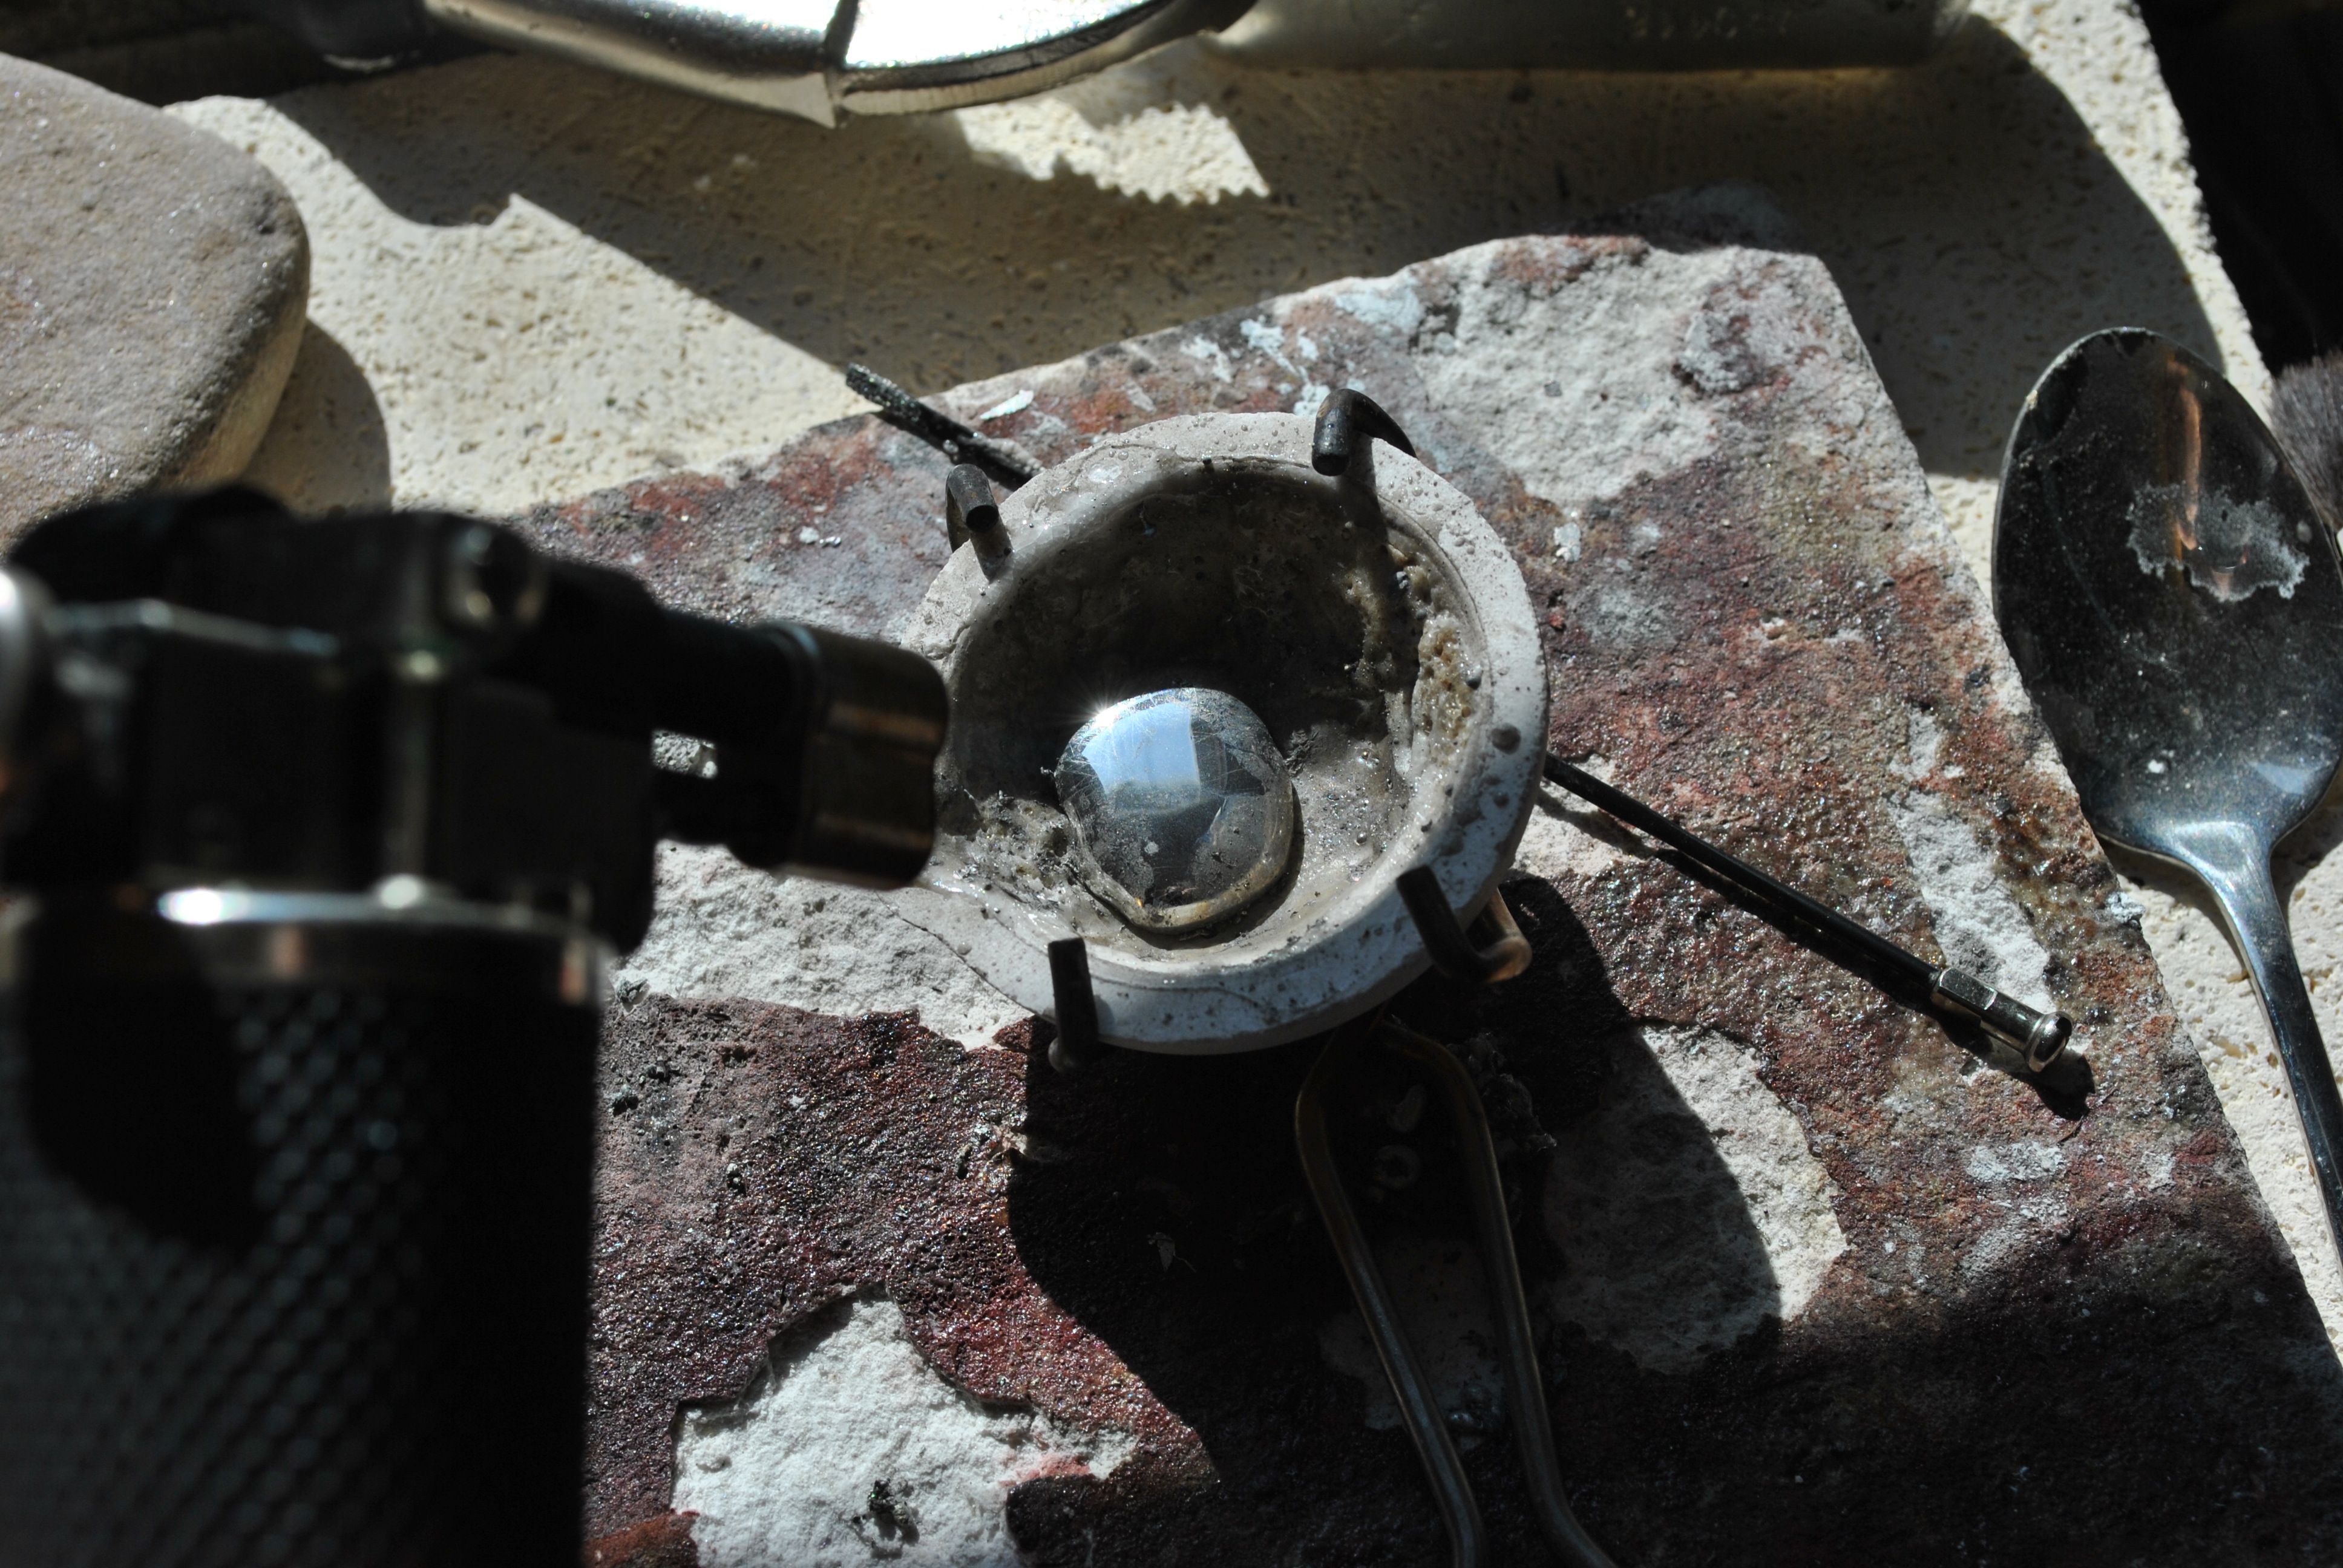
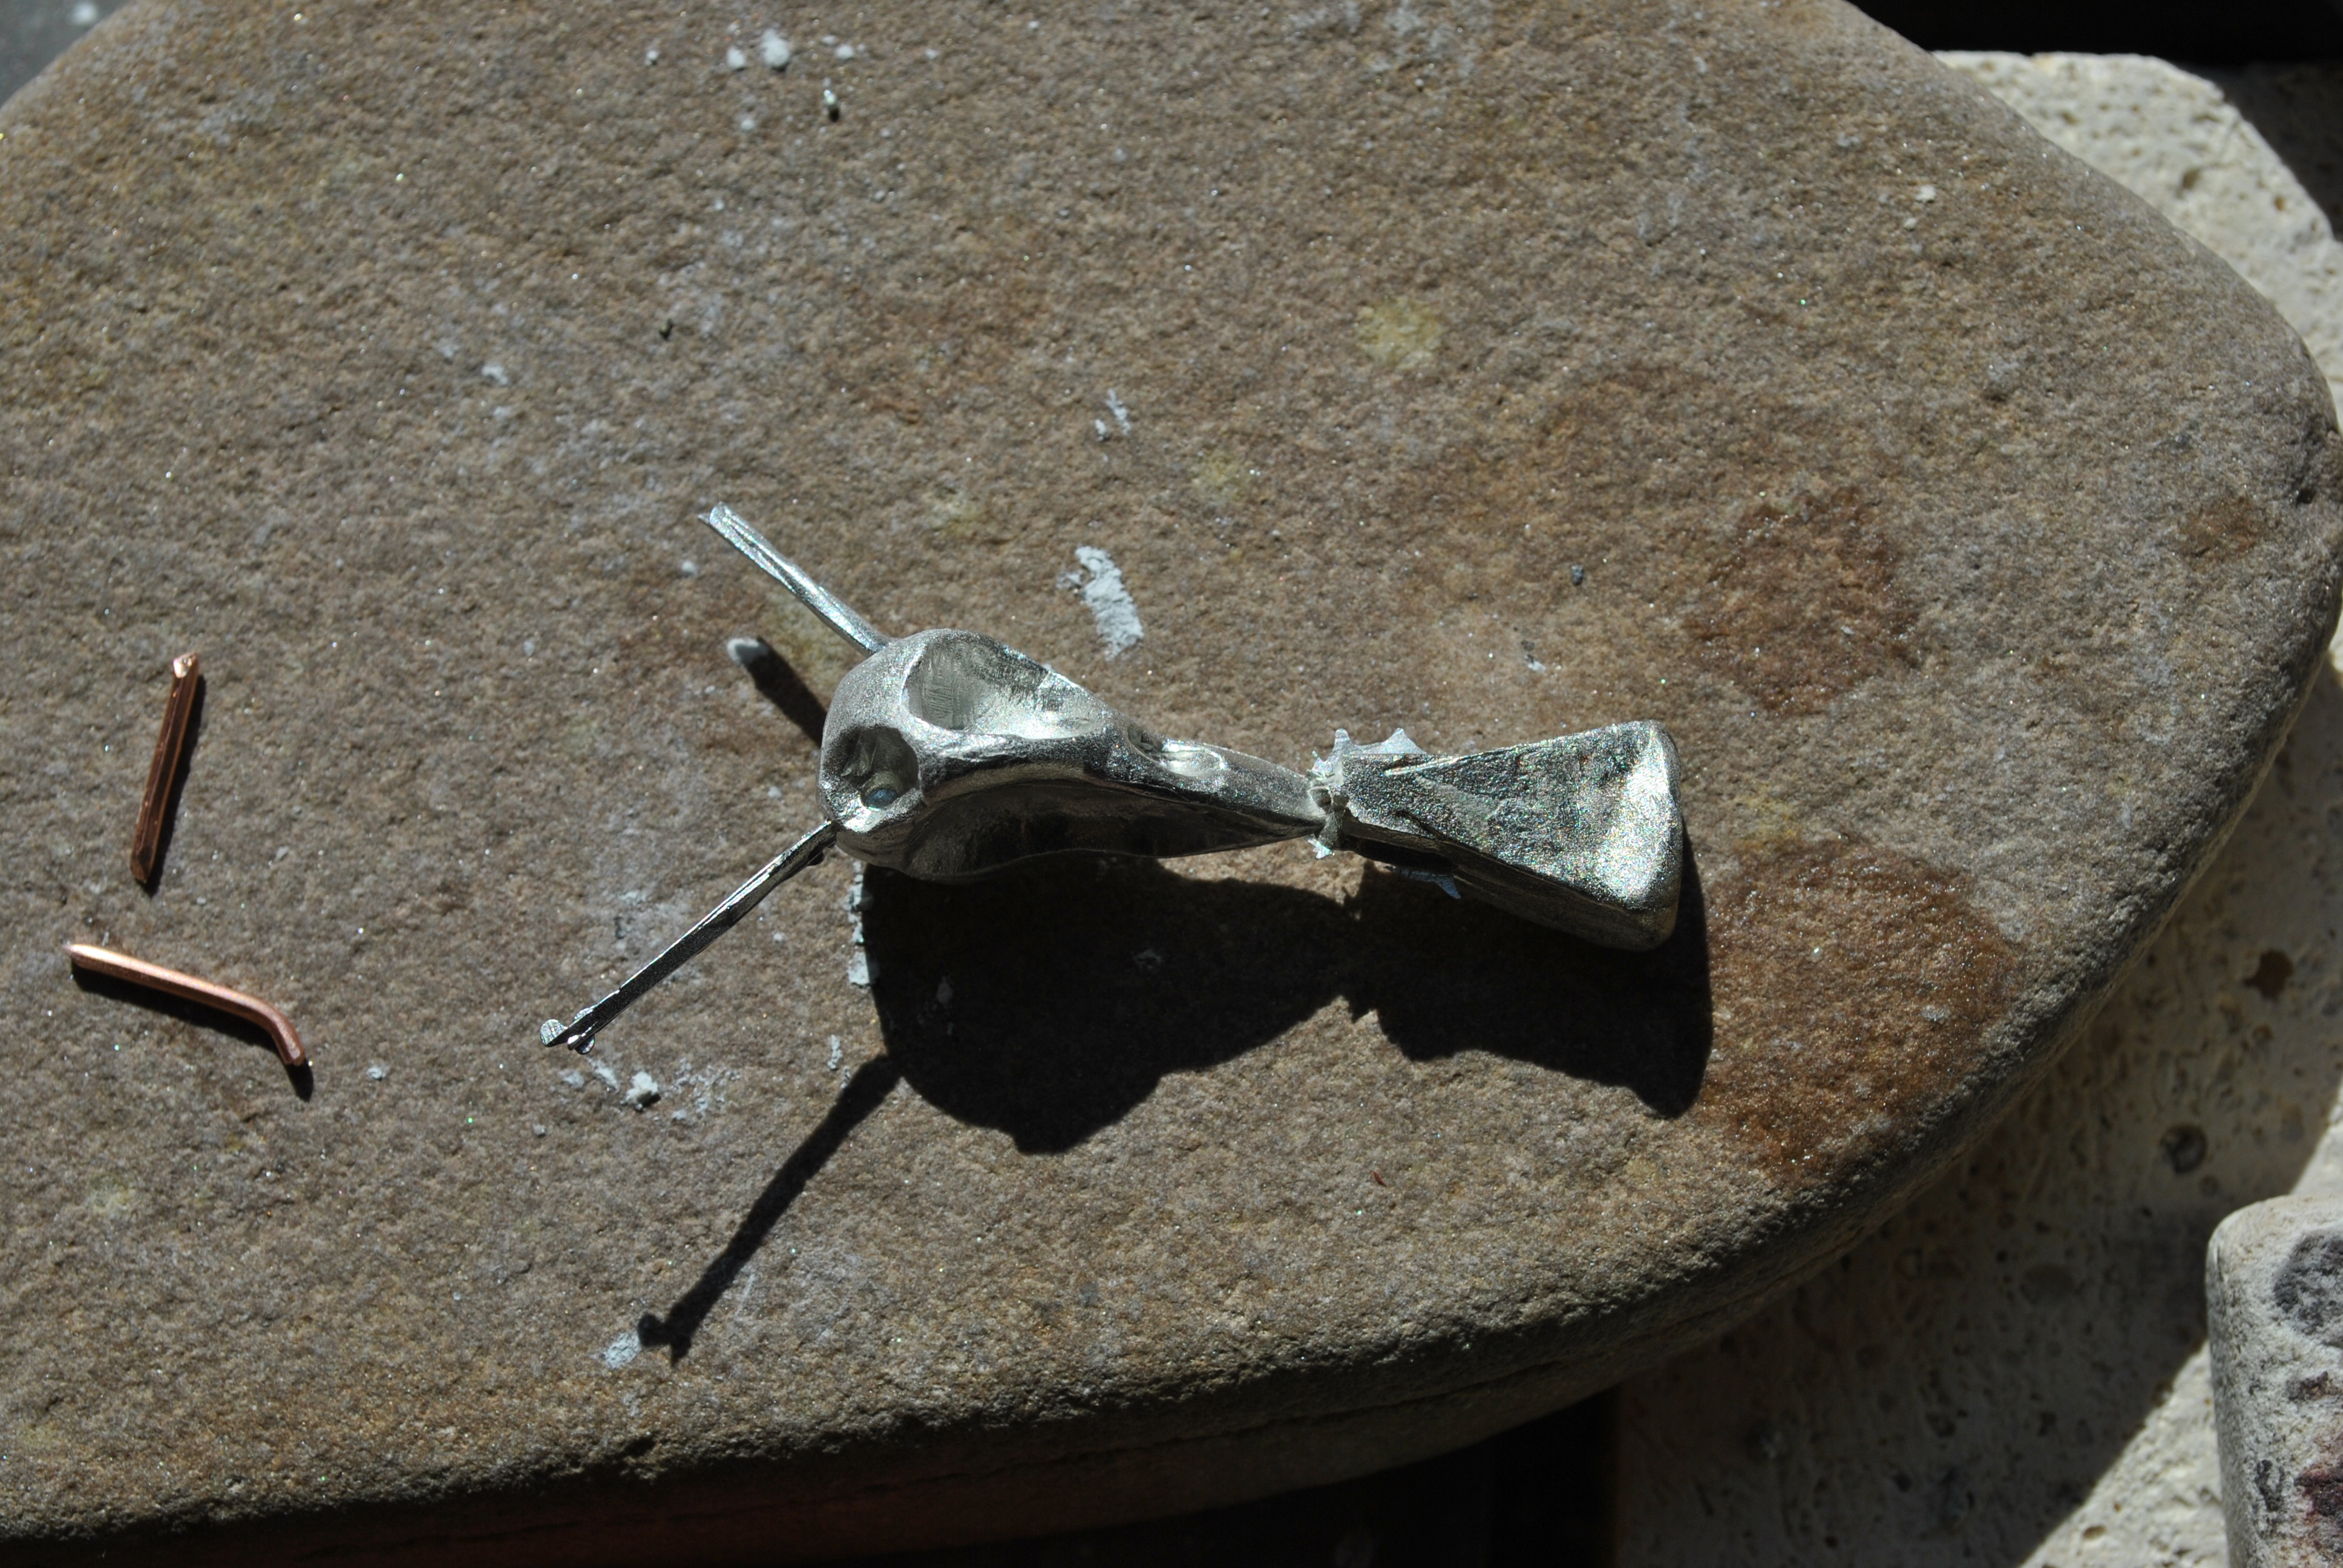
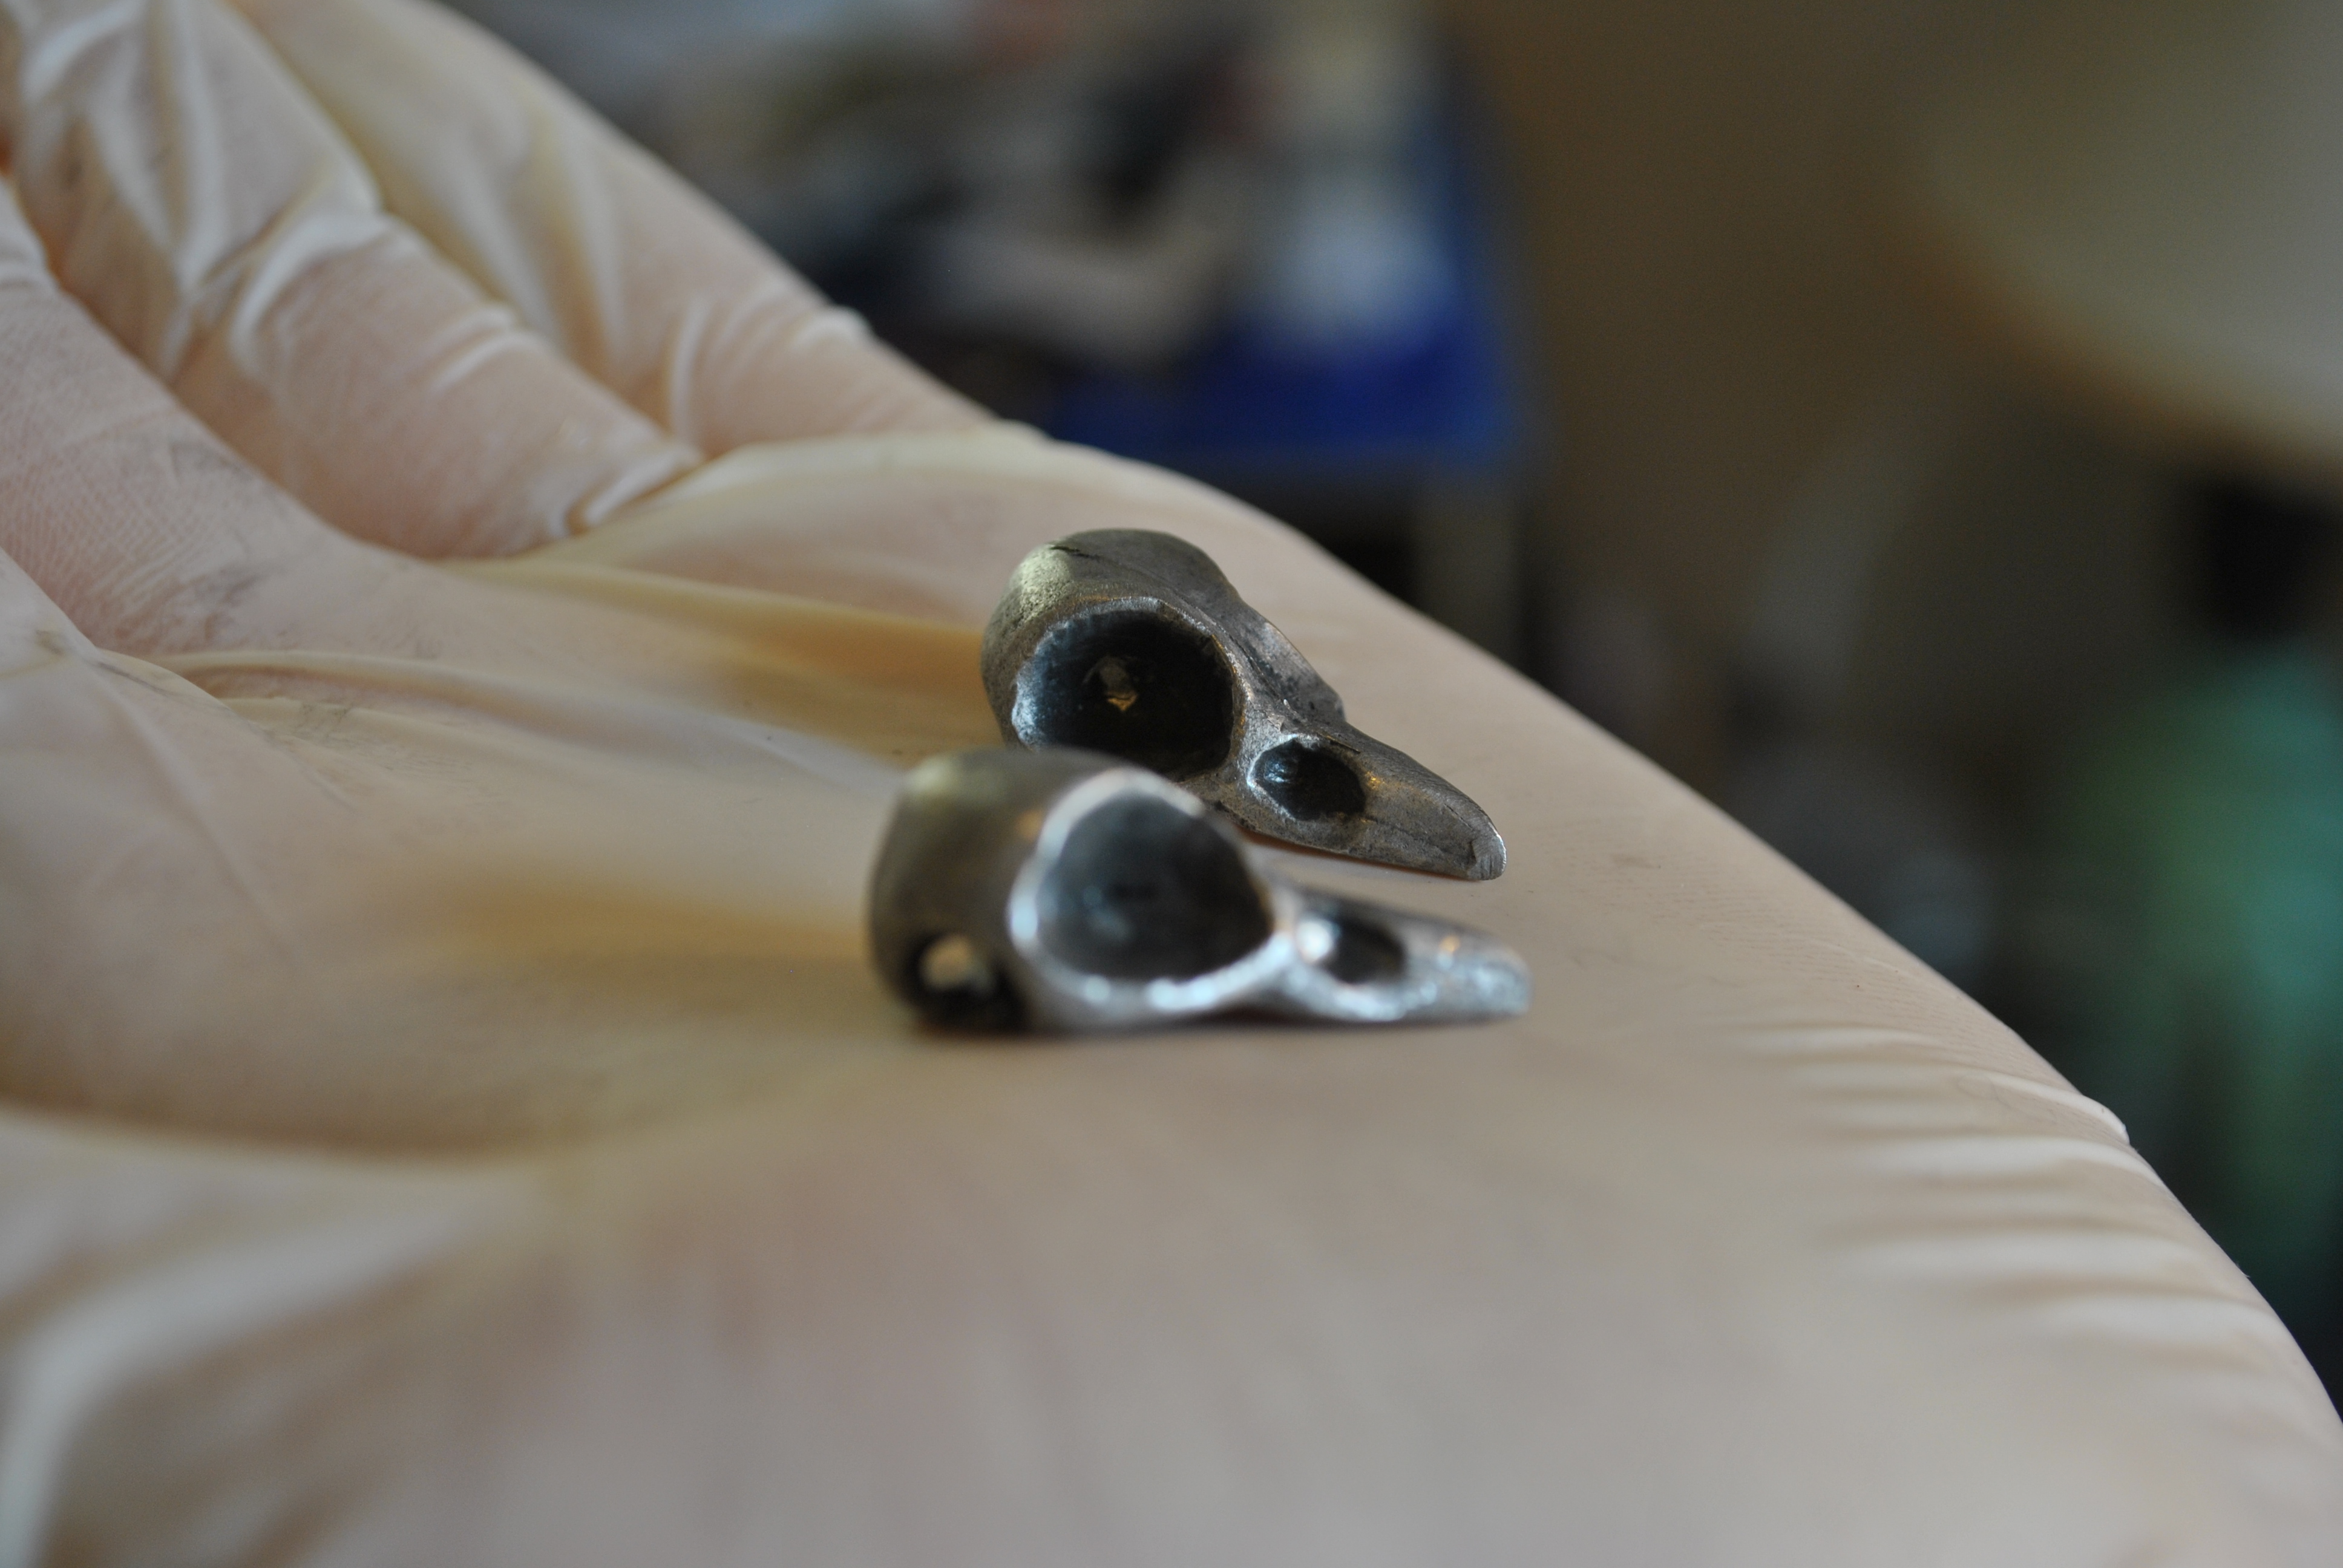
I melted and poured the pewter.

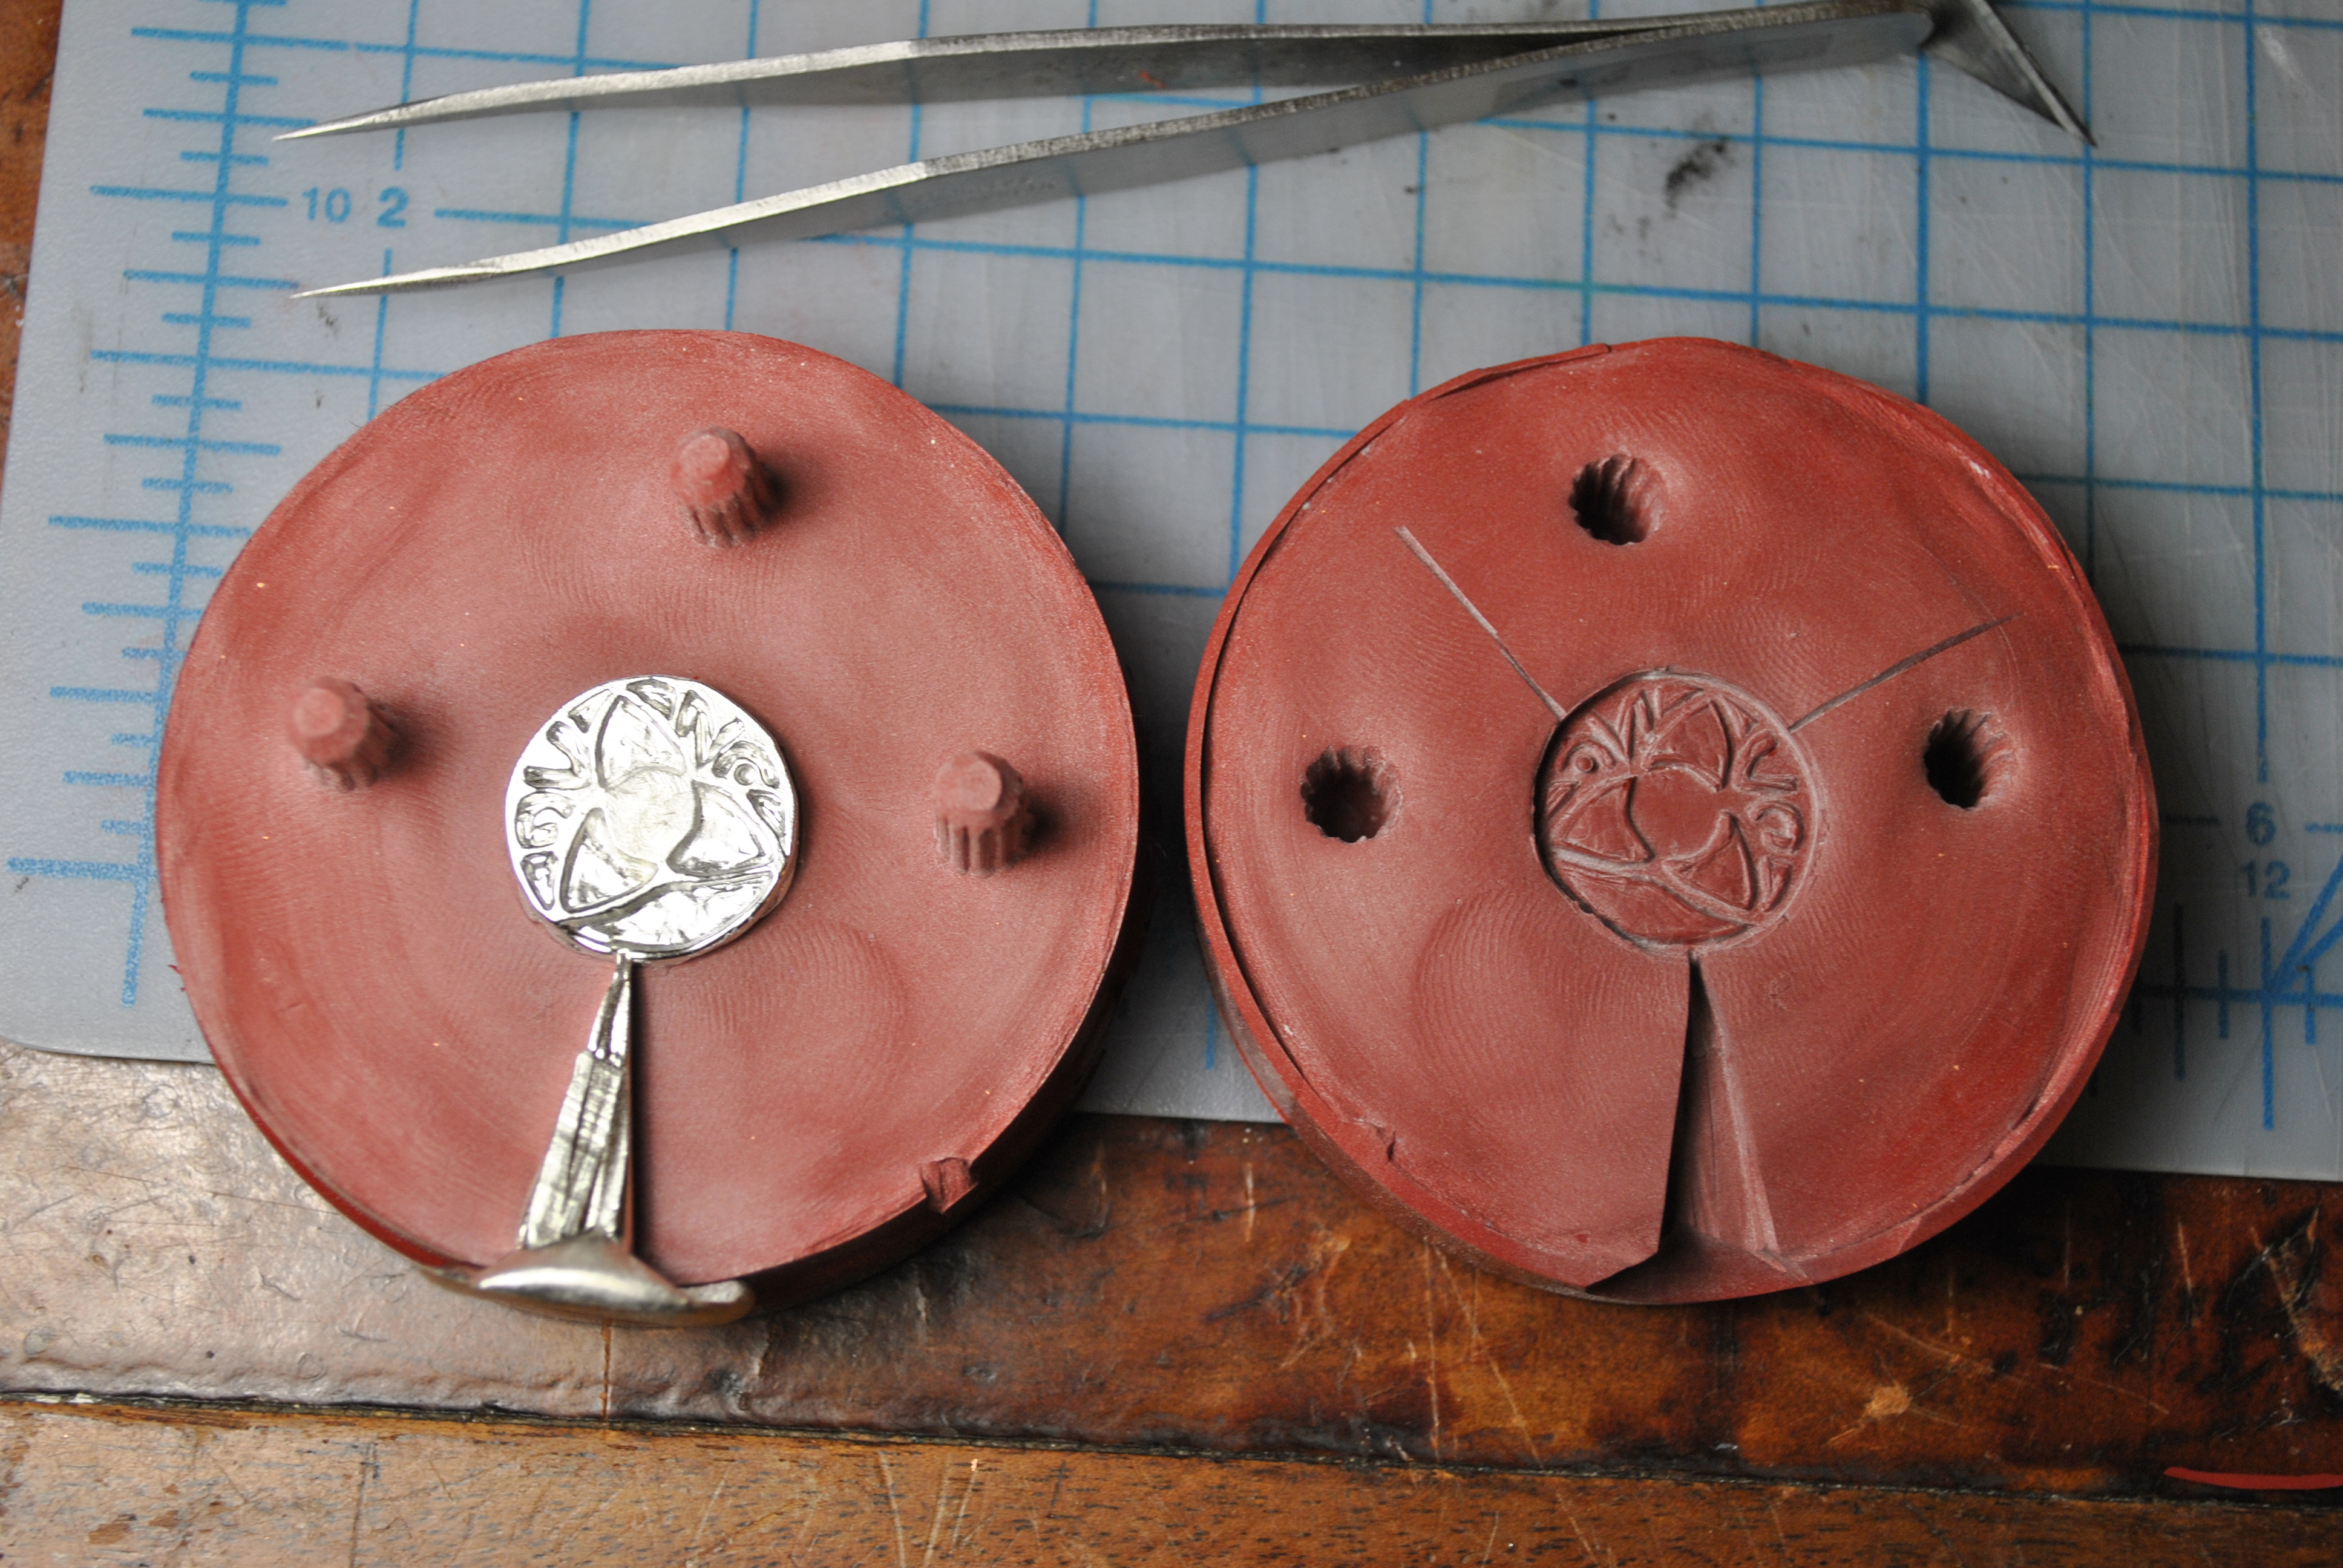
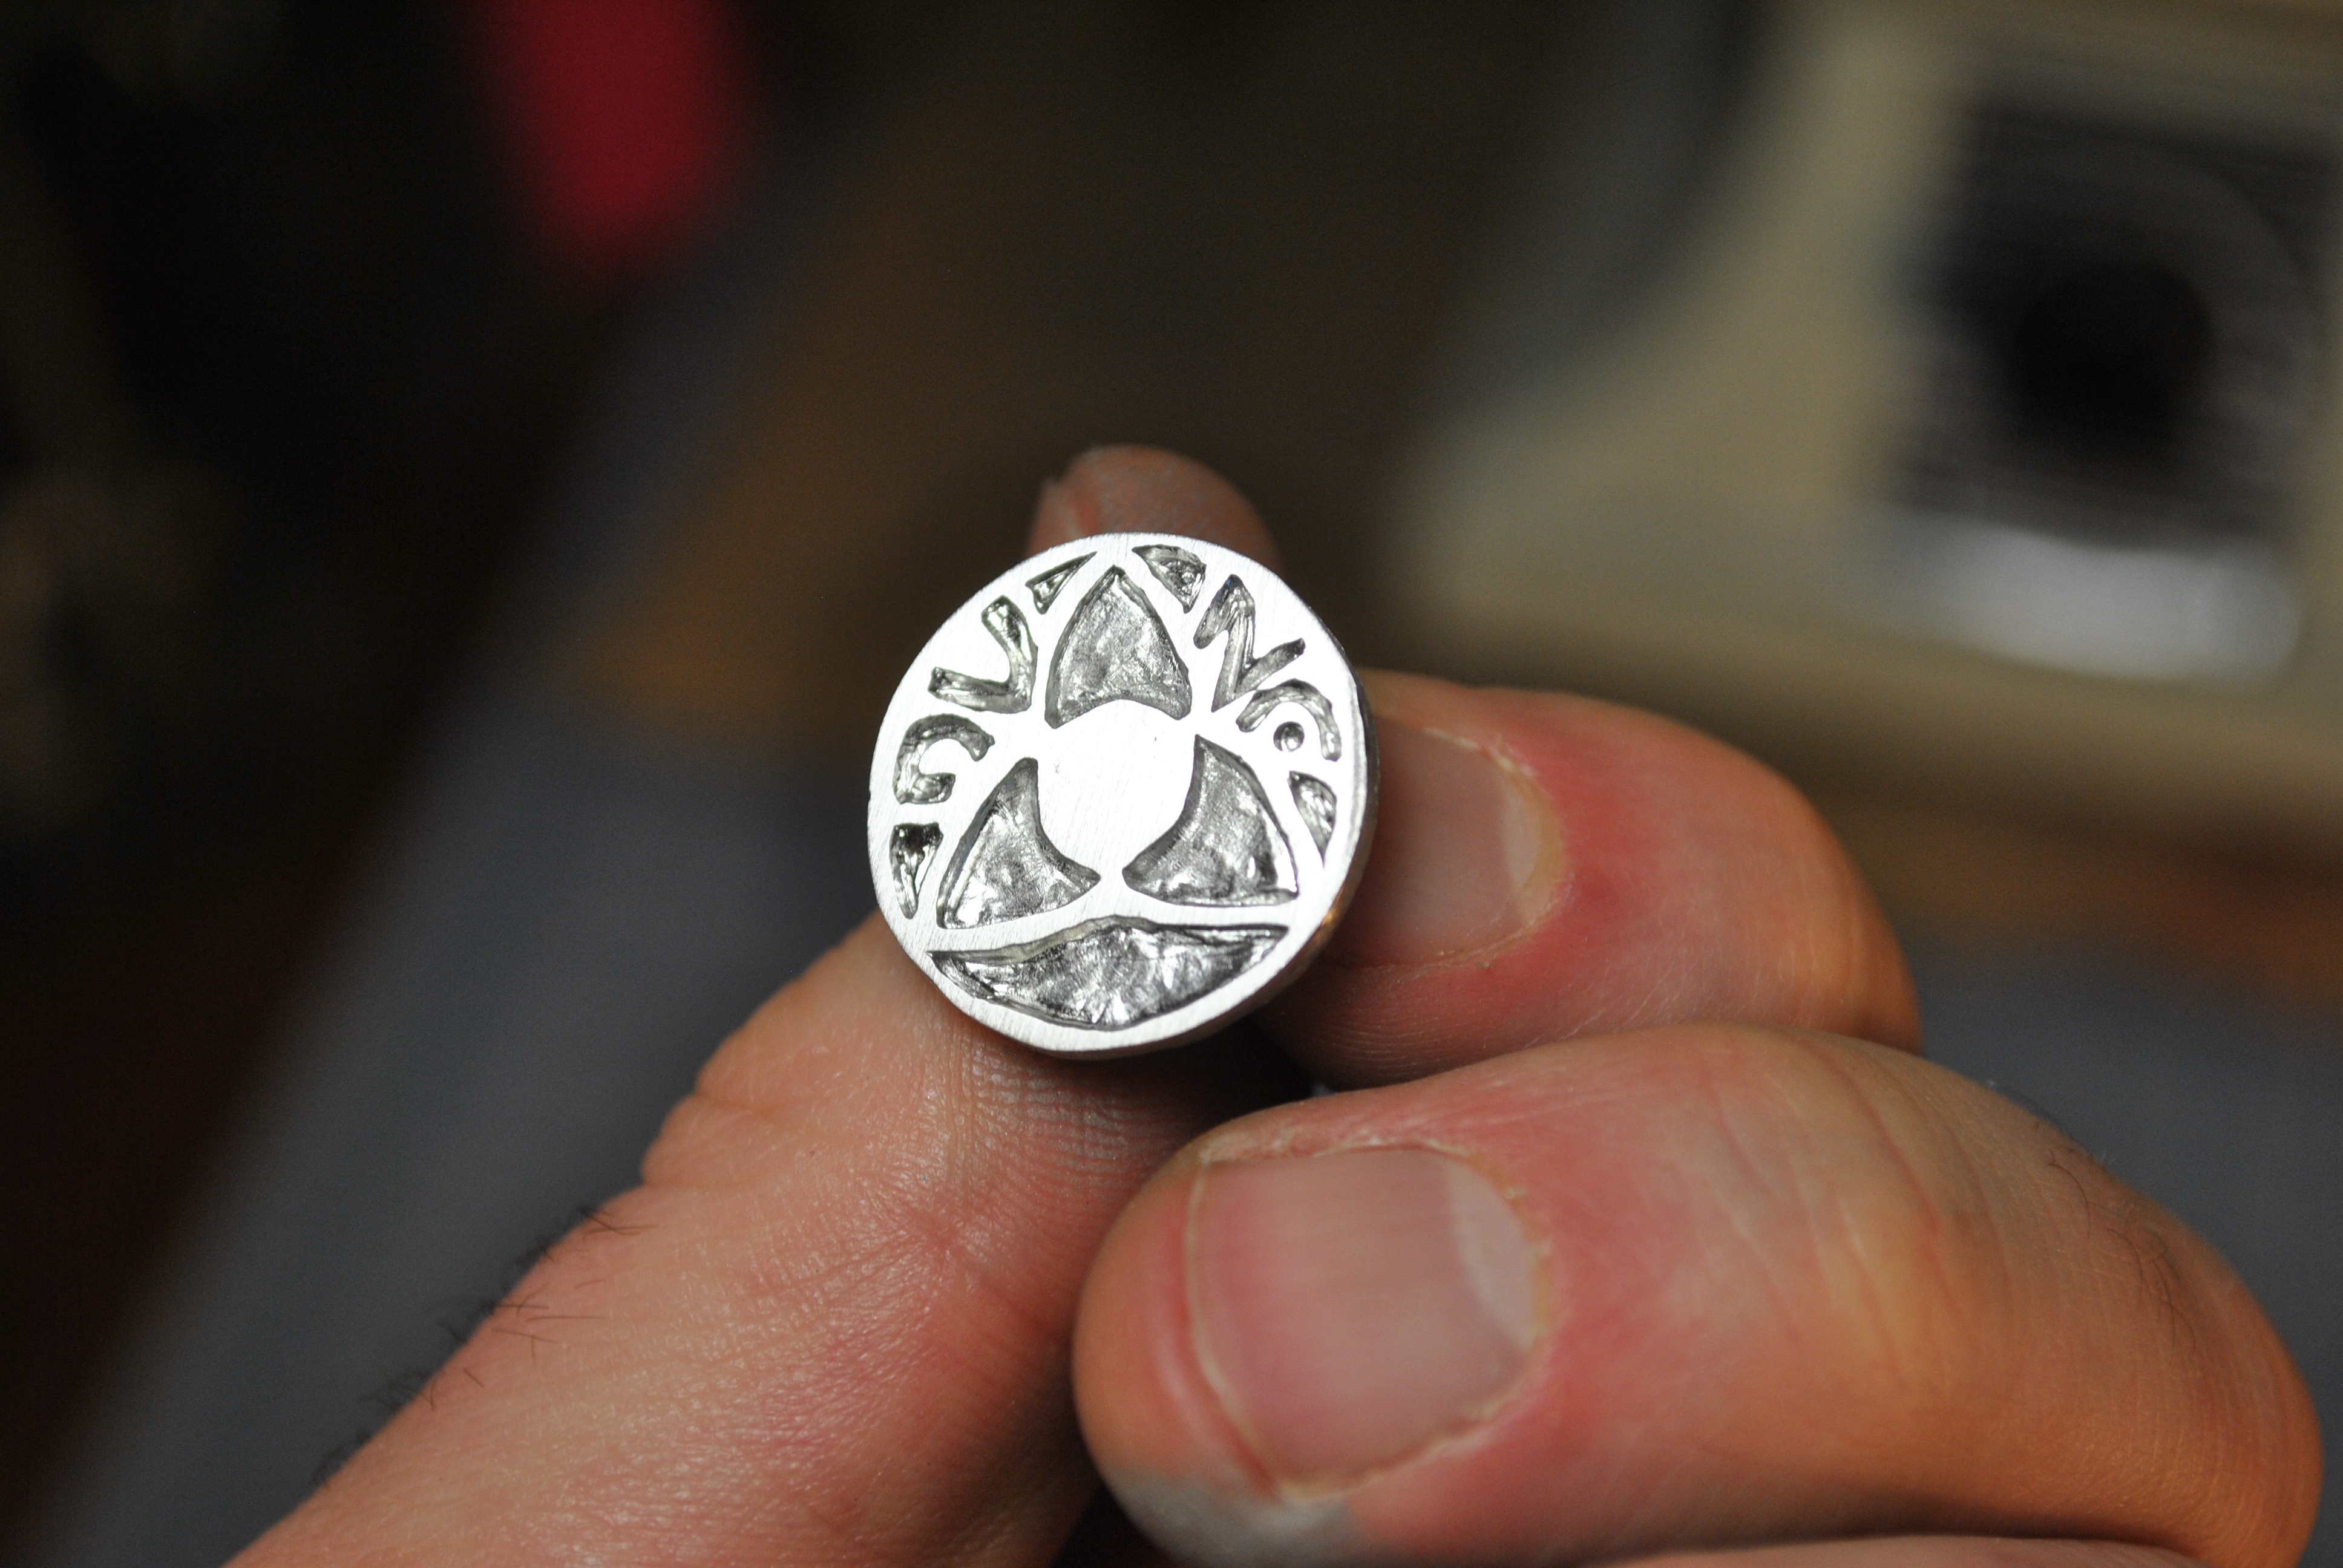
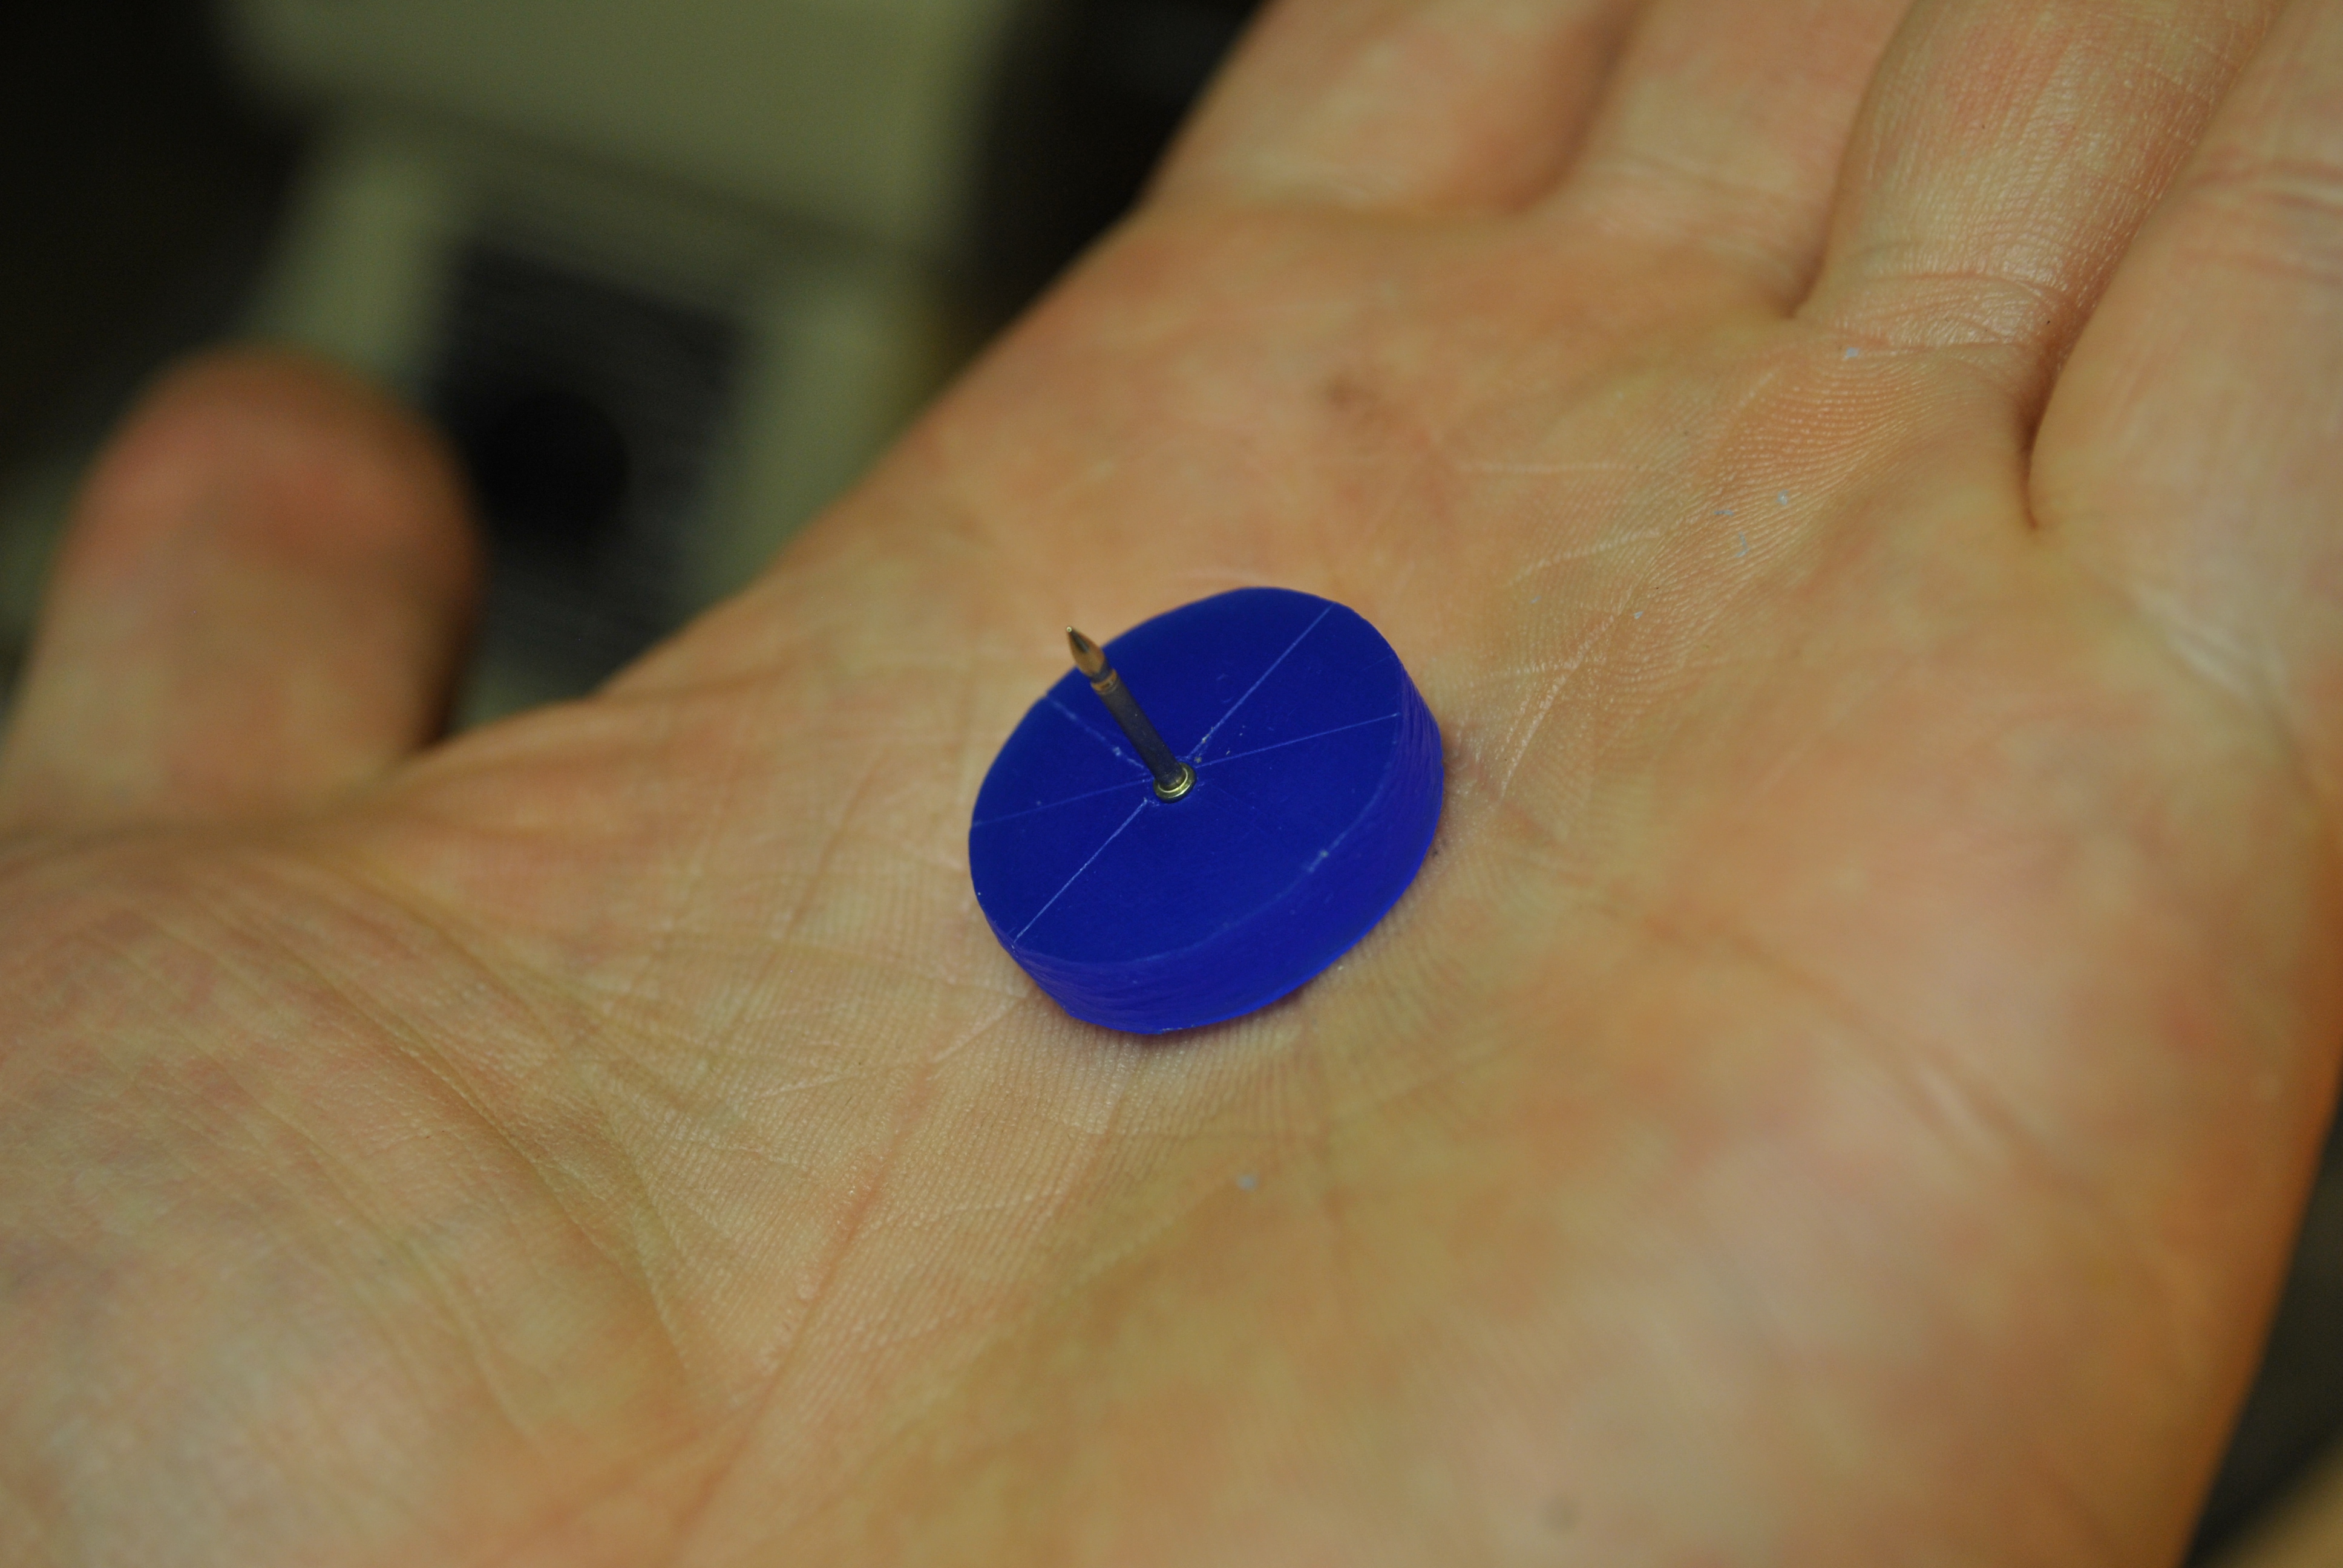
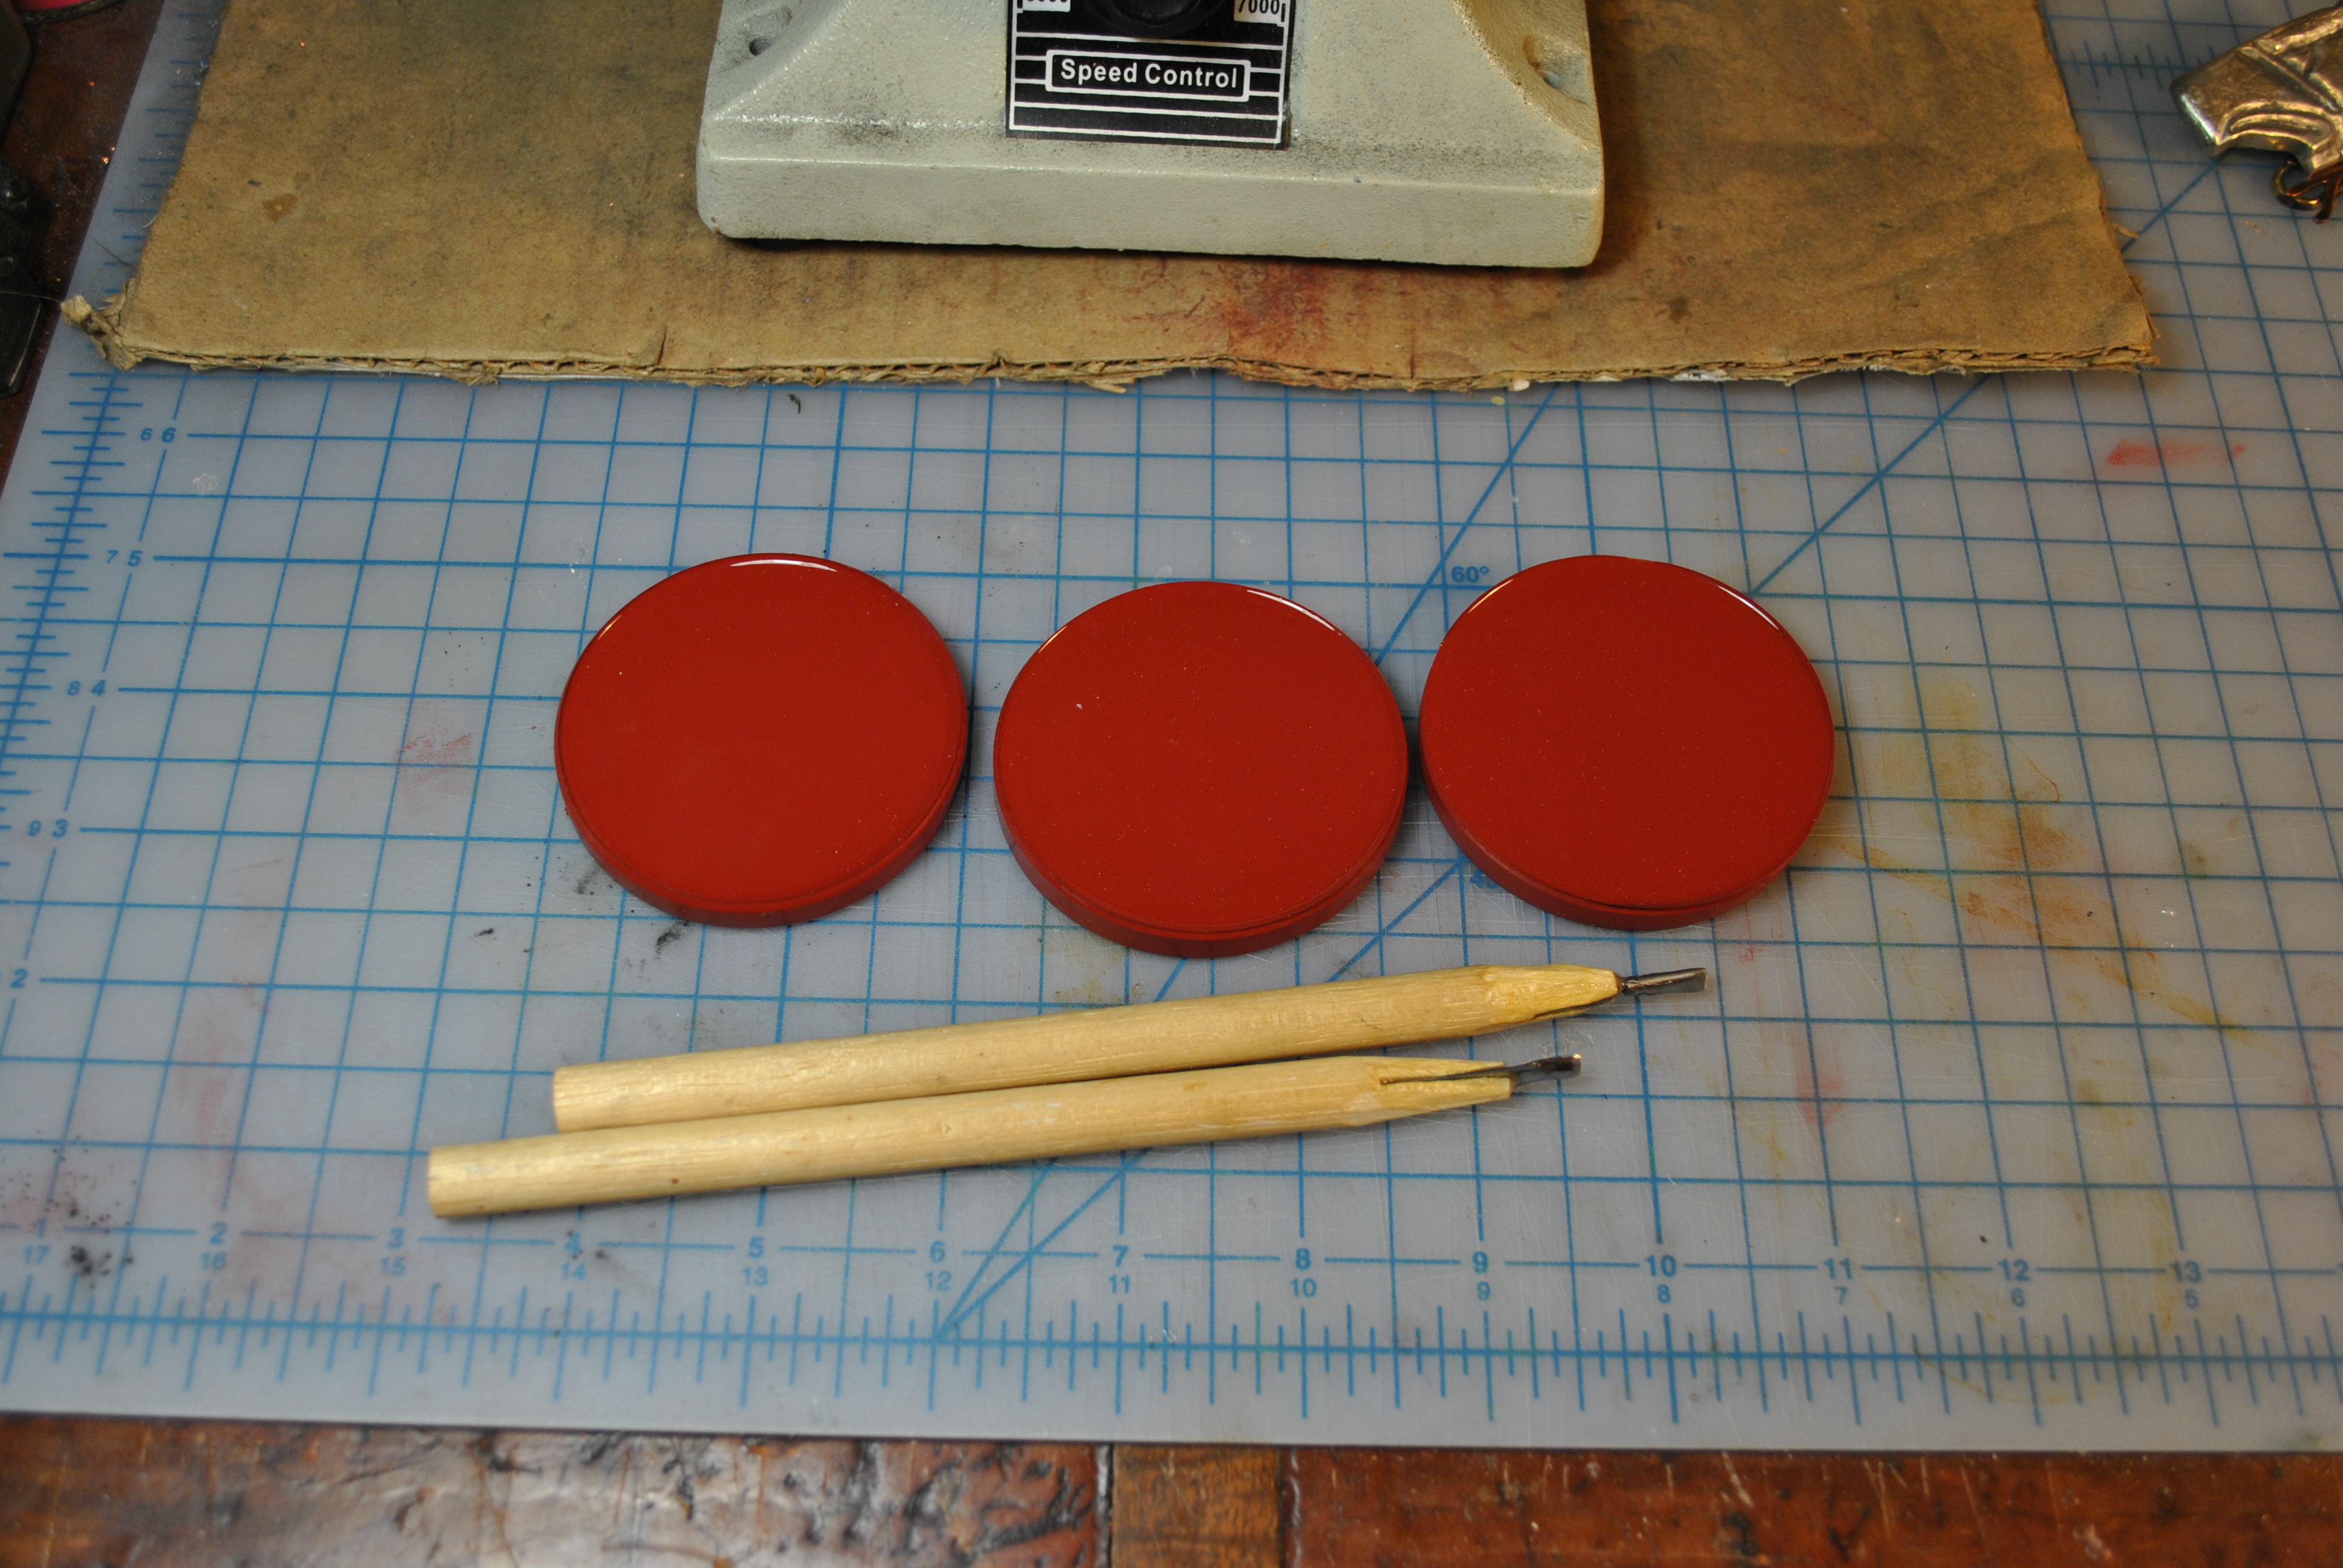
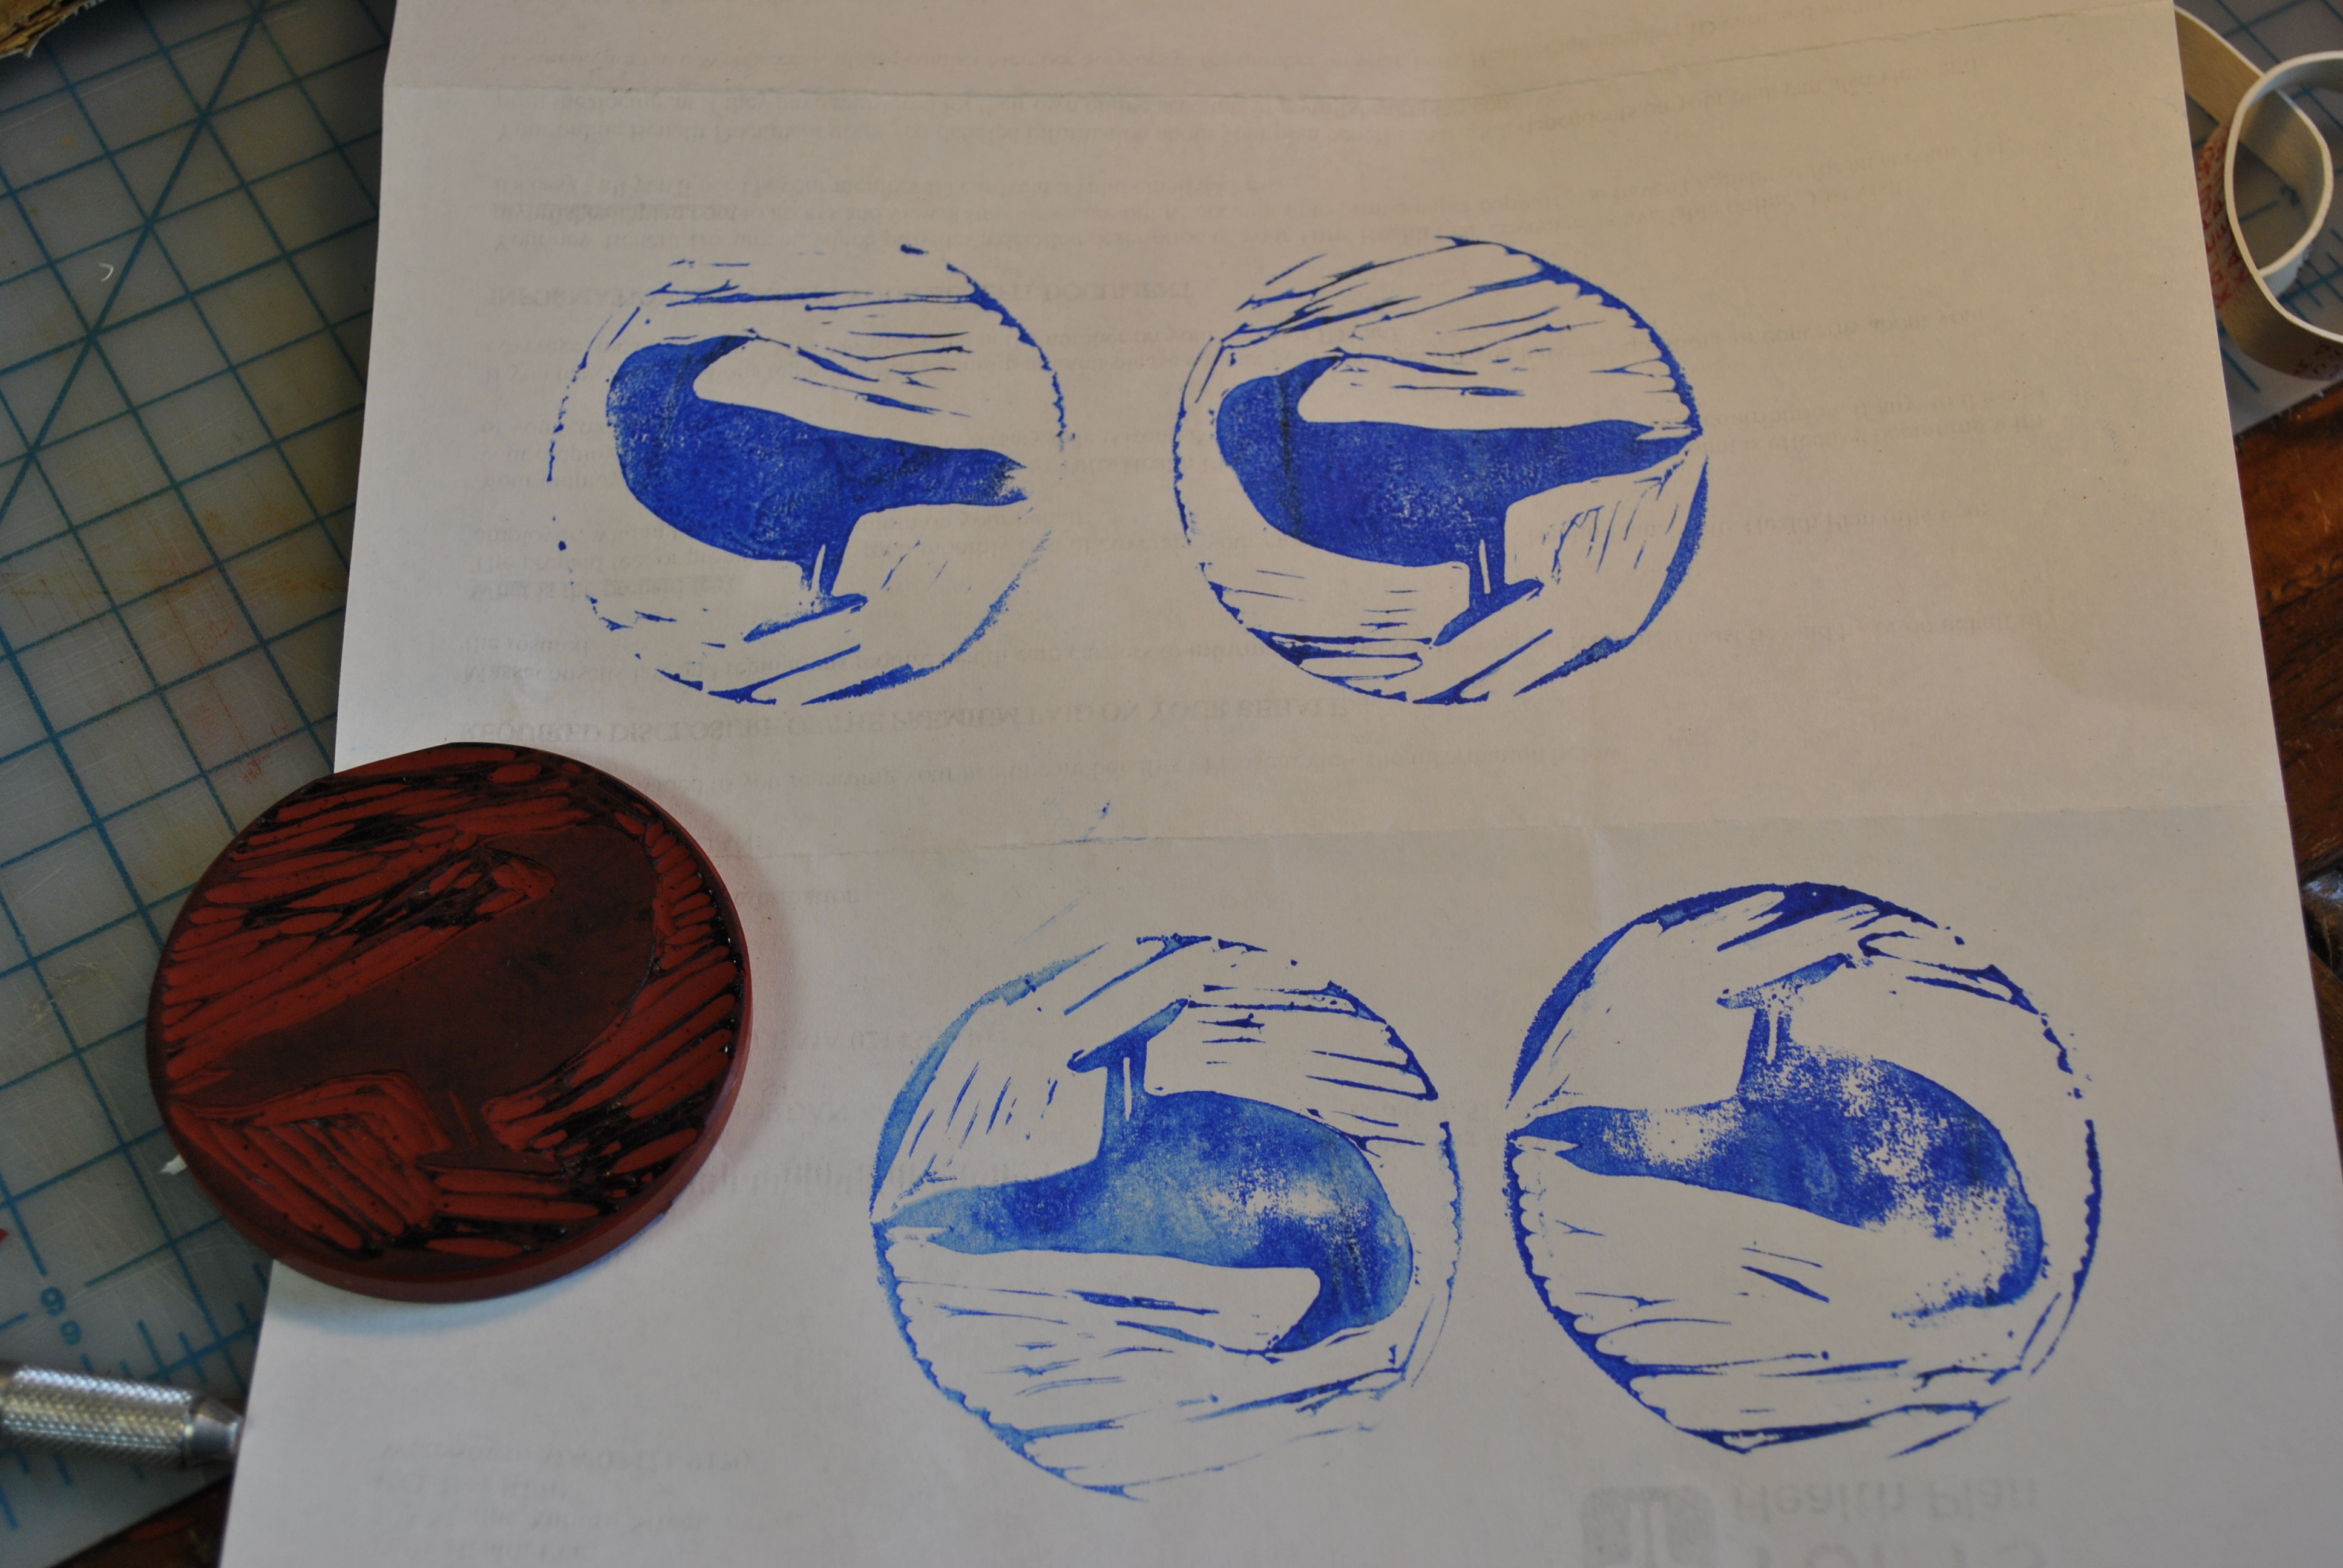
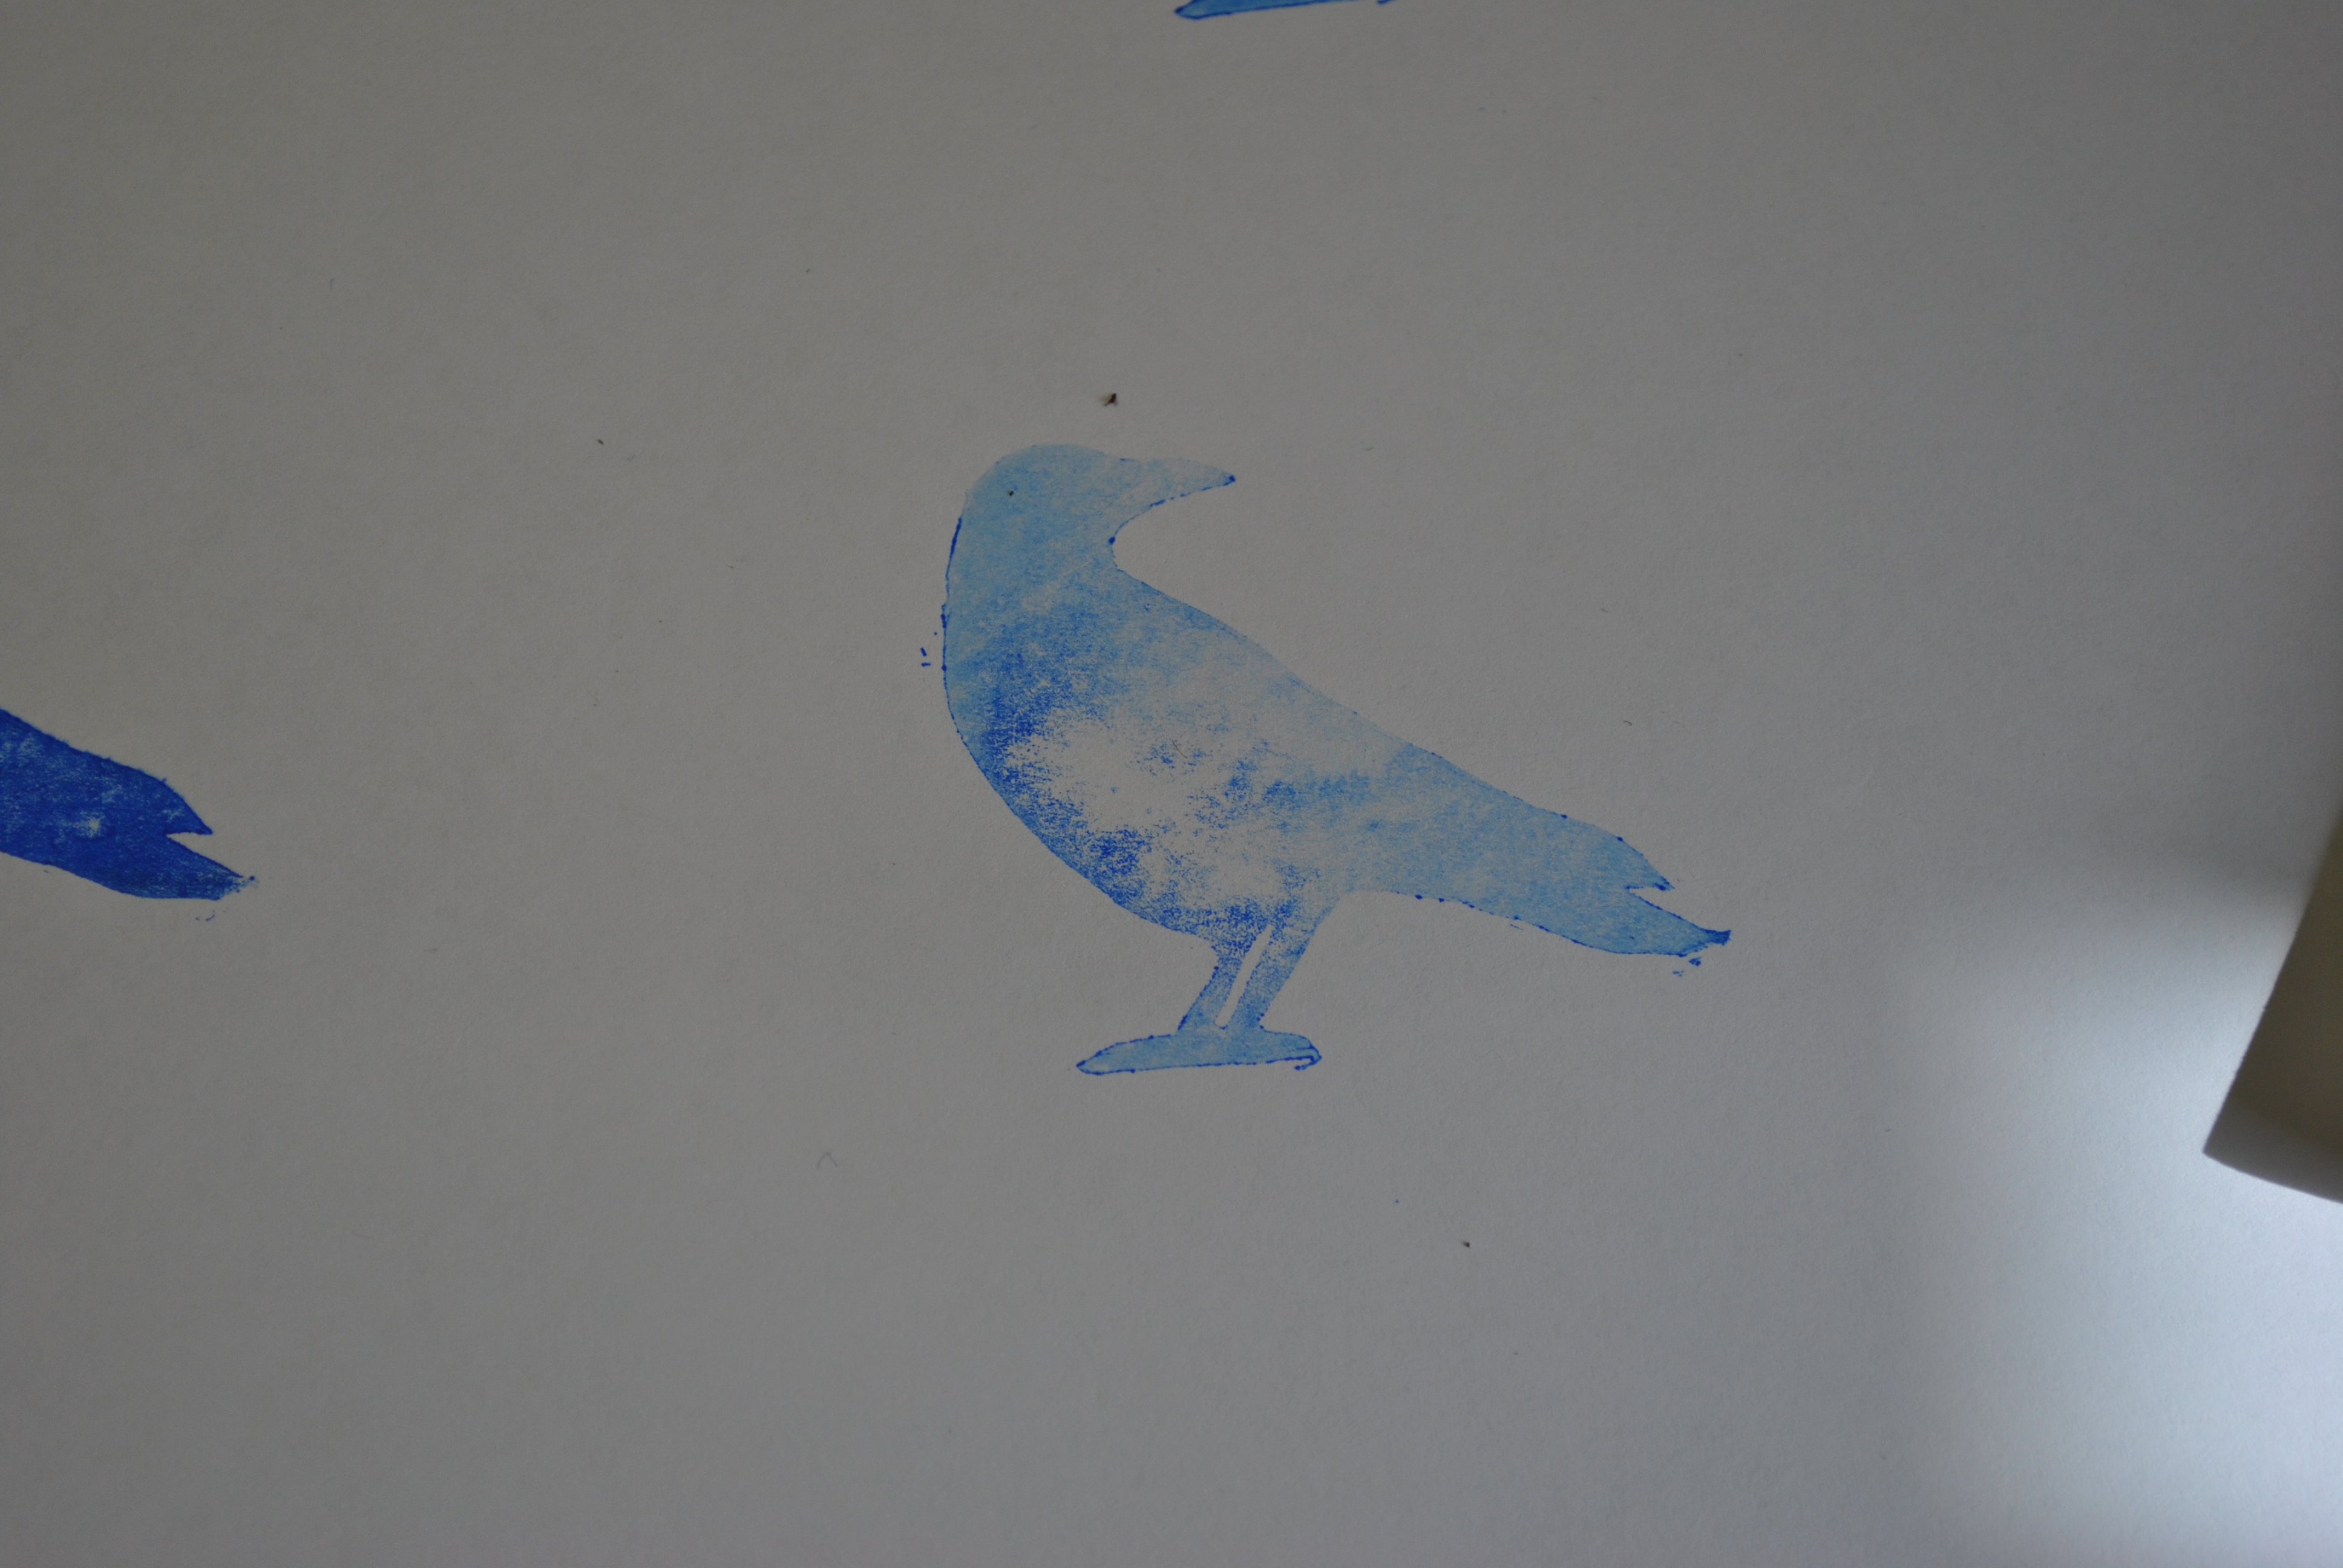
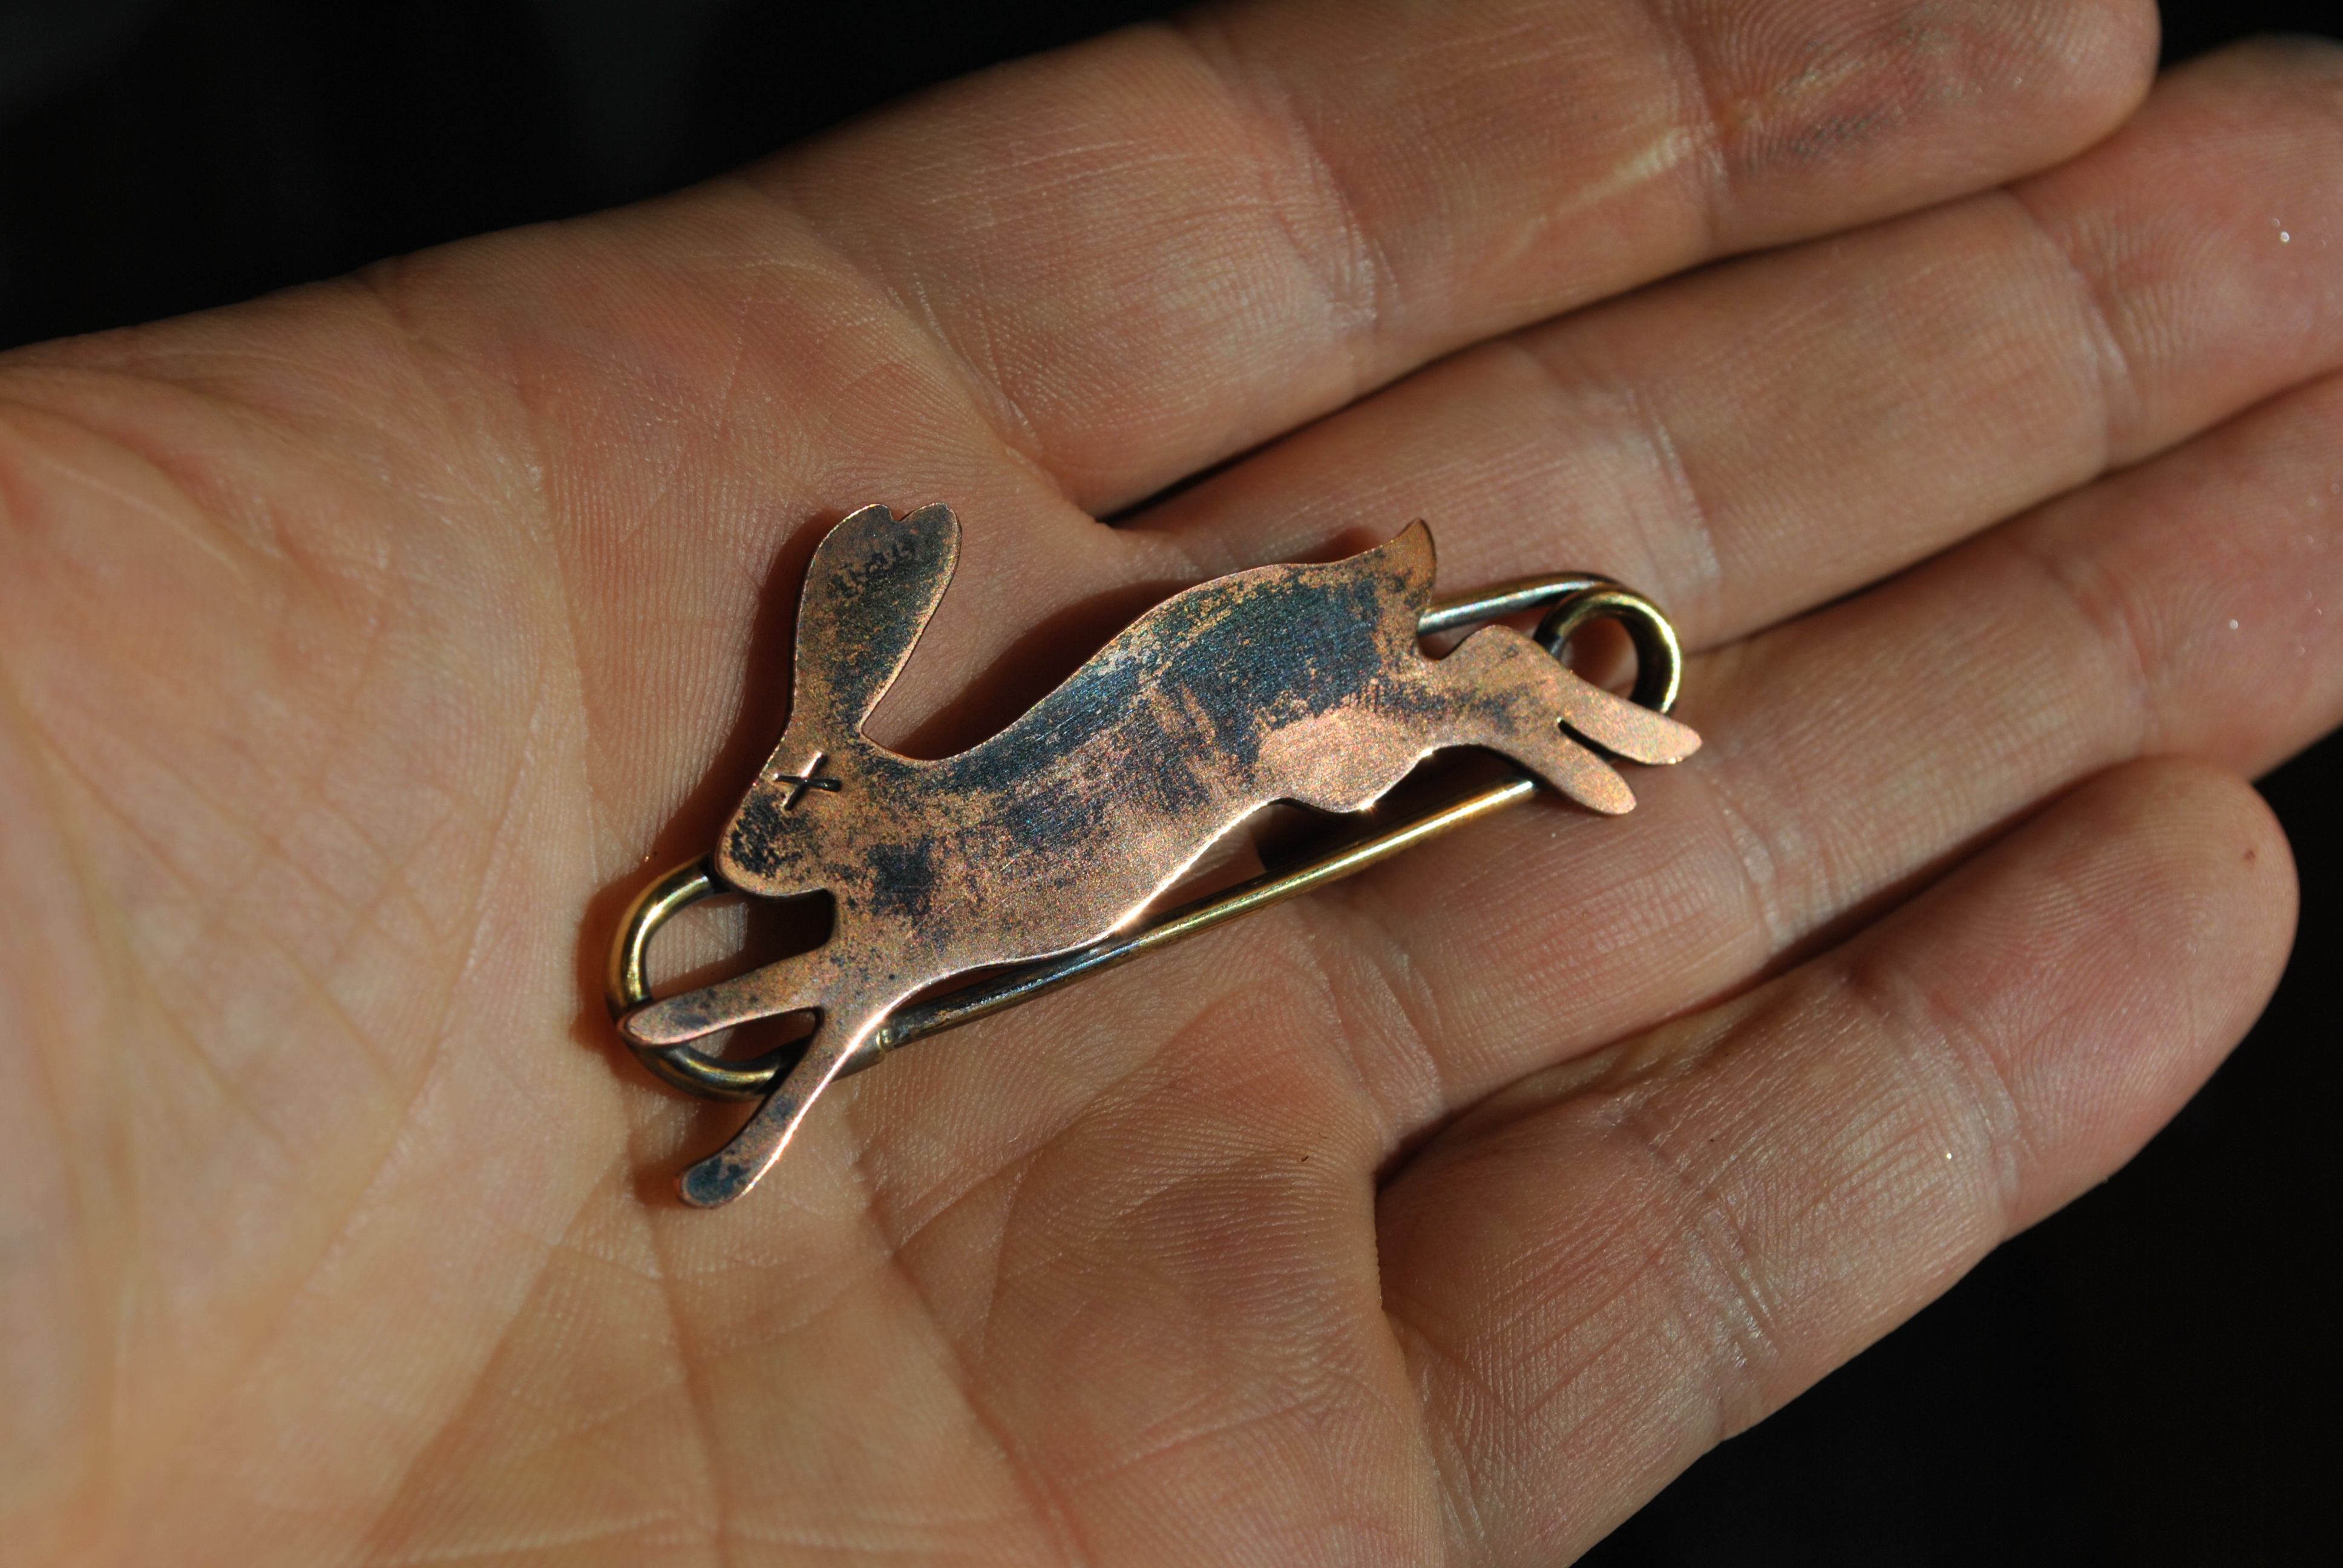
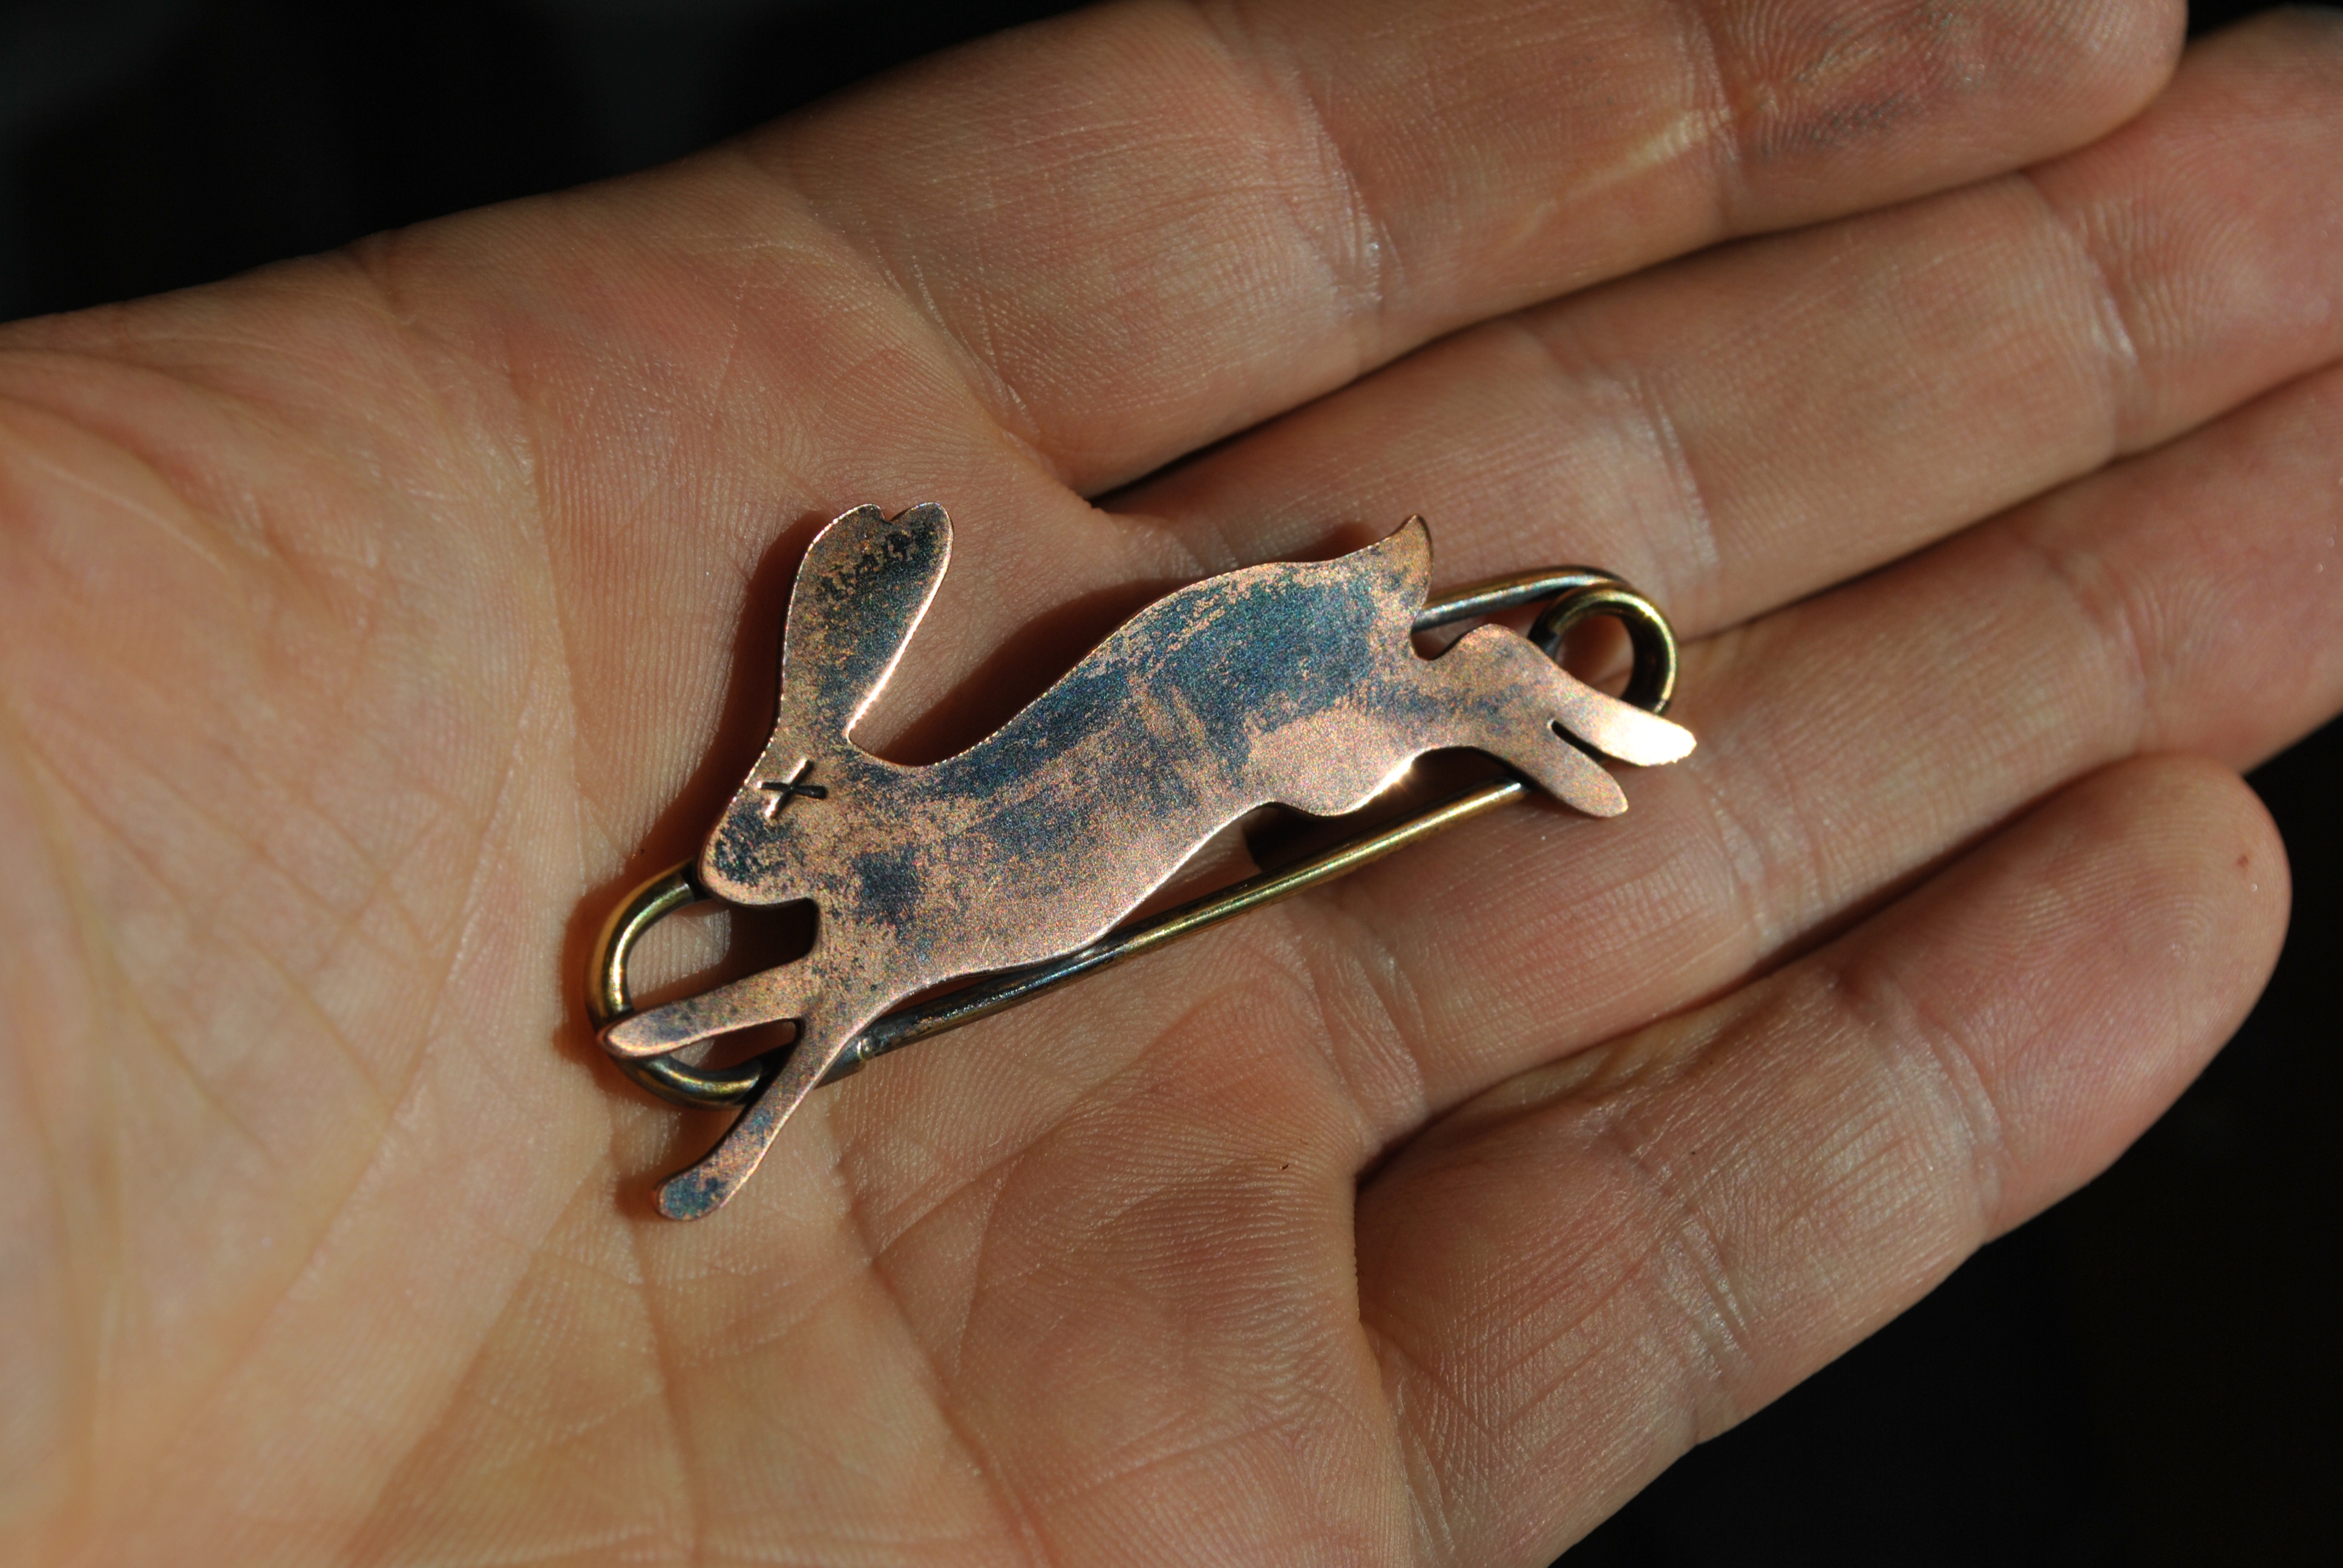
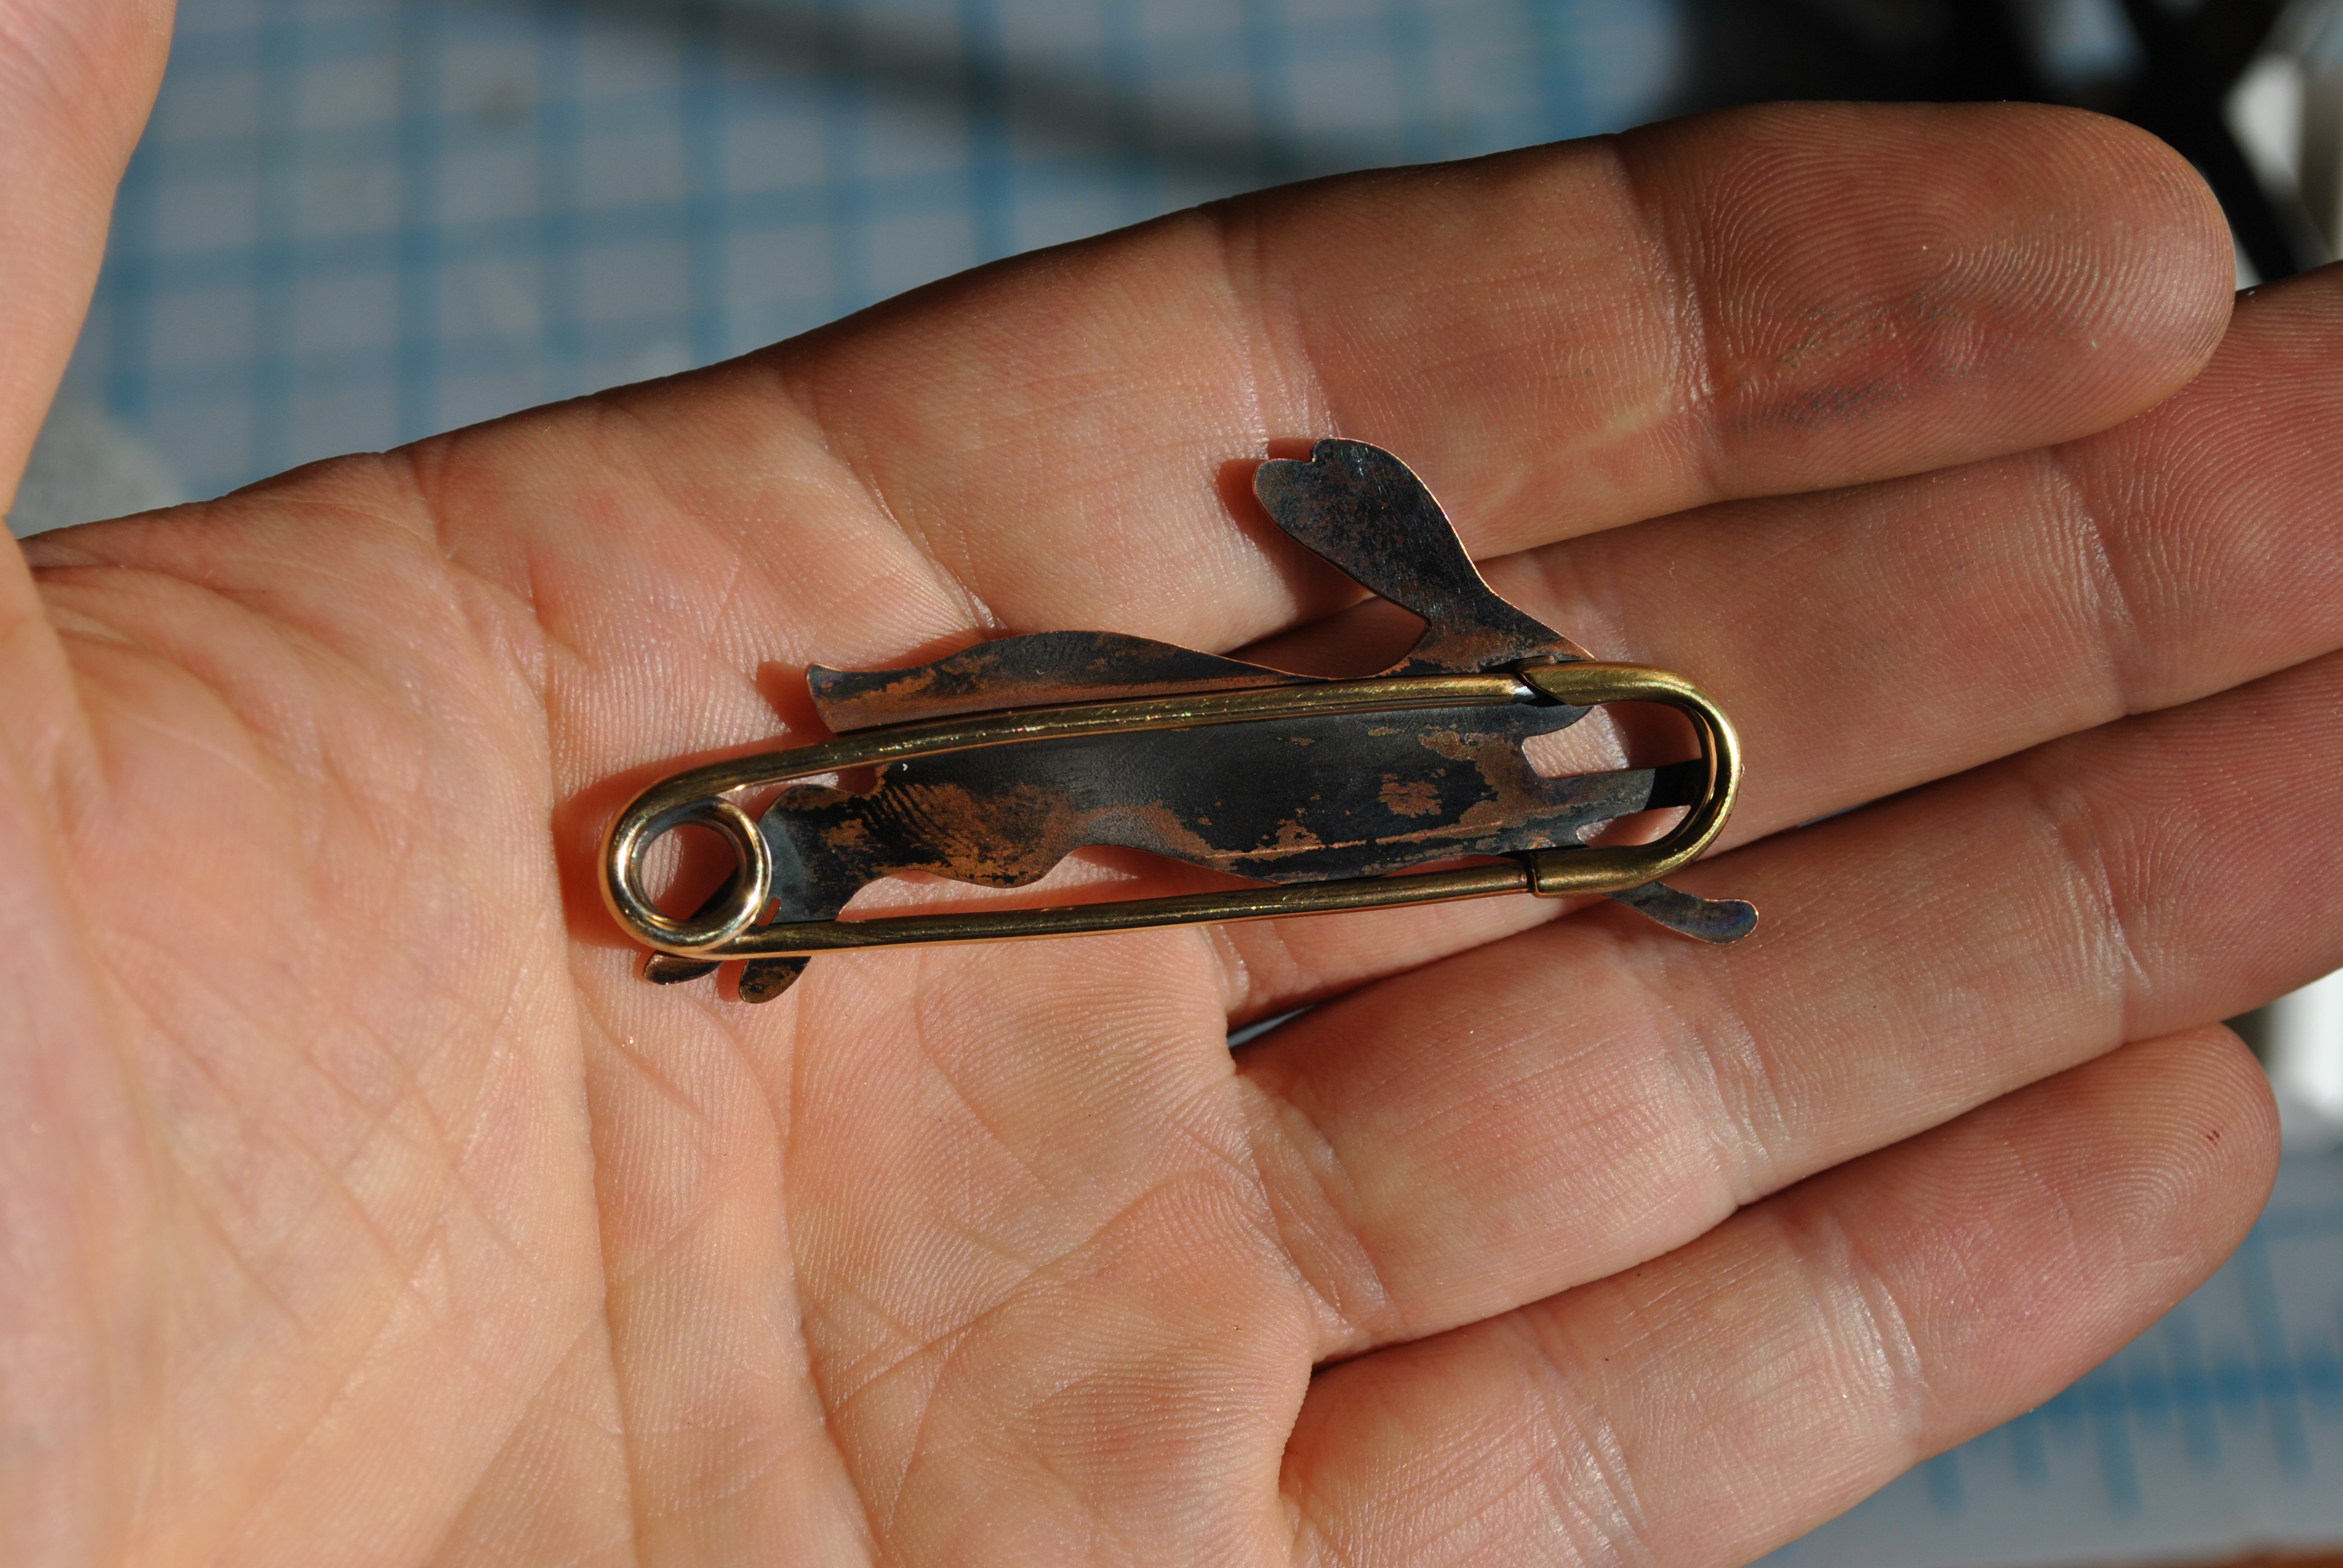
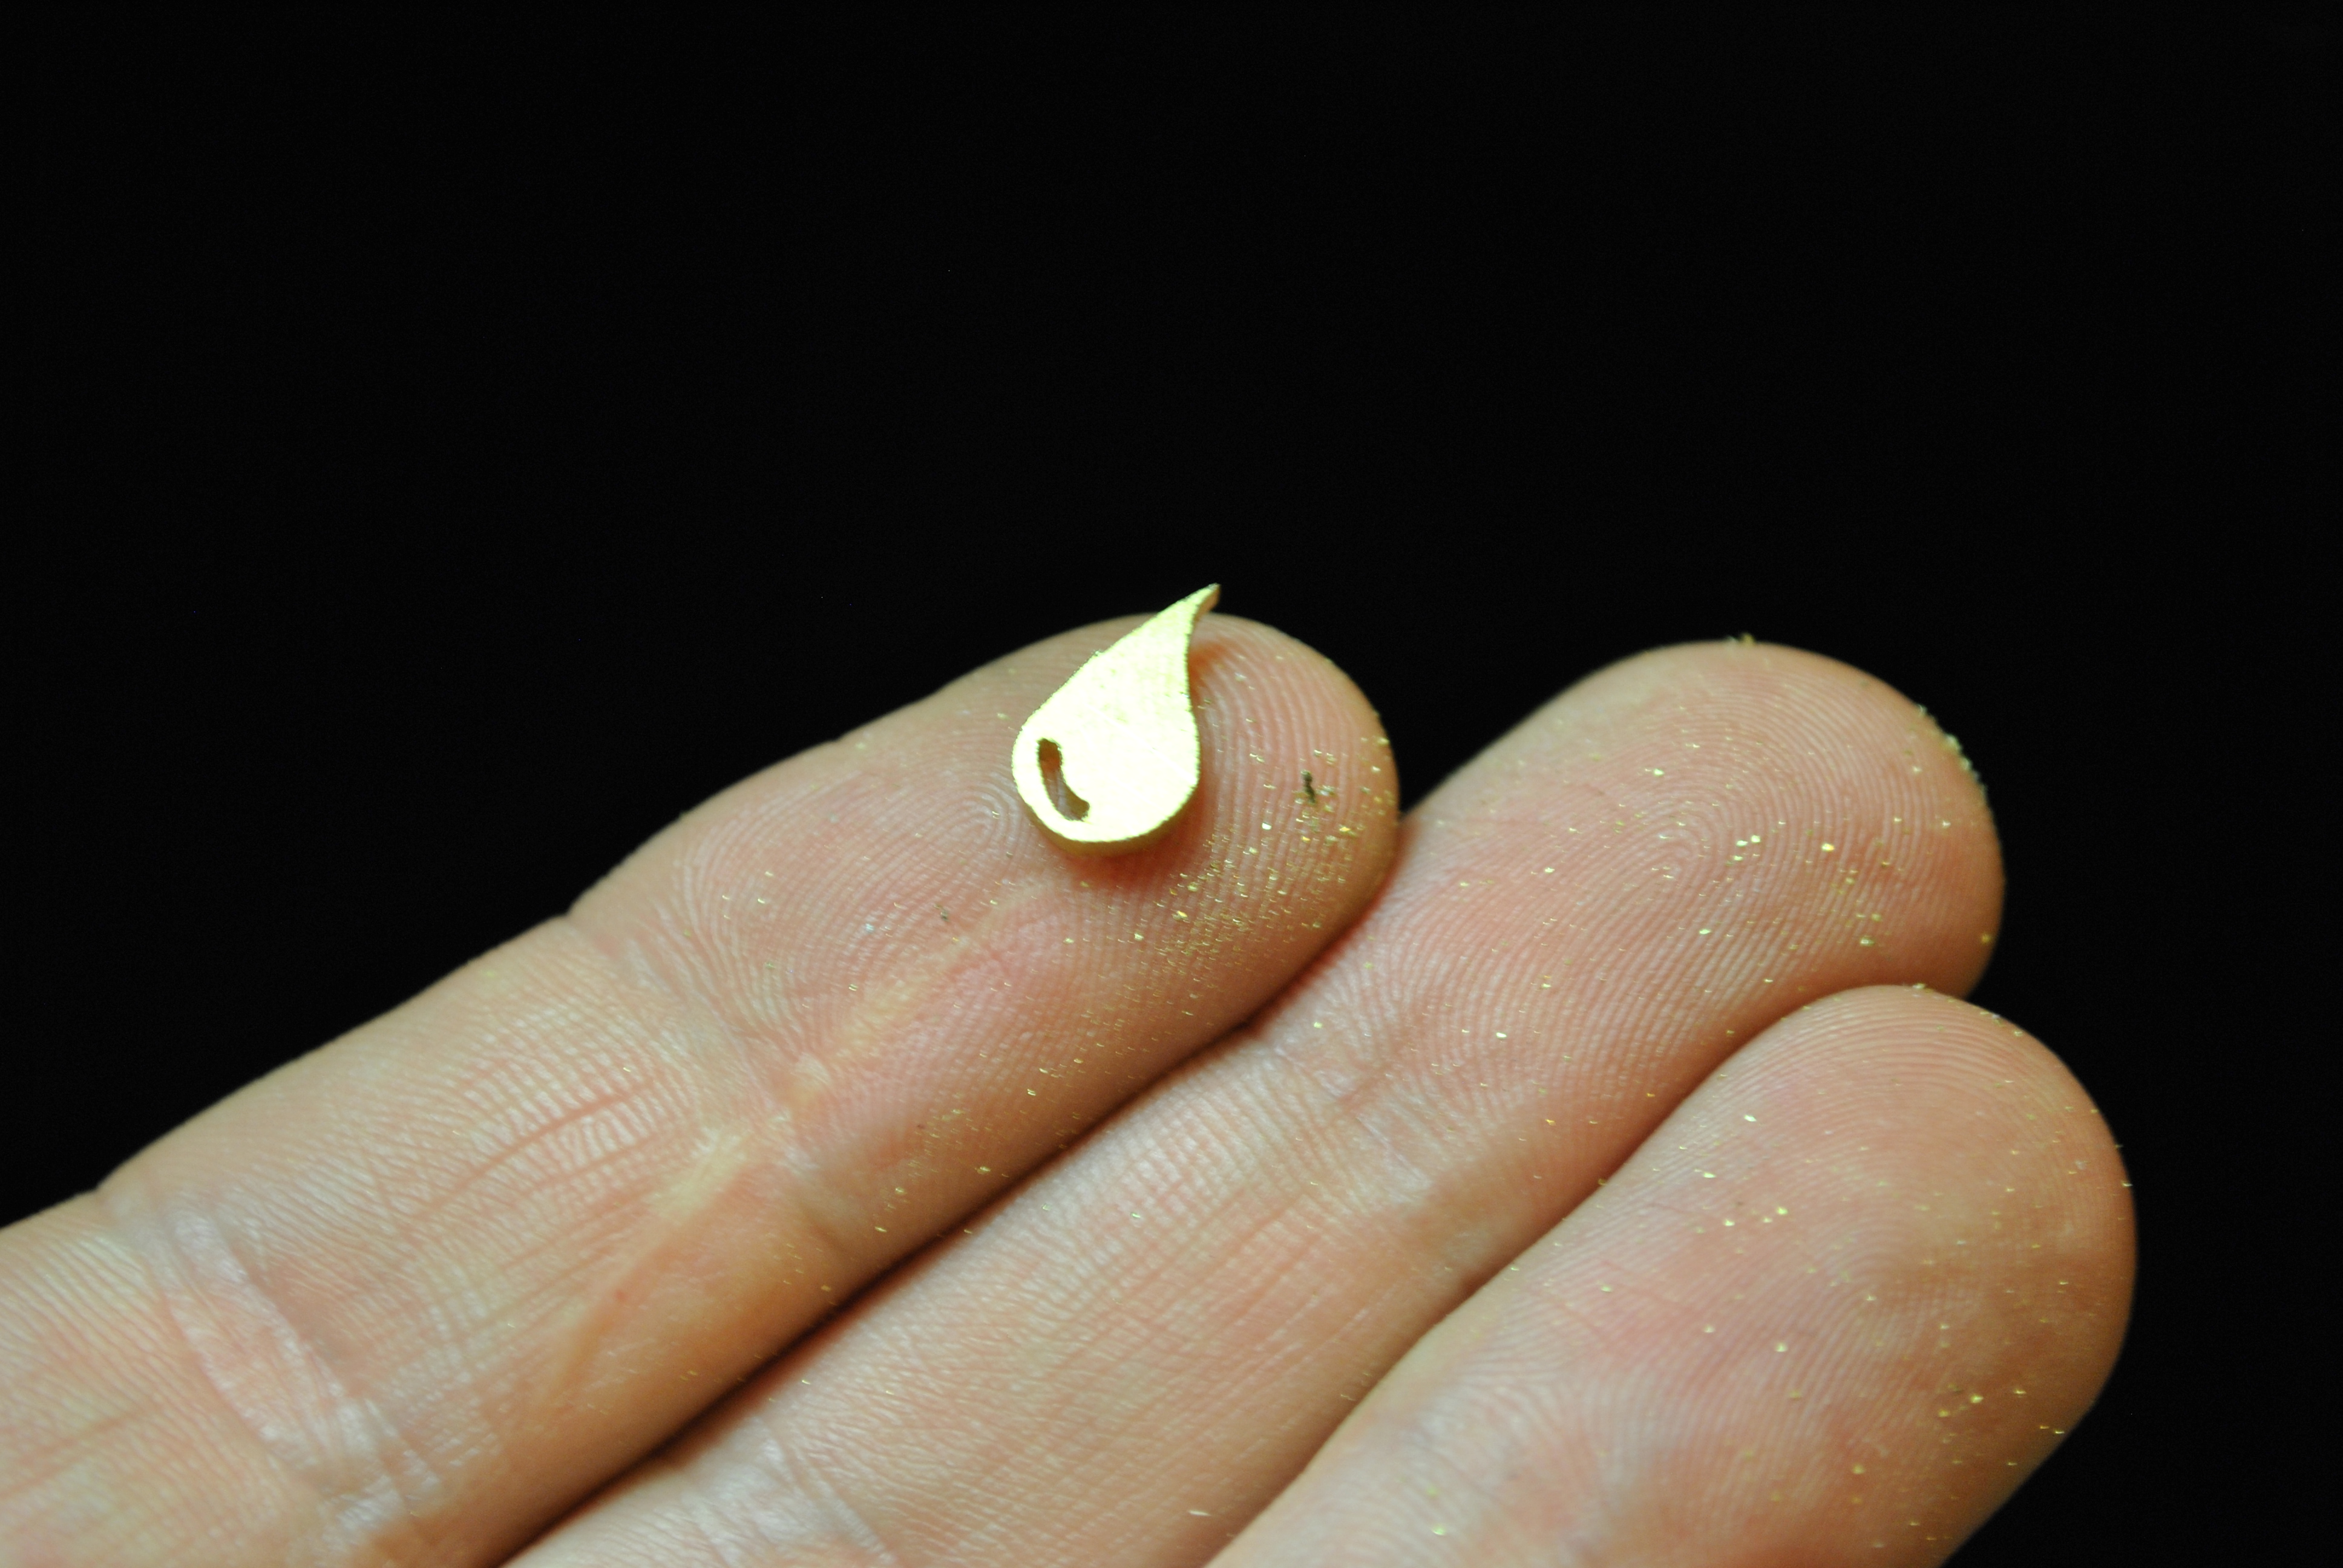
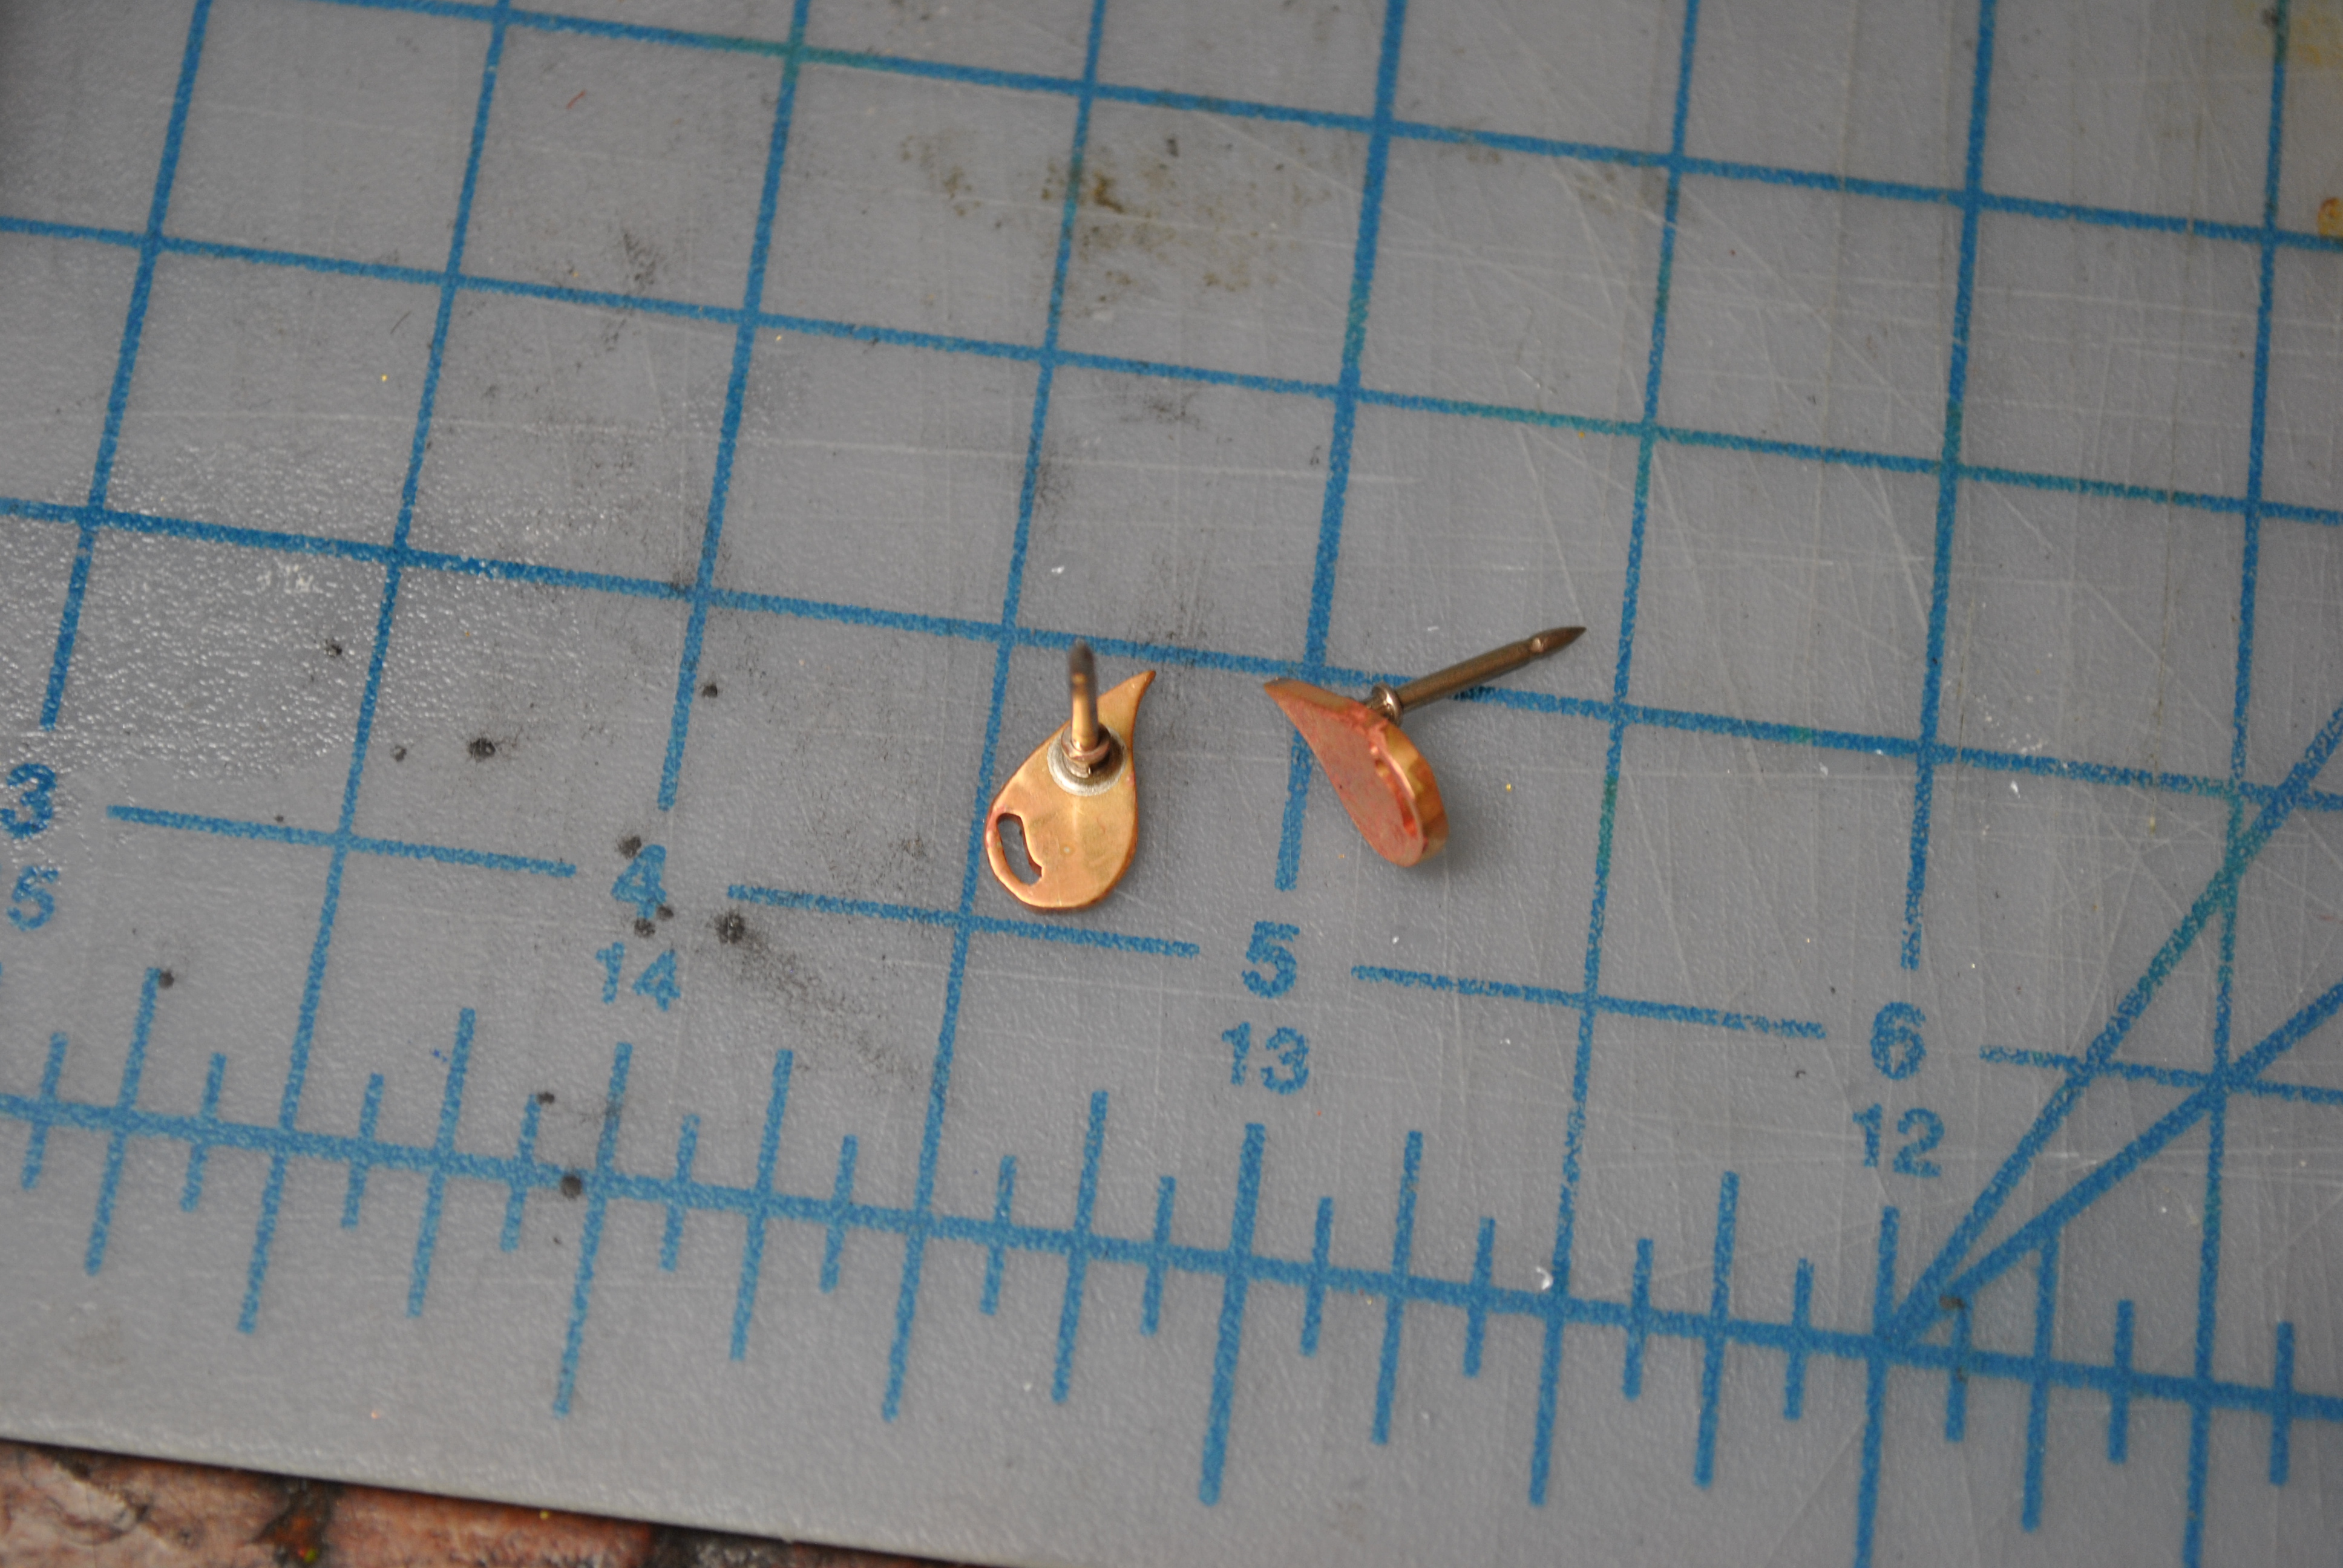
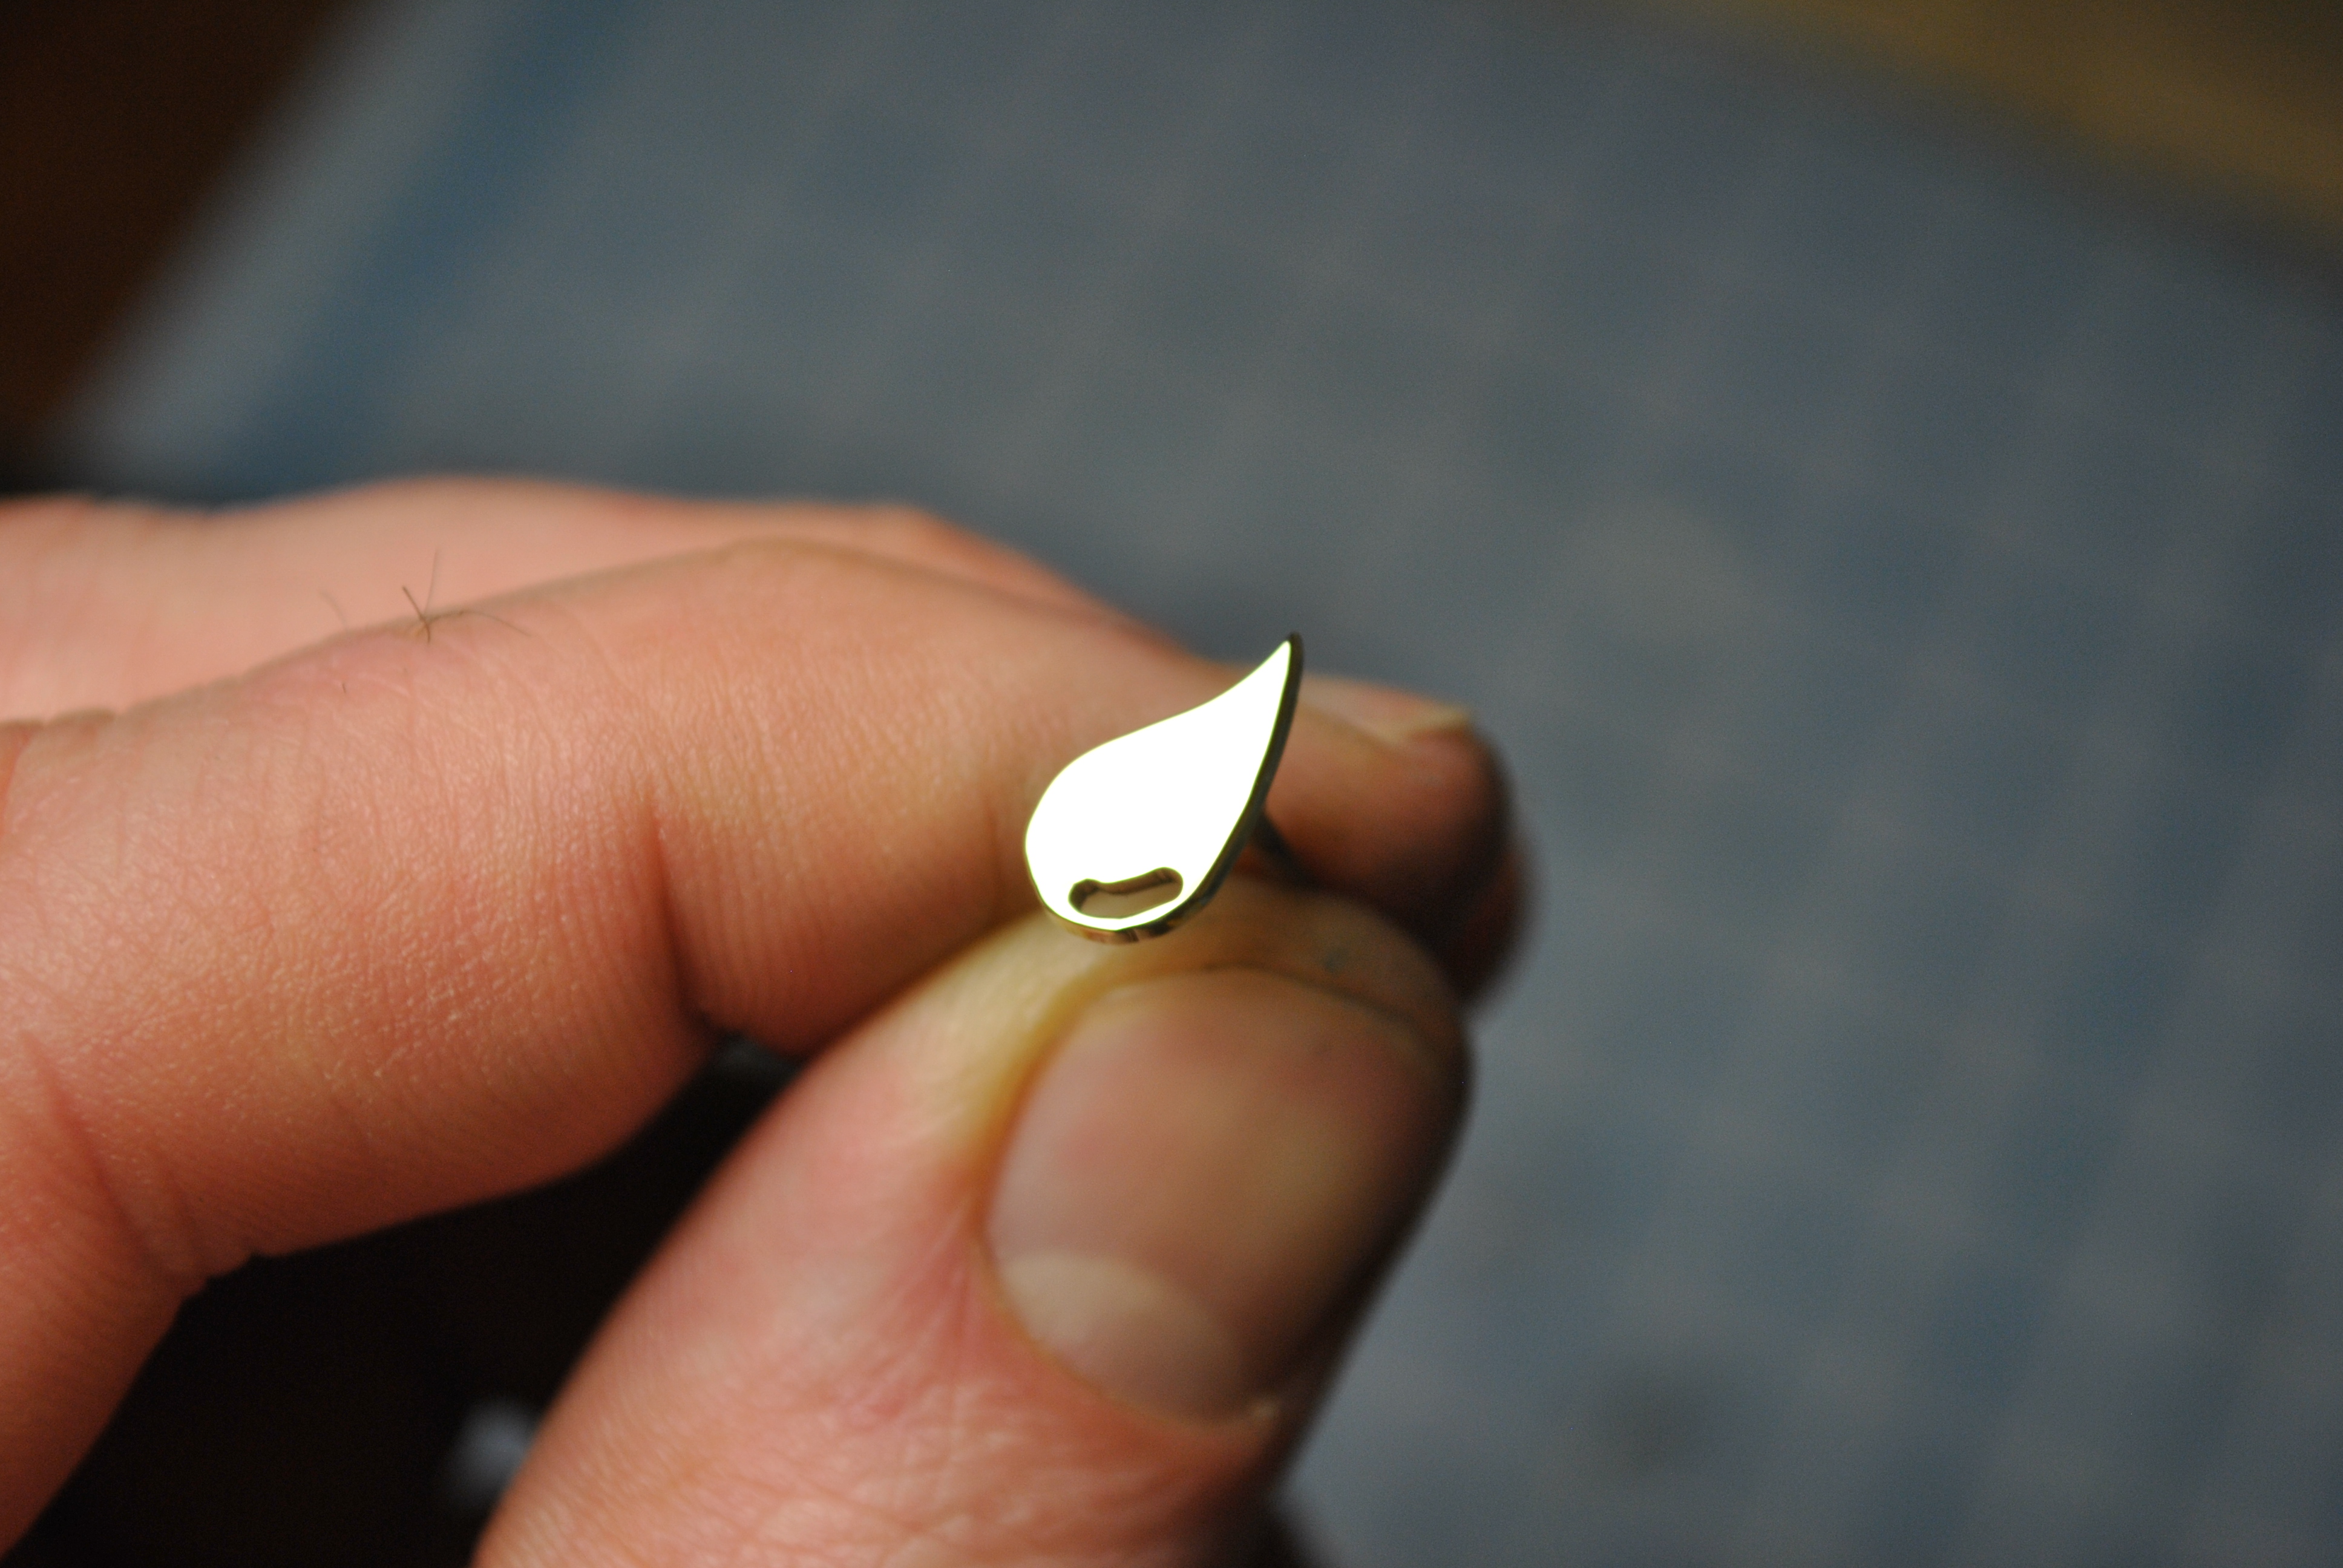
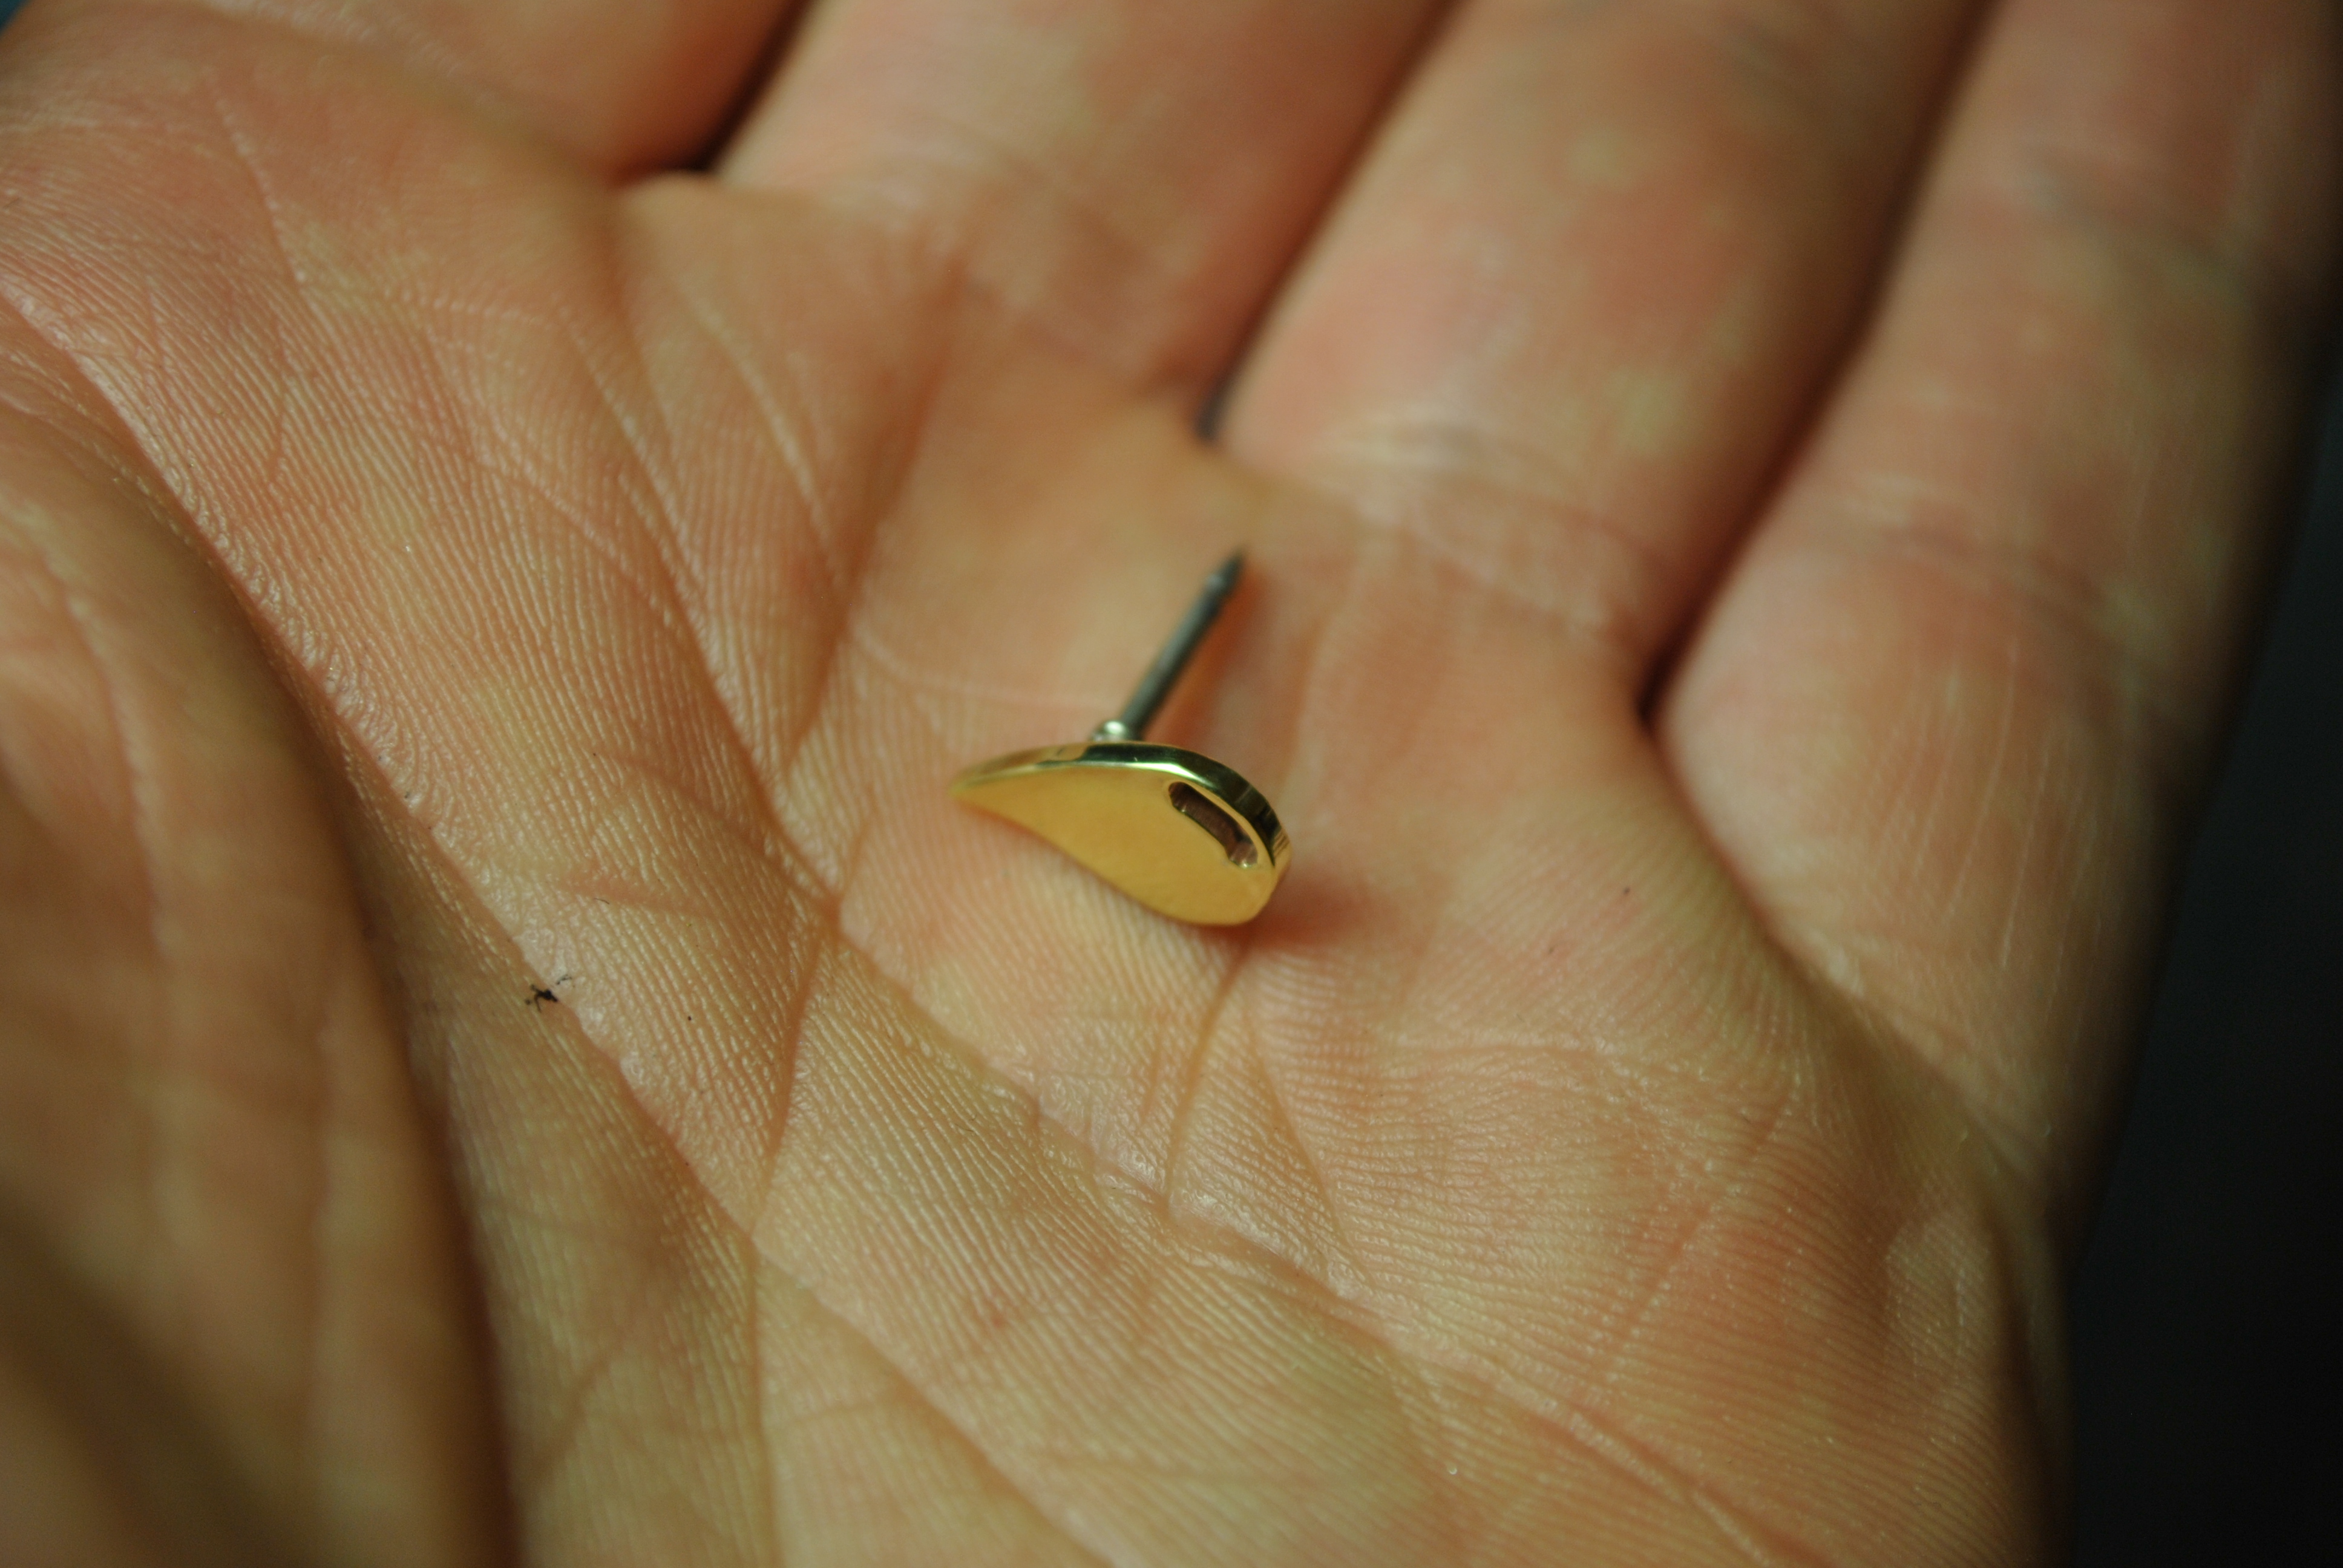
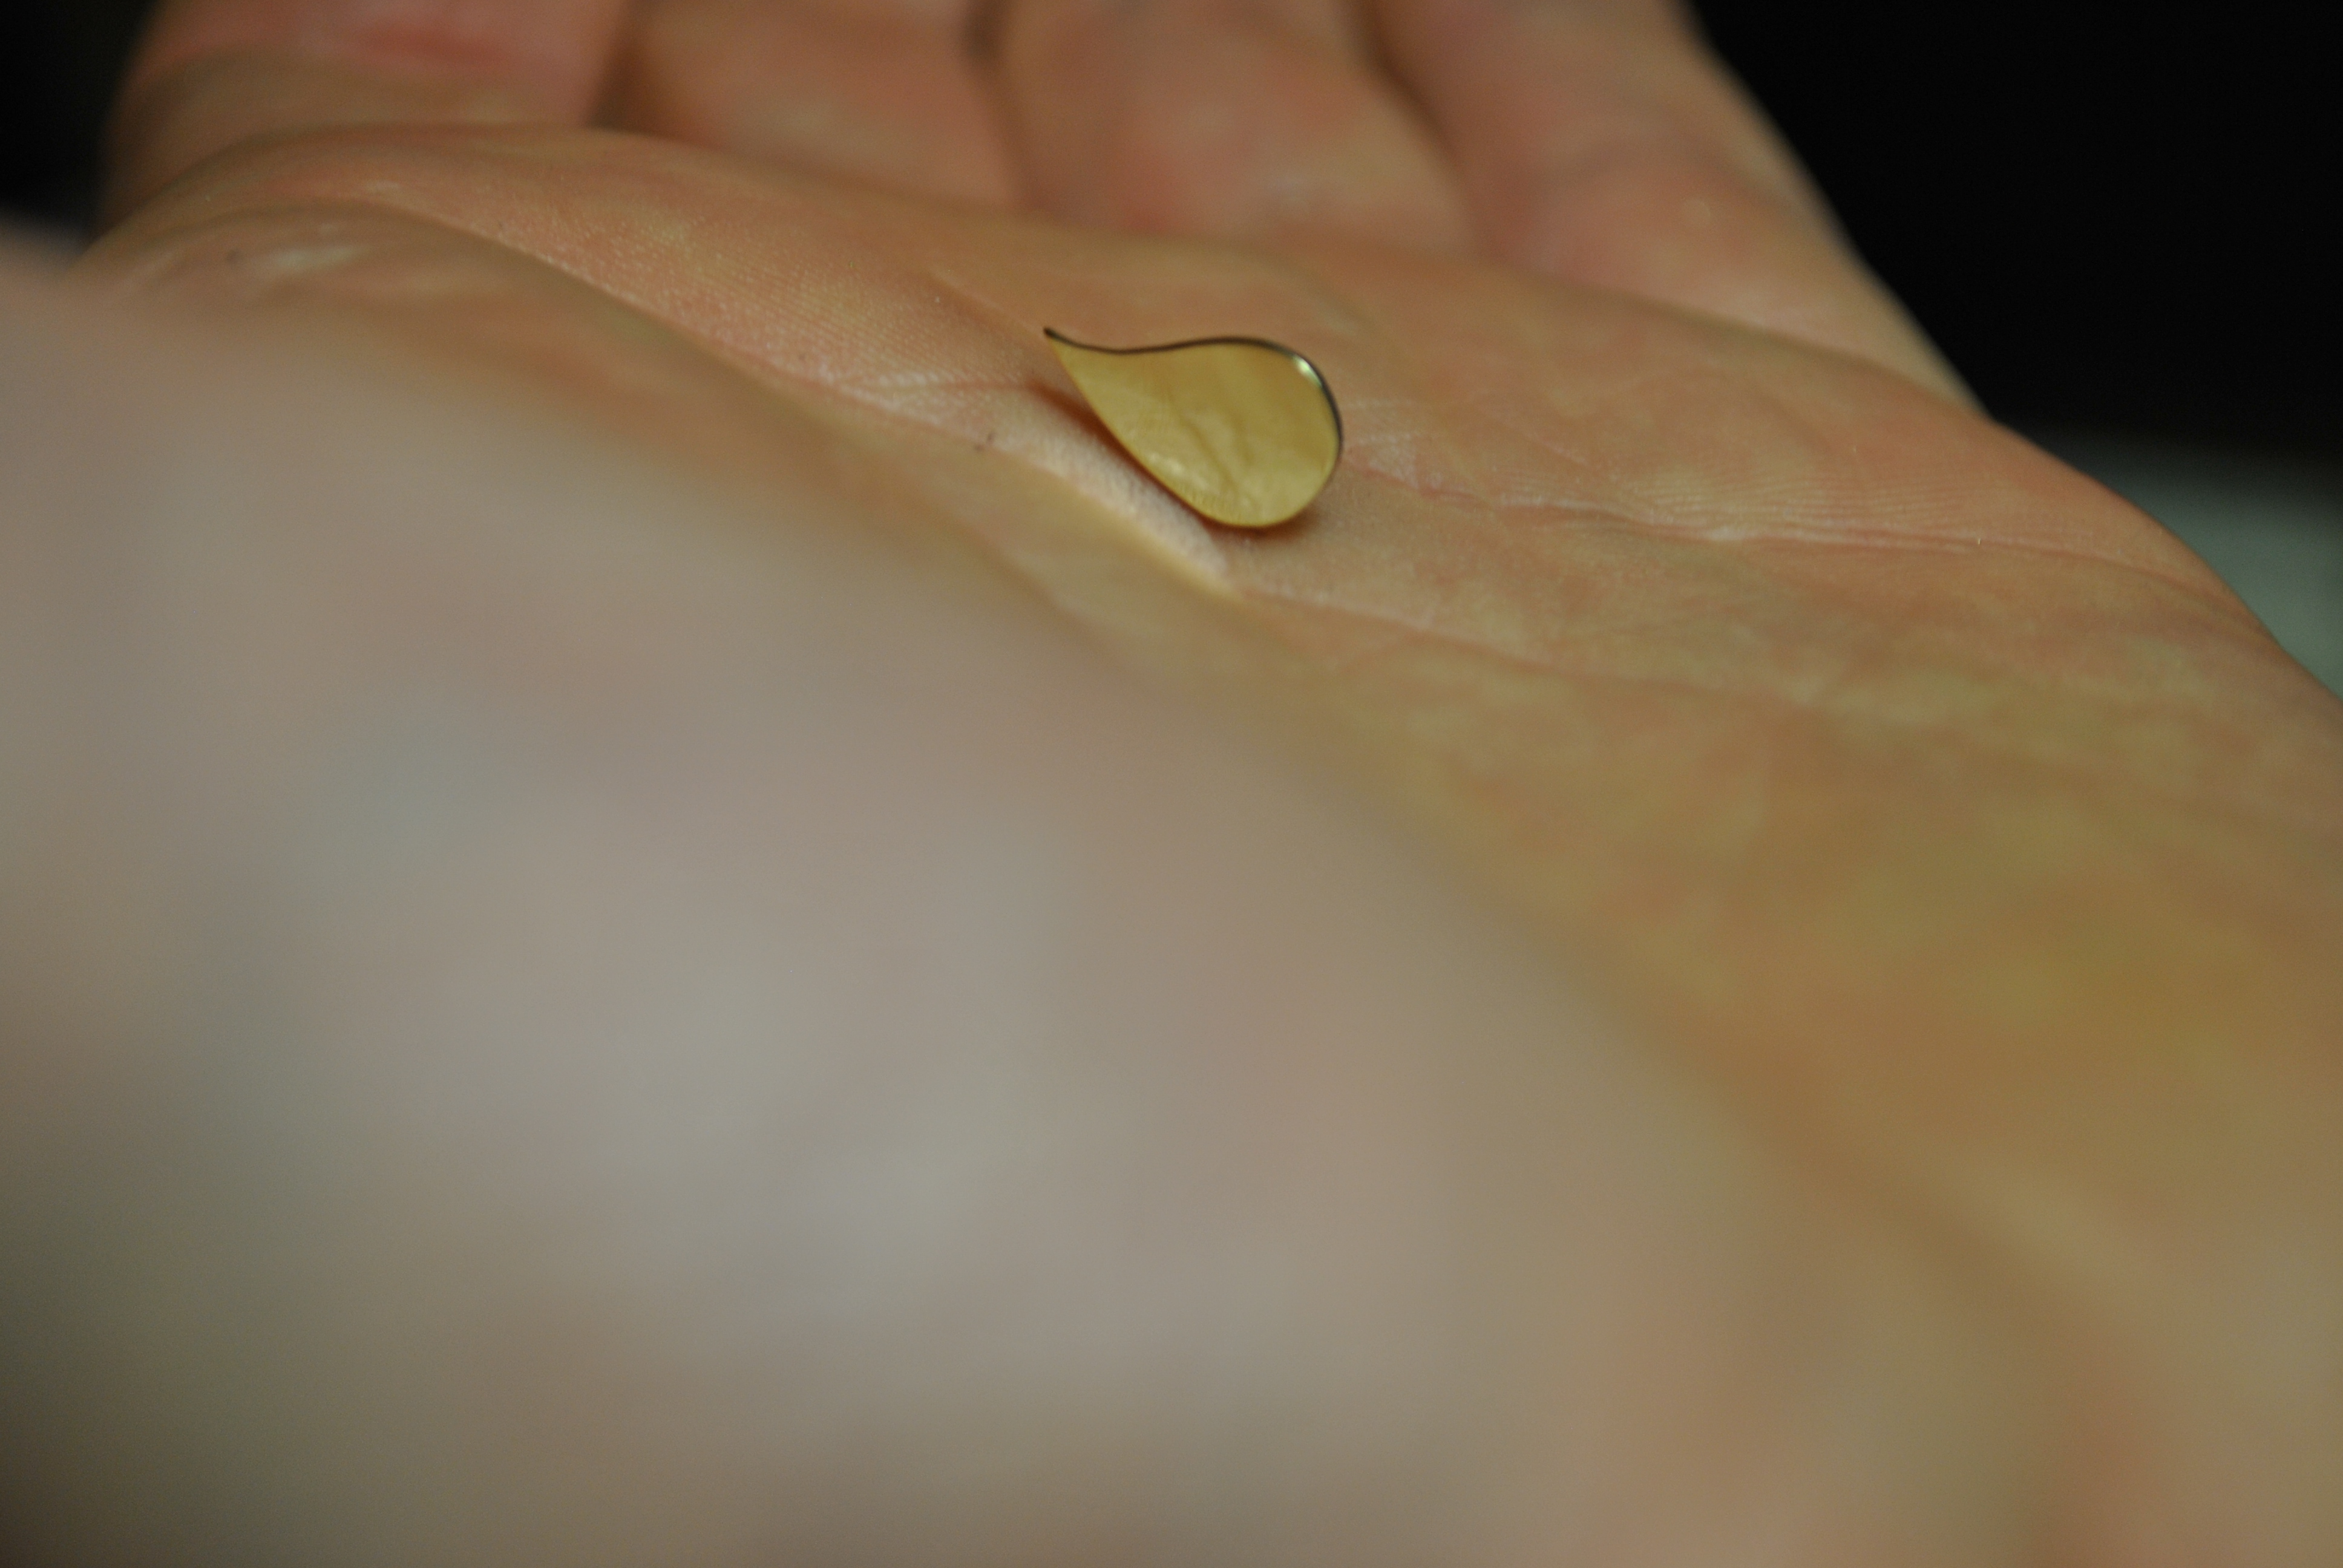
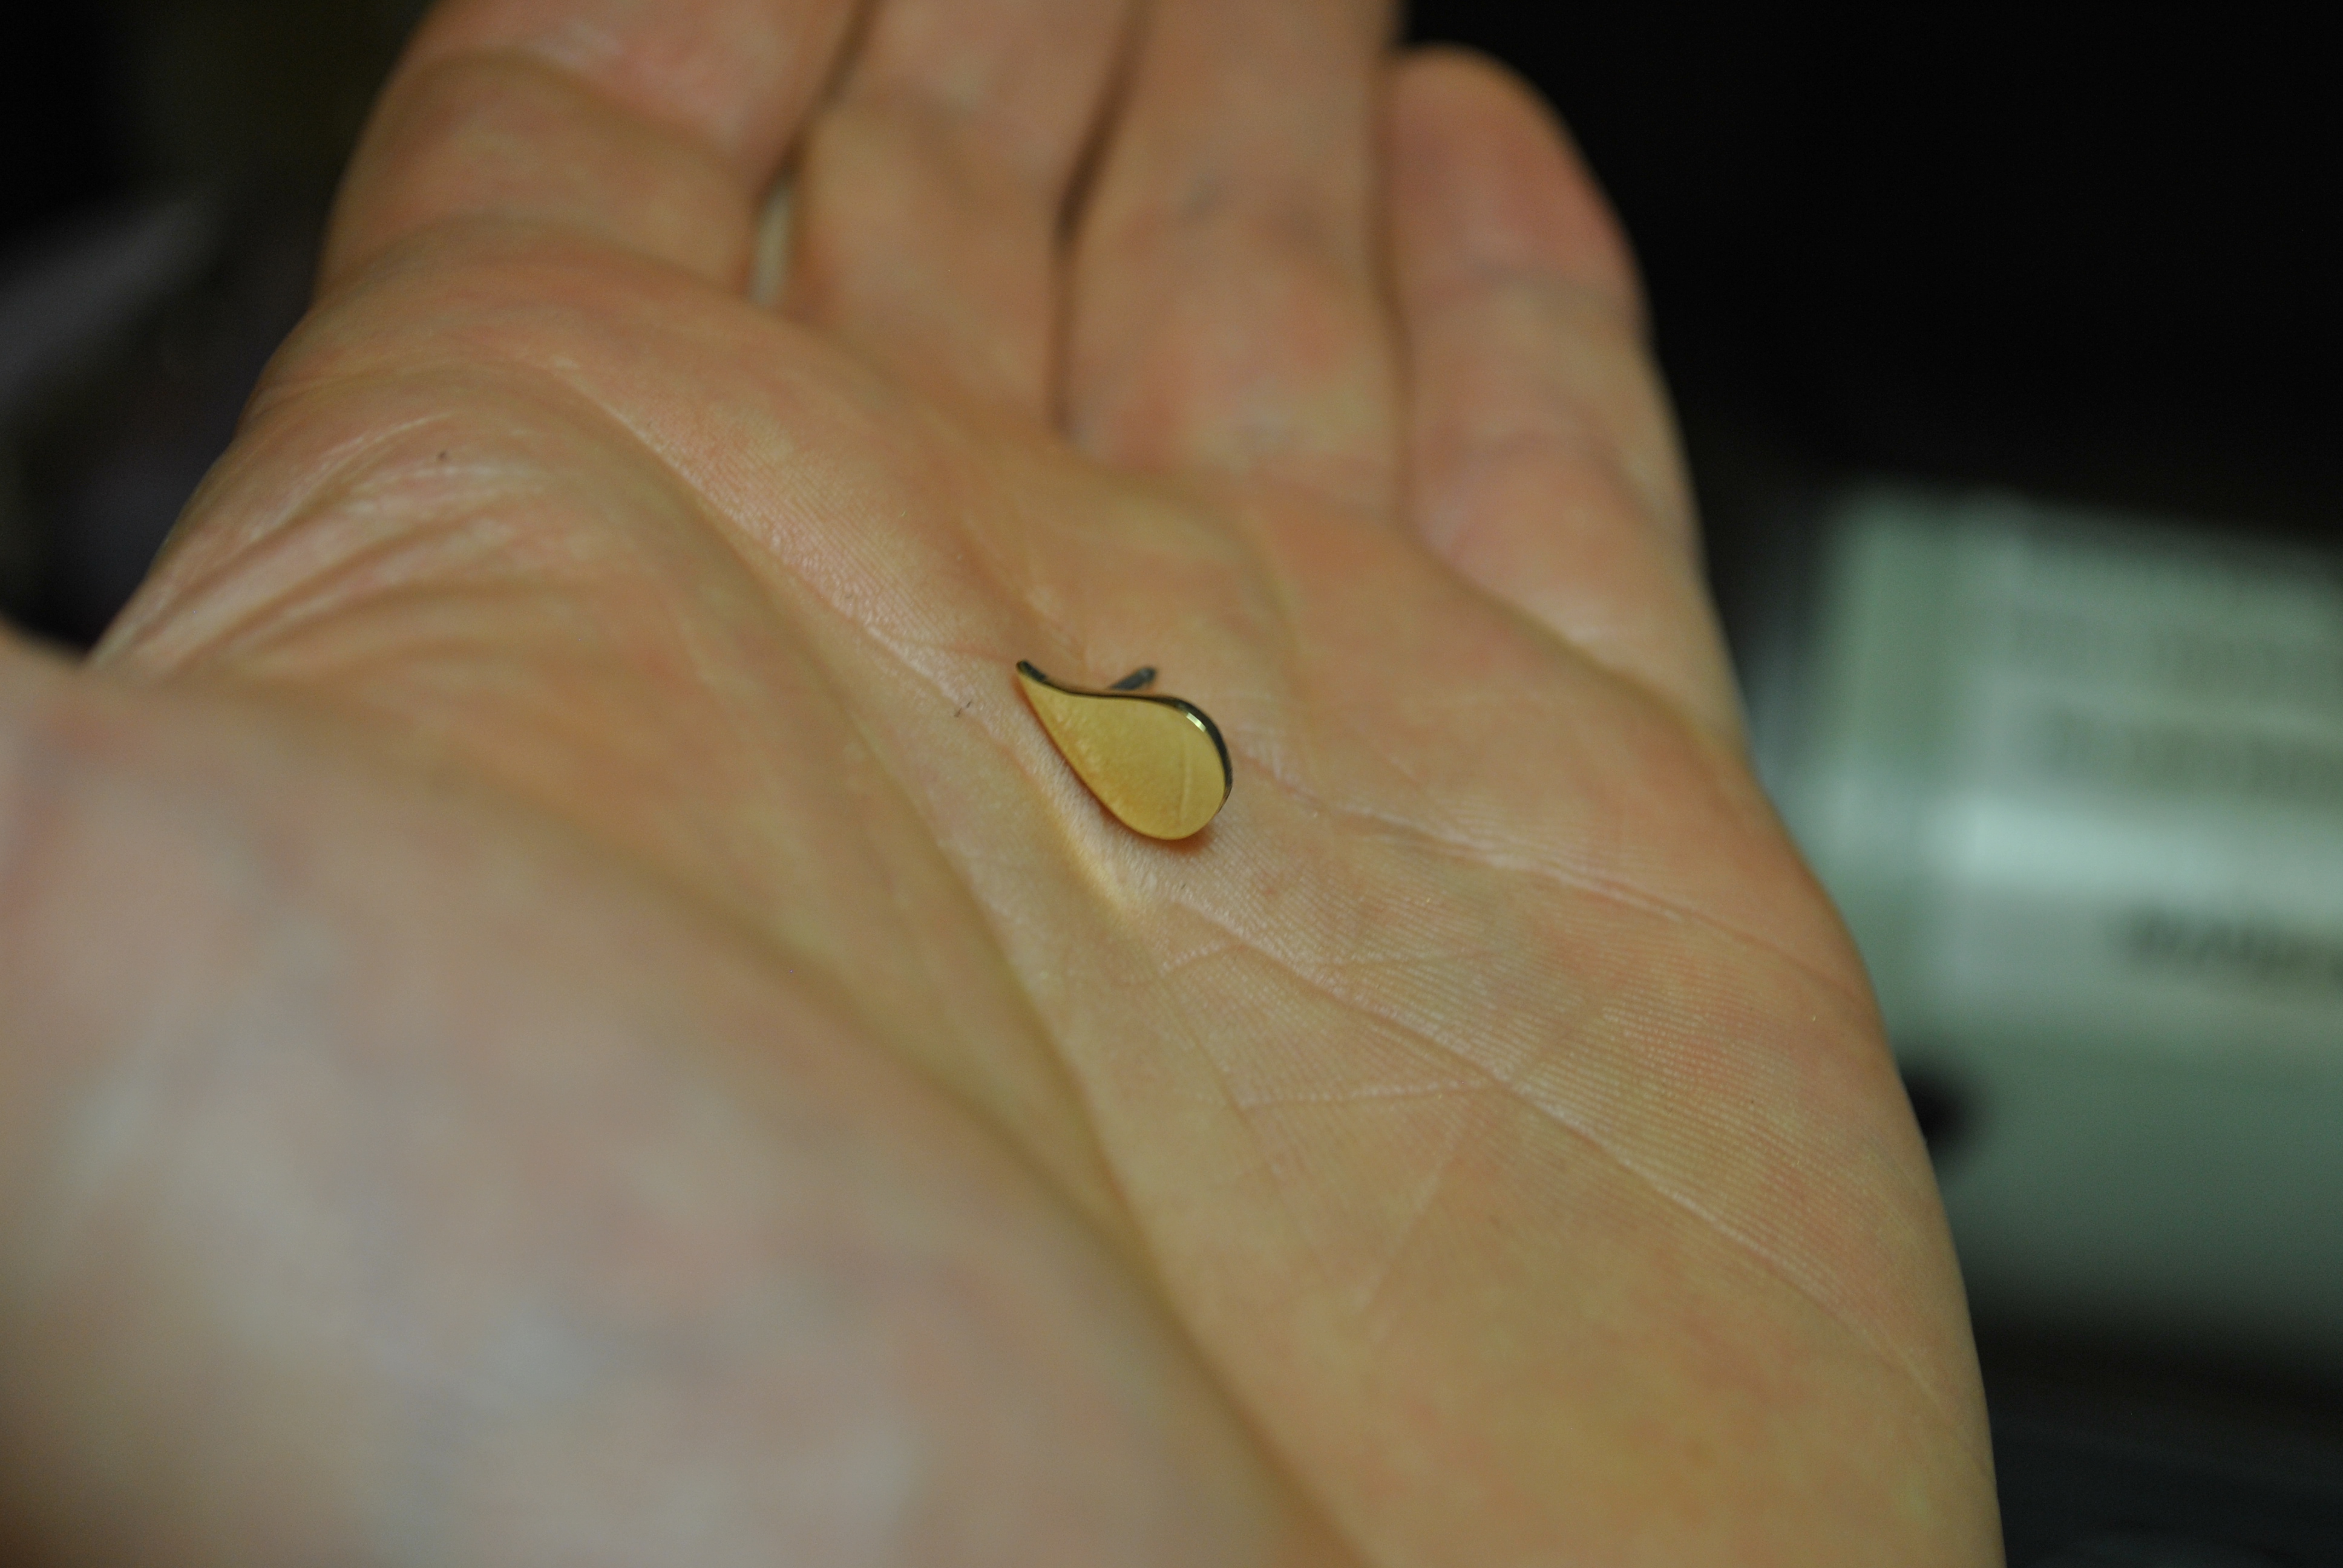
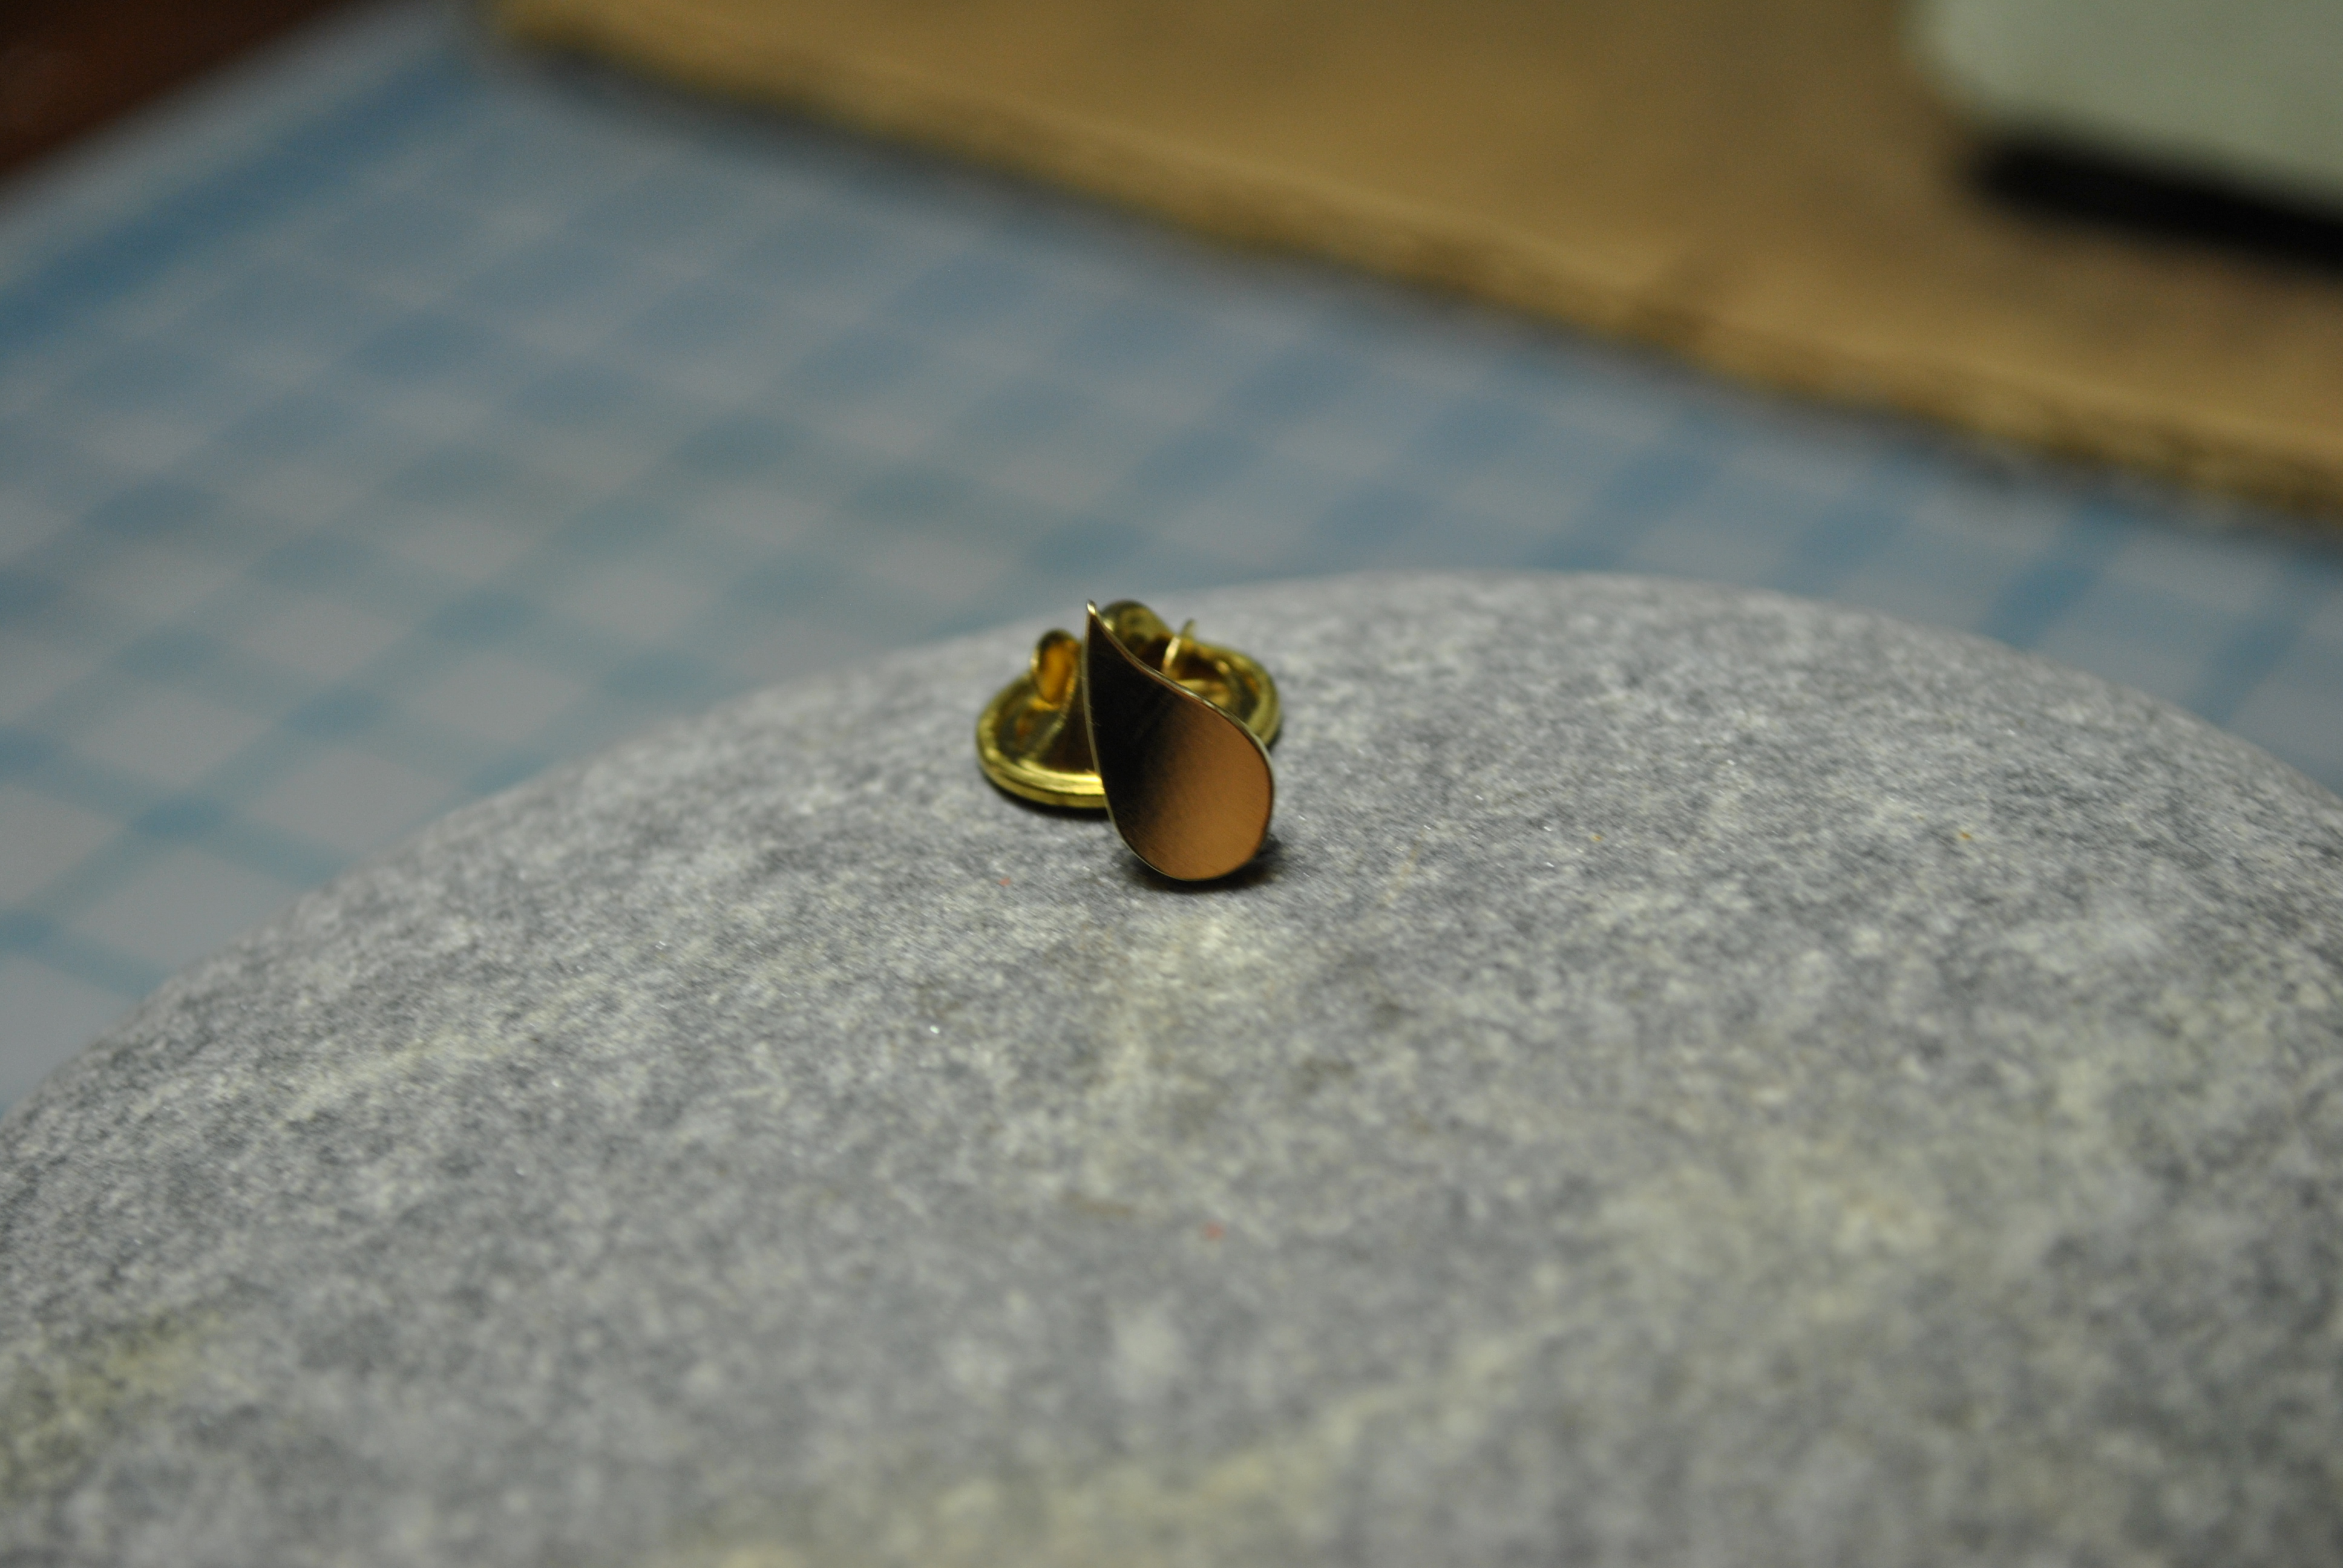
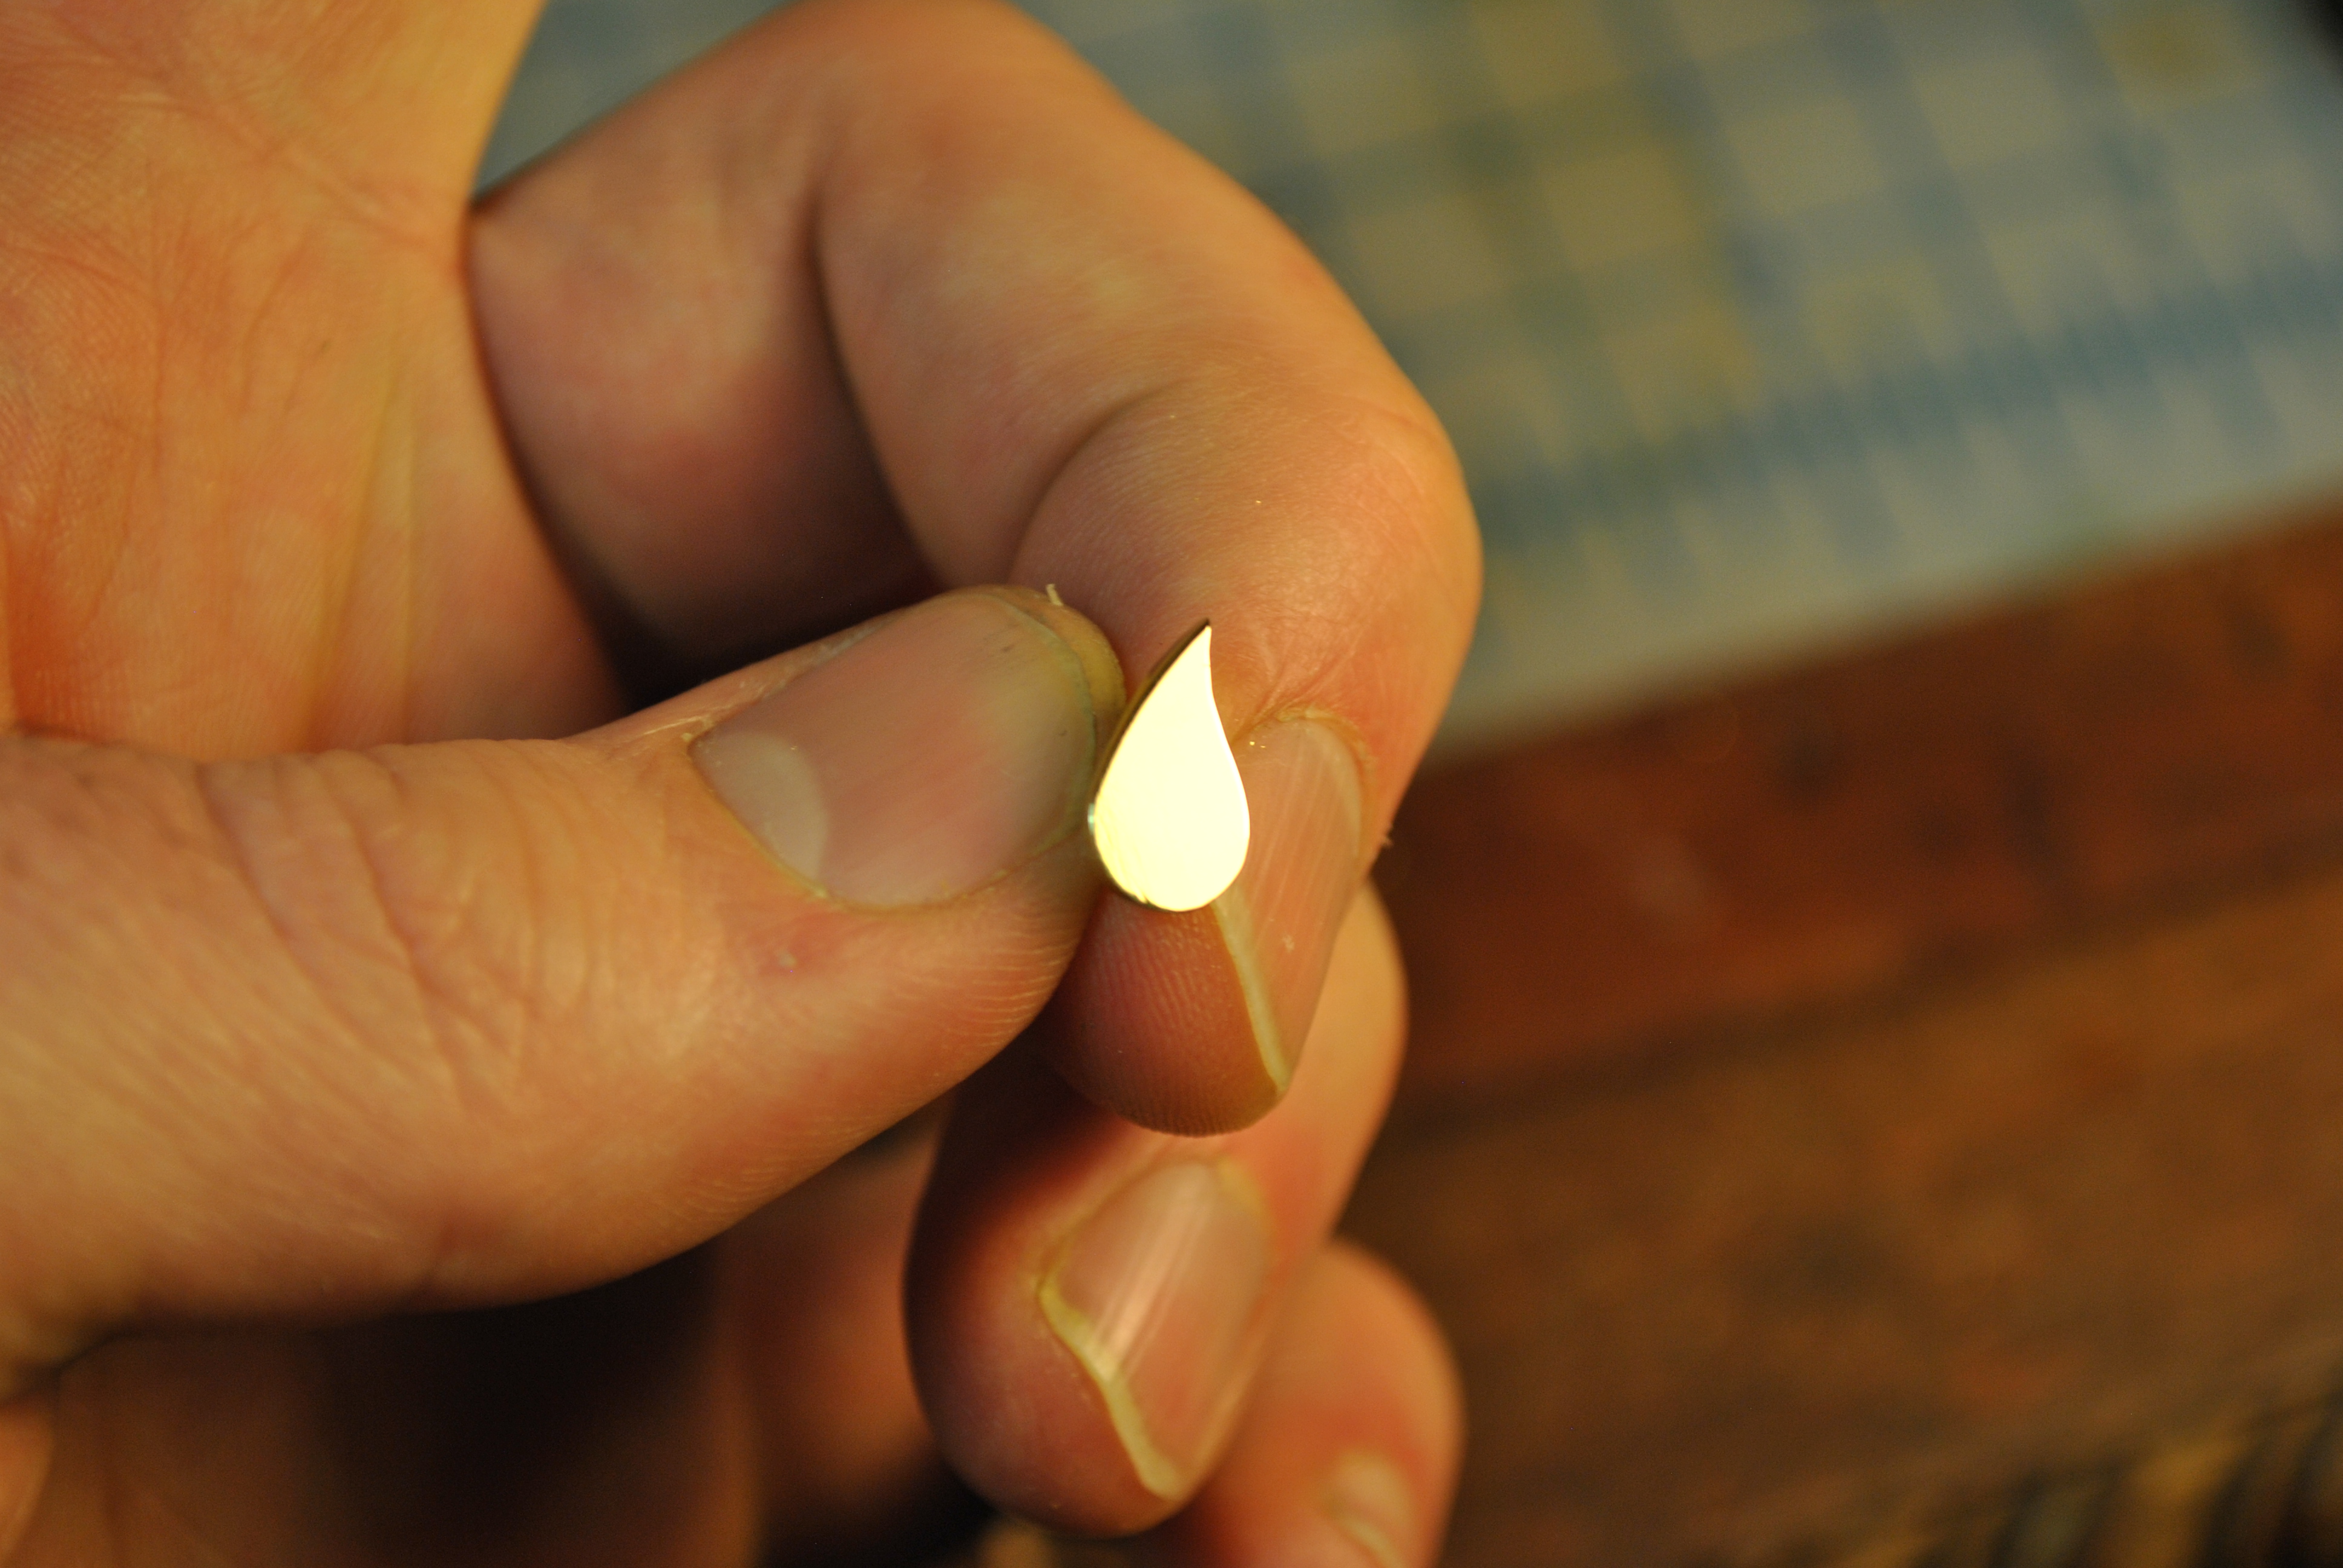
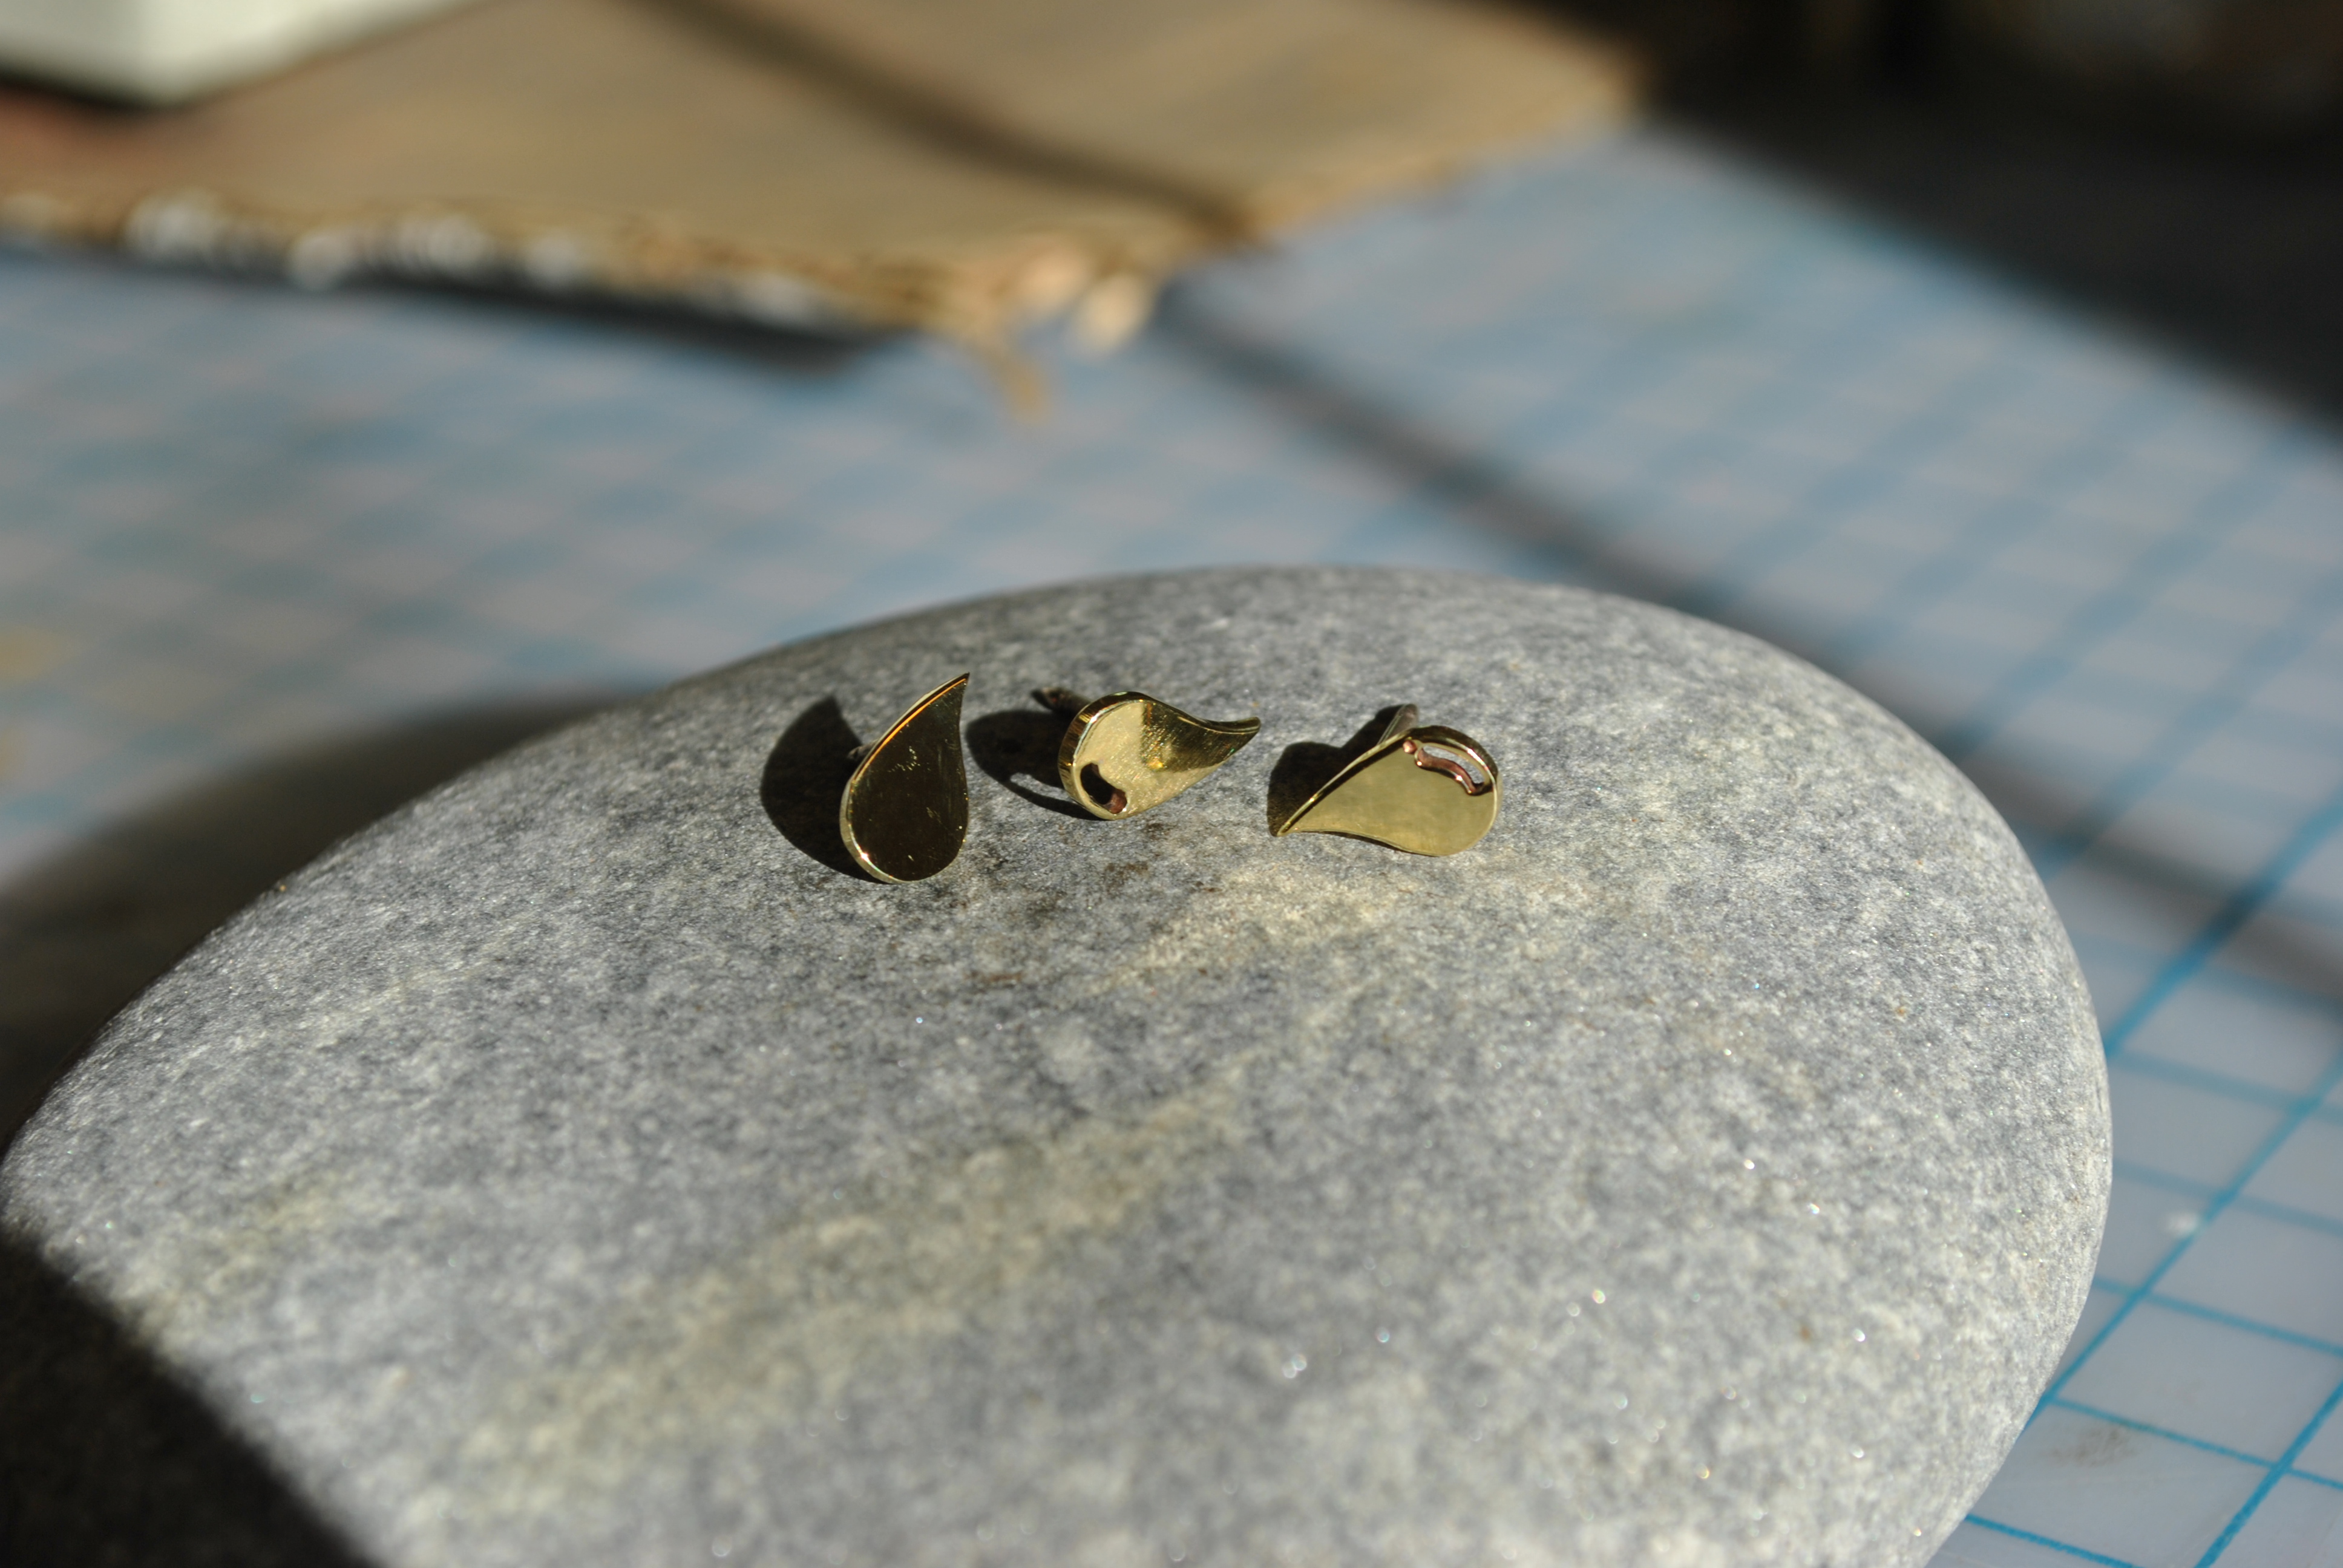
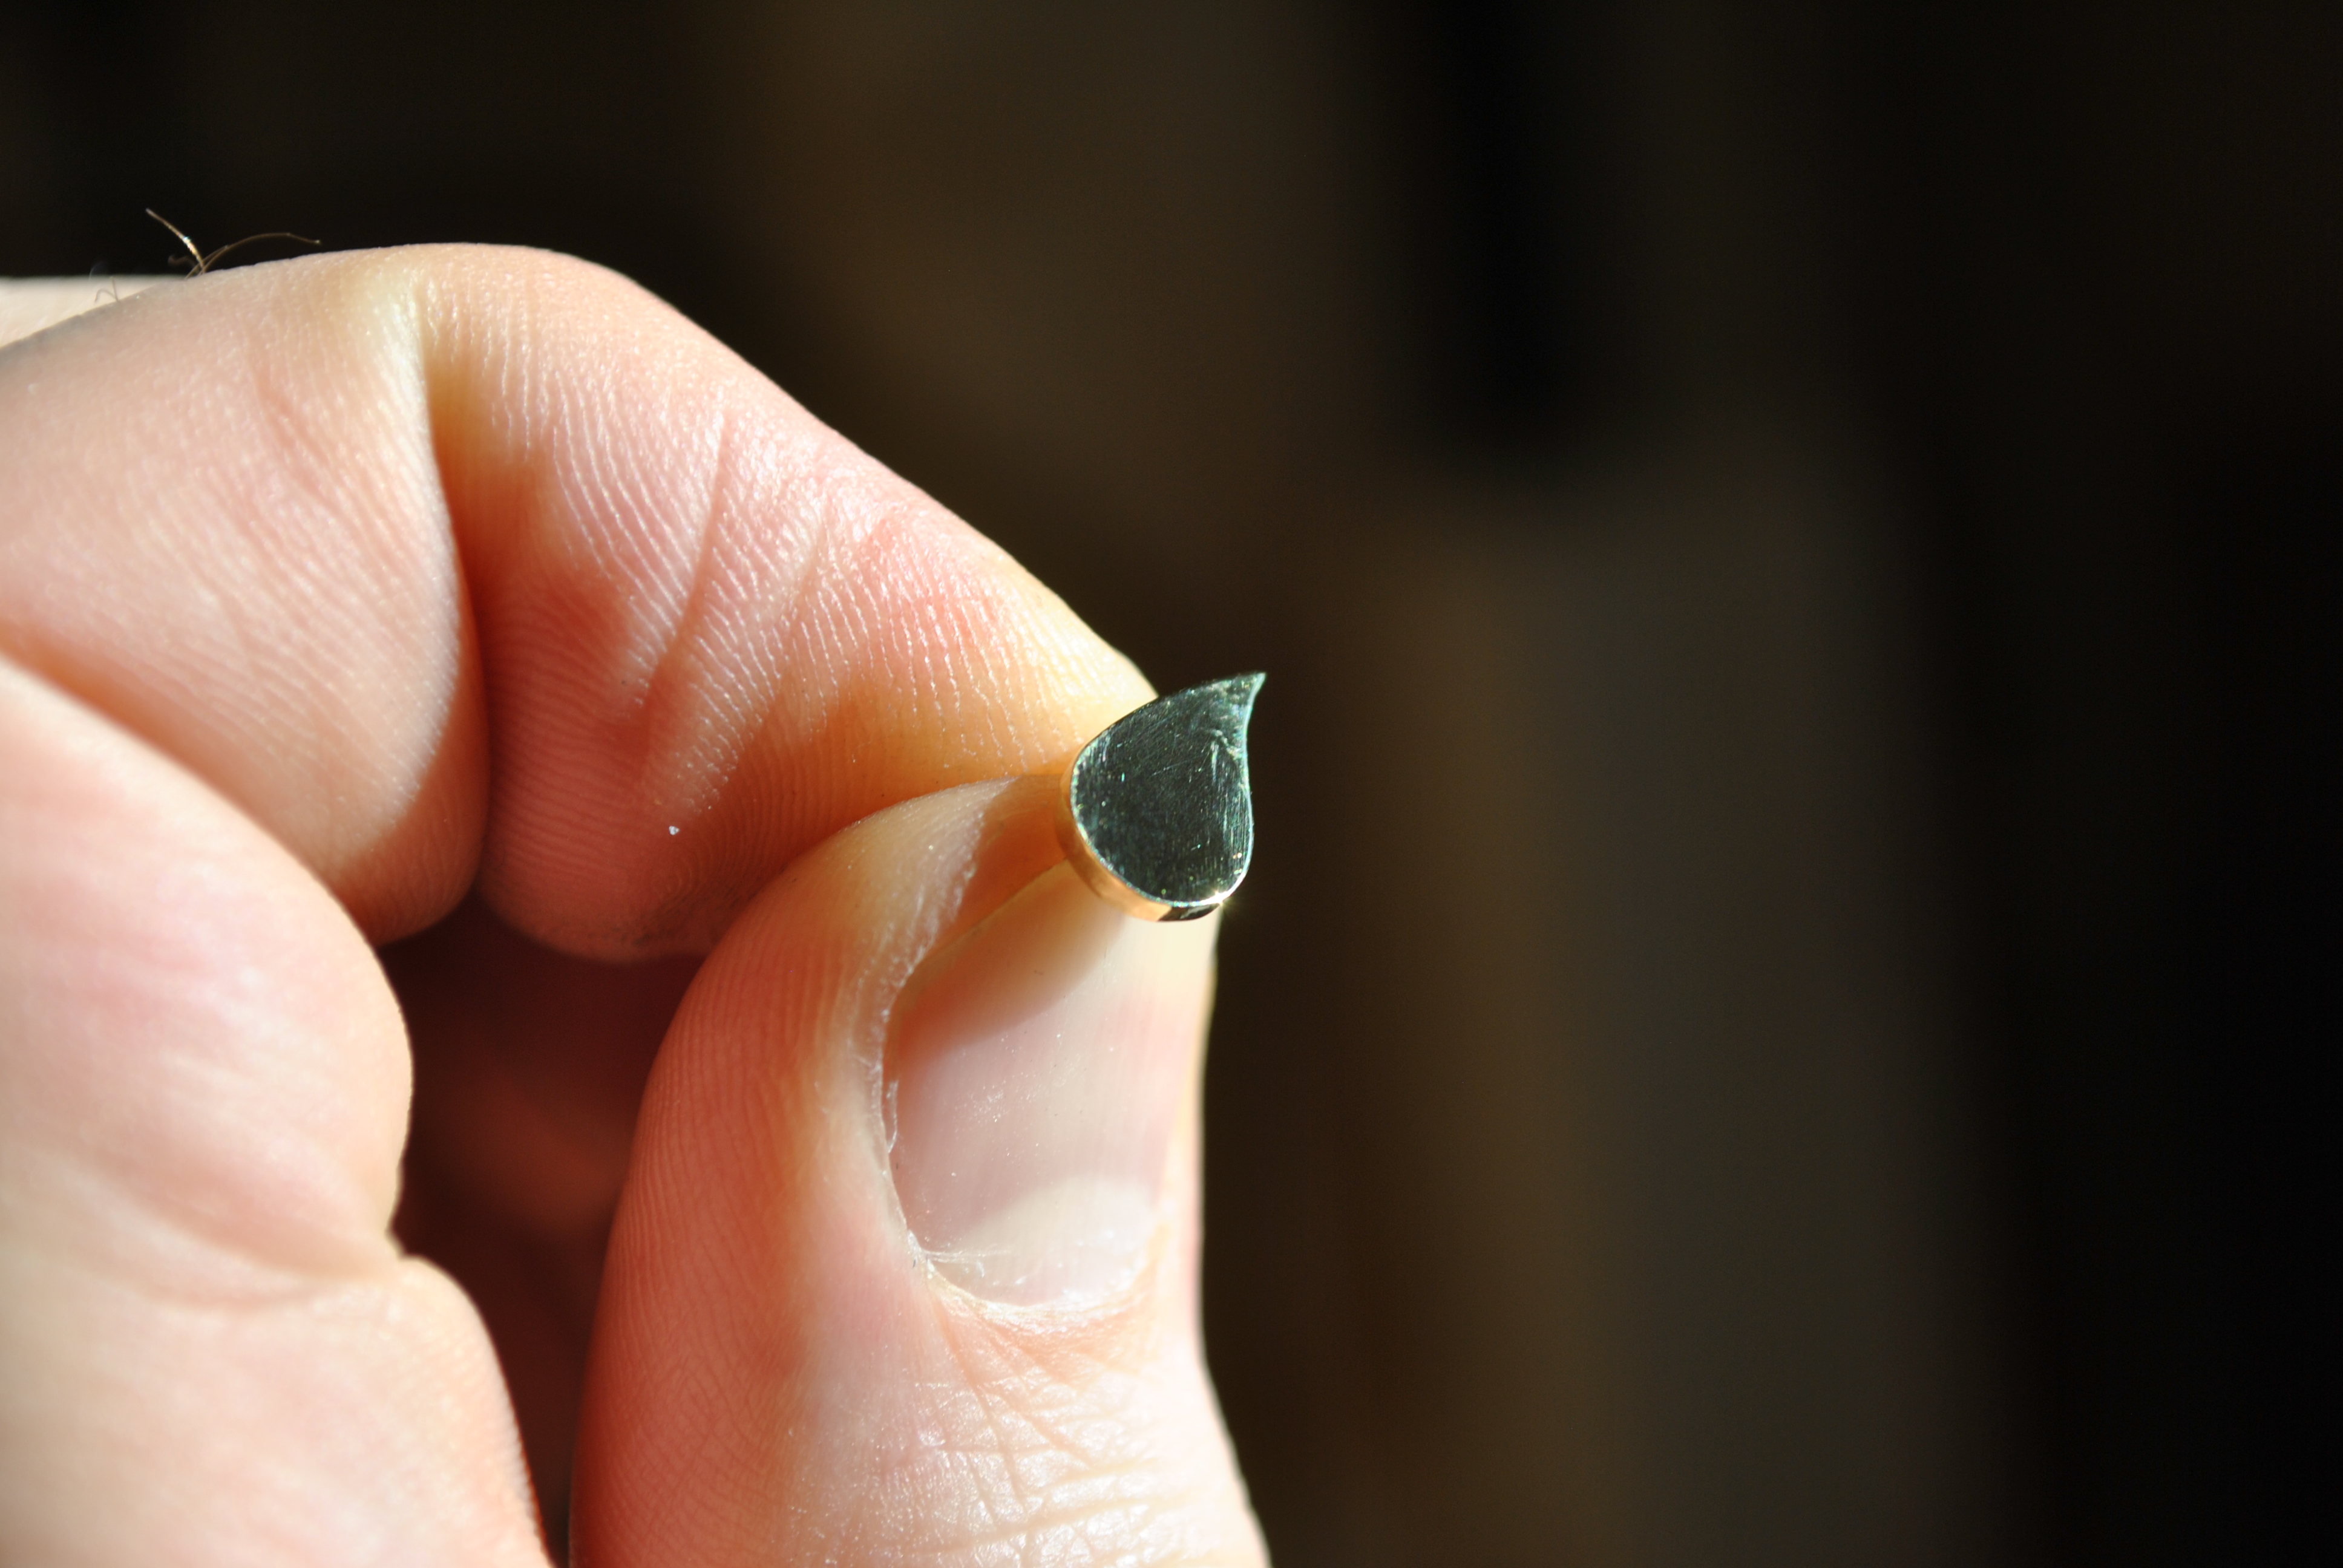
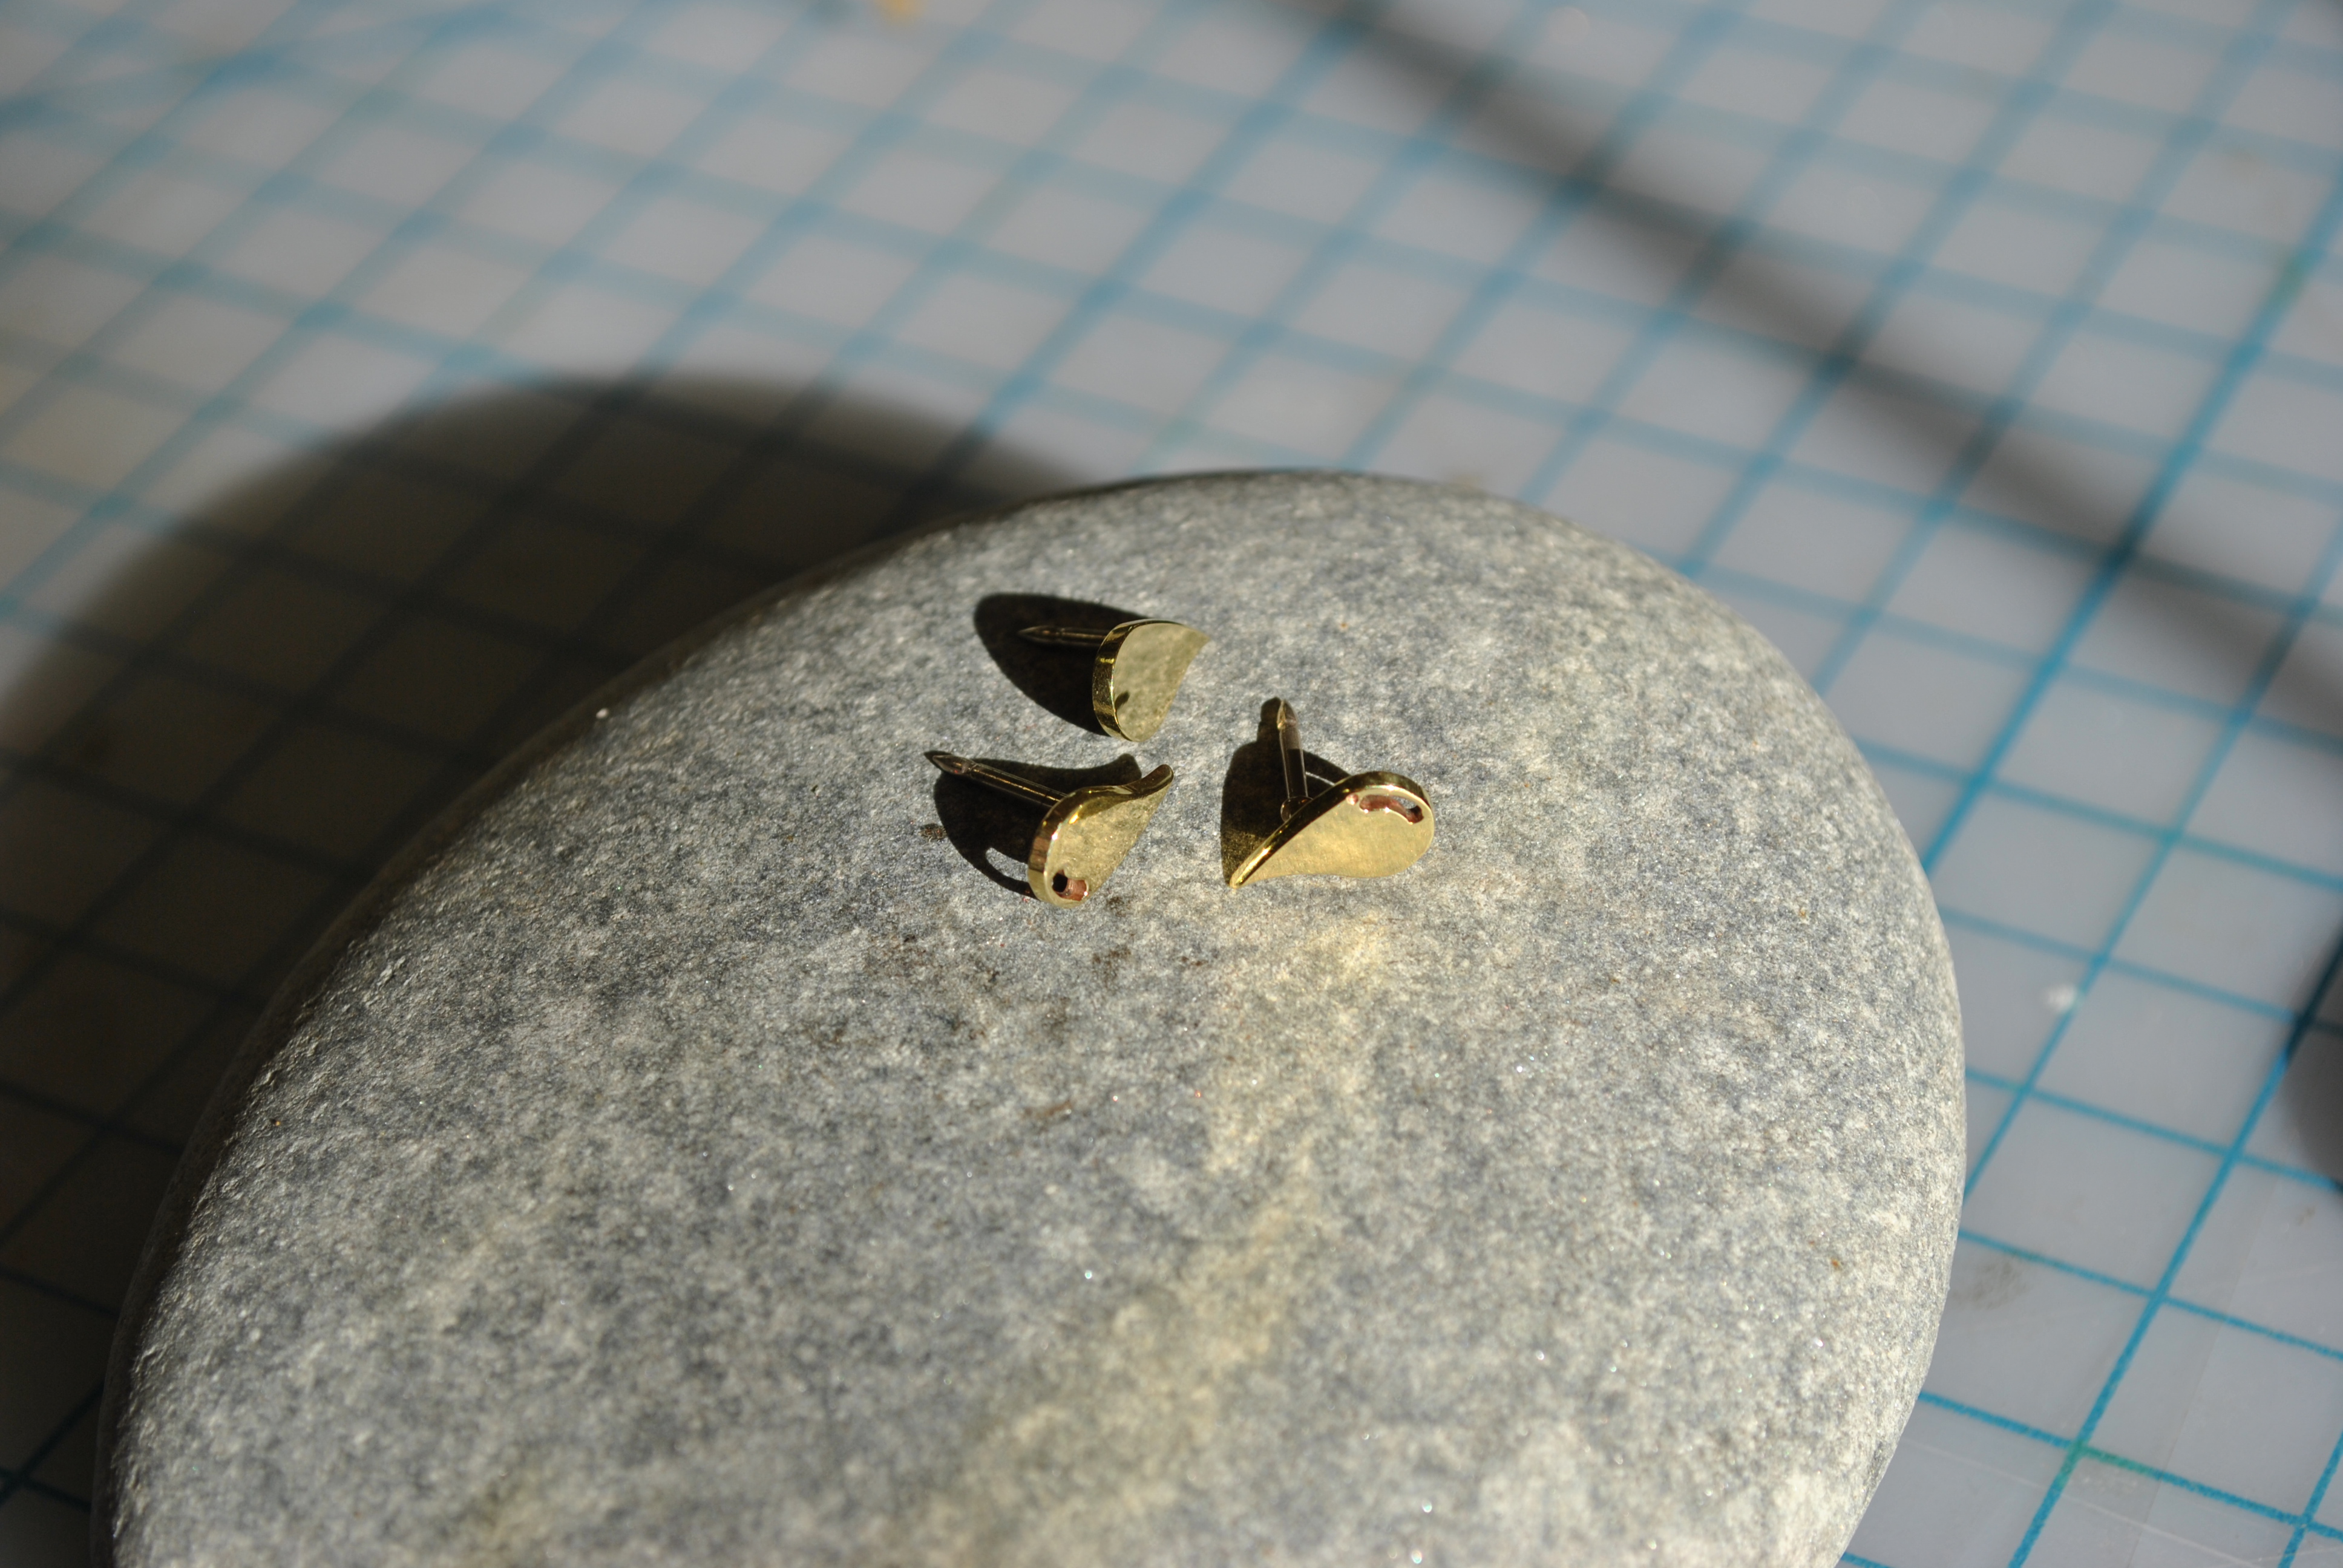
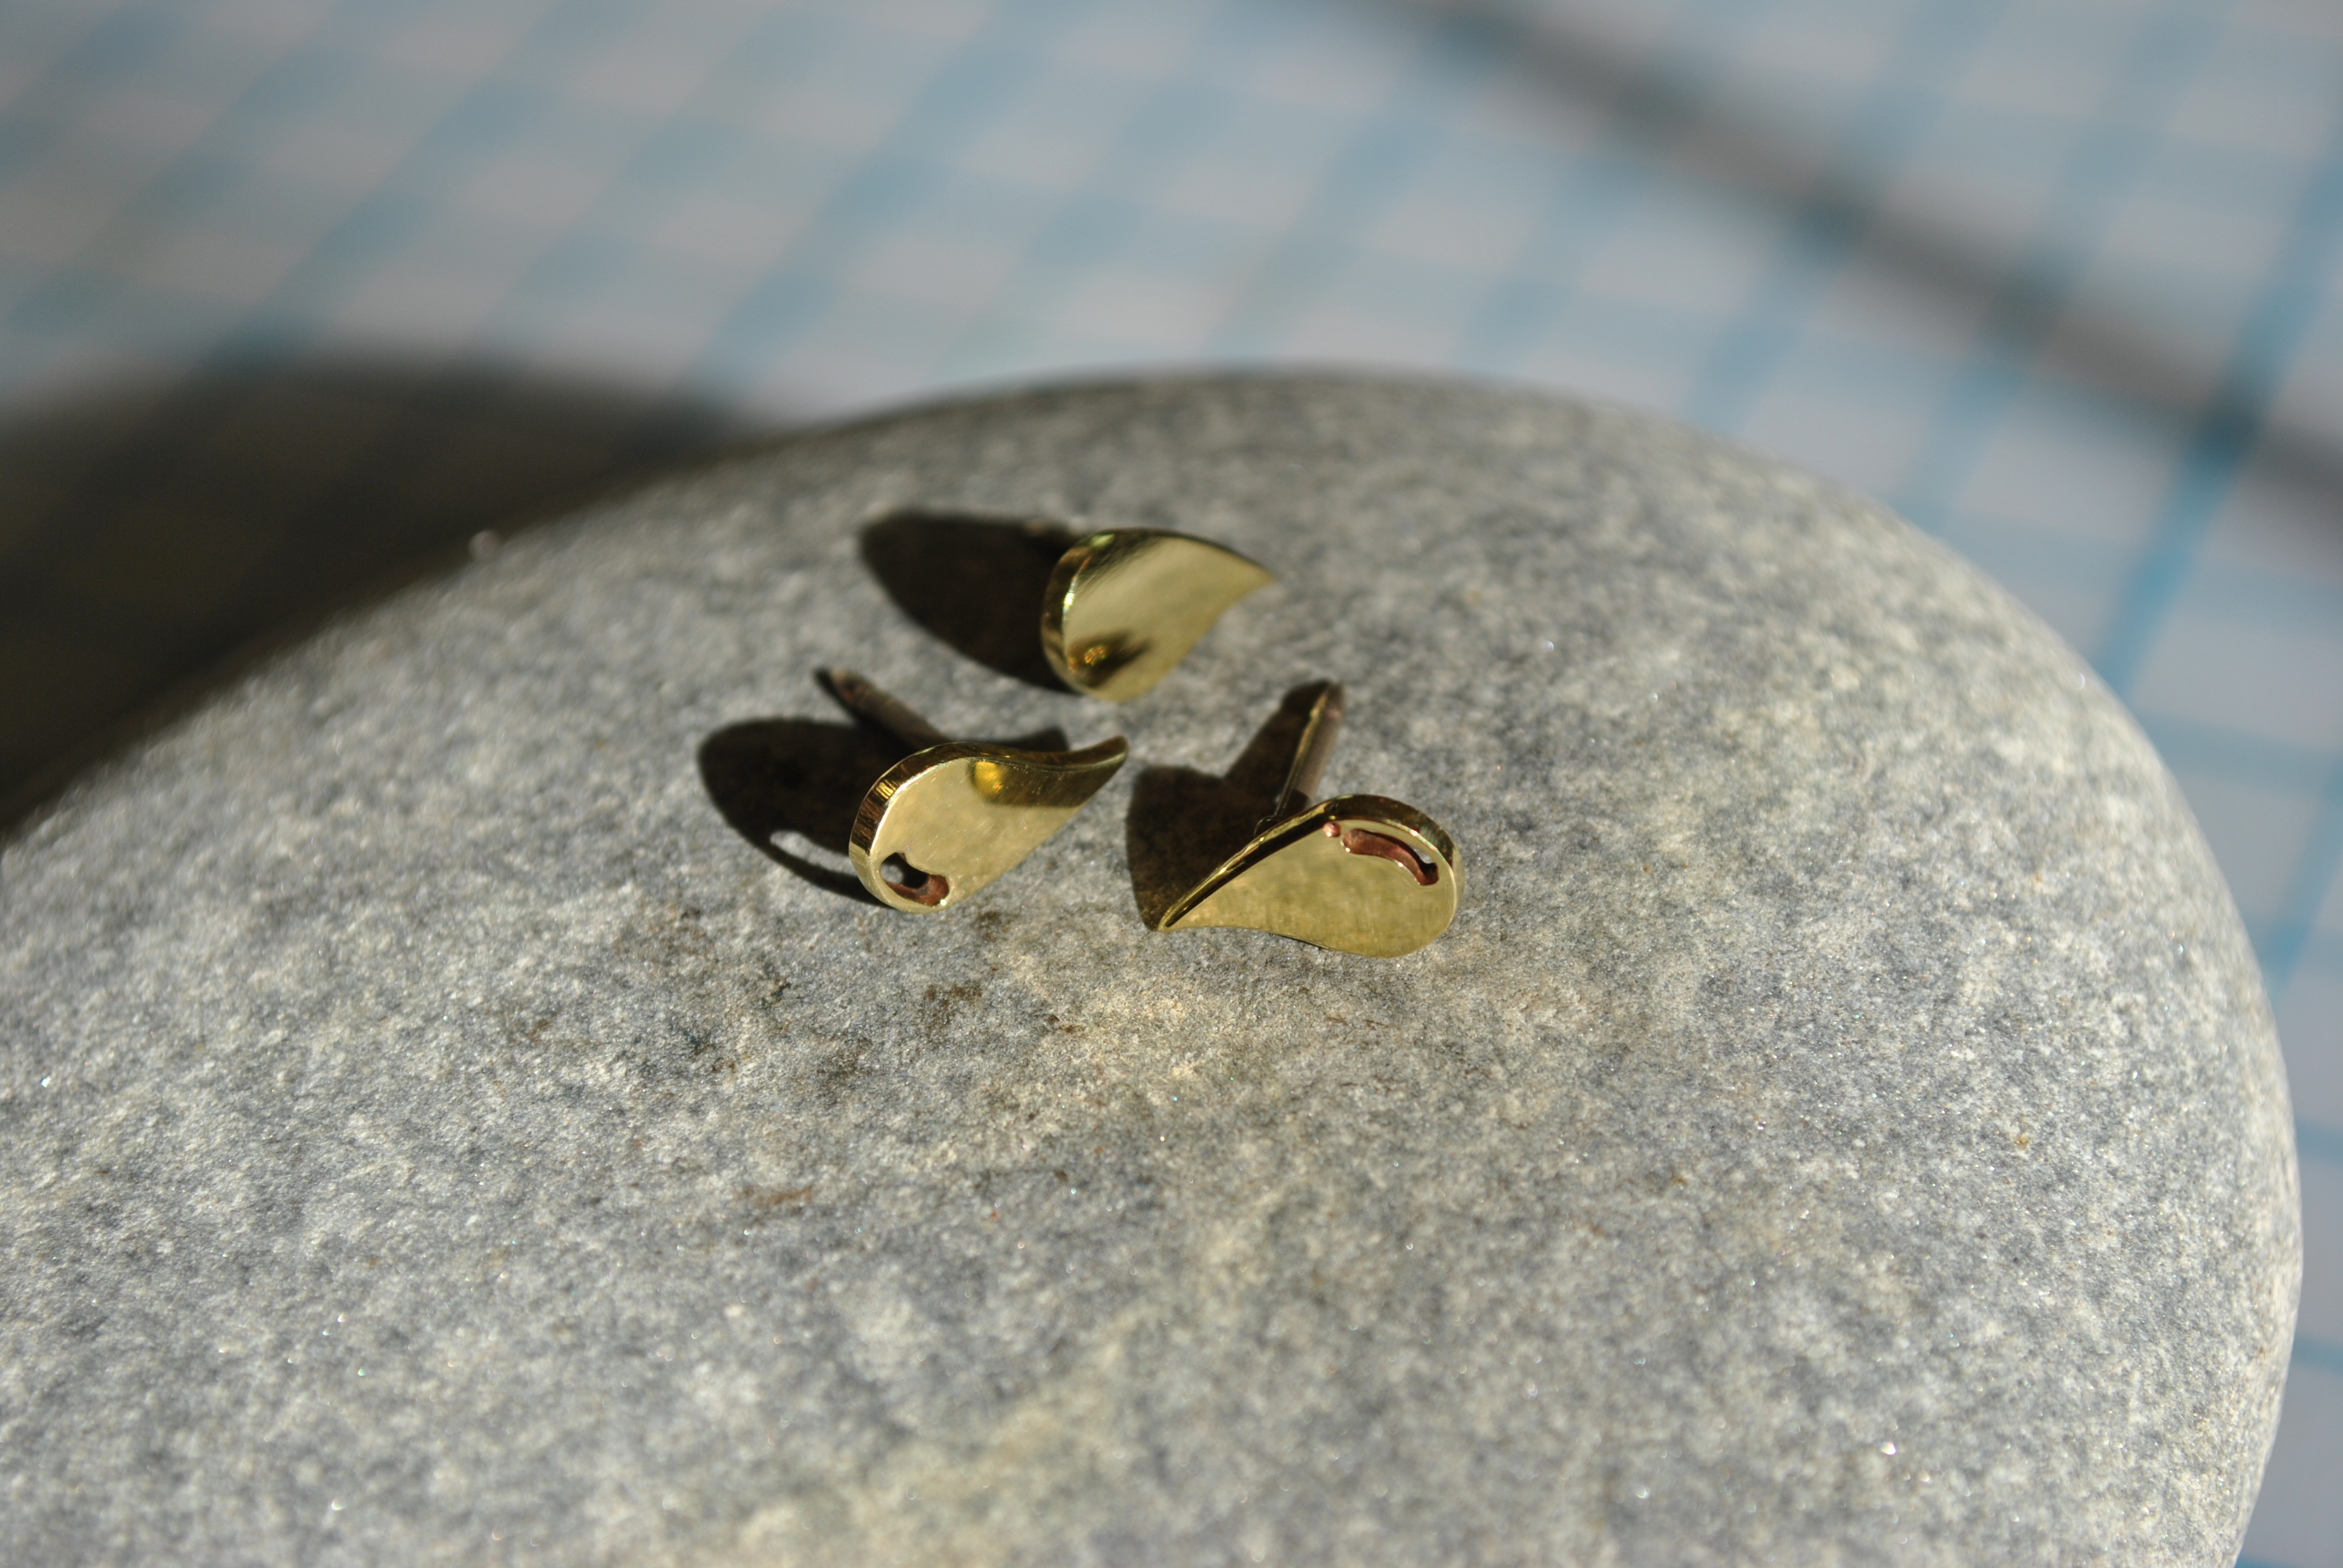
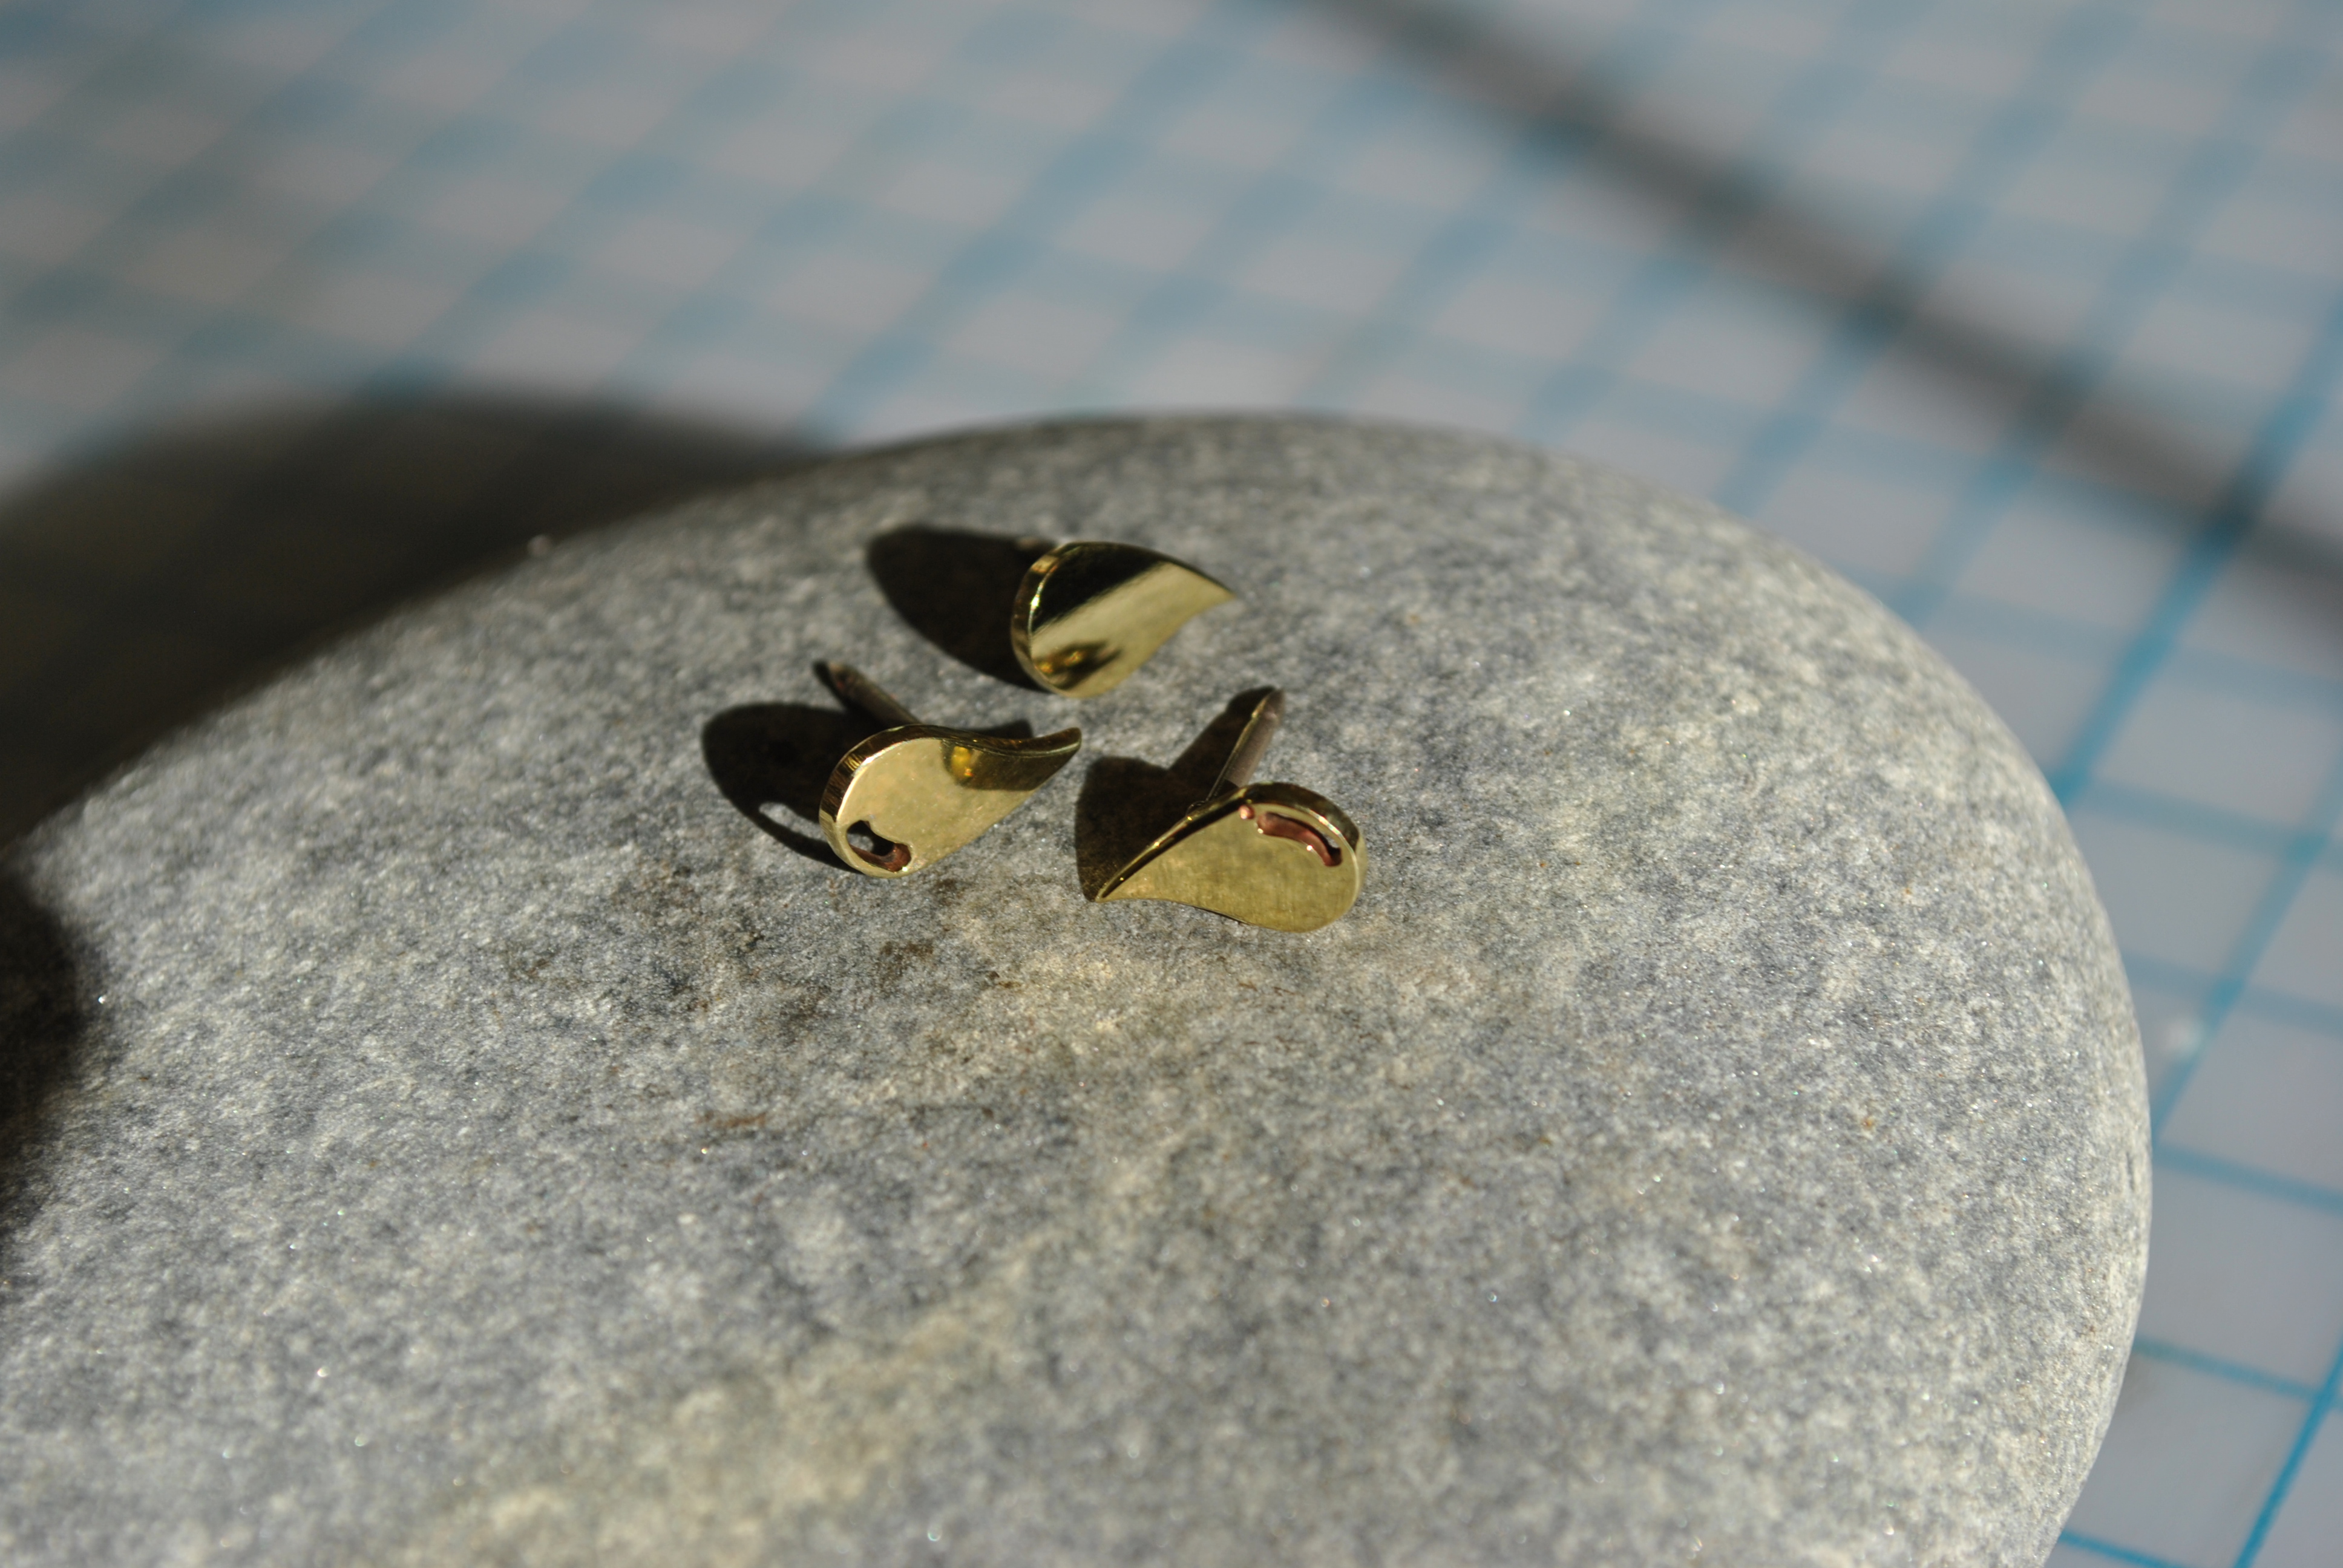
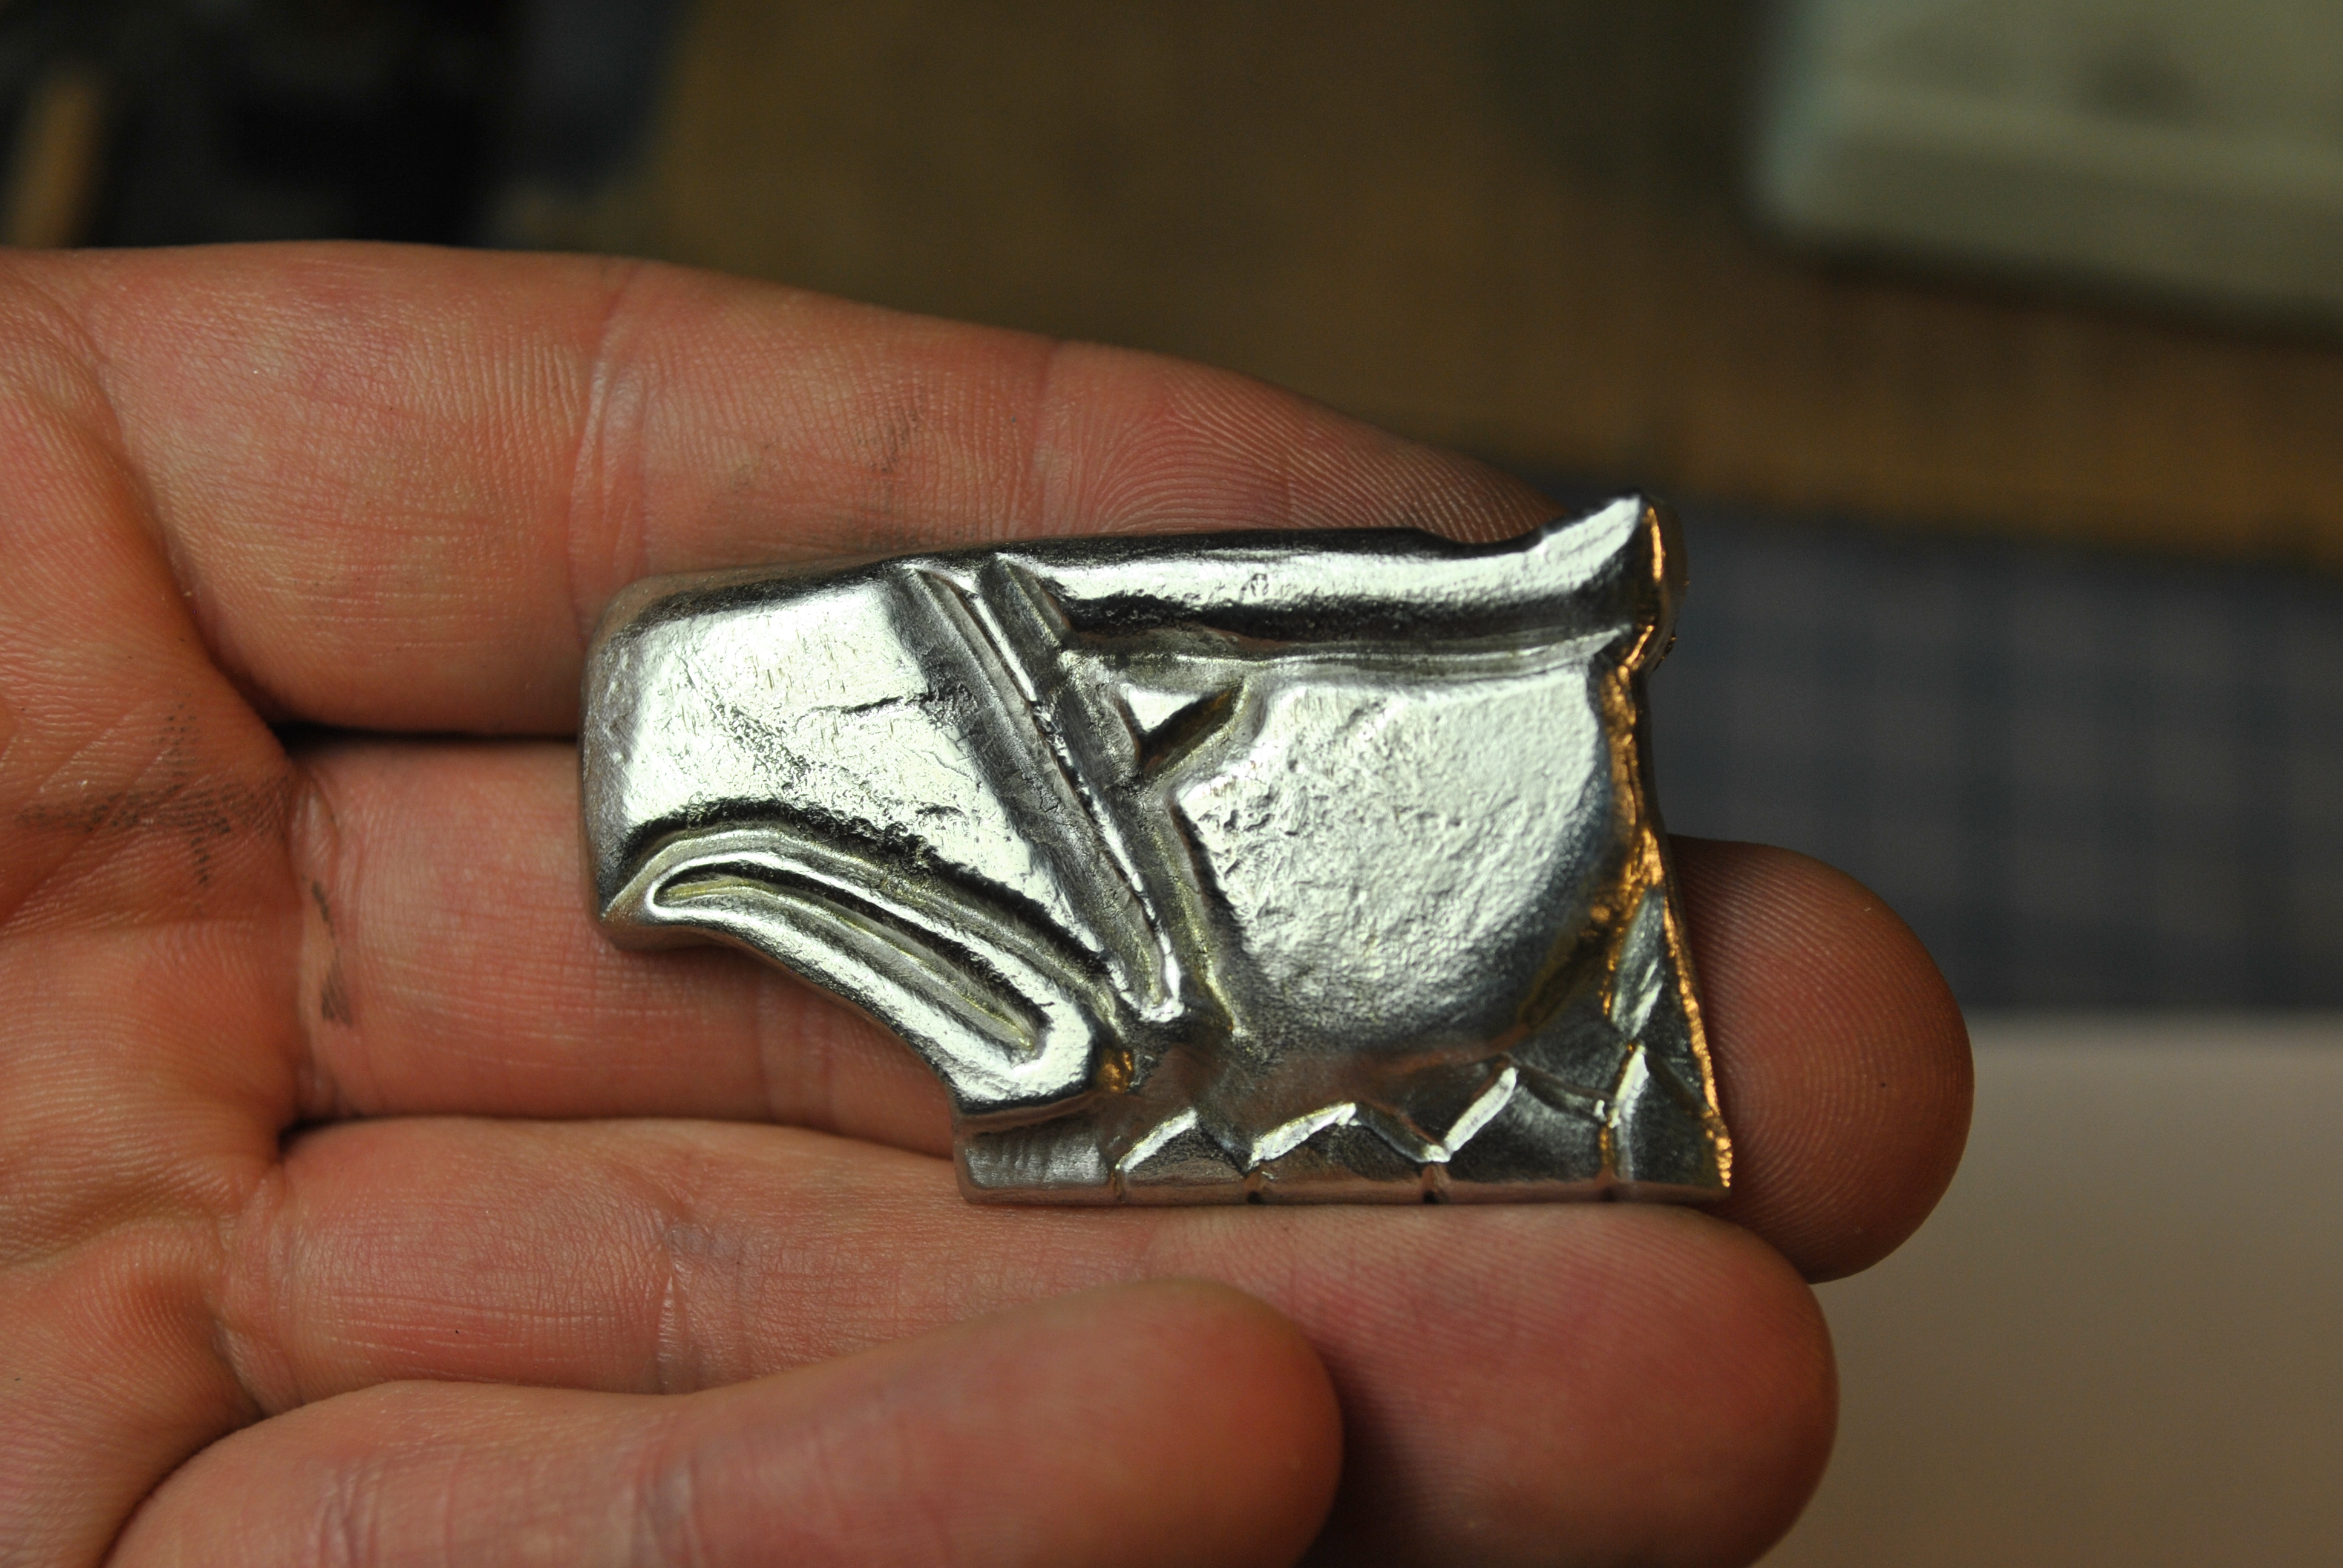
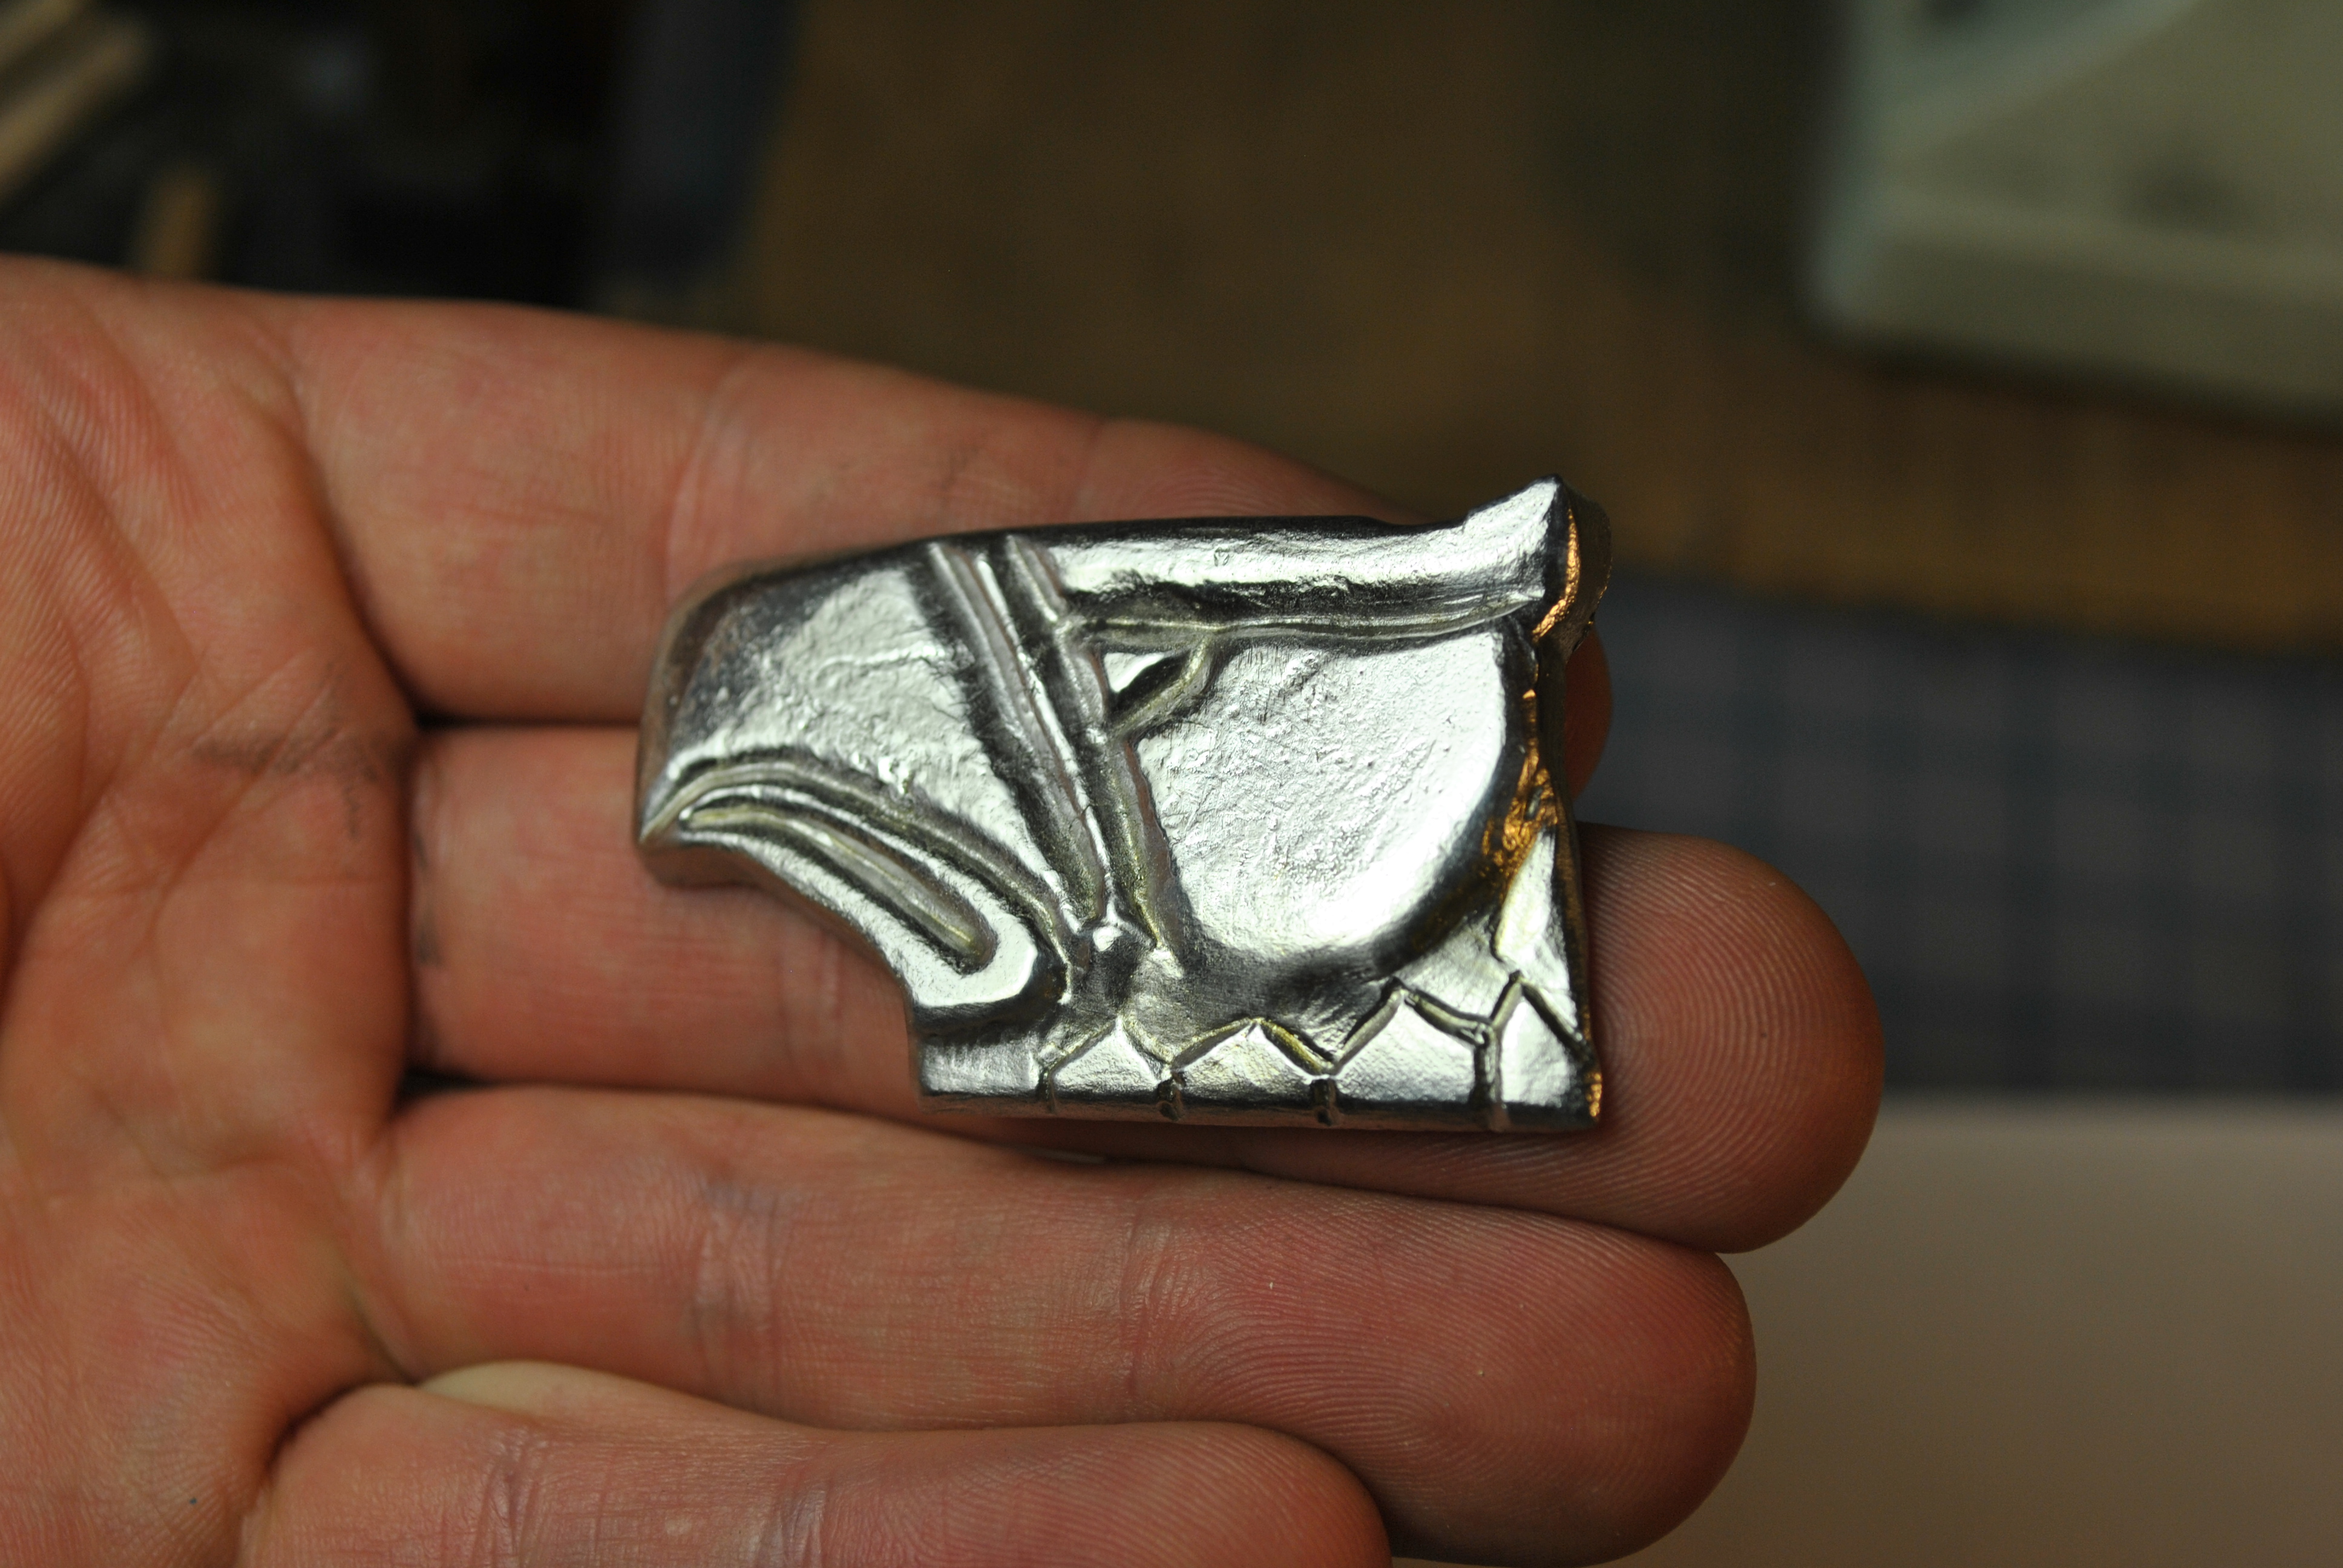
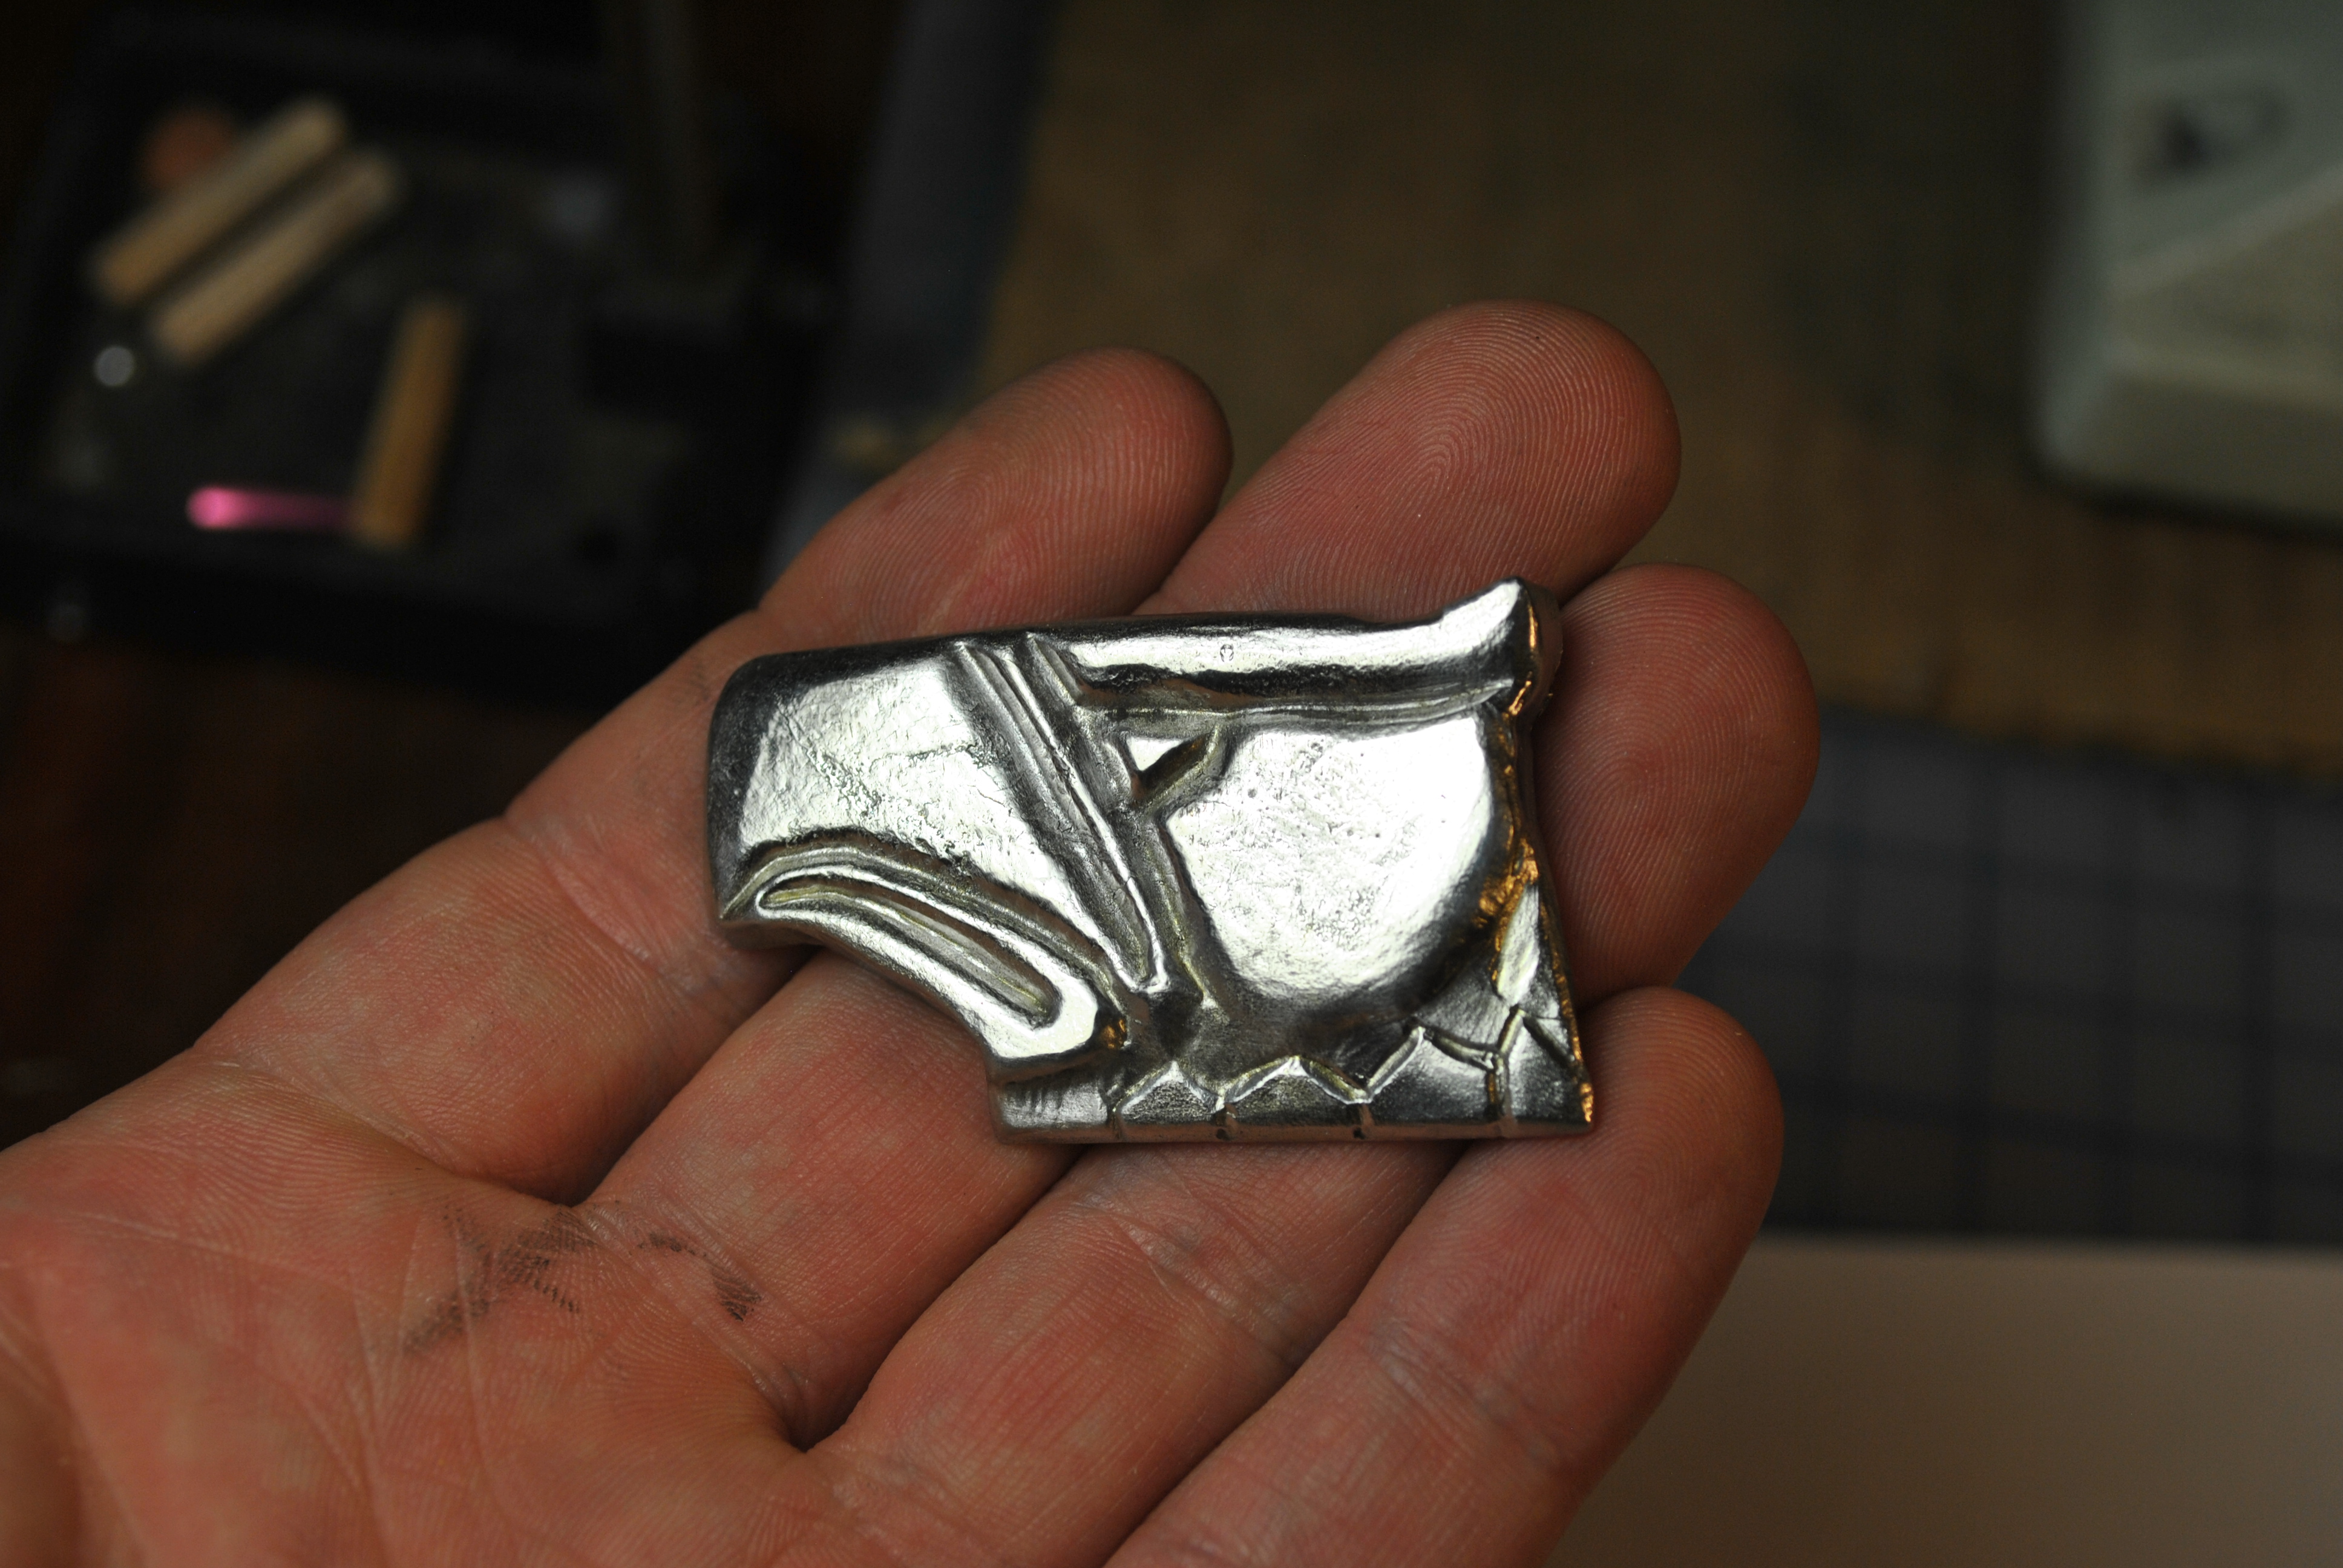
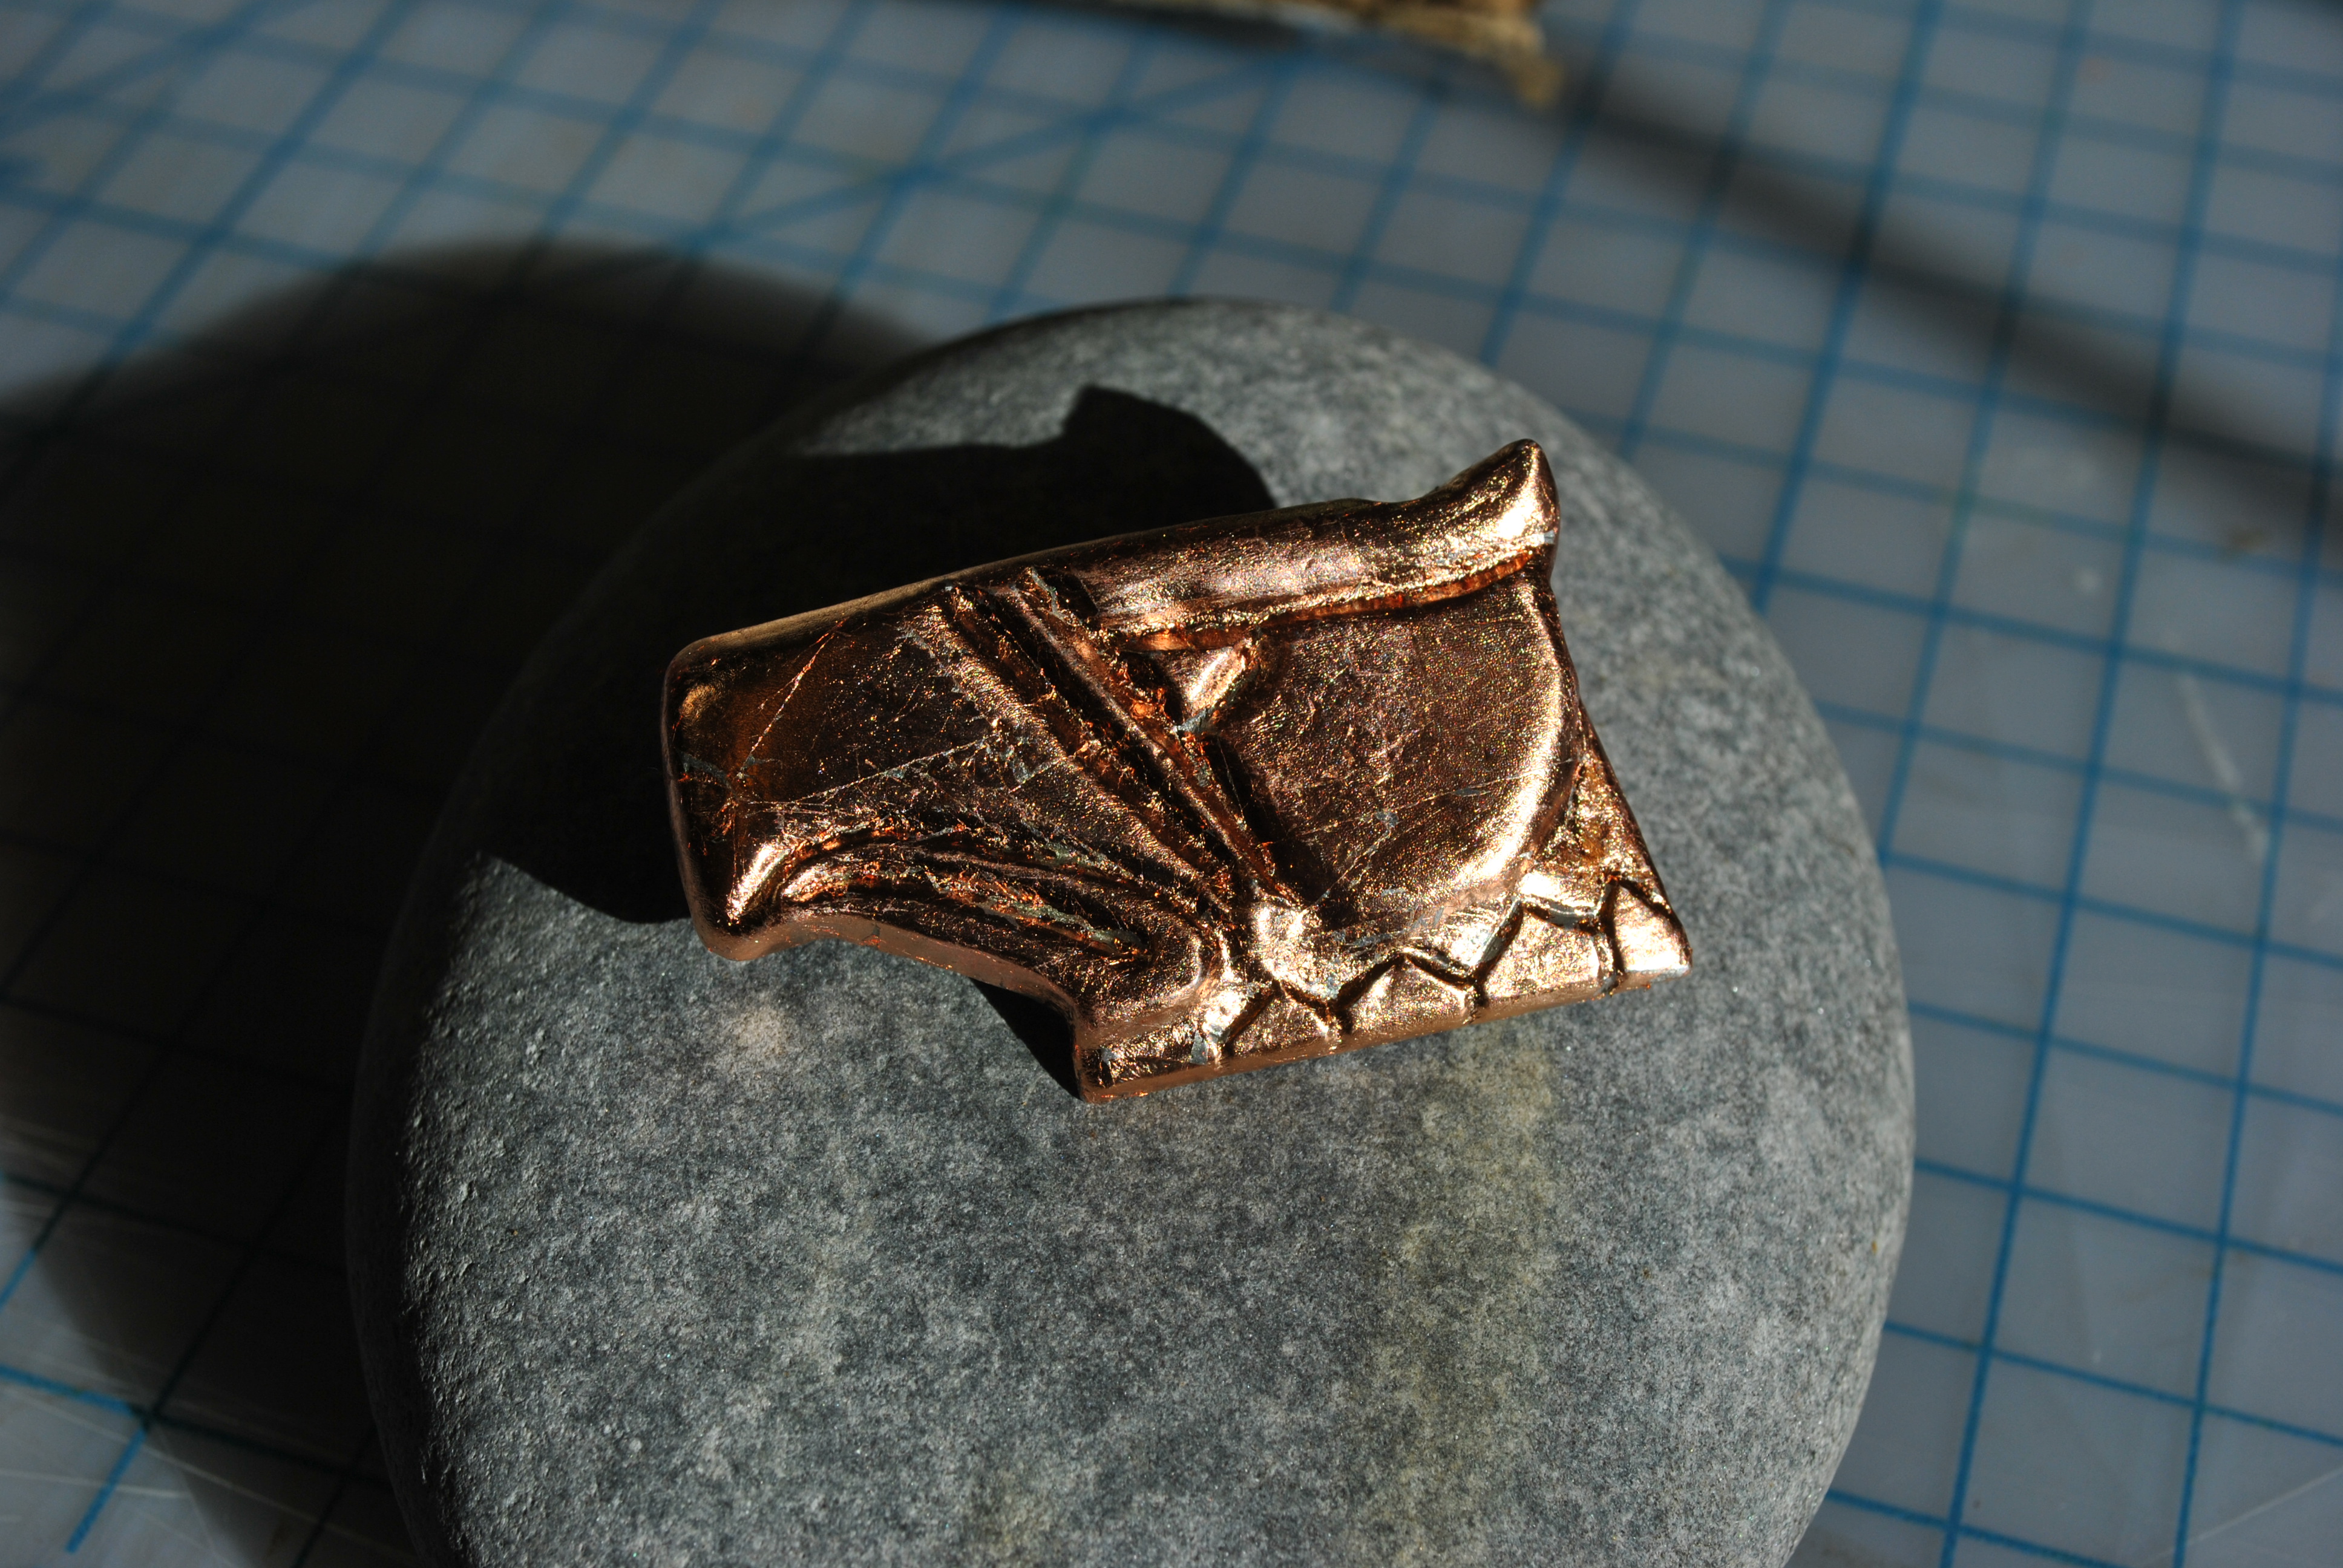
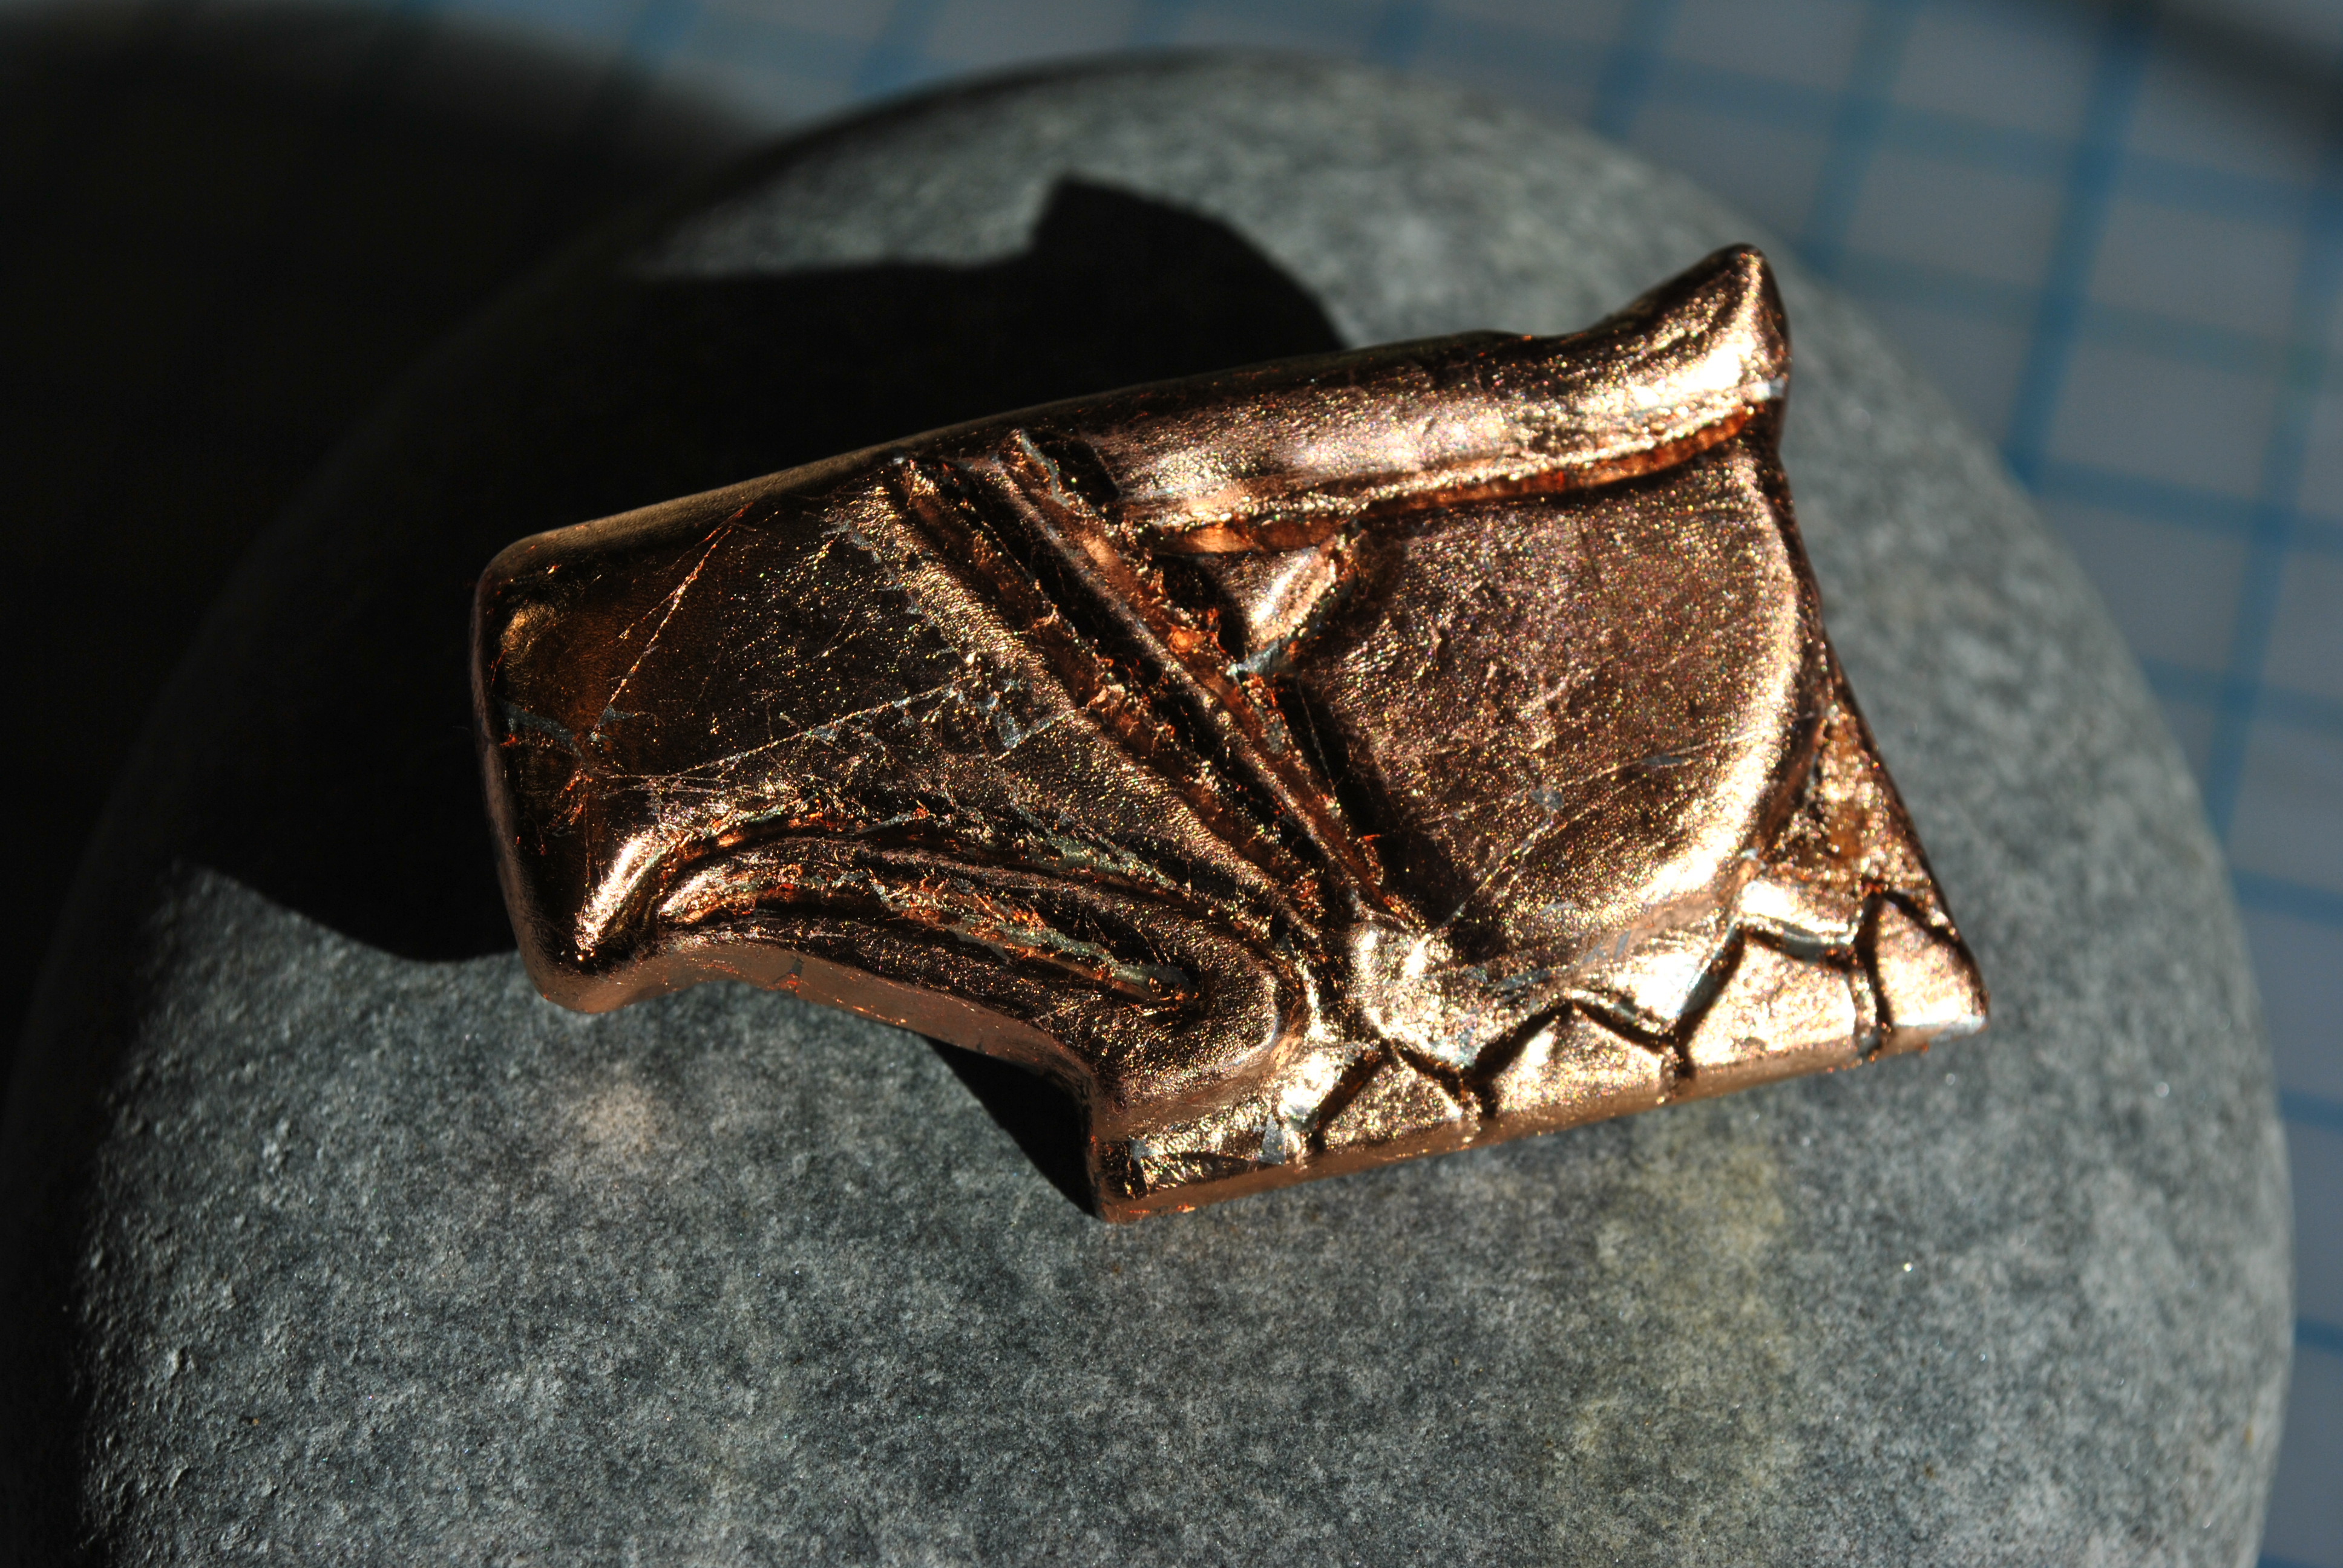
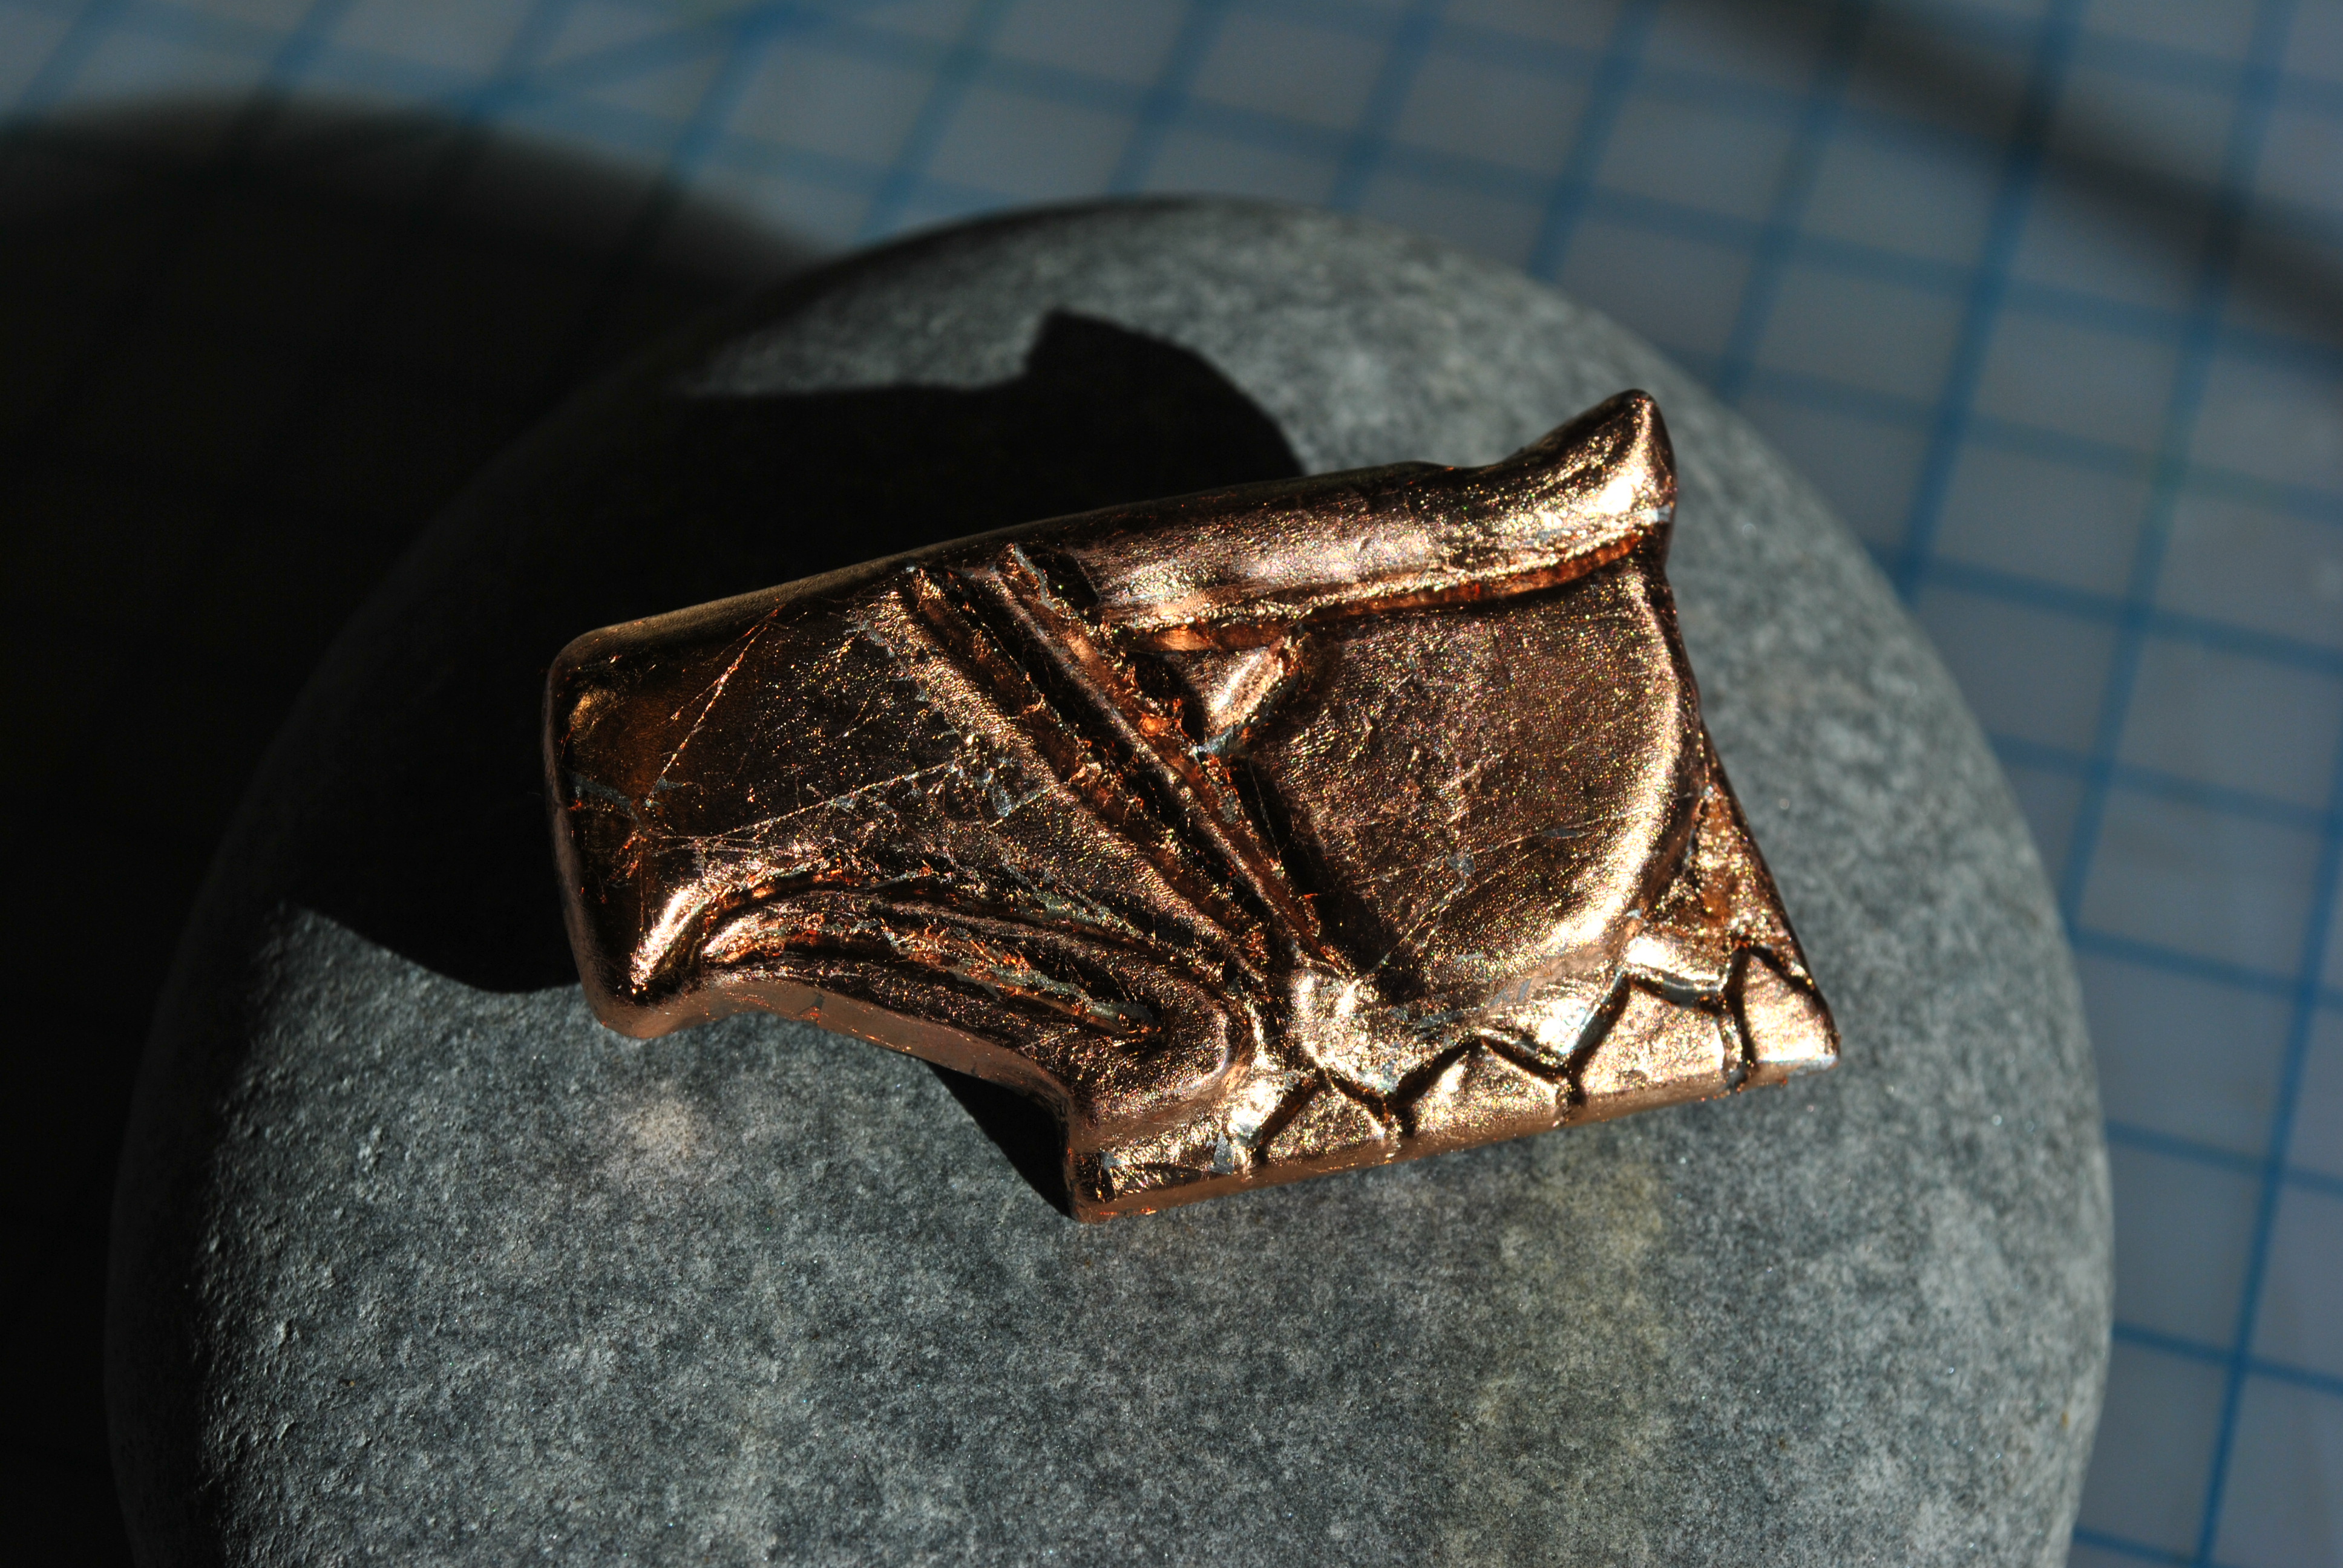
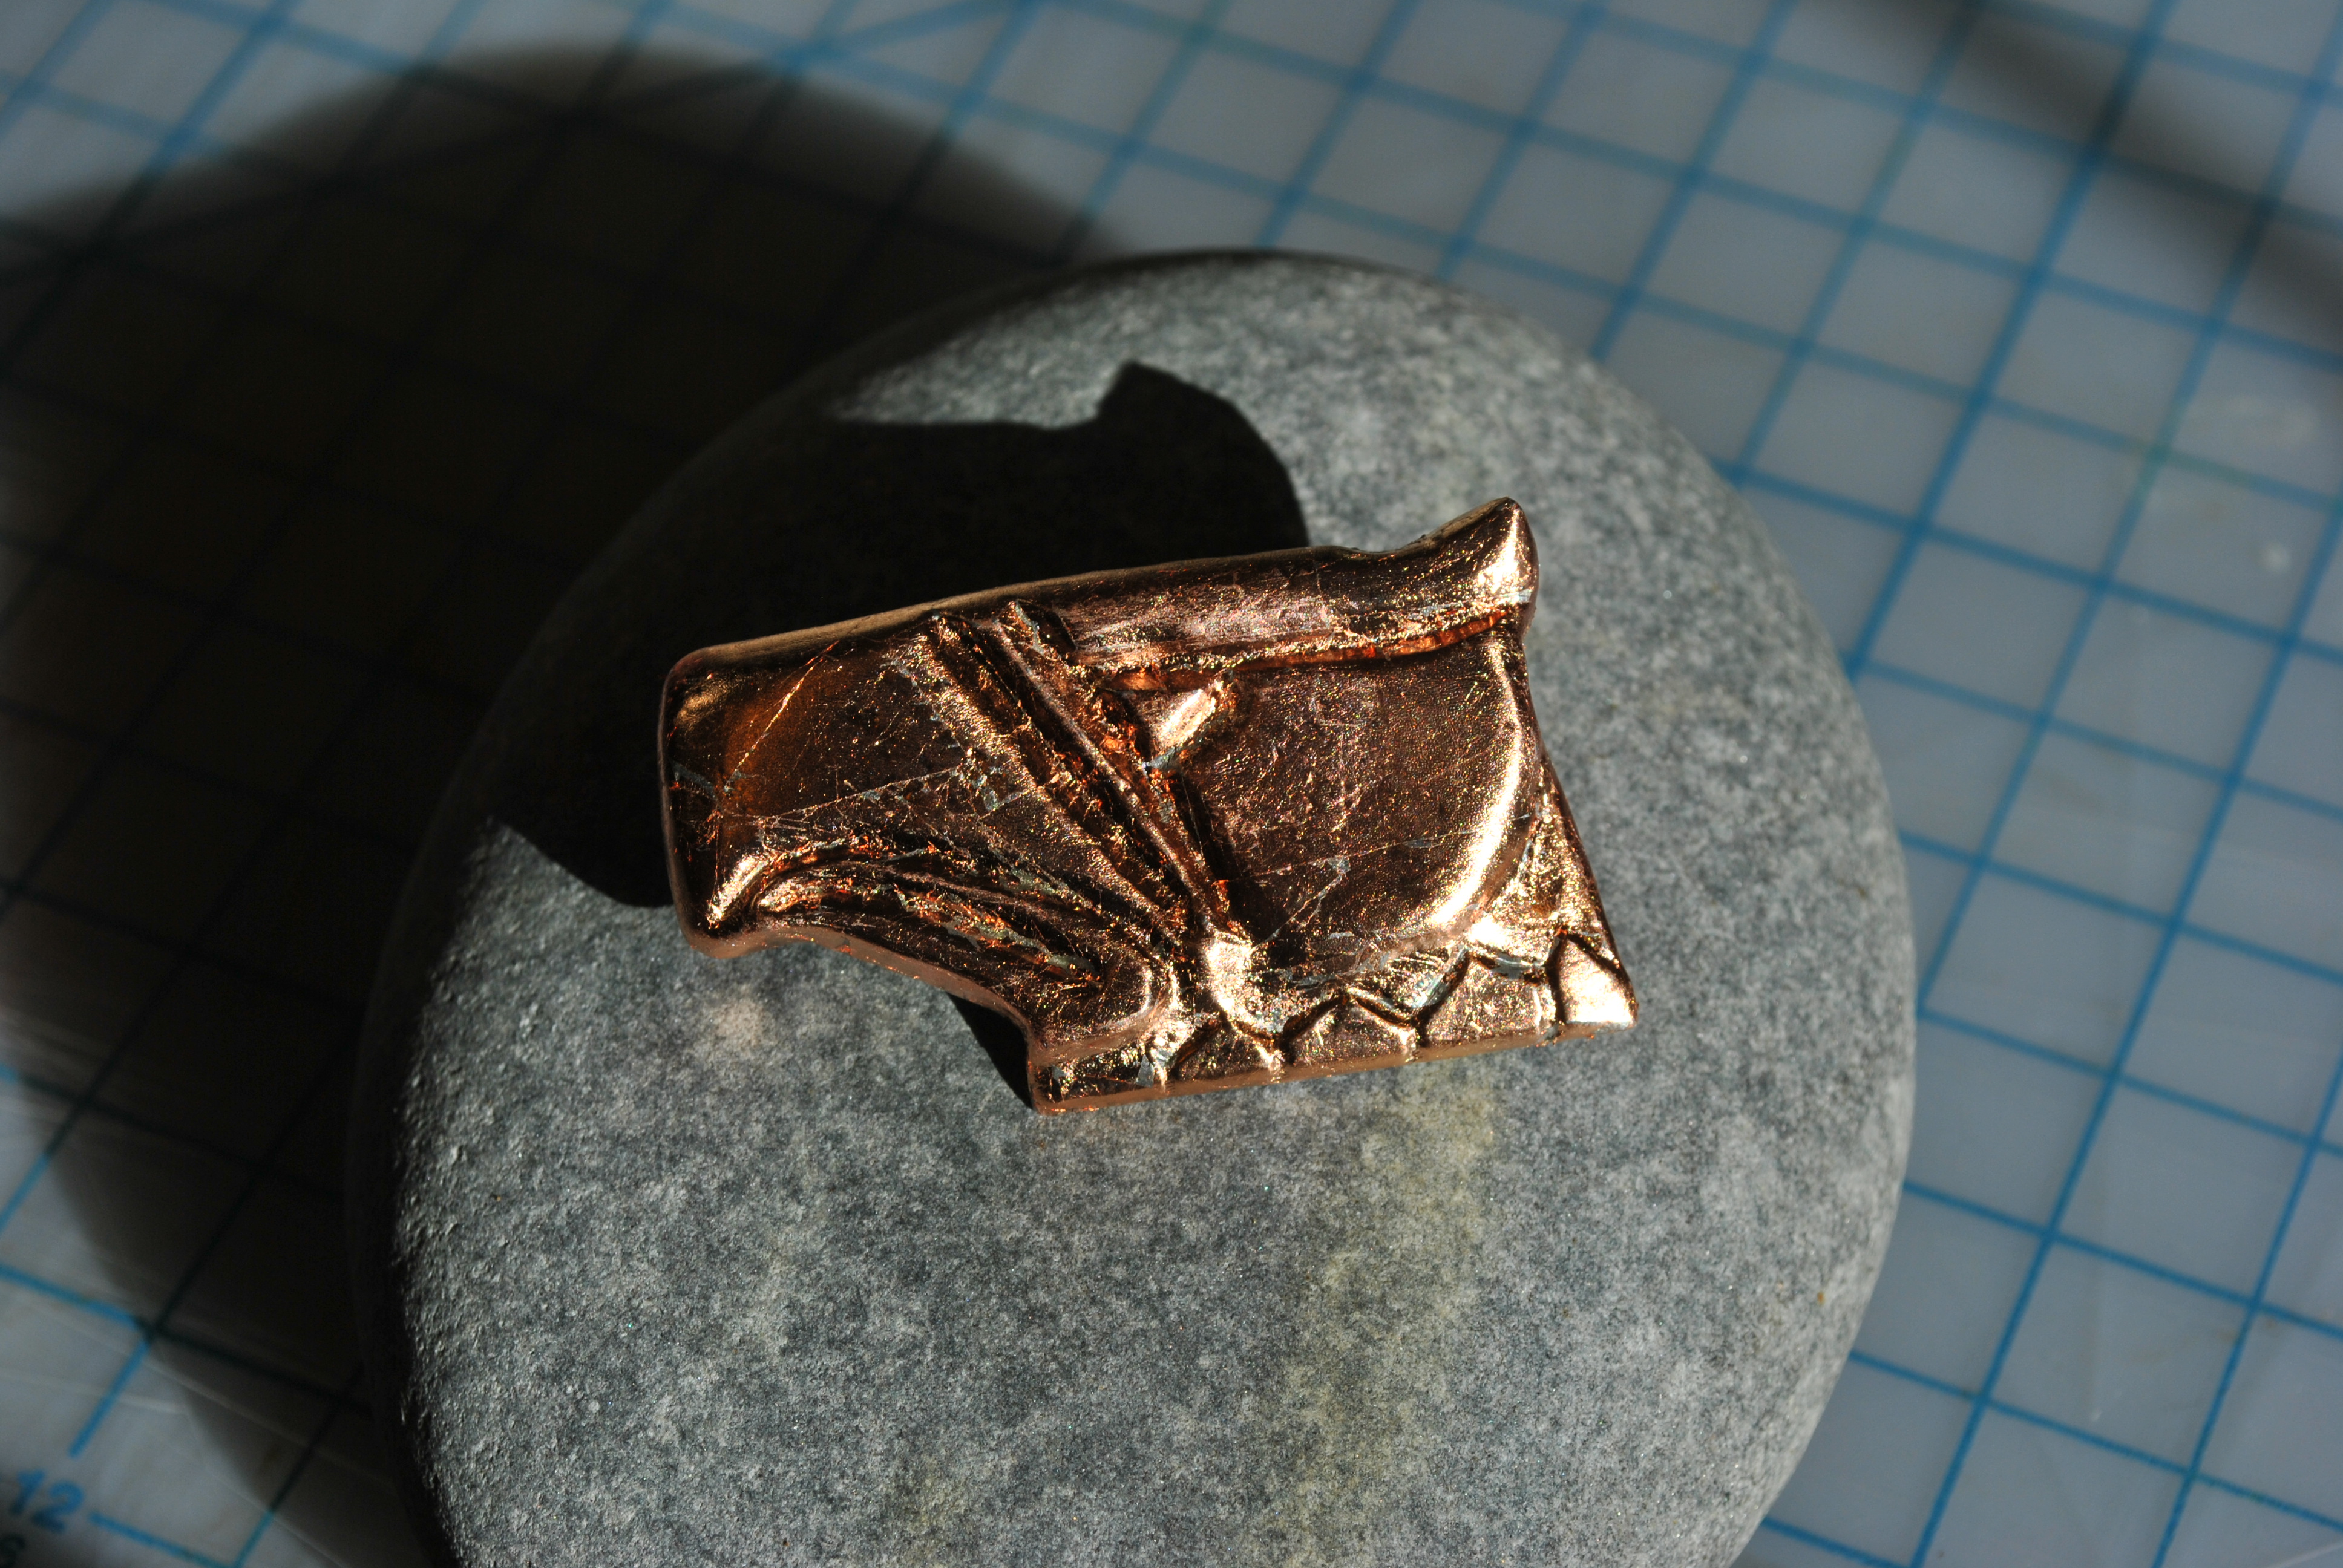
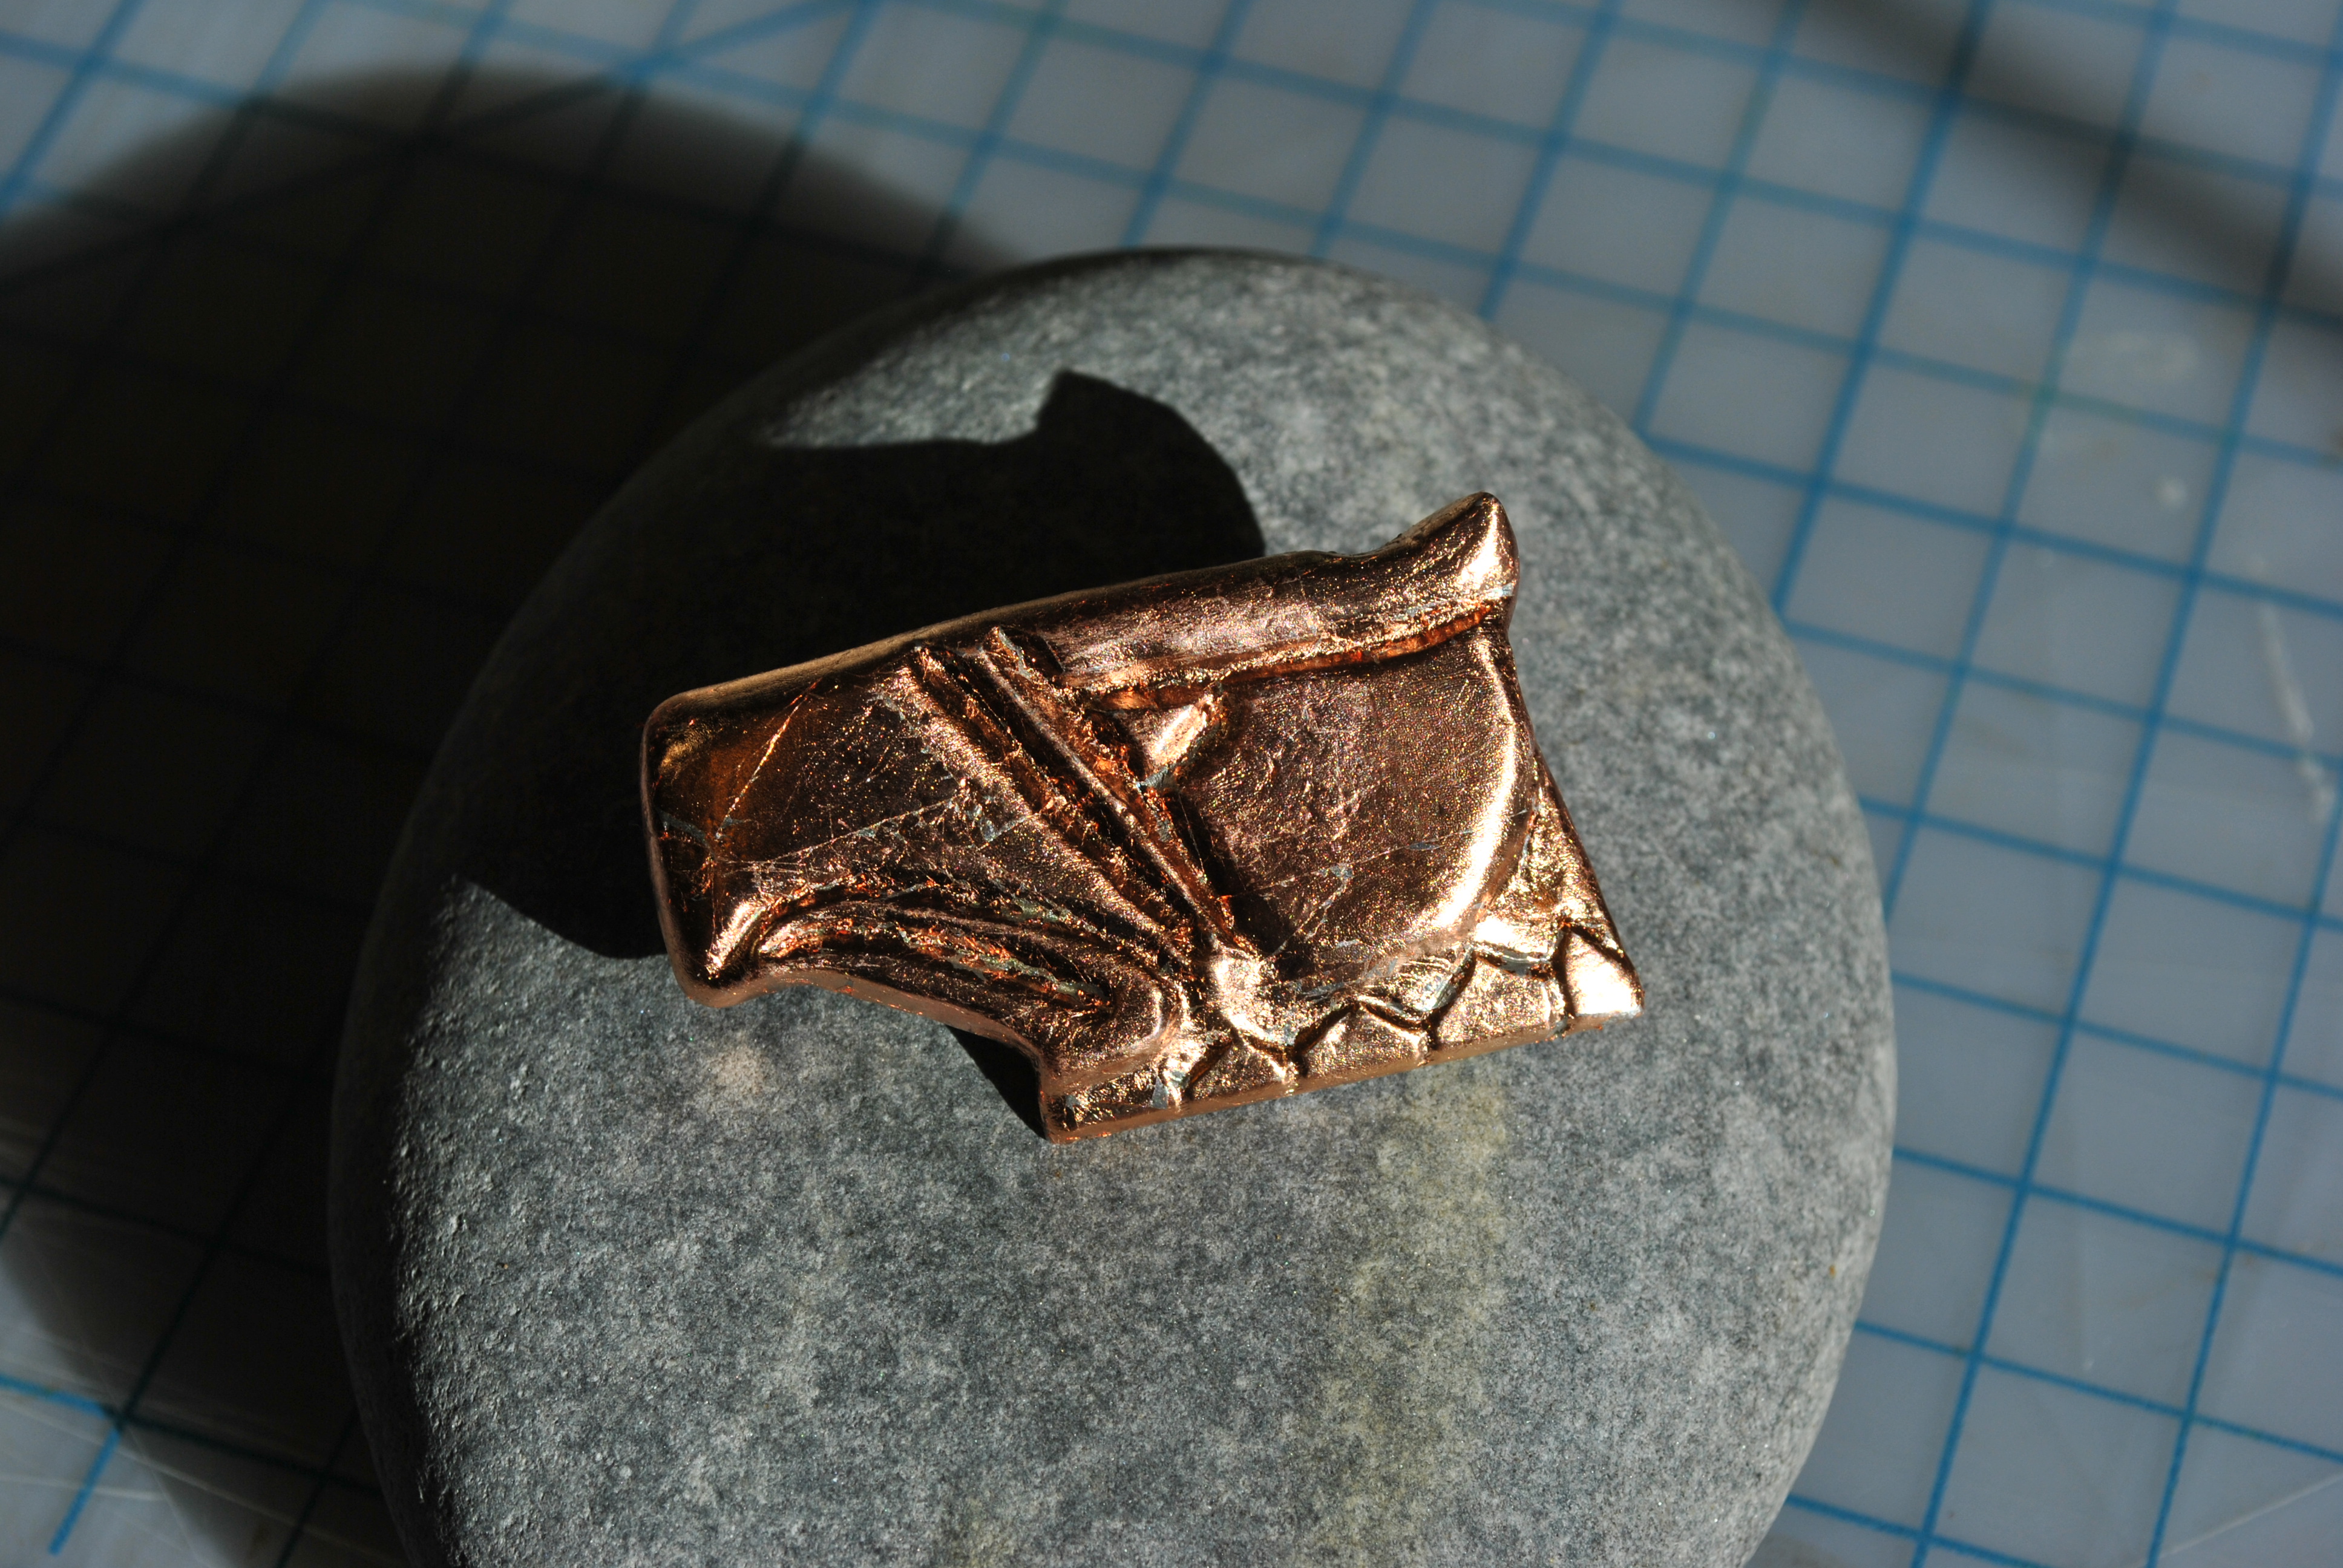
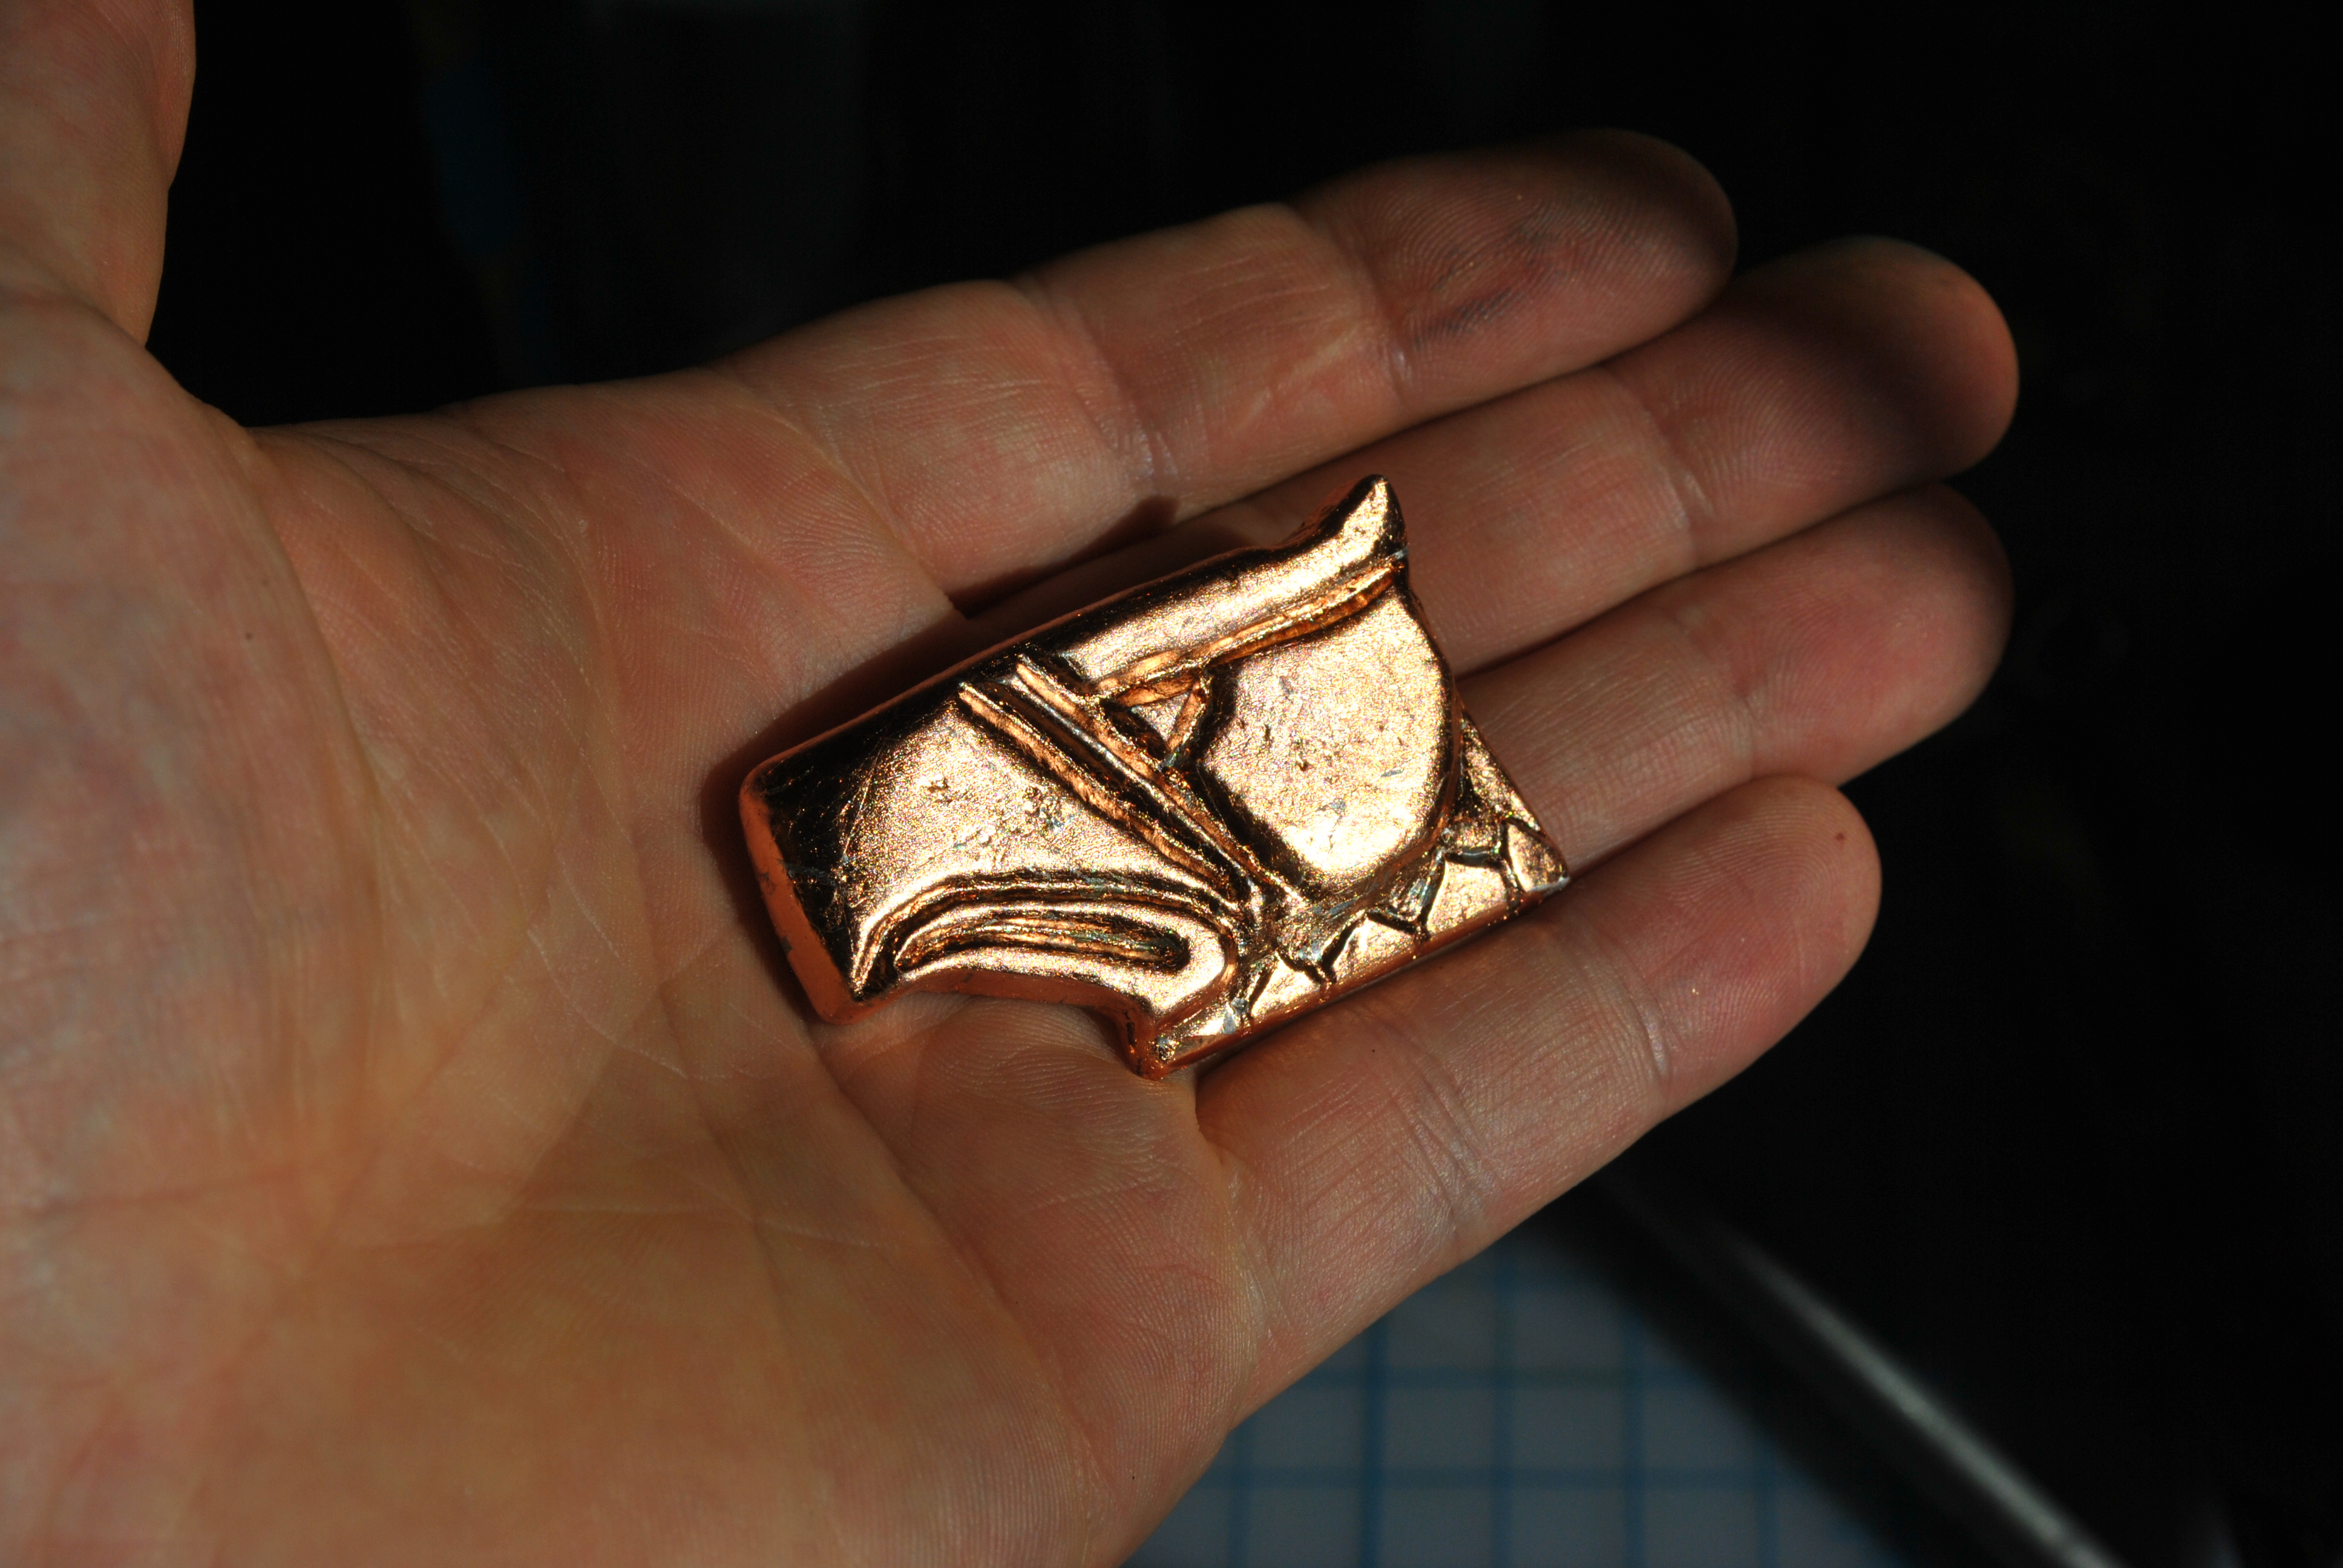
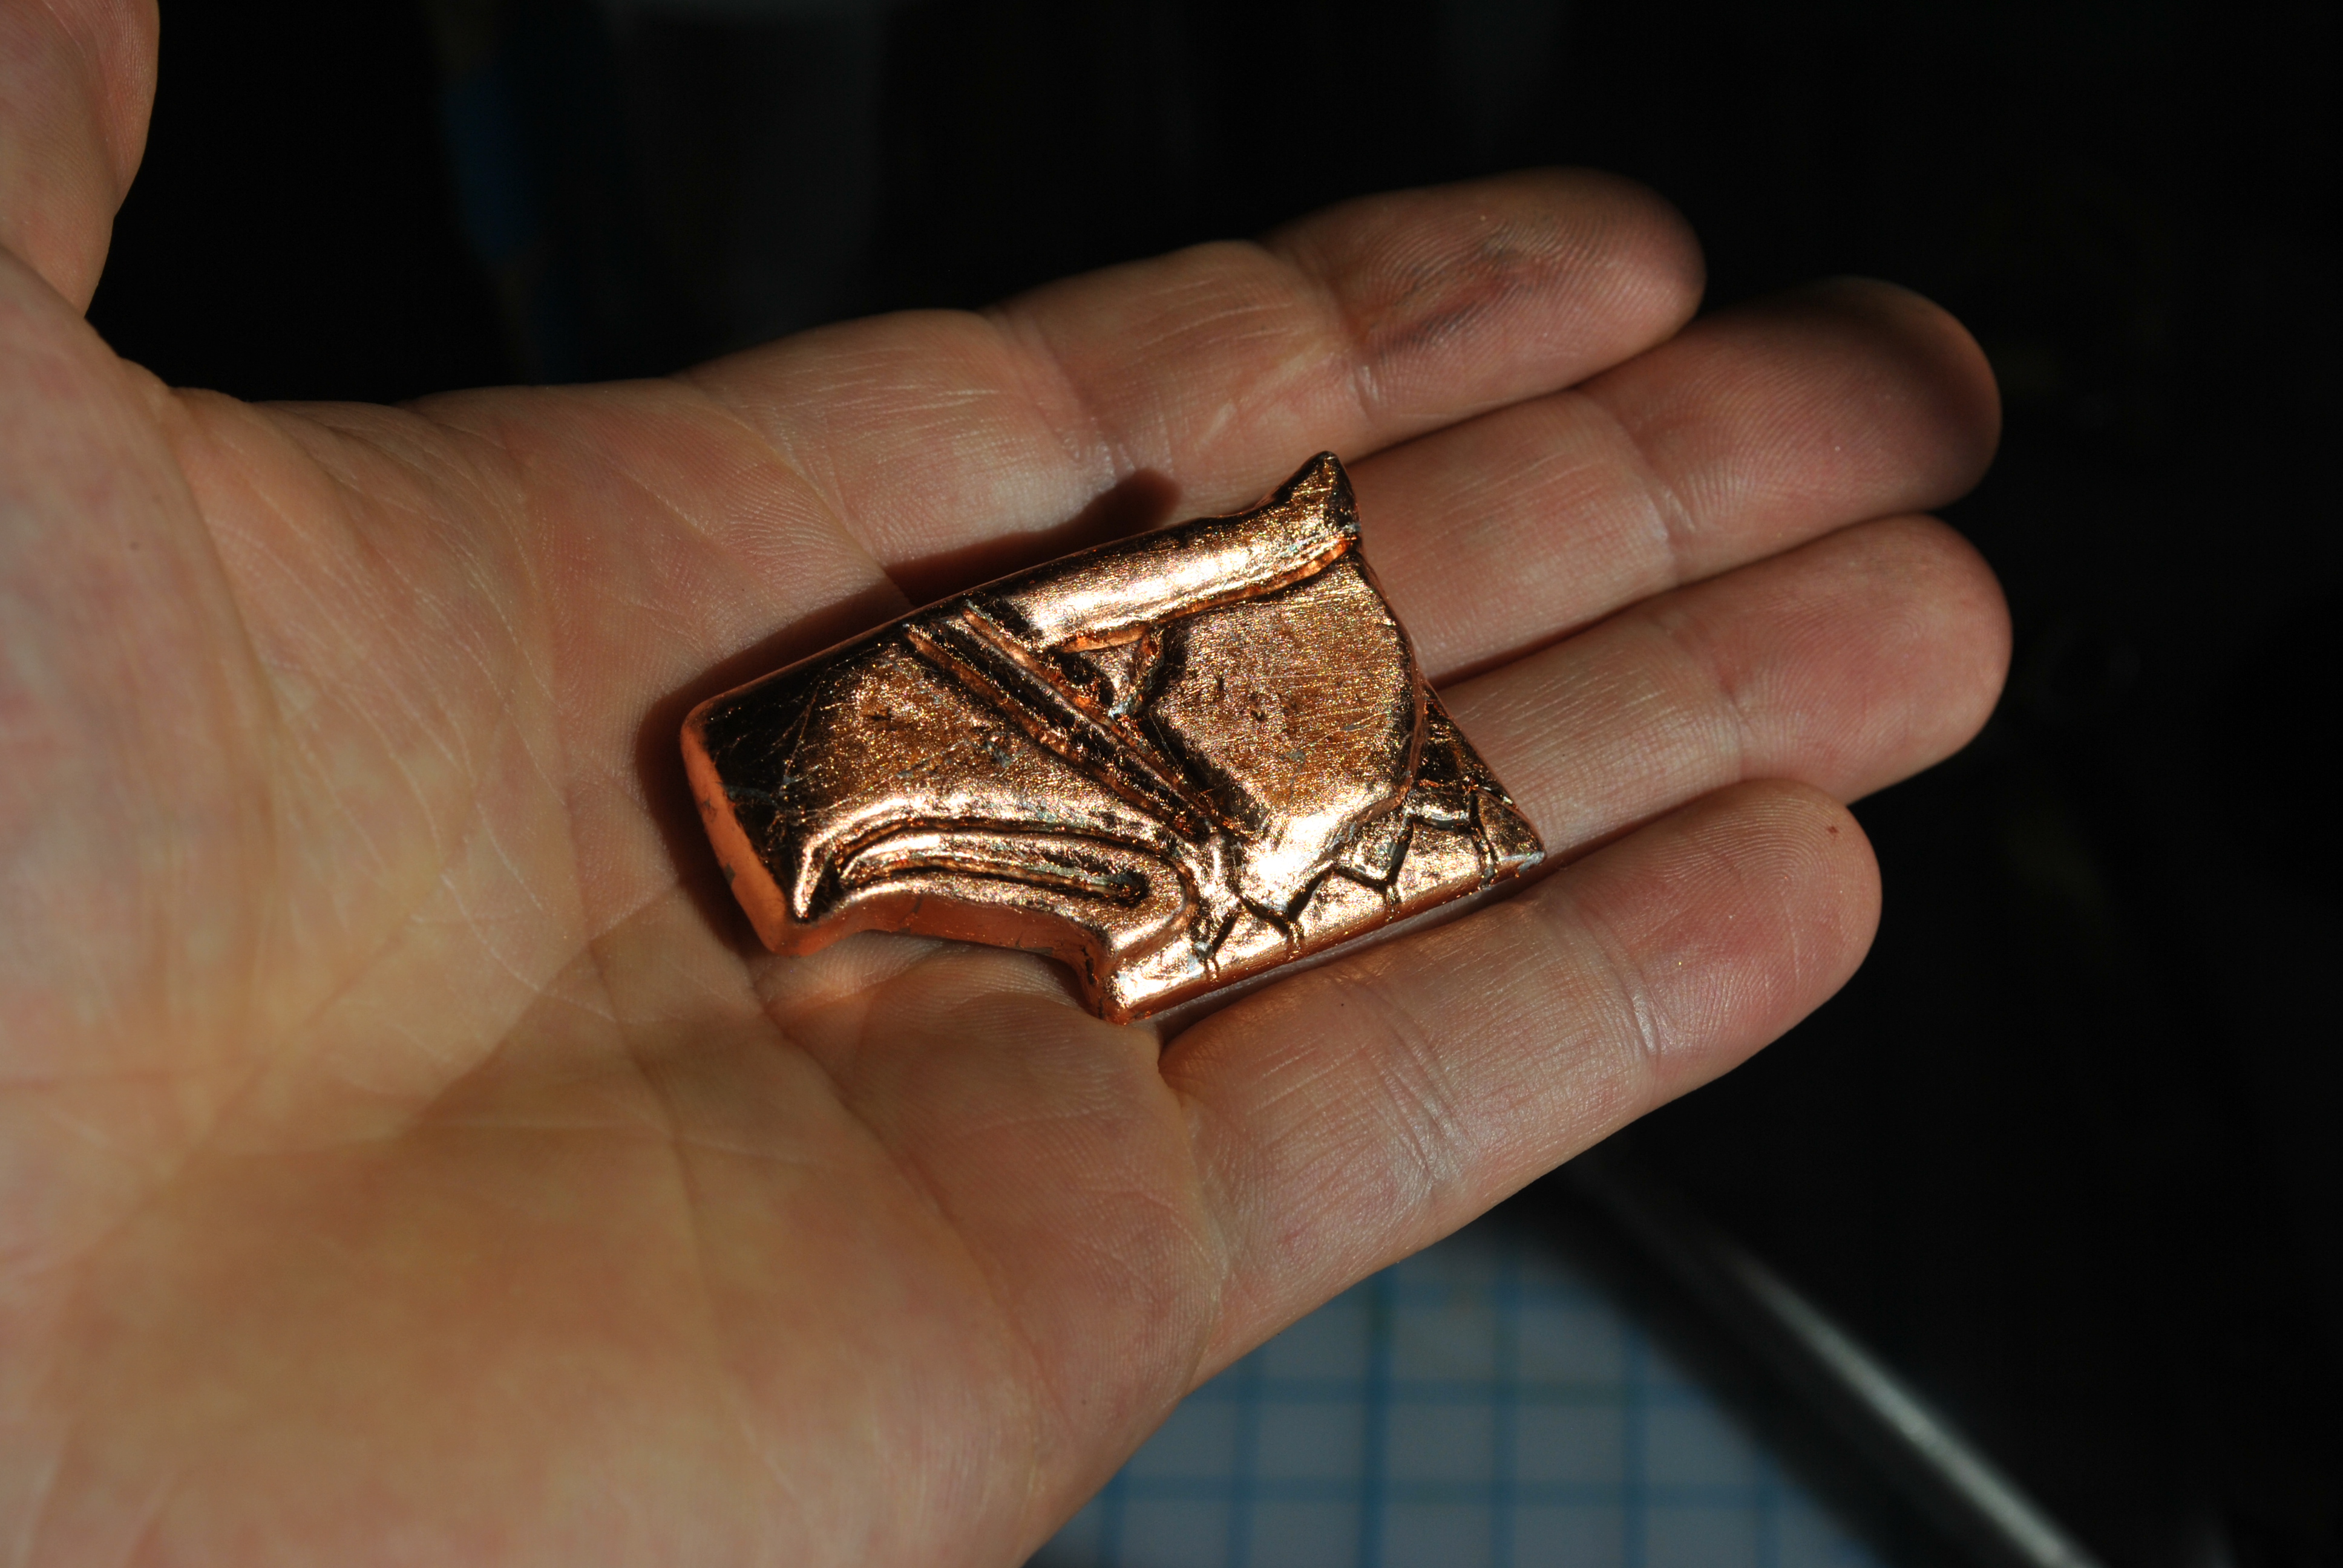
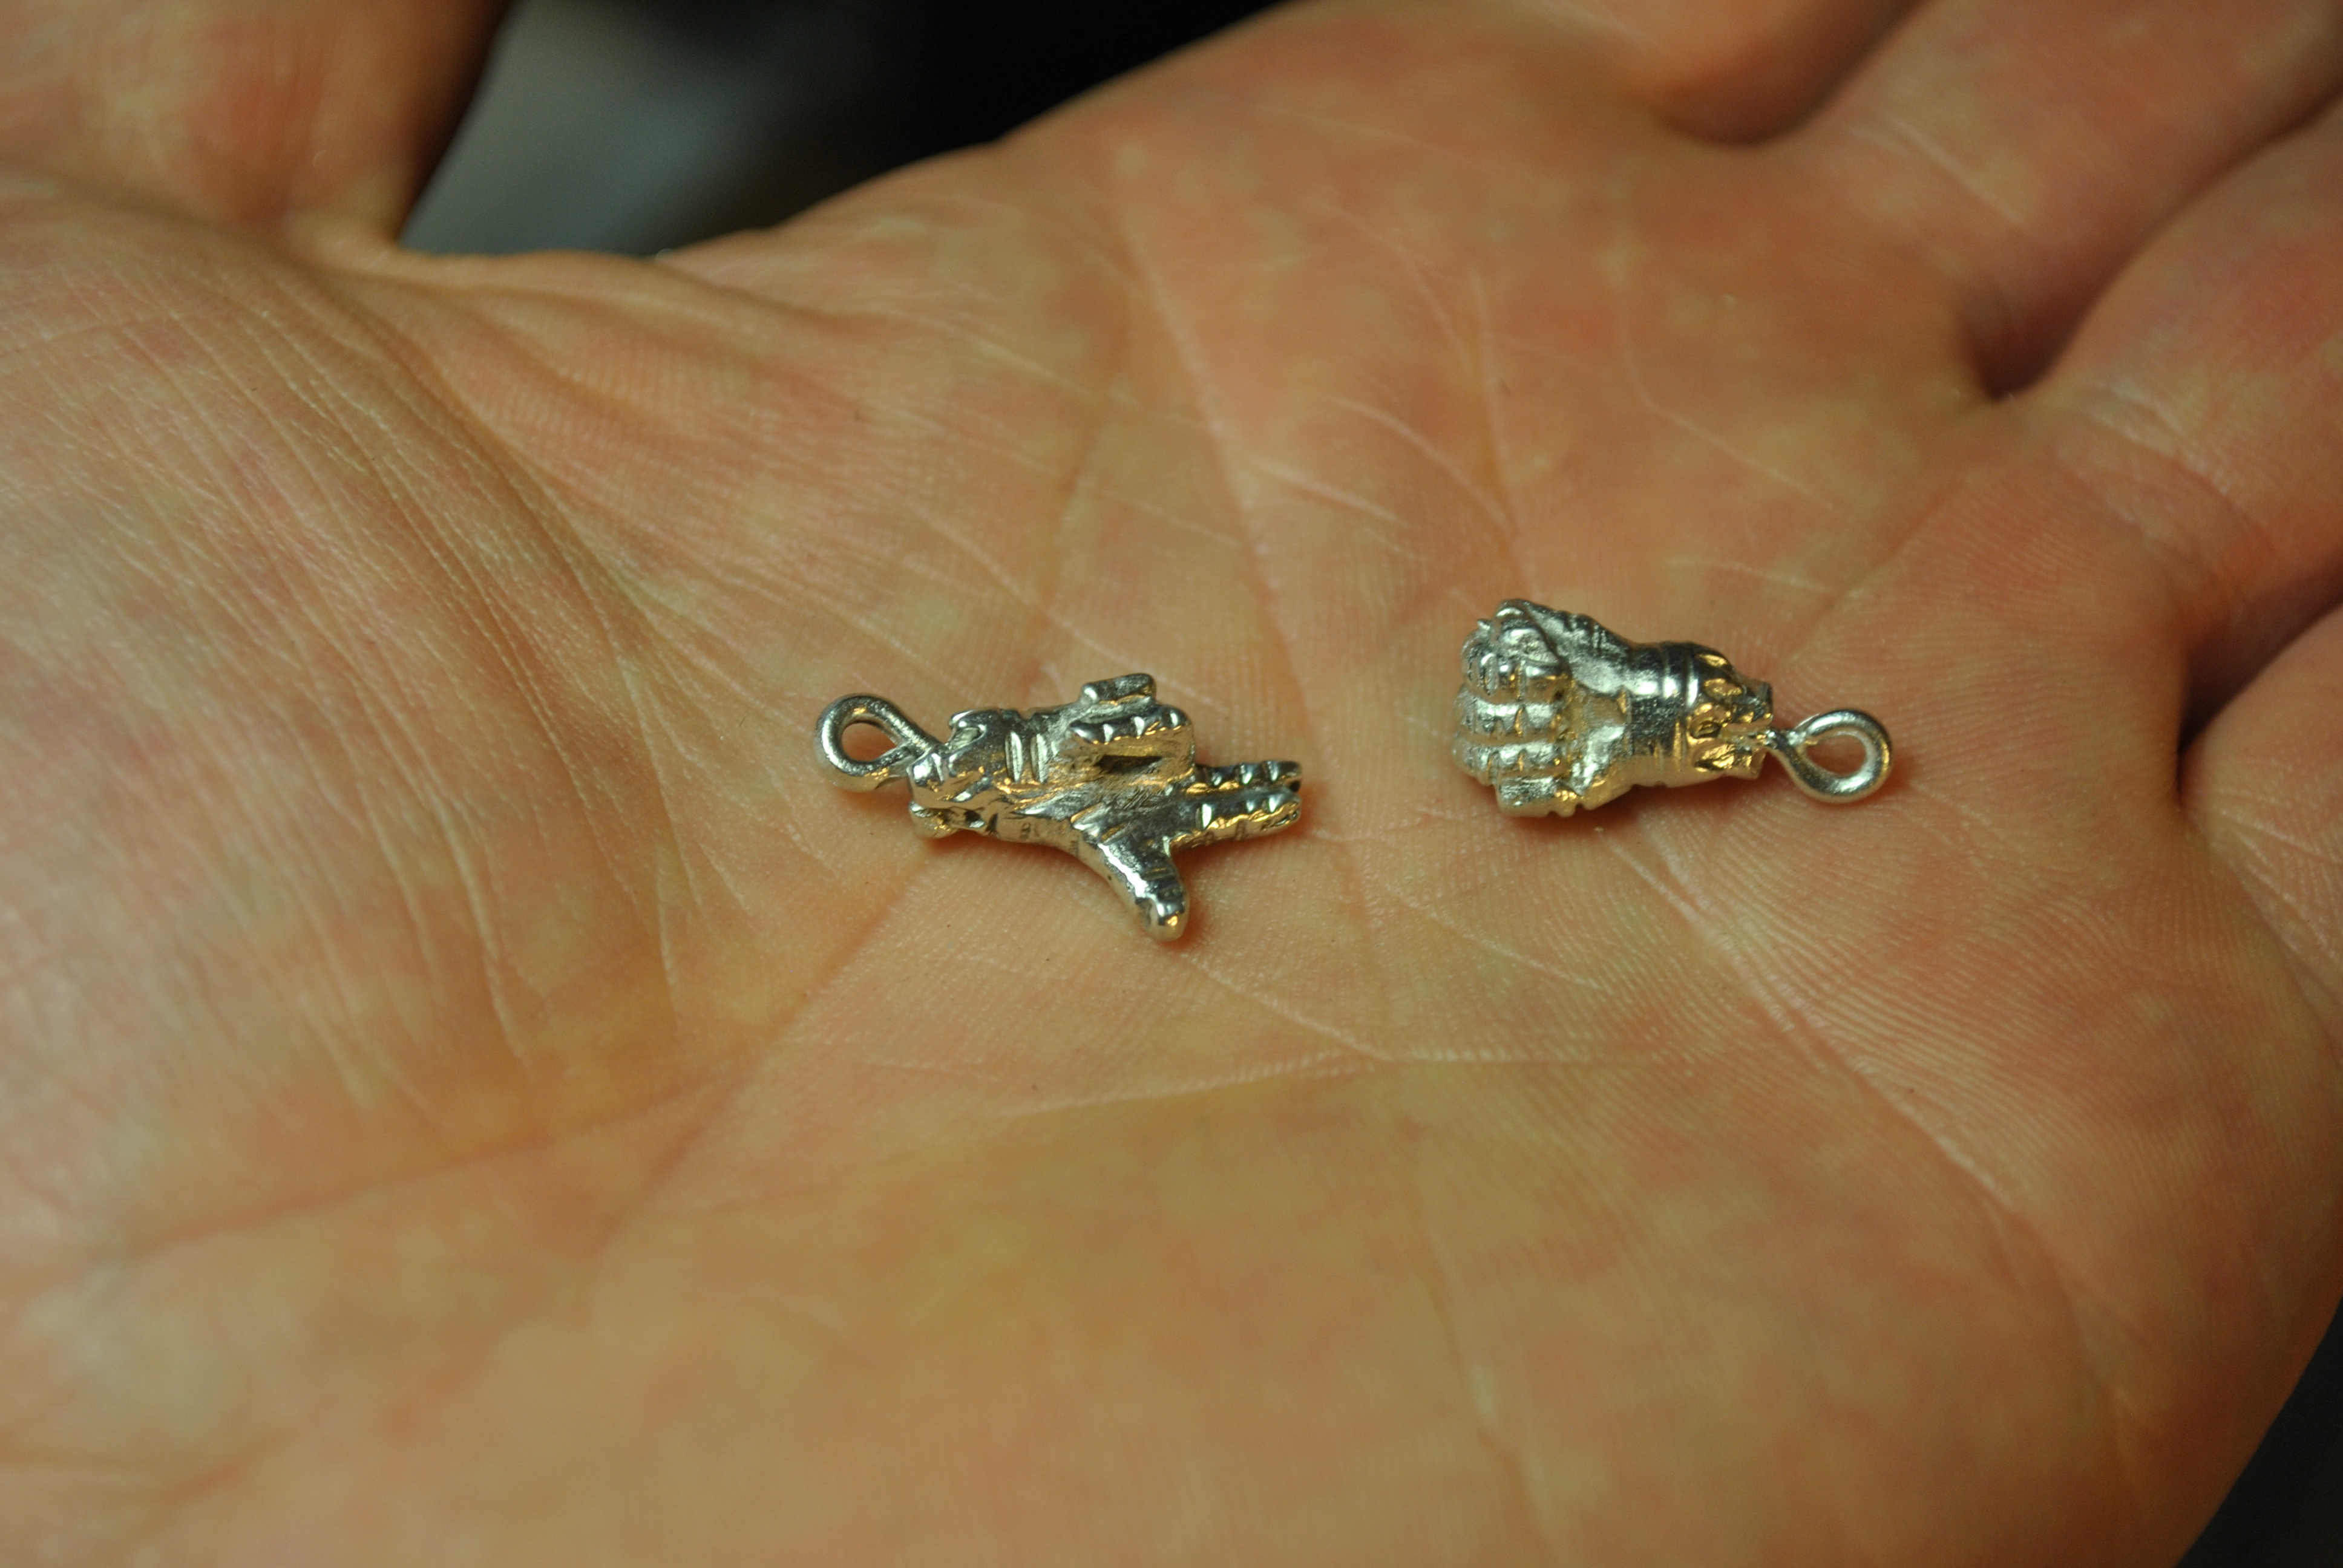
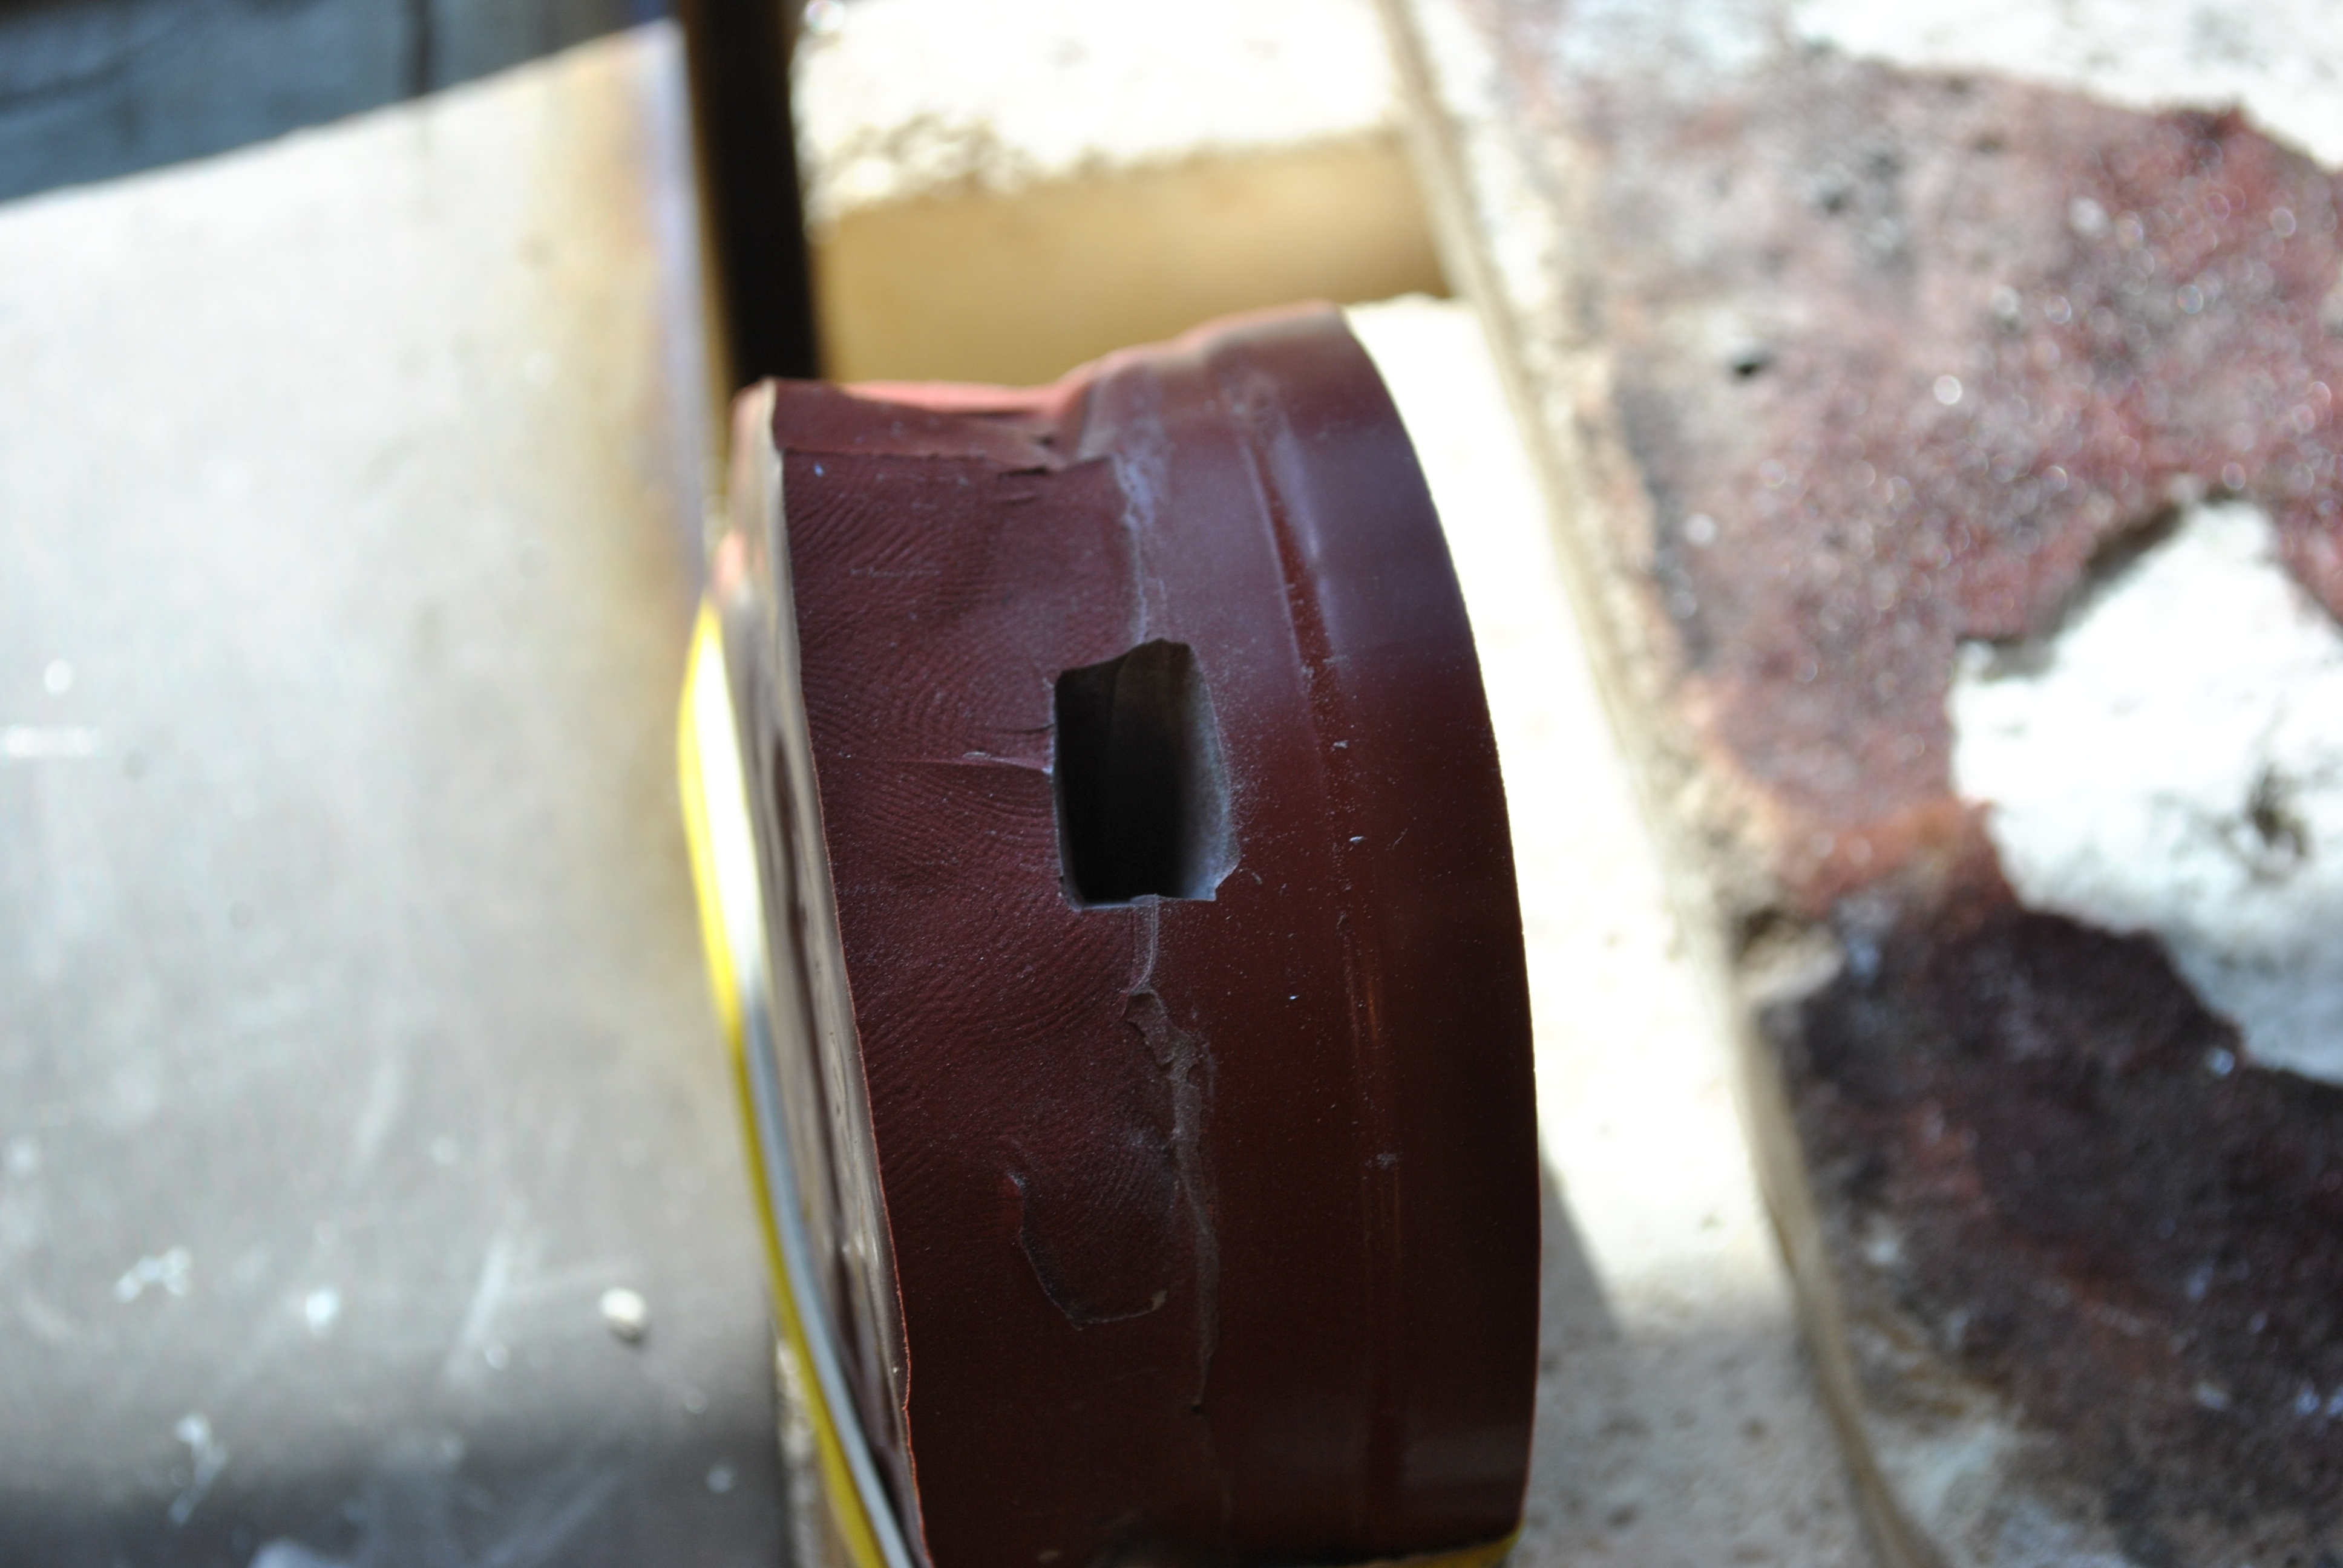
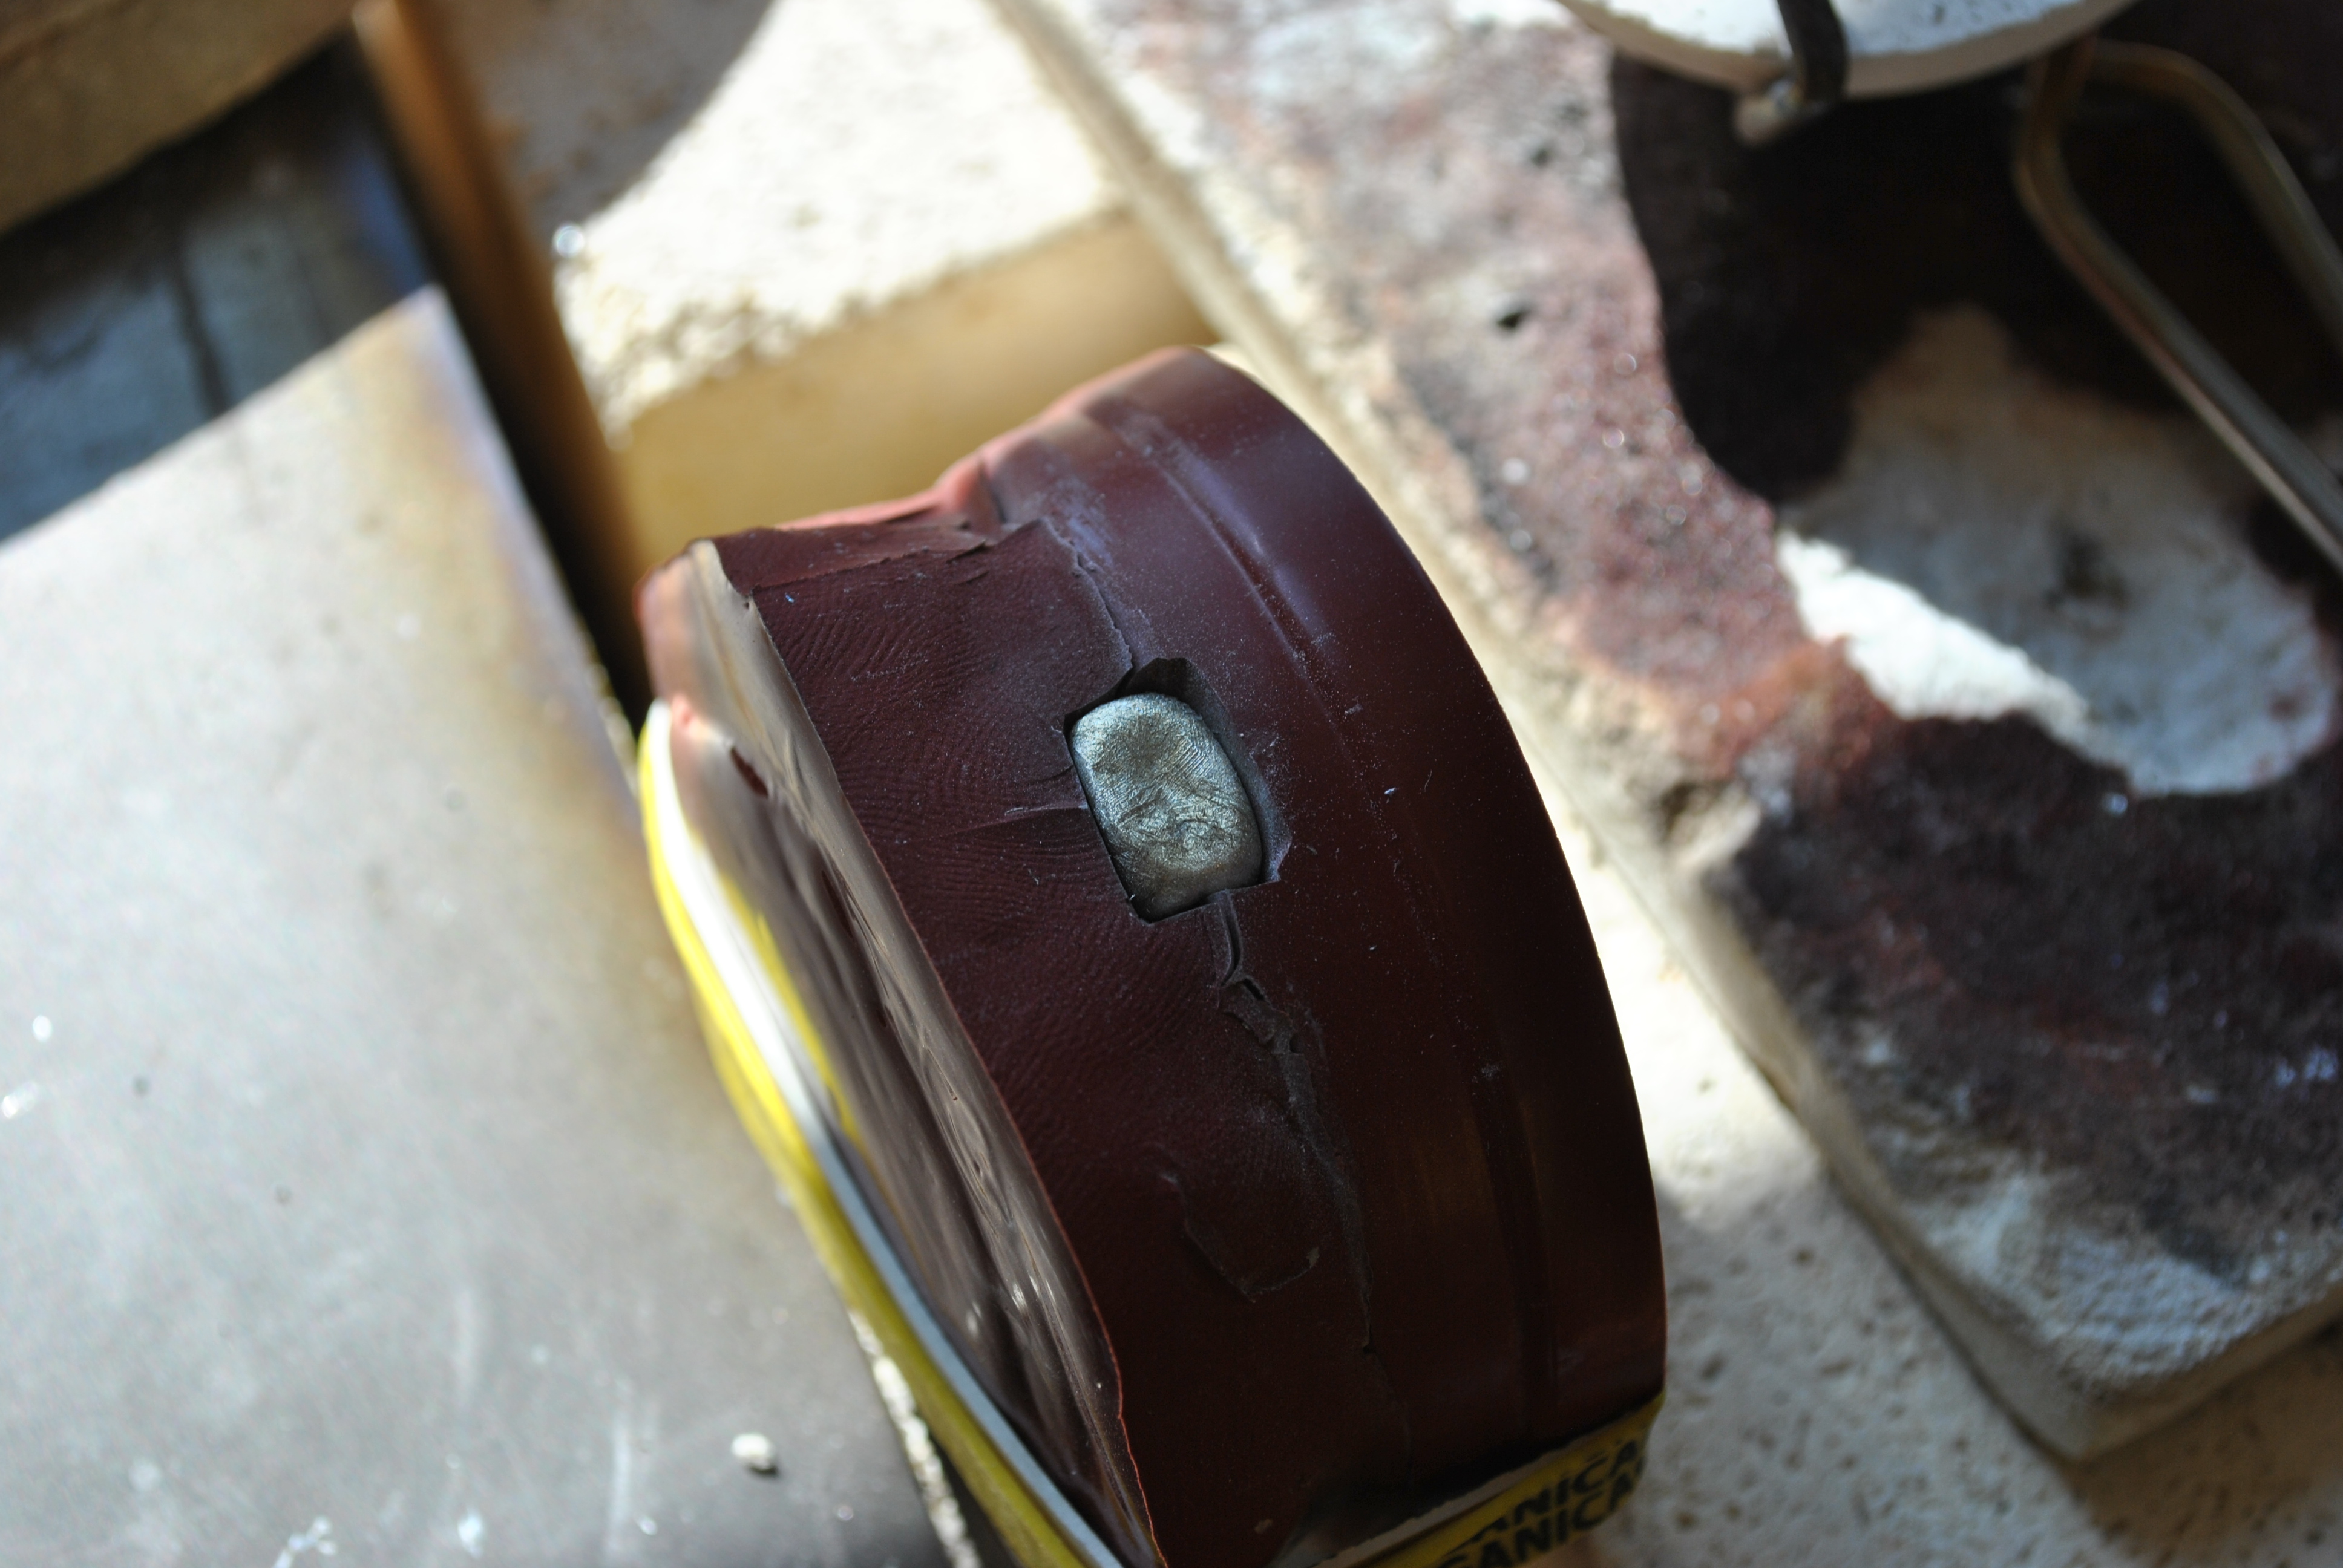
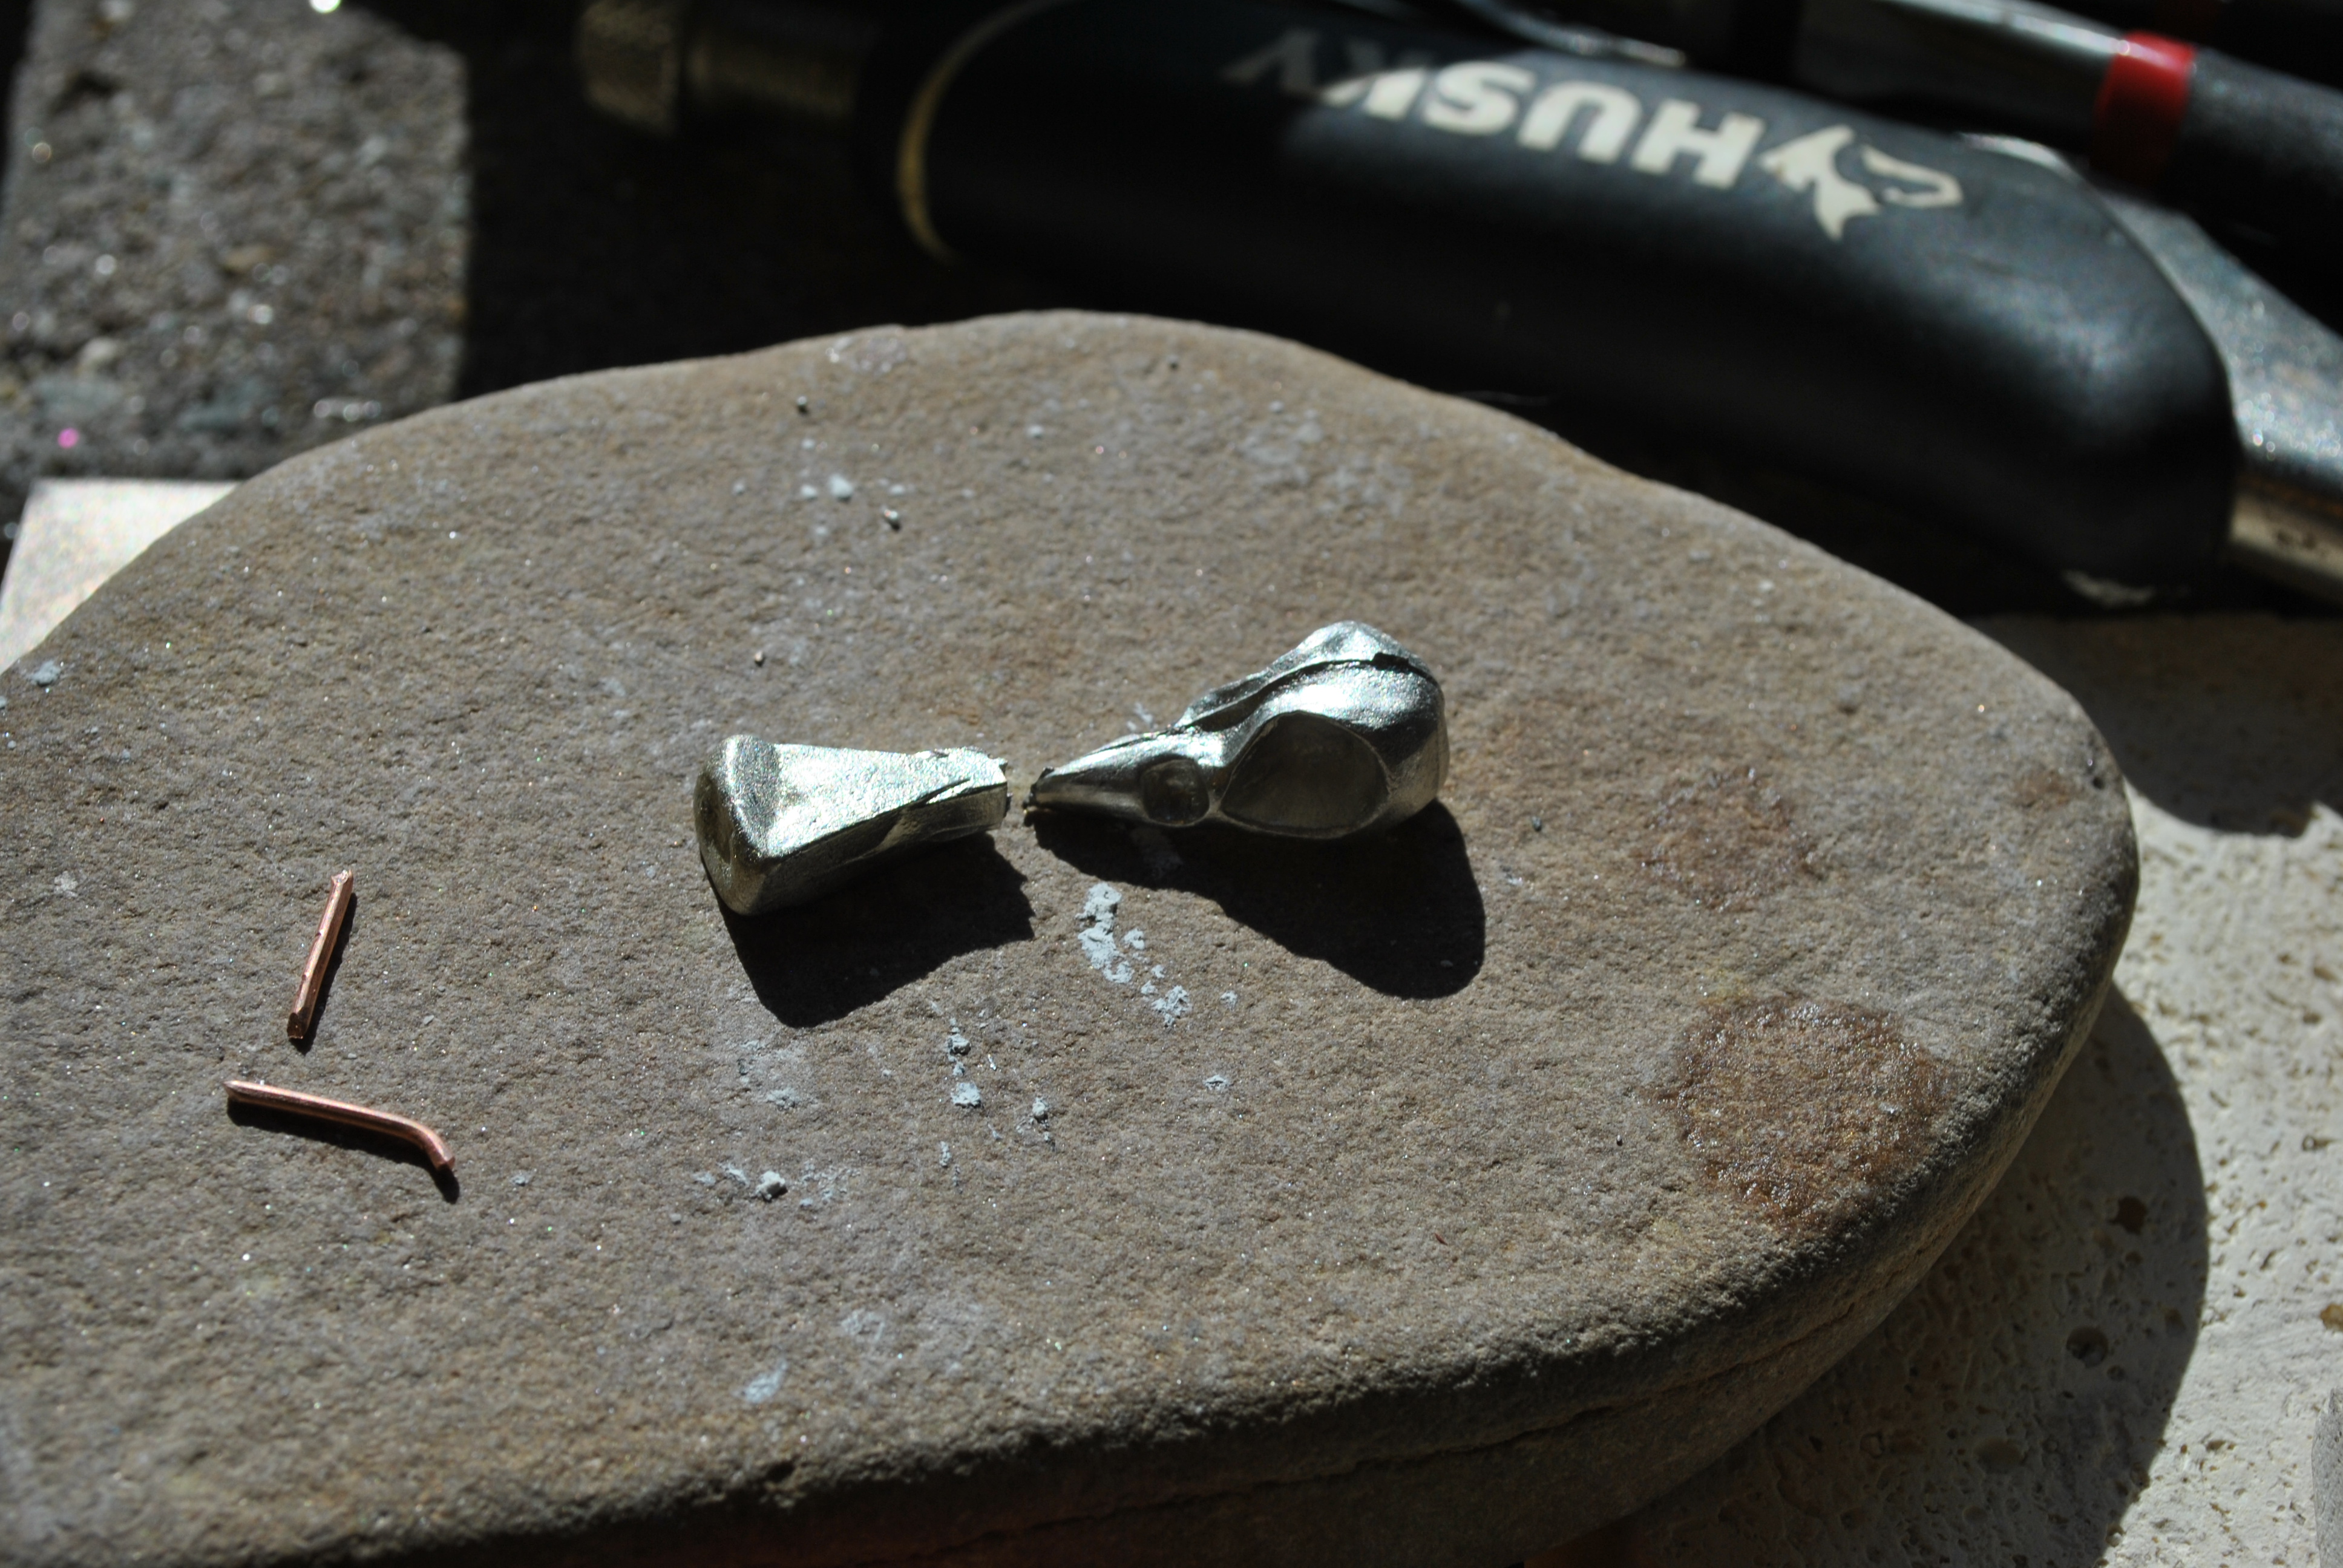
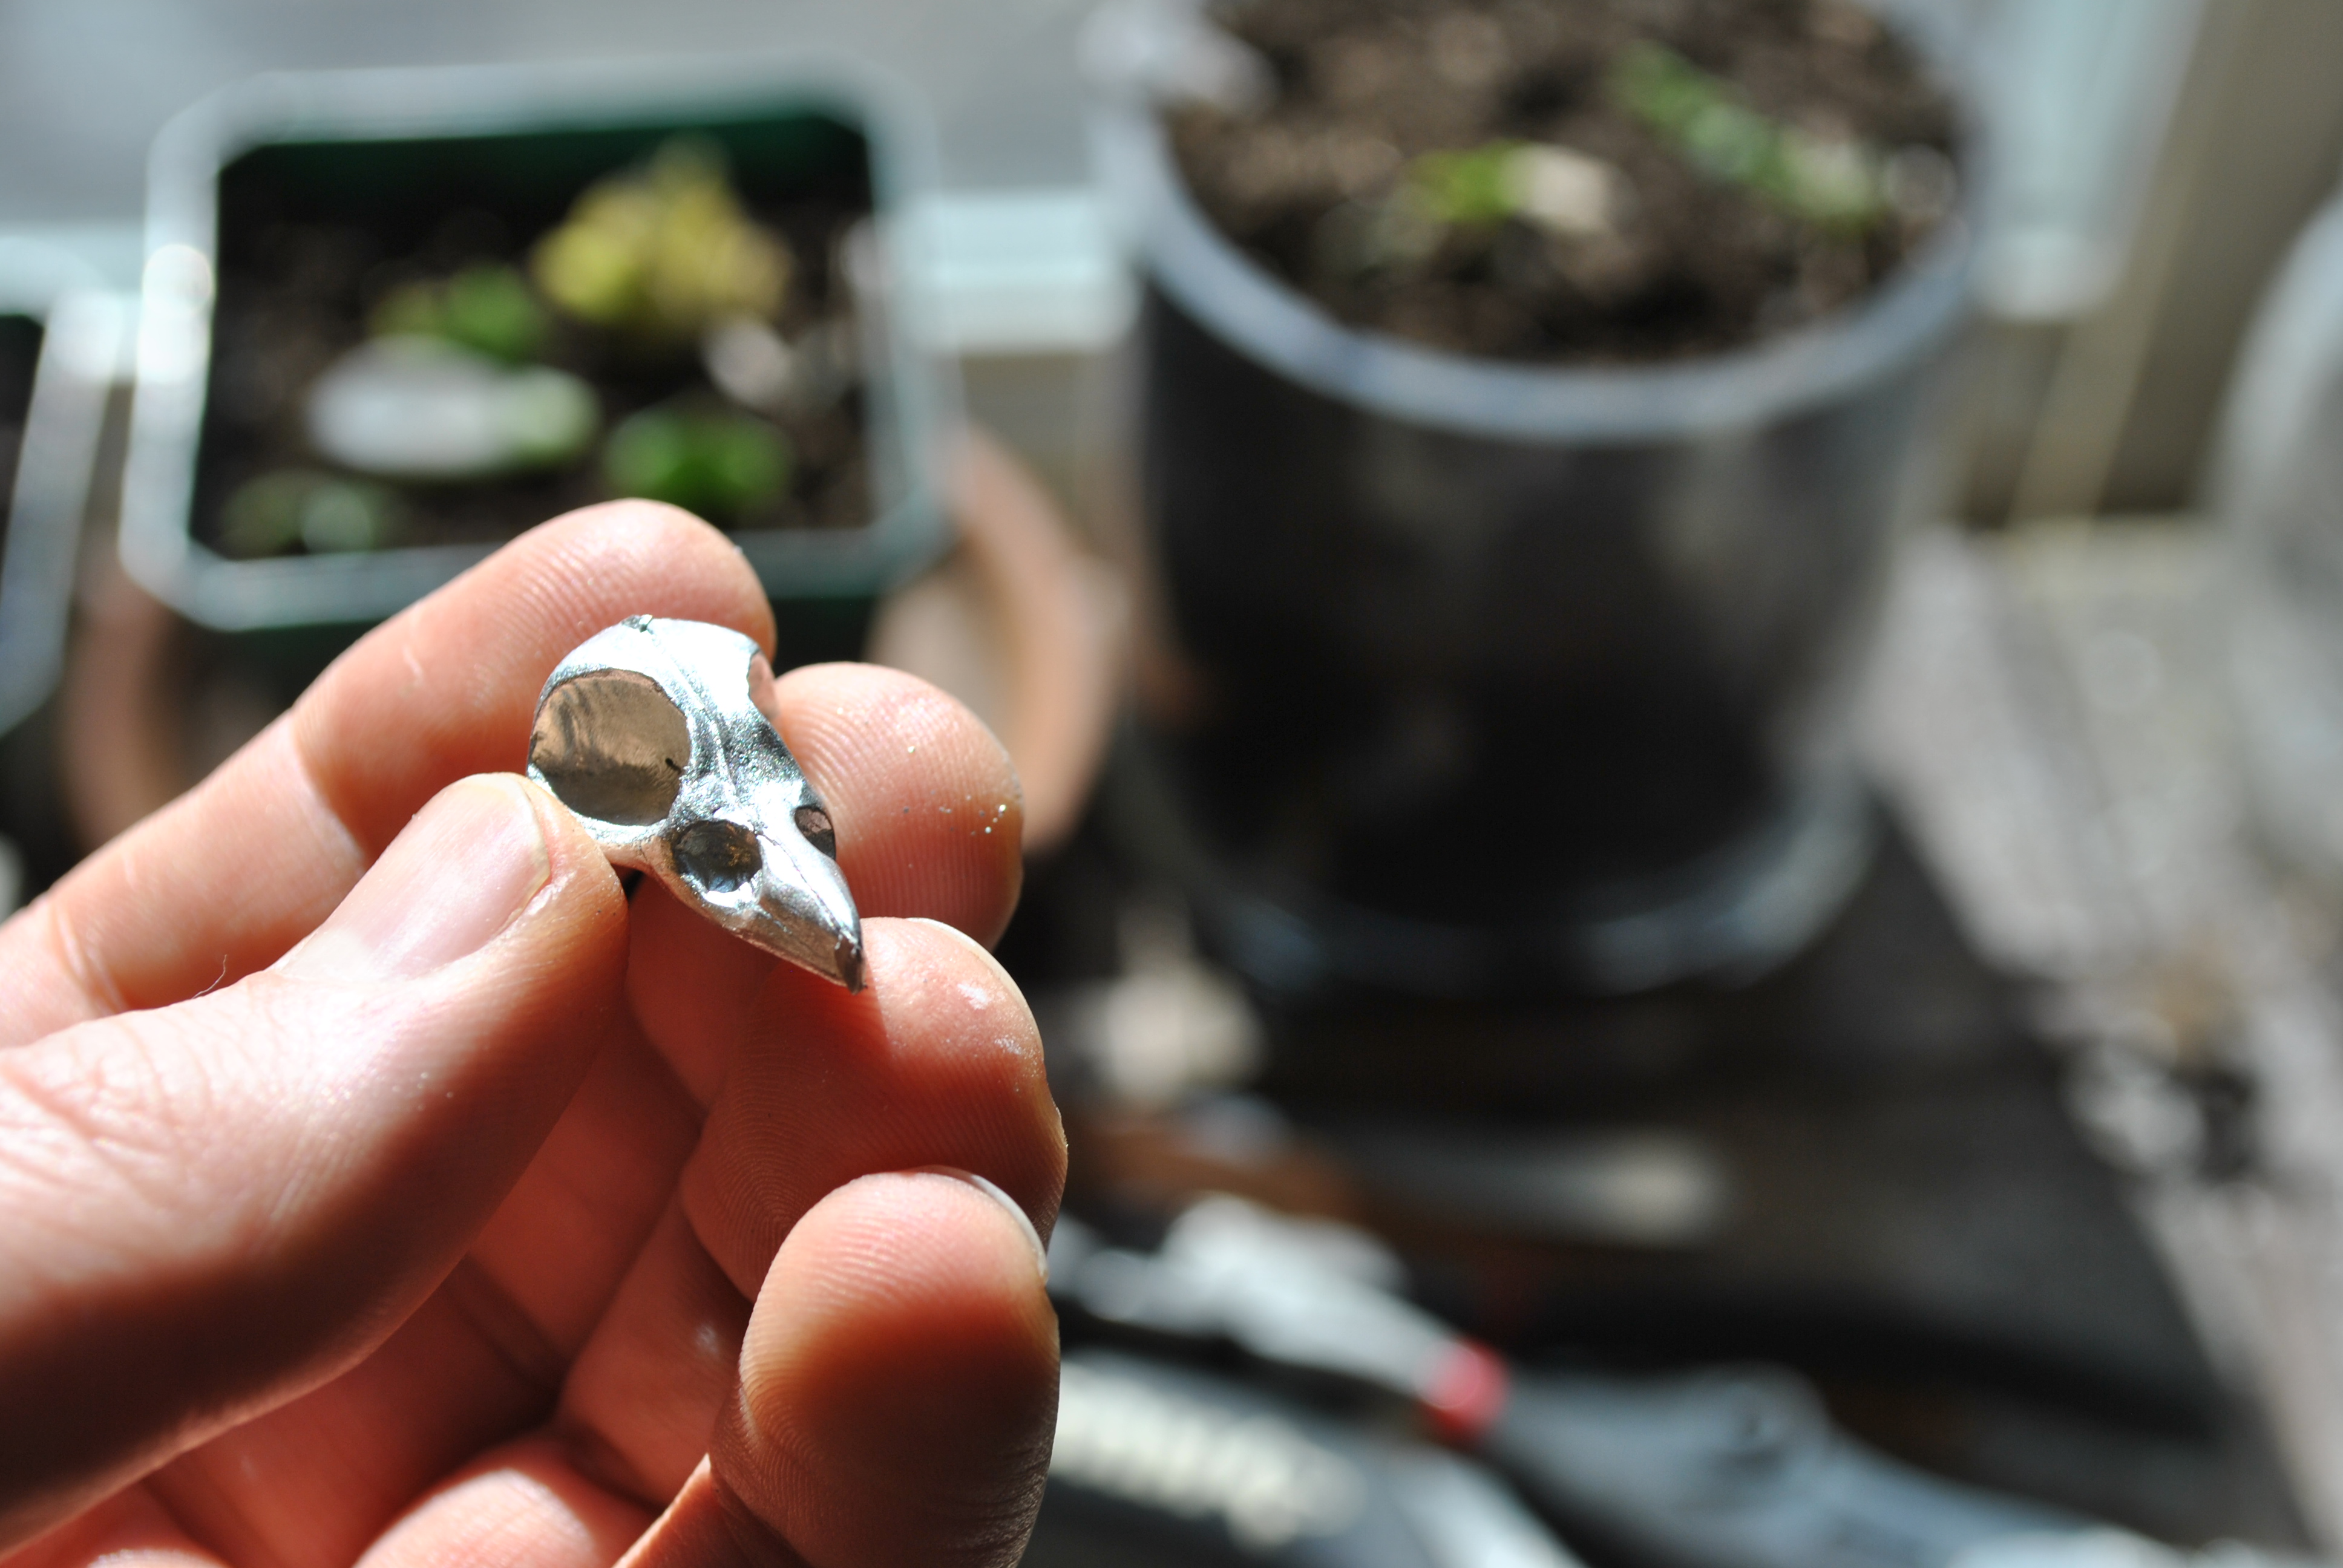
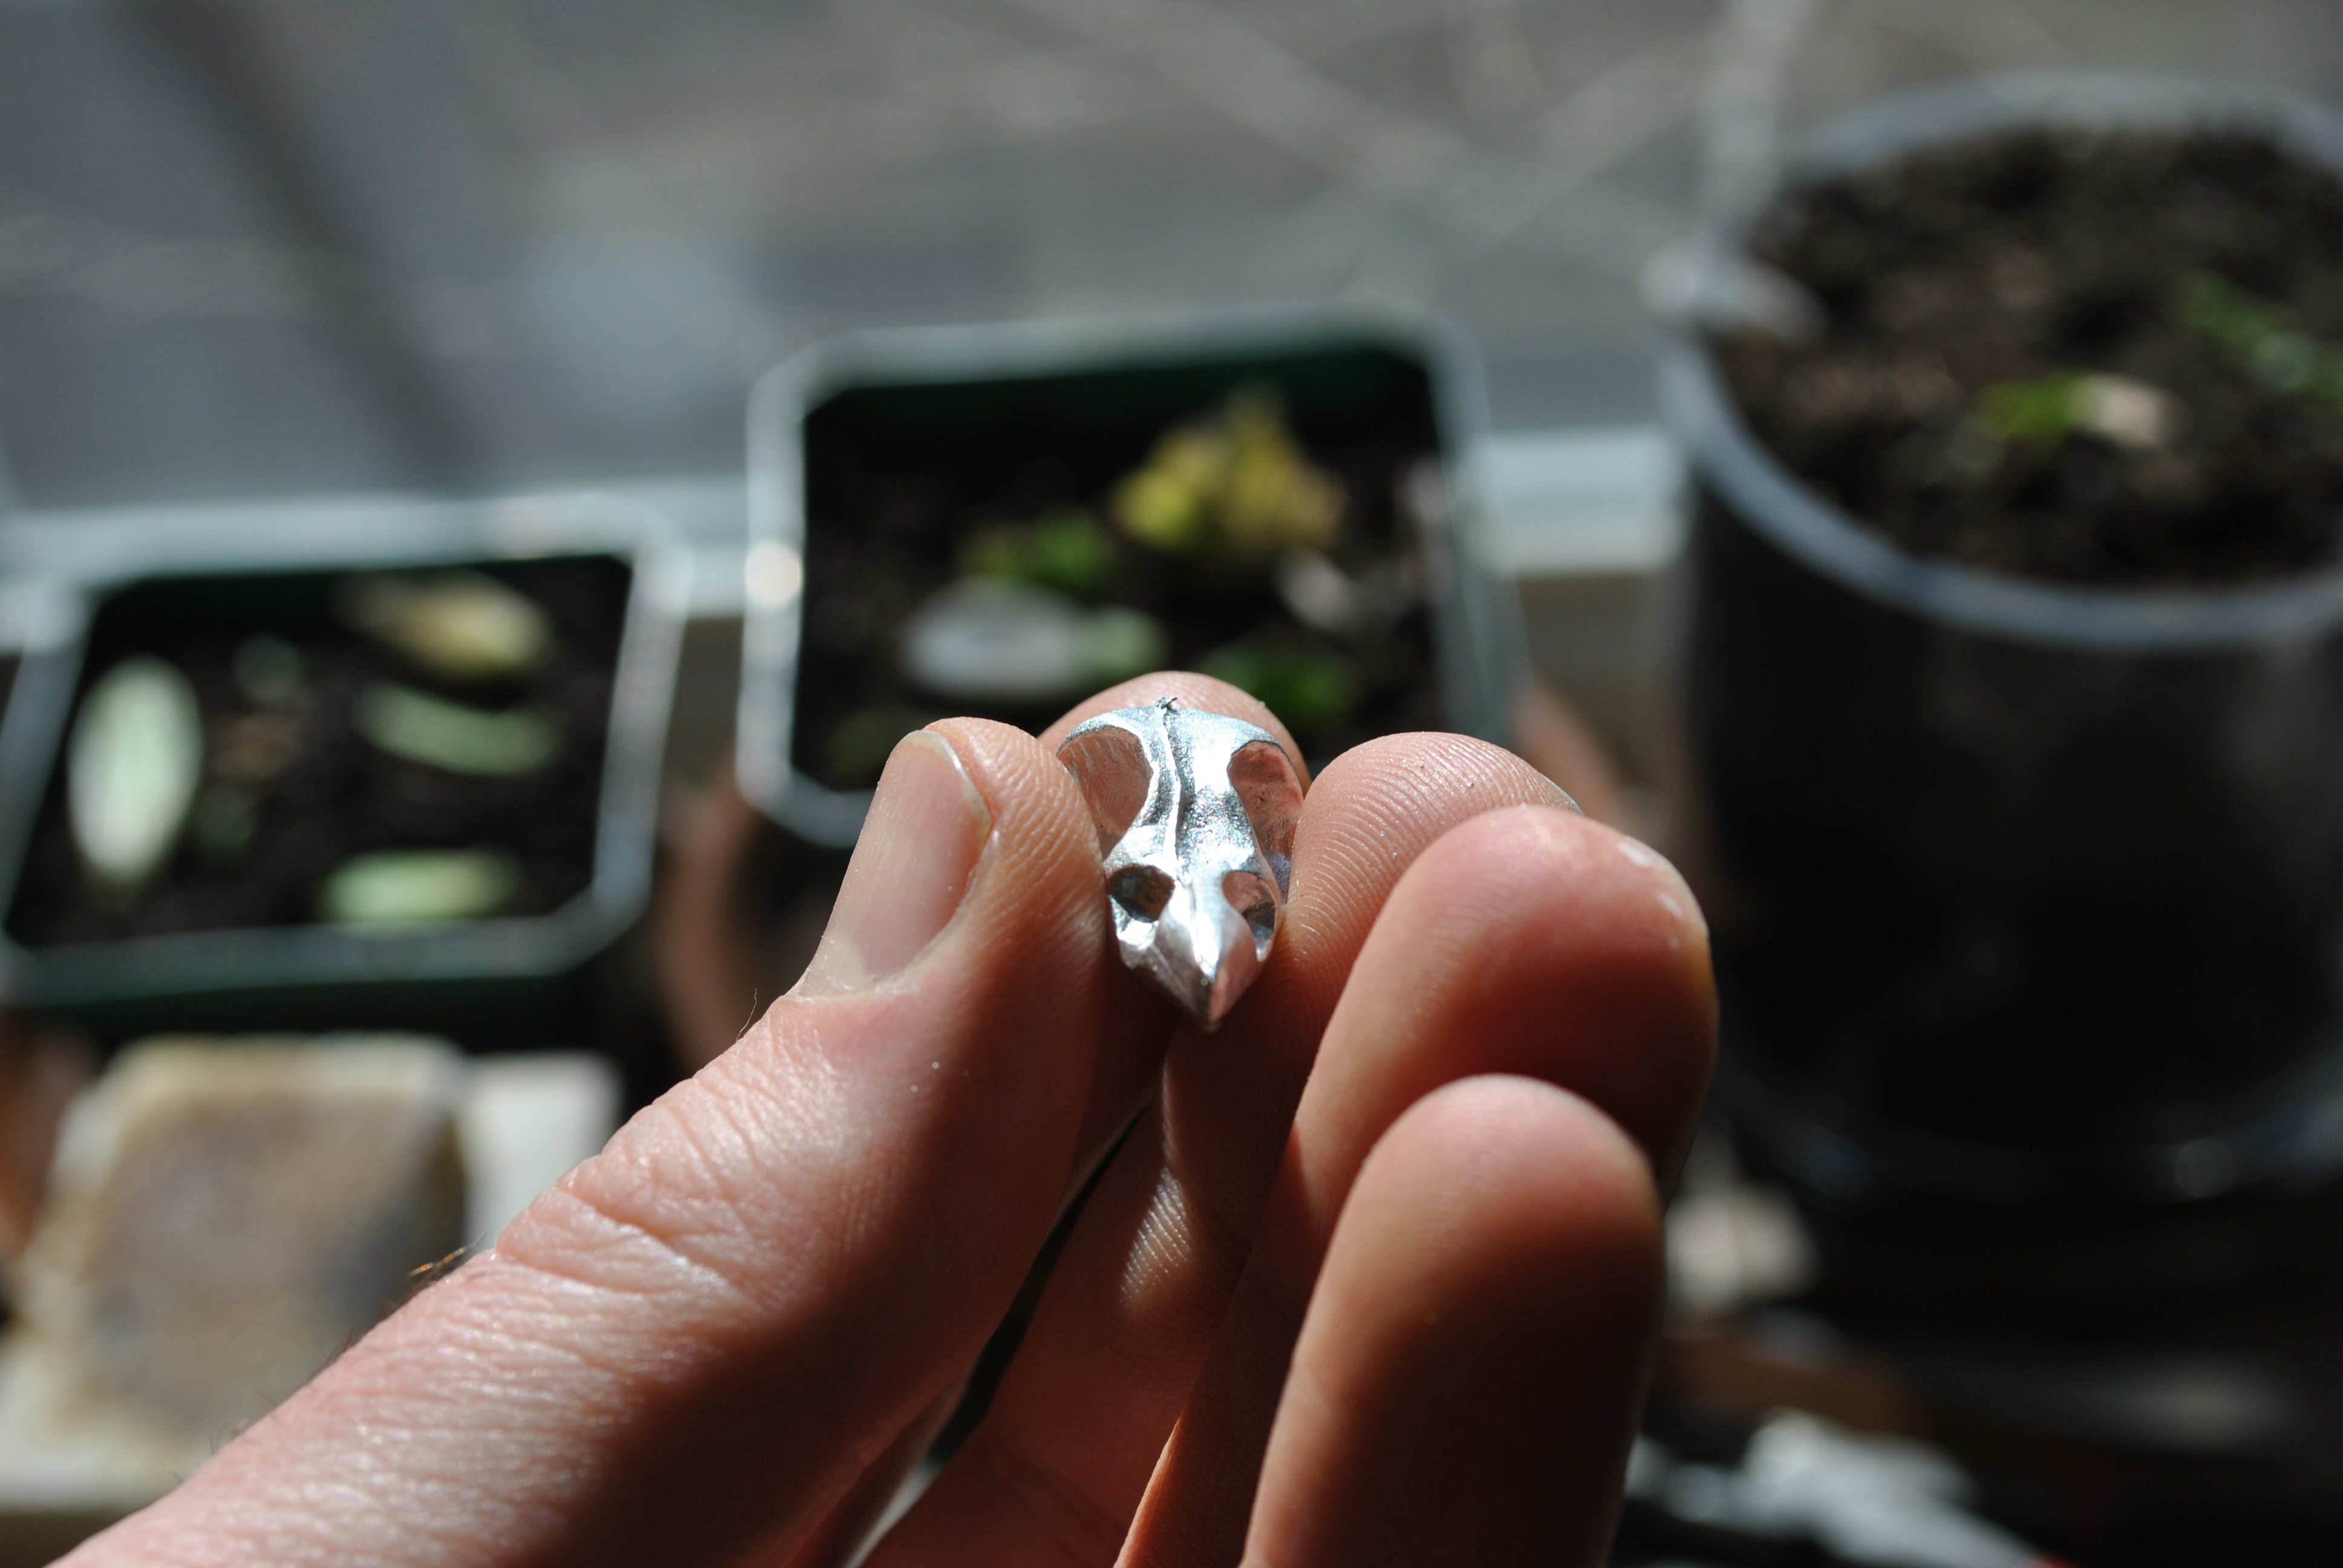
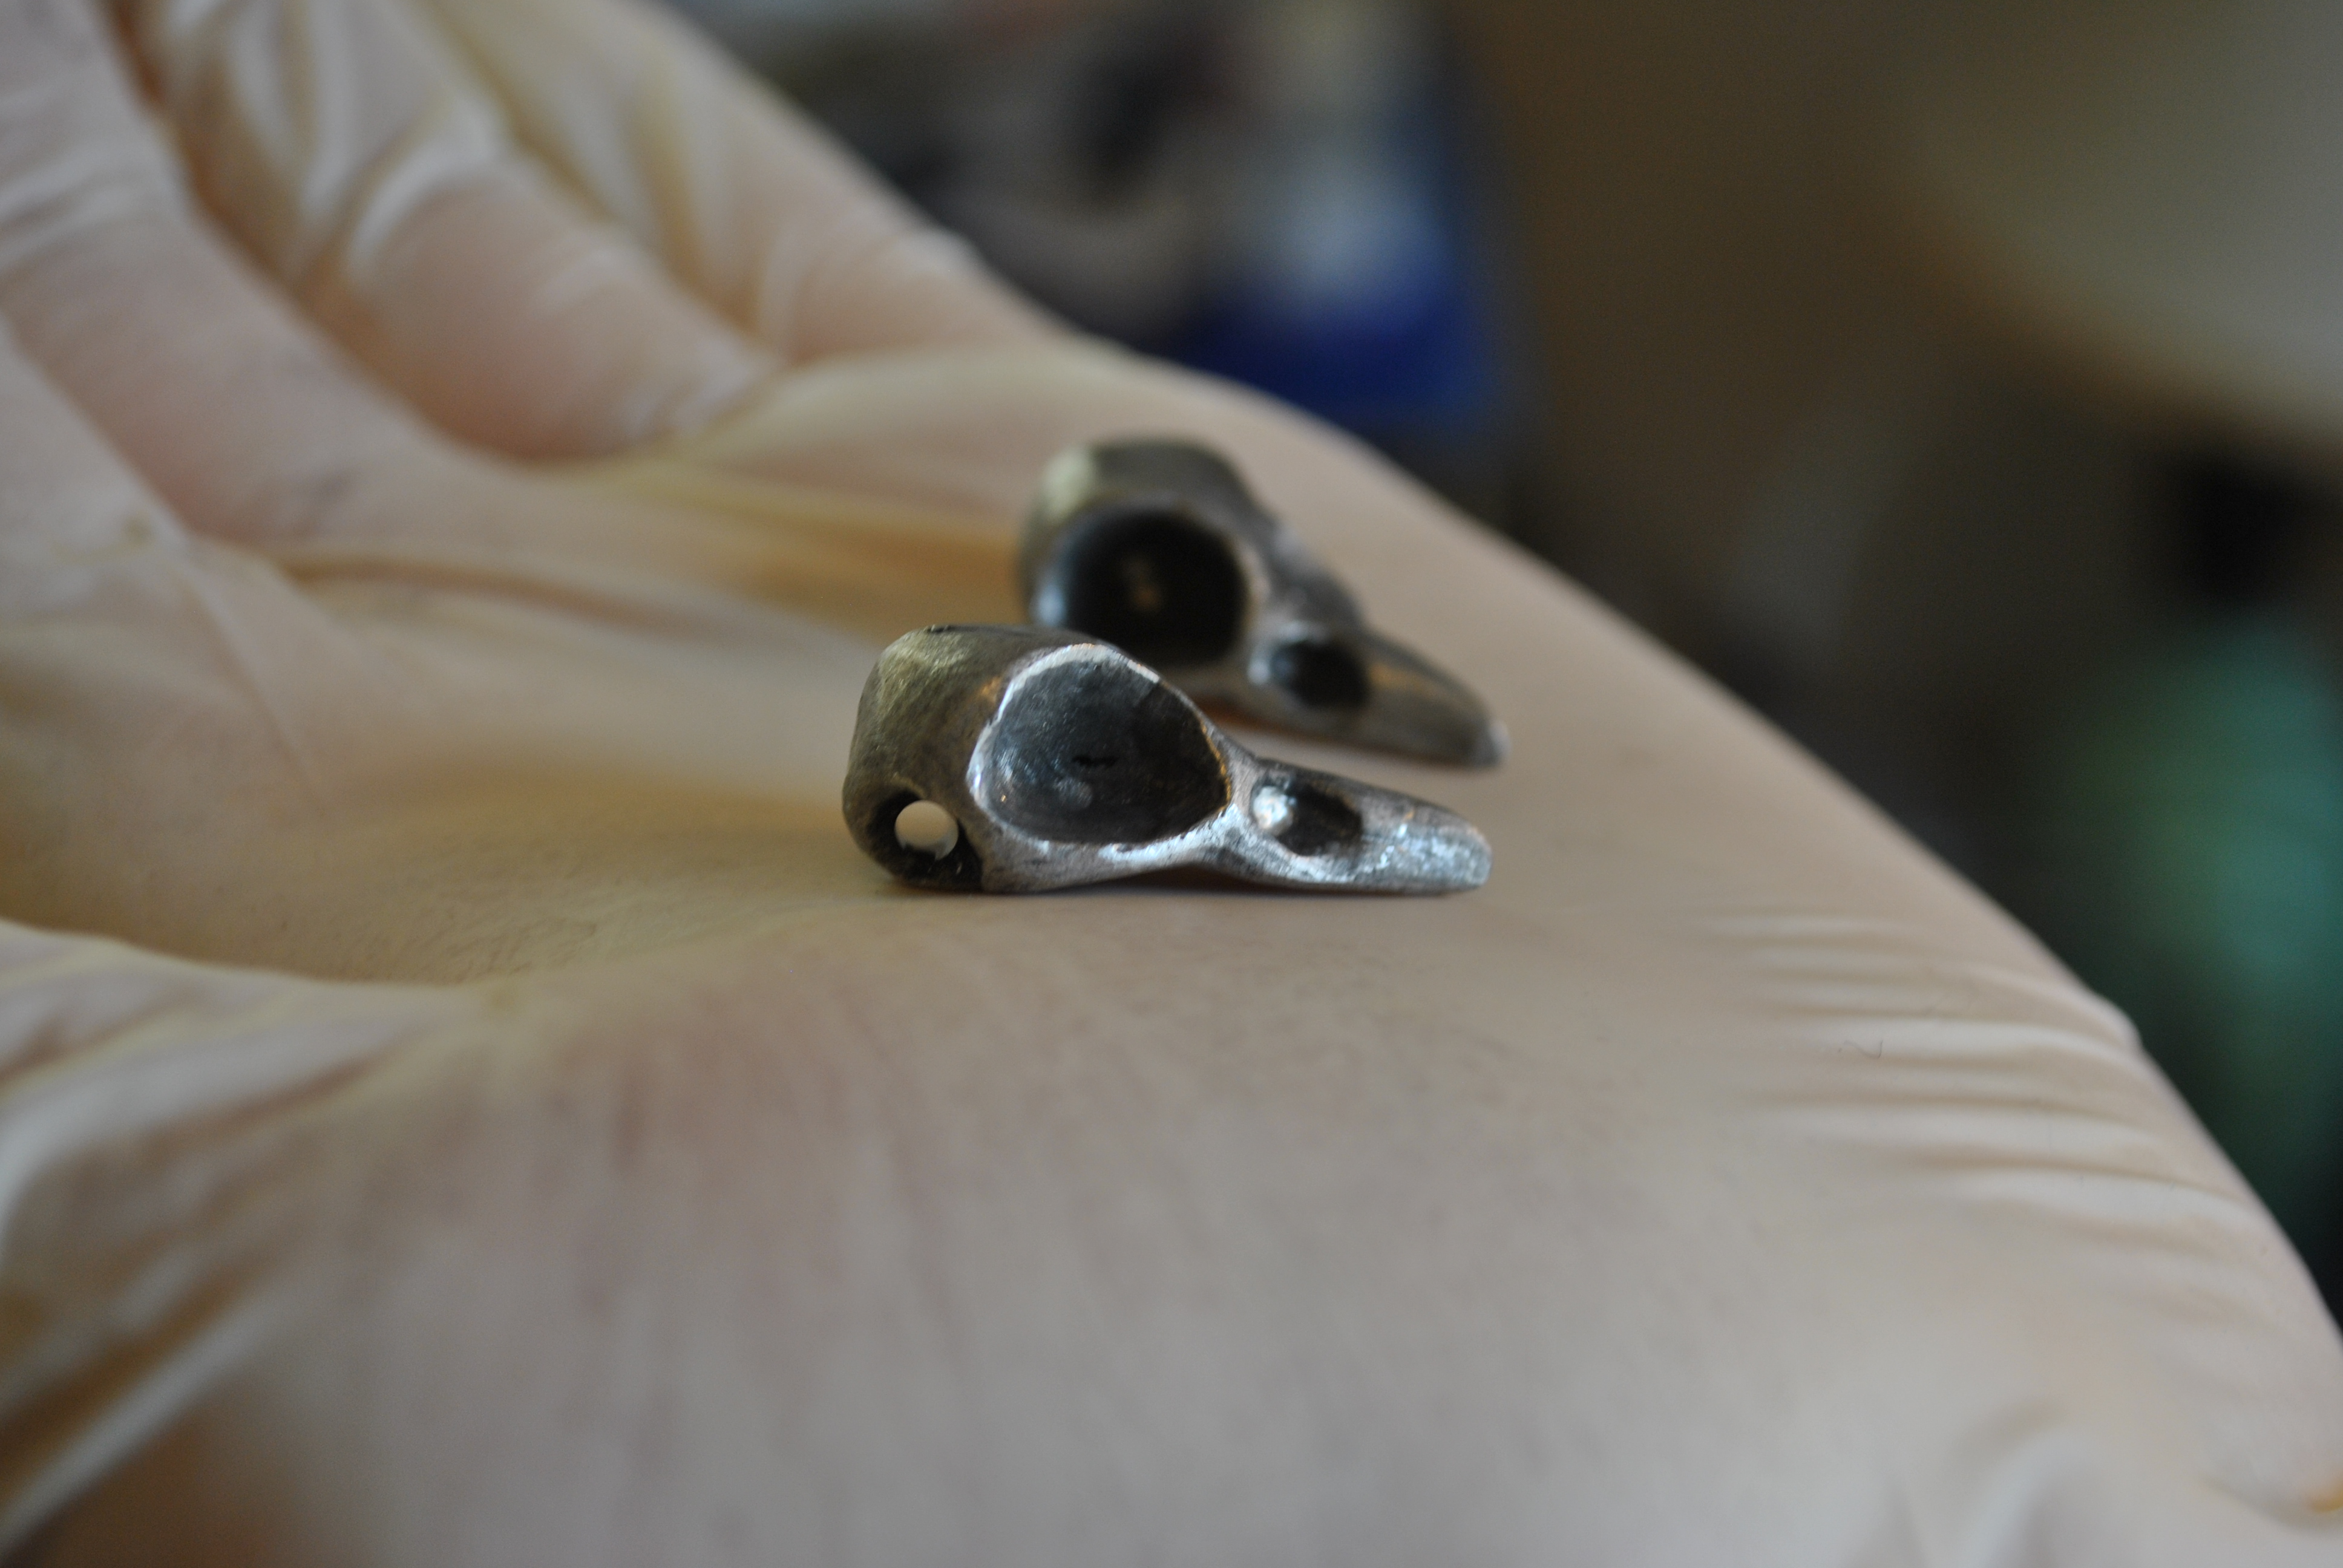
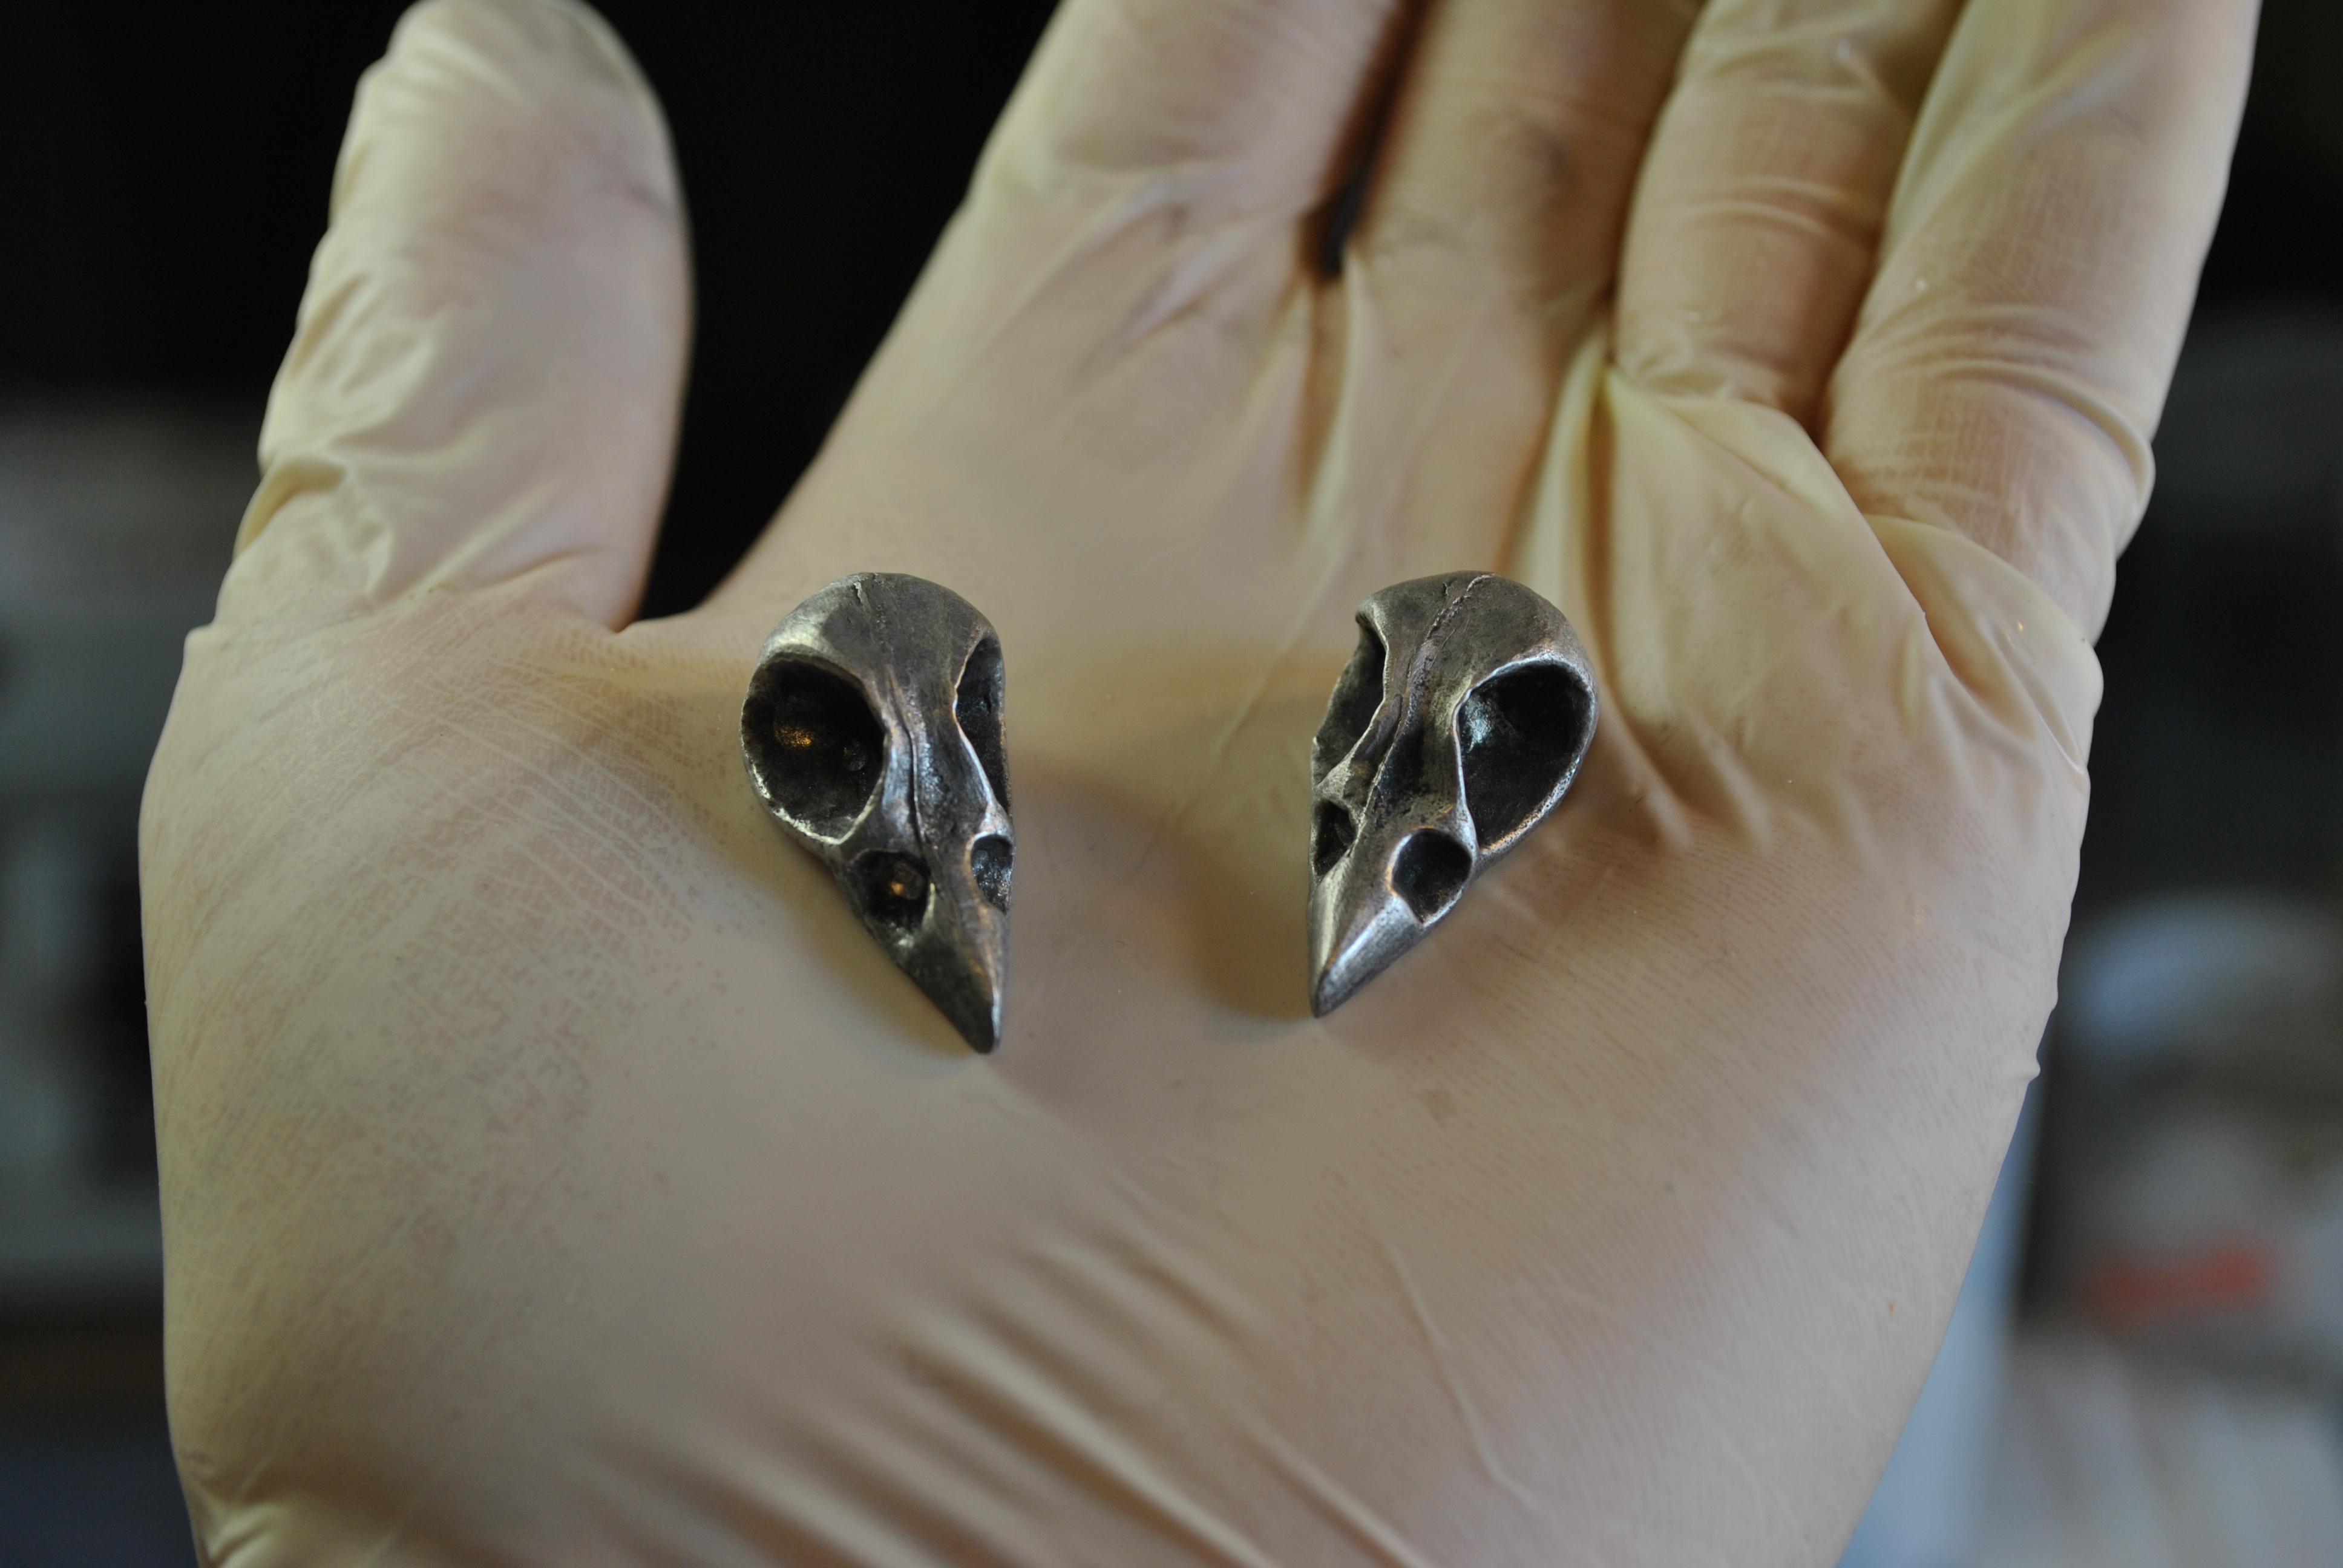
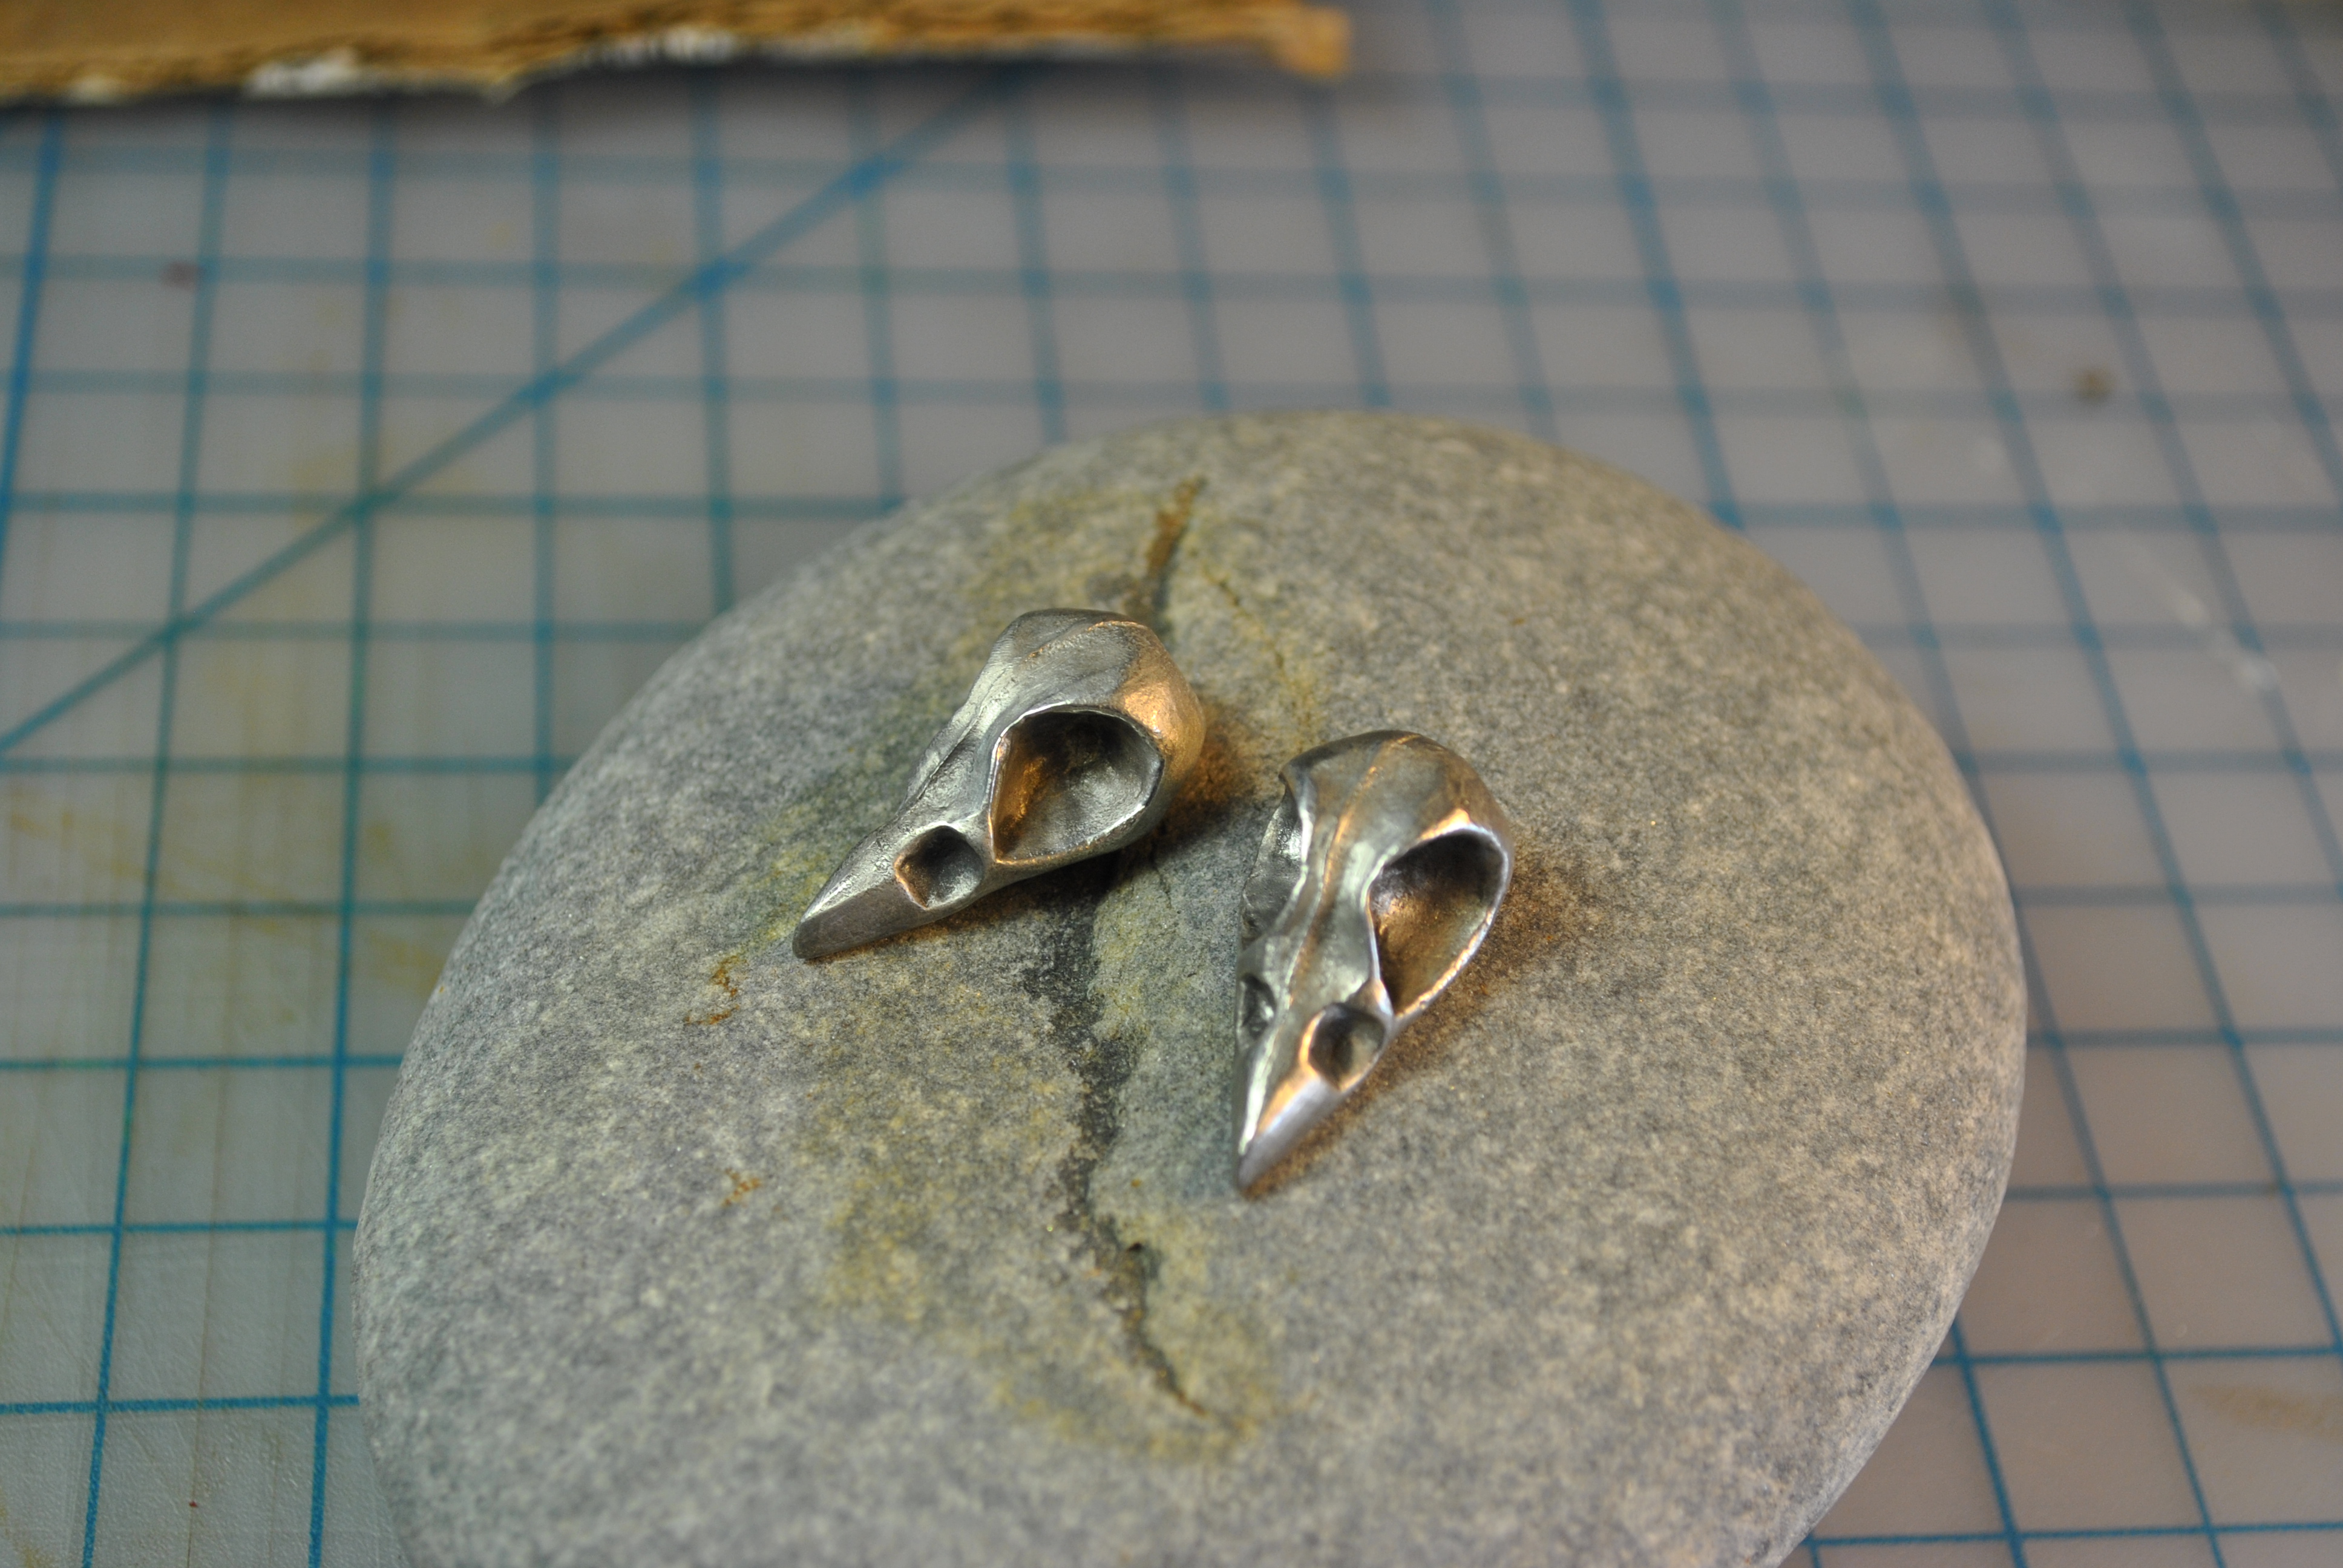
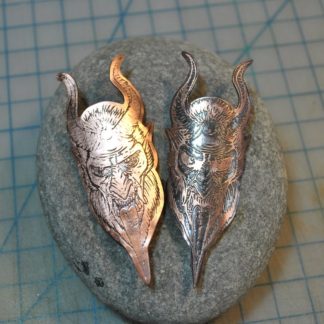
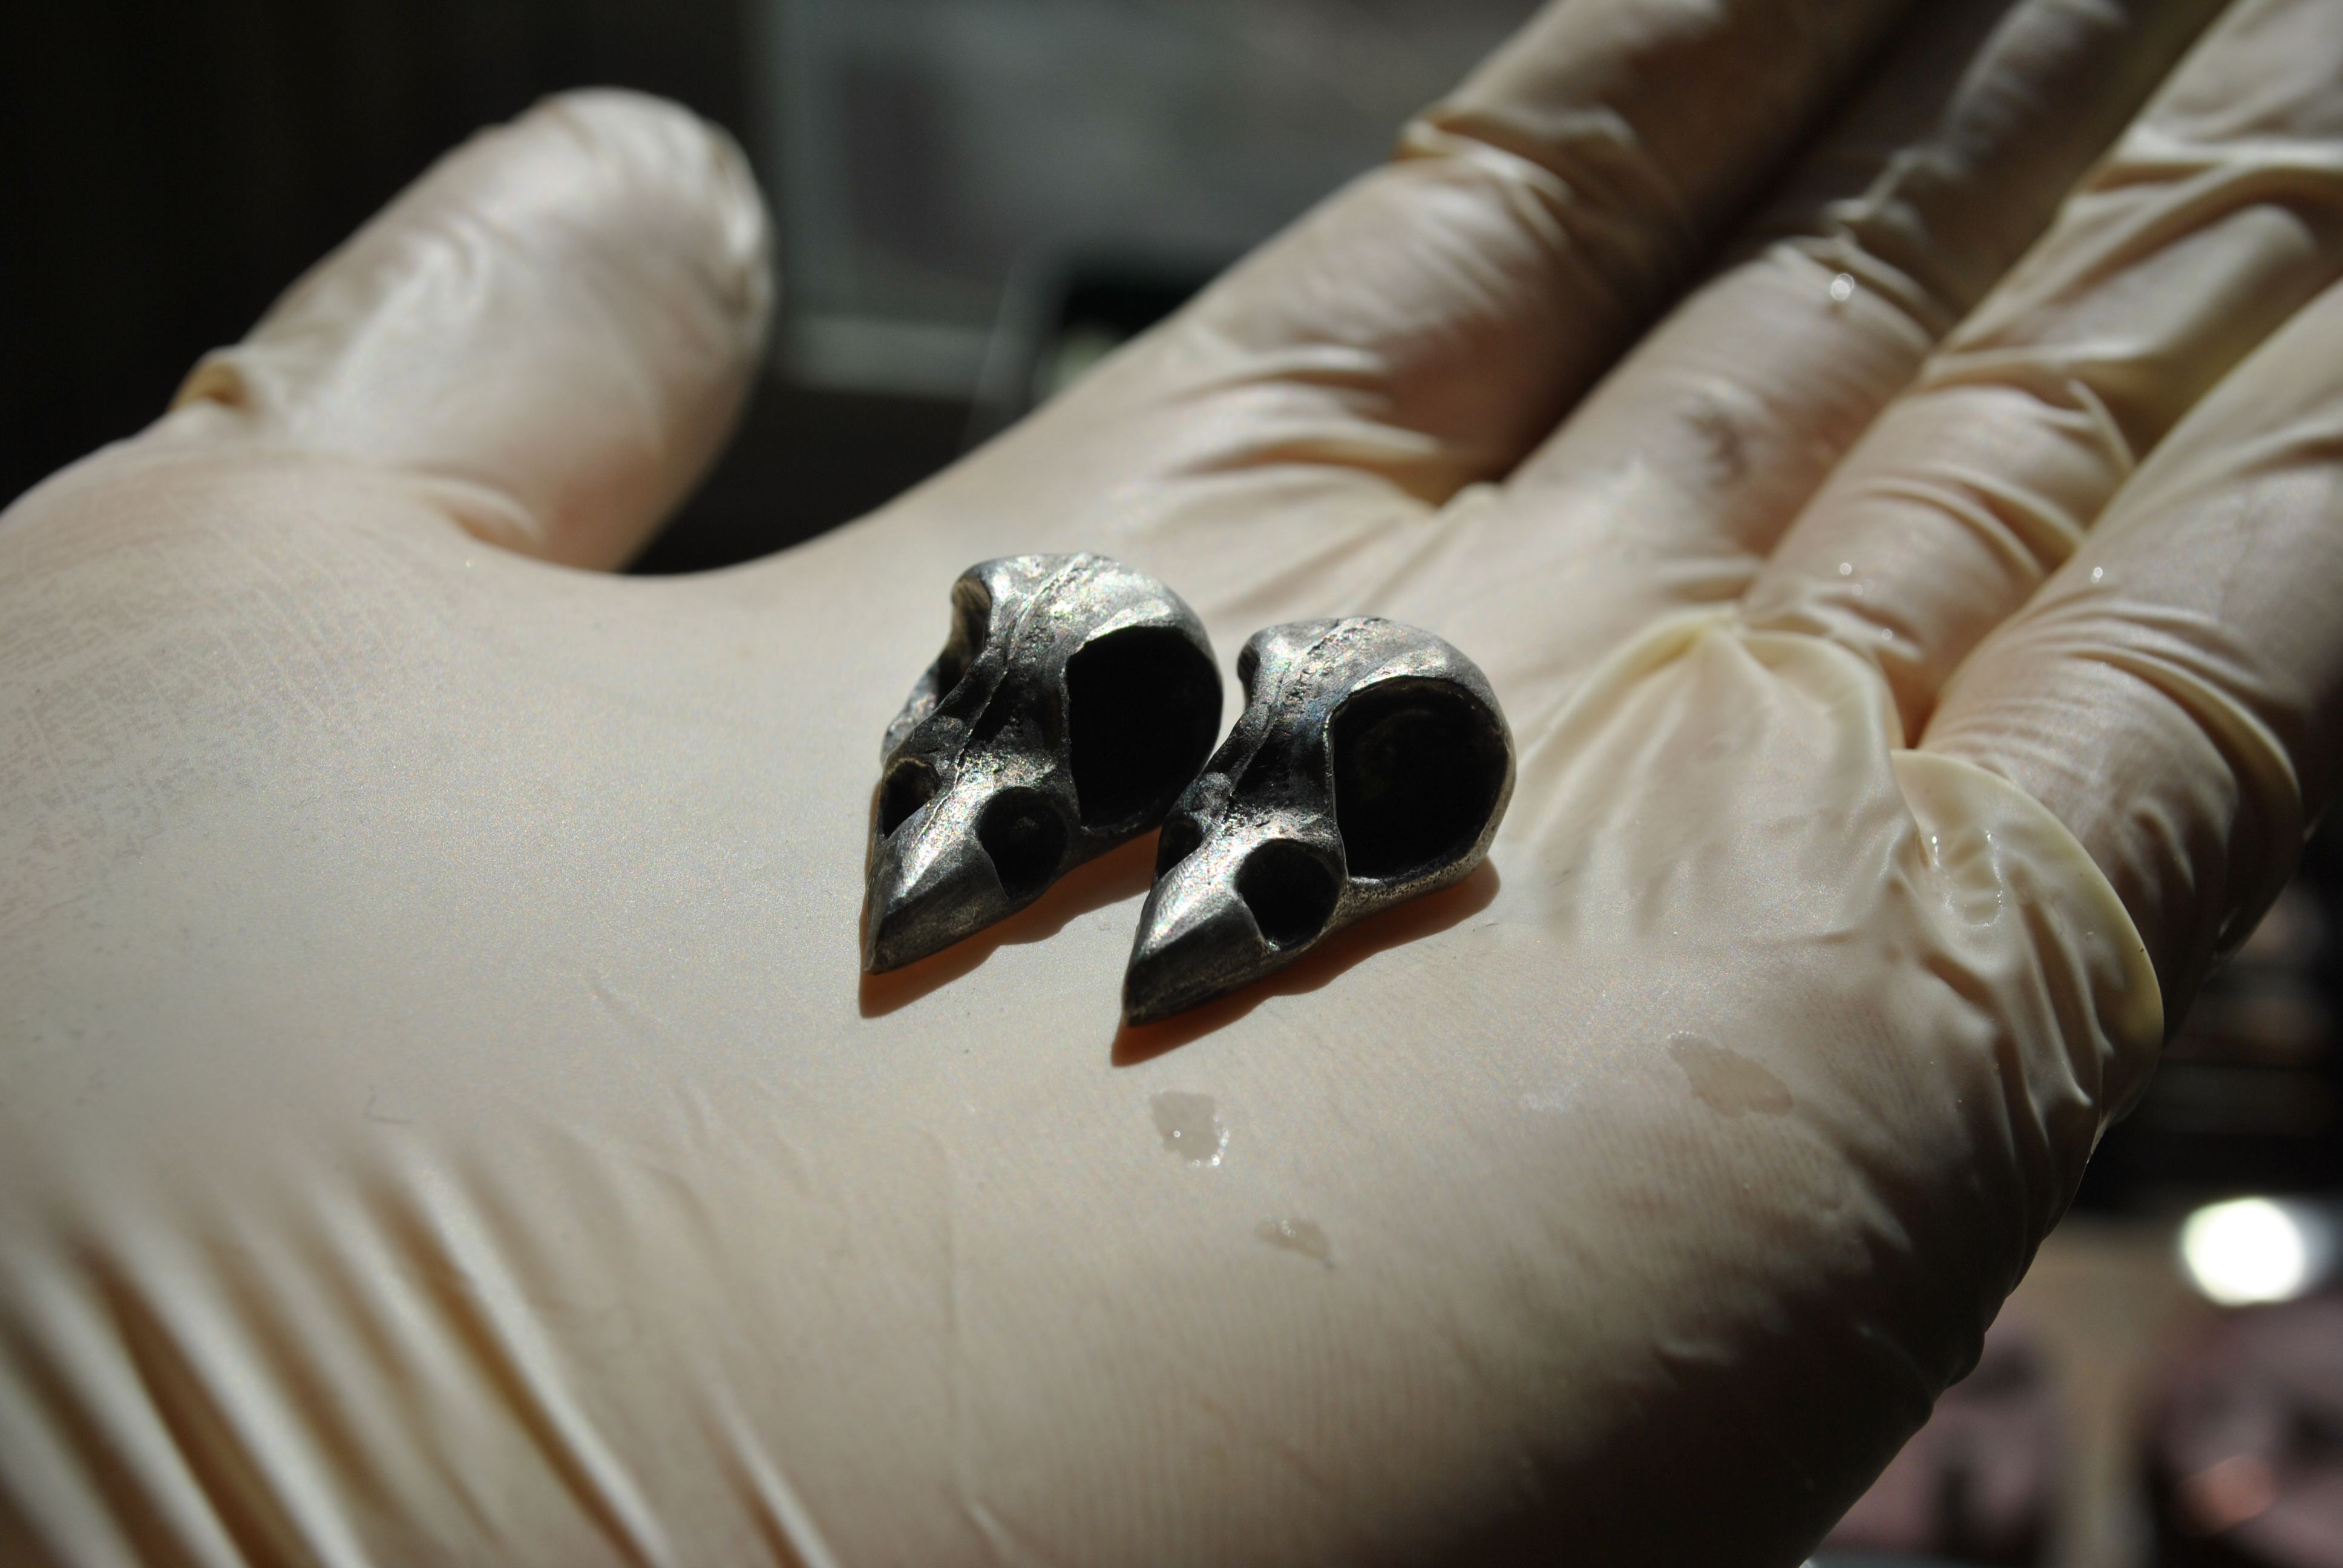
after sanding the top surface was uniformly smooth.

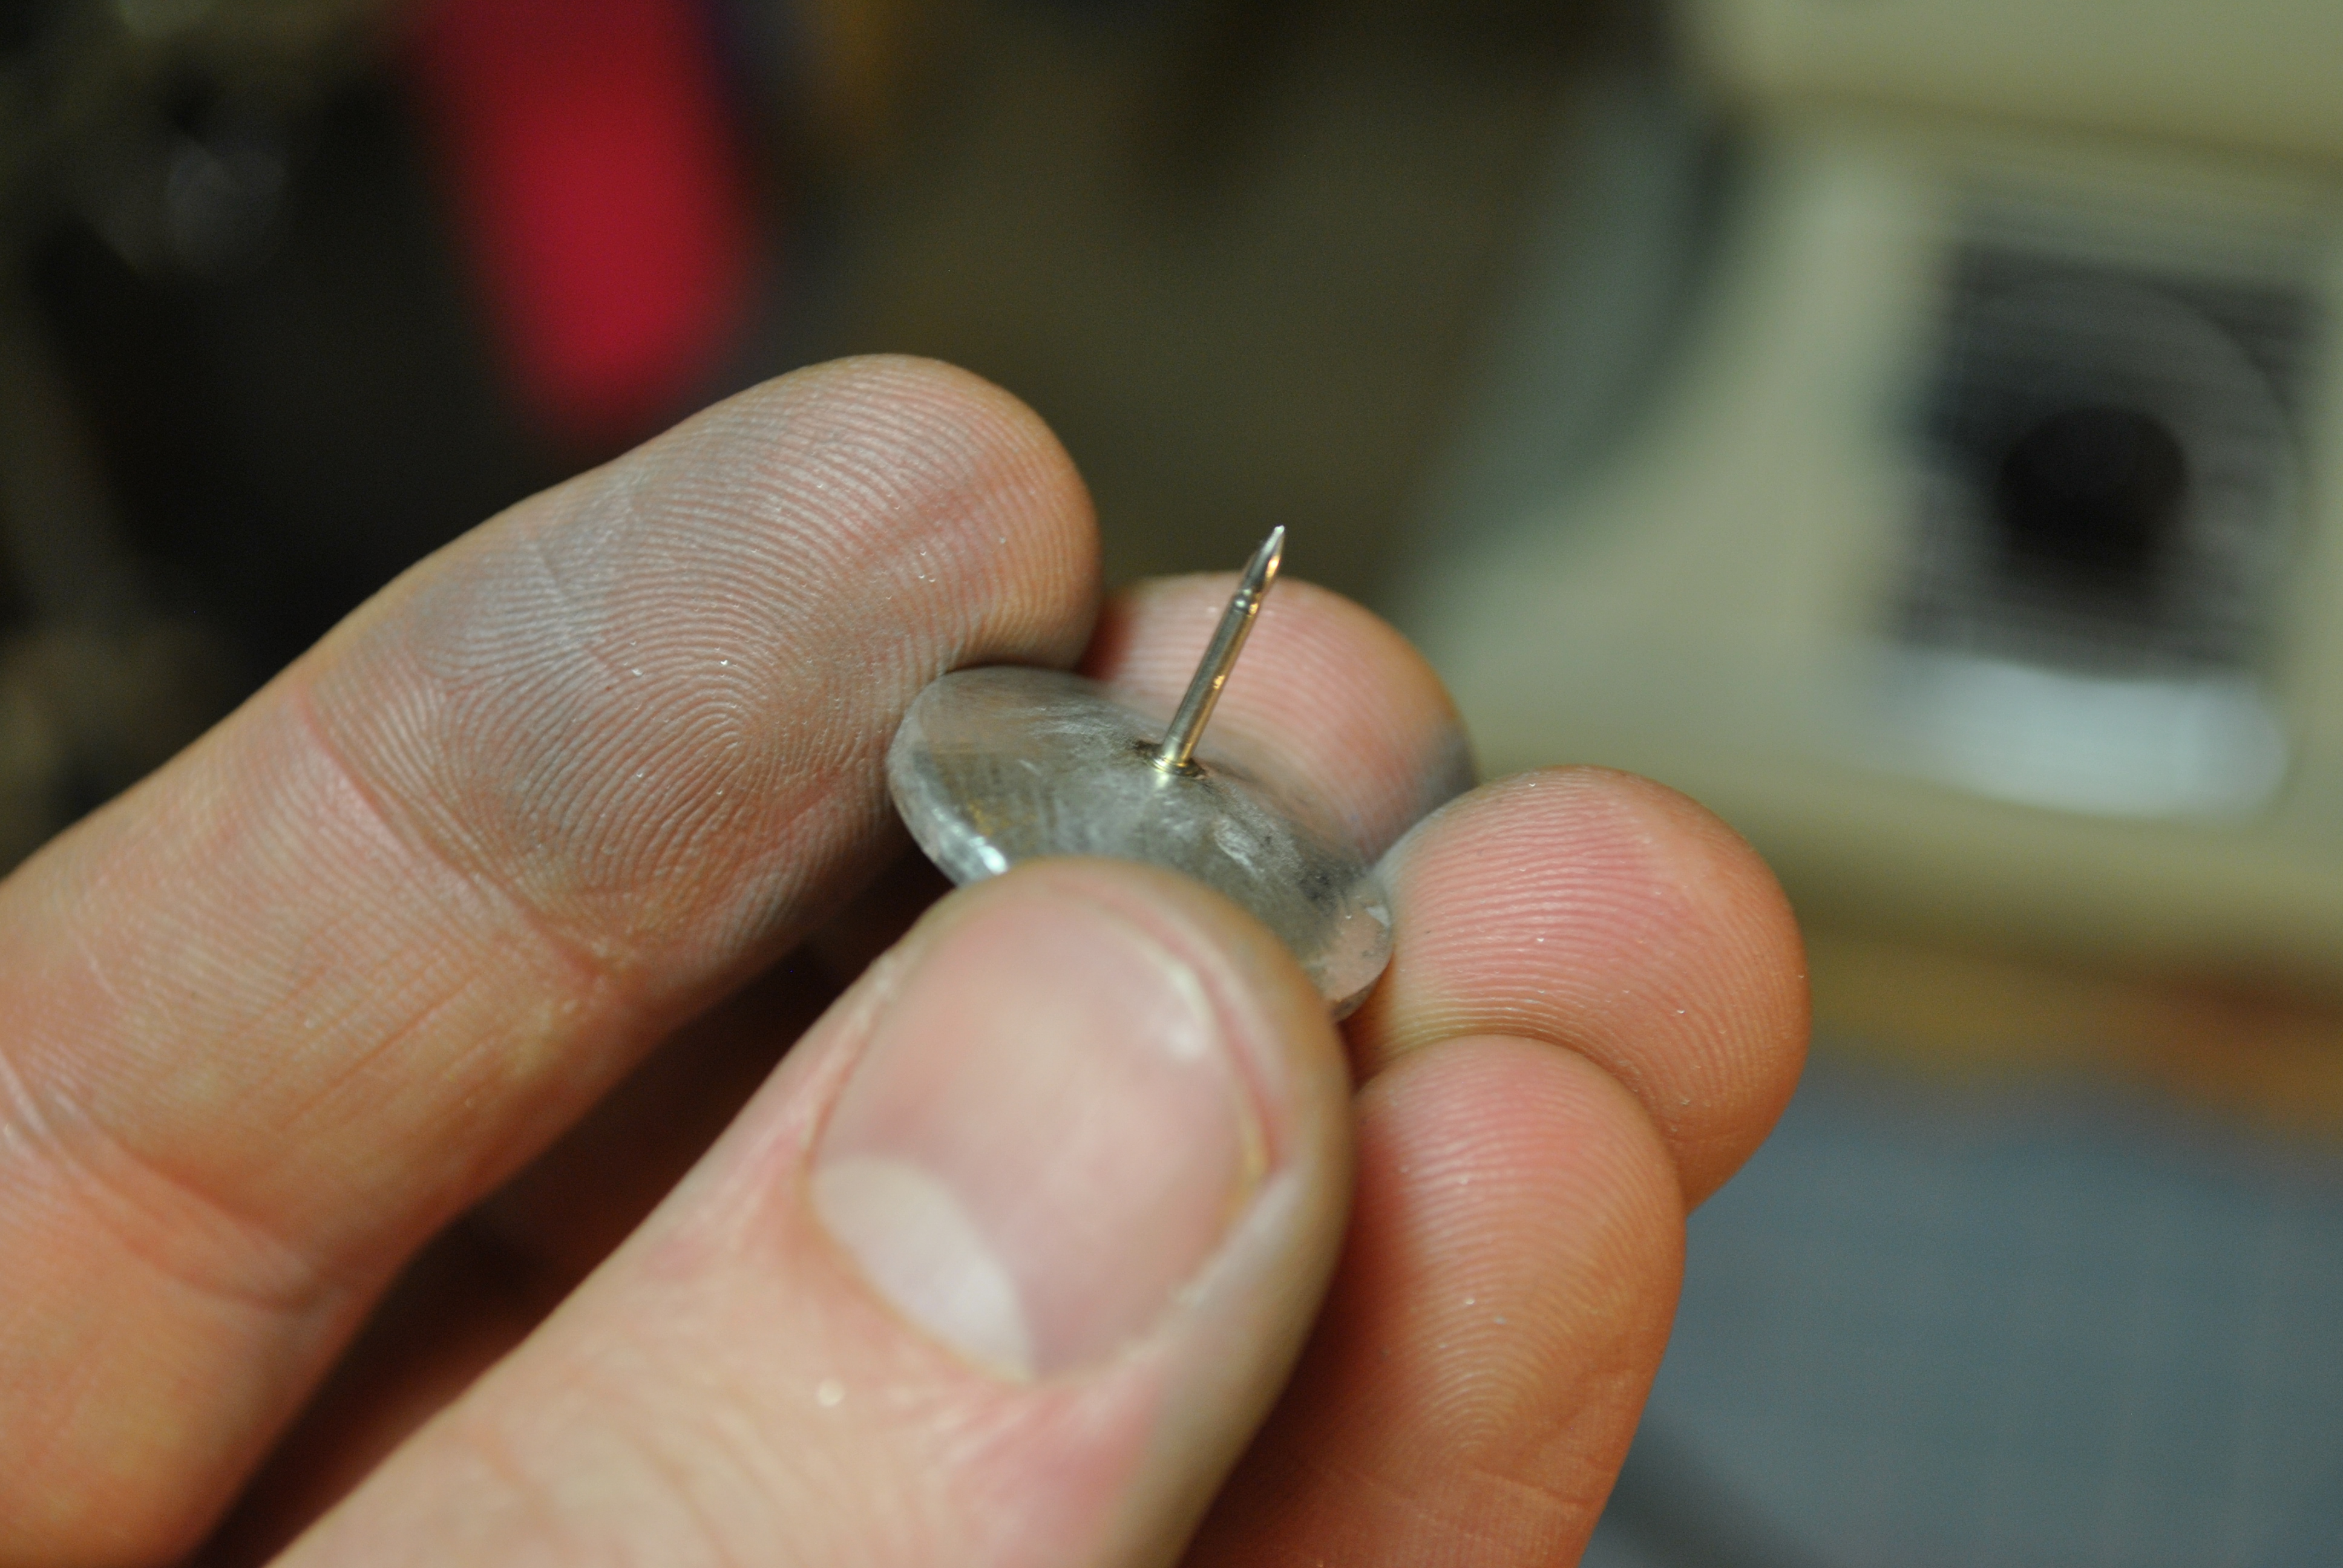
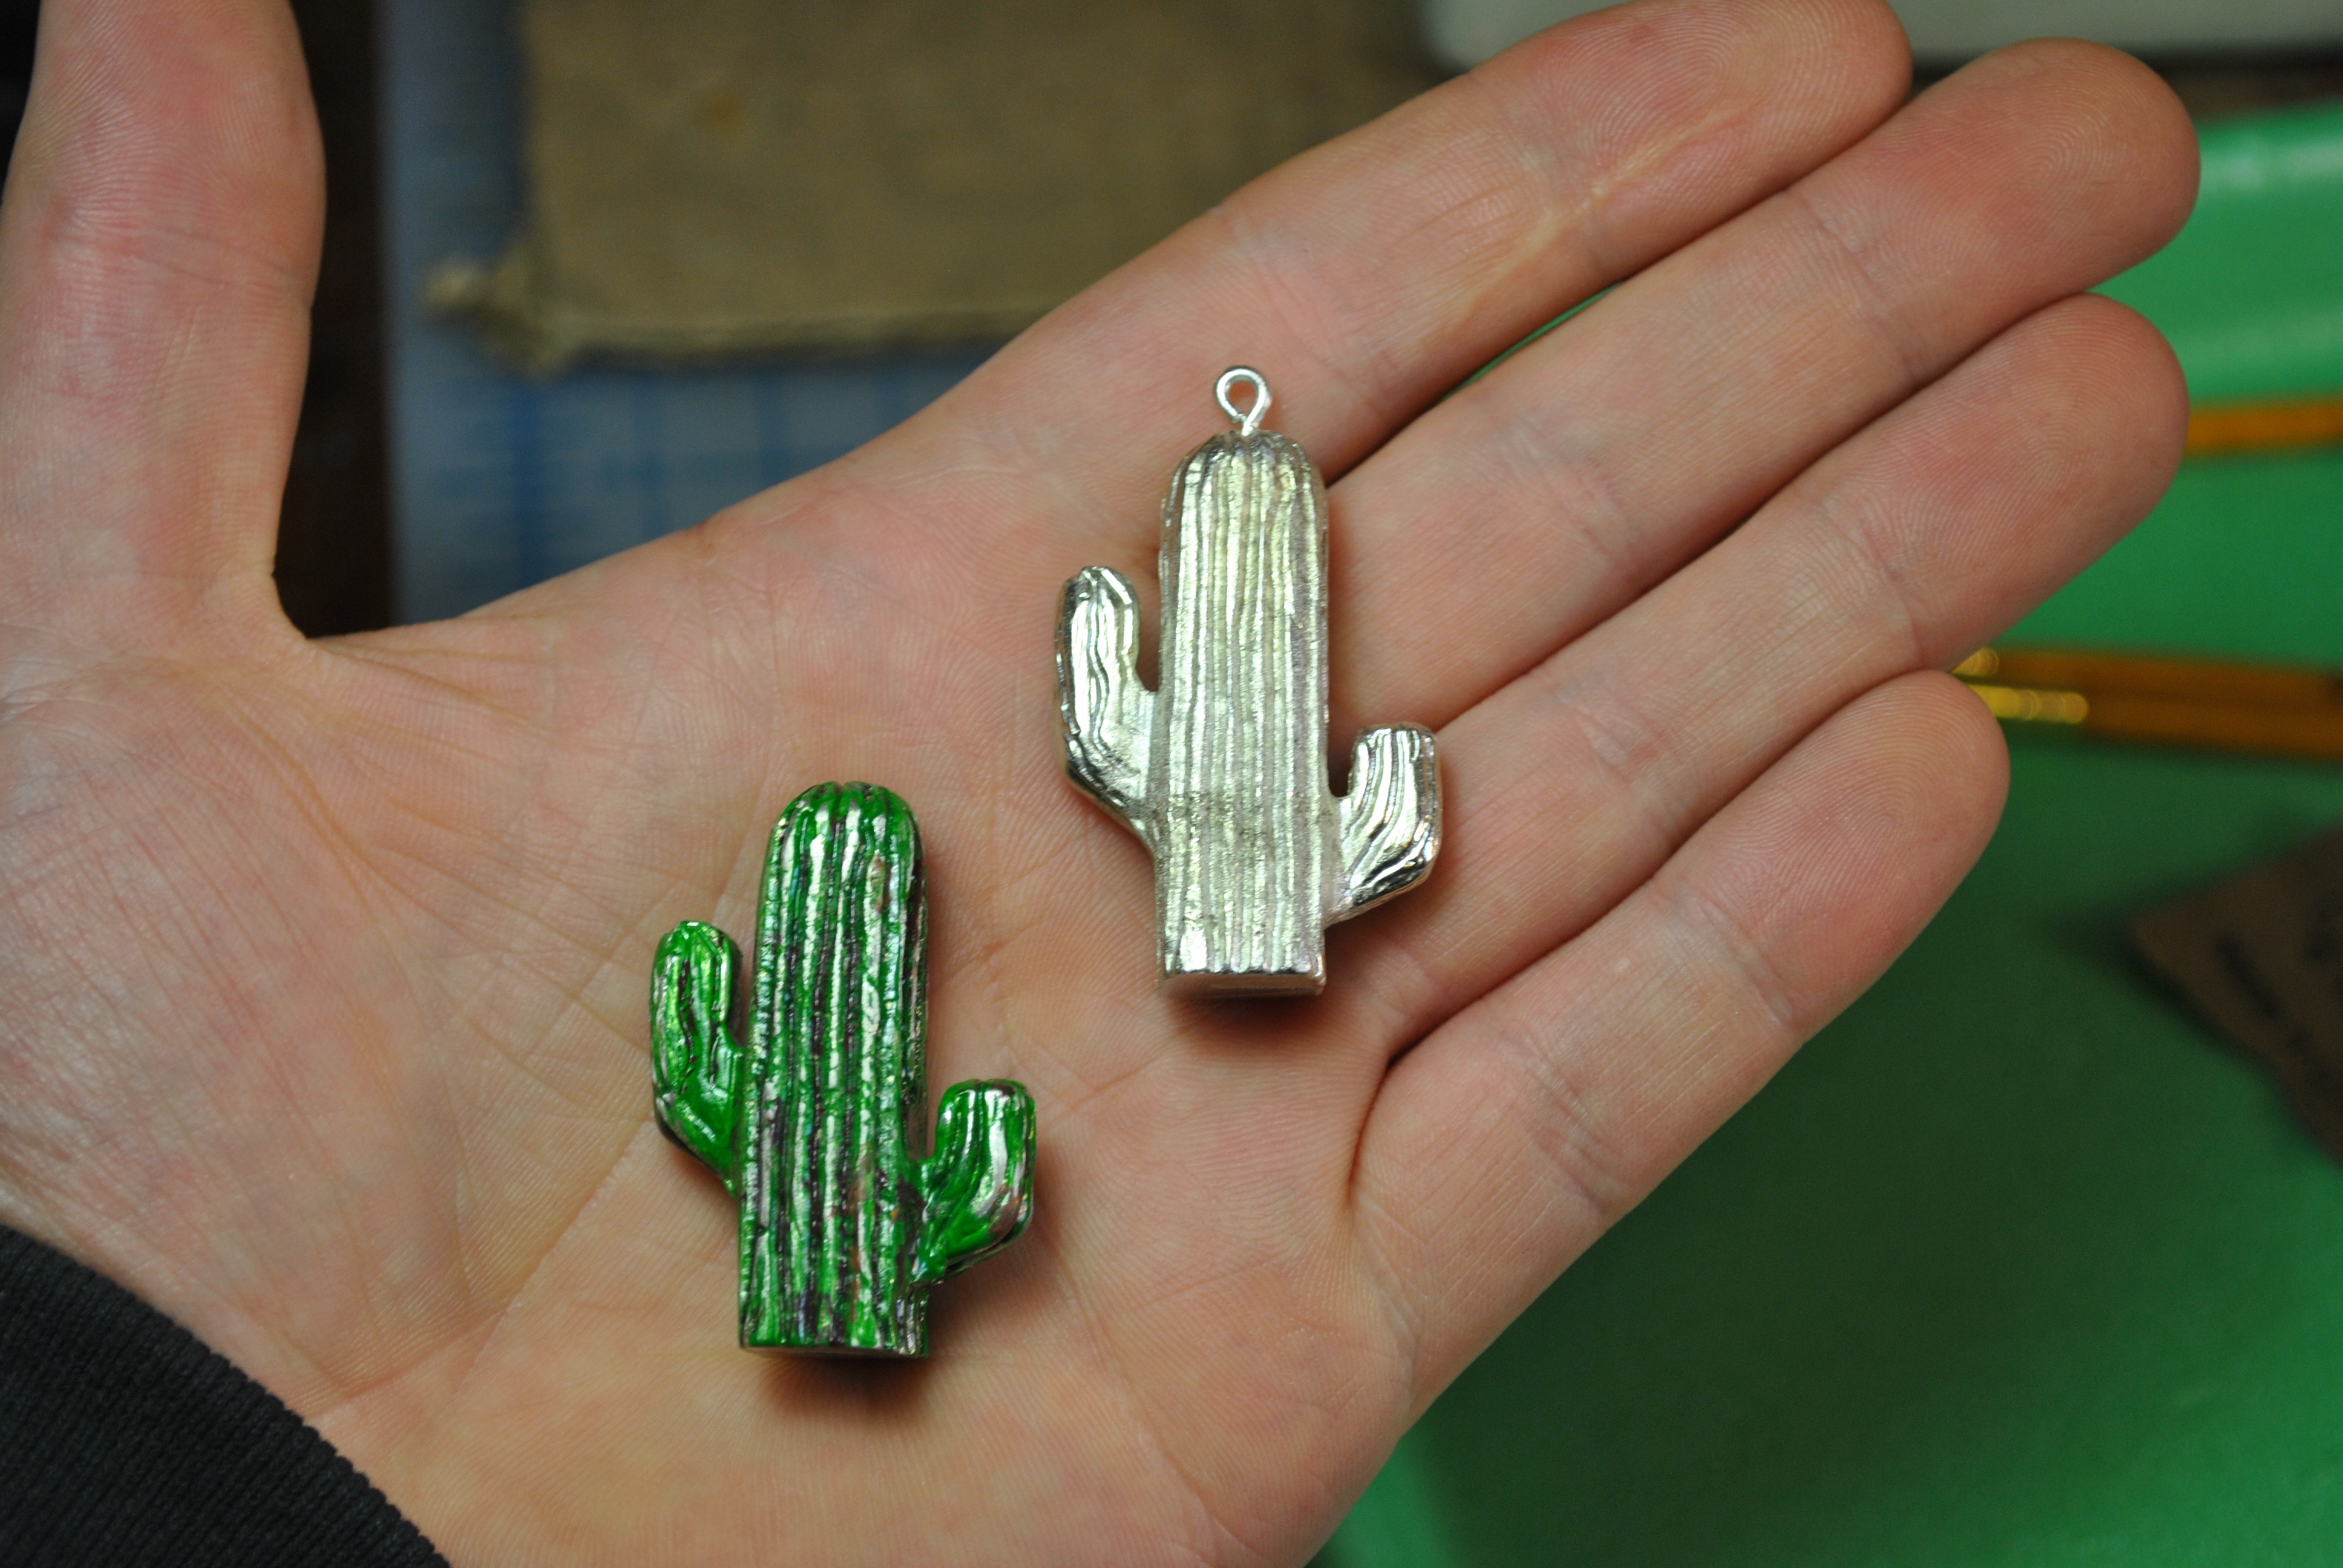
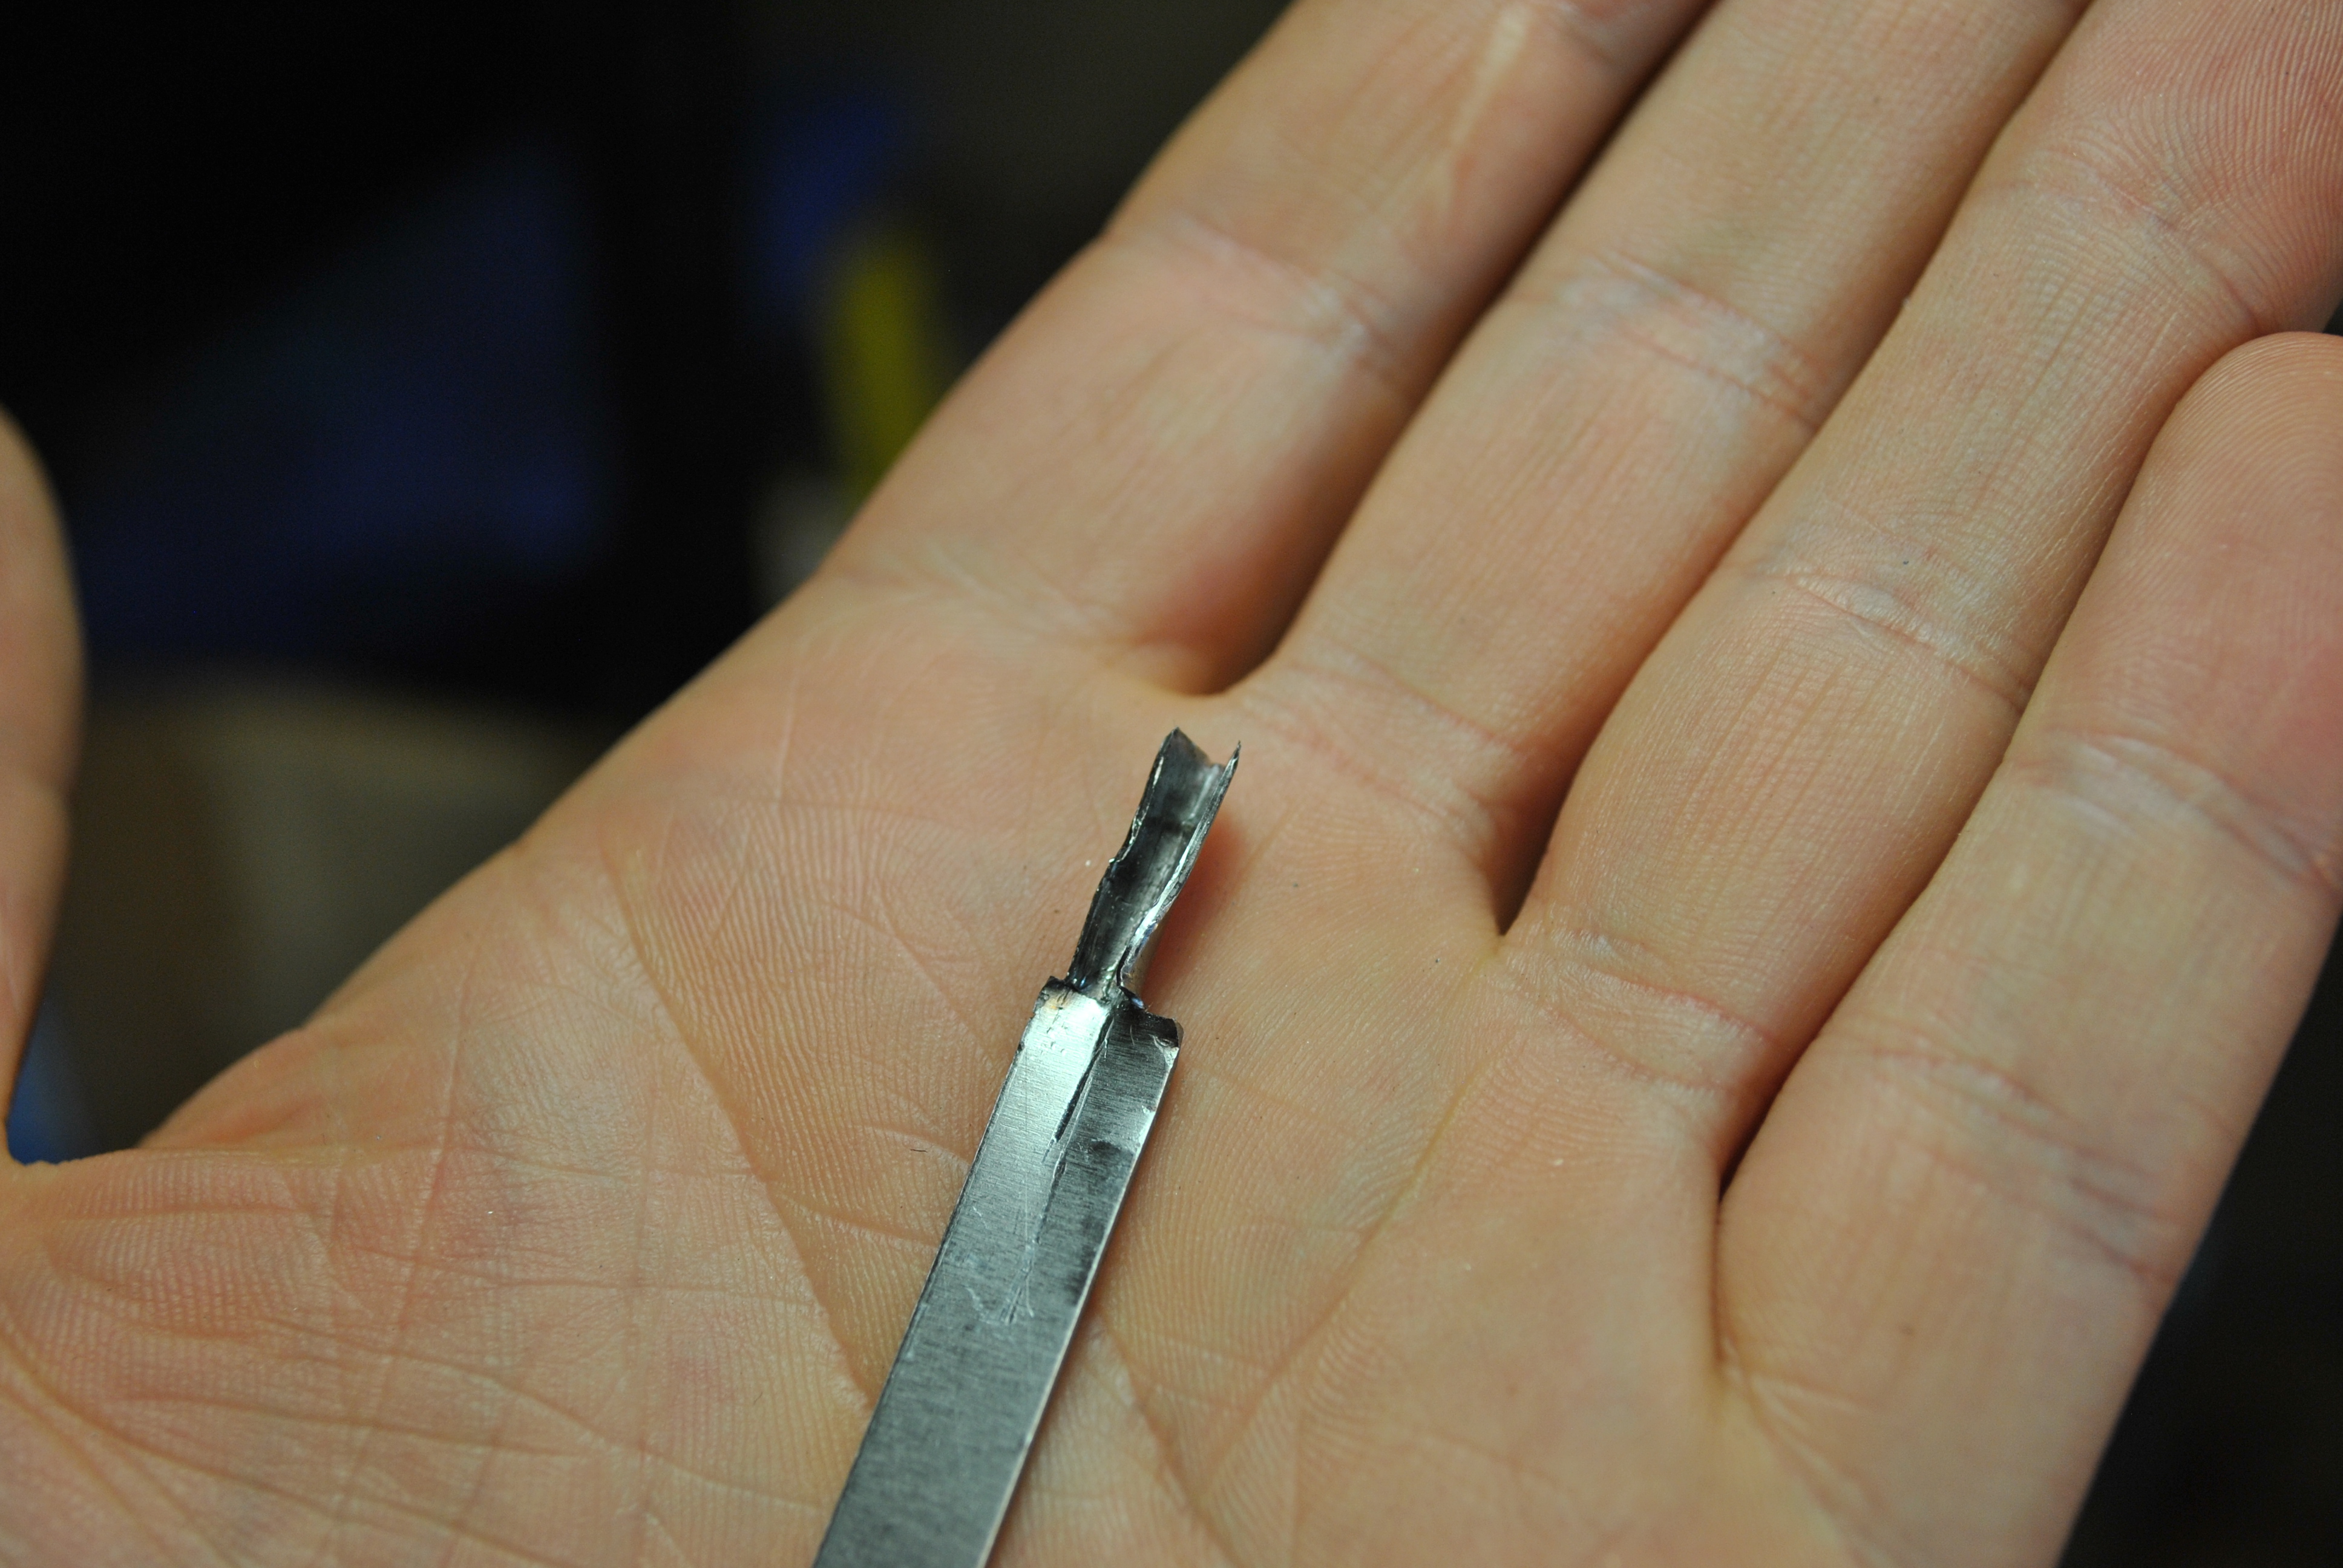
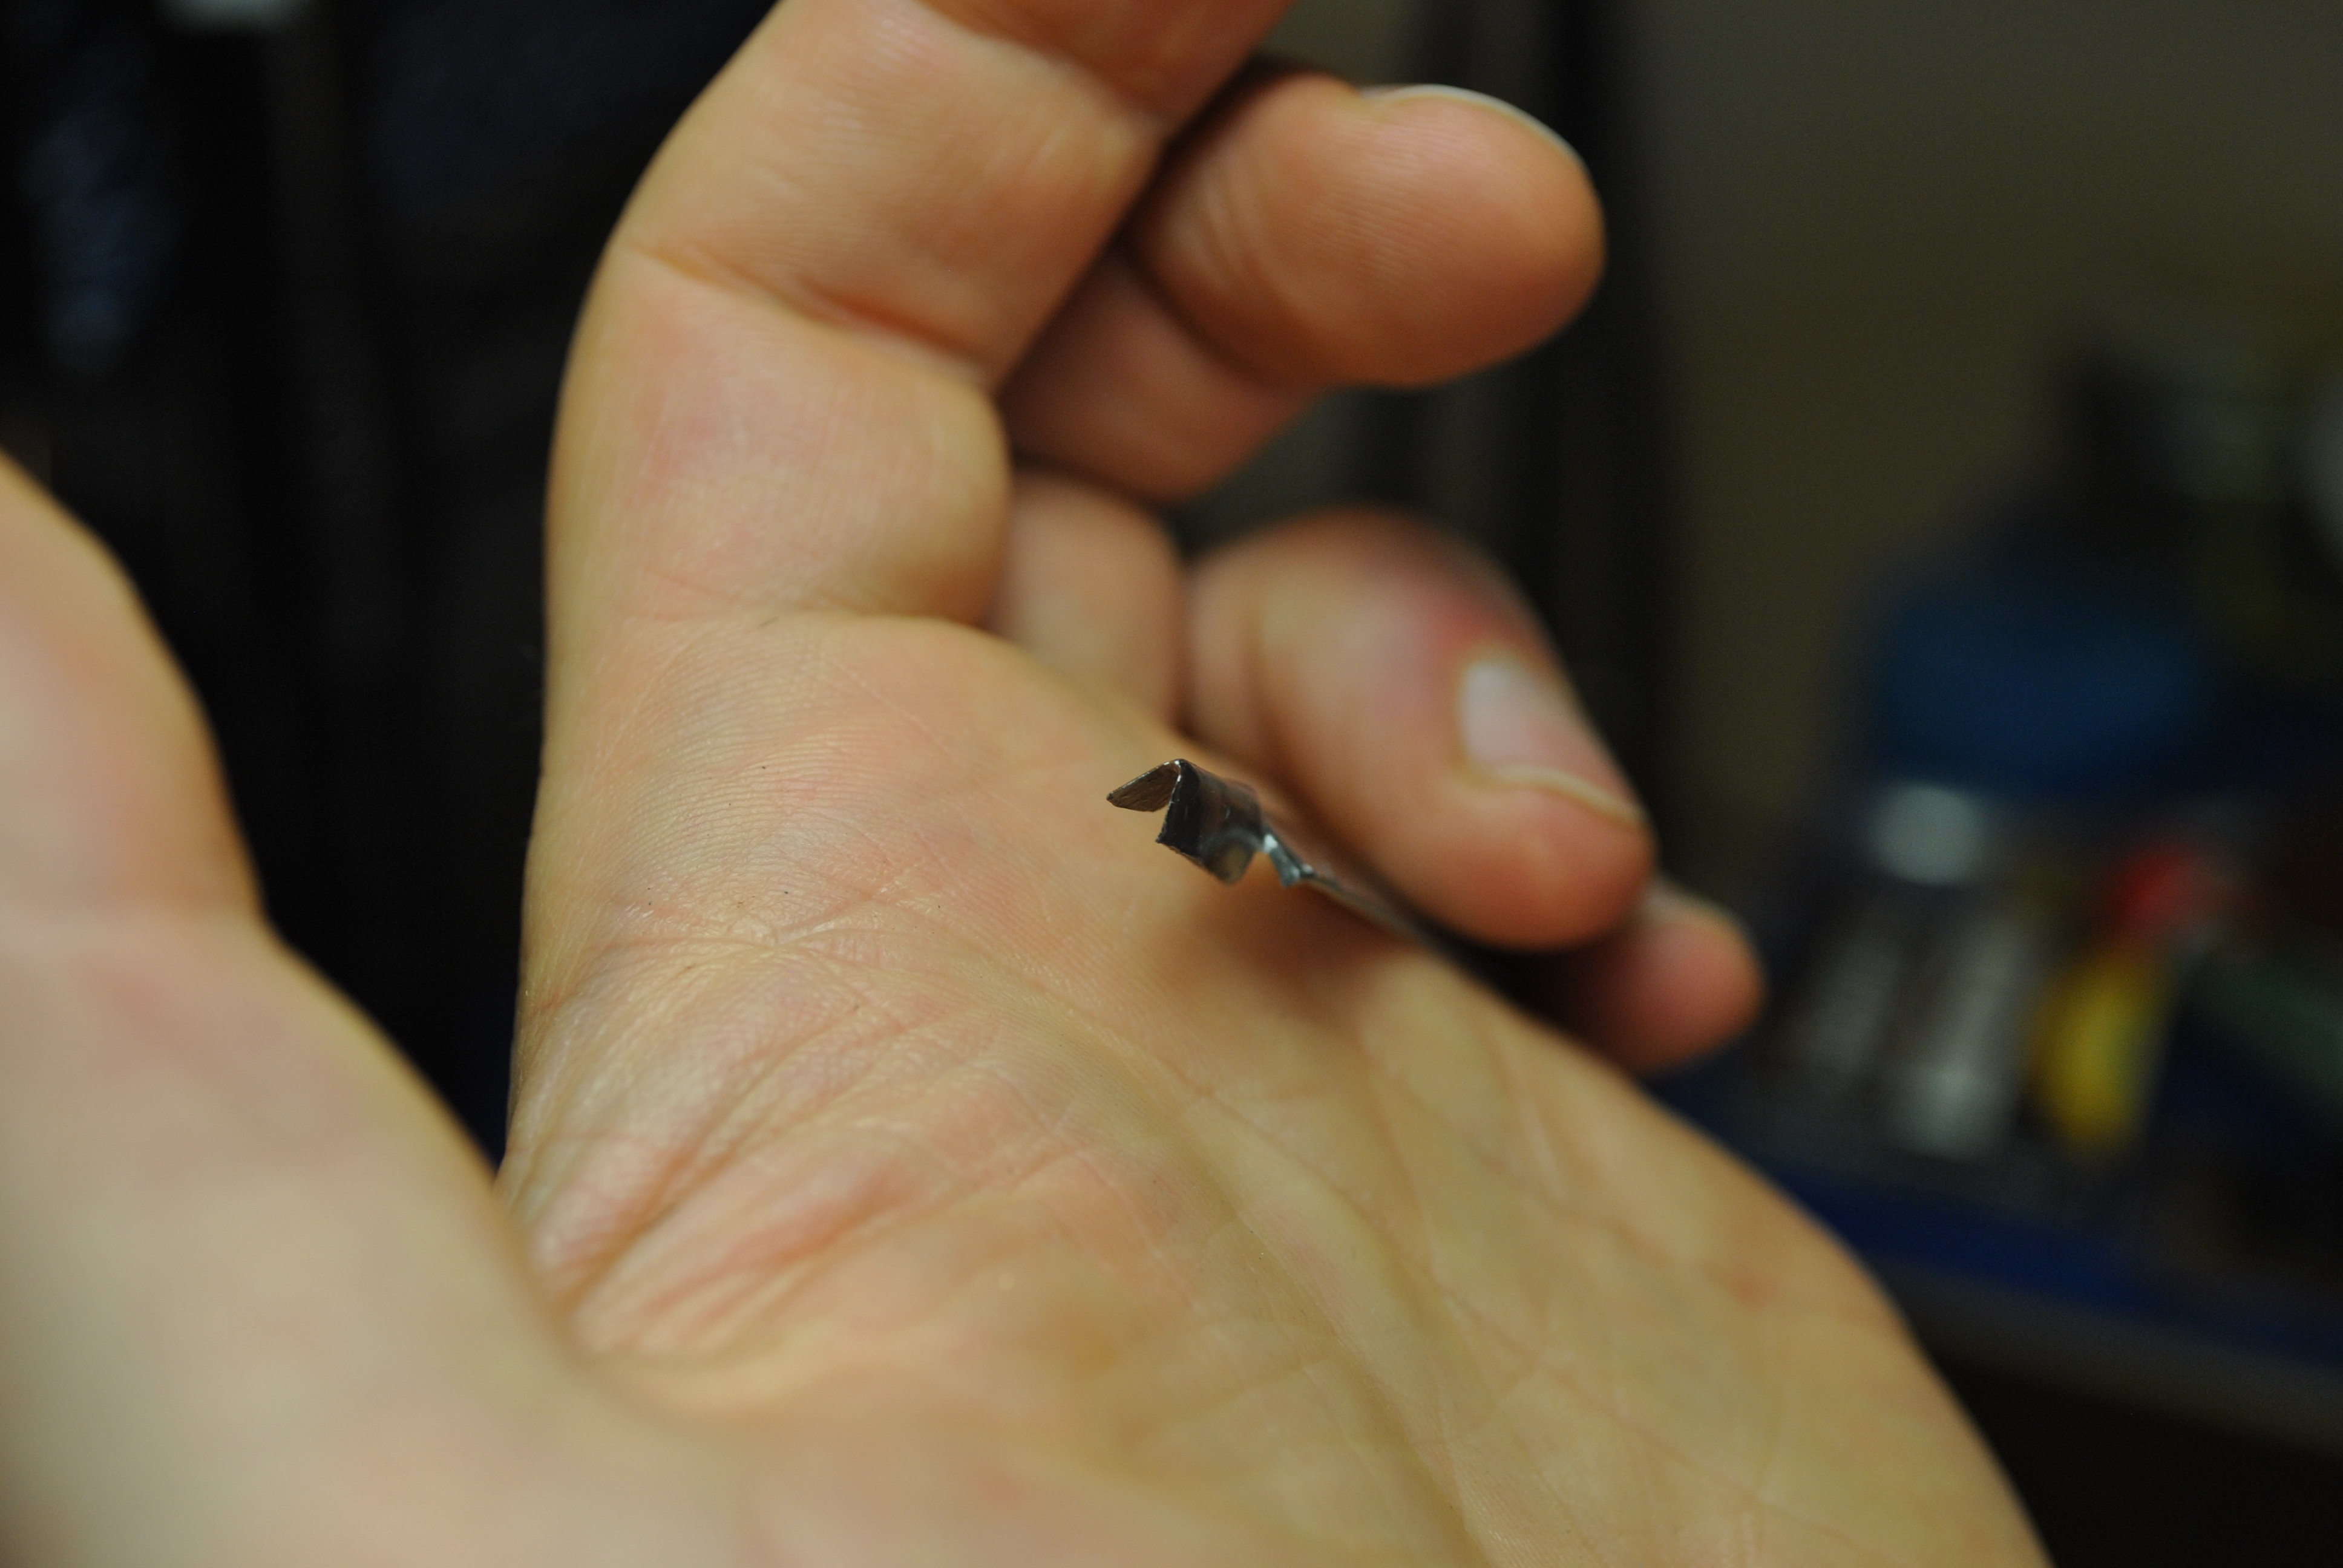
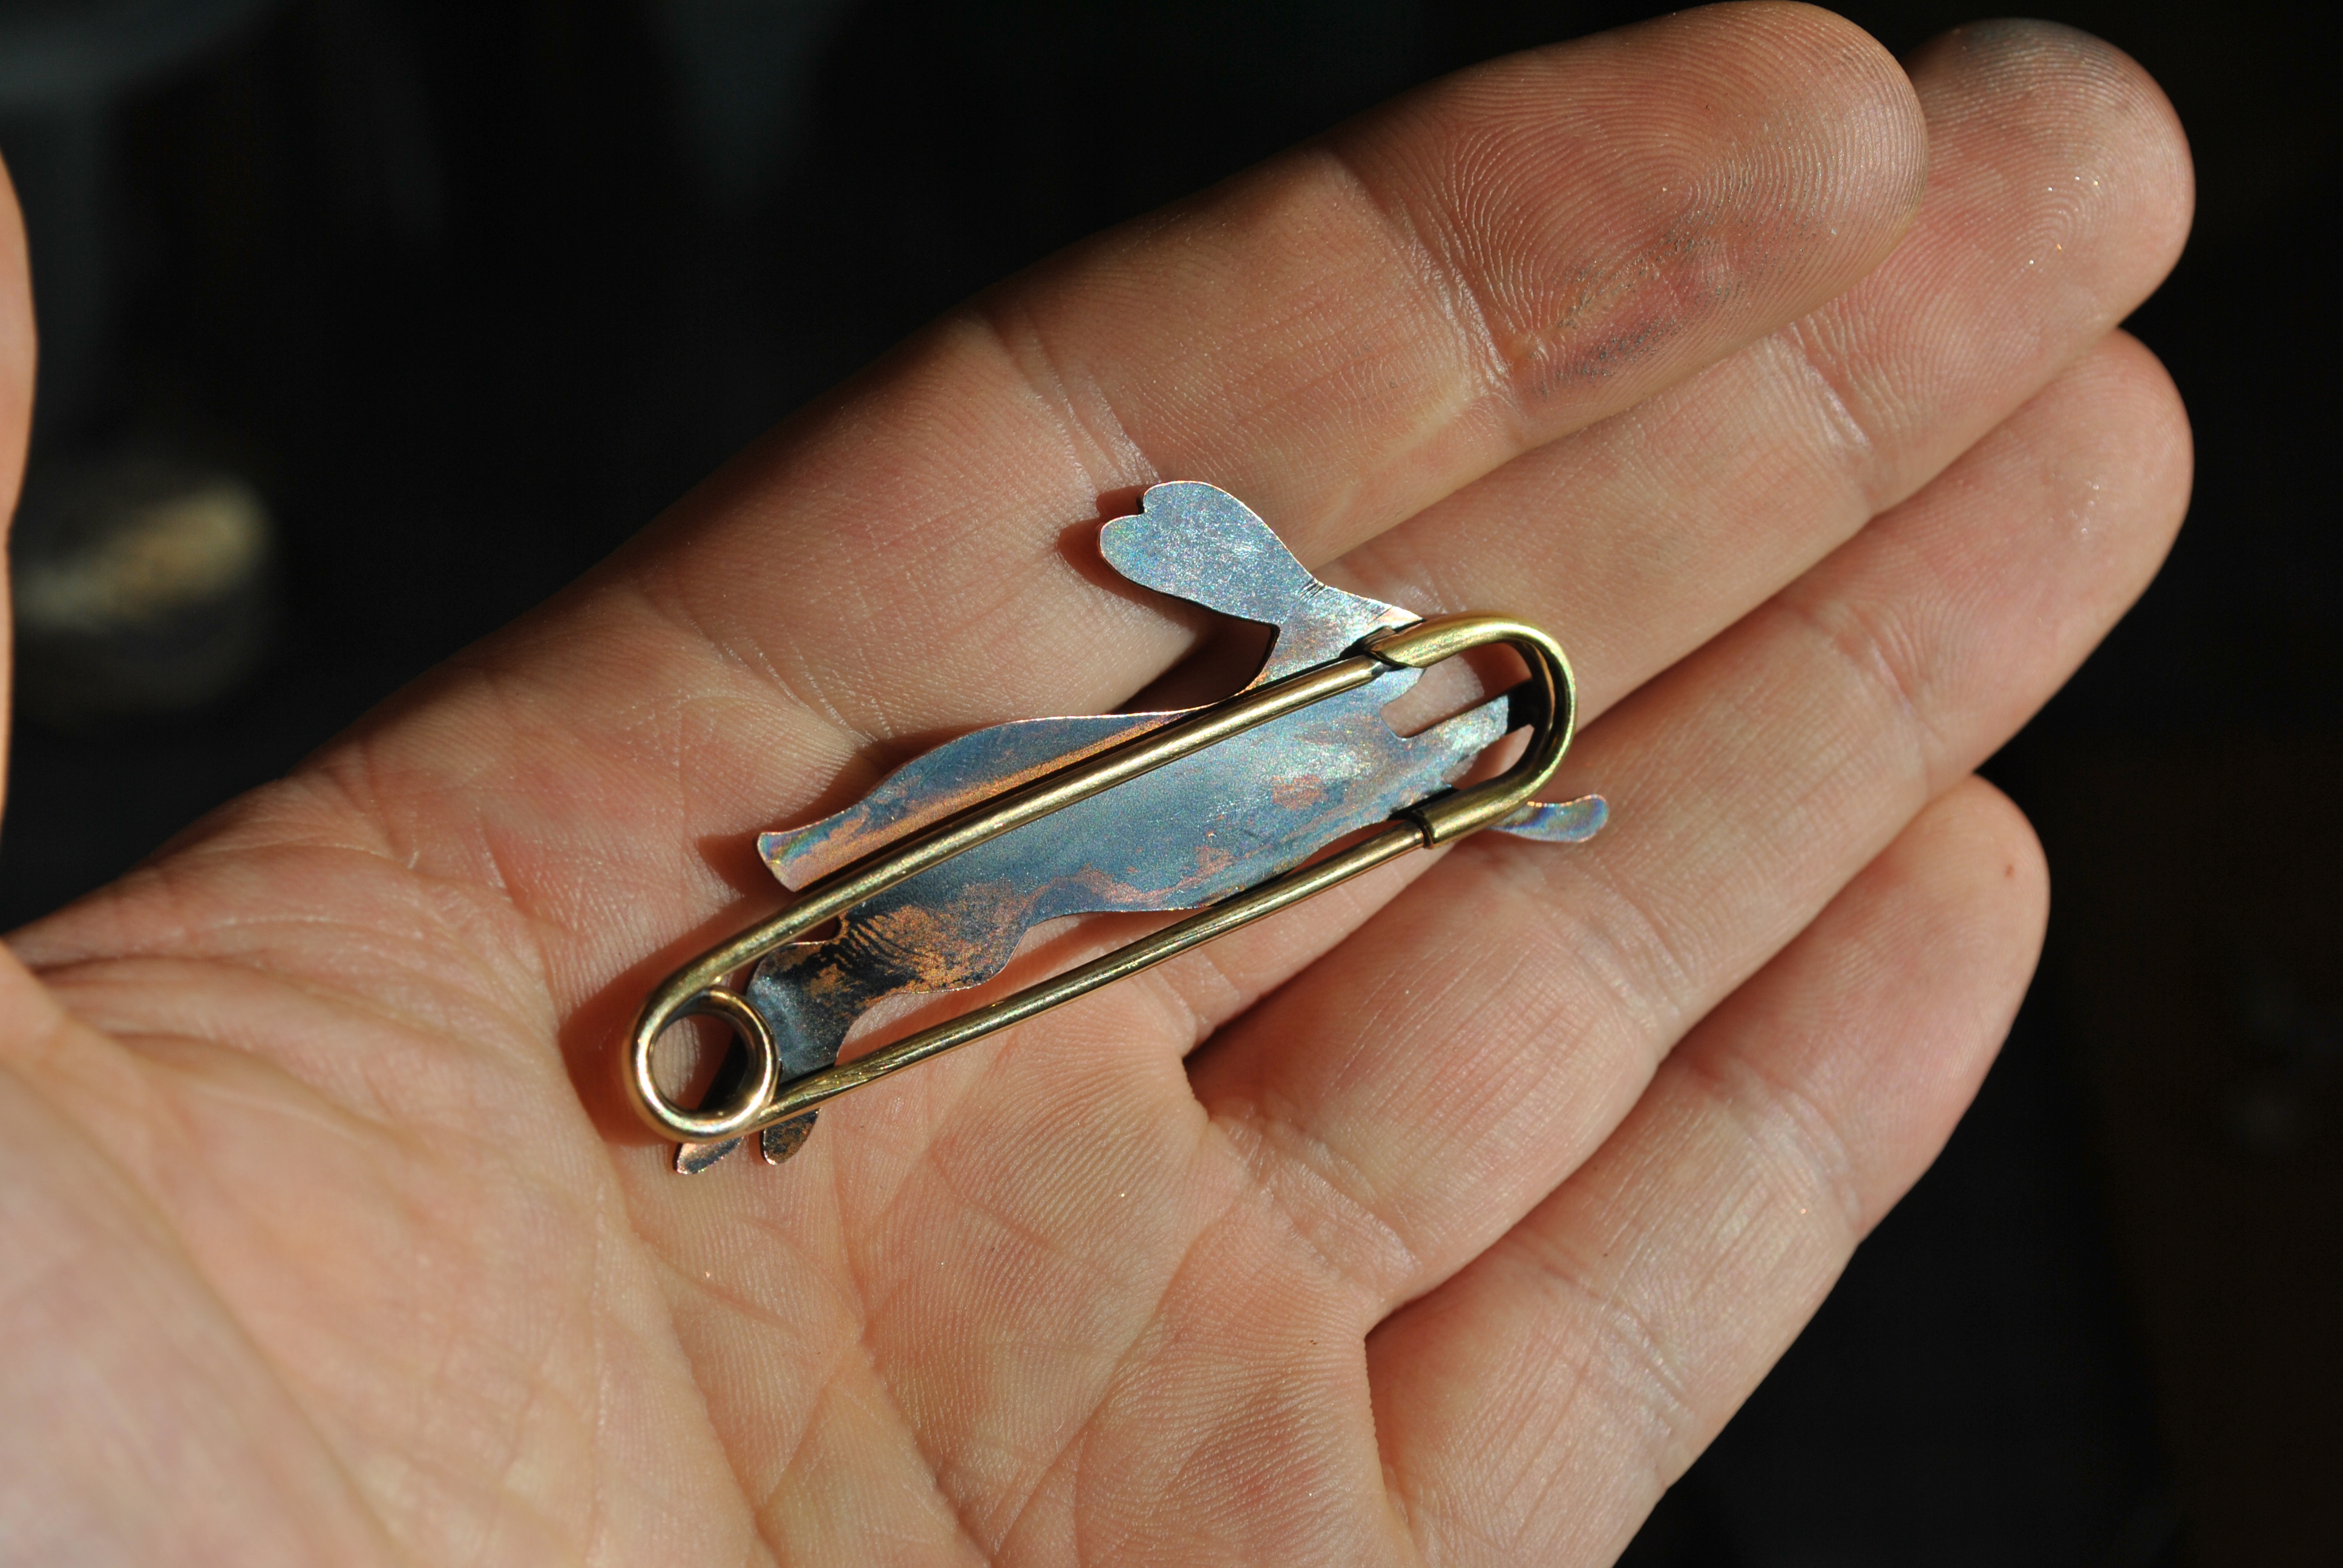
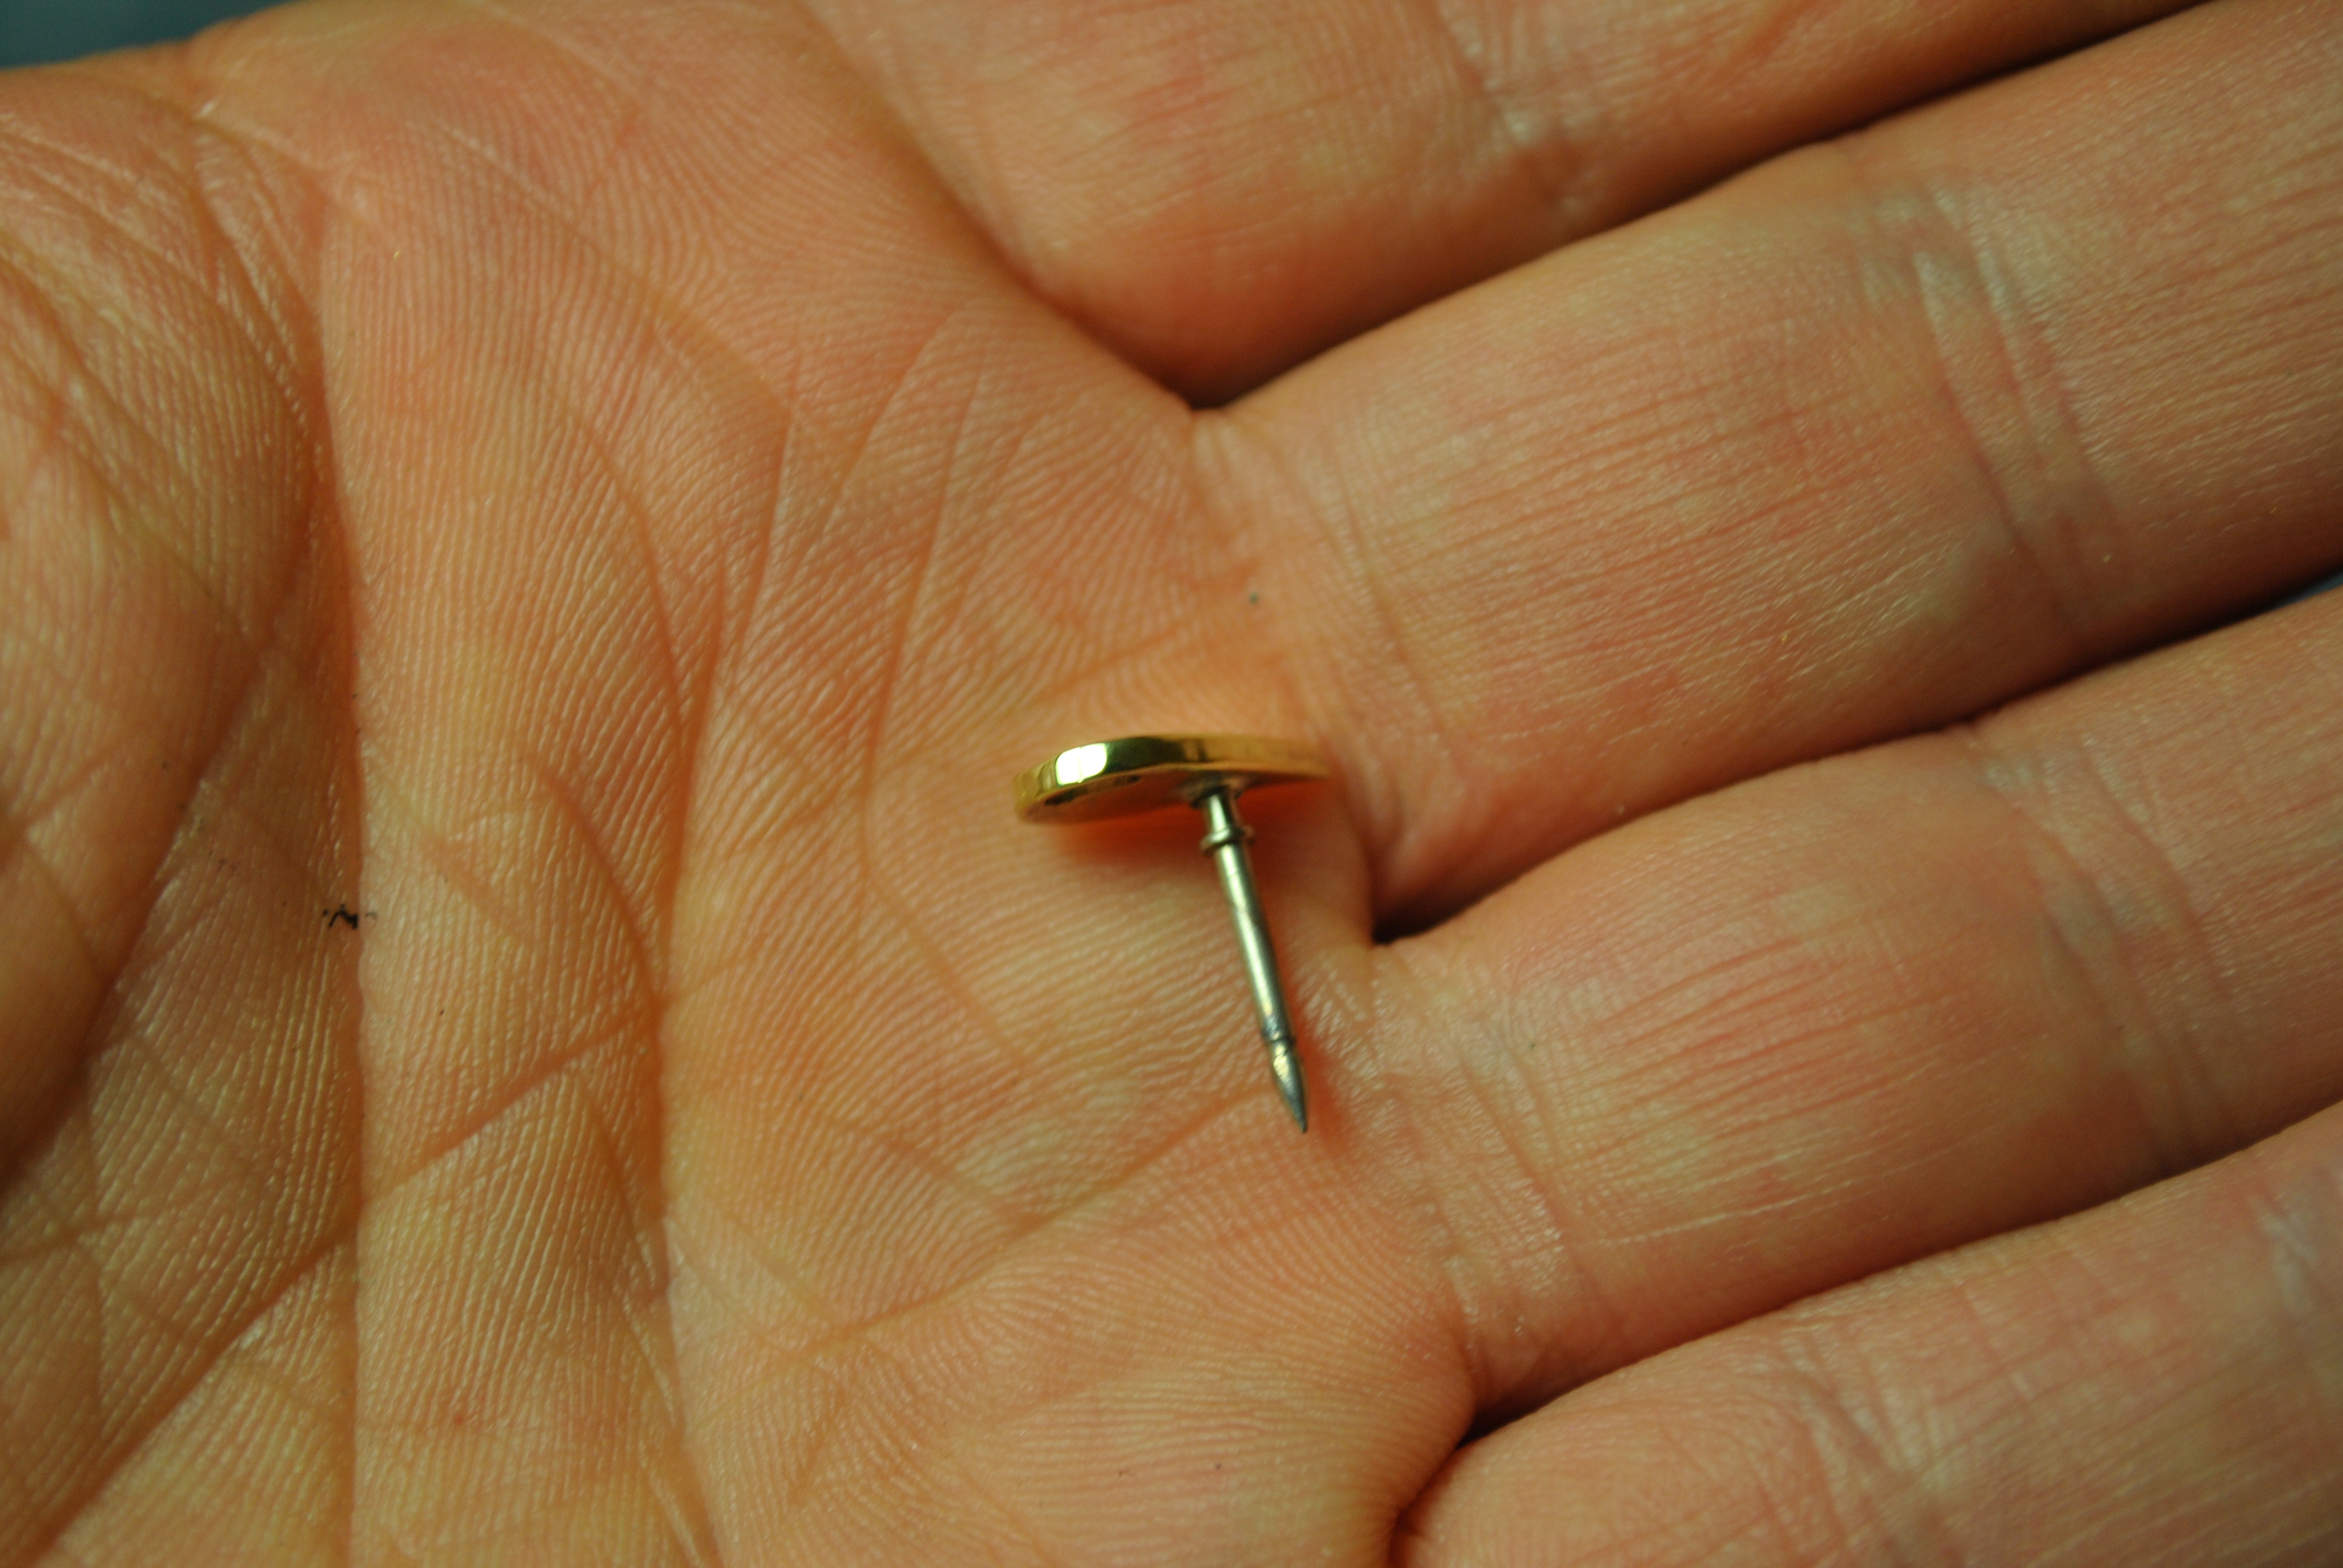
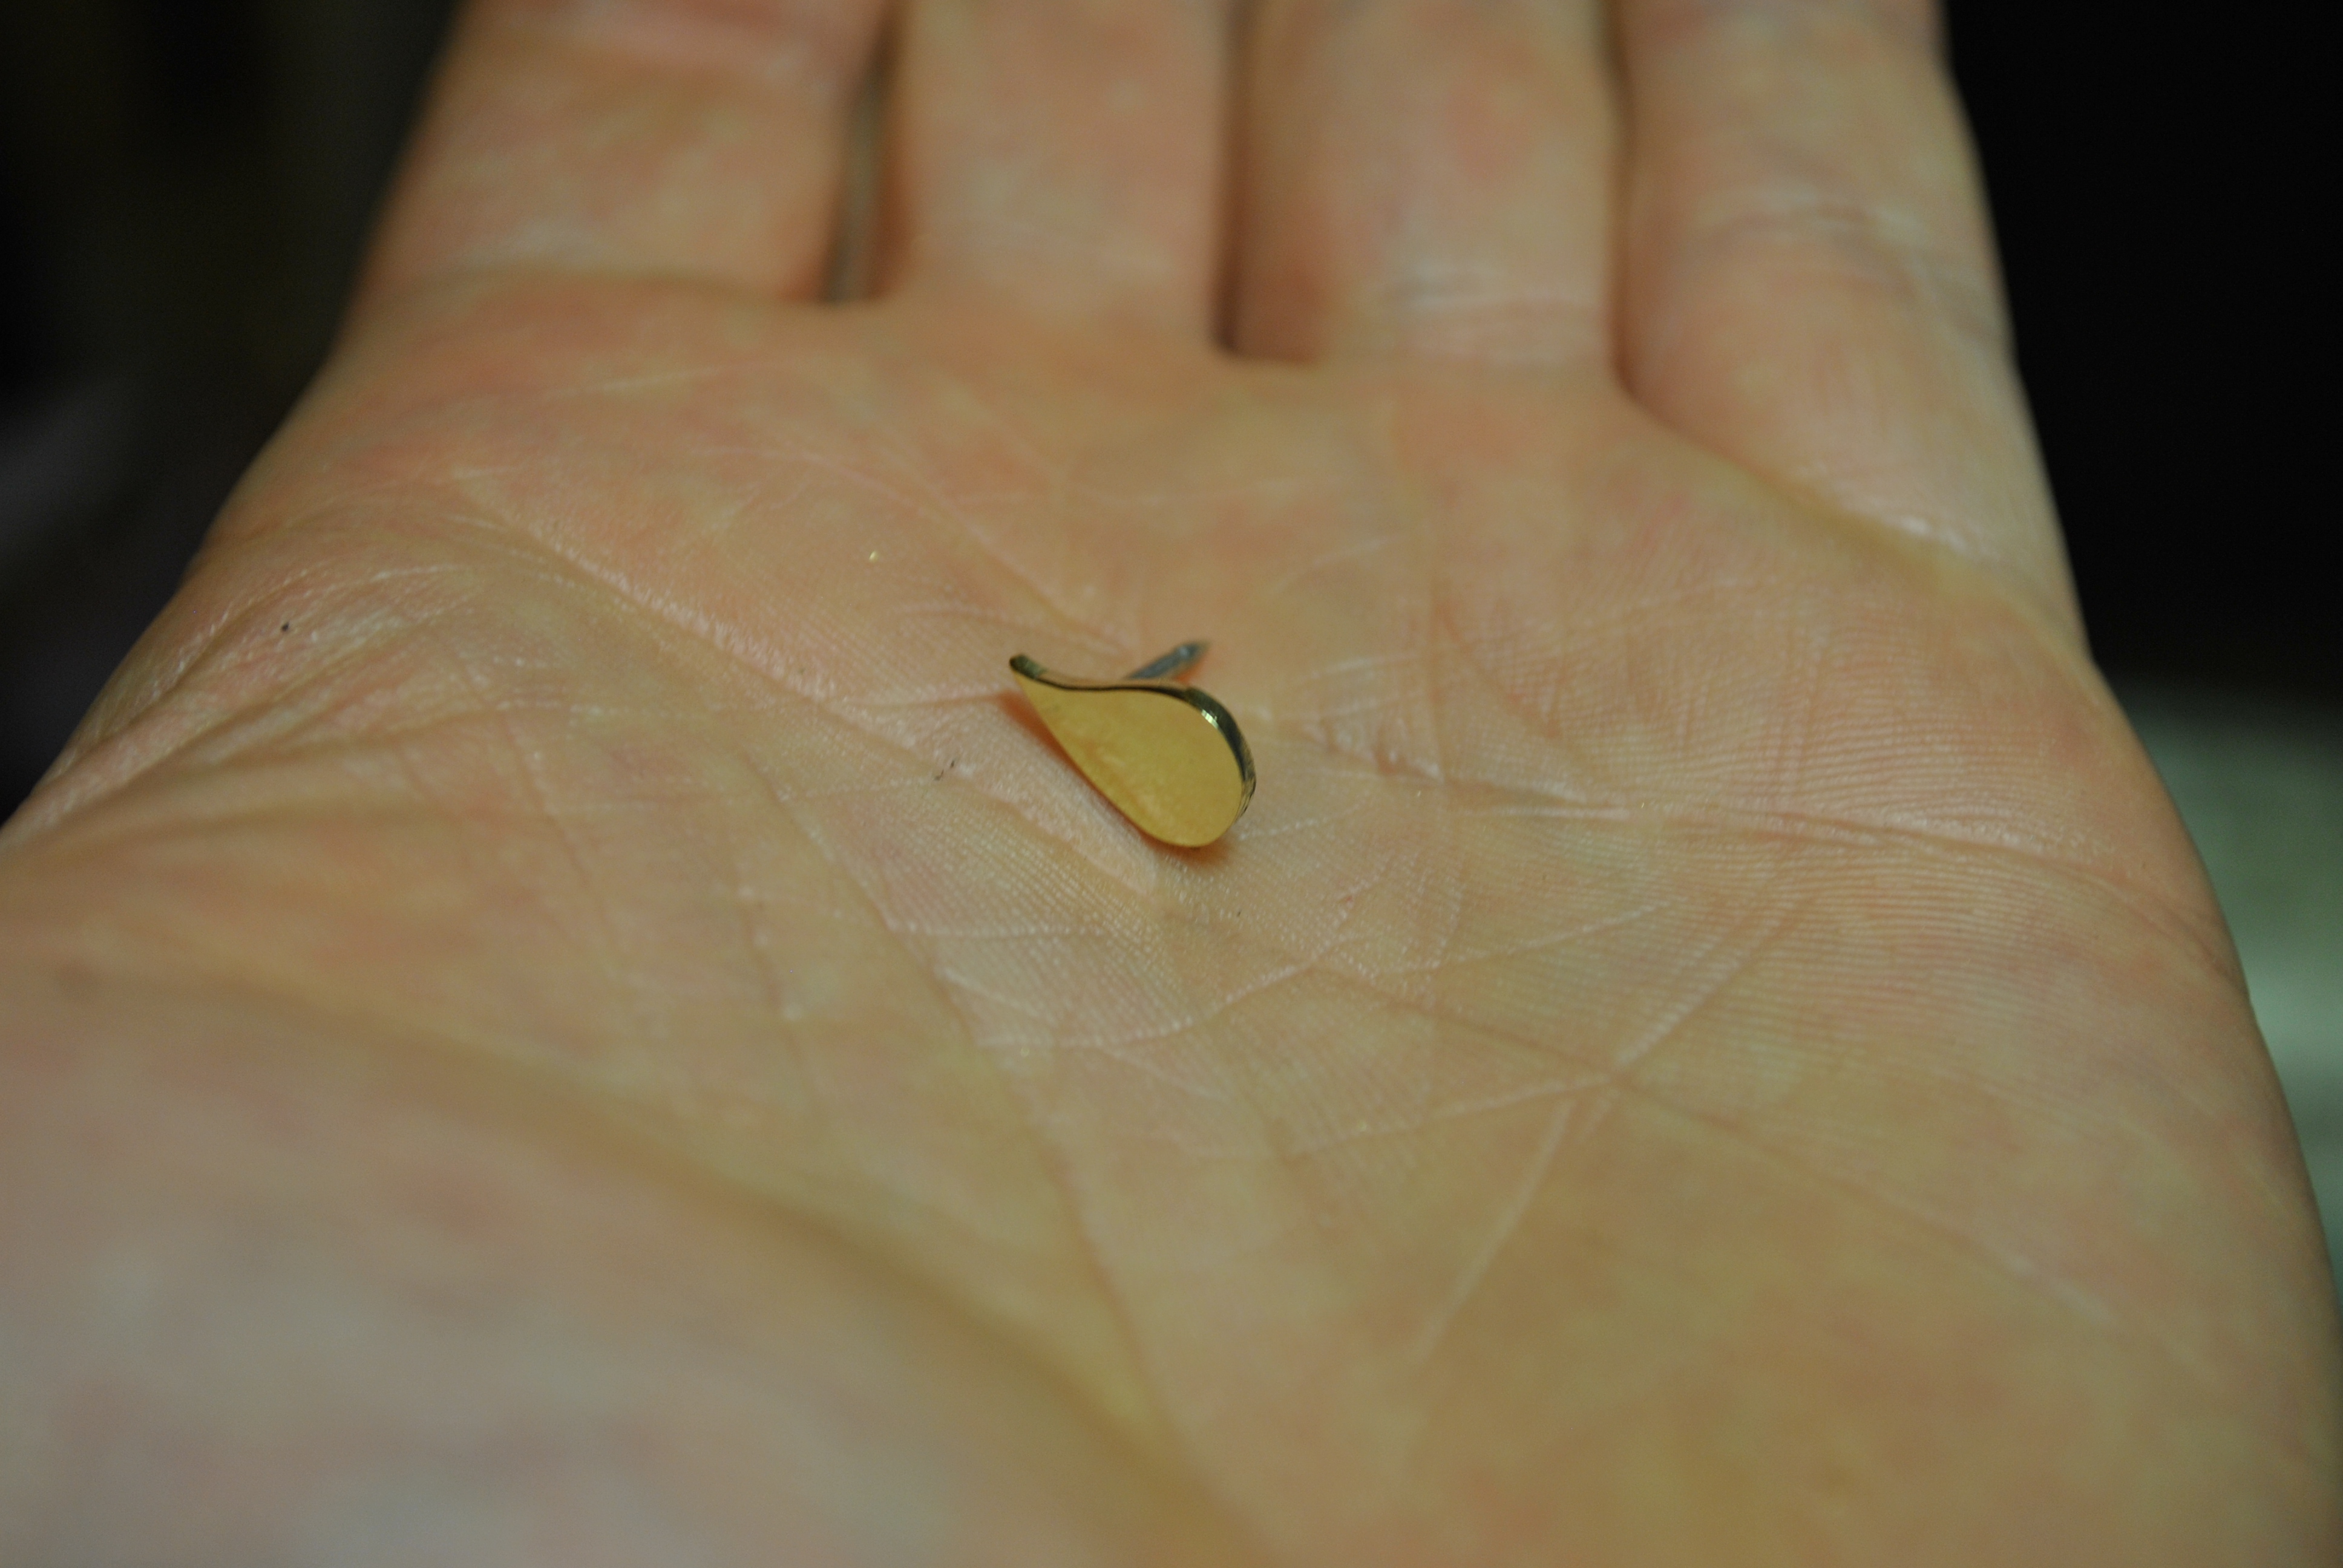
The tiny lip of the backing pin is now solidly embedded into the body of the pin, very sturdy.

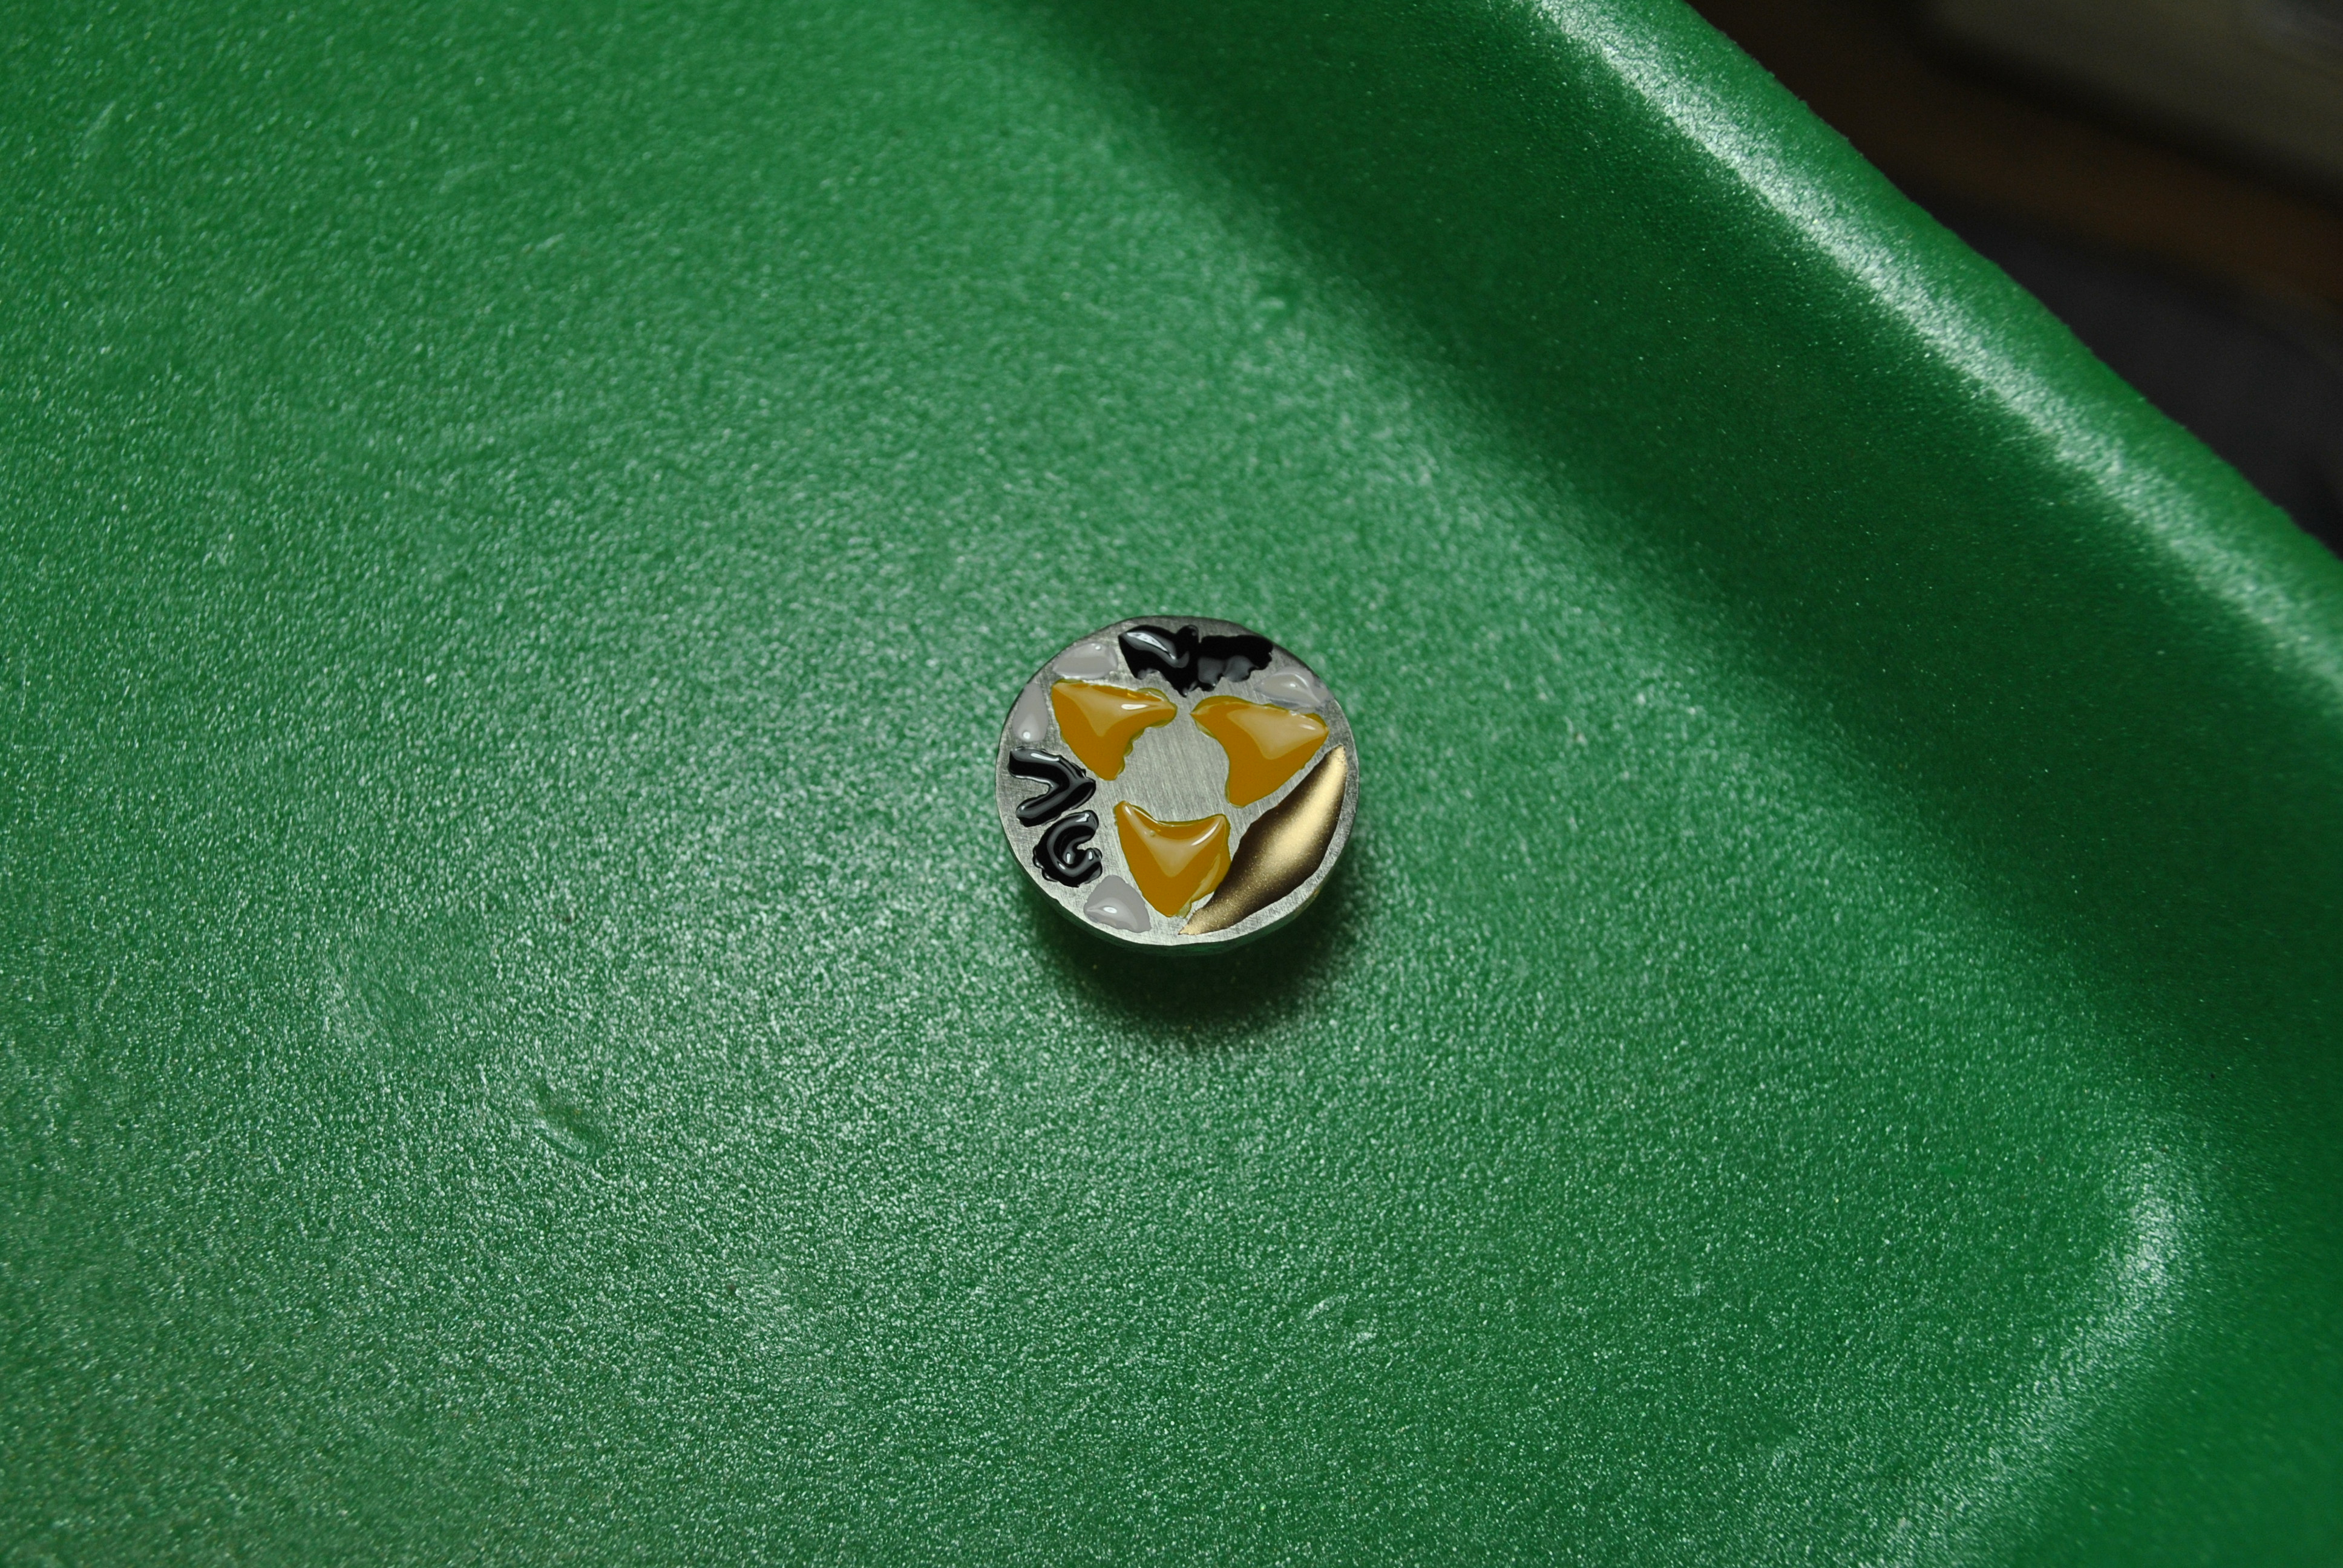
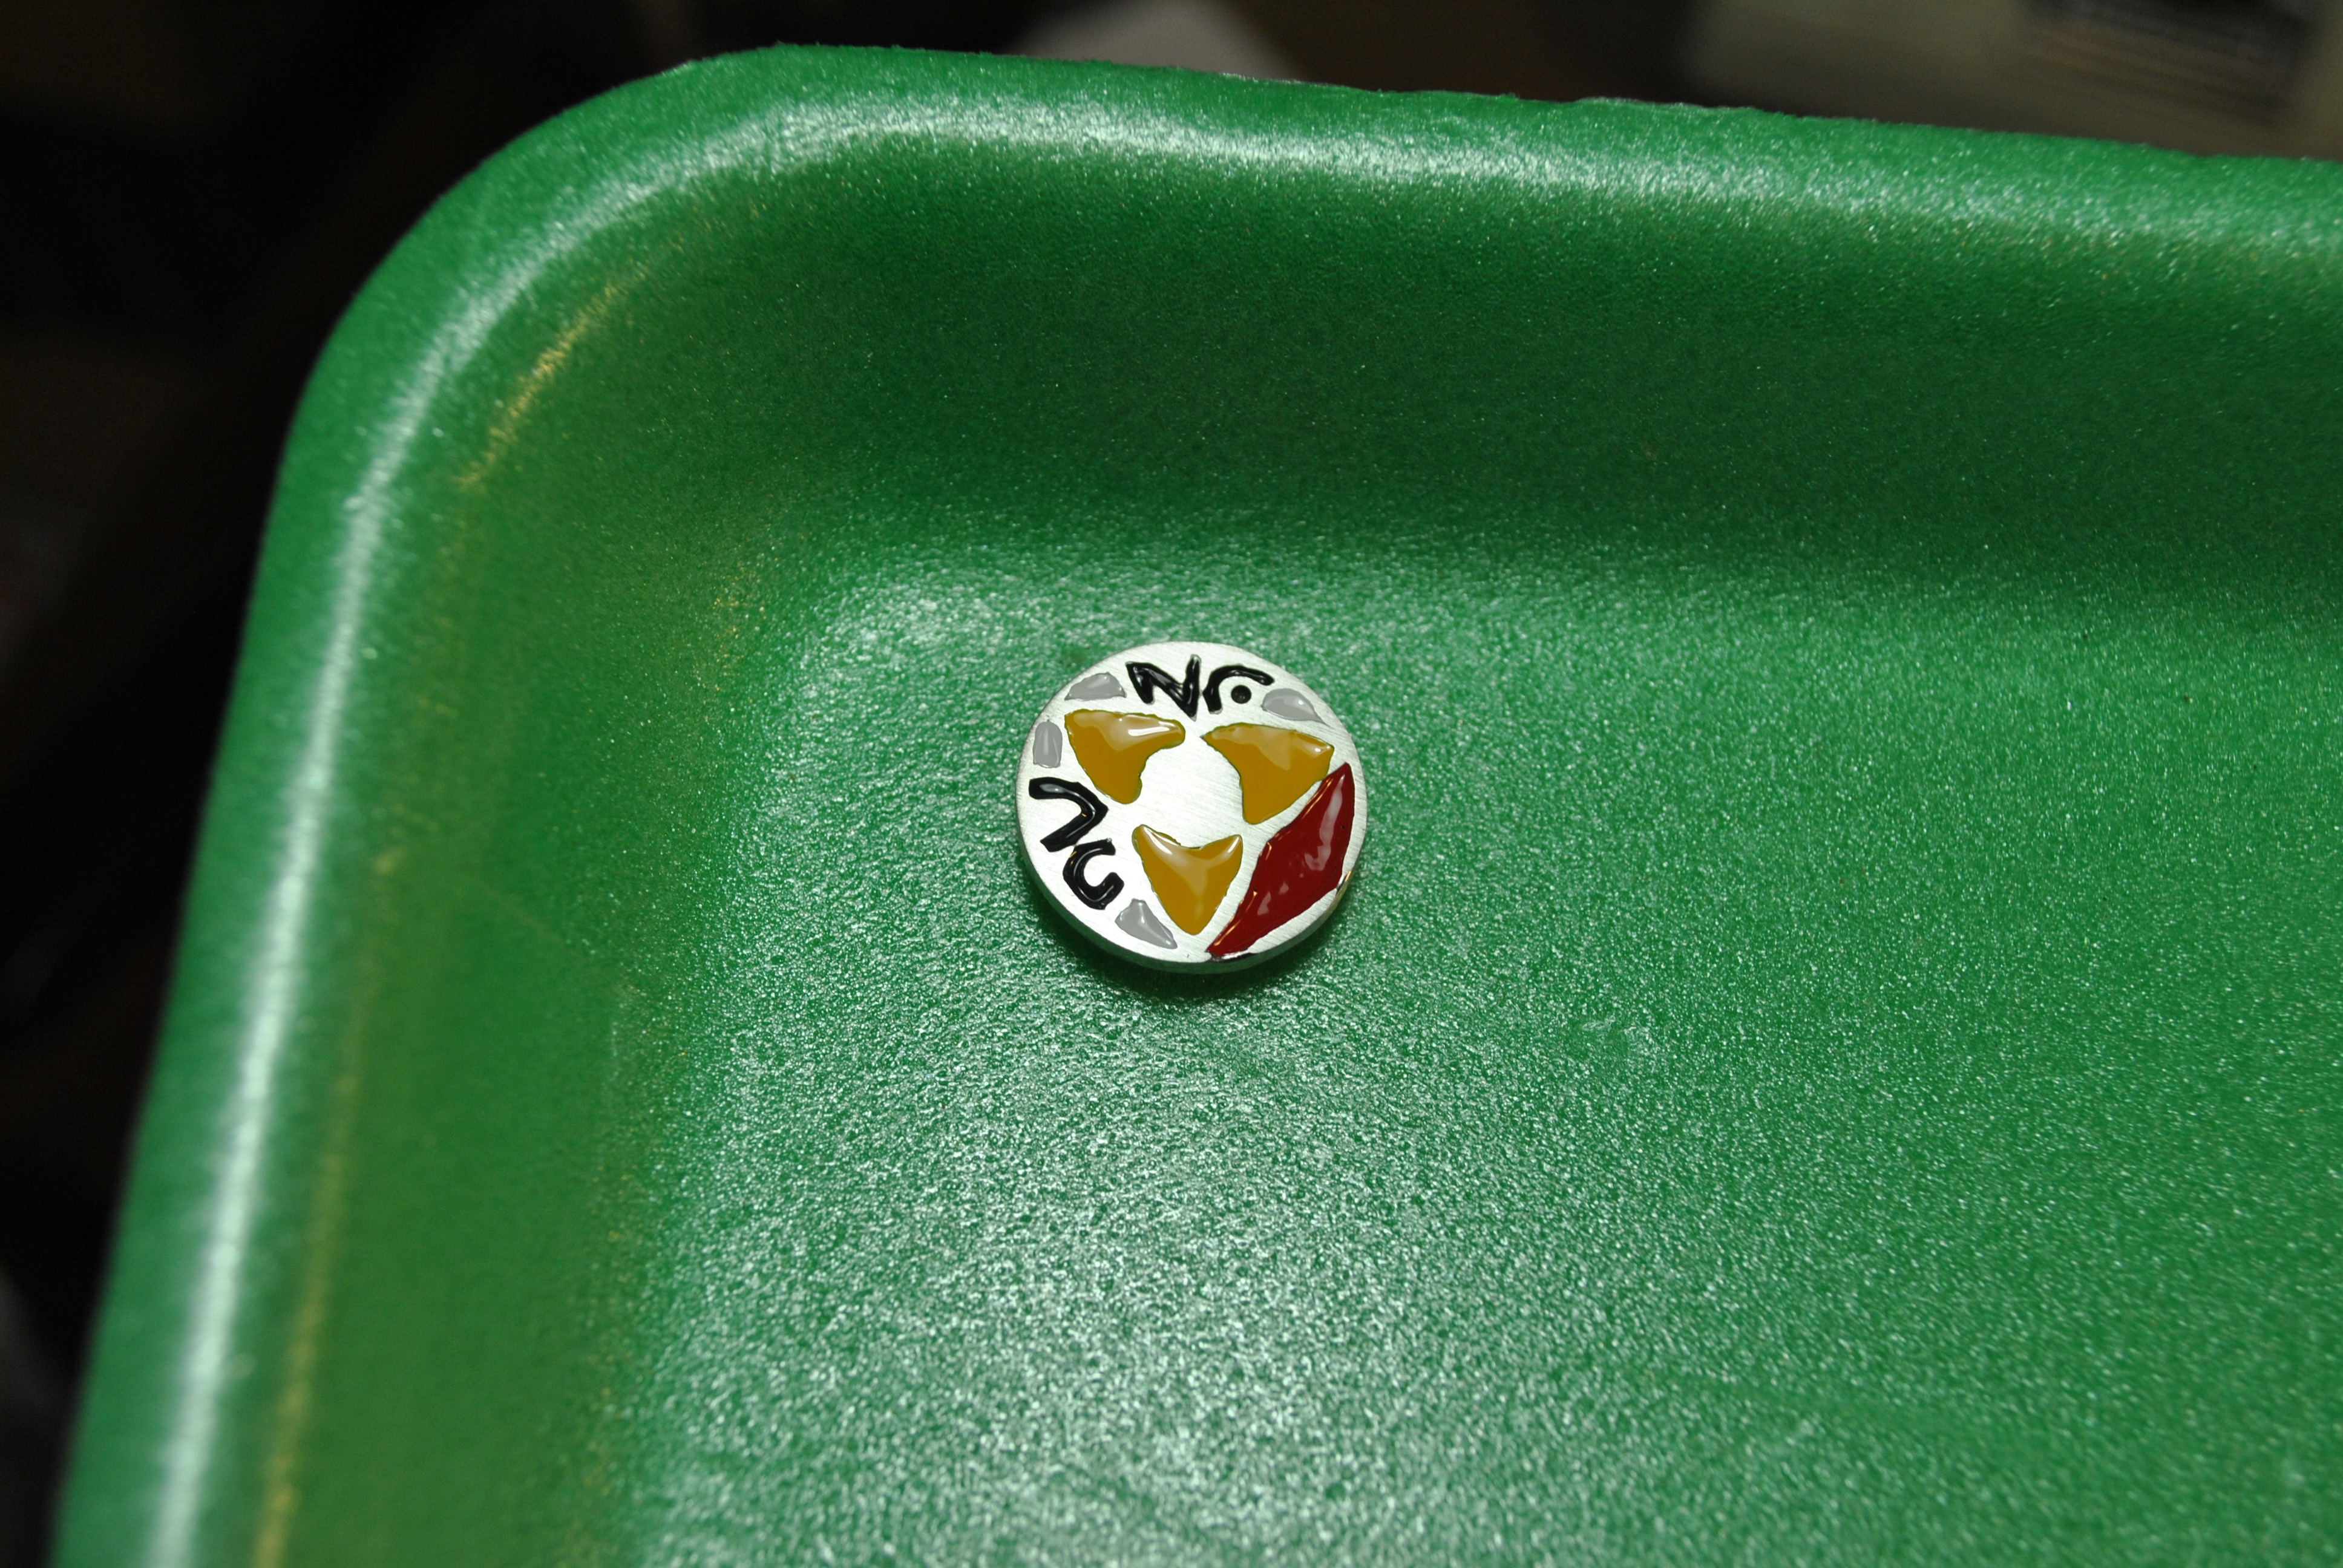
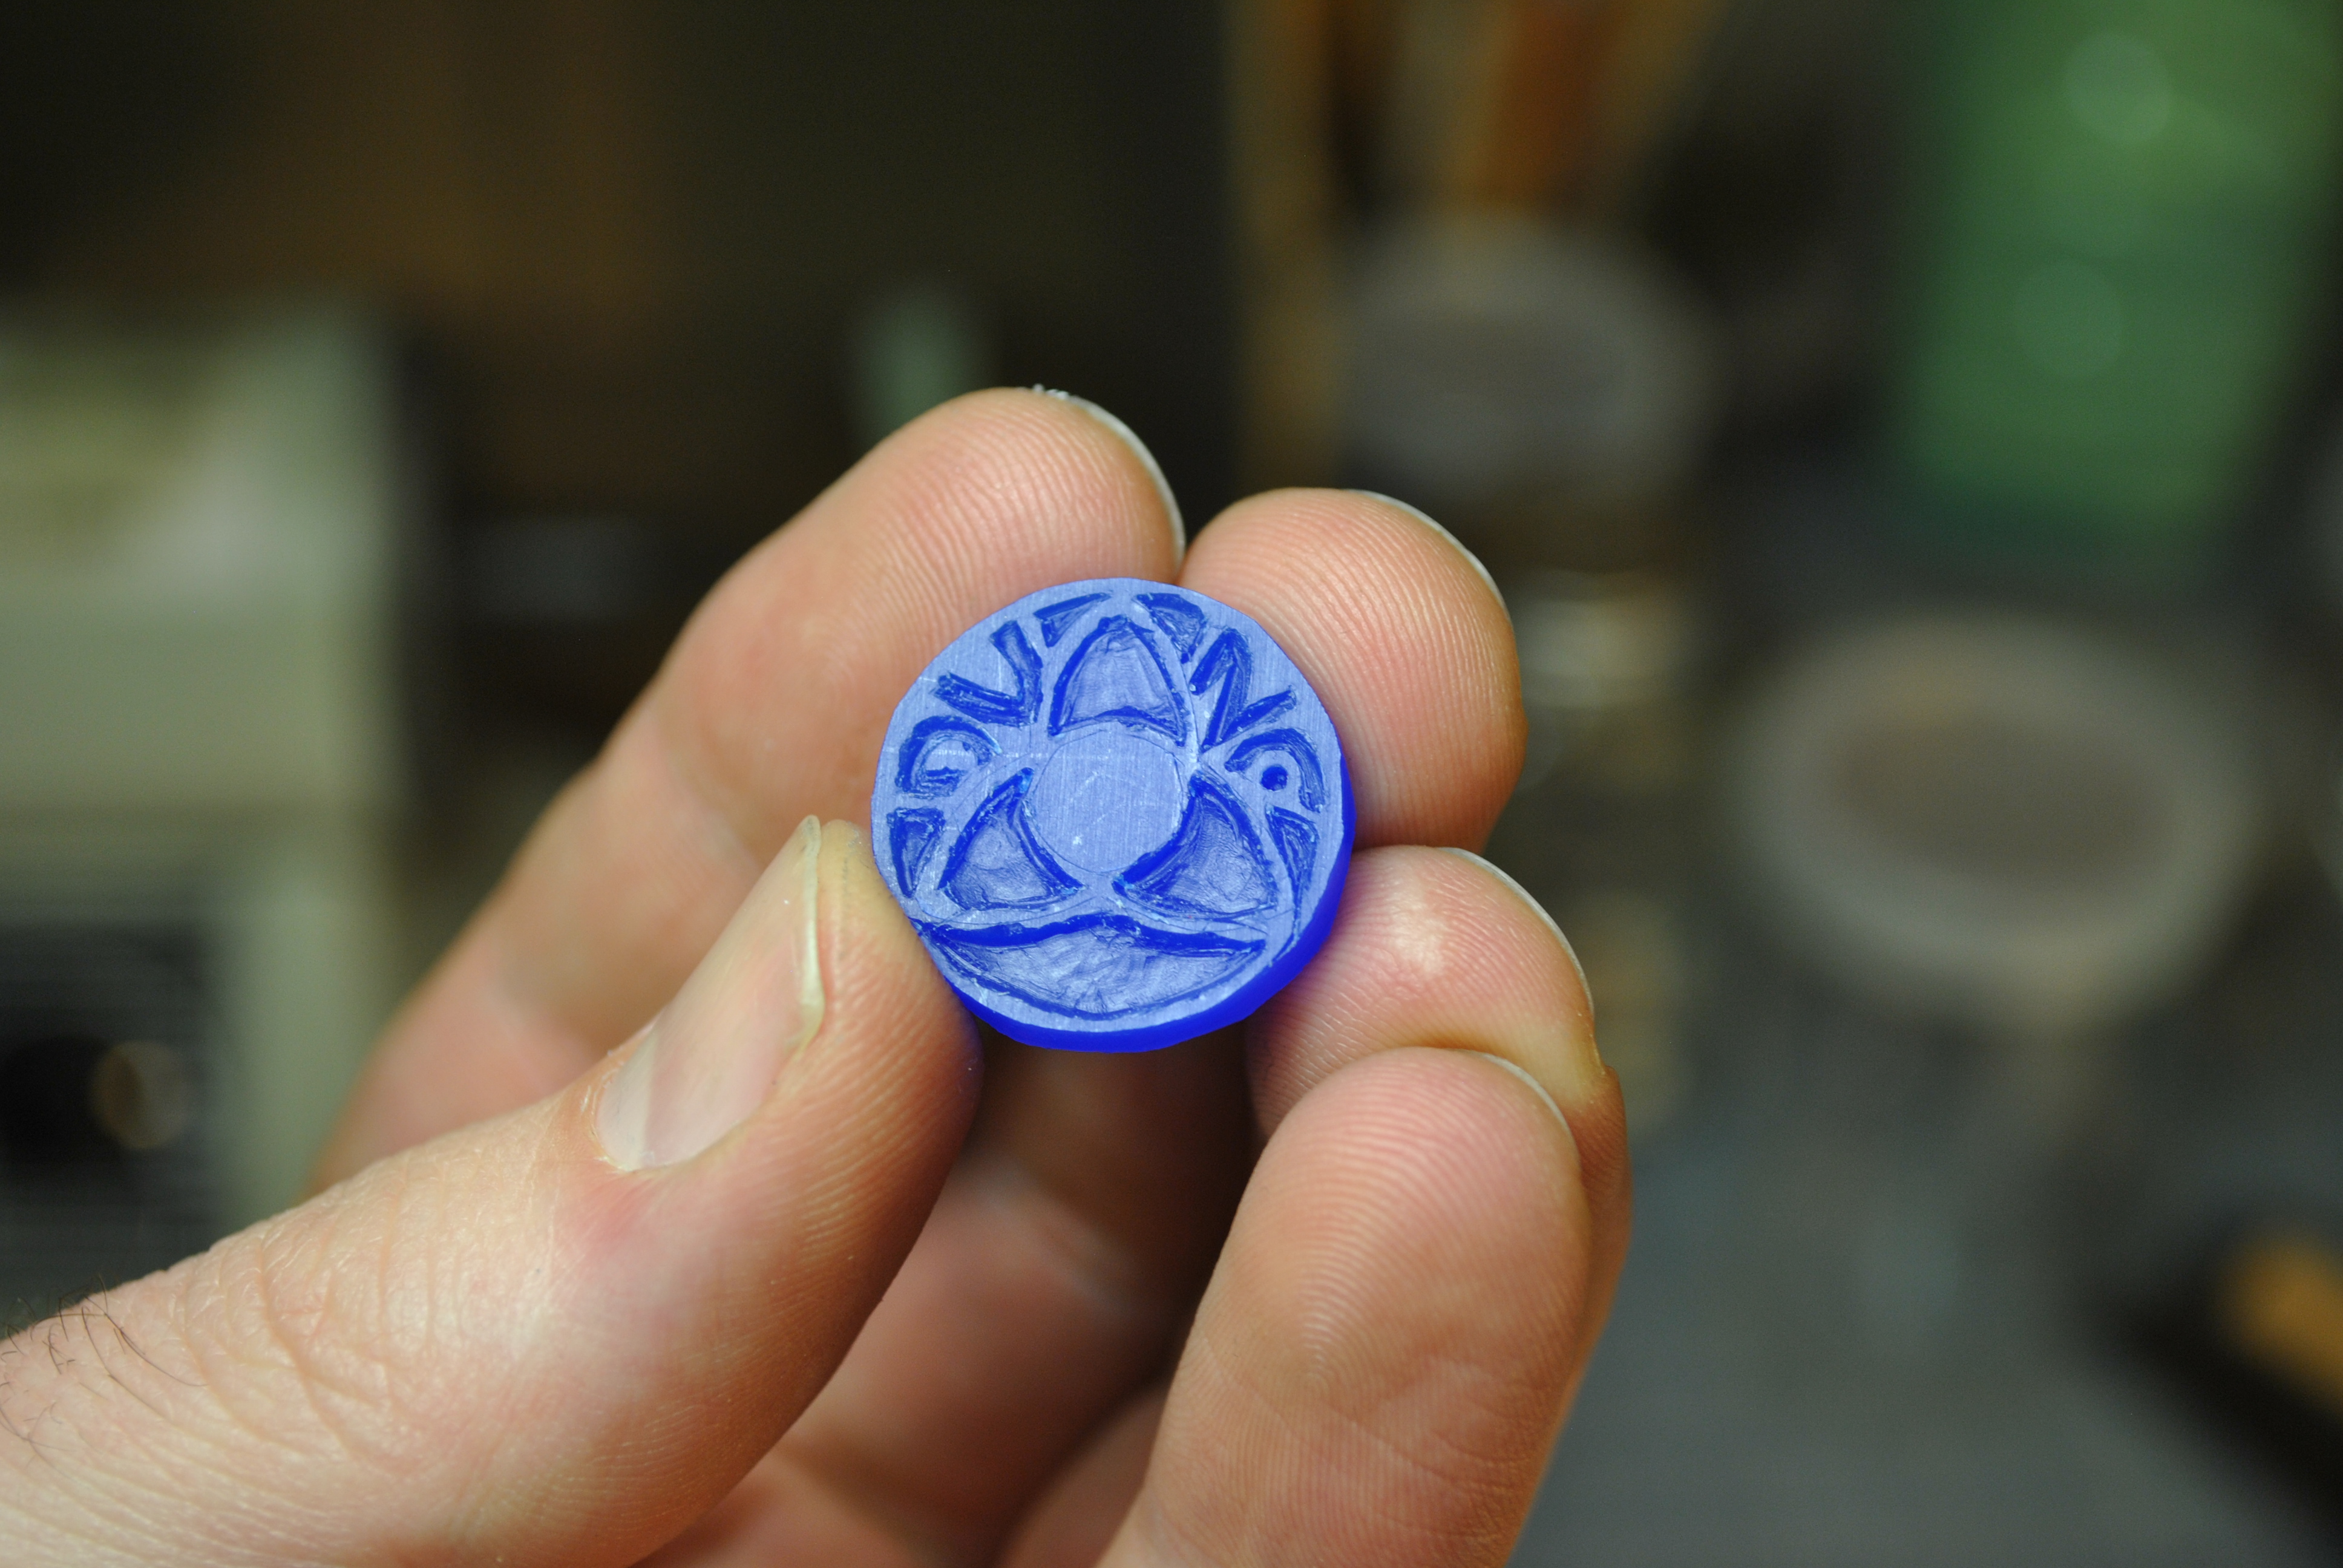
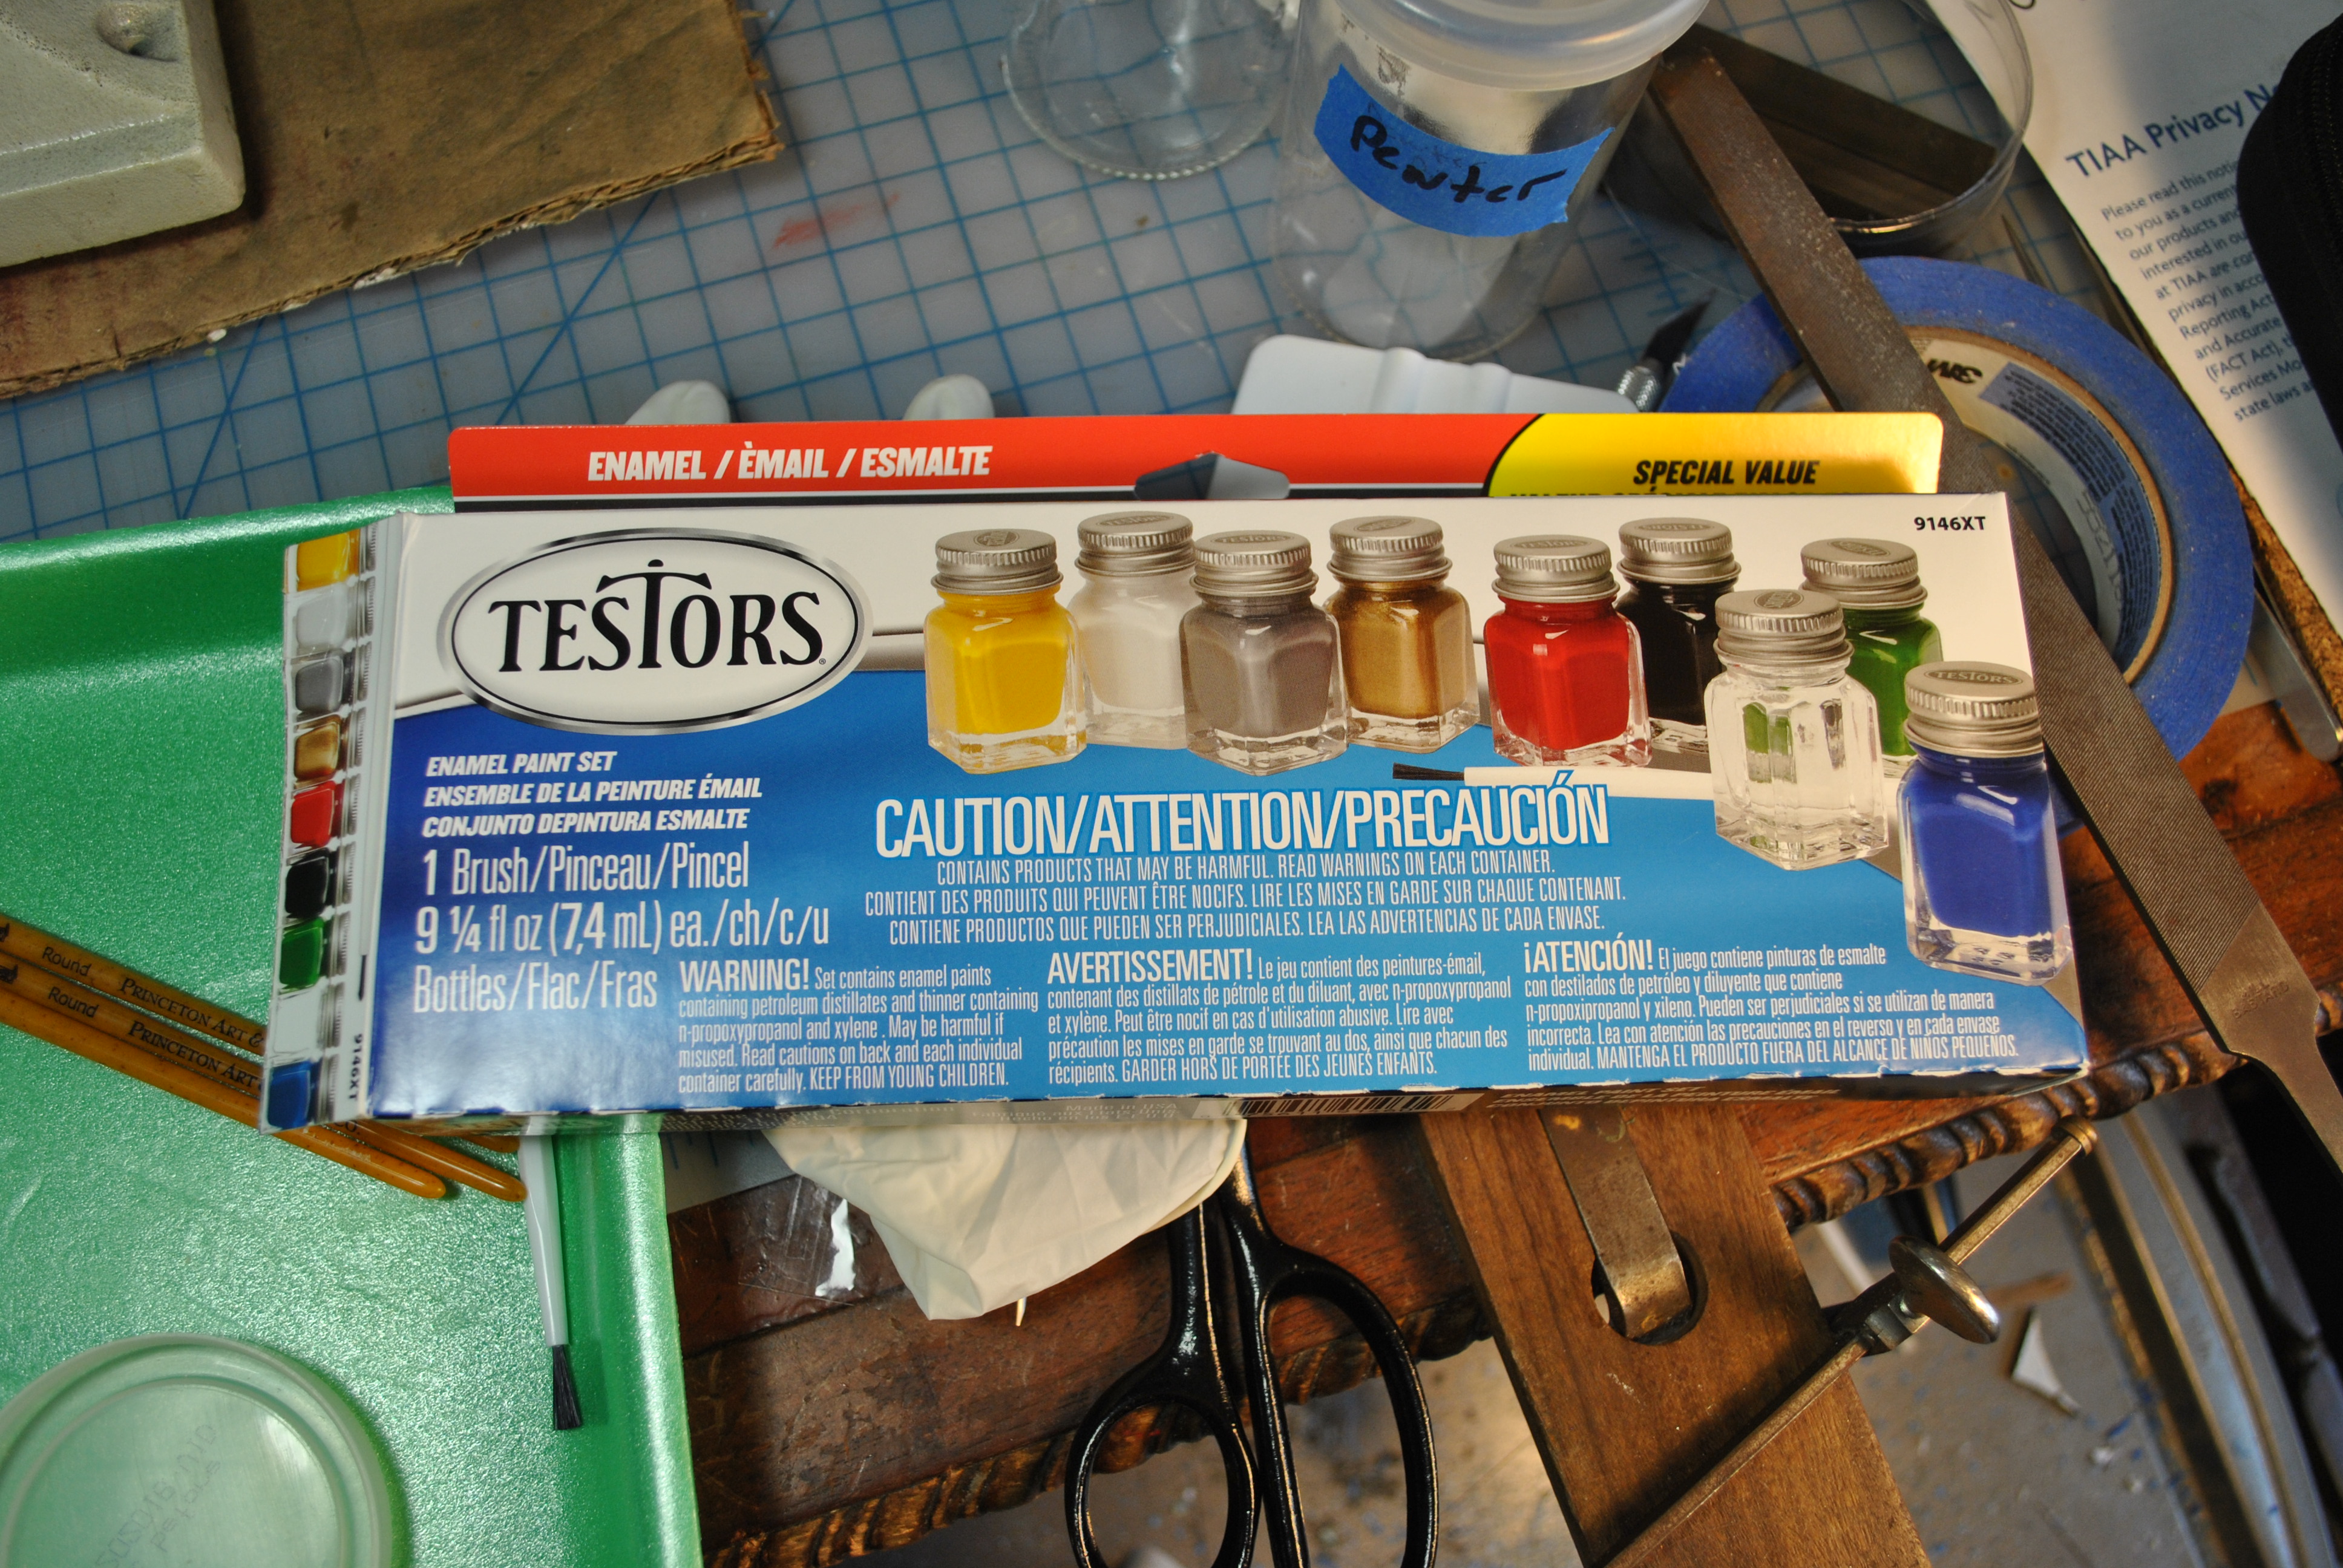
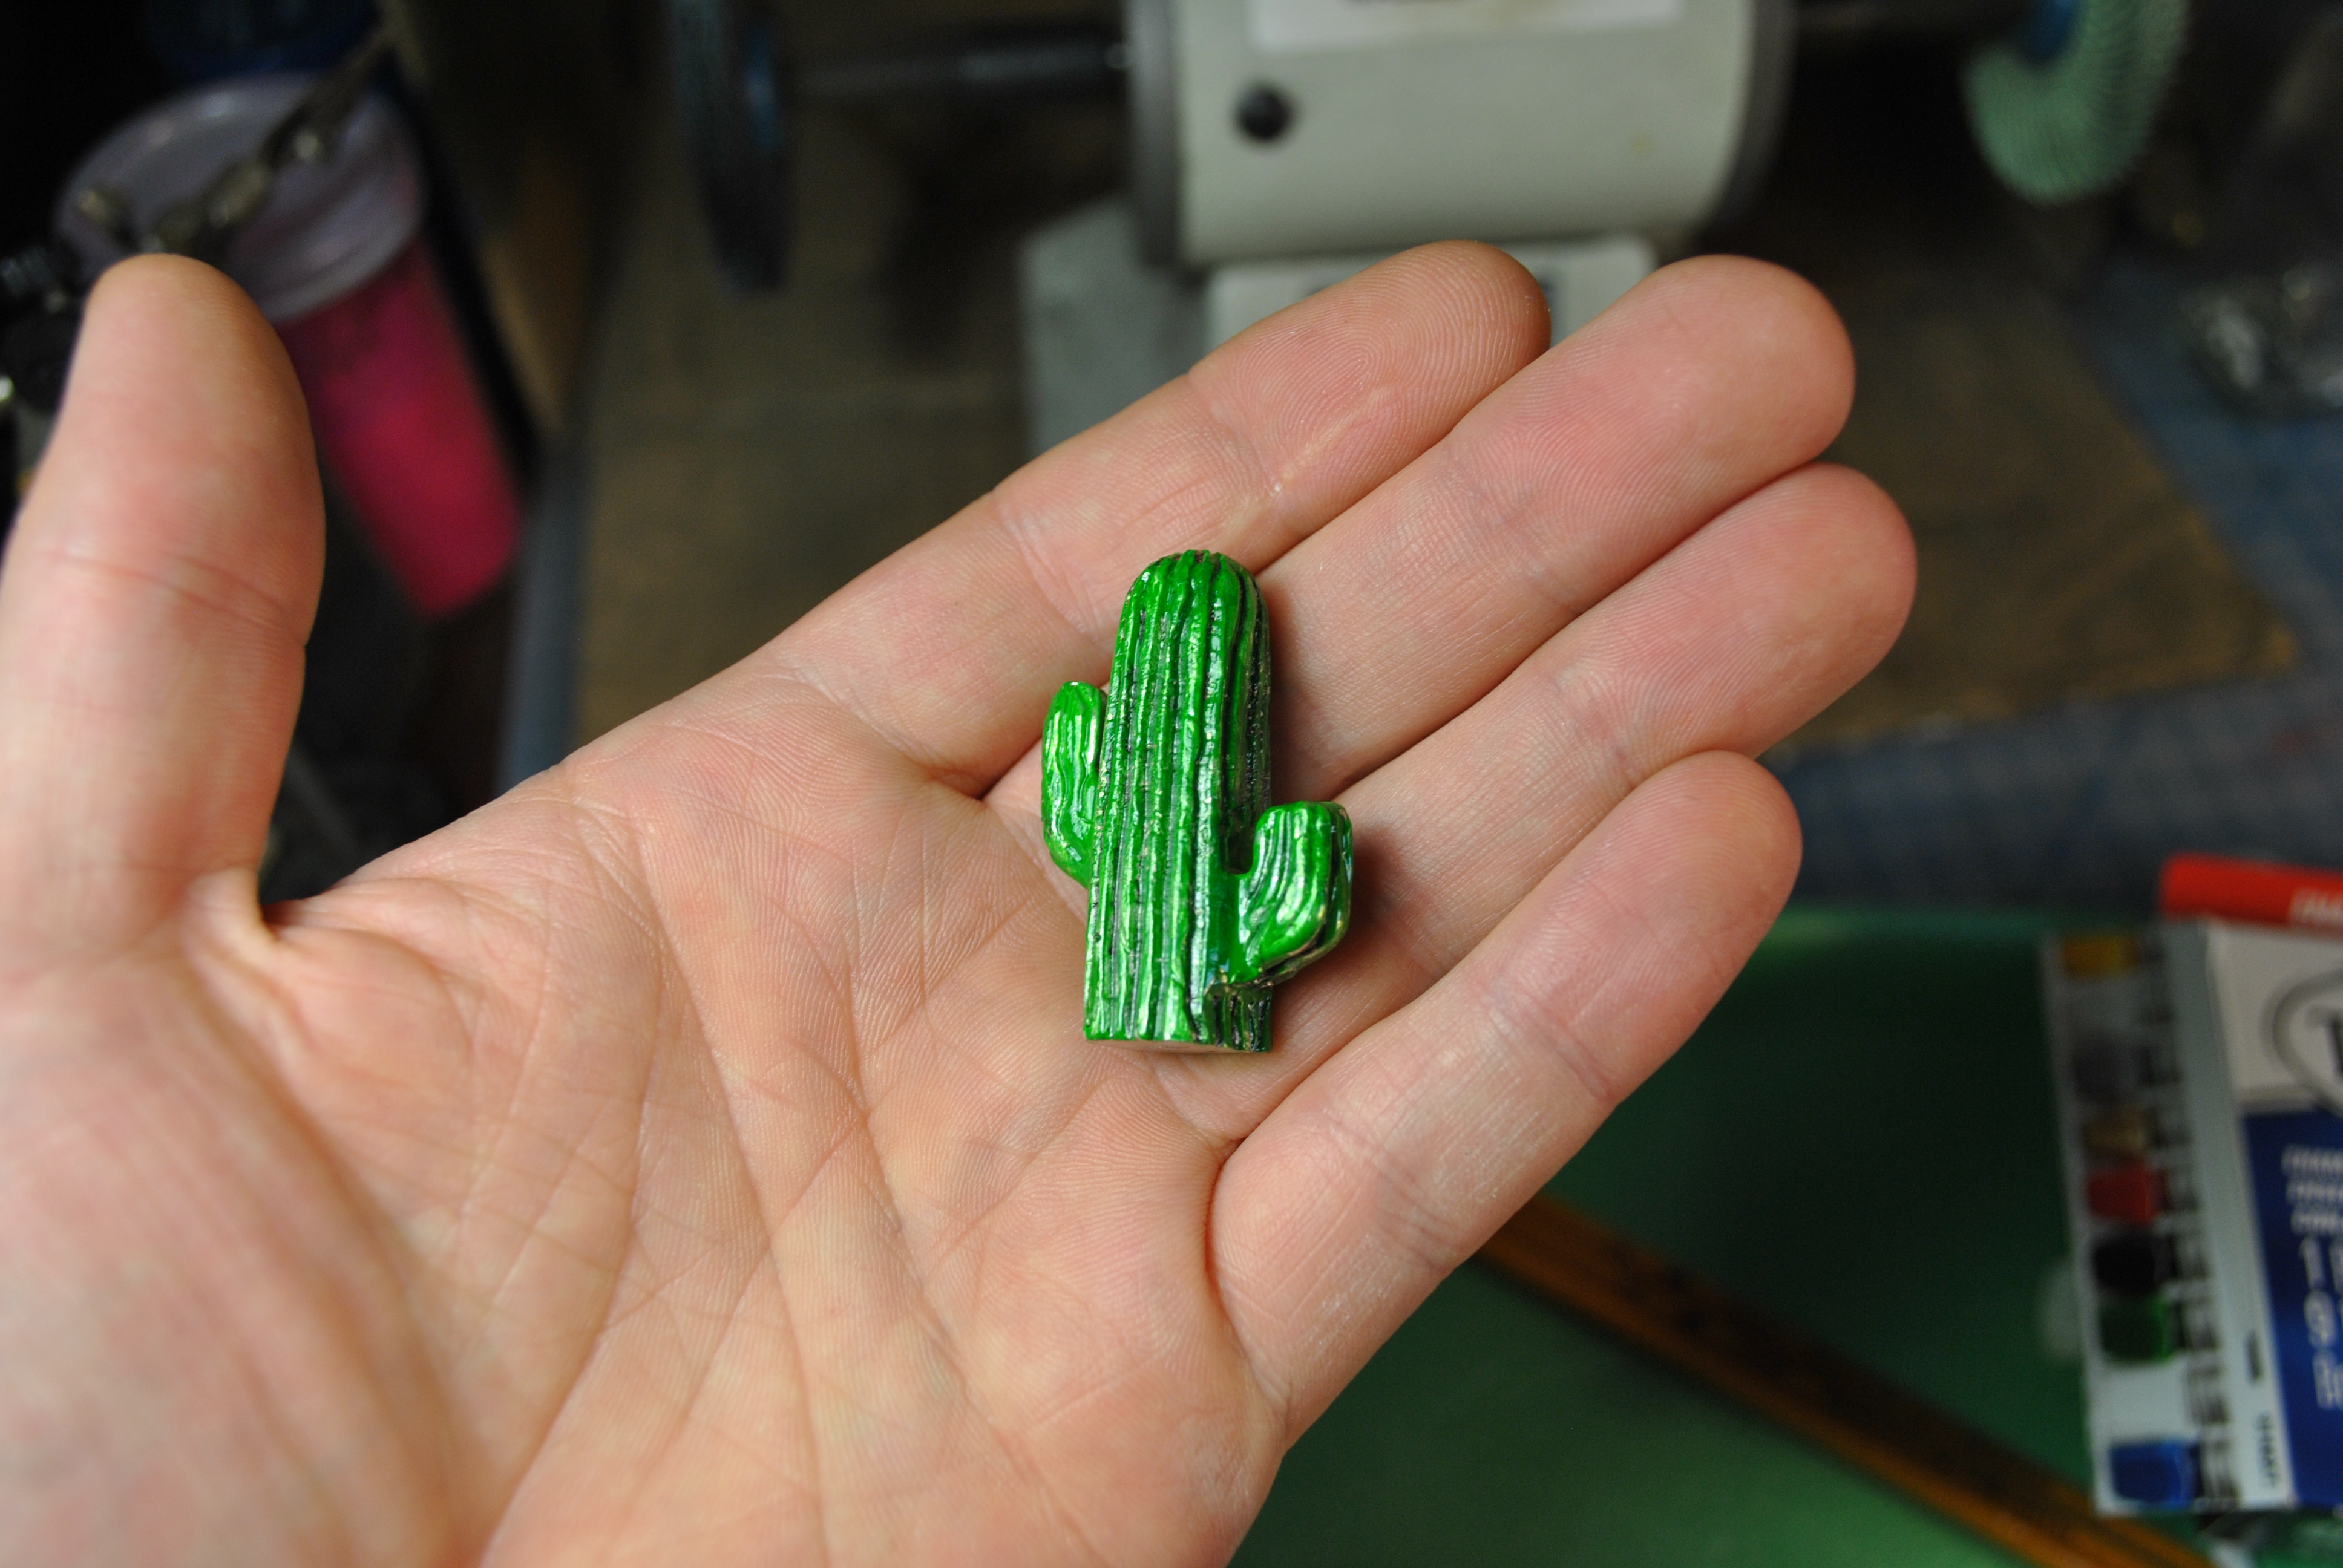
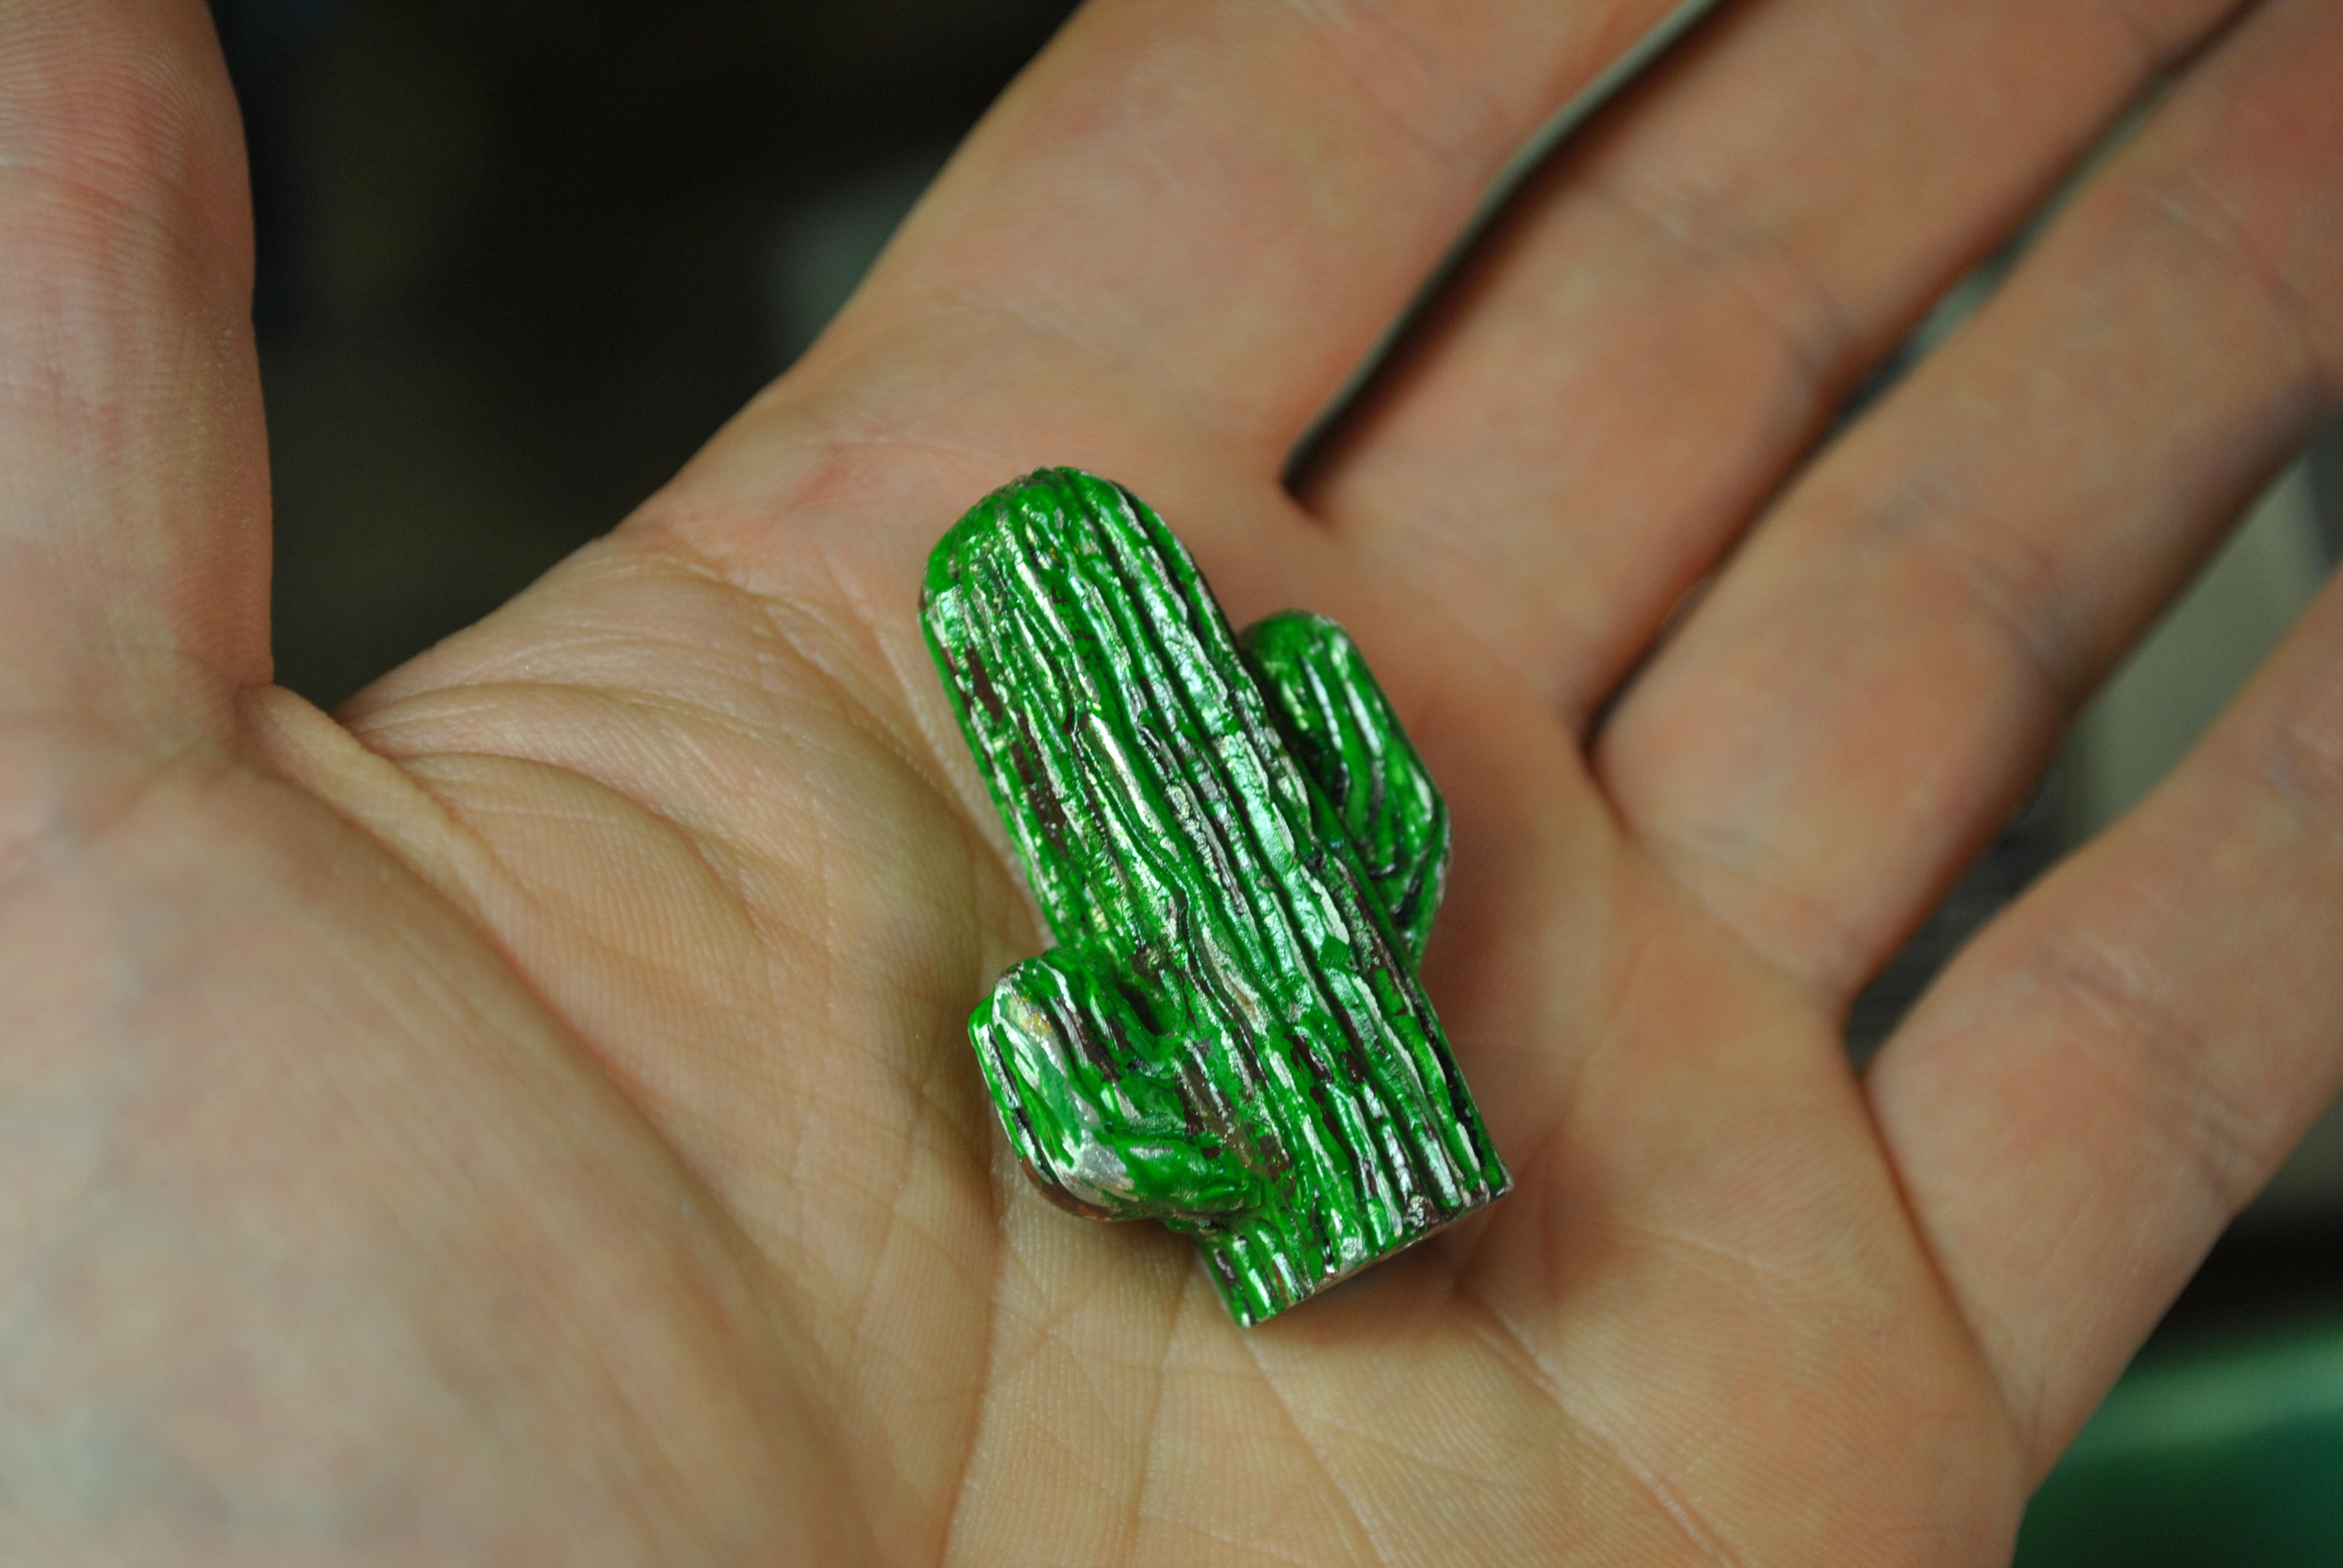
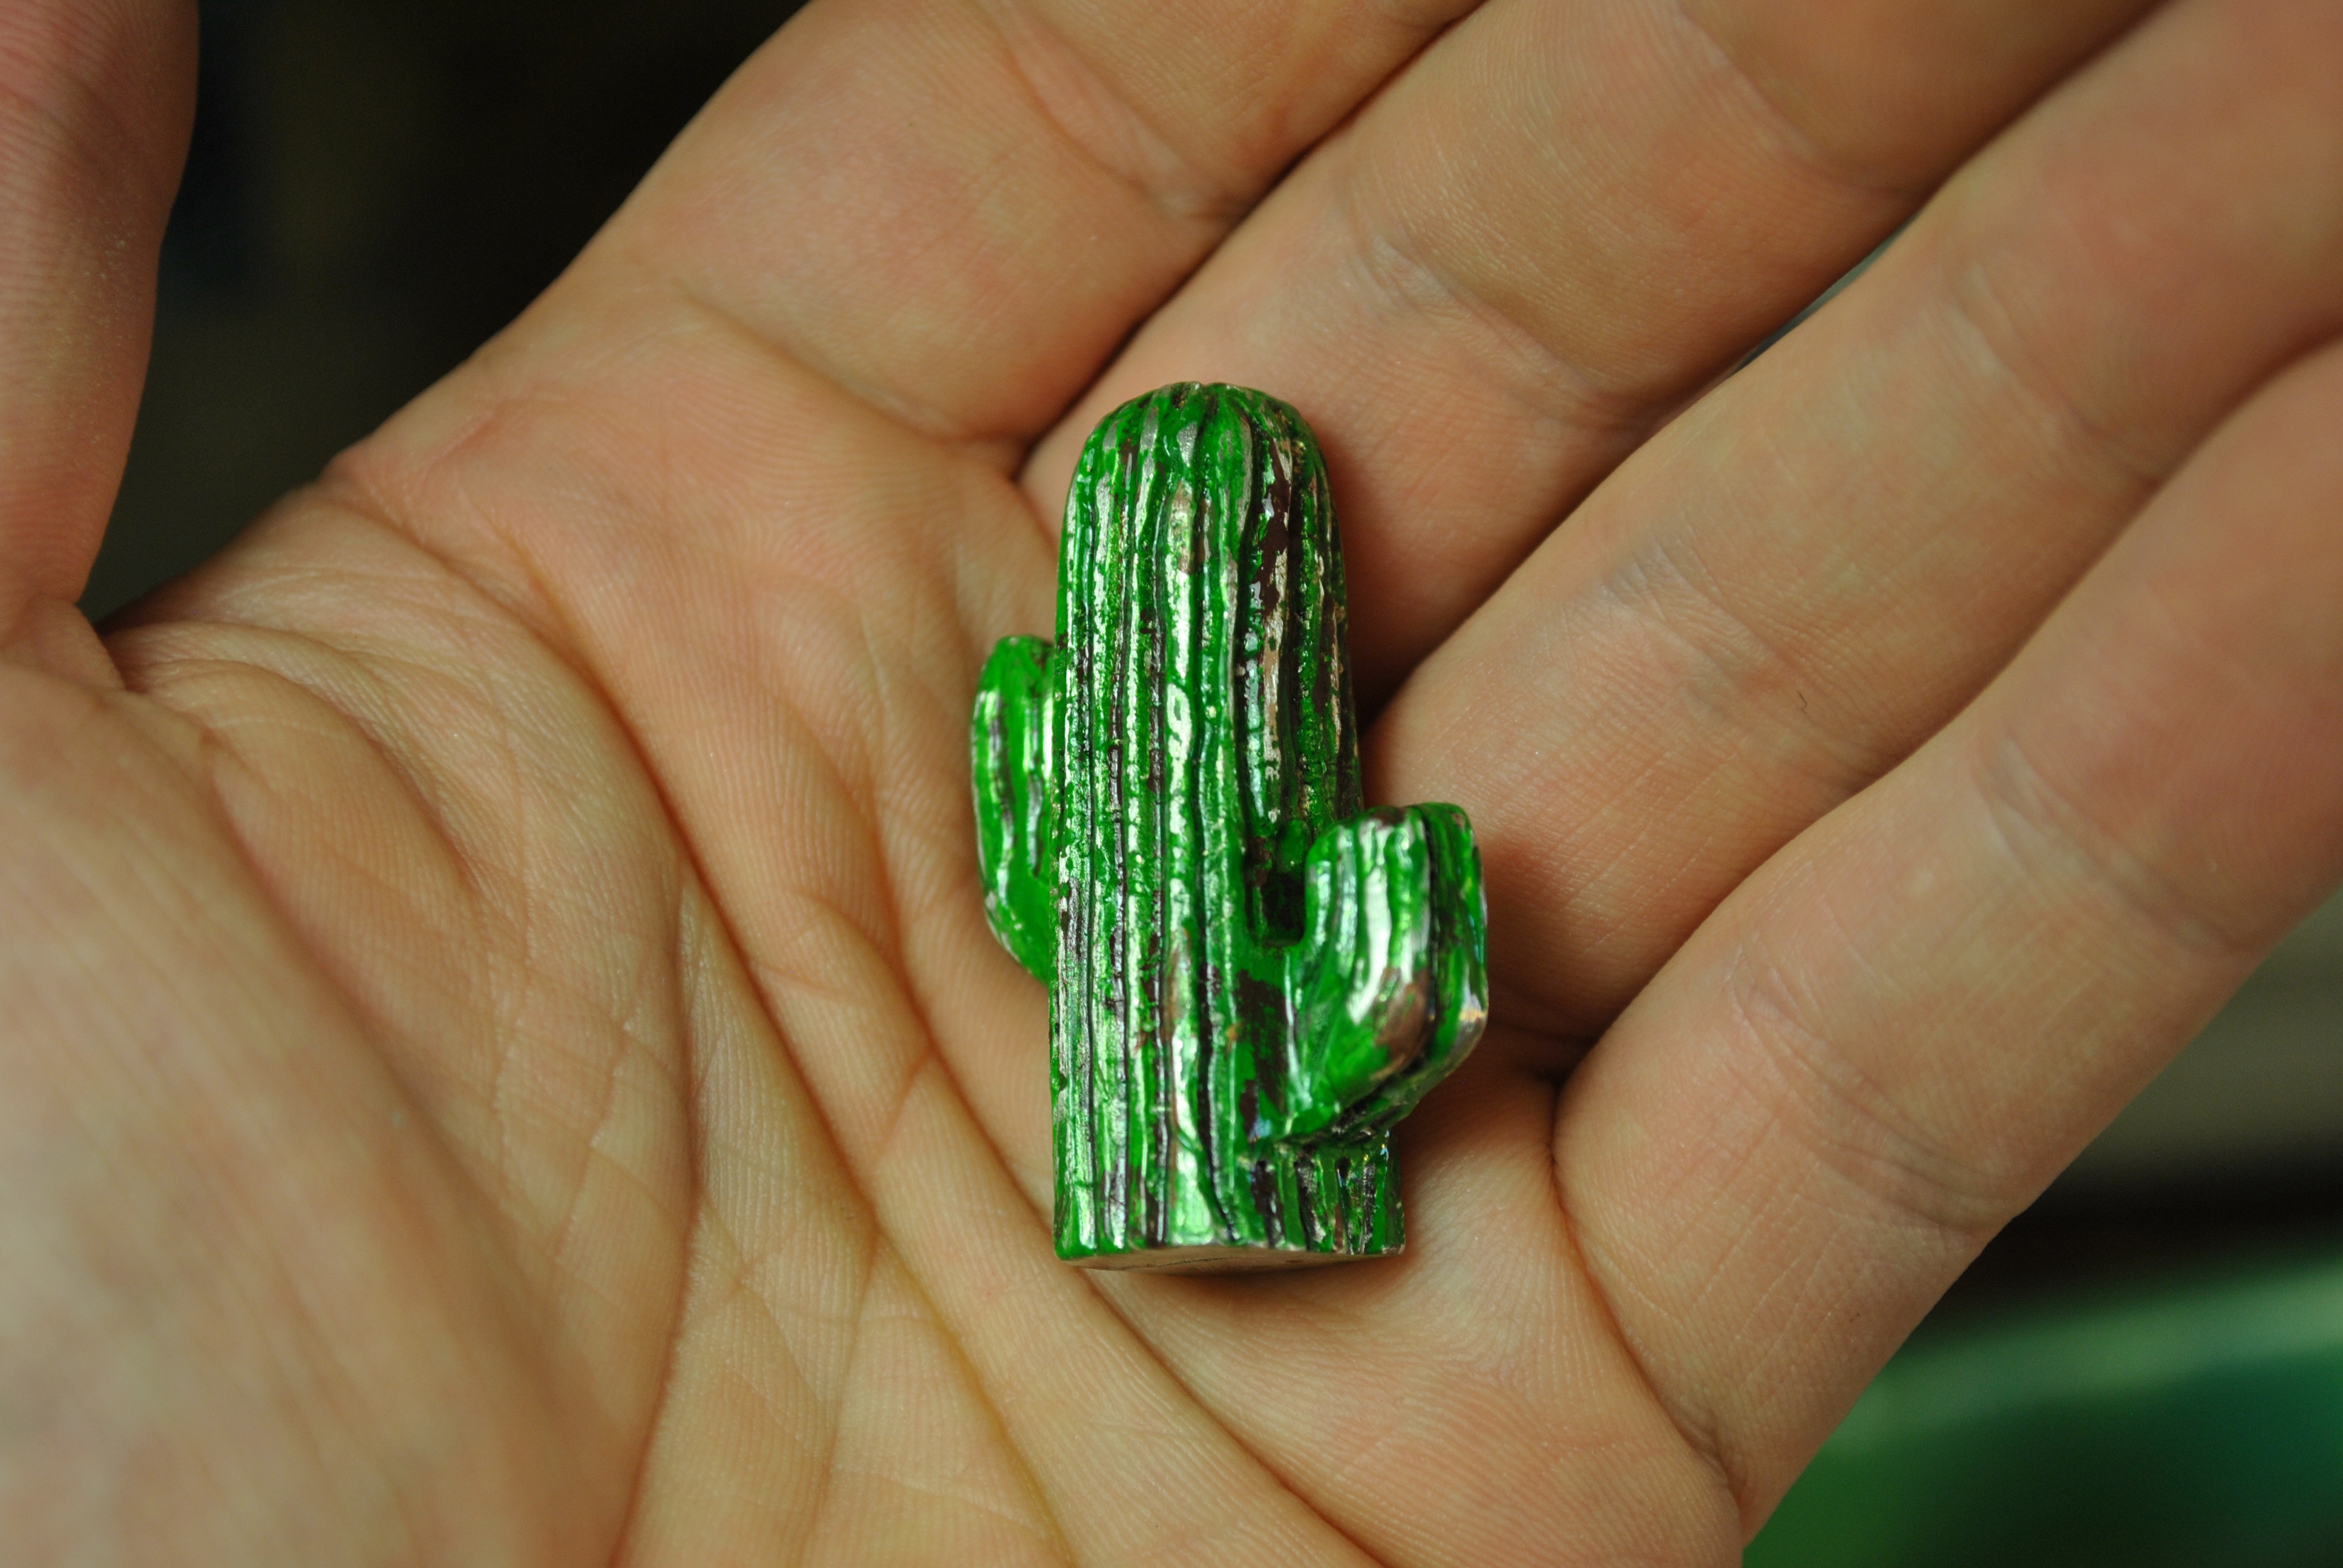
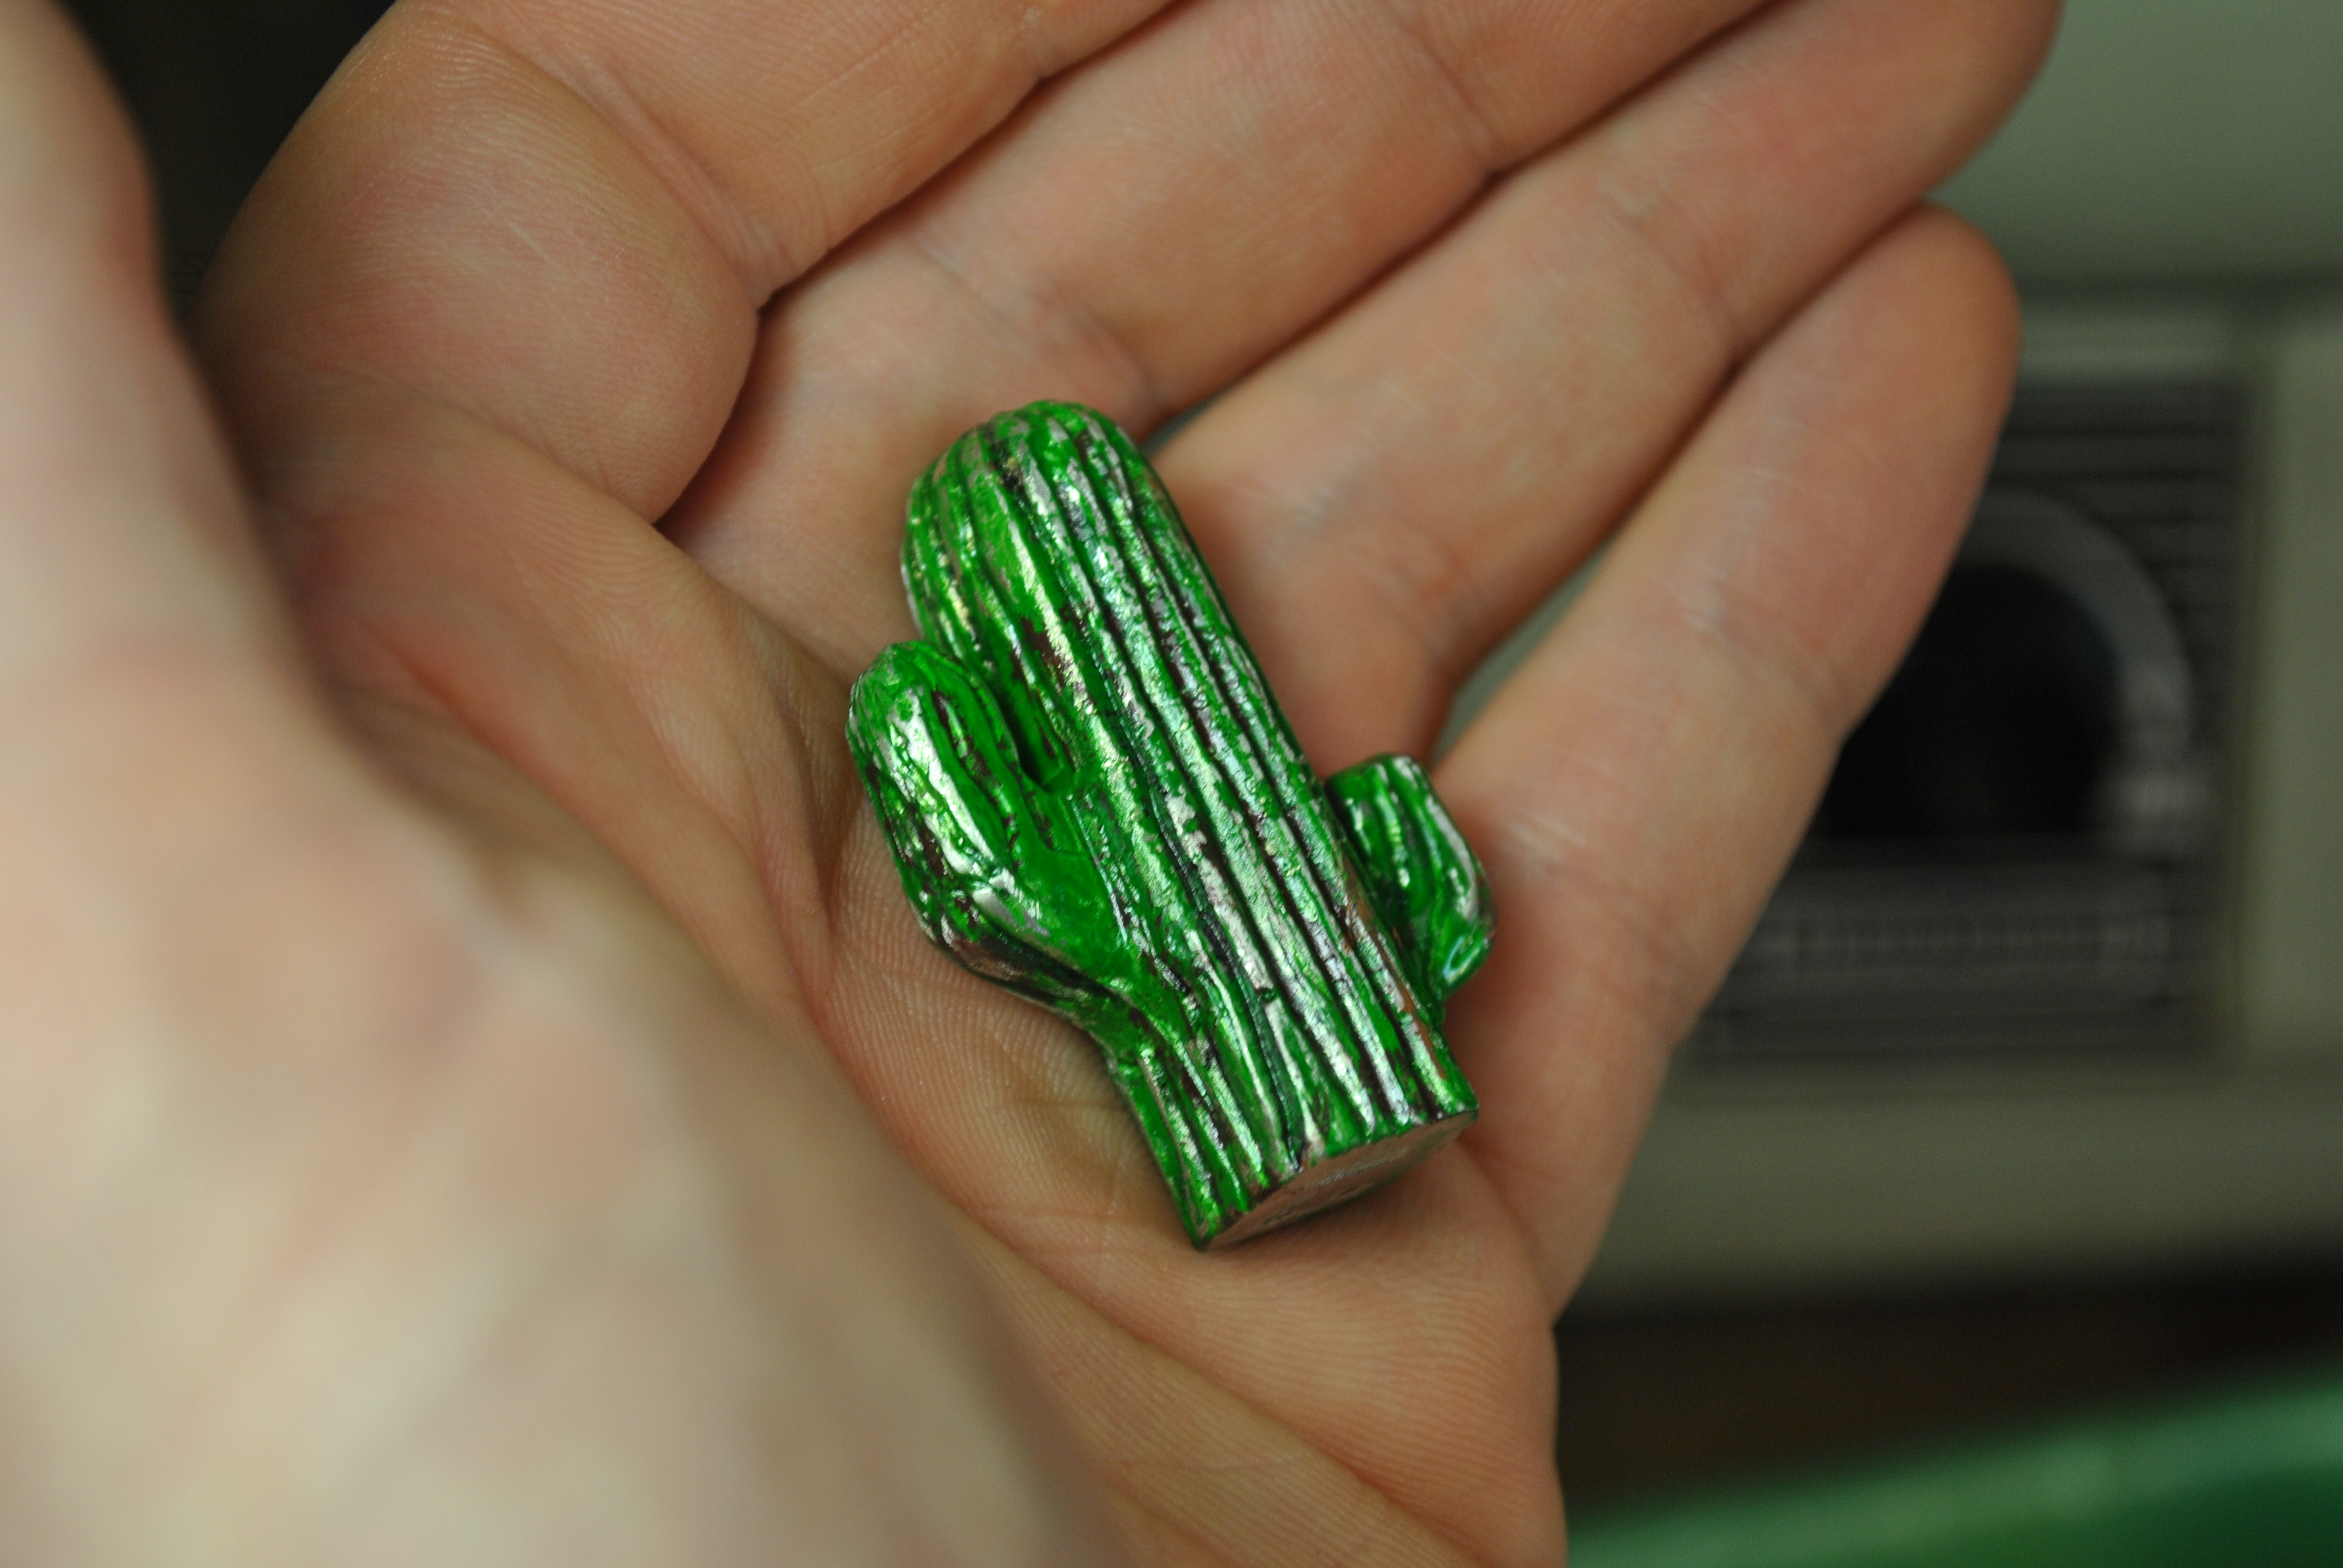
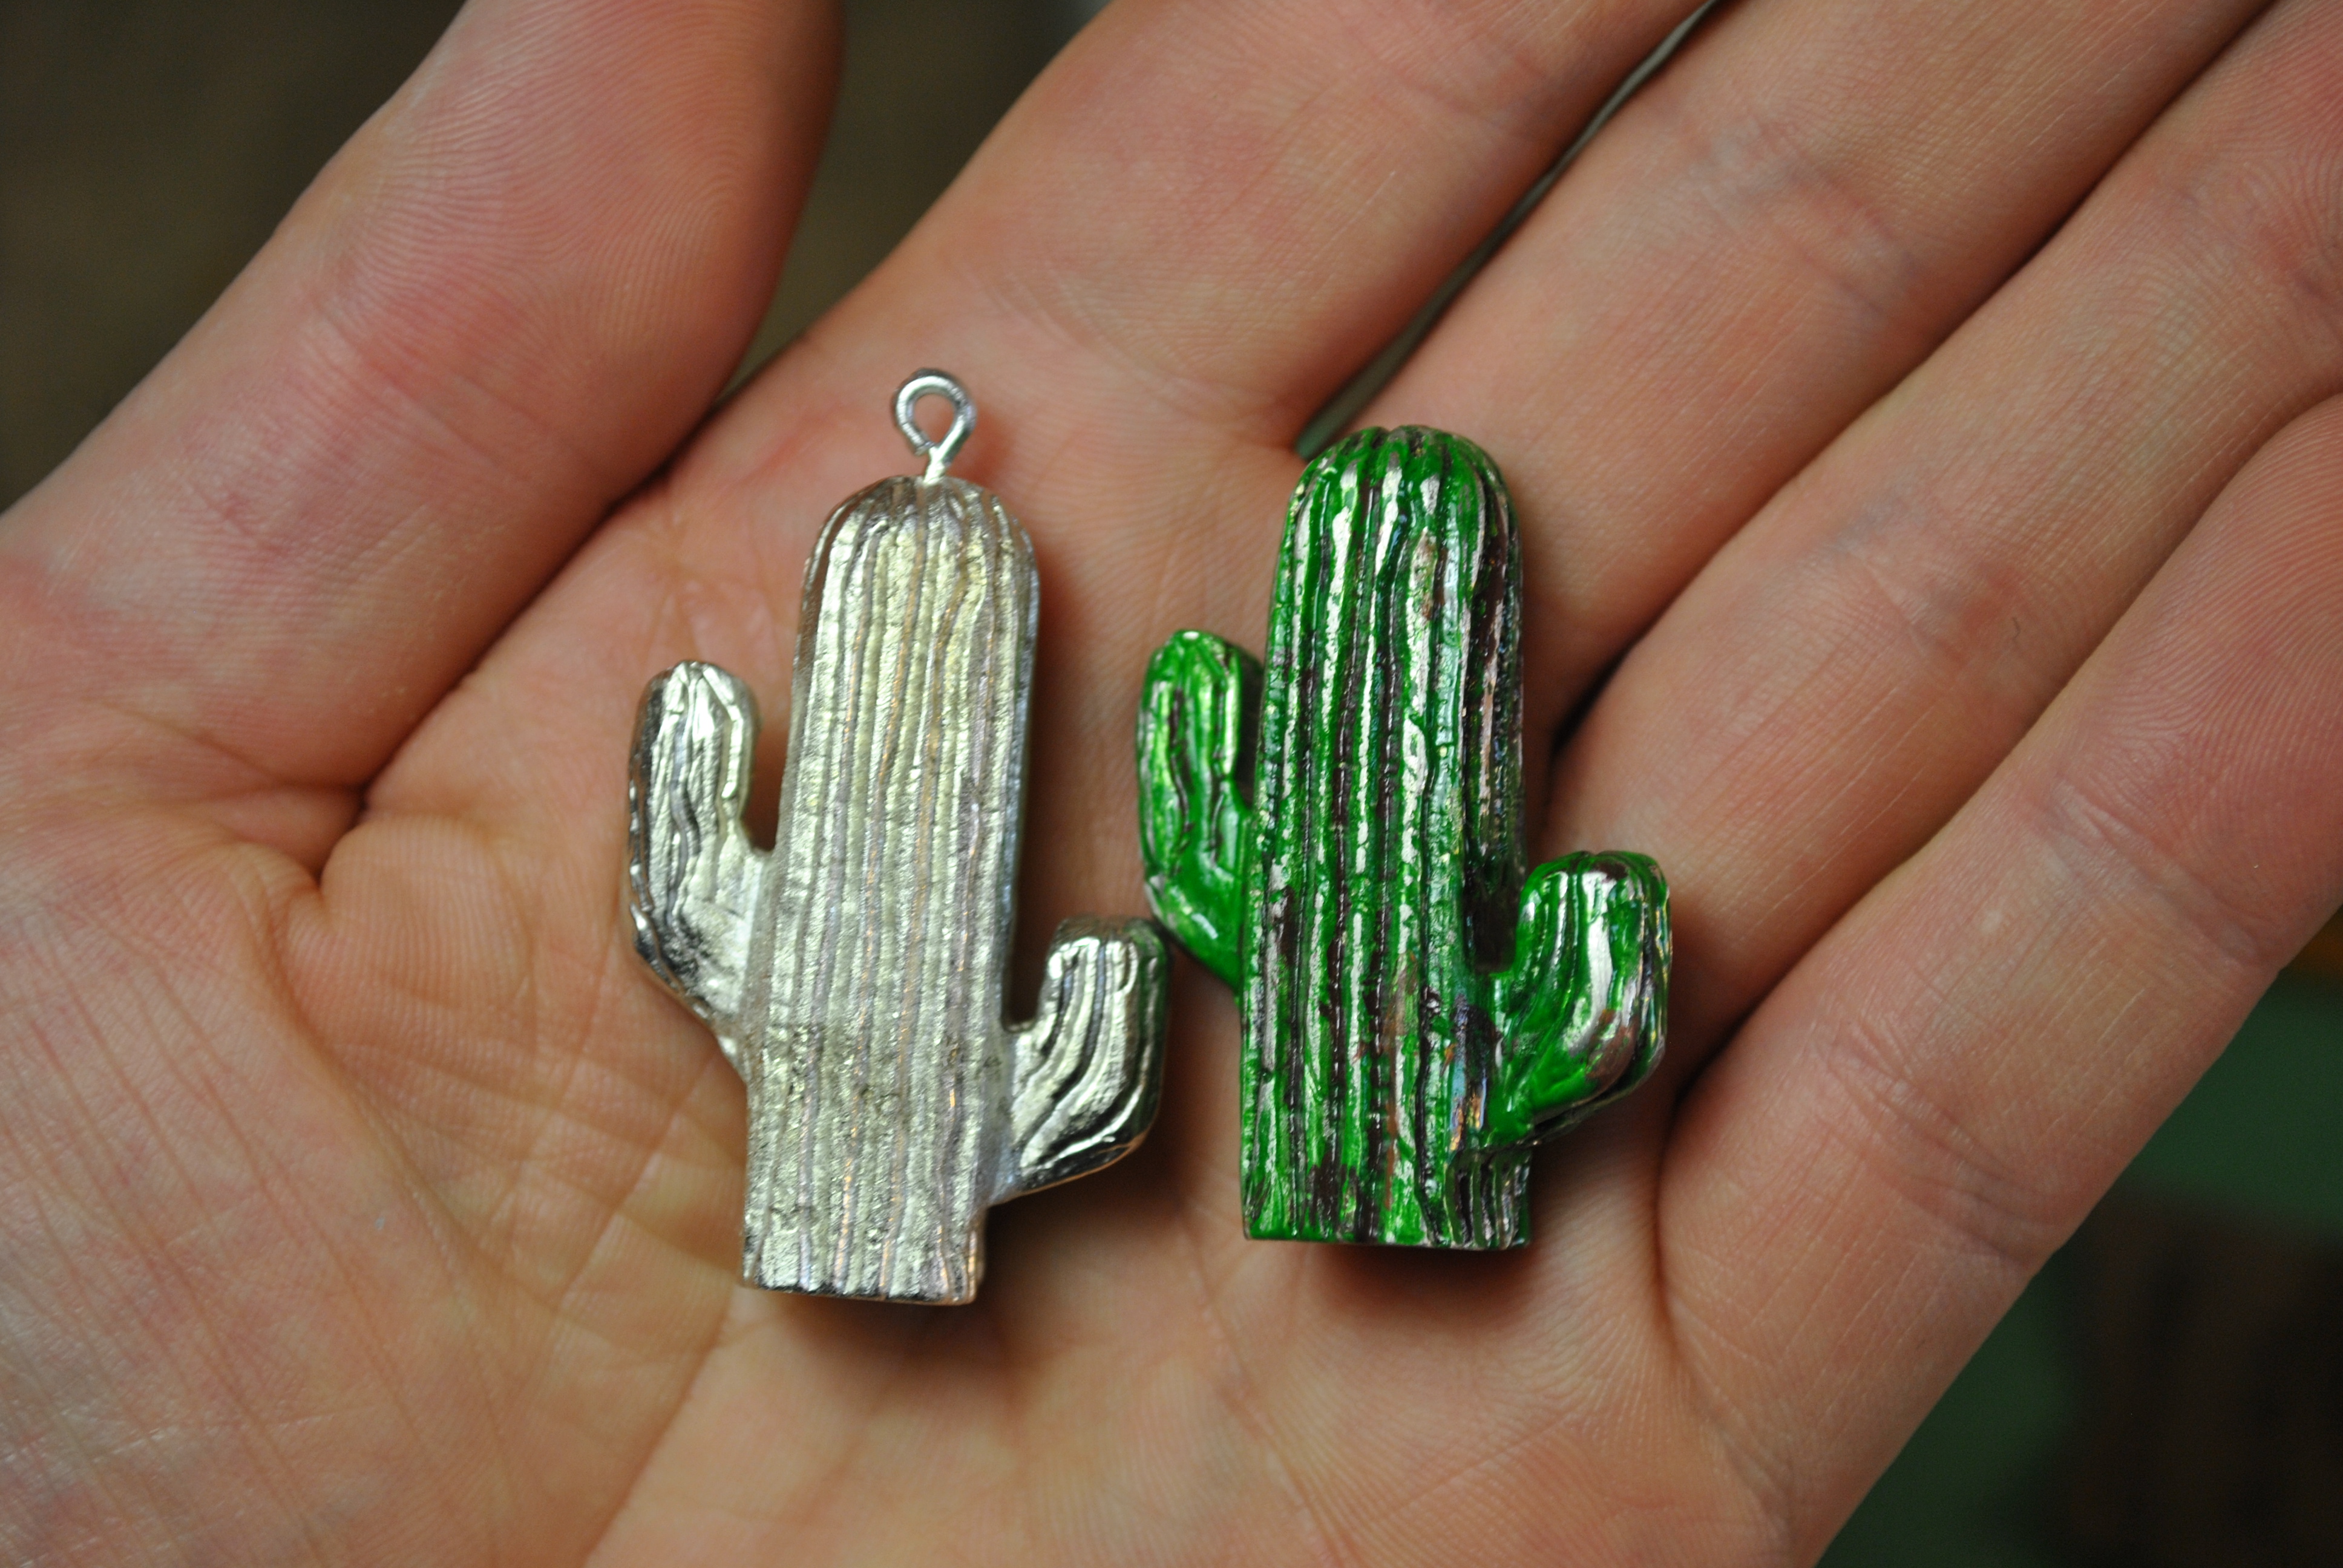
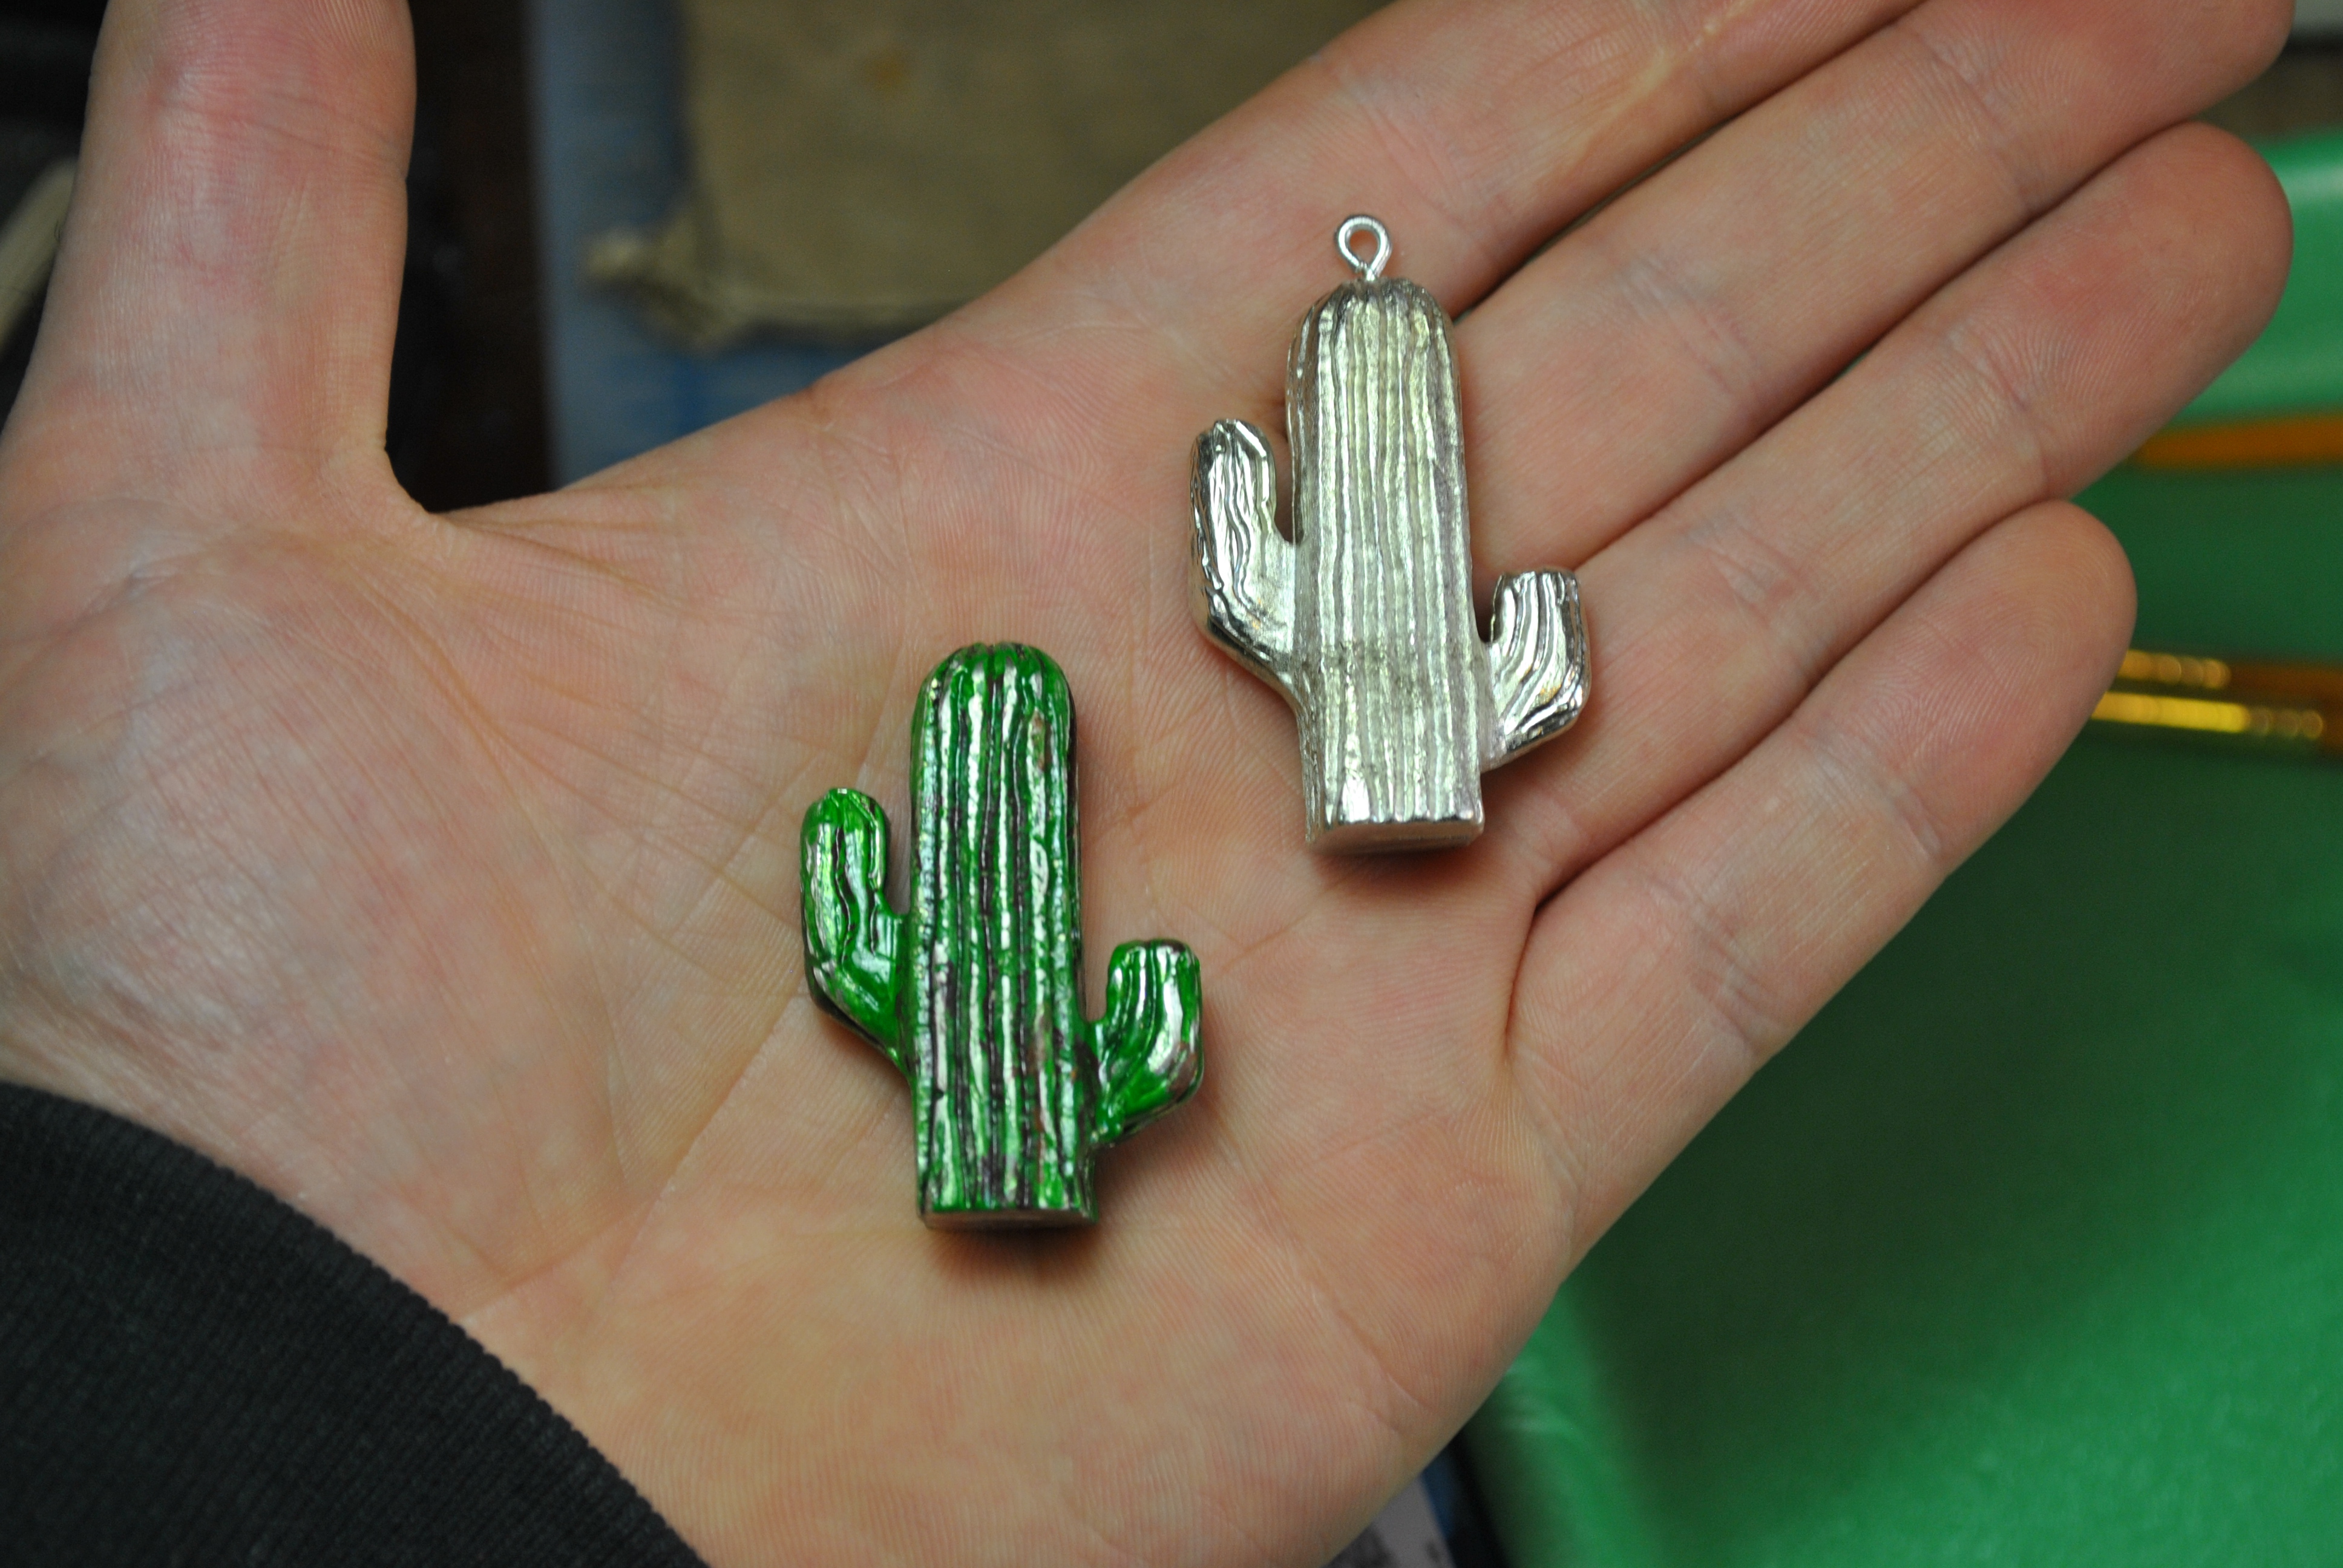
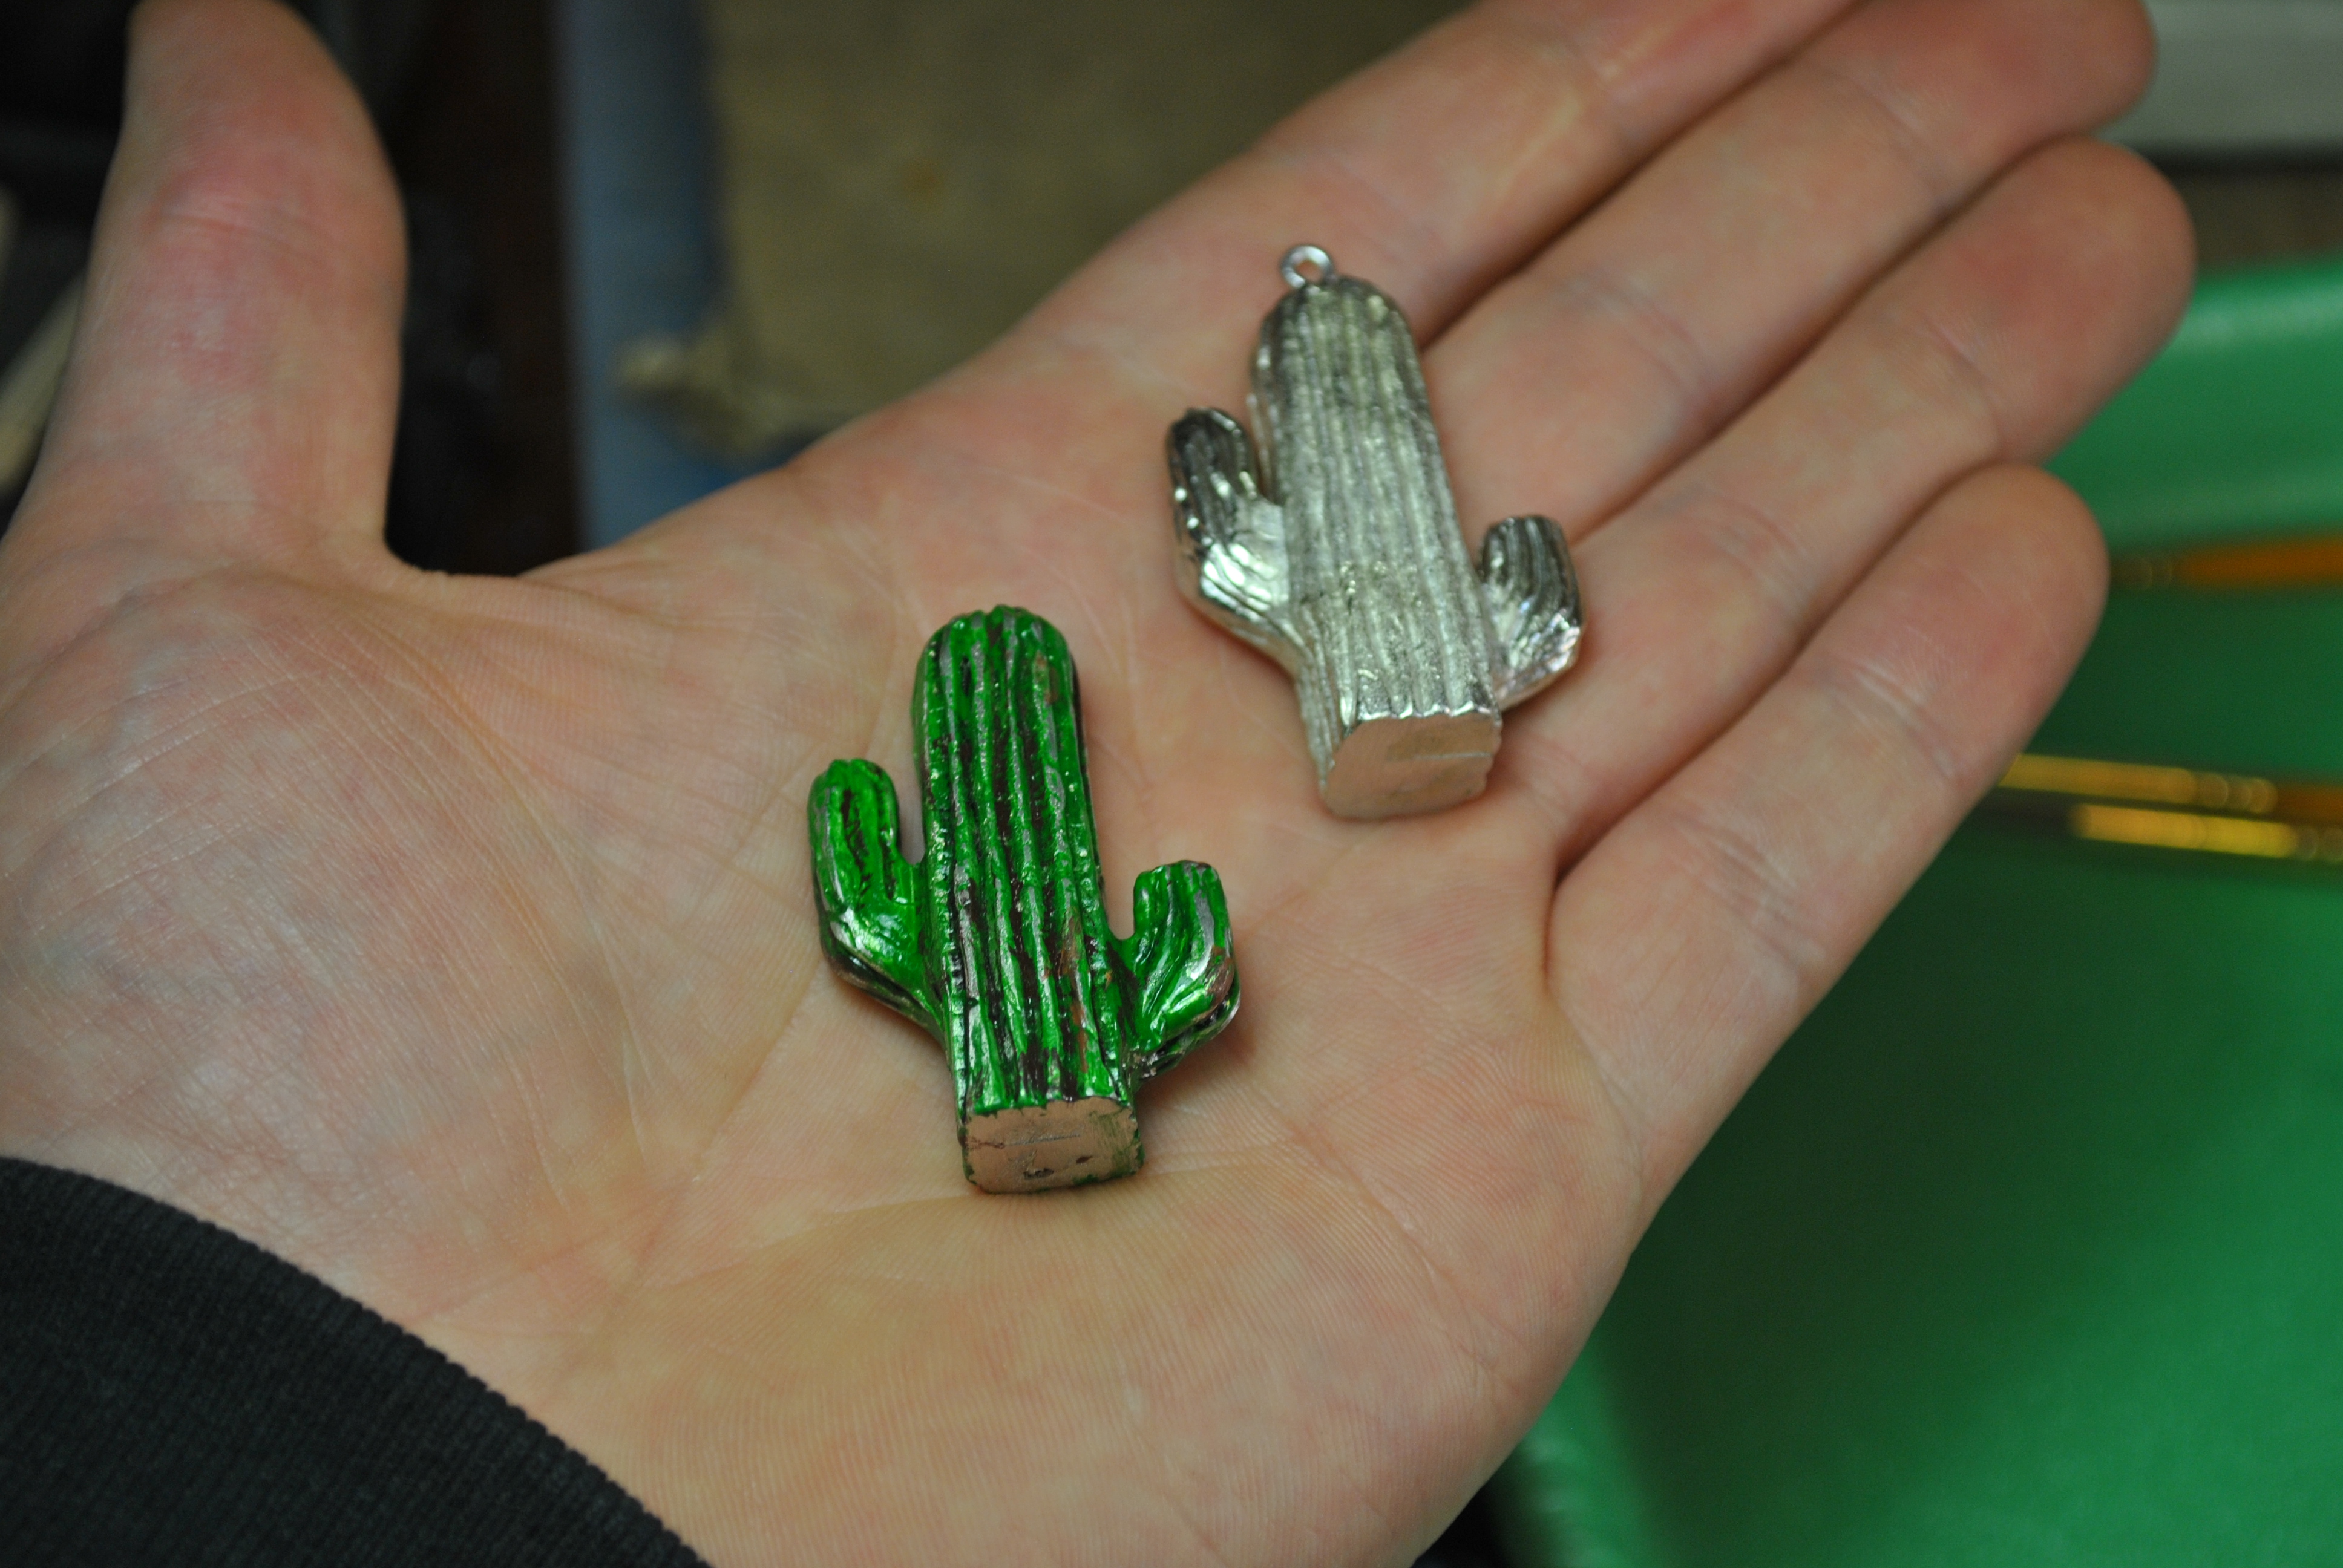
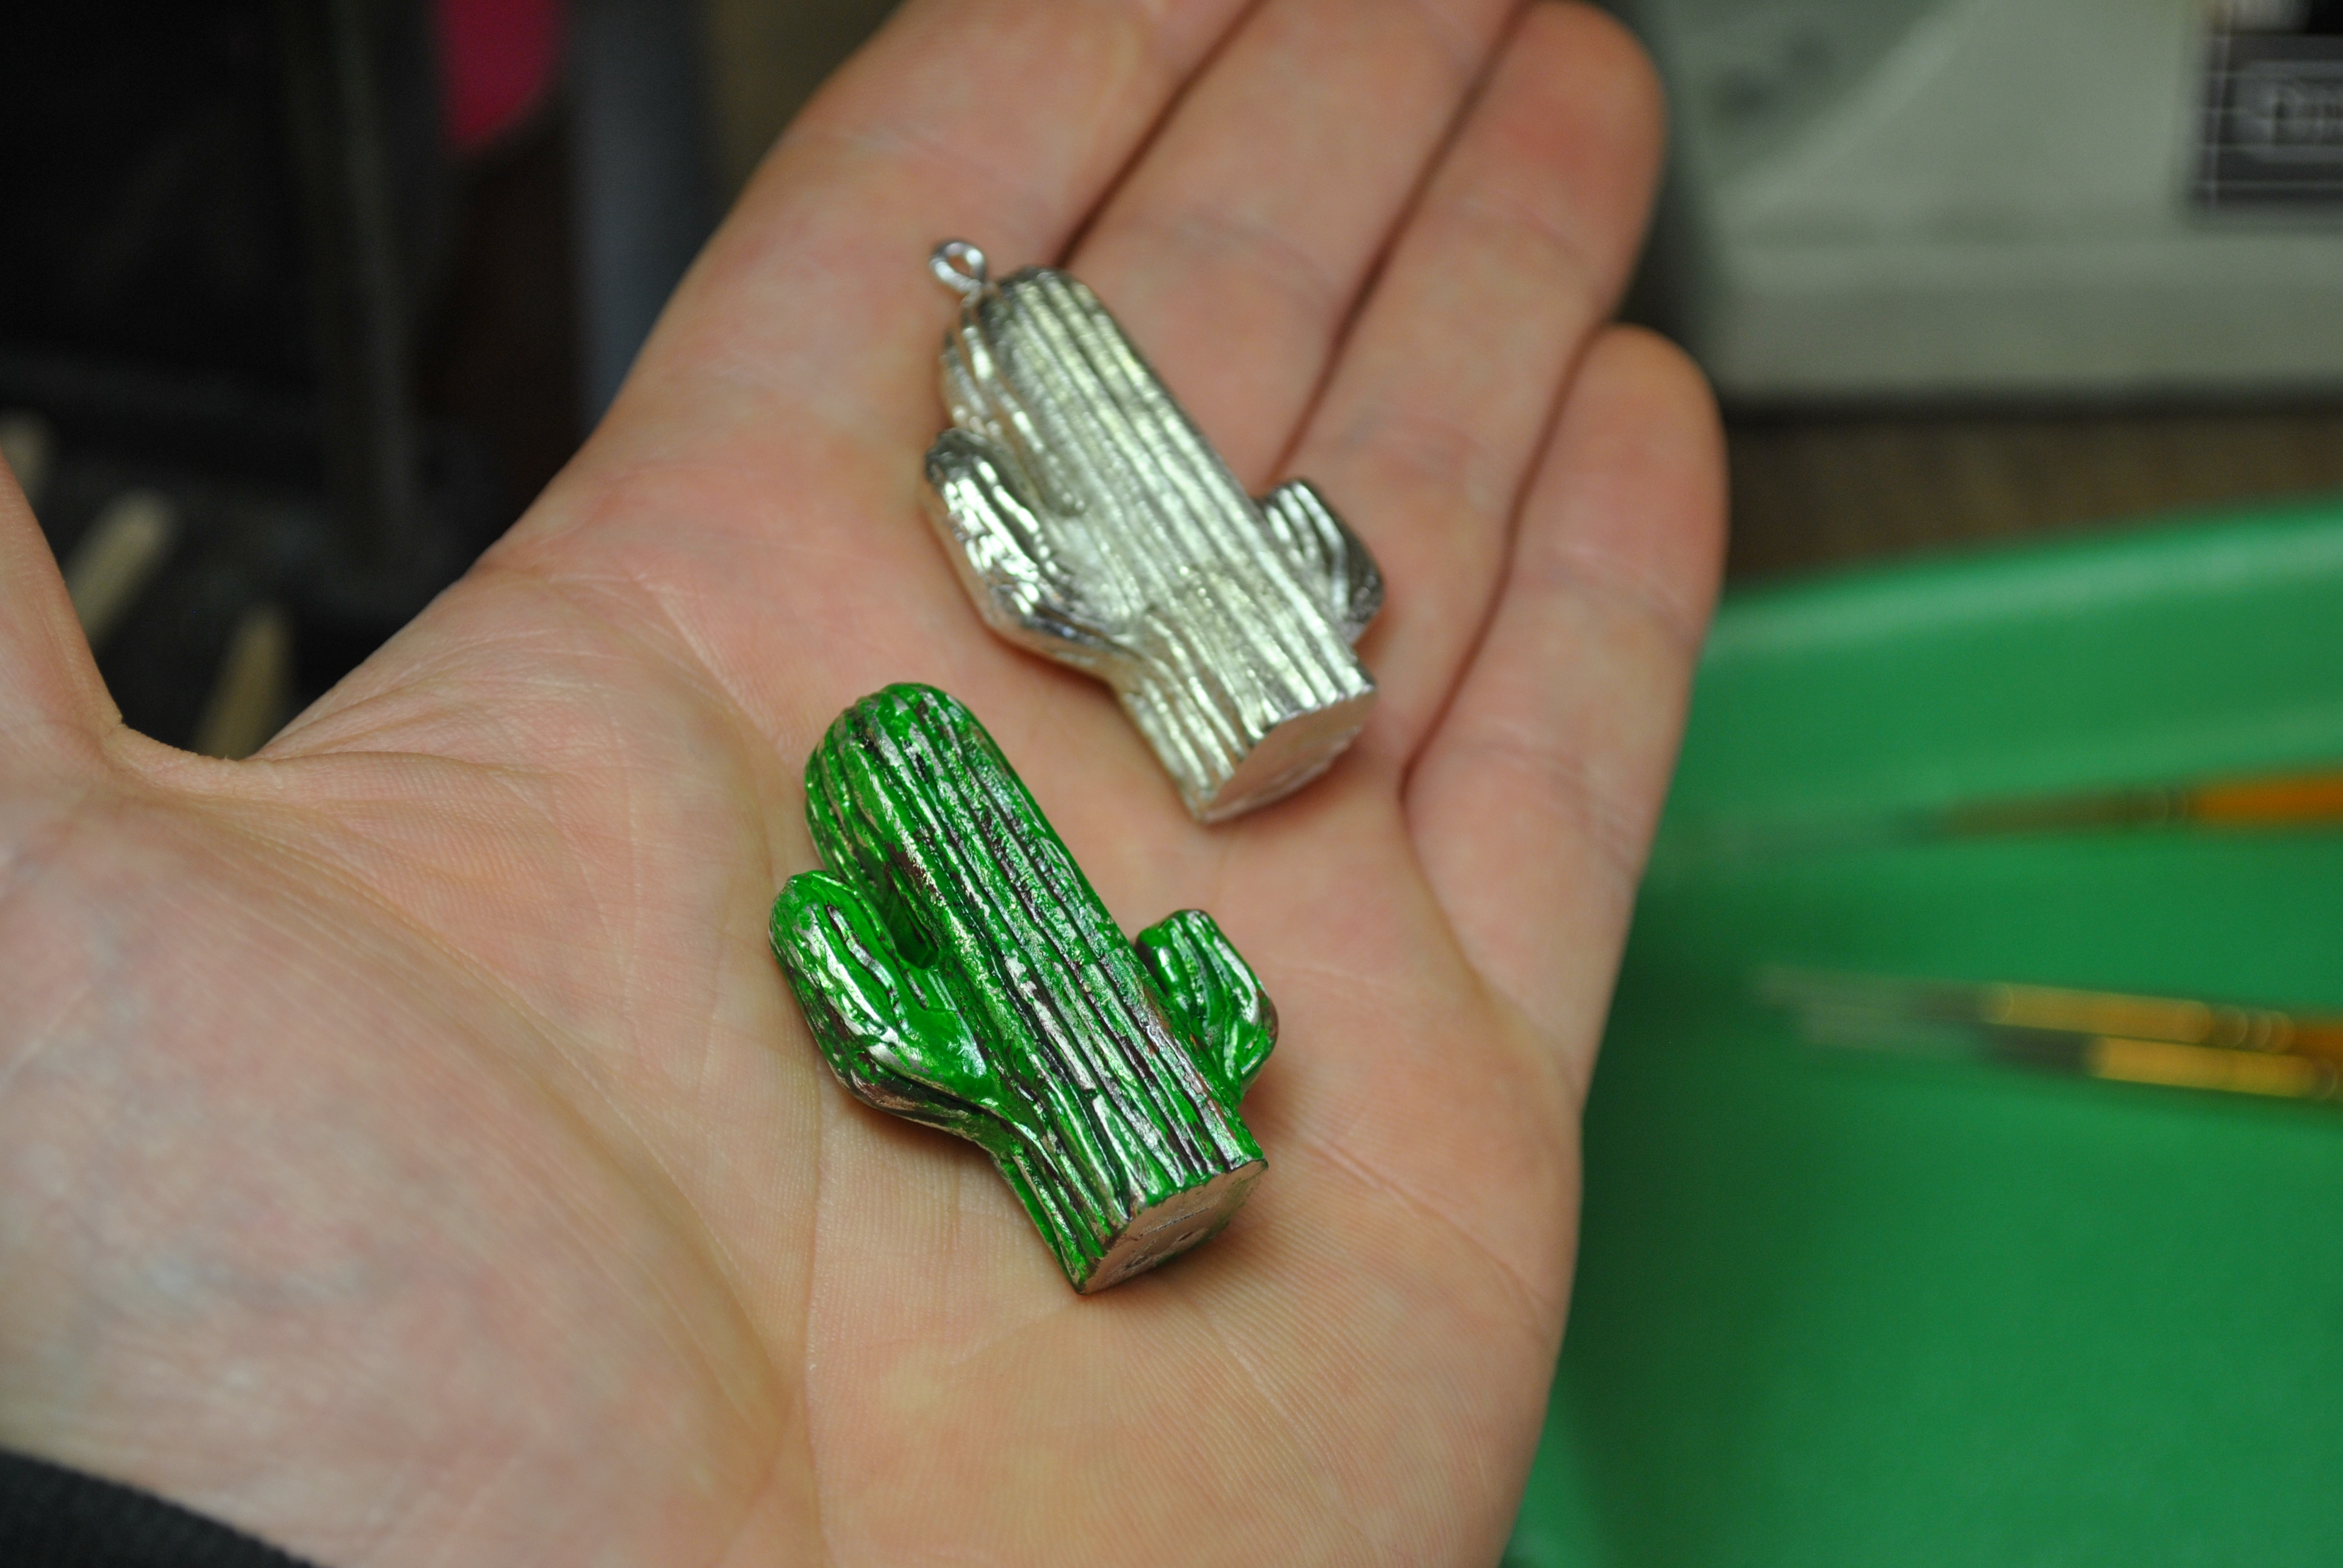
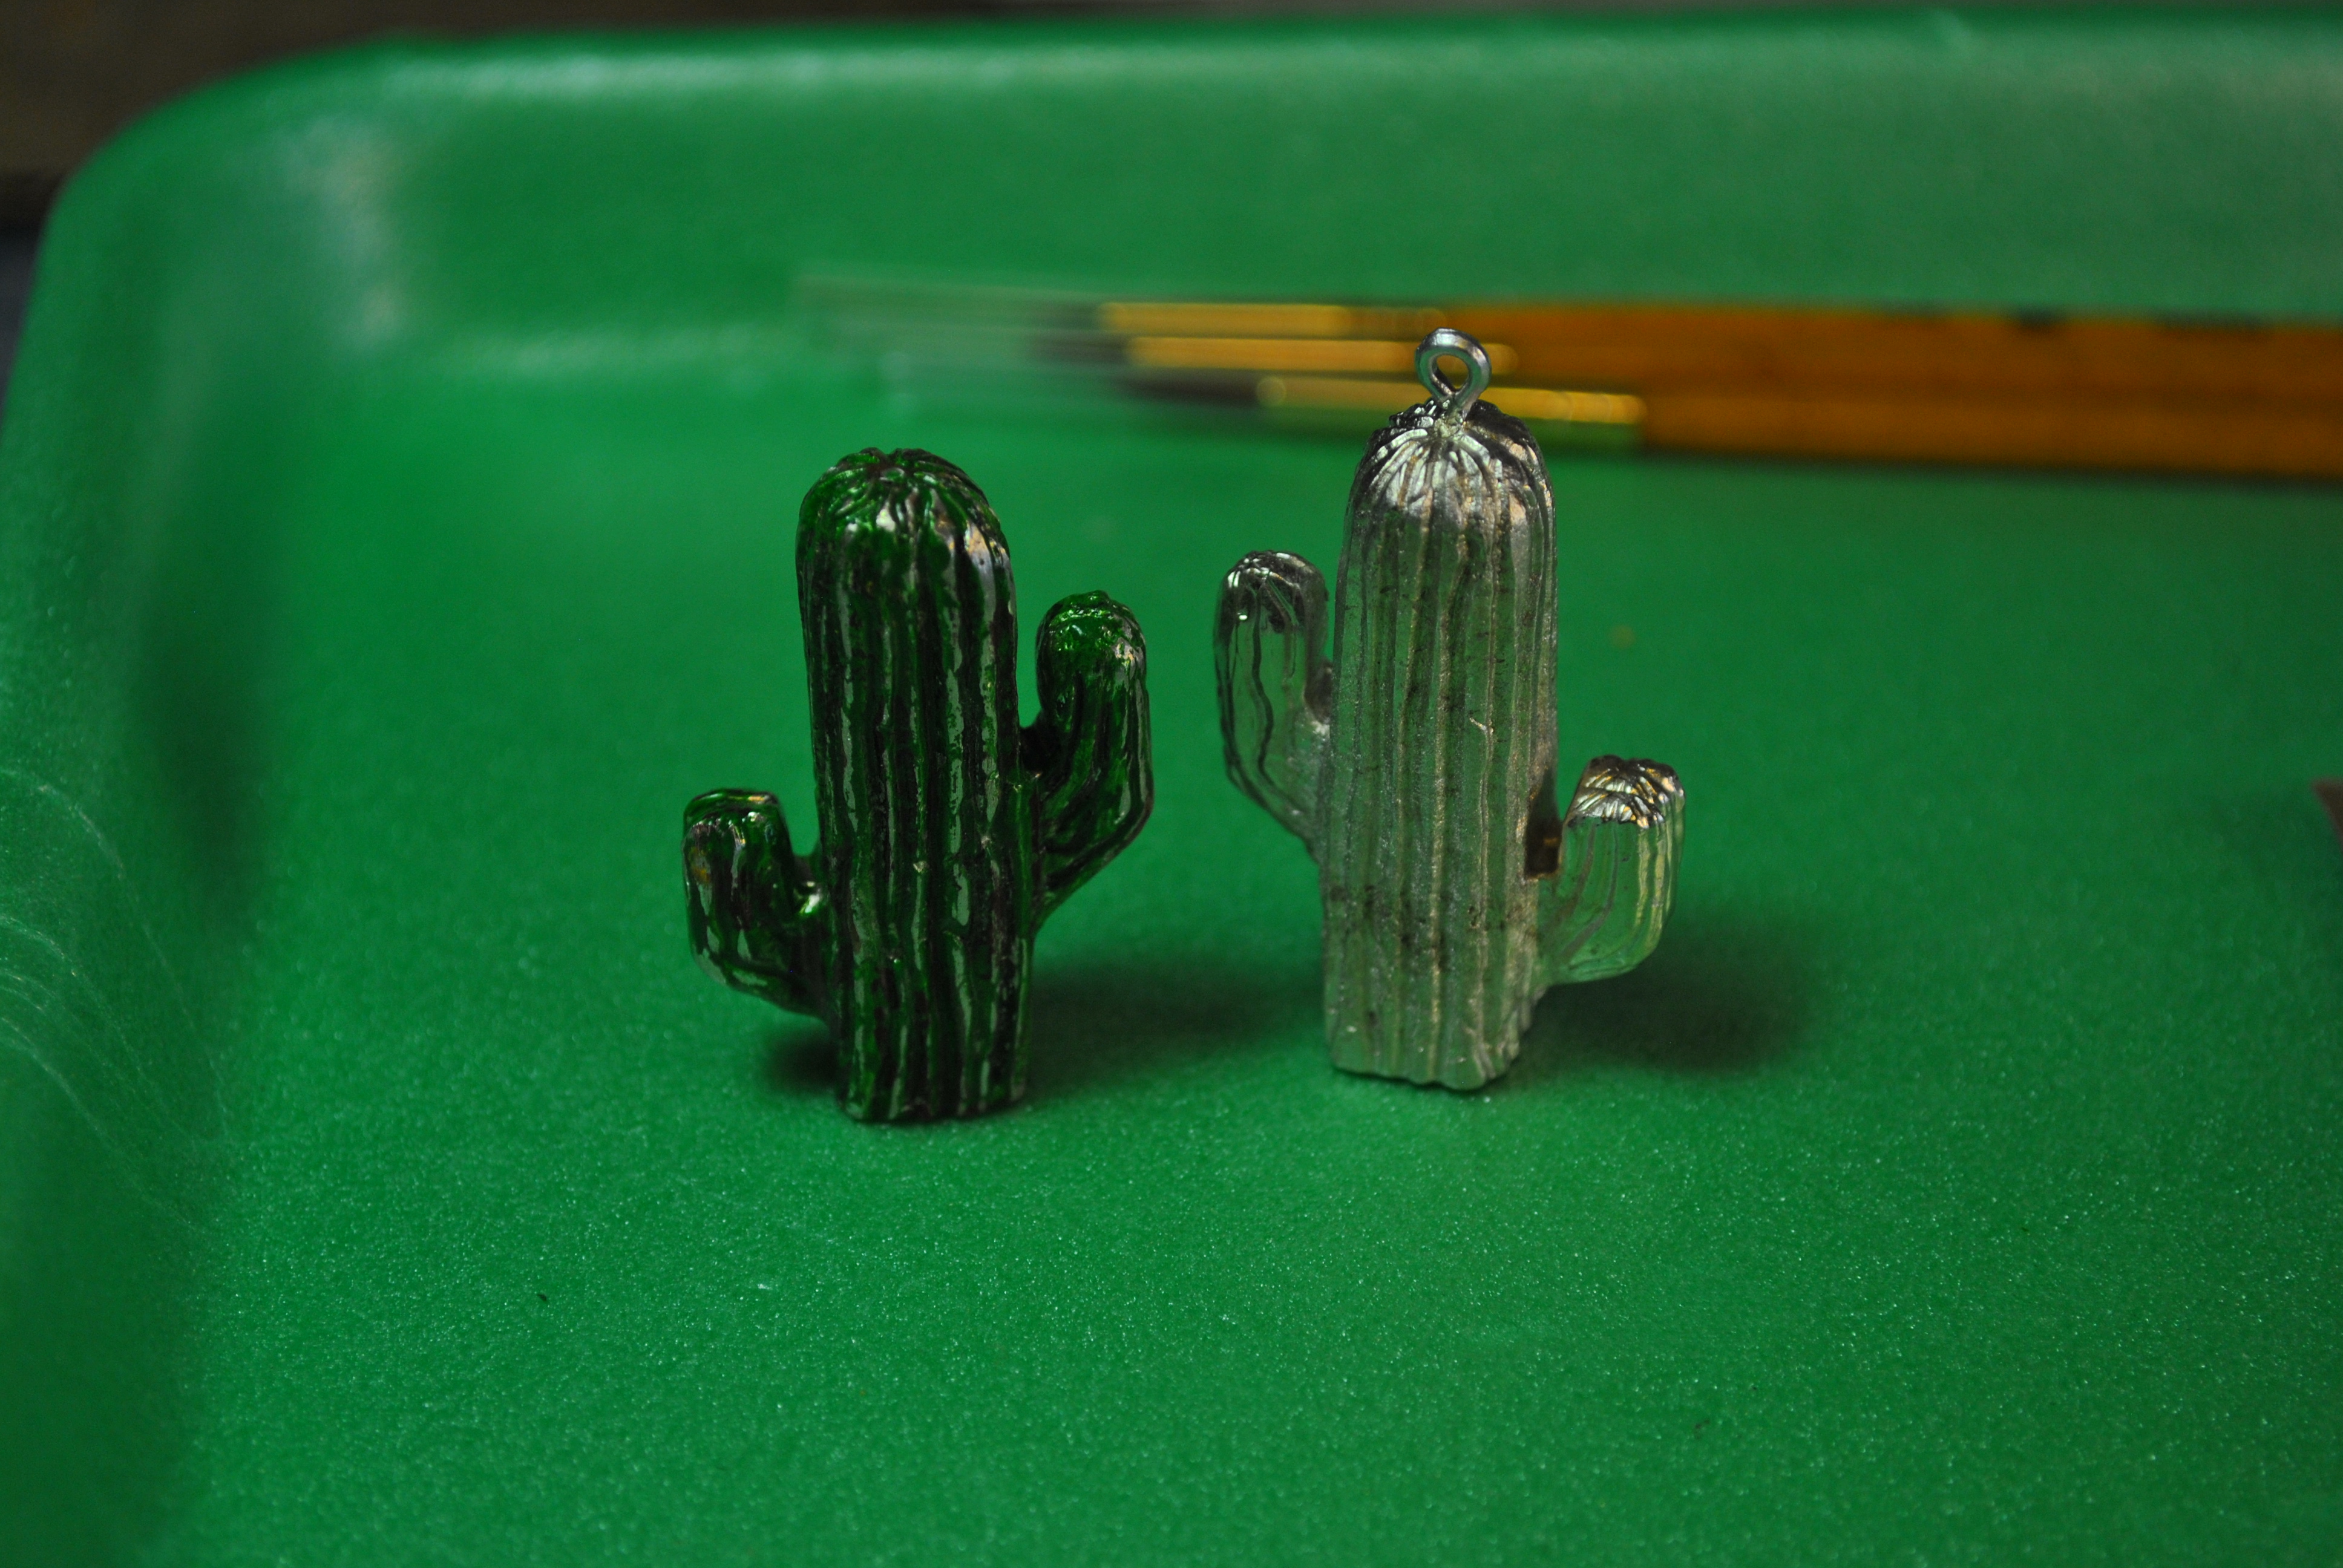
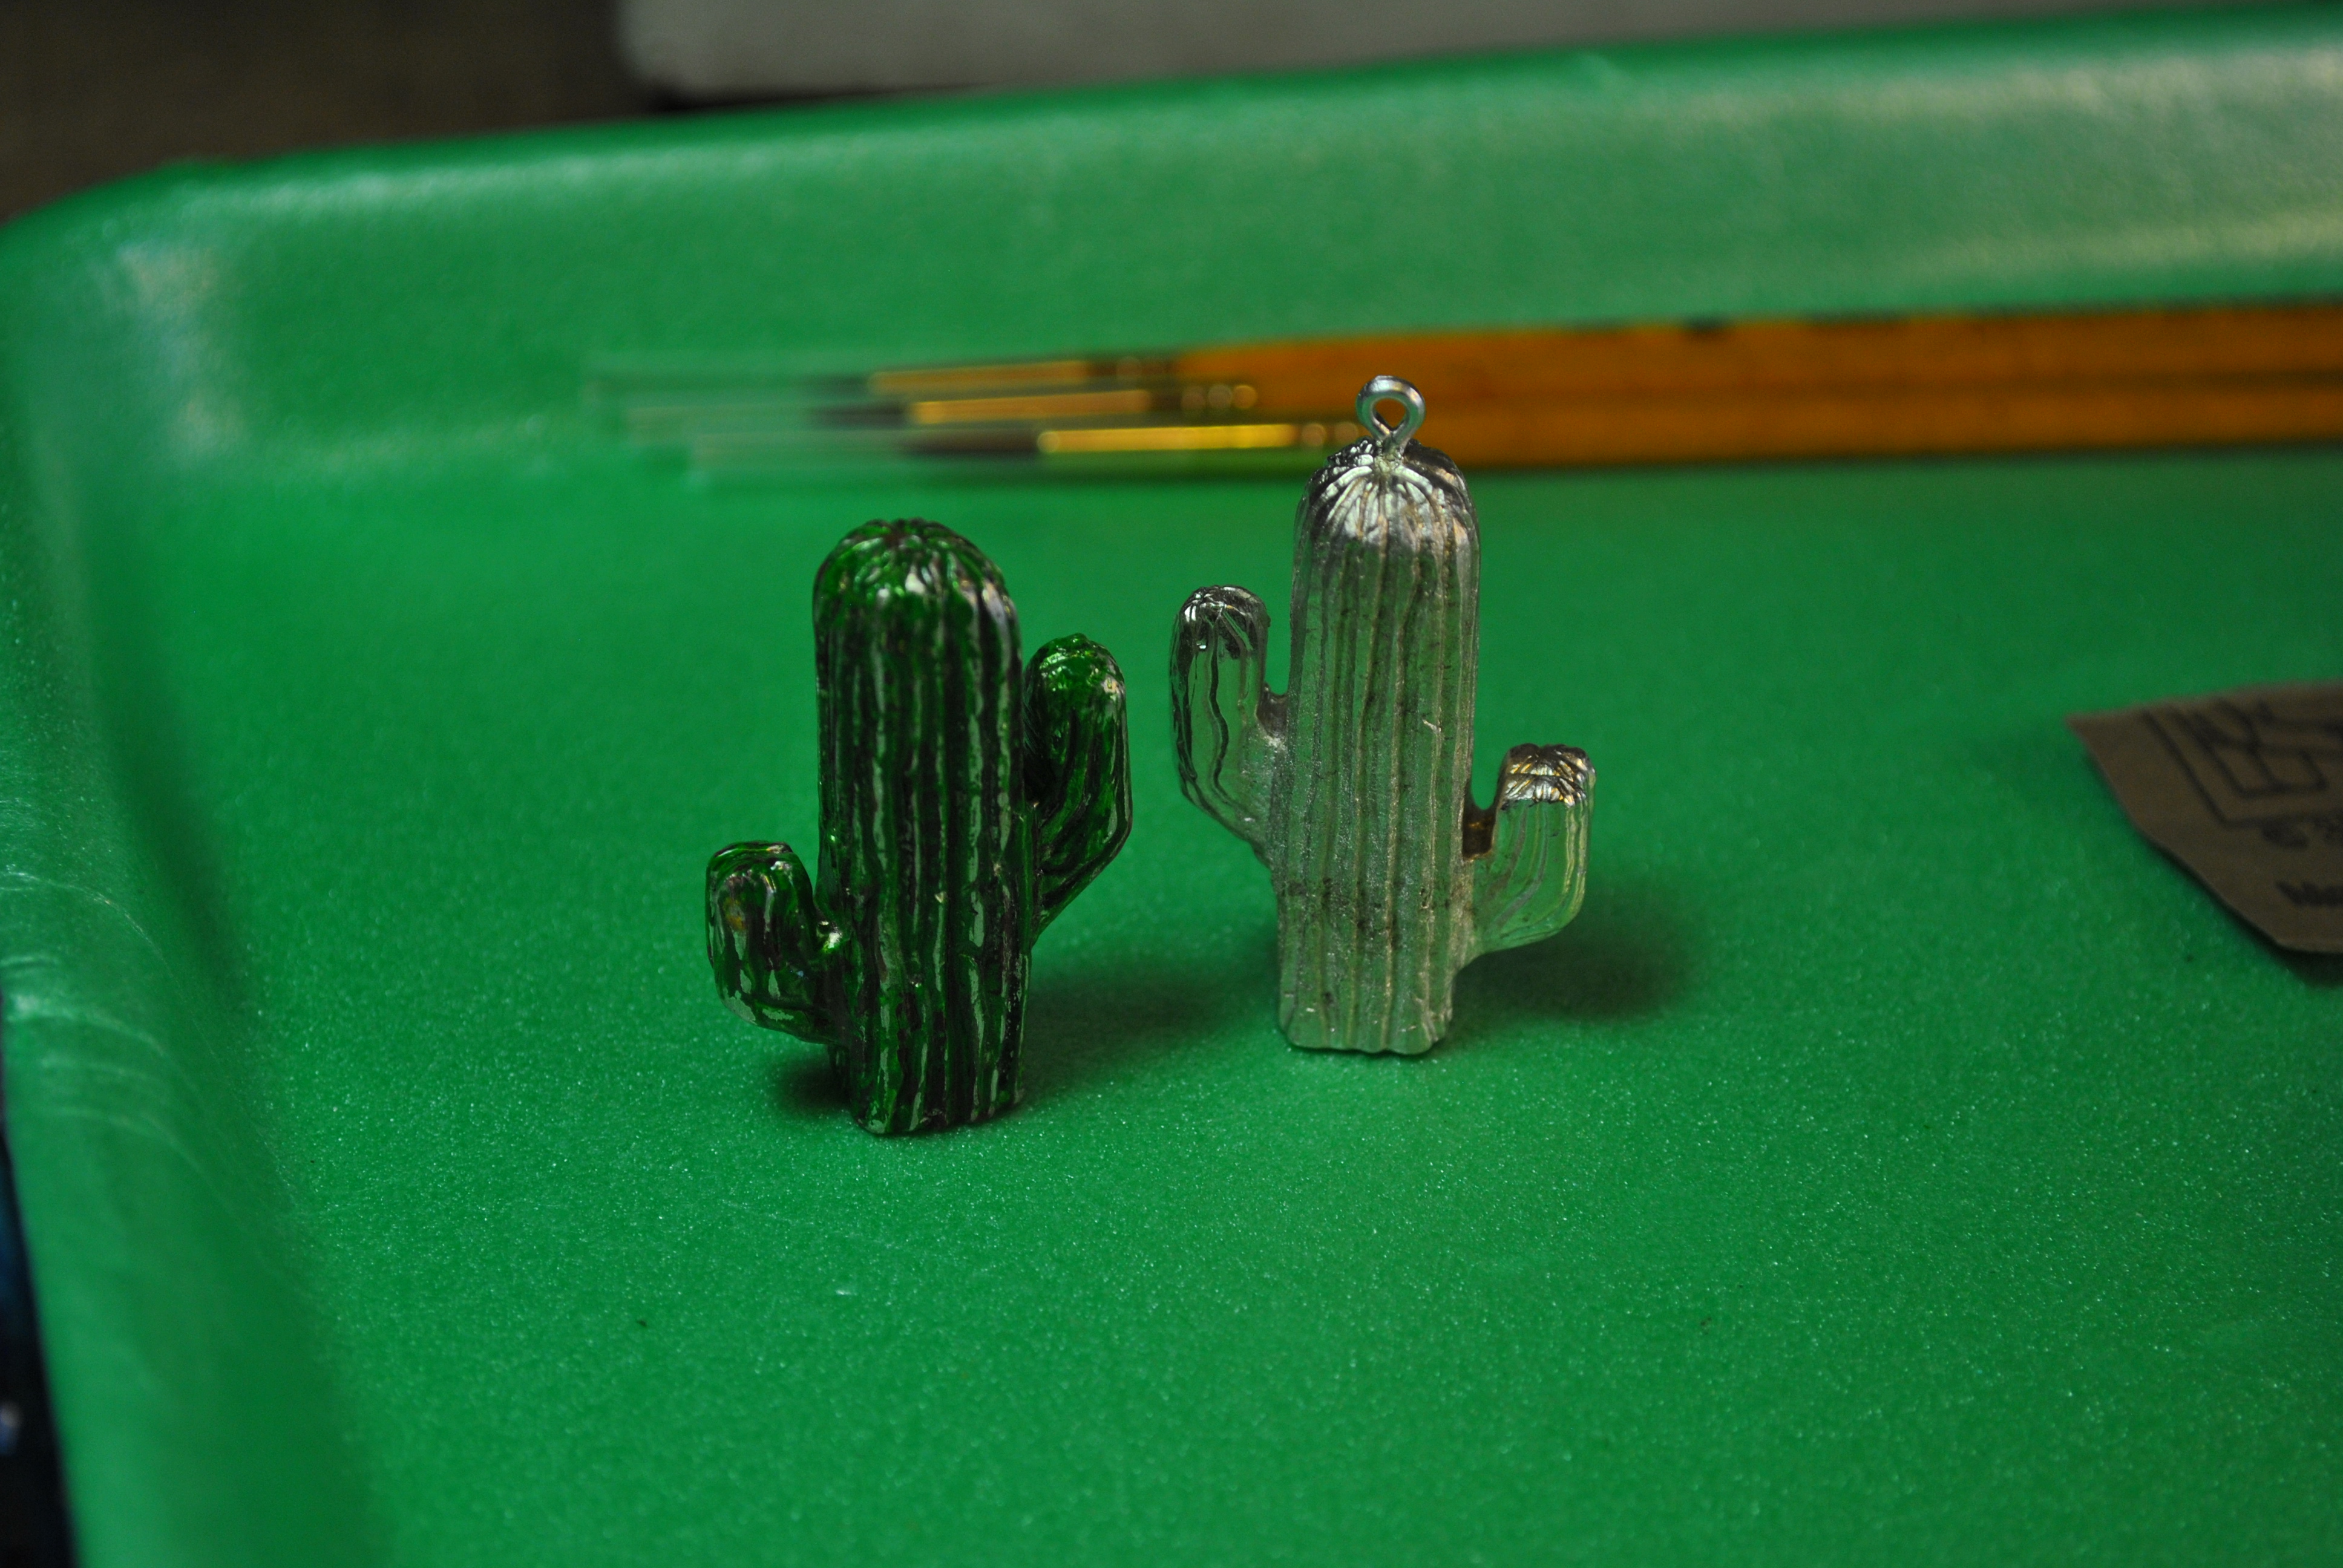
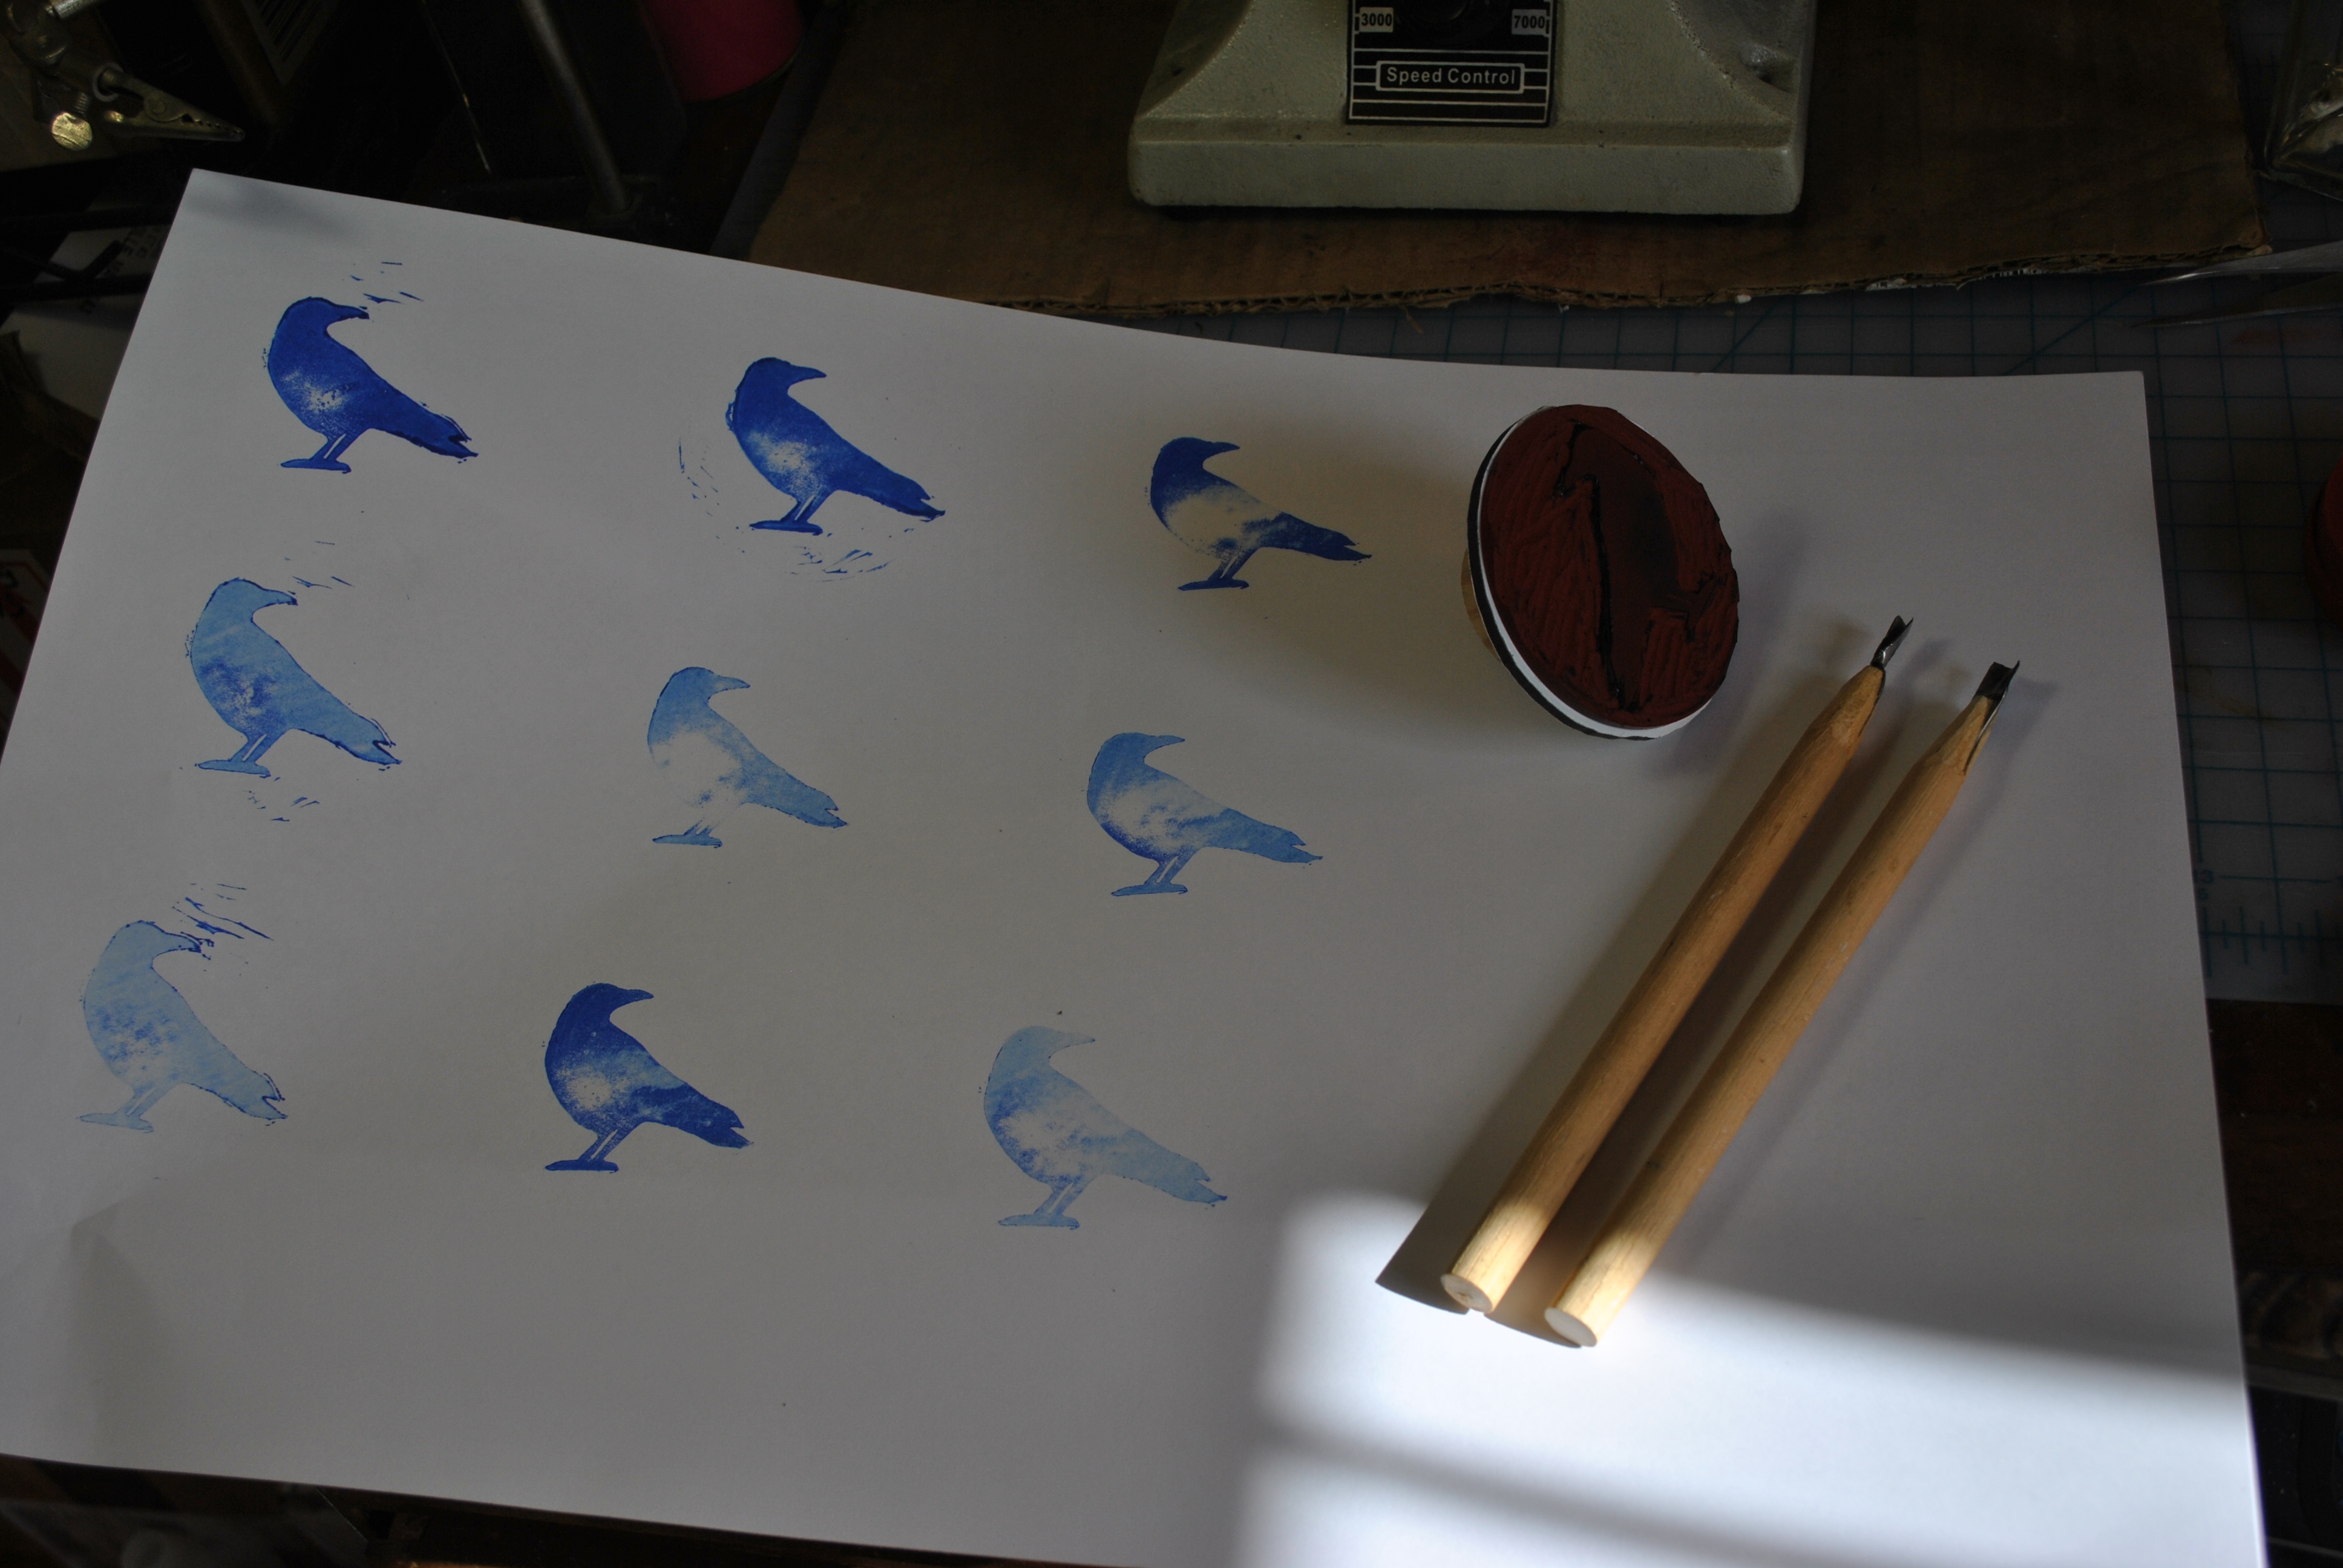
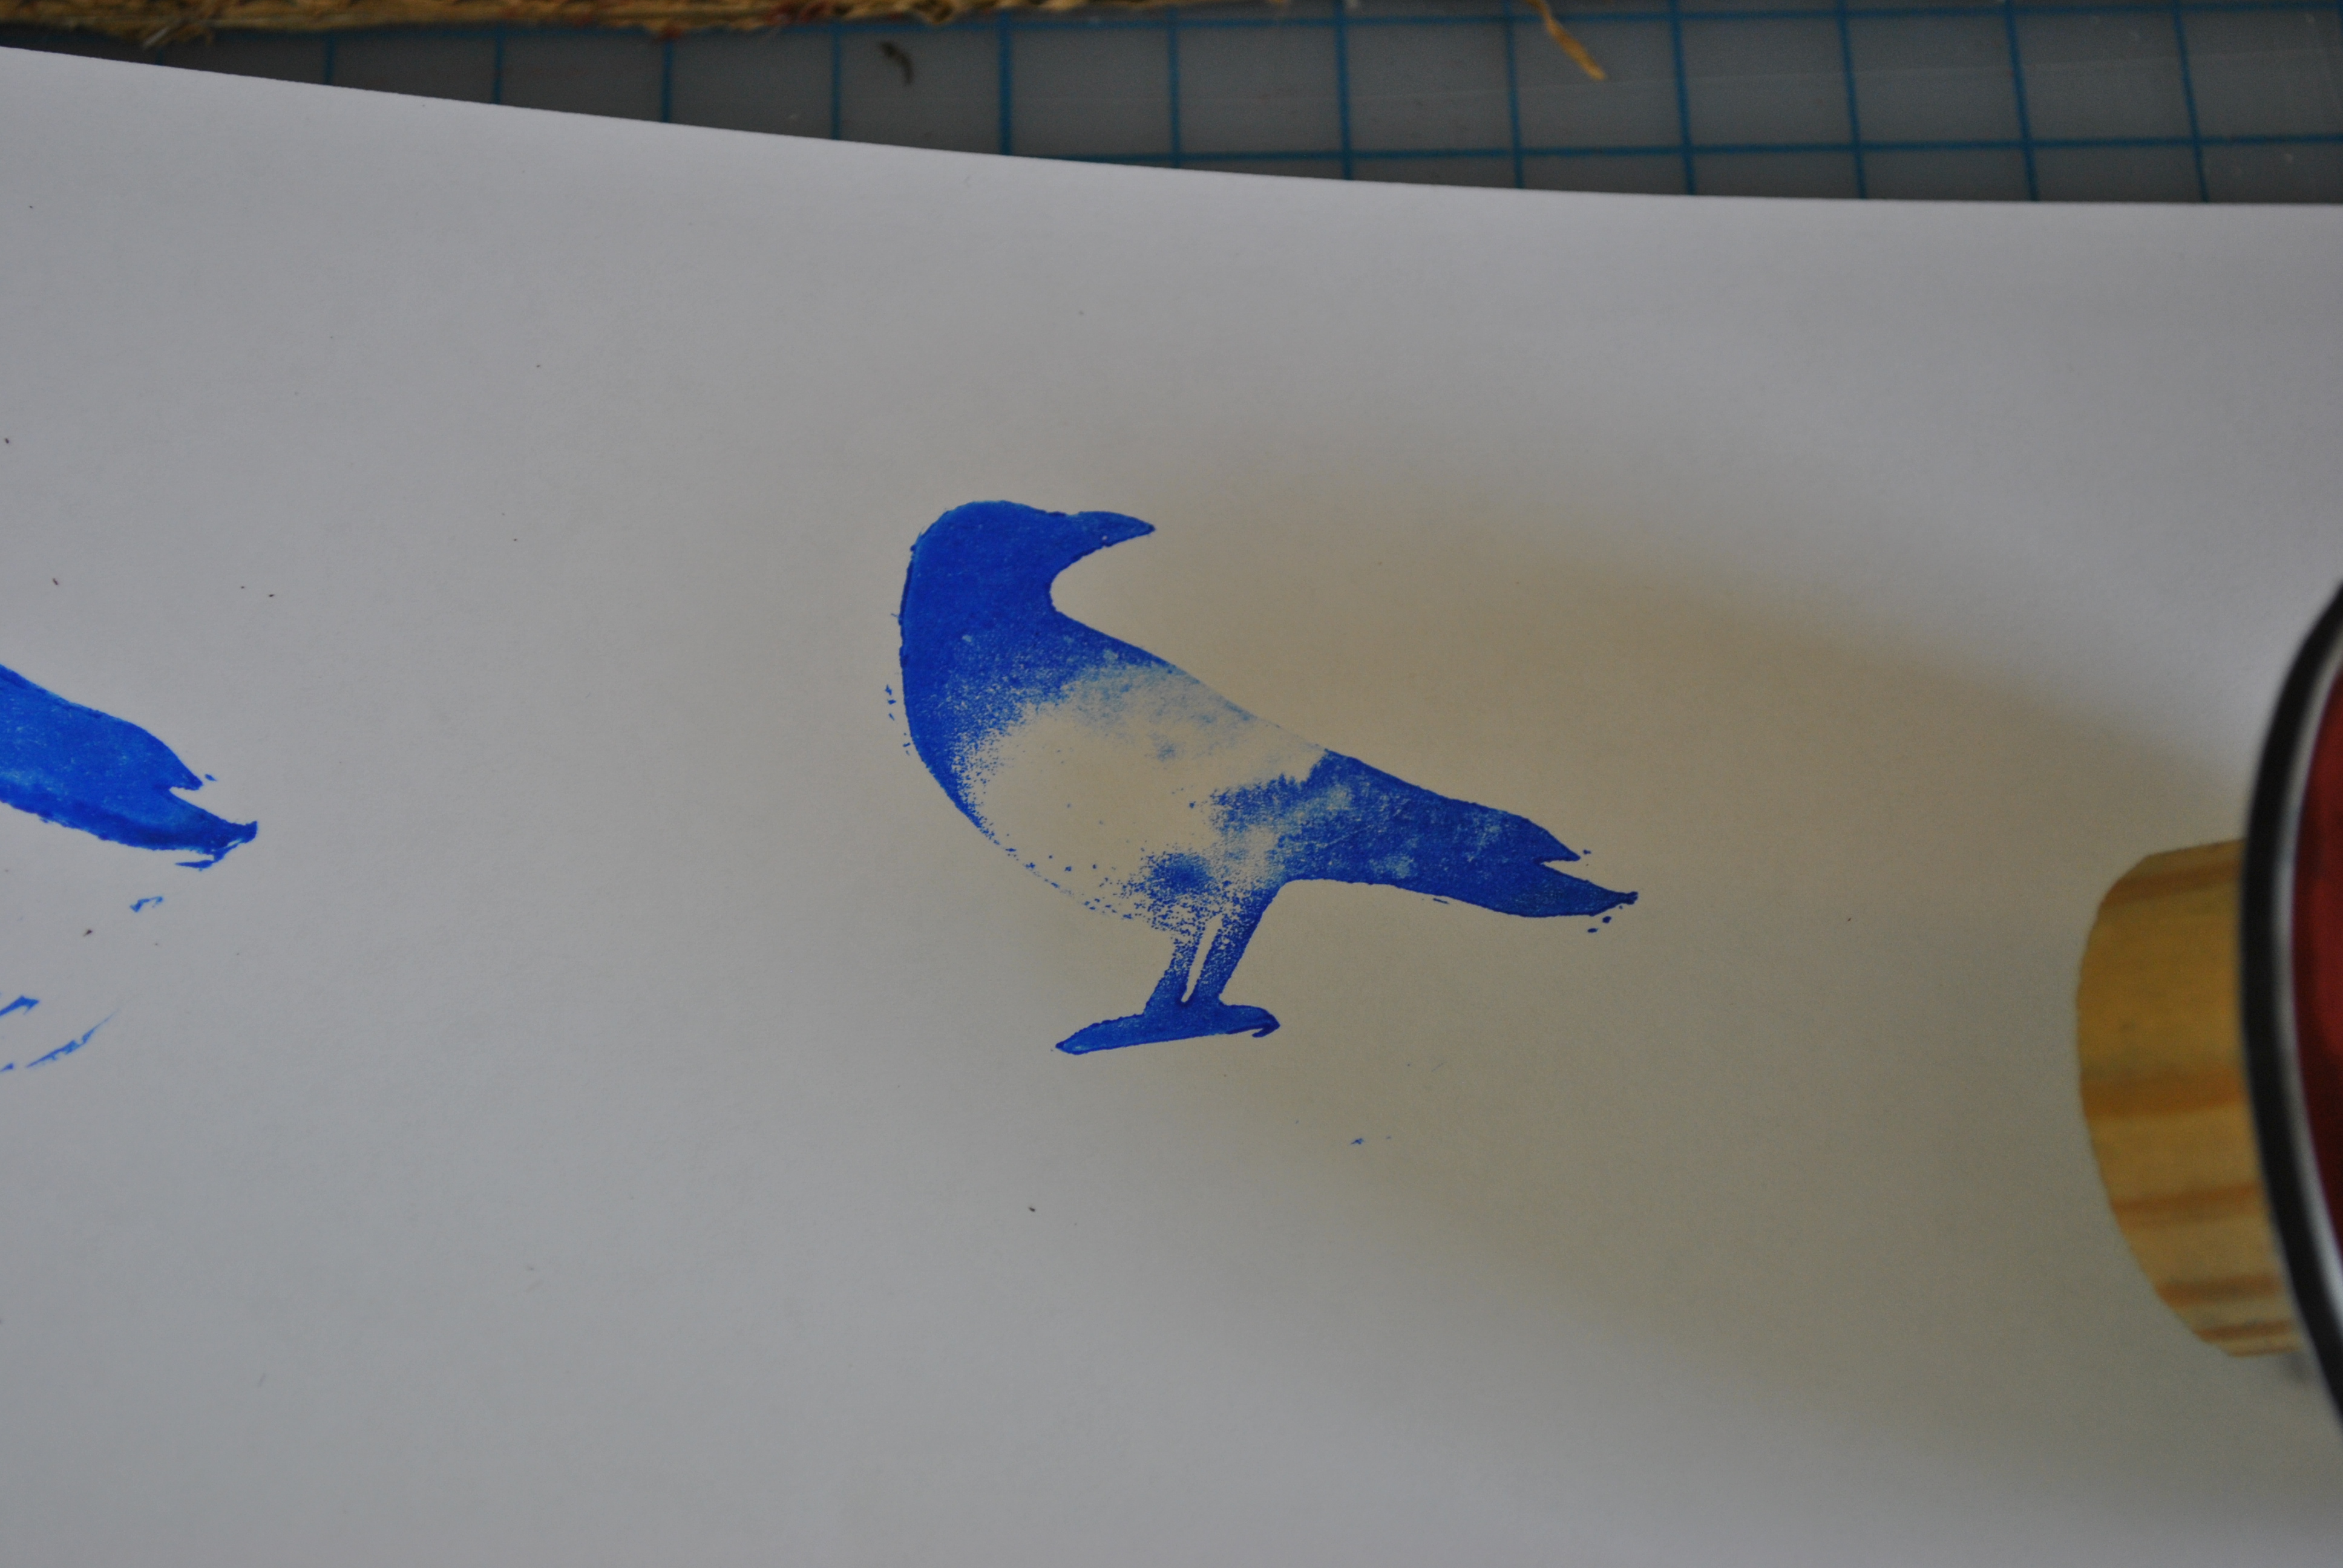
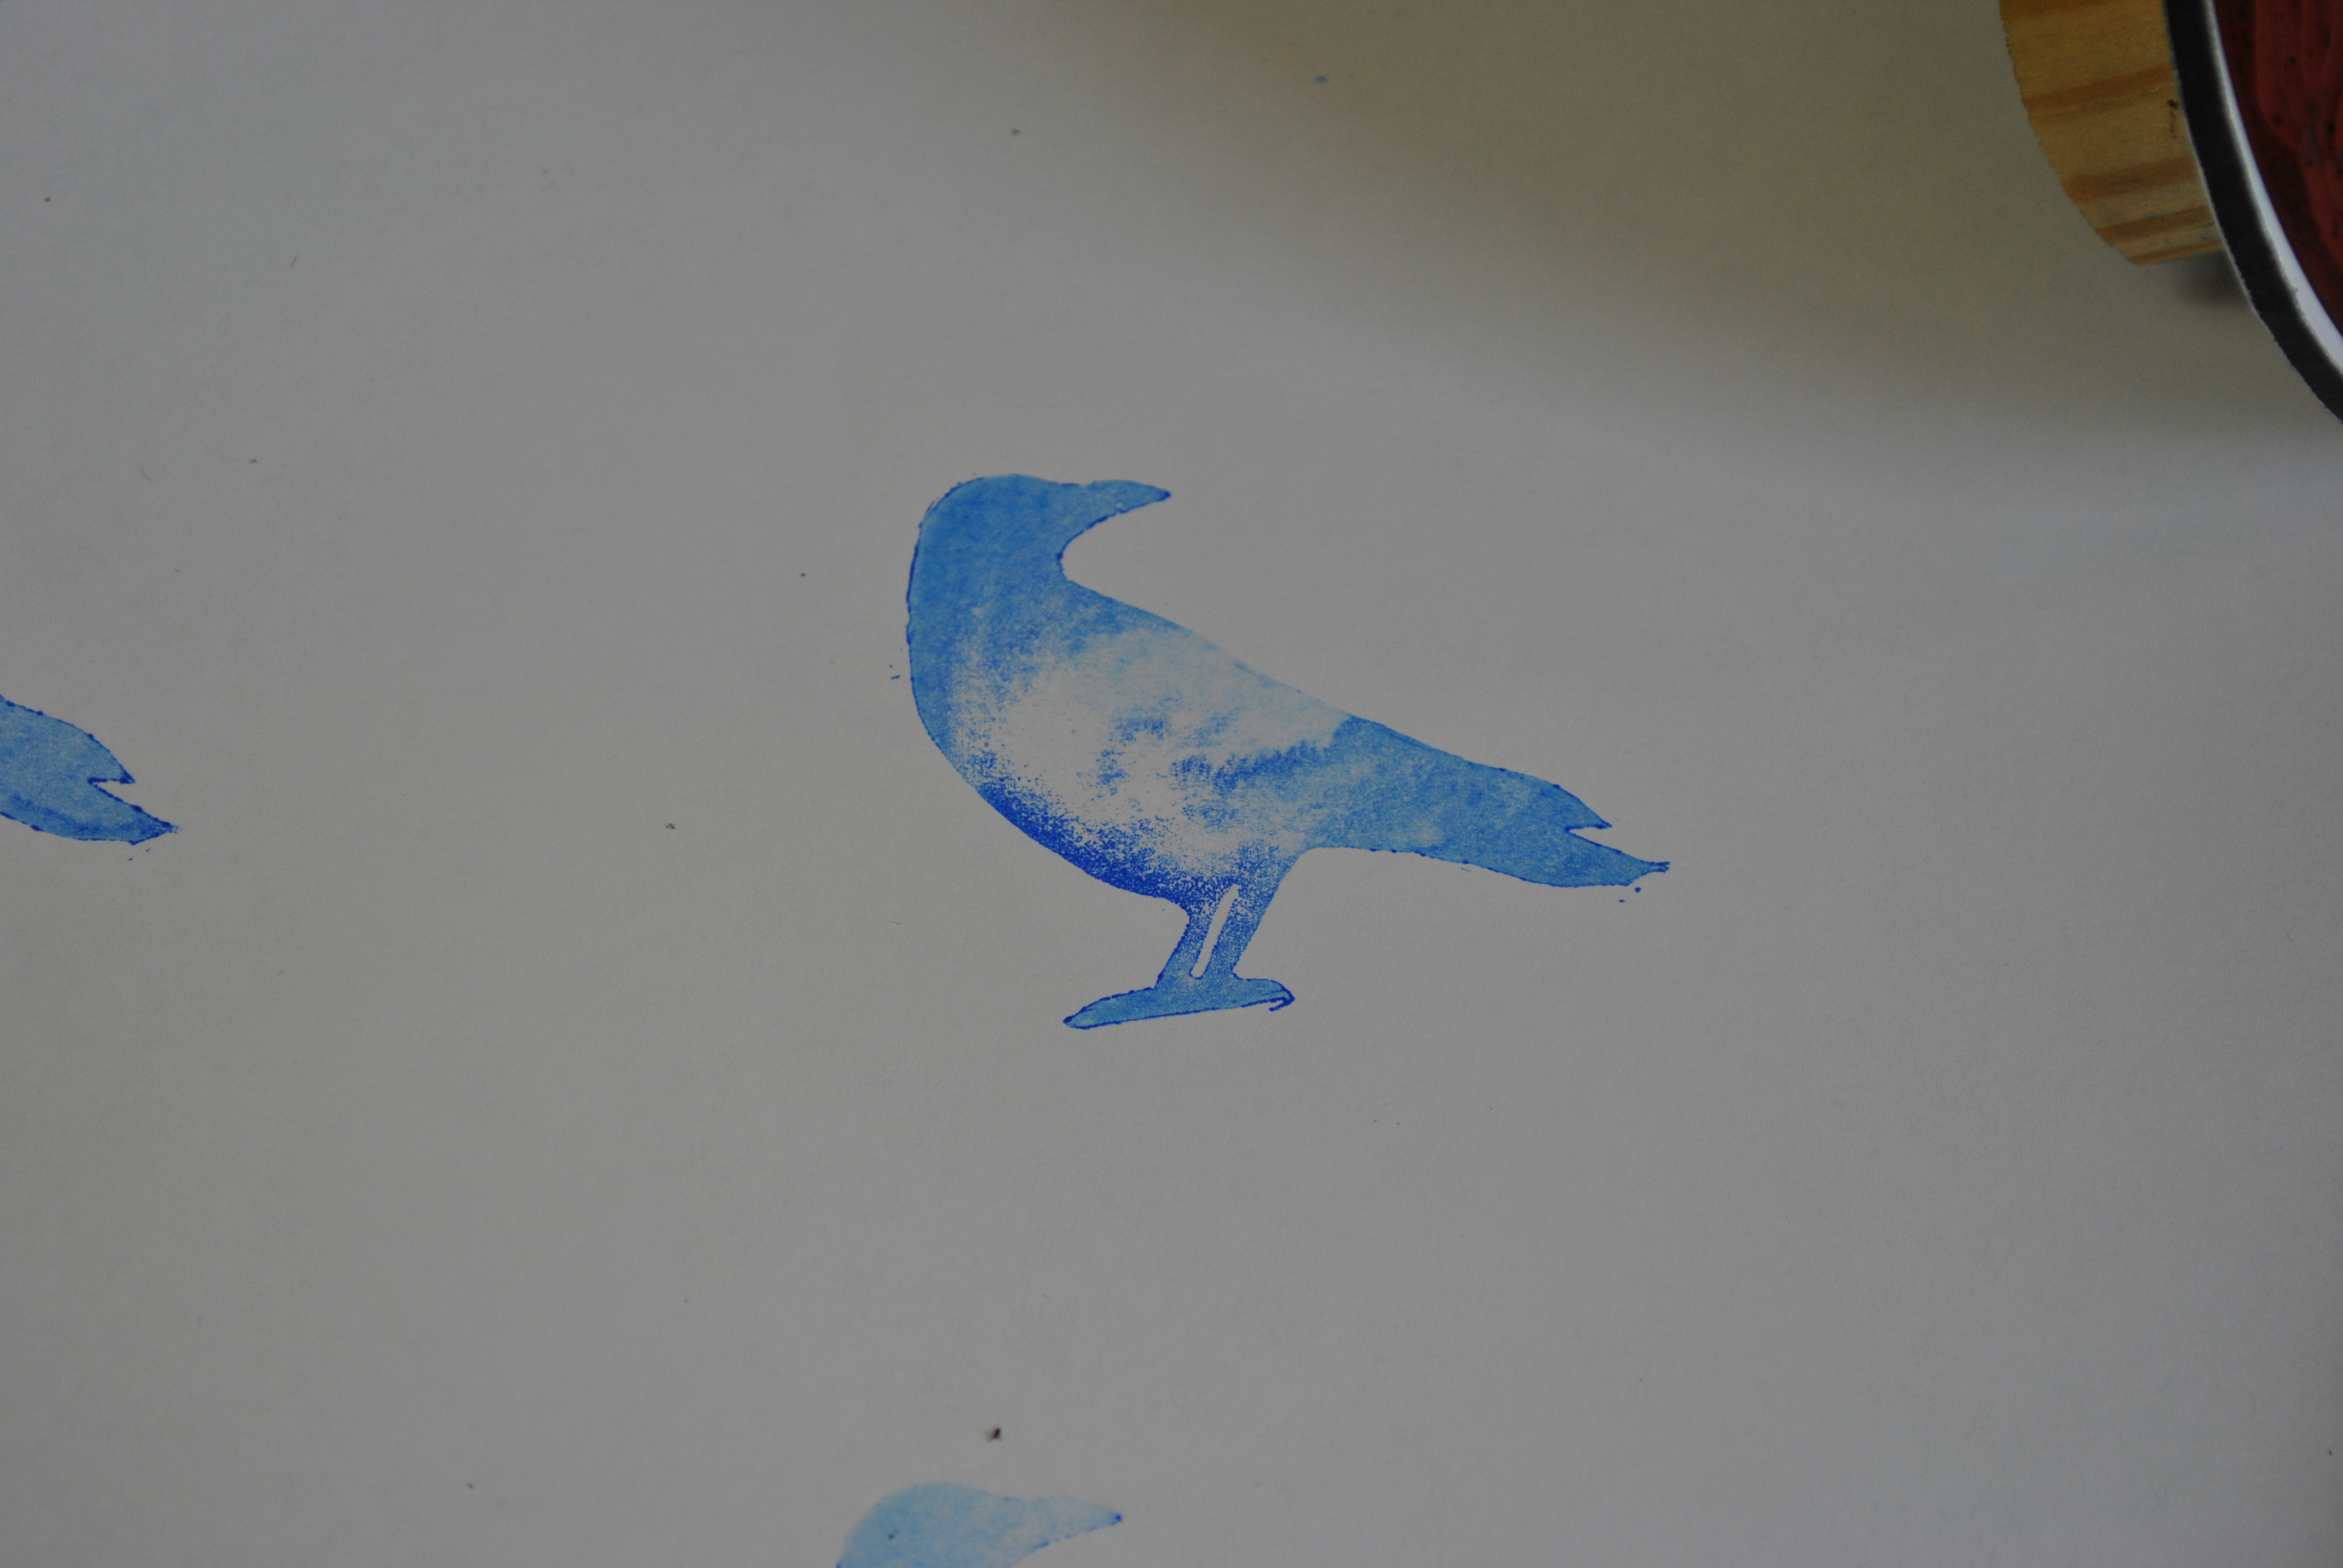
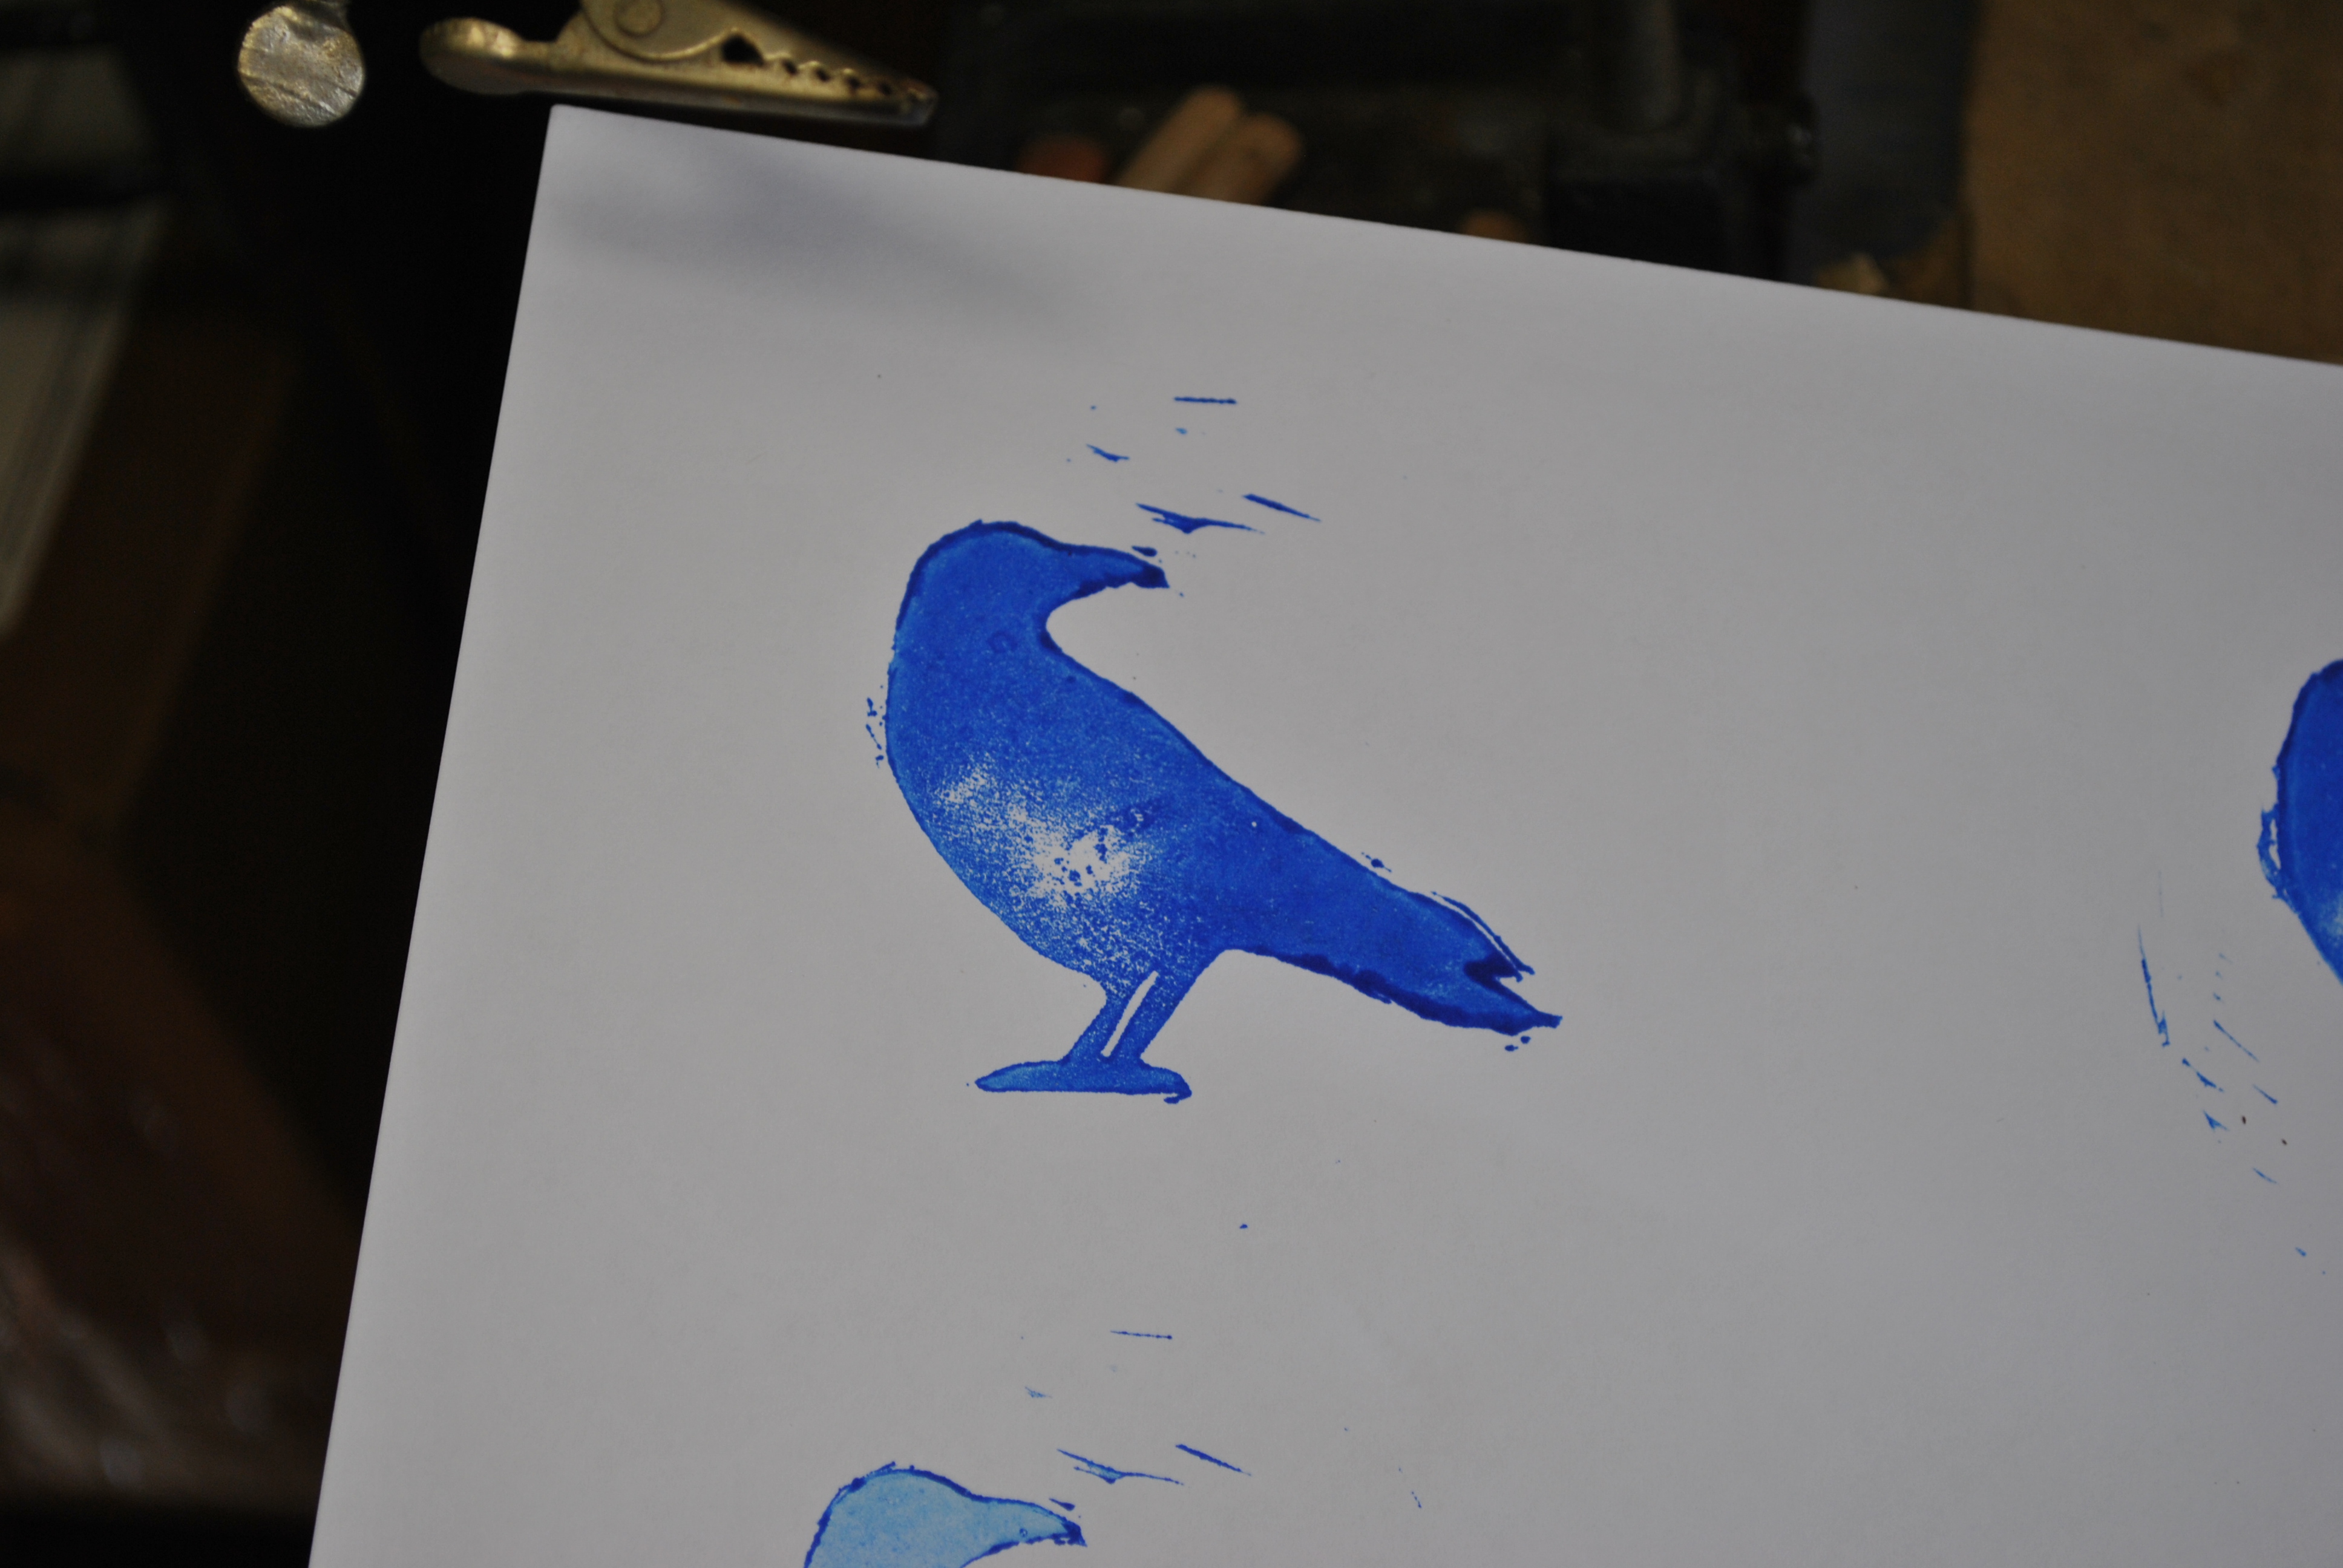
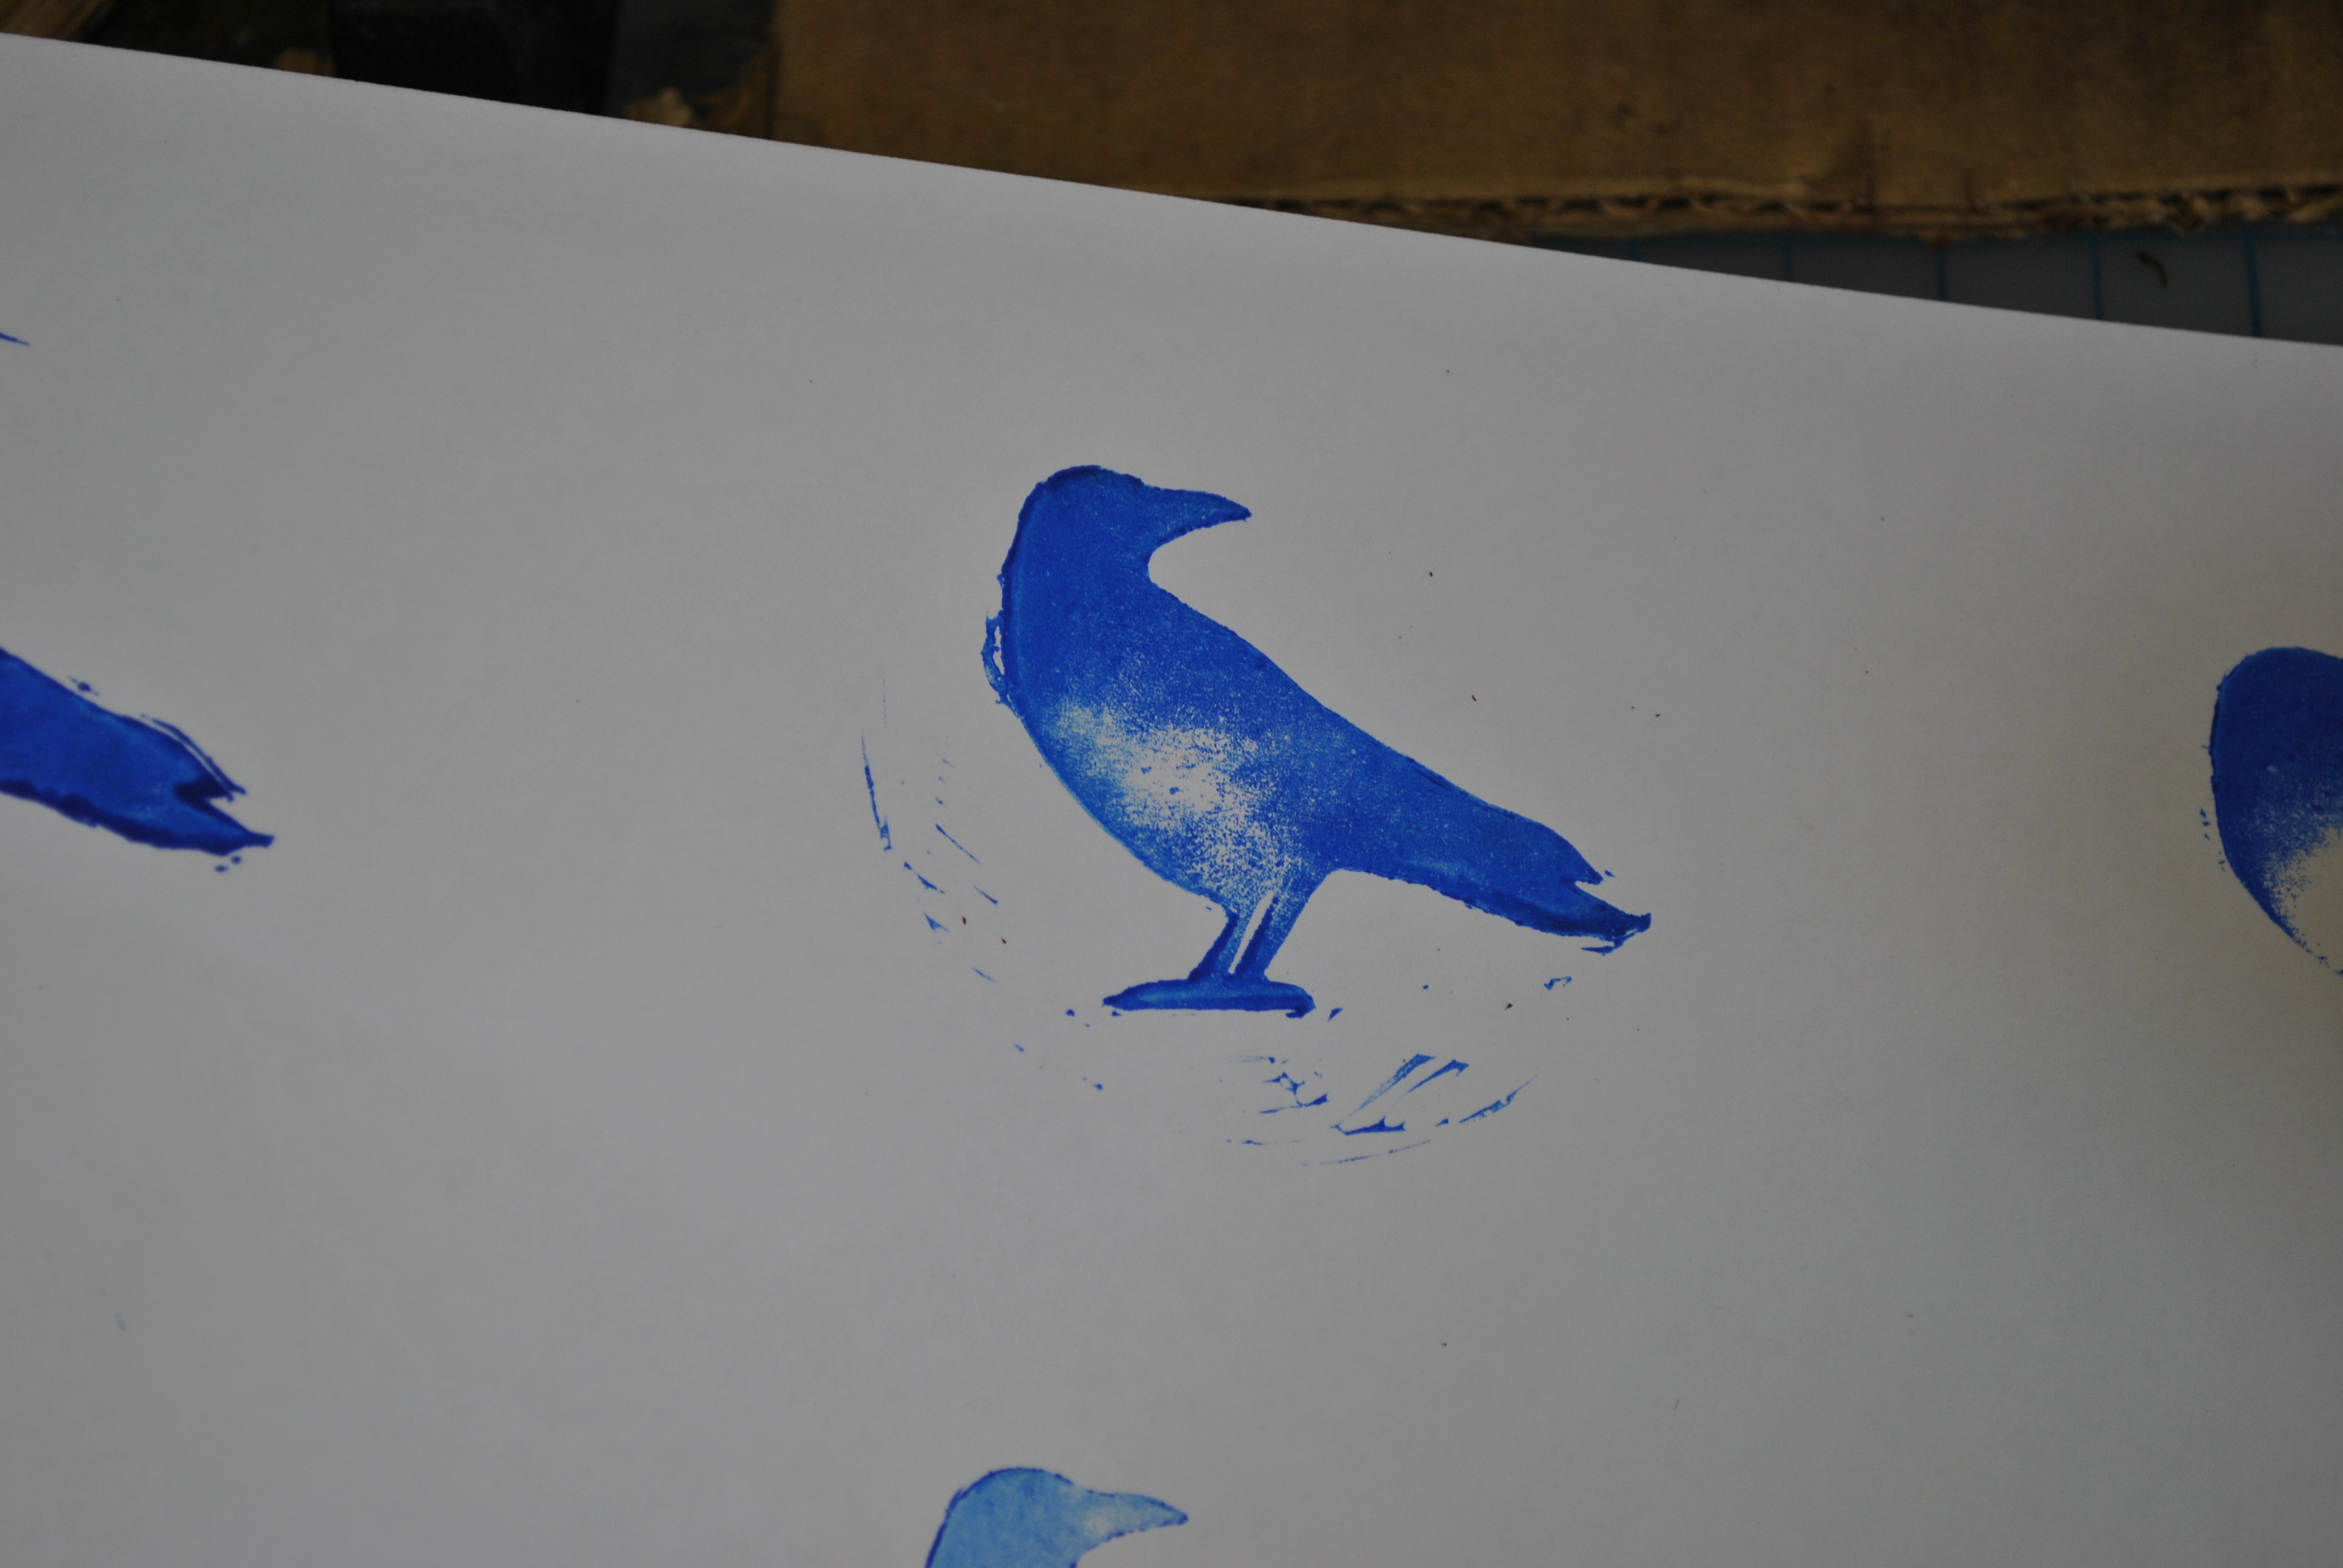
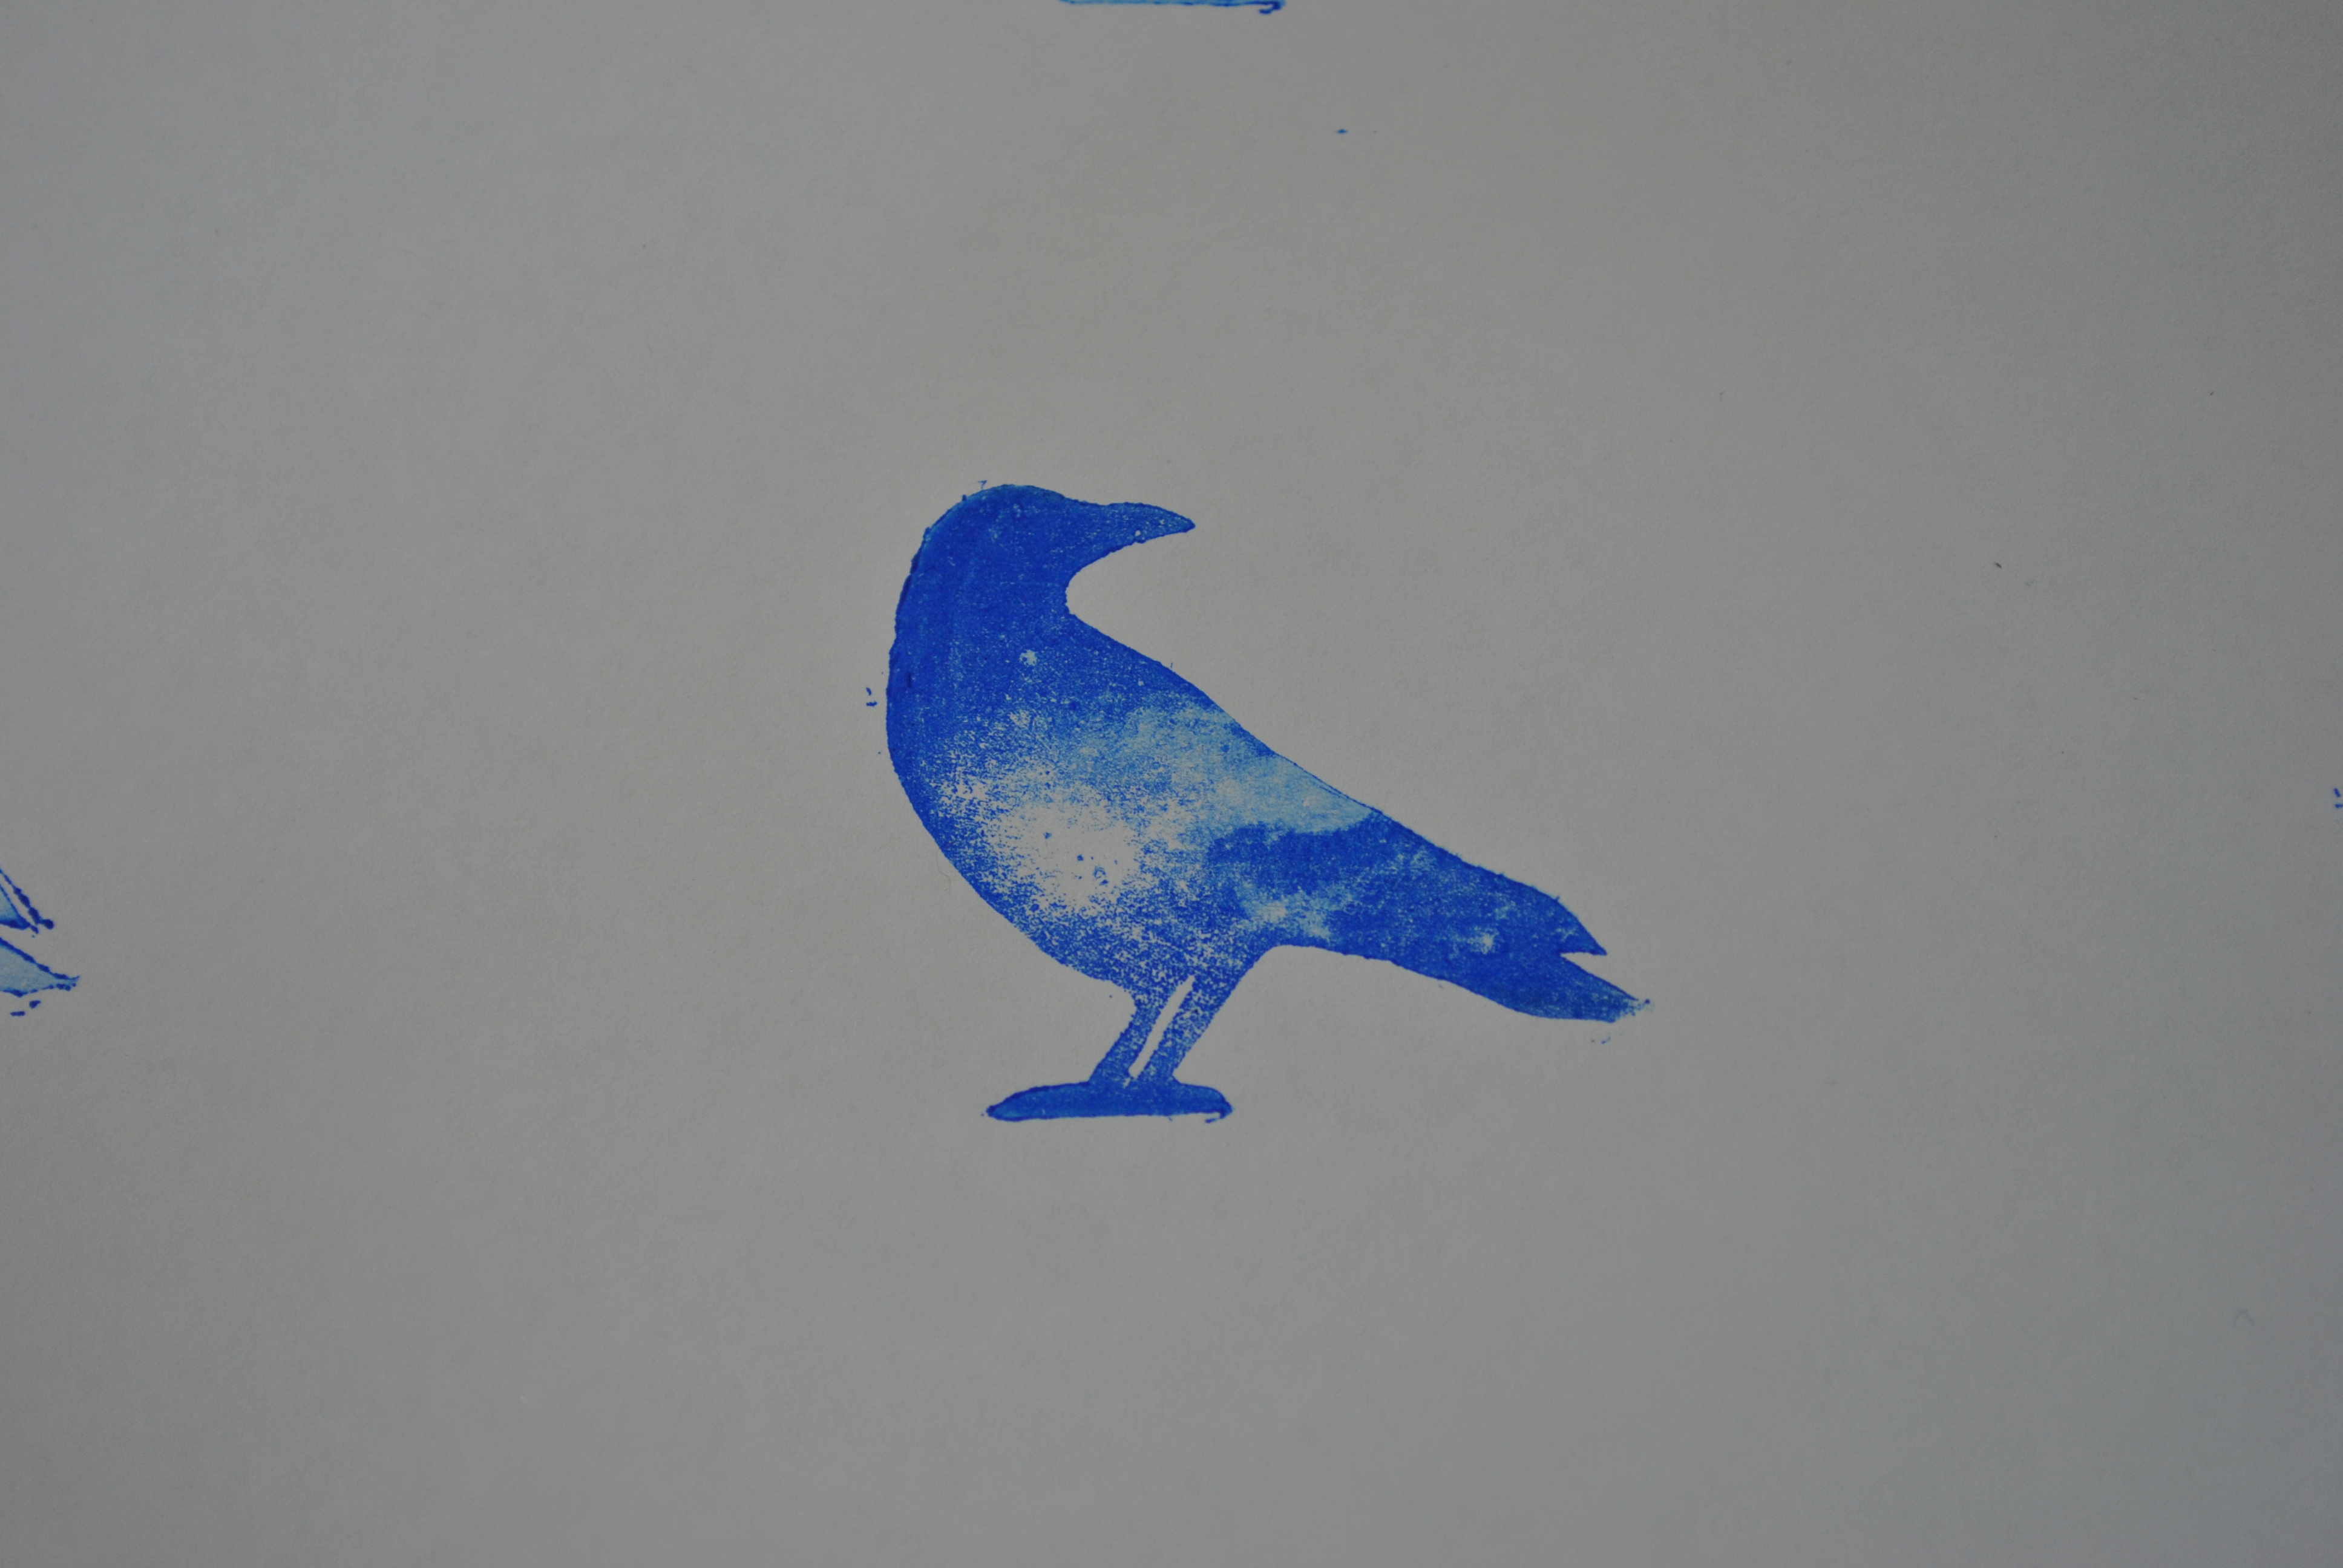
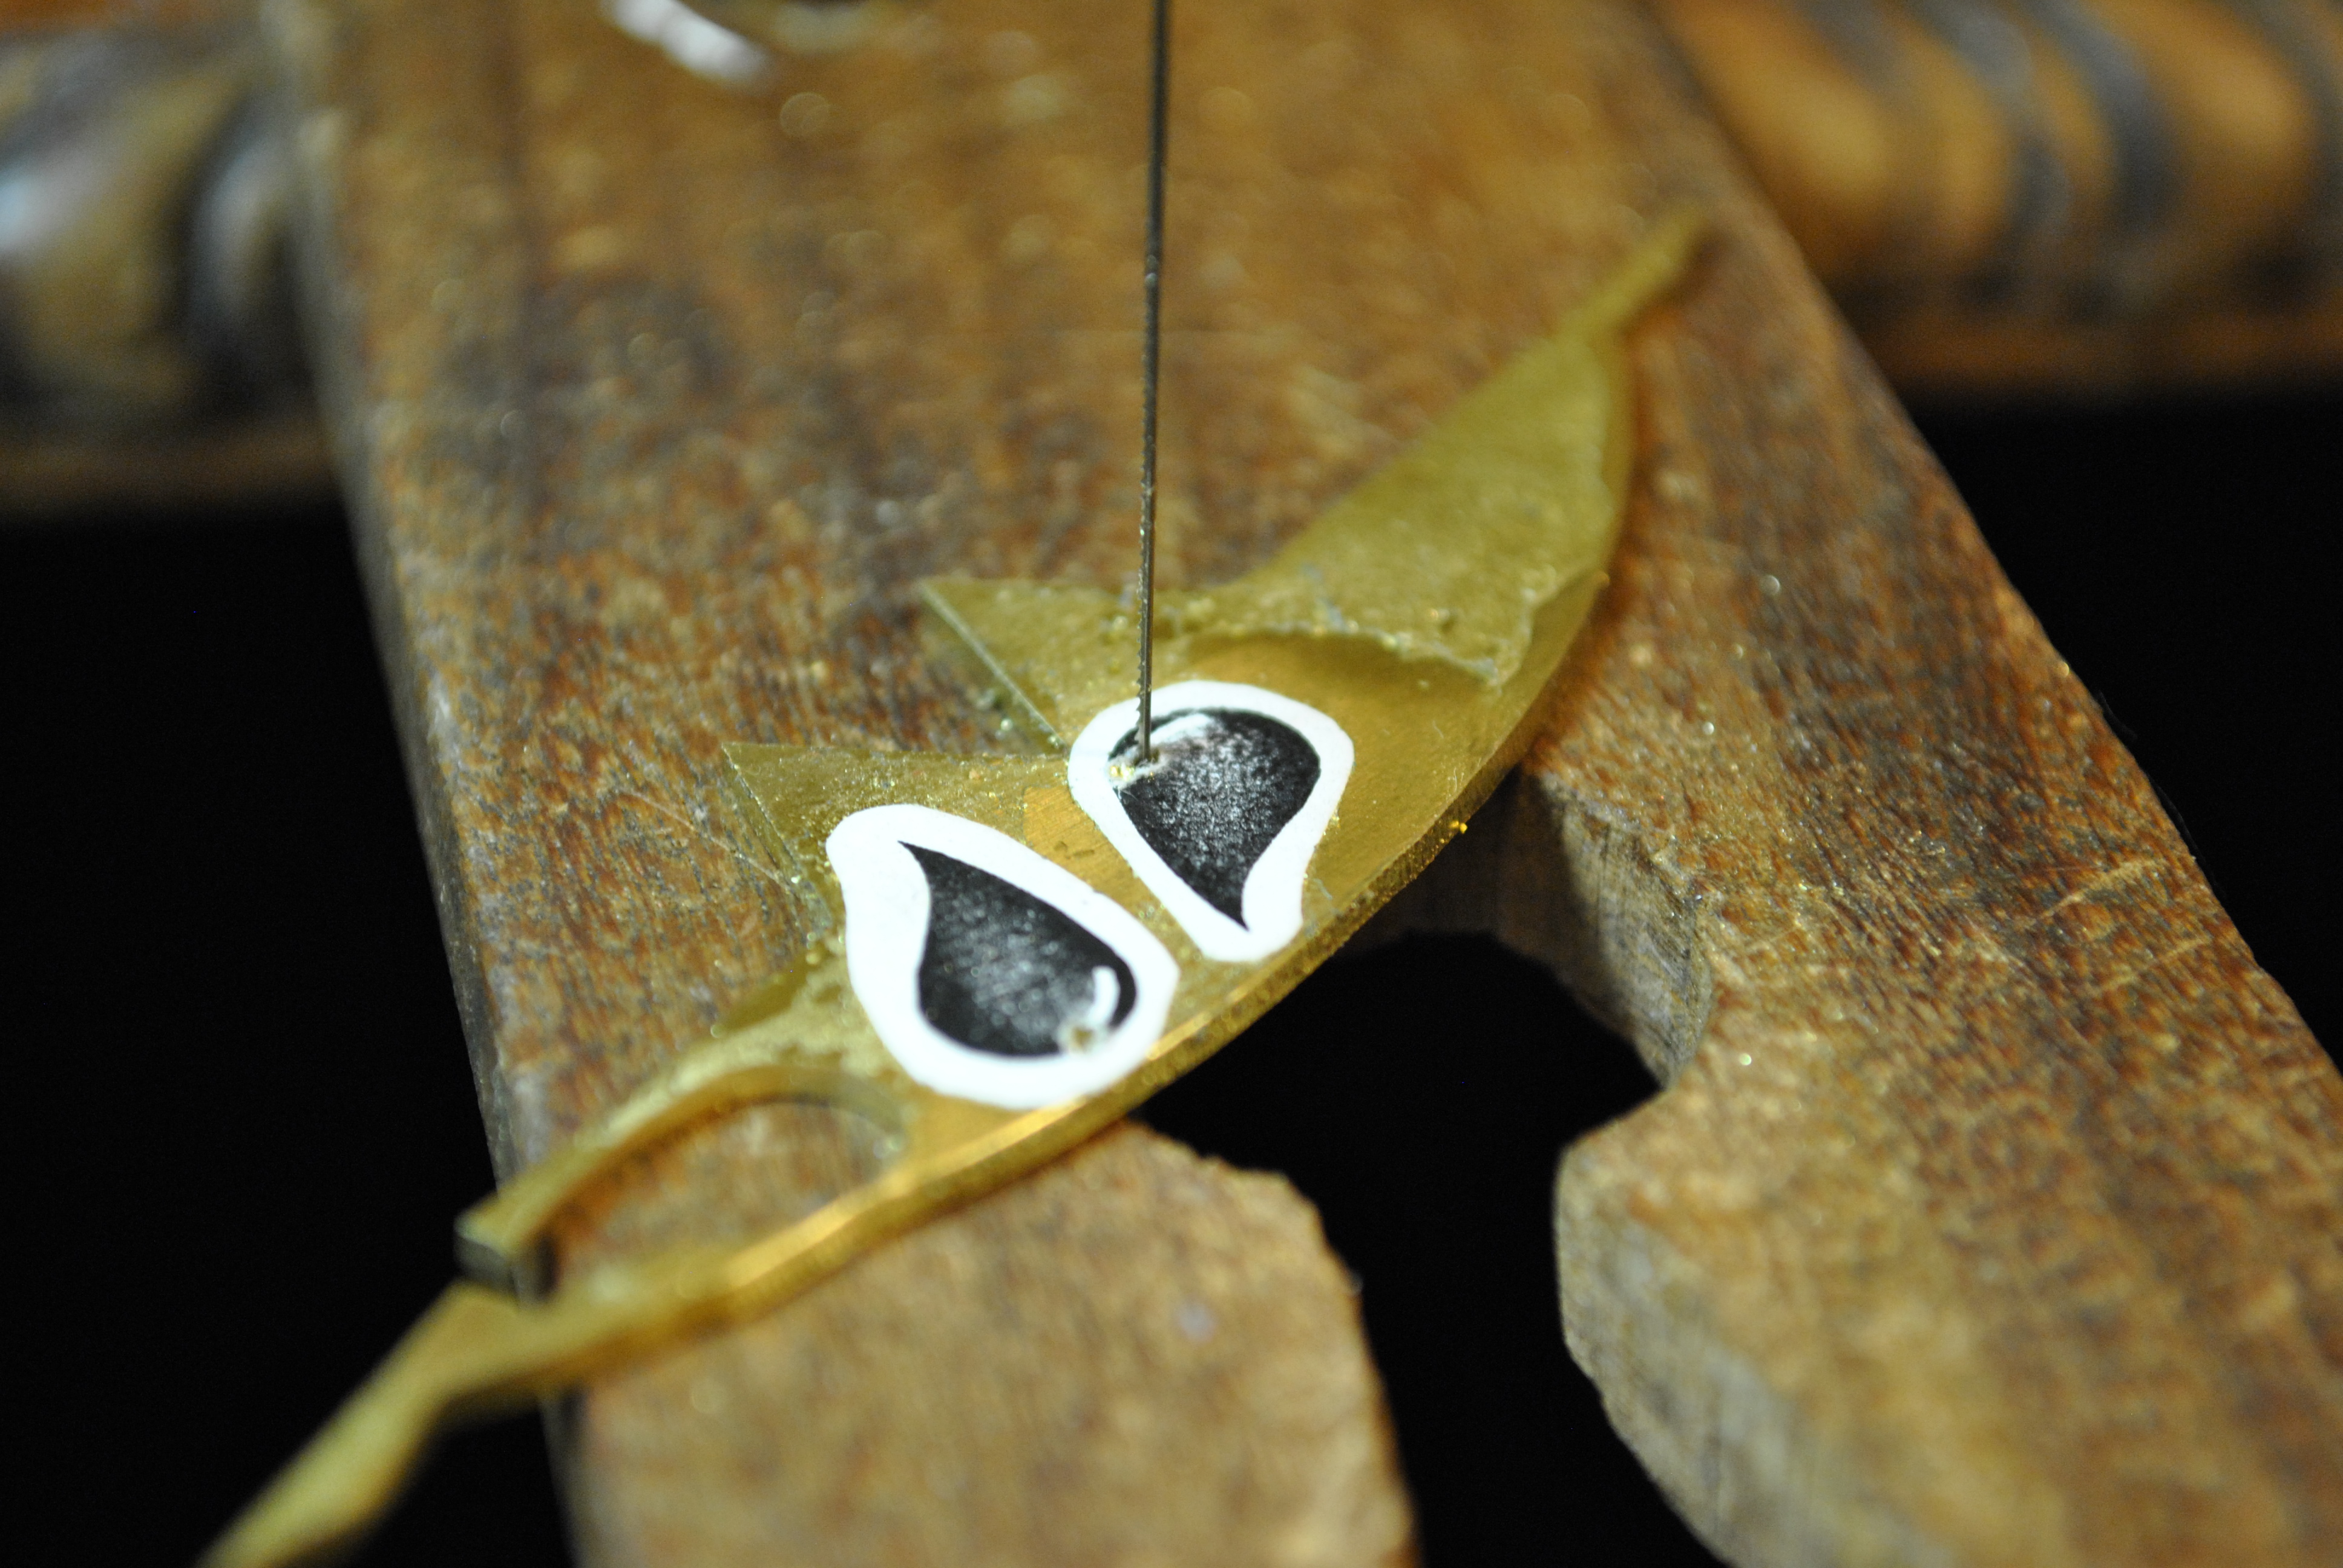
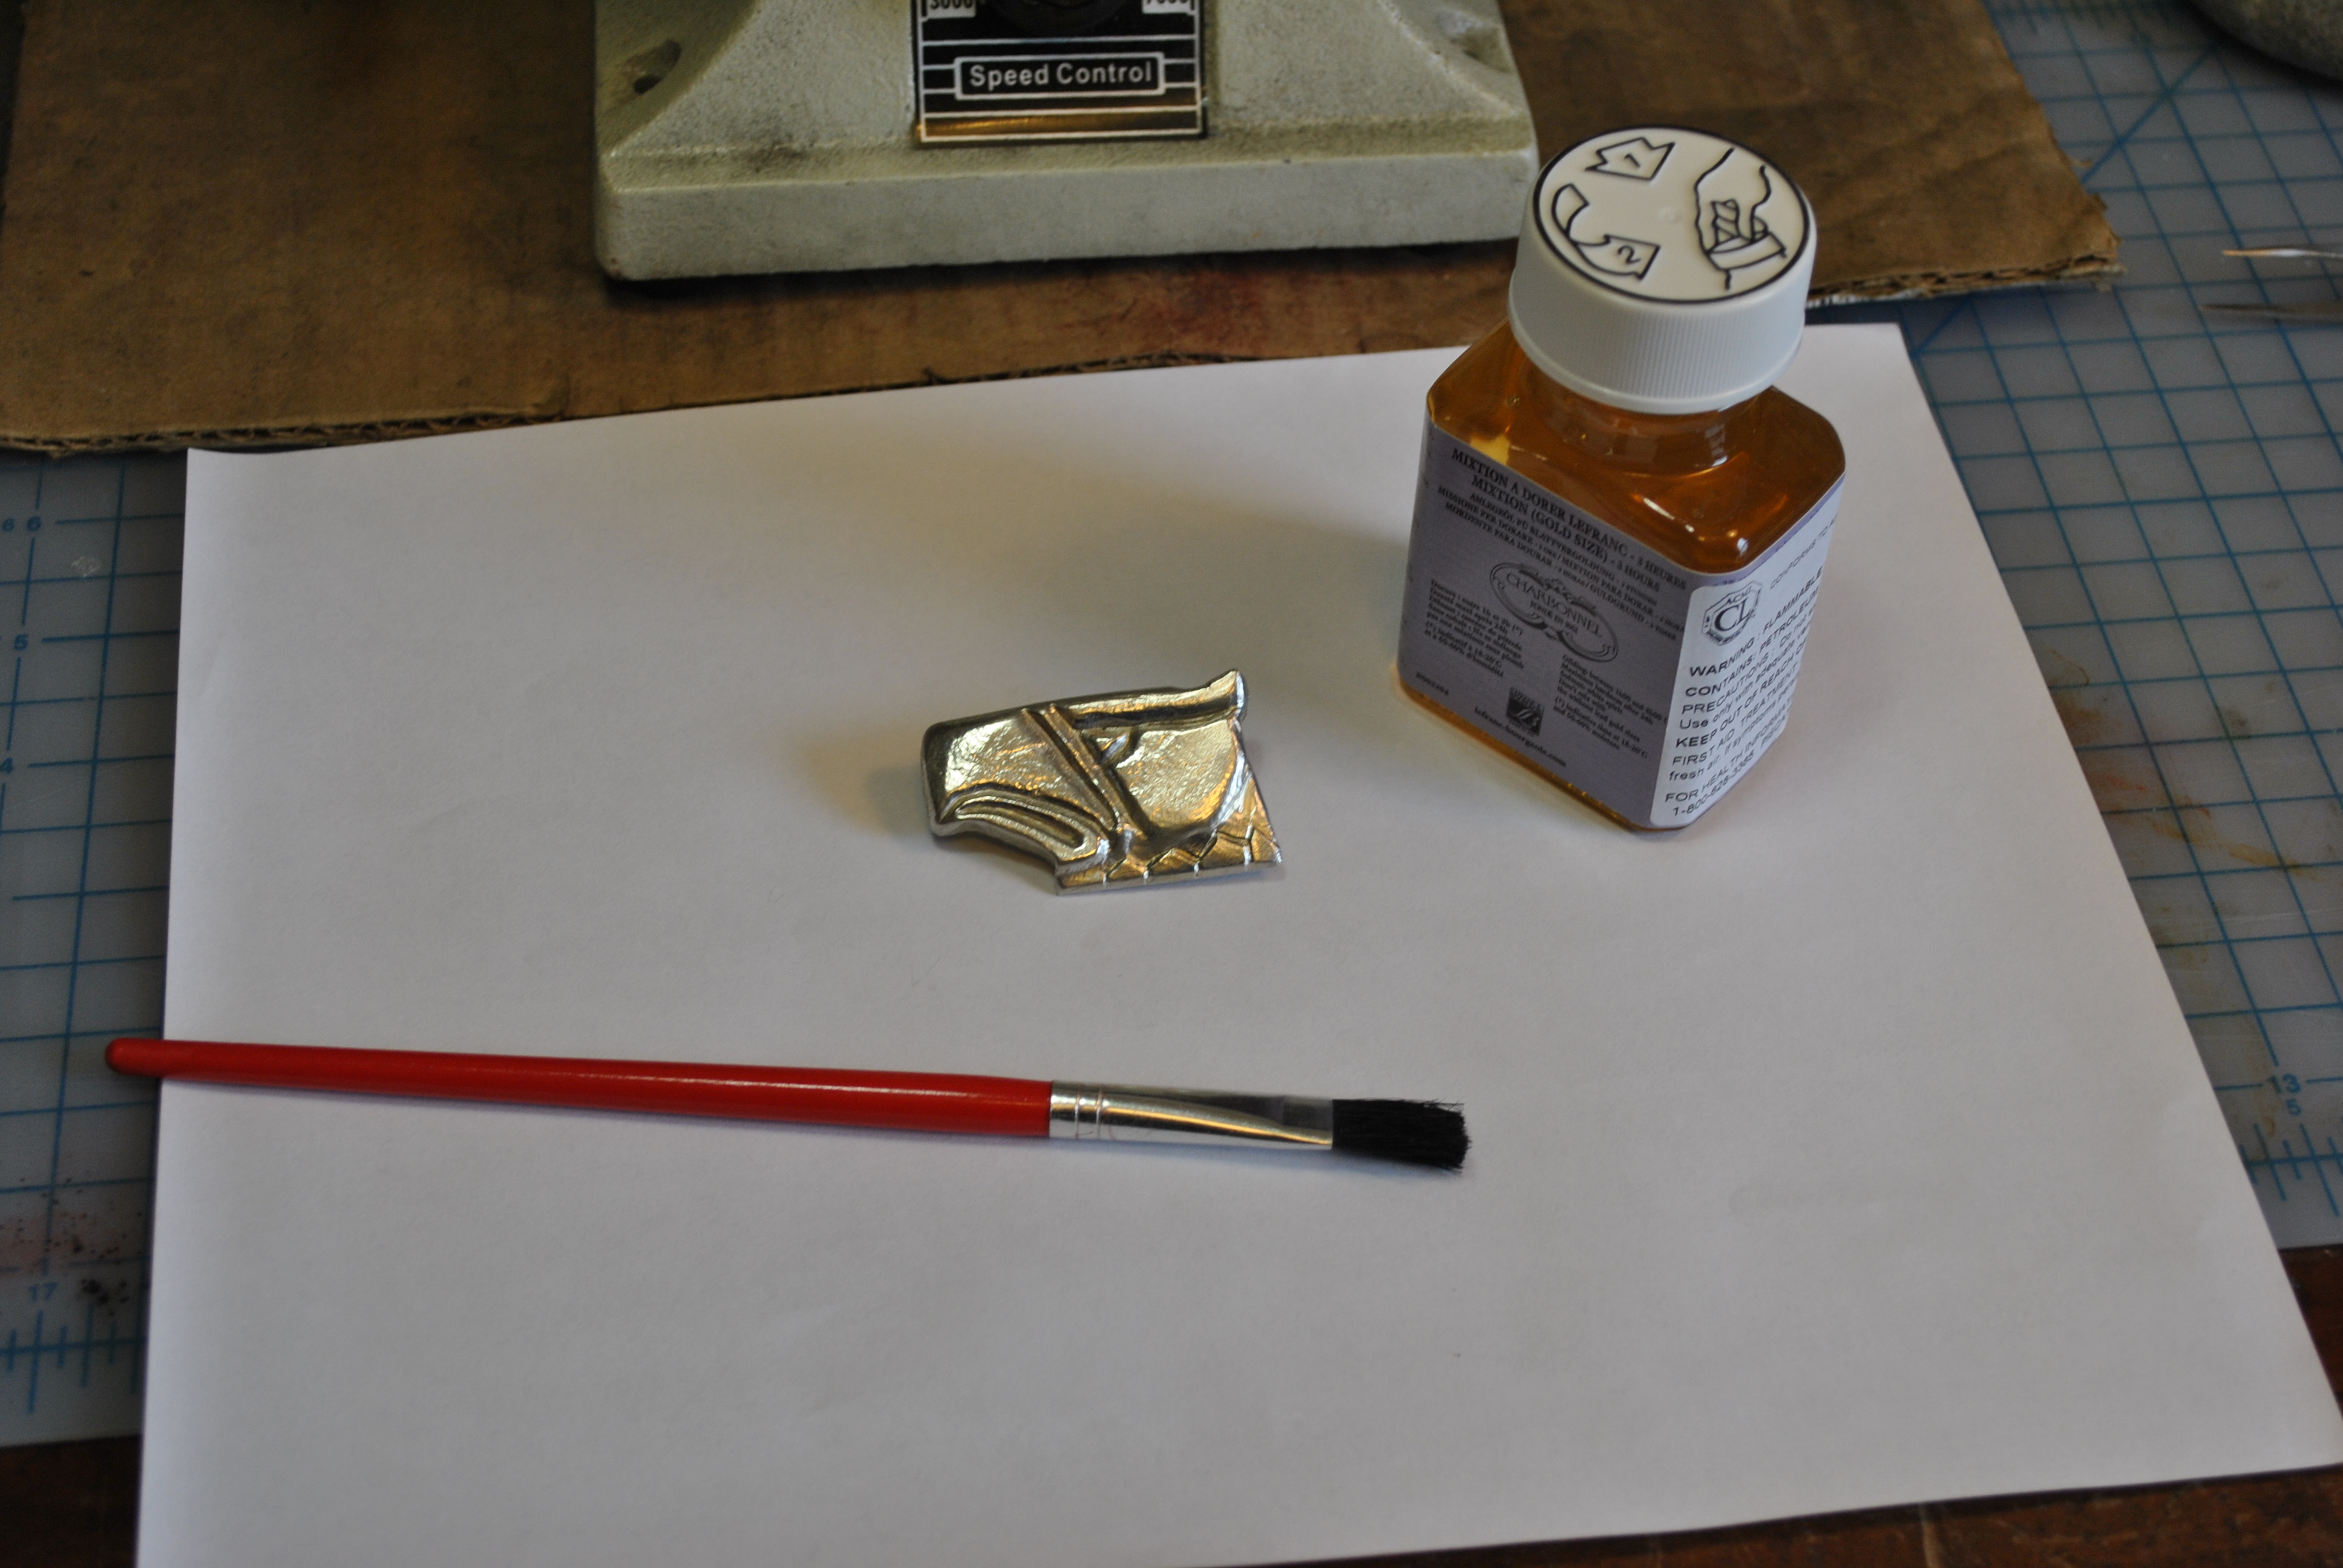
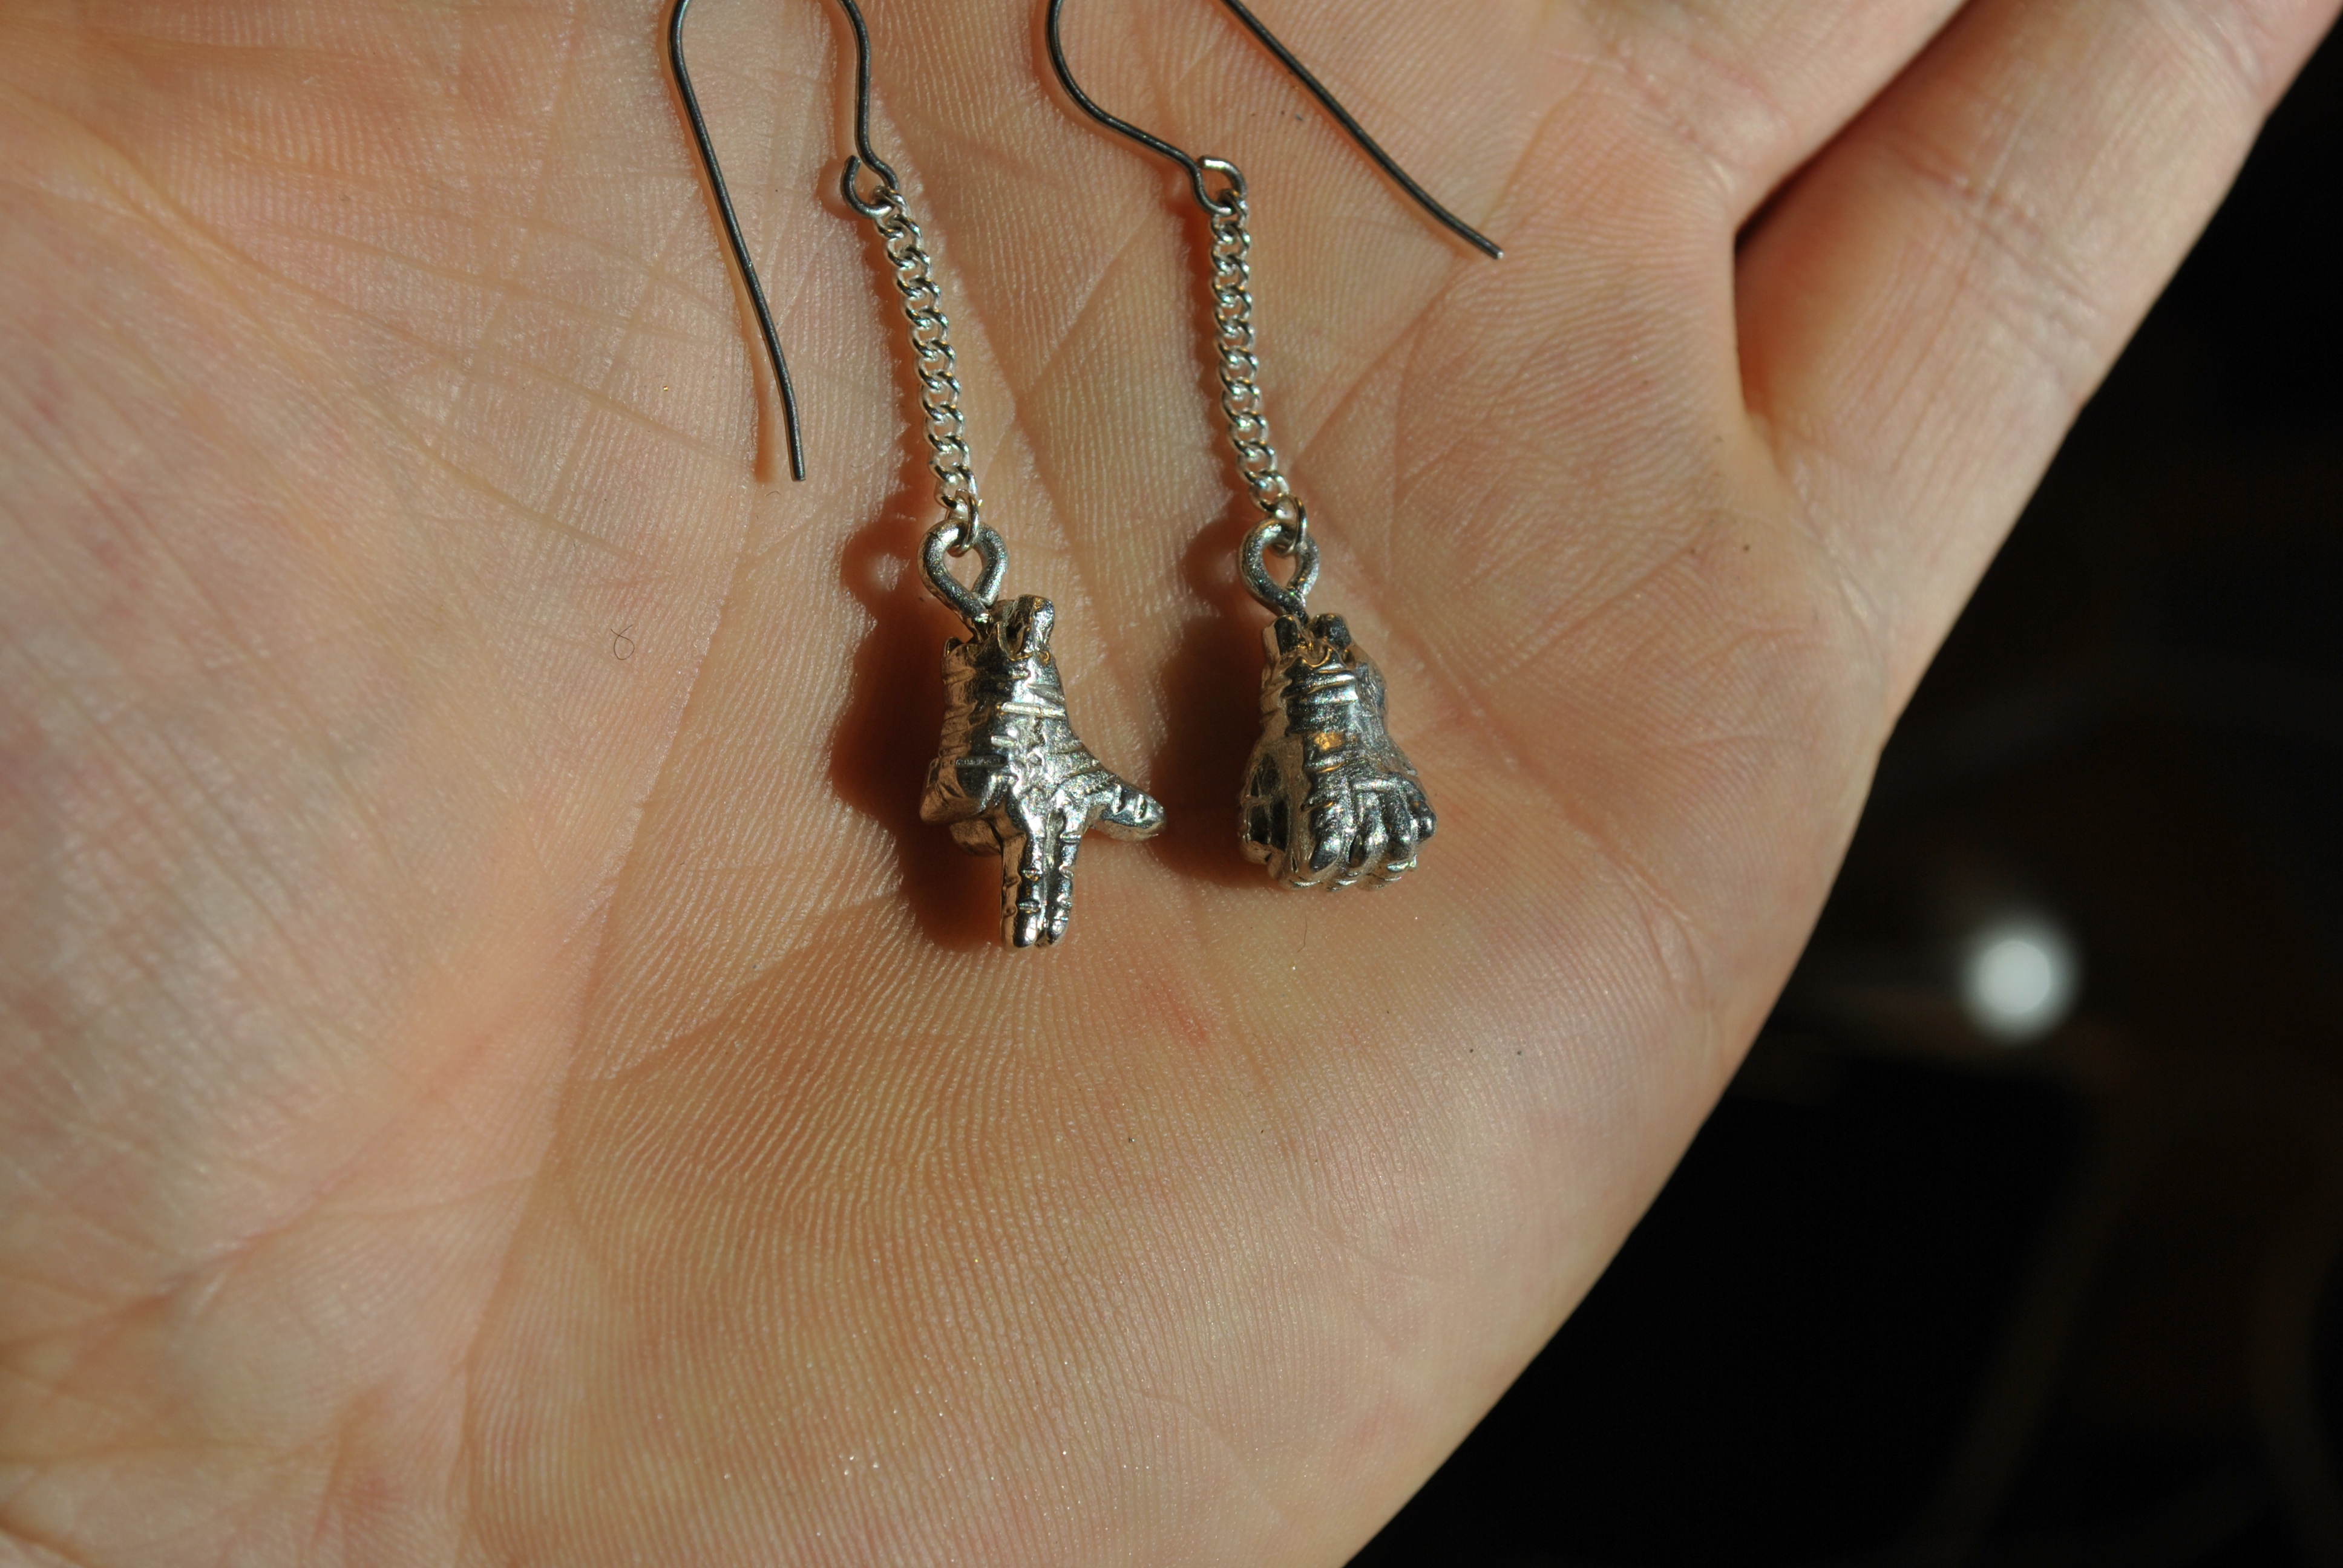
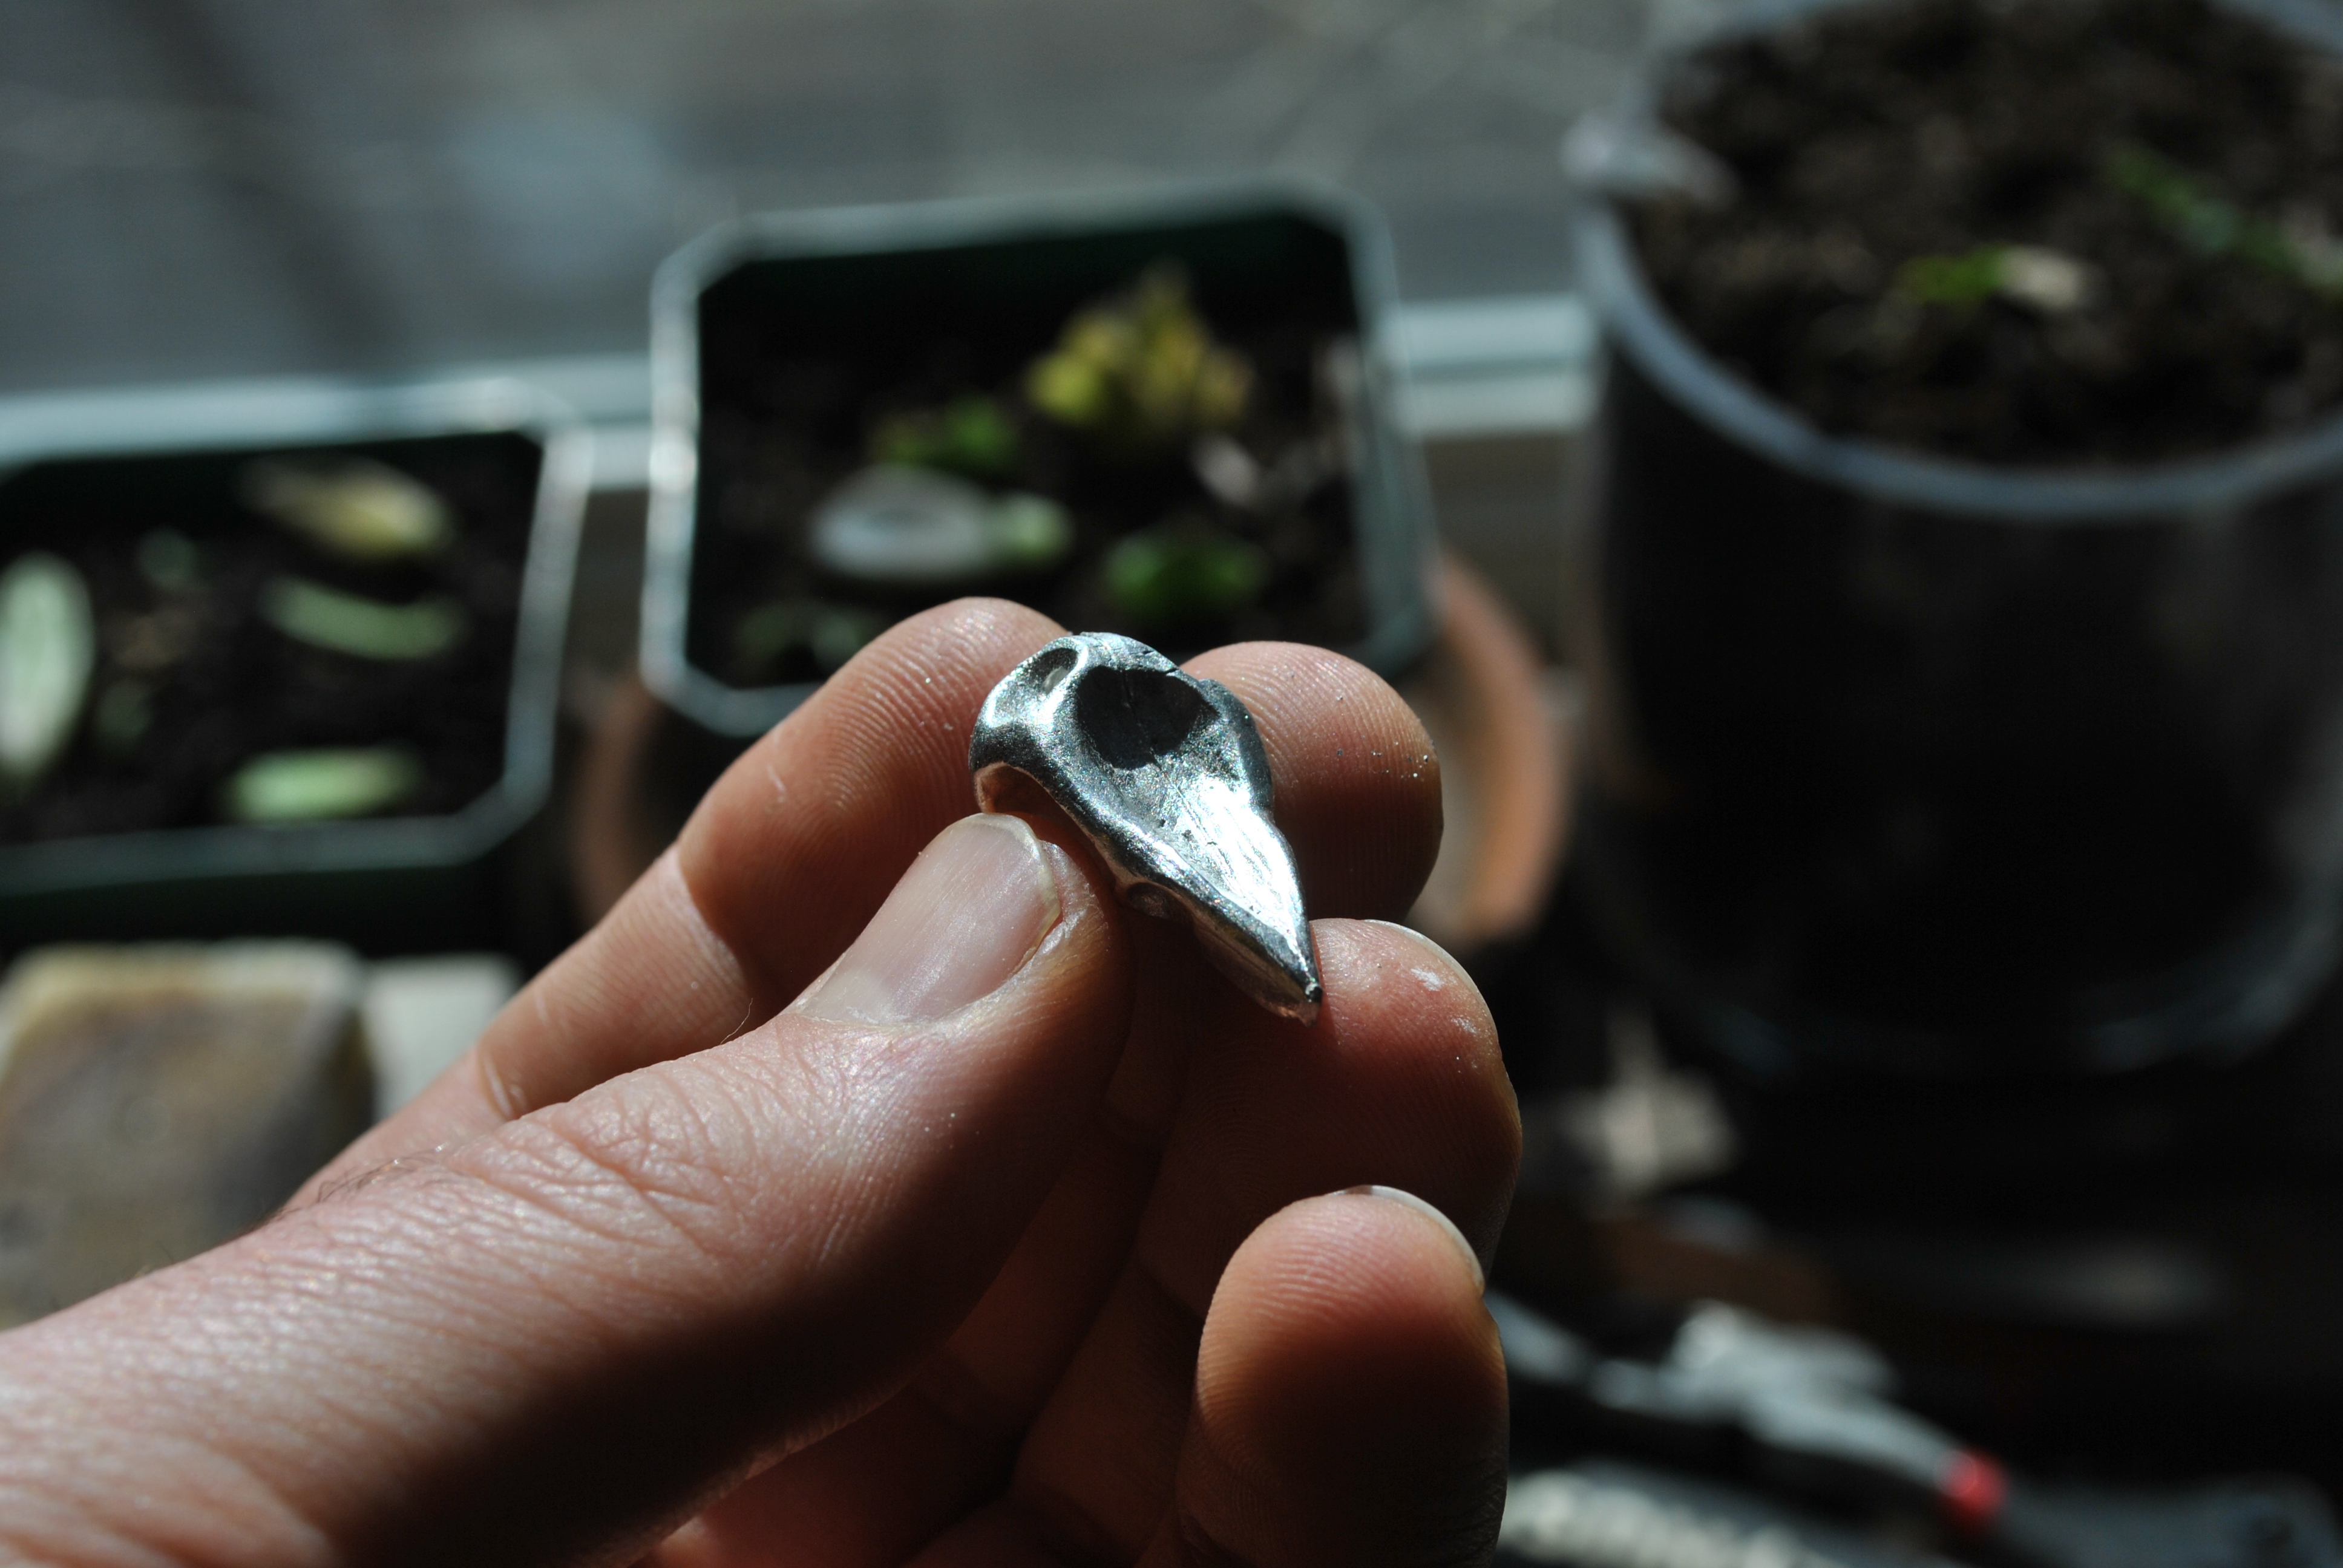
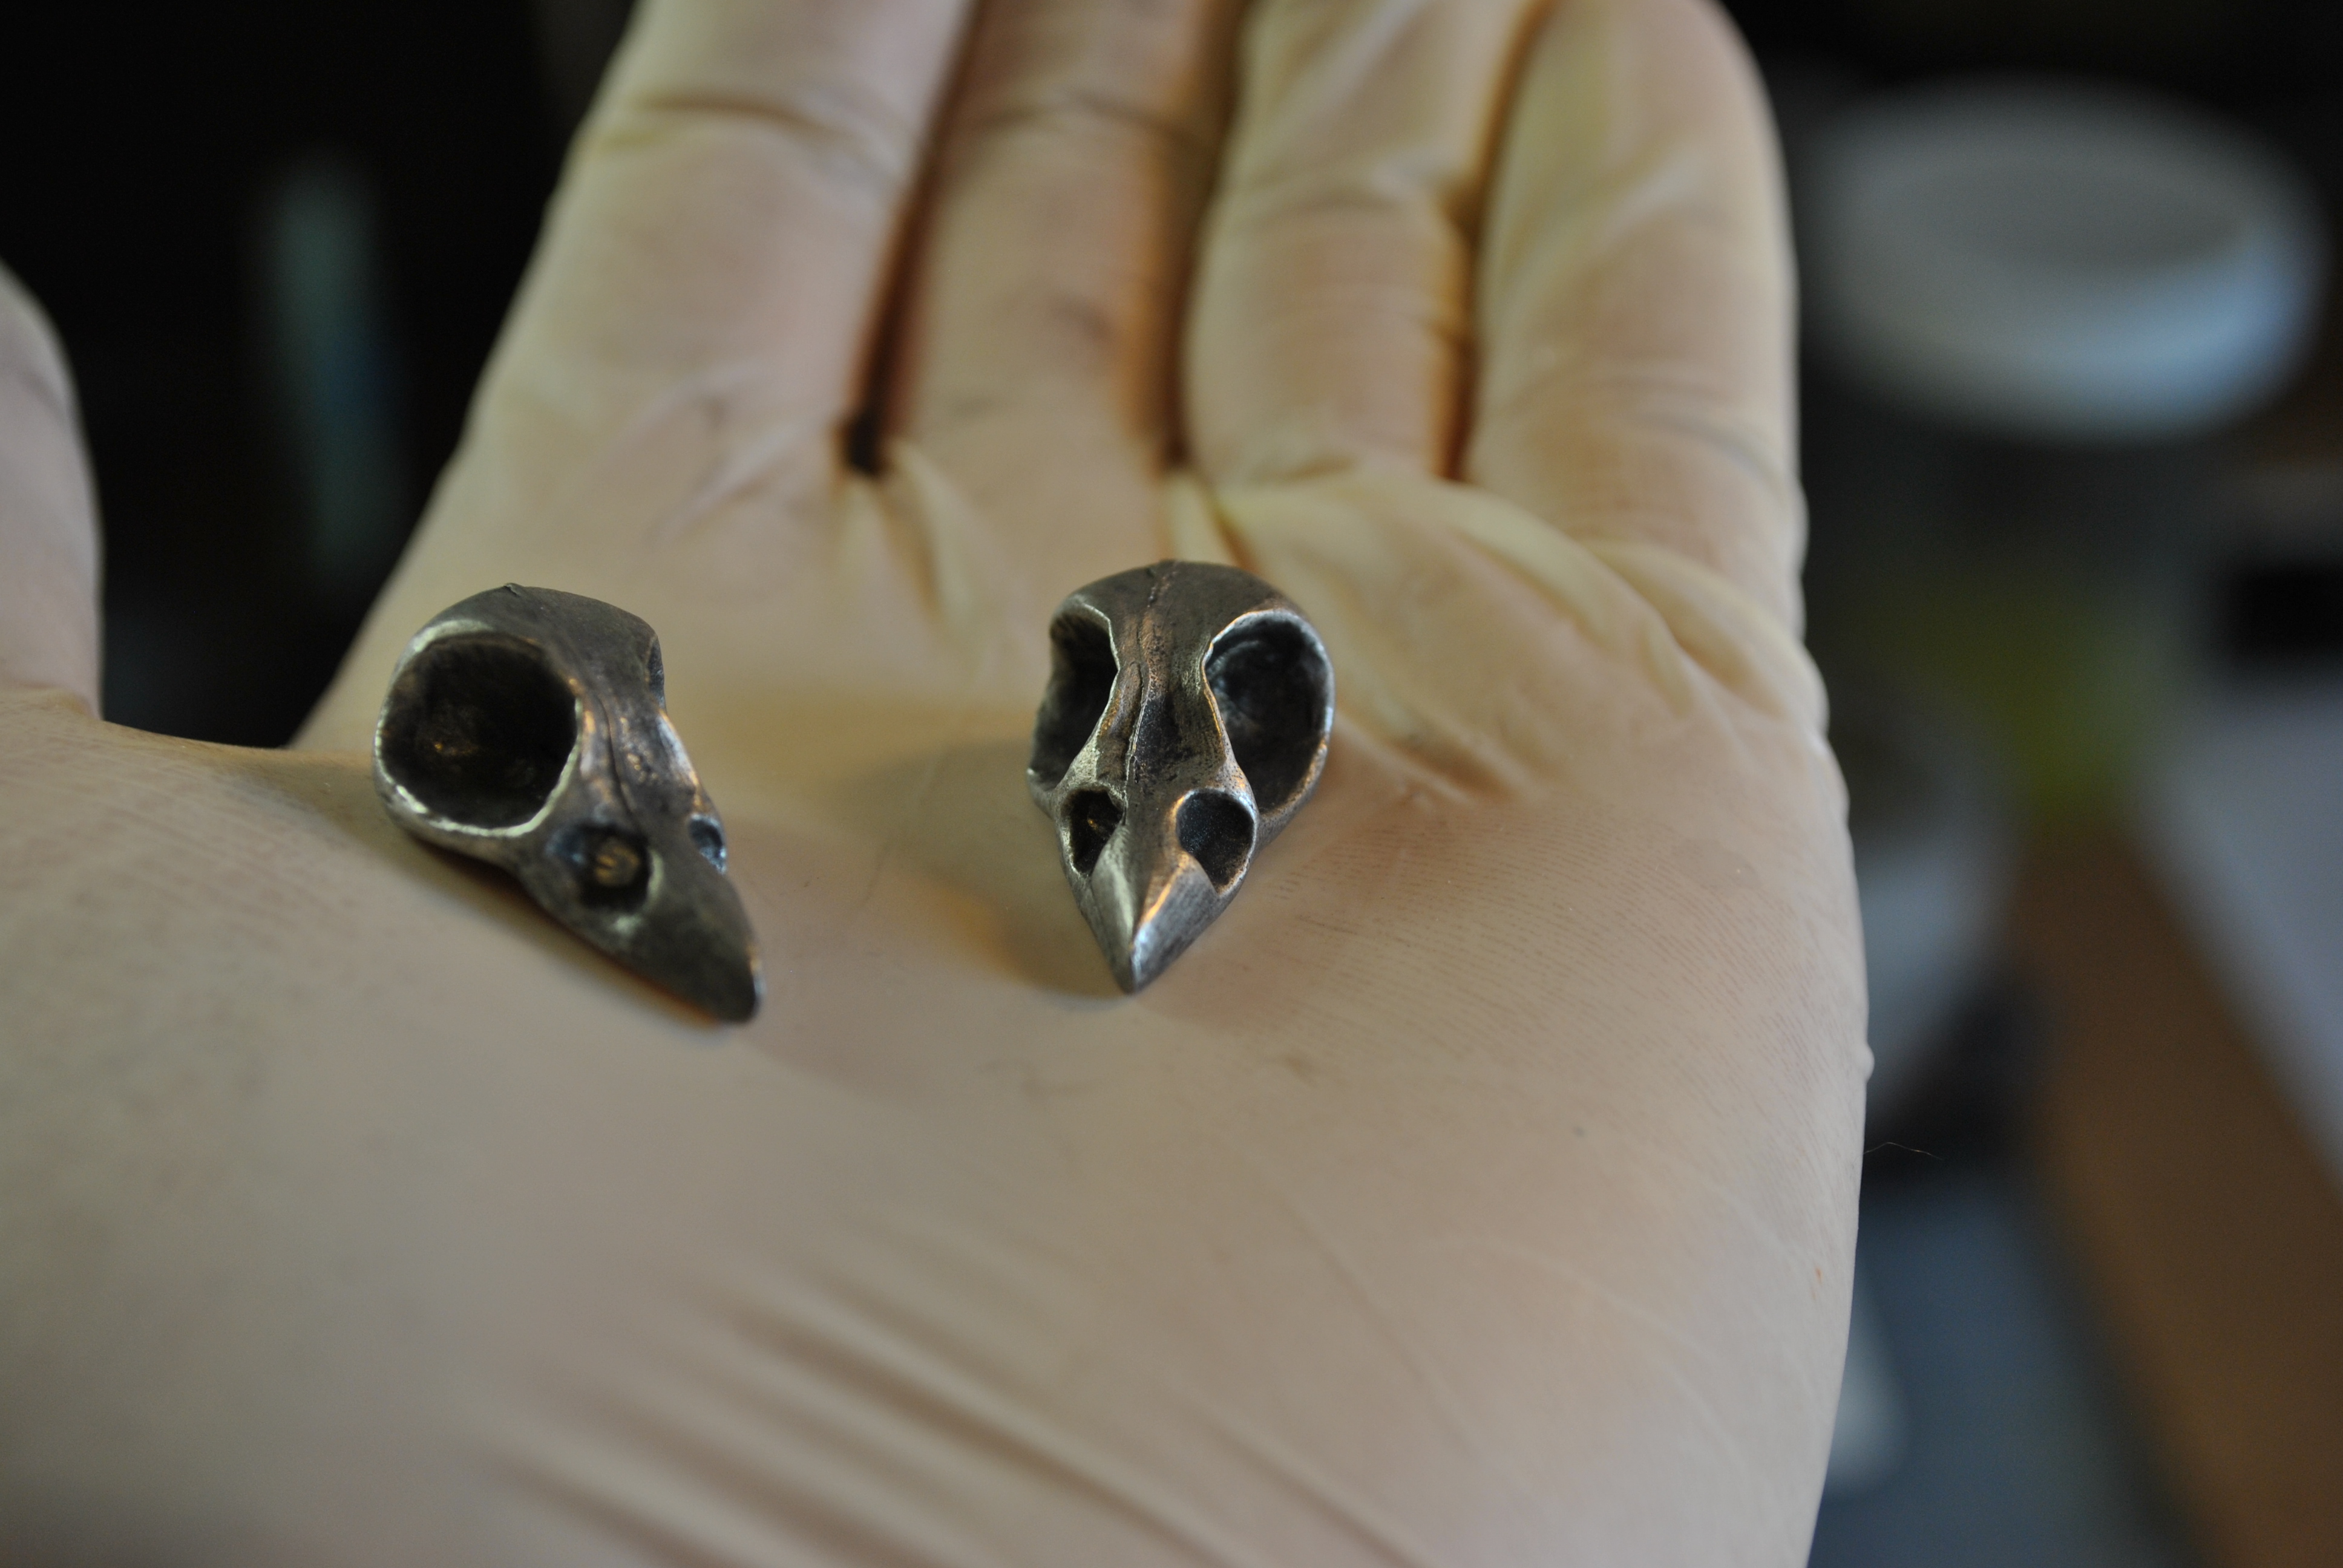
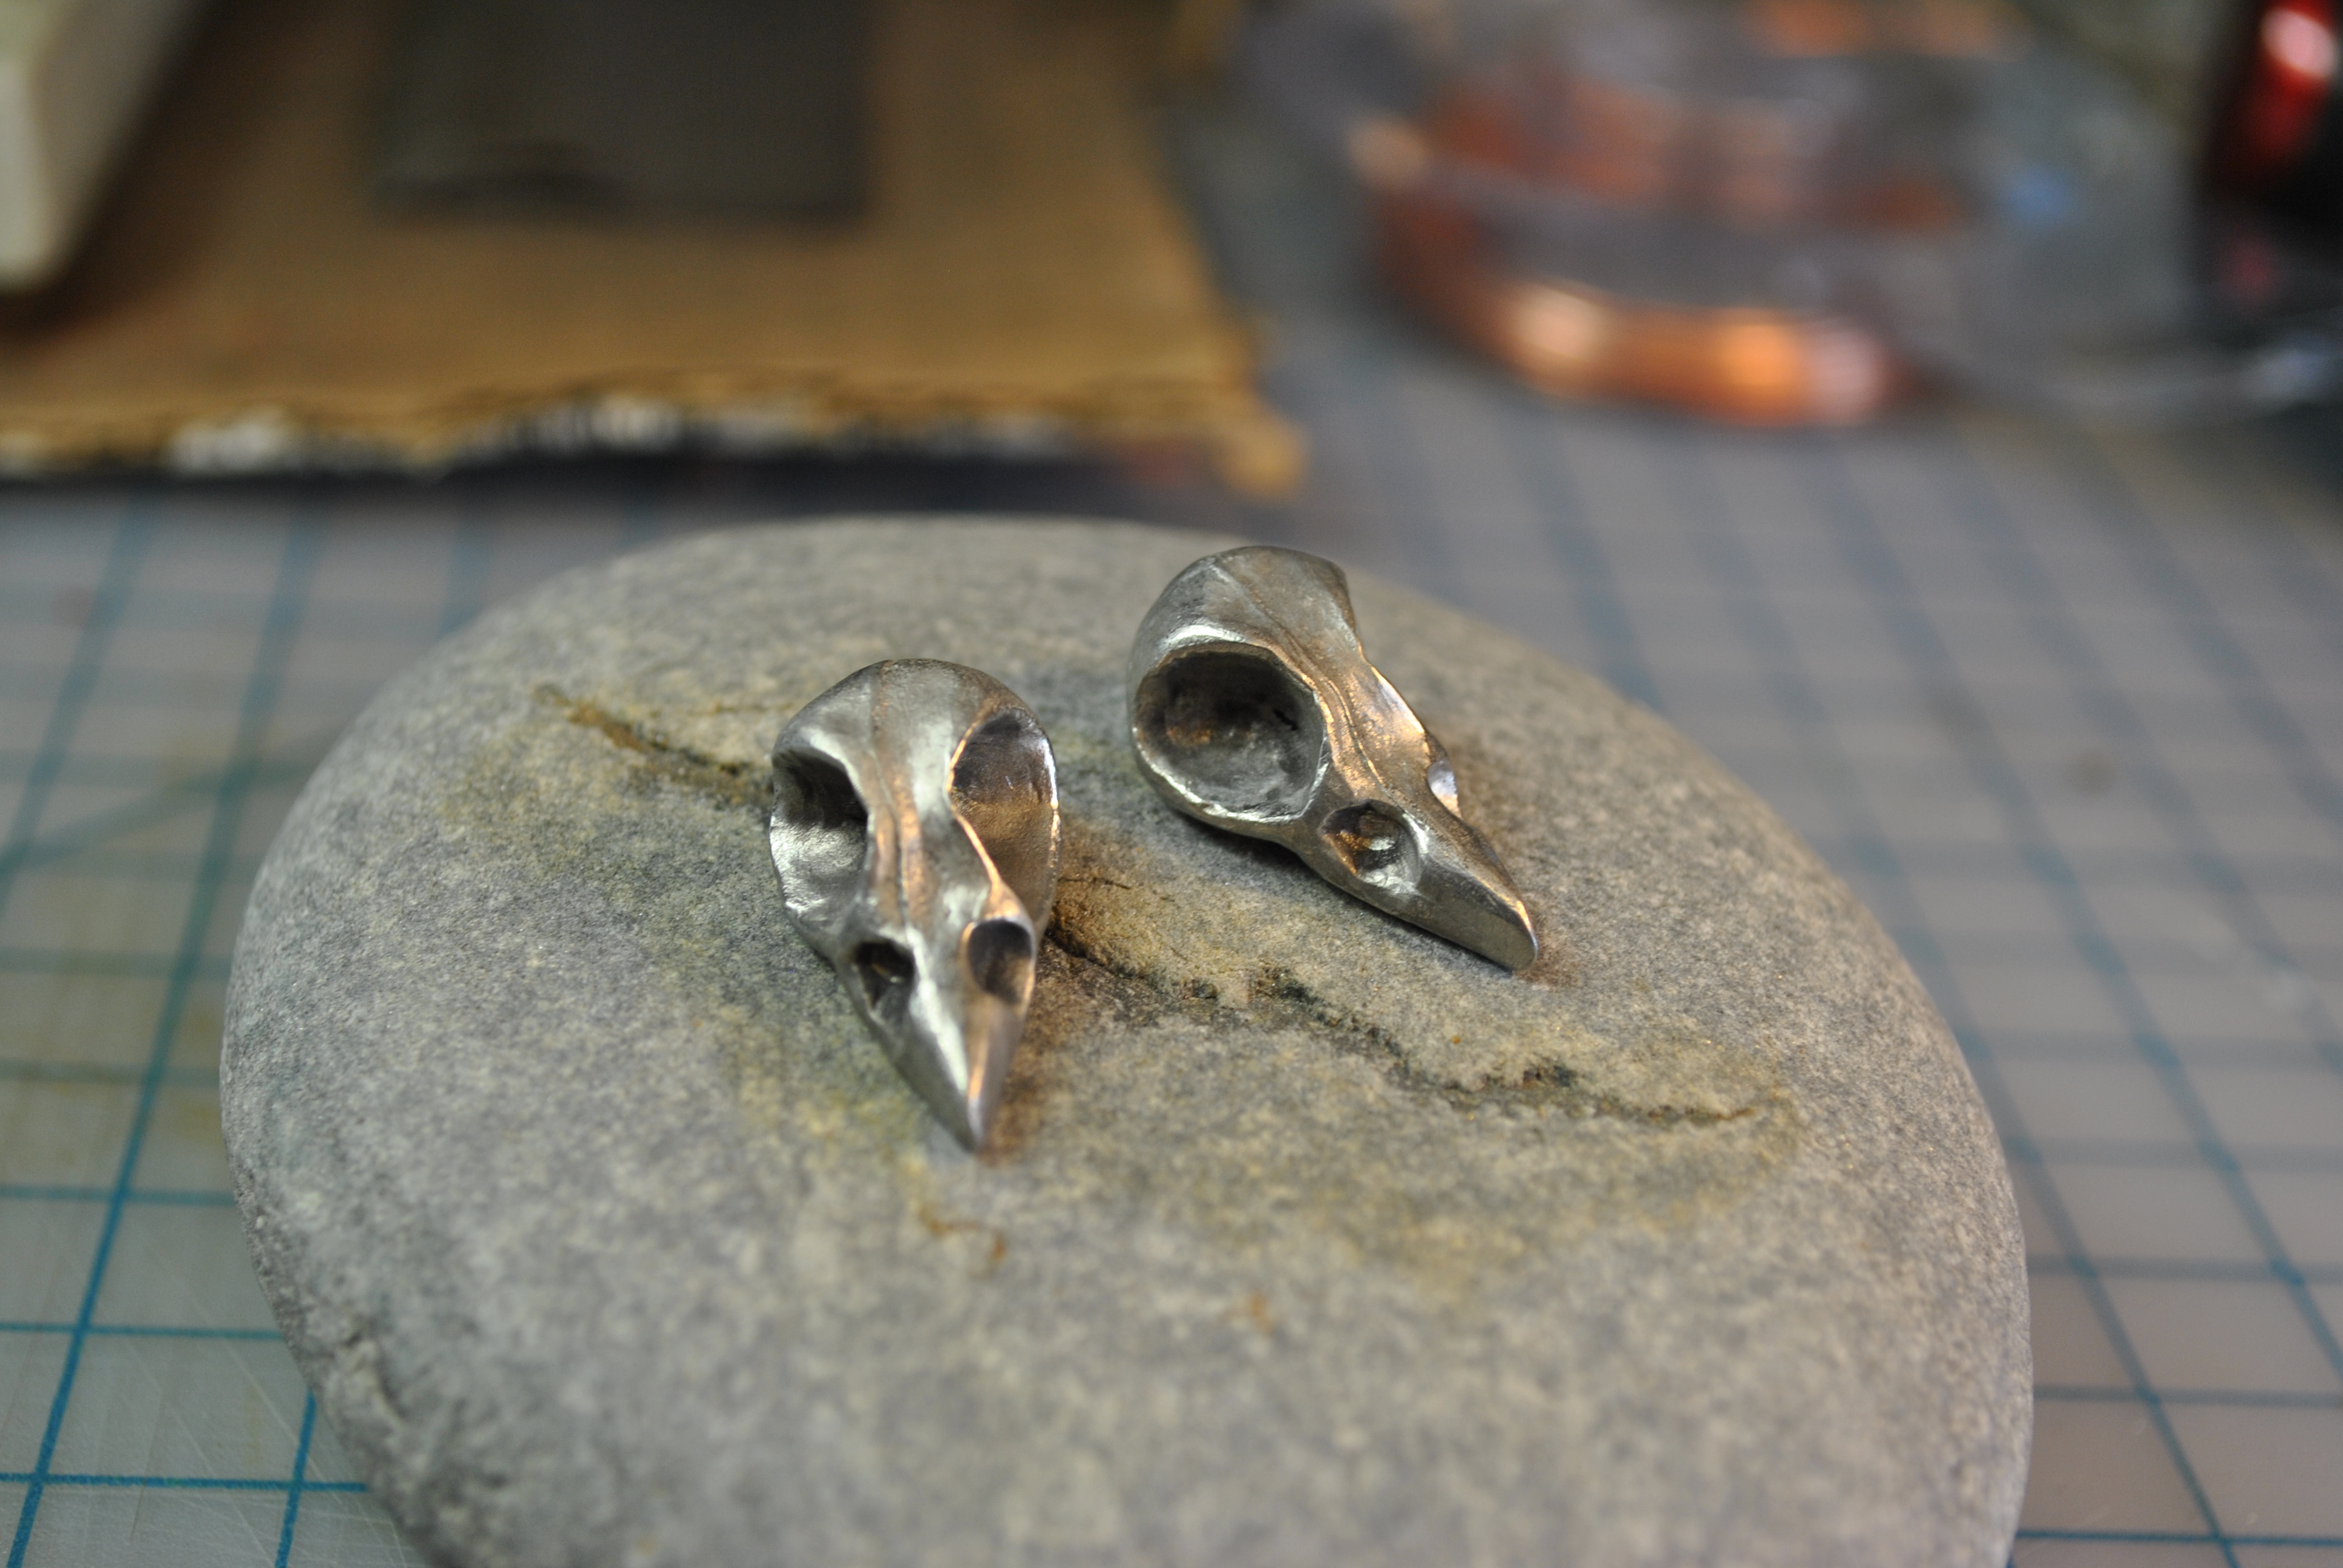
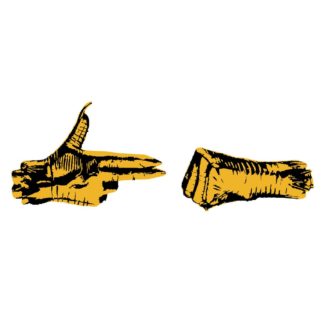
I used Testors brand enamel paint to fill in the spaces, using two different color schemes.

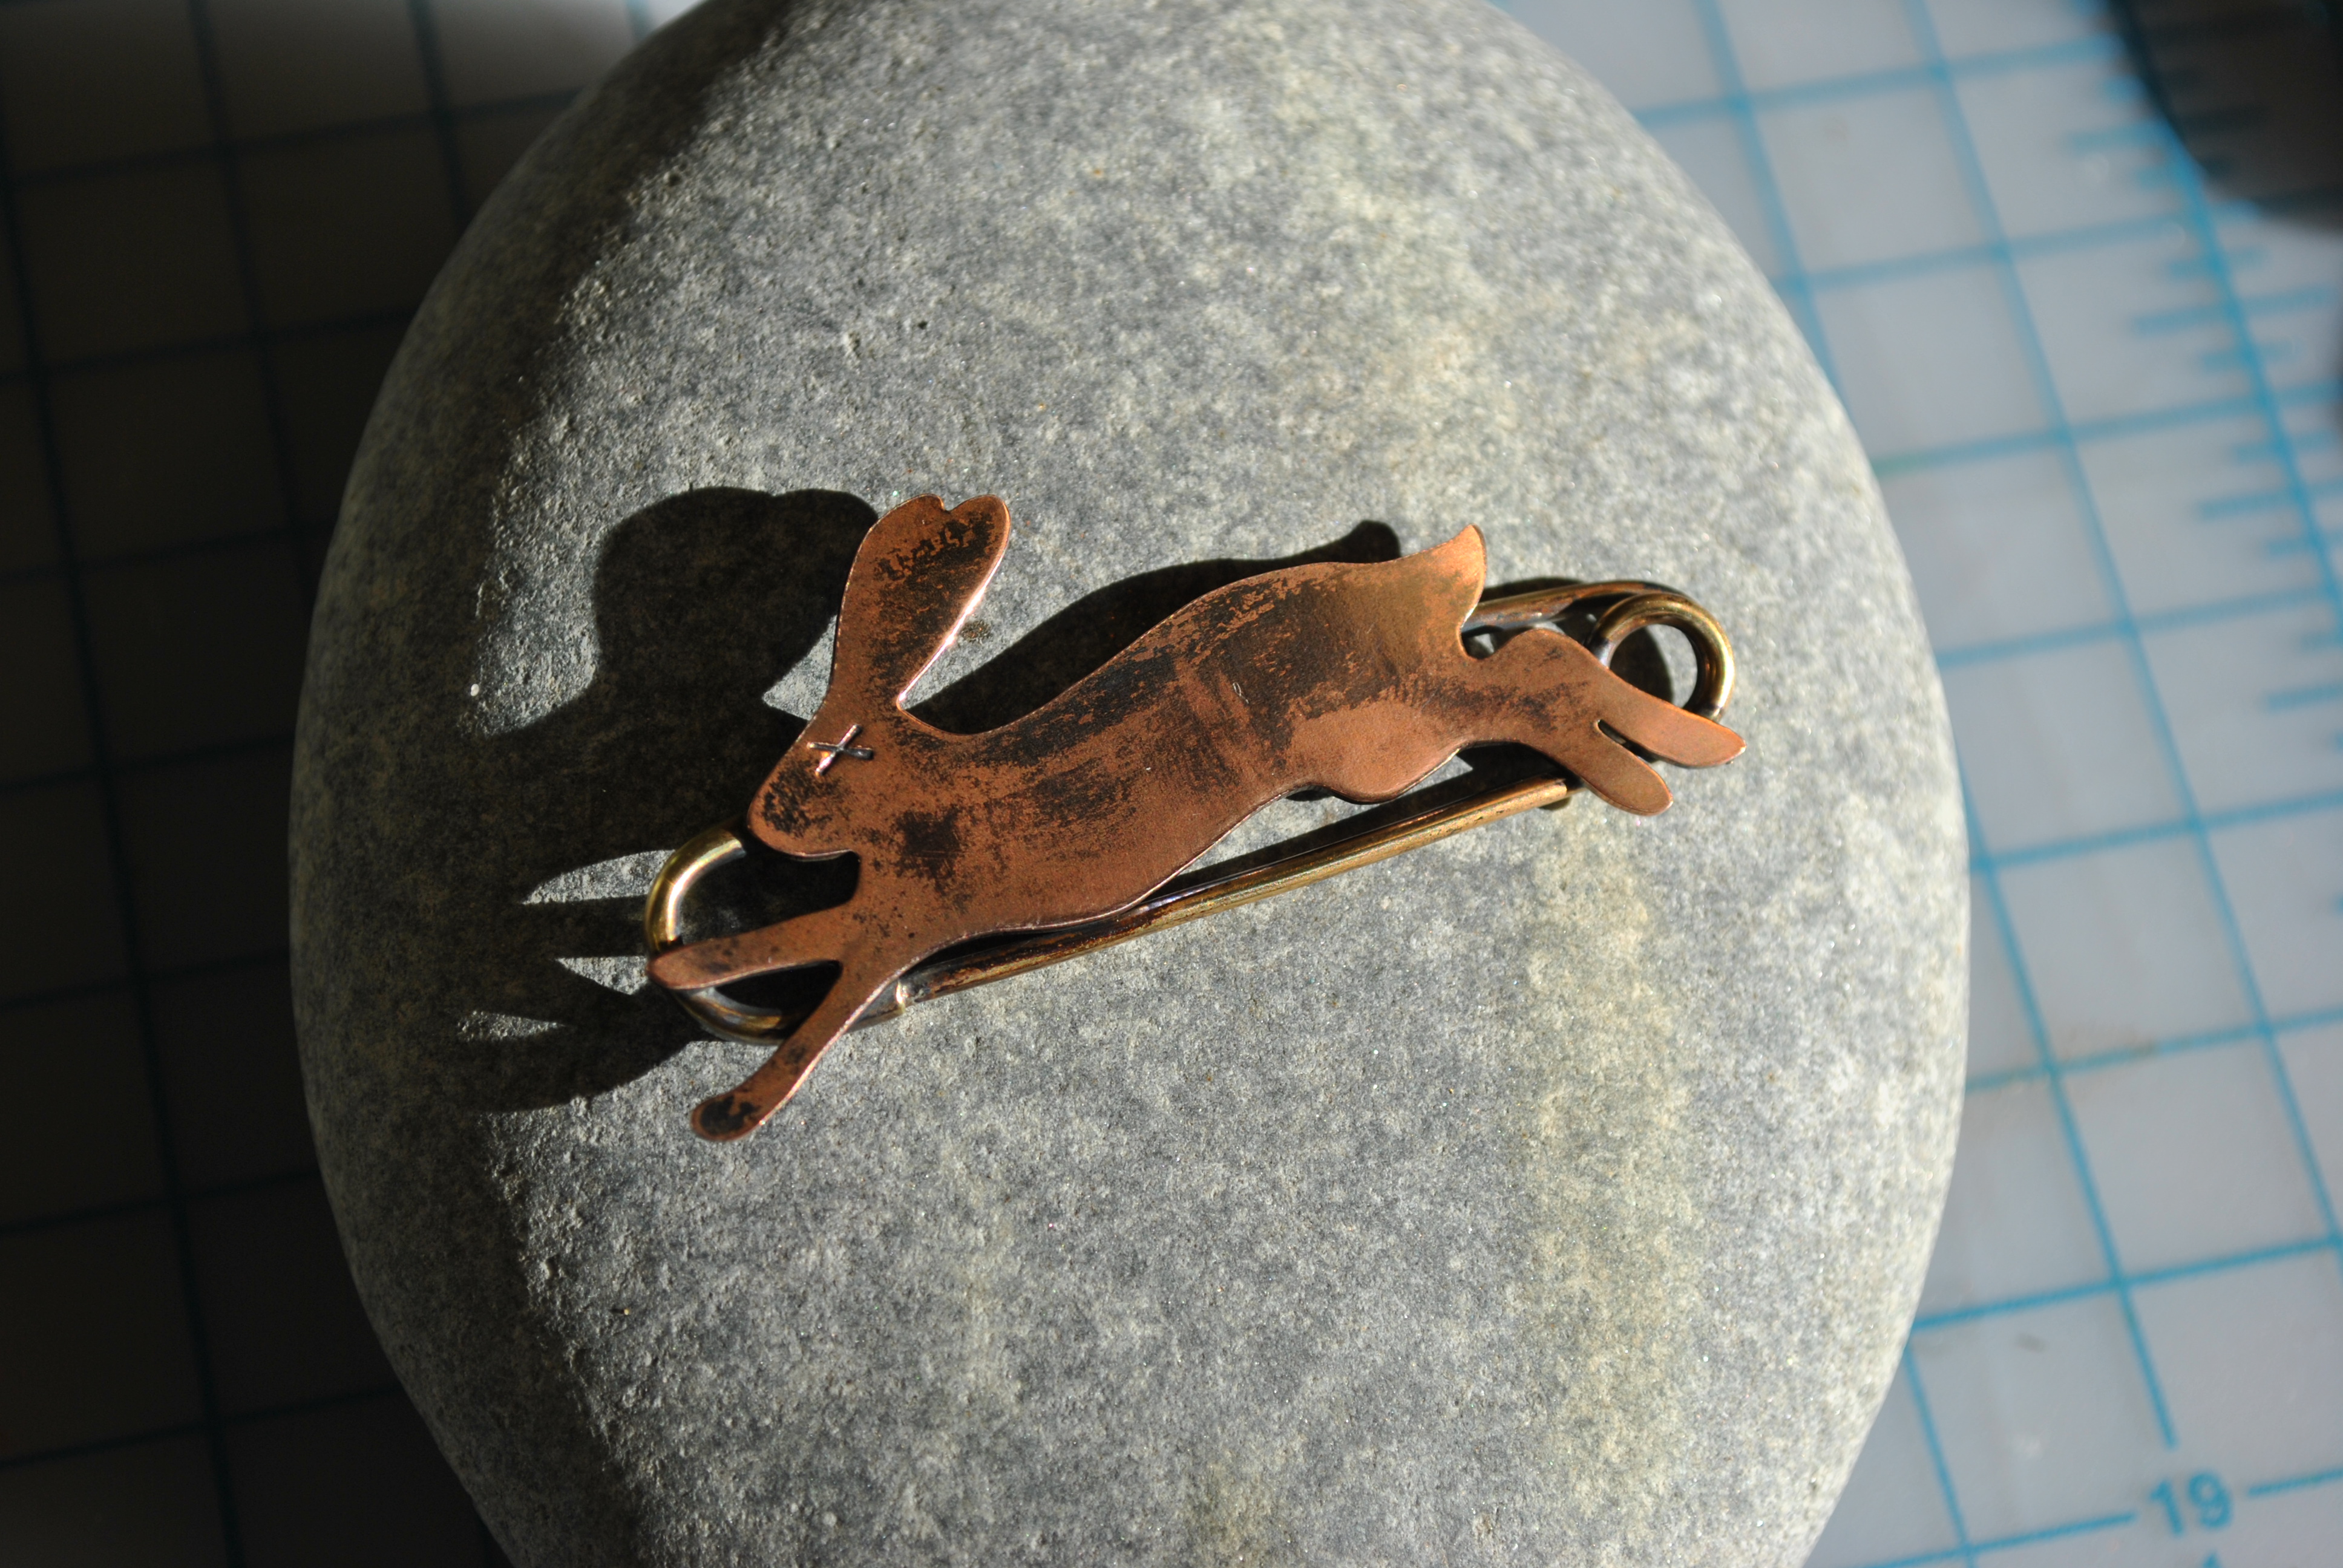
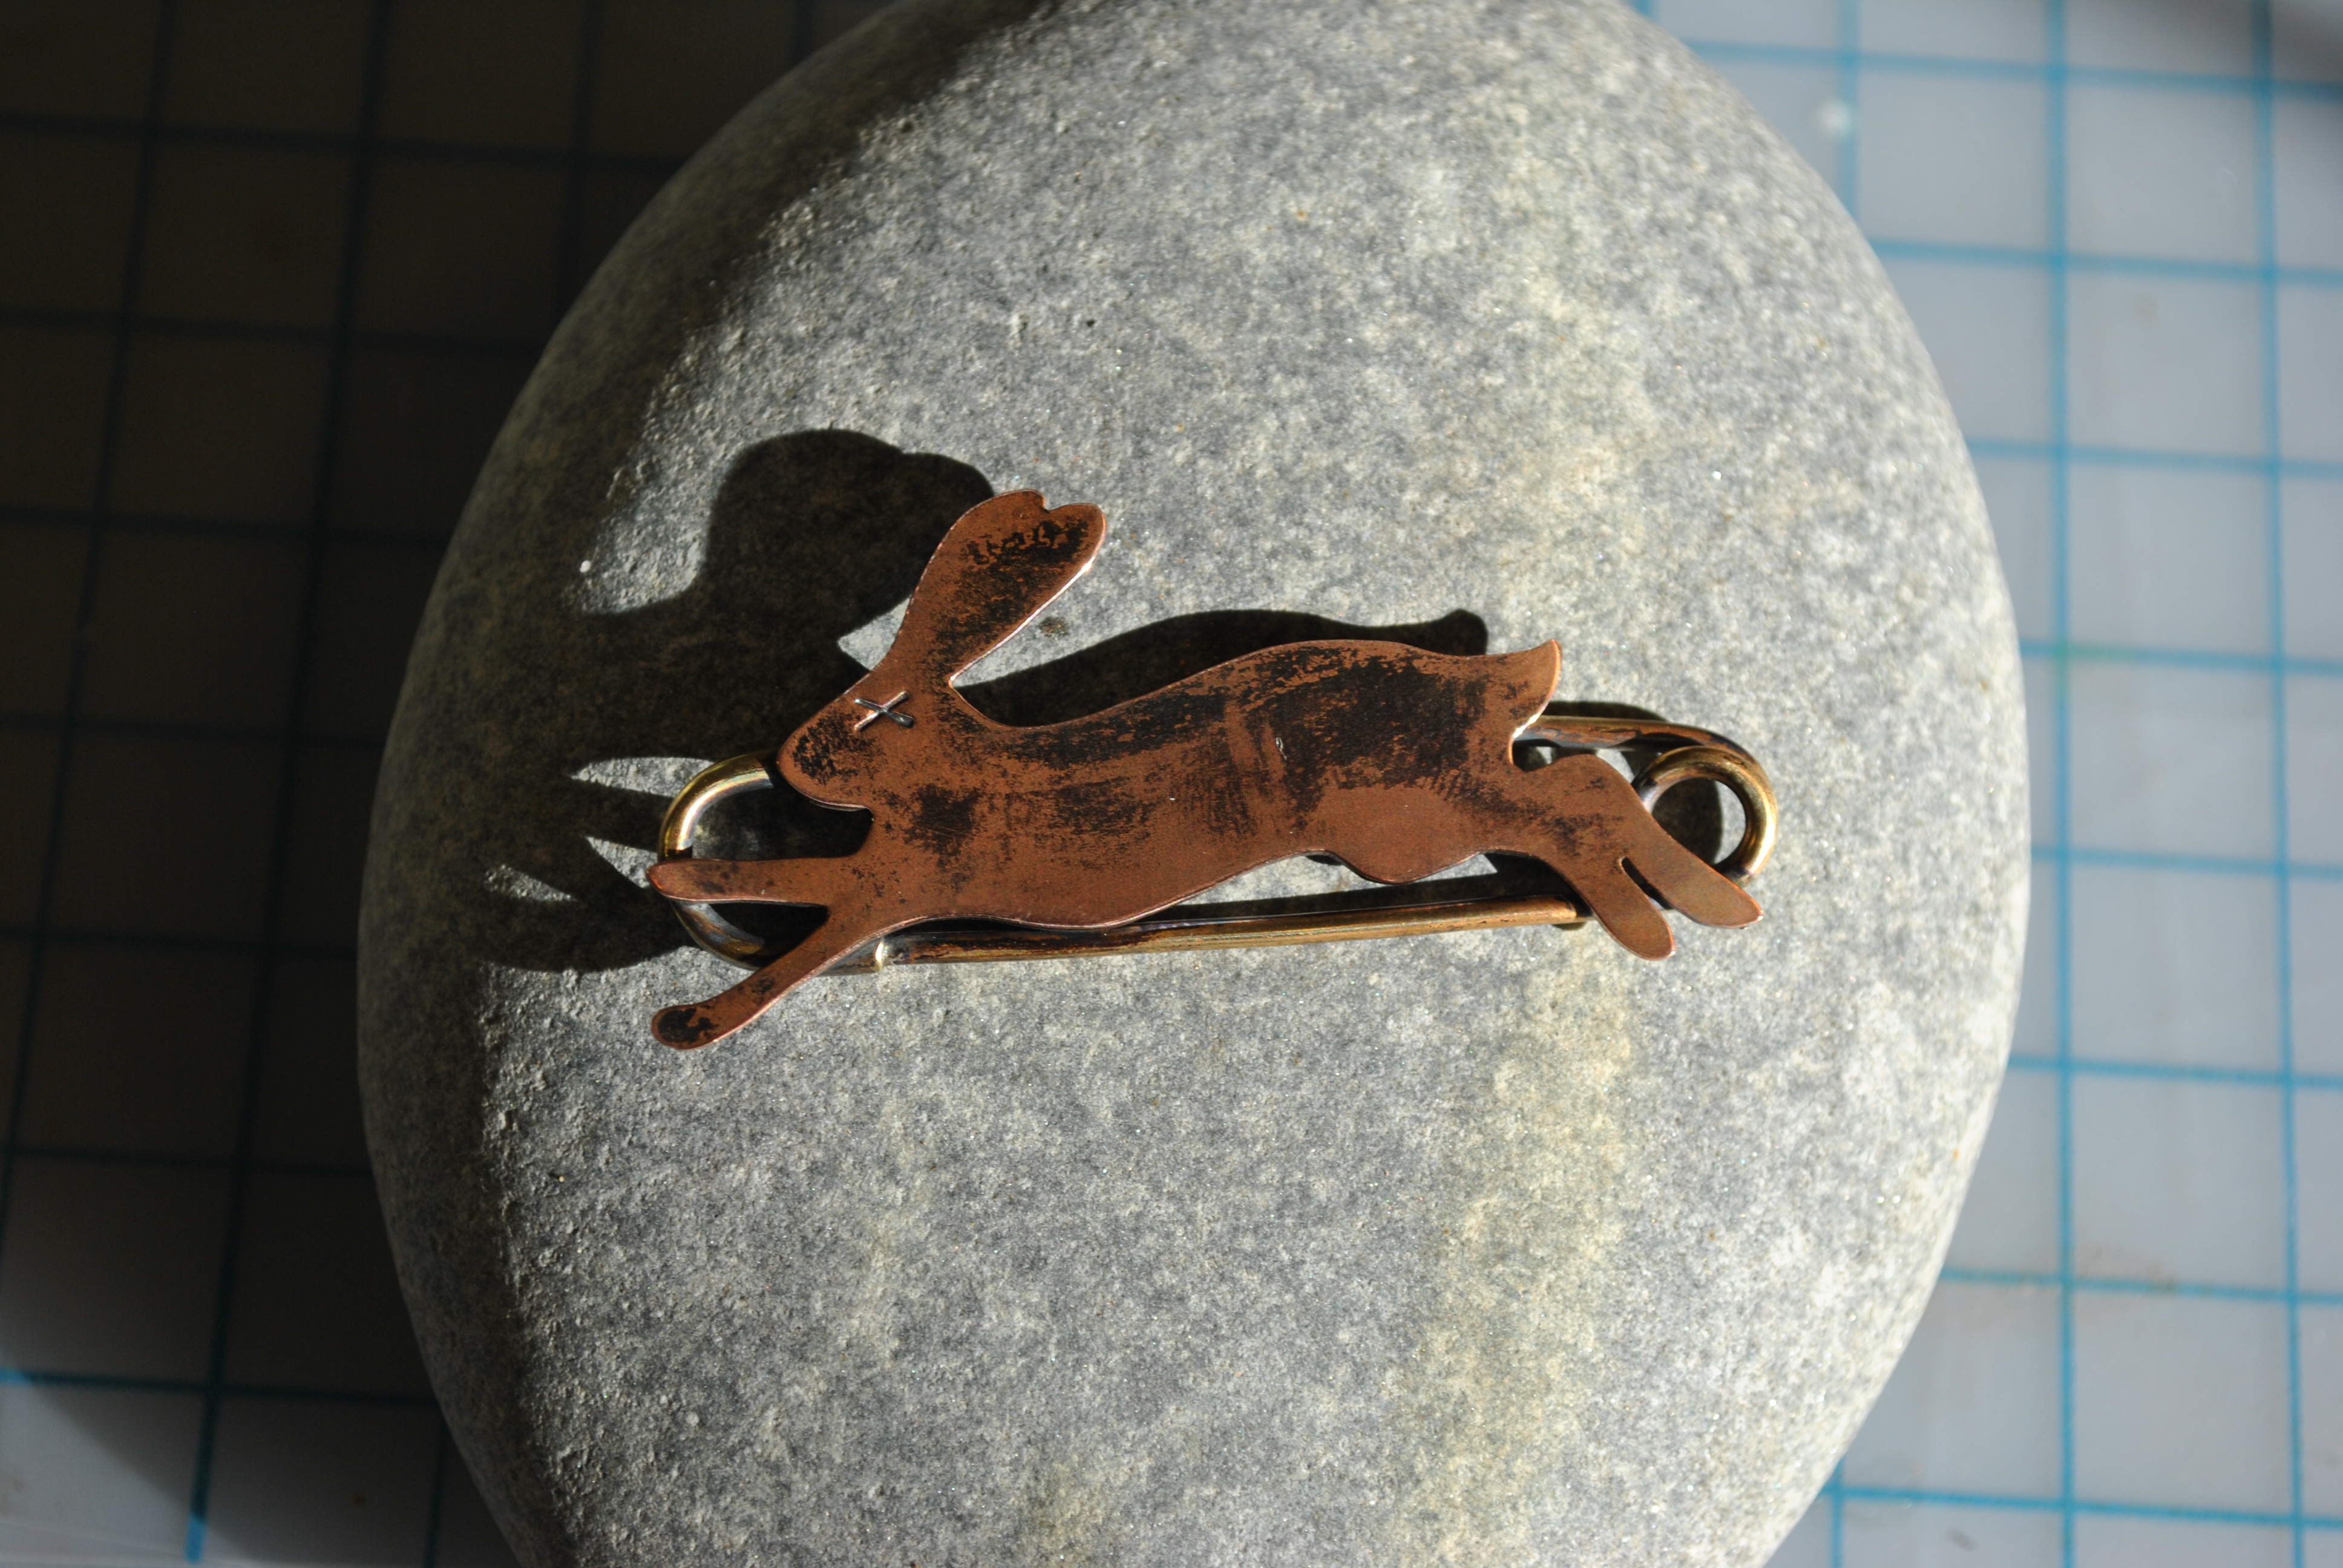
After it hardened, I again gently sanded the pin to clean up the lines.

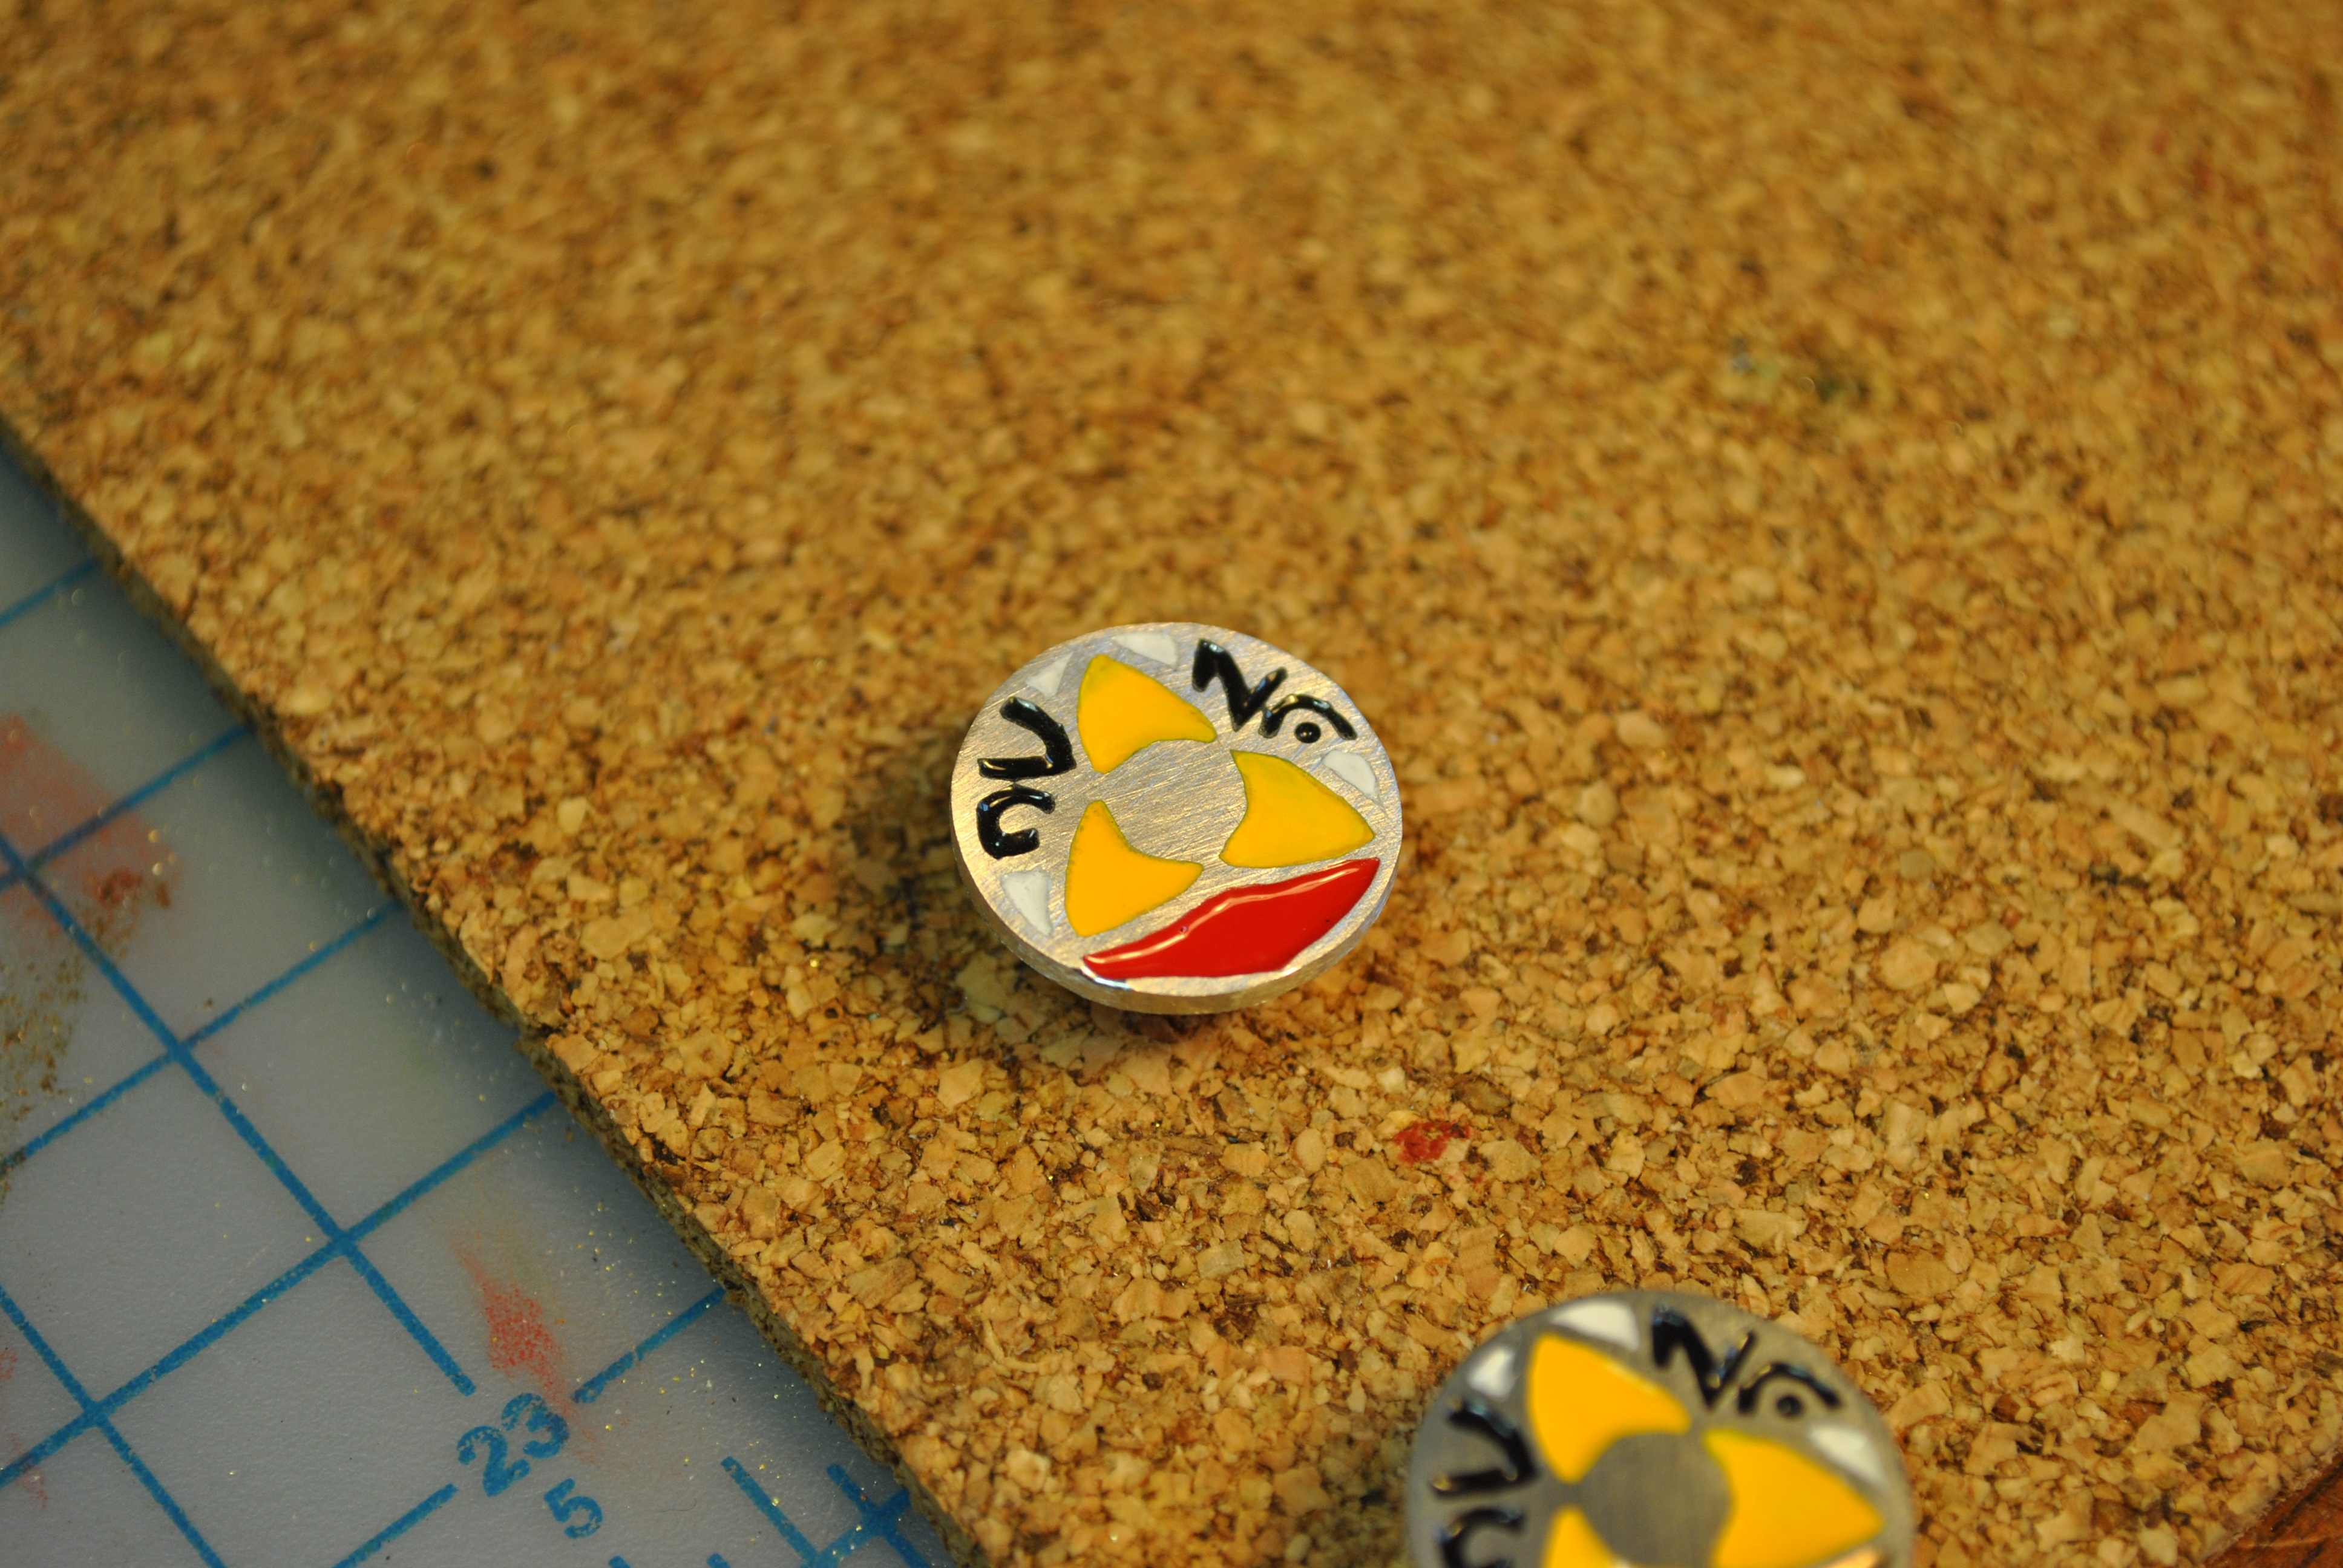
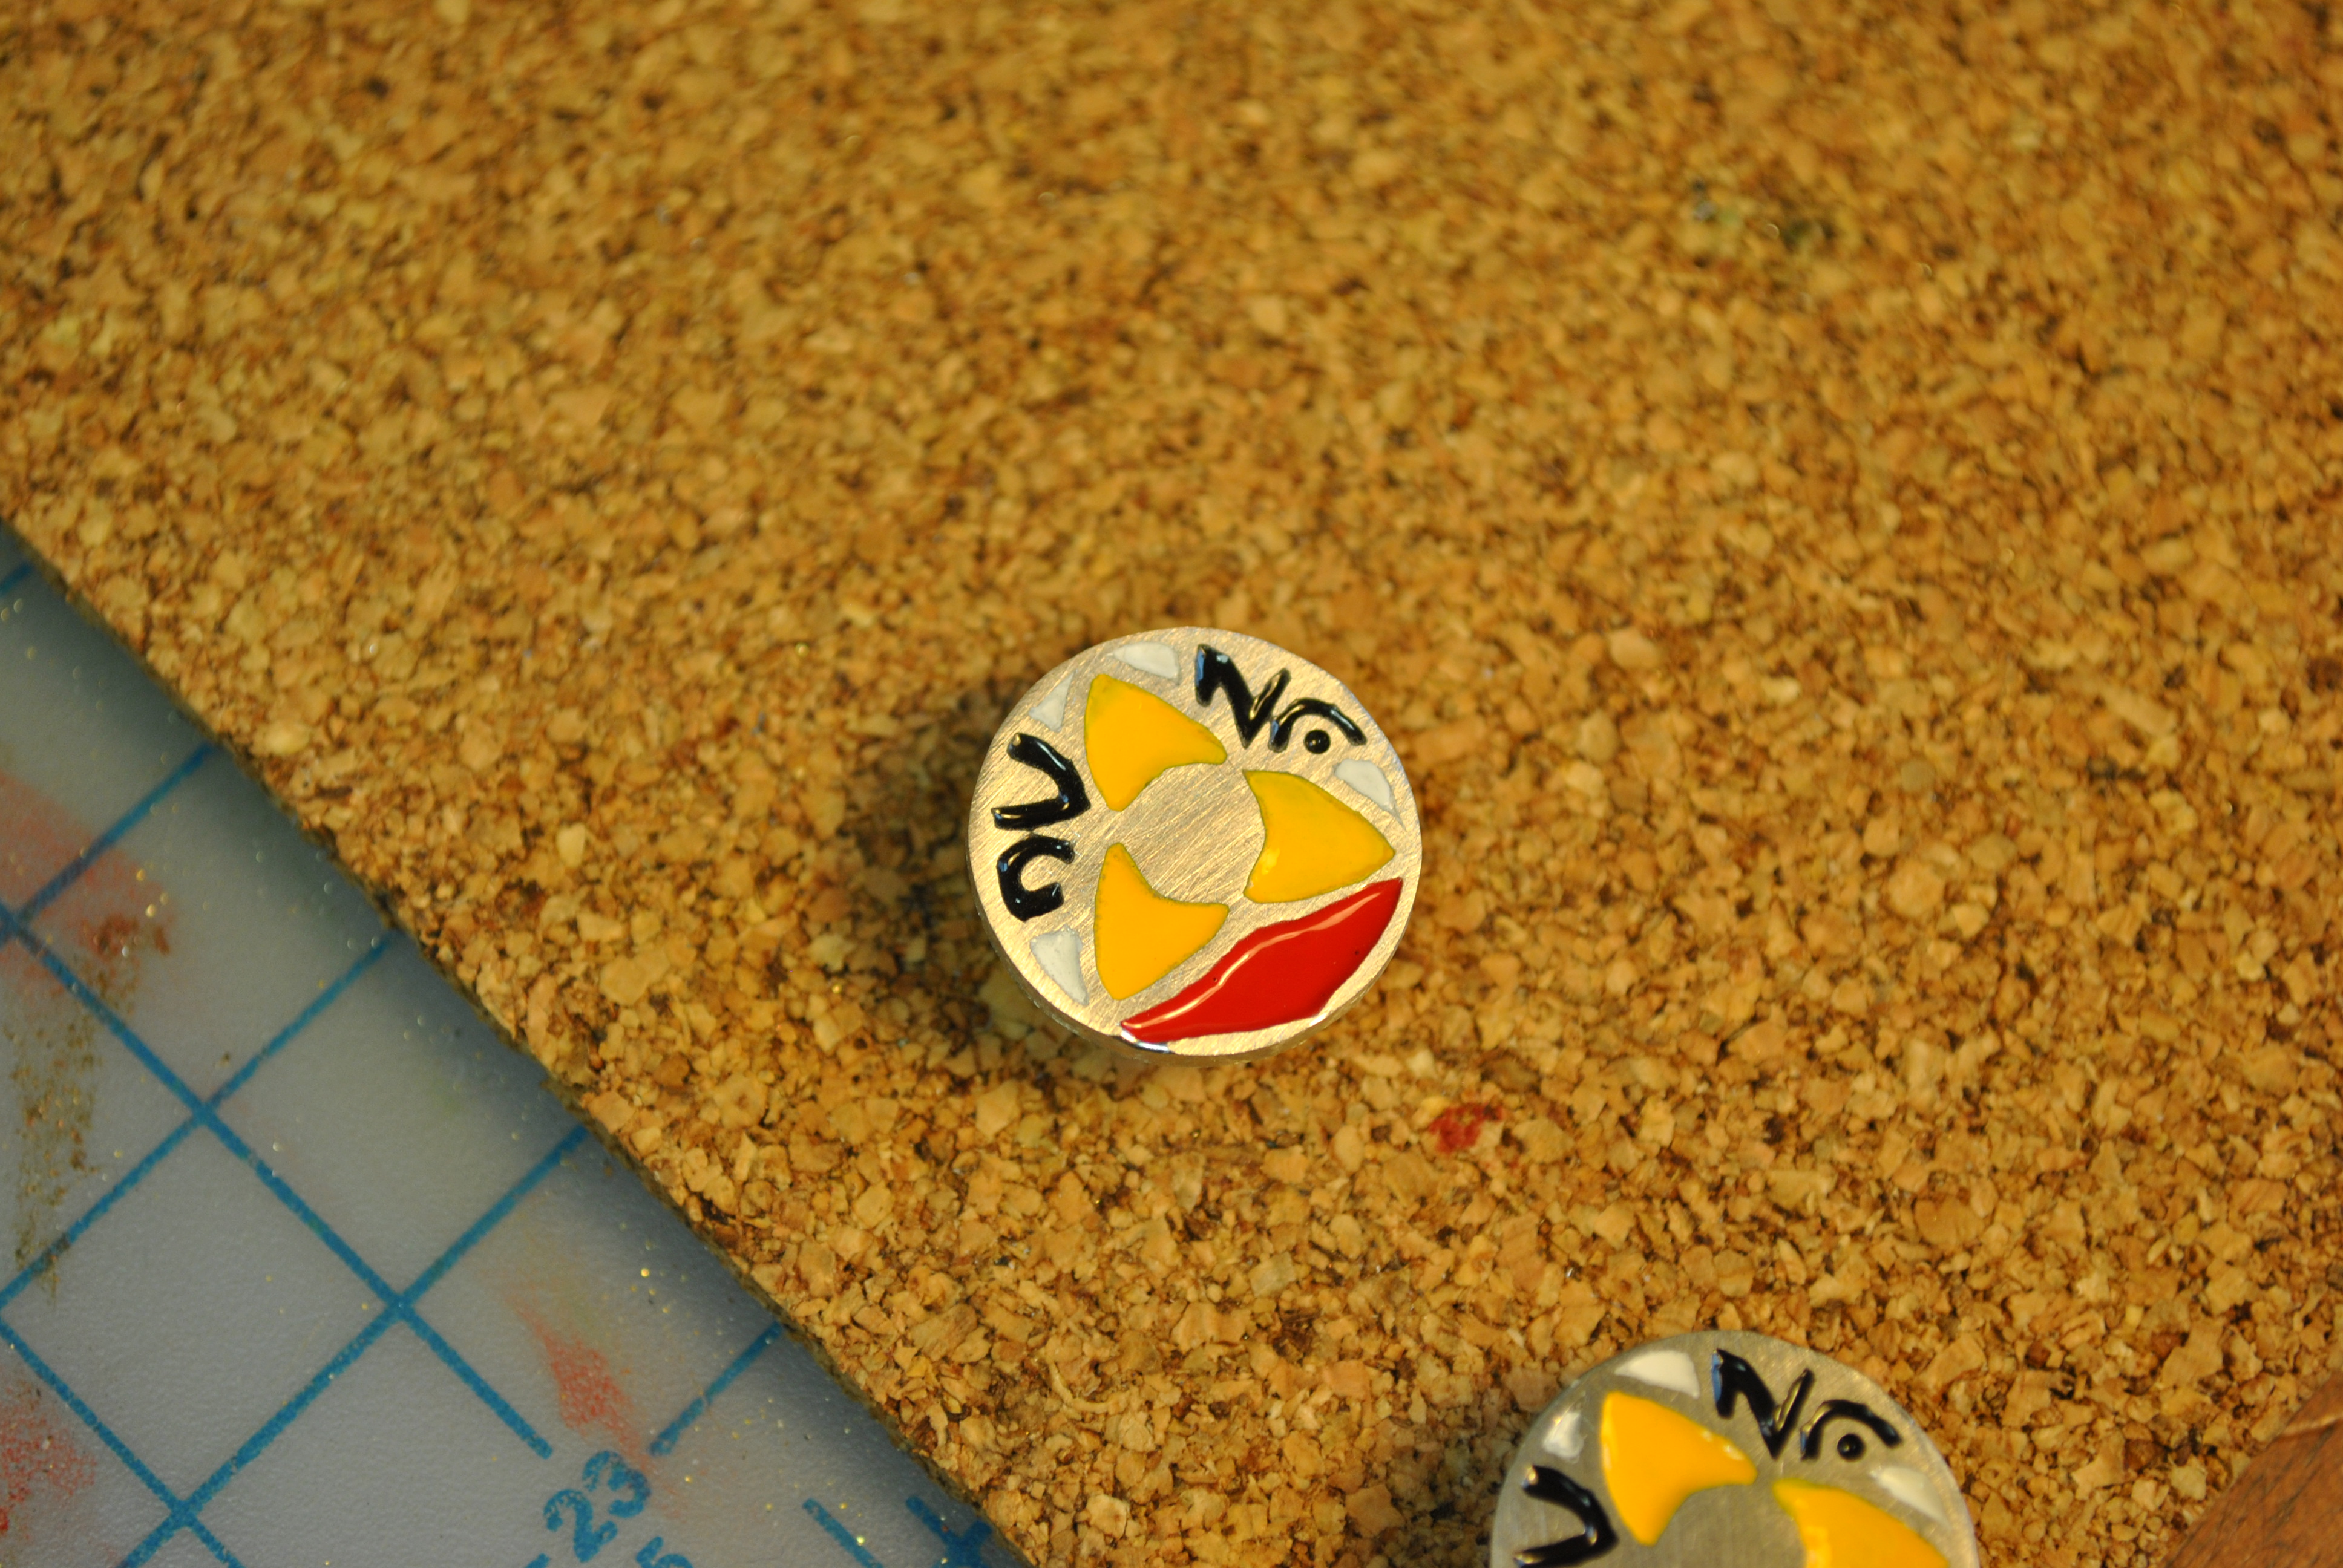
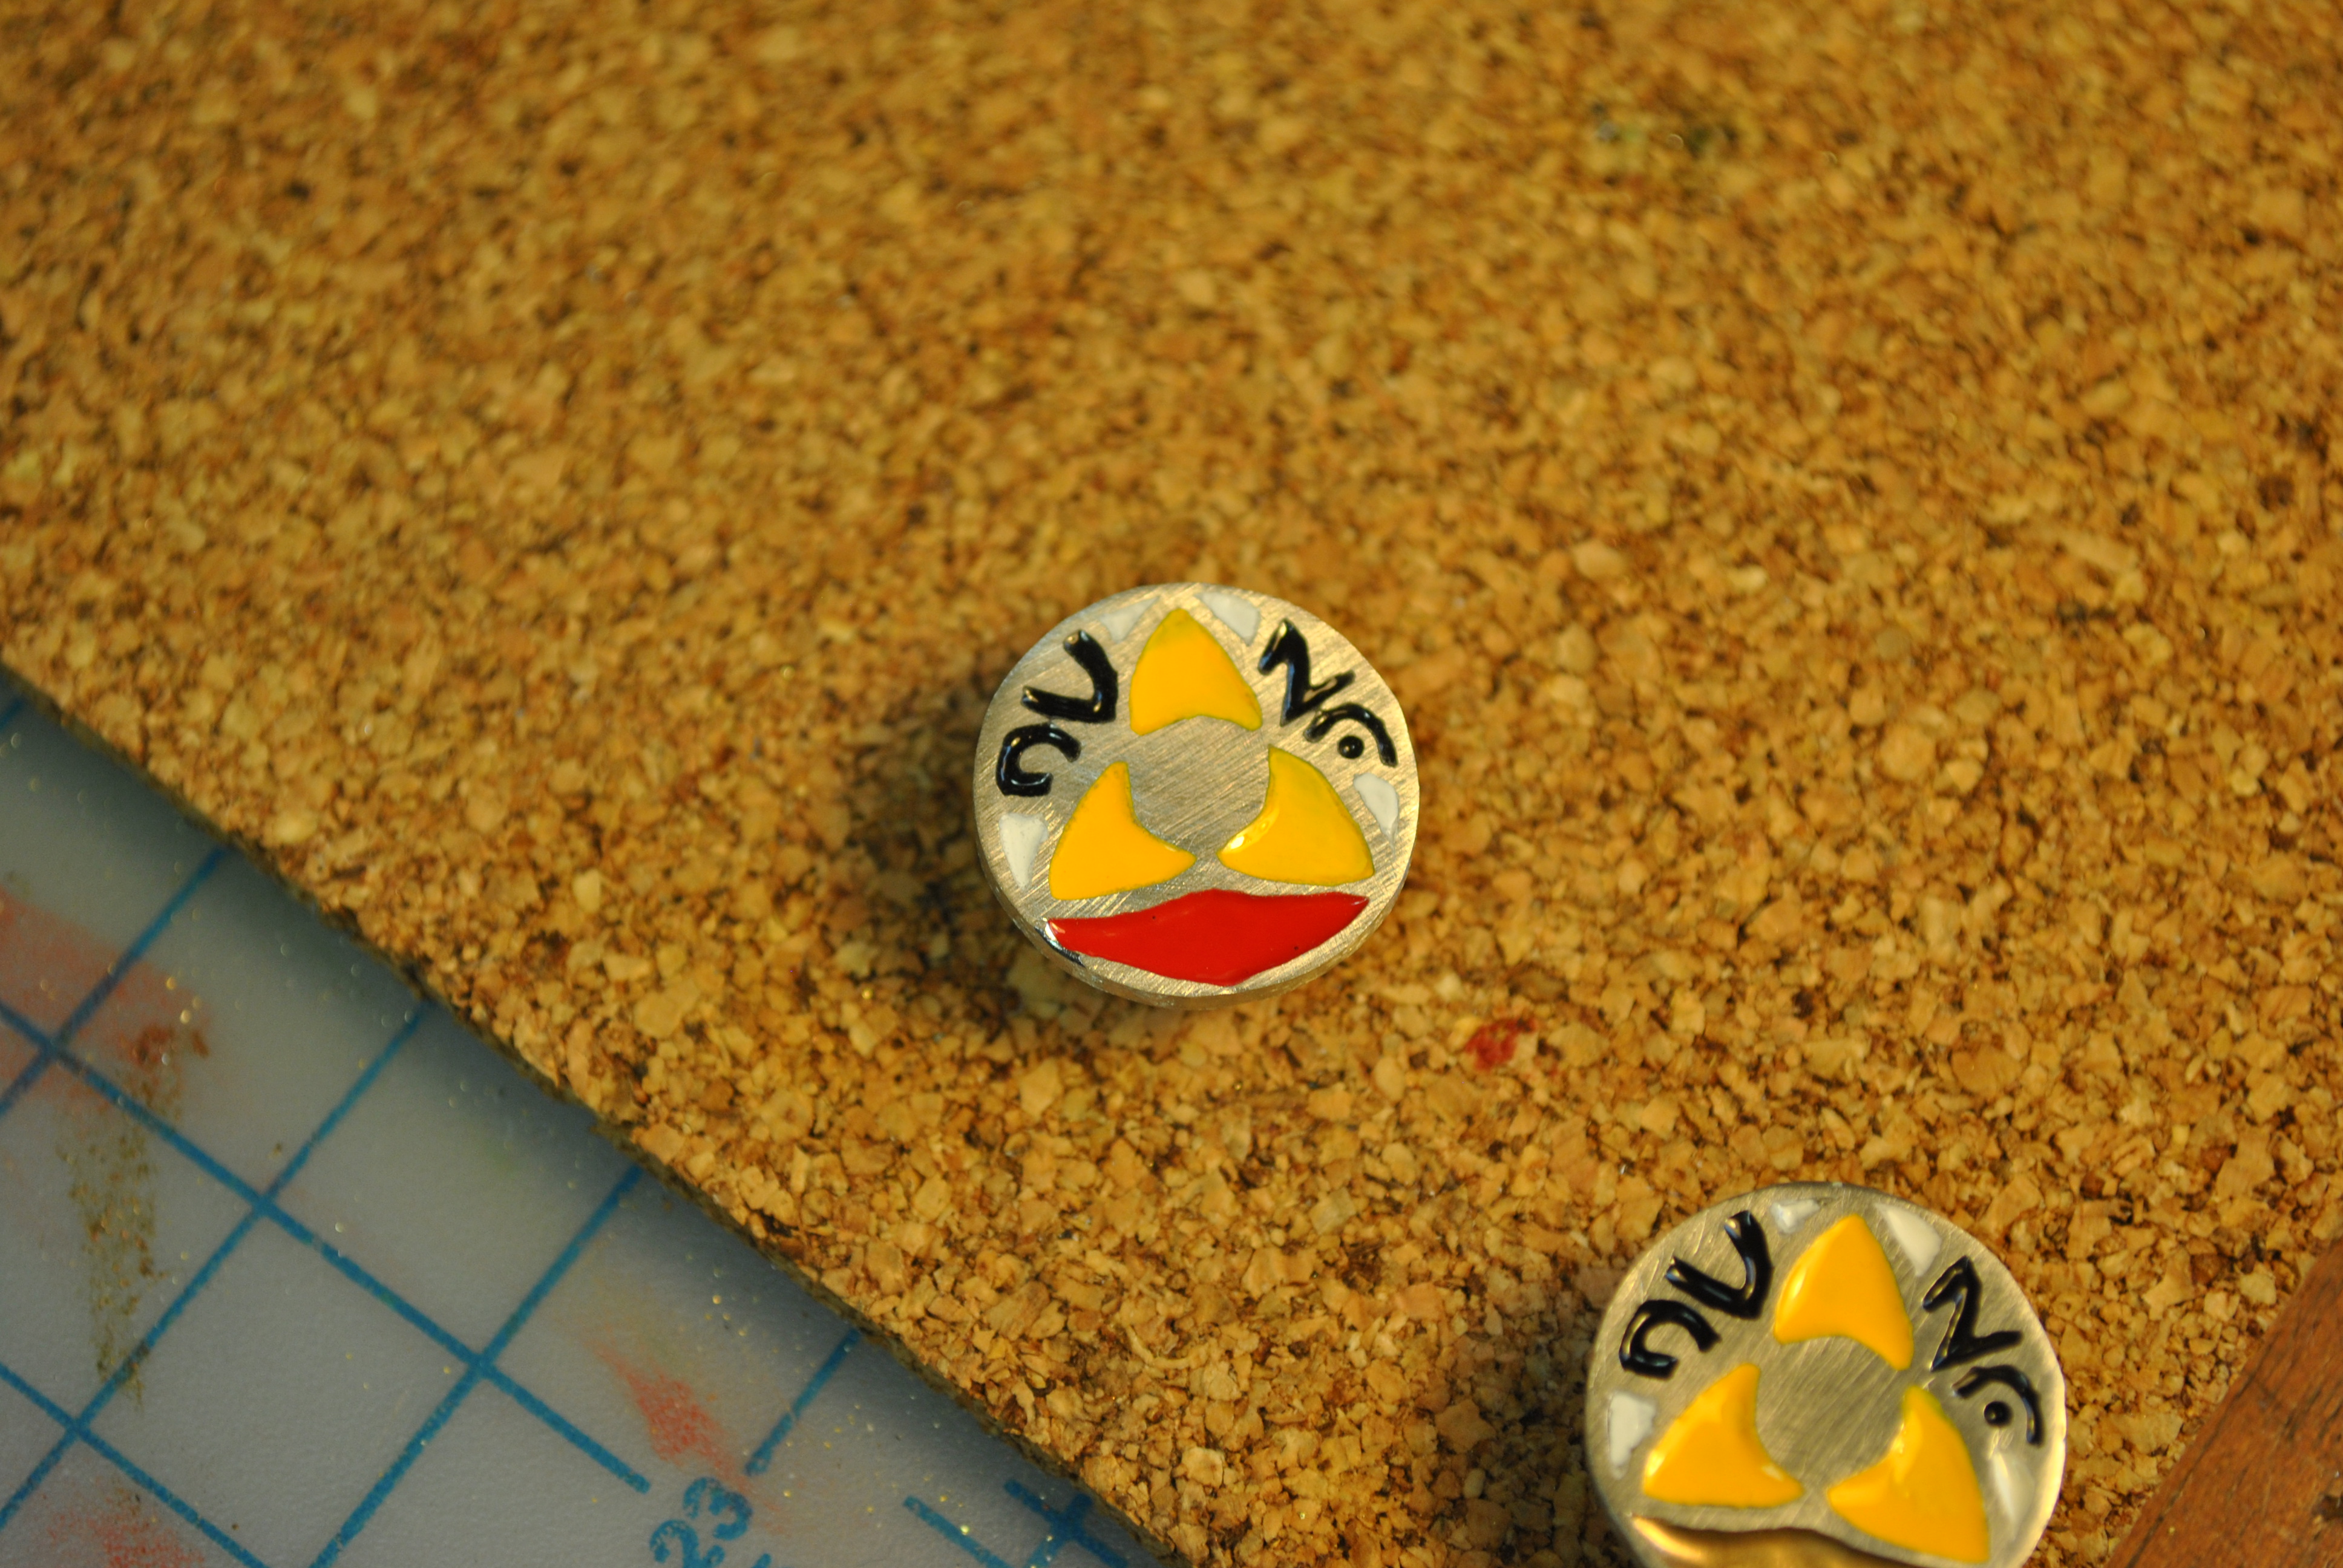
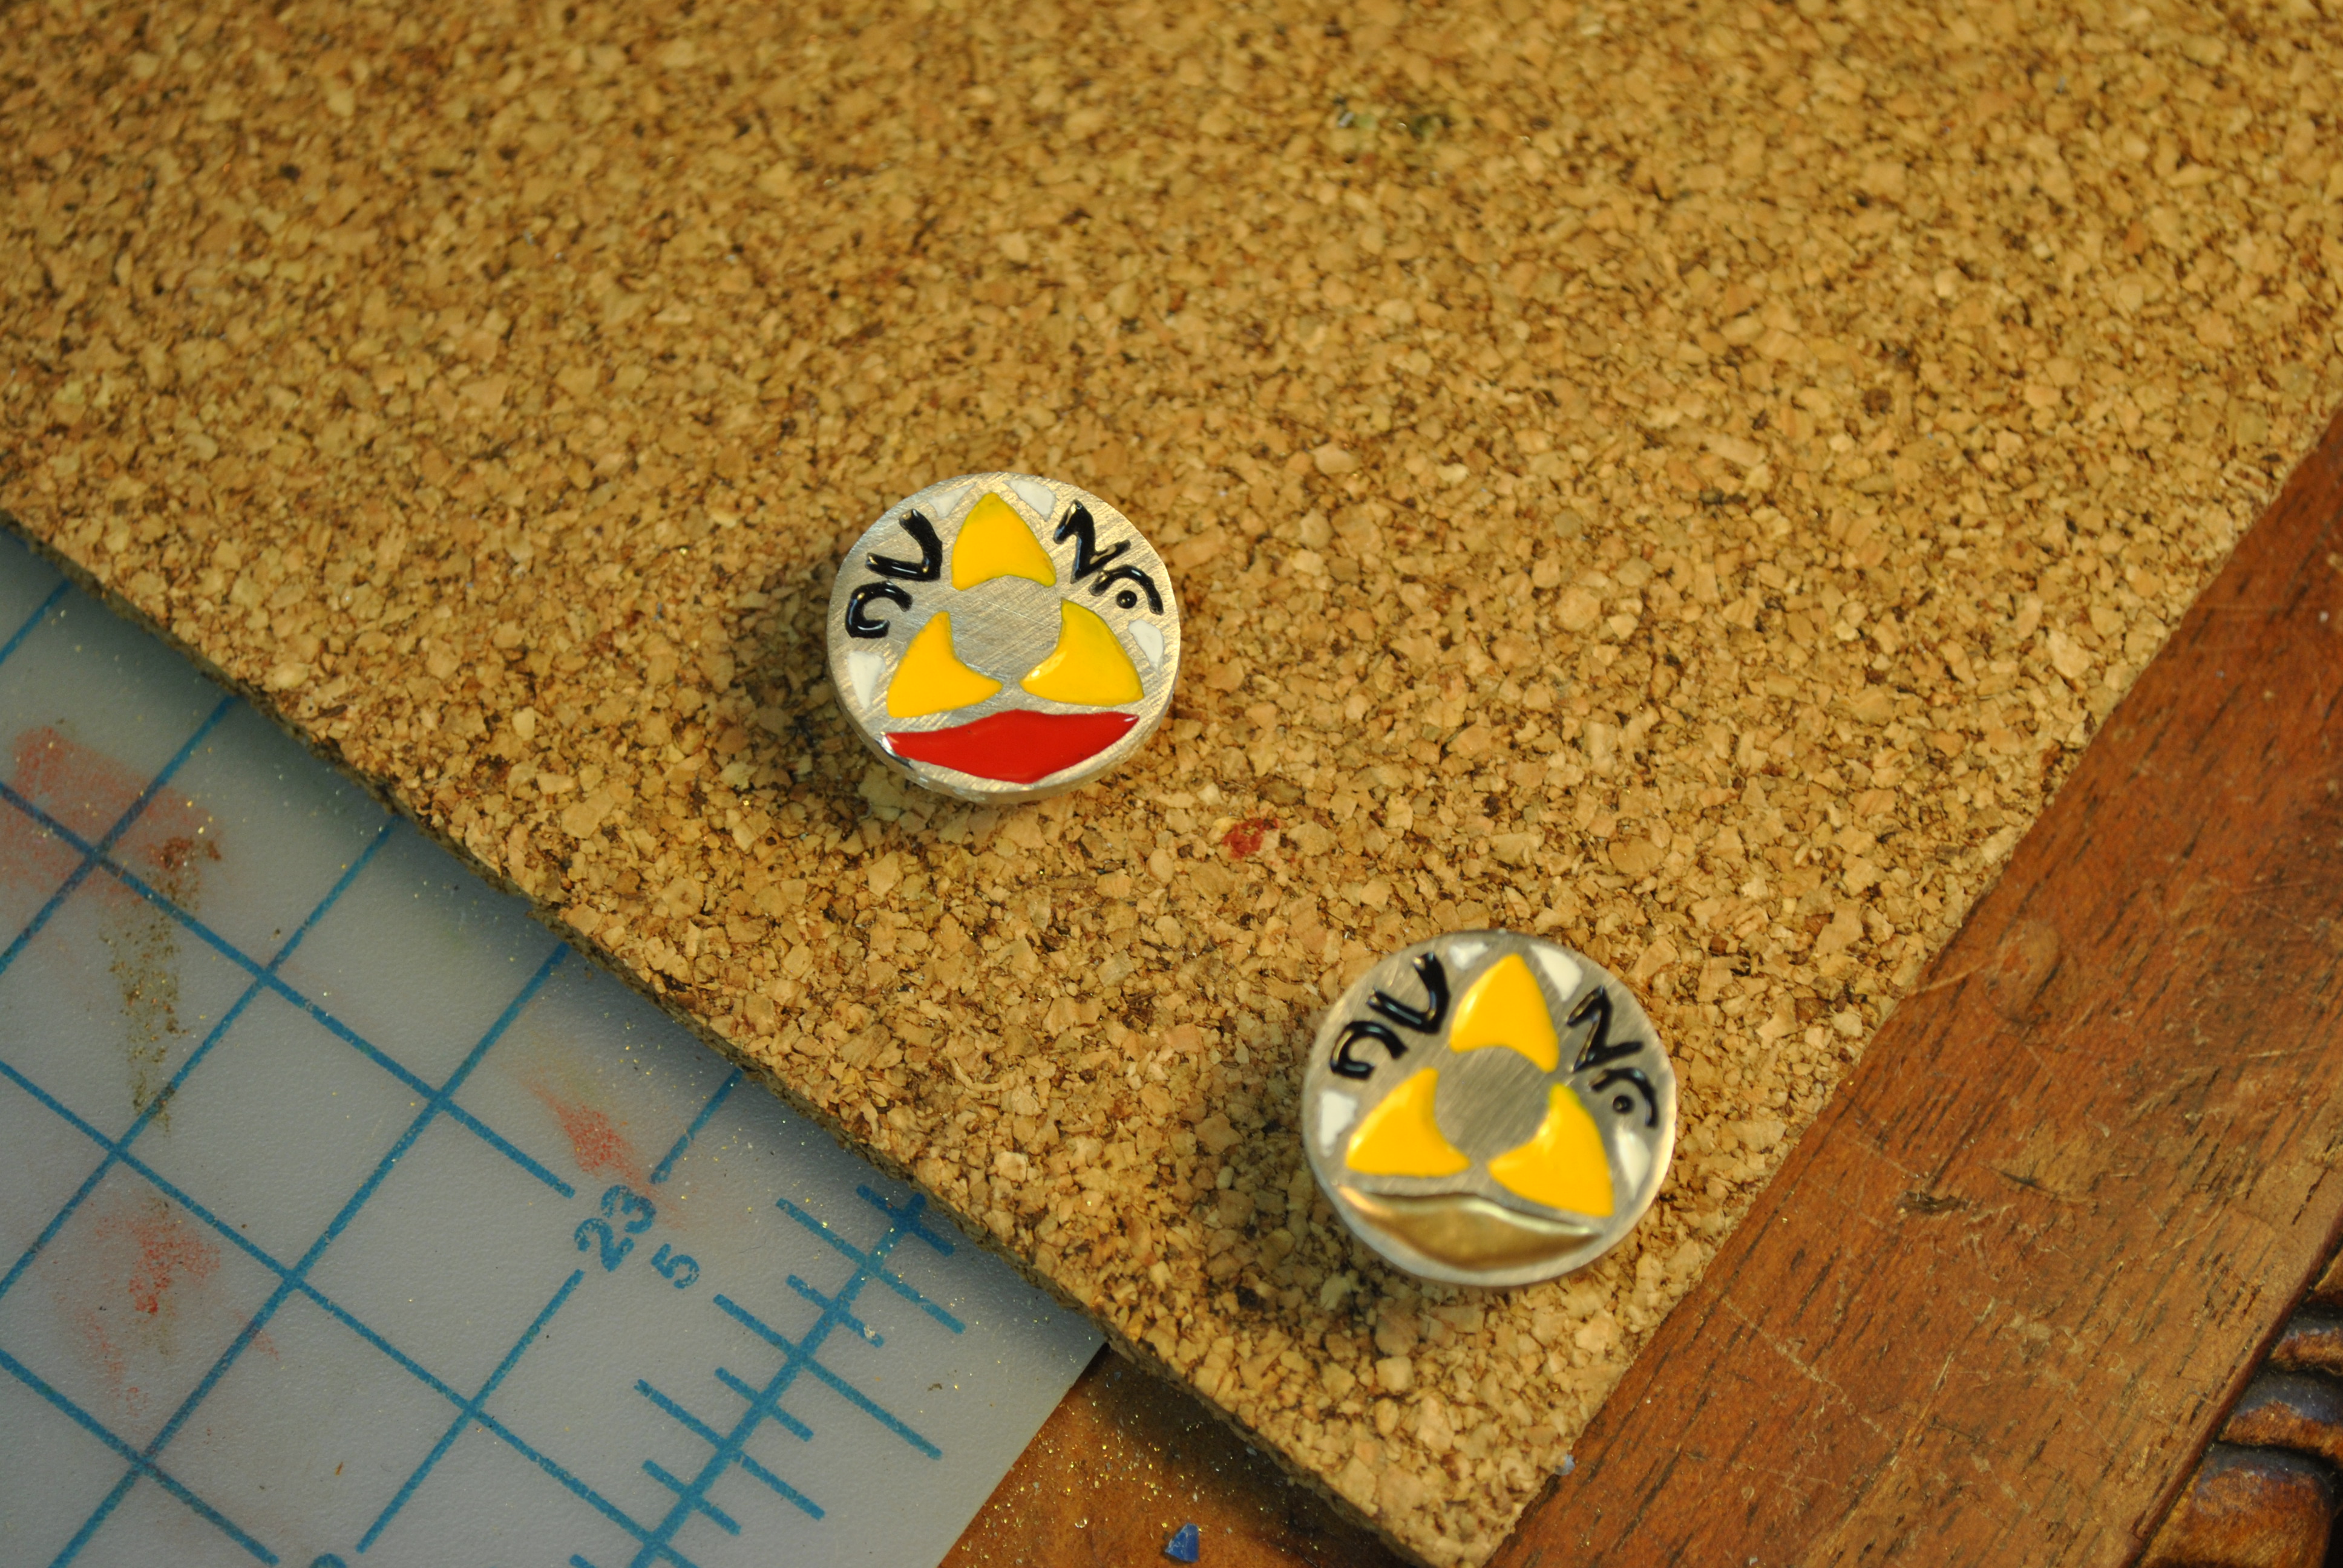
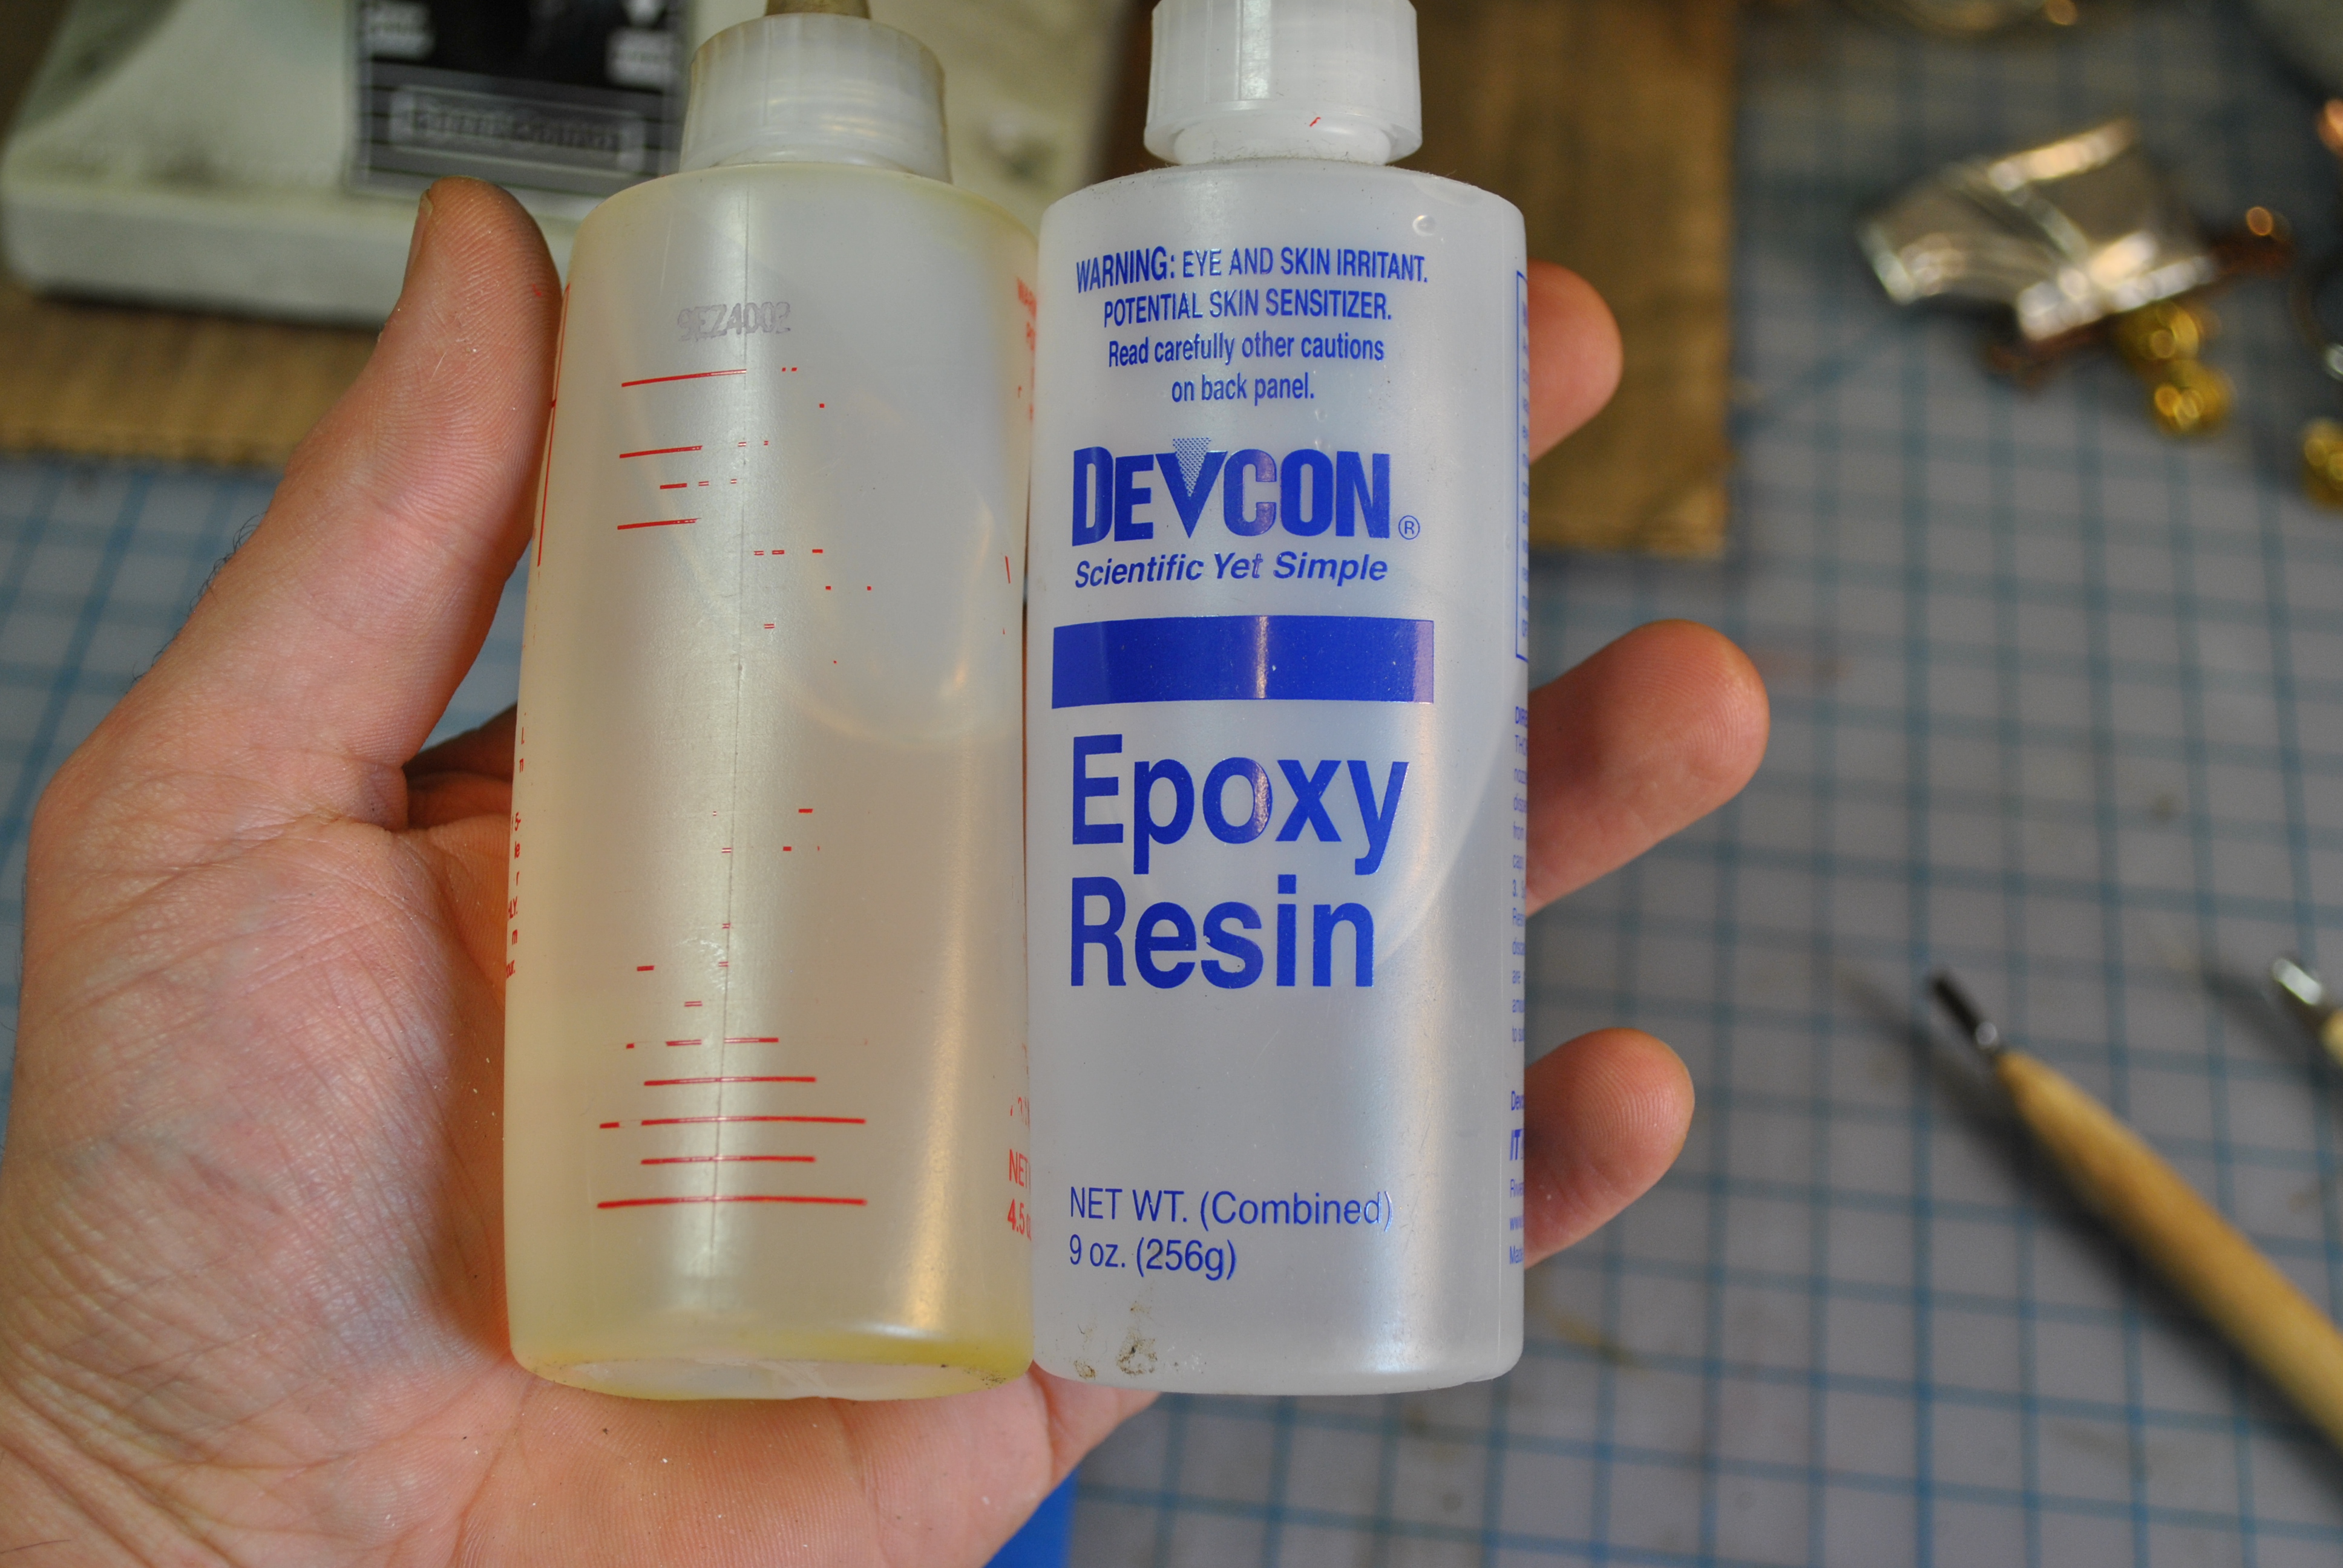
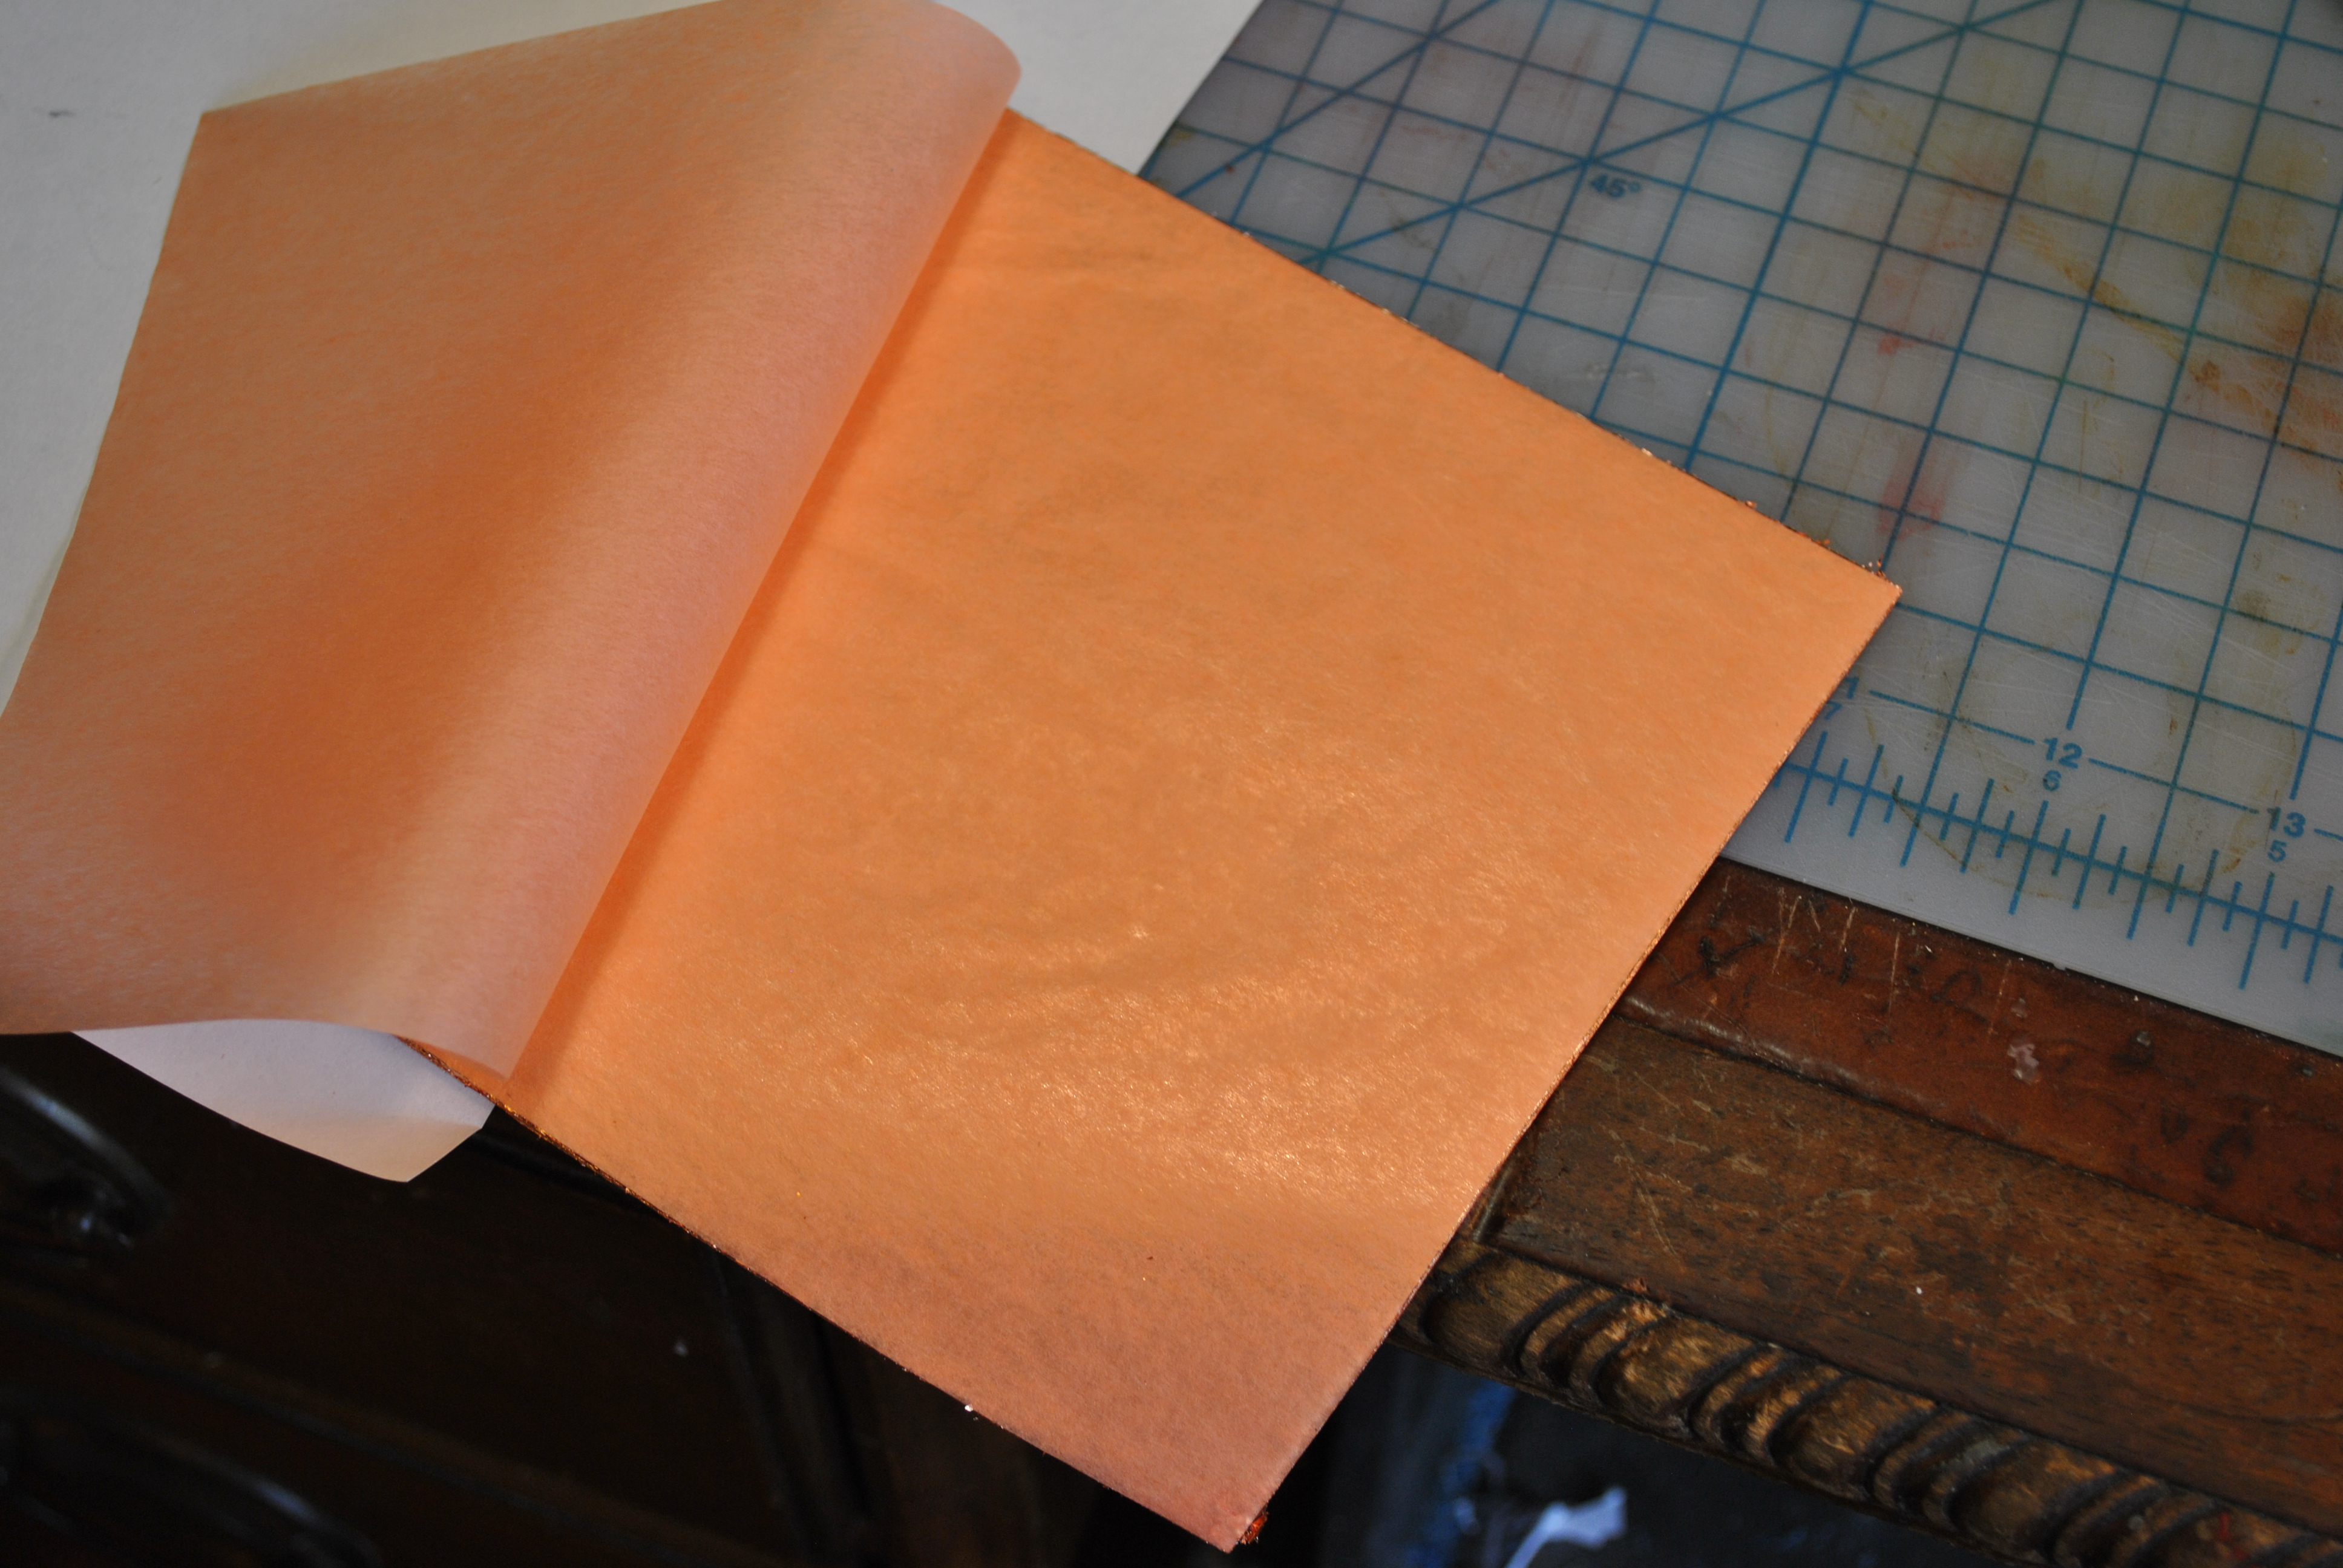
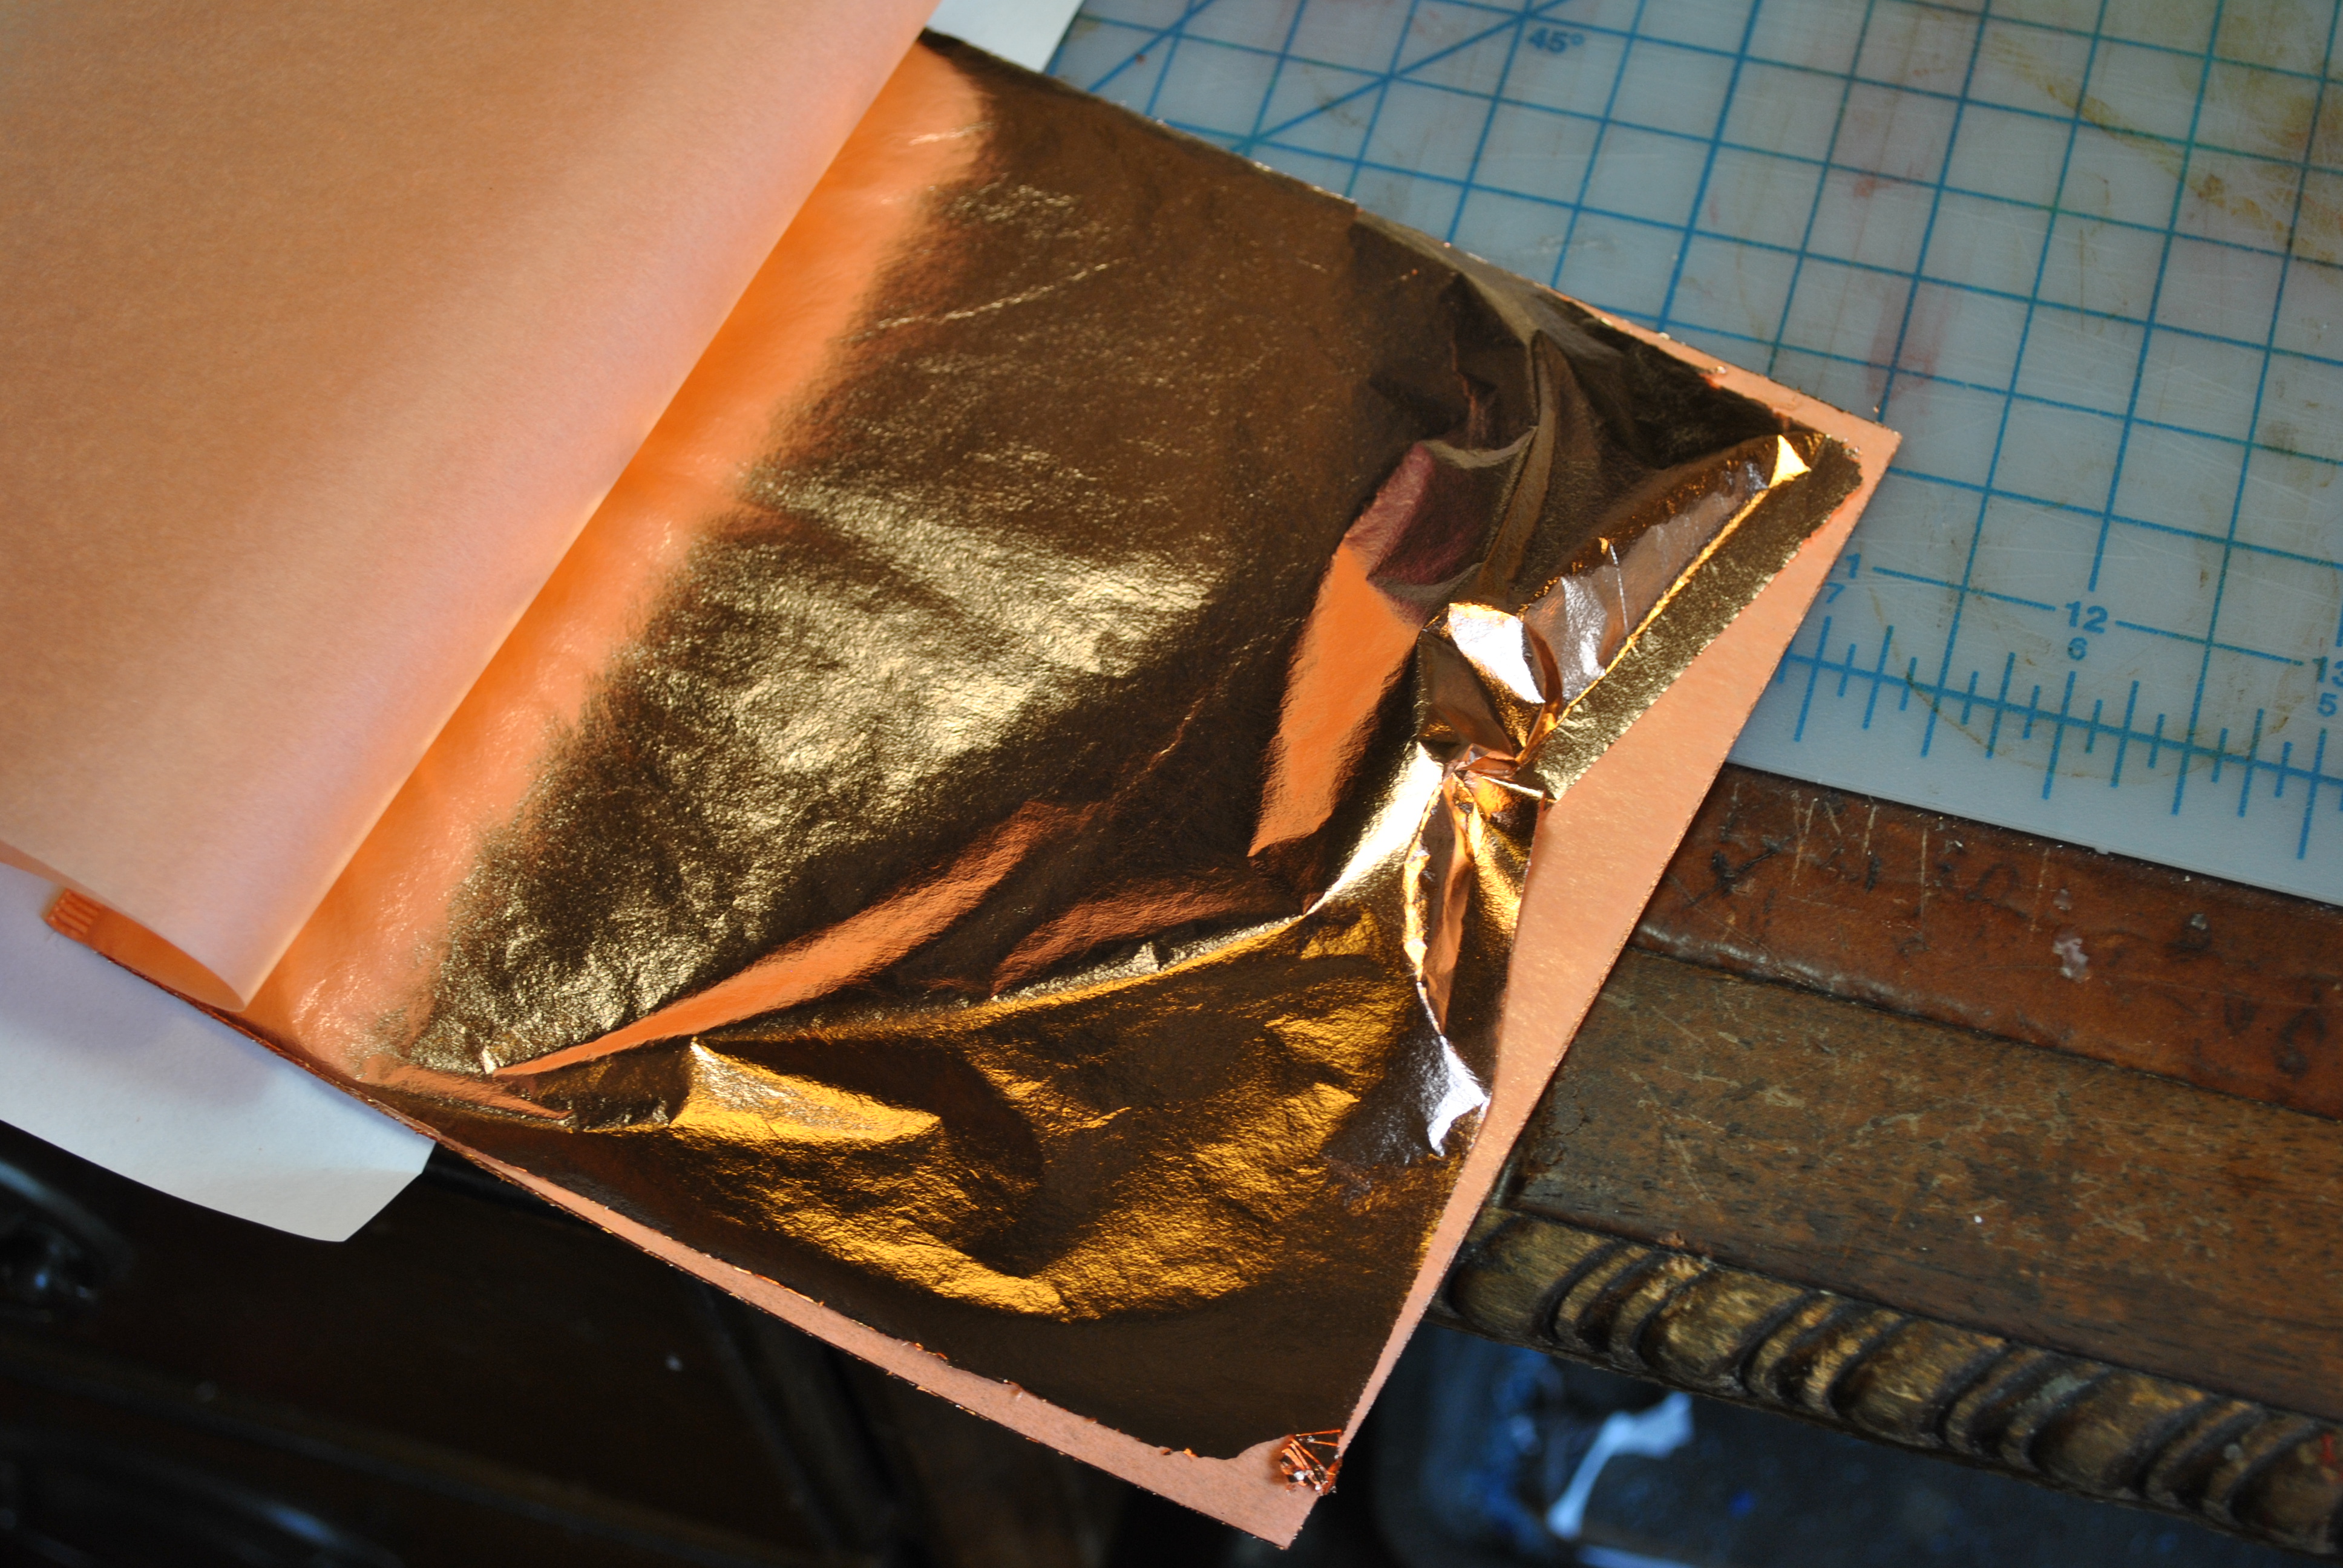
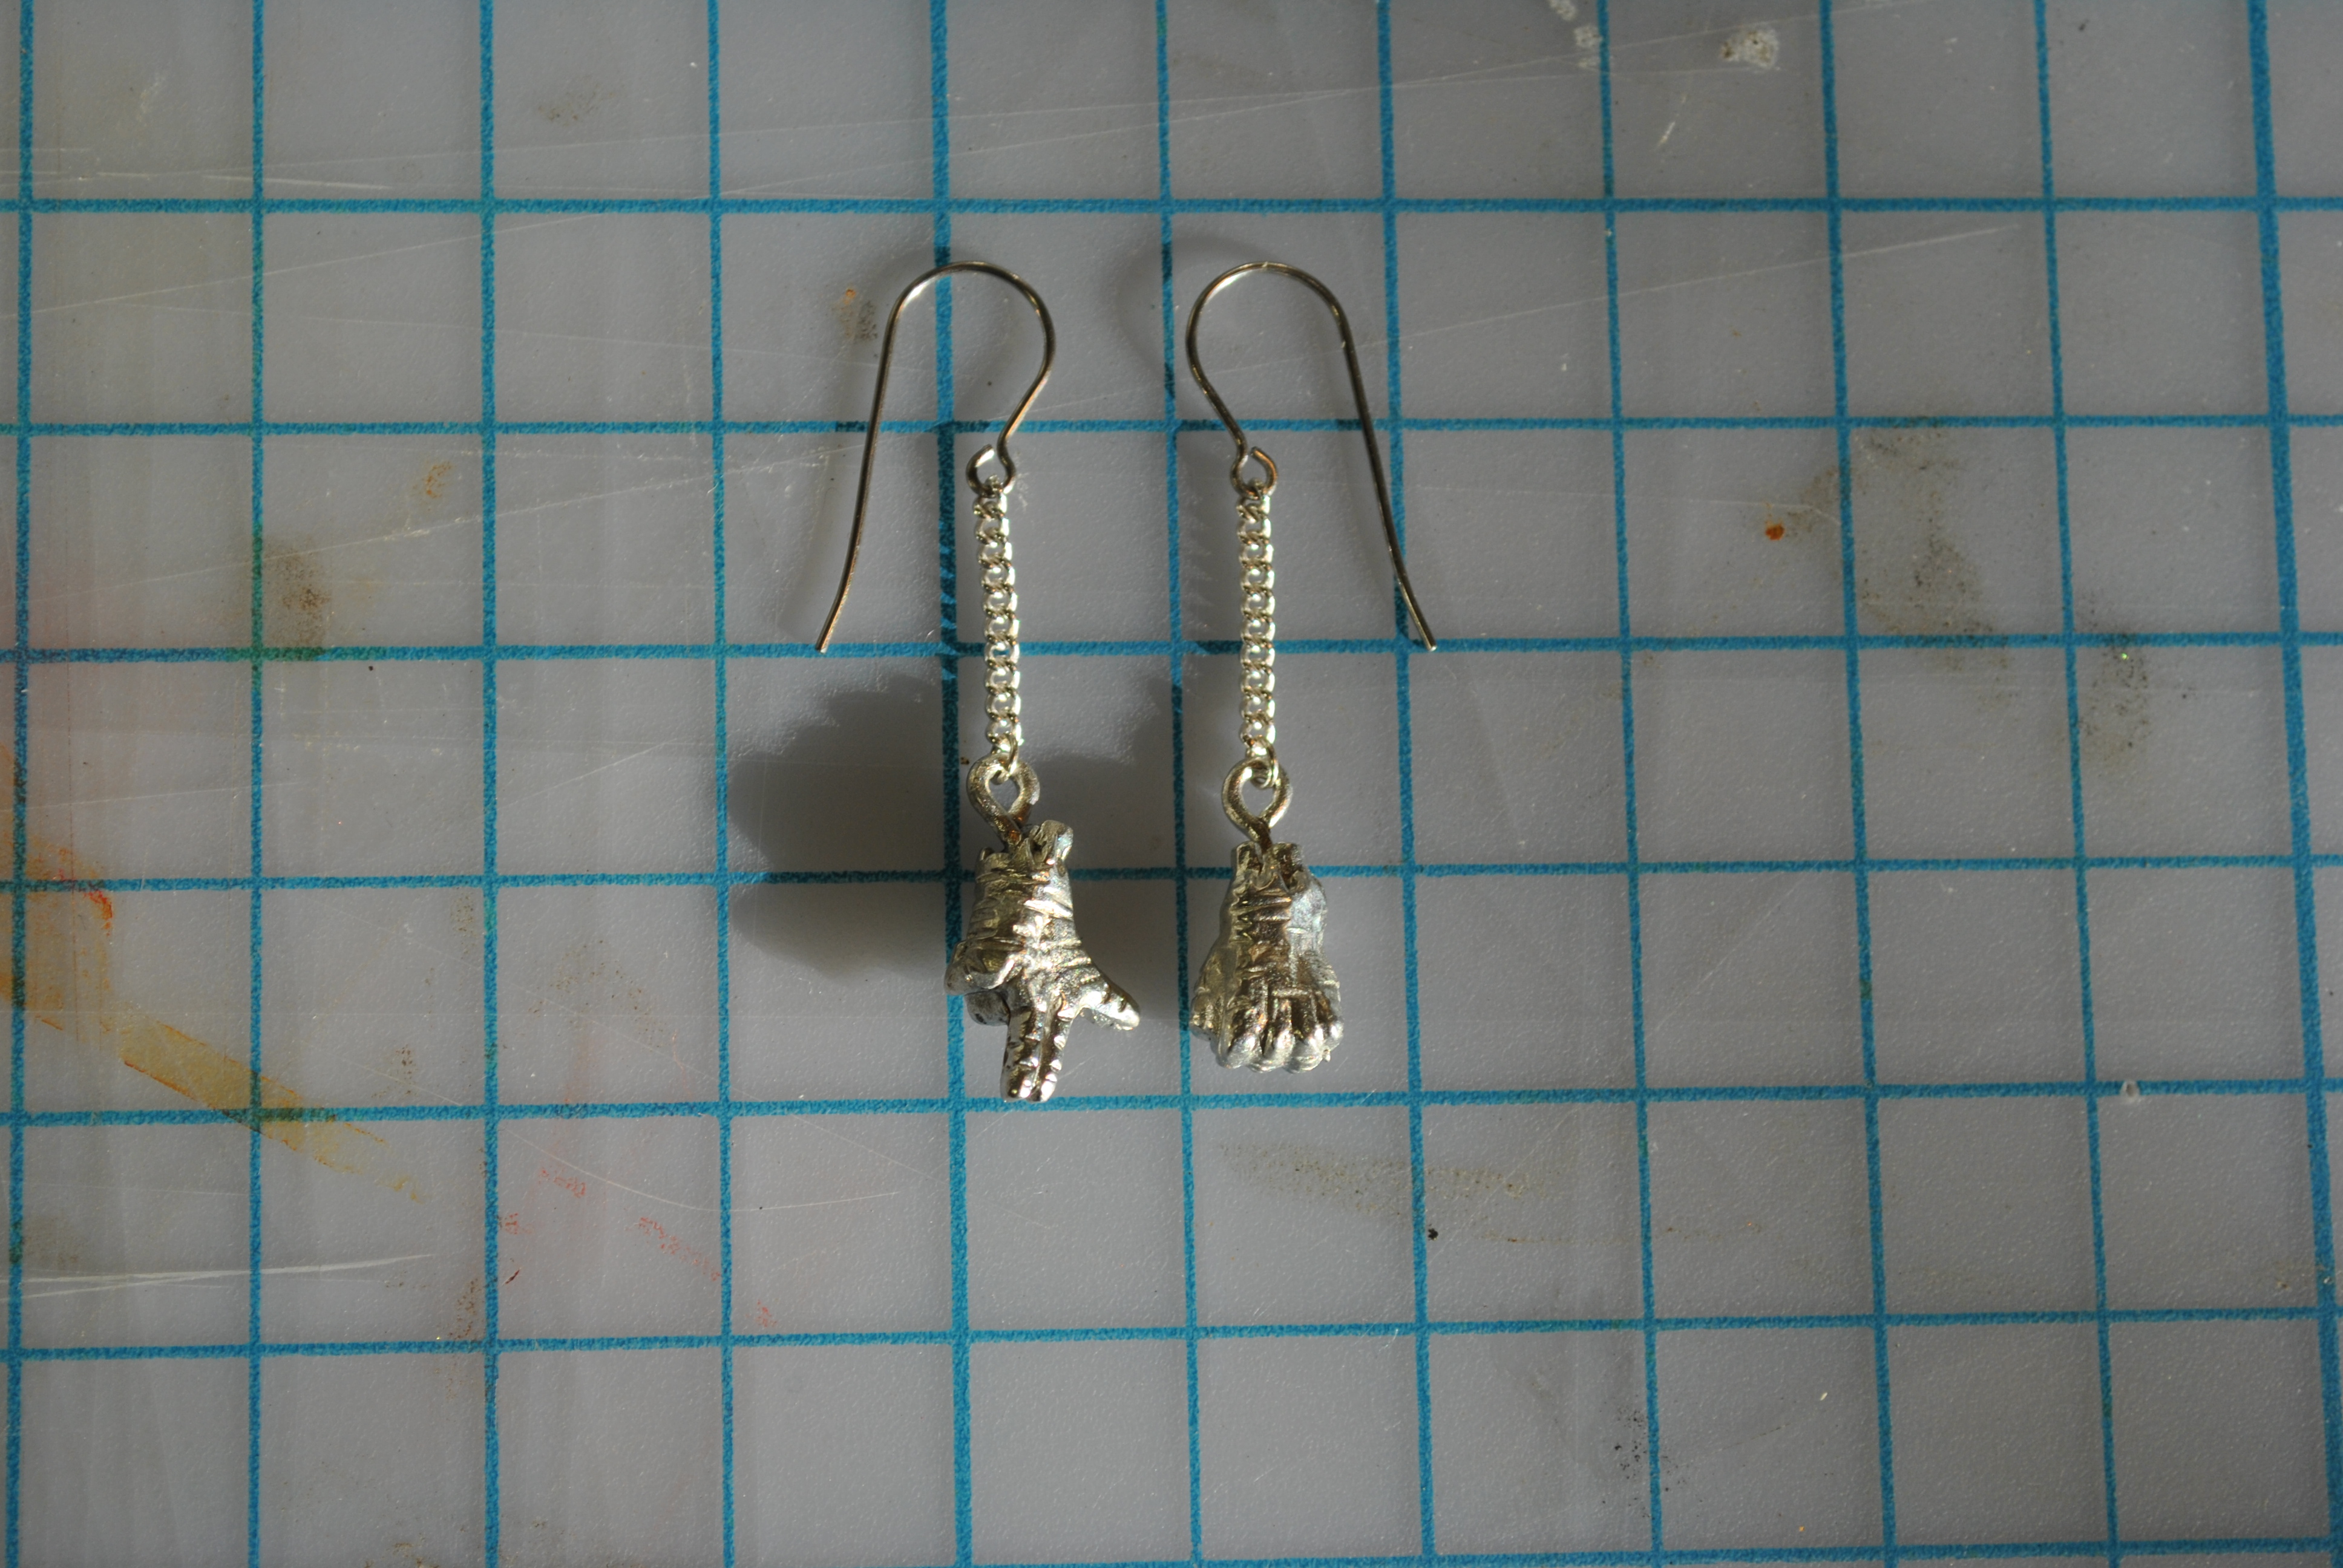
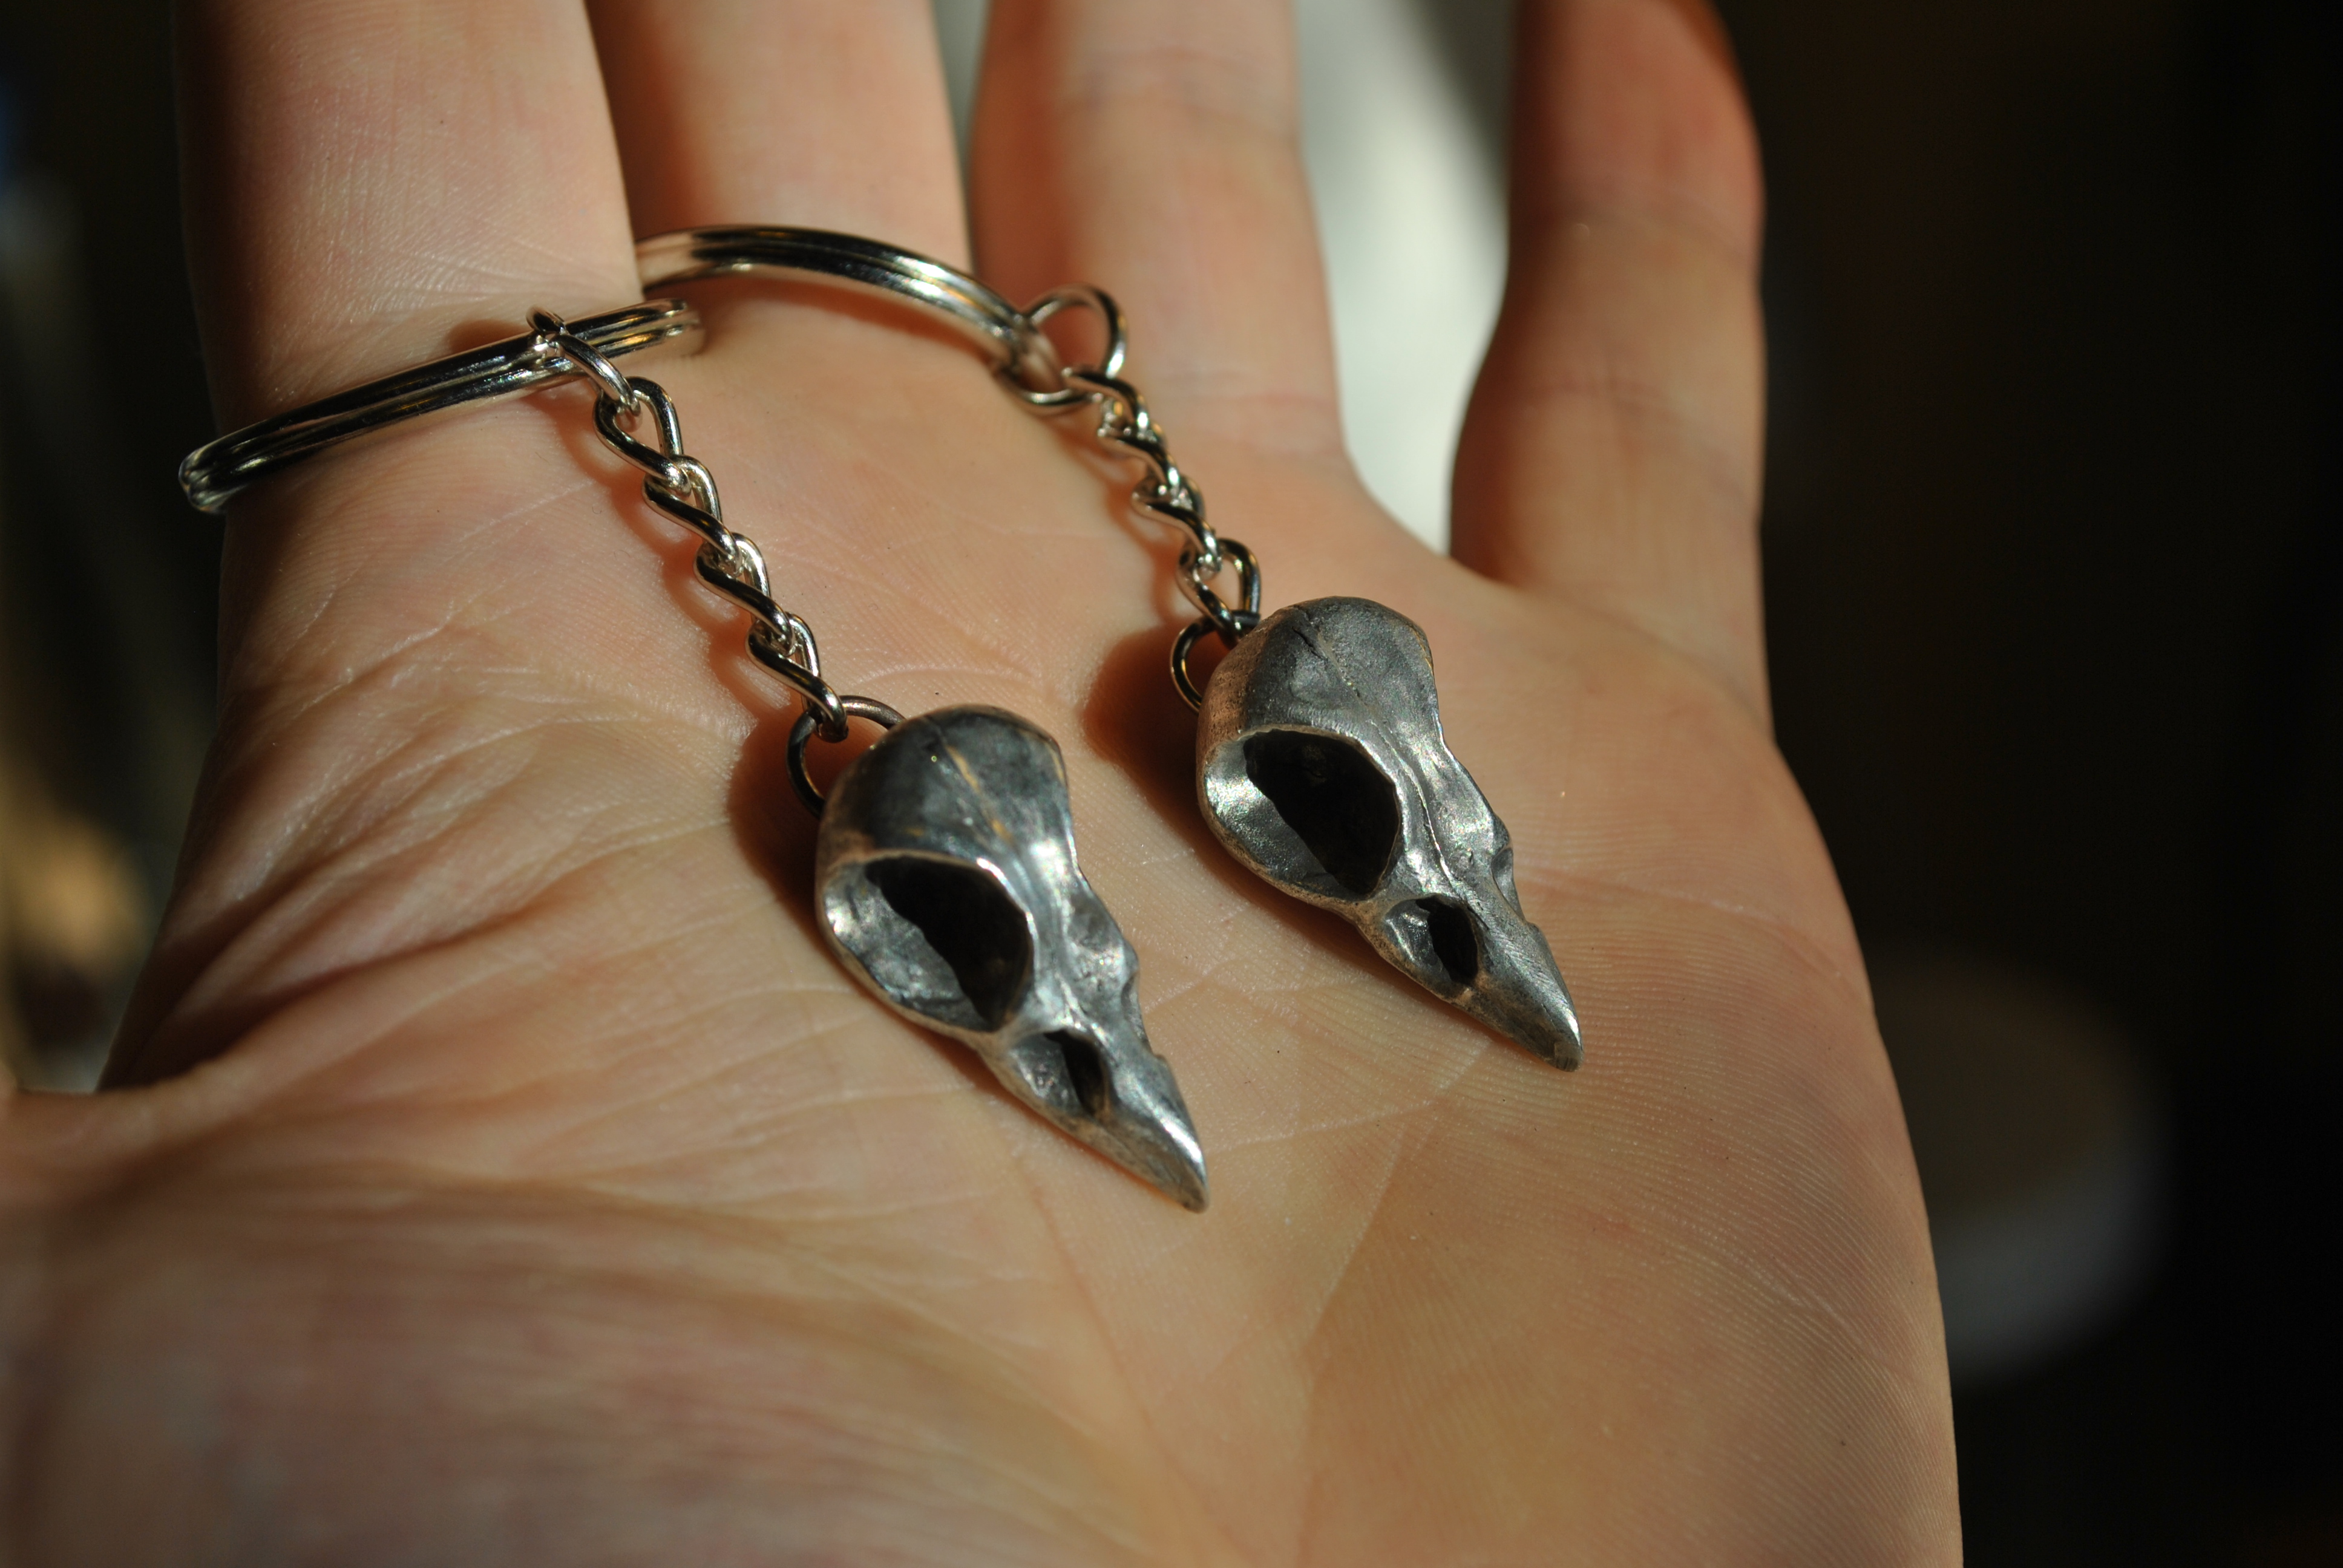
I like it!  I think i might go with a different color scheme for the next one, and perhaps put an epoxy coating over the top, or even try to electroplate the pin before I paint it, but overall it came out better than I thought it would!


If you like things like this check out my etsy store.


Do you want to help me continue to bring you great projects, while also getting great rewards?  Then support me on Patreon!

Become a Patron!

Thank you!

Posted on

Thing A Week 11: Cactus Charm

My friend wanted a small cactus charm, so I decided to make her one :)


I started off by carving a small cactus out of wax, then cast in the same way I have been using for the last couple of projects.  I used Mold Max 60 from Smooth On, and some sulfur free clay to make a two part mold.

I cut some pour spouts, and air channels into the mold.  The tiny marks are the index things I made so that the form will only fit back together in one way, this make sure you always line the cactus up correctly.

A little baby powder to help the mold release.

Use a paint brush to distribute the powder evenly, knock out the extra.  You want a very thin layer.

Getting ready to pour, I used a lot of rubber bands, because the hot pewter tends to make the mold expand, and if you don’t hold it shut, it can run out the bottom.

molten pewter.  I use r98 pewter from Roto Metals.

Just after opening the mold.

letting it cool

I decided to try my hand at painting one of them, so I got some testors enamel paint.

I tried to layer the colors, to give a more realistic look.  I might send both to my friend and she can keep the one she likes the best and give the other one to someone else.  I have my doubts about how well that little key chain loop will hold on such a heavy charm, but I will give it a try anyway.


Do you want to help me continue to bring you great projects, while also getting great rewards?  Then support me on Patreon!

Become a Patron!

Thank you!

Posted on

Thing A Week 10: Rubber Stamp

I needed a rubber stamp to mark the packages I was sending out from my etsy store, so I figured…why not make one.

I didn’t have any stamp rubber laying around, or the tools to carve it…so I started by making both of those.

I had a little bit of mold max 60 left over from previous projects, but not enough to make anything with, so I cast some small pucks of it to carve.  Nothing special, just filled some plastic caps I had from jars and made three pucks.  See here for how to use Mold Max 60, or just buy some stamp rubber from any craft store, its super cheap.  I just like doing things with what I have on hand.

But I didn’t have any tools…so I took some sheet metal I had, and bent and sharpened then until they looked like the carving tools I had looked up on the internet.  I used a technique very similar to how I made the wax carving tools.

To get the larger more shallow carver I used a metal rode to bend the sheet around after sharpening it.  The vice grips are just holding the sheet while I hammer.

I put sharpened up some dowel rods and put some epoxy in there to keep them strong, only made two, and ended up doing a fine job of carving.


I started by sanding down one puck to get rid of the shine left by the casting process.

Then I printed out a template and got to carving.  The tools woked well, but I realized half way through, that for such a simple design o could have just cut the shape out with a saw. 

The floppyness of the rubber was making it hard to get good stamps.  So I built a backer.

I had some aluminum clad black acrylic that was nice and stiff, so I cut a circle out and glued it and a small wooden handle to it.

Then I did a couple more stamps, cutting away any rubber that was messing up the design.

I realized the middle wasn’t getting inked because the ink pad was slightly warped, but I really liked the way it made a sort of cloud pattern inside the crow.

Came out well, and I still have plenty of materials to try and make some fancier ones.

Do you want to help me continue to bring you great projects, while also getting great rewards?  Then support me on Patreon!

Become a Patron!

Thank you!

Posted on

Thing A Week 9: Dune Inspired Jewelery Part 1

I am very into Dune, and re-read the original 6 books once a year.  During my many re-reads I noticed there are a bunch of instances of jewelry being mentioned. So I decided I would re-create them.

Kynes Rabbit Pin:

A copper pin engraved with the likeness of a hare clasped the neck of Kynes’ robe.  Another smaller pin with similar likeness hung at the corner of the hood which was thrown back over his shoulders. (pg 112)

Its a copper rabbit with a hand made safety pin so that it can handle large cloaks, or heavy knit weaves. I liked them so much I decided I would add them to my Etsy store.  (see how this one was made here)


Next was Kynes golden teardrop pin of rank he wears at the dinner.

Kynes Teardrop of rank:

The Duke looked at Kynes, noting that the planetologist wore an old-style dark brown uniform with epaulets of the Imperial Civil Servant and a tiny gold teardrop of rank at his collar. (pg. 127)

I made three of them, two with cut outs, and one solid one.  The two with cut outs I did the full size pin backer, and the one without a shorter one.  They will look really cool on jackets and other heavy clothing.

Buy one on Etsy here.

Next I made the Atreides Hawk Crest:

The entrance door swung wide. Atreides guards emerged swiftly, all of them heavily armed-slow pellet stunners, swords and shields.  Behind them all came a tall man, hawk-faced, dark of skin and hair.  He wore a jubba cloak with Atreides crest at the breast. (pg 104)

I wanted to make this pretty hefty, so I decided to cast it.

First I carved it out of wax, then drilled some small holes in the back for the pins.

I cast the wax positive in mold max 60, leaving the pins in.

Then when it comes time to cast the crest, I put two pins into the holes so that the metal would flow around them and encapsulate them into the final crest.

After I cleaned the crest up, cutting off the sprue, and polishing it a bit.  I had this.

I wanted to try my hand at making it look more like copper. So I got some copper leaf, and some size (thats what the glue for using metal leaf is called).

First you paint a very thin and even layer of size on the piece, and wait an hour or two for it to dry.  Once it is tacky you can apply the foil.  Using a brush and a careful hand.

I made another one in silver, but in the books they are described as being red, so I thought copper a bit more appropriate.

I am also going to be listing these in my etsy store.

Do you want to help me continue to bring you great projects, while also getting great rewards?  Then support me on Patreon!

Become a Patron!

Thank you!

Posted on

Thing A Week 8: Run The Jewels Fist and Gun Hand Earrings

I liked the last two weeks projects so much (carving/casting the crow skull), that I decided I wanted to do some more carving and casting. Now that I have practiced a bit I think I can do it all in one week.

Update: See the finished product here!

I have been listening to a lot of Run The Jewels lately (if you have not heard them, check them out they are great!).  Their logo is two hands in a fist and gun.

So I got out some wax, and started carving!

I took the time to drill two tiny holes in the back, and made some little copper loops, so that when they are cast they would have them pre-formed.  I want these two be earrings, so they are pretty small.

They would also make nice charms.

I then used the same method as before, placing them in clay, casting one half, and then flipping and casting the other half.

Don’t forget the mold release!  Or you will end up with a solid block of silicone.  Again I used high temp mold max 60 from smooth on.

I then cut in some air vents, and pour spouts, being careful to make the air vents smaller this time.  I didn’t know if cutting two different pour spouts into one mold would work, but it works like a charm.

They came out better than I could have hoped!  Lovely and shiny.  I am really surprised by just how detailed you can get with pewter, its pretty amazing stuff.

Do you want to help me continue to bring you great projects, while also getting great rewards?  Then support me on Patreon!

Become a Patron!

Thank you!

Posted on 3 Comments

Thing A Week 7: Casting A Crow Skull In Pewter

Last week I carved a wax crow skull, or at least sorta one (I am no sculptor). Now I want to cast it in Pewter.

(Update: See some of the finished products I made from this here)


Before I can do that though I have to make a mold.

First I got a plastic cup and cut the bottom off.

Then use some molding clay to fill the bottom.

I then took the carving I made and carefully pressed it into the clay, carefully smoothing it around the model.  I think made sure that roughly half the wax was “under the clay.”

I then took one of those little wood things that come in flat pack furniture, and made some distinctive indents into the clay, making sure to leave room on one side for a future sprue. I found 3 to be the ideal number of divots that left room, but also made it so the mold would index.

Then I mixed up a small batch of Mold Max 60, a high temp. silicone that will withstand the heat of “low temp” melt metals like tin and pewter.

I mix in one cup, and then scrape the whole works into another cup.  This makes sure you don’t have any gunk on the bottom that is unmixed. Follow the instructions, use a scale, and if you have it use a vacuum chamber to degas the silicone.  Then wait 24 hours.  This stuff smells pretty rubbery, so do this in a well ventilated area.

Cut the cup away, and slowly remove the clay.

Carefully clean off all the clay, and very carefully cut away any flash that might have leaked in (around the beak area you can see some).  I used a brush to get clay out of the cracks.  DON’T pull the wax model out, you want it nice and snug in there.

Take that clay and flatten it out, then make a little wall around your mold. Its very important that you spray a layer of mold release on it at this point, or you will end up with a huge chunk of solid silicone.

You can see the mold release shiny area.  Follow the instructions on the can.  Then mix up another batch and pour it on top.  Wait another 24 hours.

Carefully crack that bad boy open, and see if everything came out ok.

Success!

I then carefully cut a pour spout, and some air vents.  I then realized the air vents were probably too big, so I put a little chunk of copper wire in there.

Dust a little baby powder on the mold (these pictures are from before I cut the vents) and push it into all the cracks with a fine brush.

Get some pewter, I got this big hunk off the internet, it was pretty cheap, I just use a torch to melt some off the end, I also had some leftover bits from previous pewter projects, so I dumped those into the crucible as well.

Heat it up until it balls up into a lump, it doesn’t take long, then scrape the gunk off the top with a spoon.  That gunk is impurities and will make your casting ugly.

I put a rubber band around the mold, and stuck it between two fire brick with a metal pan under them to catch any spillage.

I dumped it in slowly, and gave the side of the mold a tap.  You might have to do this more than once until the mold warms up.  But if you mess up just melt everything down and go again.

Let it sit for a while until the top part solidifies, than crack it open and see what you got.

I cut off the sprues with a wire cutter and jewelers saw.

I think cleaned them up with a file, and polished them a bit.

If you want to darken them up a bit, dip them in some ferric chloride (its the stuff you use to etch copper), it turns pewter a lovely dark color.  Ferric Chloride is an acid, so put some gloves on.

Then polish up the high spots and you have a pretty nice looking pendant. I made the model with a little hole in the back of the skull to put a chain through, it didn’t come out in the mold so I just used a drill to open it back up.

This is the second time I have used this casting method for small things, and have had really good success both times.  I like it so much that I think I am going to make some more things over the next couple weeks.

Do you want to help me continue to bring you great projects, while also getting great rewards?  Then support me on Patreon!

Become a Patron!

Thank you!

Posted on 1 Comment

Thing A Week 6: Carving A Wax Crow Skull

I want to make a pewter casting of a crow skull for a pair of earrings.  The only problem is, crow skulls are too big for earrings, and I don’t have a crow skull.

I do have carving wax and some wax carving tools, so I decided I would make a scale model of a crow skull, and use that for the mold instead.

The first thing I did was go online and get some pictures of crow skulls from the top, side and front.  I think printed these out nice and big so I could check them while carving.

Then I cut out a chunk of wax roughly the right shape, and began shaping it.


I used a jewelers saw and a file to shape to this point.  I just scratched the rough design onto the wax to give me some idea of when to stop cutting bits off.


Basically I just kept holding it up, looking at it from all sides, and then staring at the pictures I had printed out.  Scraping, picking, etc.  Next week I am going to attempt to cast this in a mold and make some pewter earrings/pendants.

Do you want to help me continue to bring you great projects, while also getting great rewards?  Then support me on Patreon!

Become a Patron!

Thank you!