Posted on

Working On Some Tree Silhouette Head Badges

Its really hot, and all the copper dust is mixing with my sweat and turning my hands green. I like to sit and work on these in one continuous cut, it takes about two hours and my back gets very sore from hunching over, but if I take a break or do it in more than one cut they never seem to come out as good as if I just power though…

Posted on

Silver And Shell Pendant

The silver wire took a long time to wrap delicately around the “bones” of the pendant, with special care spend on spacing and making sure each one is well adjusted. The shell had been weathered to a fine polish which really looks good when combined with the silver. I am happy how this came out as it was my first attempt at anything like this. I will be making more of these in the future. It is also nice because I really like to pick things up off the ground and put them in my pocket and I have a bucket of little nick nacks that I need to do something with.

Posted on

Chain Examples

Previously I talked about how to make jump rings for chains (part 1 and 2), below are a couple more examples of chain patterns.

14g copper on the left 18g aluminum on the right

double double pattern on the top, Inca Puno pattern on the bottom

The type of chain you make is basically dependent on two features the thickness of the wire, and the size of the thing you wrap it around (mandrel). If your wire is too thick, or your mandrel too small you wouldn’t be able to do a complicated pattern (like the aluminum chain above), similarly if your wire is too thin, or mandrel too big your chain will be all floppy and not look good.

Posted on

Thoughts On Wampum Bead Making

I tried to make my own wampum bead tonight, just one. For those who don’t know (and can’t be bothered to follow the link above), wampum are beads made from a certain kind of shell found on the east coast. These shells have a white area, but a small purple area as well, and that is the part you make the purple bead from.

All I have to say, is wow…this is hard. I mean first you bust the shell up into little chunks. This part was fun, and I got to use a hammer. Then you have to drill a hole through the chunk, this was a not hard, but took a long time.

Then you have to shape the bead…holy shit (pardon my French). You need some serious zen like patience. I think I am going to give up and go outside with a dremel and see what kind of mess I can make tomorrow because after about an hour of chipping away at this thing it doesn’t even look close to what I have seen in pictures.

You can also see that in my desire to drill through this bad boy I pushed too hard and the exit hole is a little ugly. If you ever get your hands on some of these beads that was made by hand (especially if they were made in the old way) you should treasure them, as they are really really hard to make!

Posted on 2 Comments

Making A Brass Name Tag For Your Bicycle

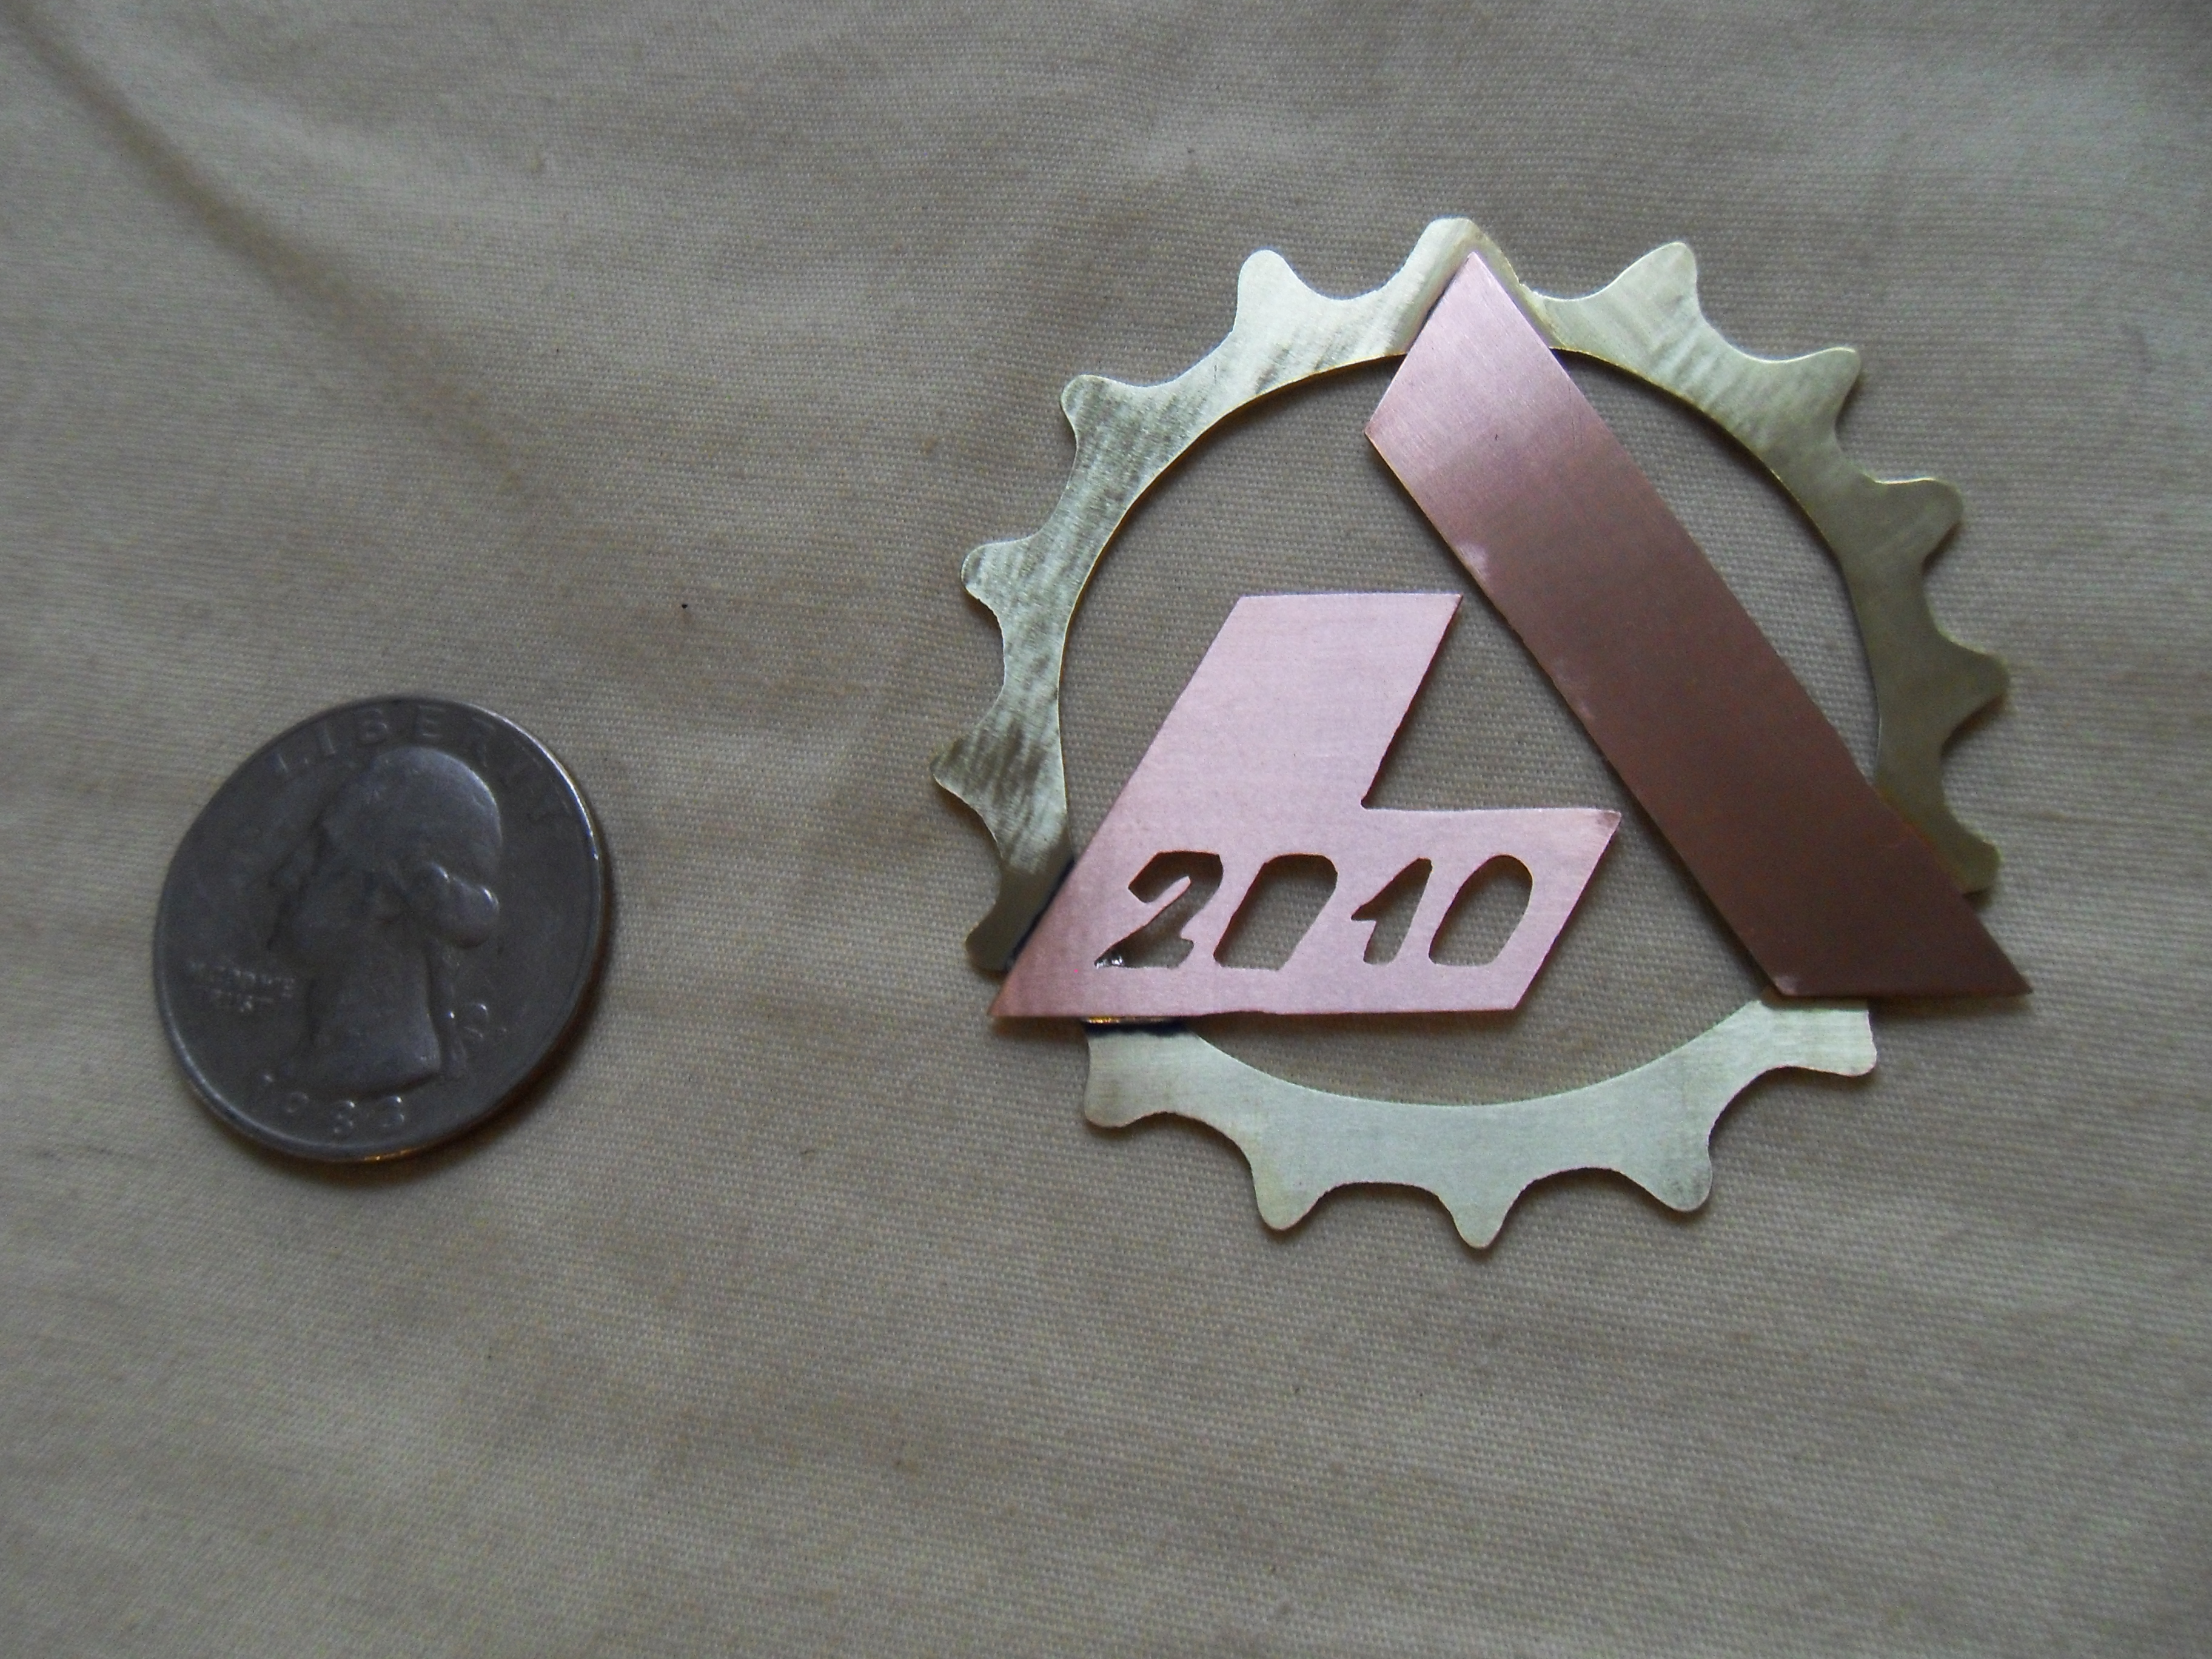
A lot of people I know like to name their bicycles. A friend of mine calls her bicycle Oliver, so I decided to make her a little name tag for her bike.

Things you will need for this project

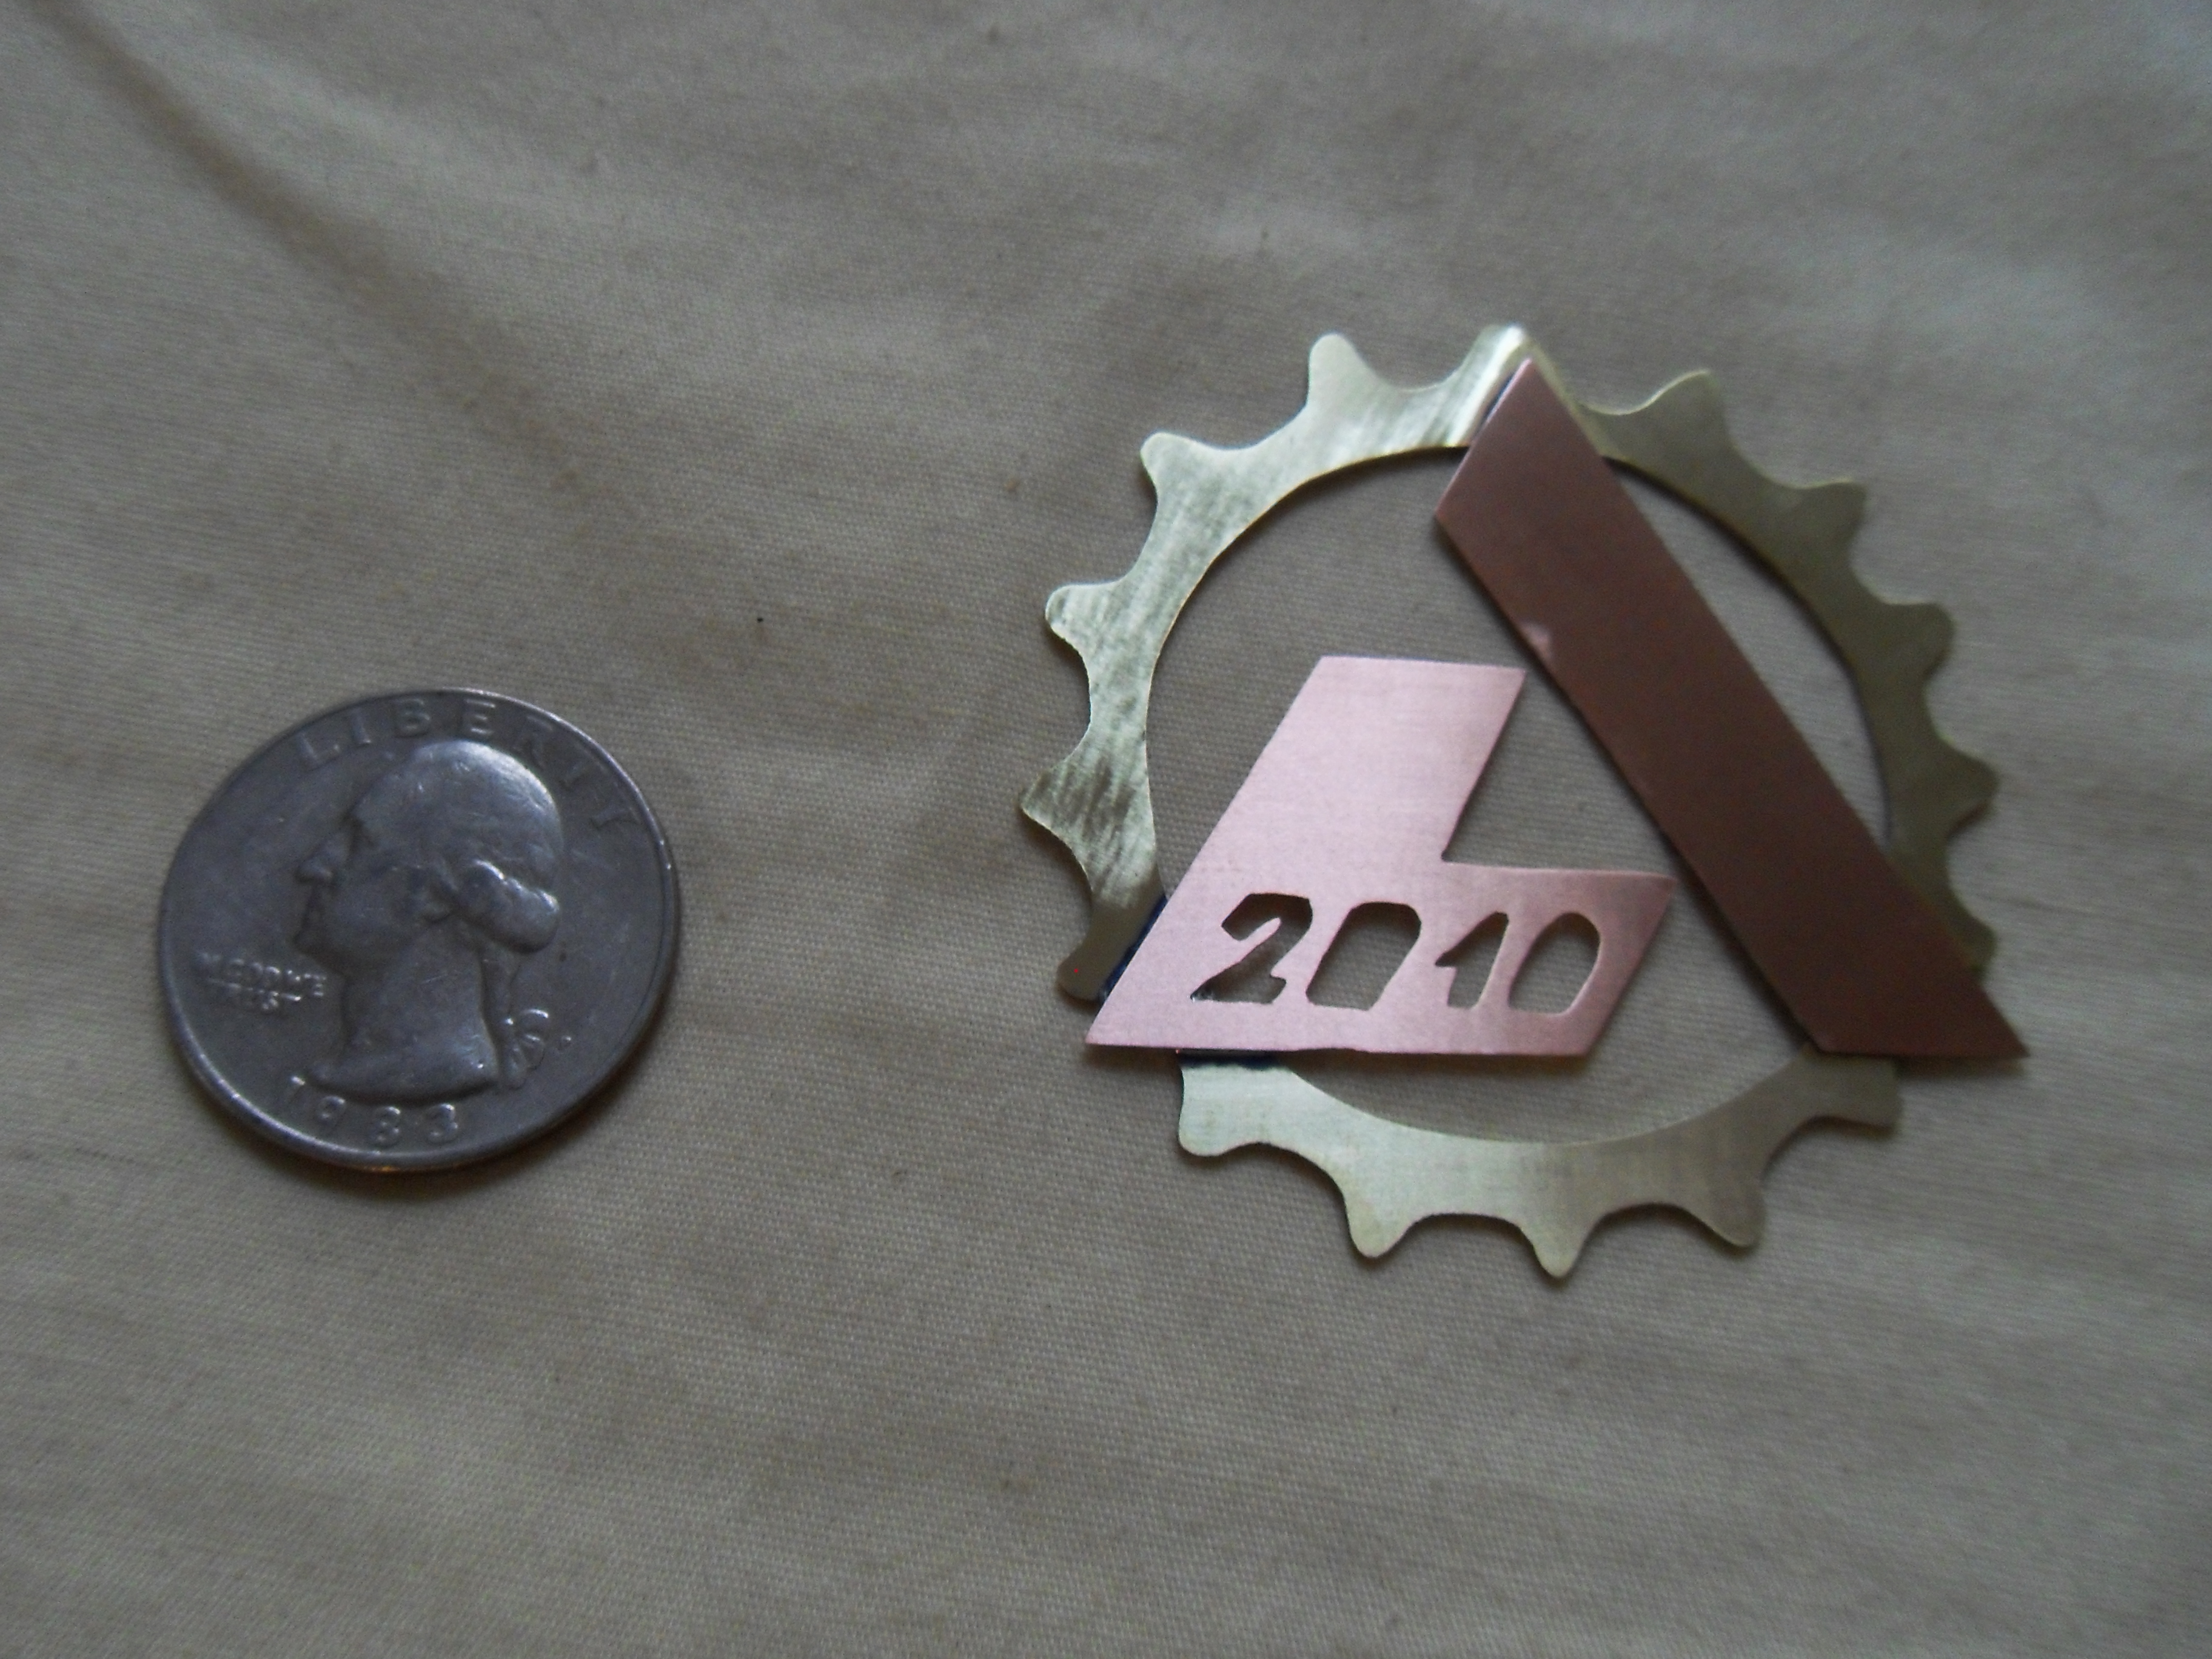
26g Brass Plate (polished to a high shine)
jewelers saw
burnisher
rubber cement
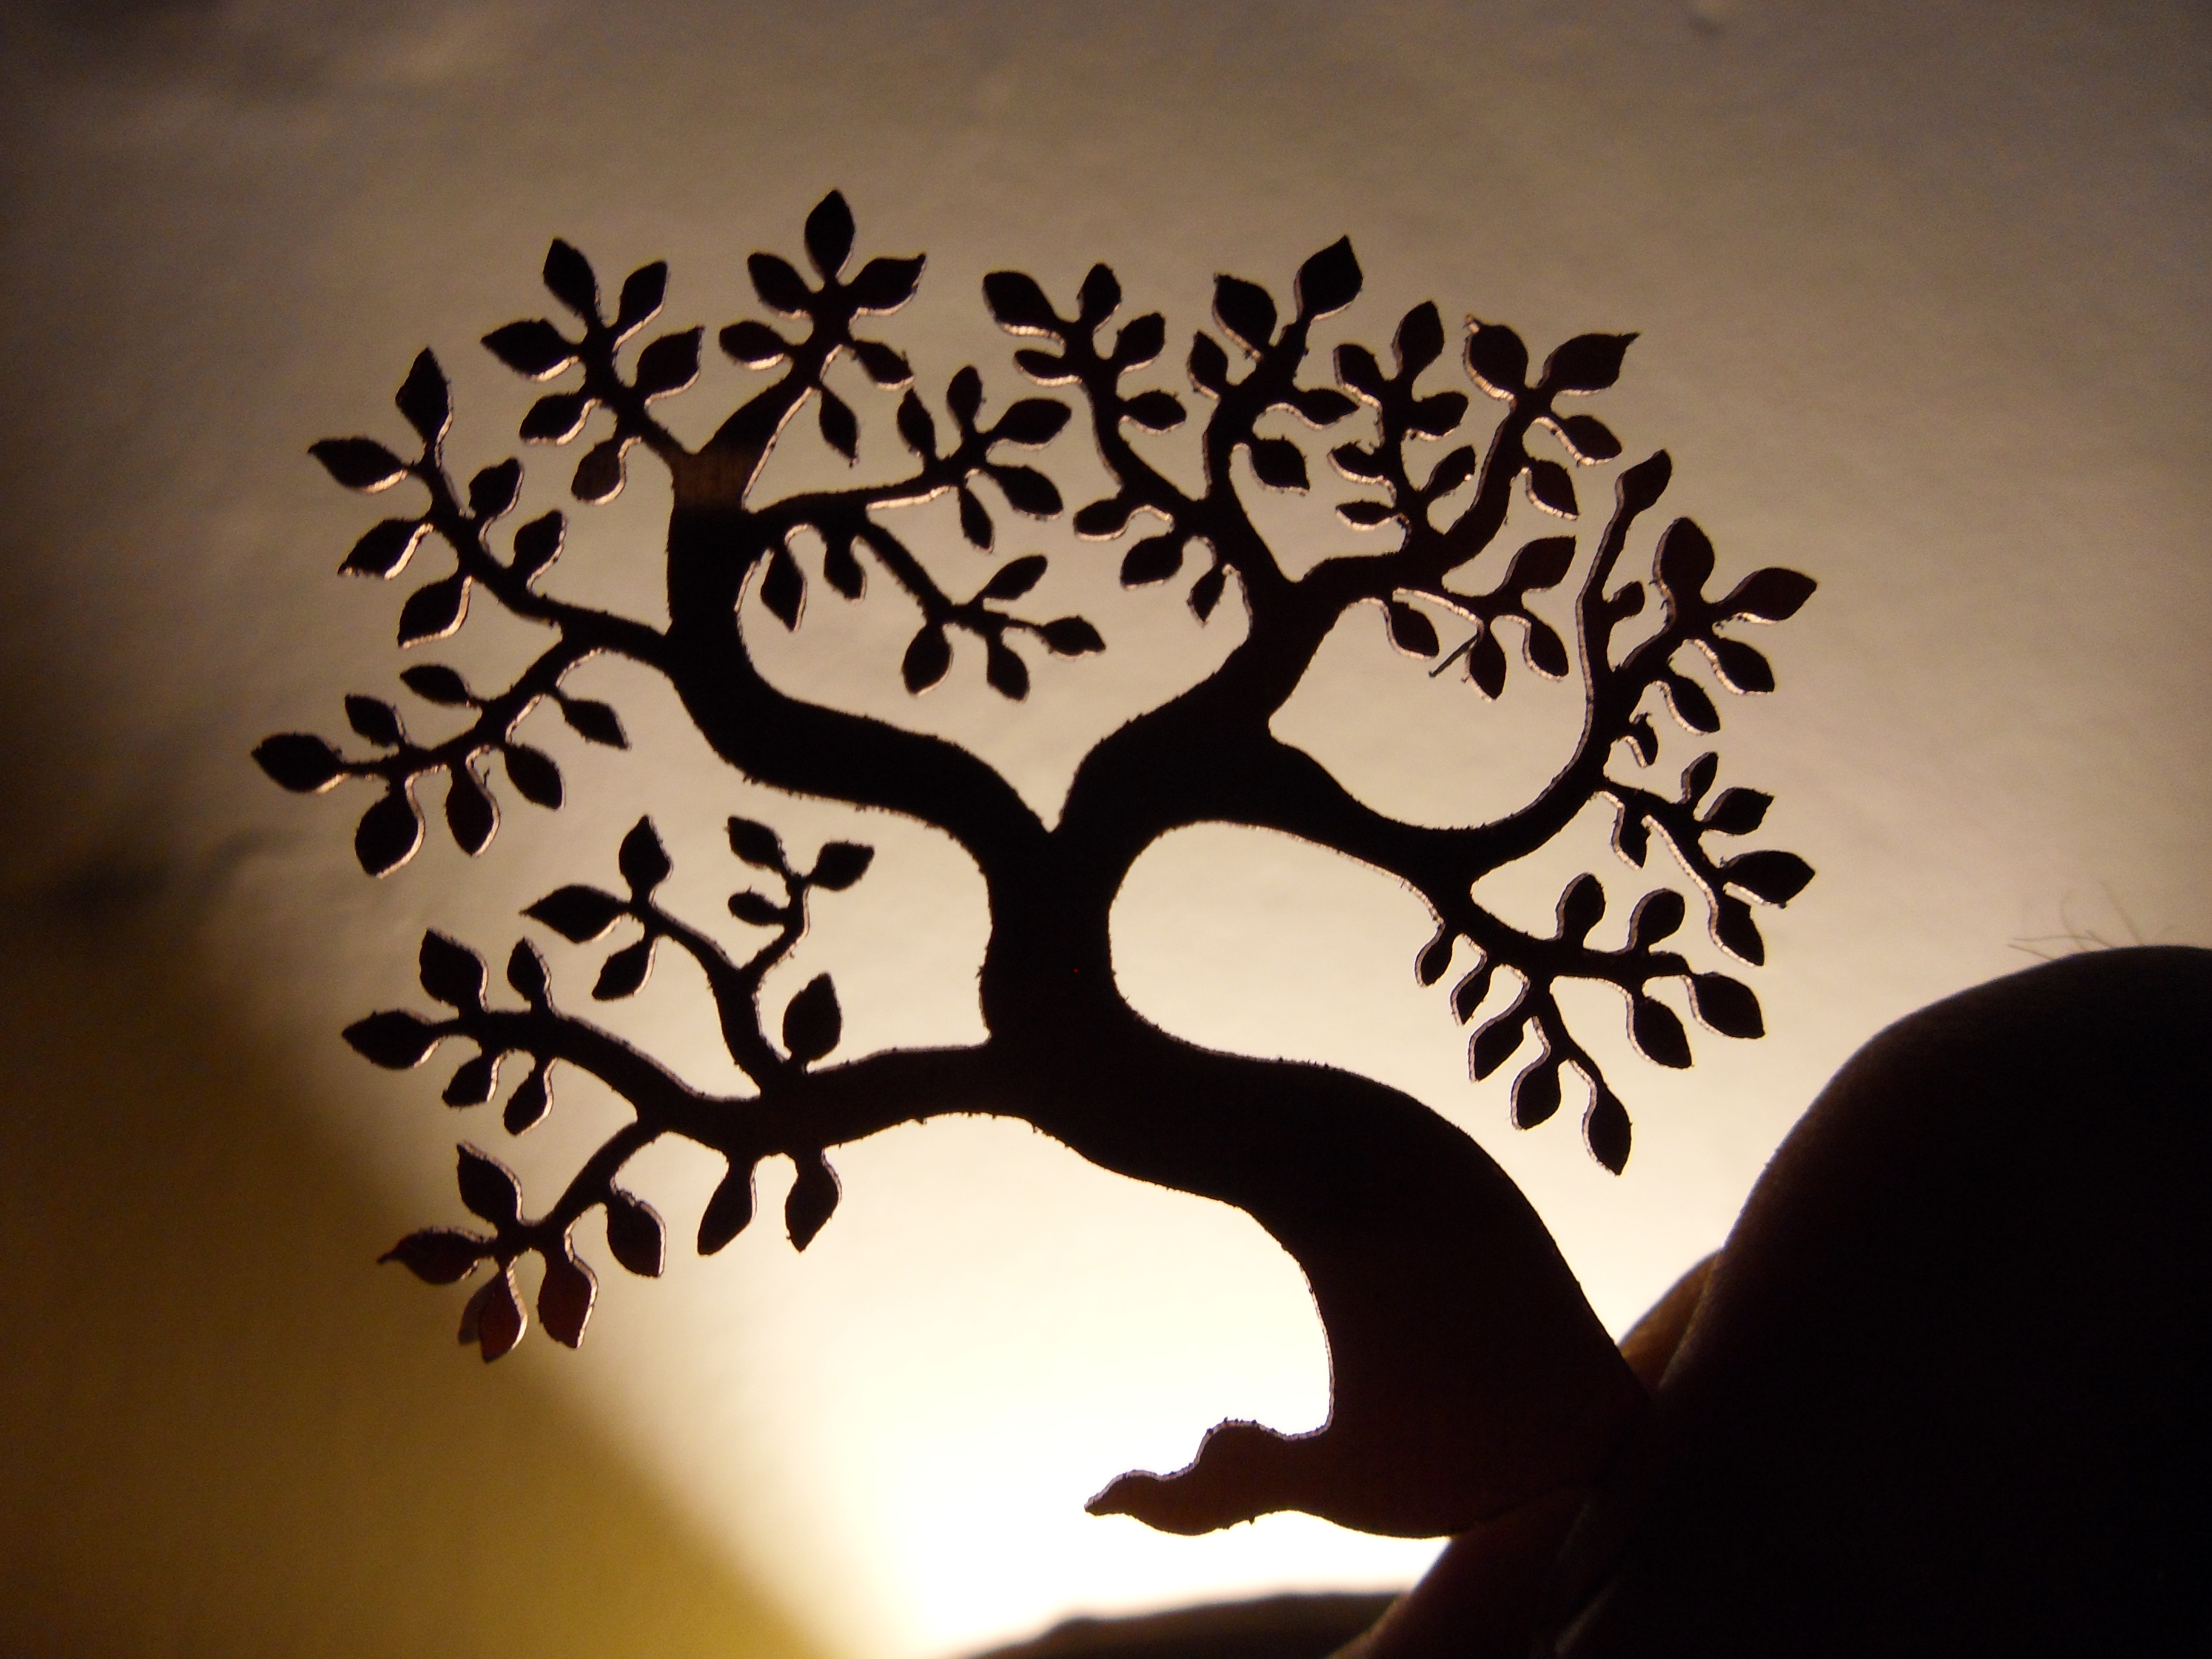
print out of design you want to cut out
needle vise
drill bit
eye protection
dust mask

Start by cutting your brass plate down to the size needed for the project, polish it to a high shine (I used various sand papers working down to finer and finer grit).

Cut out your design, leave some space around the edges.

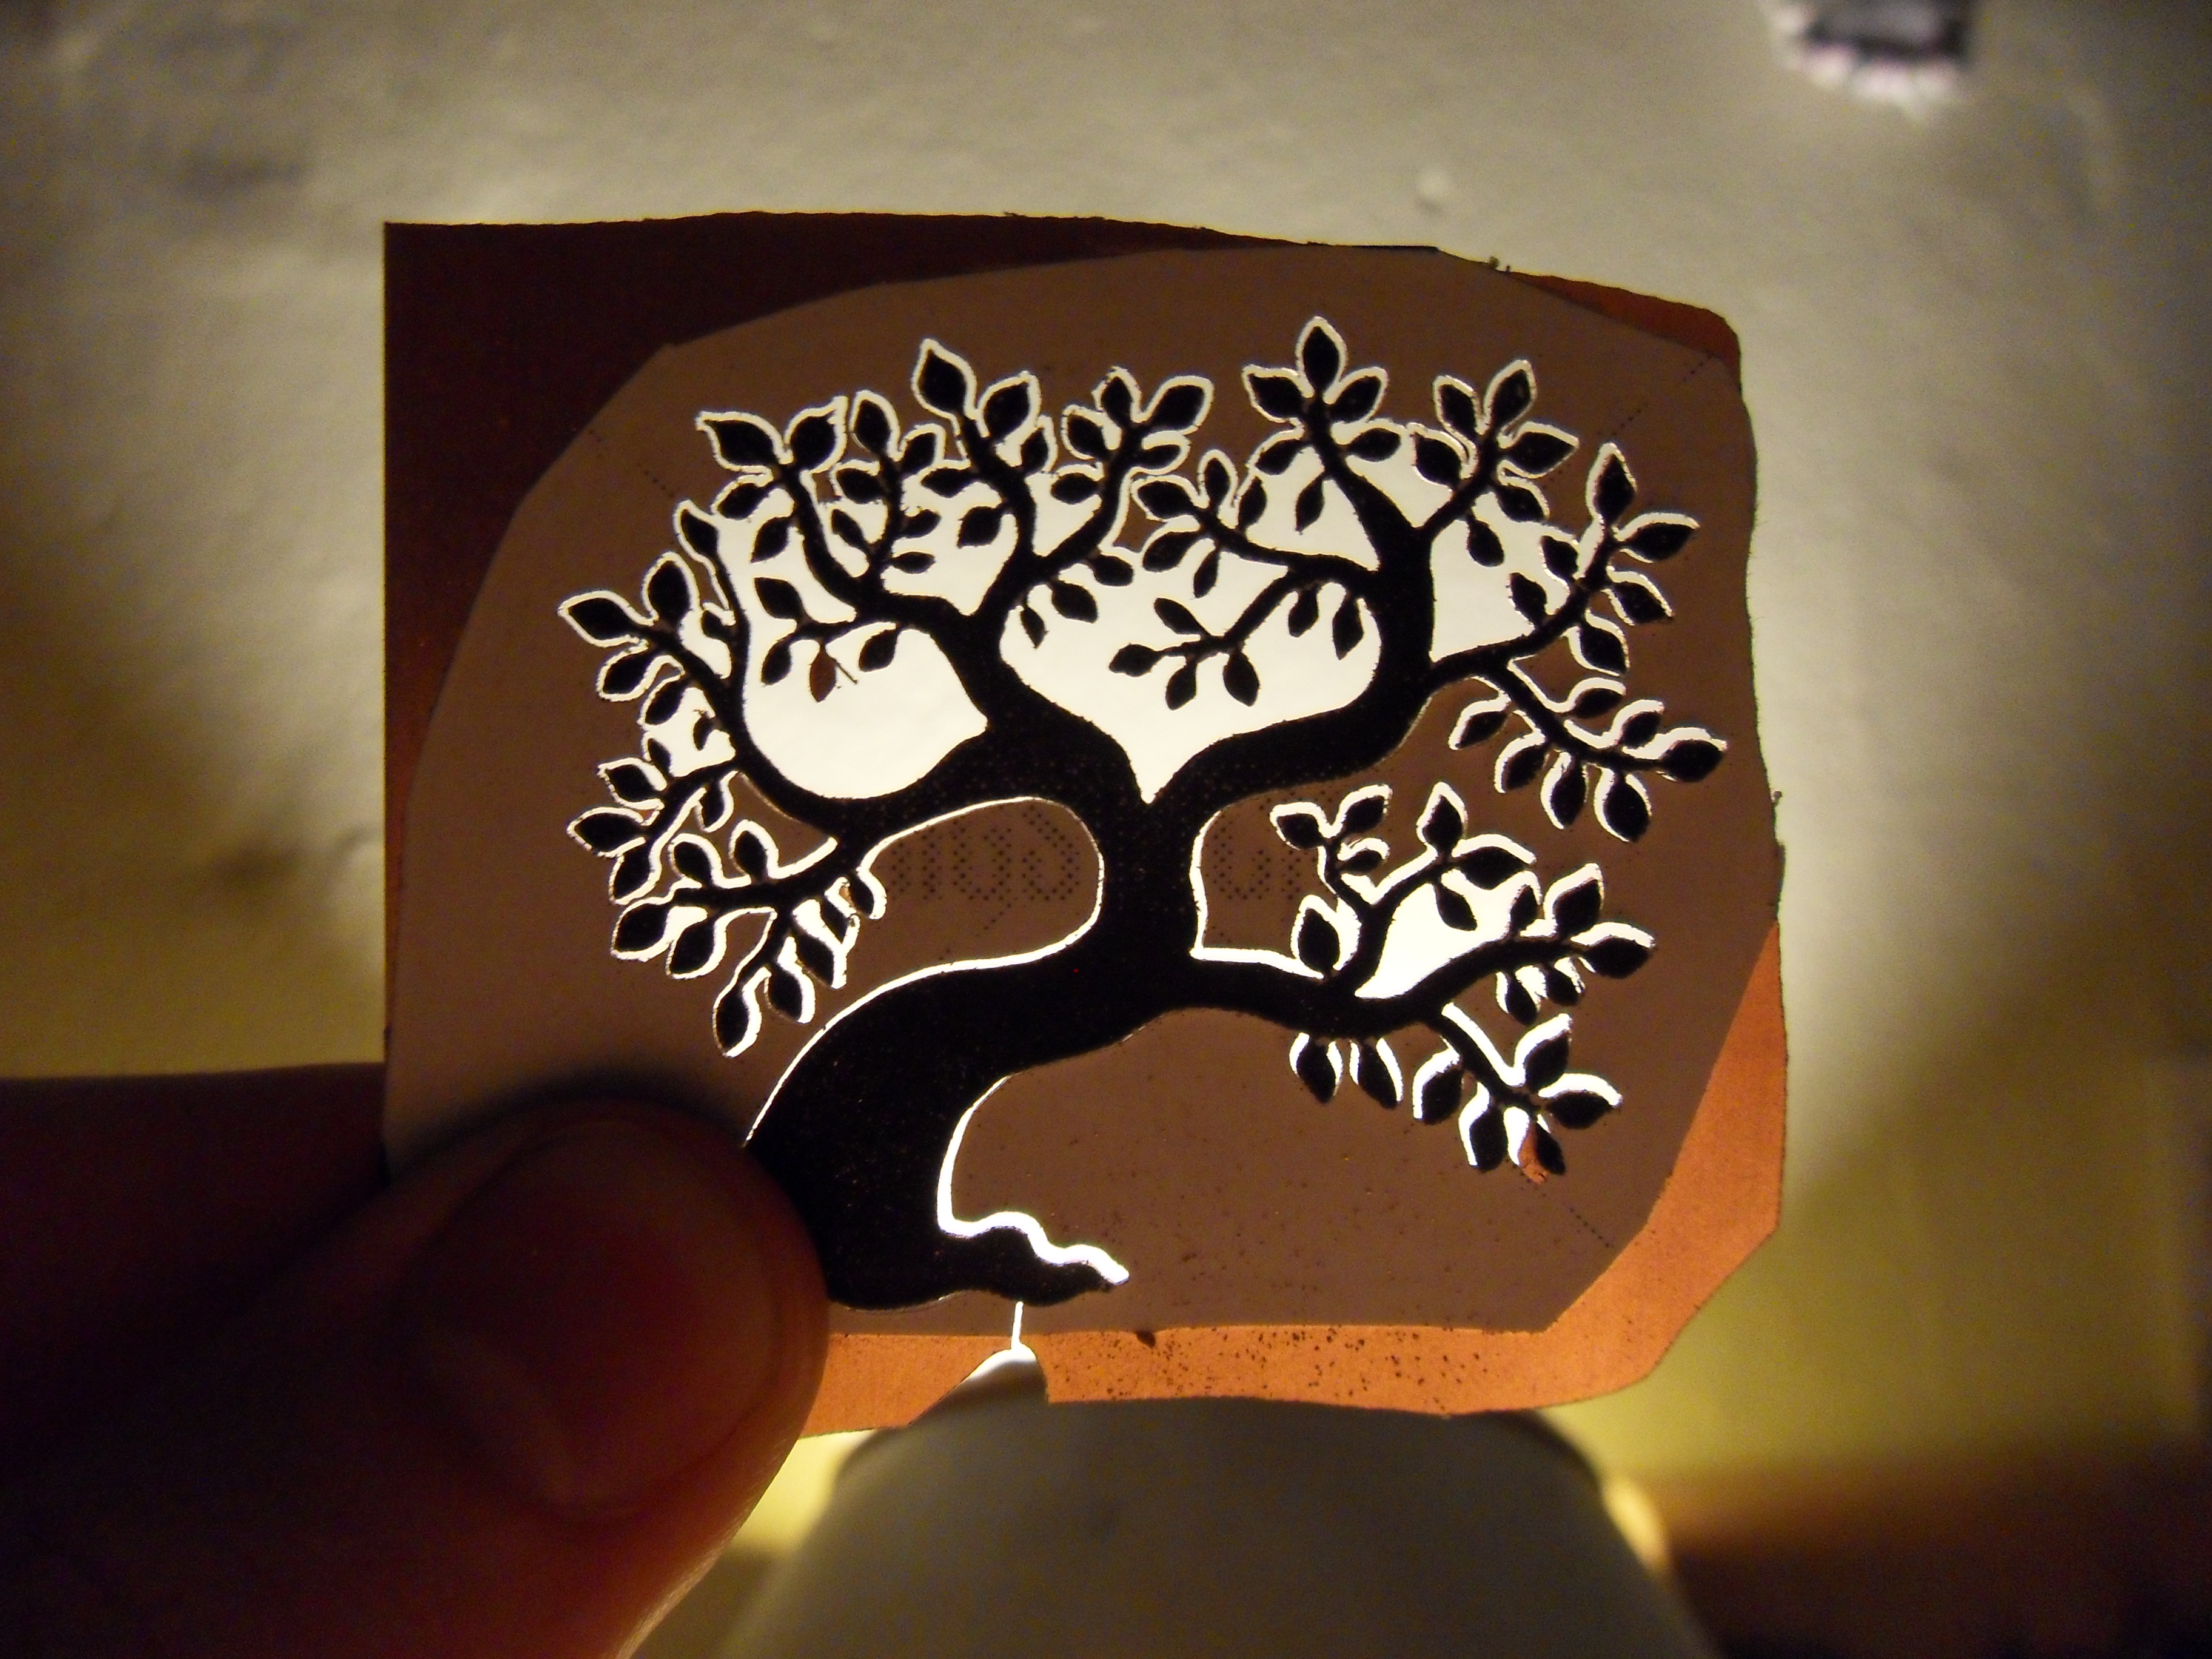
Apply rubber cement to your (clean and dry) brass plate, then apply your design

Use the burnishing tool to get all the air bubbles out and to make sure every single part of the design is fully pressed to the plate.

Wait till the rubber cement sets up. This takes about five minutes.

Get your pin vise, and choose a drill bit that can drill through metal, make sure your drill bit is small enough to fit inside the portion of your design you want to cut out.

These tiny little drill bits are very fragile, but sure not to put too much force on the bit as you drill the holes. Drill your hole straight down, making sure to keep the drill perpendicular to the metal.

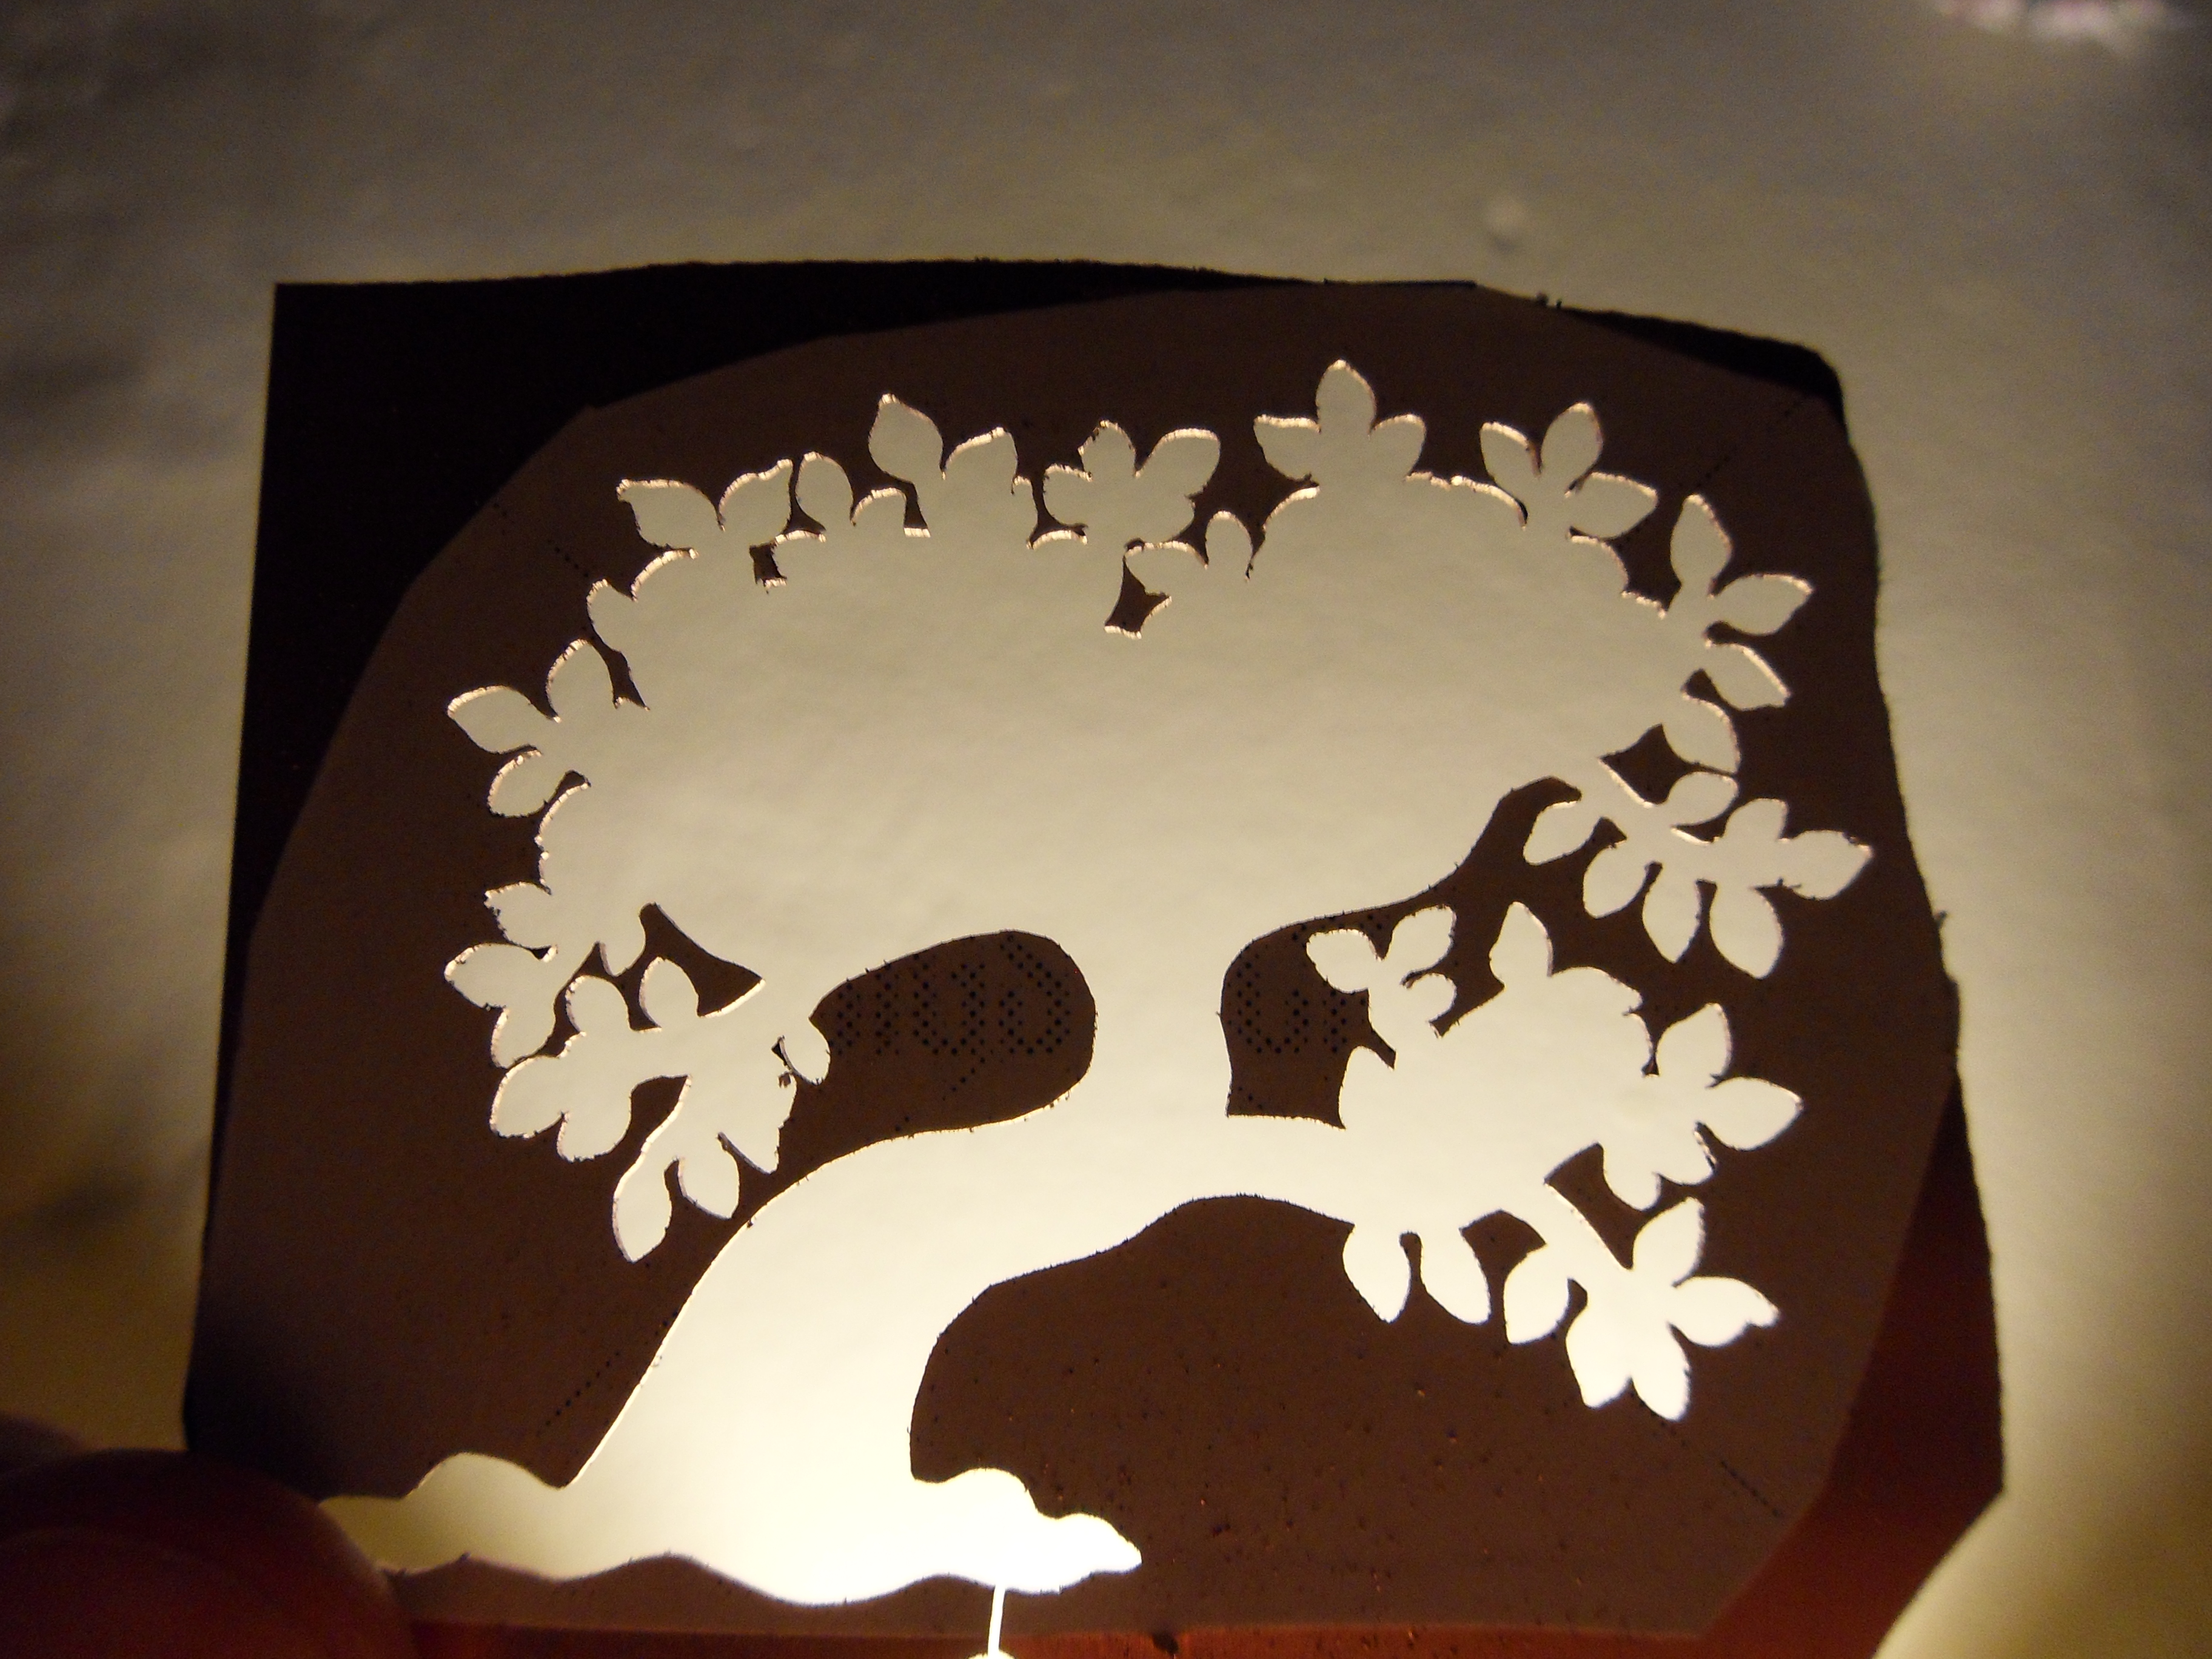
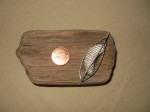
When you are done you should have little holes in each part of the design you want to remove.

You are now going to thread your jewelers saw, affix the blade in the bottom half of the saw, then thread your saw blade through one of the hole you just drilled out. Carefully affix the top half of the blade making sure that the saw is properly tensioned. Its easy to break a blade here so be sure you have eye protection. Also because we are about to make a lot of metal dust its a good time to put your dust mask on.

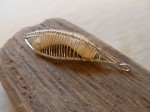
Hold your saw straight up and down, and make smooth easy strokes using the saw to slowly cut around the design printed on the paper.

Be careful not to pull down too hard or you can bend fragile parts of the design. After you cut out each place you will have to detach your saw from the frame and move to the next hole.

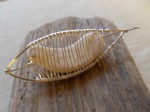
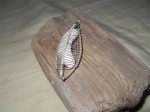
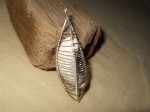
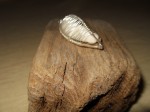
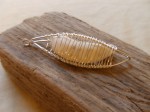
When you are done carefully peal off all the paper, and rub off any rubber cement left over, give the piece one last polish with a cloth. I rounded off the edges and gave the edges a good taste of the burnisher to give it a high shine.

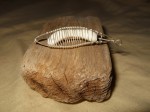
To affix it to your bike you can gently bend it over the top tube, and affix it with jb weld, or other strong epoxy. You can also drill small holes in the corners and affix it with screws, or even use very strong 3m double sided tape.

If you don’t want the brass to lose its shine you can spray it with shellac, or give it a clear coat.

Its a great way to give your bike a little individuality.

Posted on 1 Comment

How To Make A Chain: Part Two, Assembly

(read part one first if you haven’t already)

There are many ways to make chains, from the simple, to the complex. Once you have made enough jump rings (see part one), you can experiment and find some styles you like.

Every chain made in this way follows a basic procedure.

1. Grab jump ring
2. Thread jump ring
3. Close jump ring
4. Repeat

This can be a tedious project, but the results are often amazing.

When you are closing the jump rings, be sure to use two sets of pliers, doing it with your fingers will lead to sub-standard results, and over time will destroy them (seriously this hurts).

Grab both sides of the jump ring, and move the two ends gently towards the gap, sort of wiggling them back and forth while pushing them together, when you are get it just right it looks like a ring.

You can do simple patterns such as two rings then two rings then two rings, or you can do fancier stuff like the following.