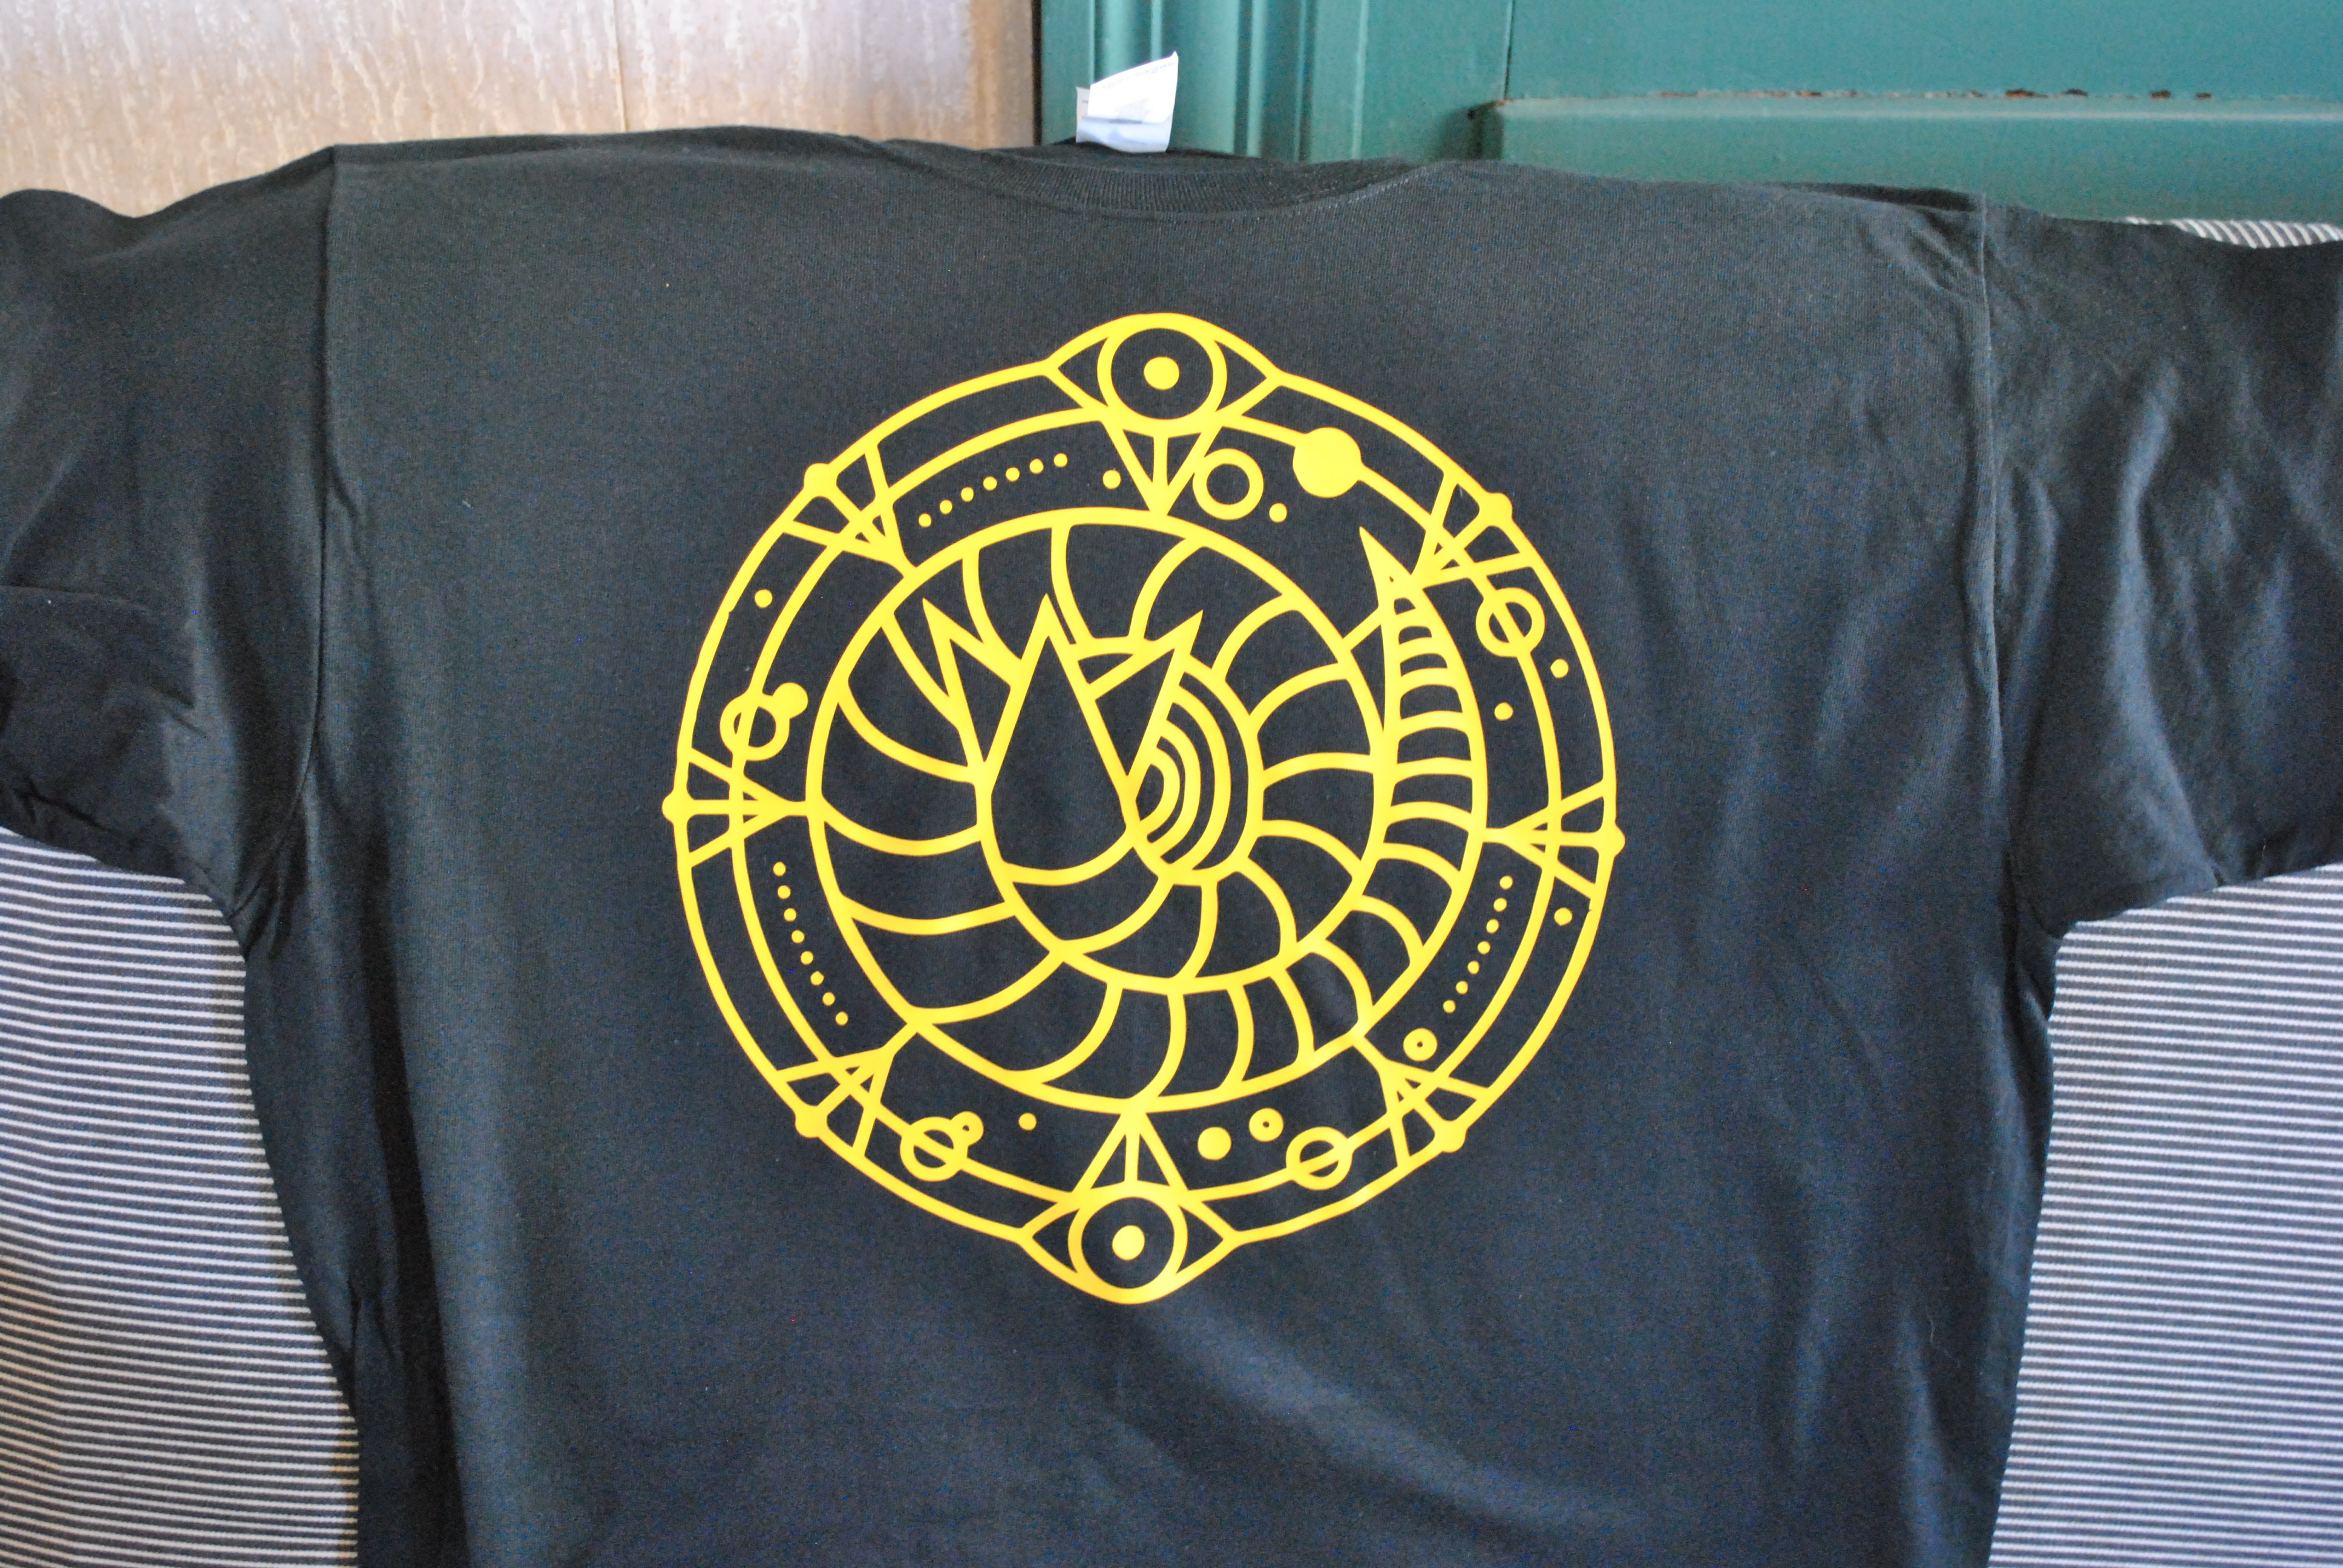

The spice must flow! If you like them you can get one here.
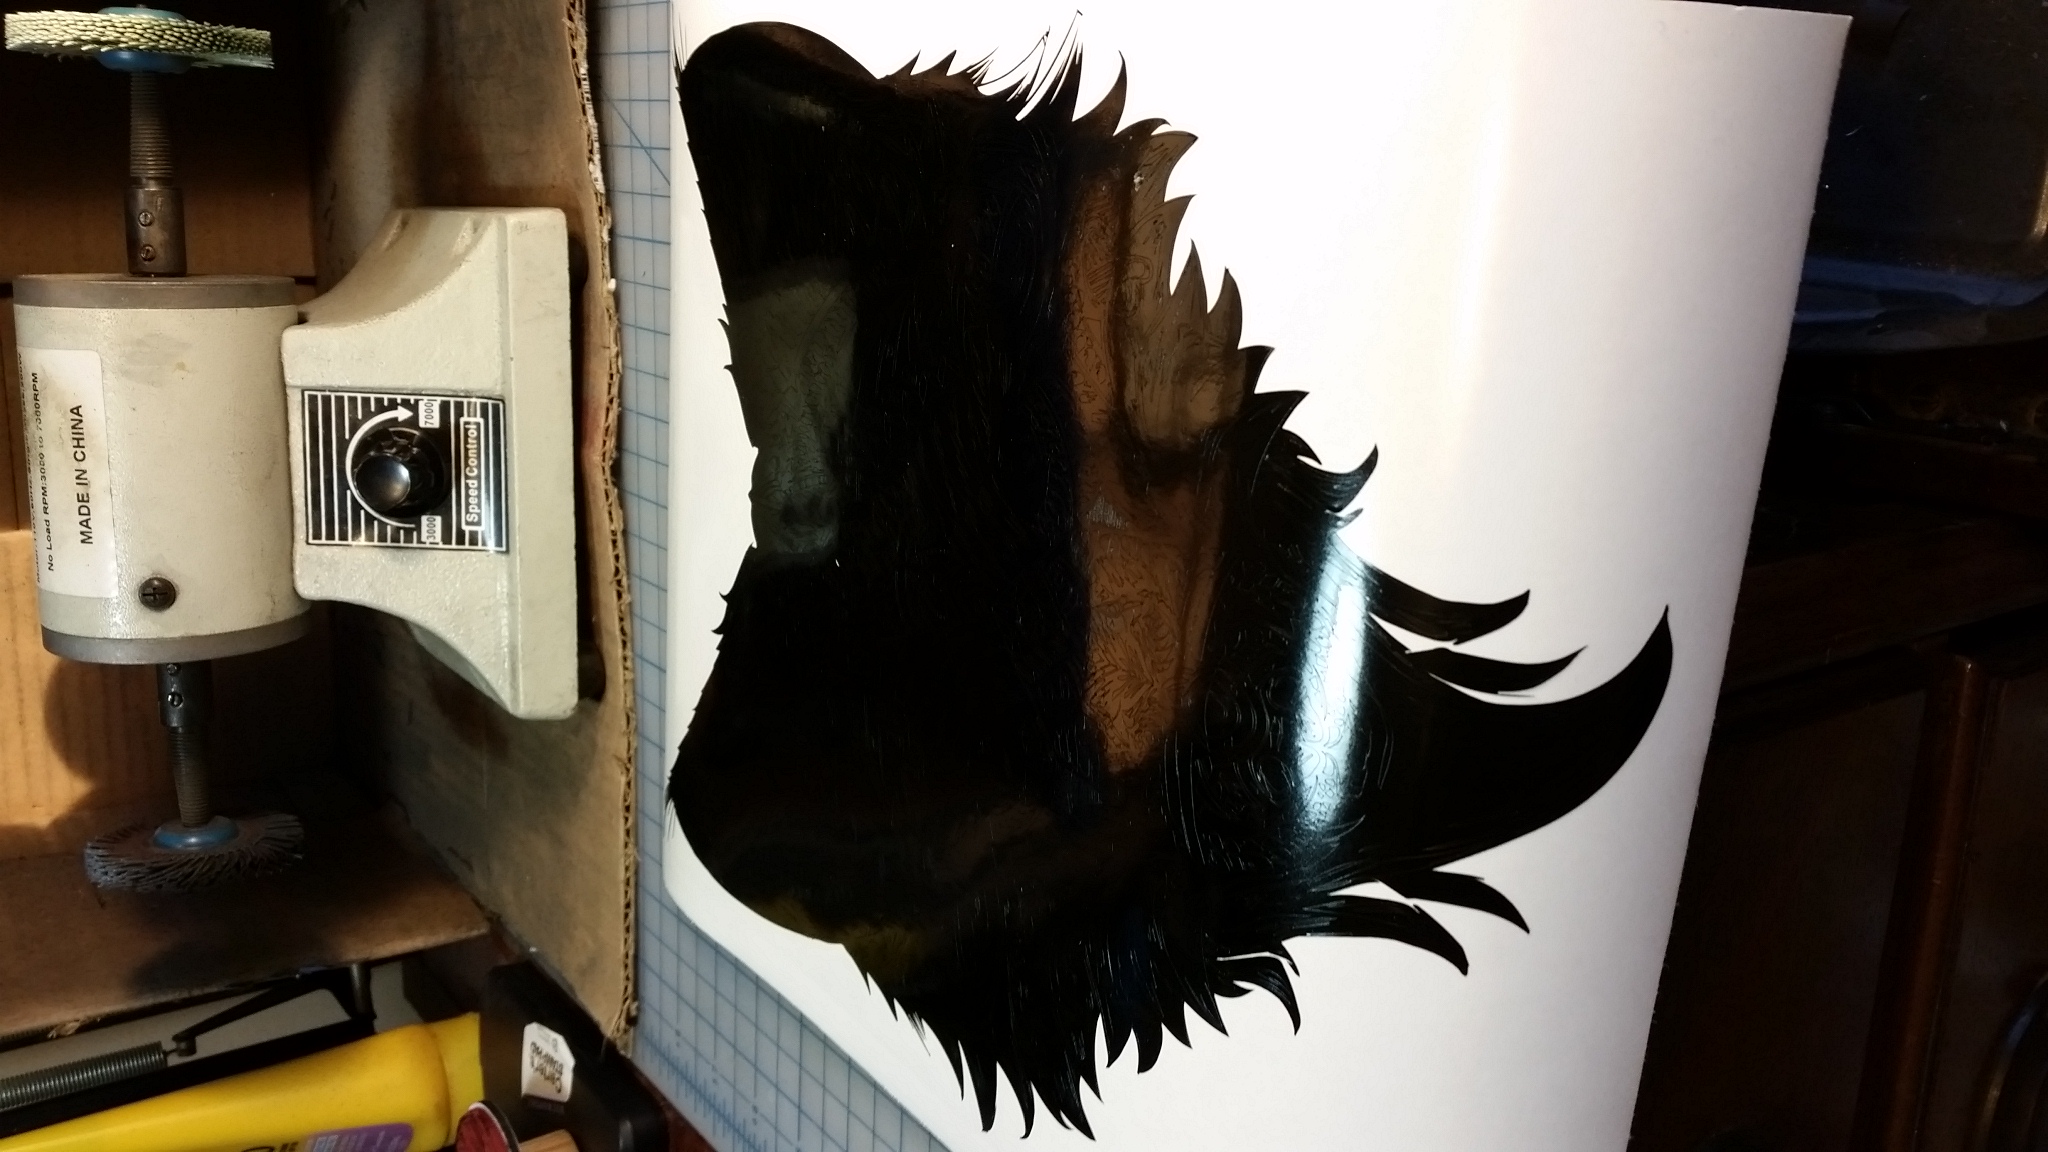
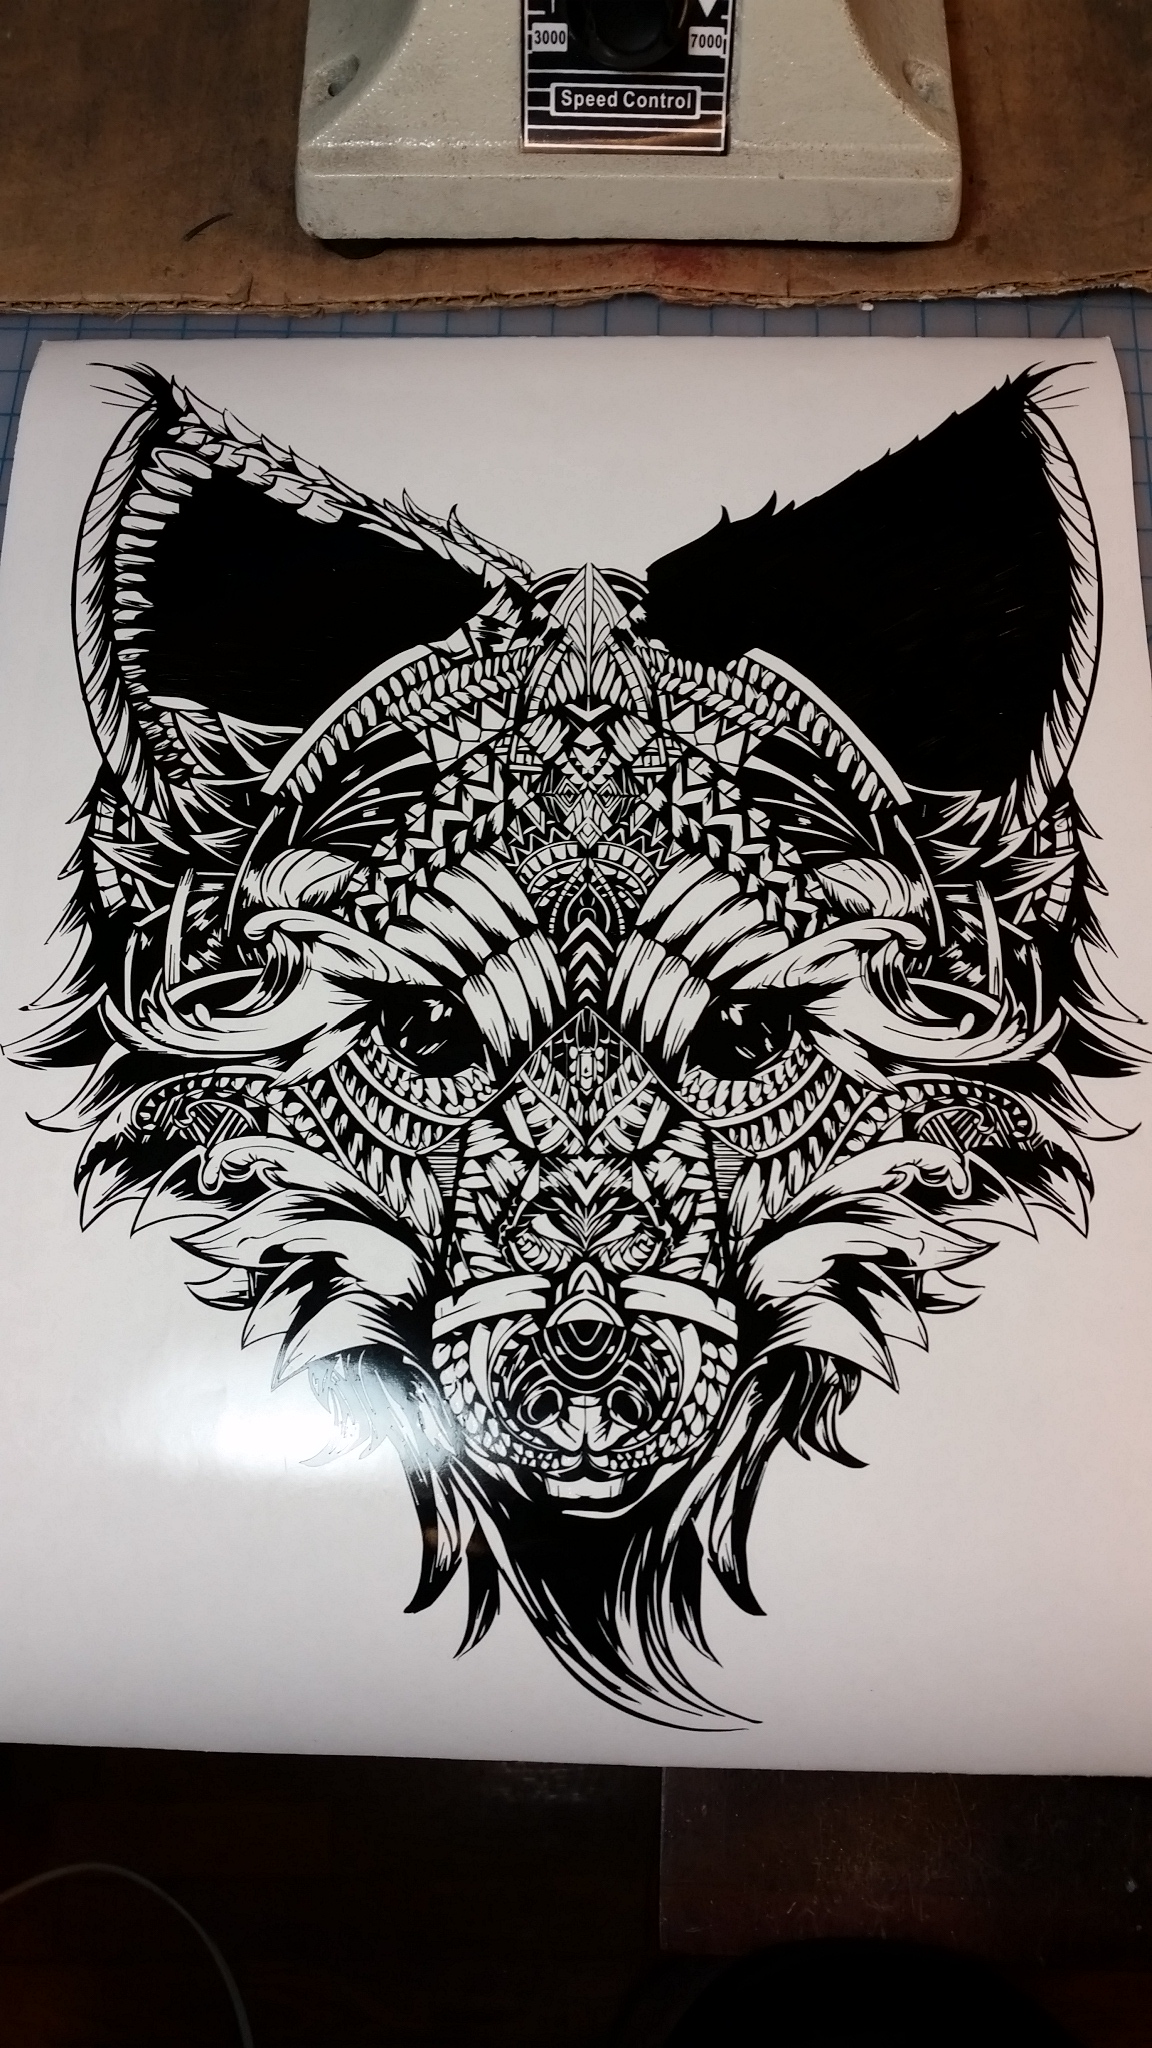
You ever just do something to see if you can? That’s what this vinyl decal was about.
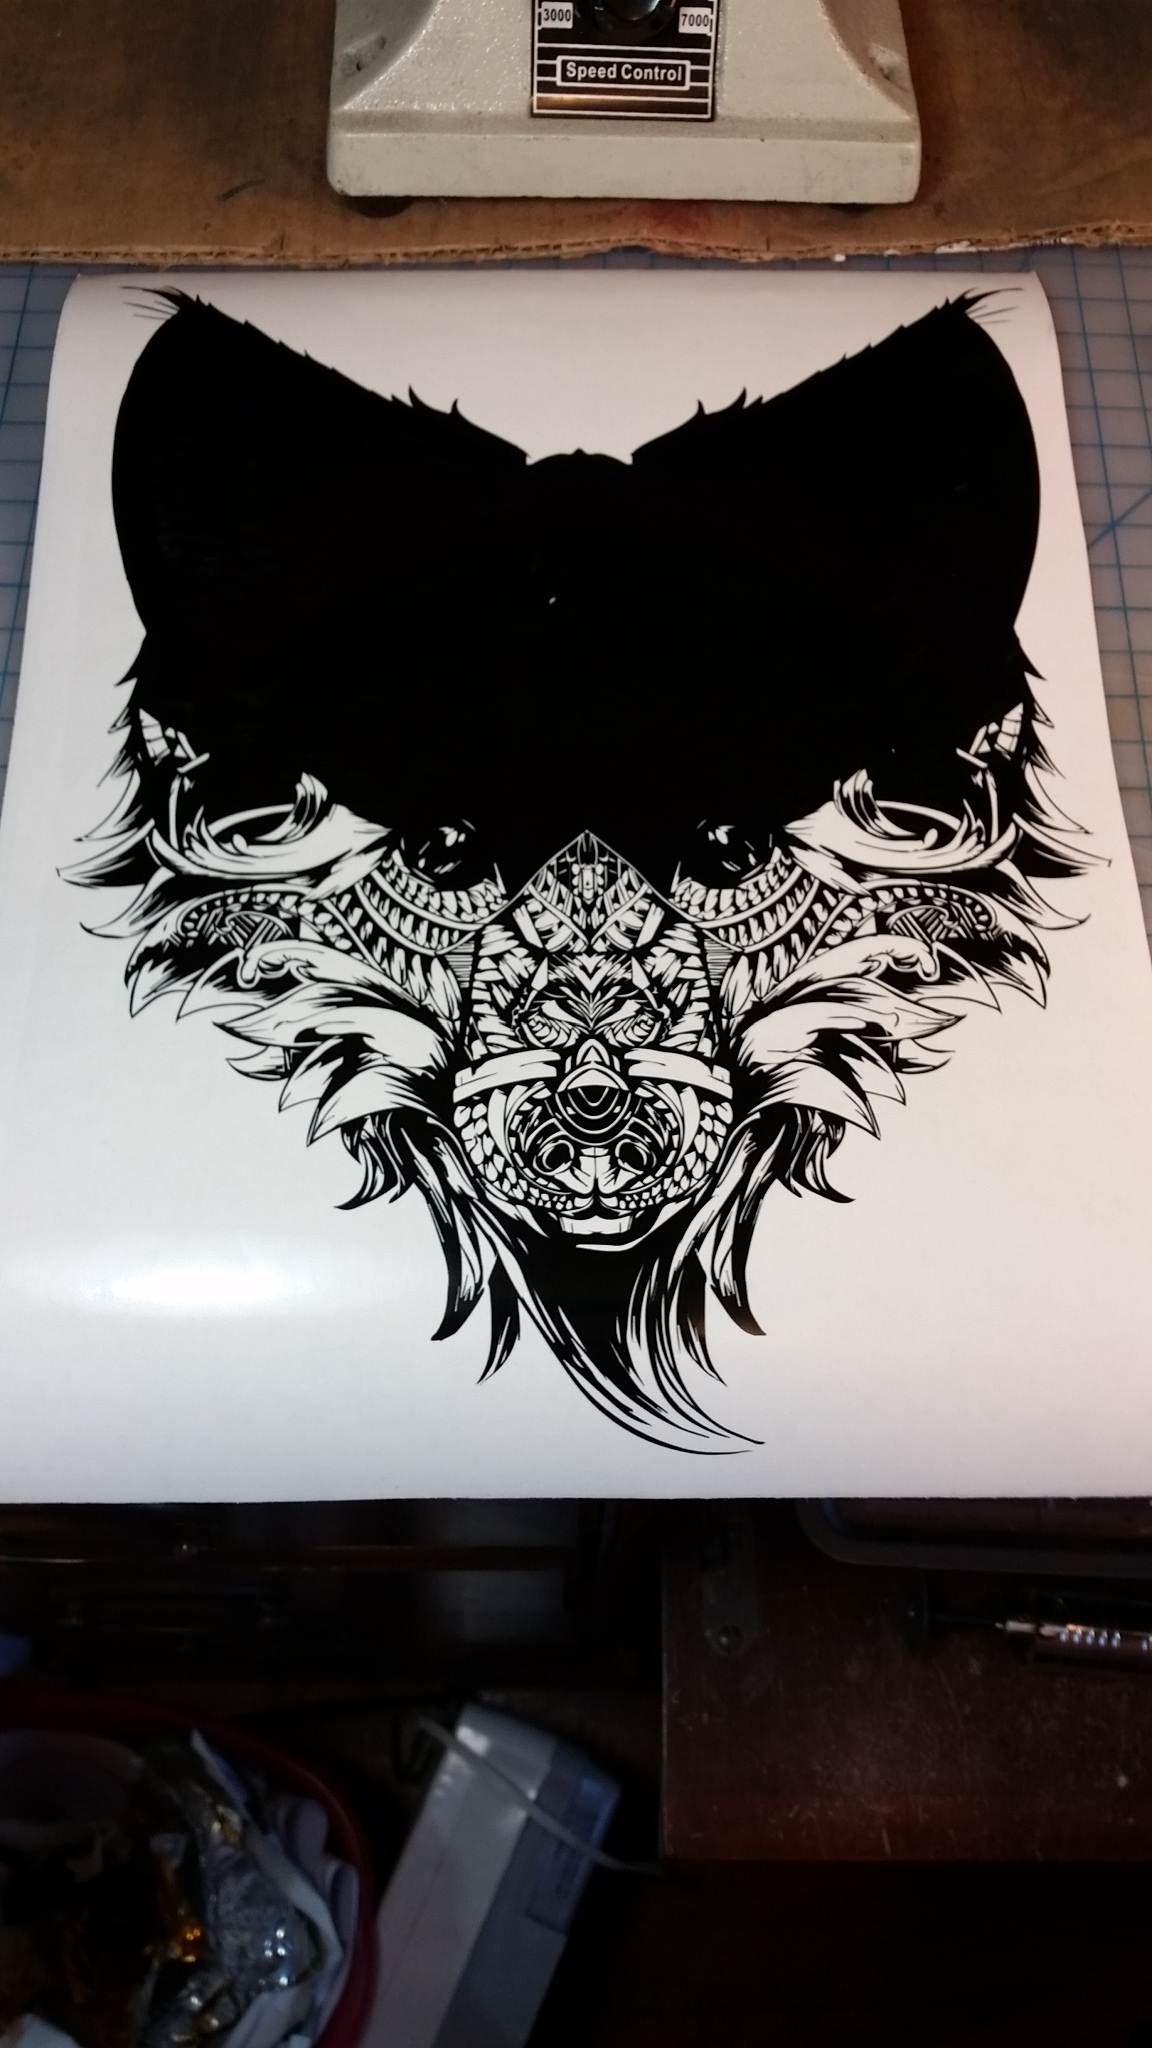
Just wanted to see how complicated a decal I could cut out, as well as how patient I could be while weeding it.

Designed and put into great cut.
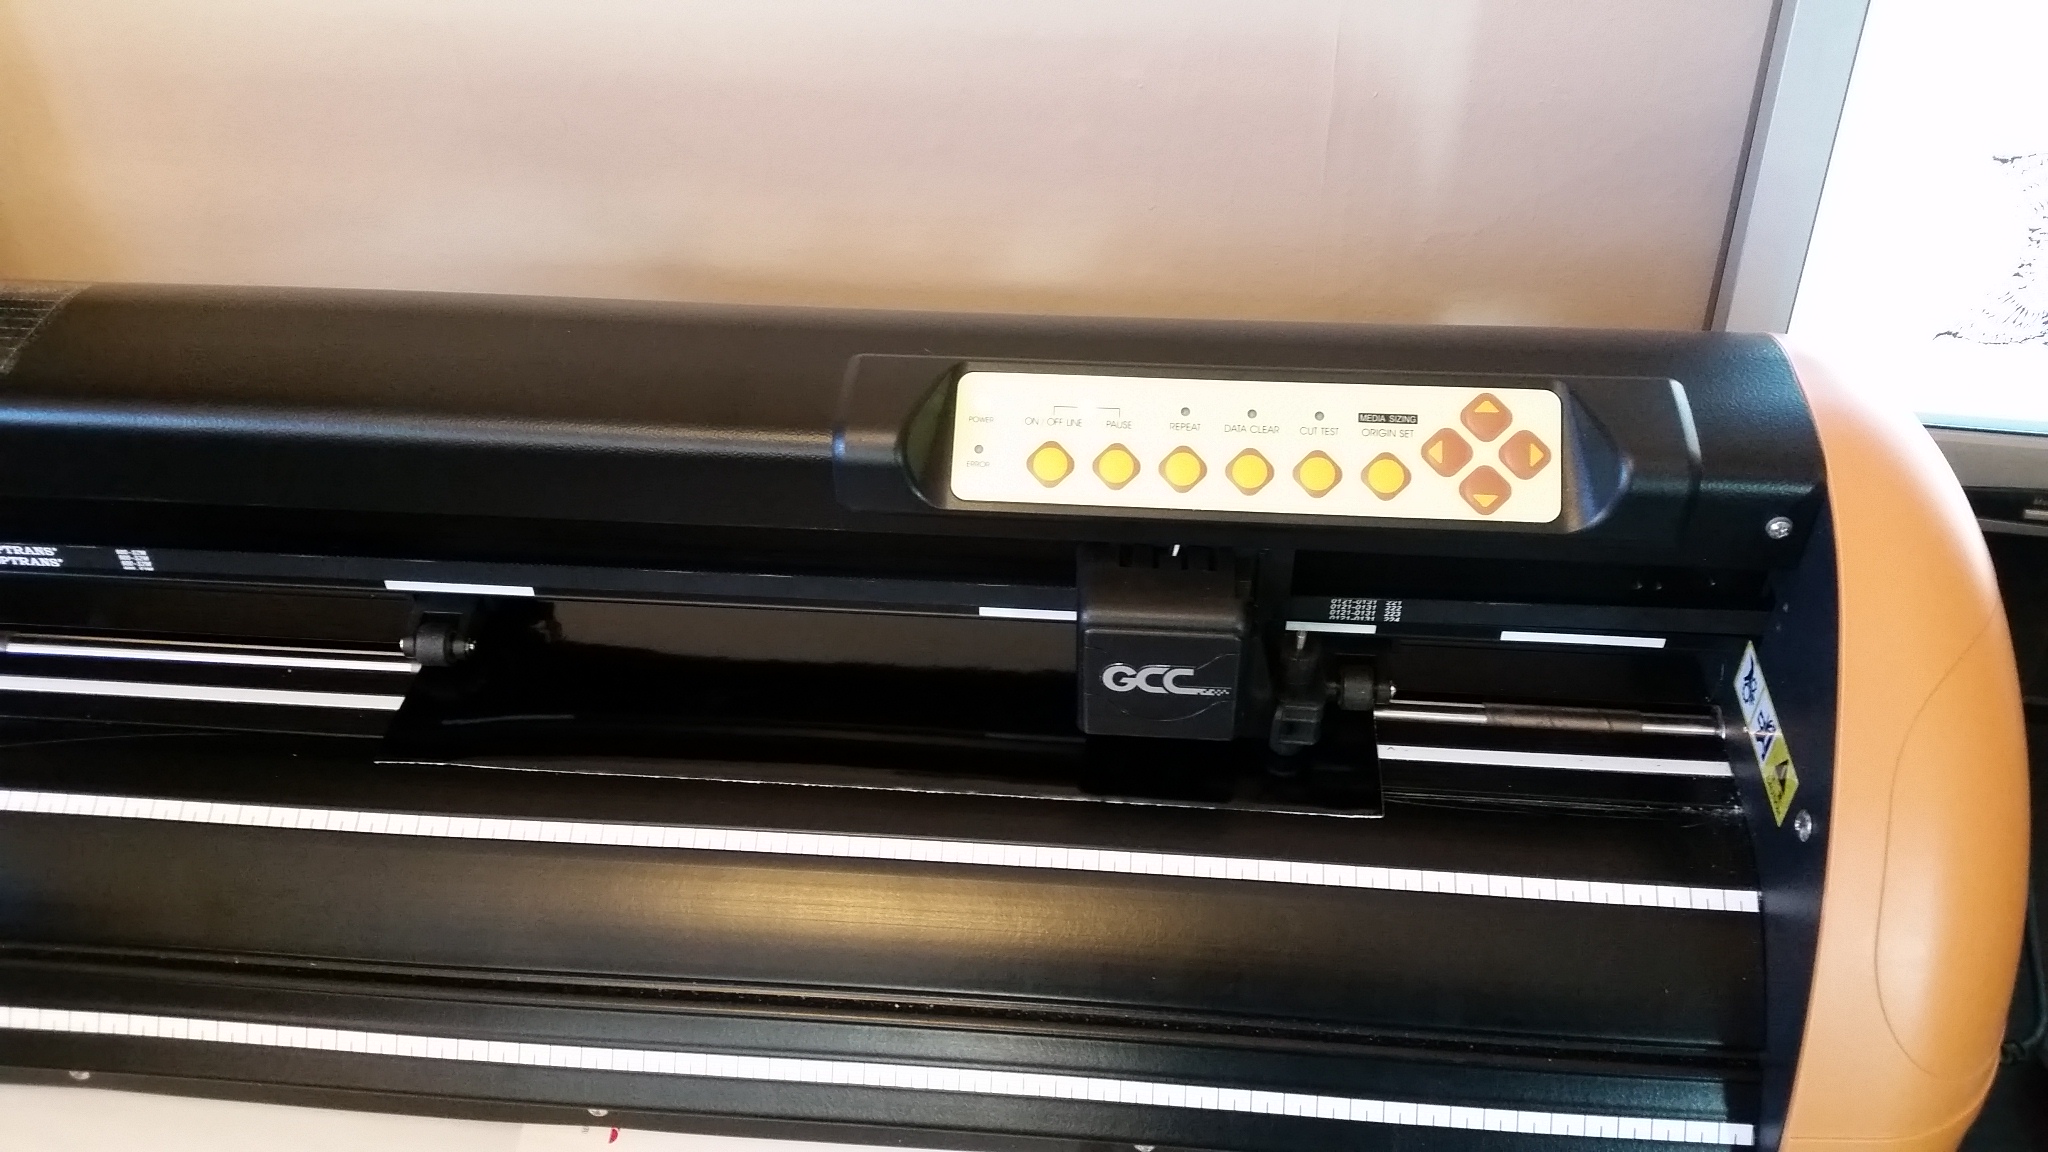
Starting the cutting process
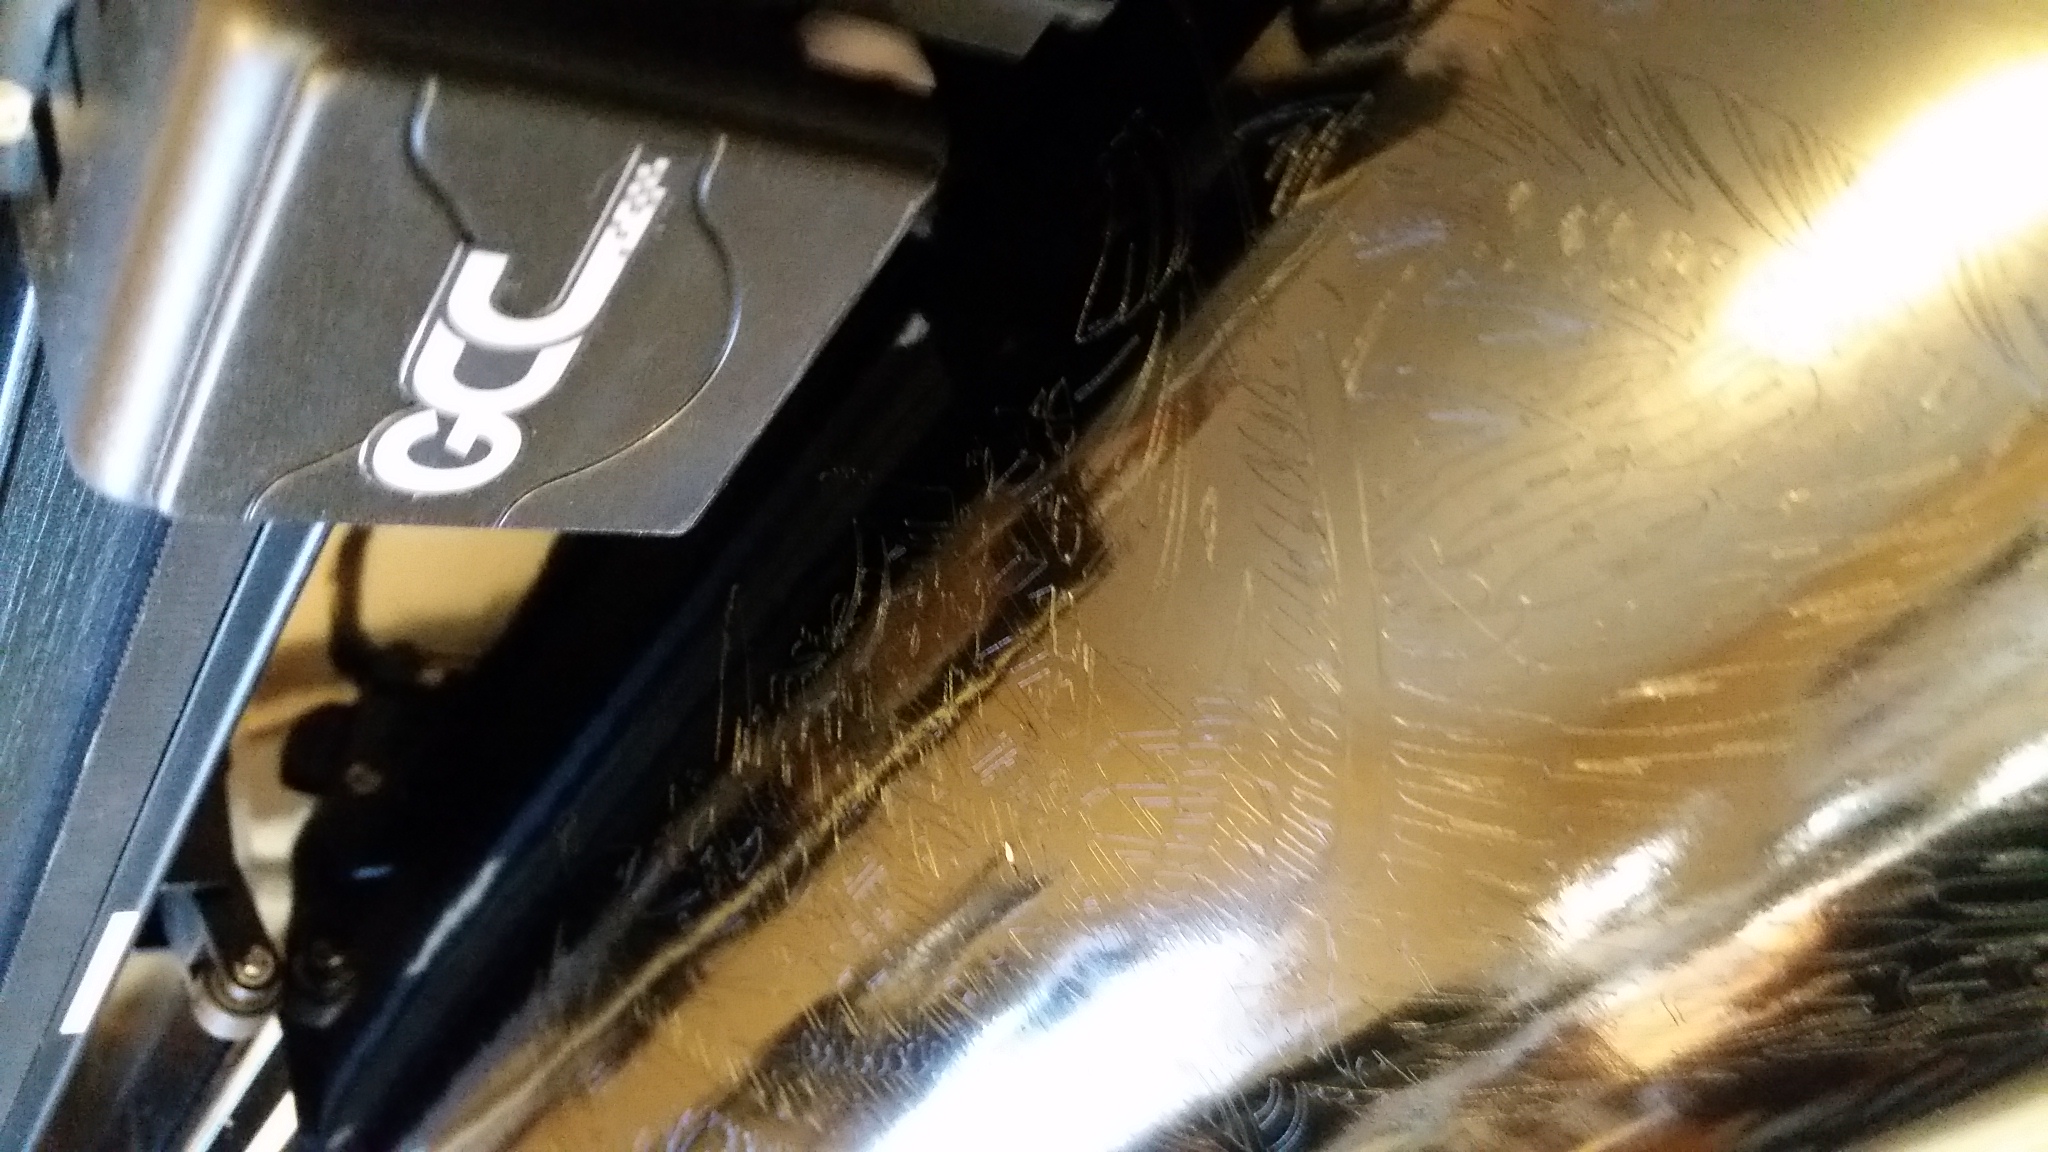
It took a long time…
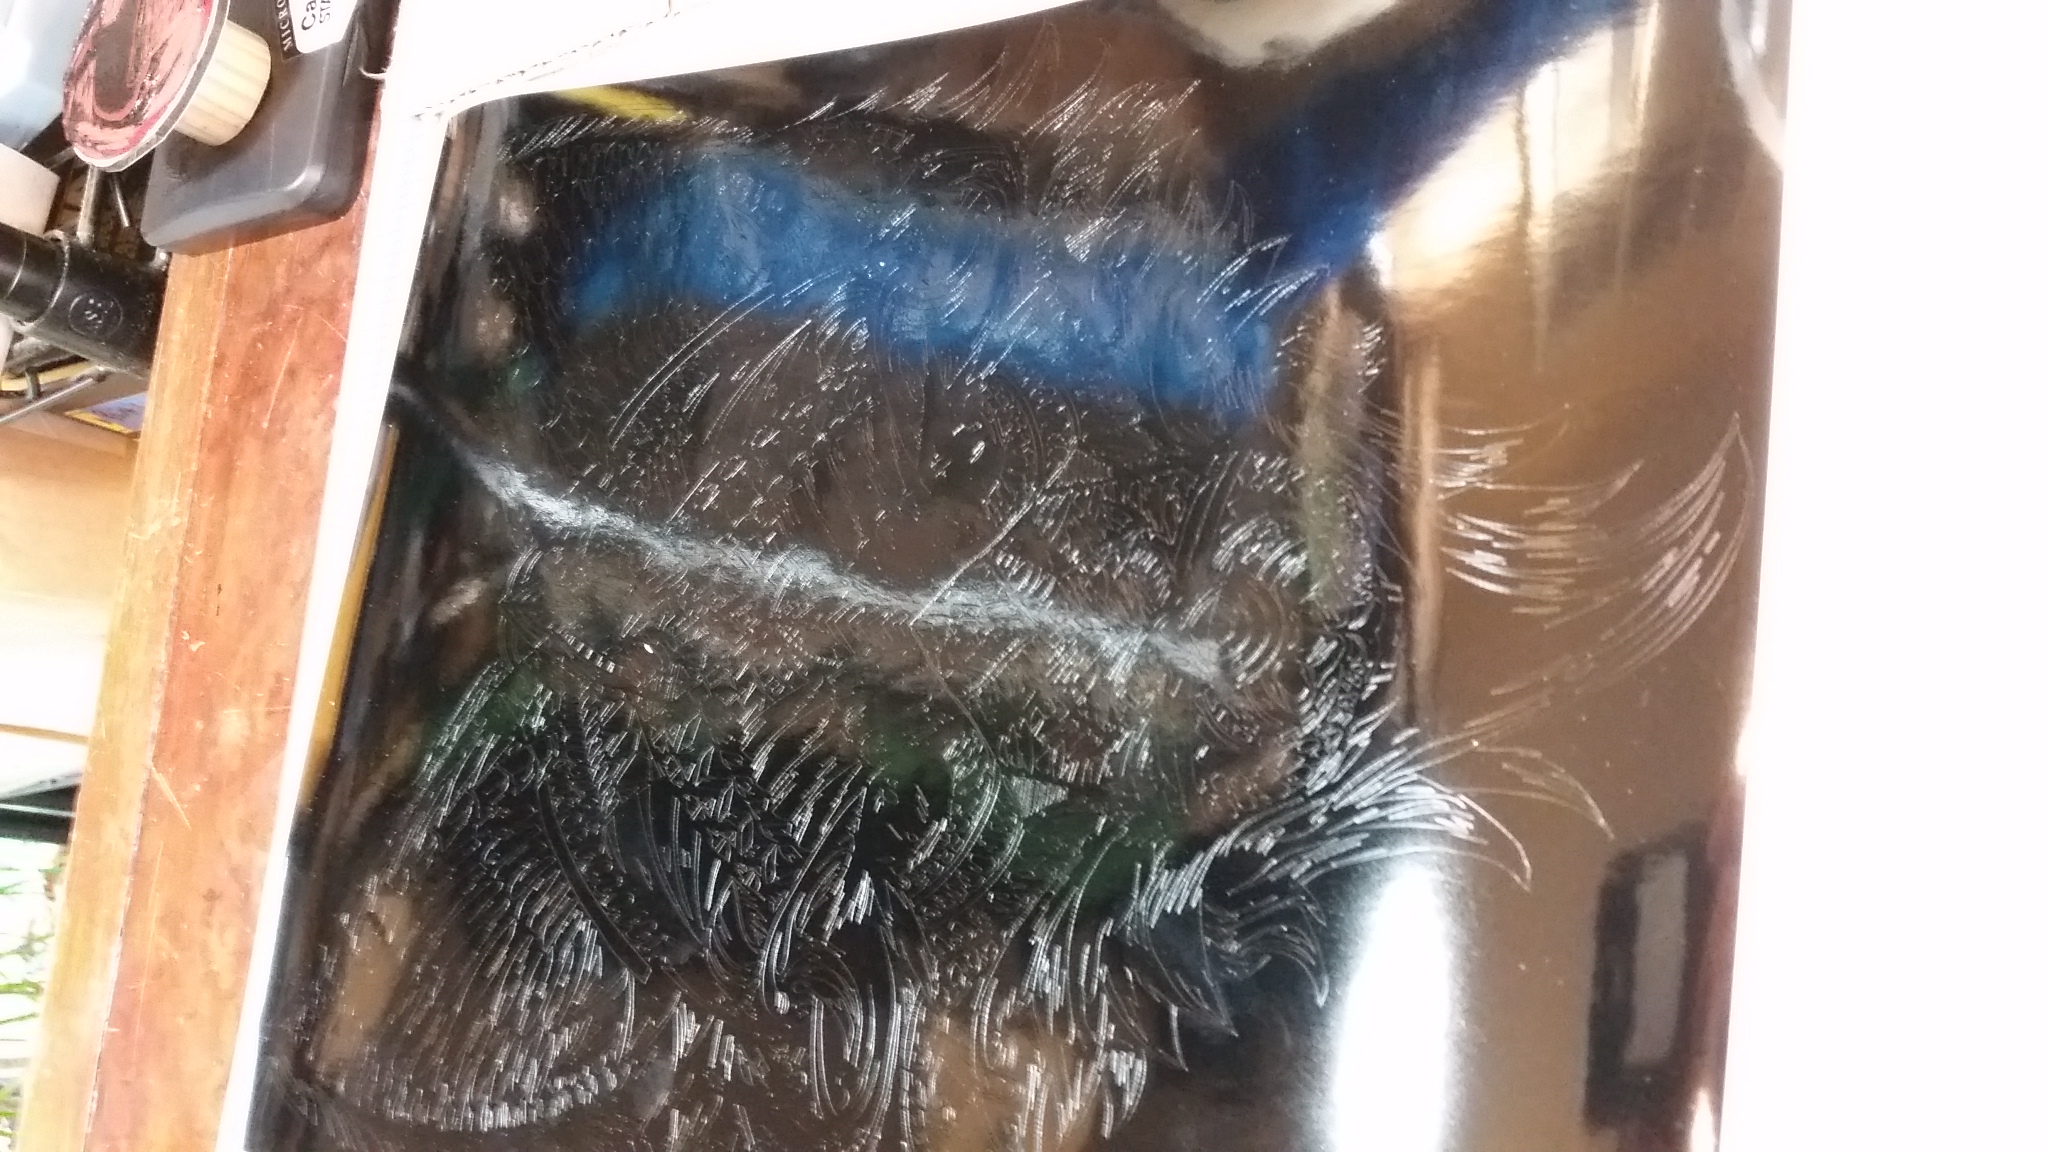
You can kinda see what I am getting myself into.
The easiest part, taking the outside part off.
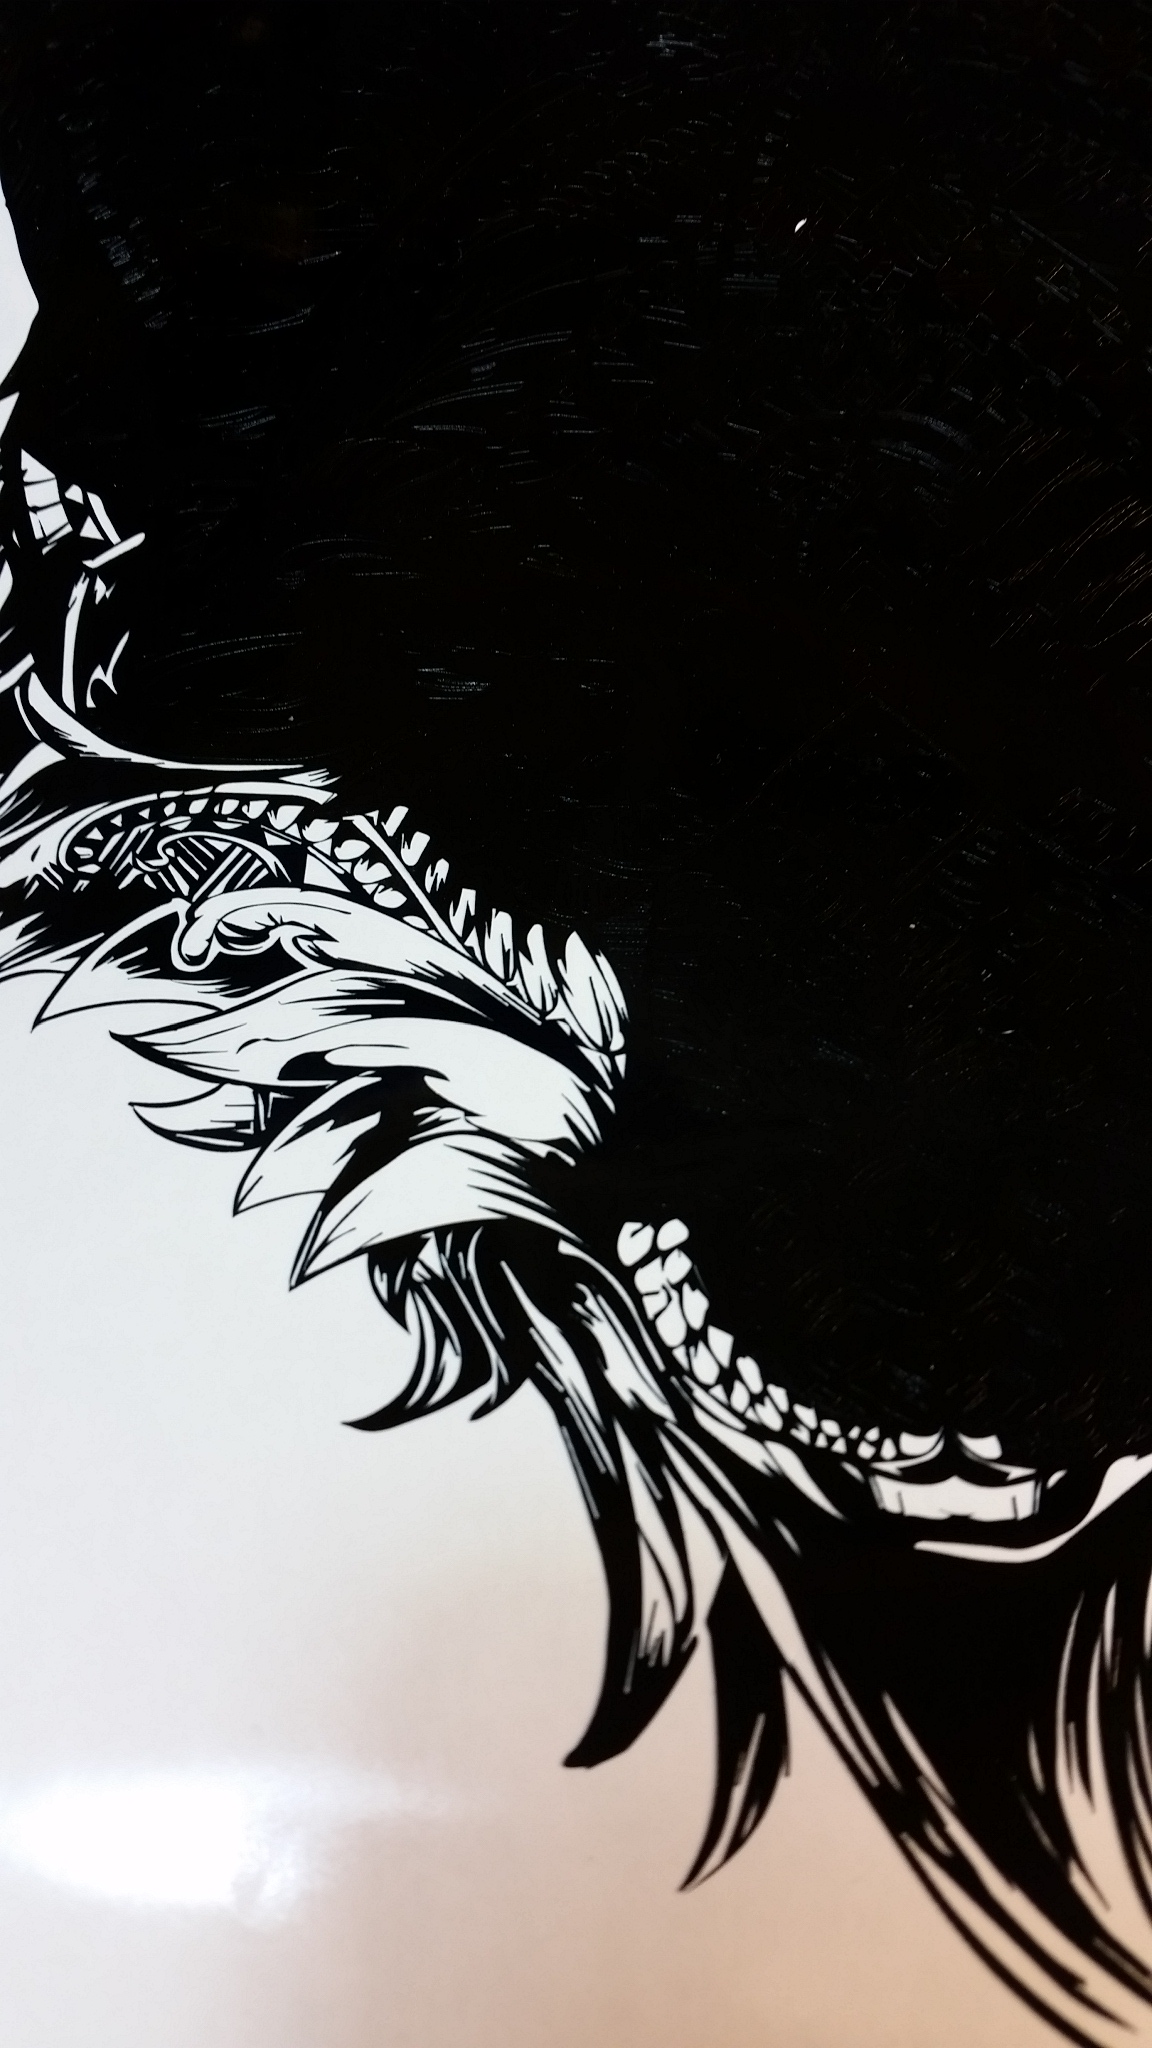
Working my way around the edges.
More of the bottom.
Peel and peel and peel and peel, I did this over the course of a couple of days just picking at it while I was bored and in between other decals.
Eyes and mouth available.
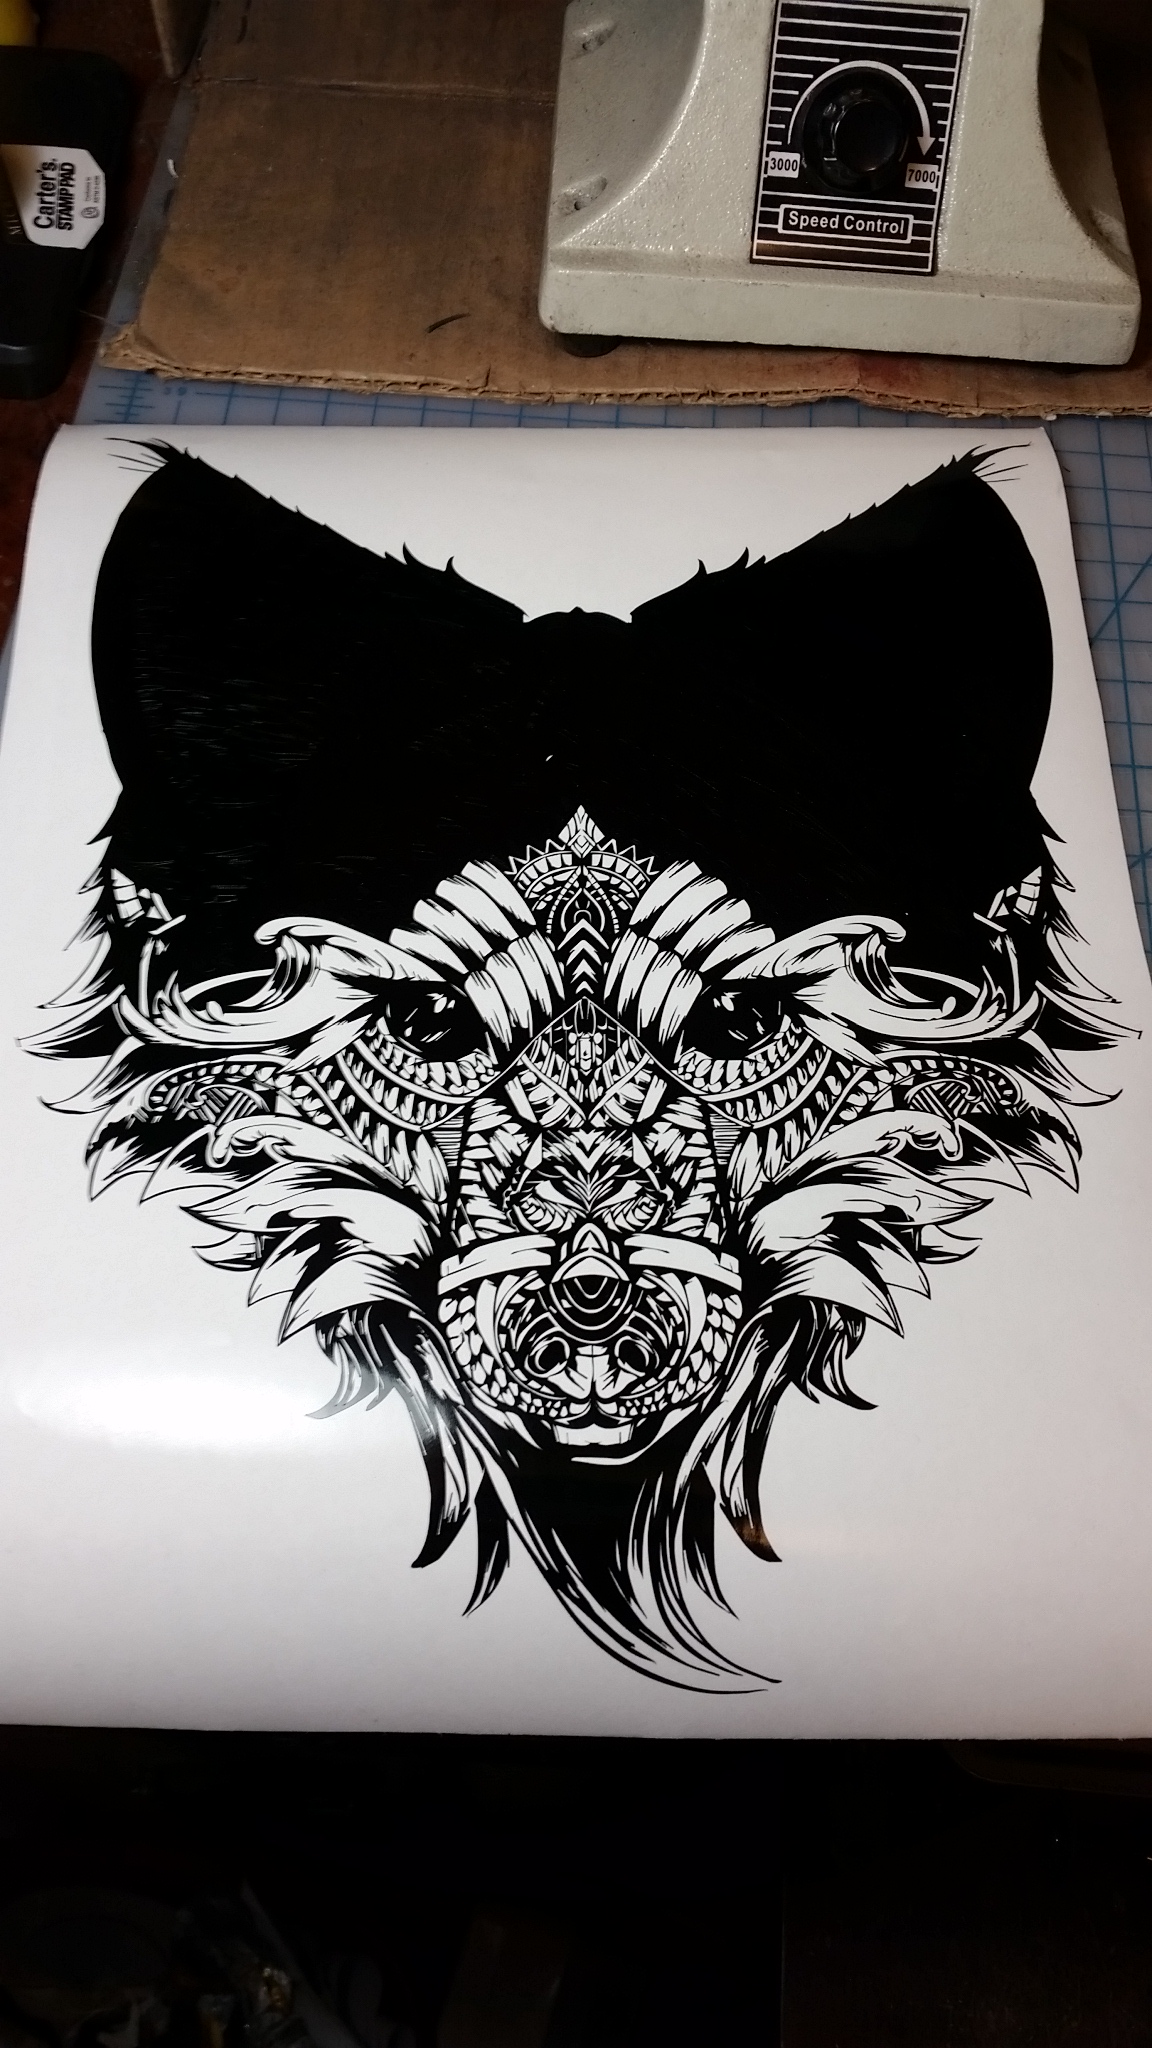
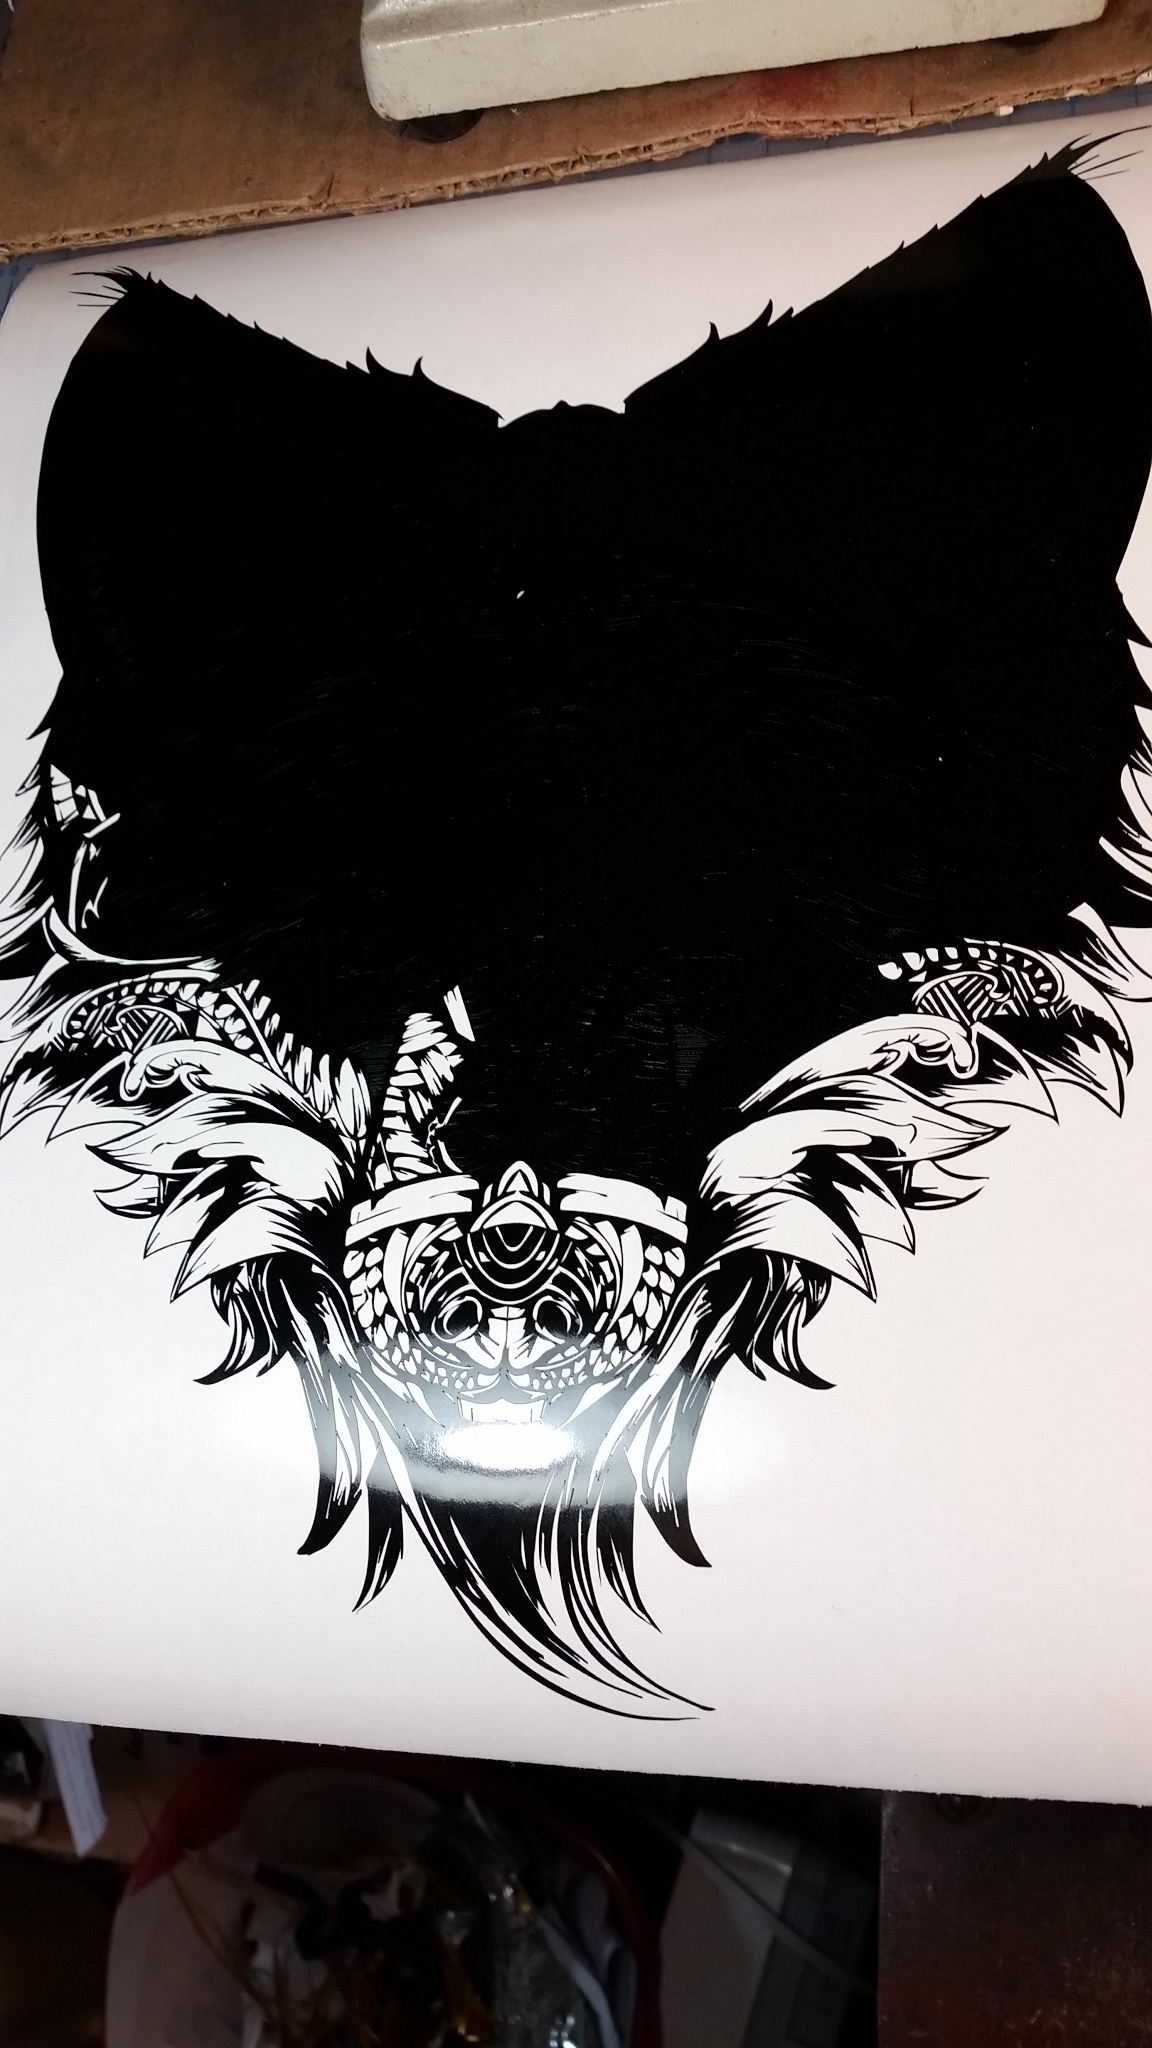
More done.
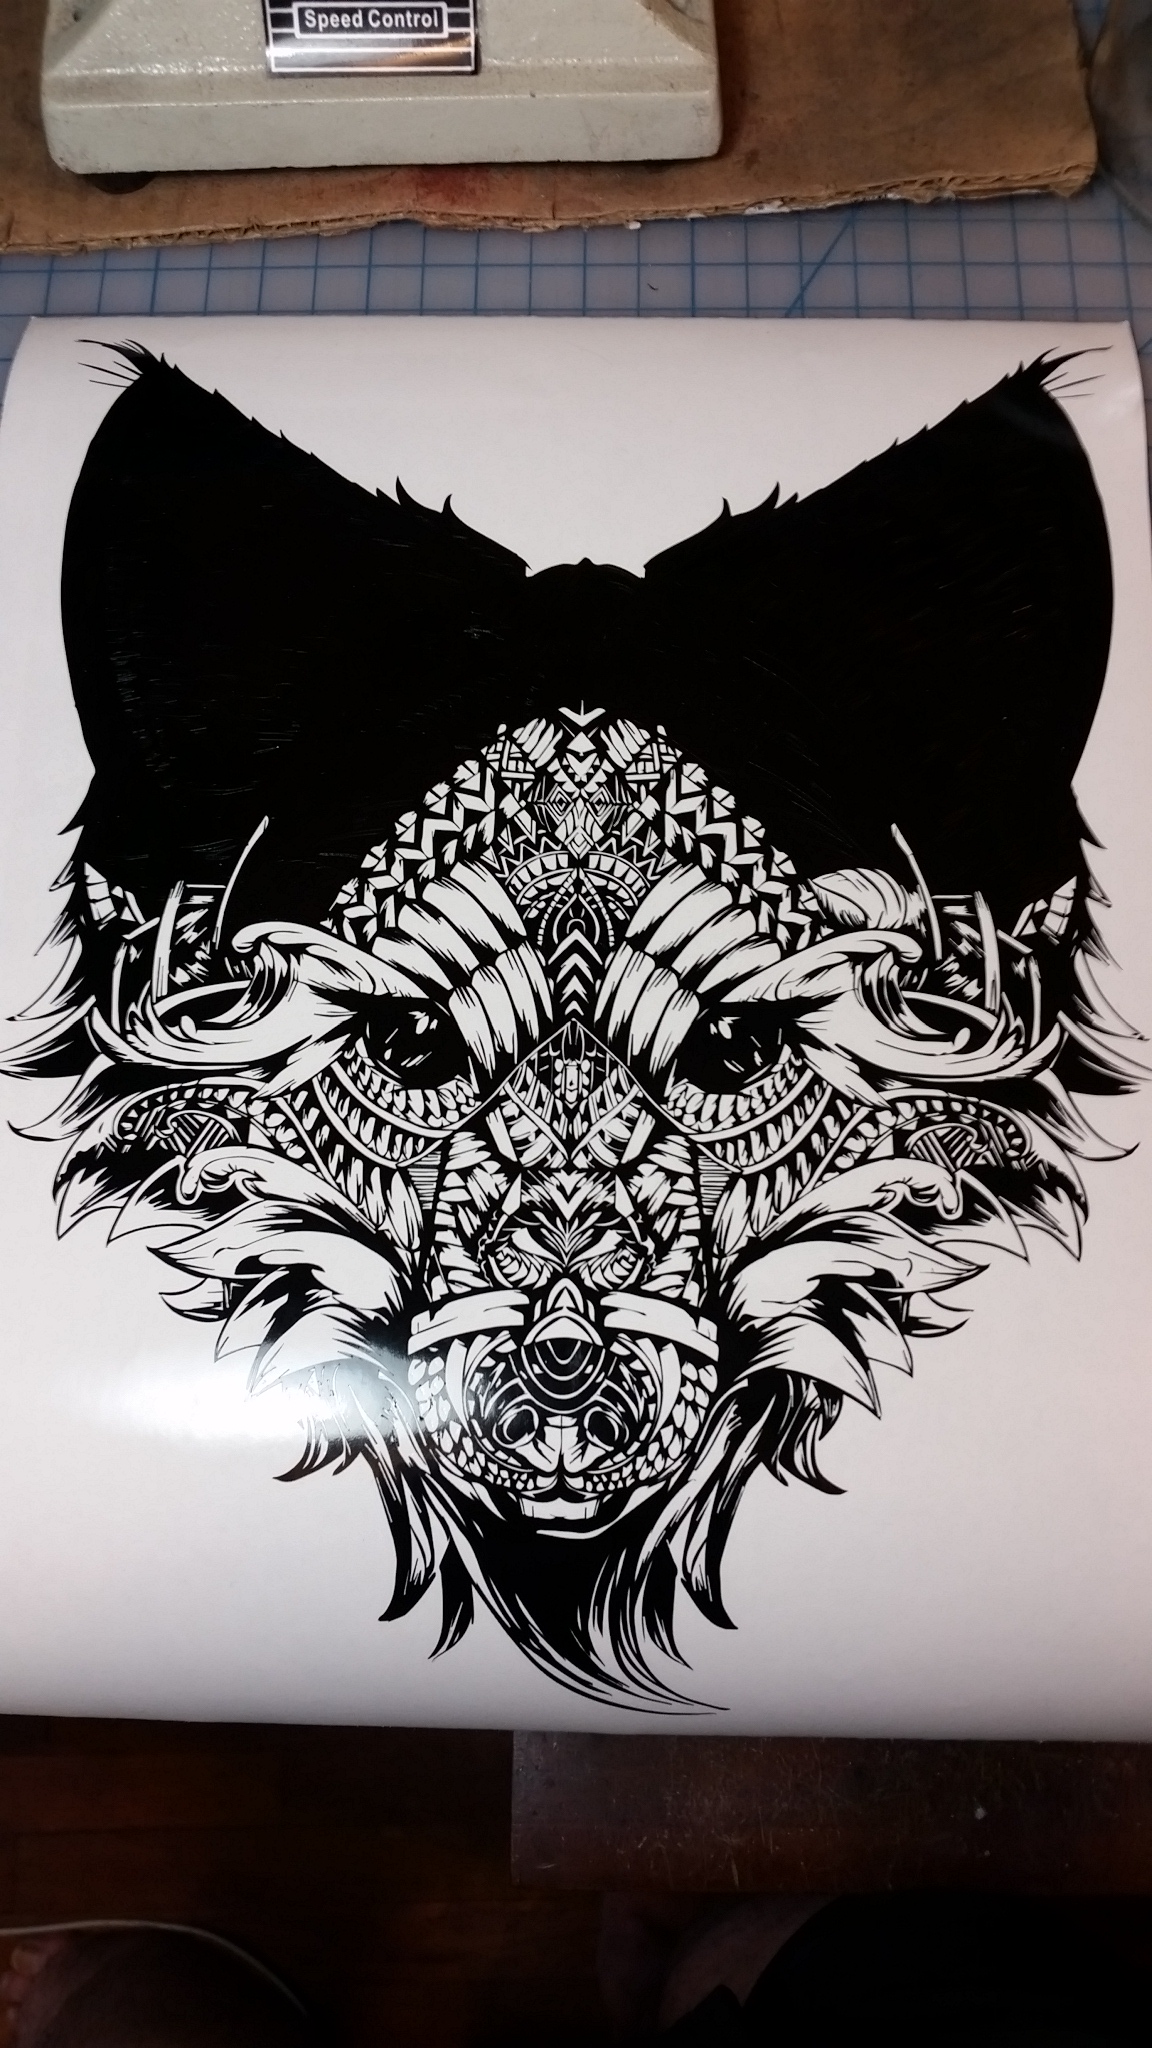
Working on the ears.
Forehead done.
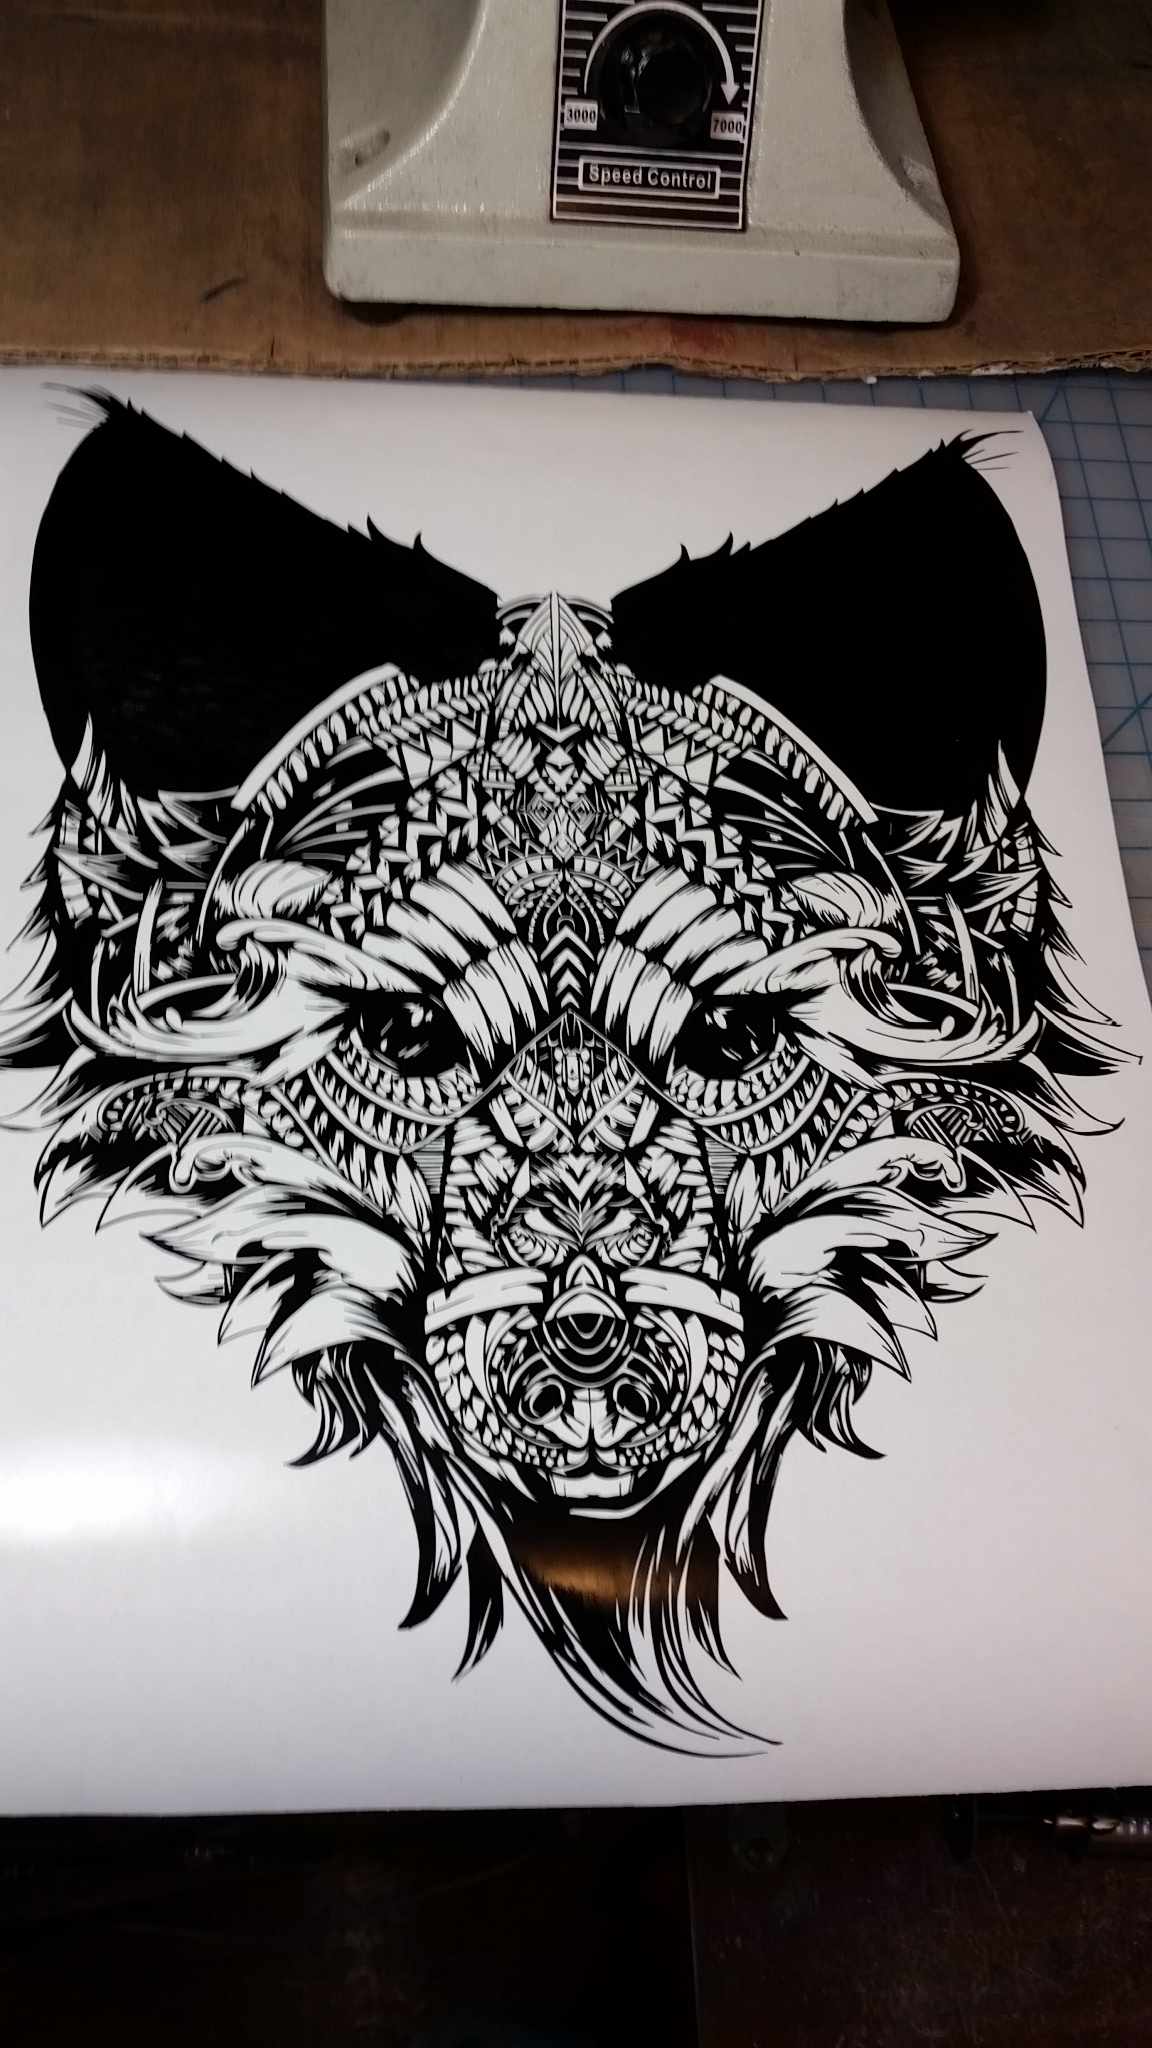
Almost there!
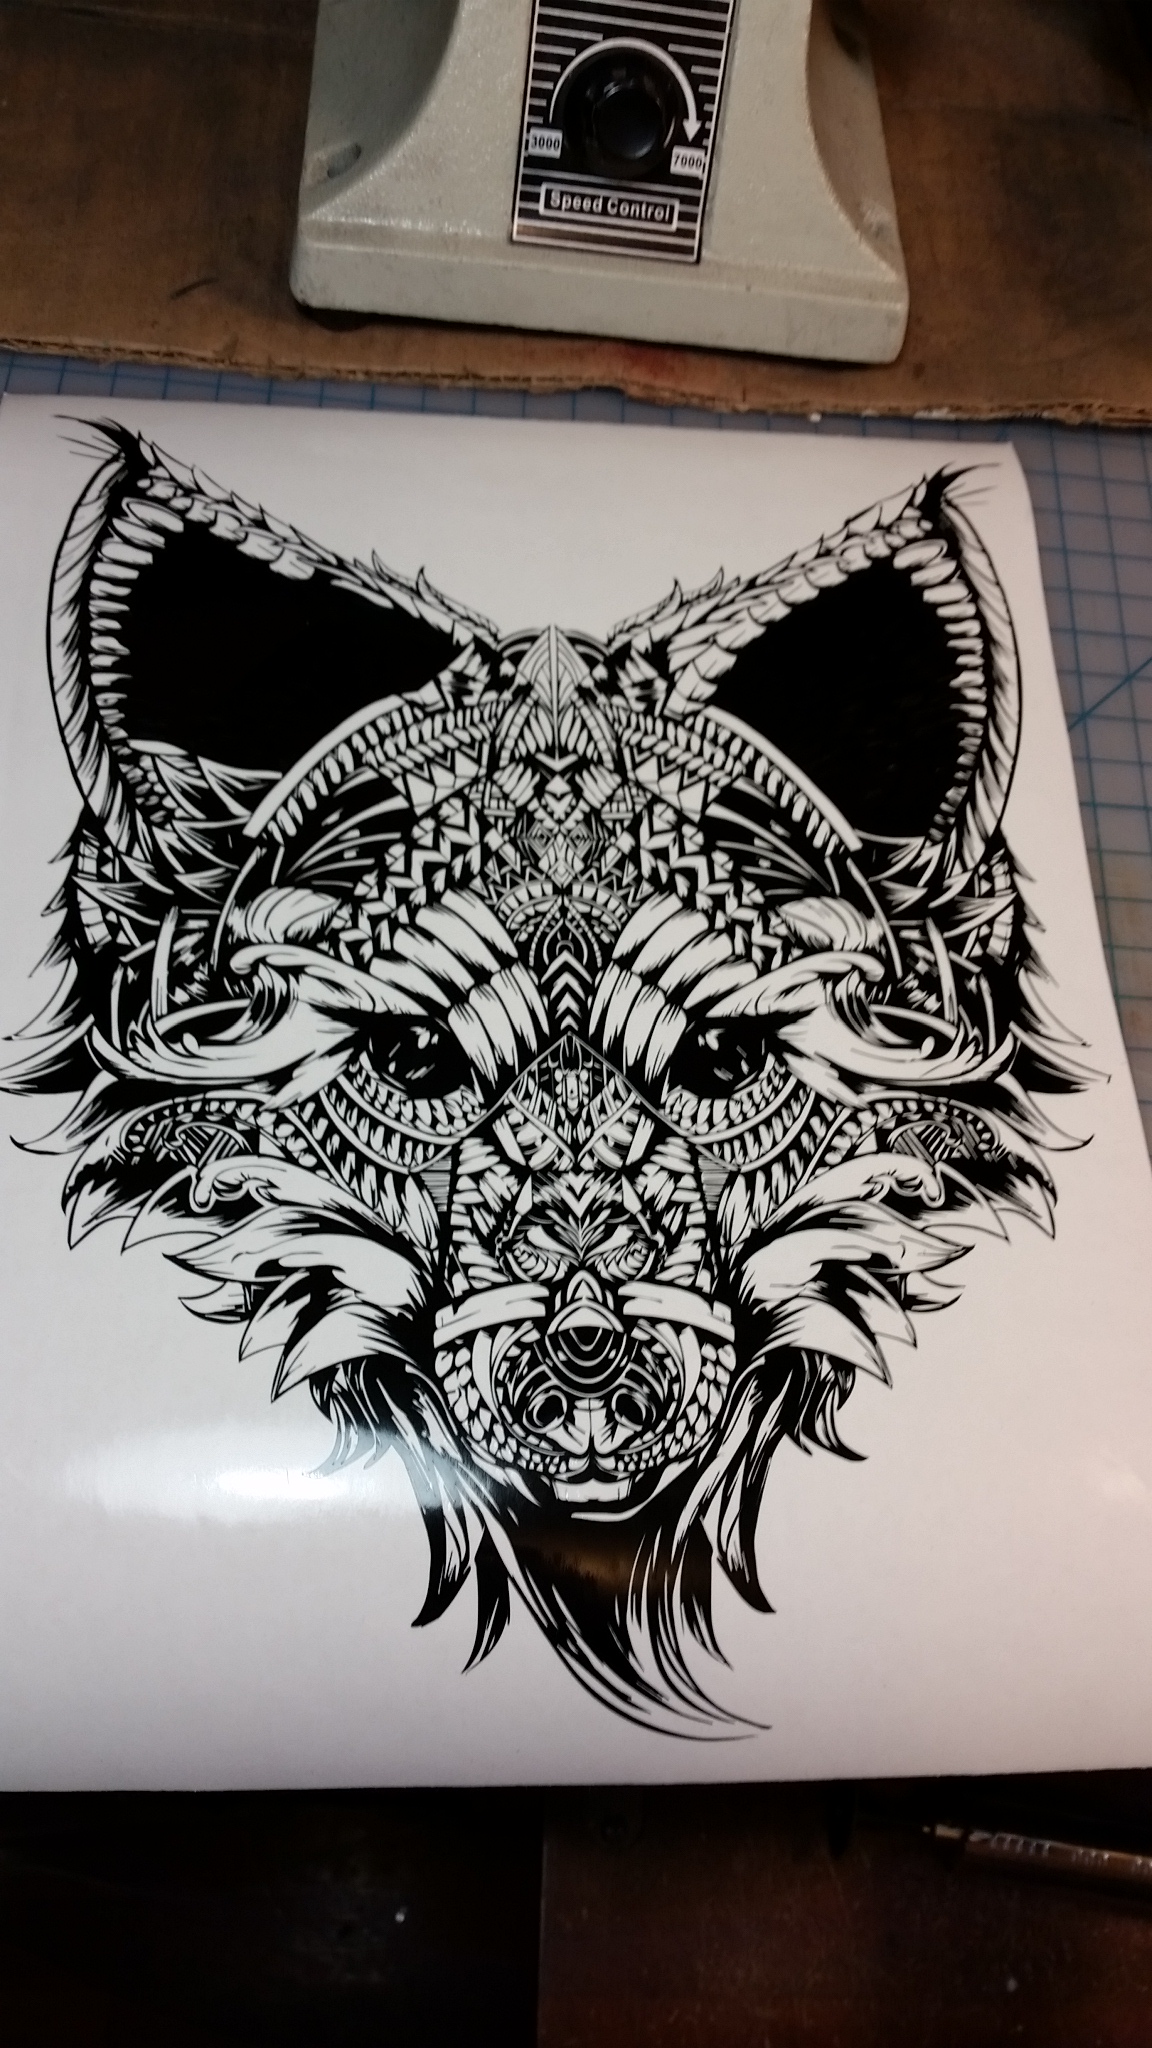
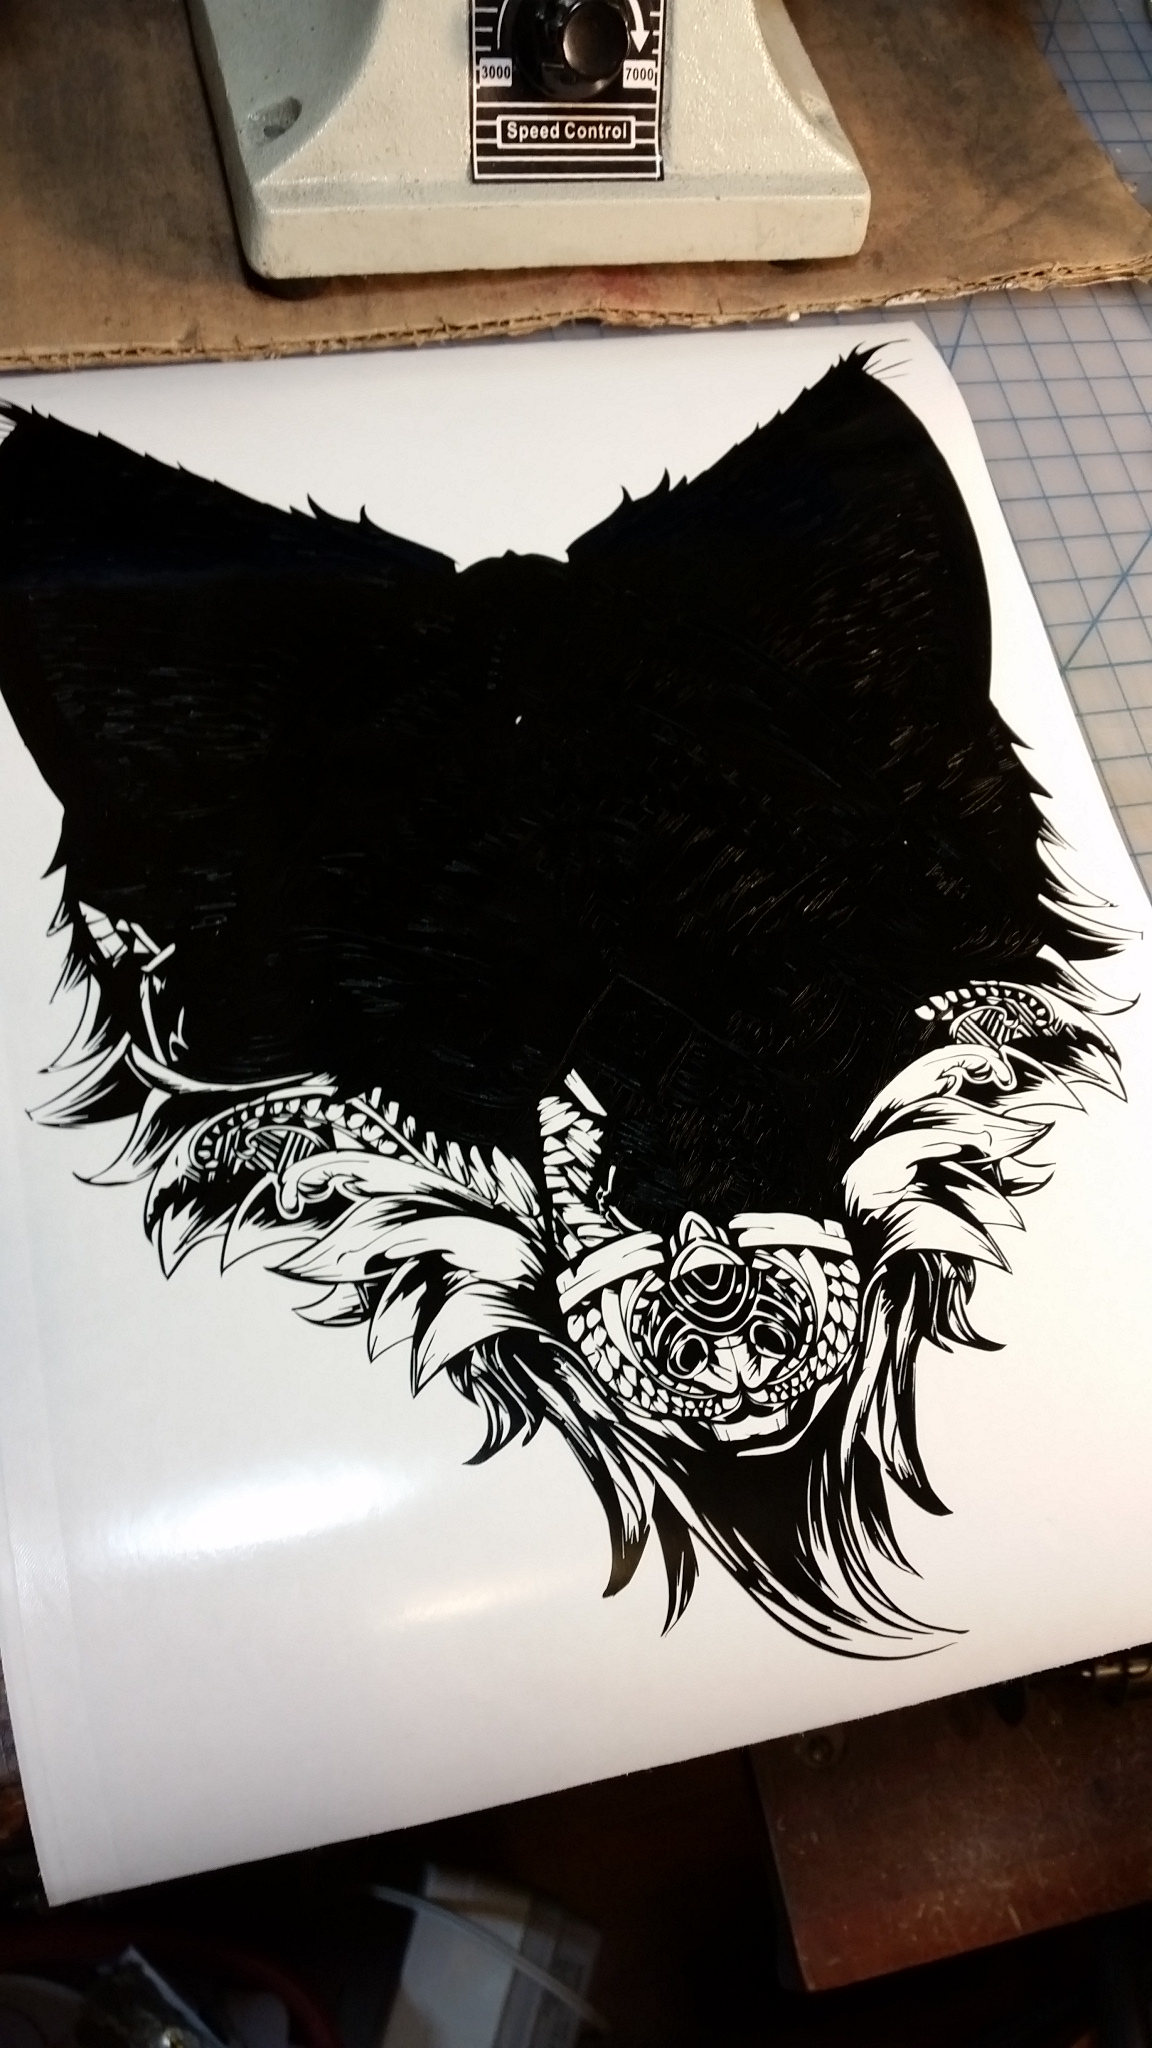
Ears looking good.
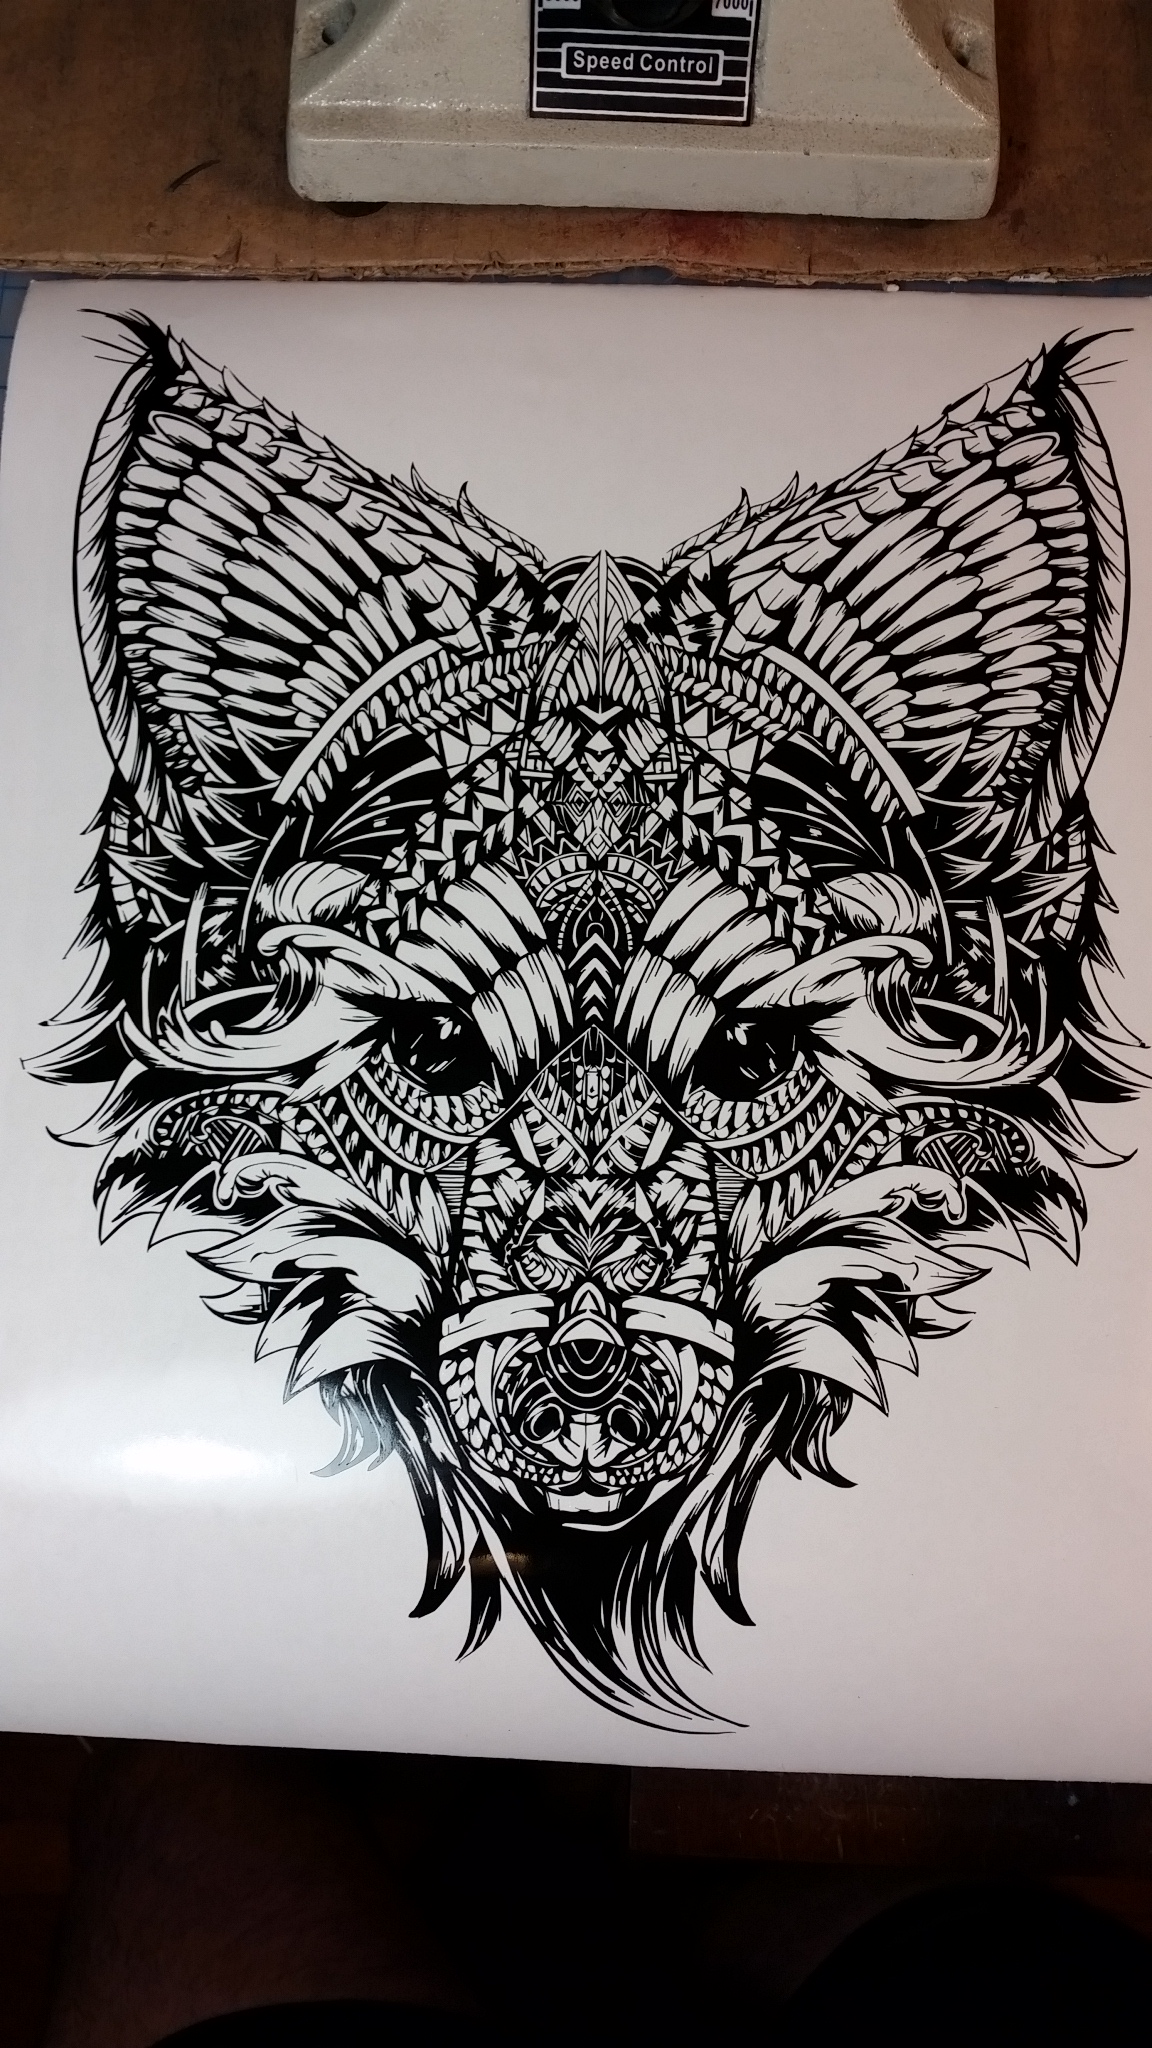
All done! Final decal is about a foot wide by 16 inches long. I have no idea if I would want to sell these, or even where I would put it. But it looks real real cool!
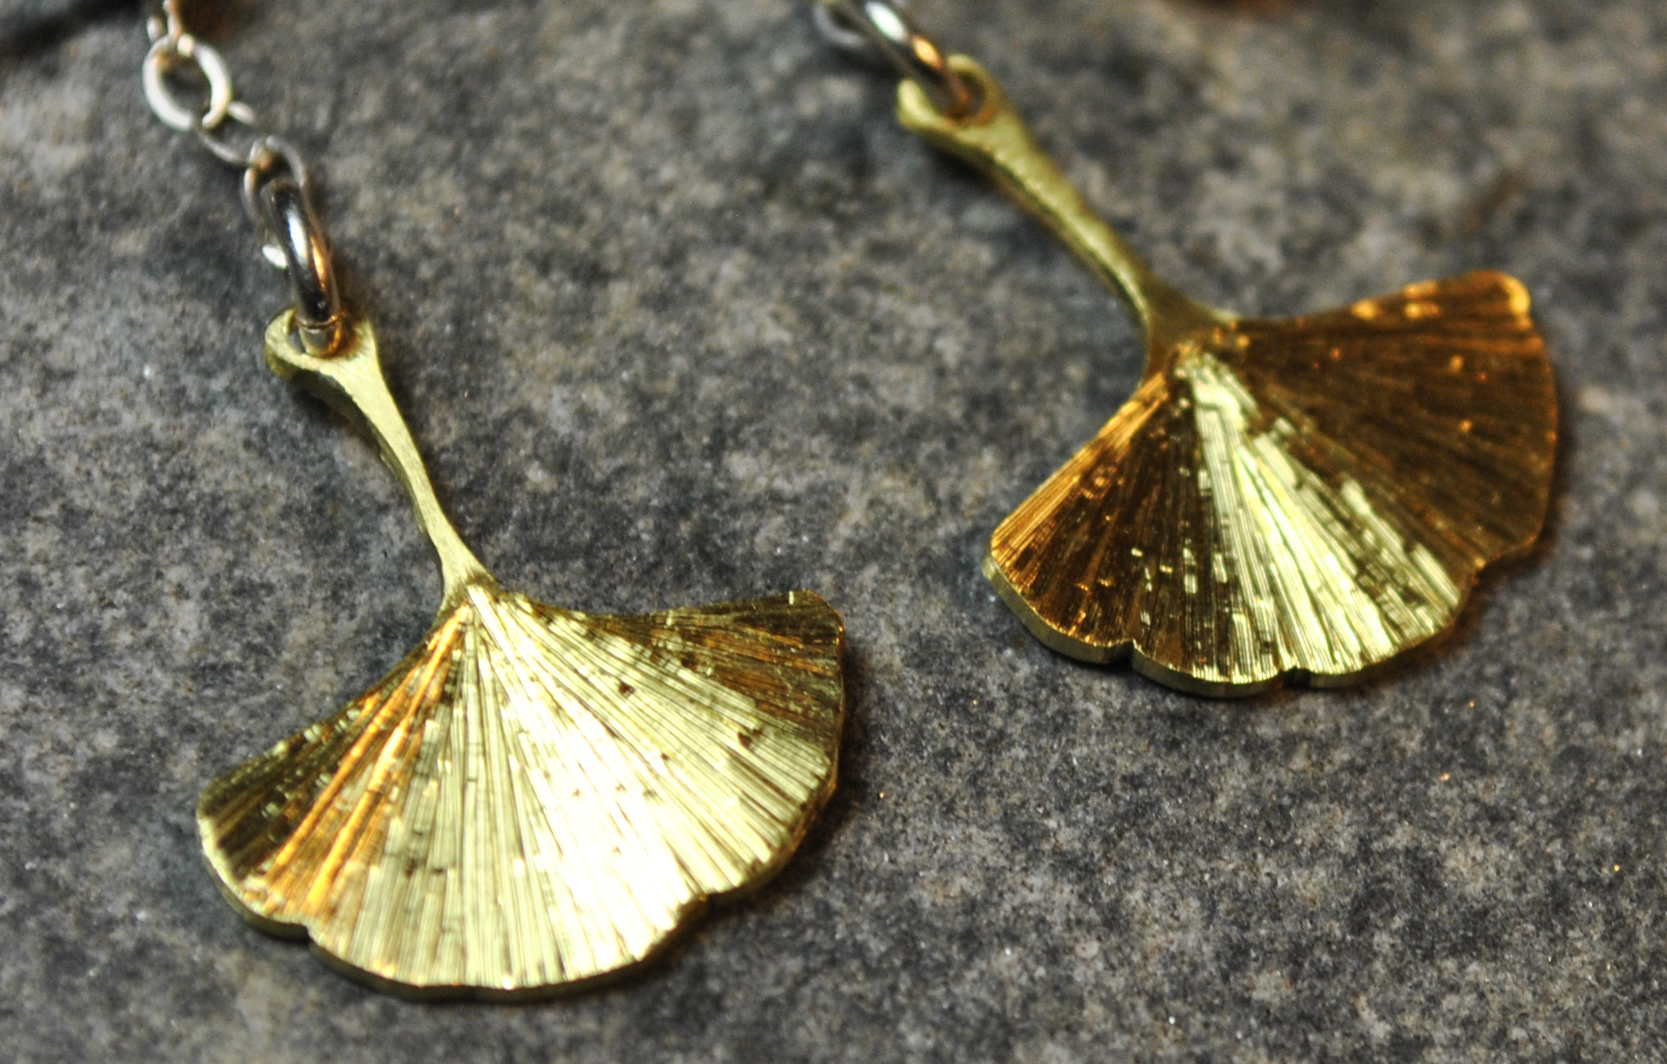
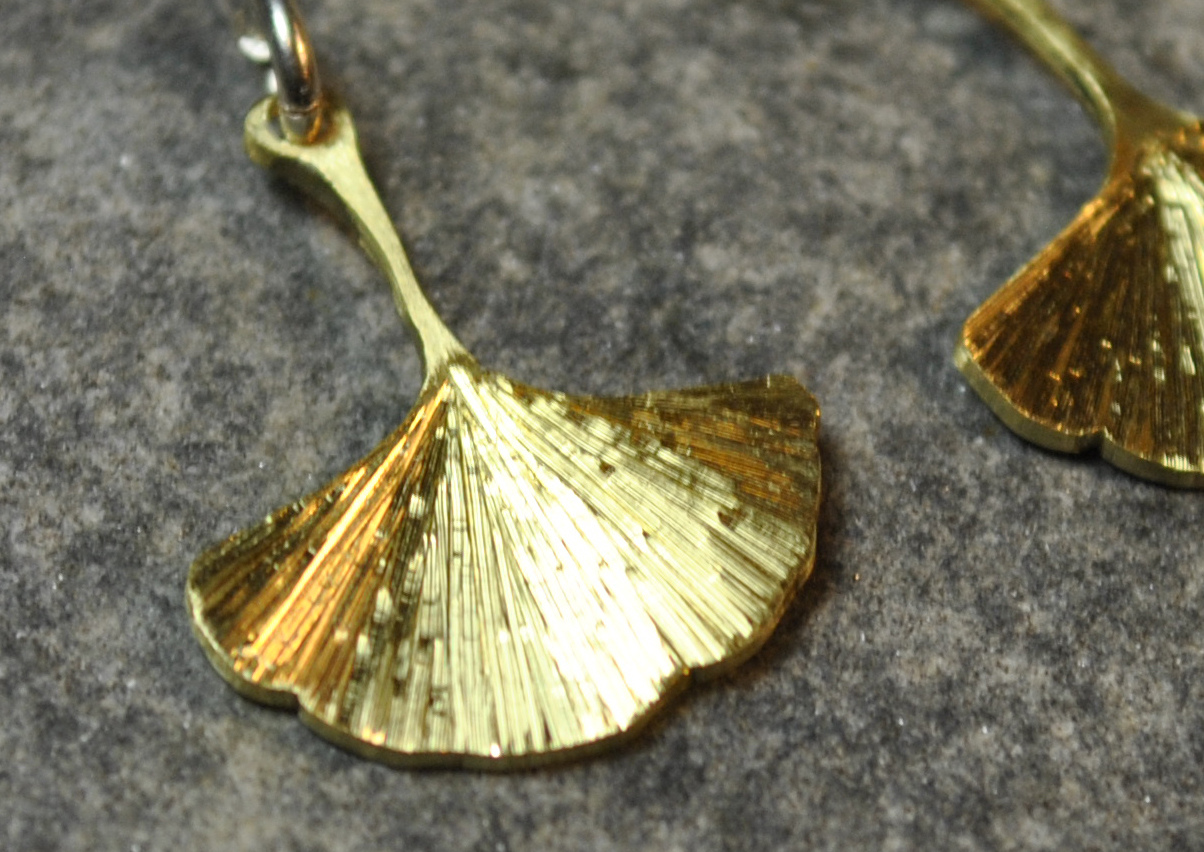
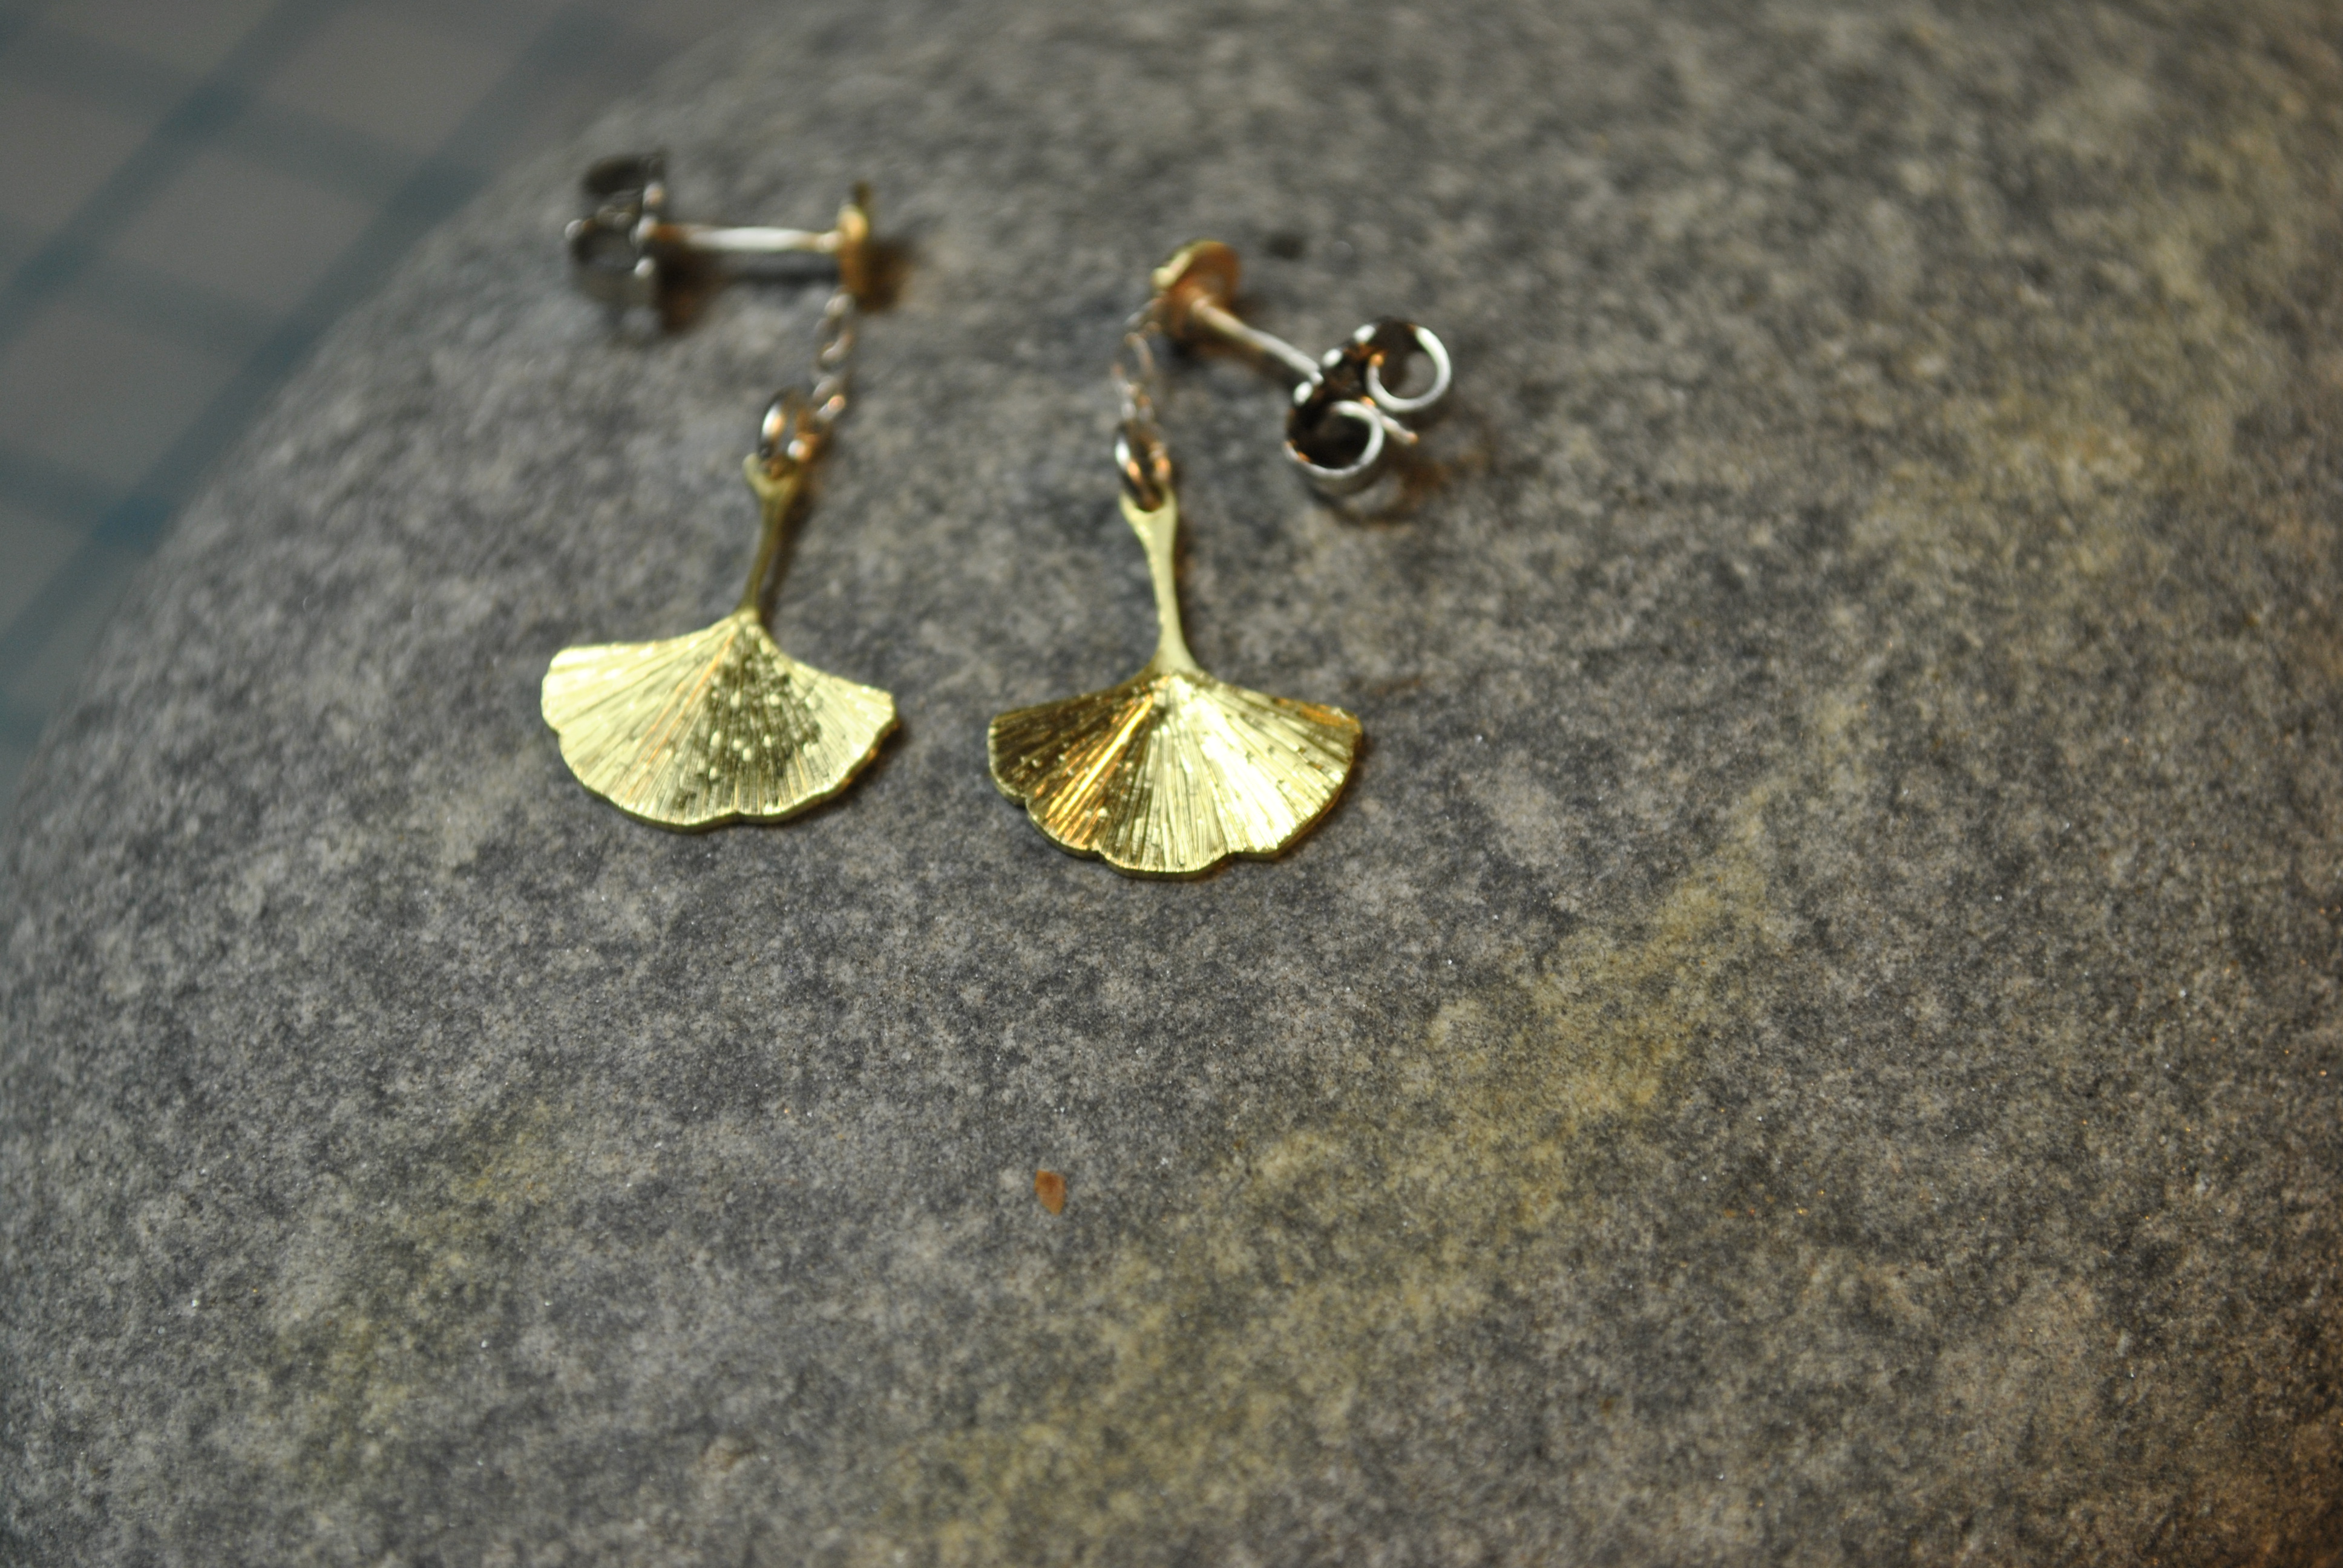
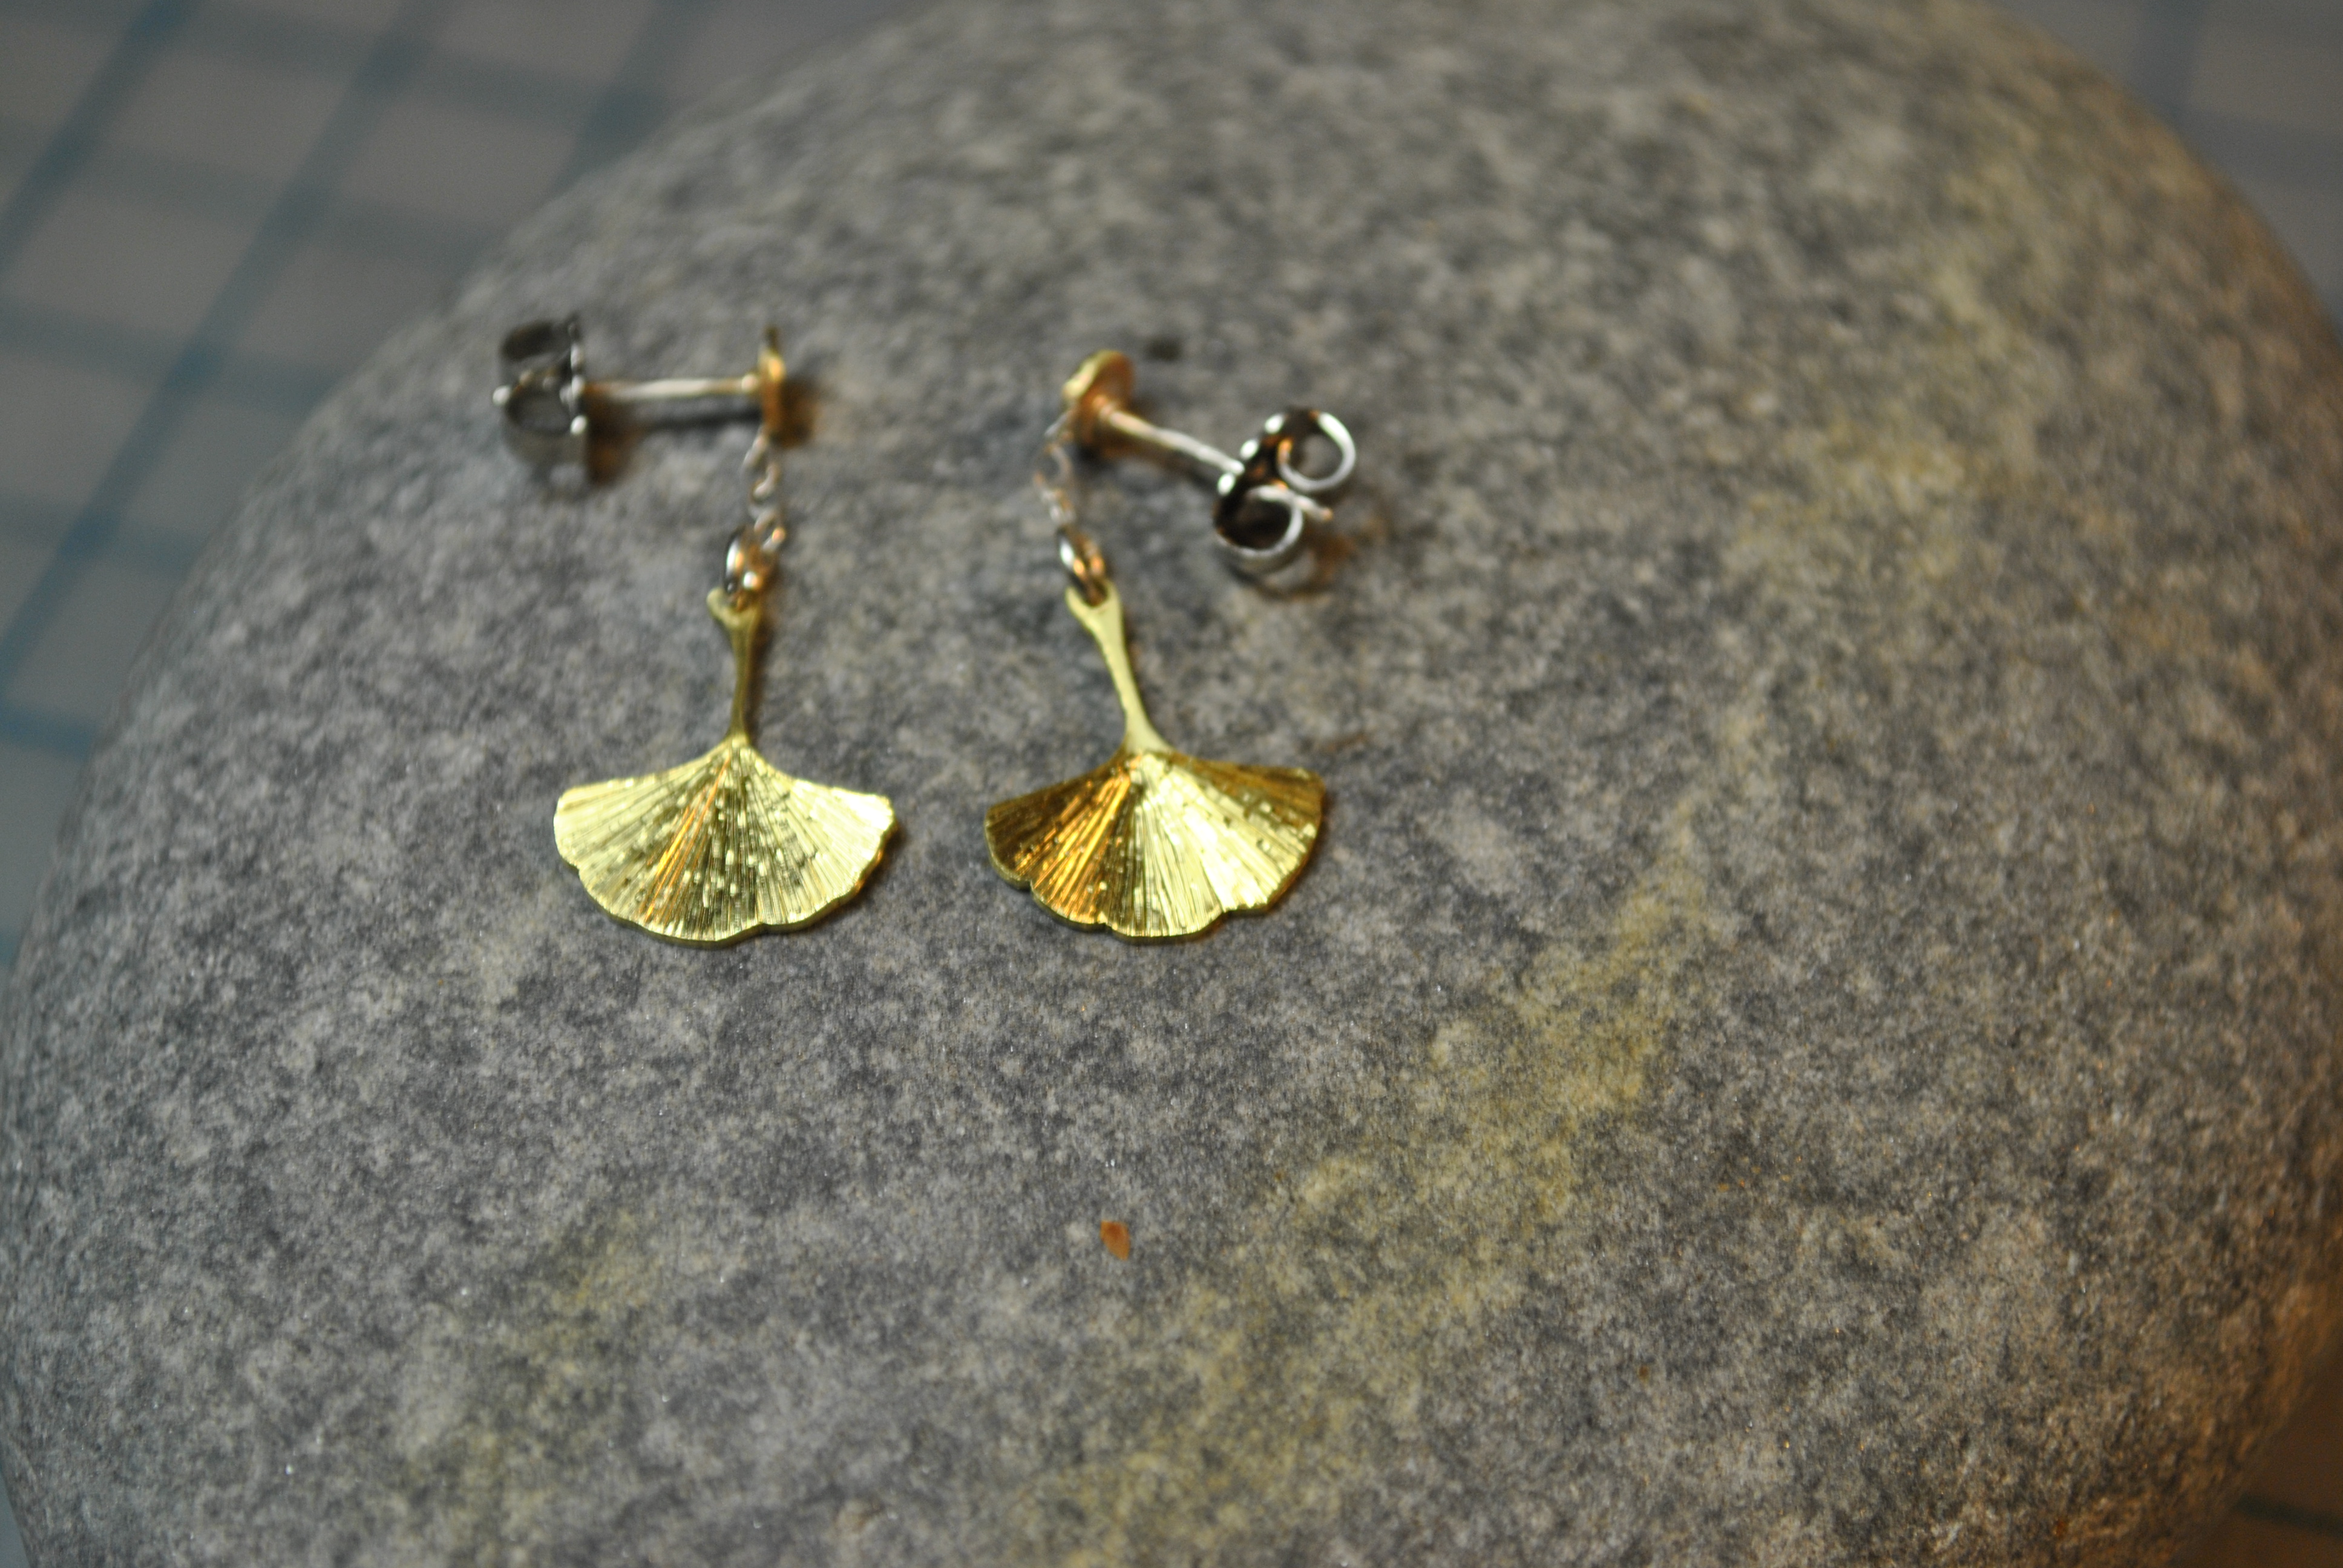
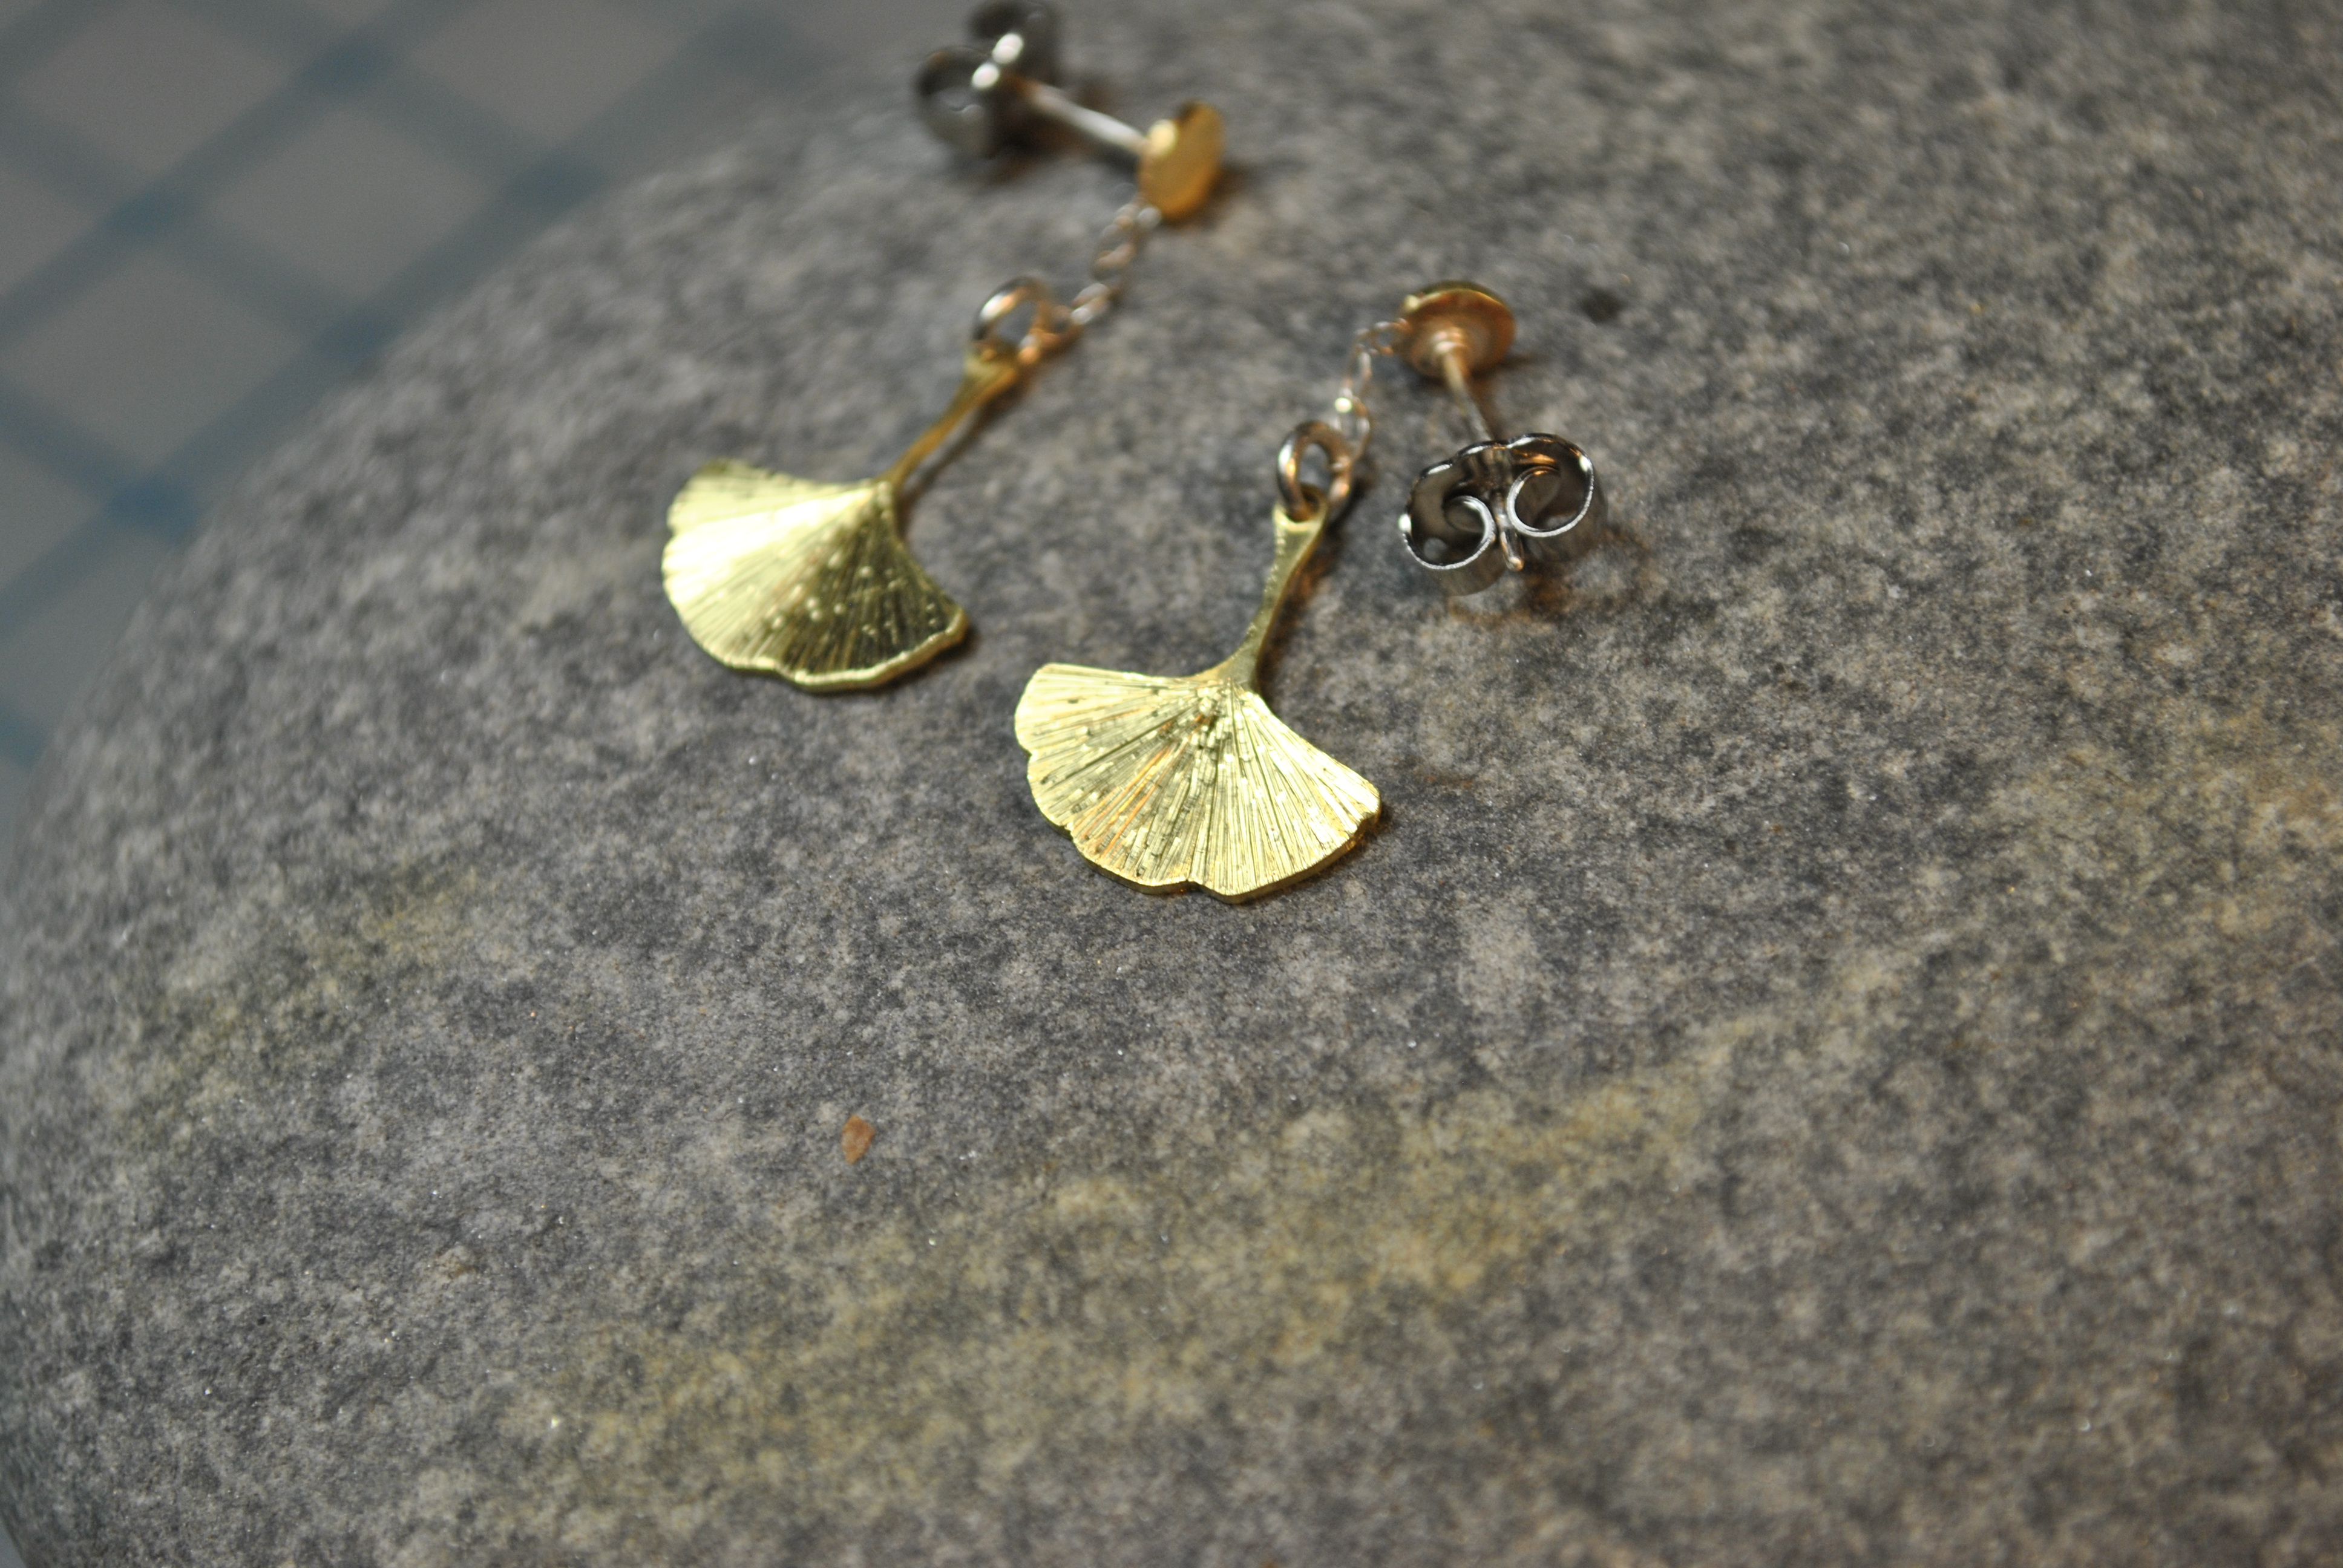
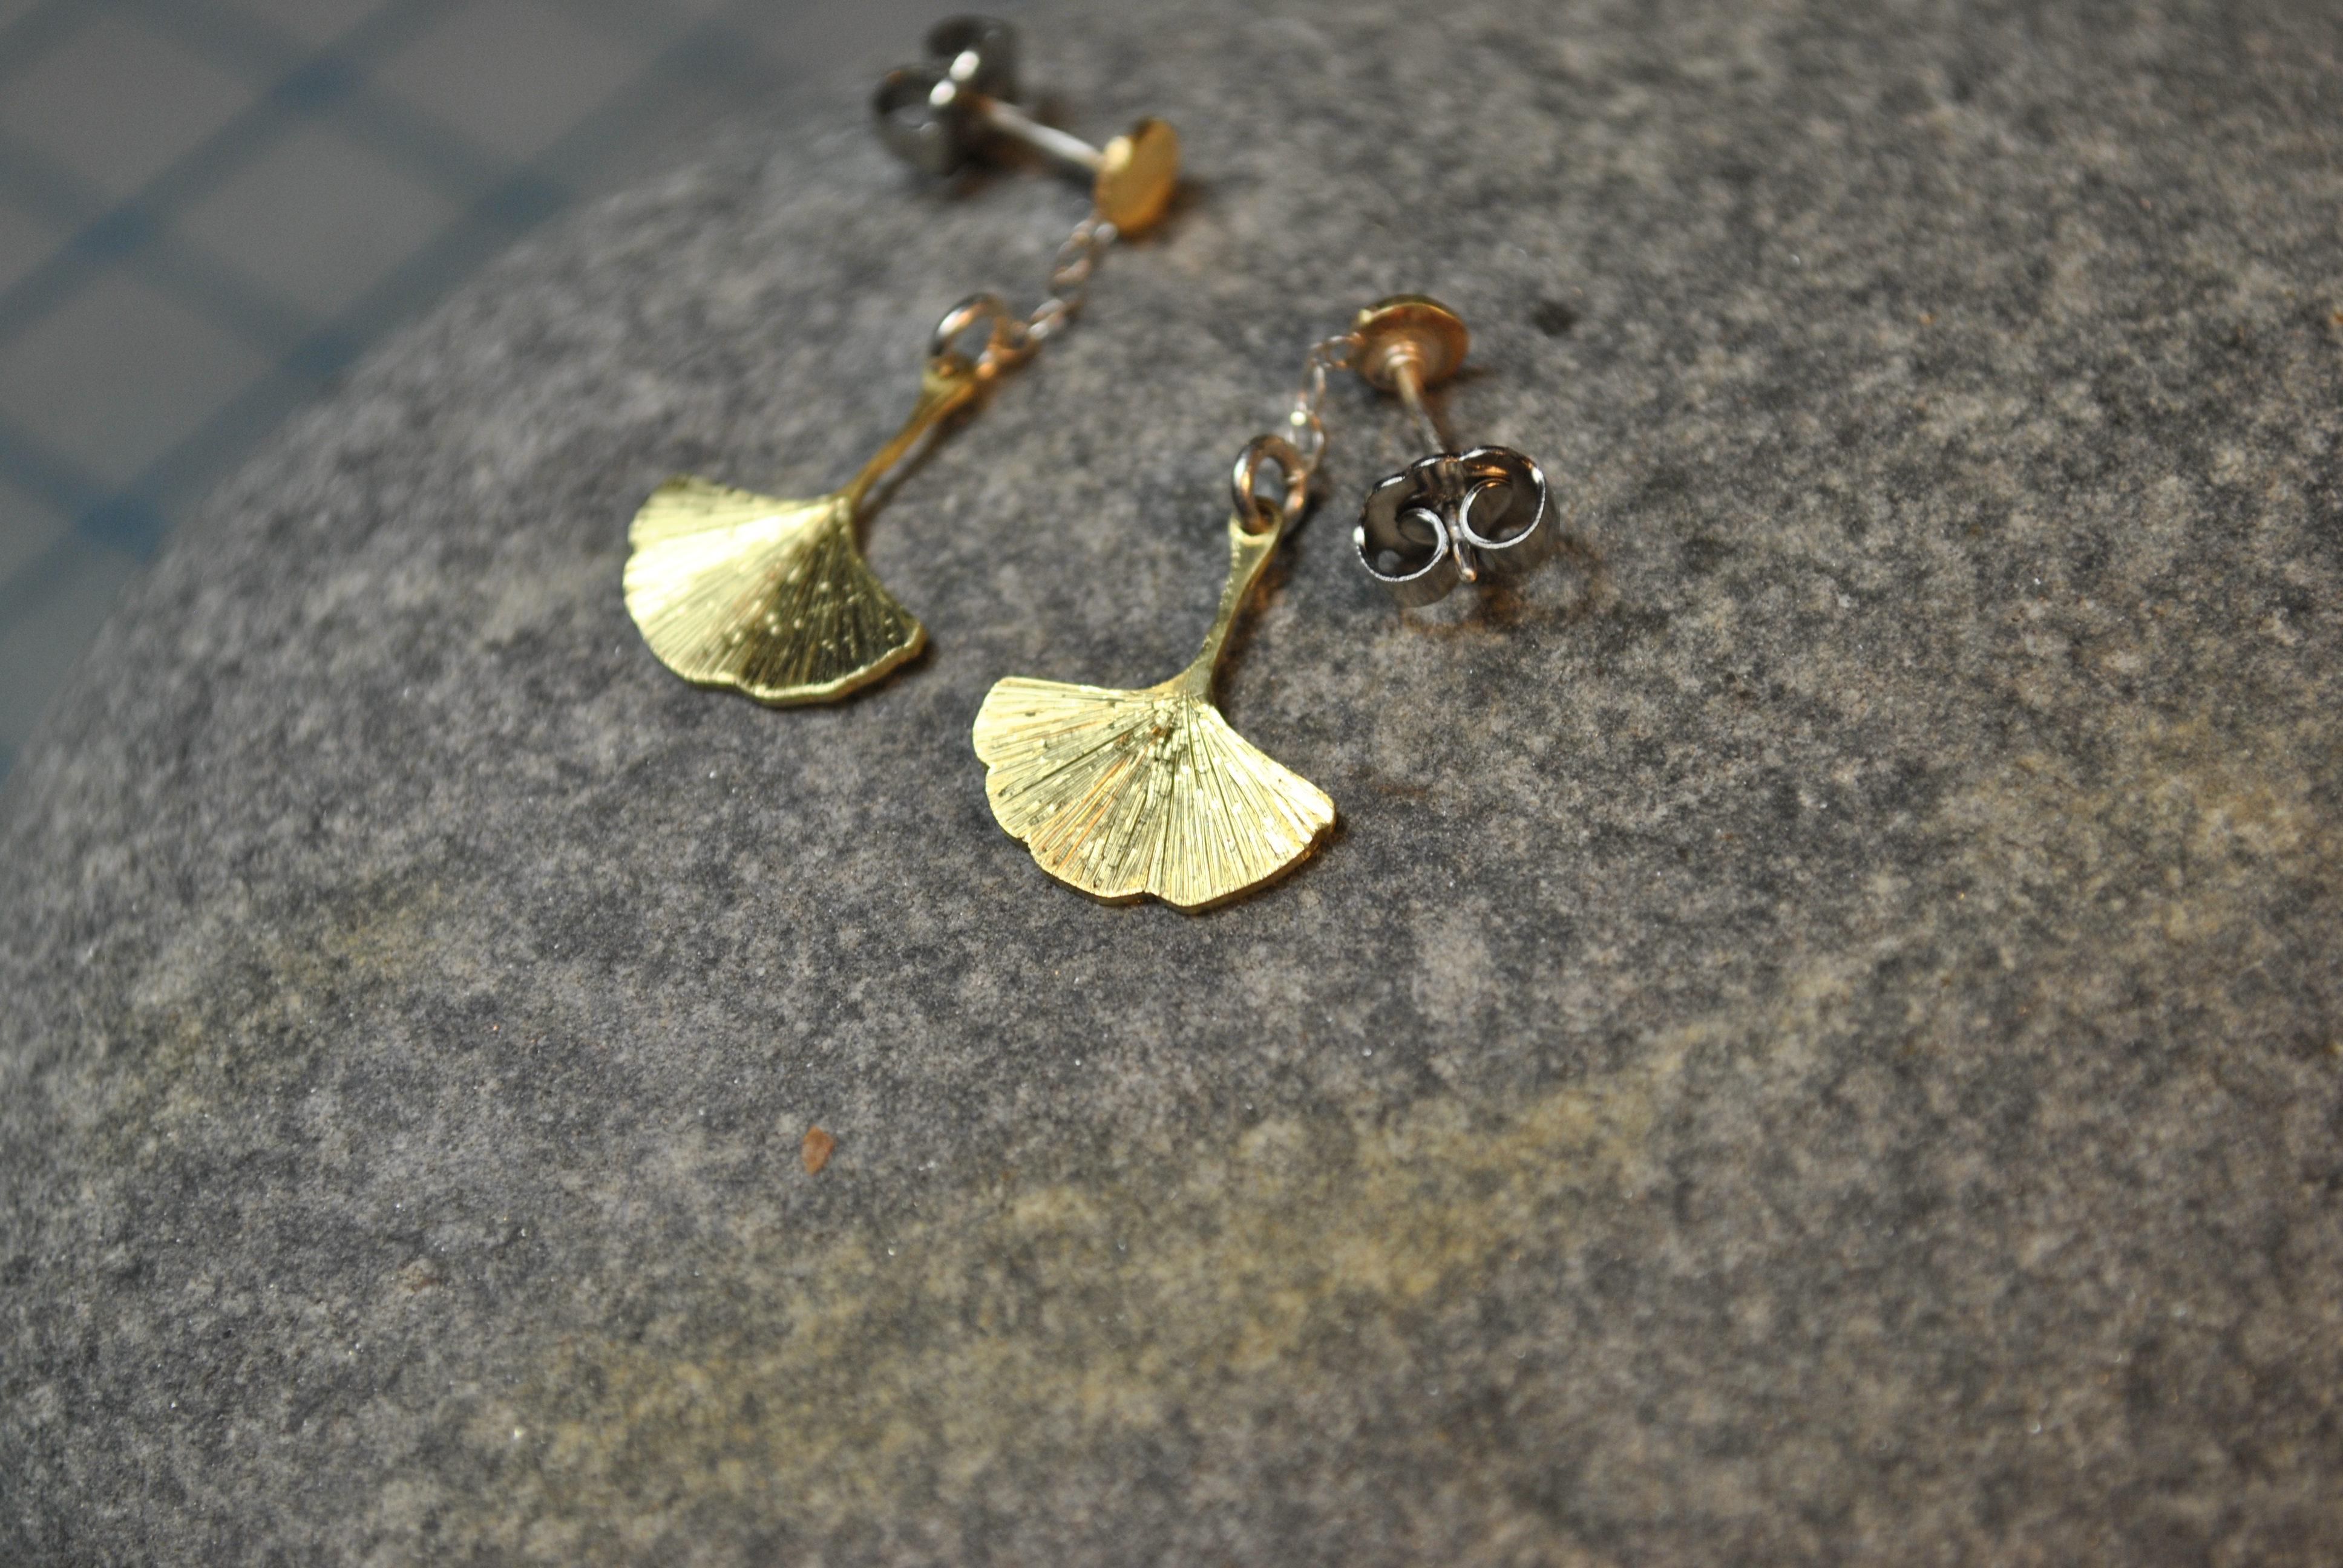
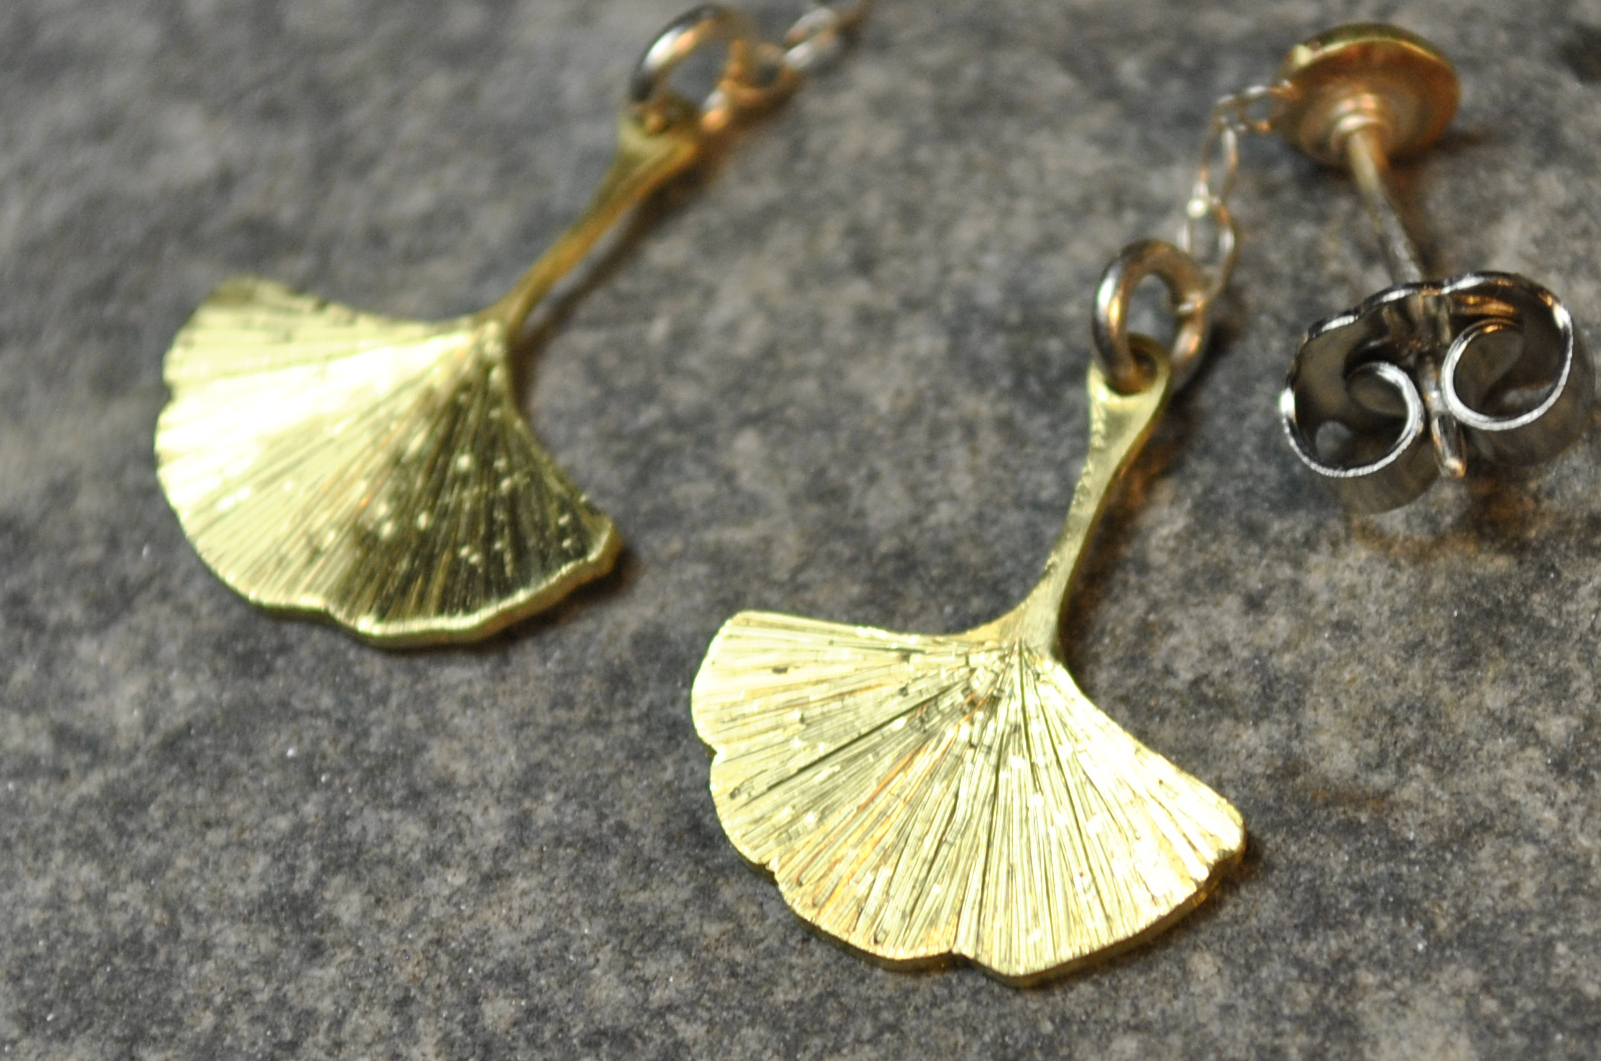
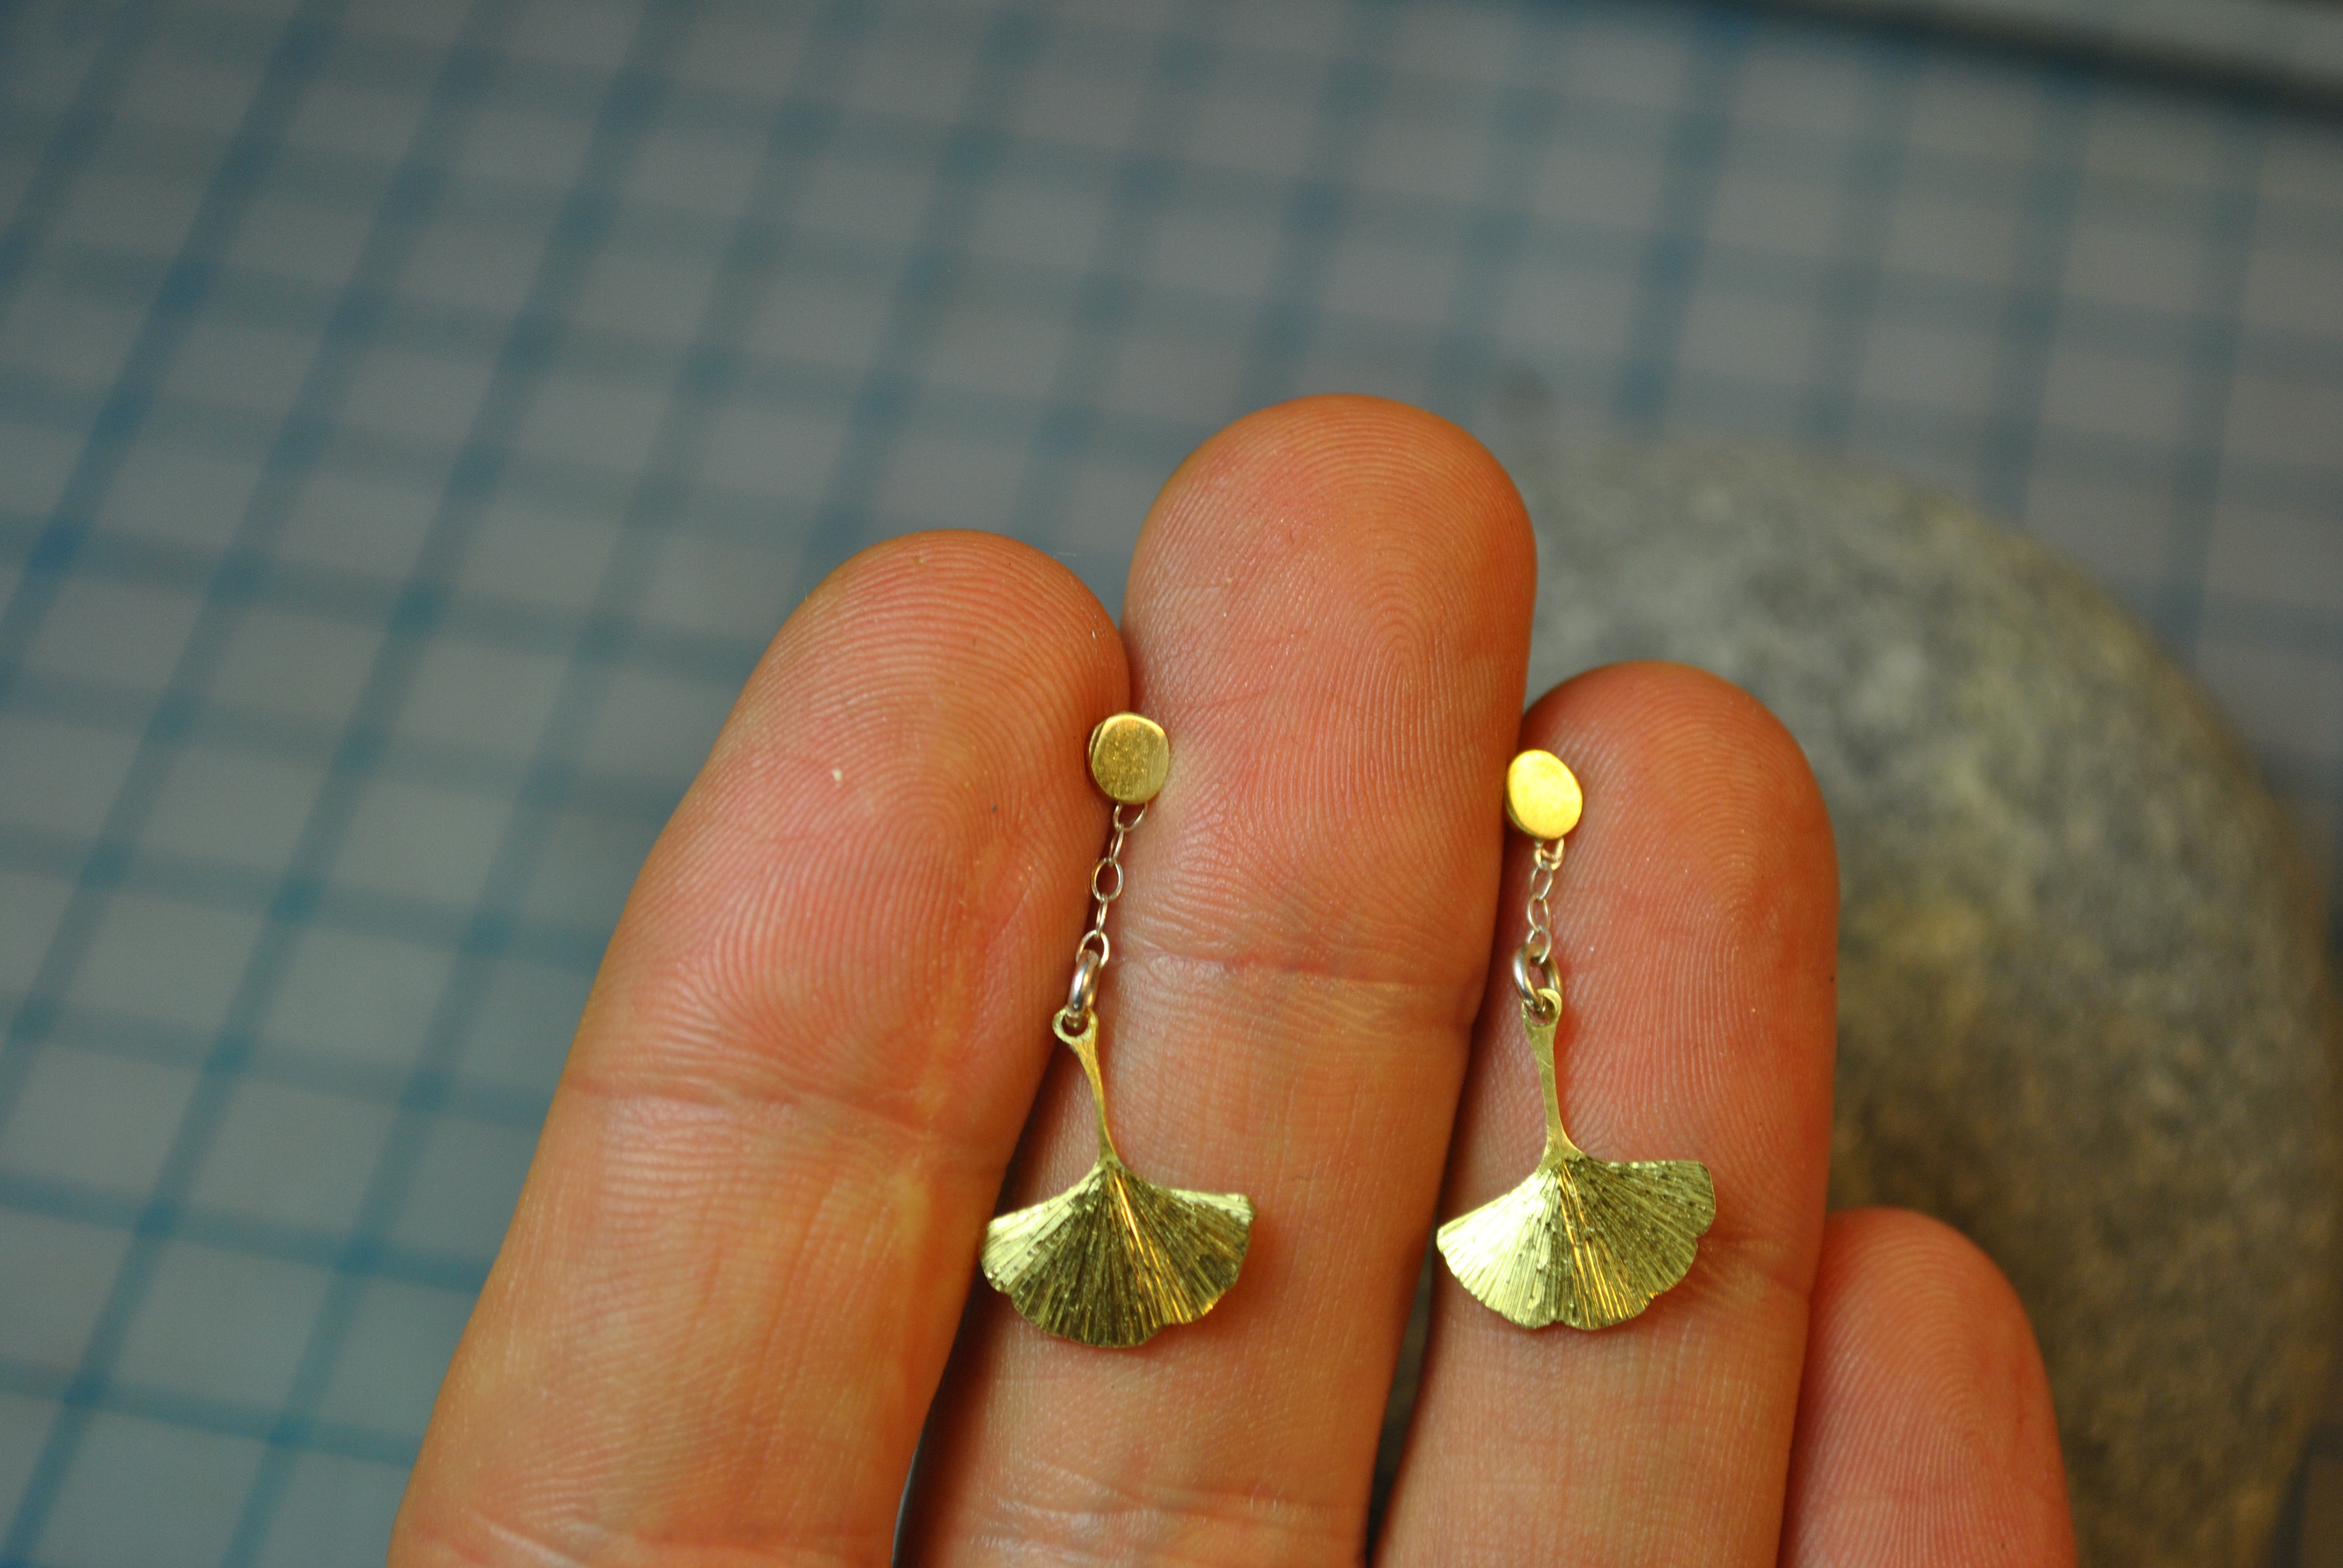
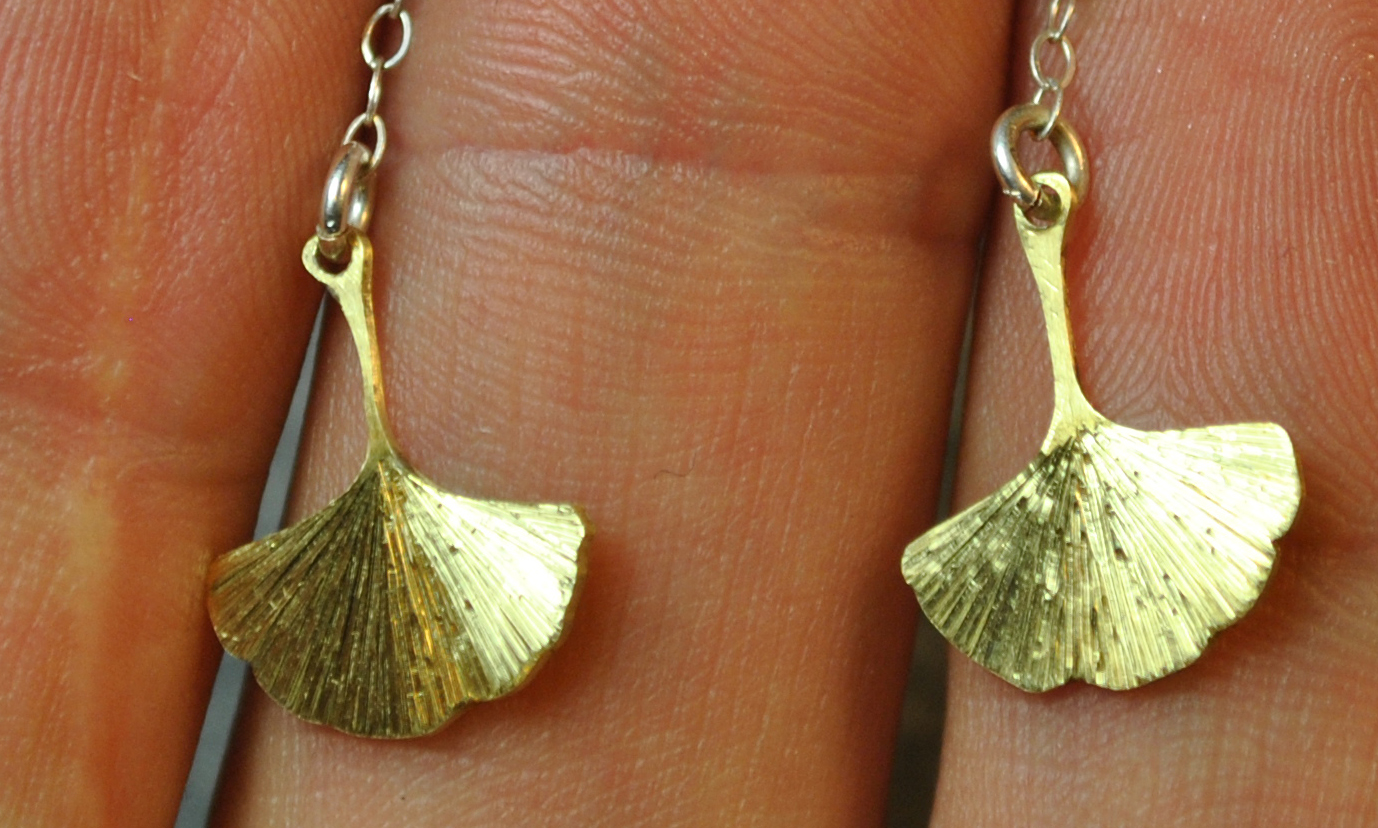
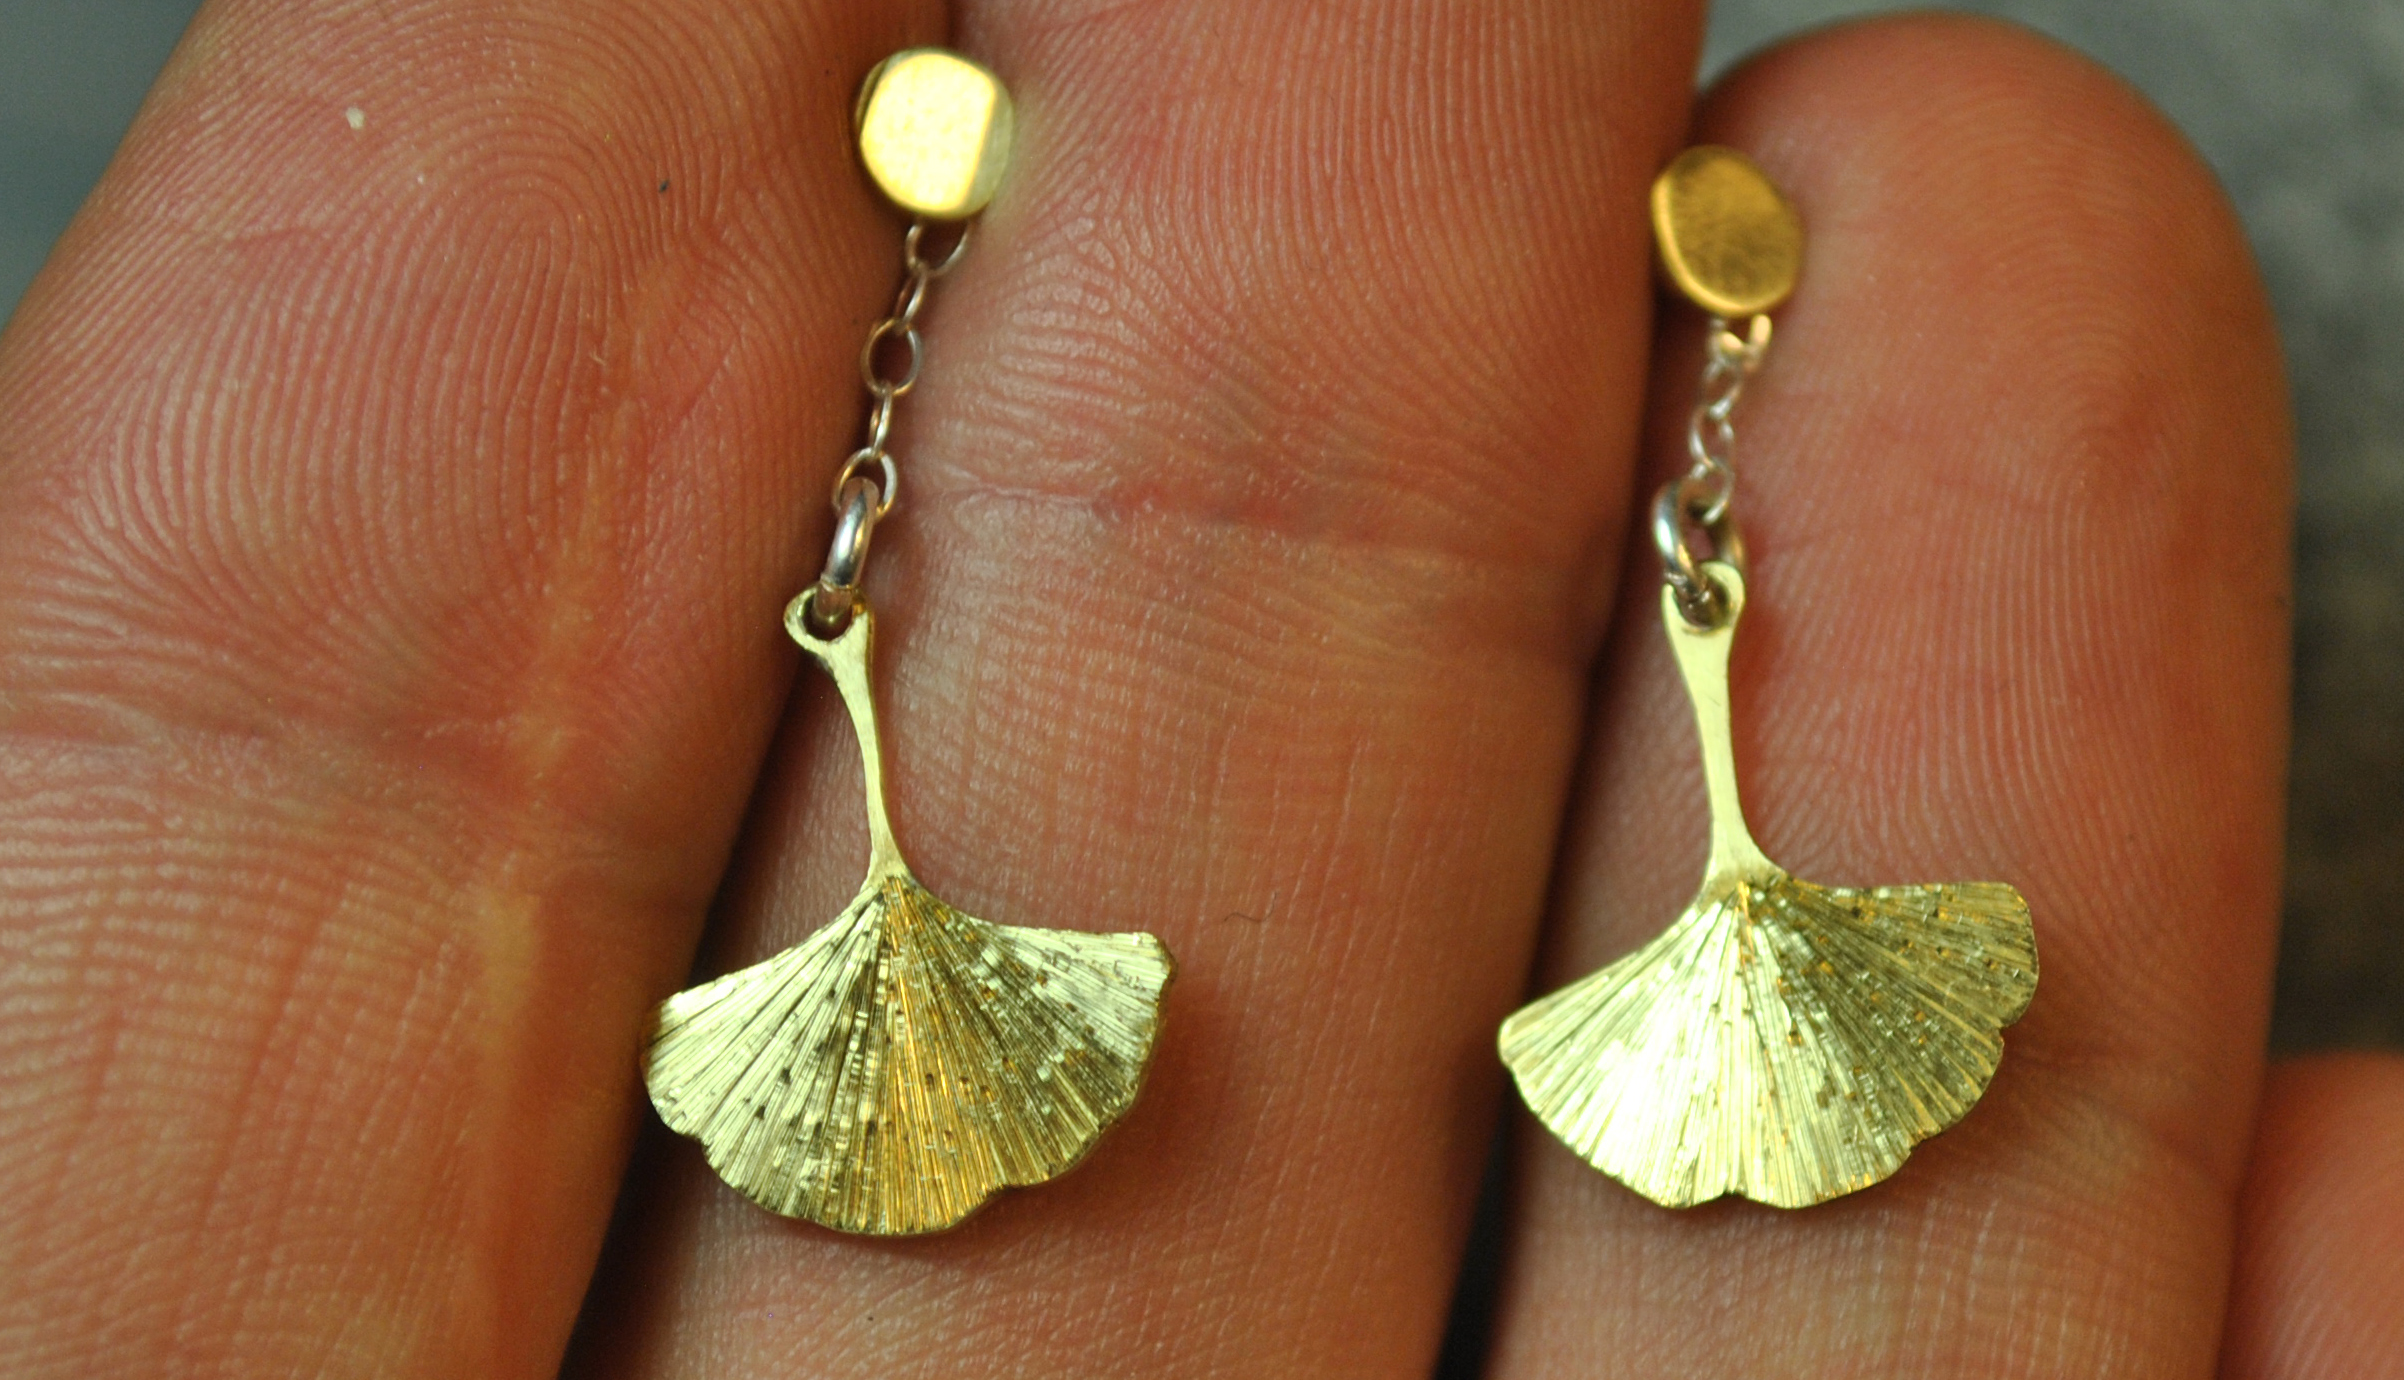
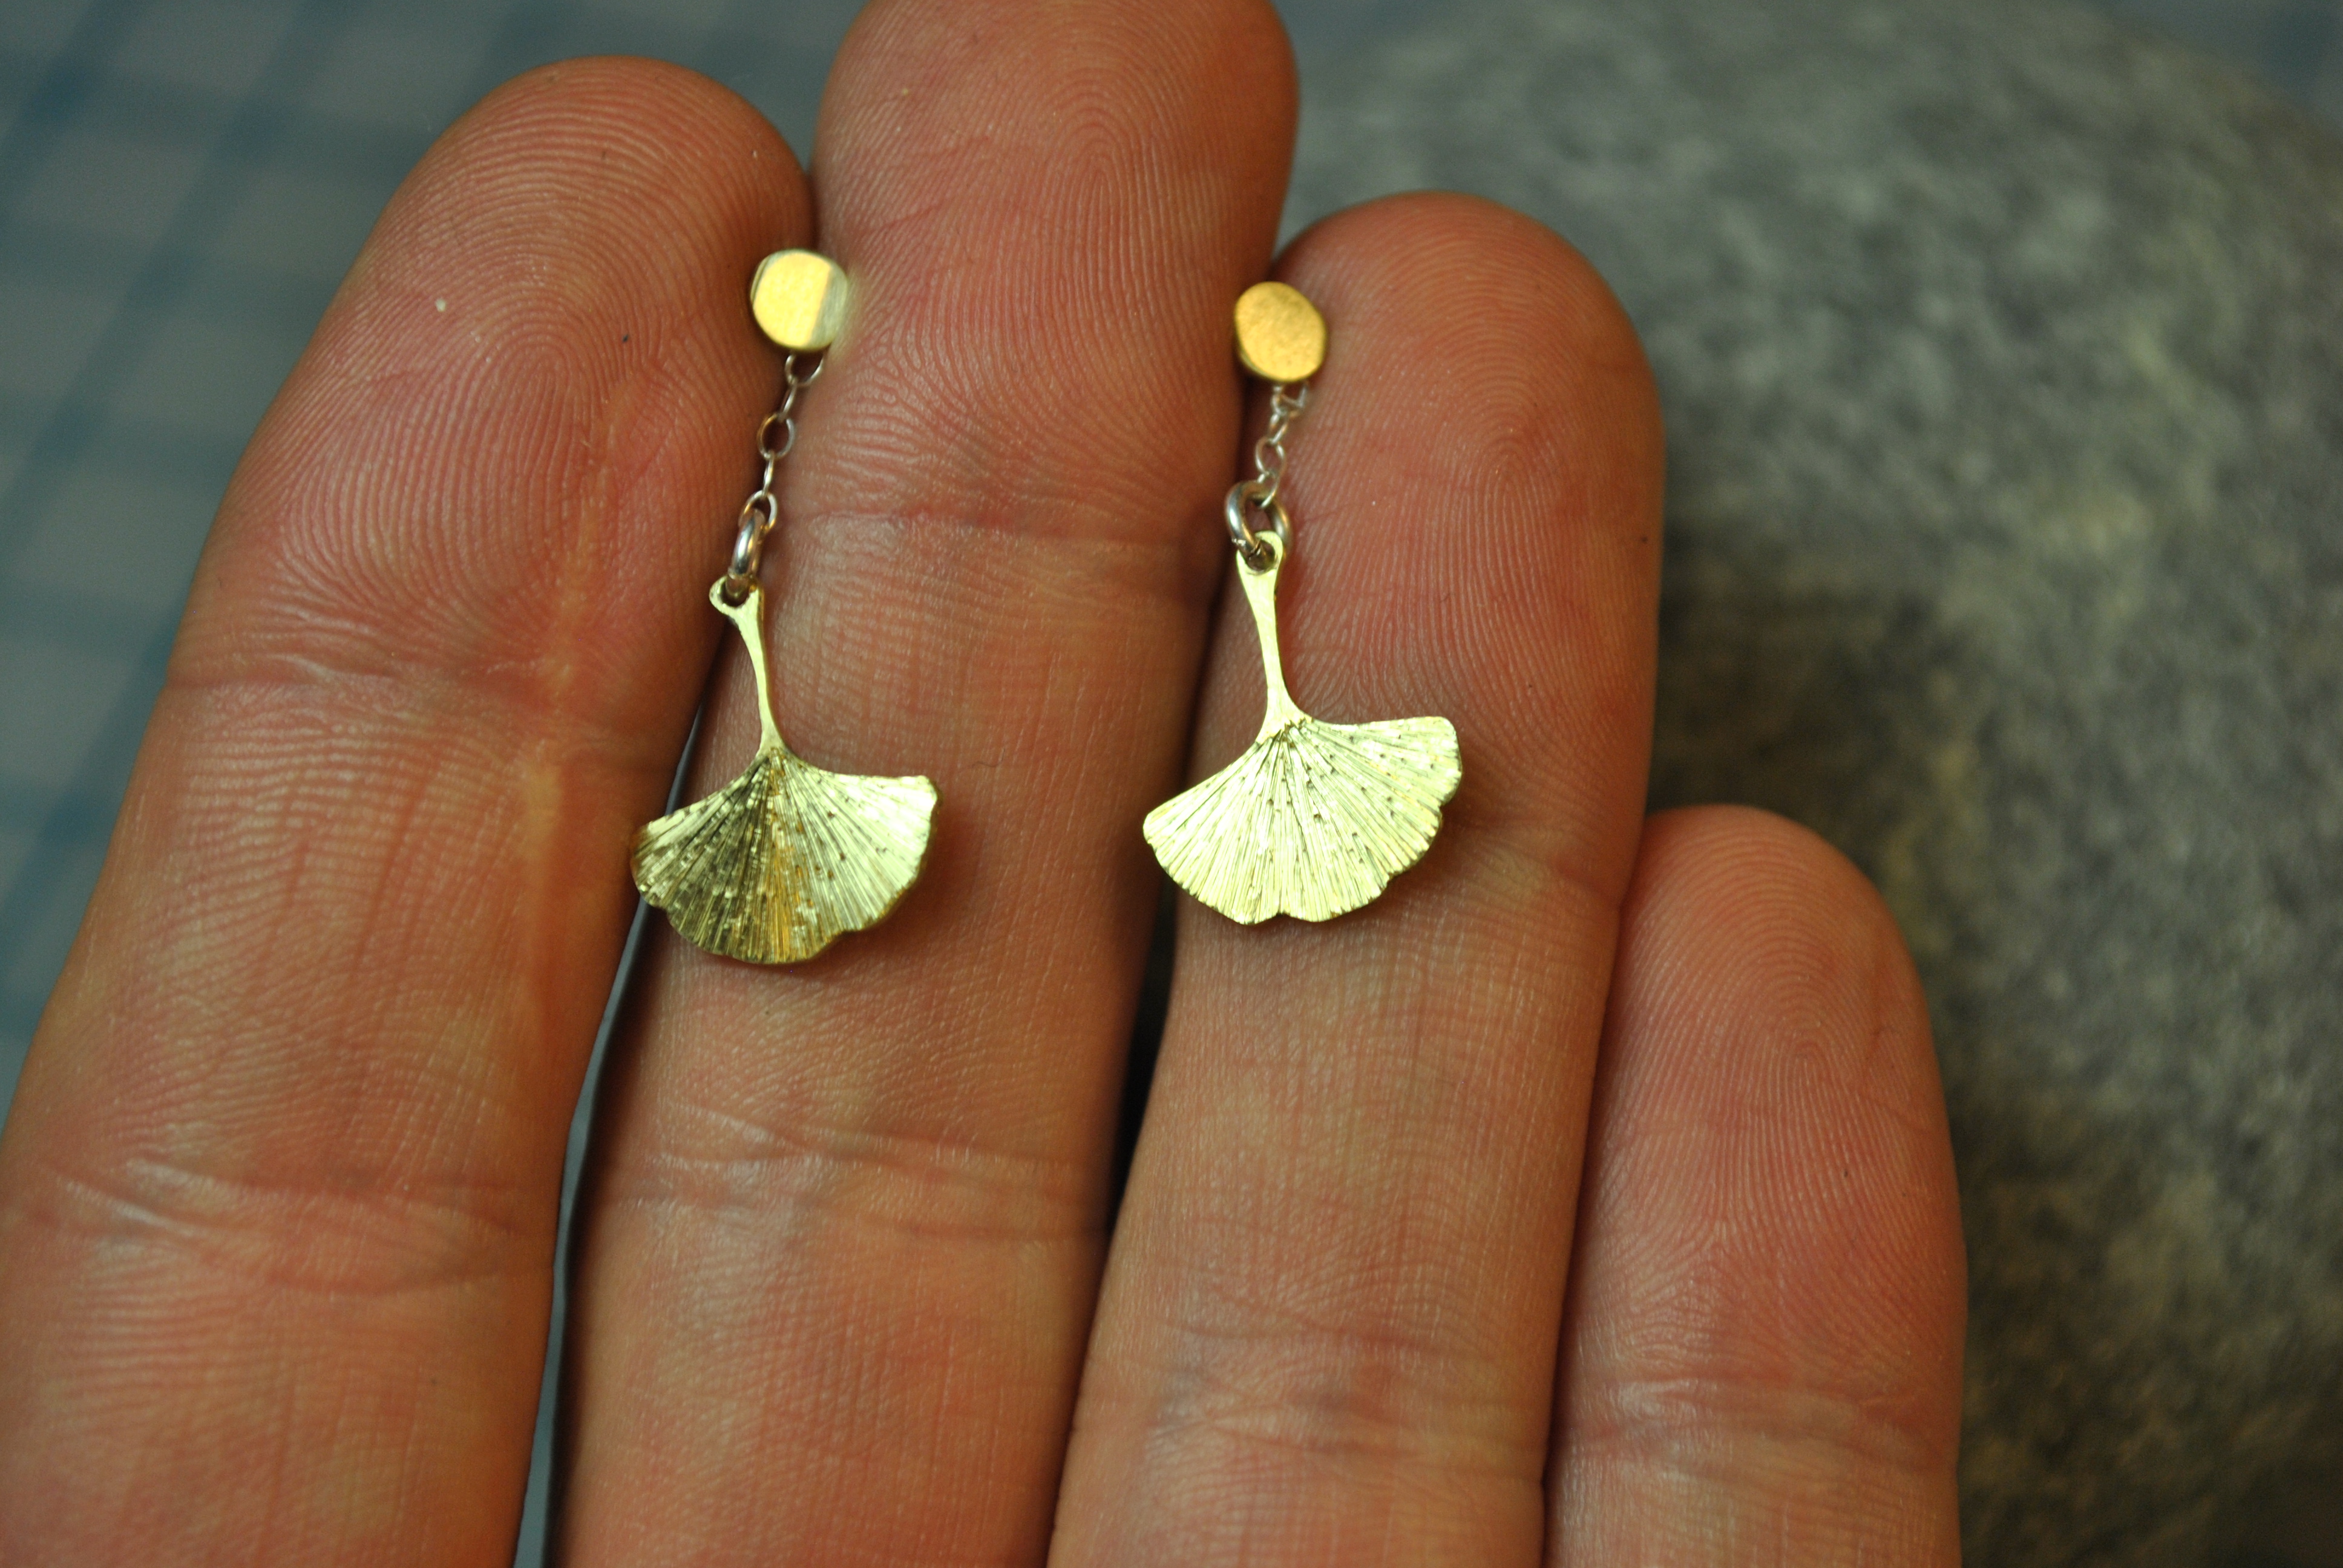
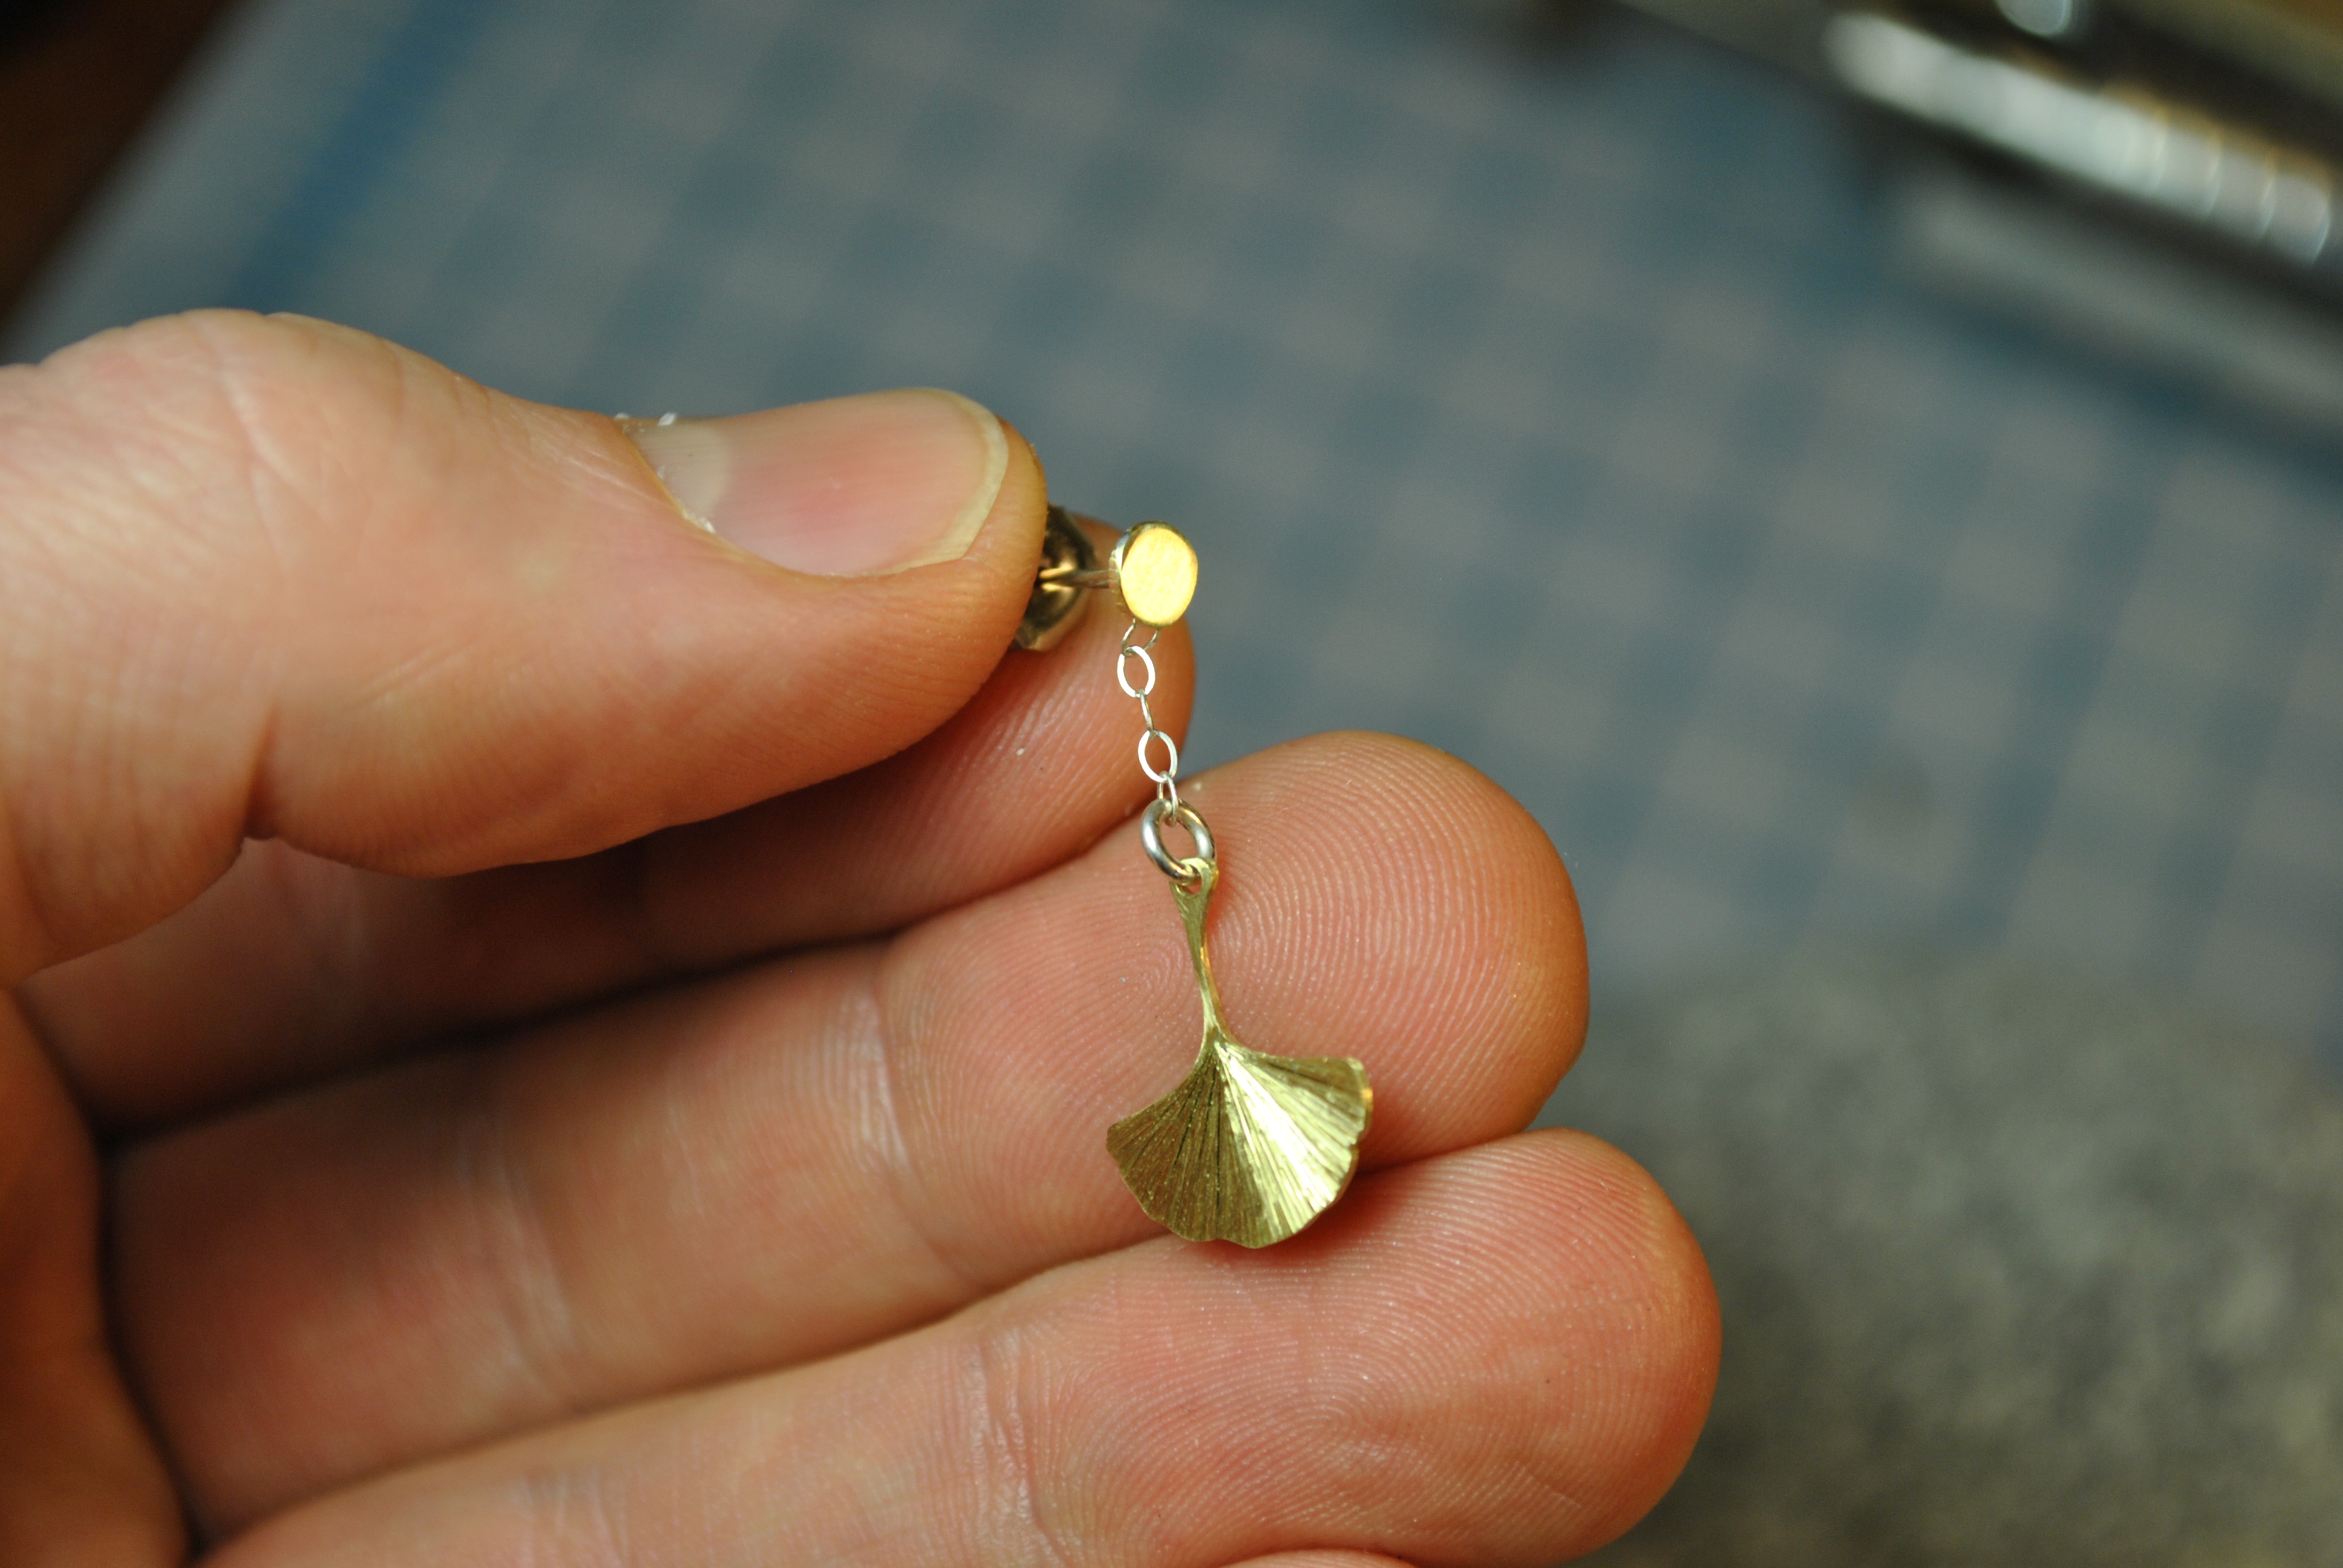
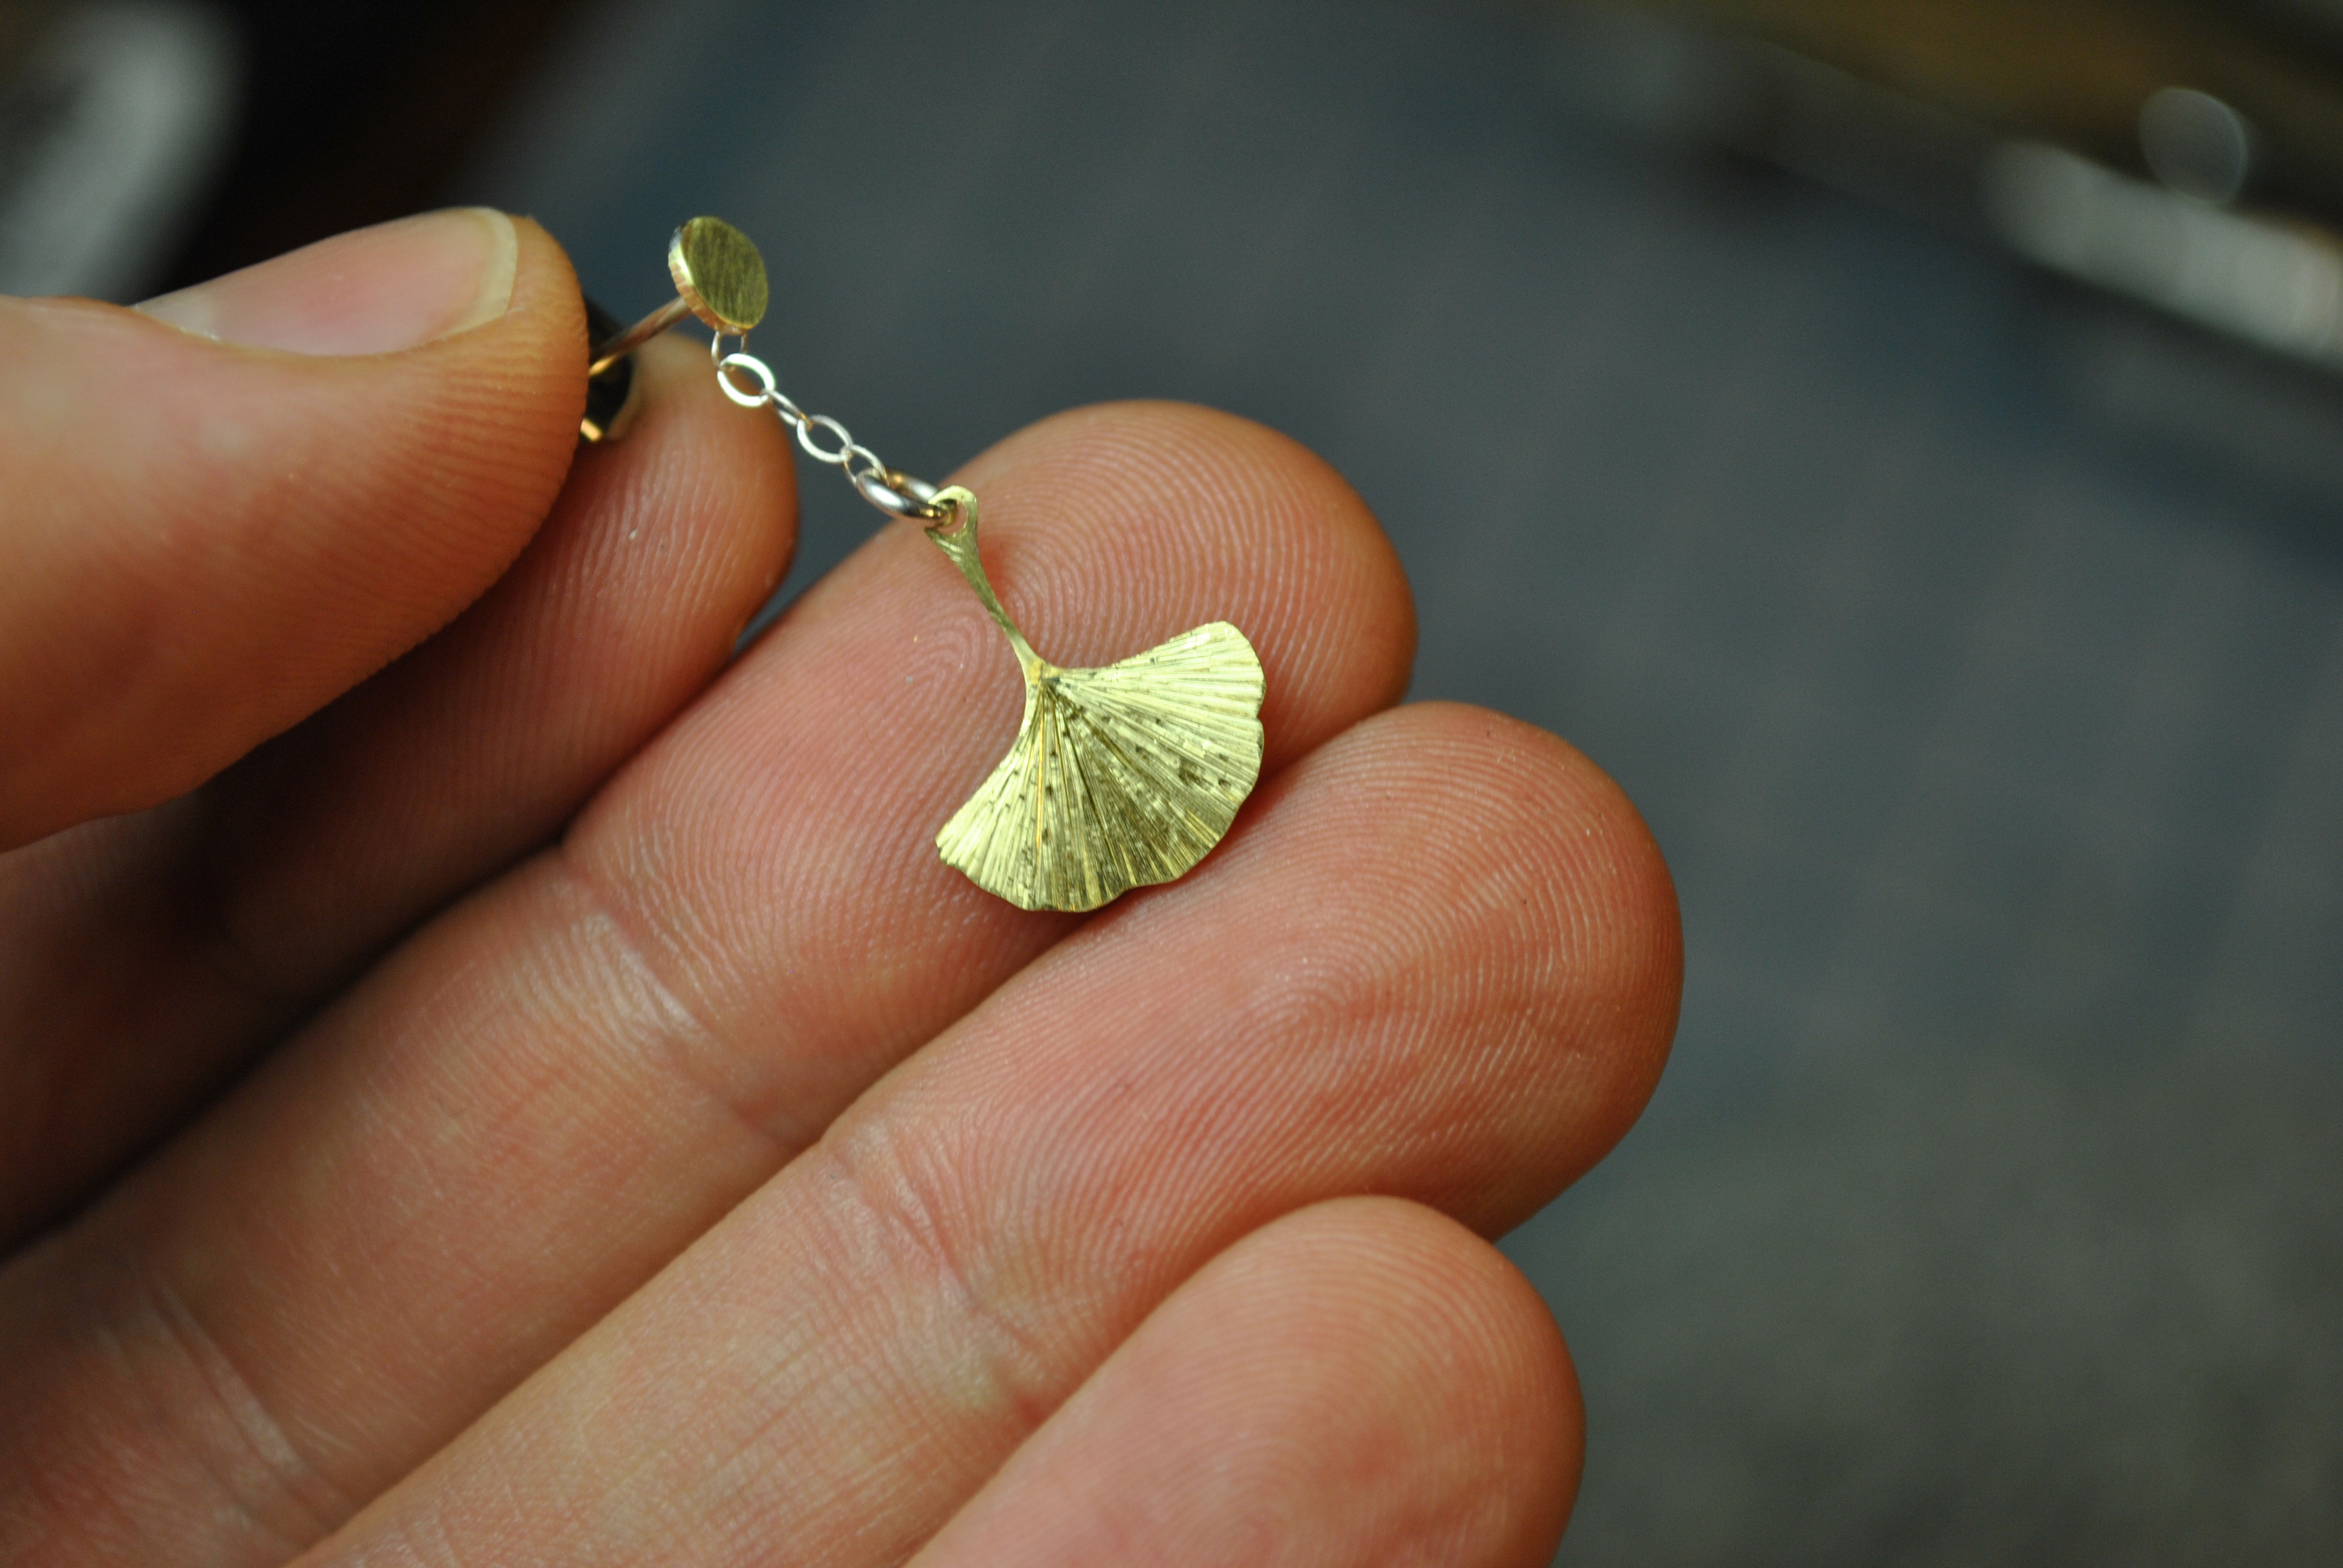
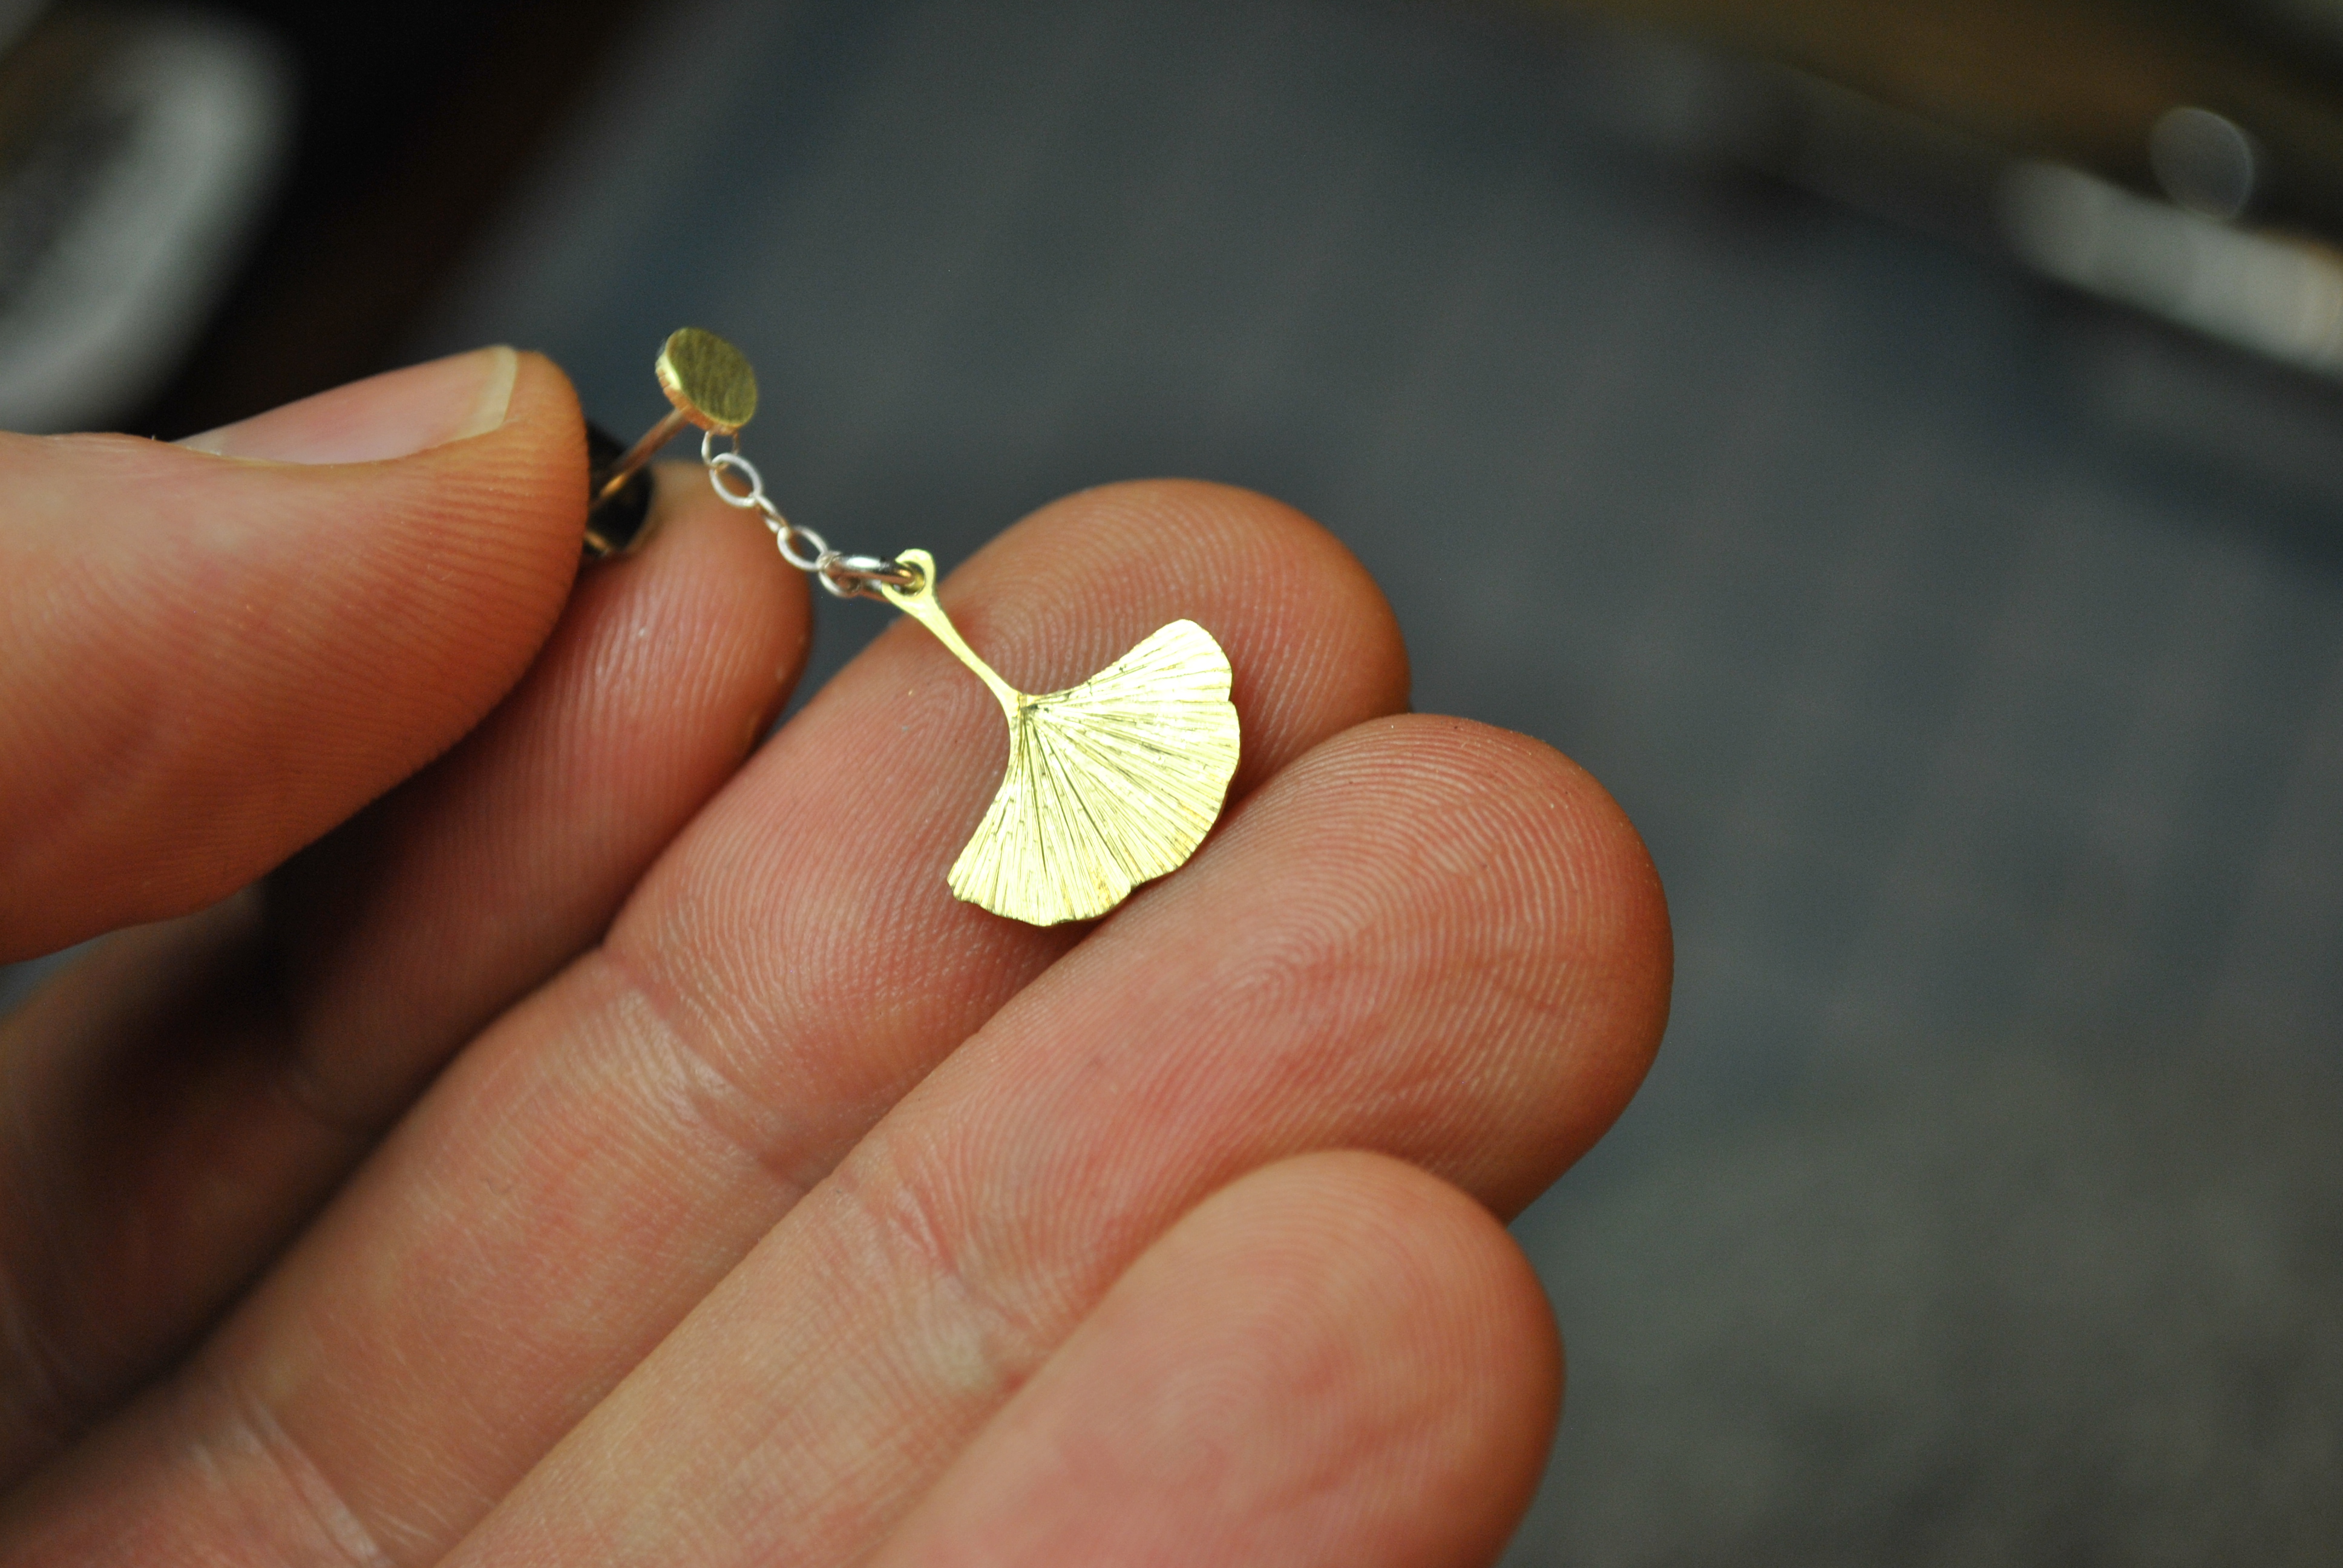
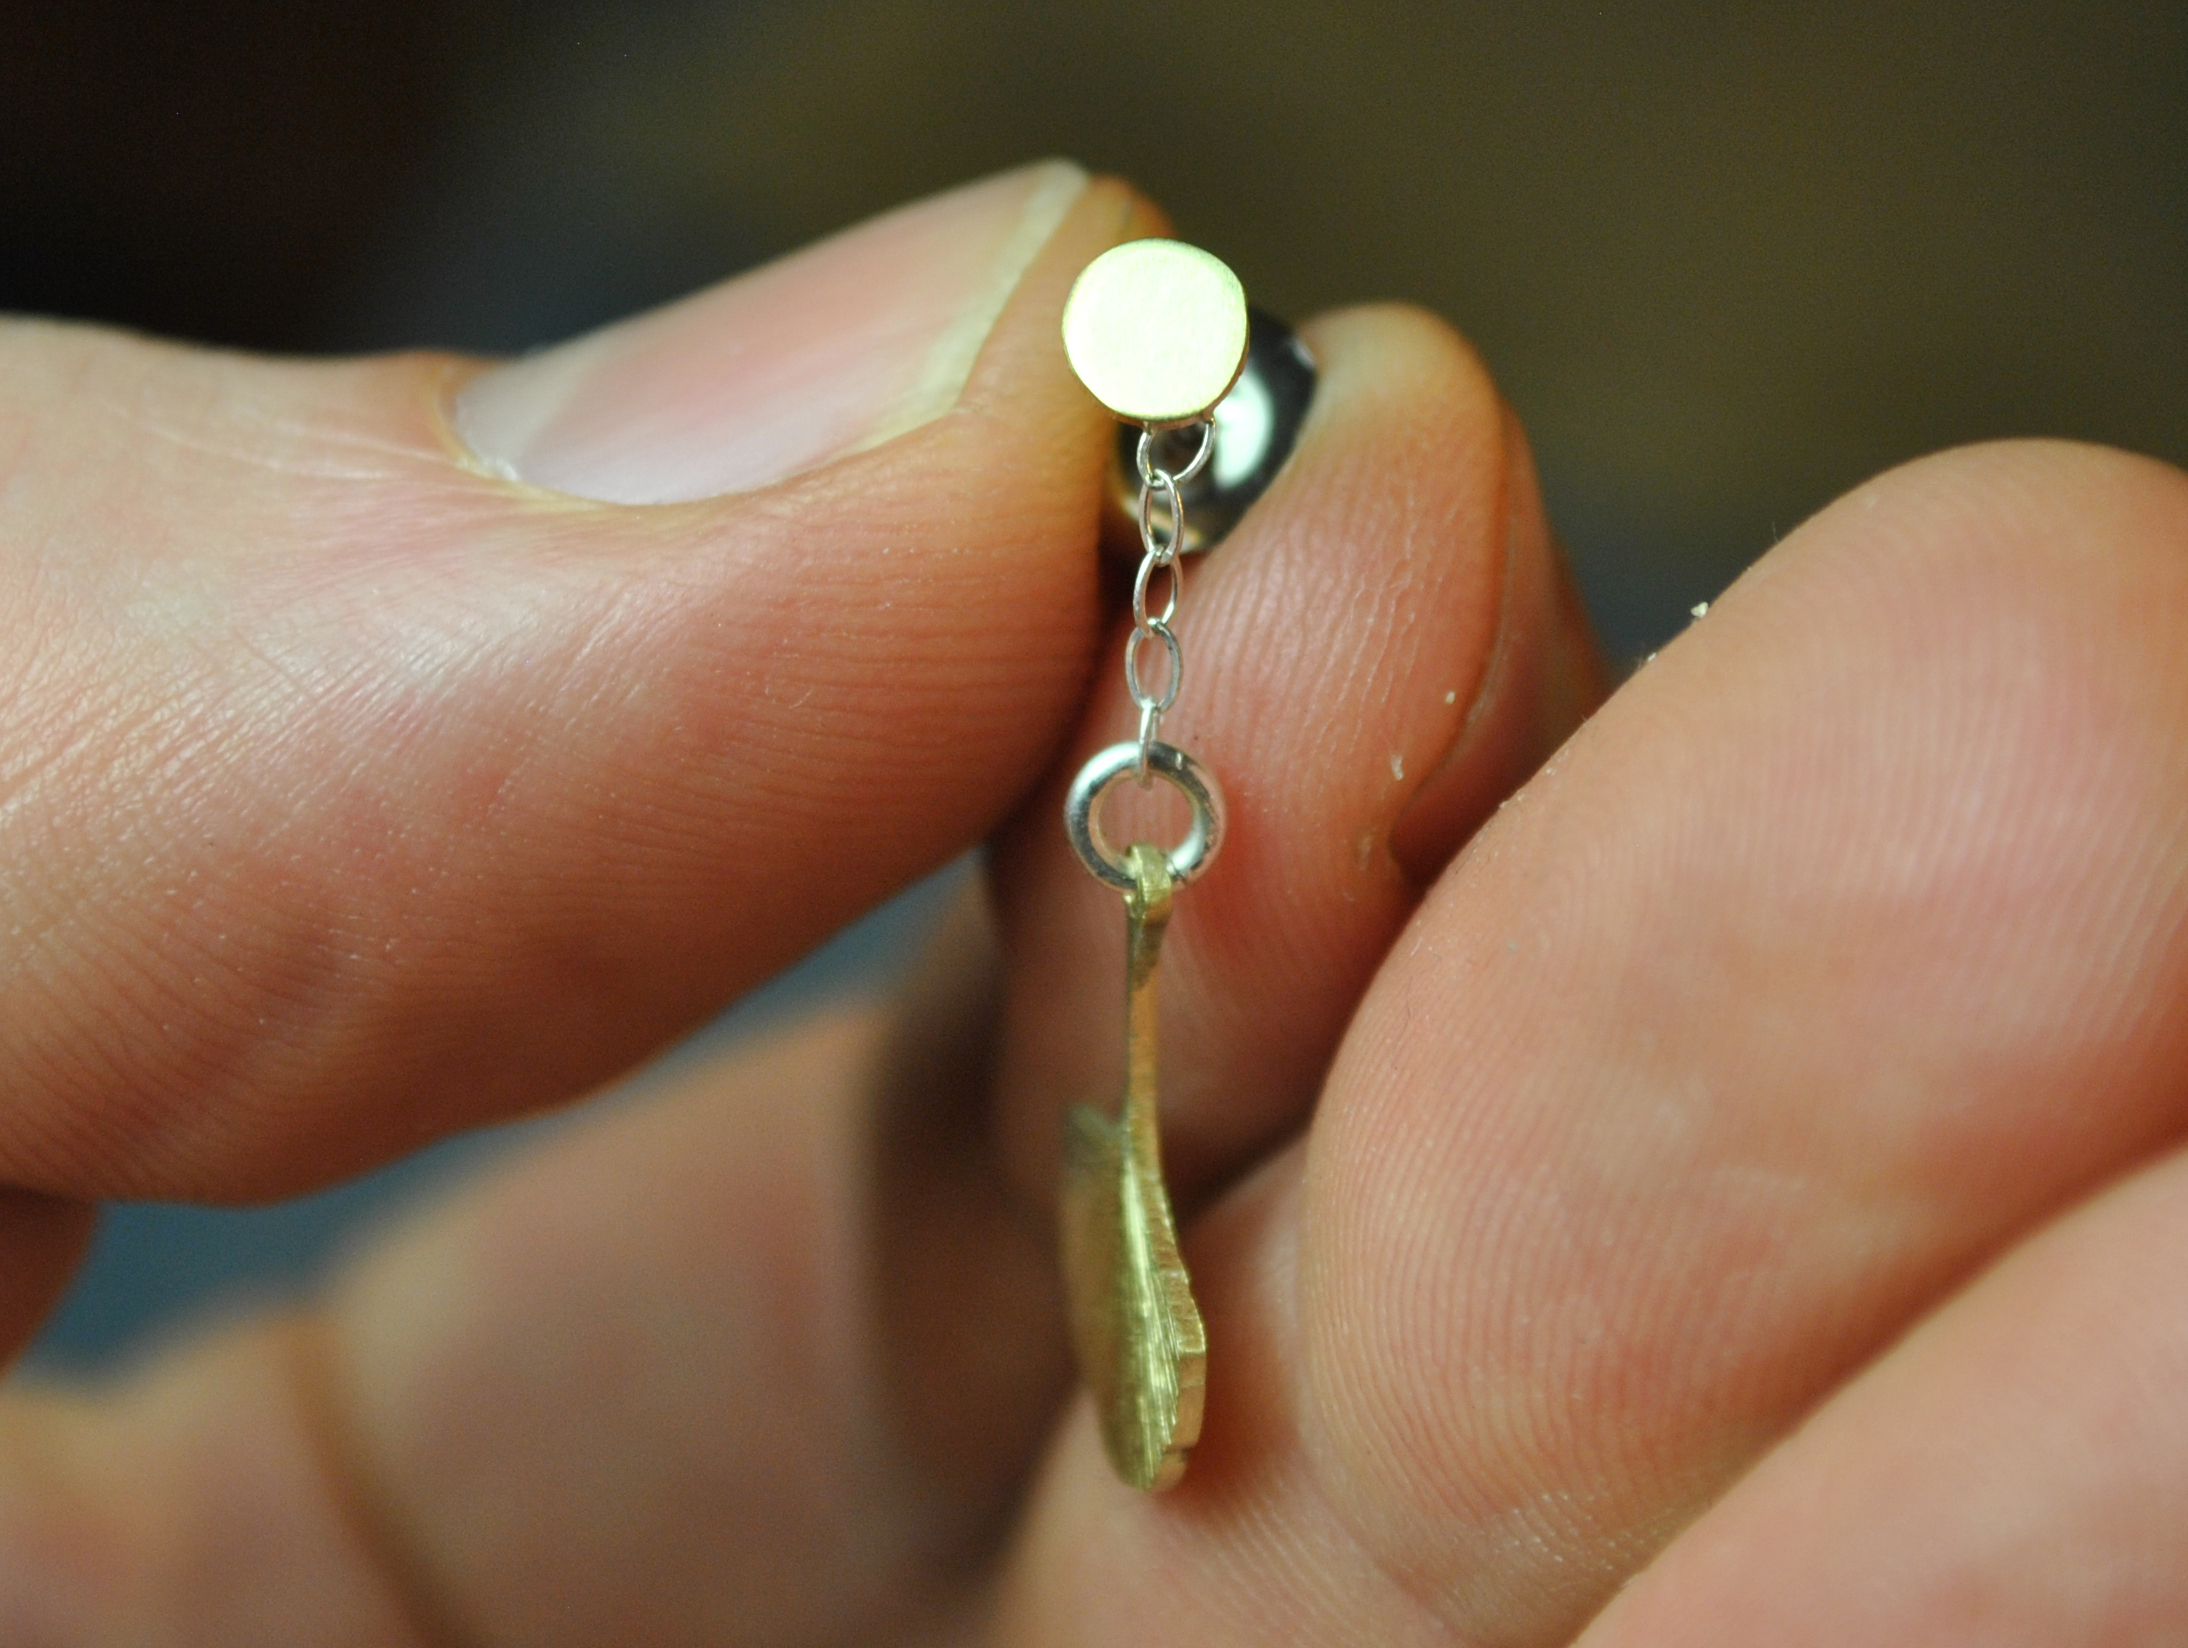
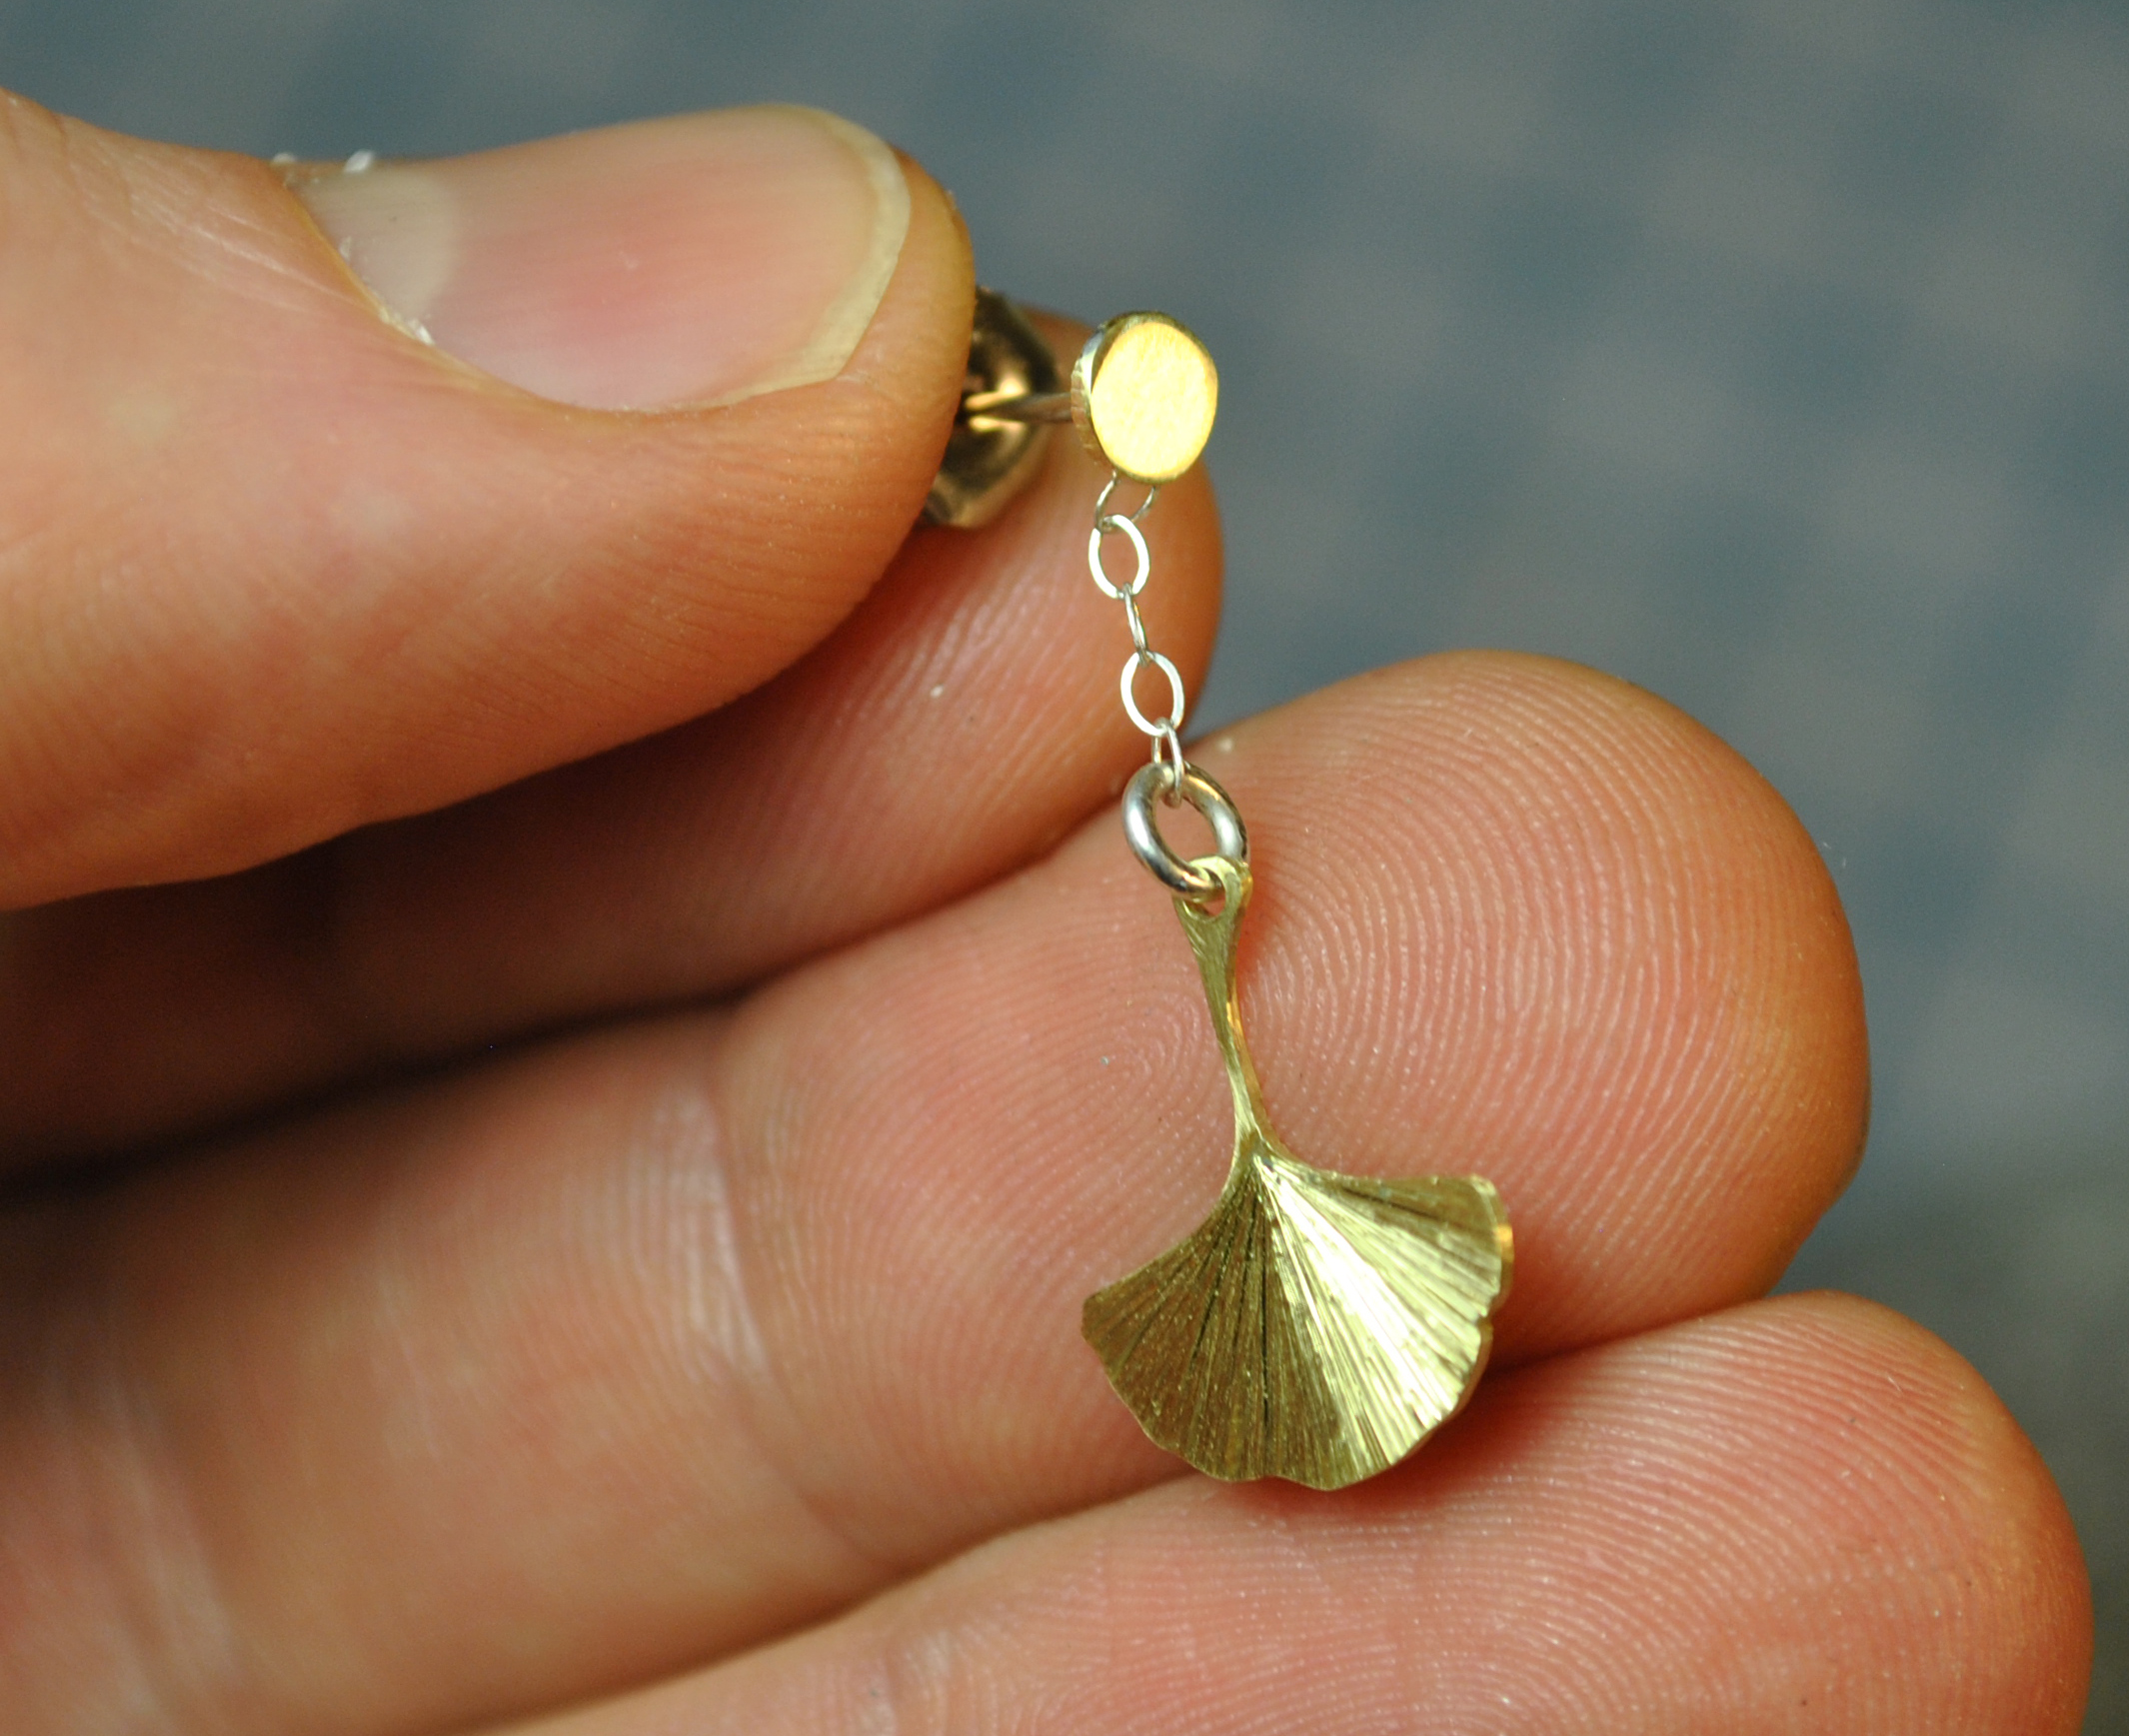
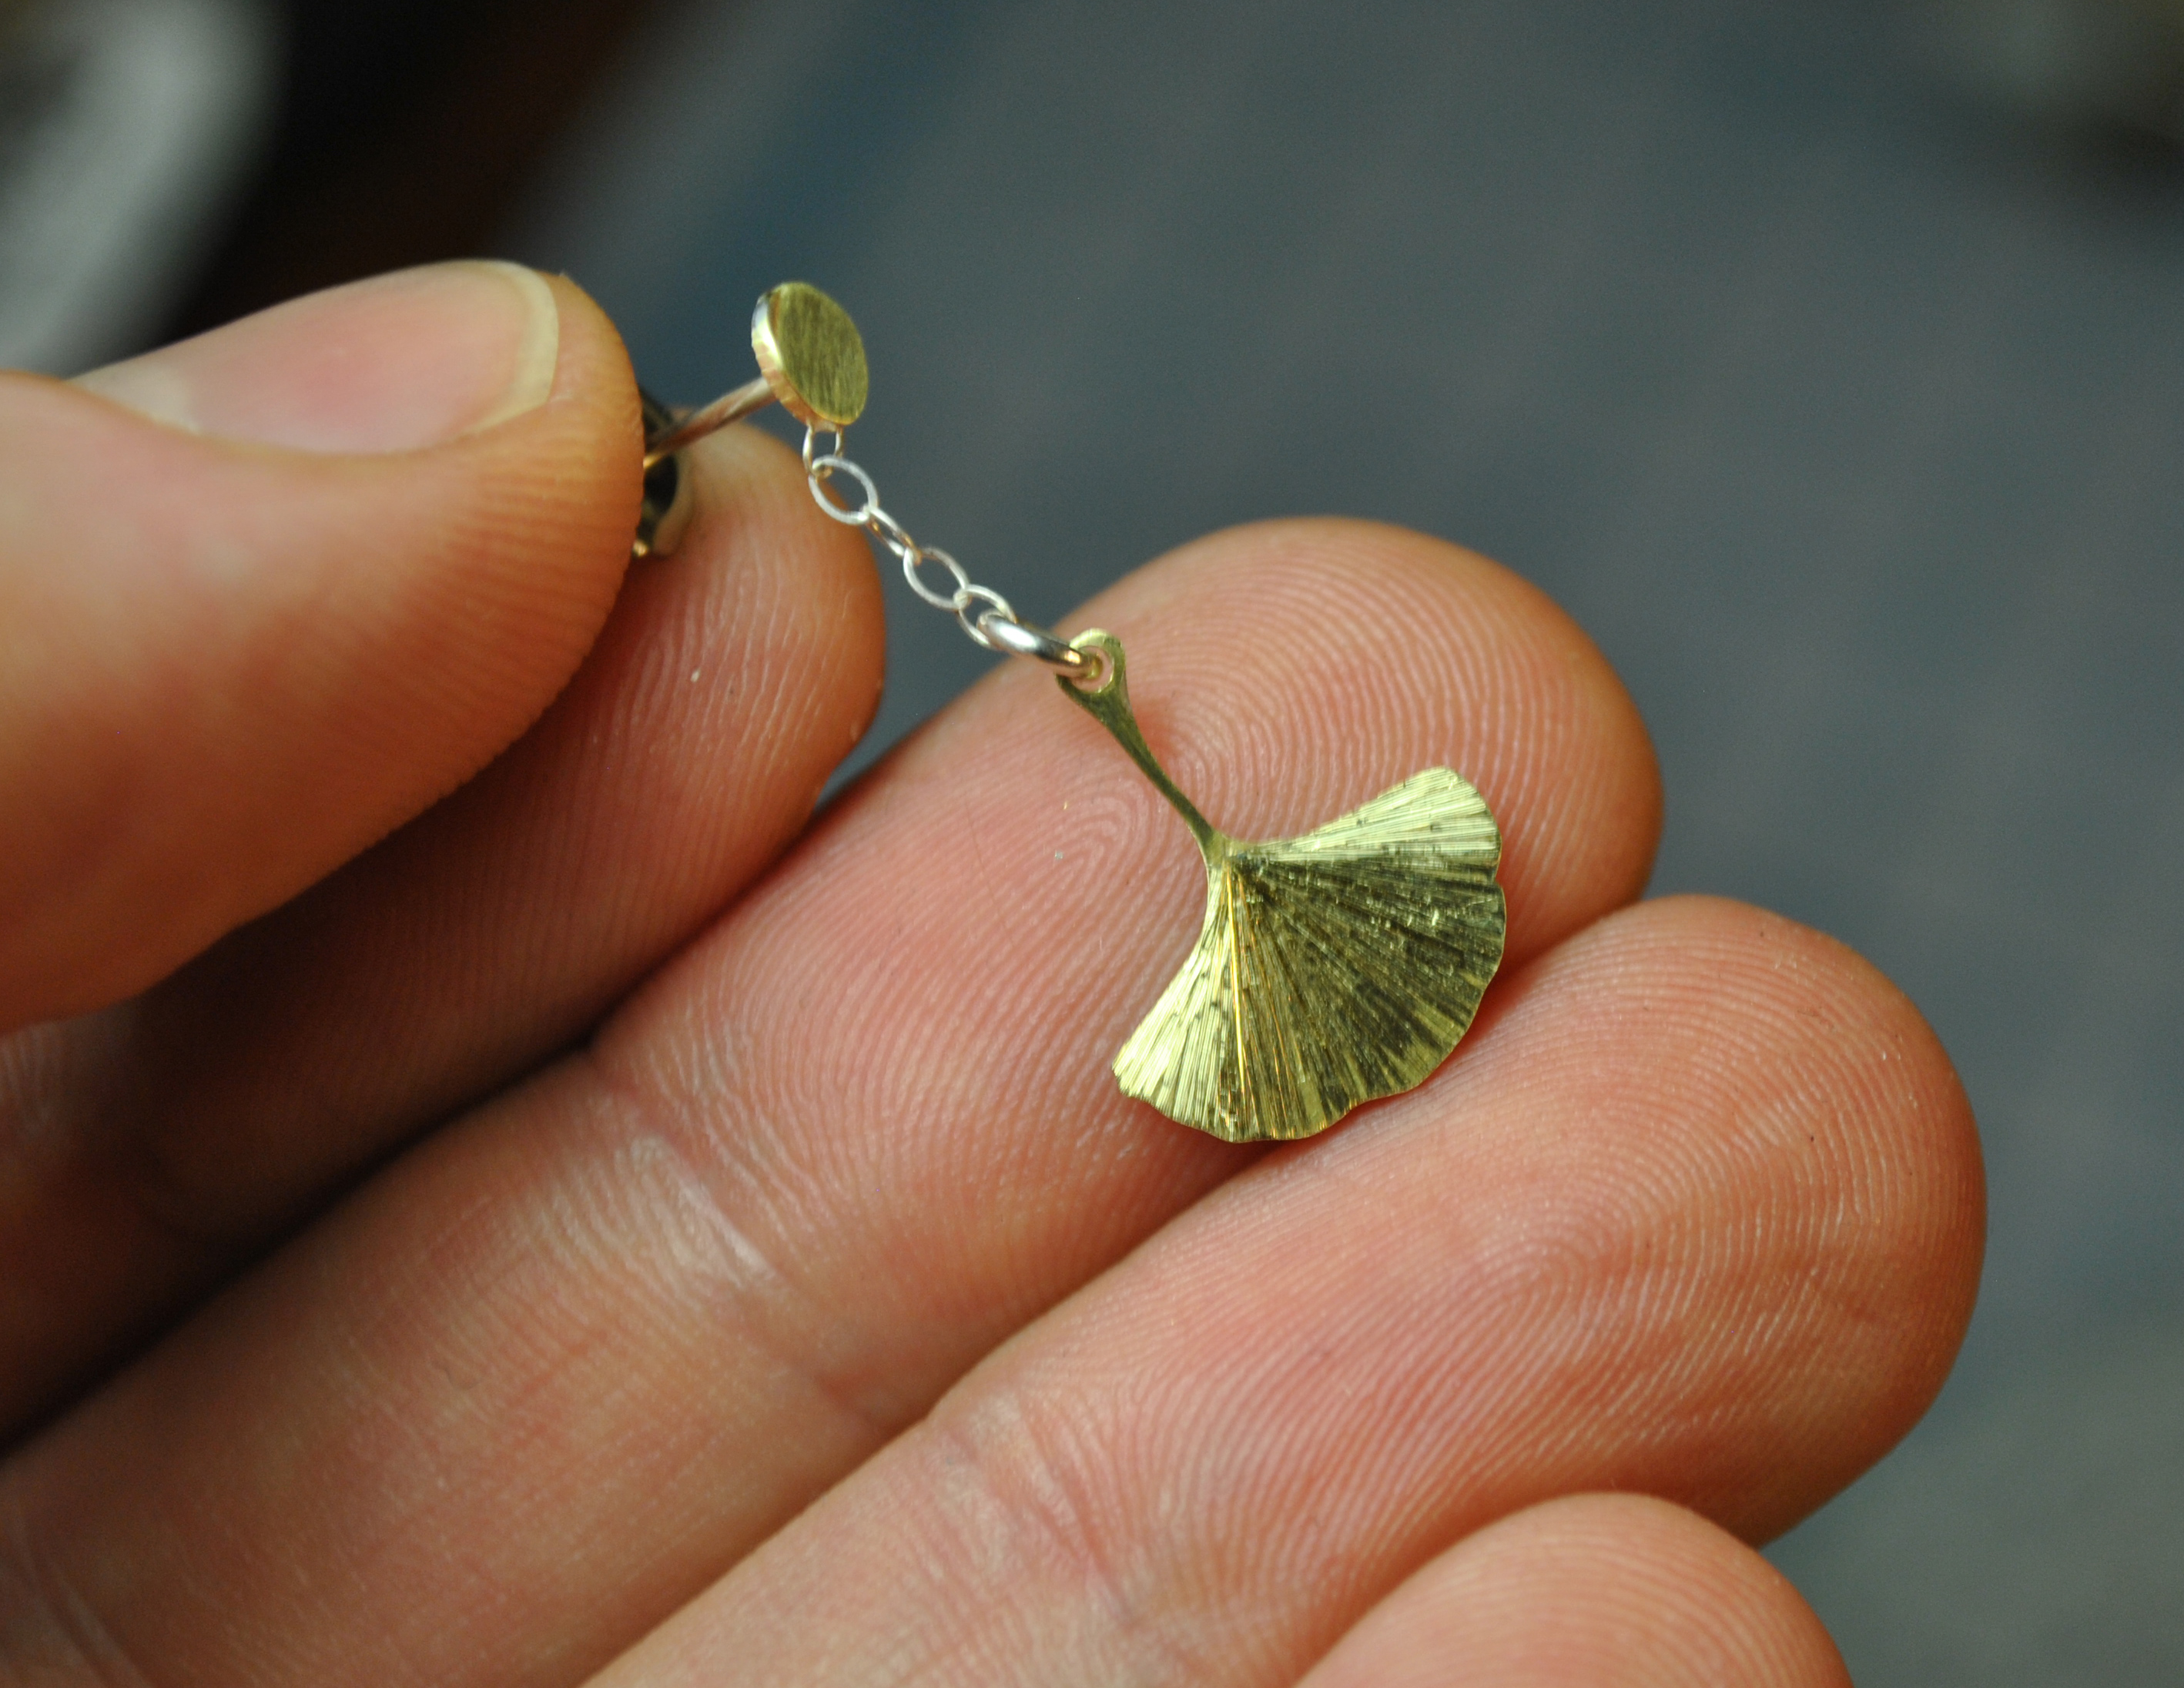
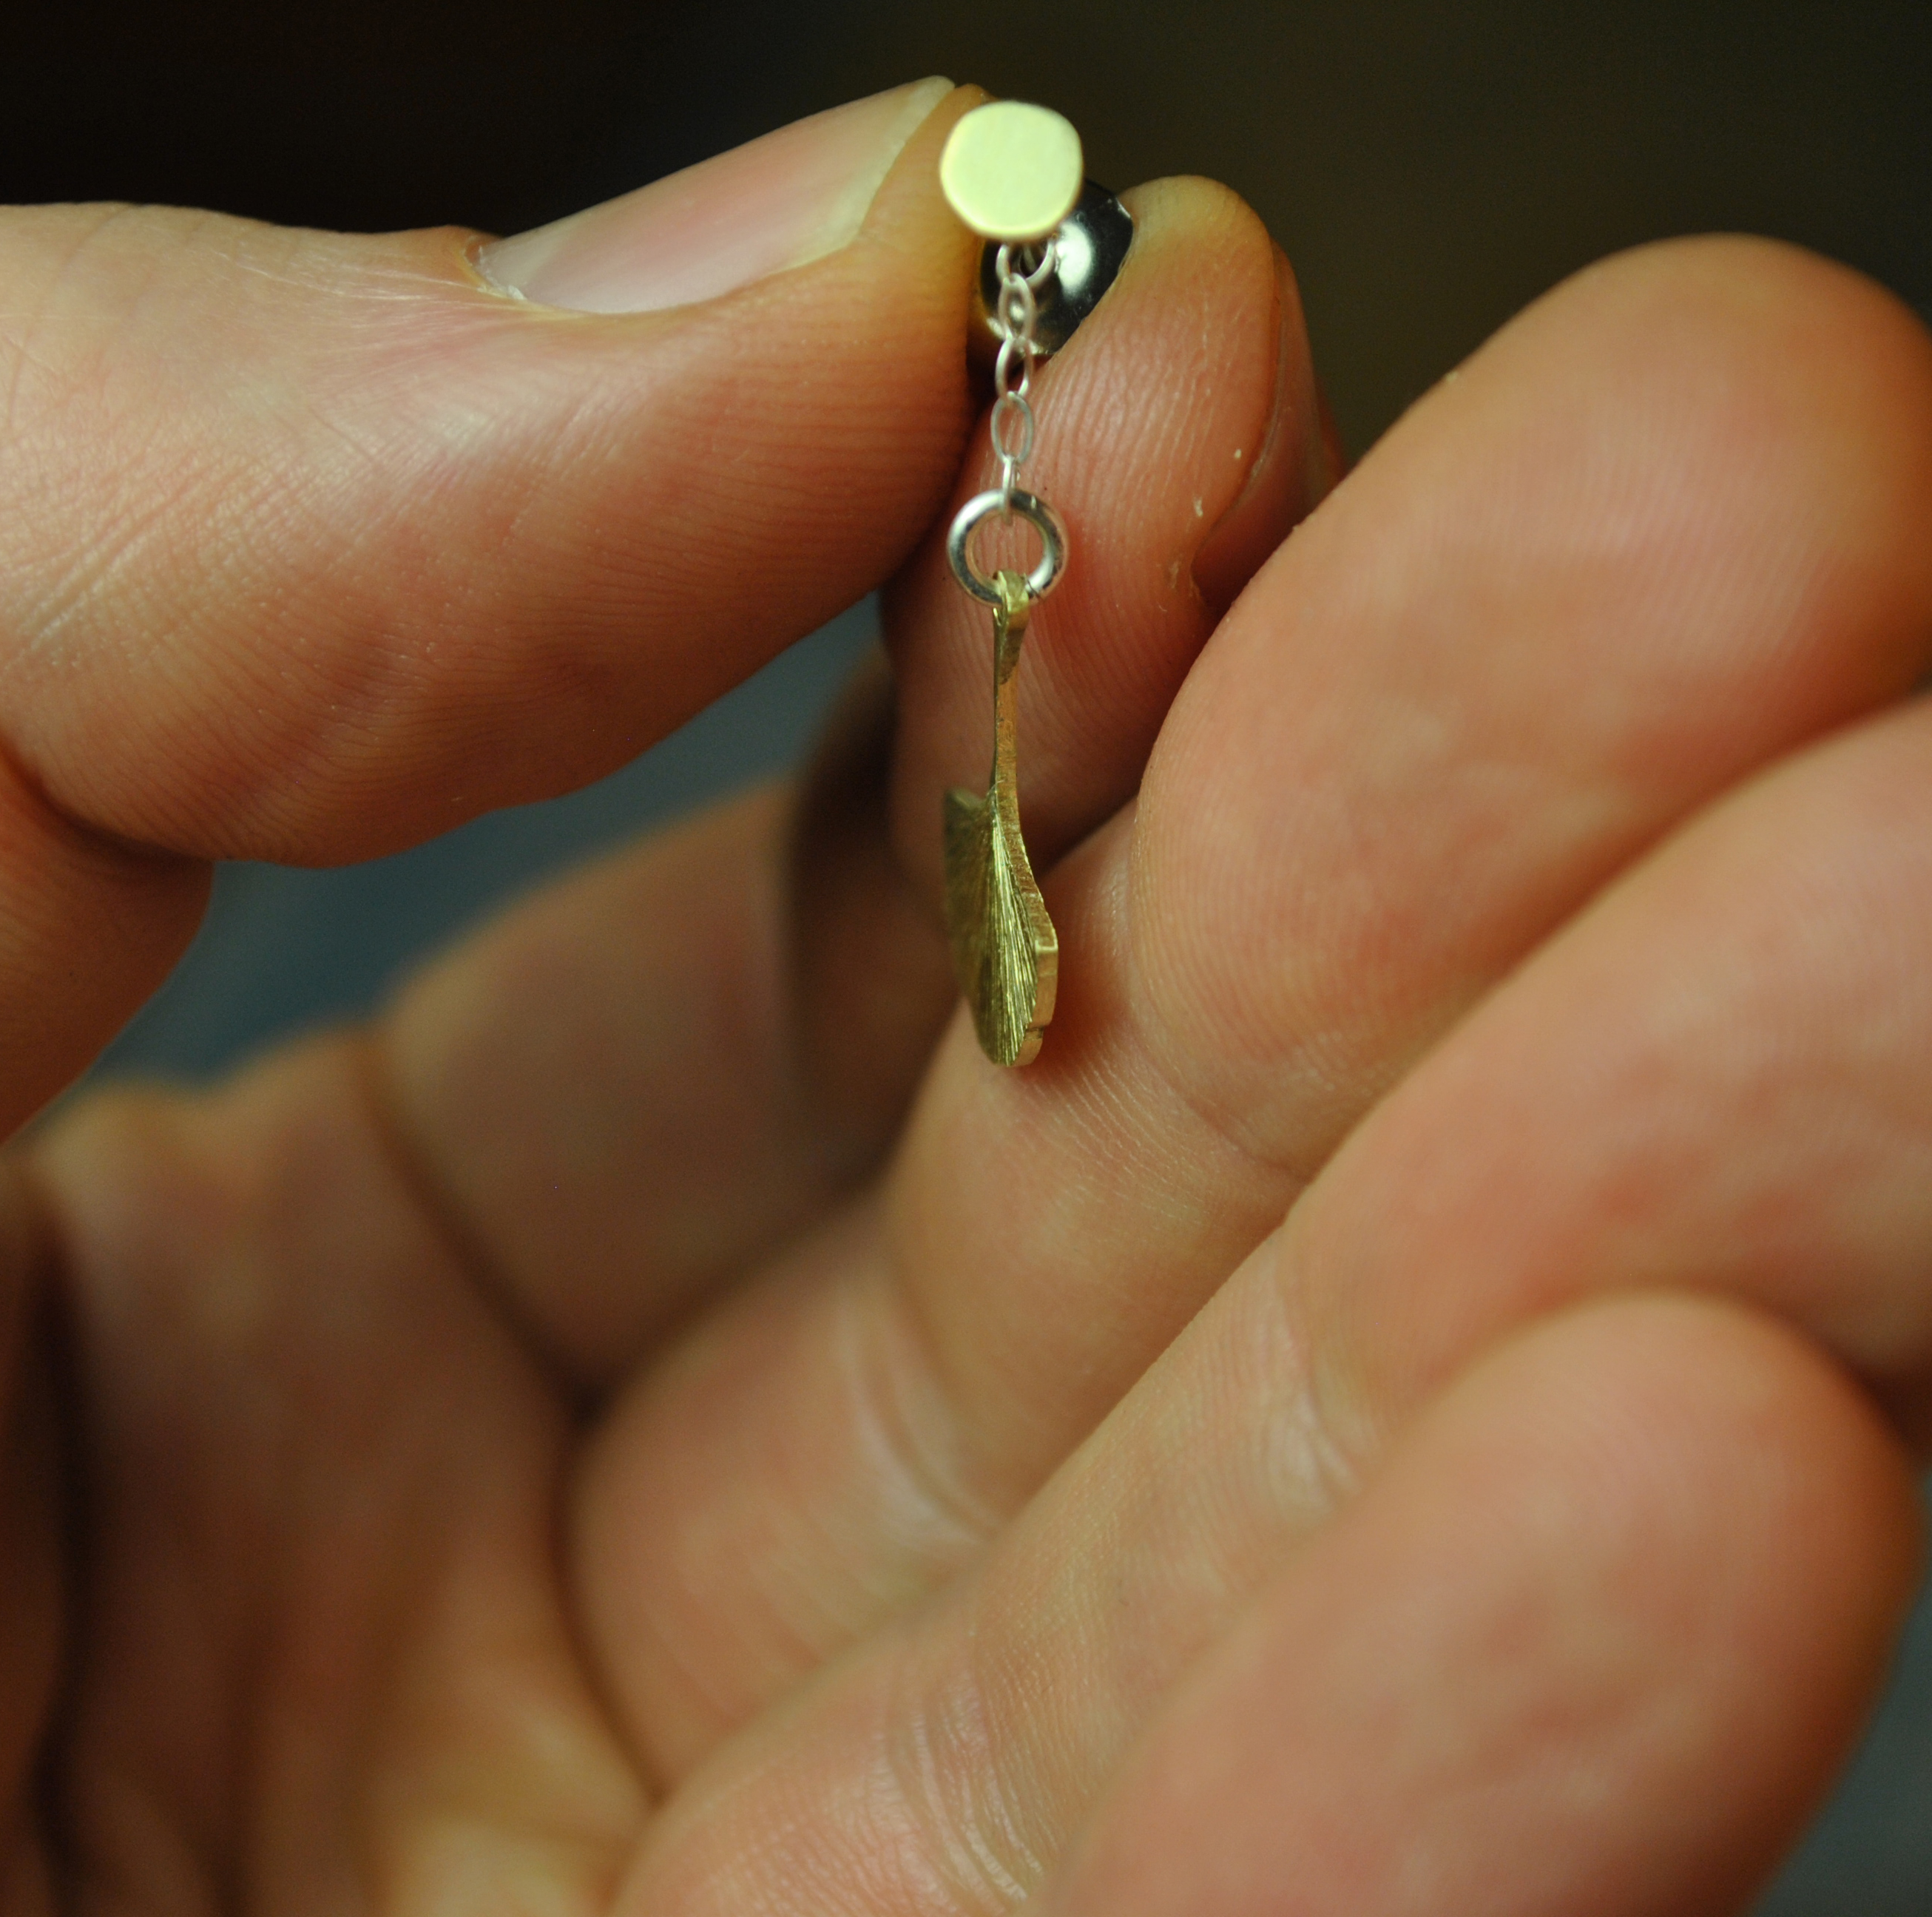
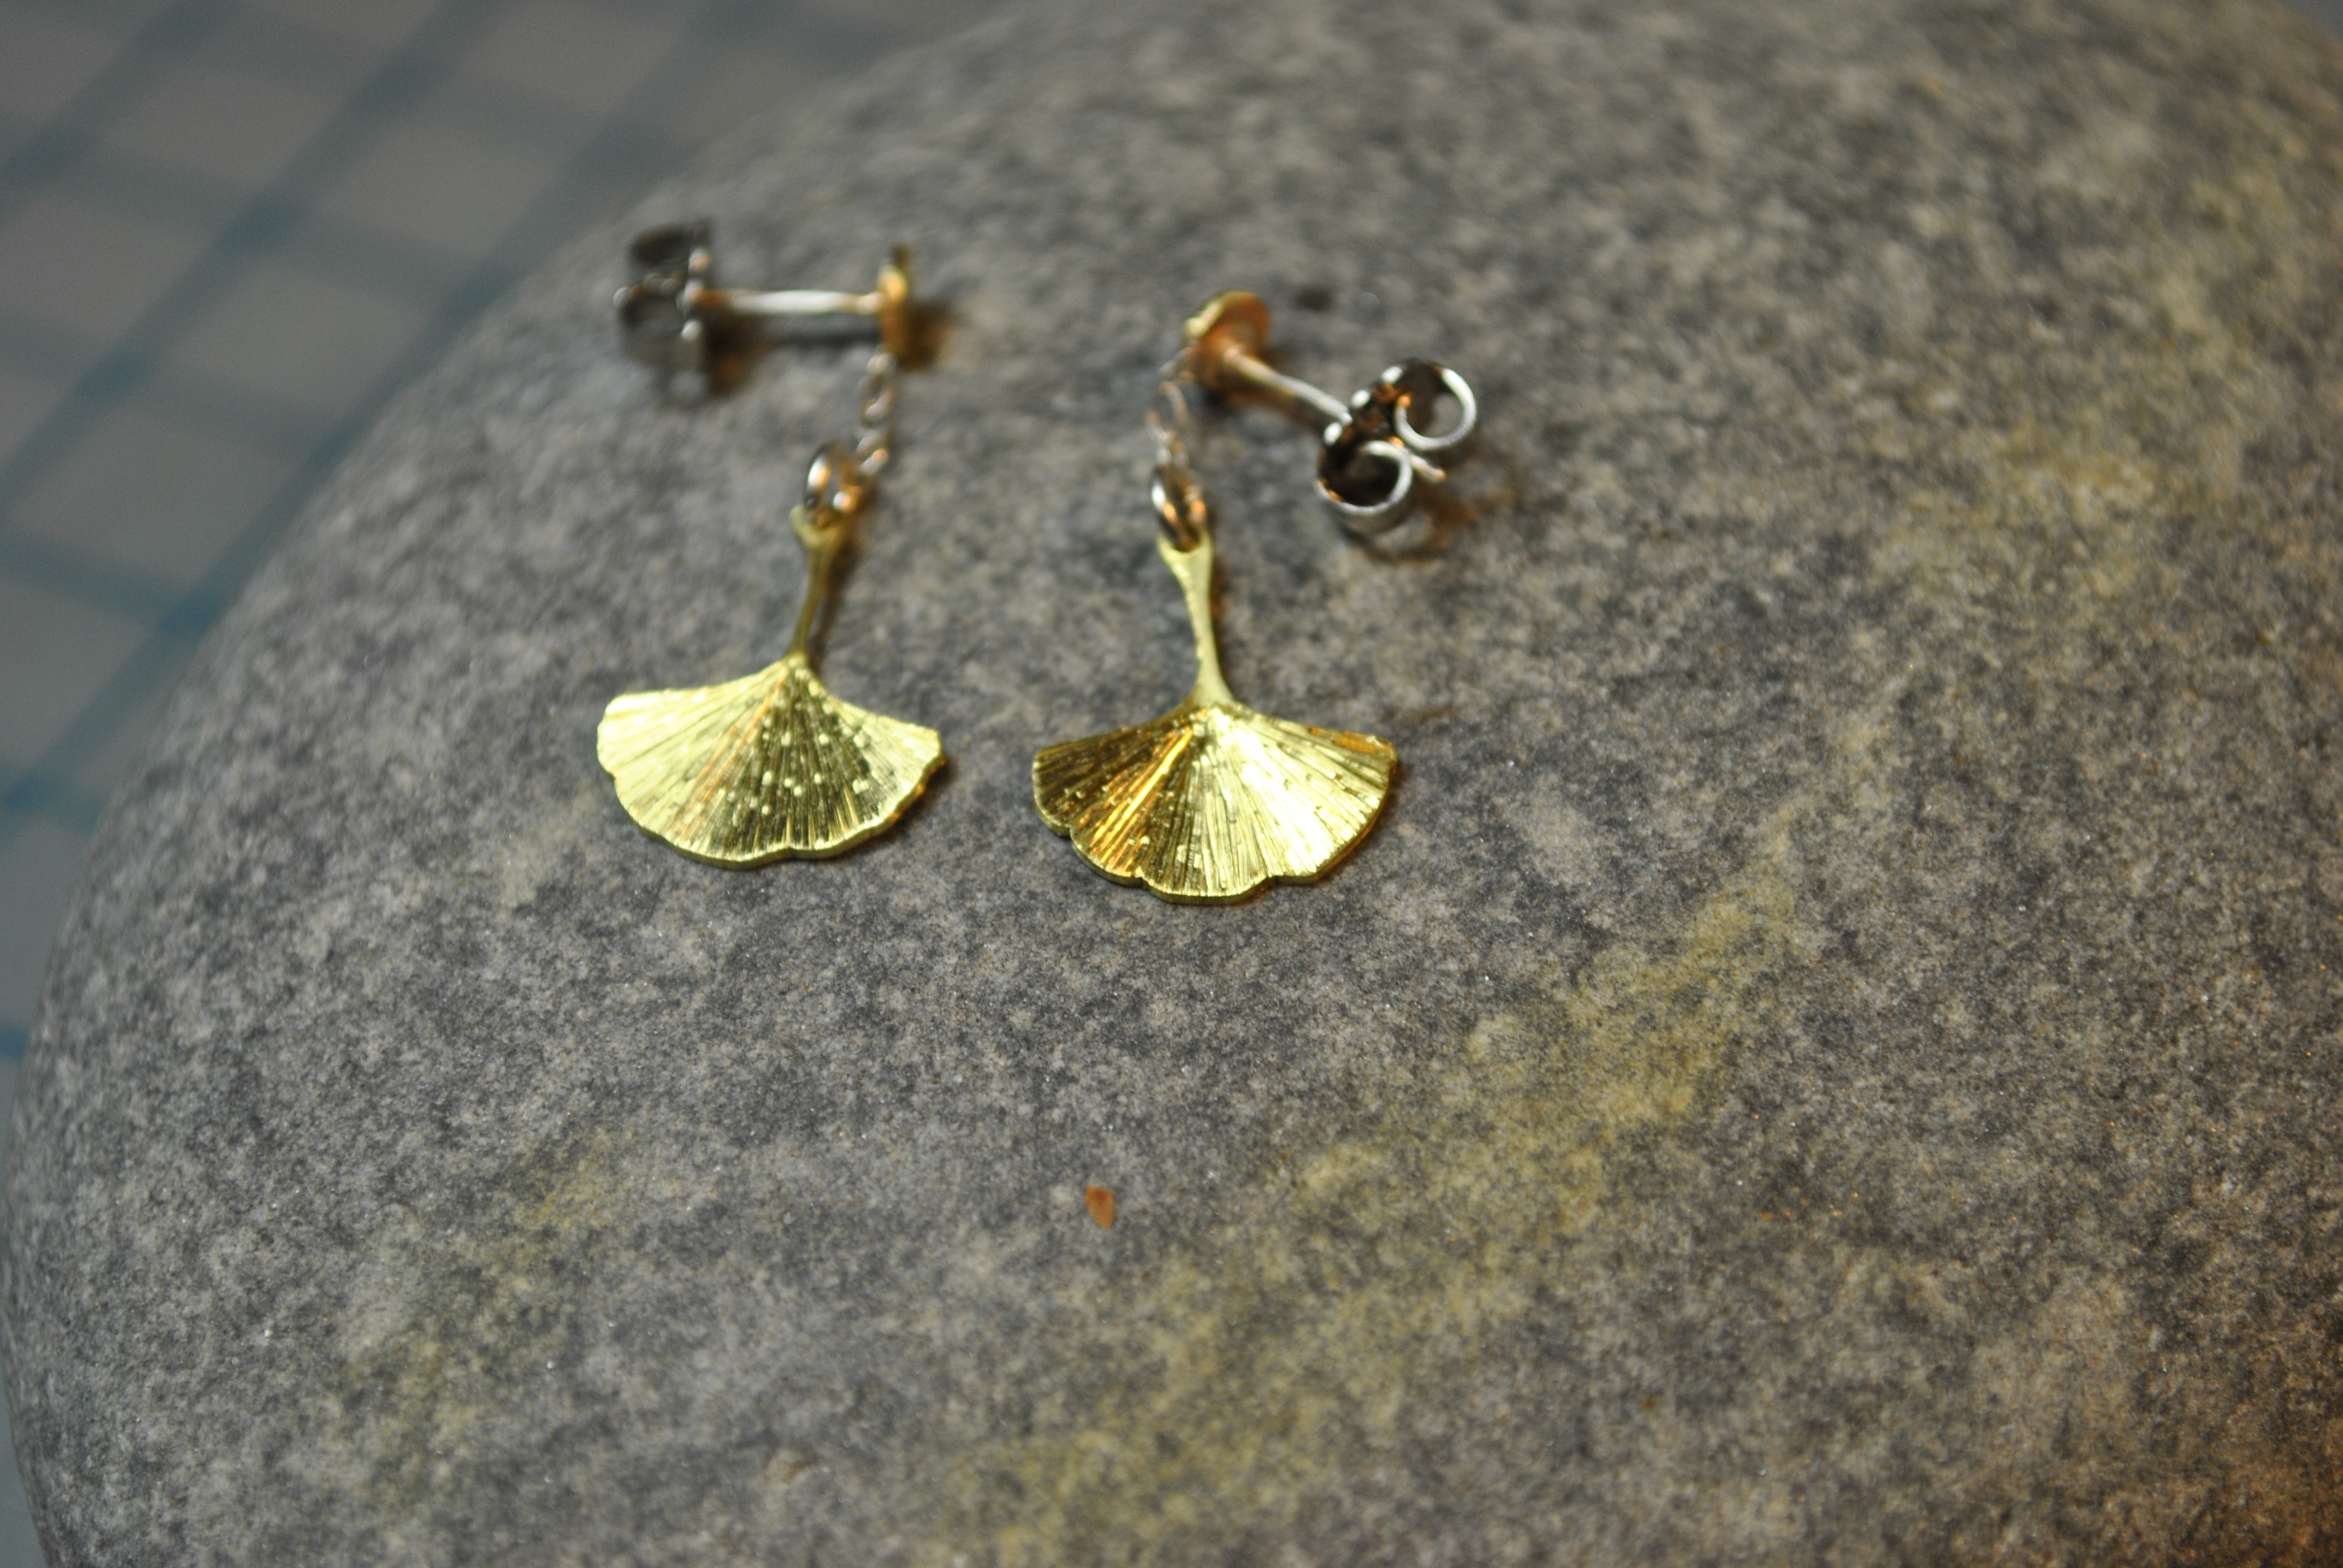
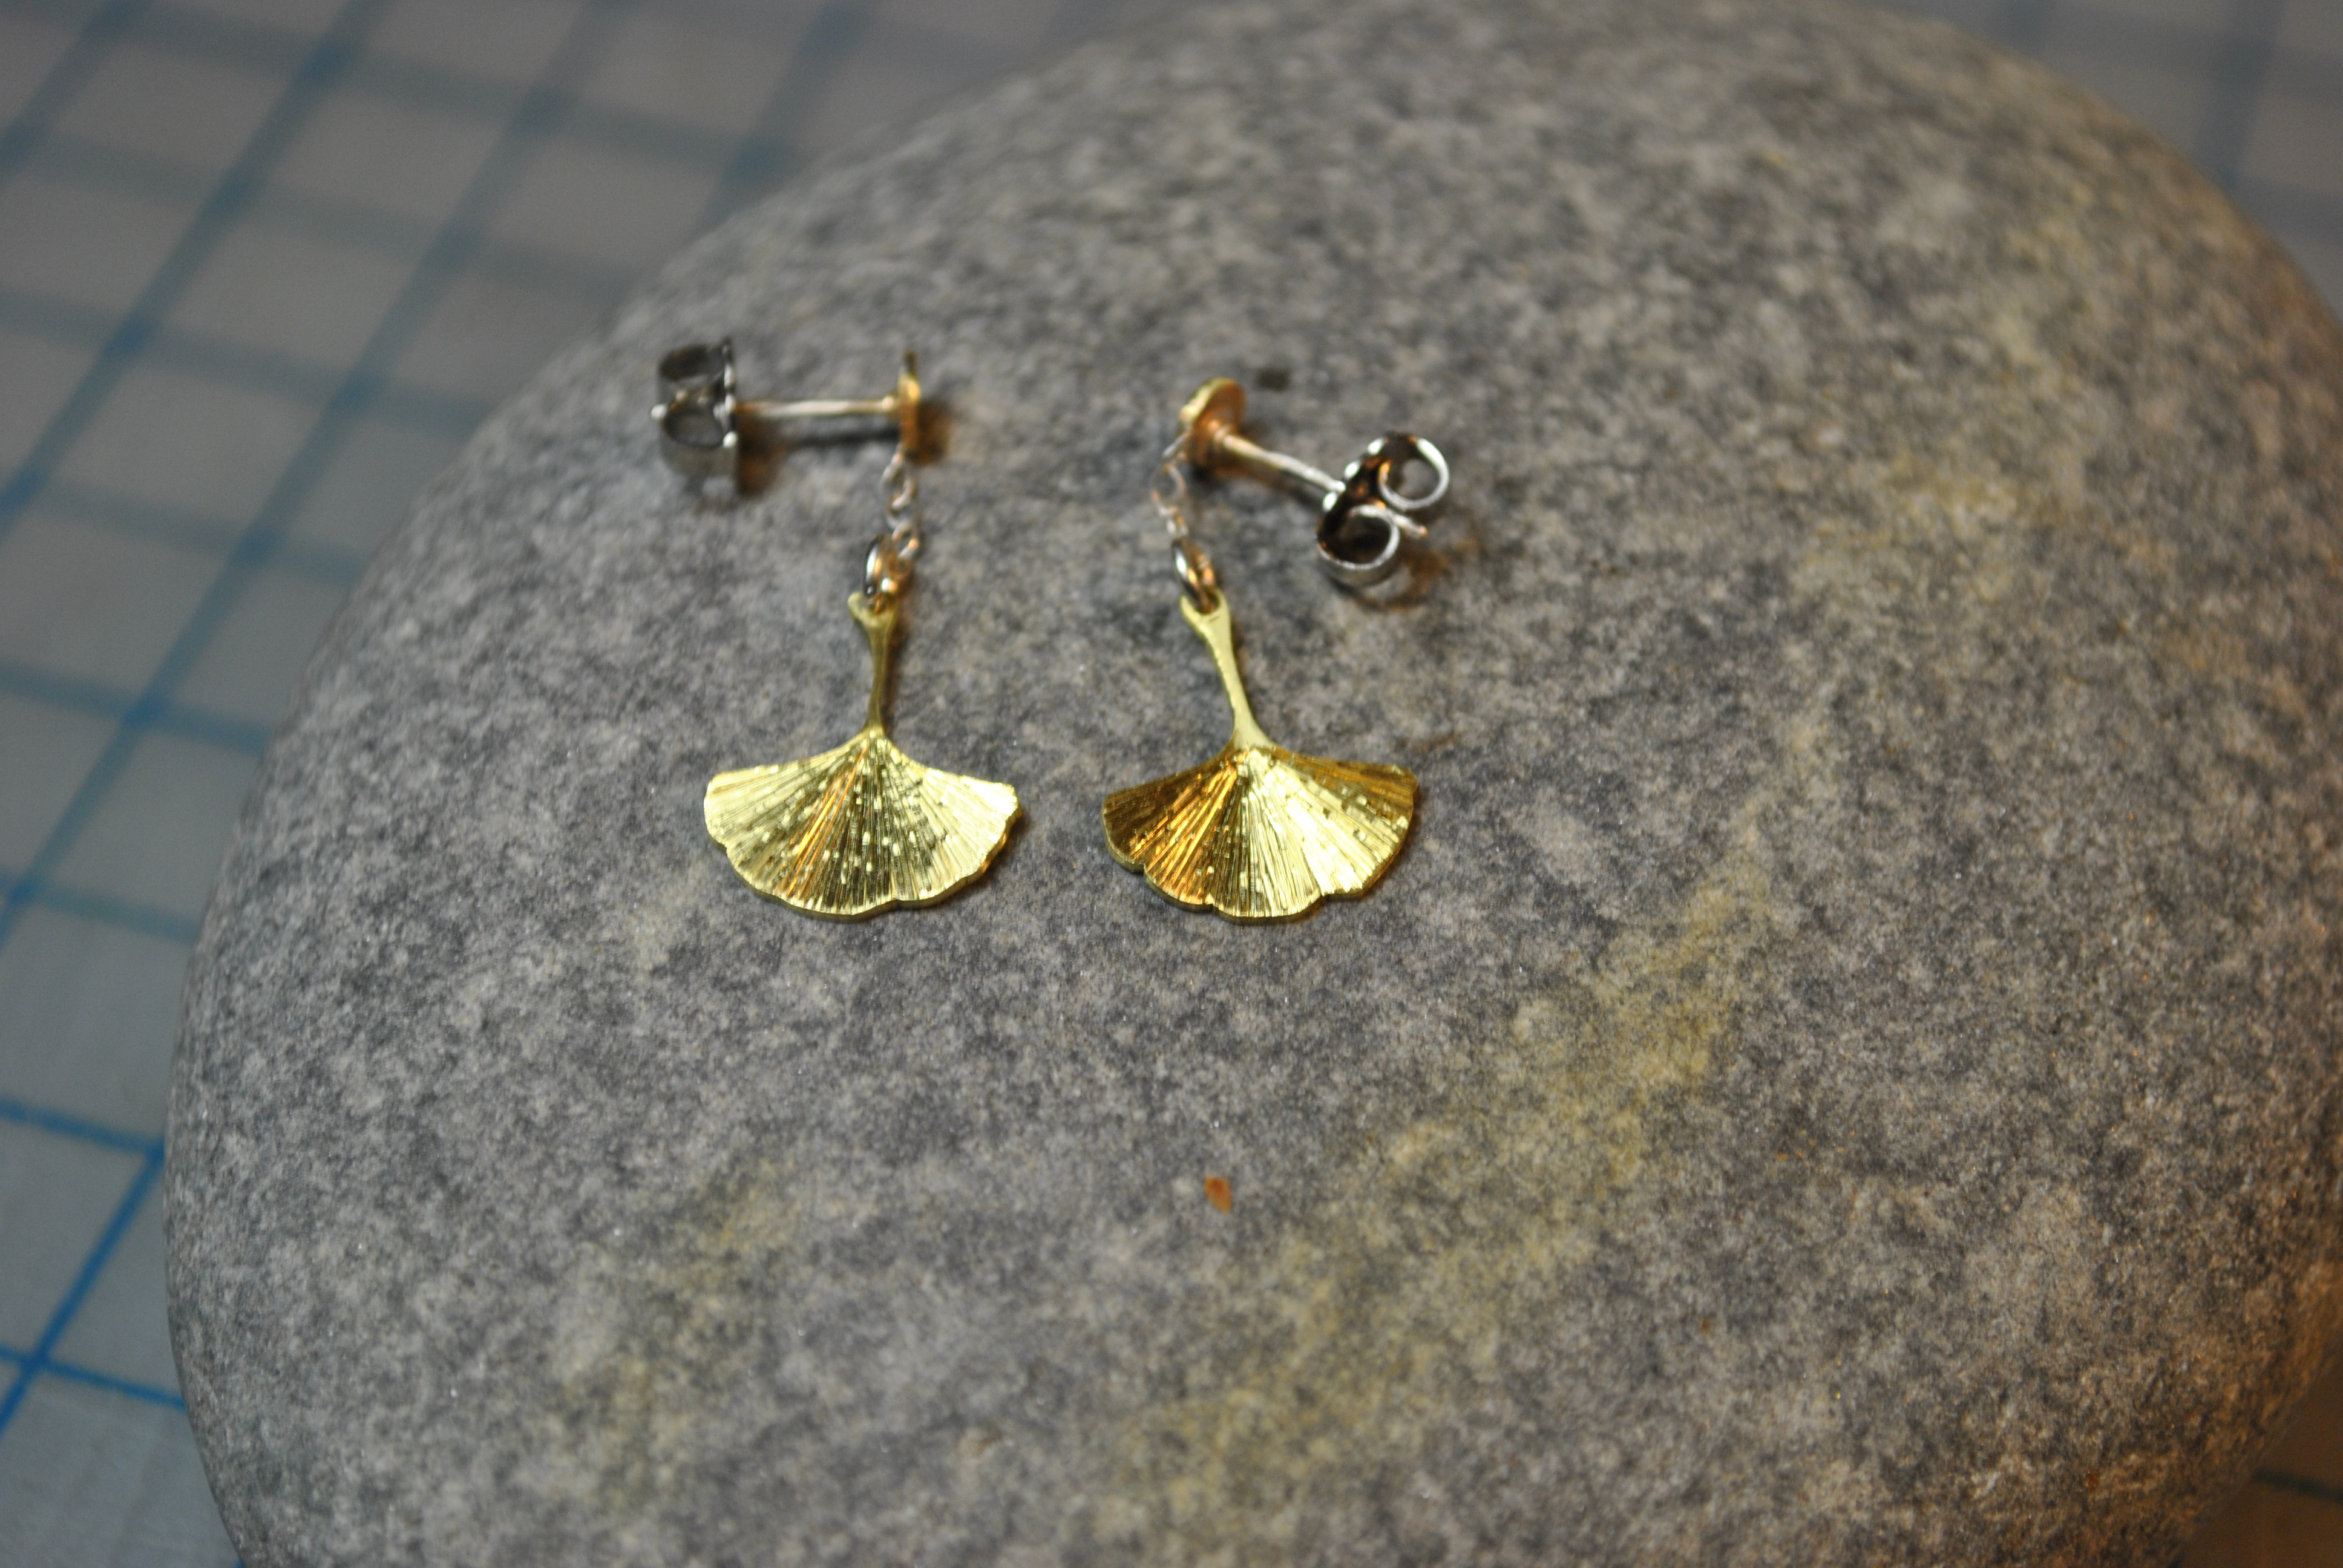
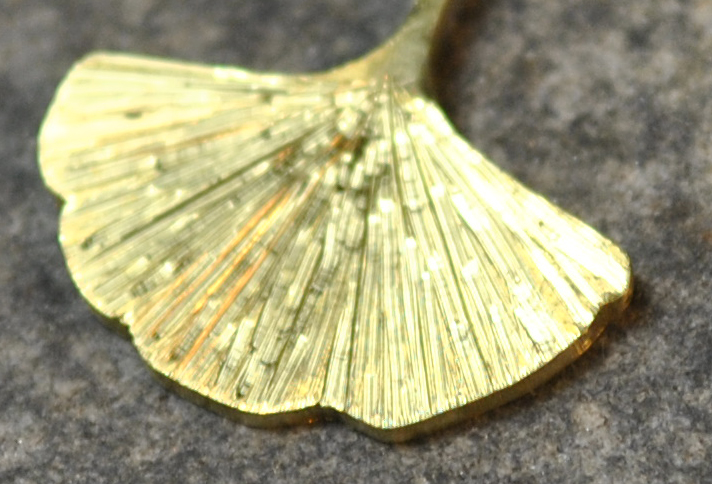
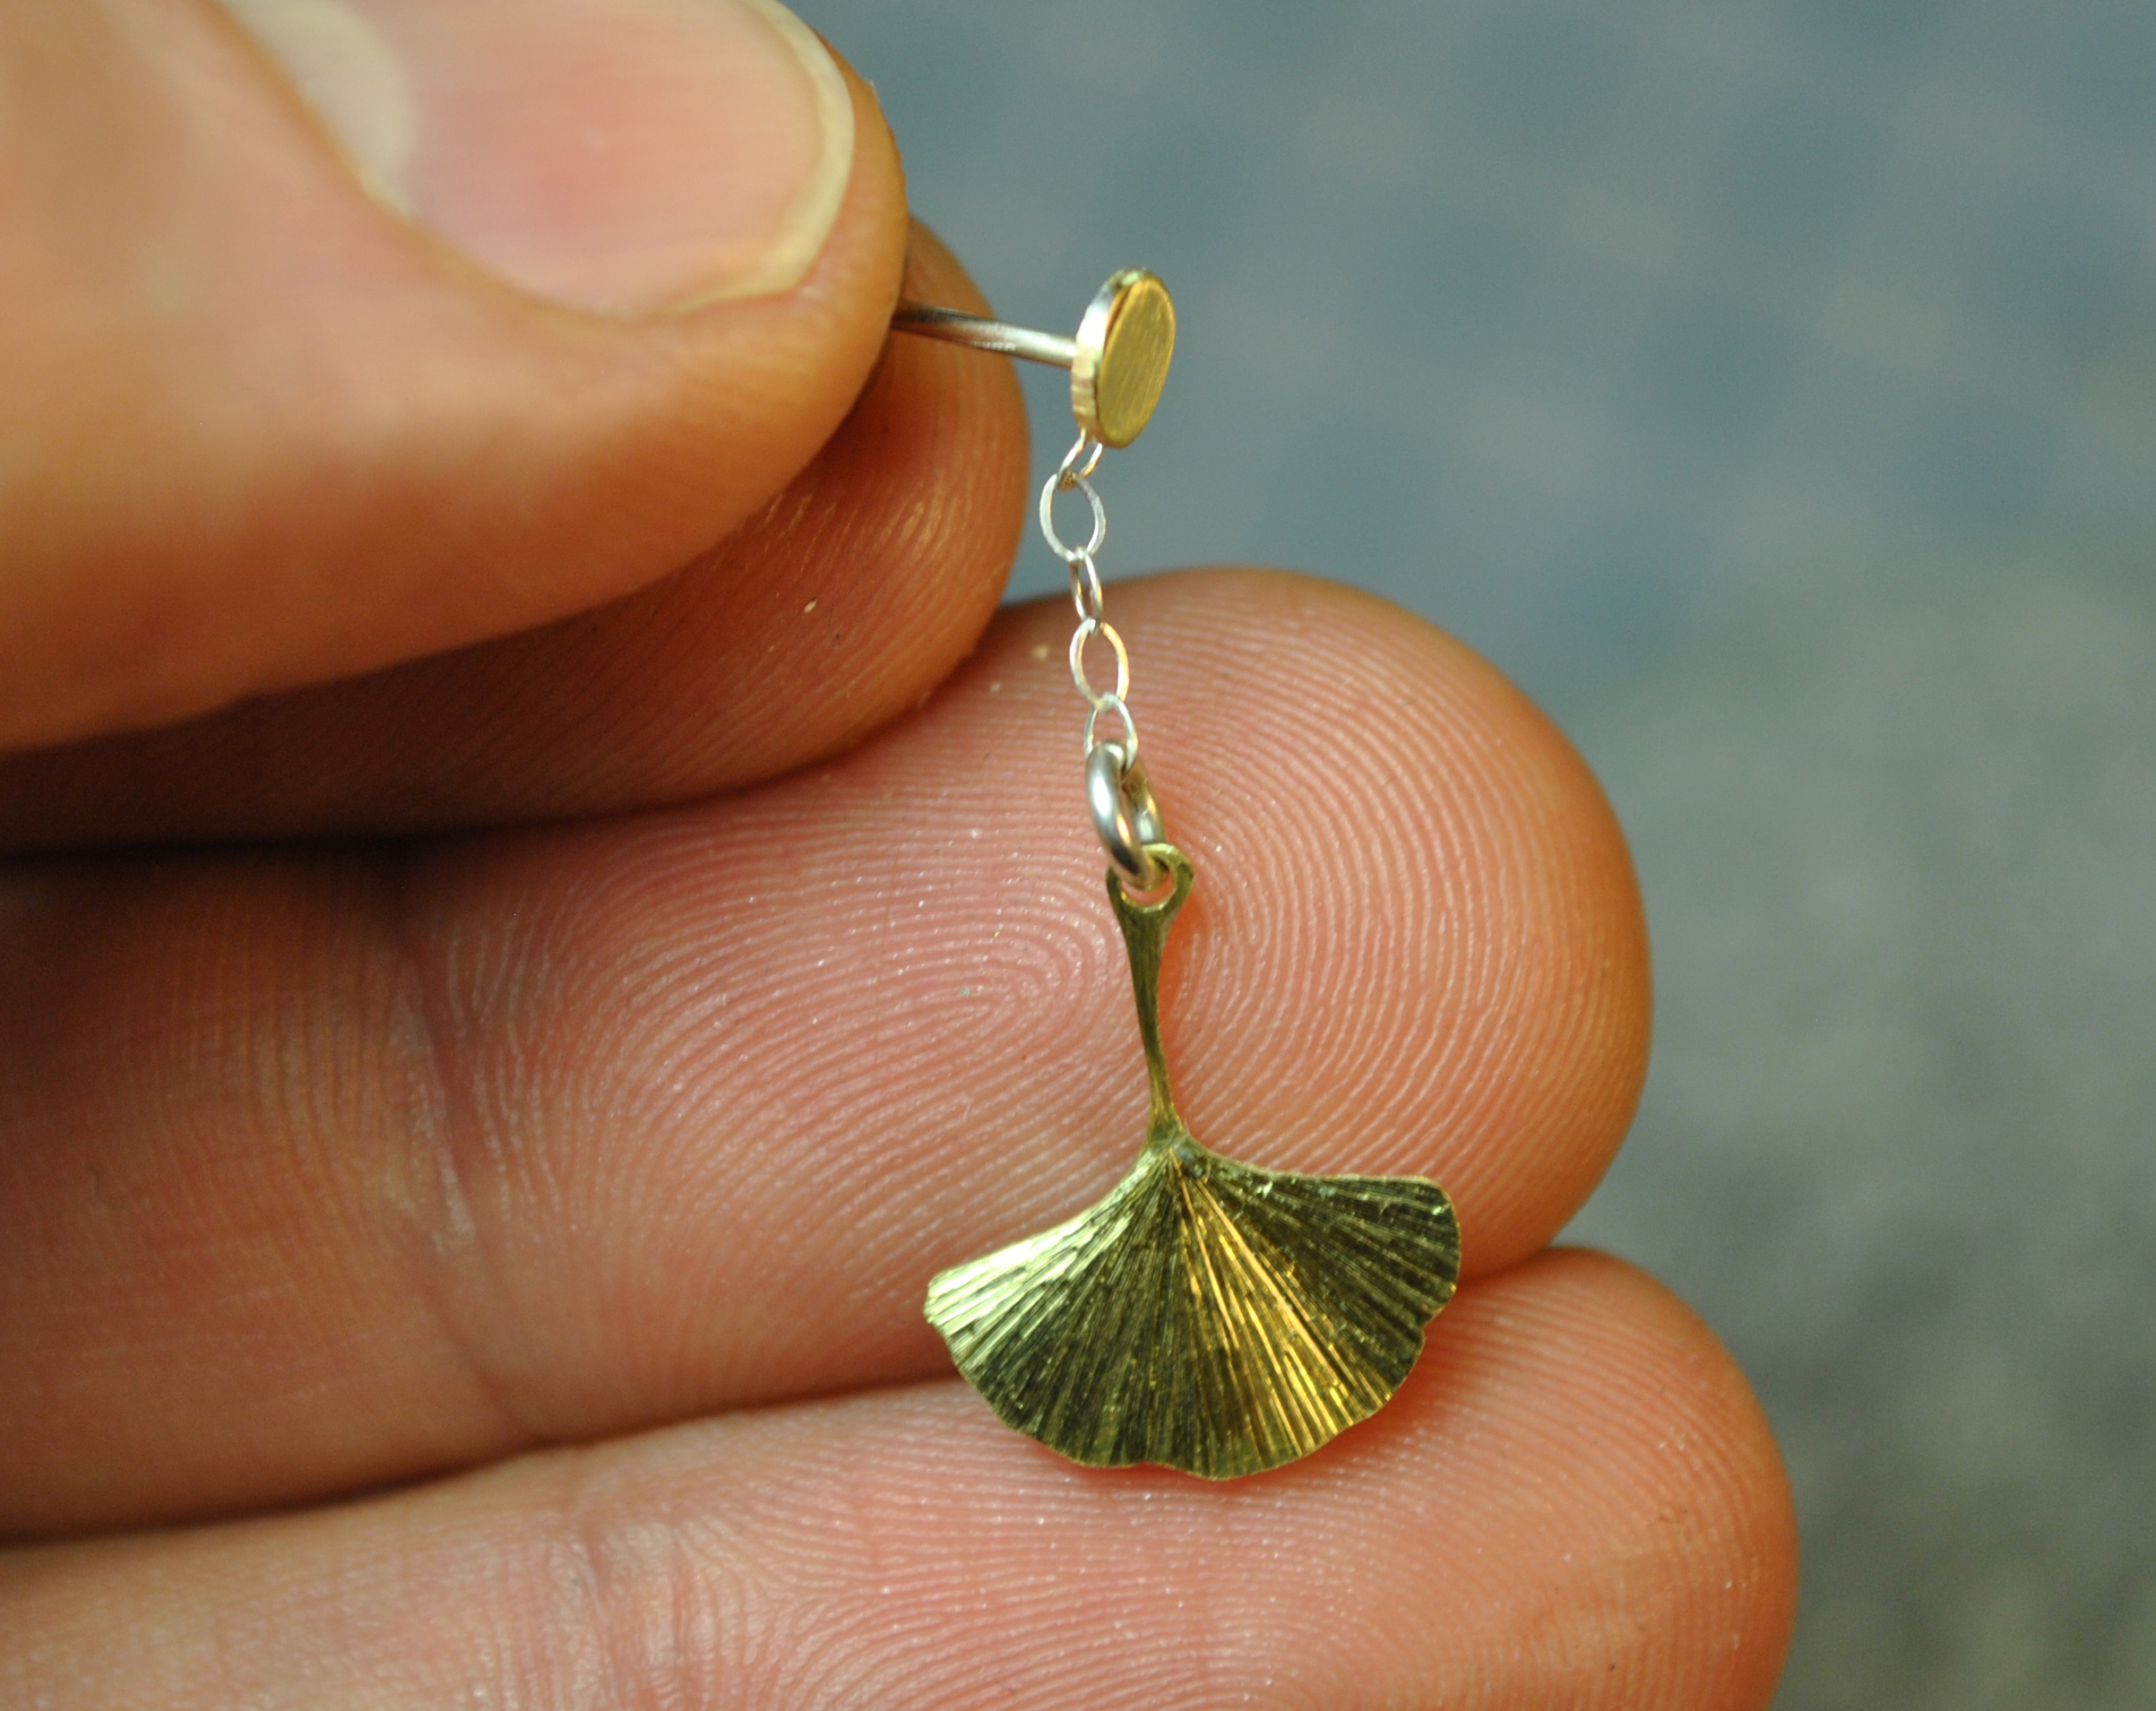
I have always been fascinated with Ginkgo’s. The last of a family of trees, the Ginkgo is unique both historically, genetically, and has its own unique beauty.
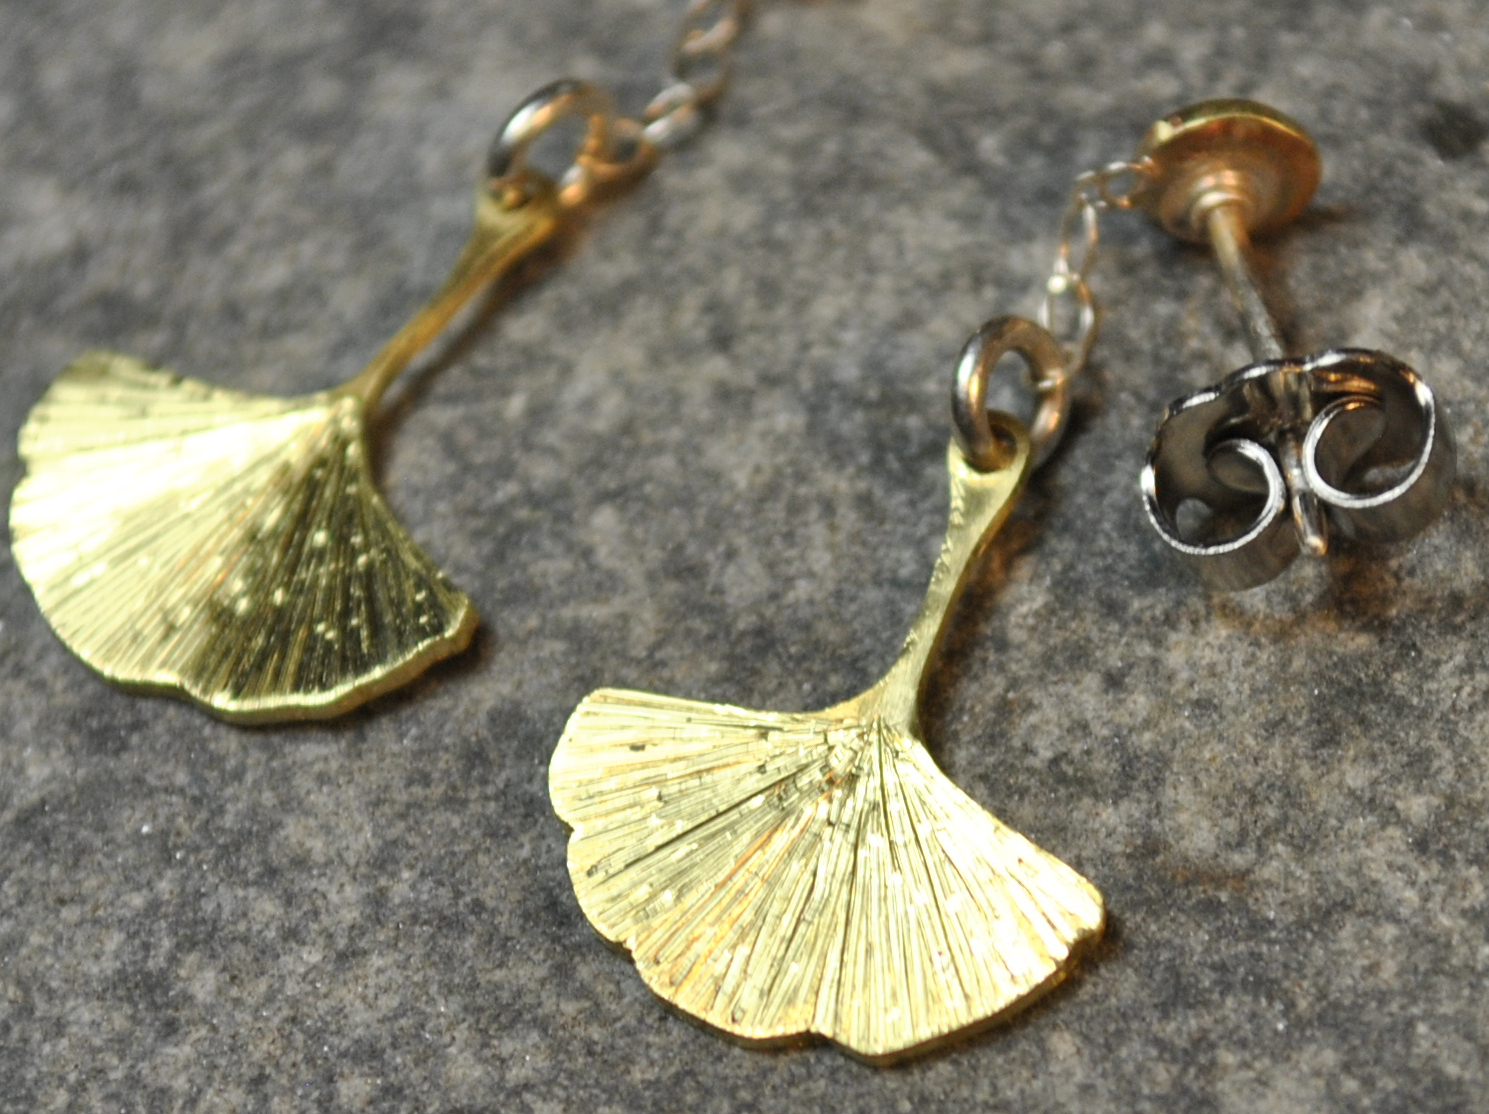
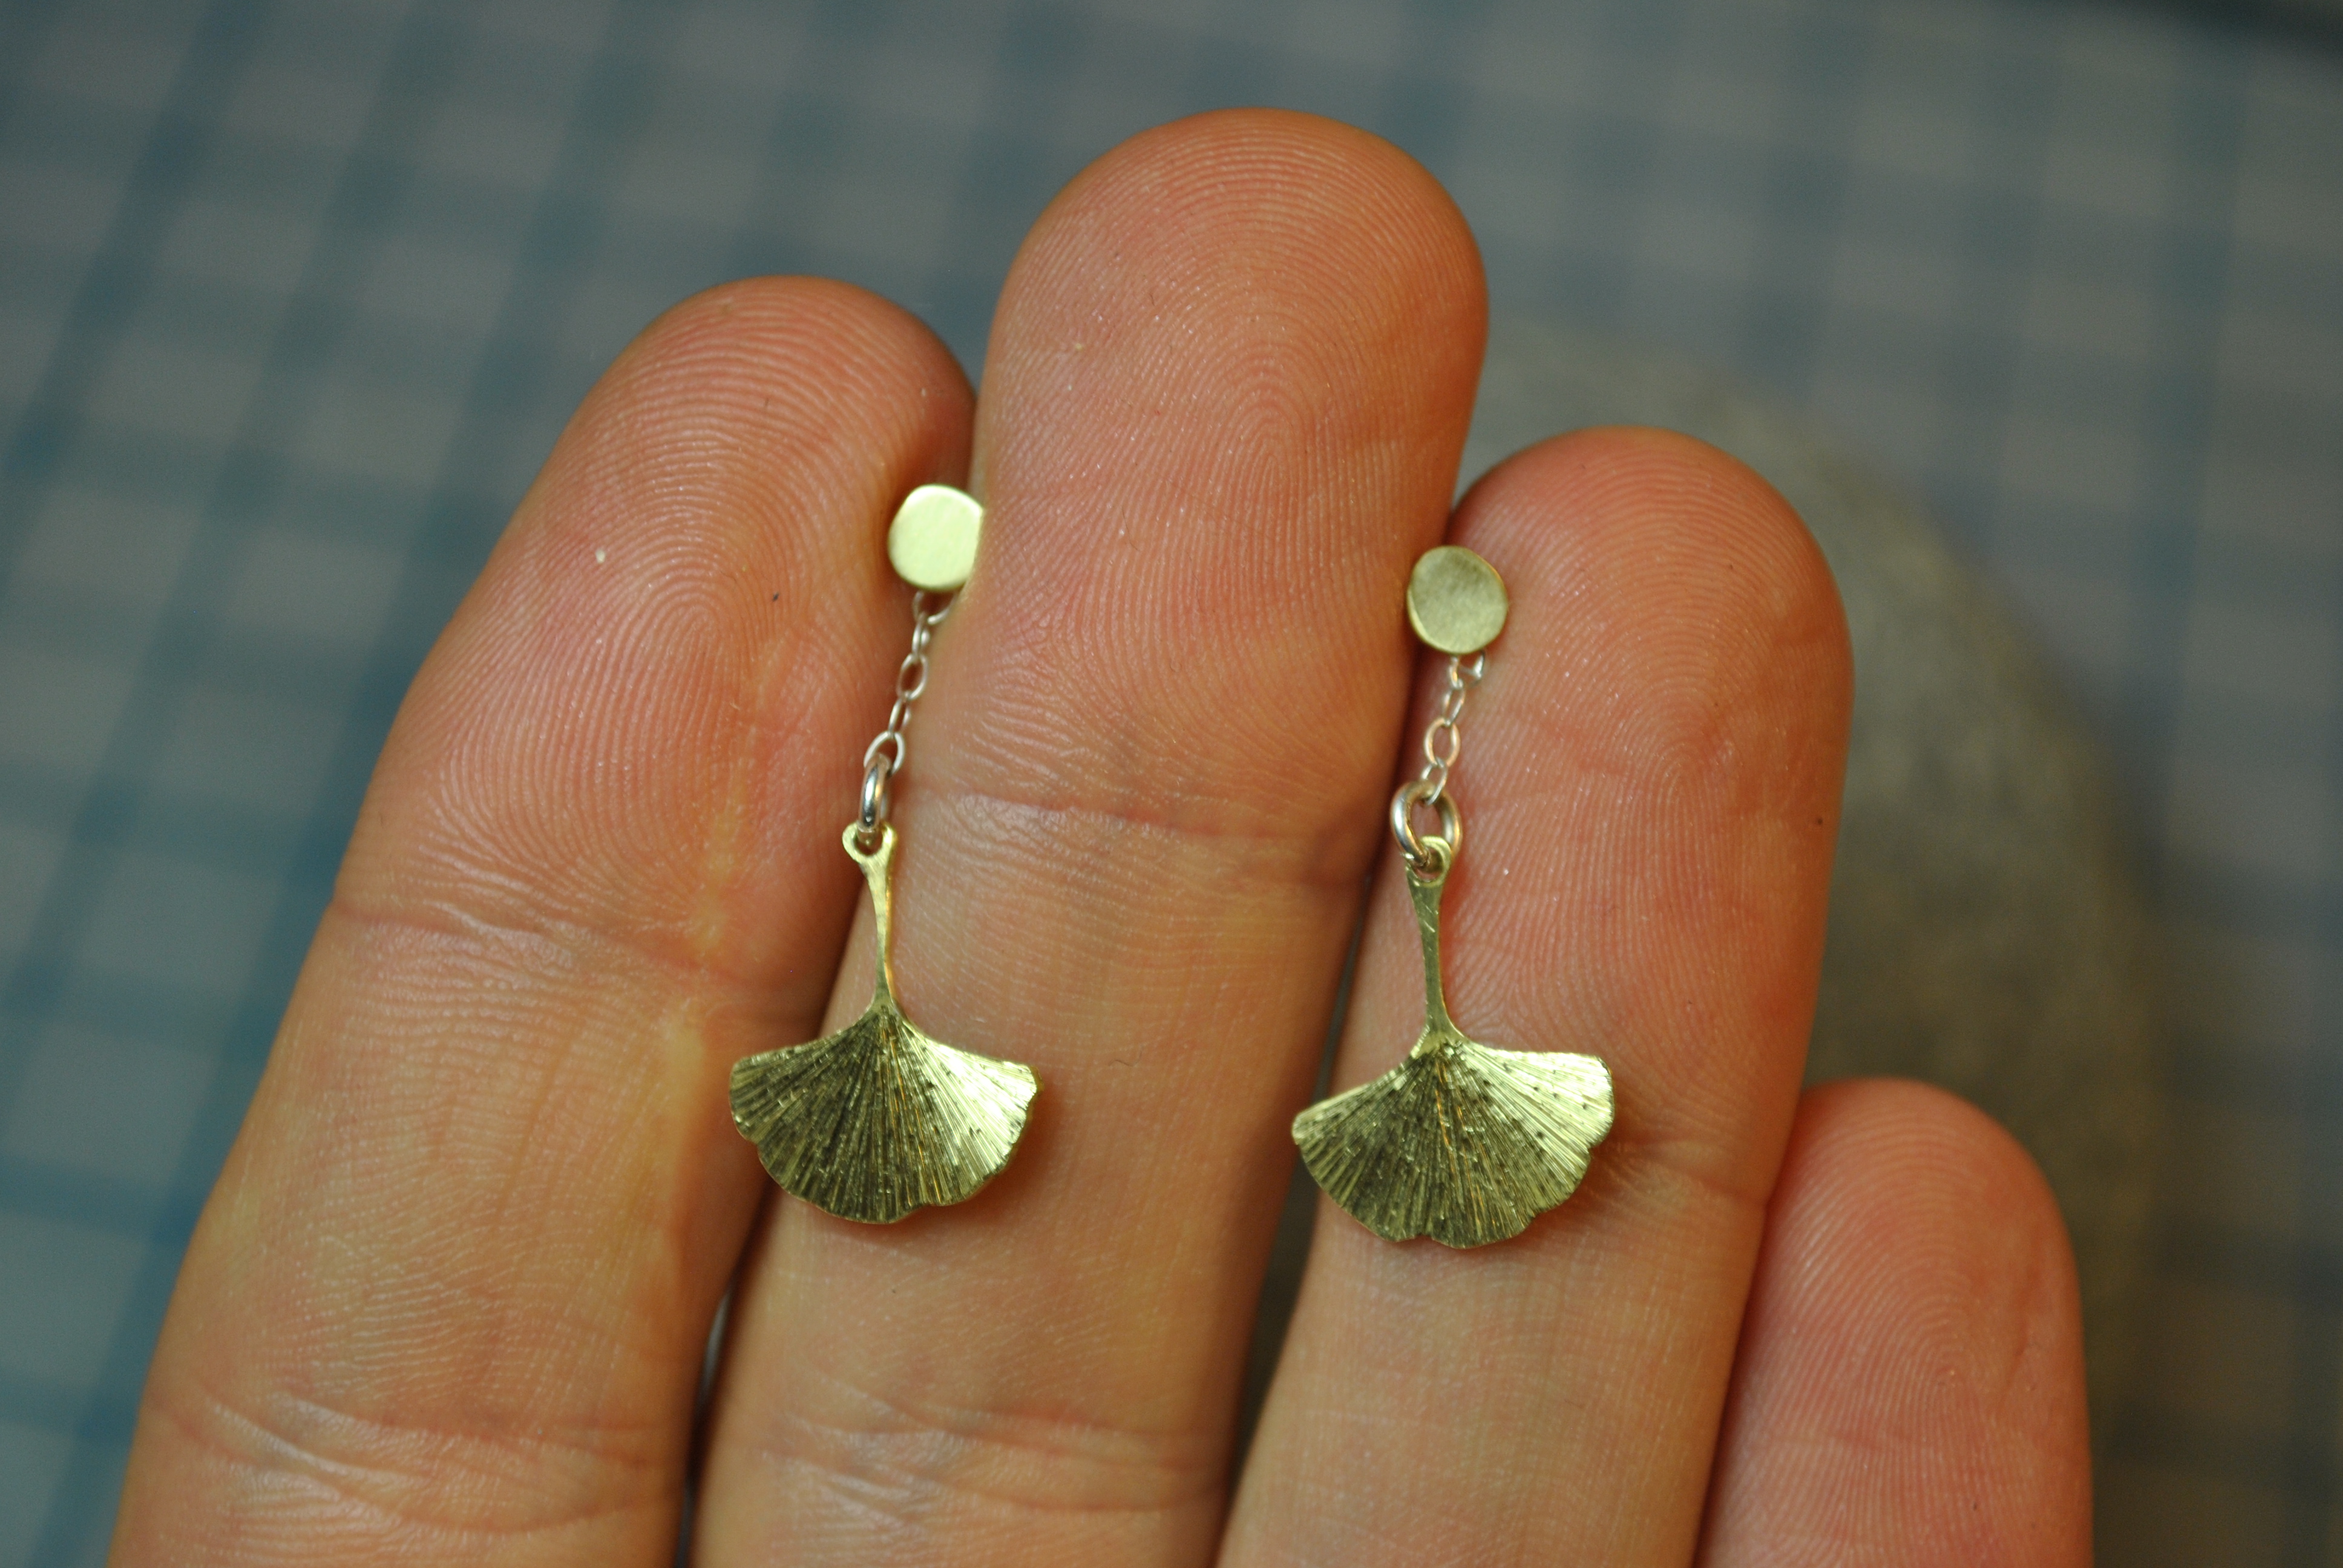
This Christmas I made a bunch of them for friends and family. The leaves are etched to give a lovely sparkle when they hit the light, and they dangle on a silver chain from a simple silver post, that is capped with a brass circle.
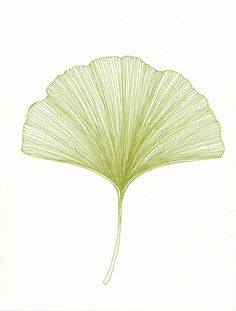

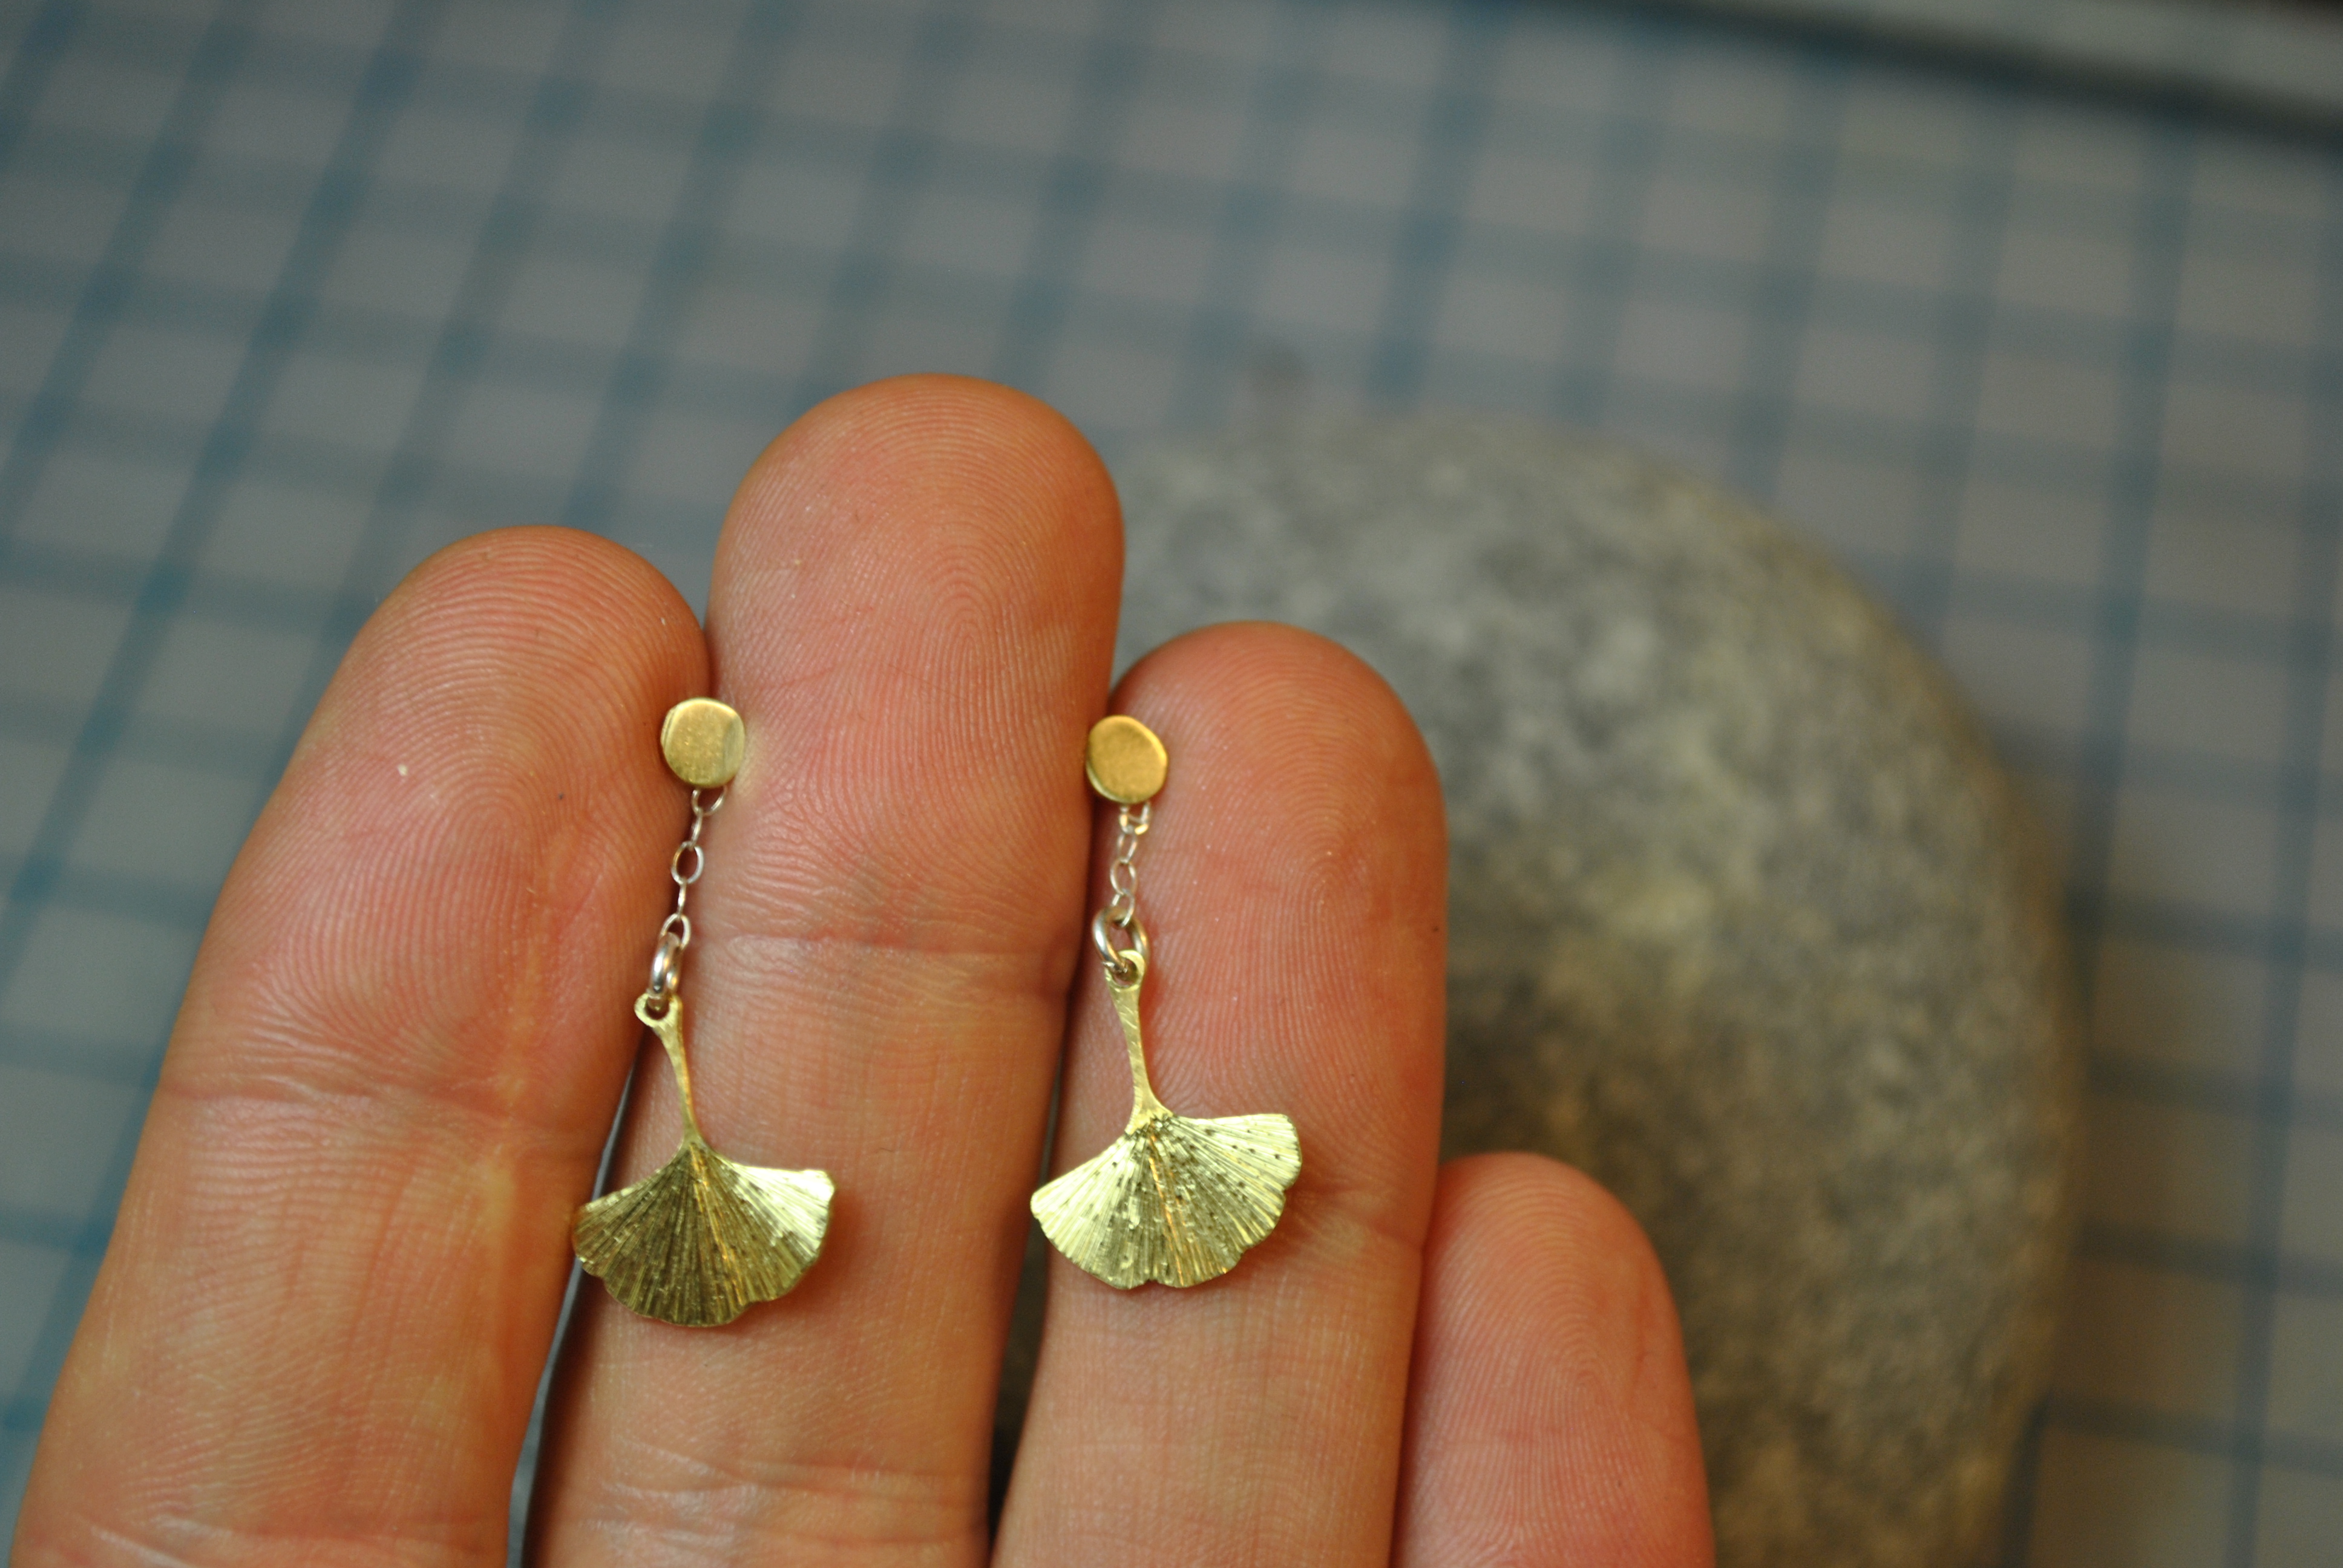

 If you like them you can buy them here.
This job had to be a bit of a rush job, but I think its going to work great. Its a short bread cookie press, you roll out the cookie dough, press this into it then bake.

Get the “W” into a vector file.
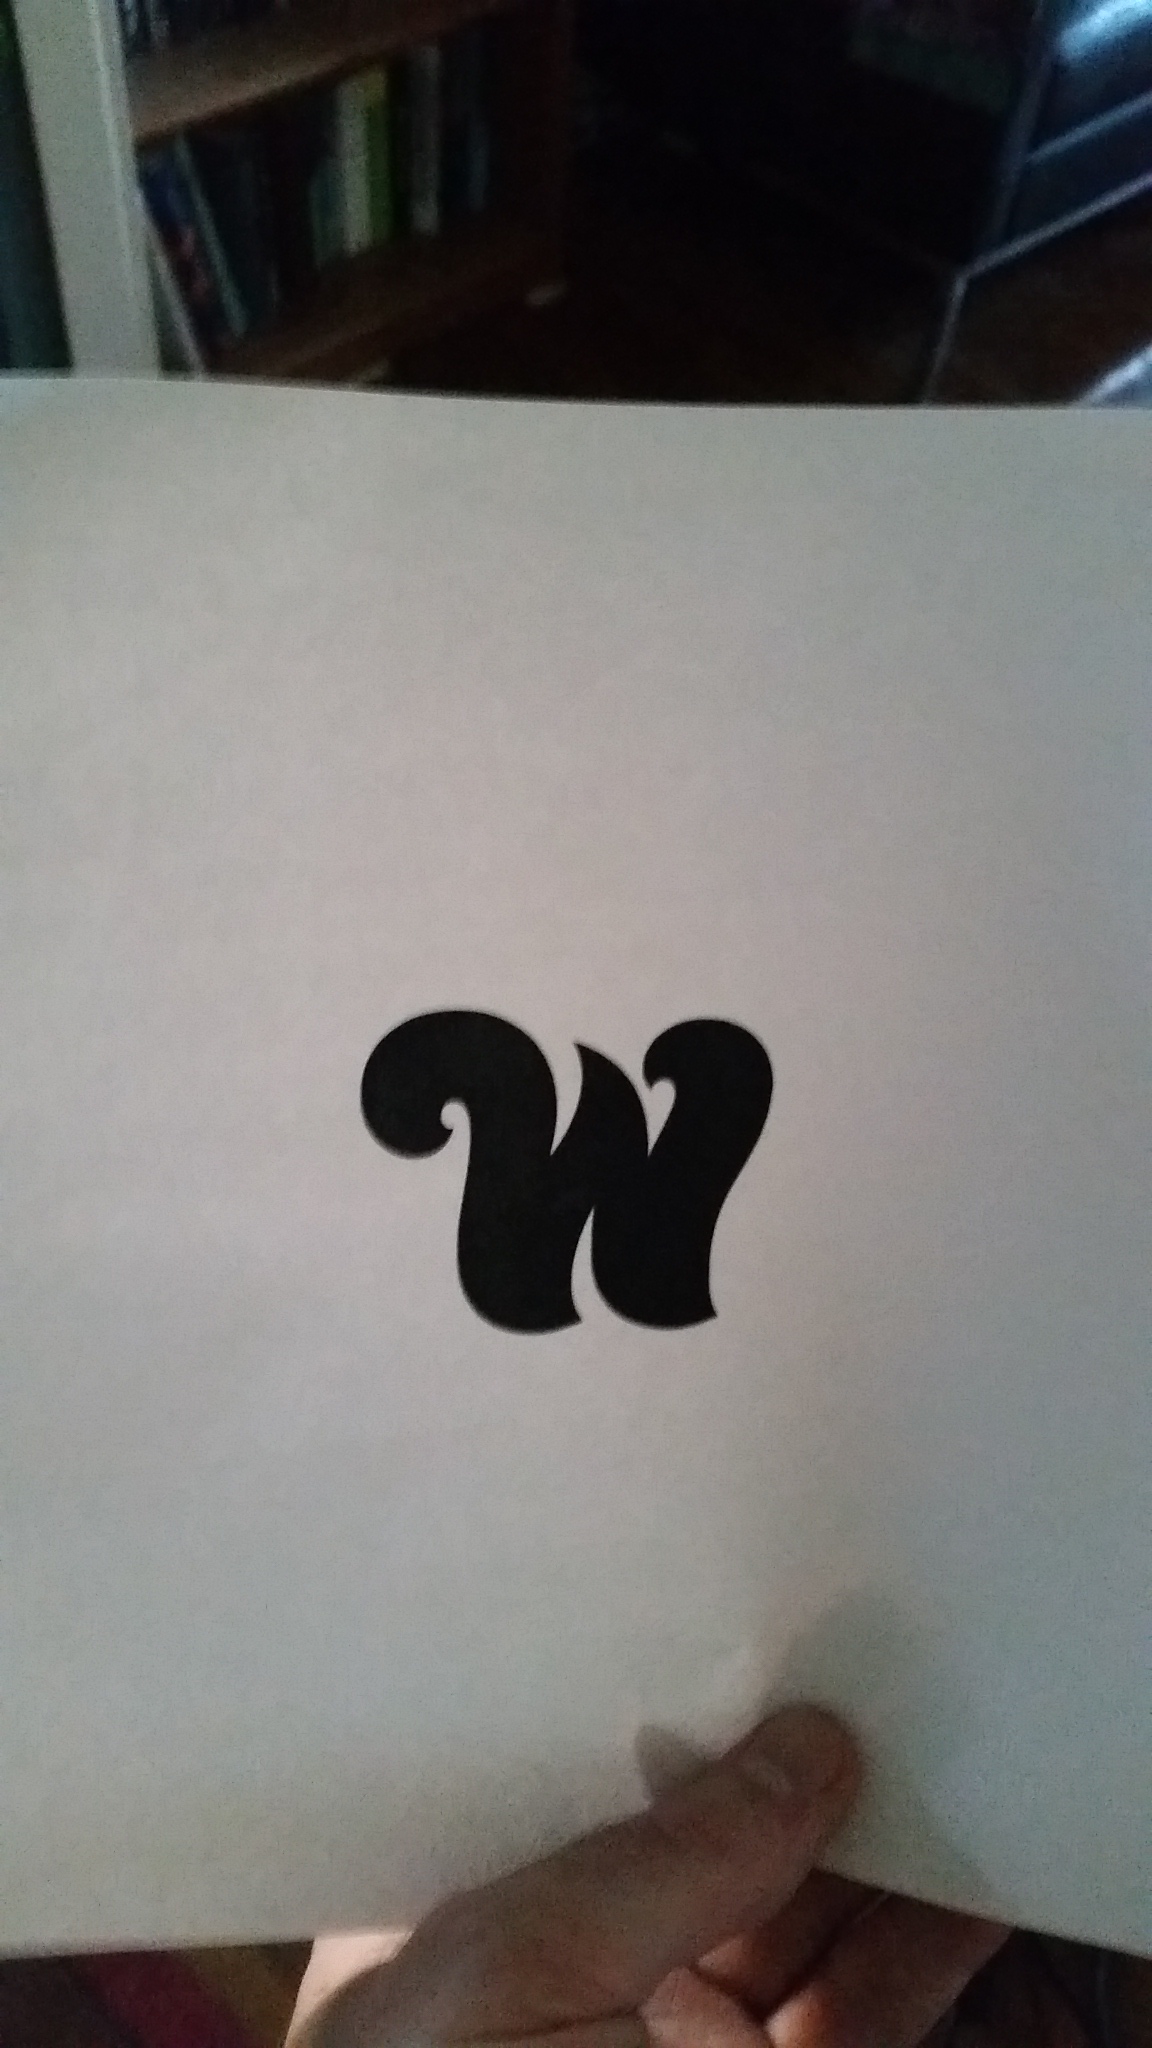
Print it out.
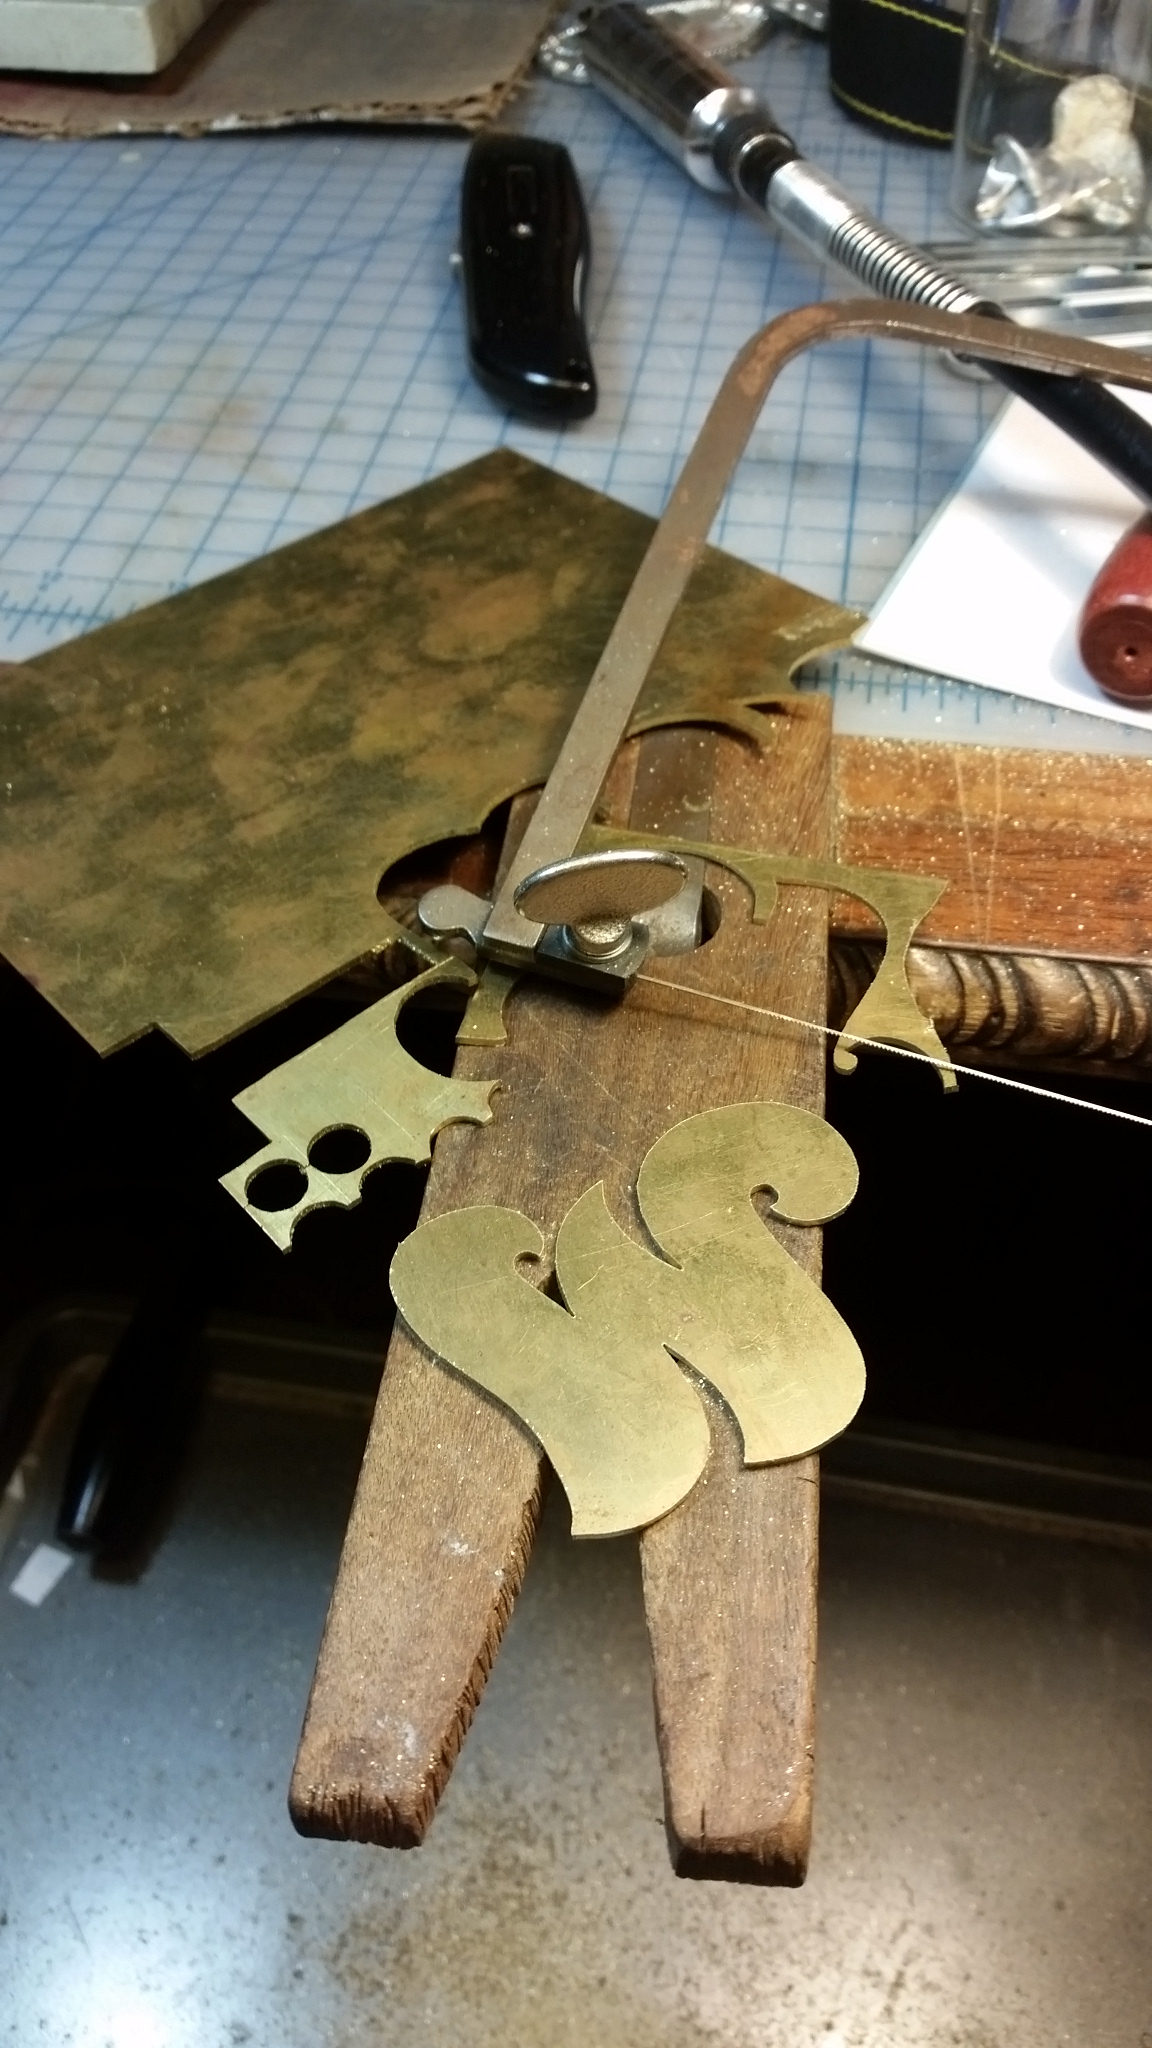
Cut it out of a nice thick 16g piece of brass.
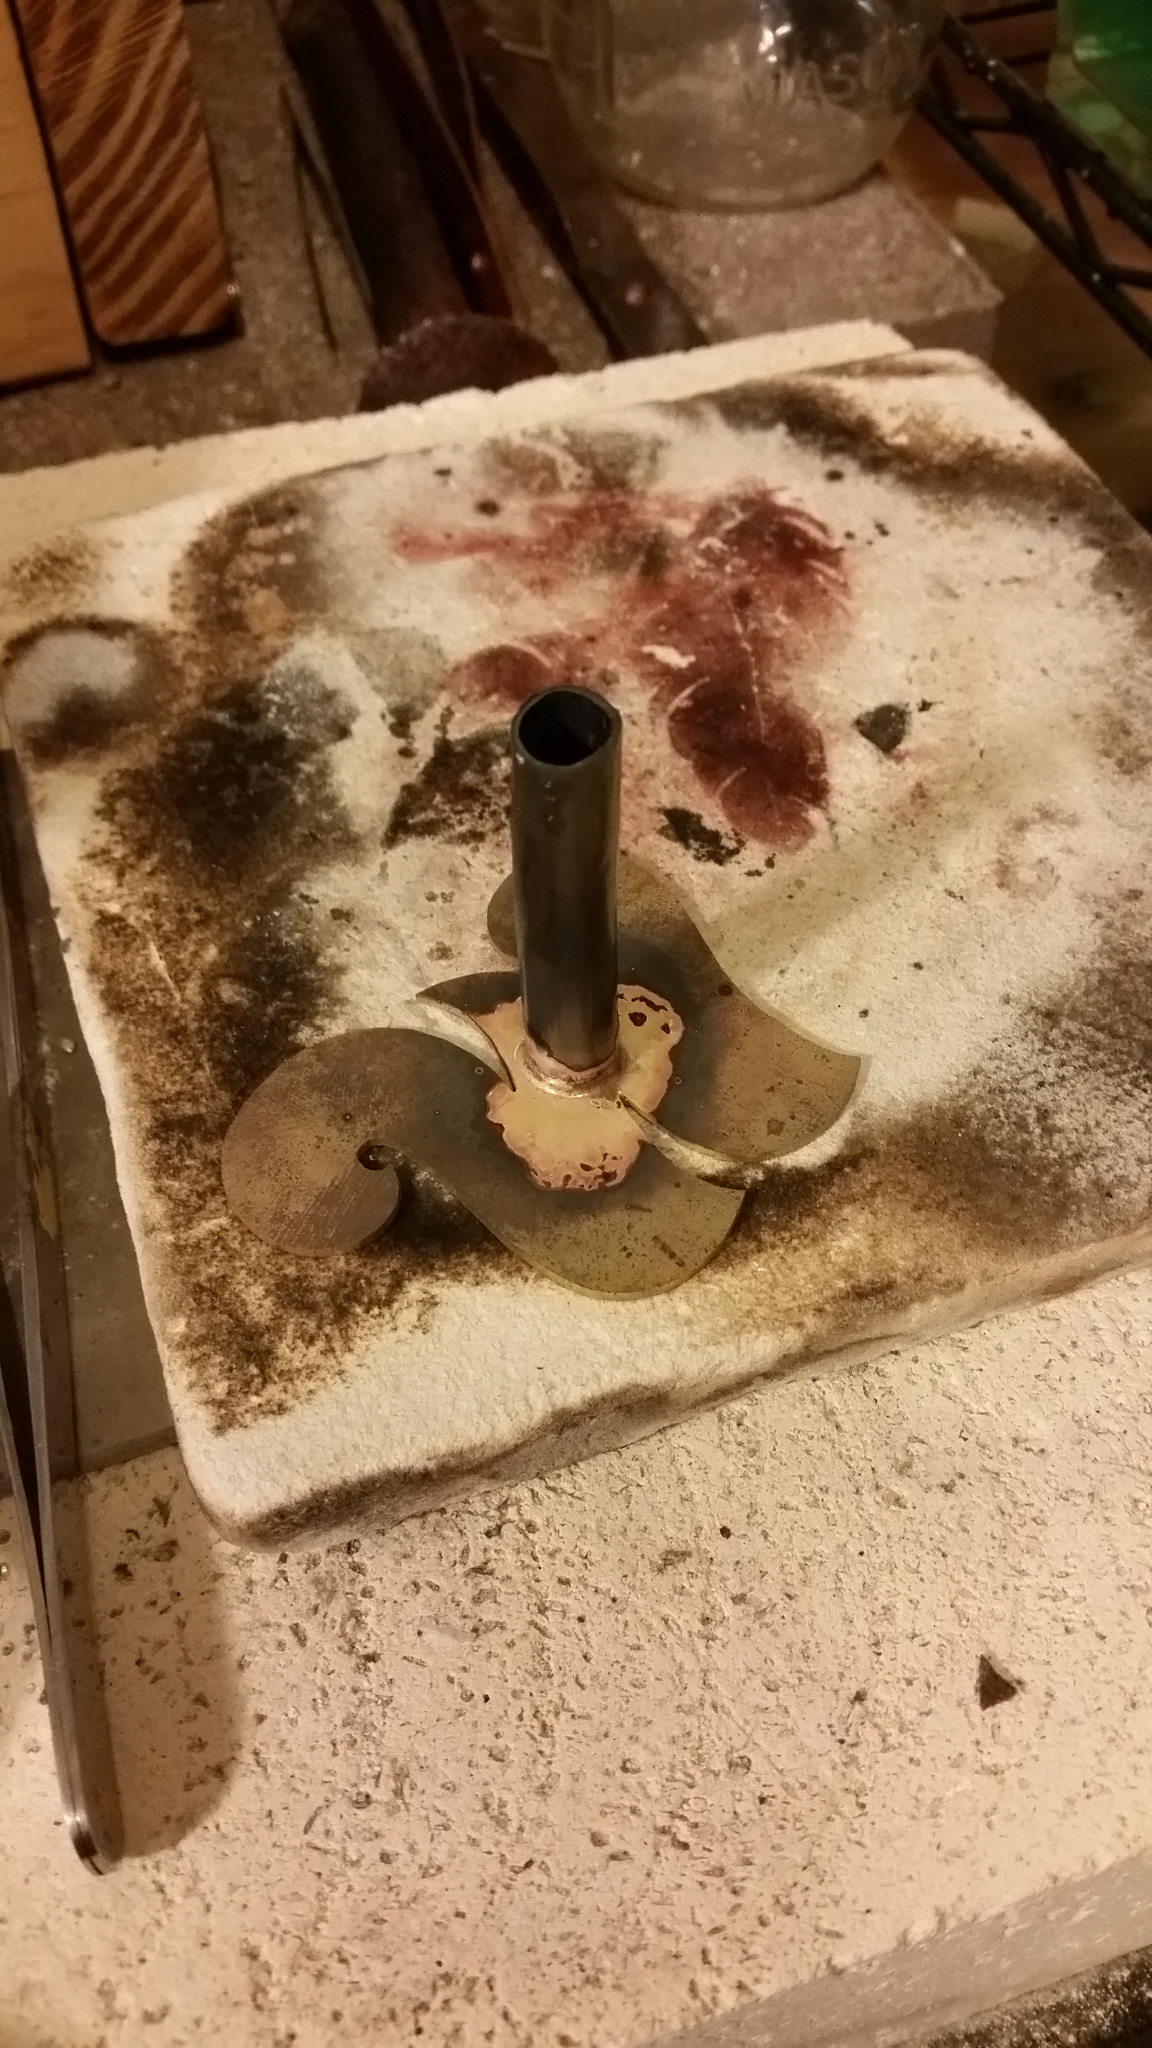
Soldier on a small copper tube
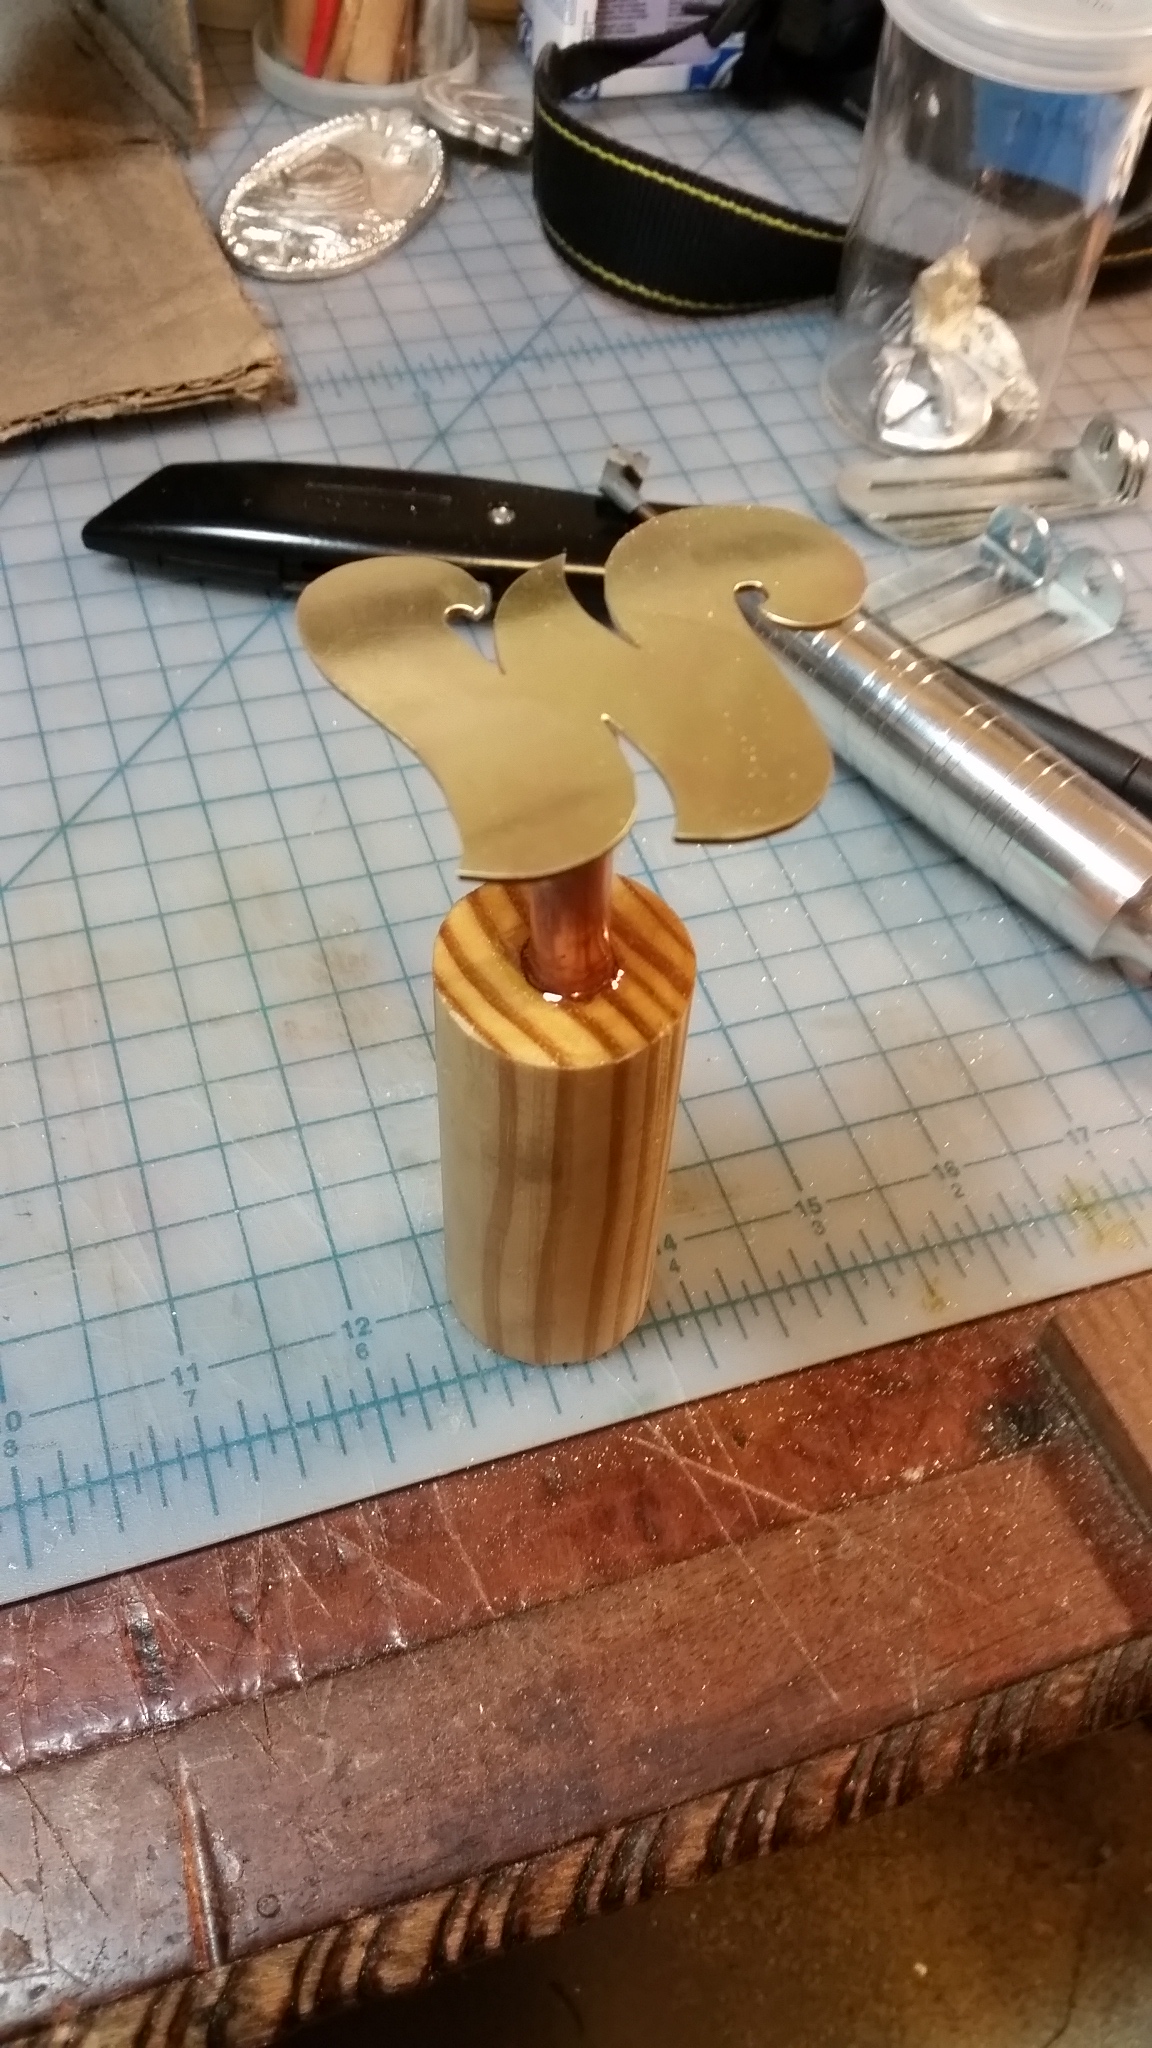
epoxy the whole thing into a stout dowel.
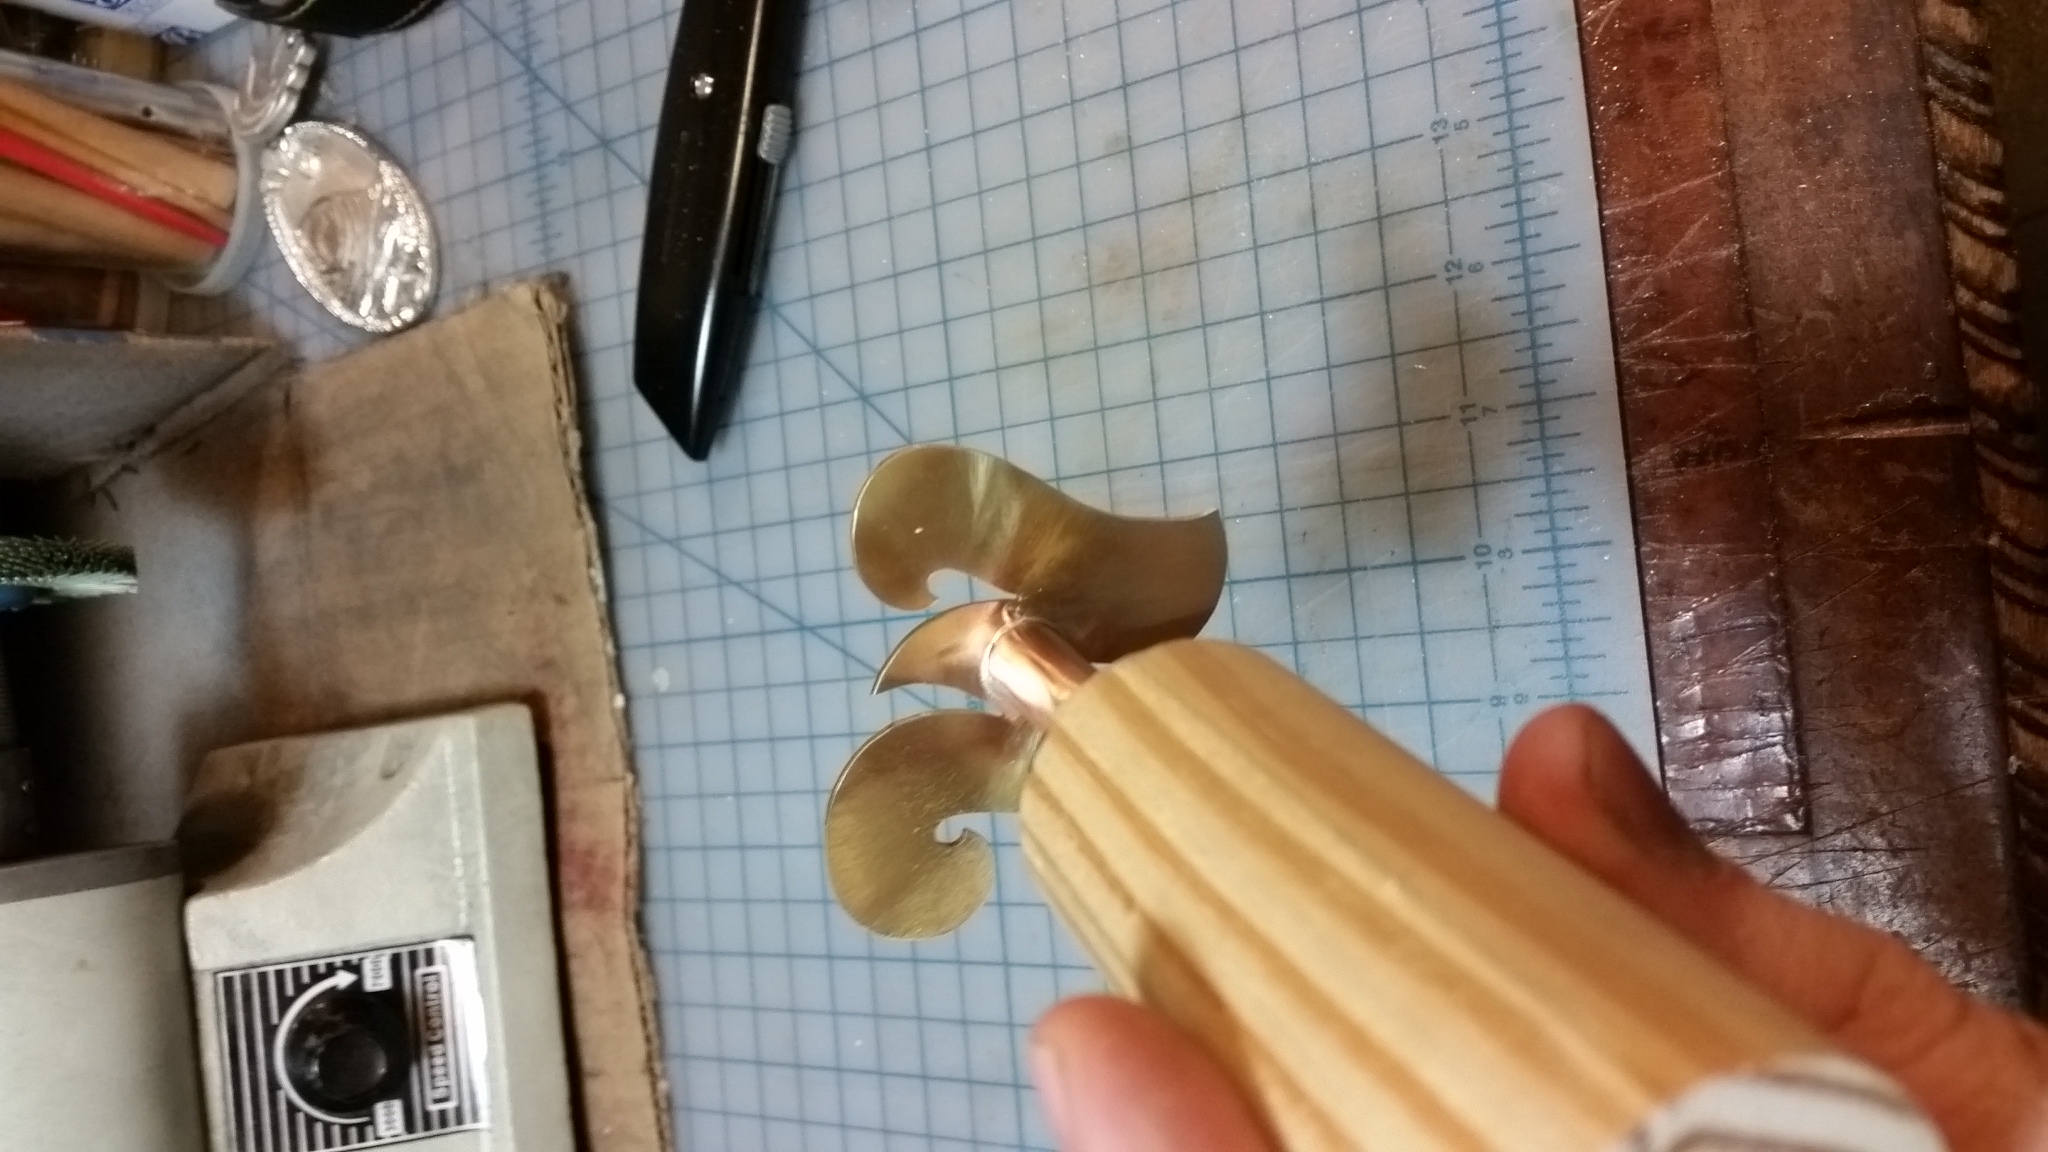
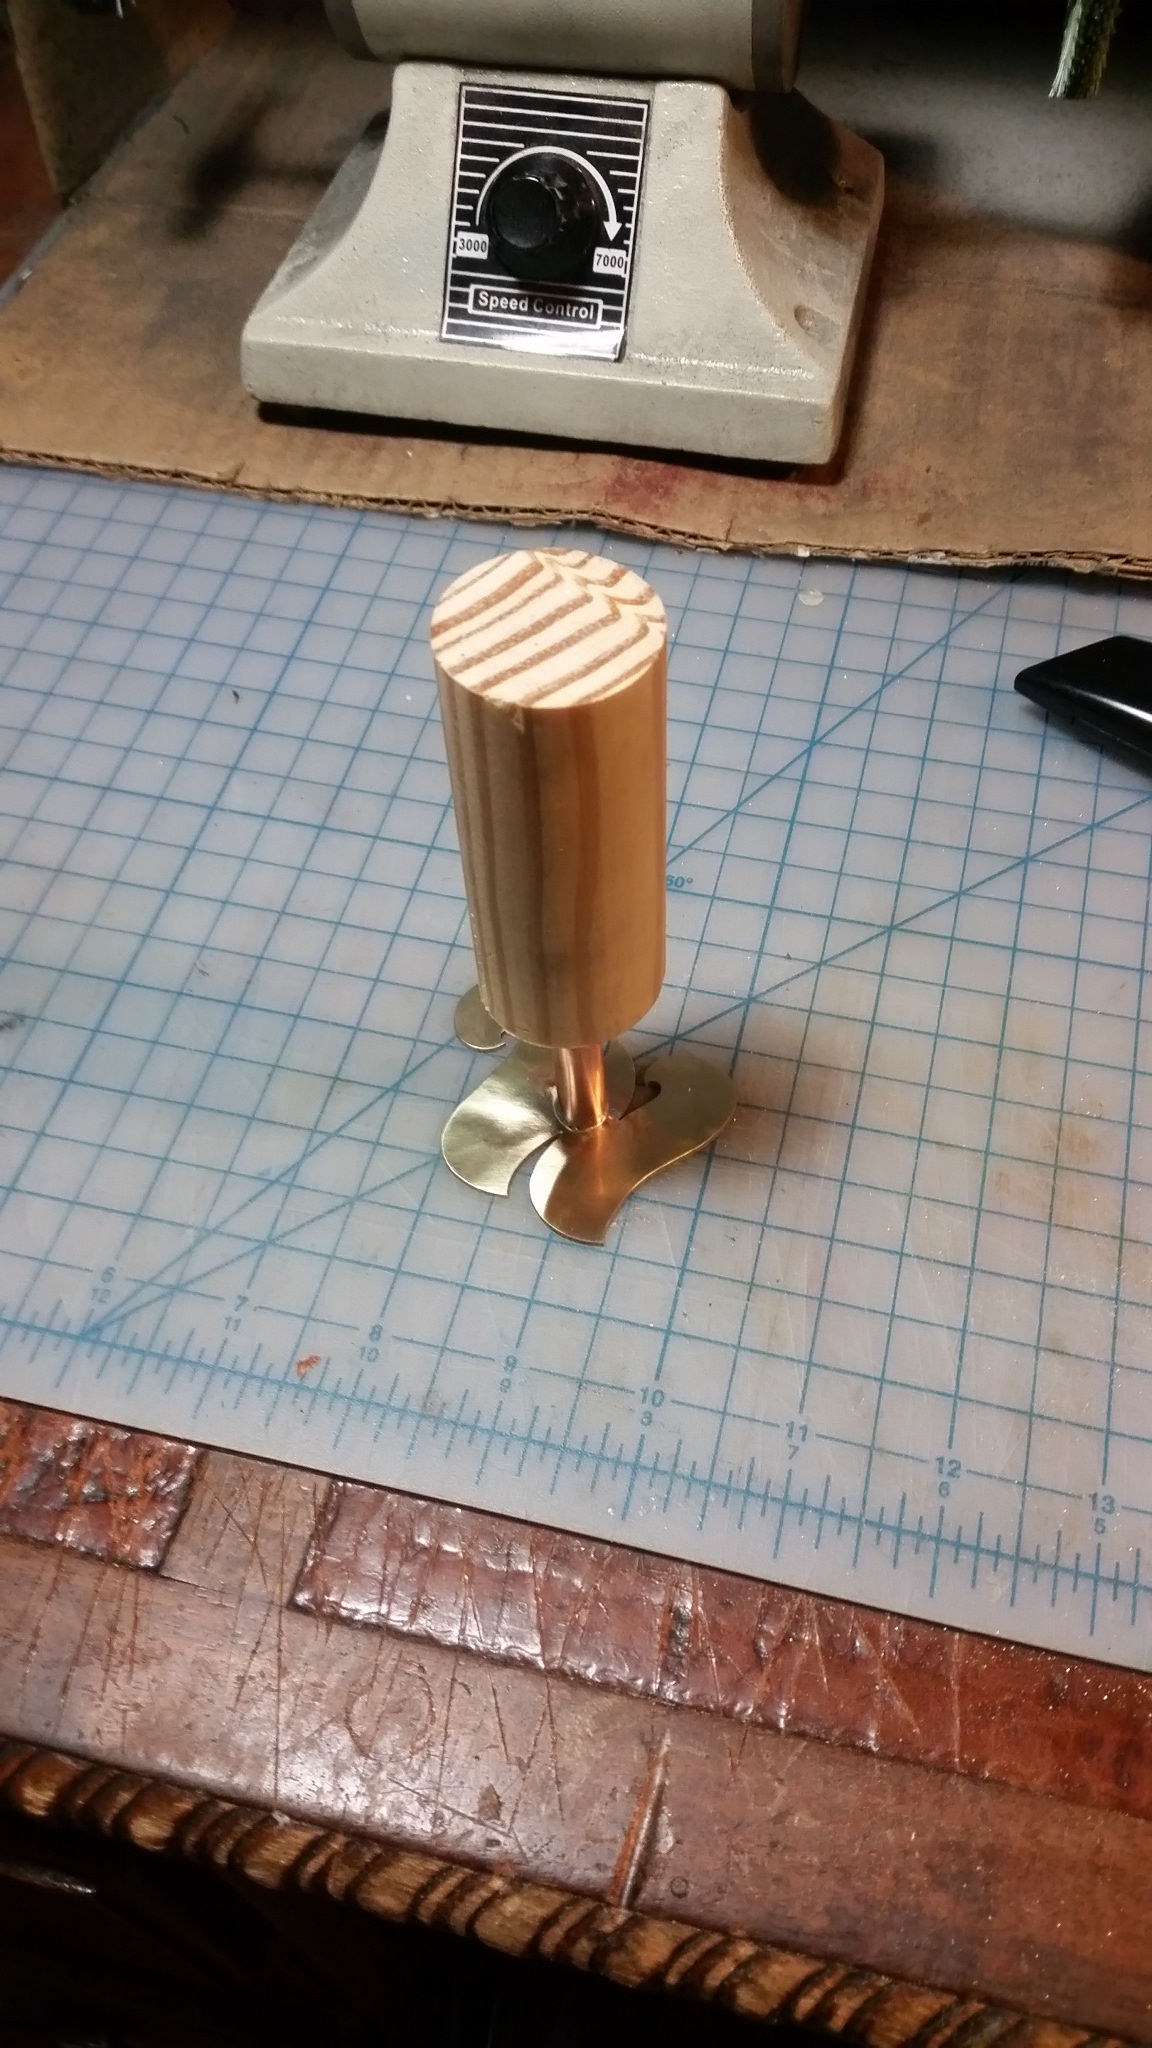
Shorty handle for good force manipulation, as well as easy storage.
When I get some cookie pictures I will post an update.
Do you want to help me continue to bring you great projects, while also getting great rewards? Then support me on Patreon!
Thank you!
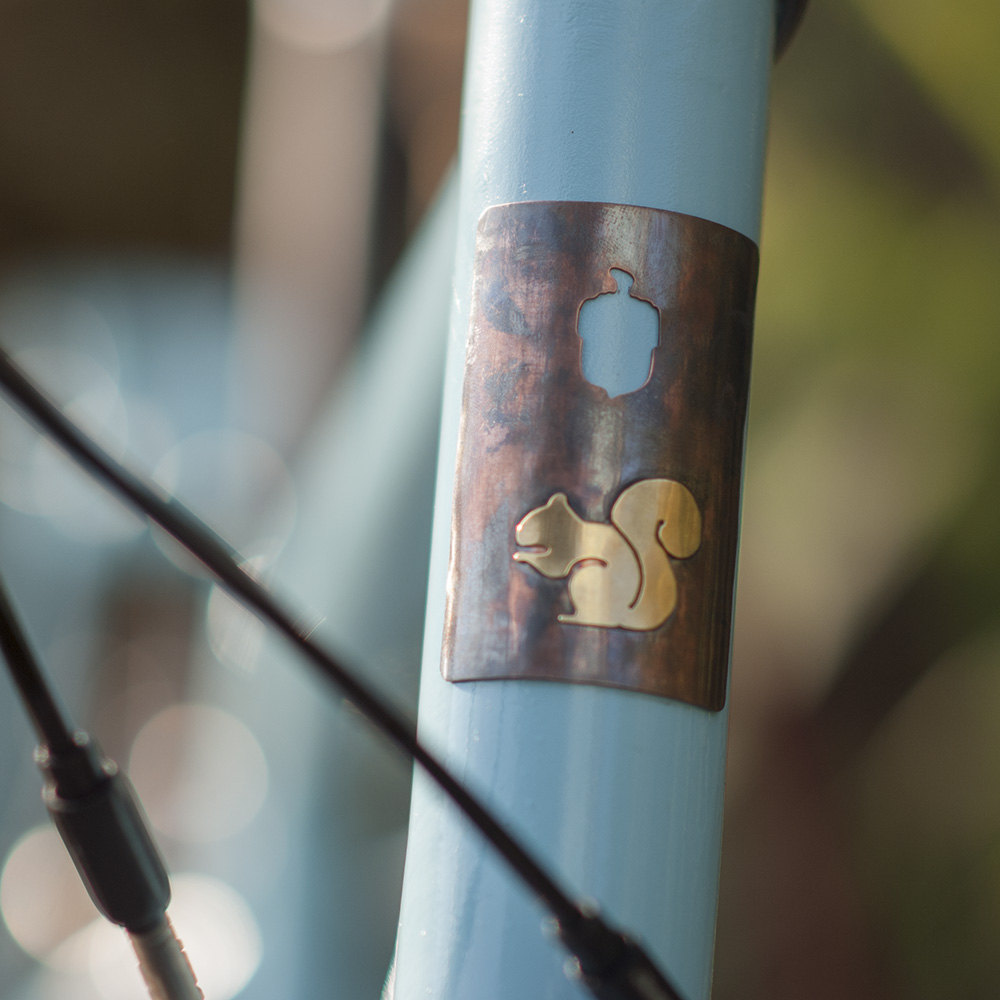
One of my customers sent this awesome picture of my squirrel head badge installed on a bicycle. I think it looks awesome!
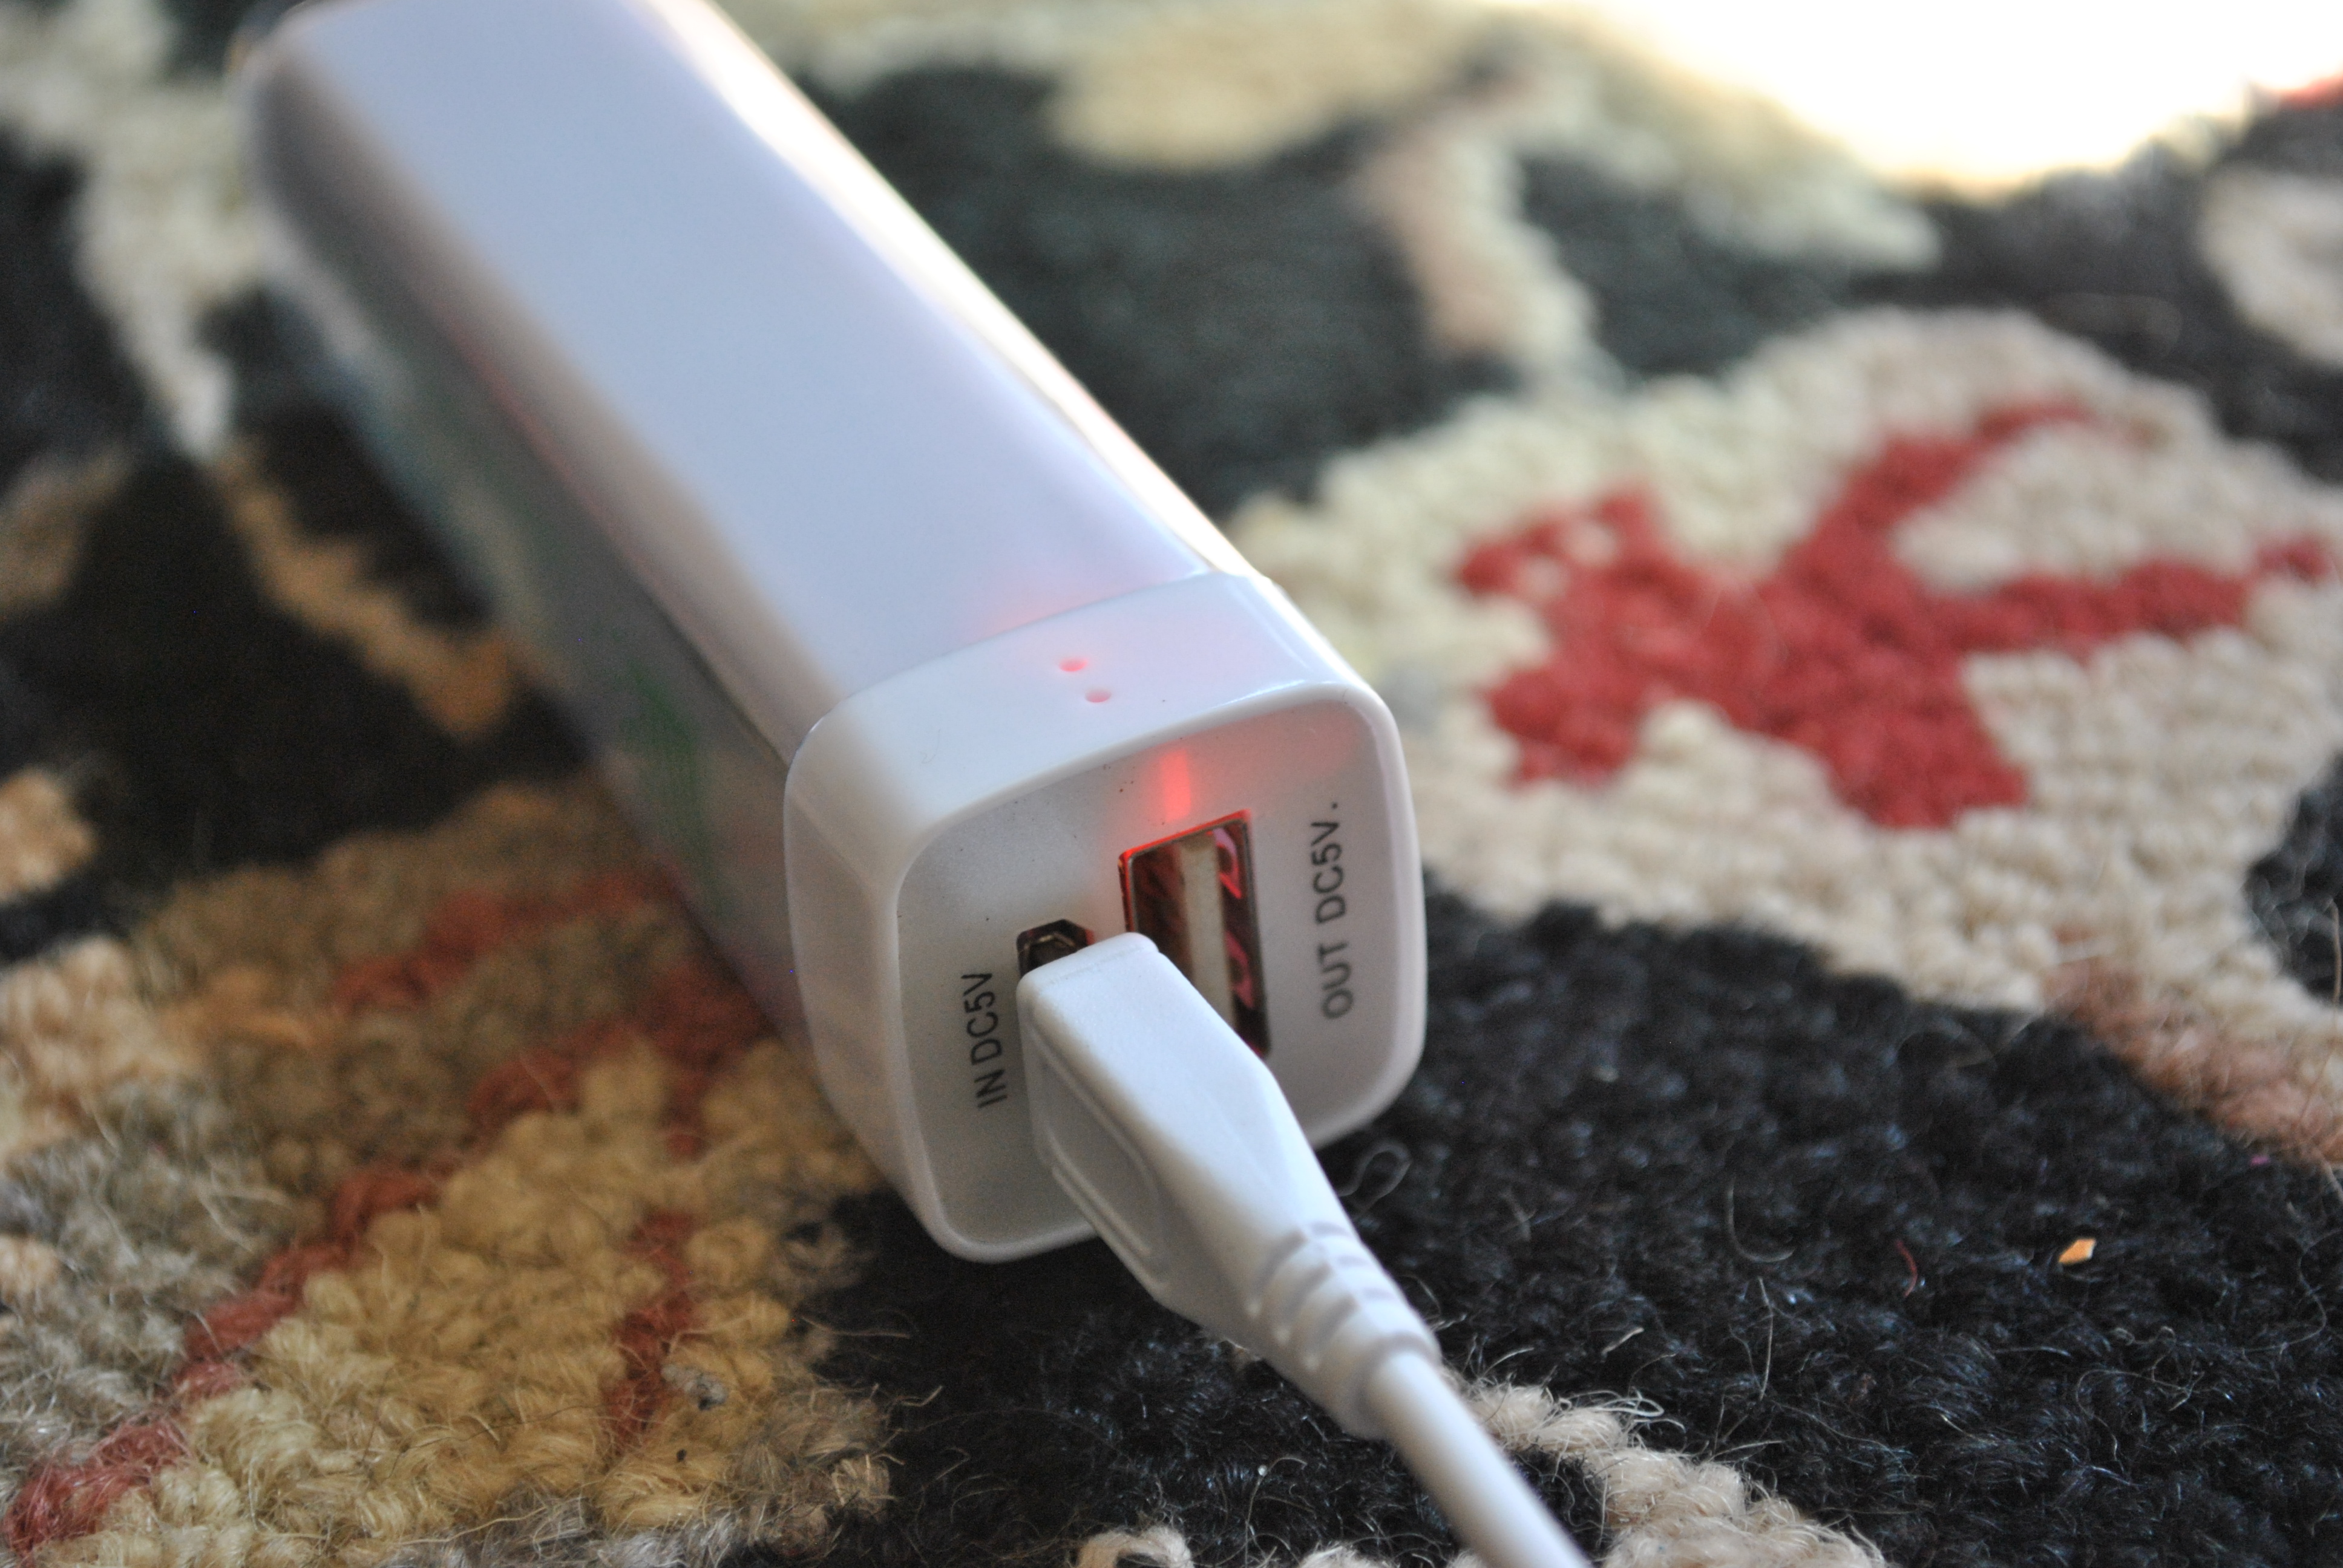
My mom has this habit of every once in a while gathering up all the junk in her house she doesn’t want and sending it to me in a box. It is both very sweet, and frustrating. I never know what to do with all the stuff she sends. Recently she sent me a little power stick USB thing. Its one of these screen printed branded gizmo’s you would pick up at a conference, this one stores up energy from a USB port, and then you can charge up phones or e-readers or whatever.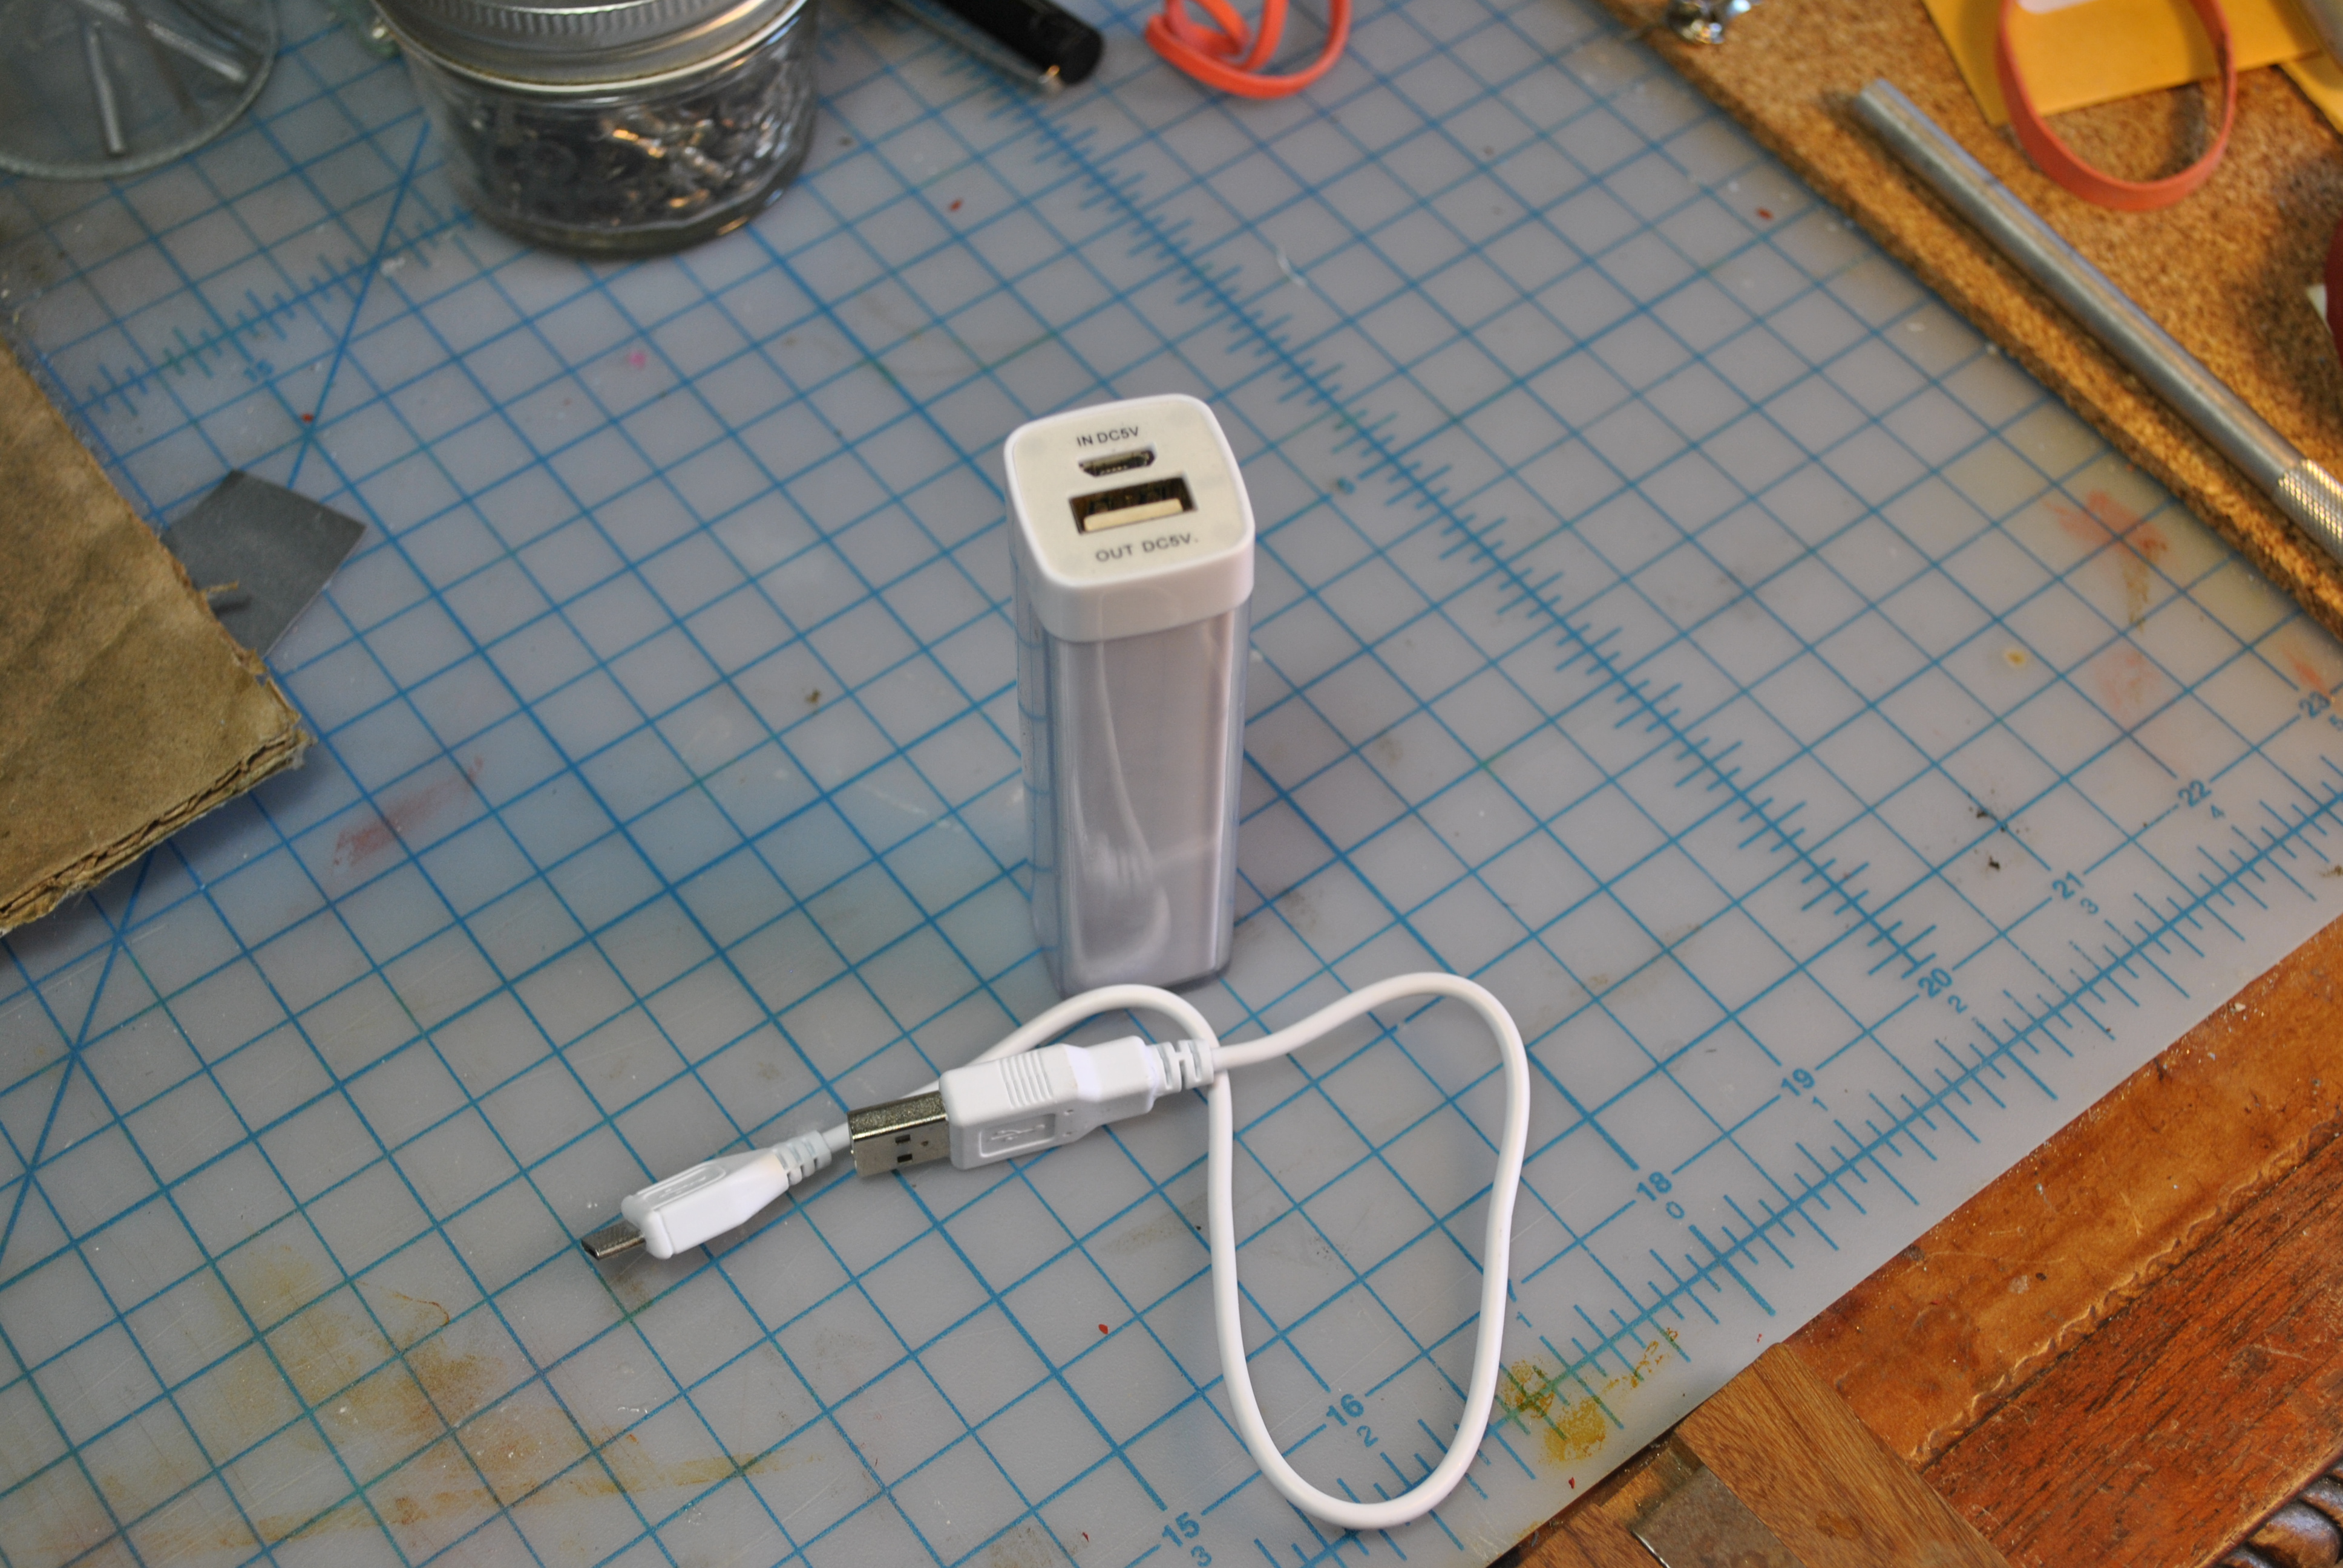
You plug it into a USB port, it charges up, and then you recharge other things. Neat, but boring. I wanted to see if I could make it cooler, by adding some solar cells to charge the battery with the sun.
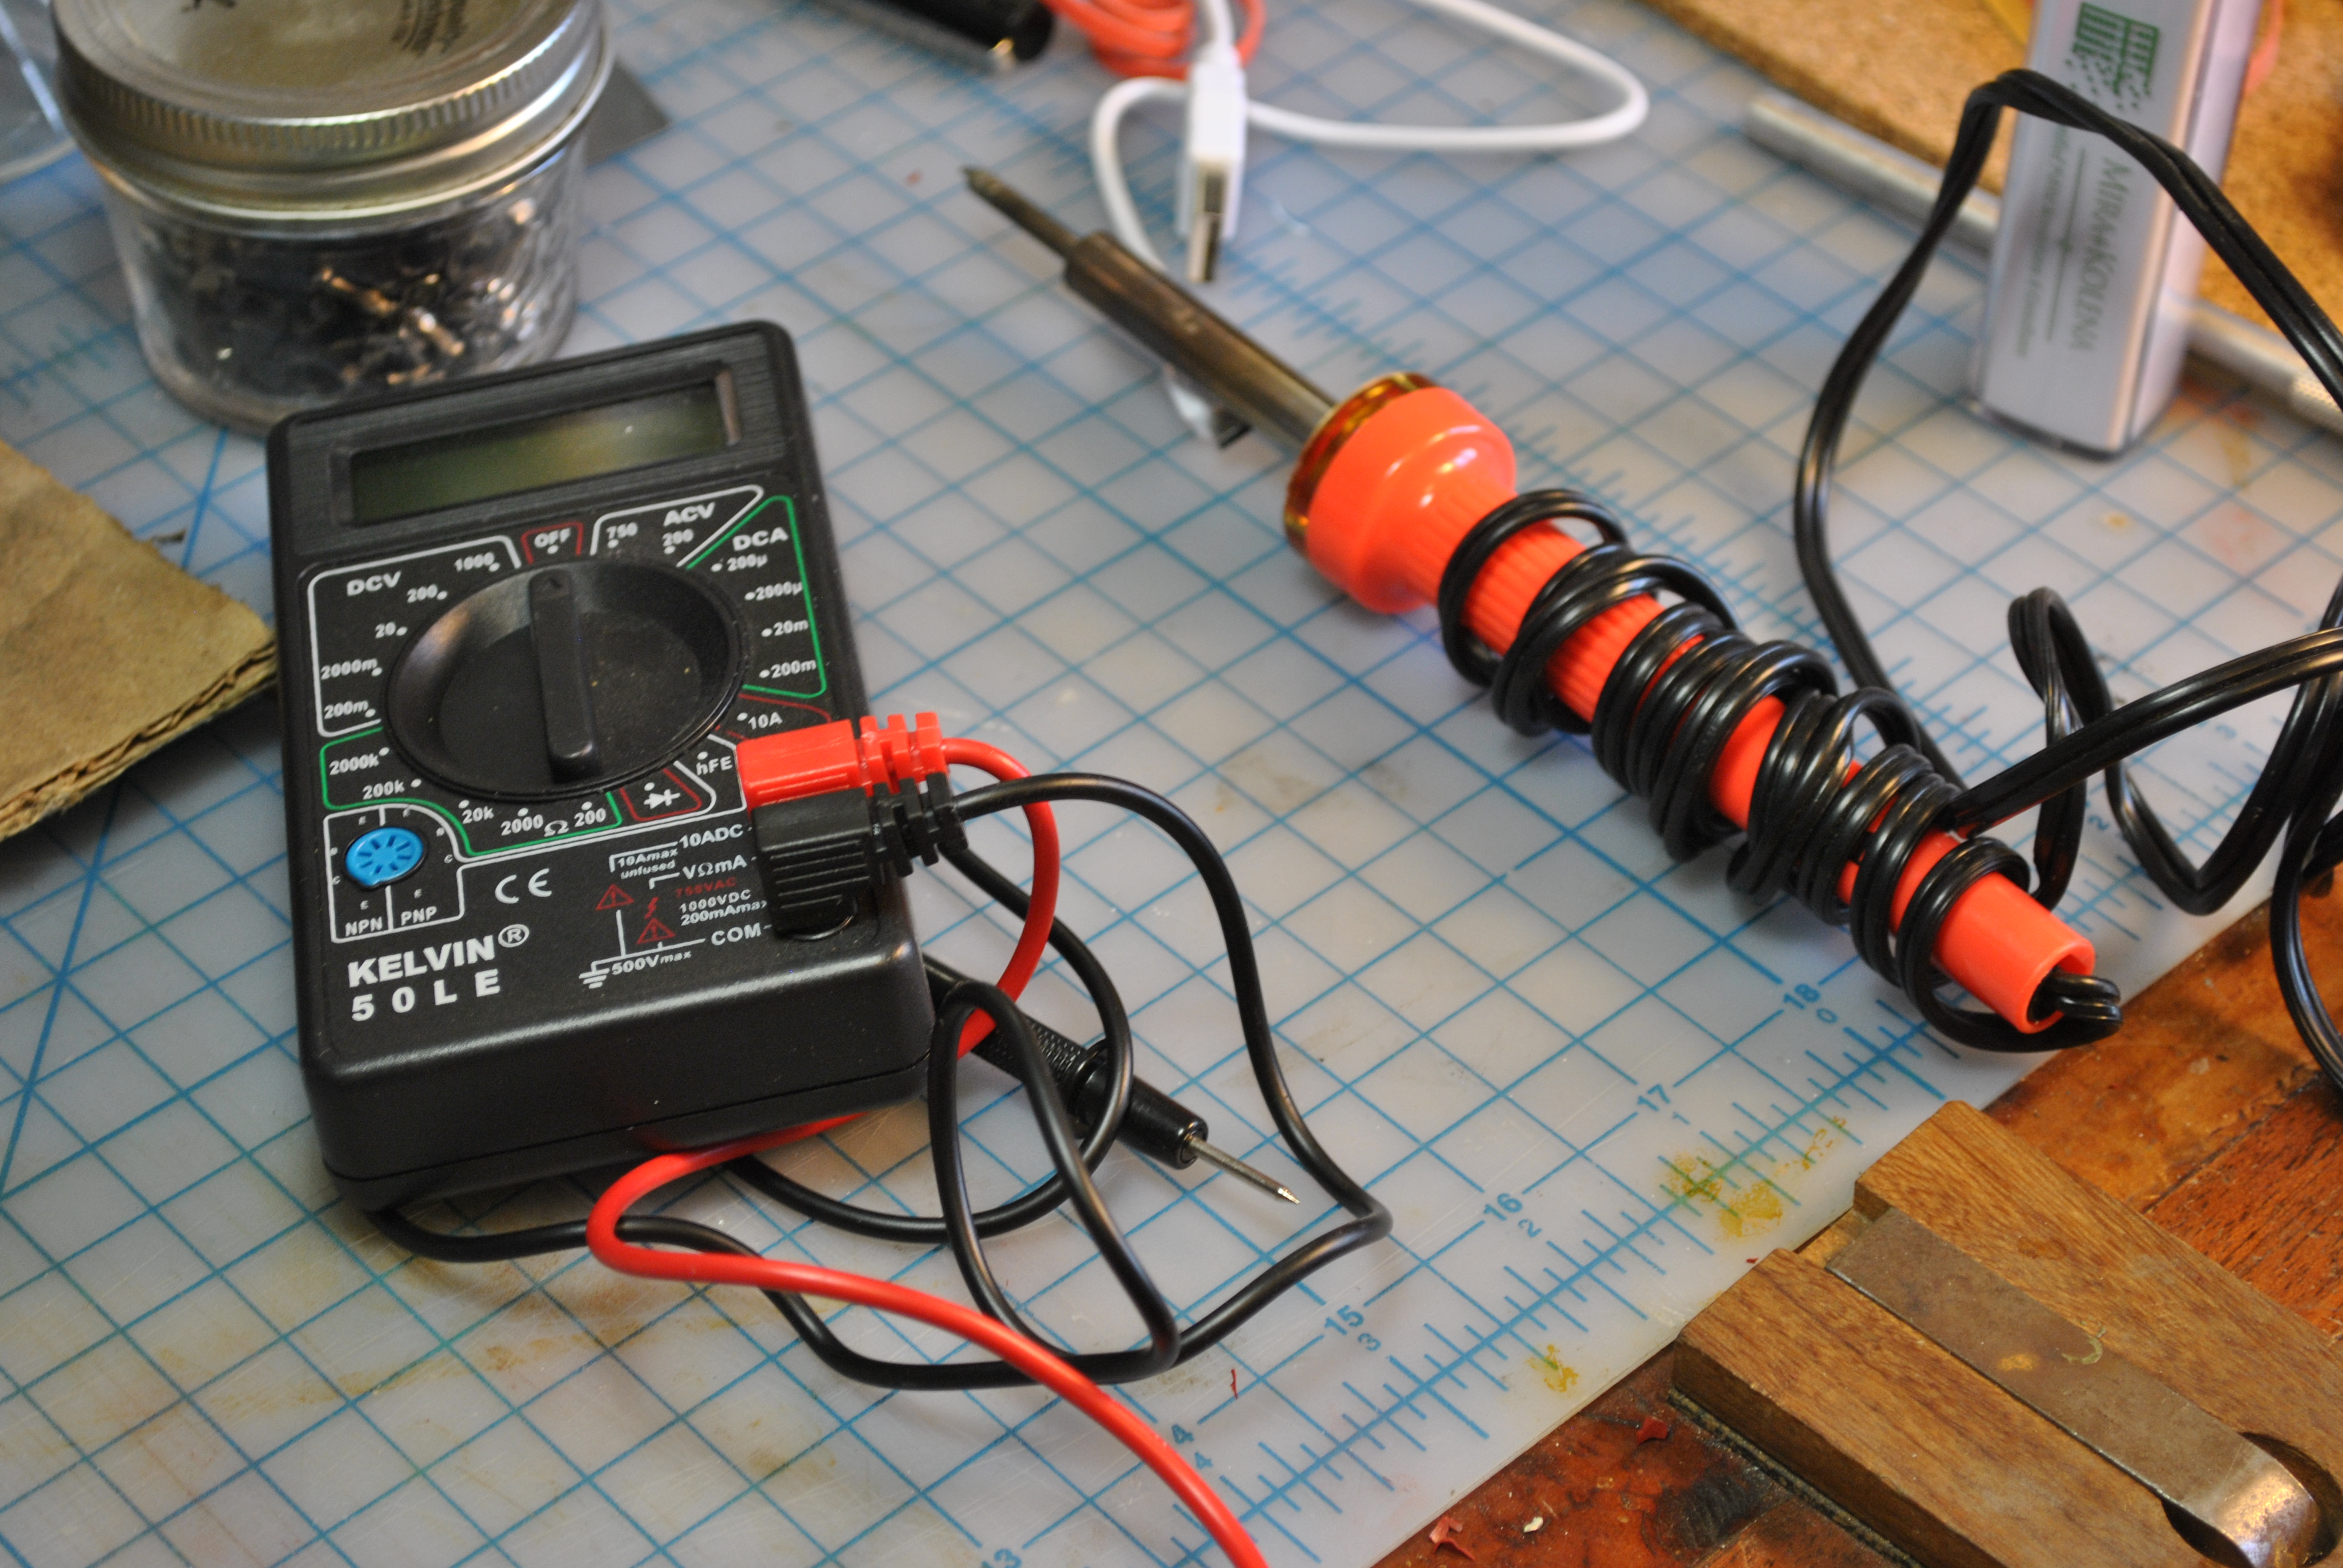
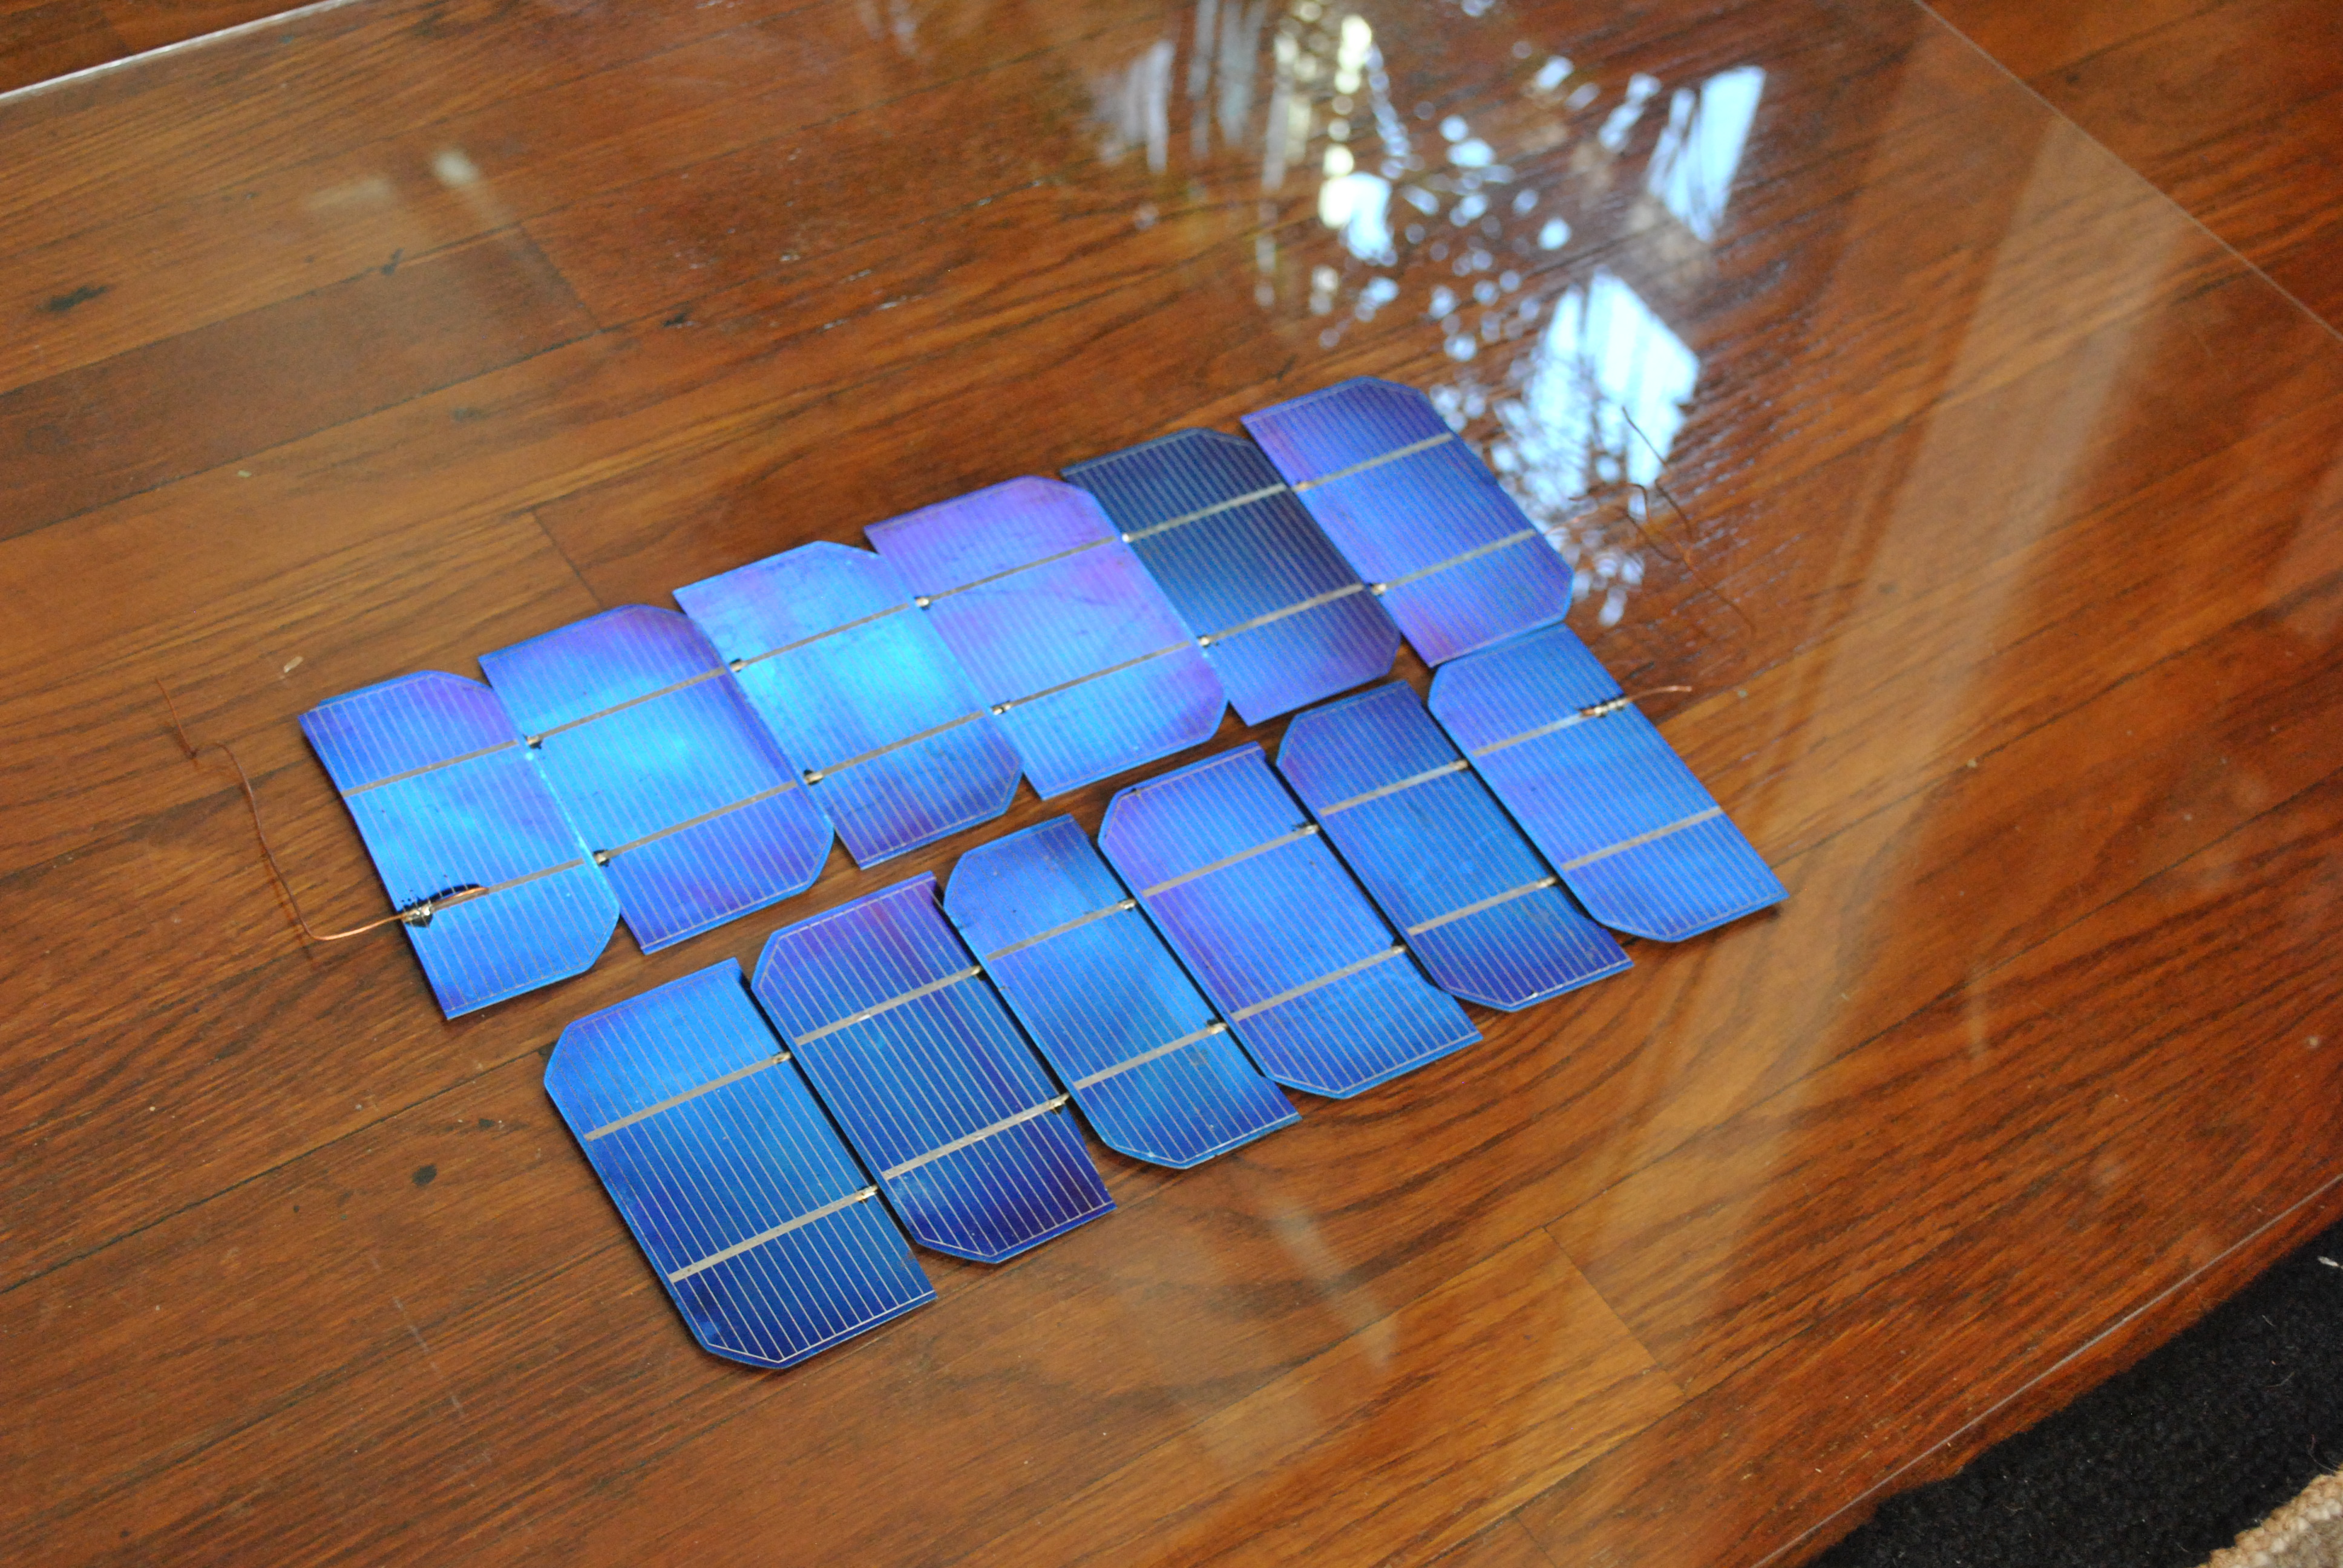
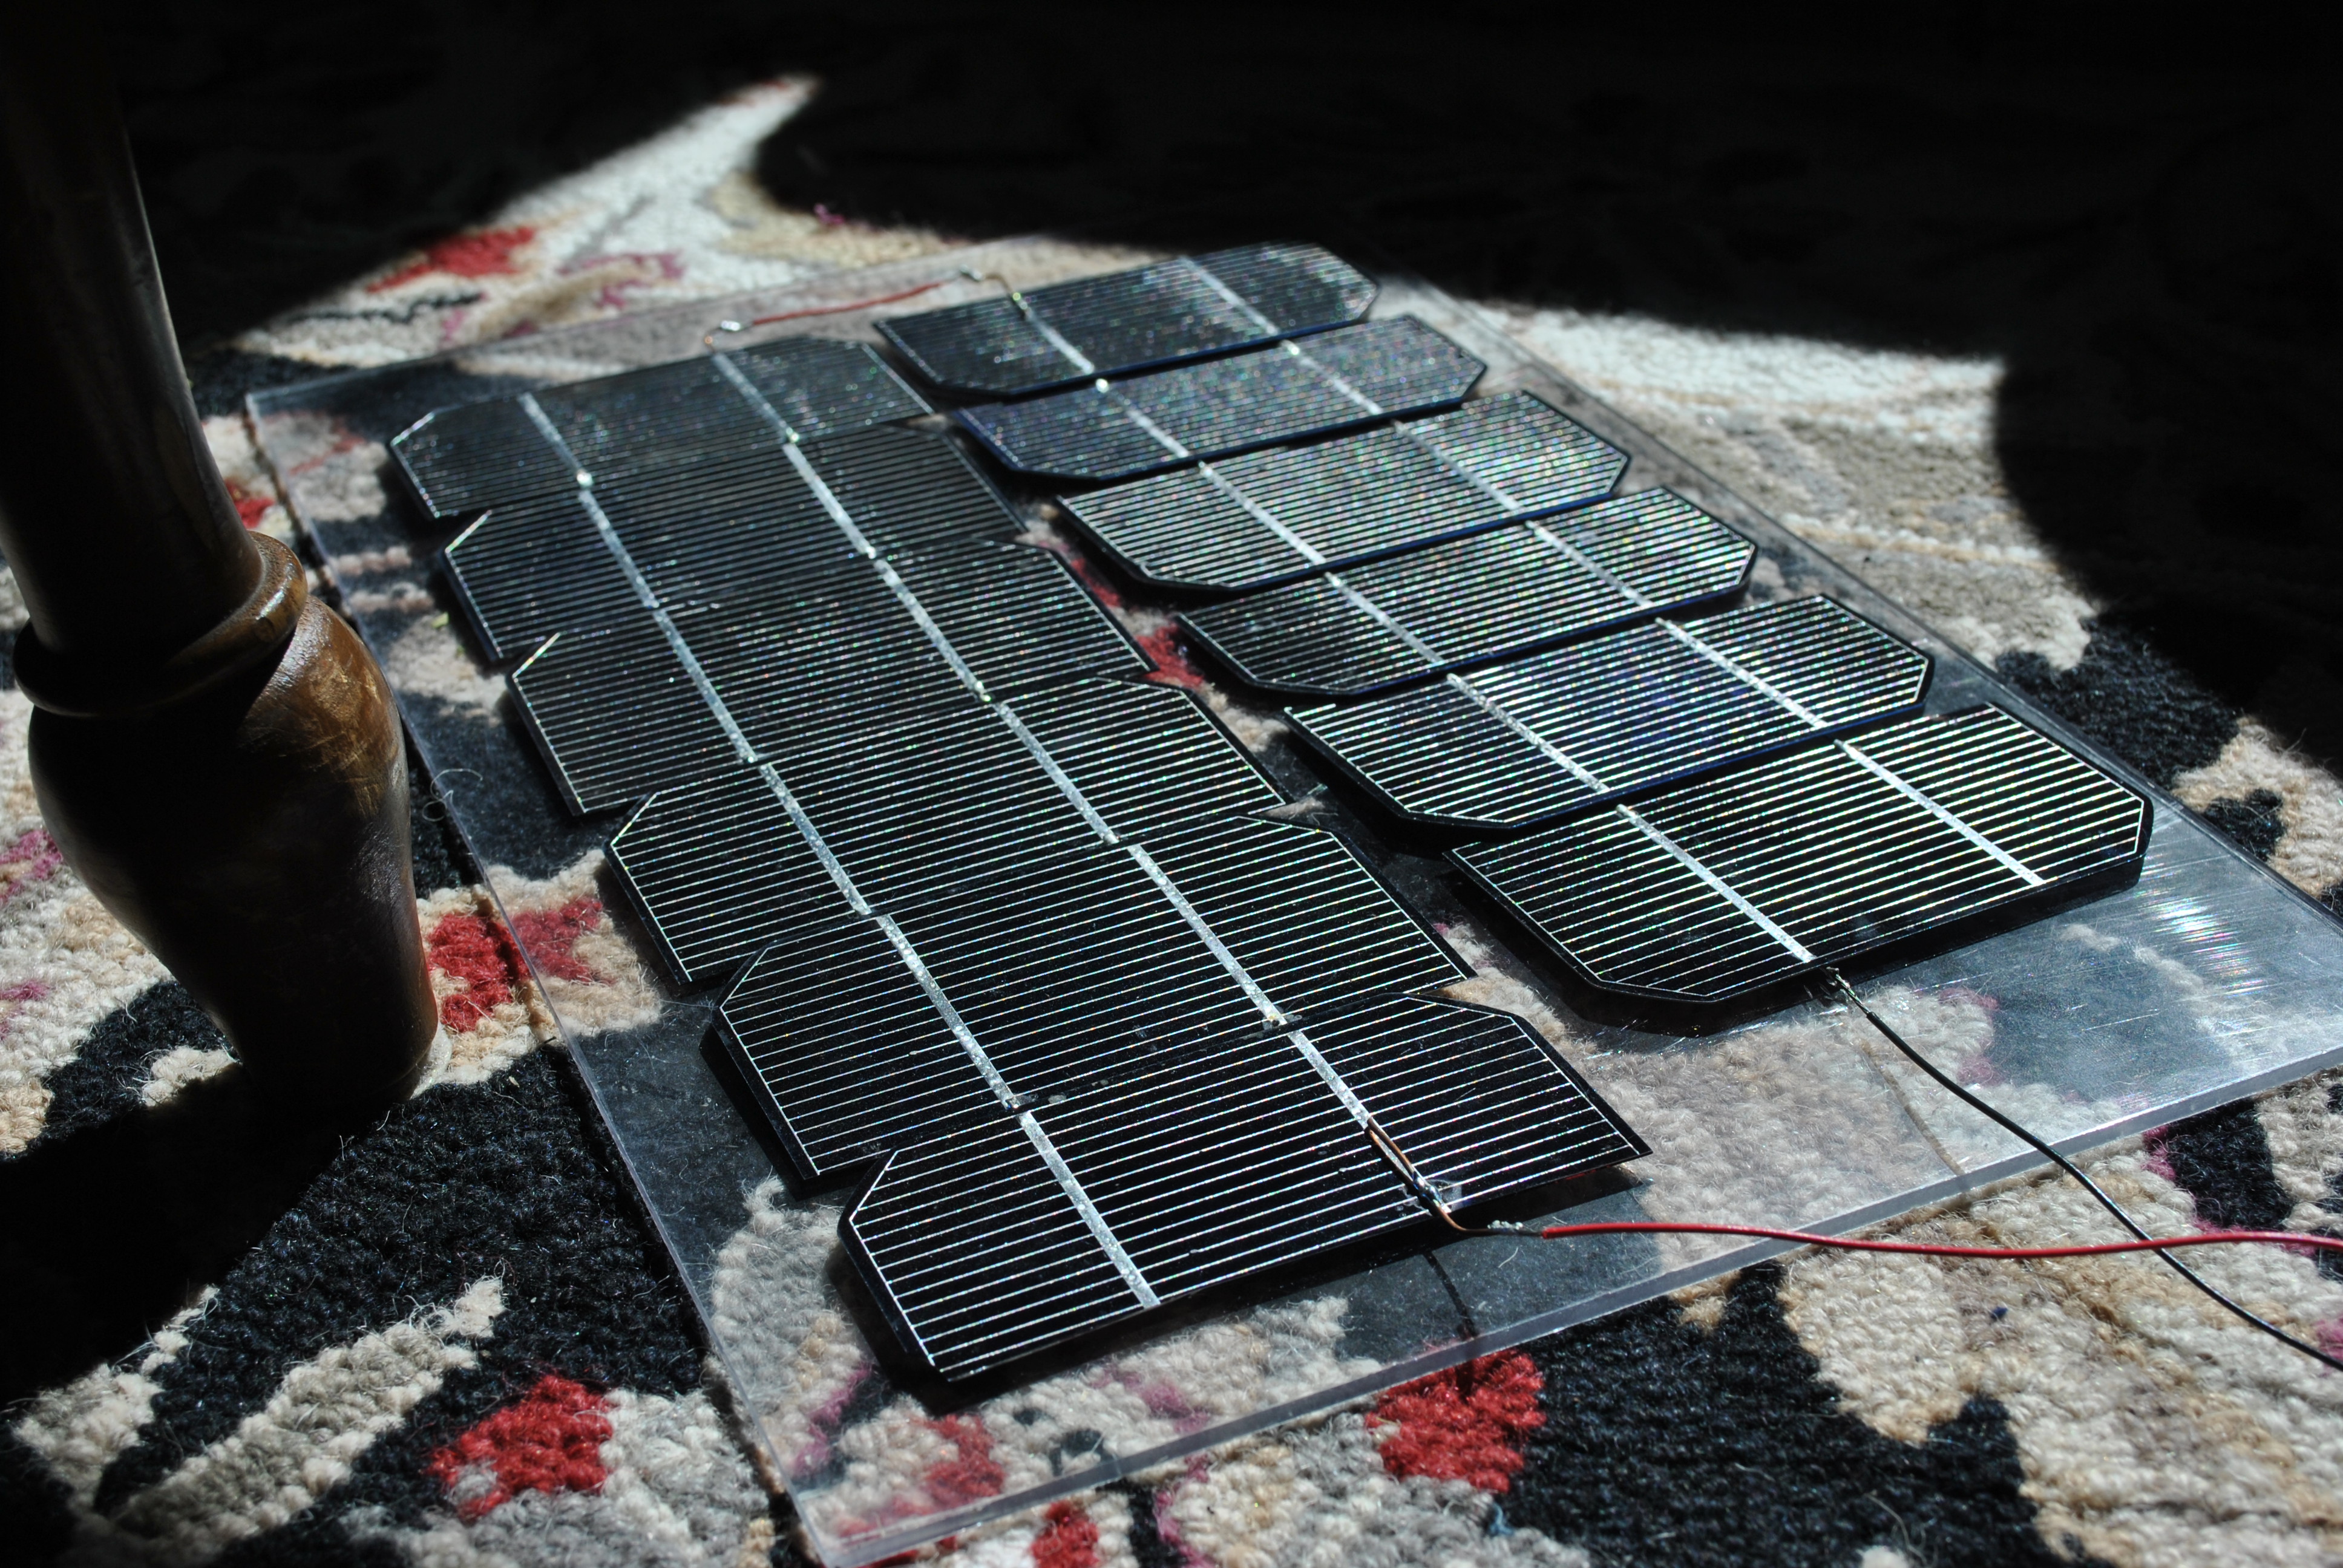
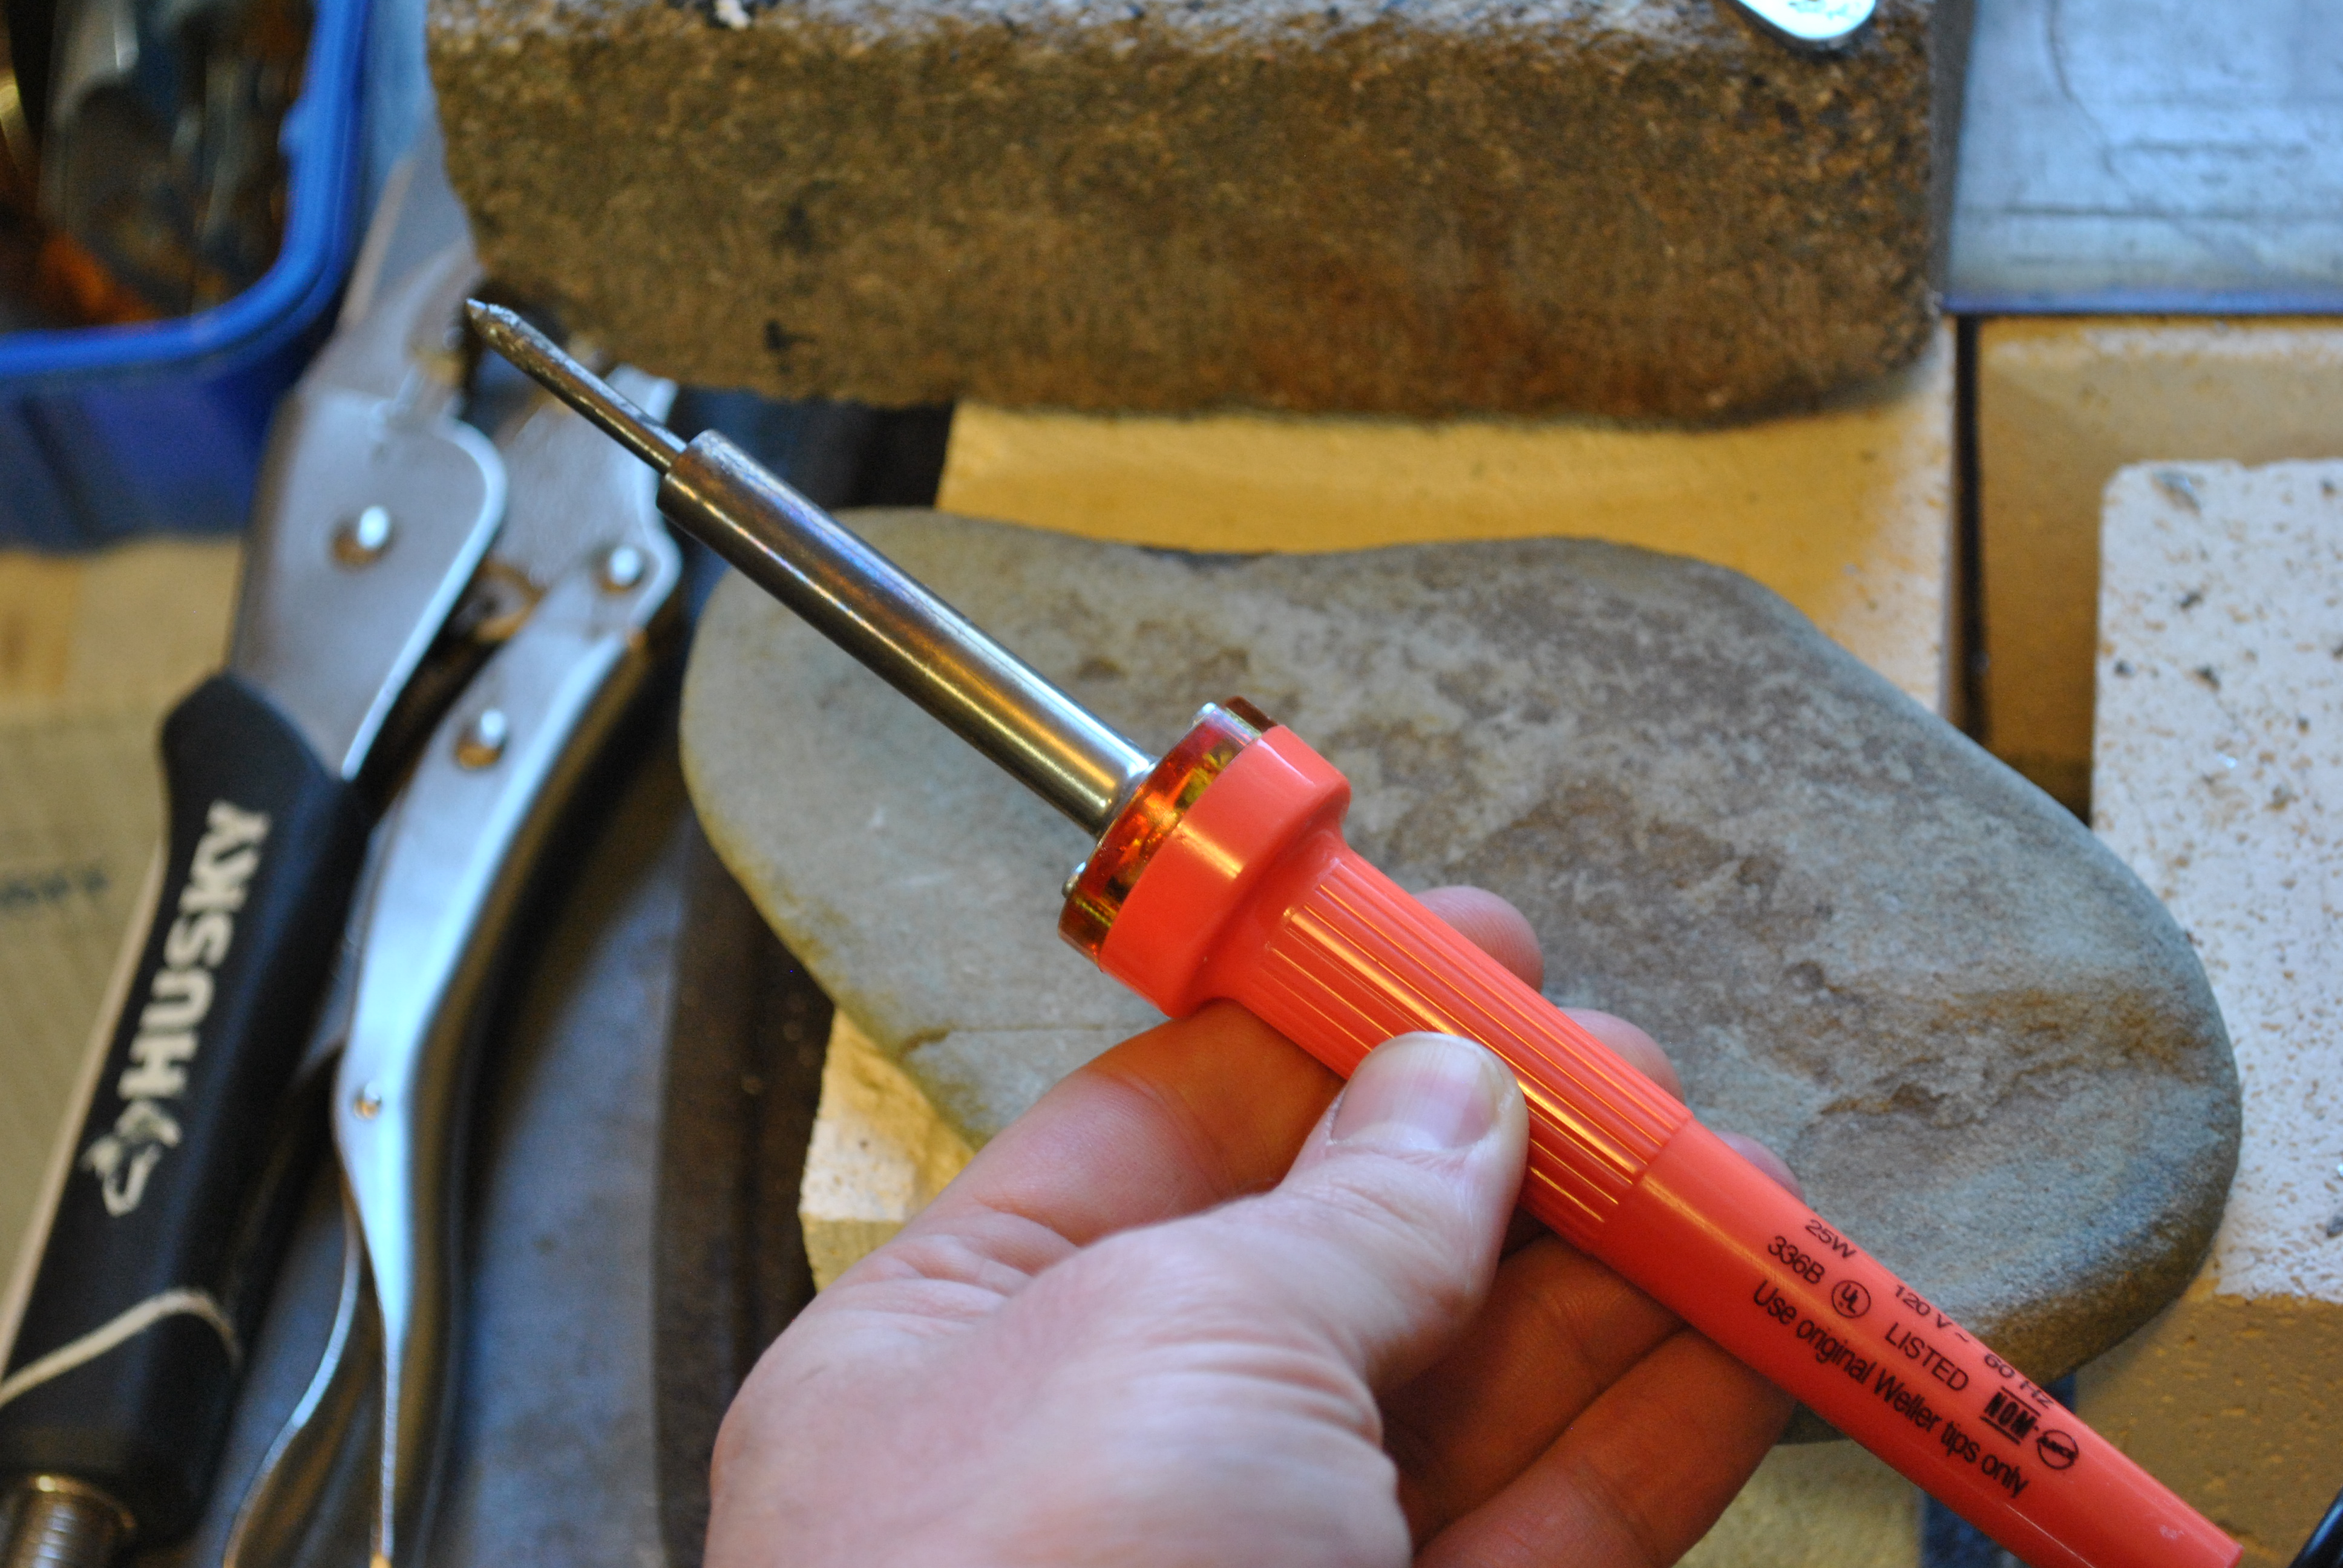
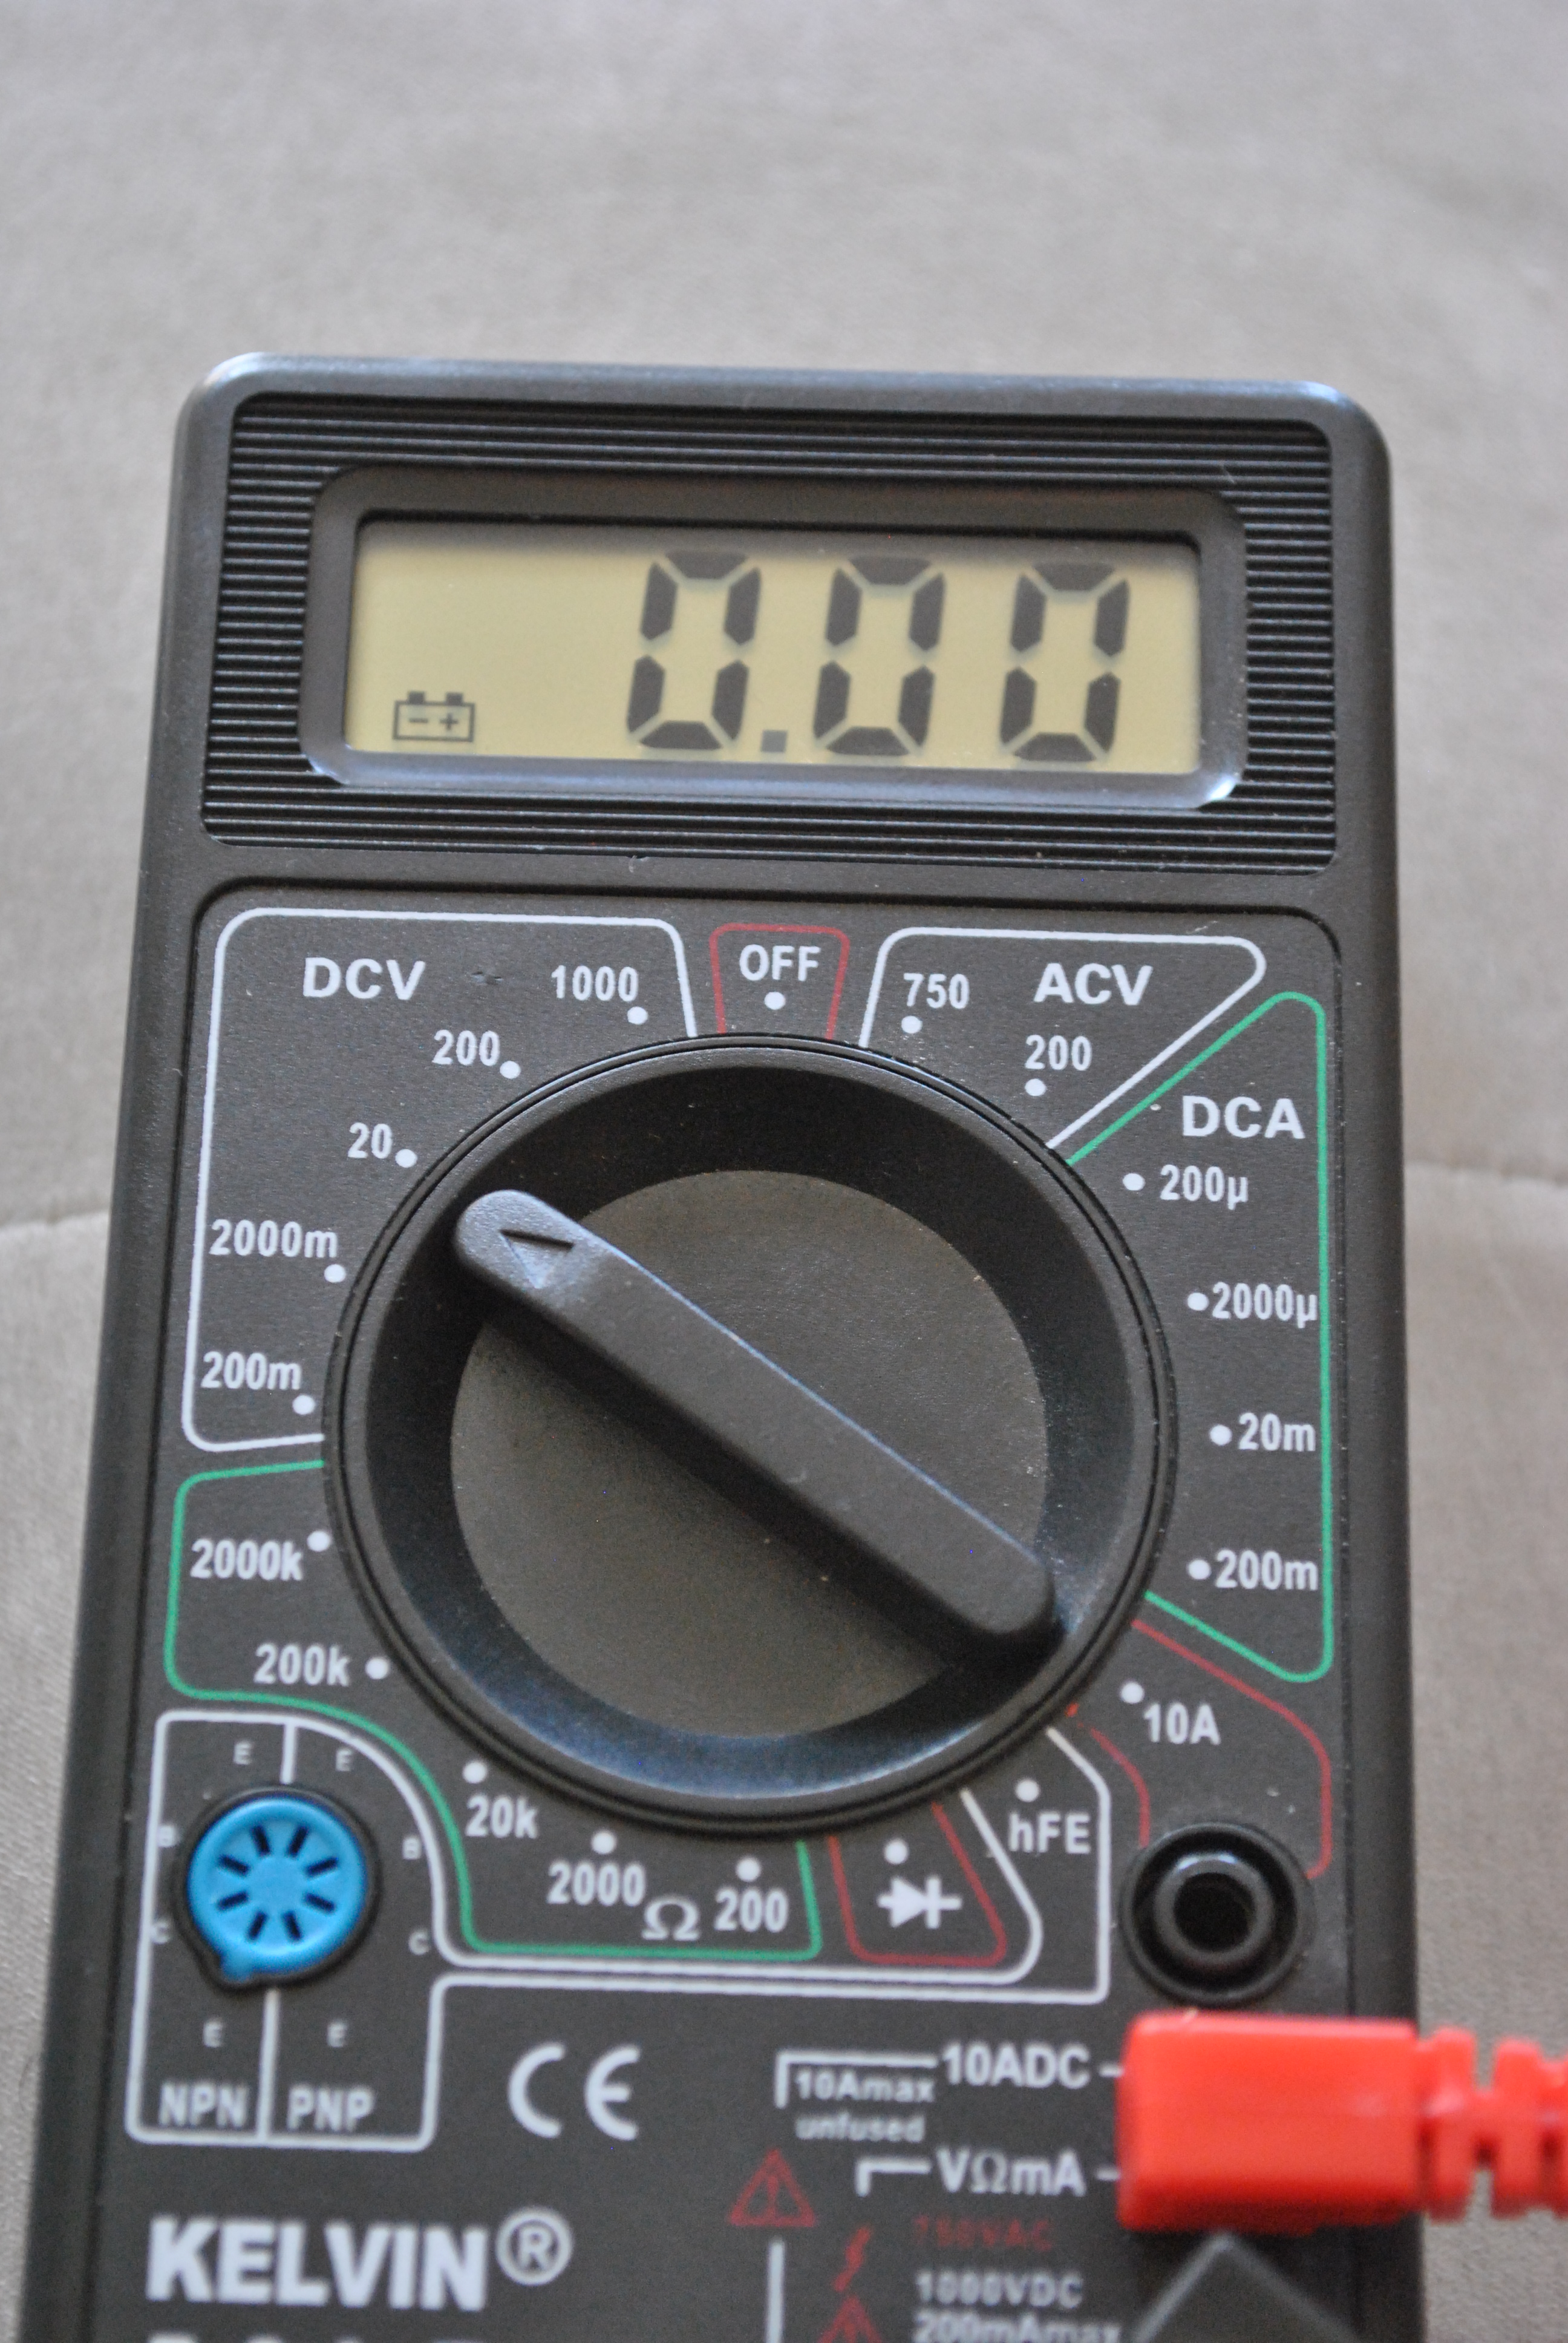
You will need a soldering iron and a multi-meter for this, both are pretty cheap and I think I picked these up years and years ago when Radio Shack was still a thing. I also have been sitting on these solar cells I got years and years ago. They were broken, so I got them for free from a Japanese solar cell maker that I had written a letter. You can find solar cells on E-bay.
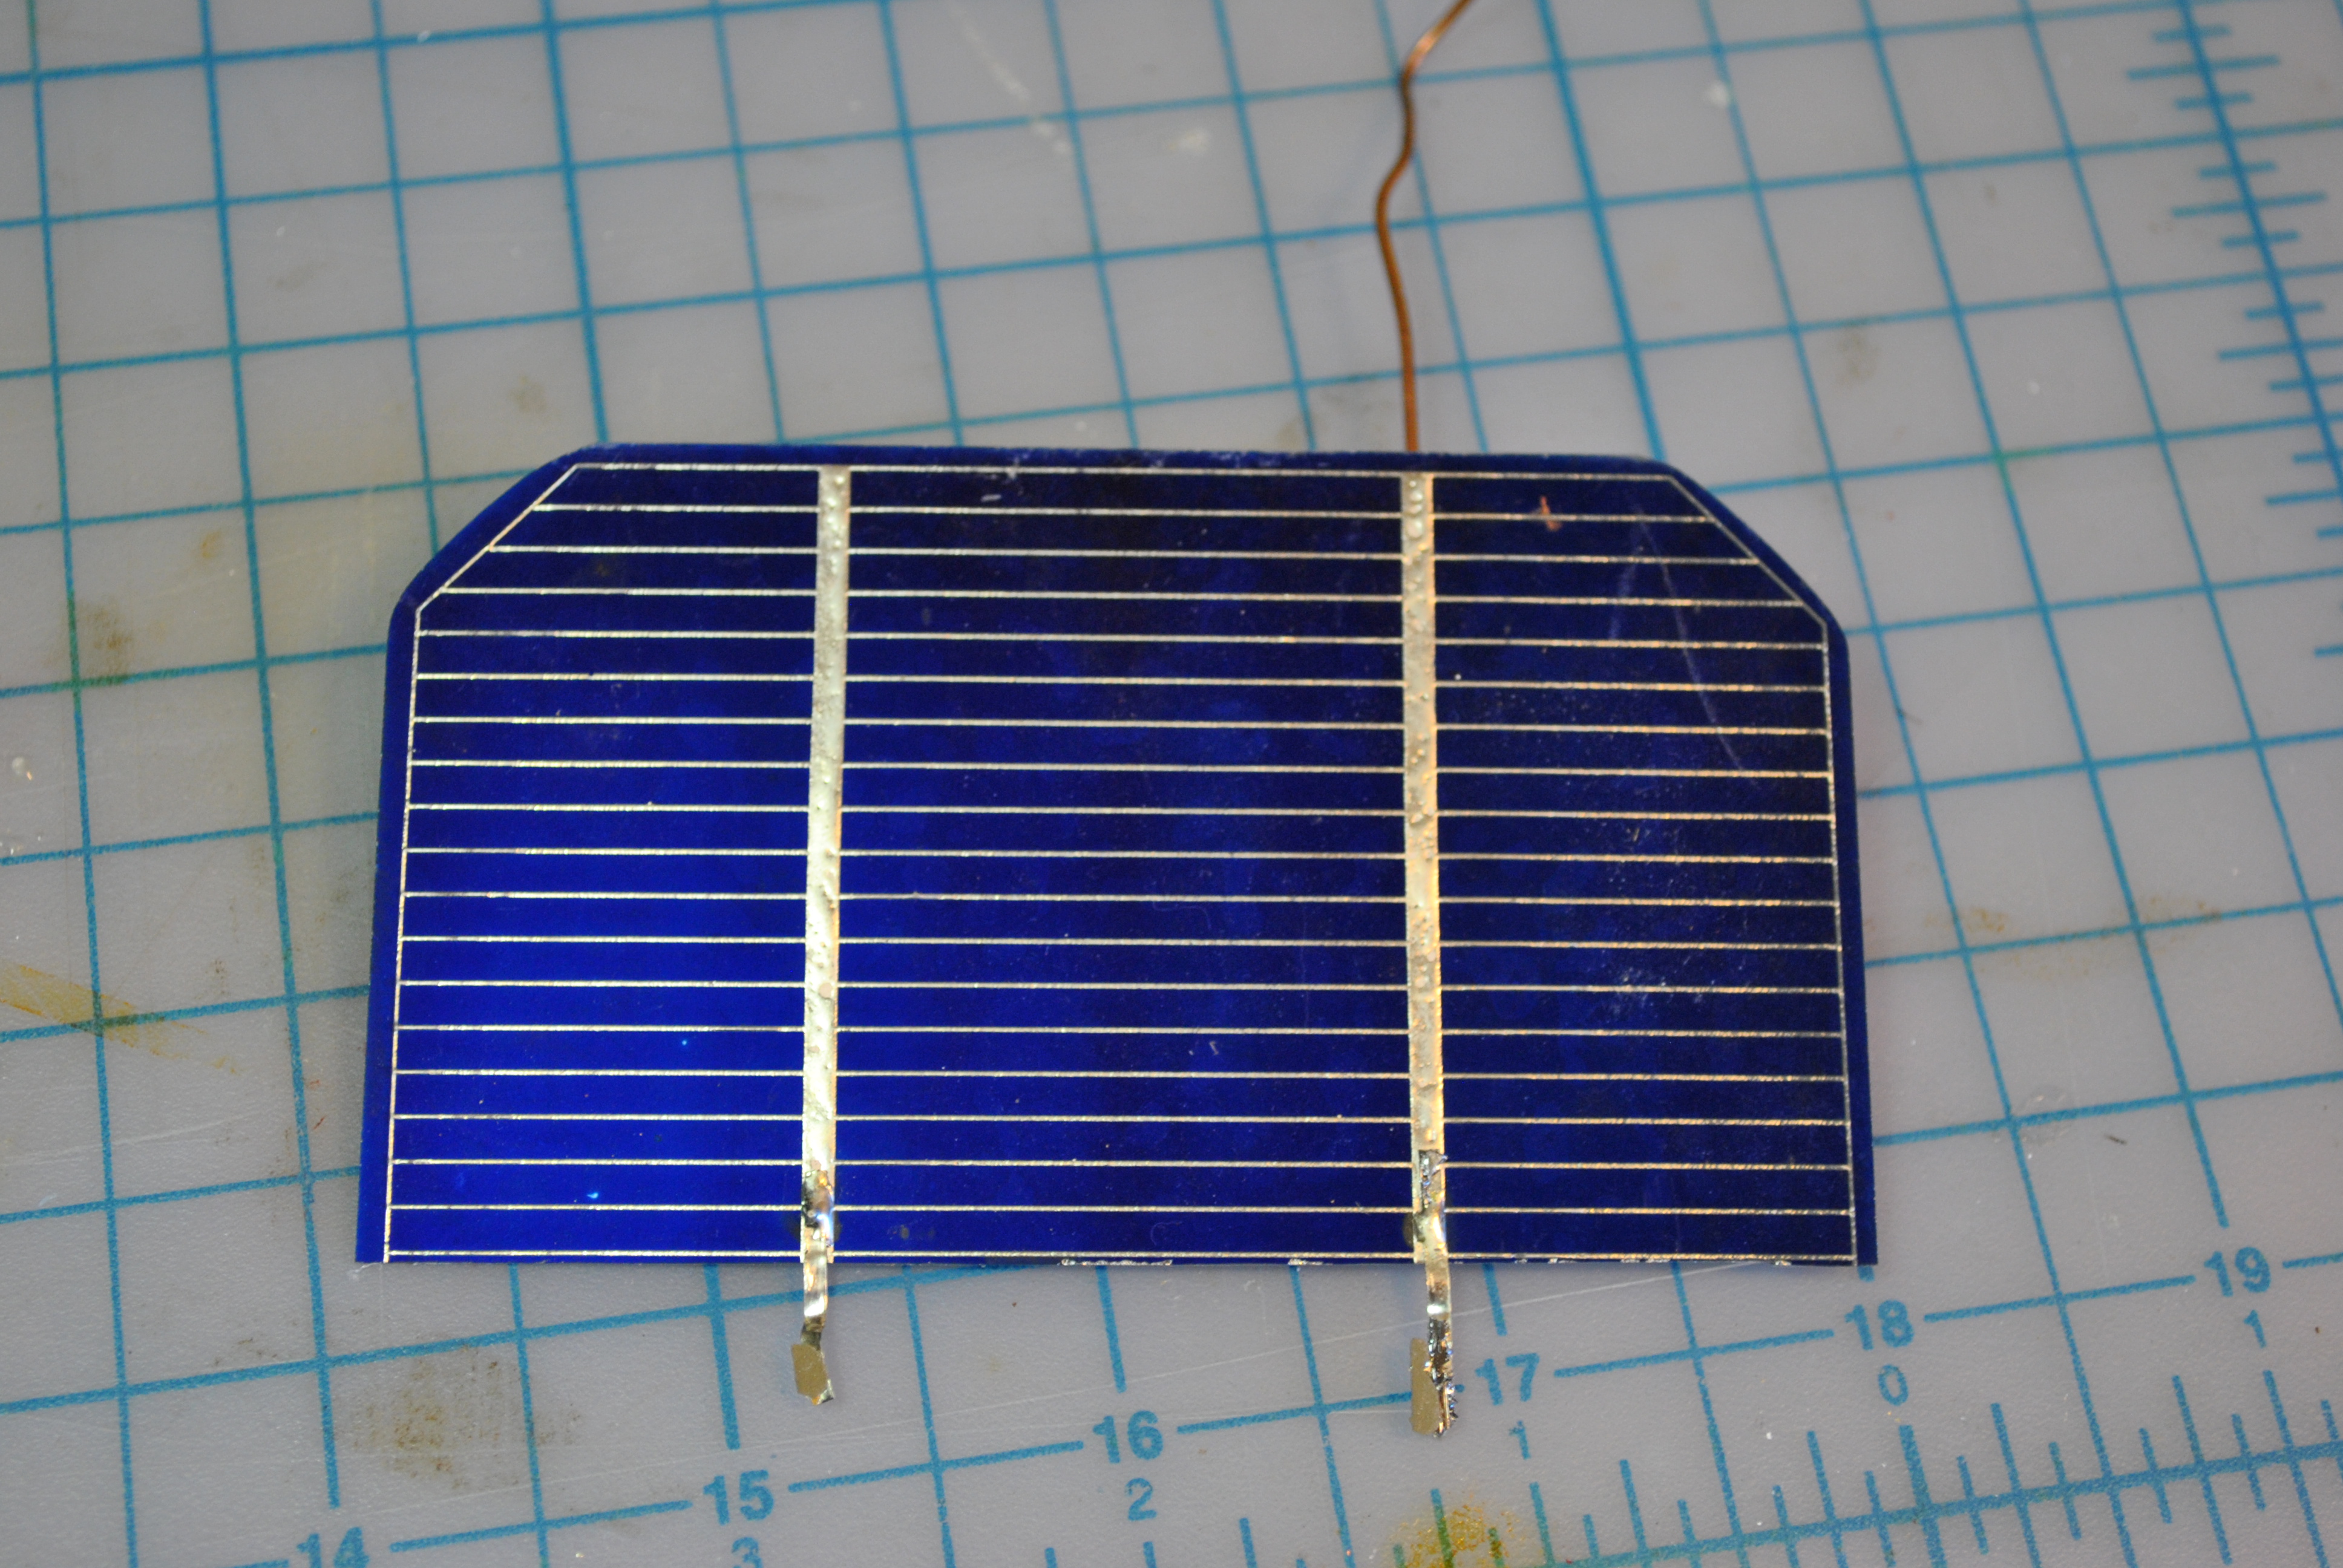
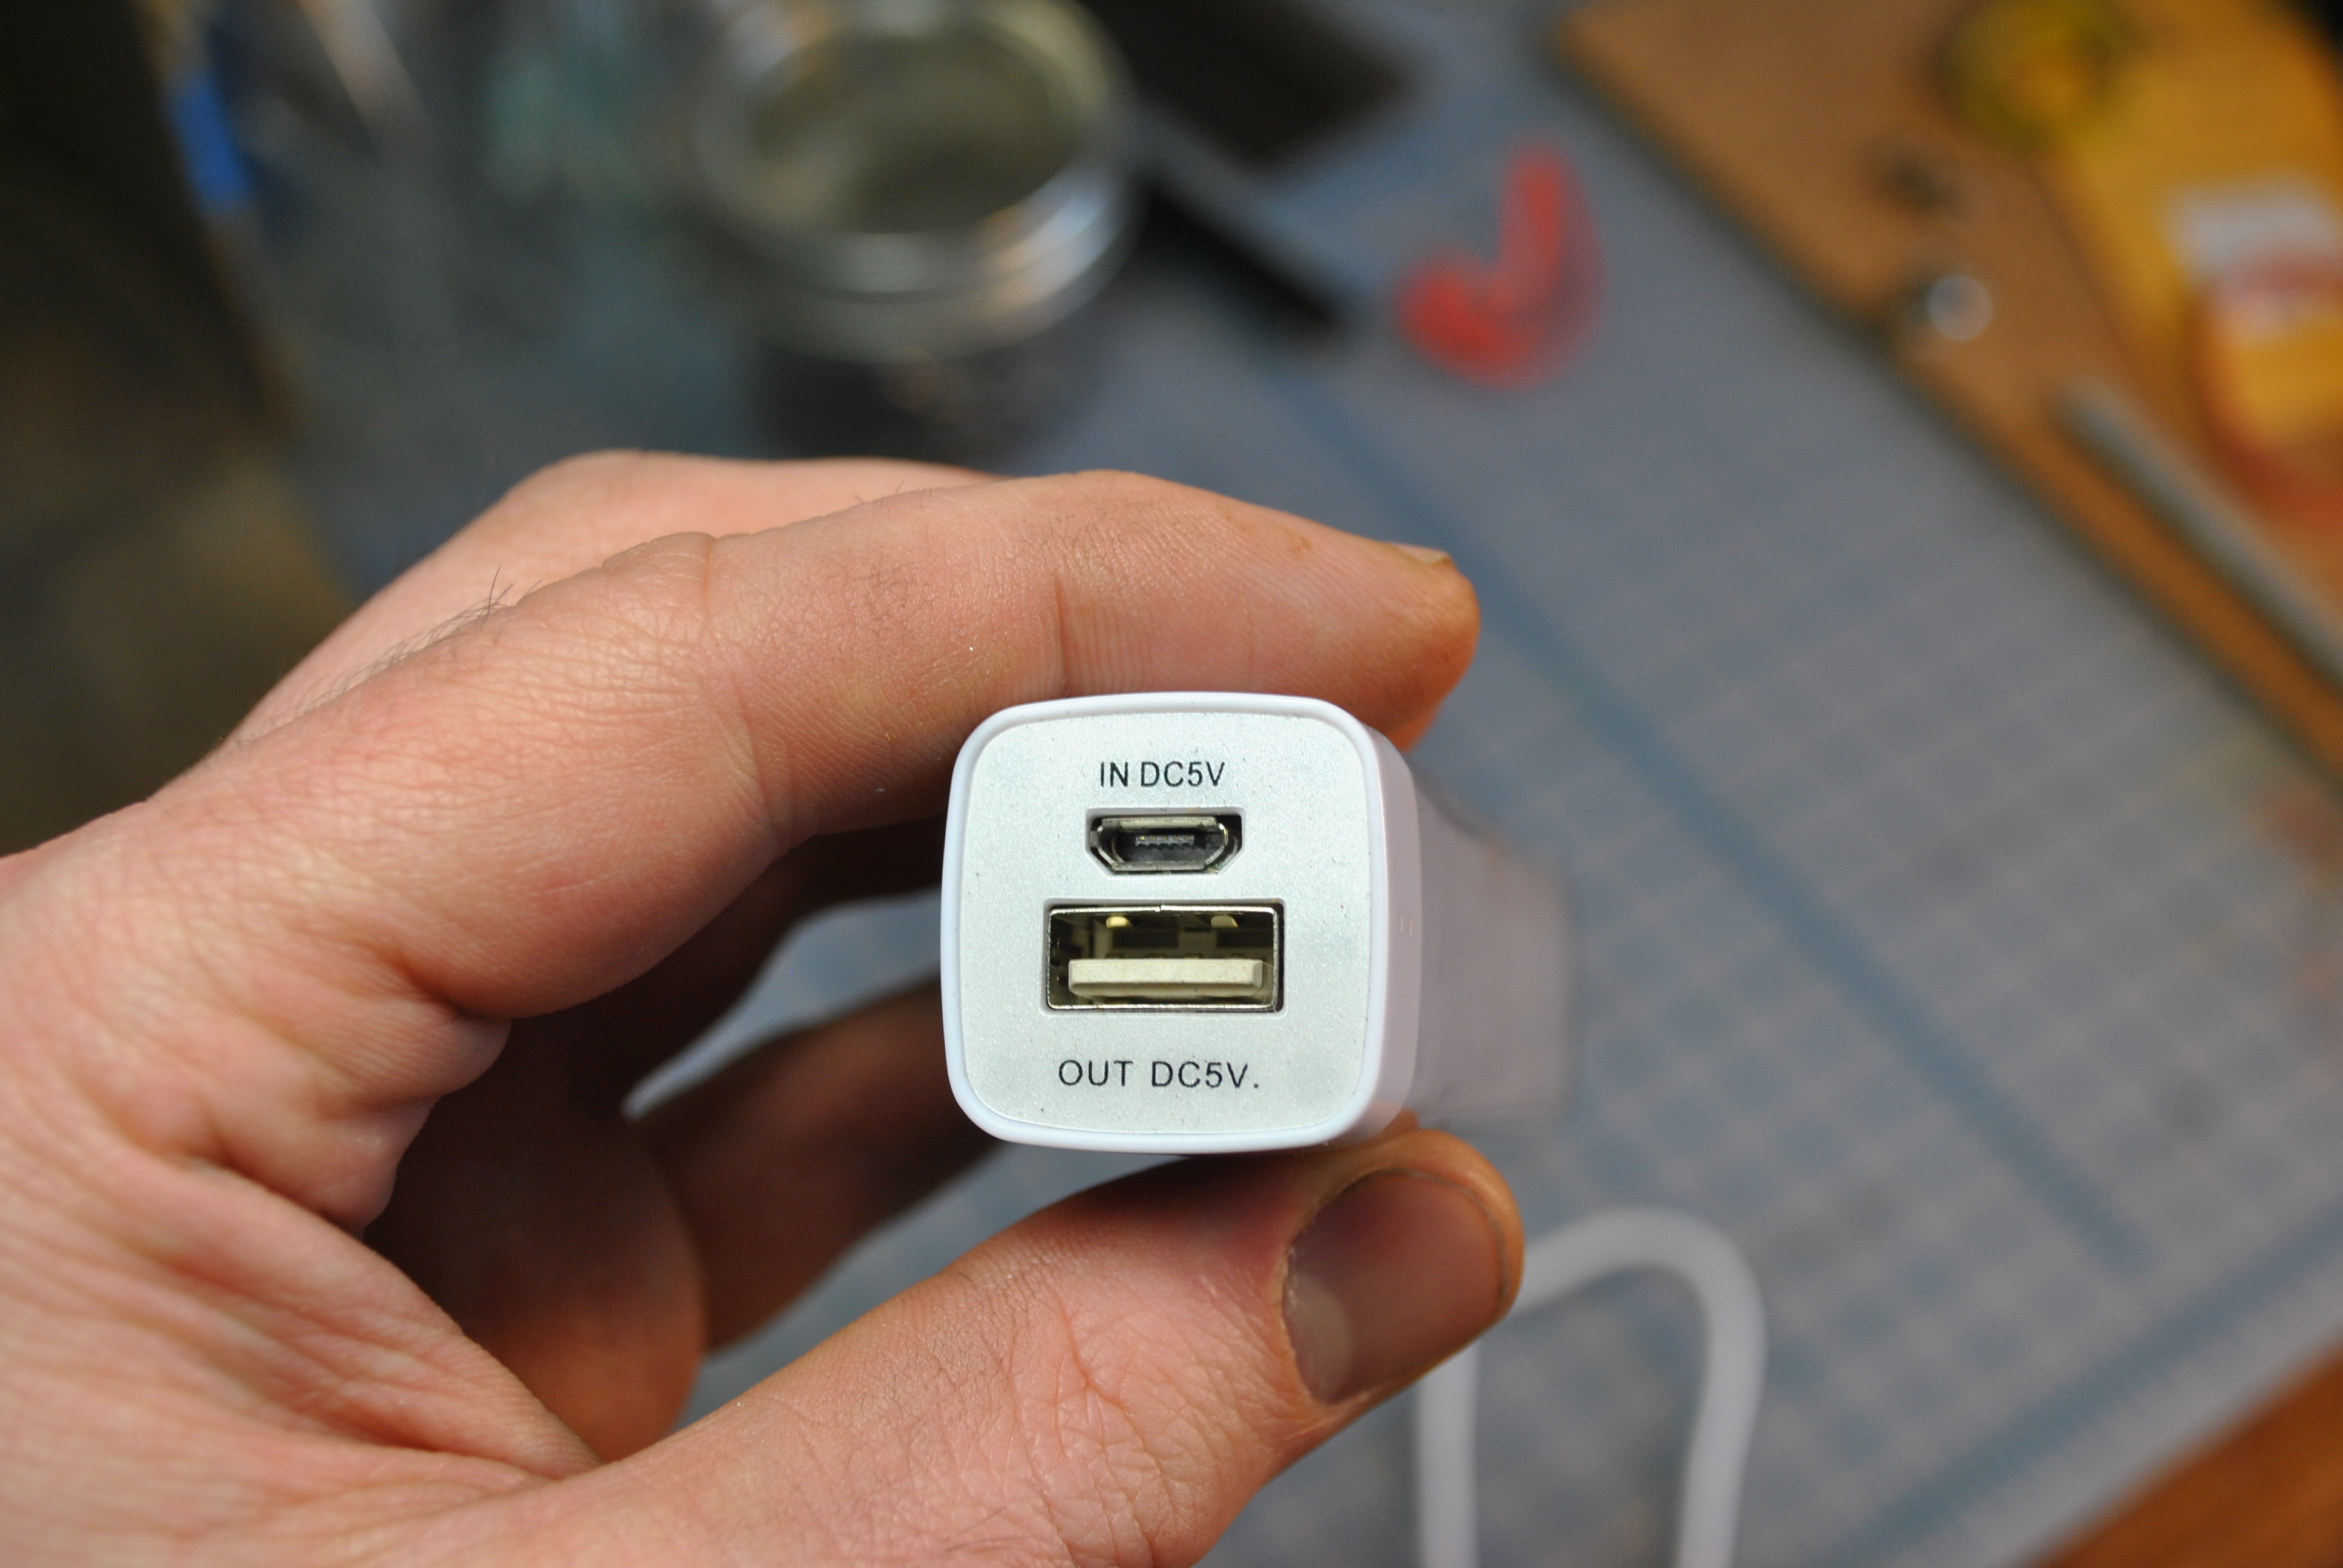
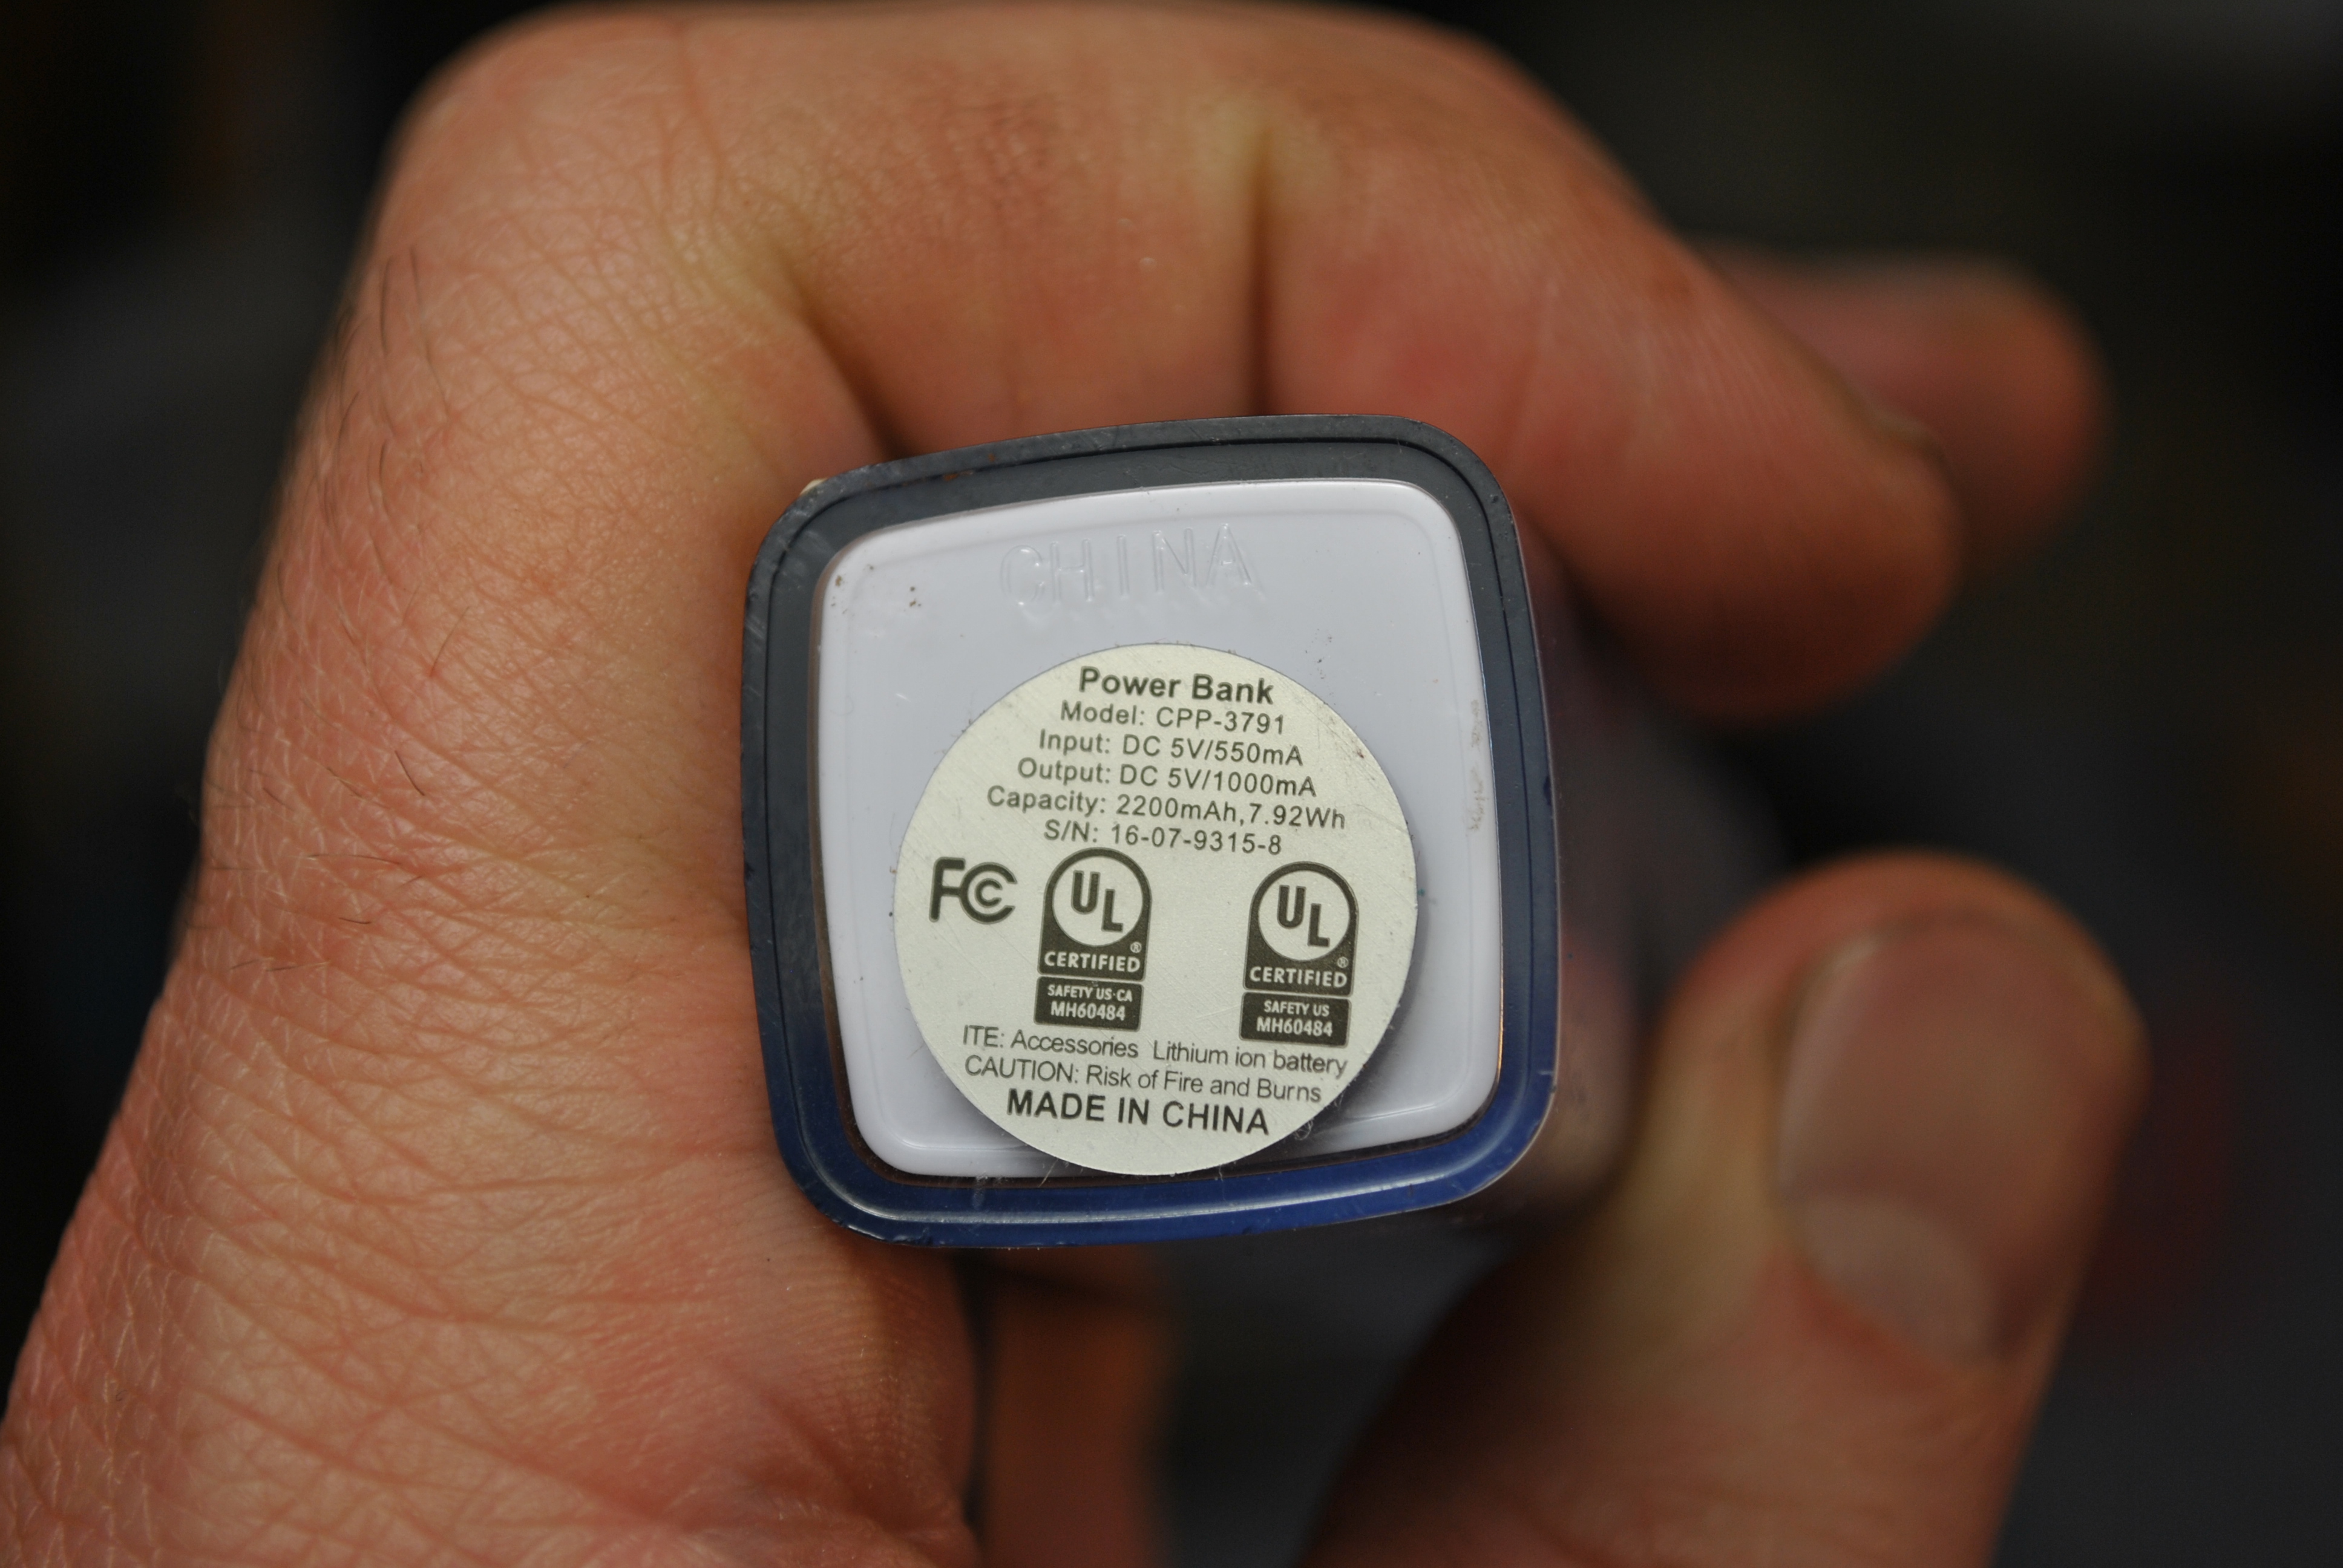
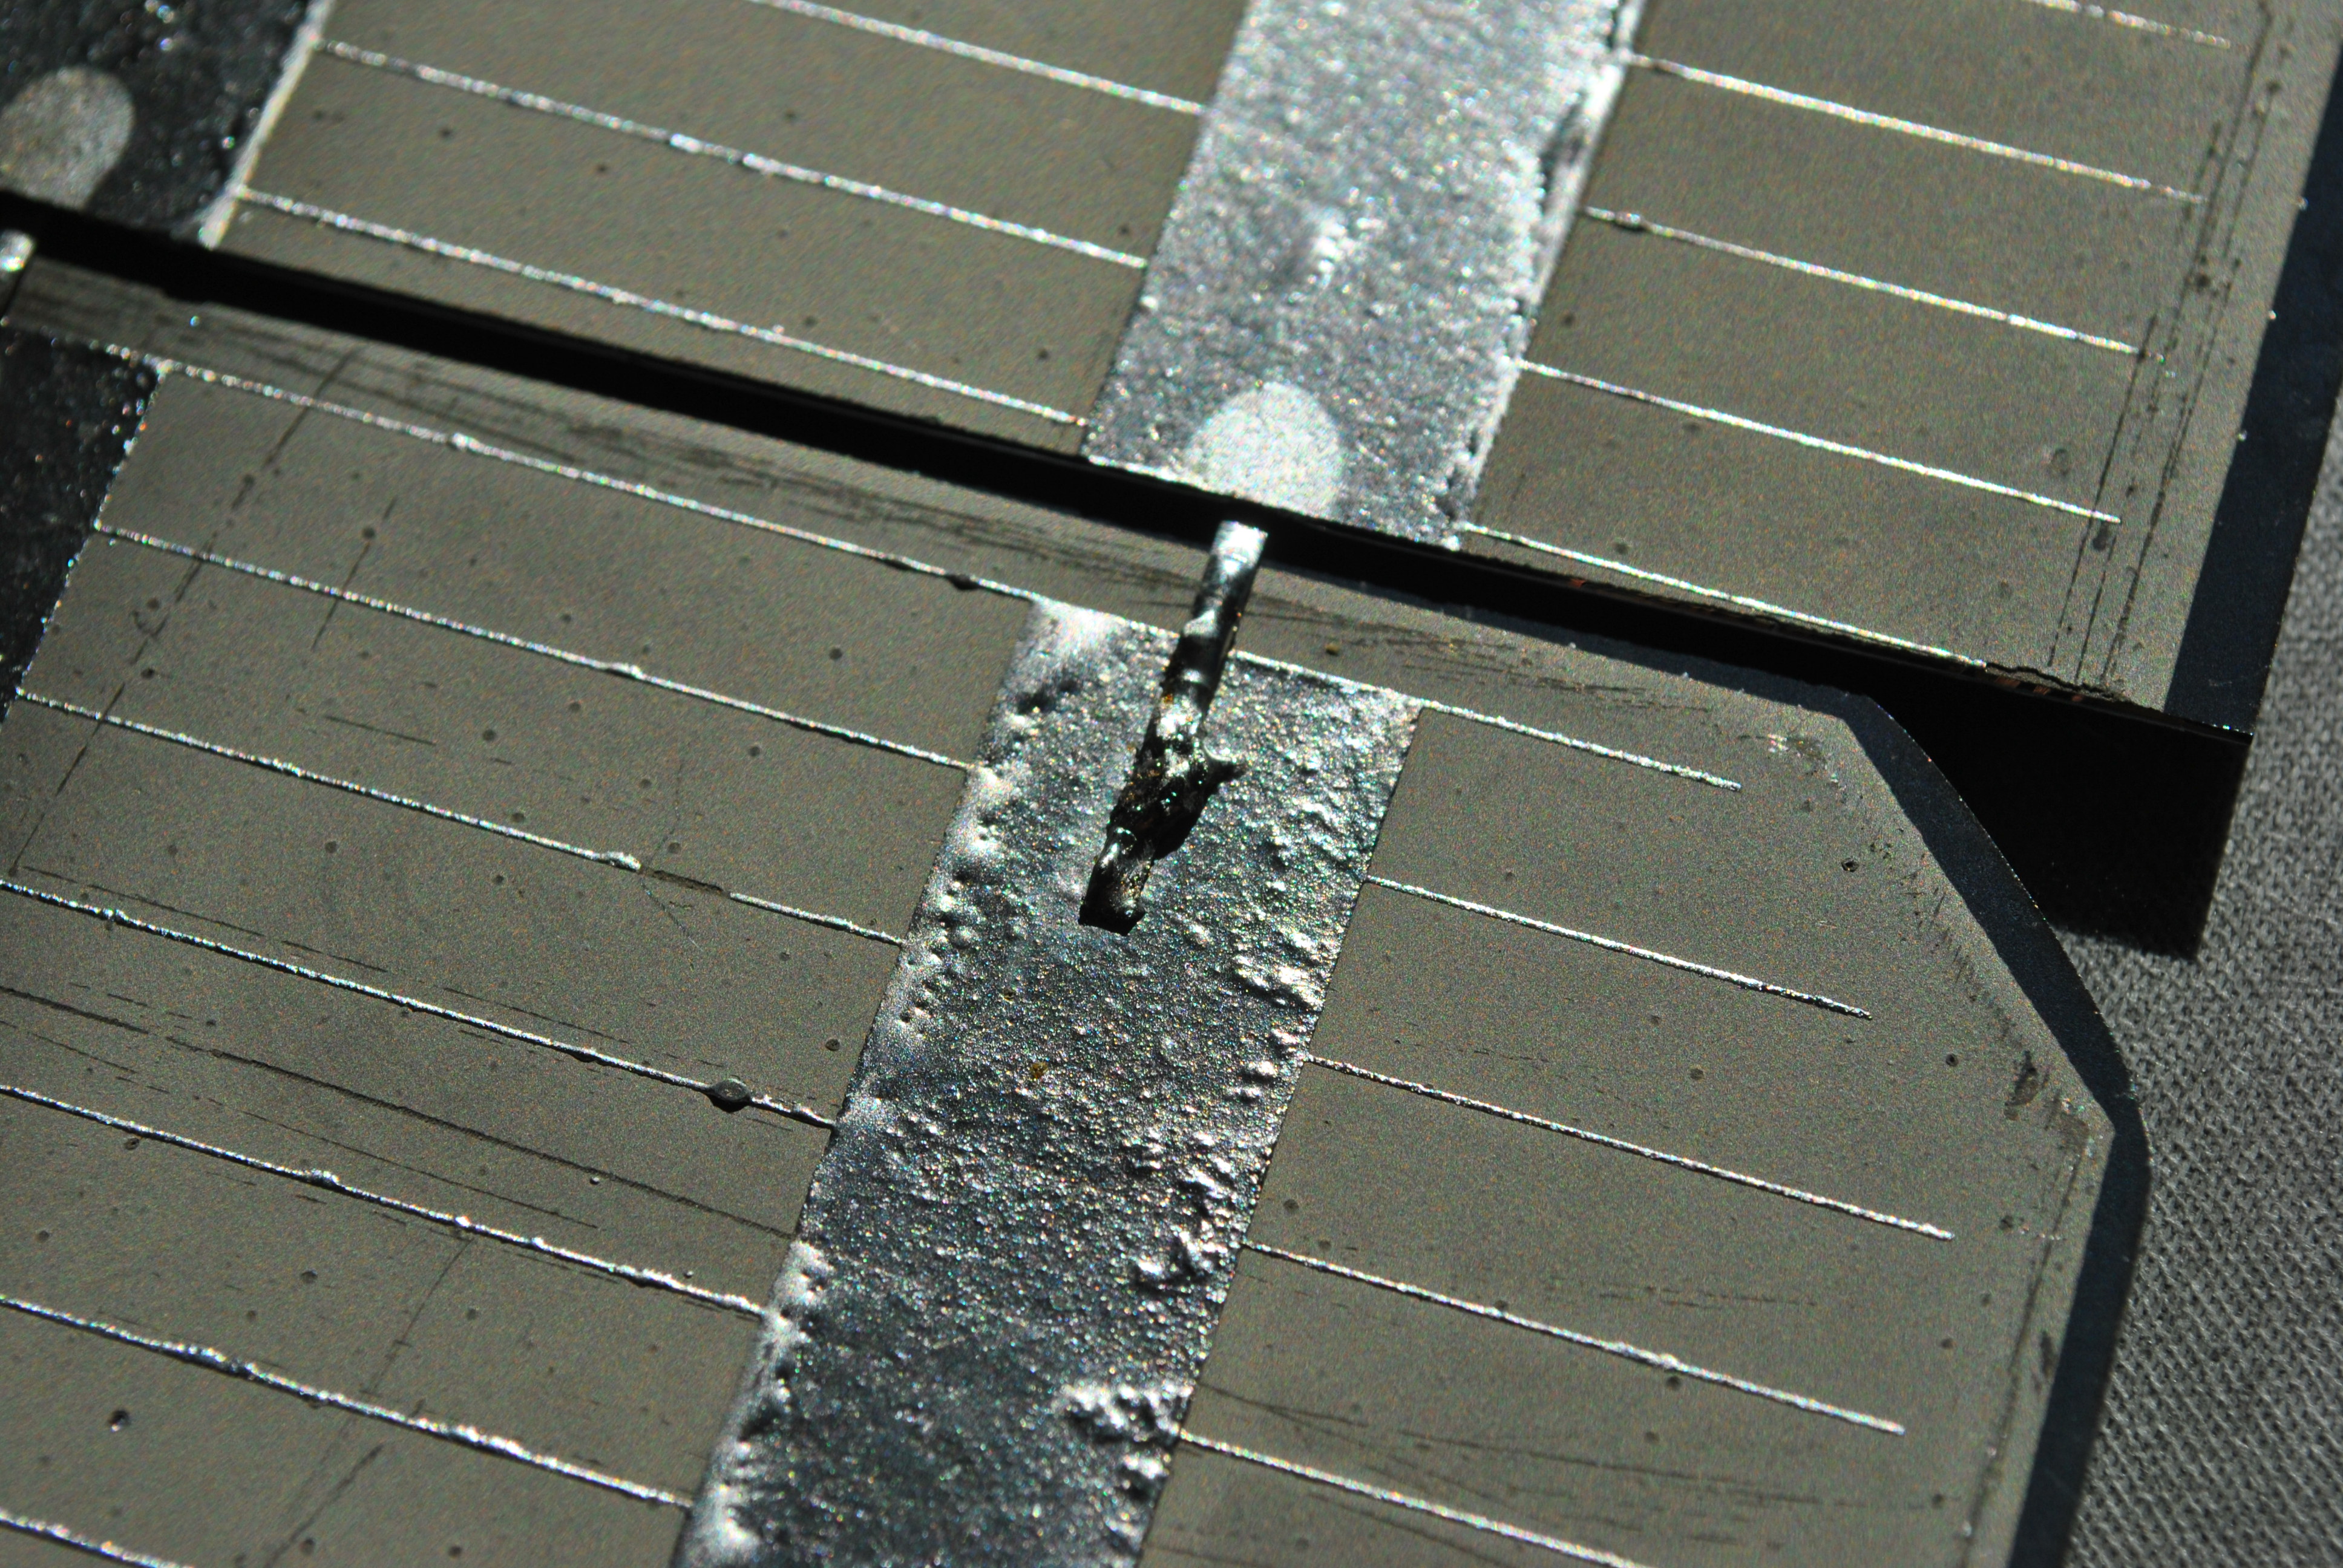
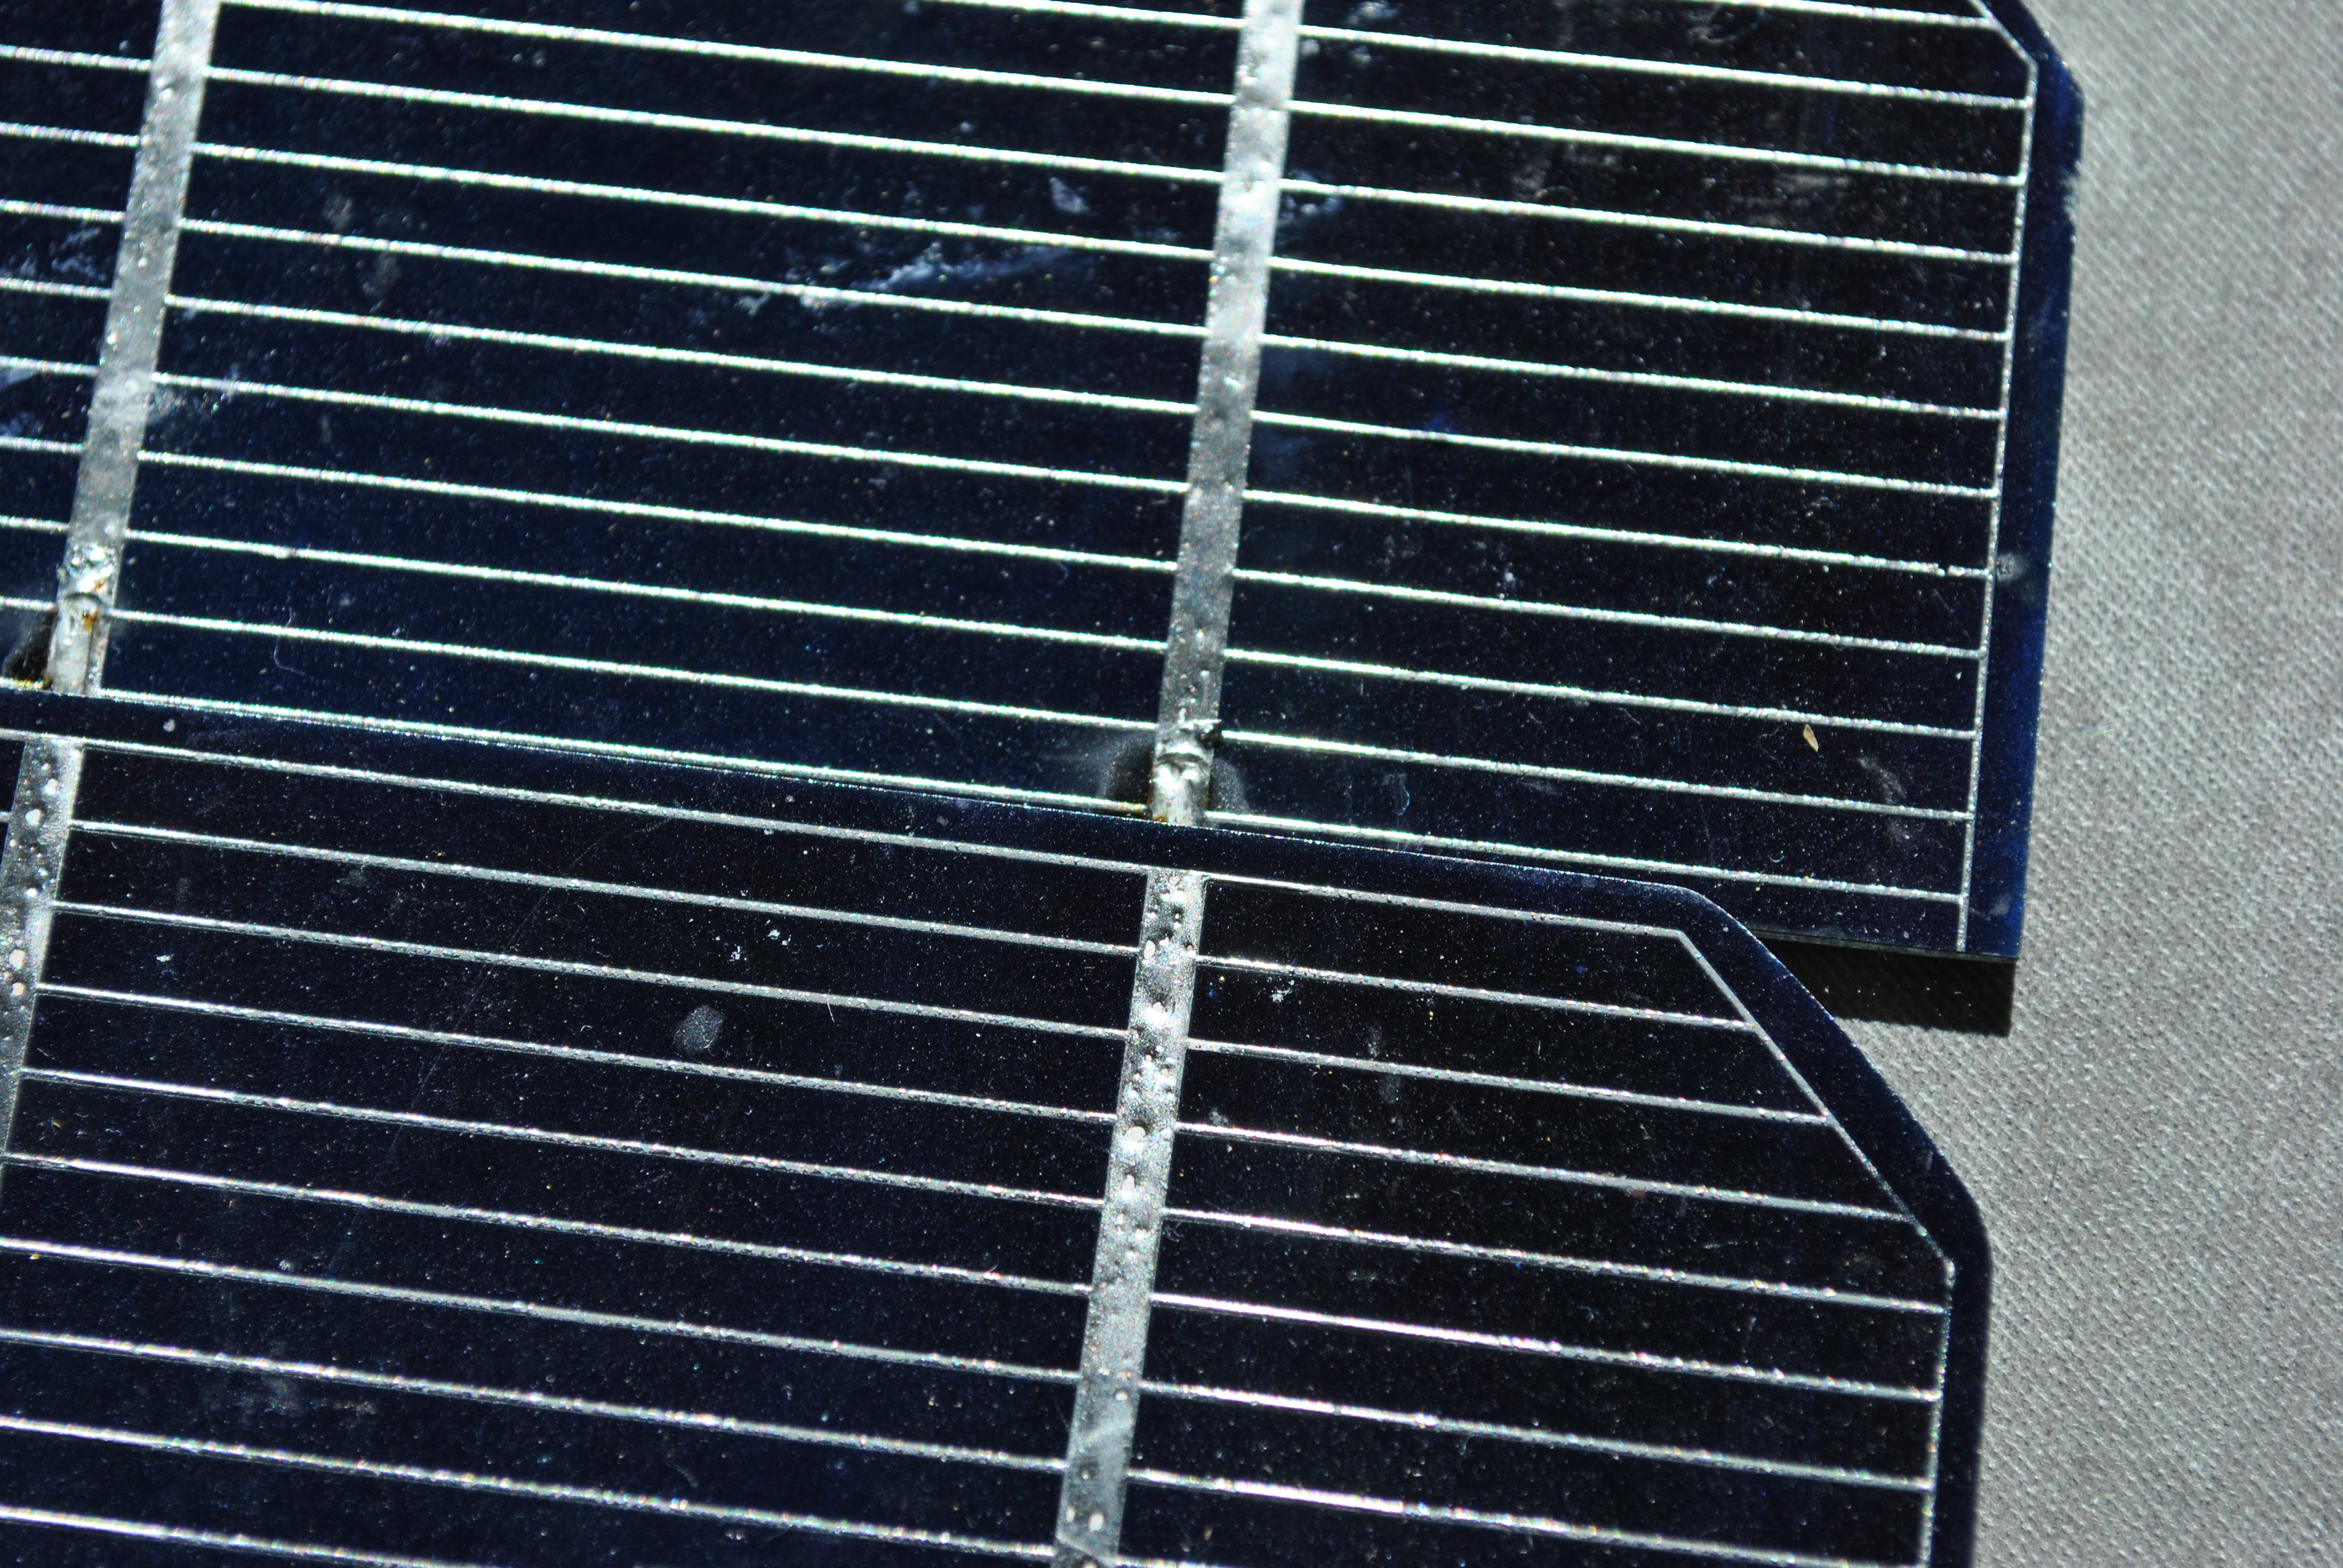
They had some foil soldered on them, and I used the little tabs to connect them. Solar cells work a lot like batteries. Each cell pumps out about .5v volts, and you can connect them the same way you connect batteries. On my cells the front of the cell is the positive side, and the back is the negative side (just like the + and – of a battery), it could be different for yours. Looking at the back of the little battery device it shows that it needs 5 volts to charge it. So I will need to create more than 5 volts to charge the battery. But I don’t want something so high voltage that it fries the thing. I will be shooting for 6 volts.
If you hook them up in series (positive to negative) you add the voltage. If you add them in parallel (positive to positive, negative to negative) you add the amps. So if each of my cell puts out about .5 volts, I will need to hook 12 cells up in series to get the 6 volts to charge my battery. (its pretty easy to size a solar array to any power requirements you need, see here for more info)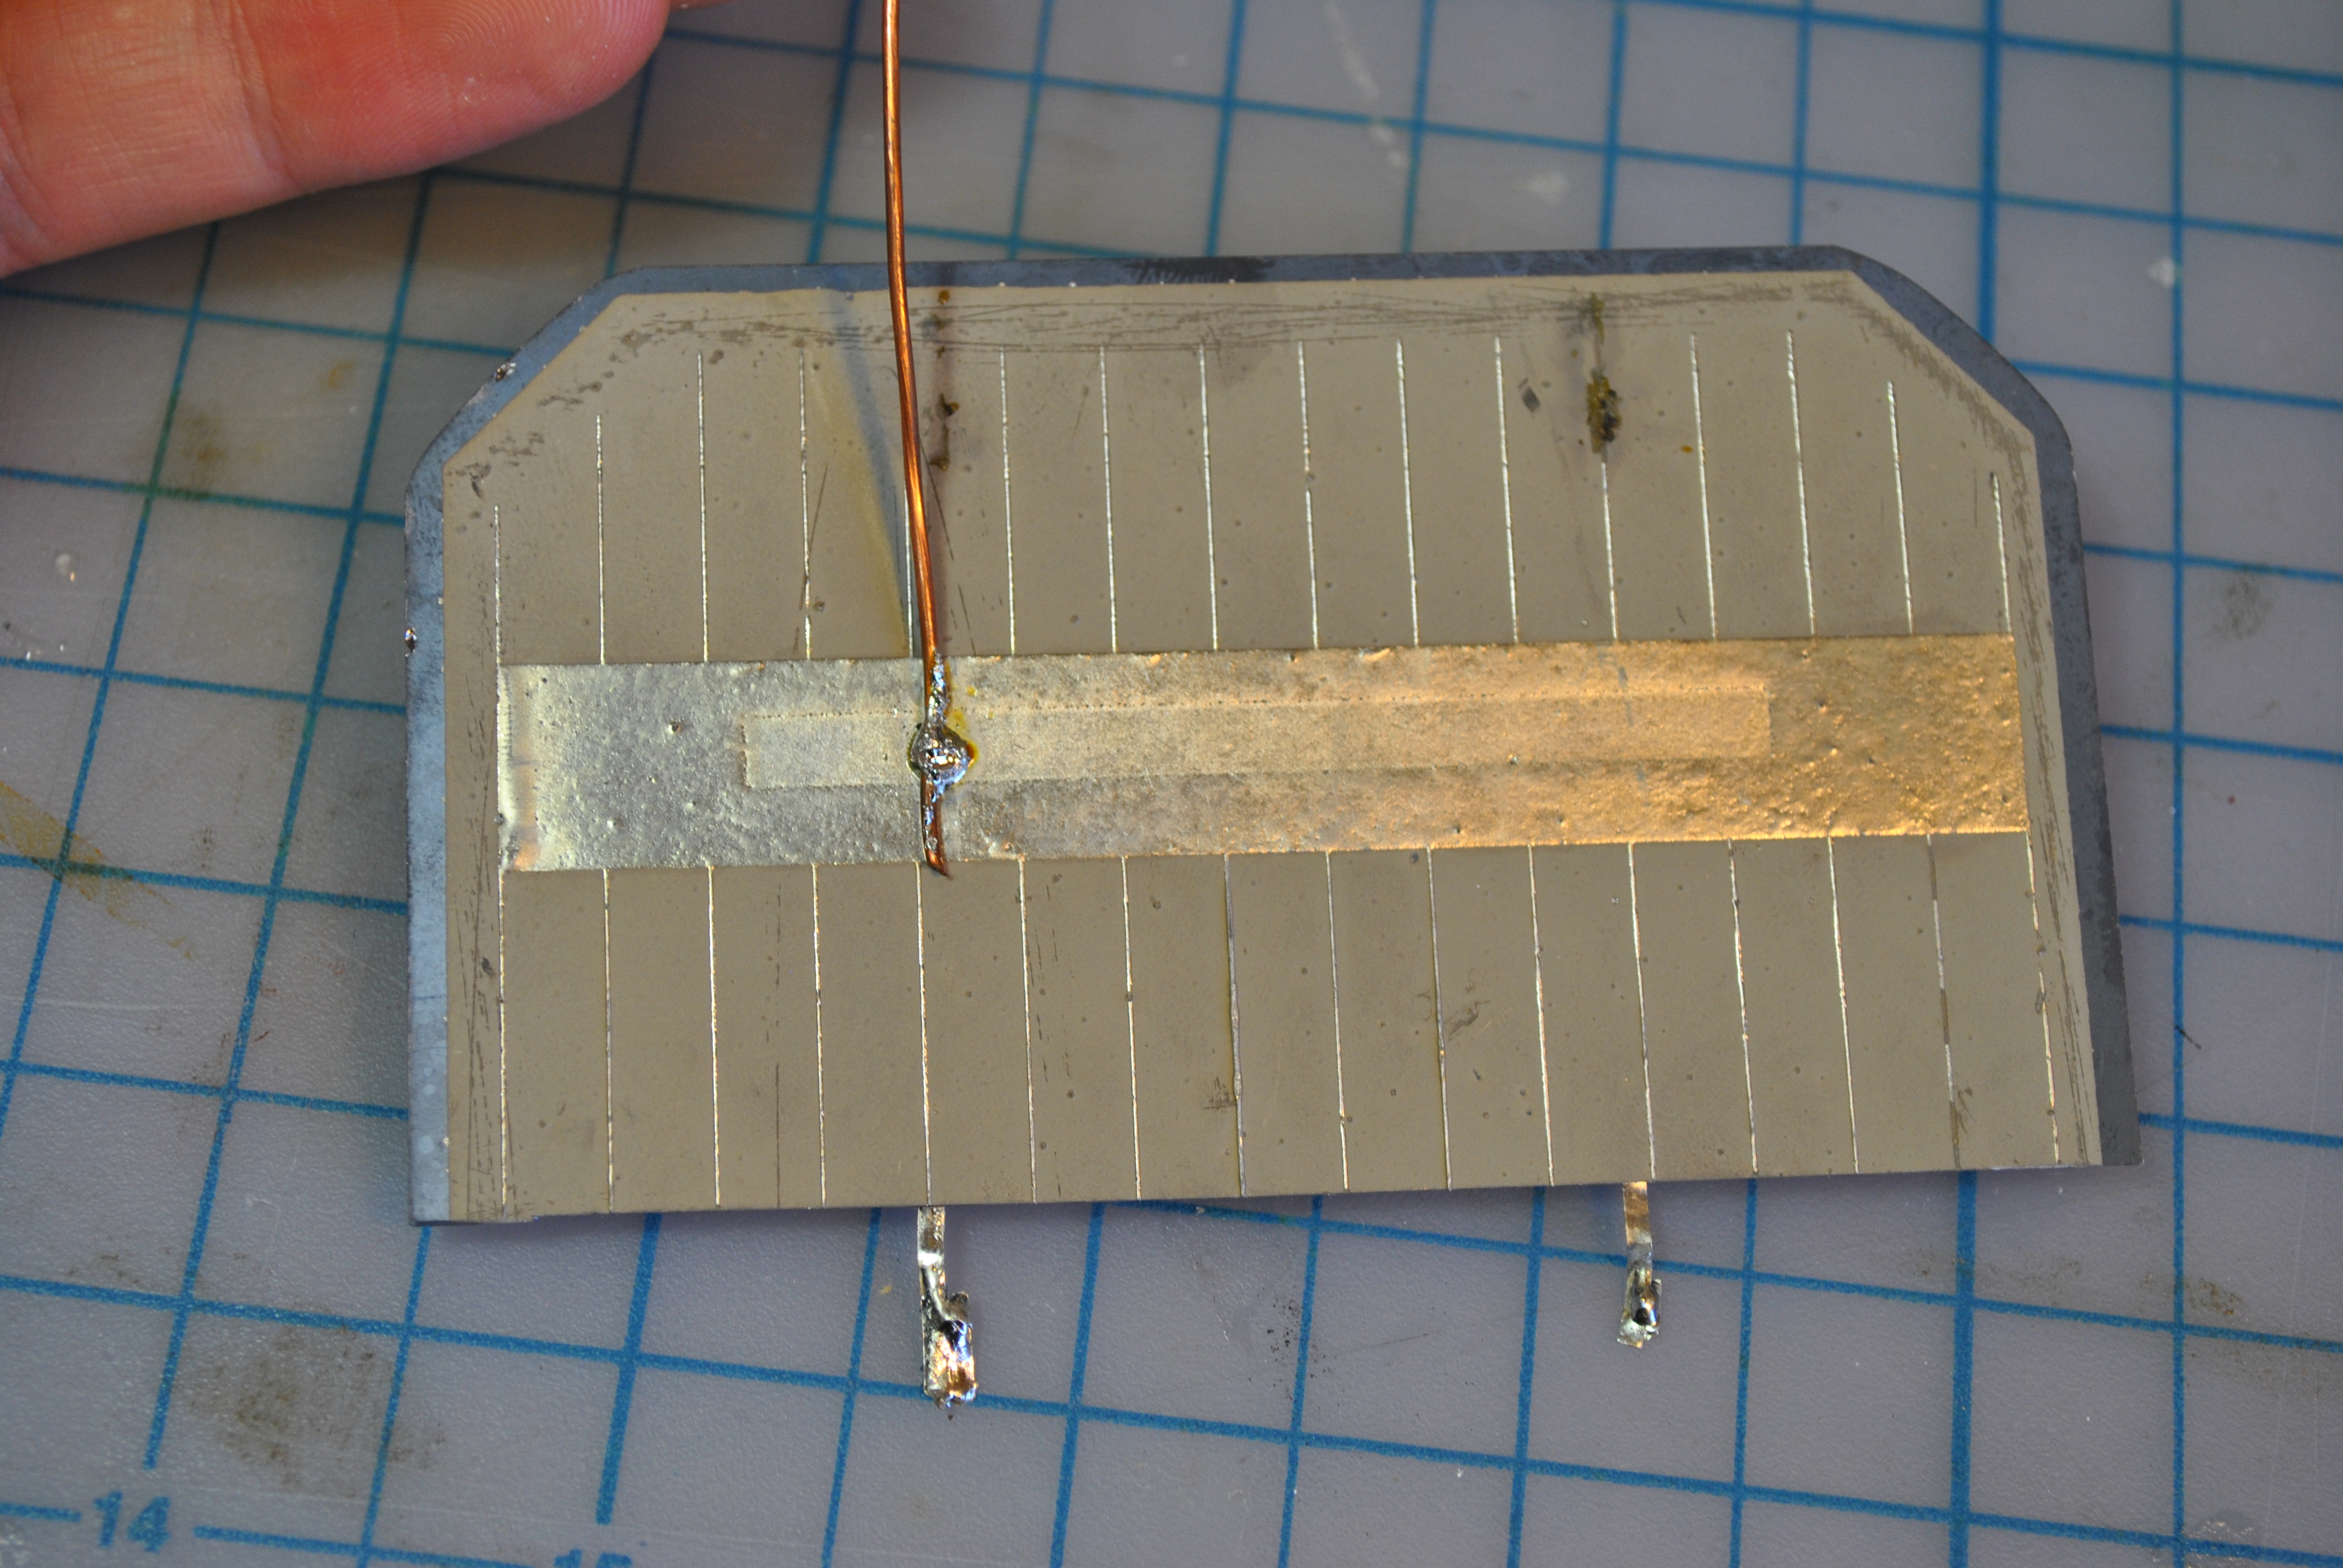
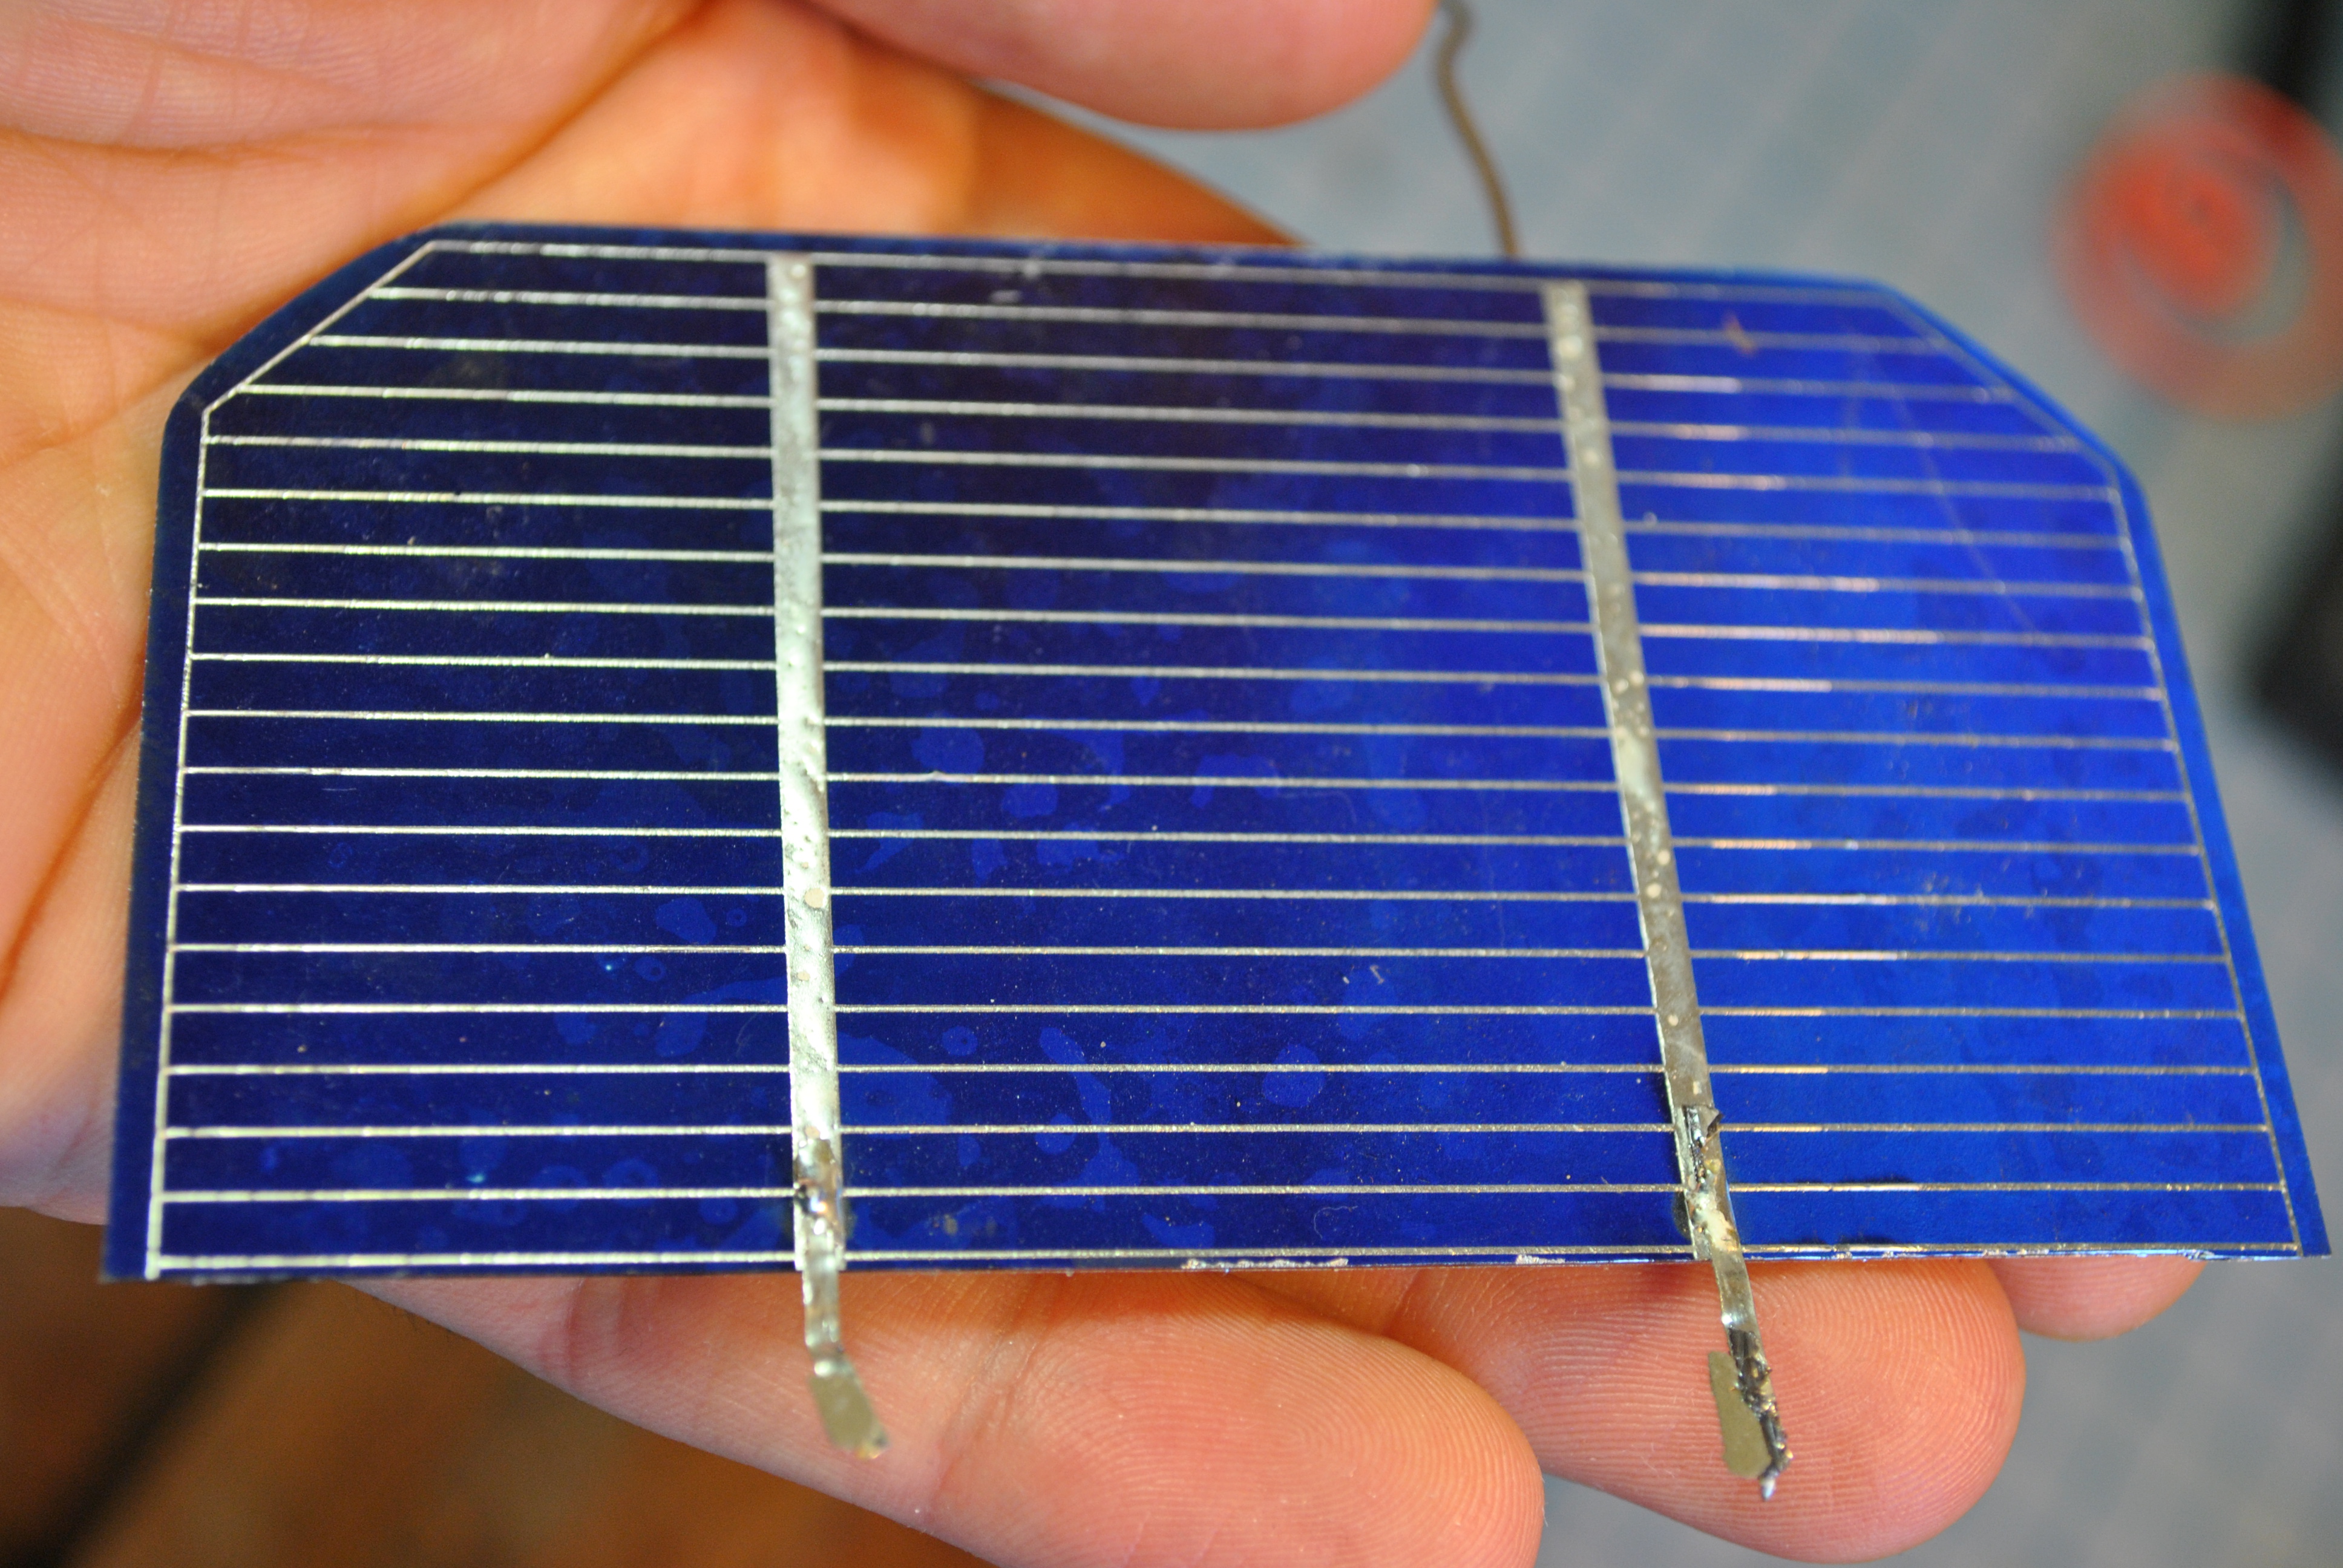
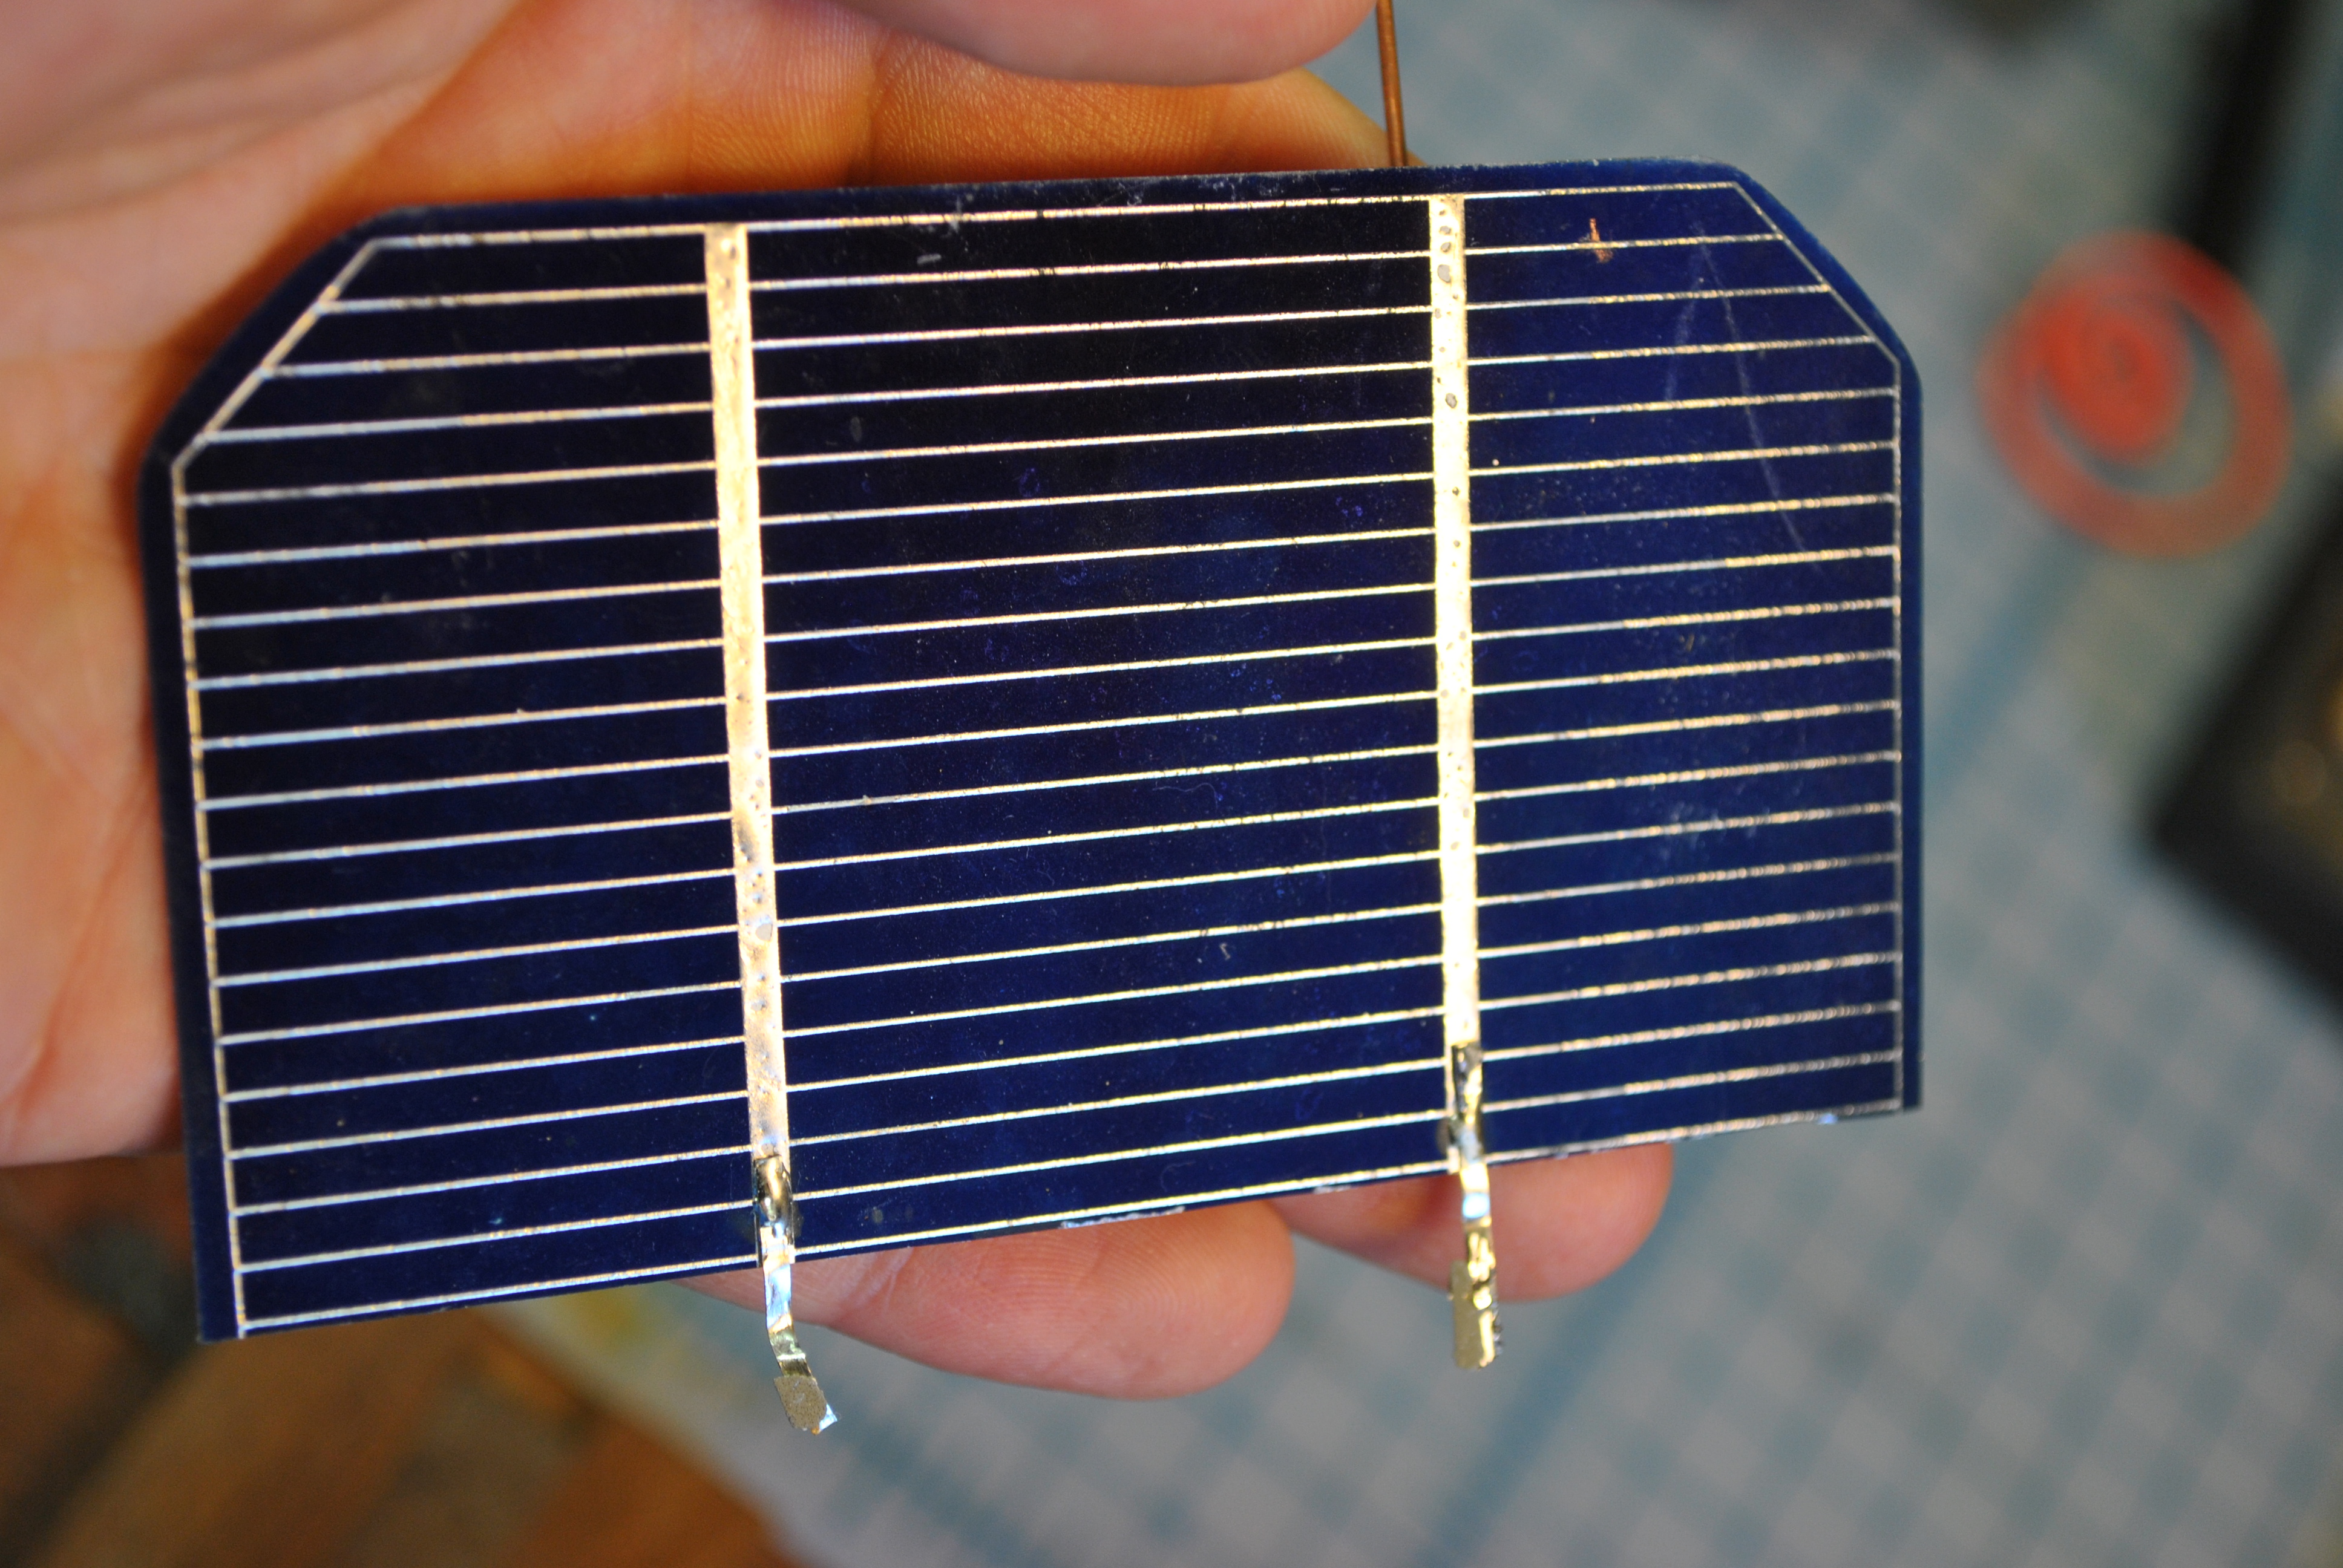
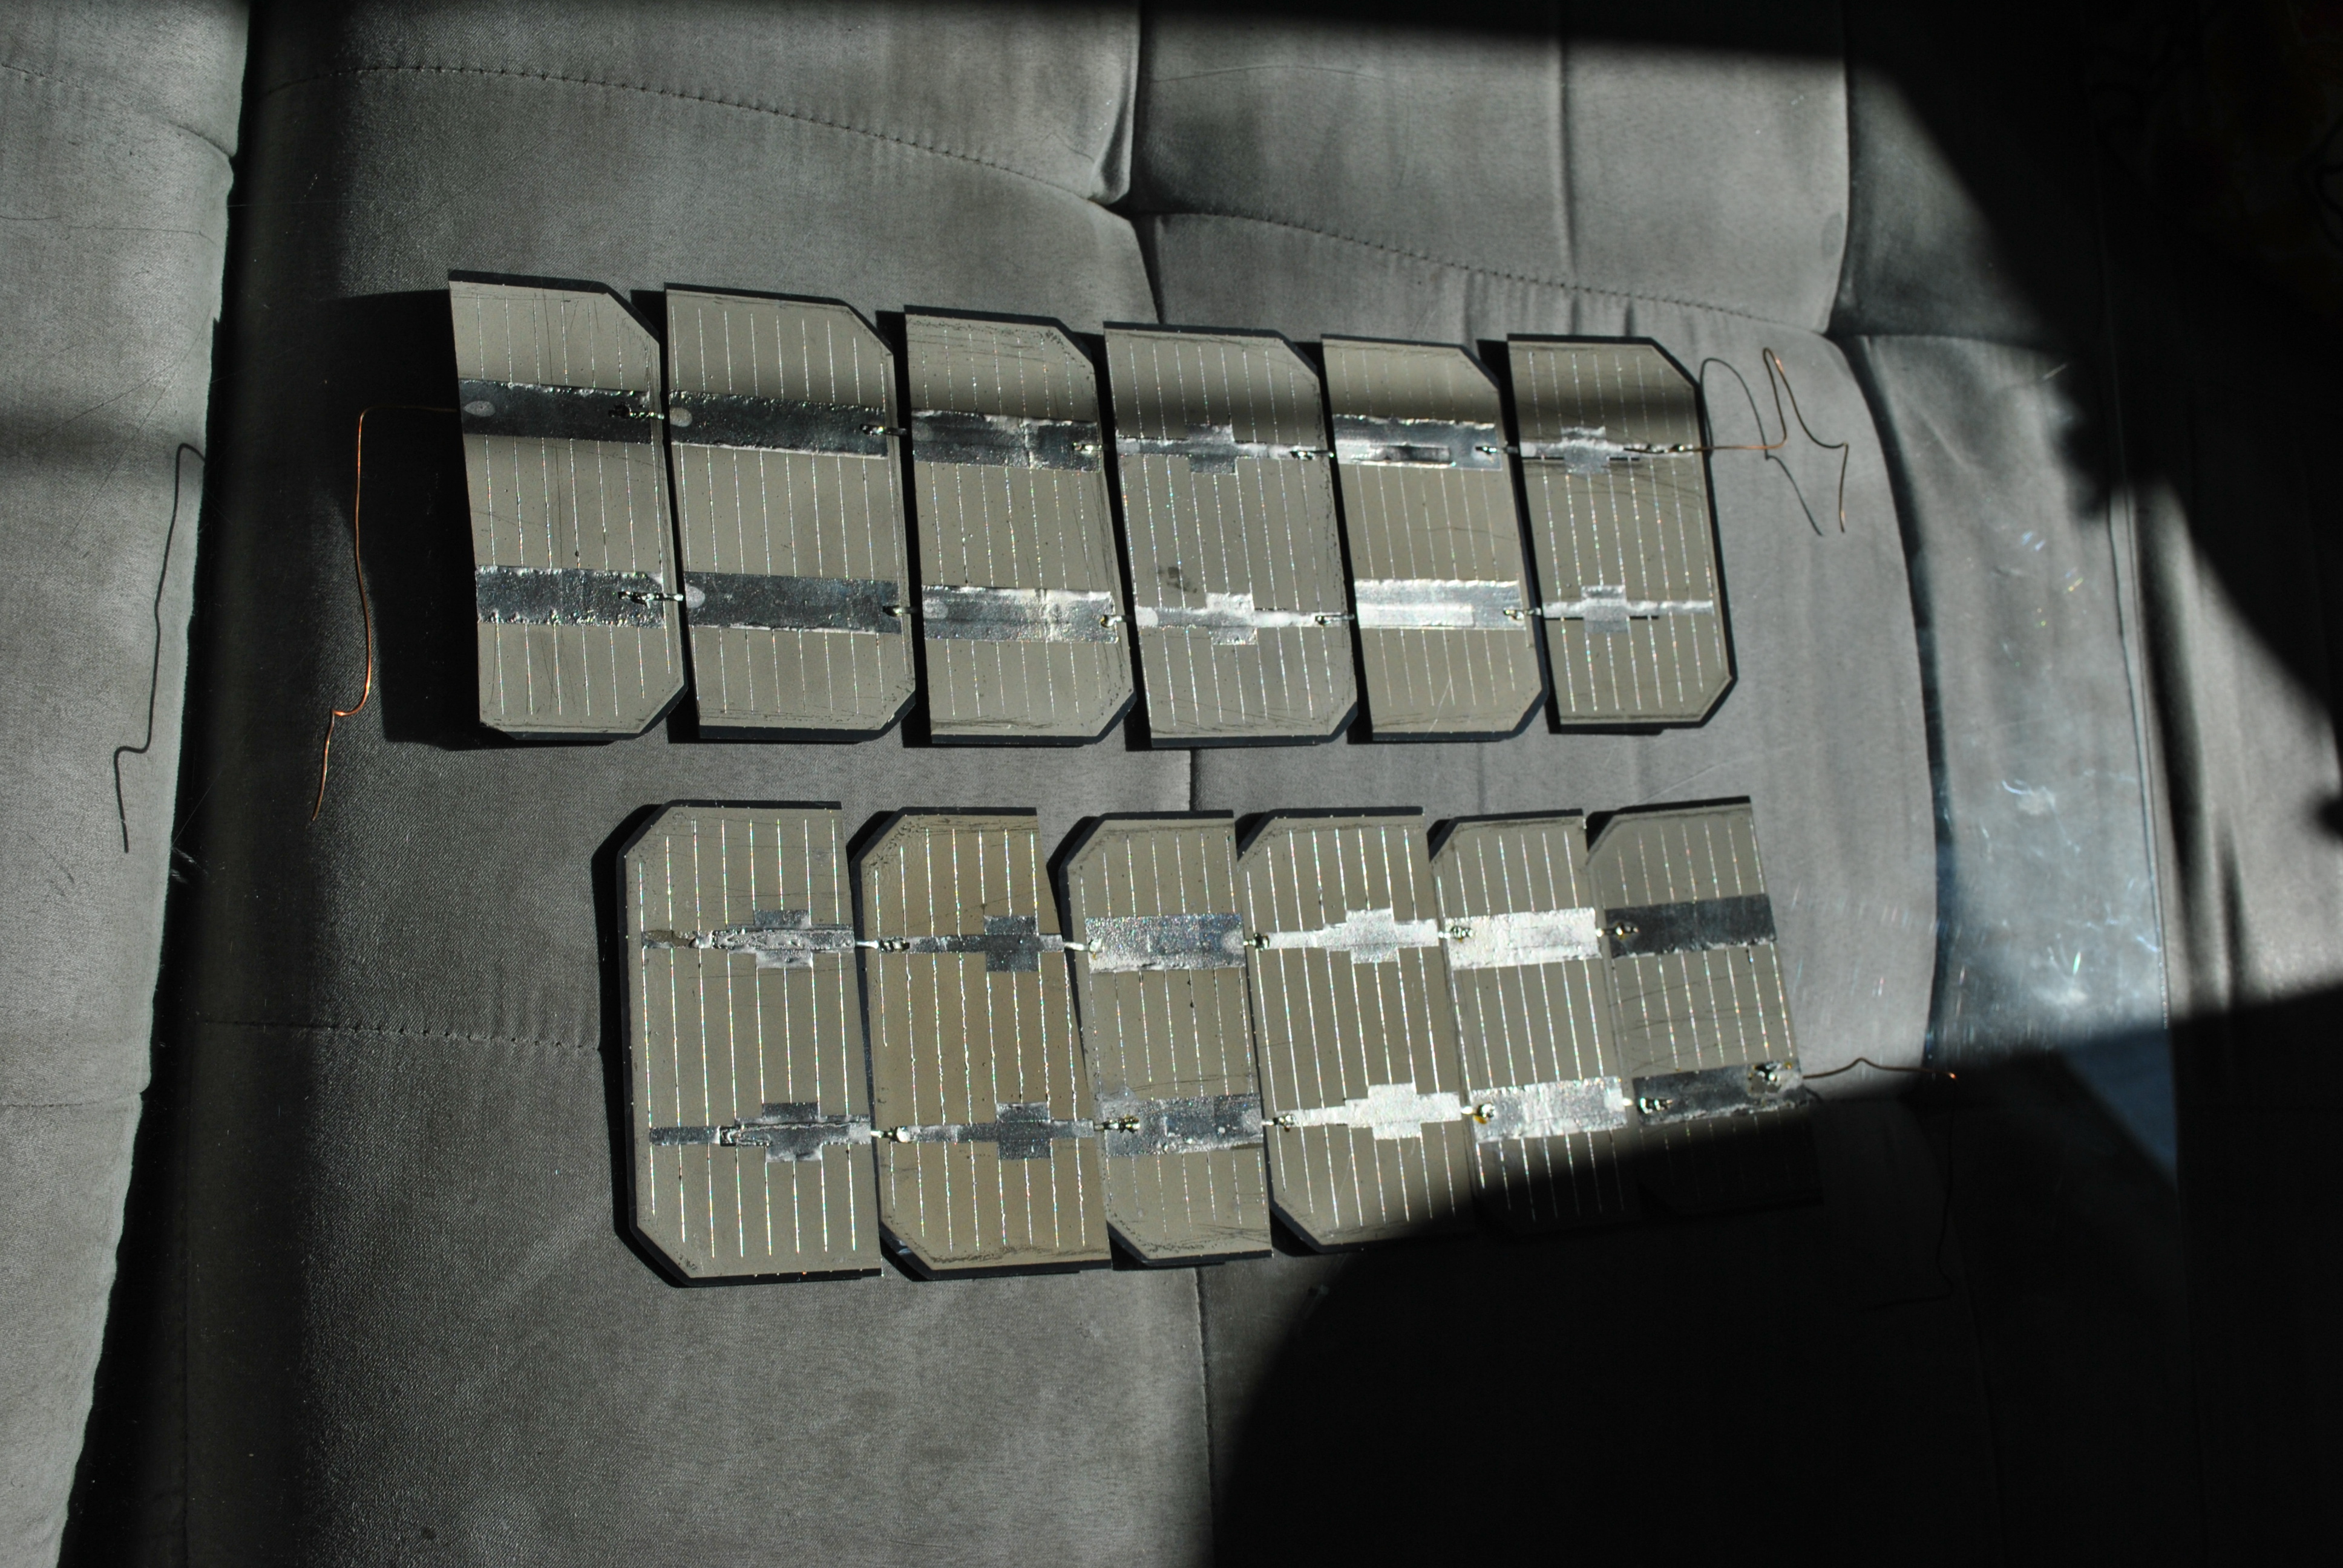
After a little work with the soldering Iron I had two arrays of 6 cells. Cells still work just fine when broken, but they are very very fragile, you need to be very careful when handling them, its very easy to snap them.
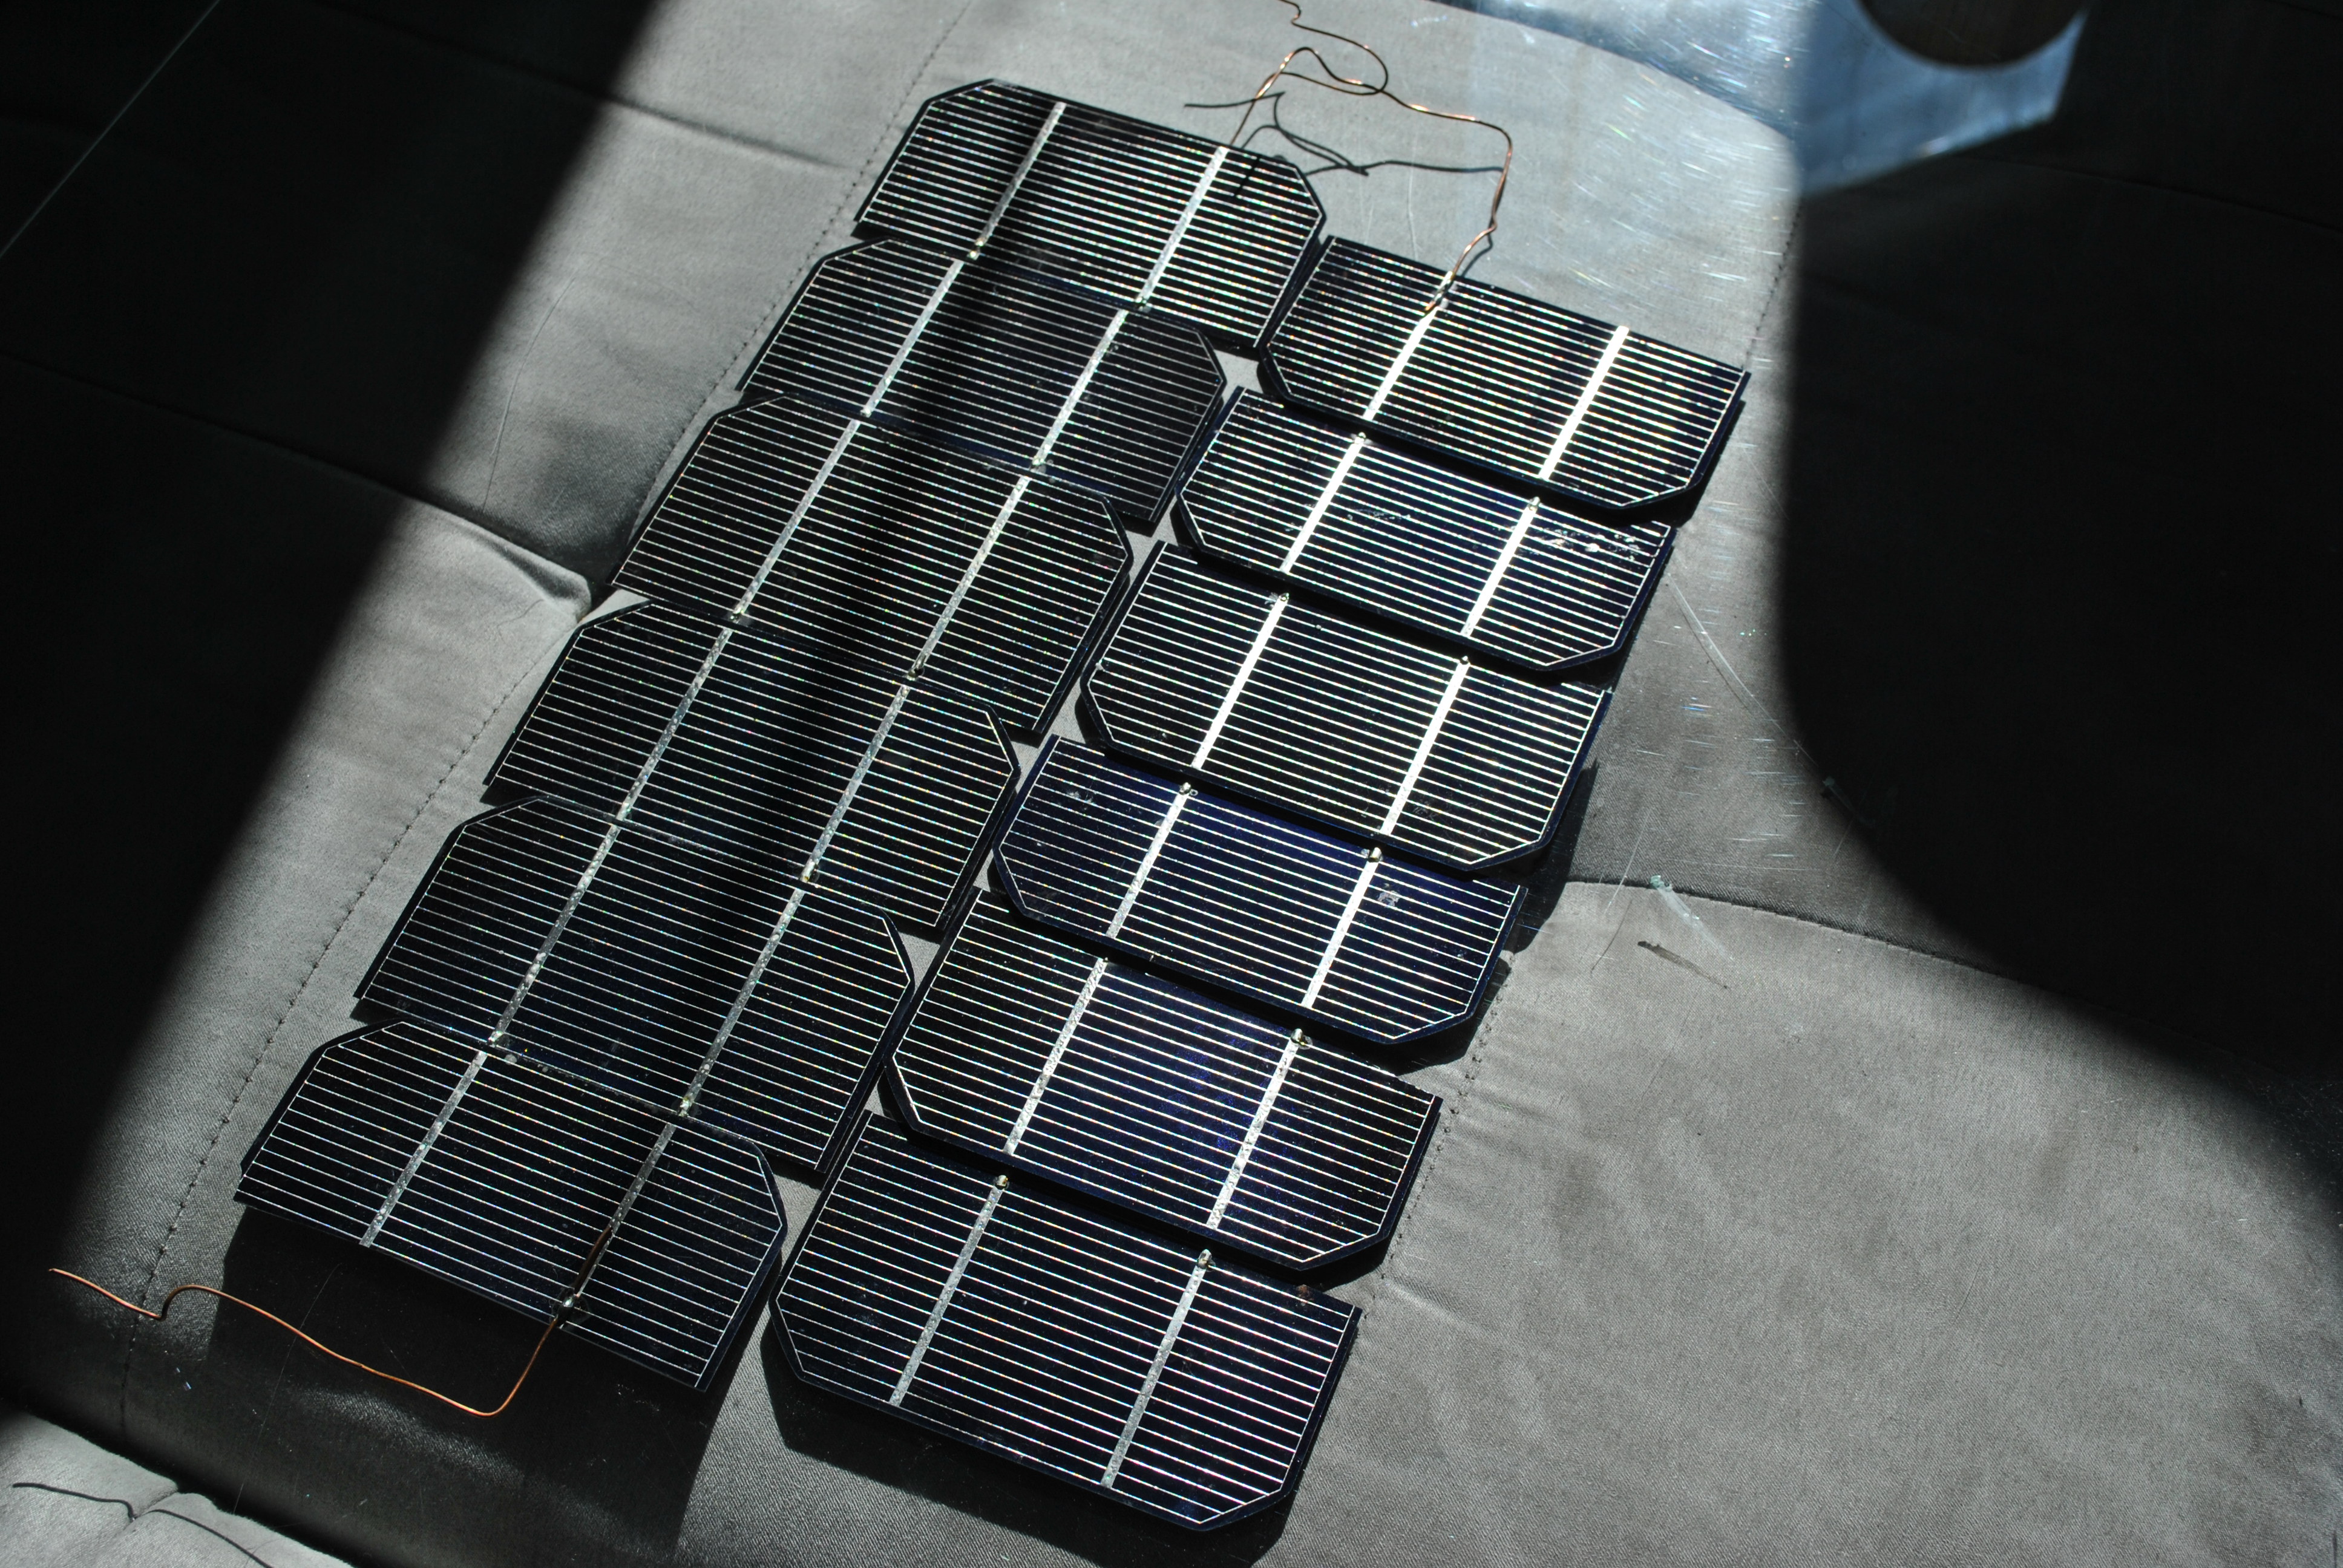
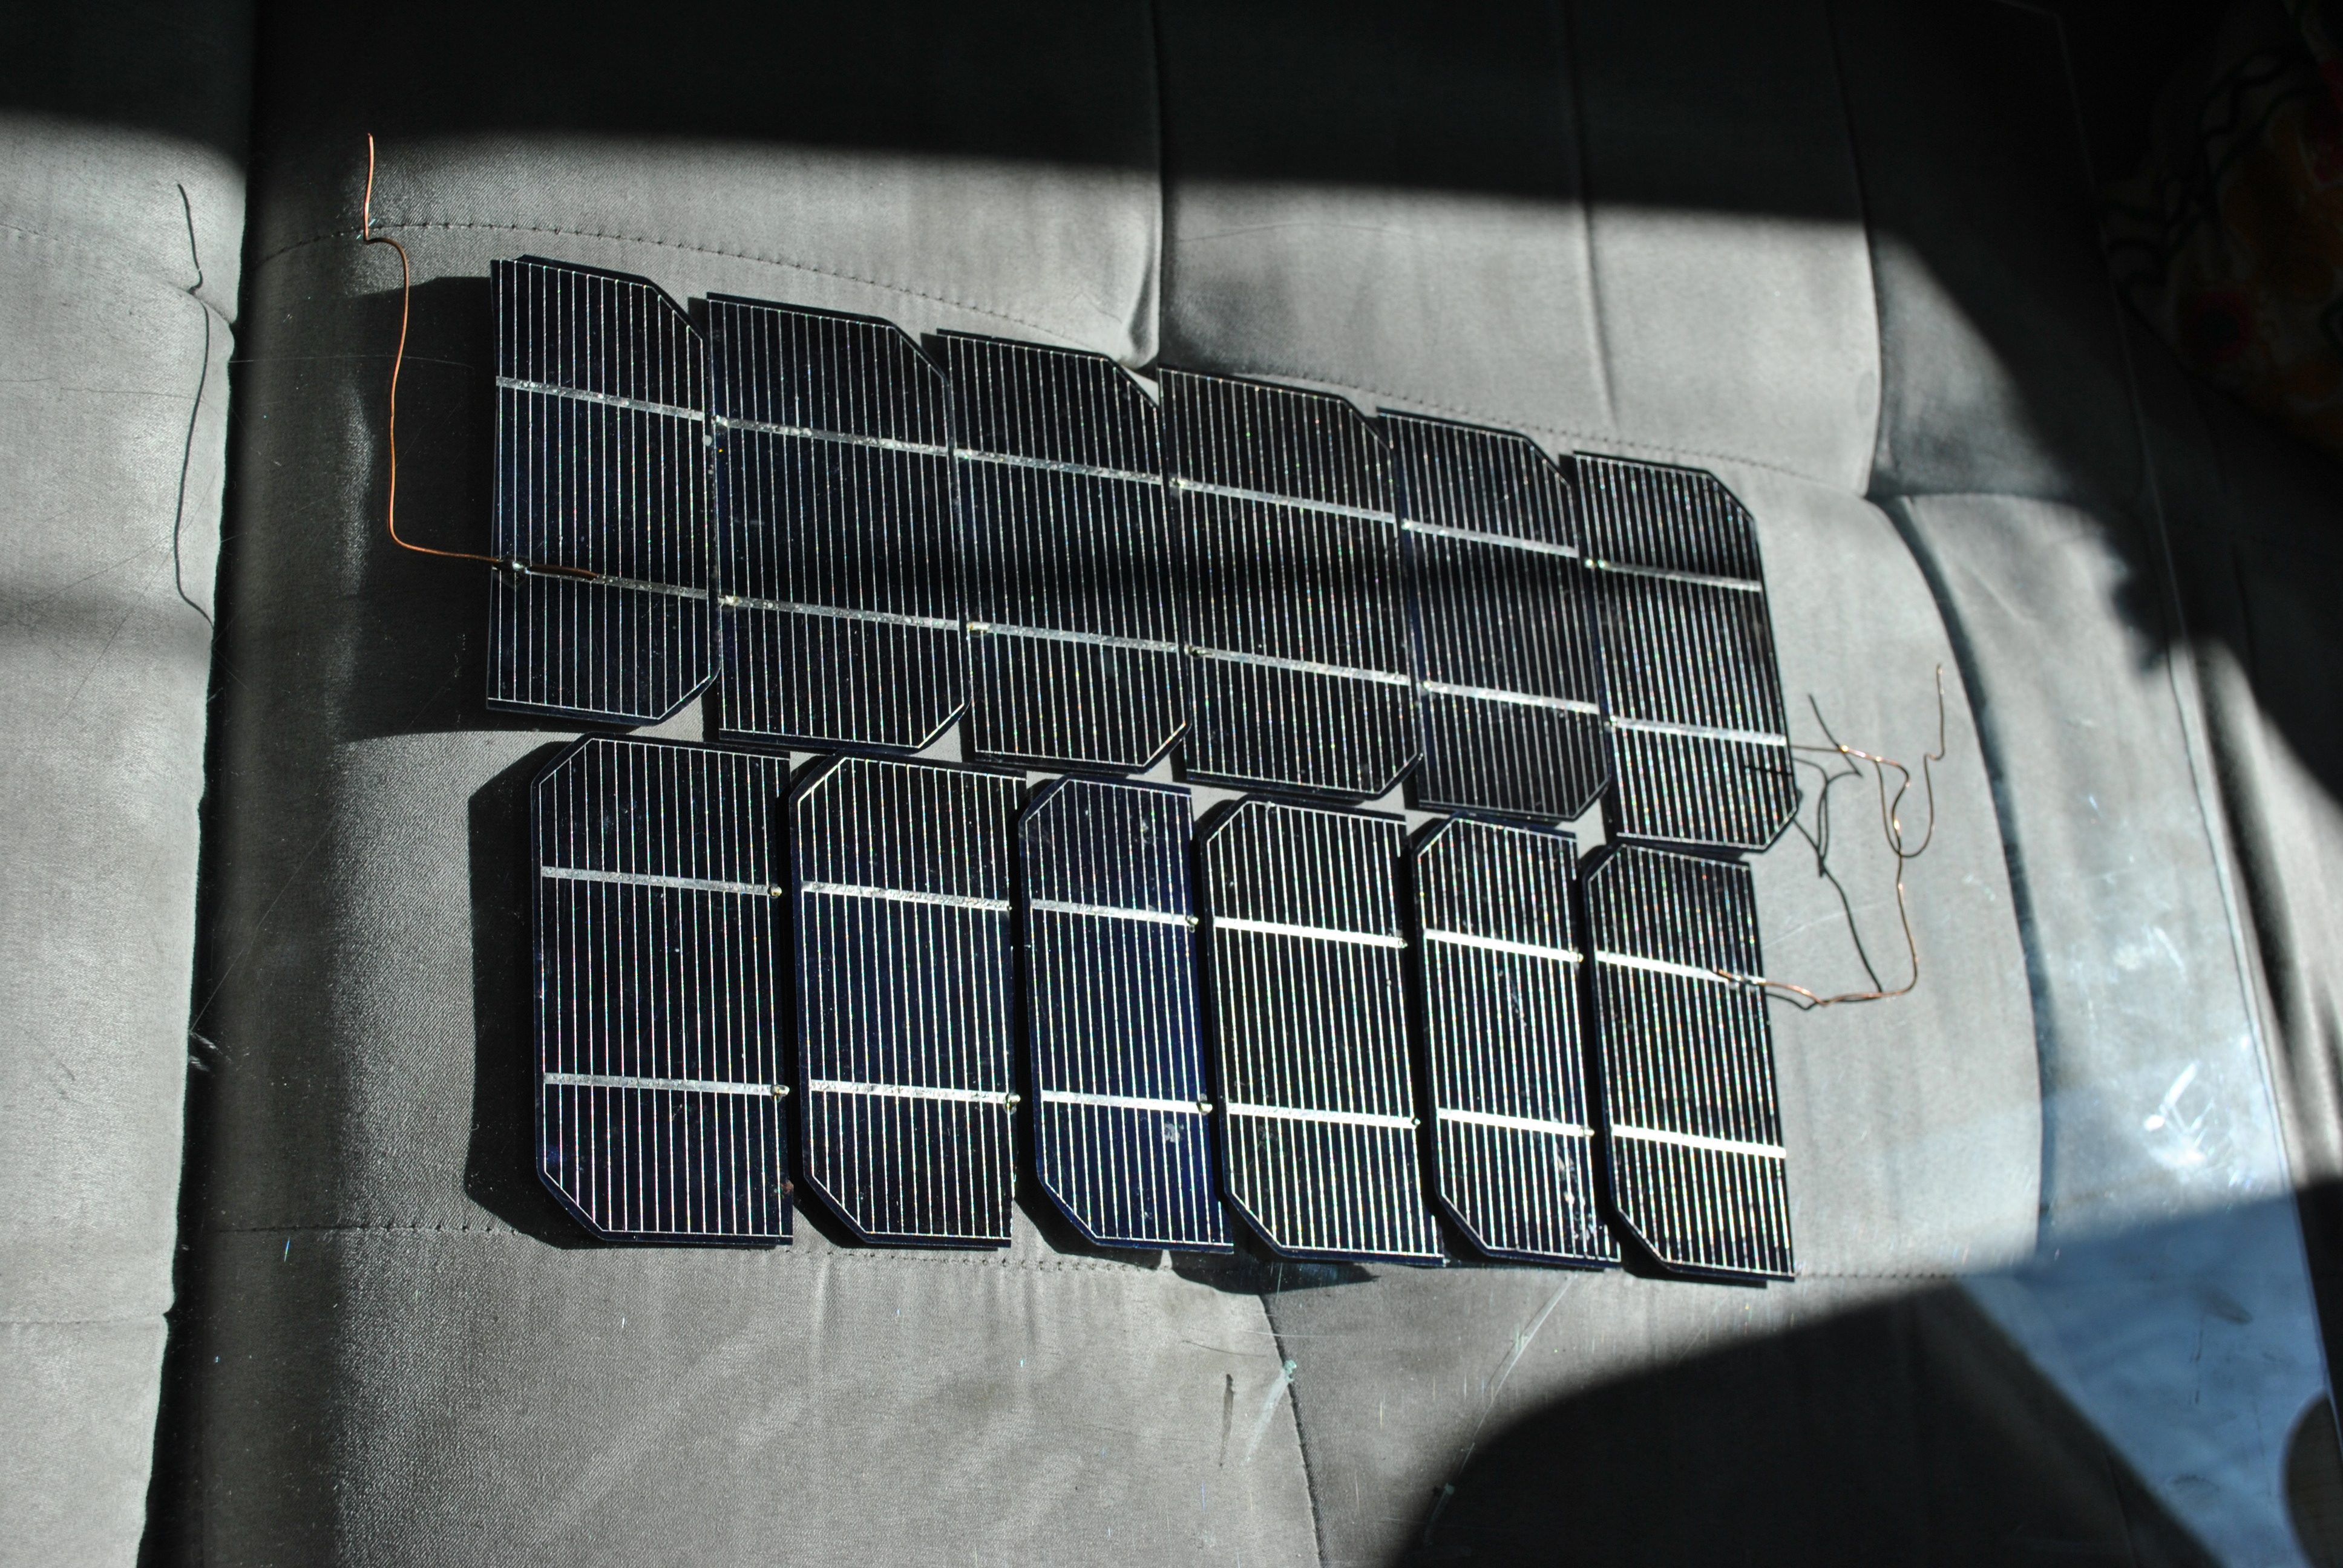
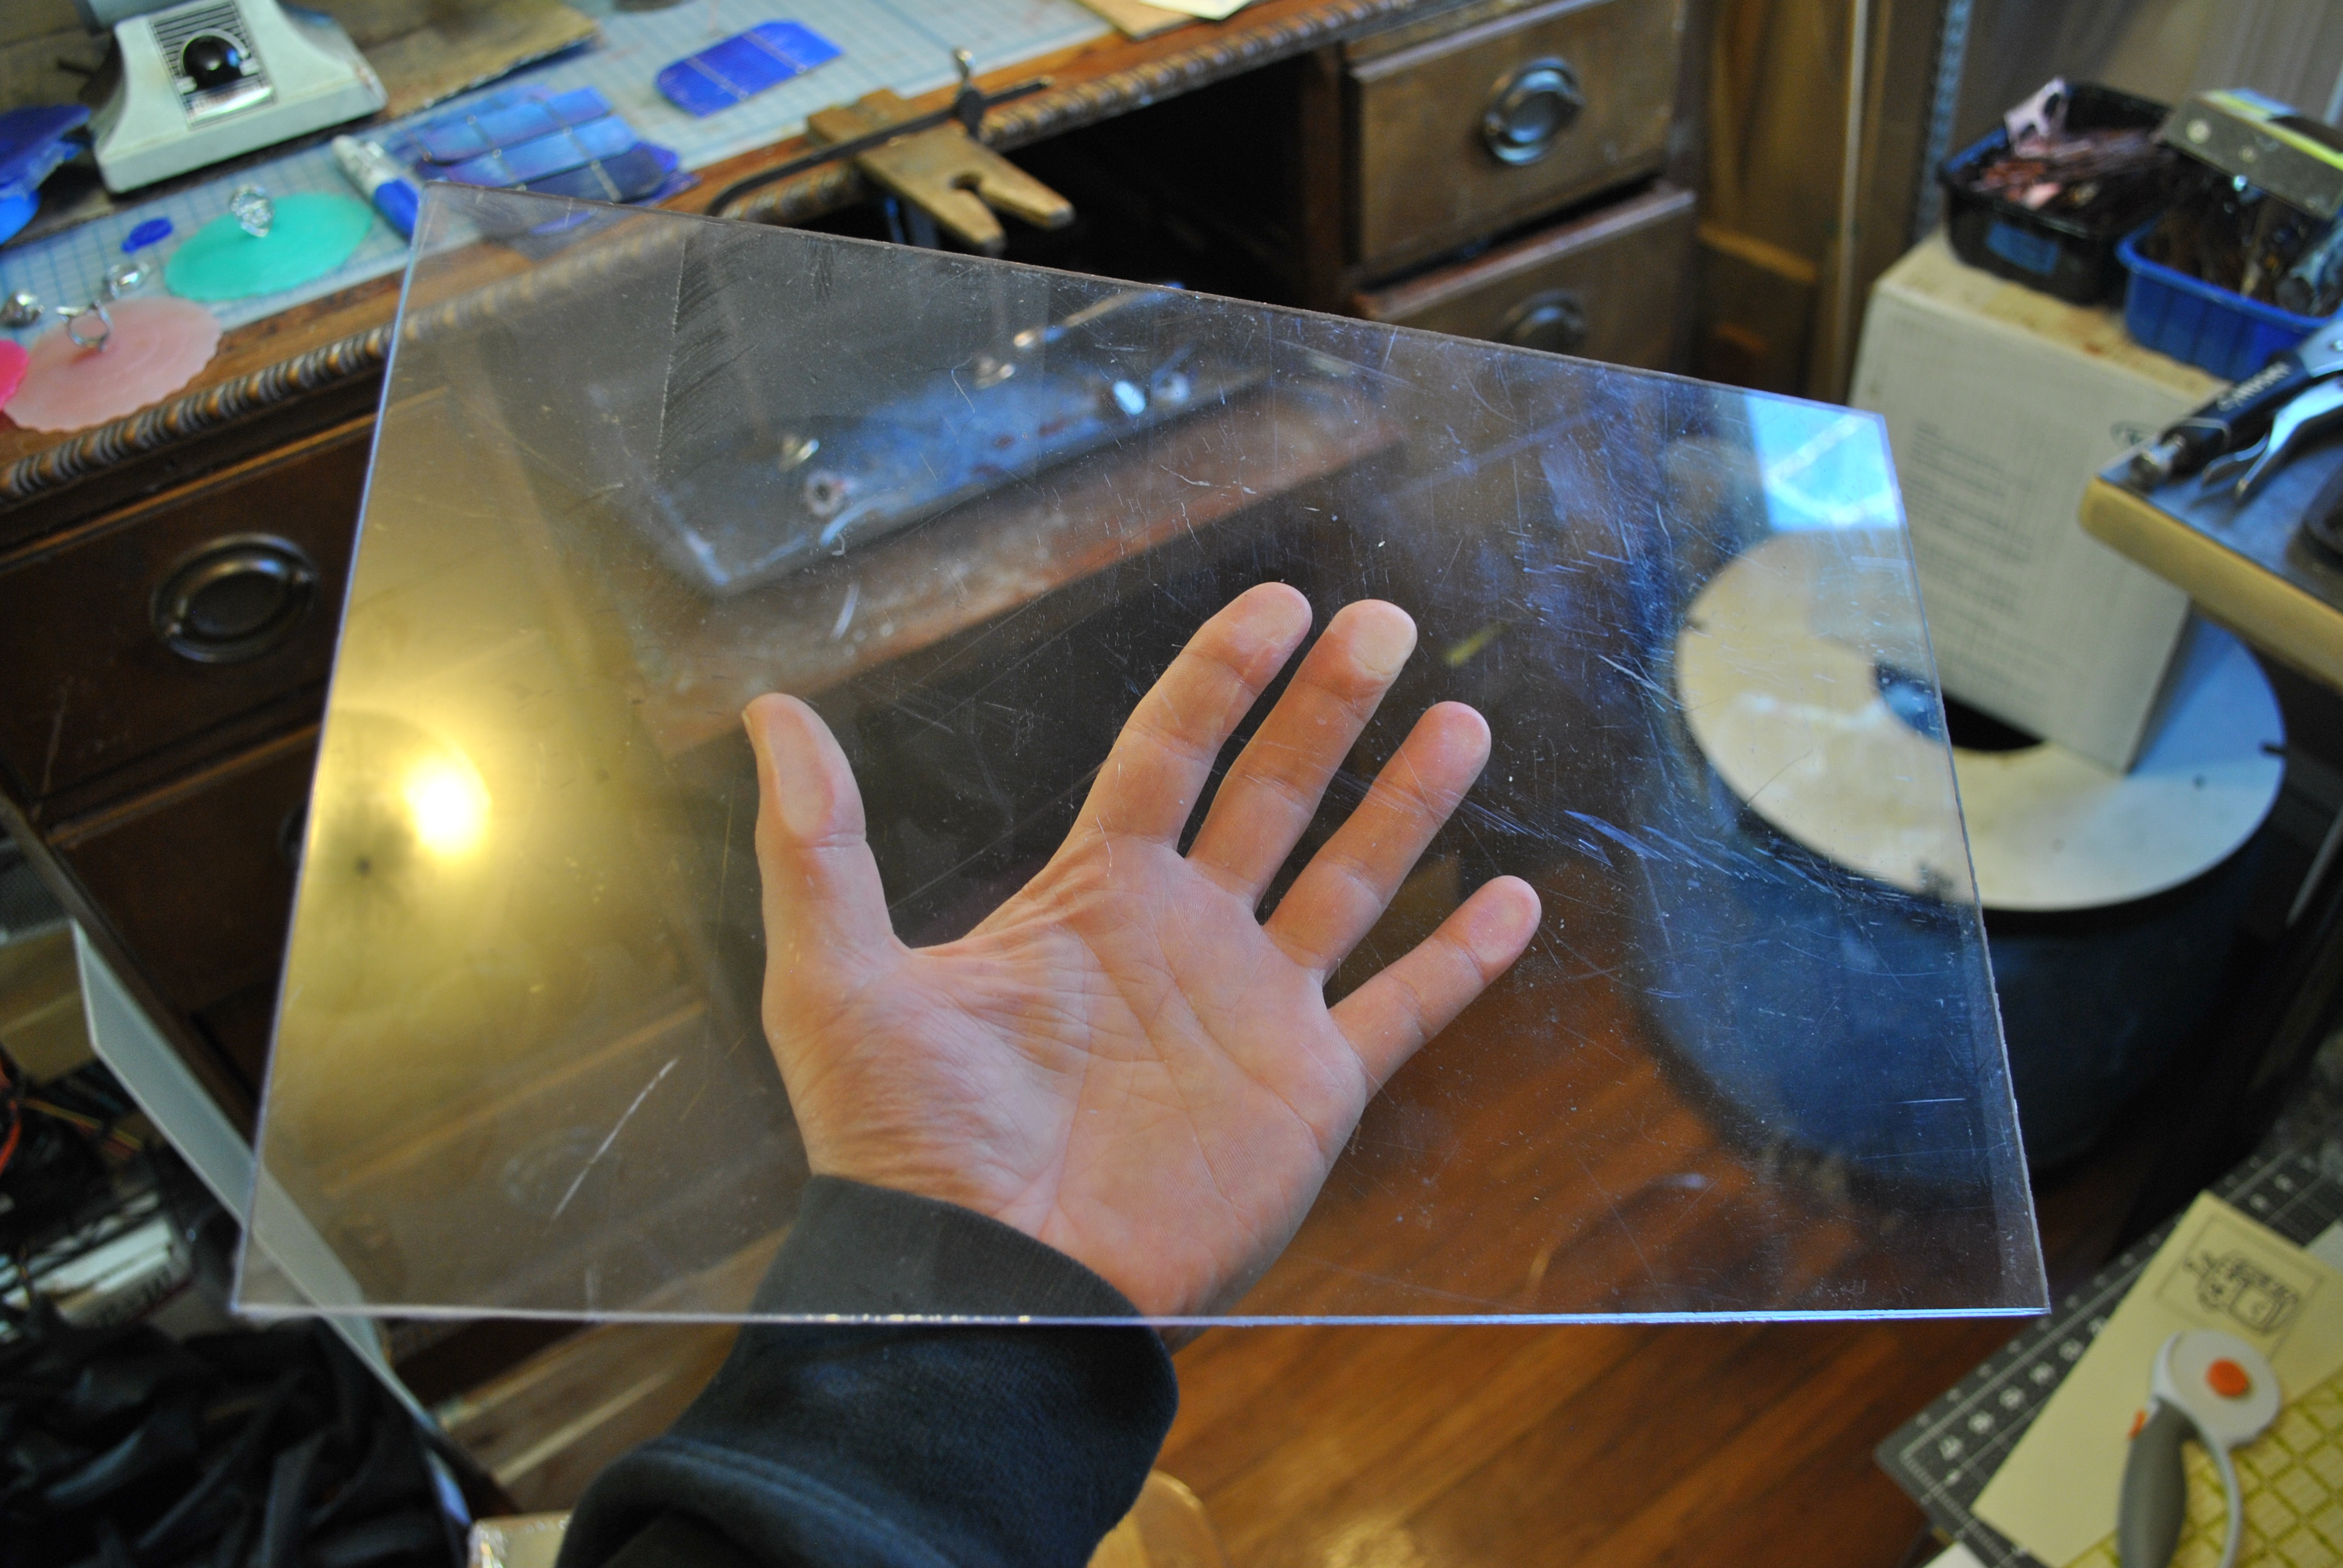
I used a small piece of plastic to hold the cells, these are only going to be used inside so I didn’t bother to seal them up. I used two tiny pieces of double sided tape to just keep them from sliding around.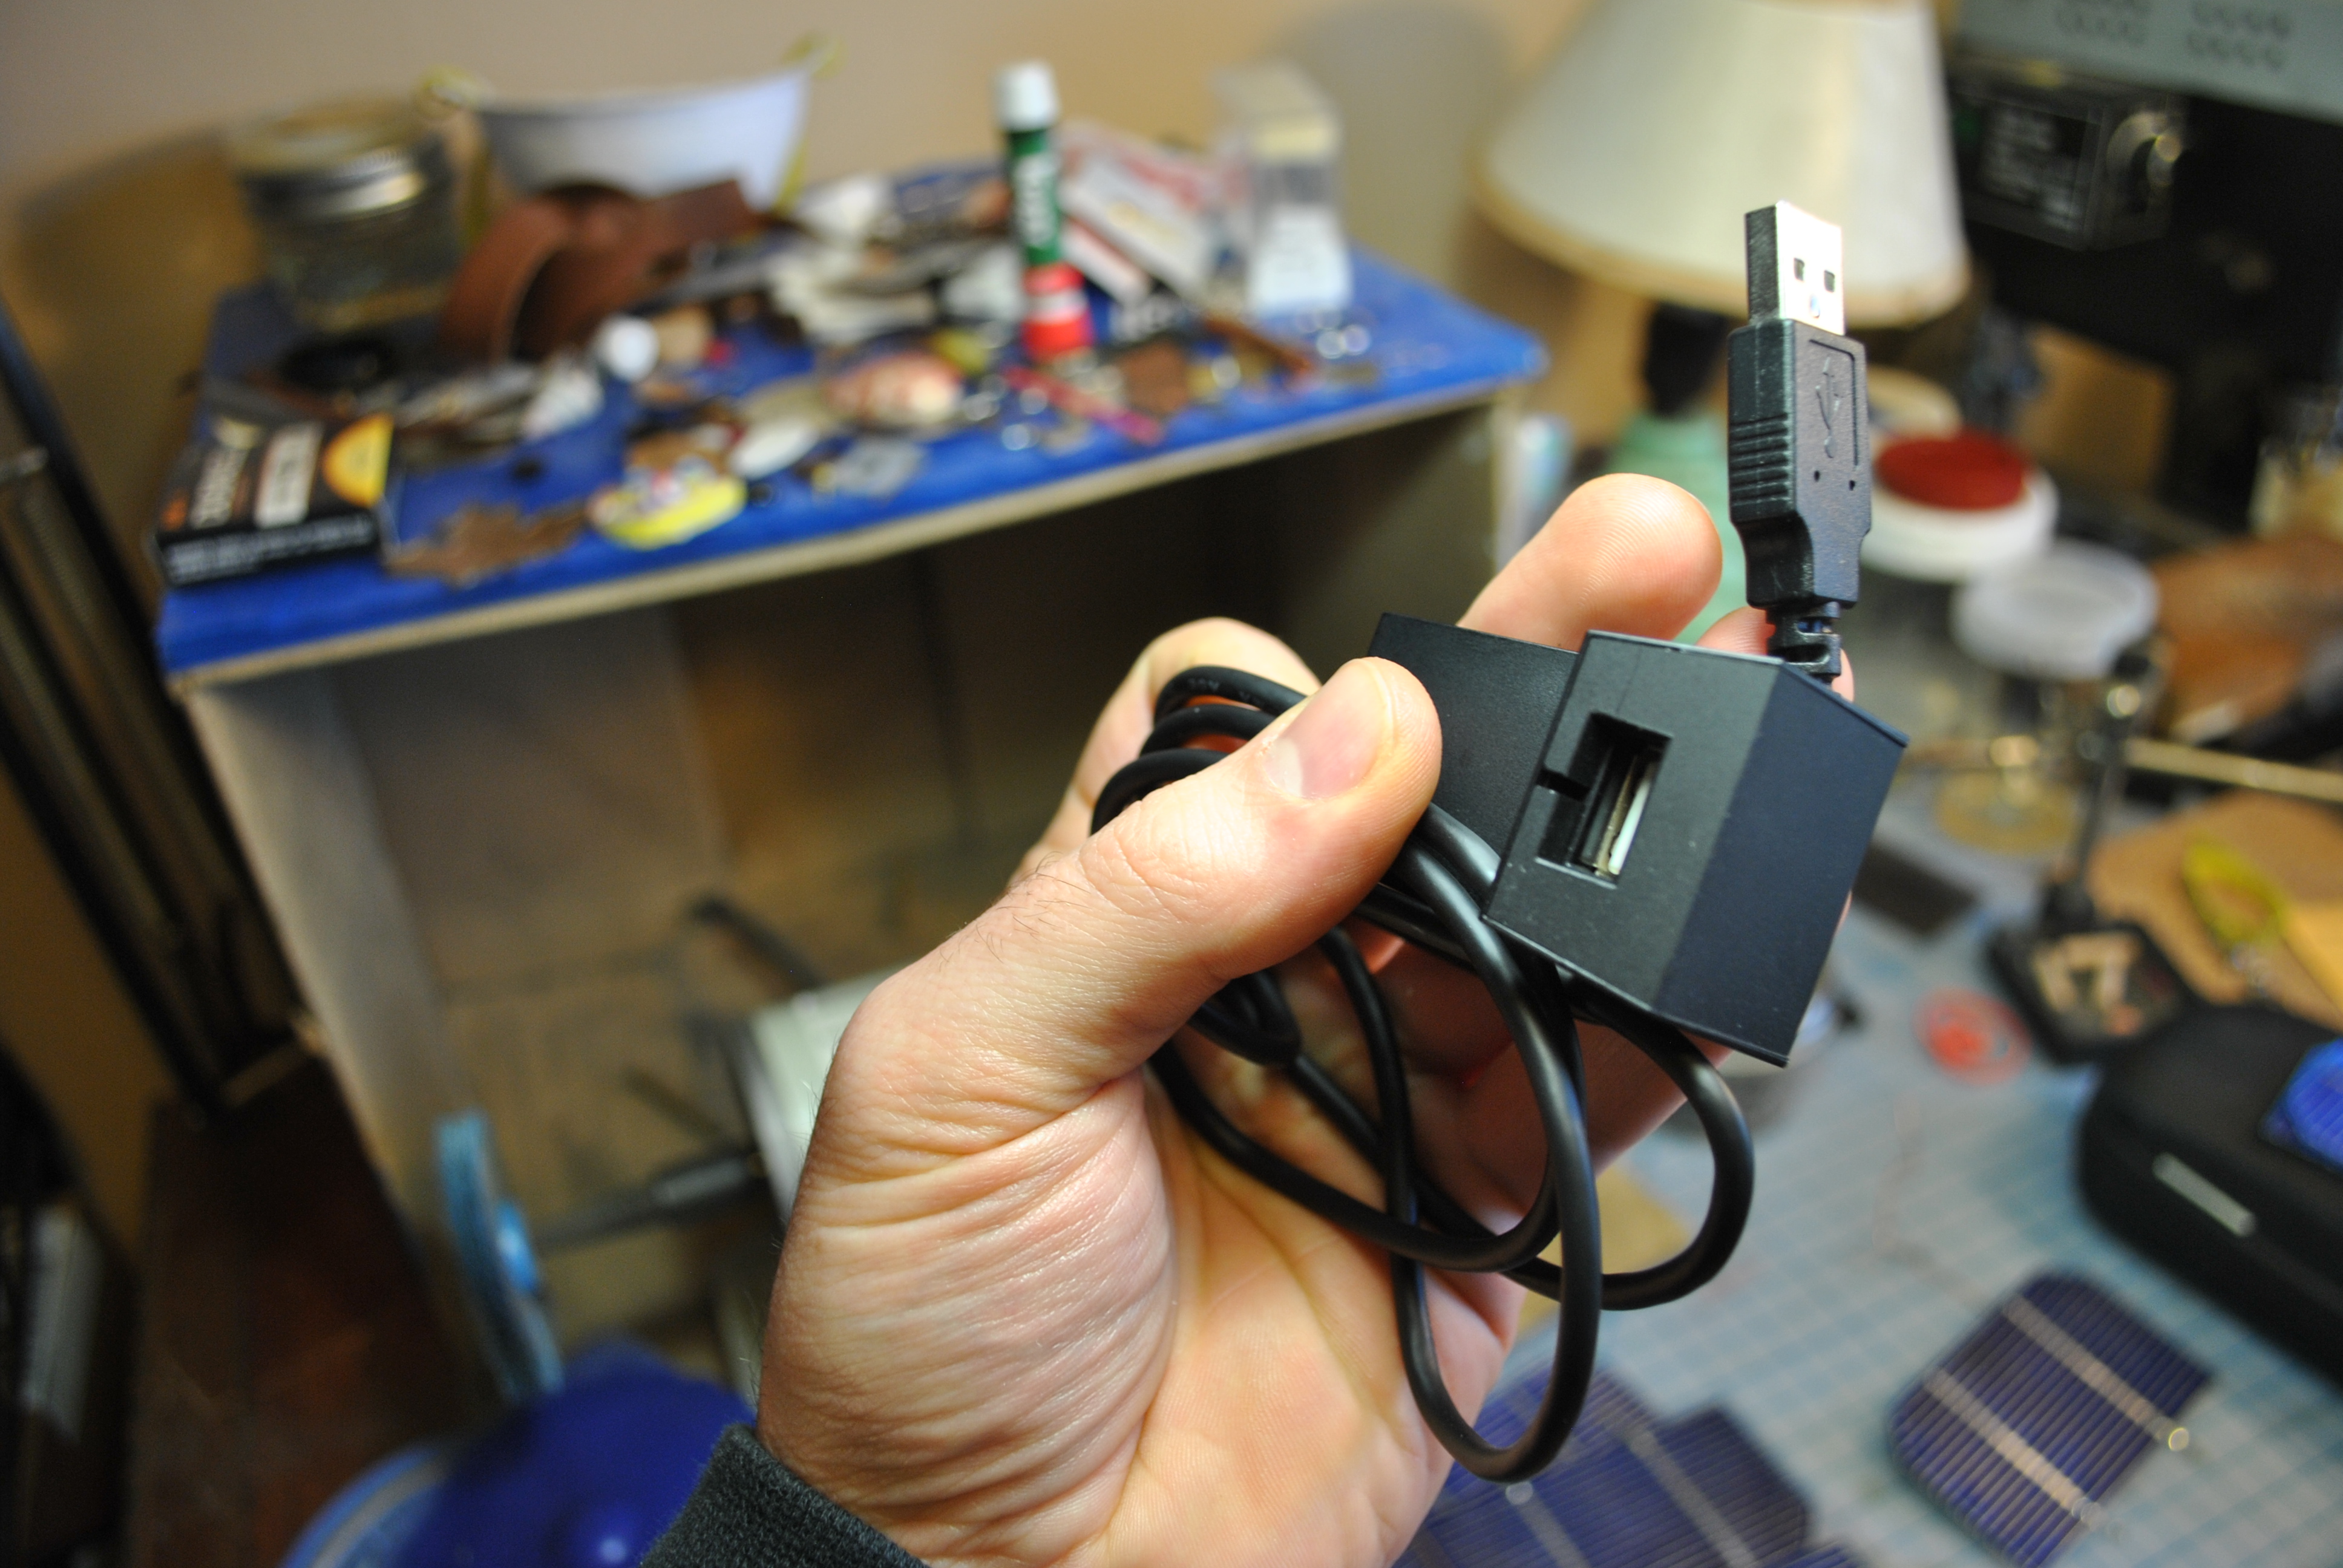
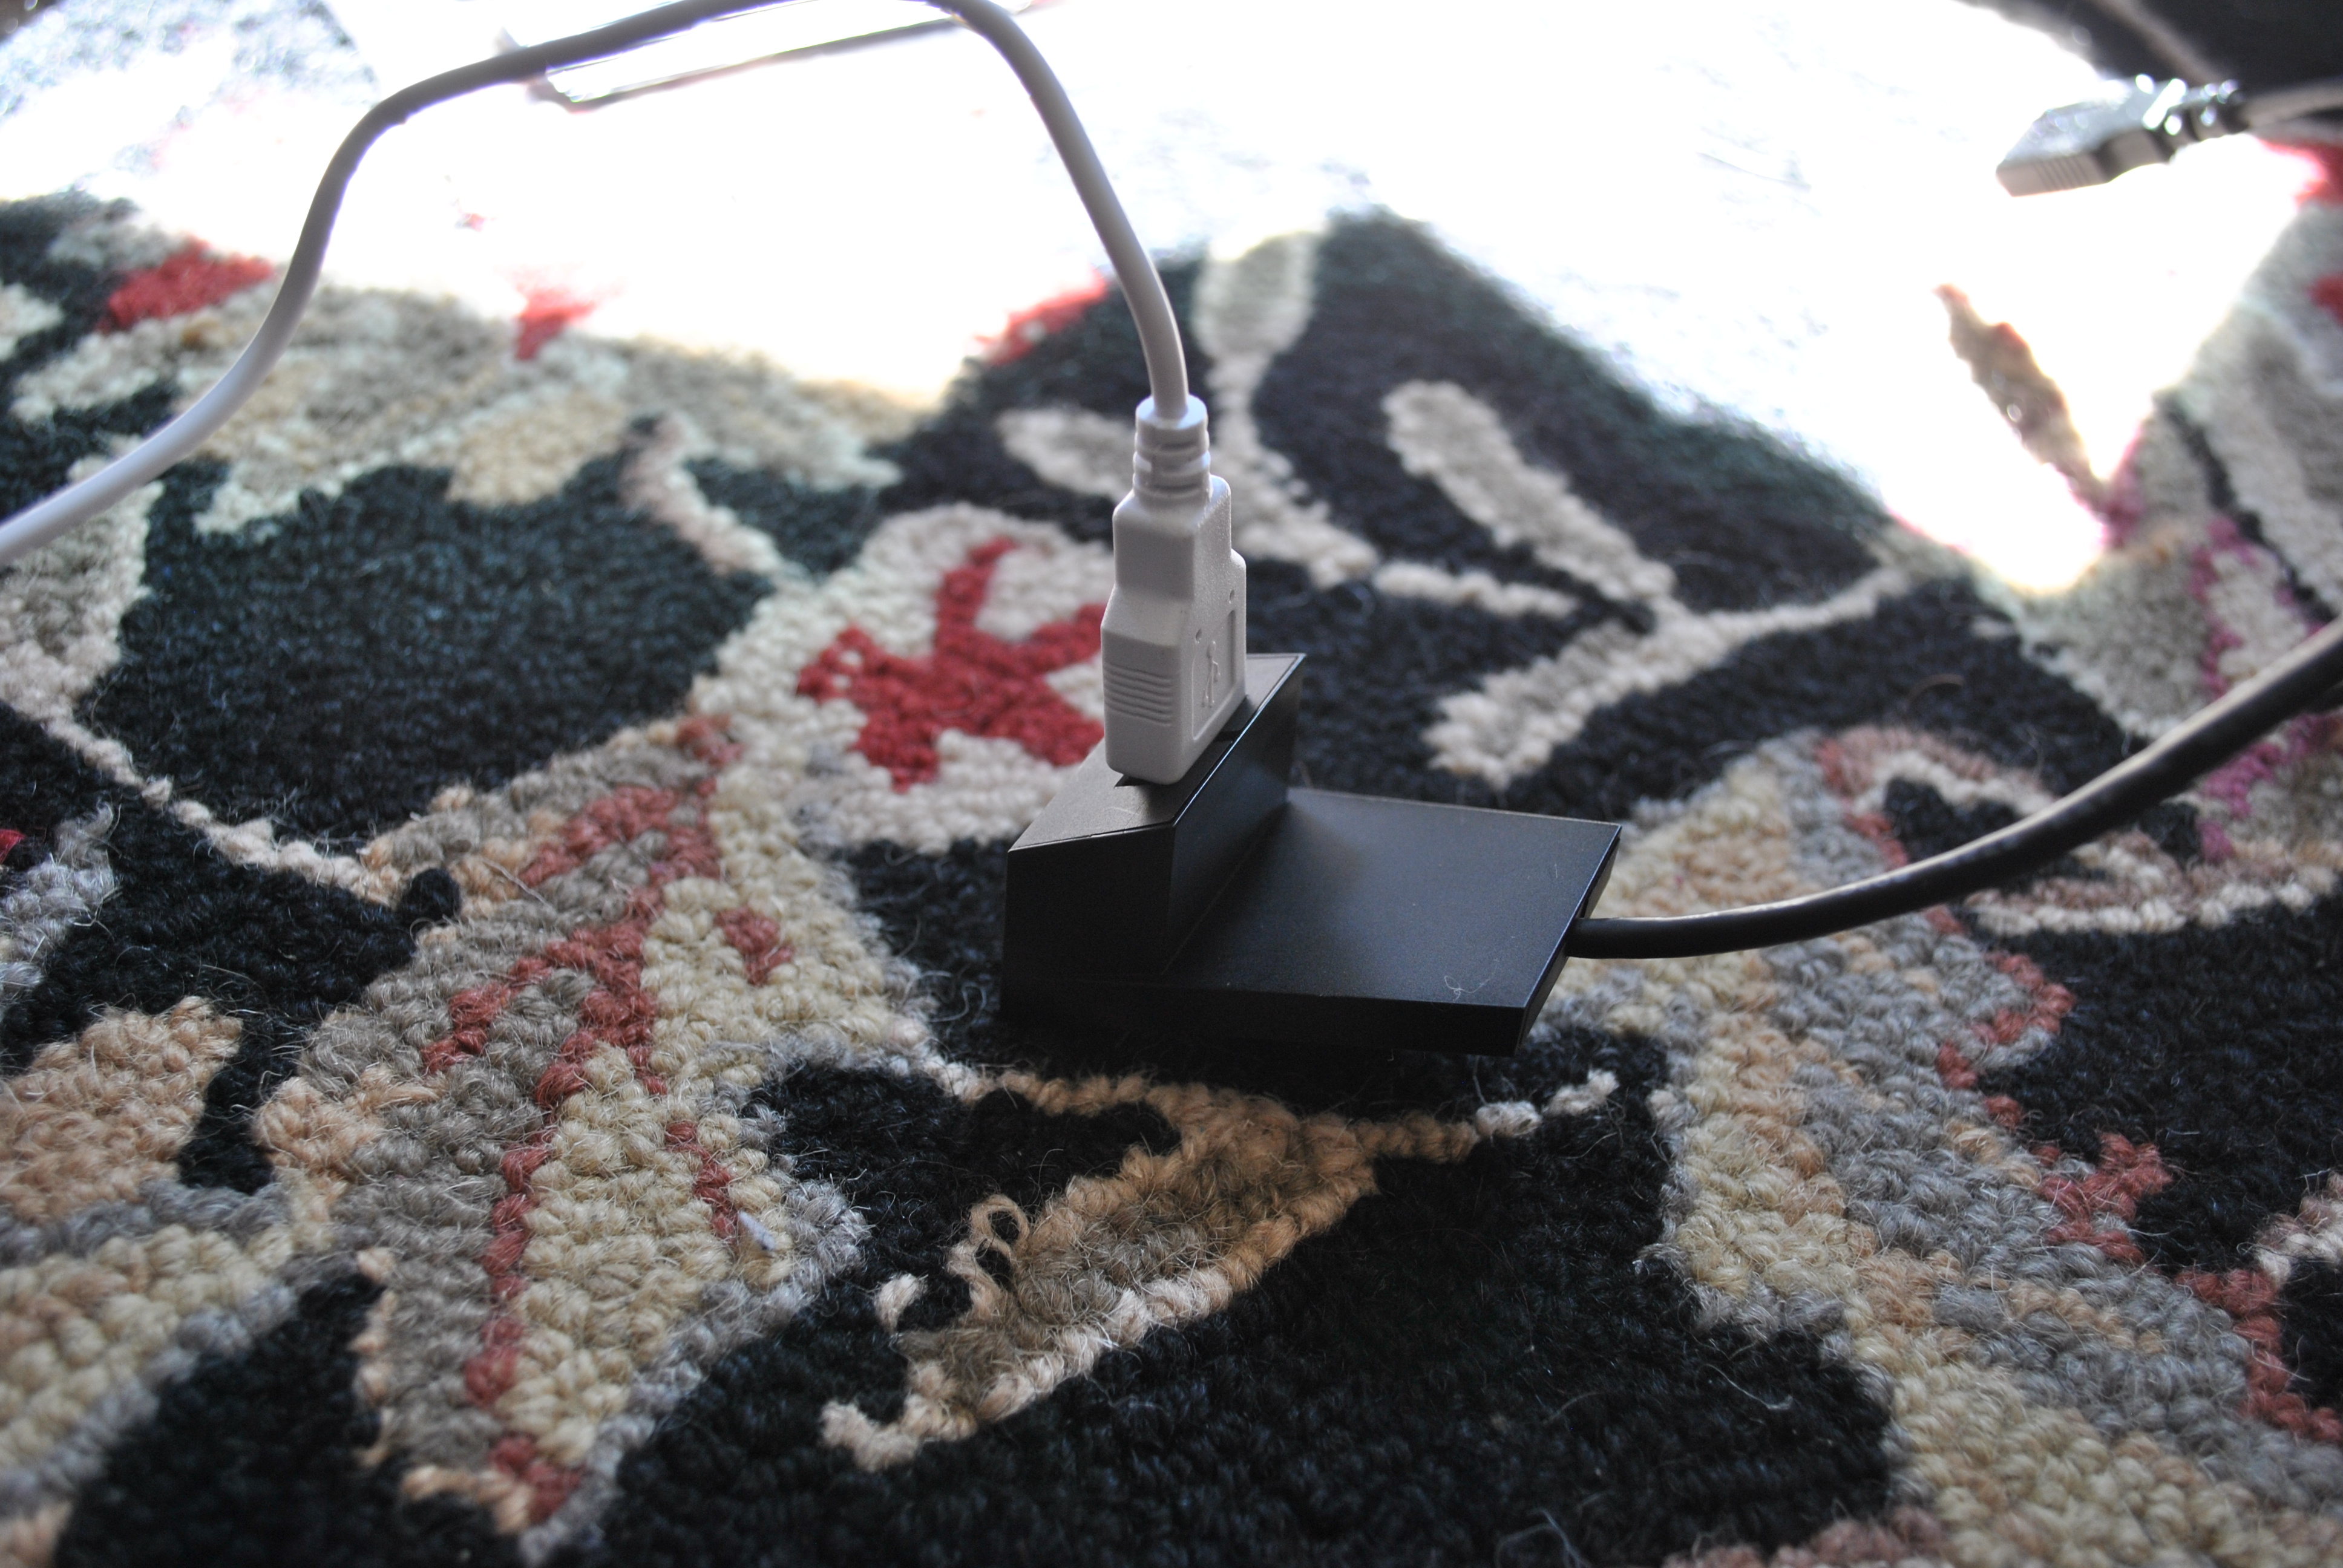
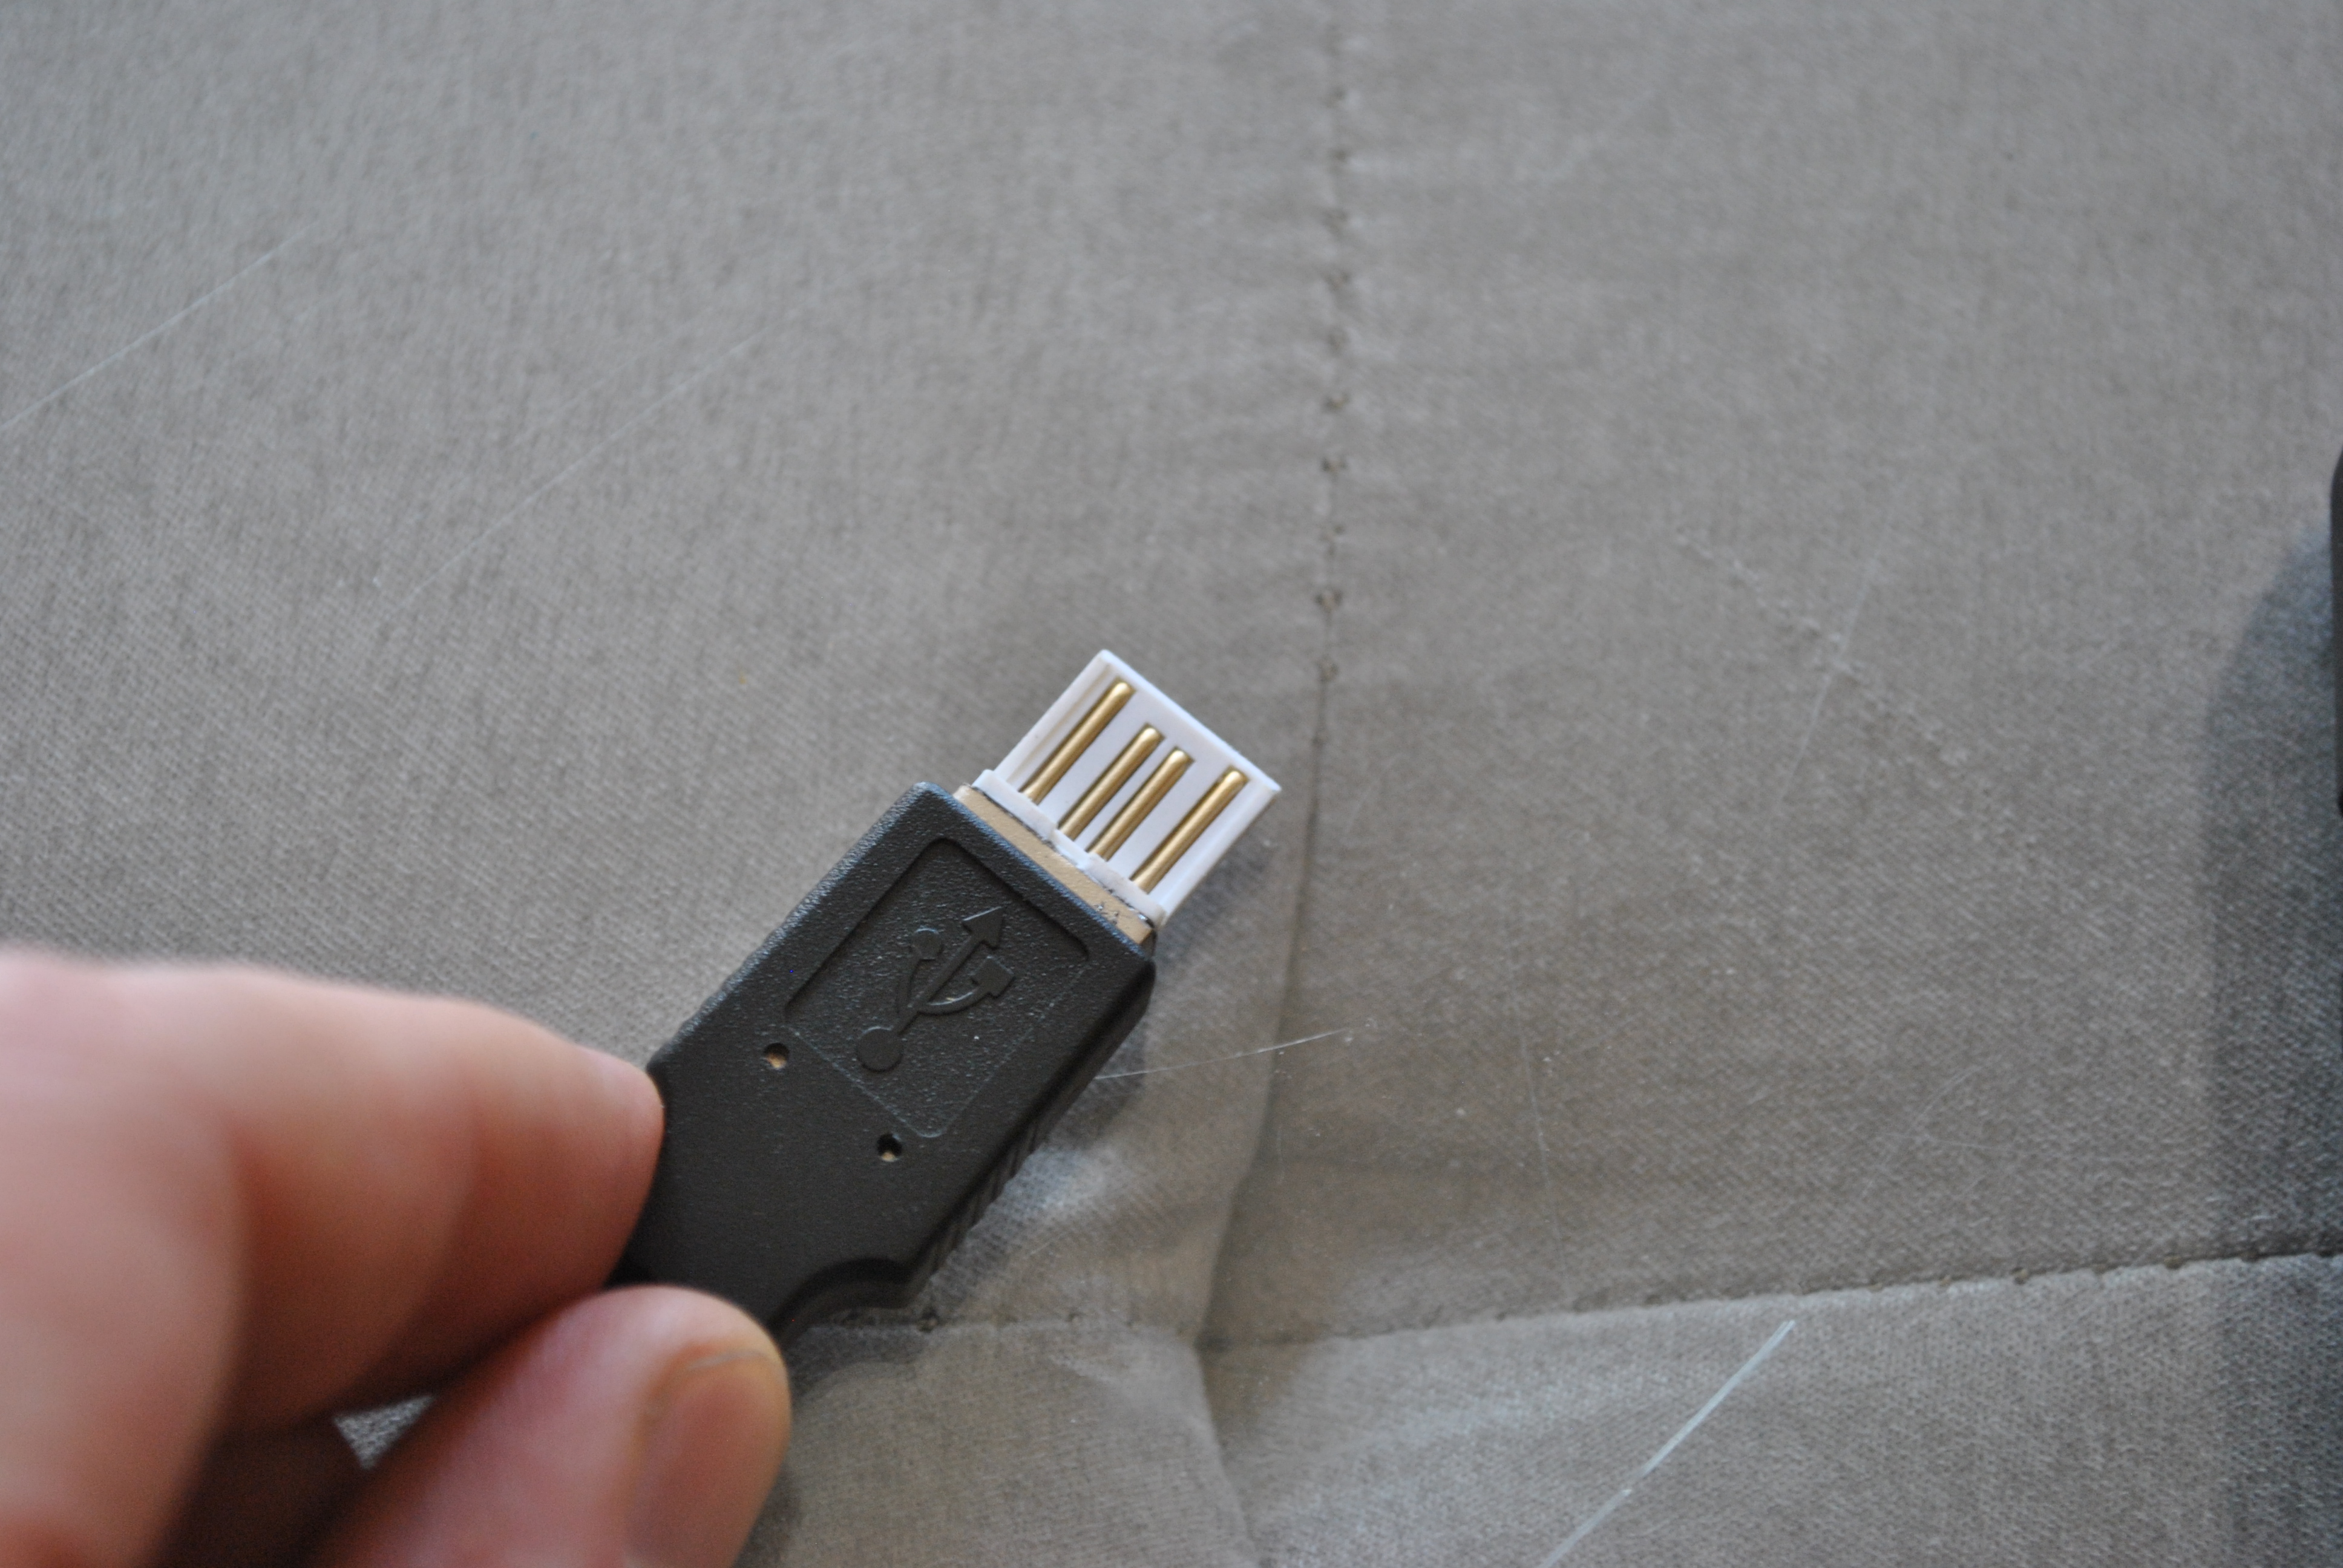
I also had this old usb dock I wasn’t using, it will be perfect to connect the panels to the battery.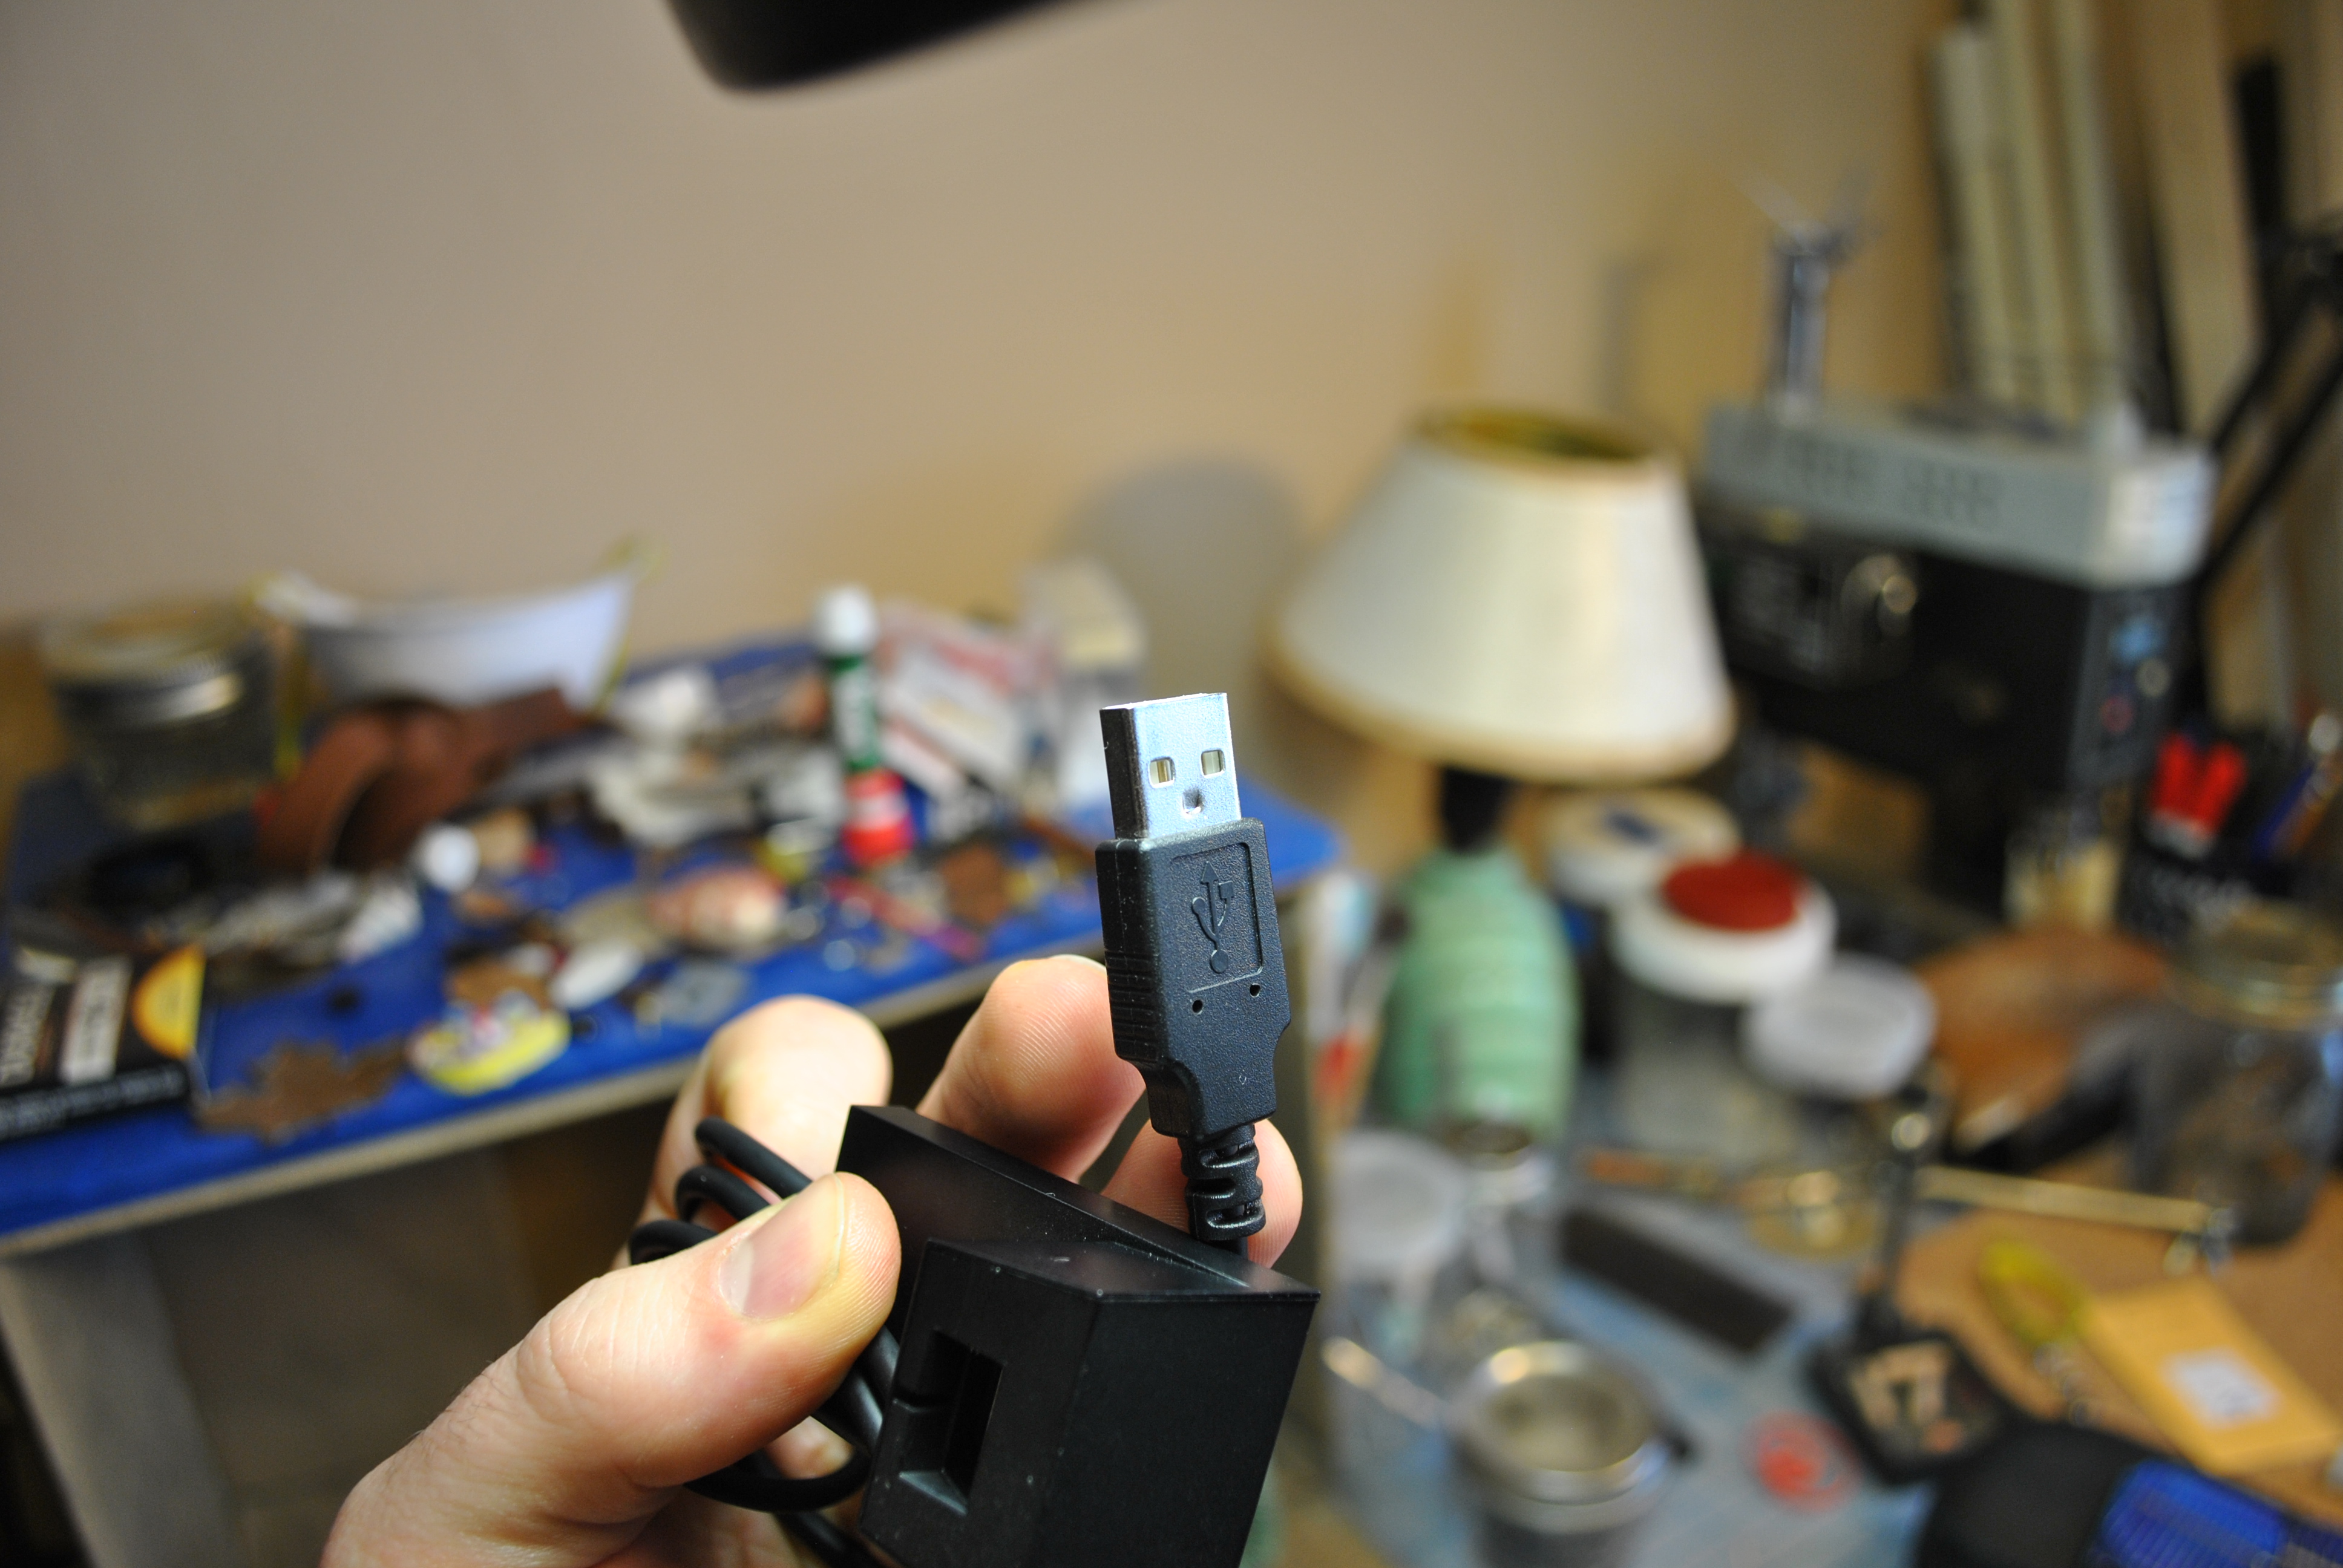
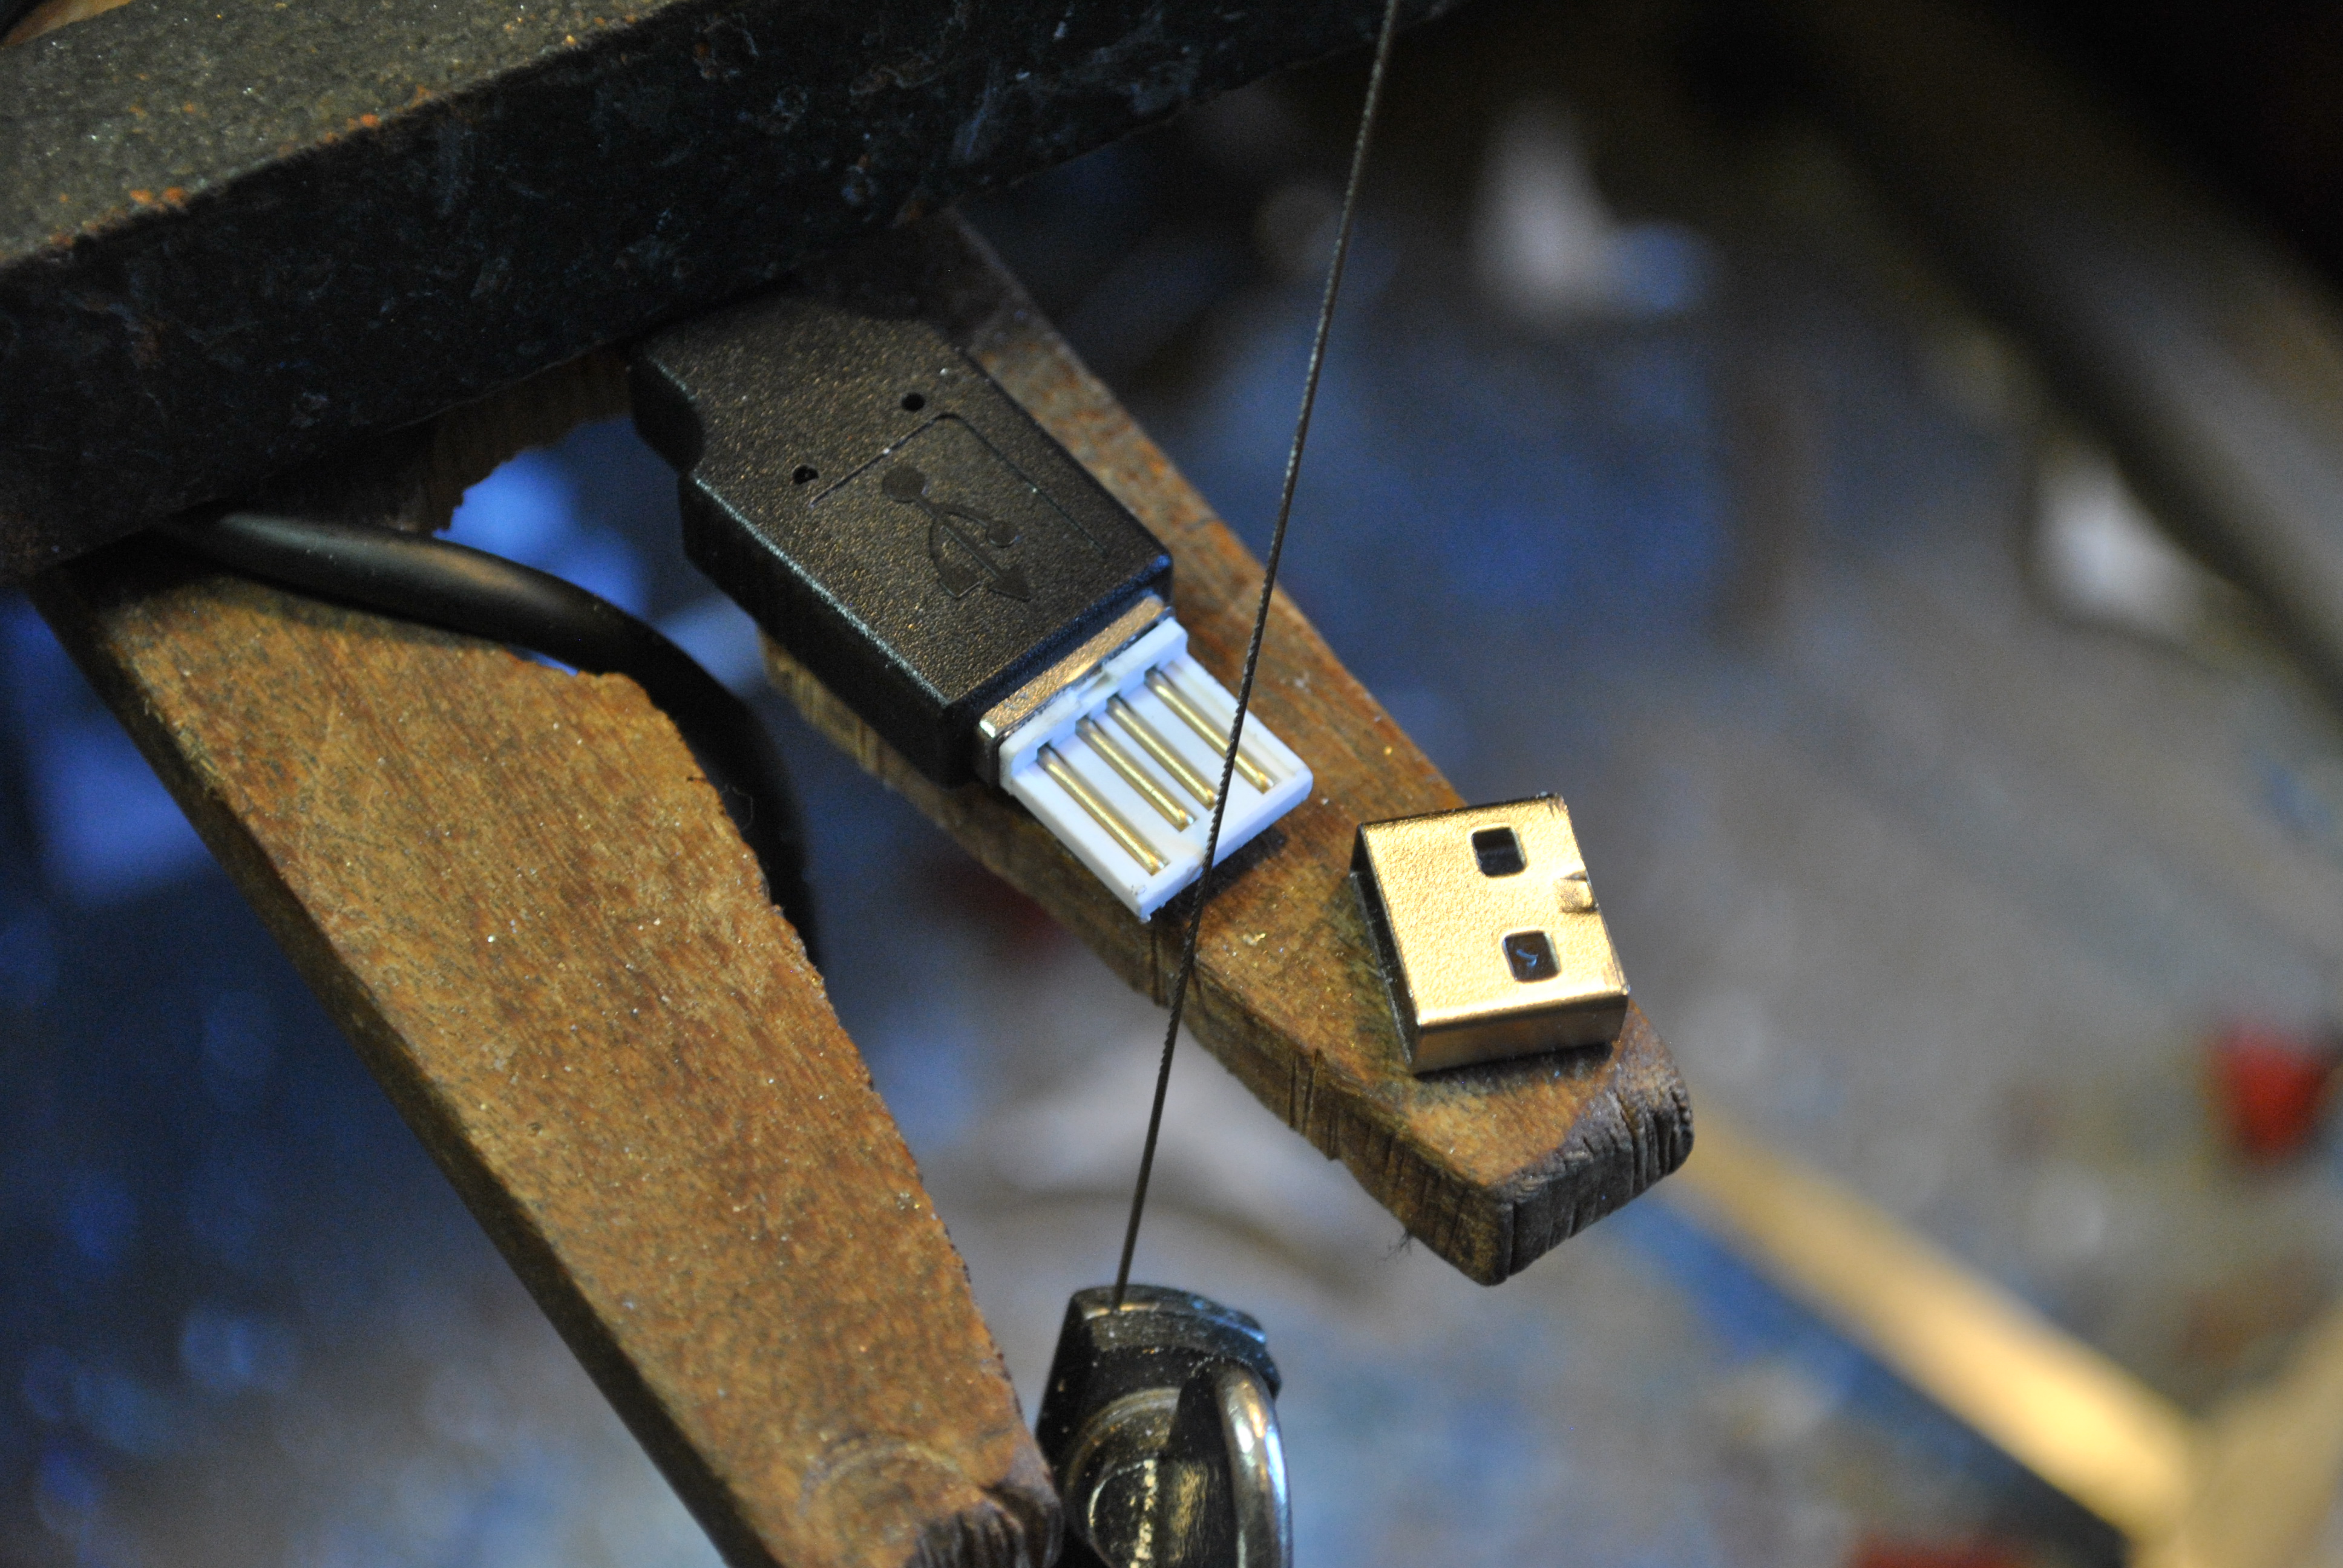
The only problem is that the usb connector isn’t going to be easy to connect wires to with the housing on it. A little work with a jewelers saw fixed that.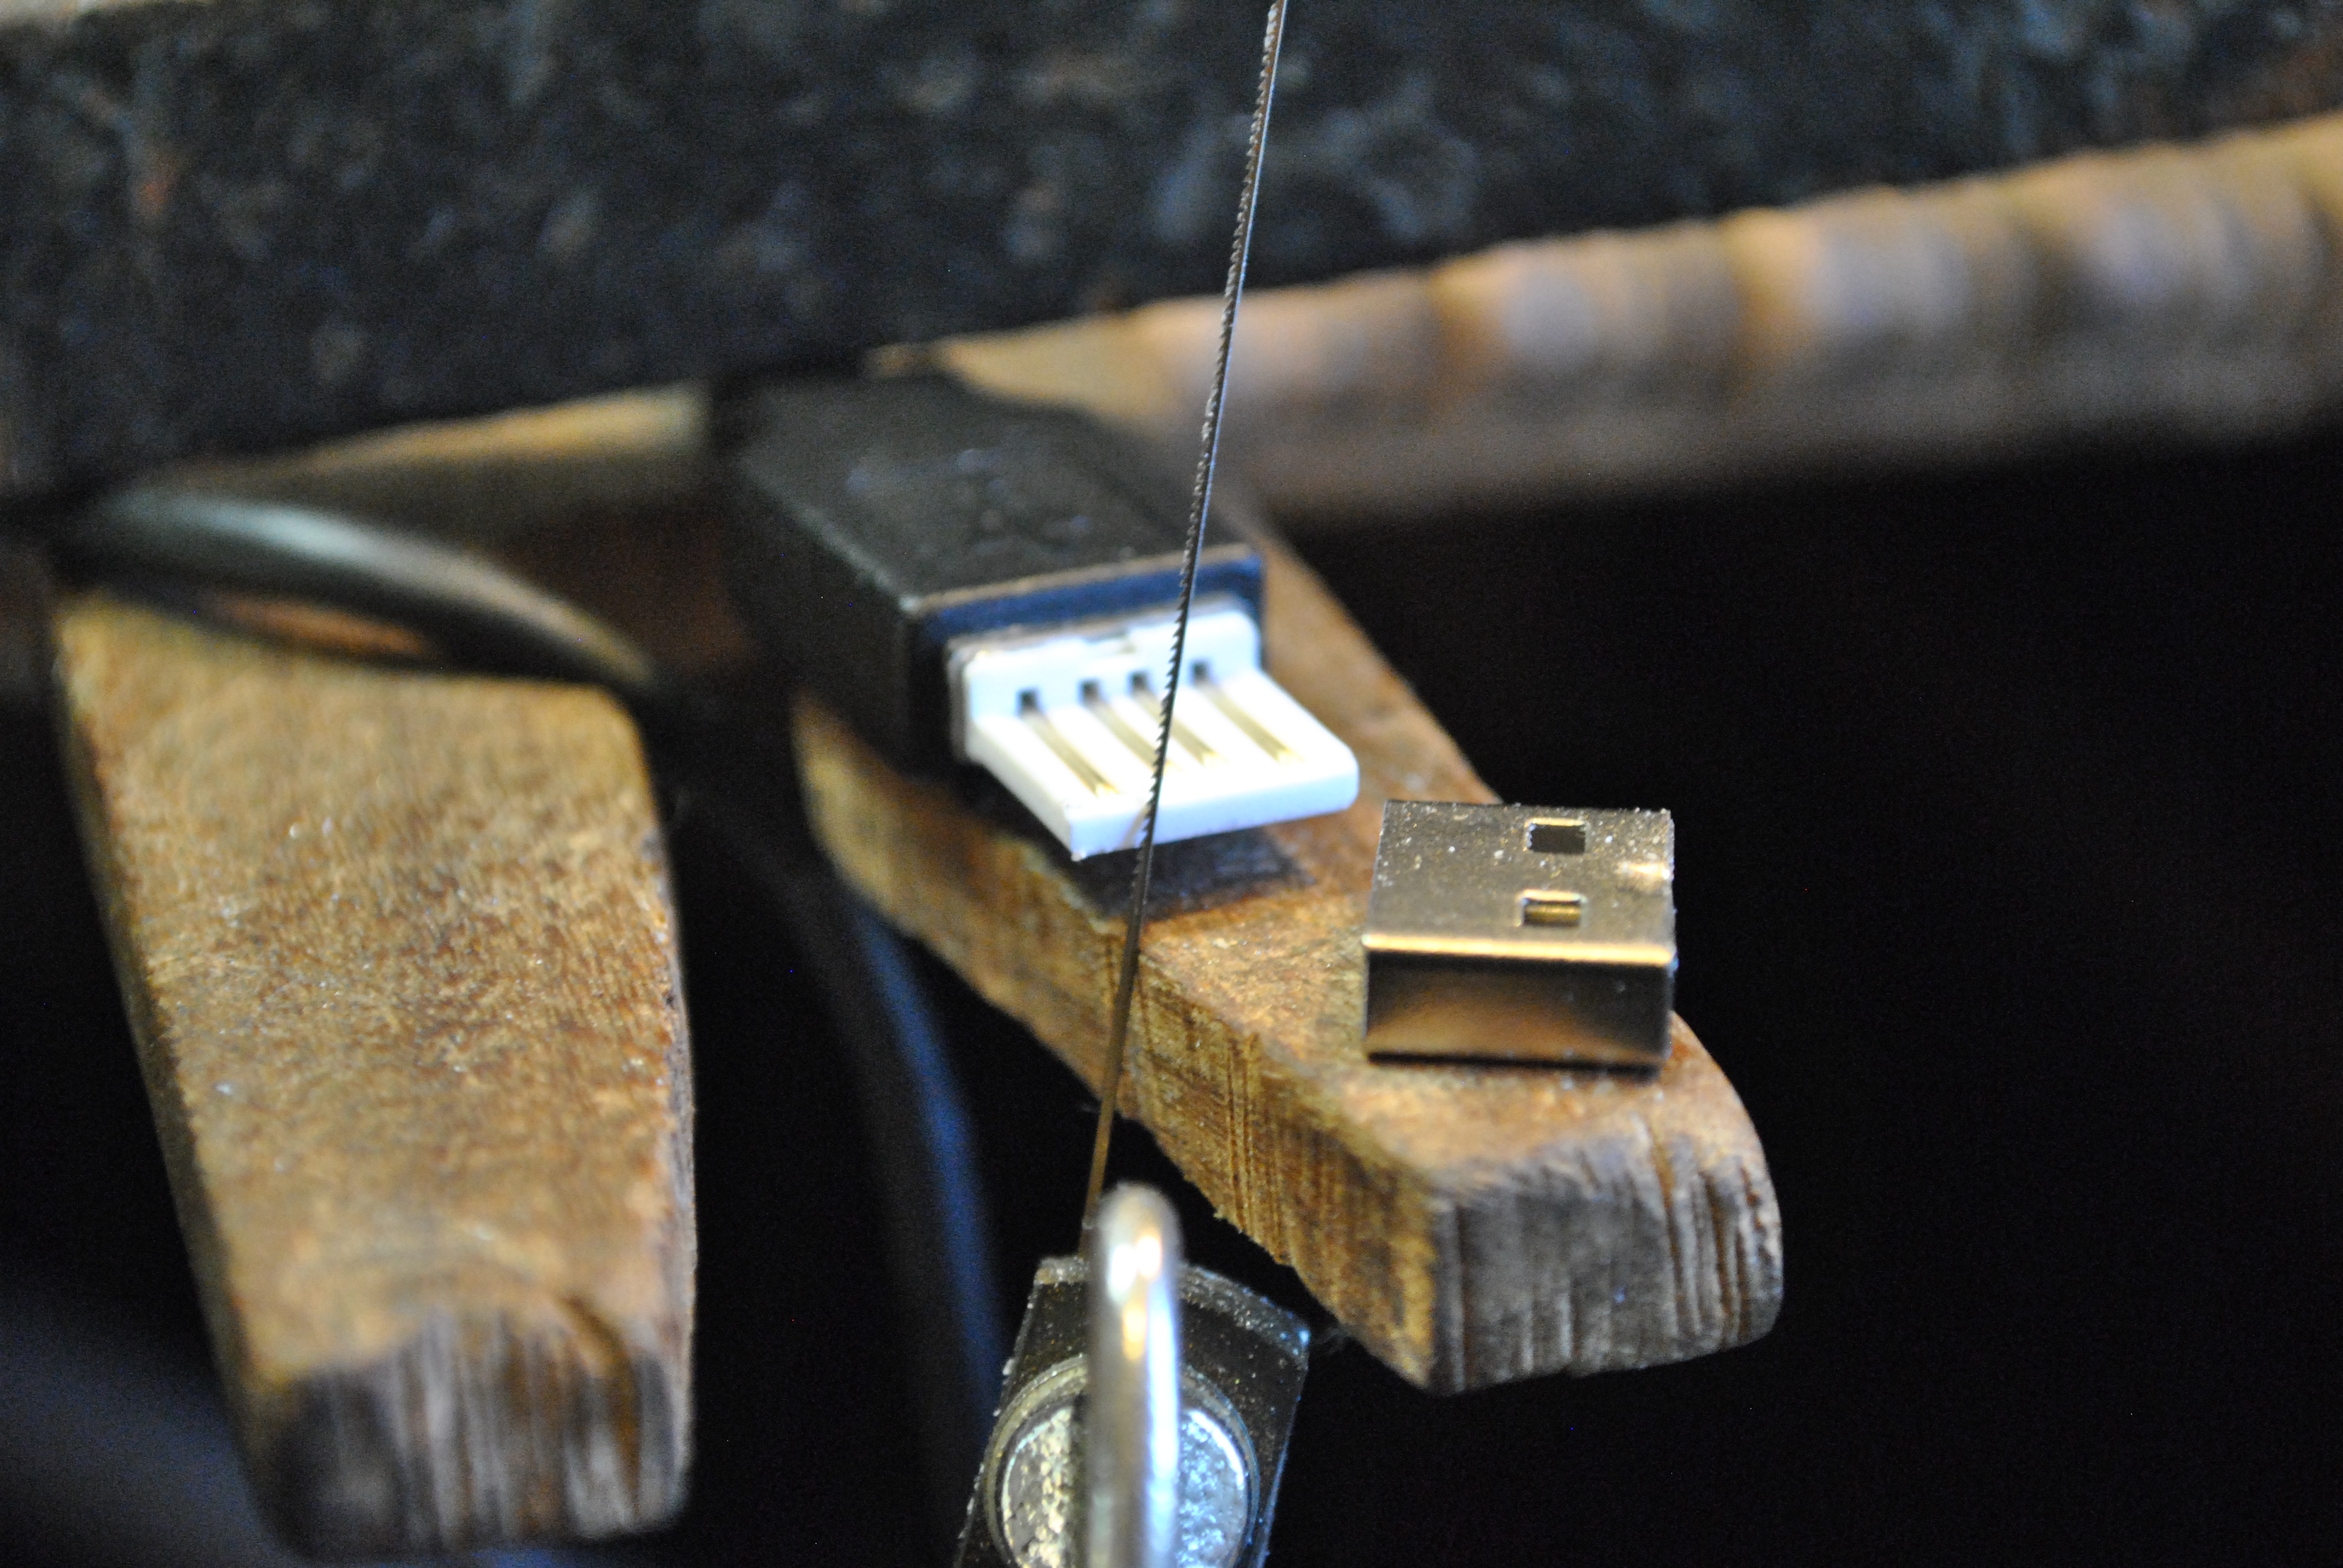
be careful not to cut all the way through, you just want to remove the metal housing to expose the connectors.
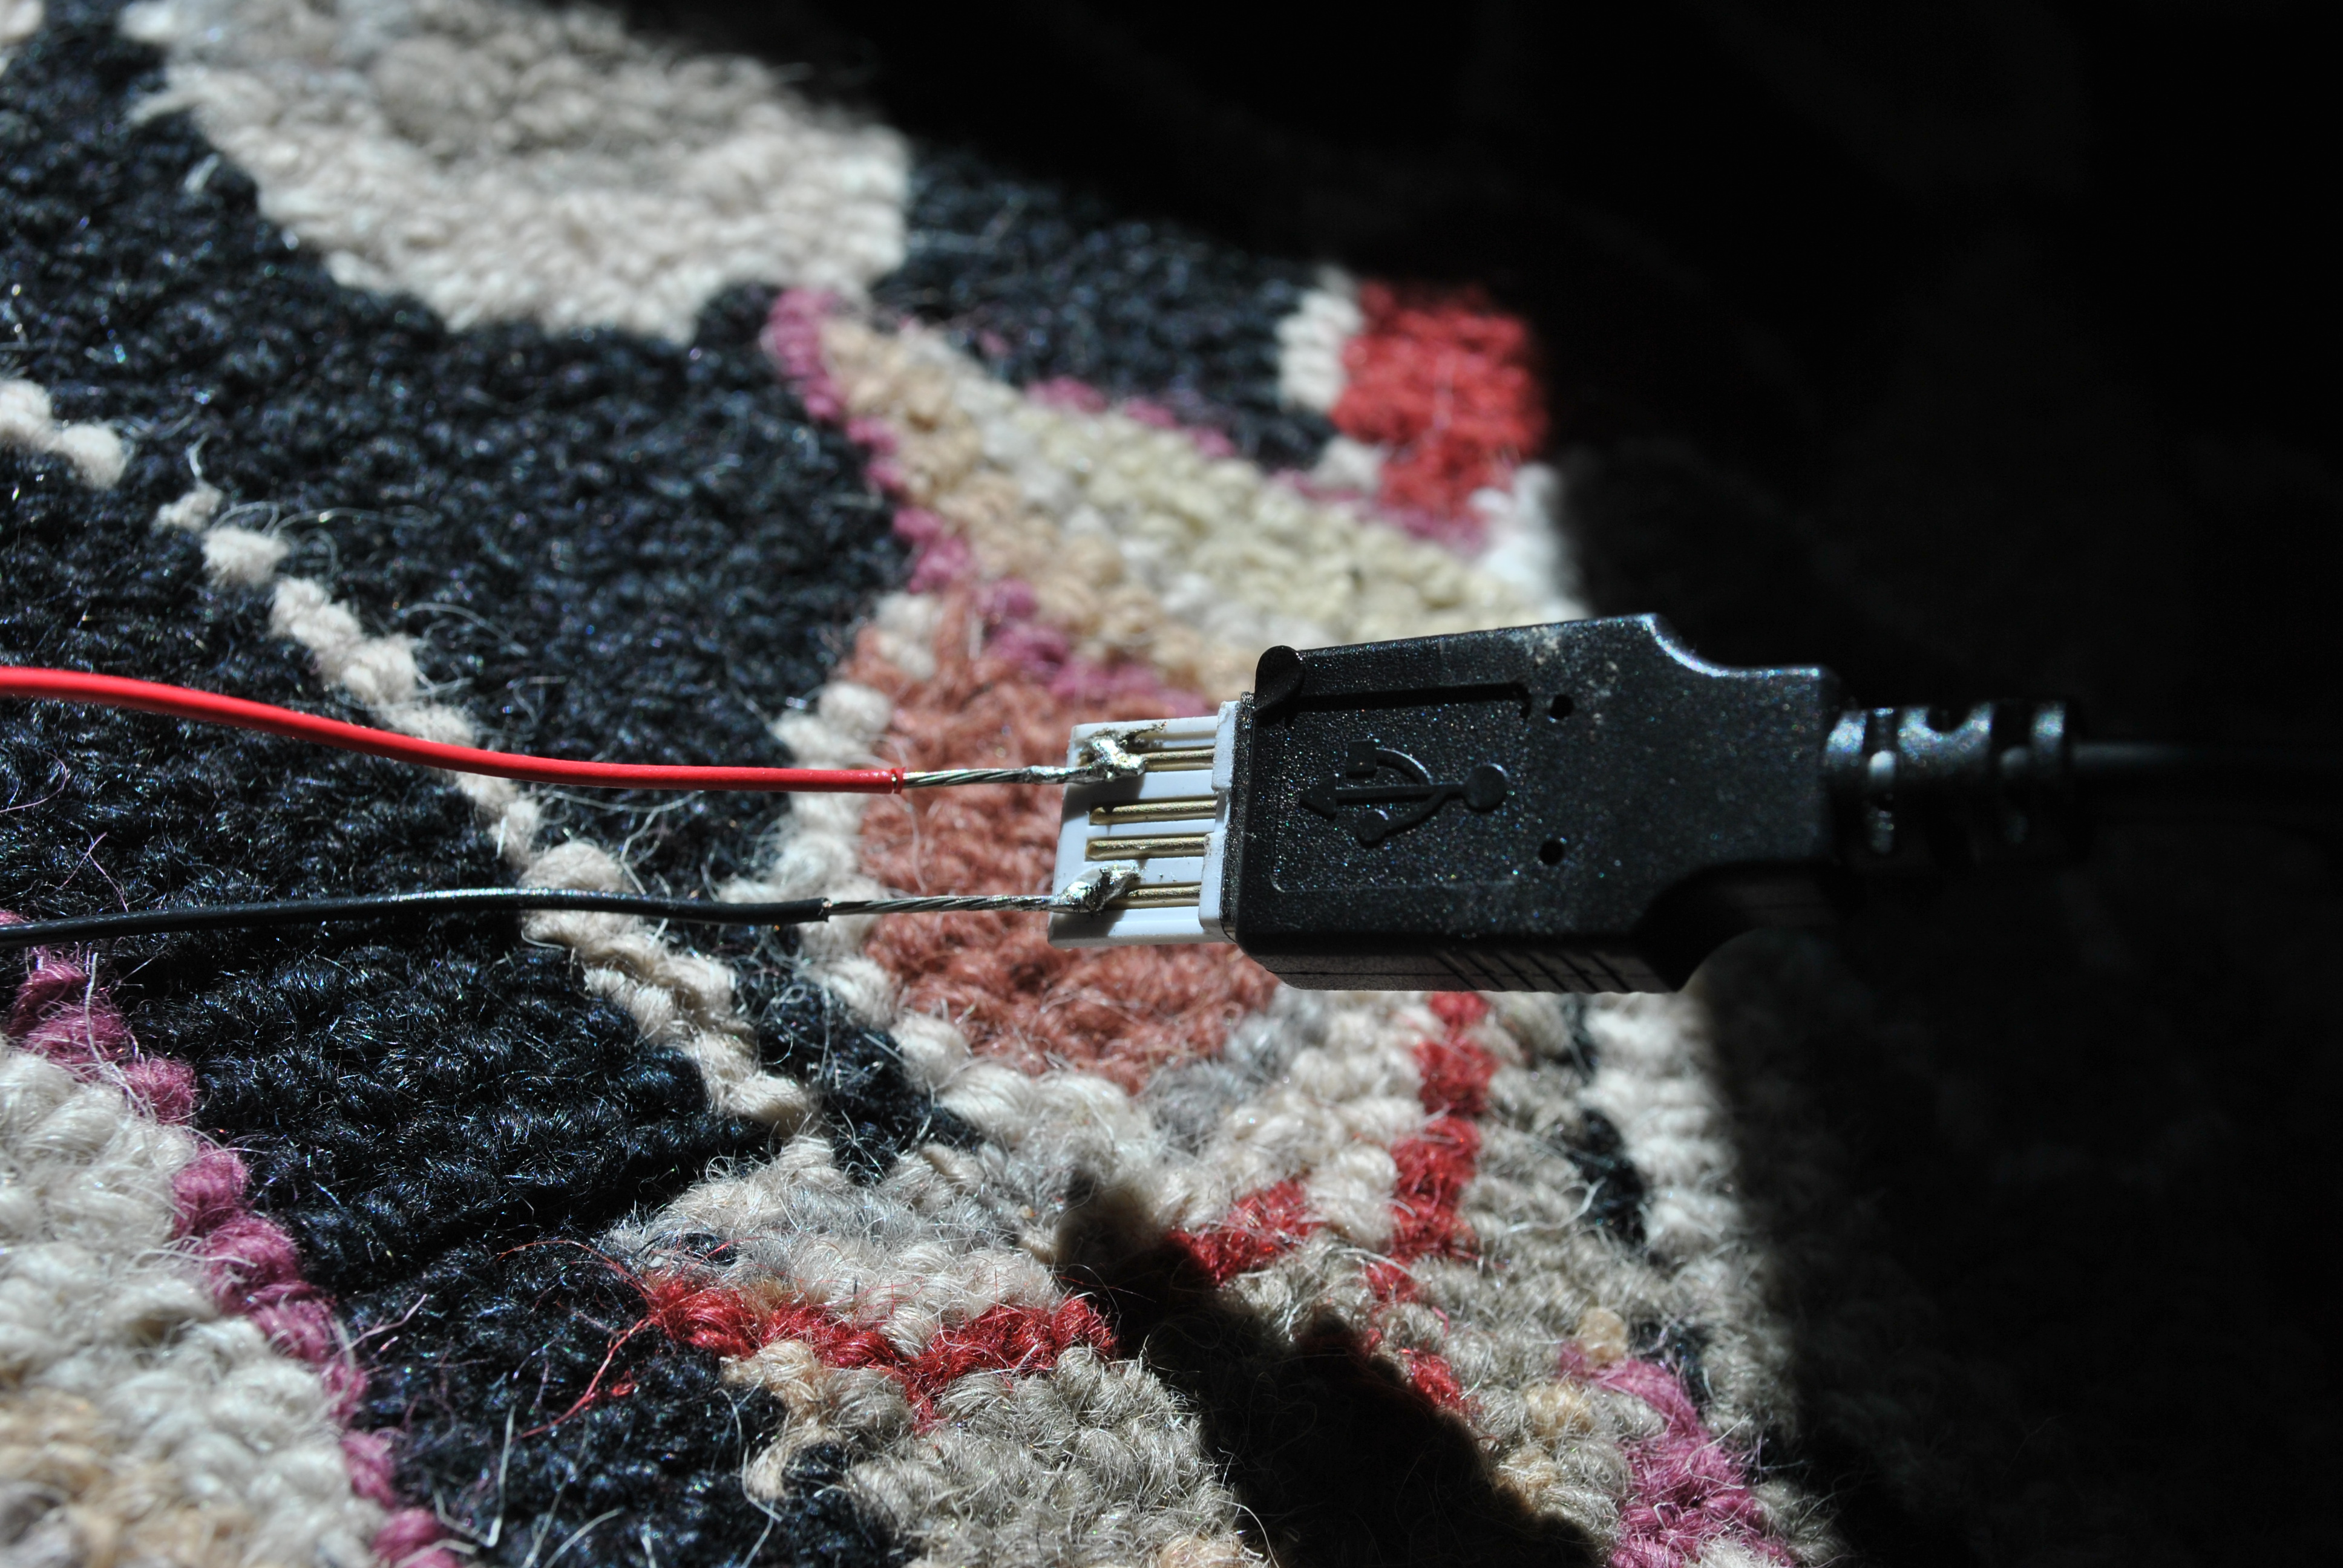
I put the red wire (from the top of the array) on the far right connector, and the black (from the bottom of the array) on the far left.
here you can see how the top of the last cell on the left array is attached to the bottom of the right array
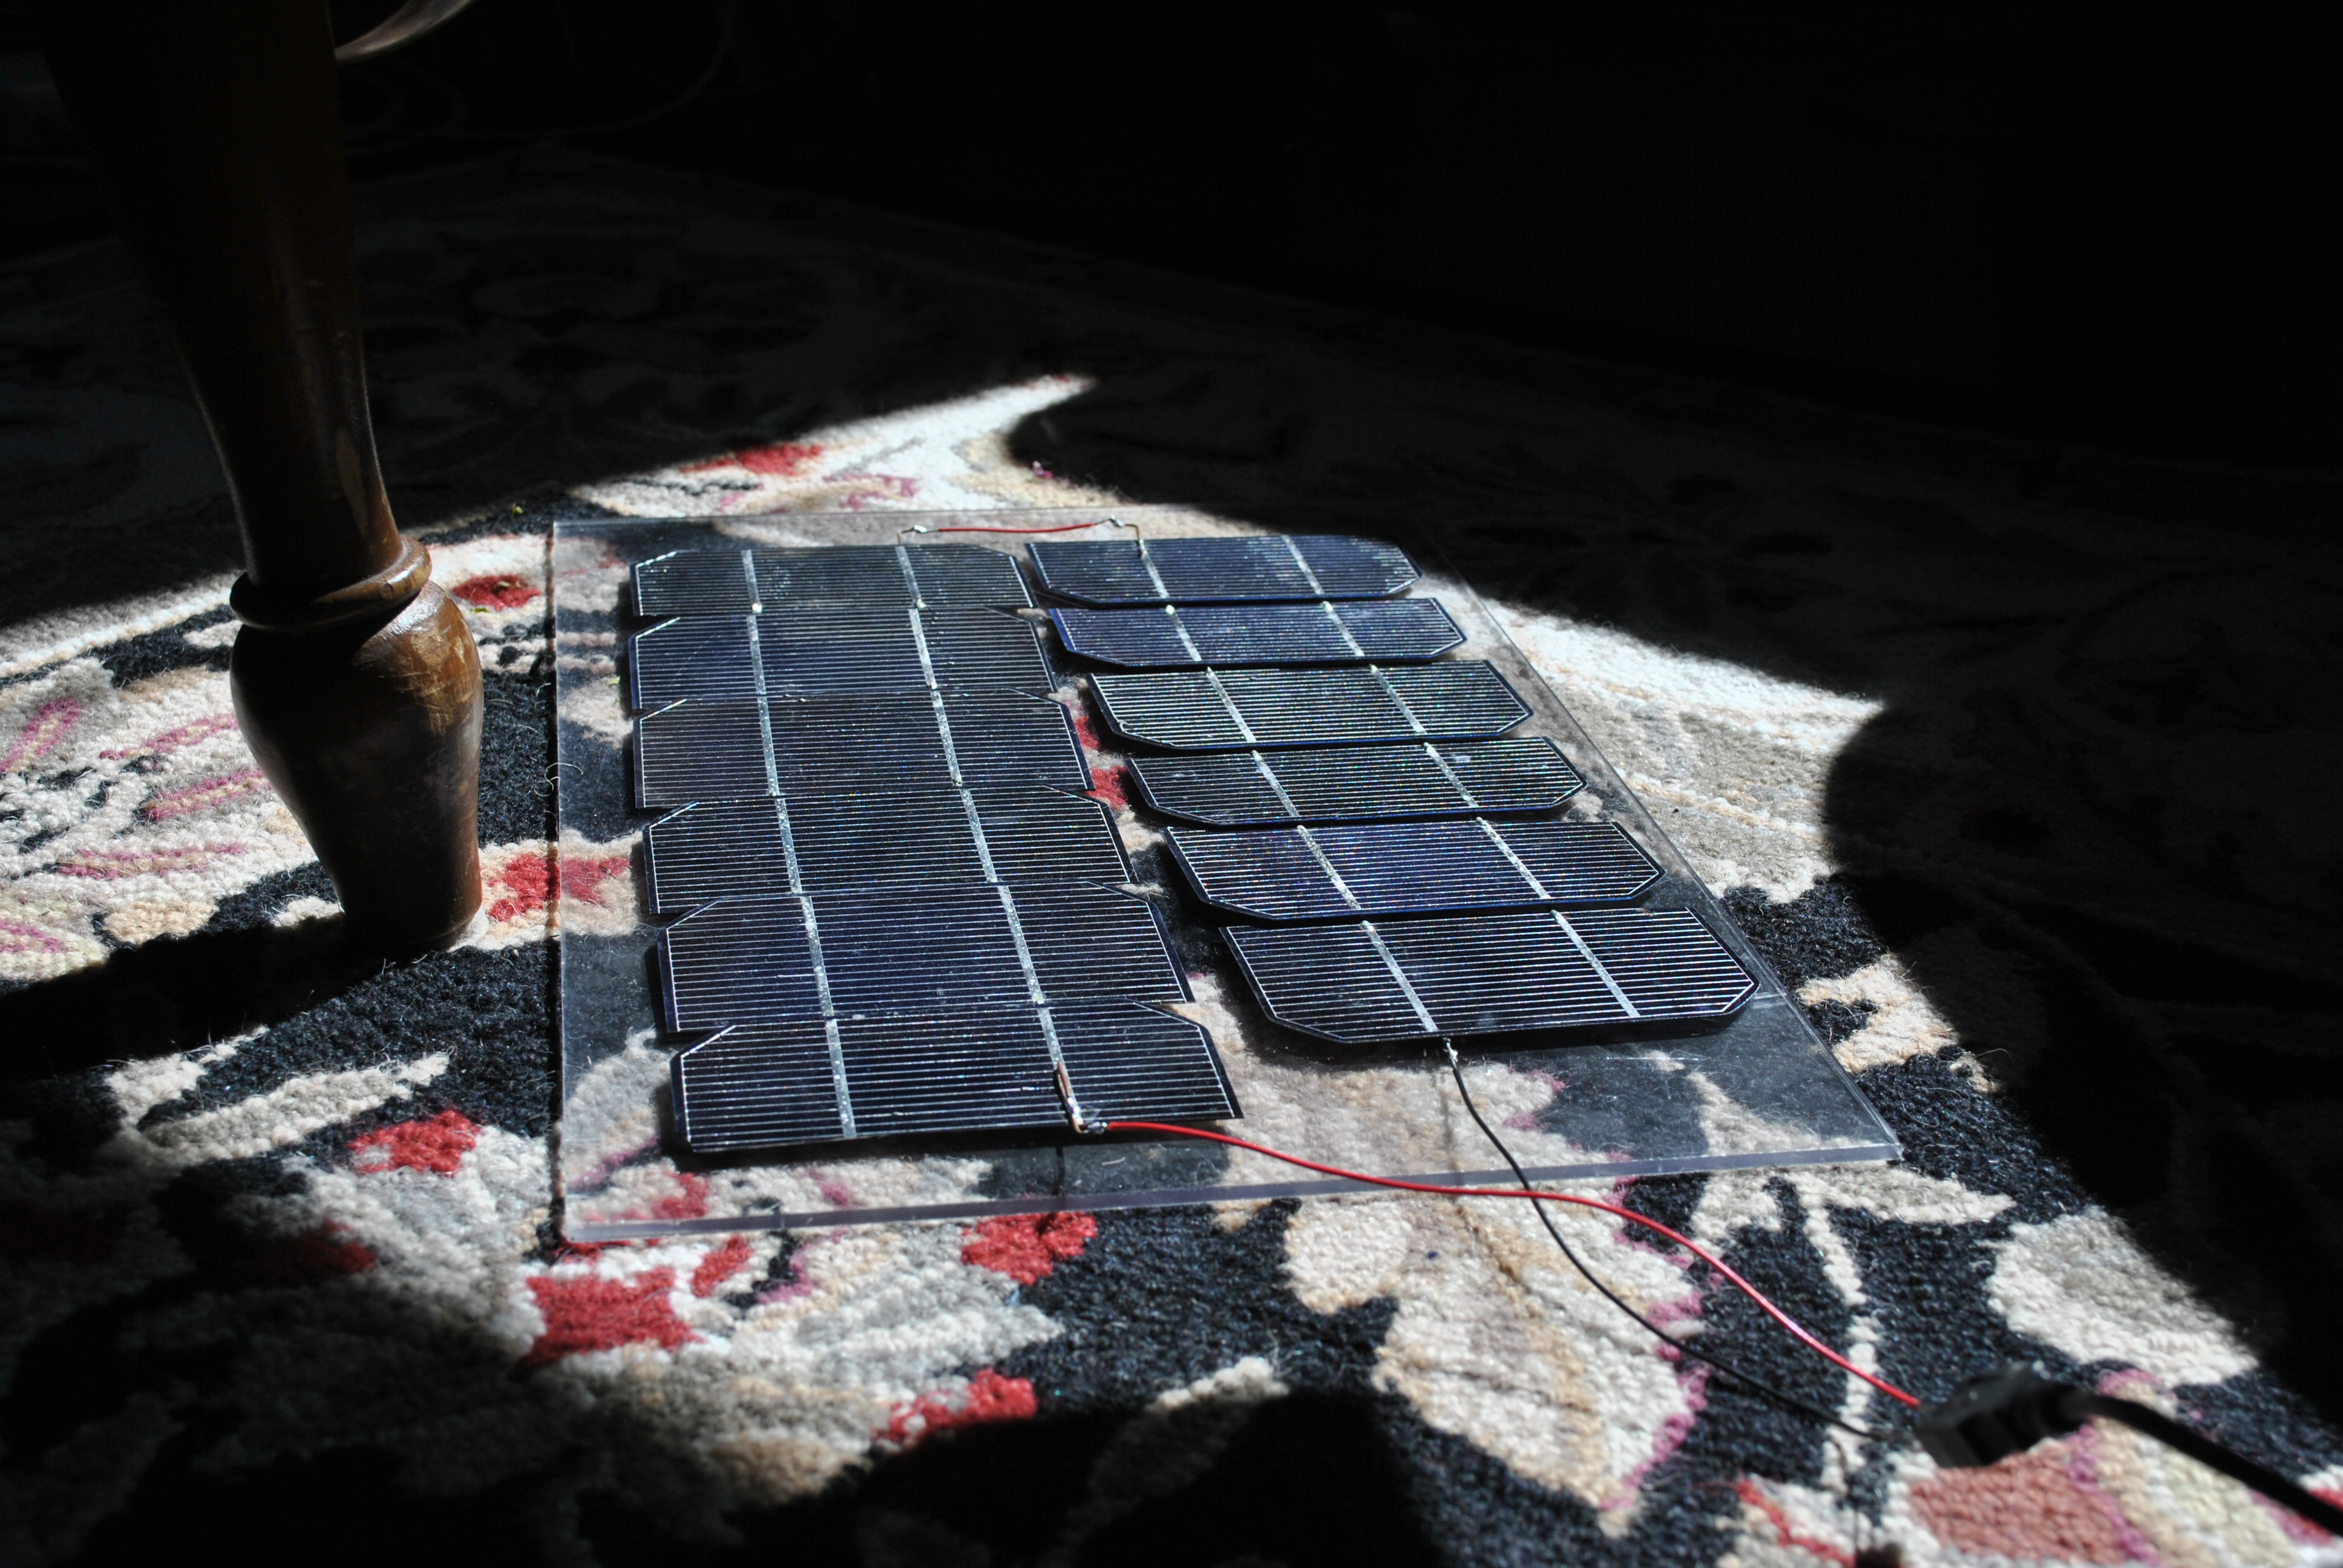
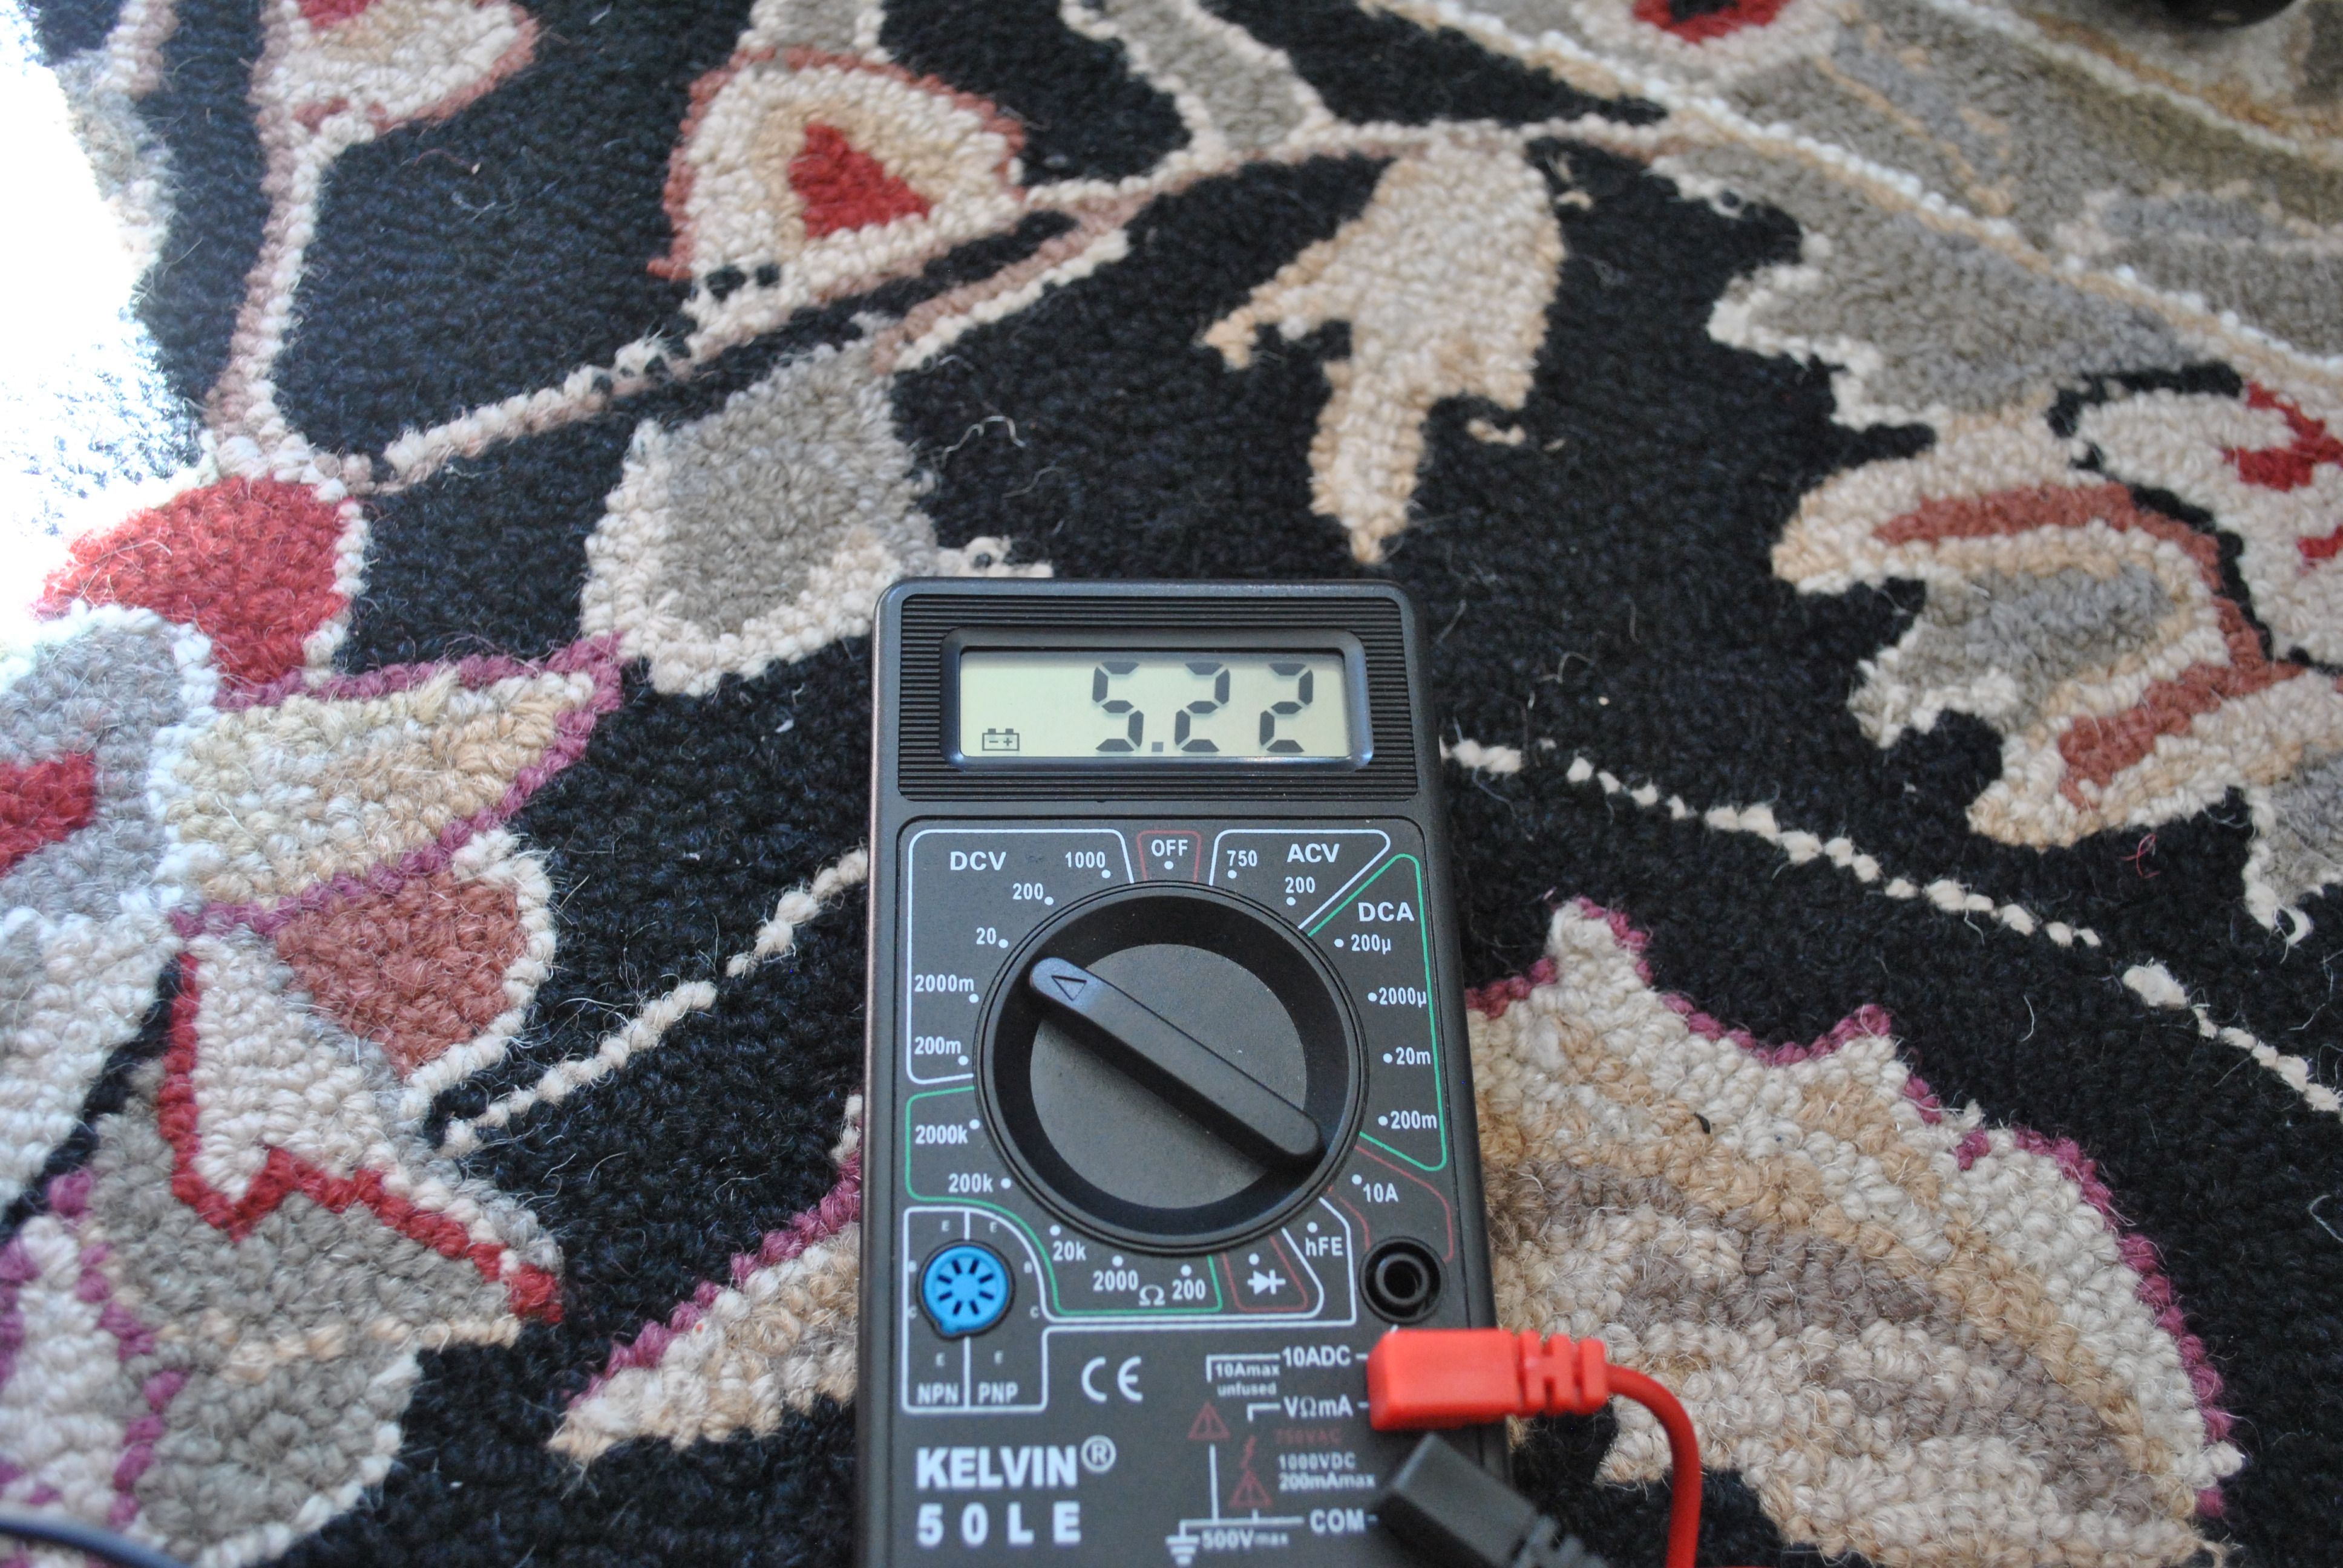
The array actually pumps out about 7 volts when nothing it attached to, but puts out 5.22 when the battery is attached. Which is just about perfect.
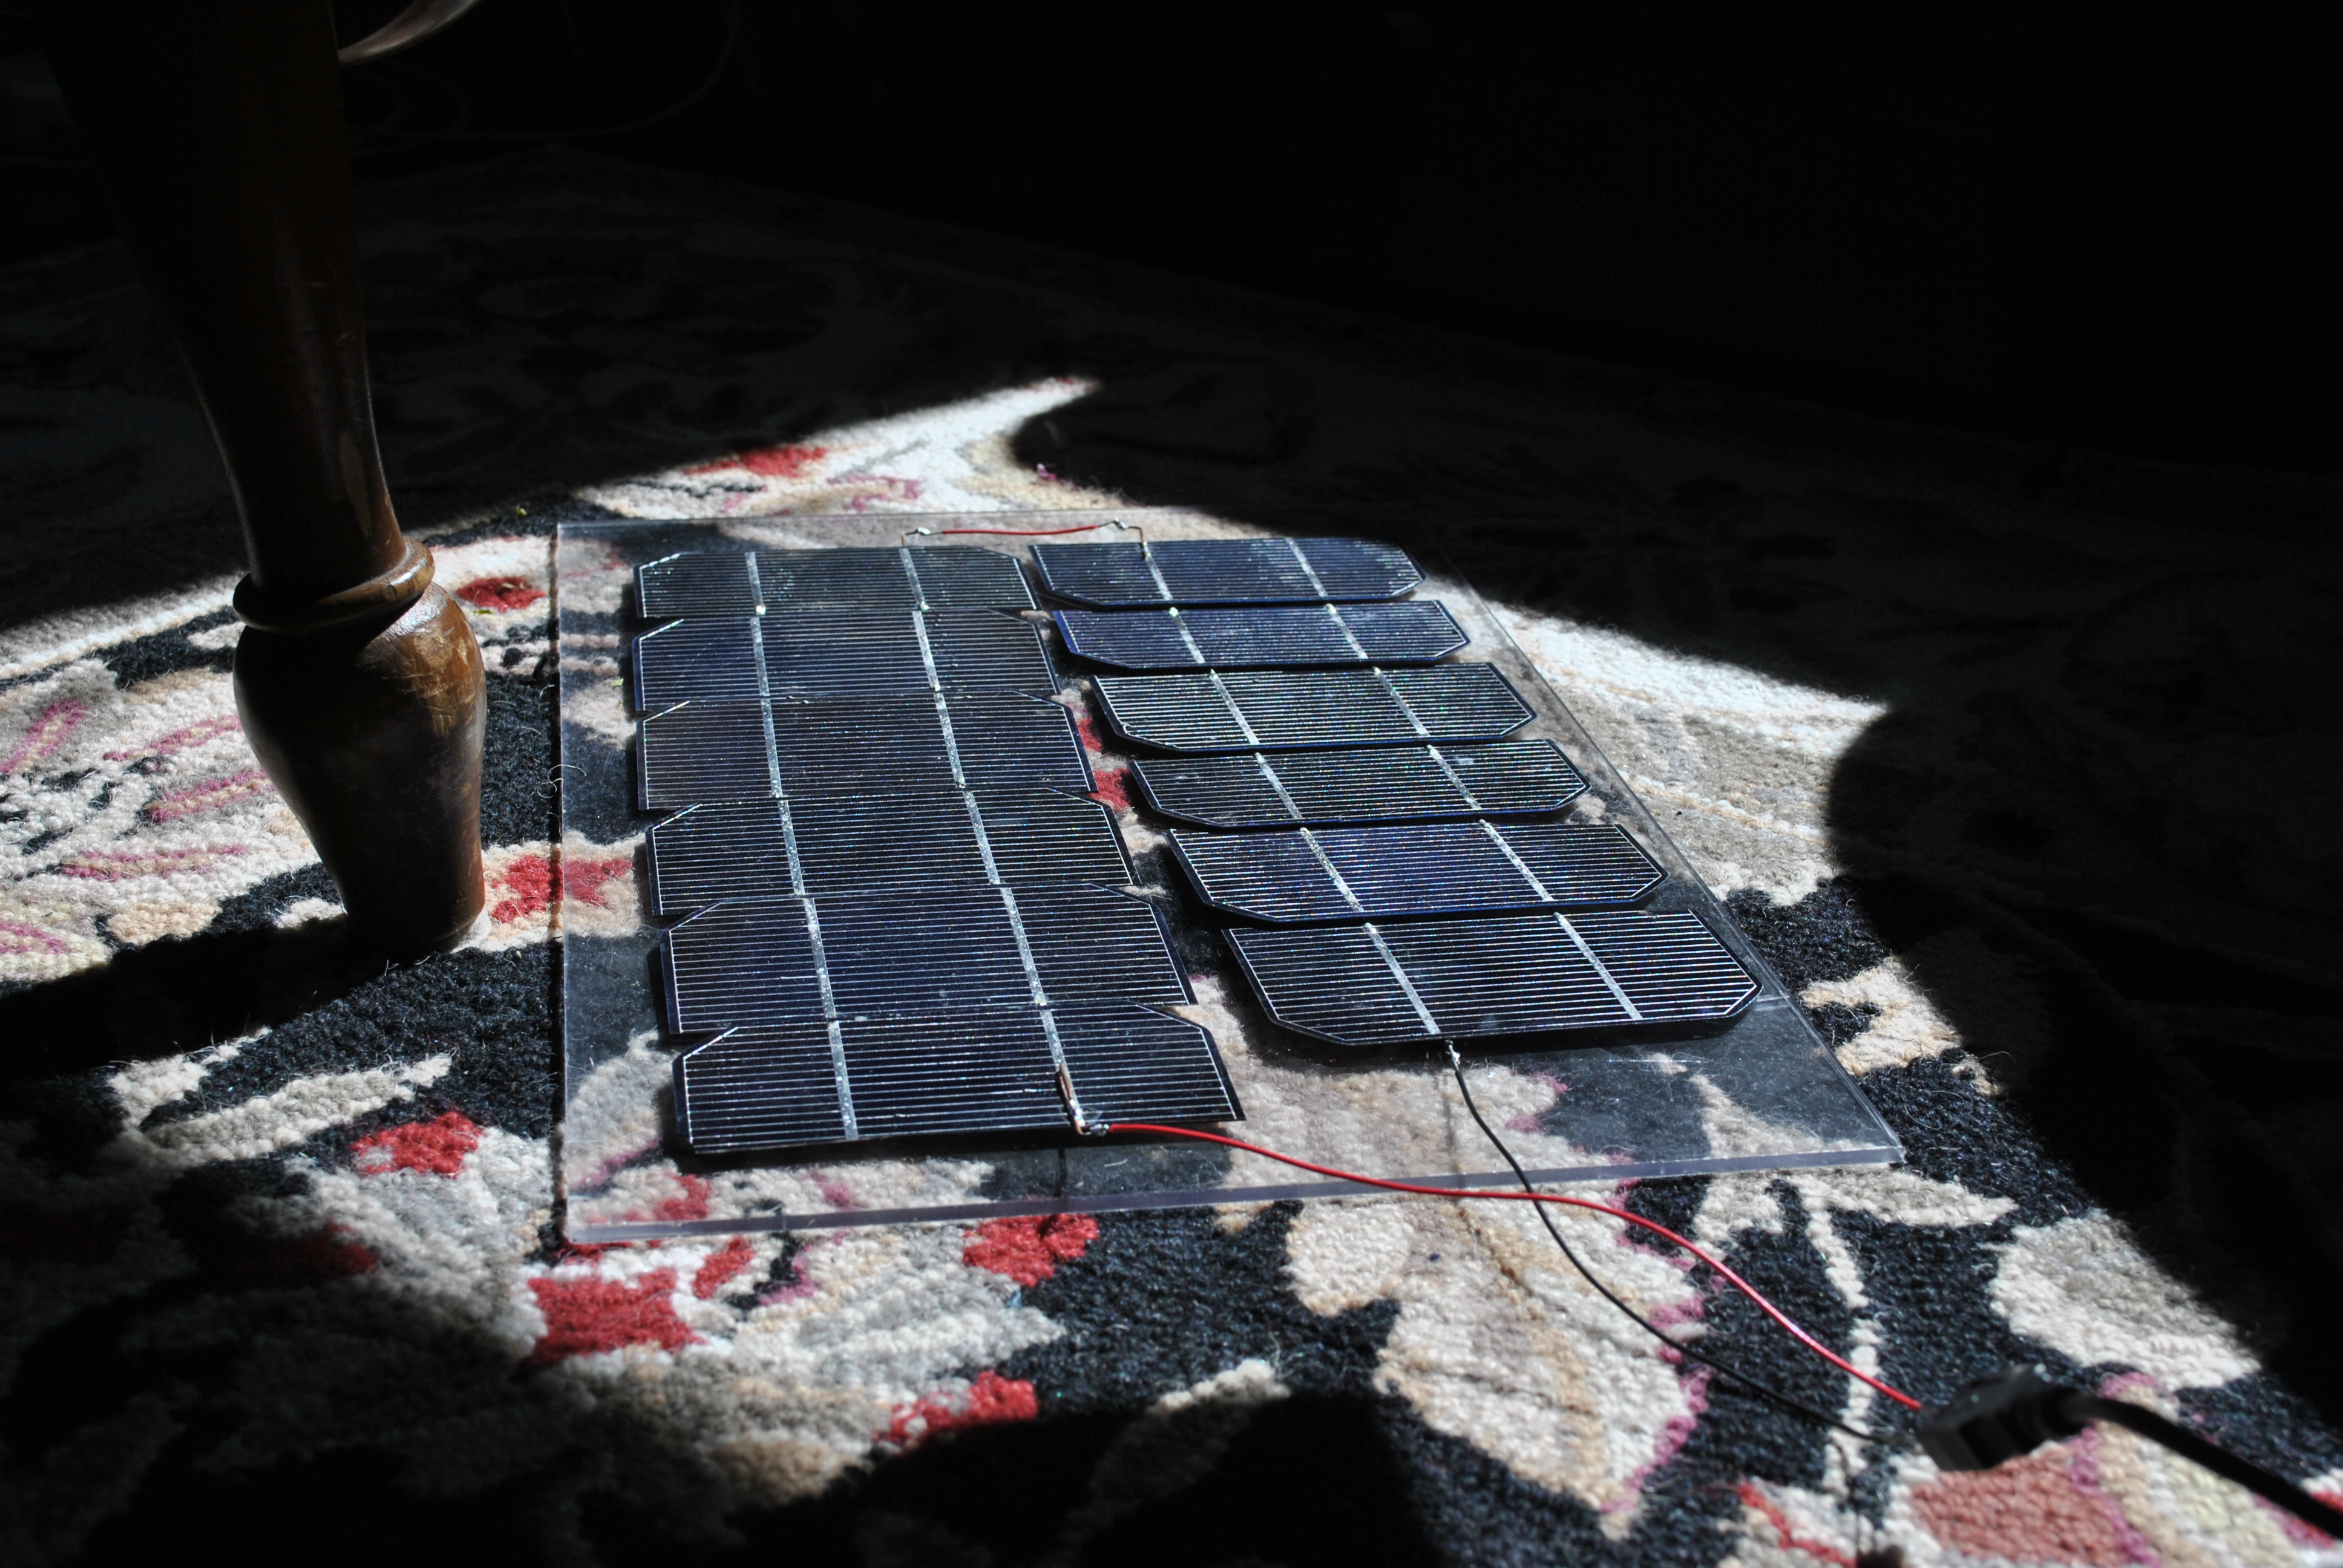
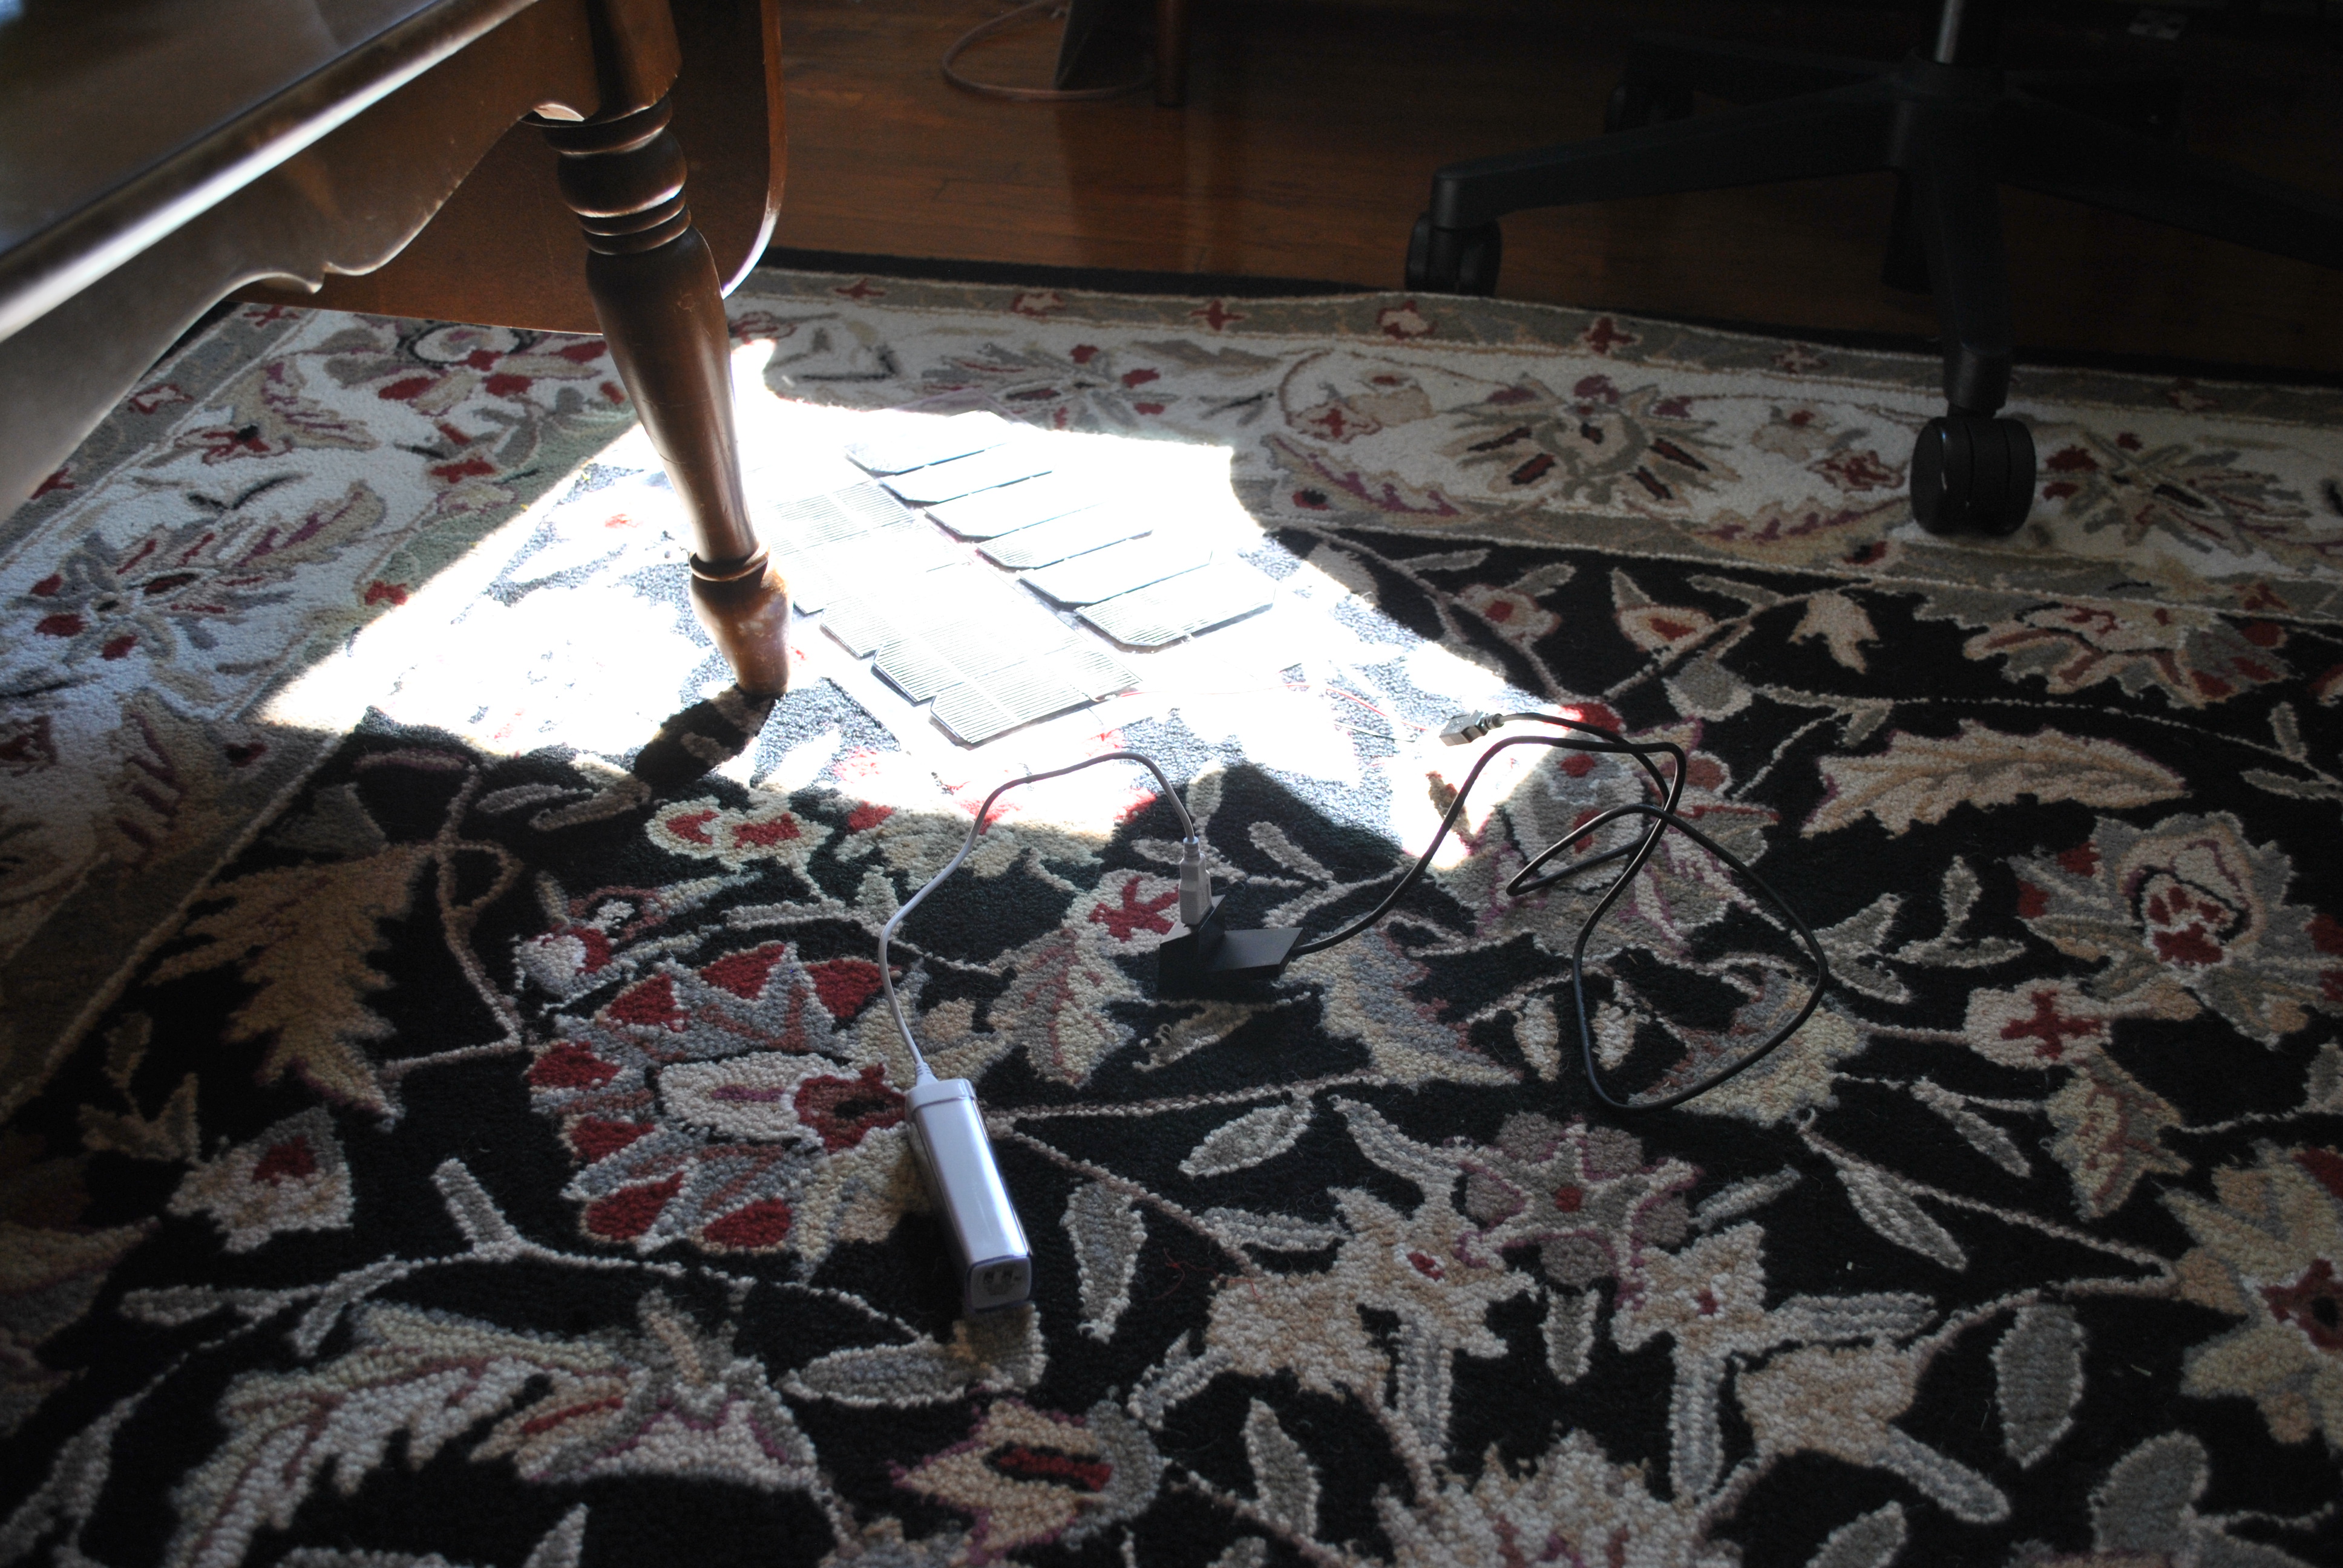
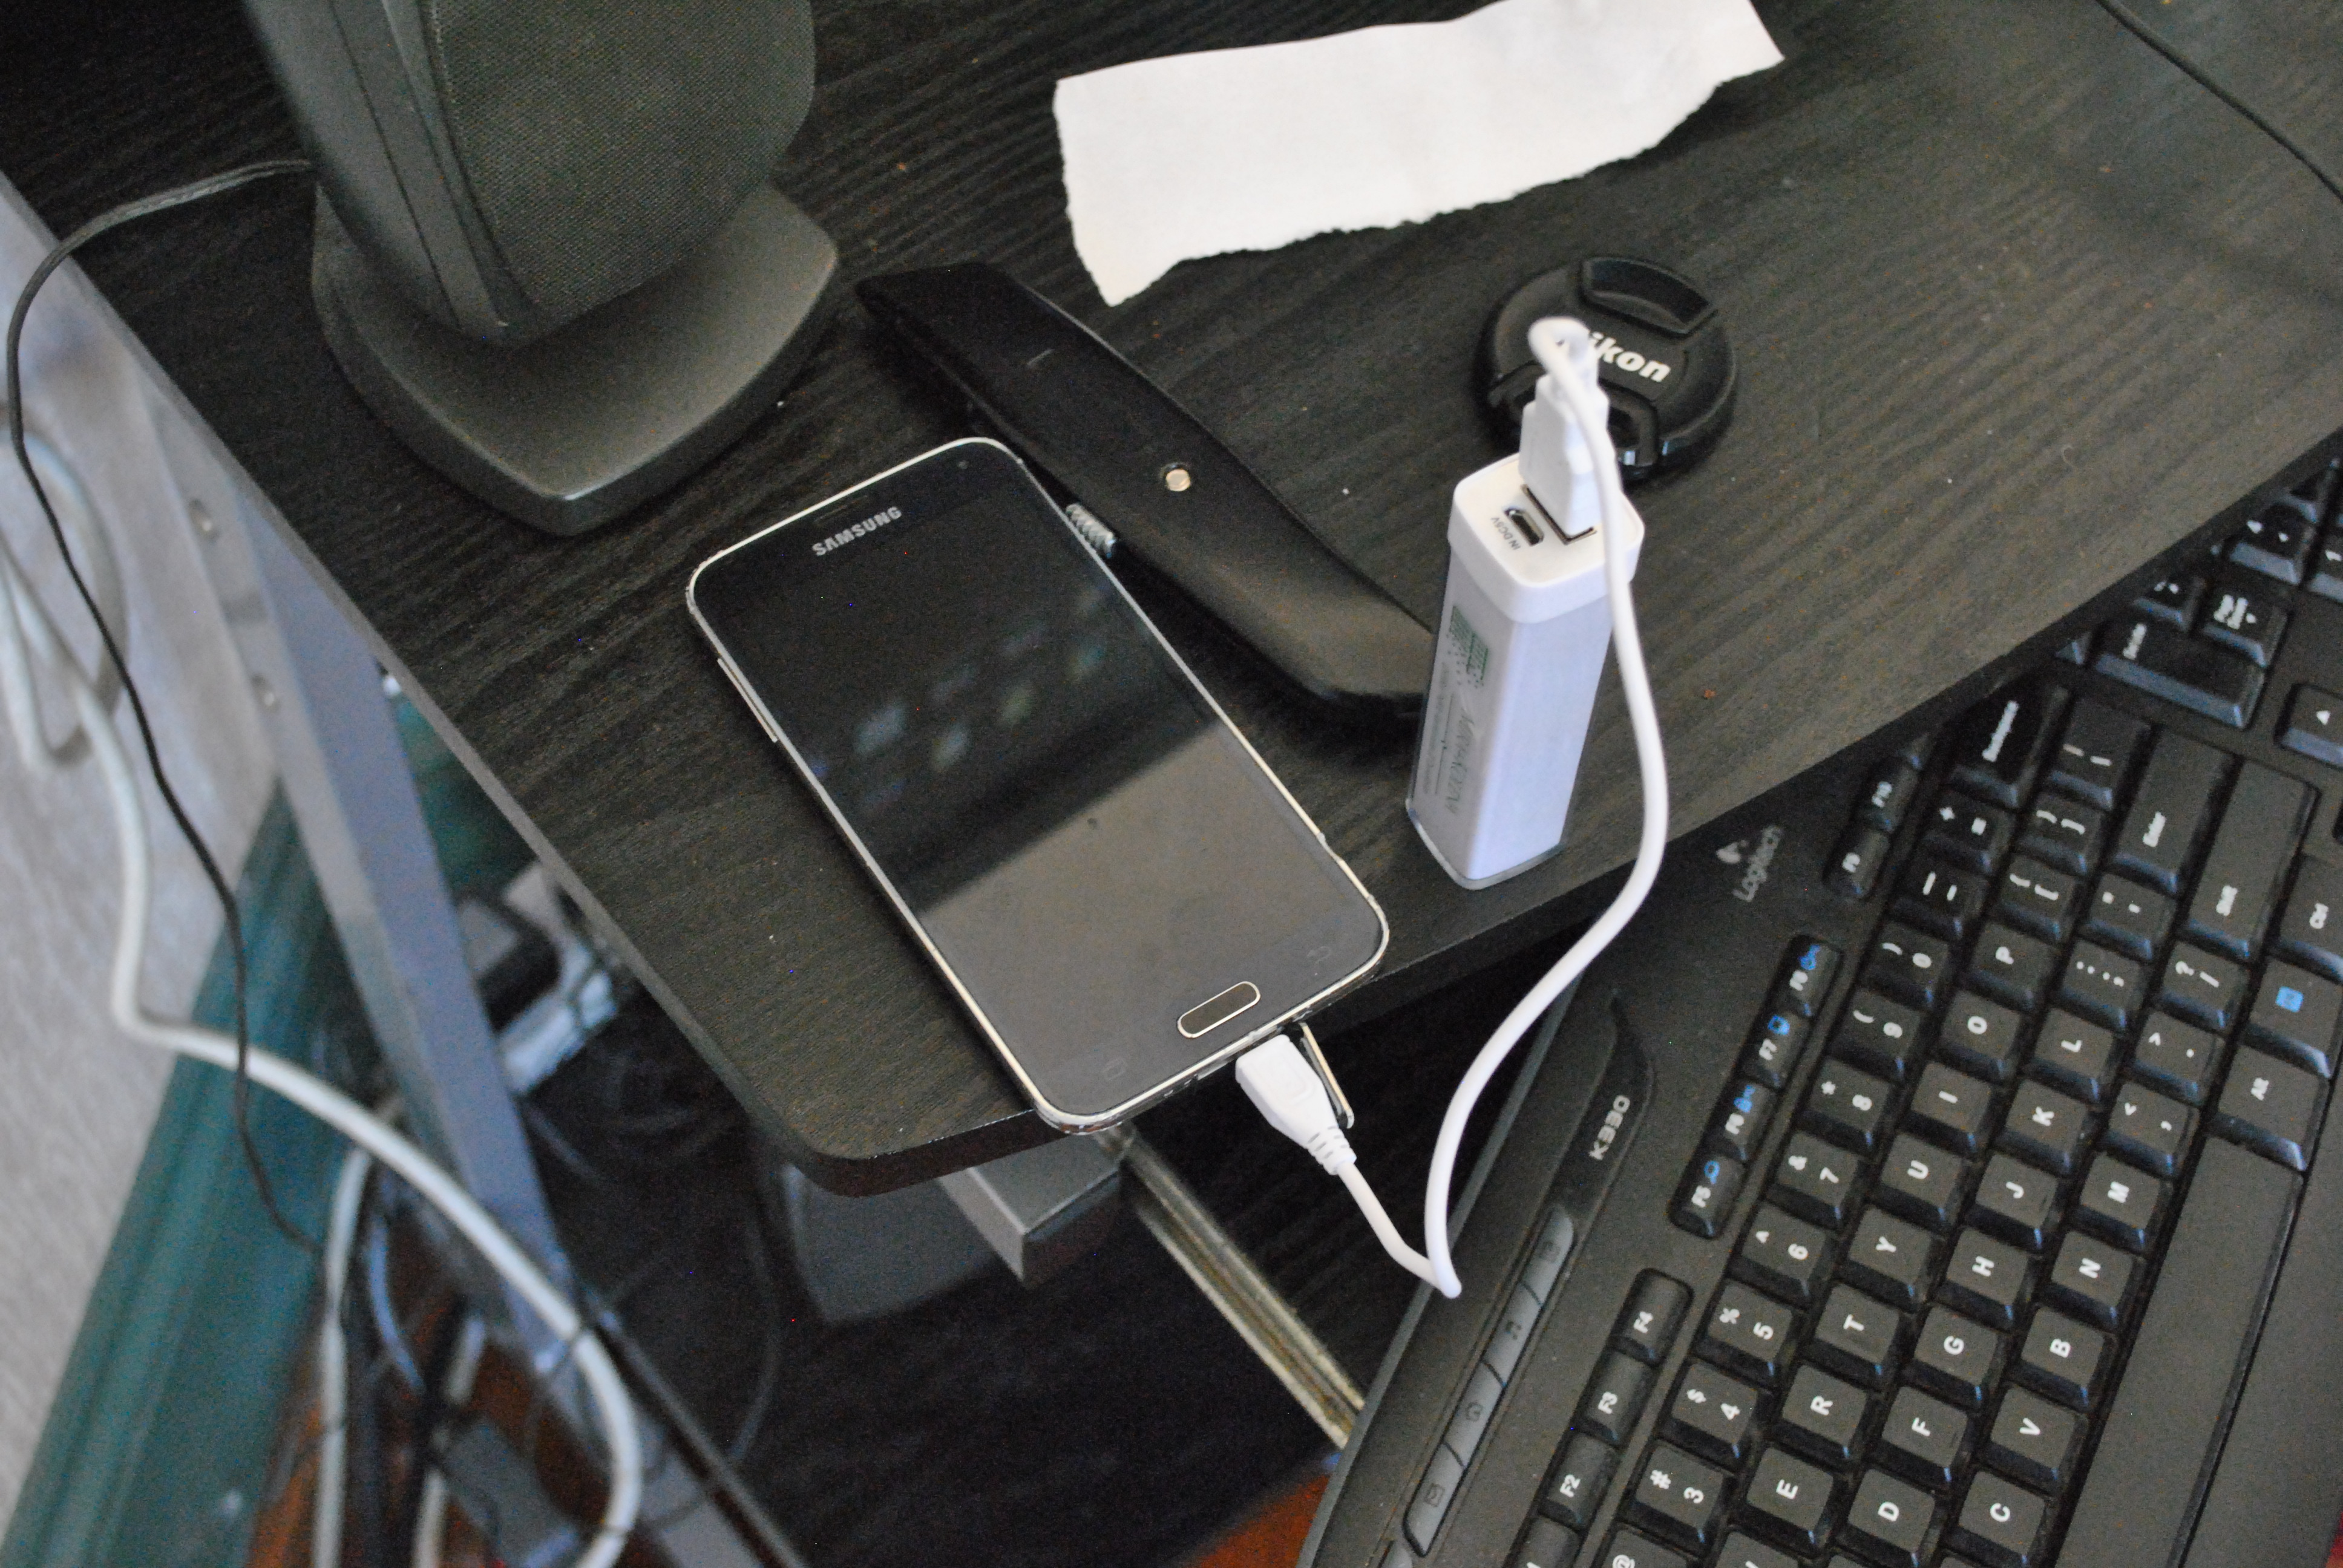
I plugged it all together, put the cells in the sun and whalla! The charging light turned out. The nice thing about these little battery packs is that they have their own charge controller in them, once they are full they just stop taking a charge.

I left it in the sun for a couple hours and when I came back the little green light was on indicating that the battery was full. I plugged it into my phone and it started charging my phone.
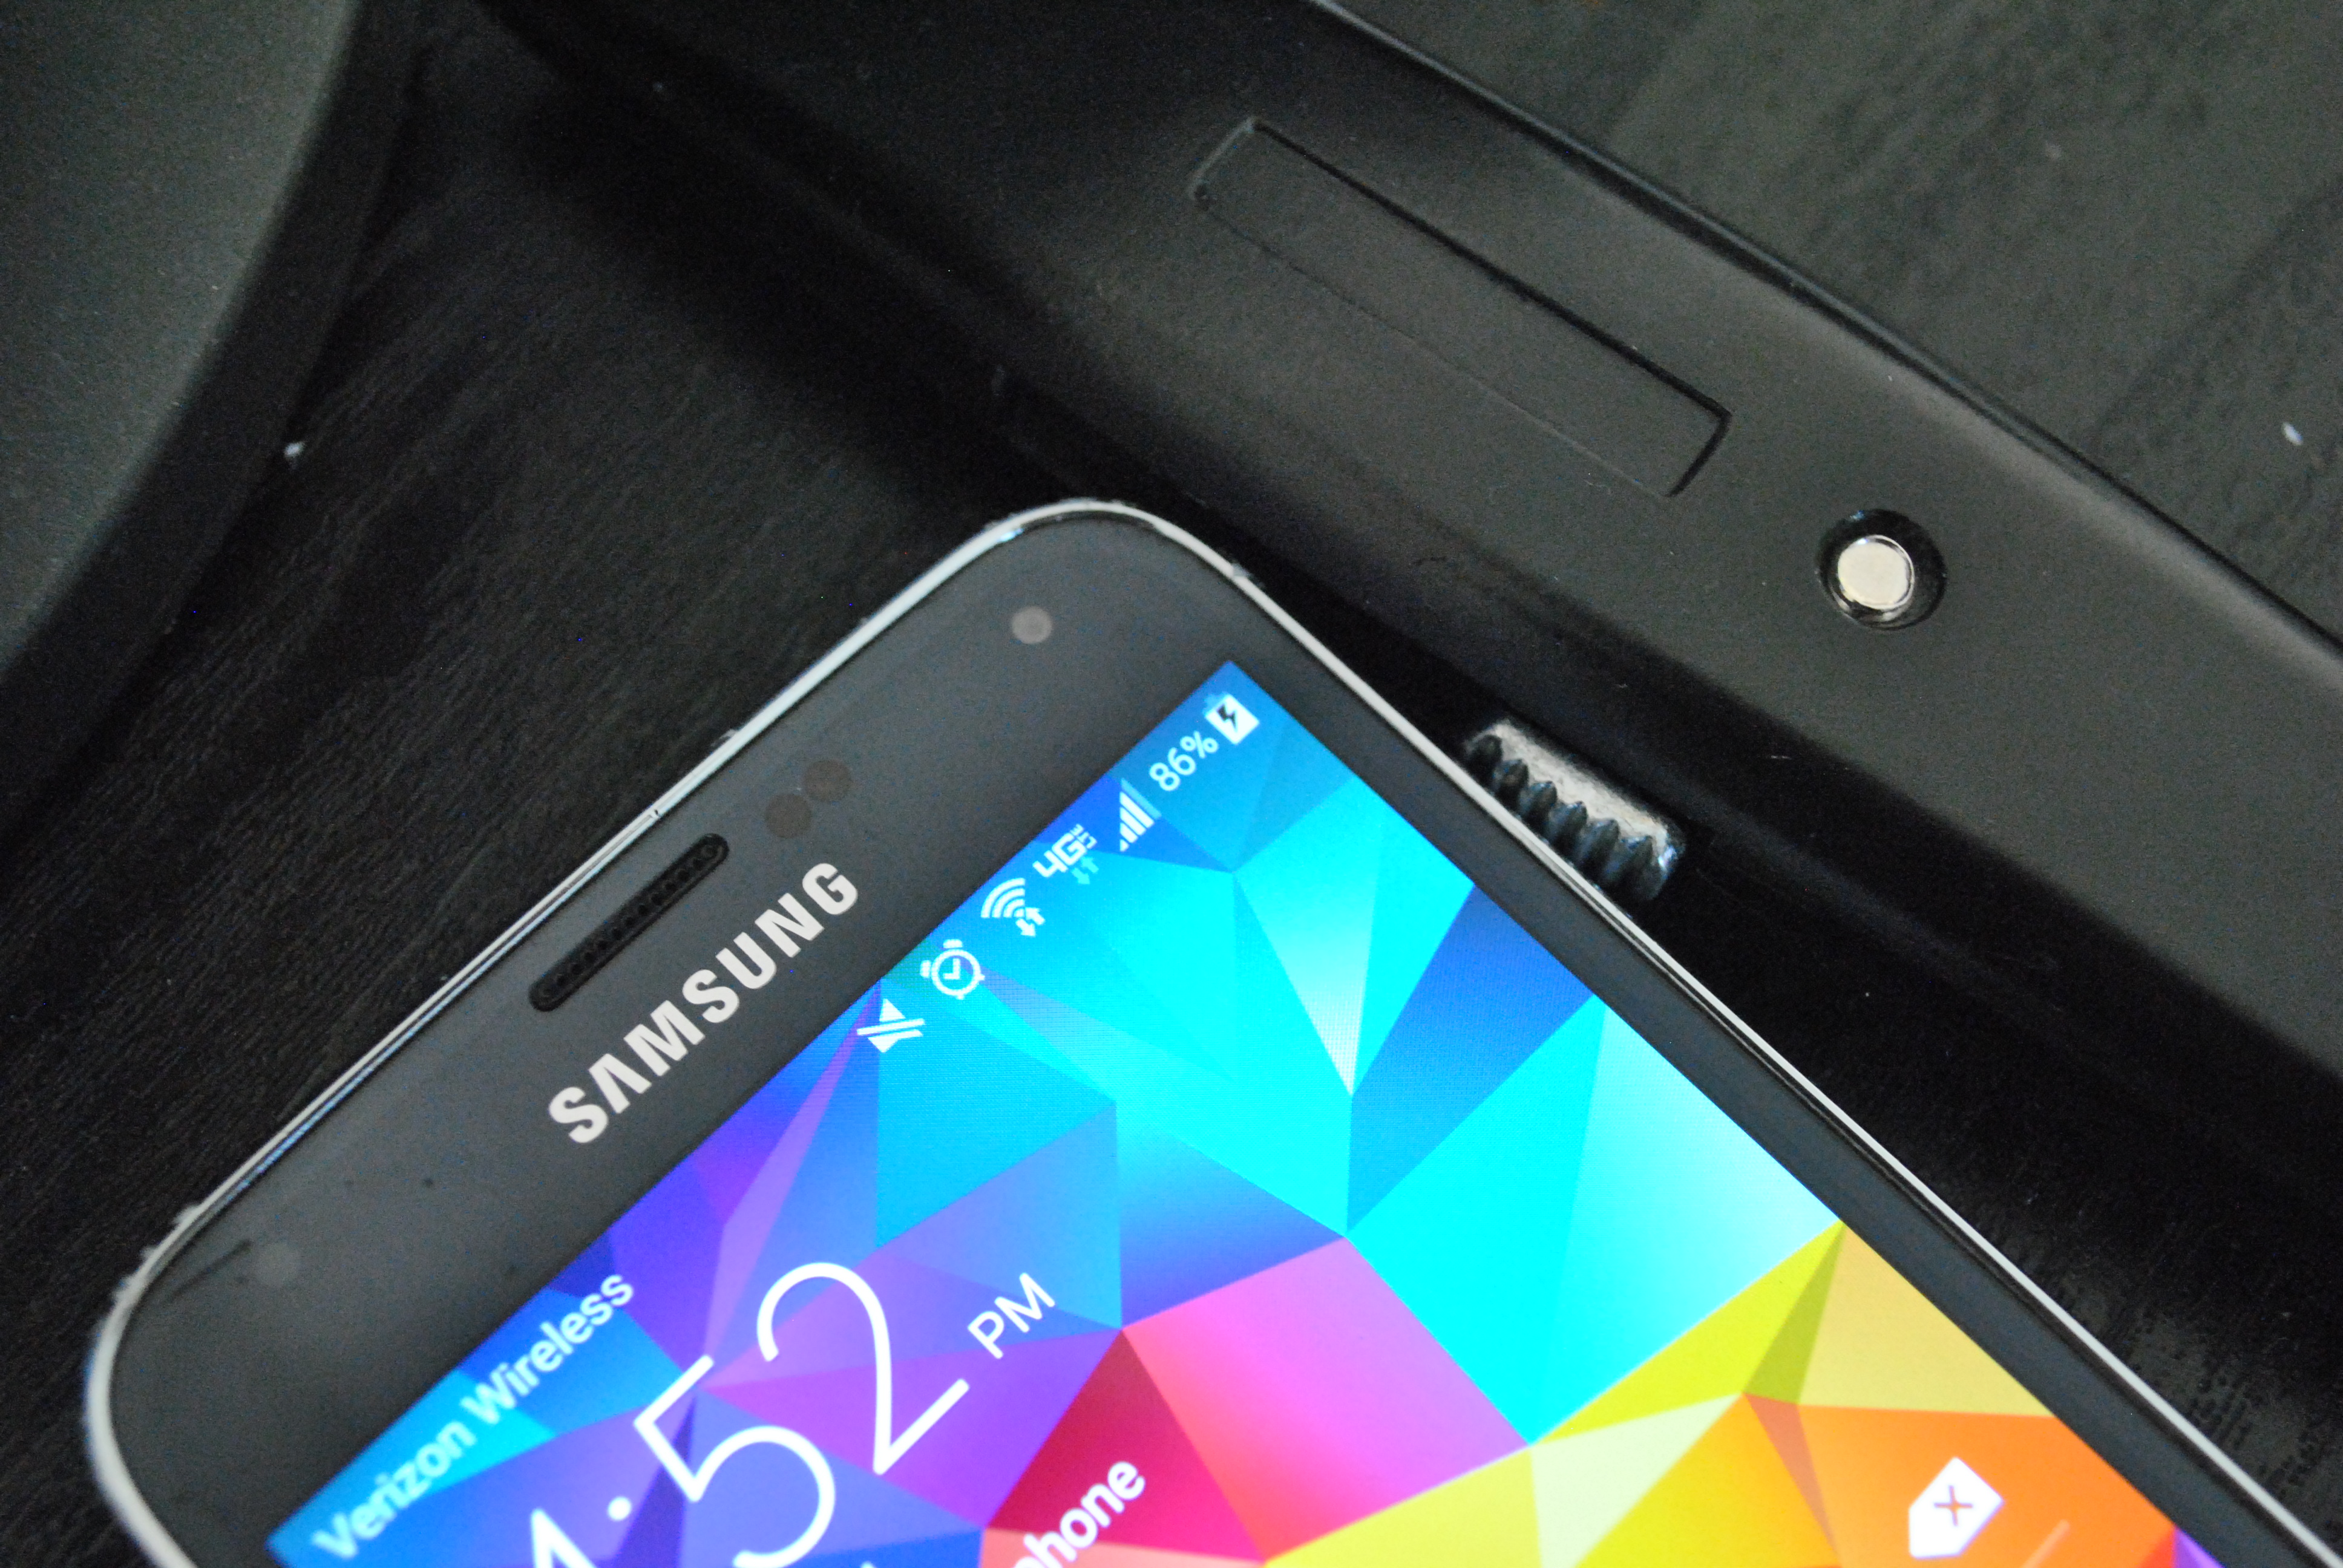
I was able to charge my phone up a couple times before the battery went dead, but all it will take is another bit of time in the sun, essentially making my phone solar powered now.
Do you want to help me continue to bring you great projects, while also getting great rewards? Then support me on Patreon!
Thank you!
I have been experimenting with some different way to turn bike chain into earrings, here is my first try.
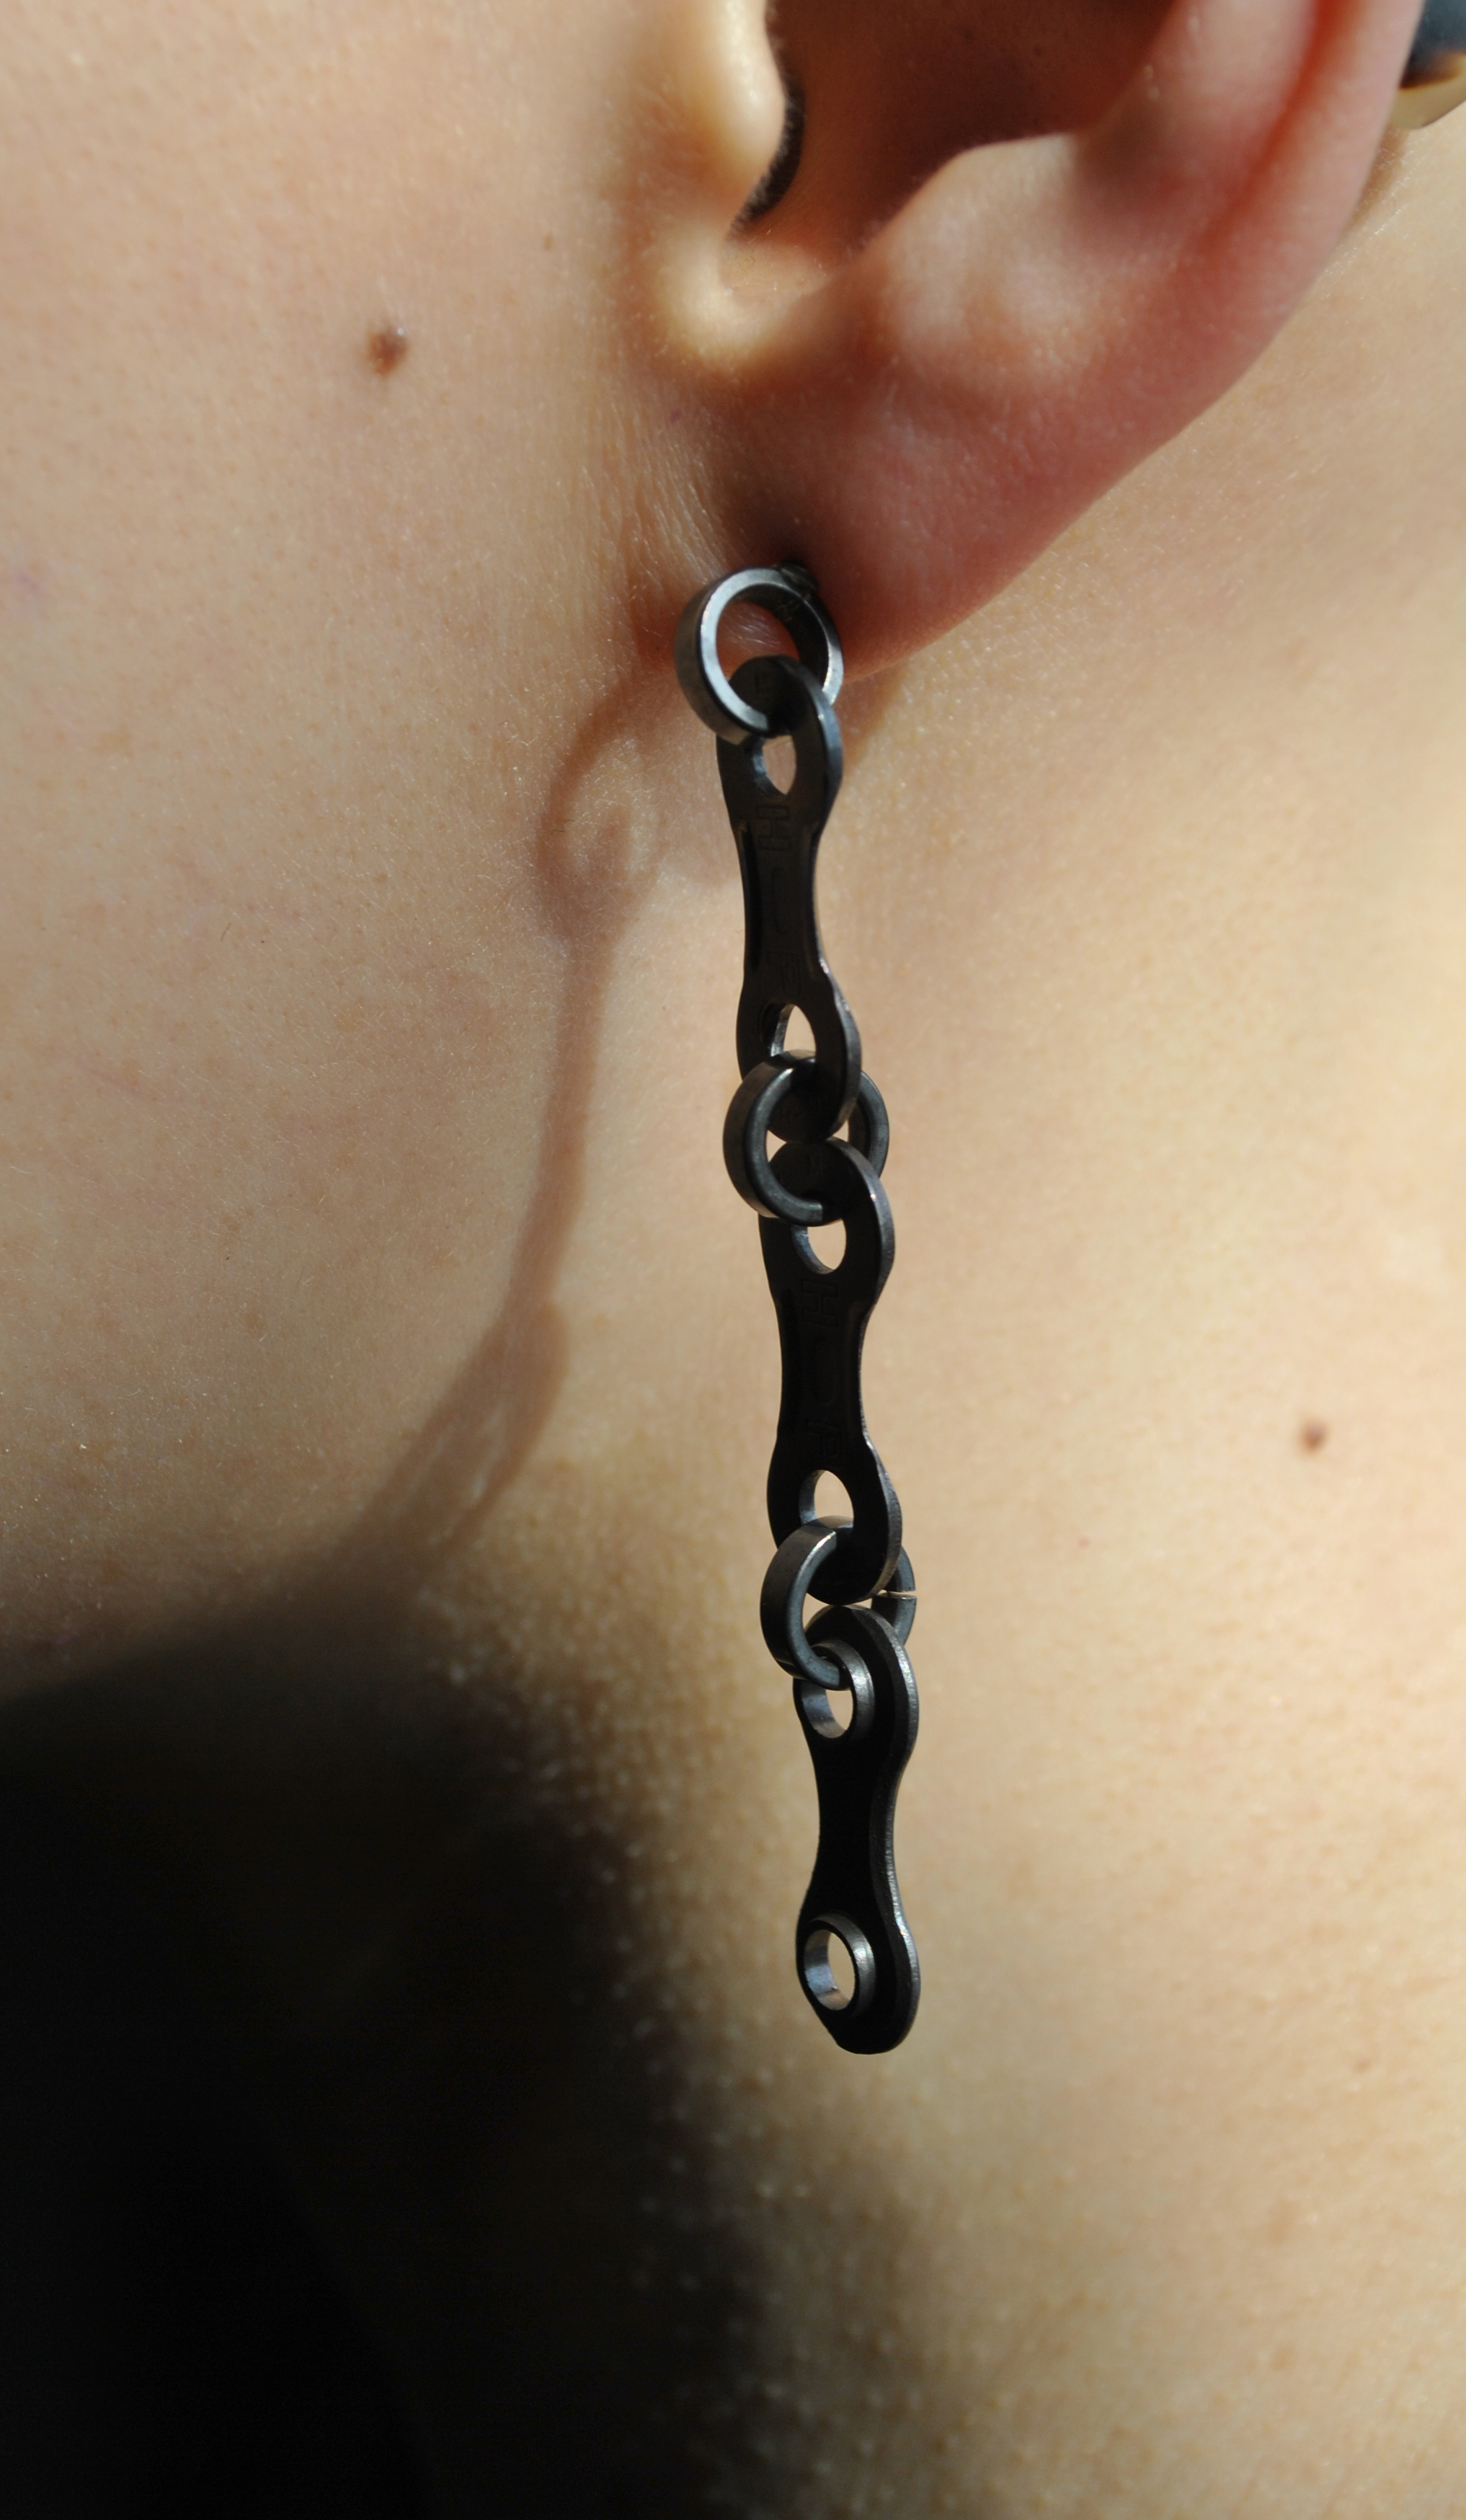
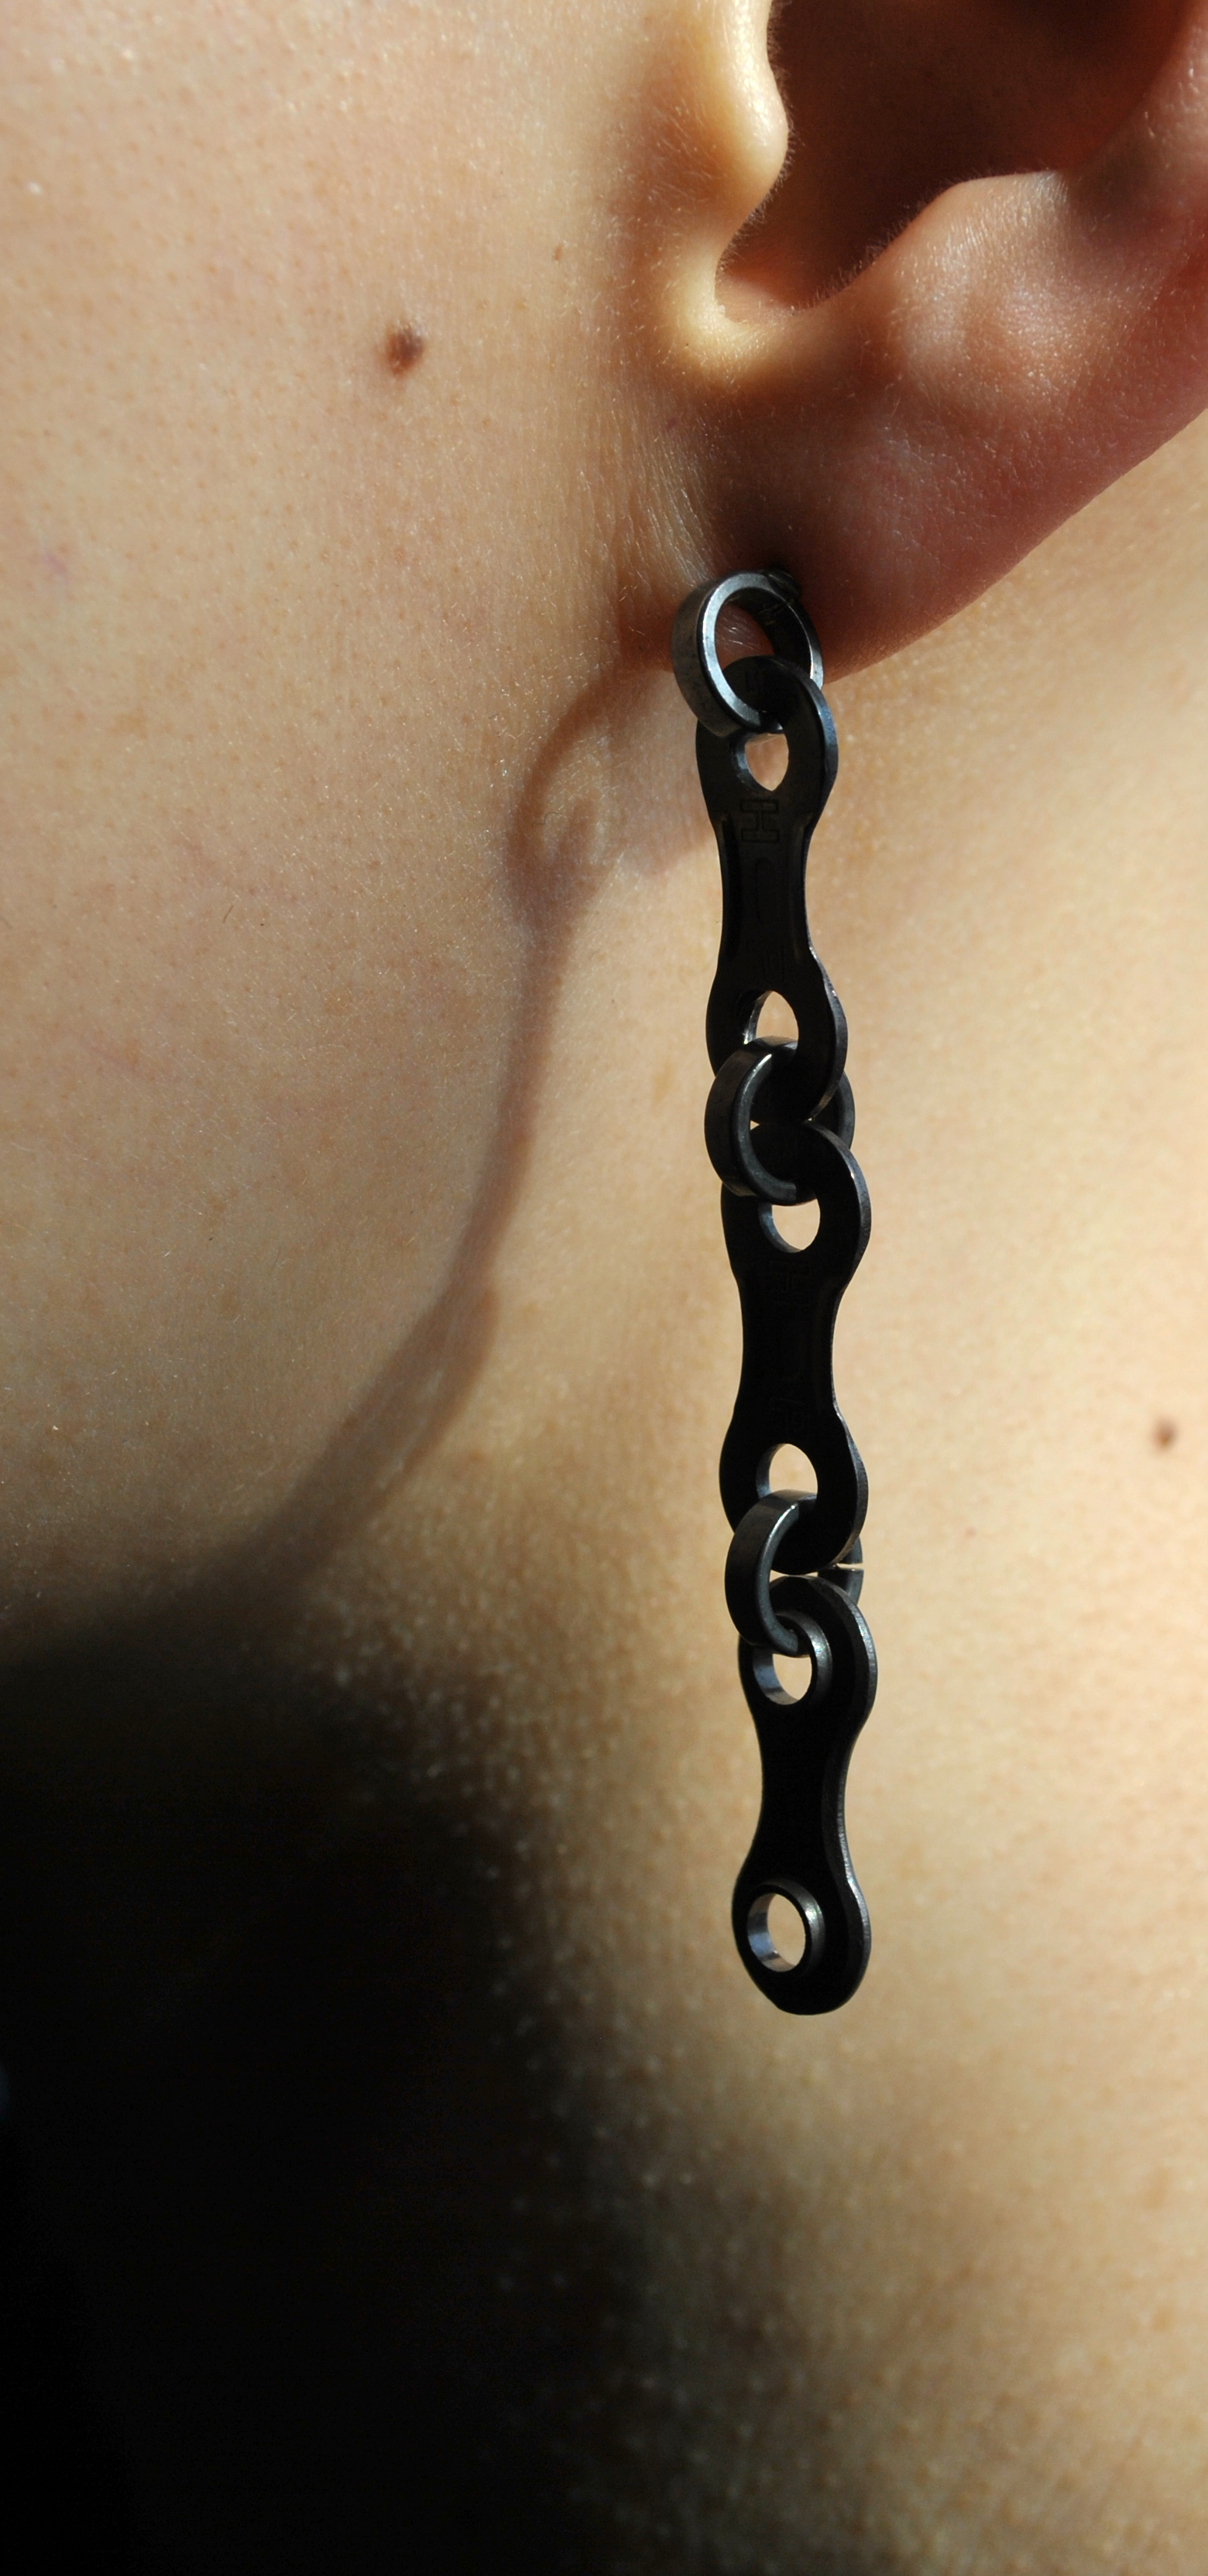
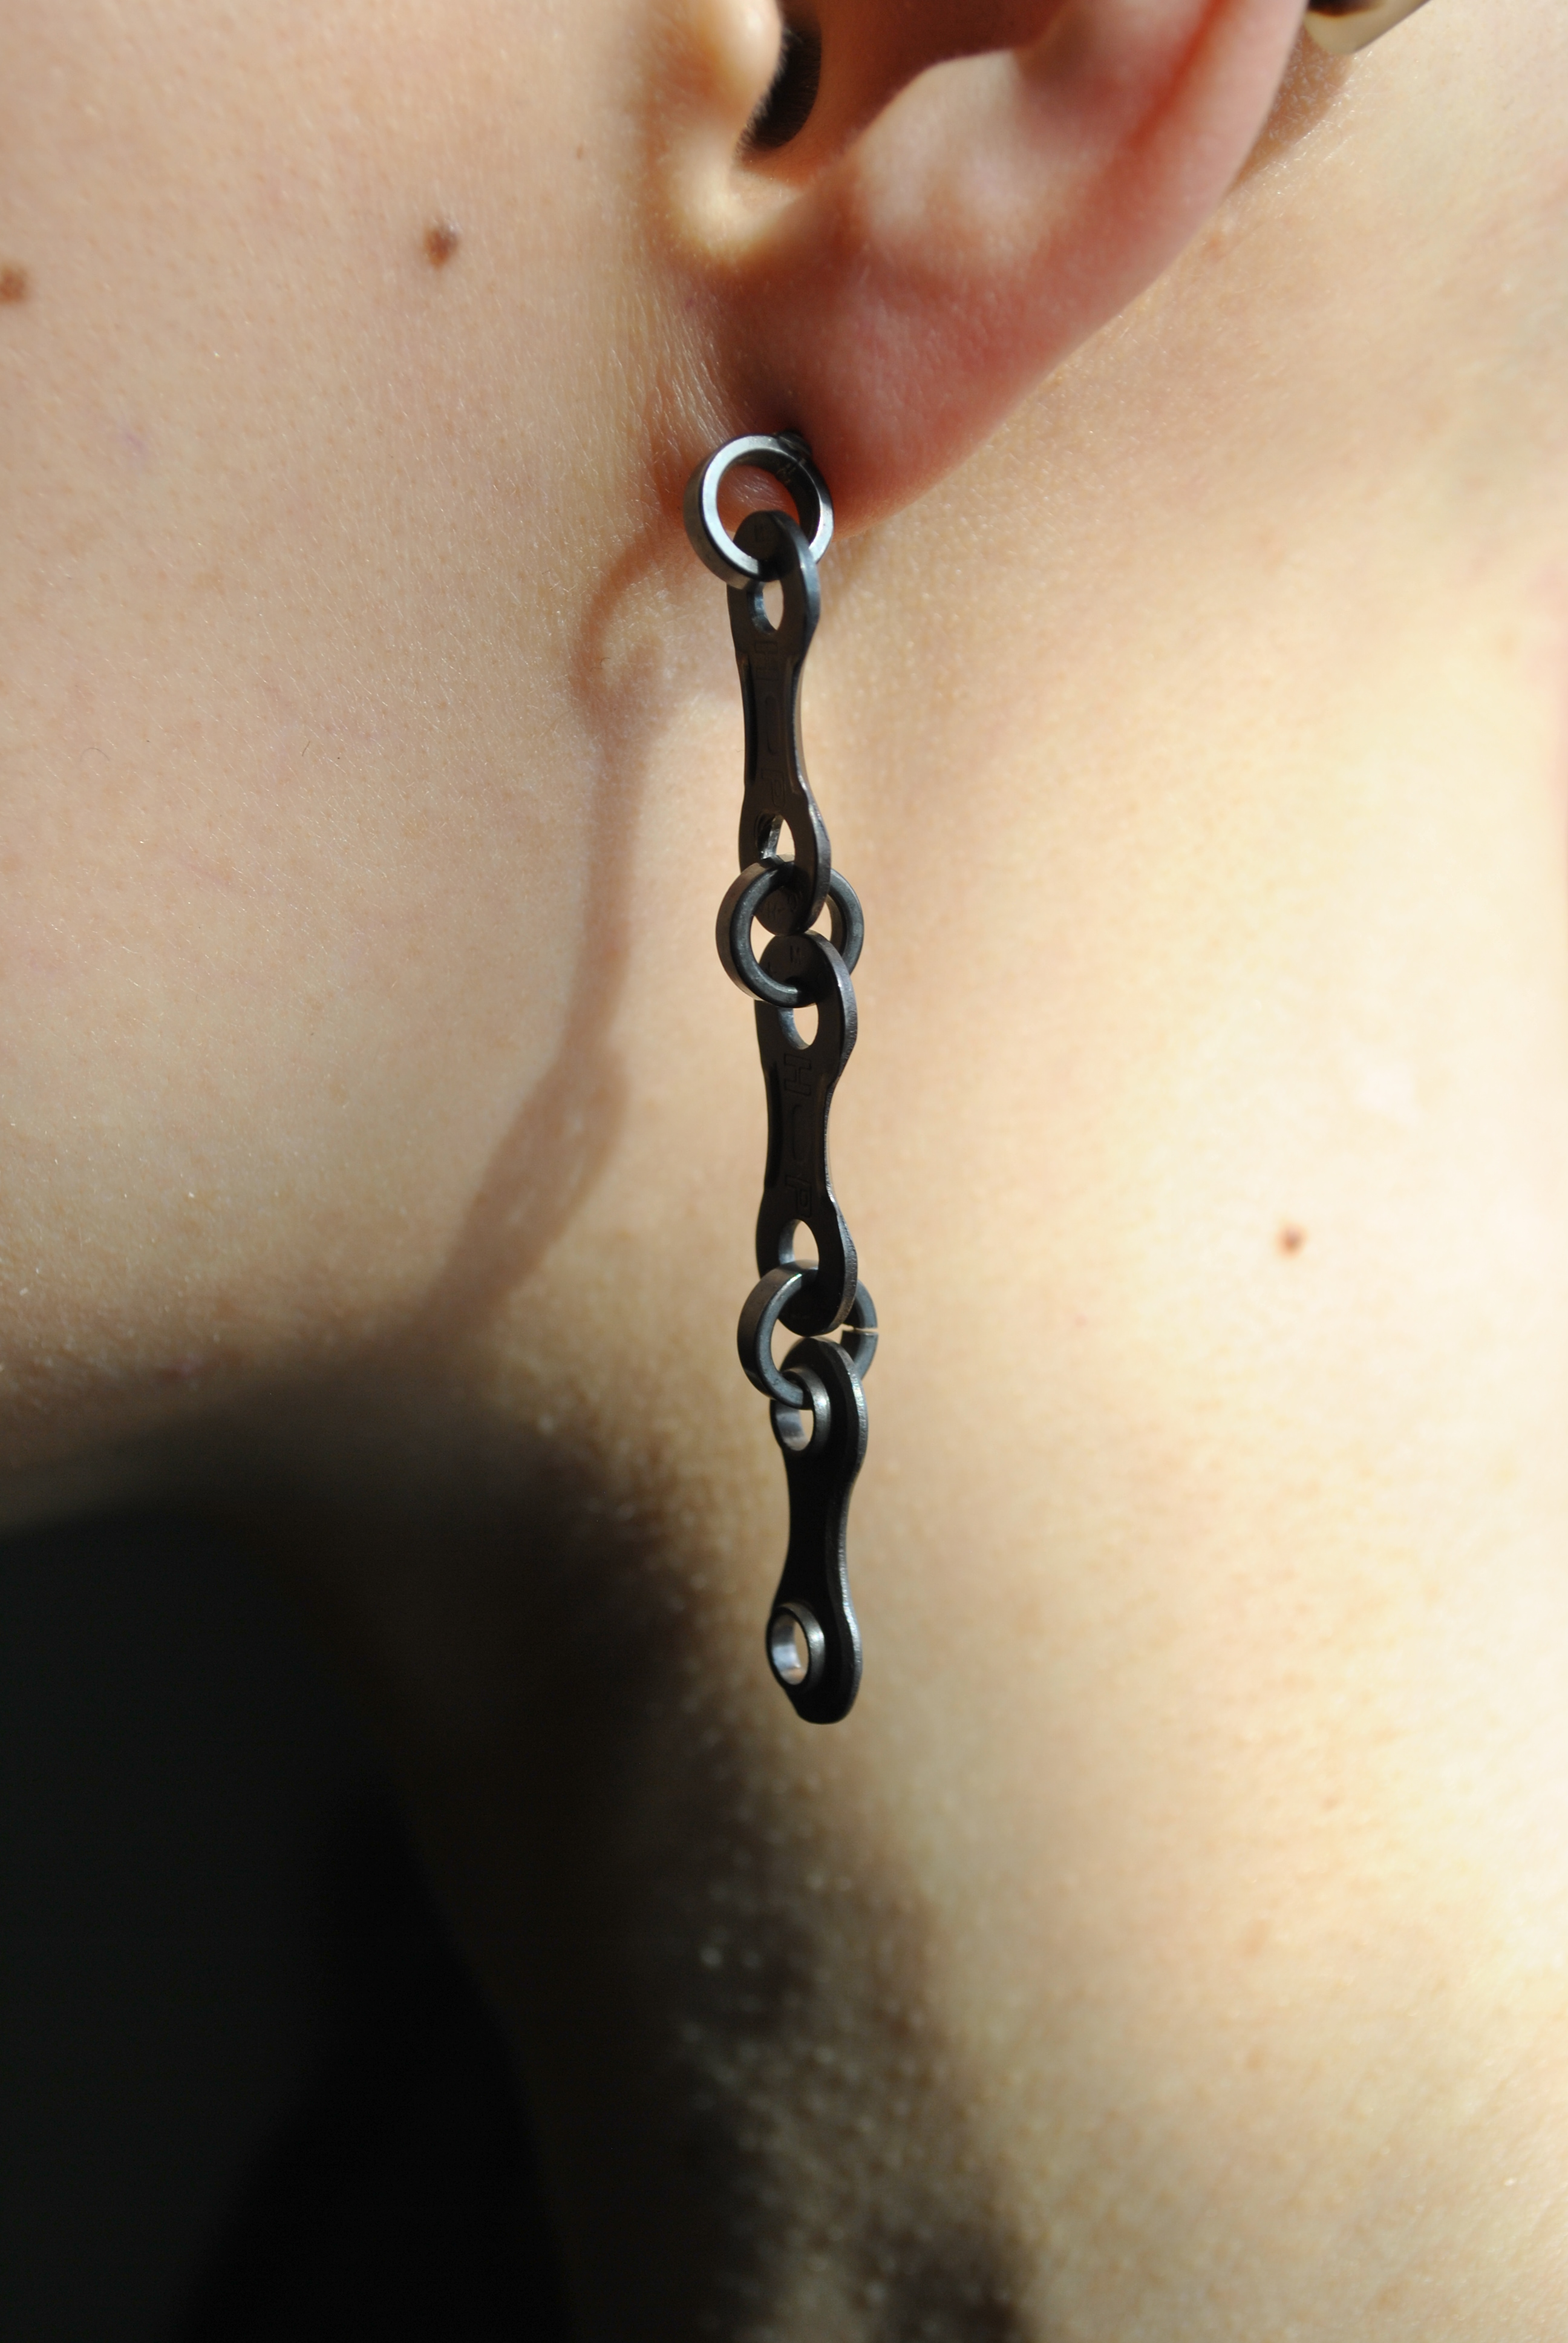
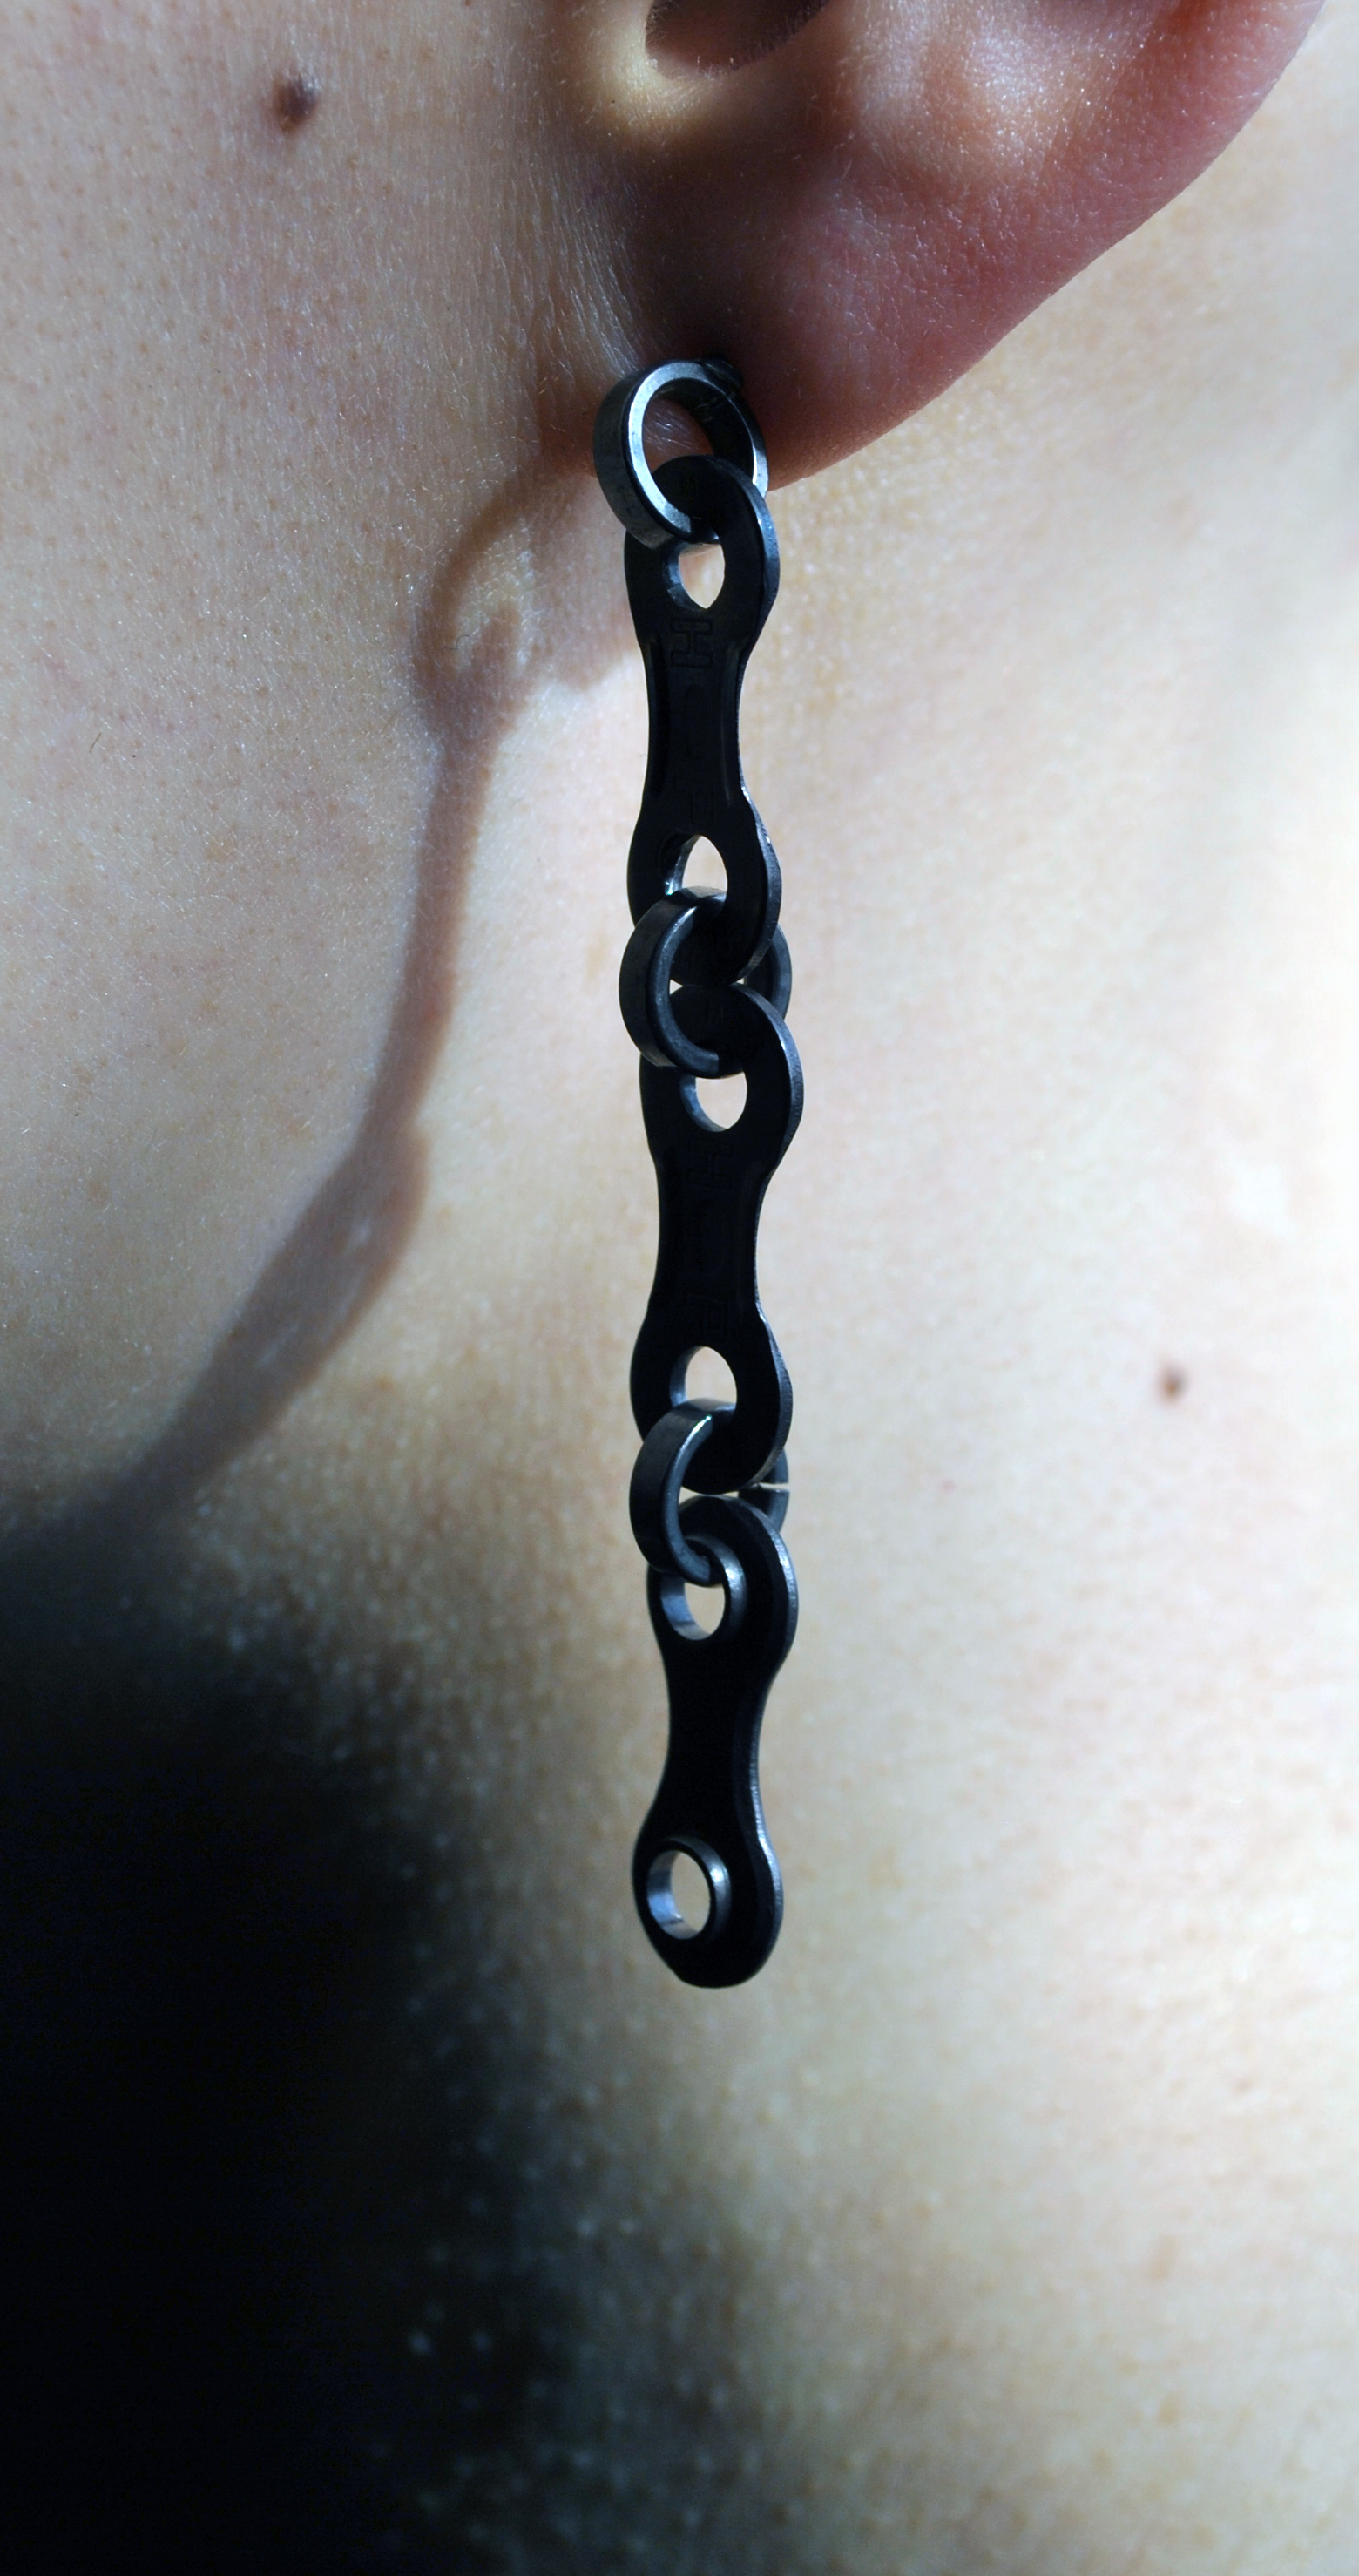
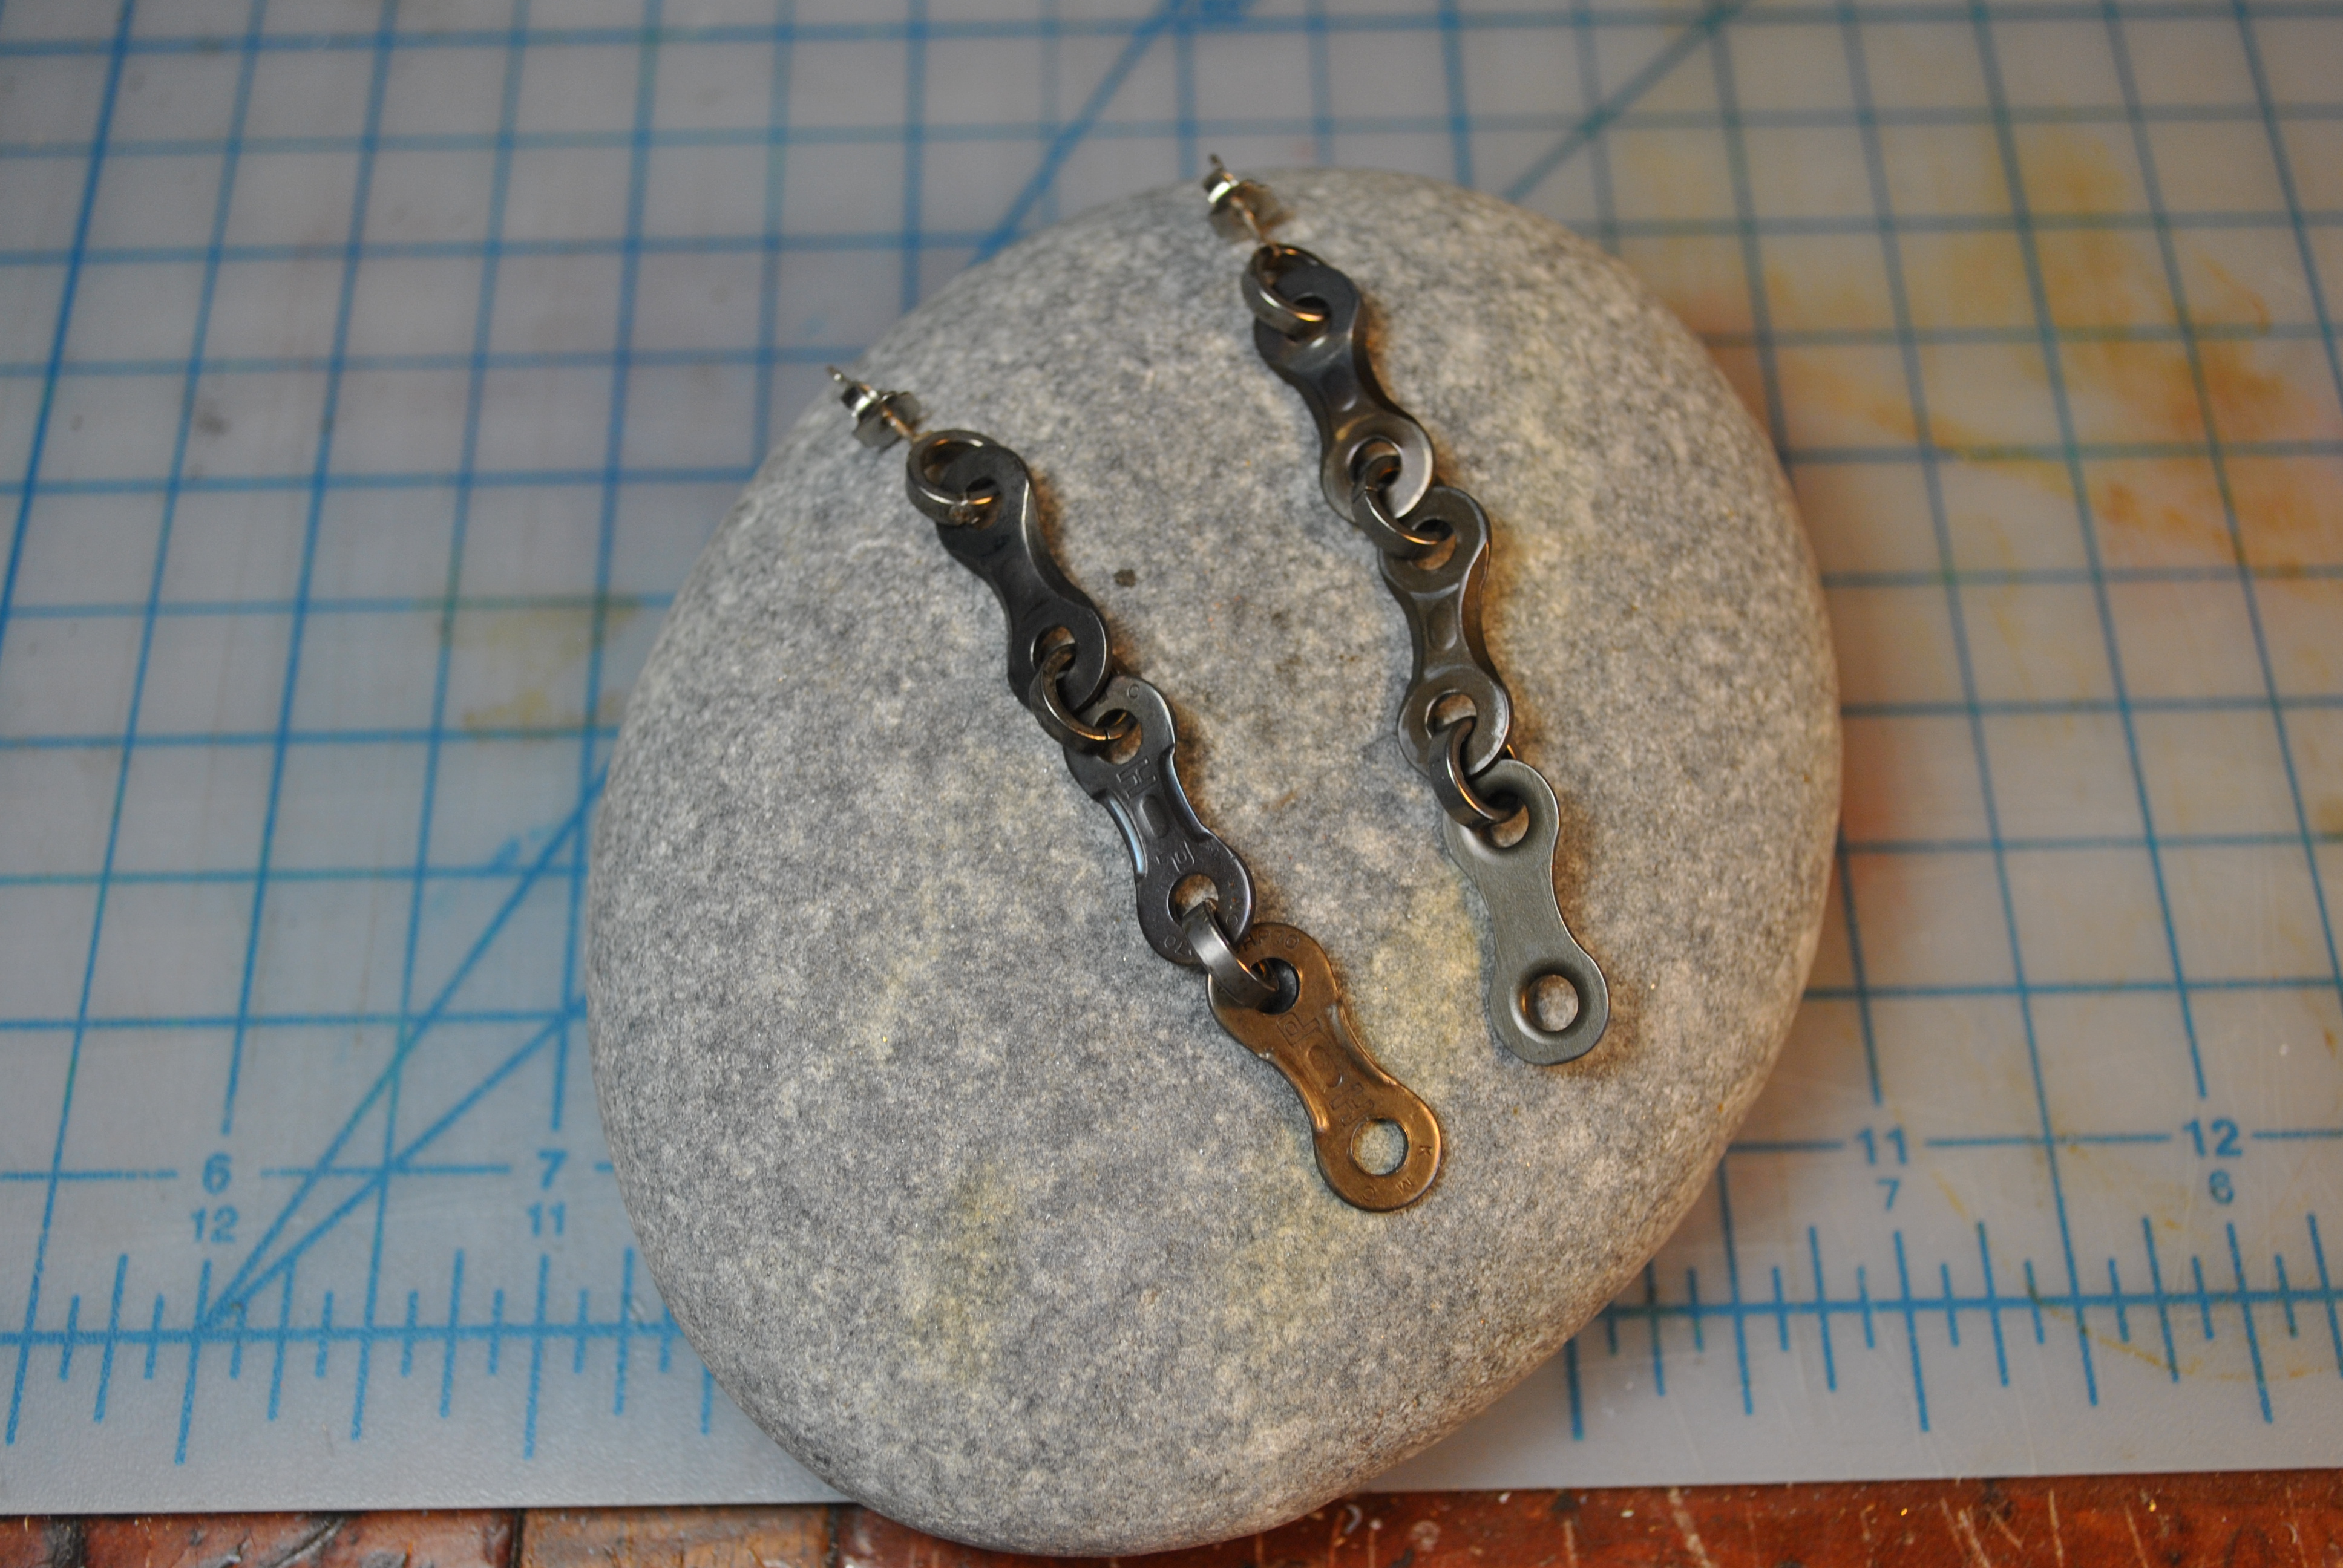
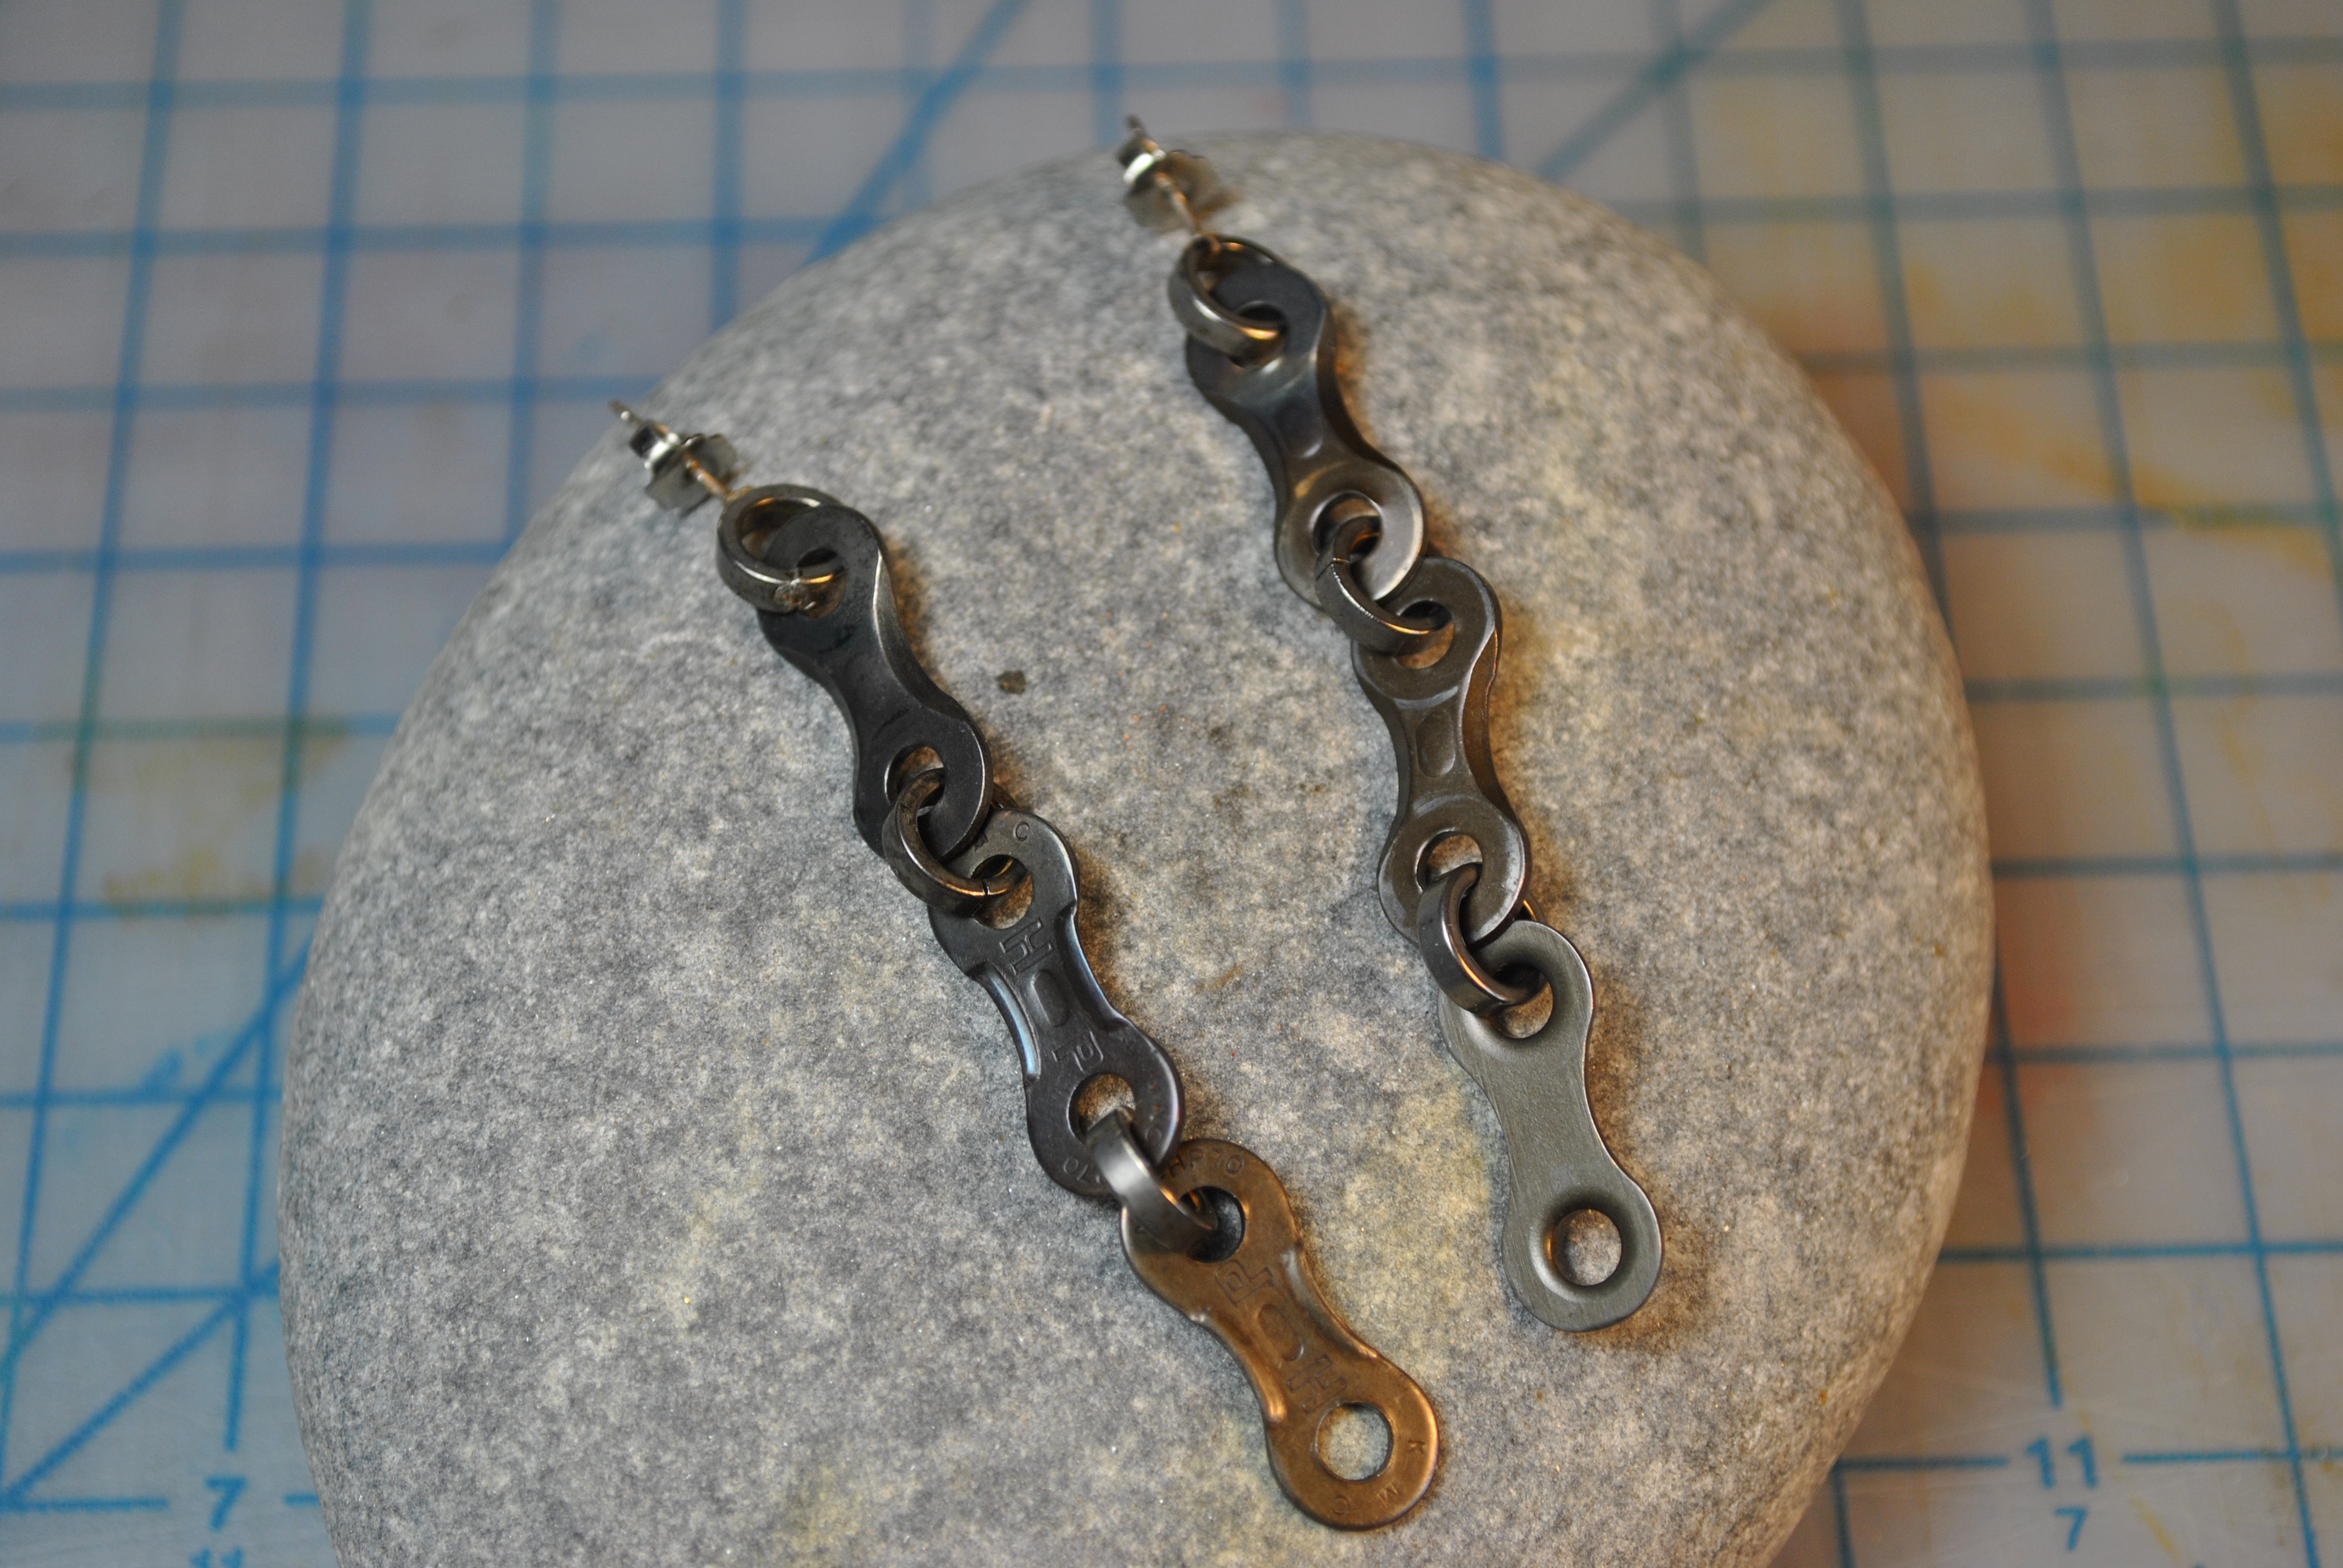
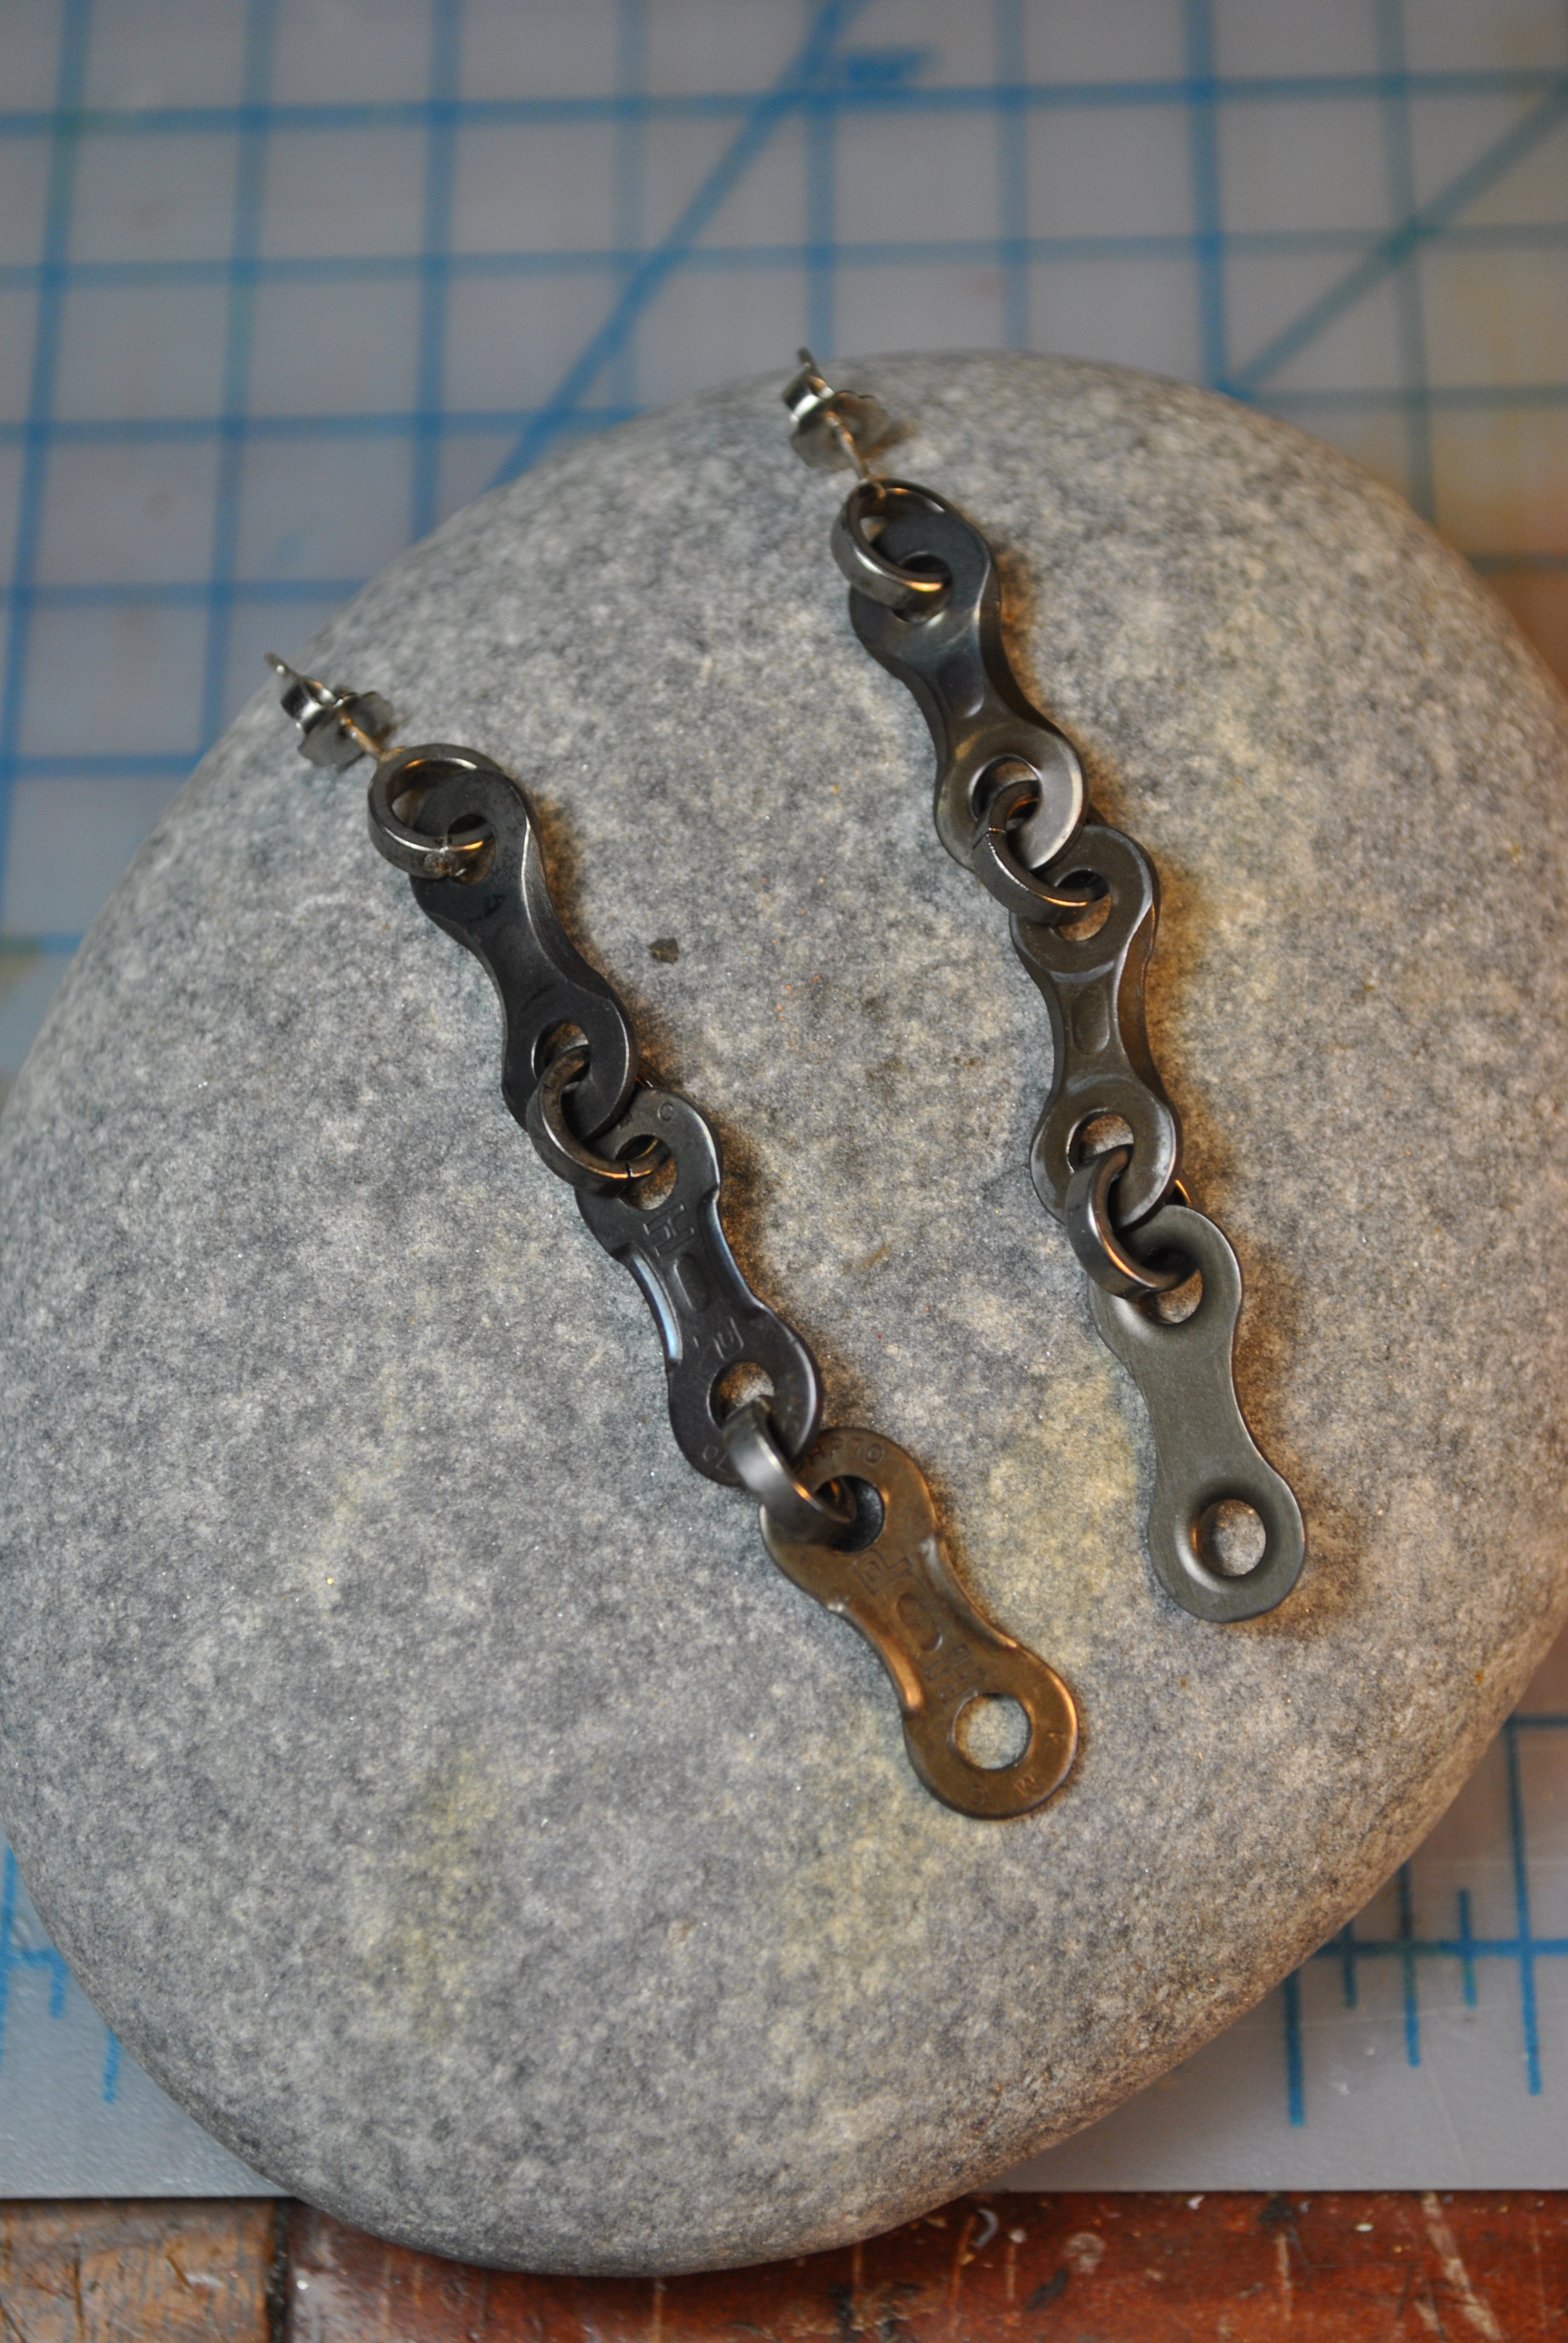

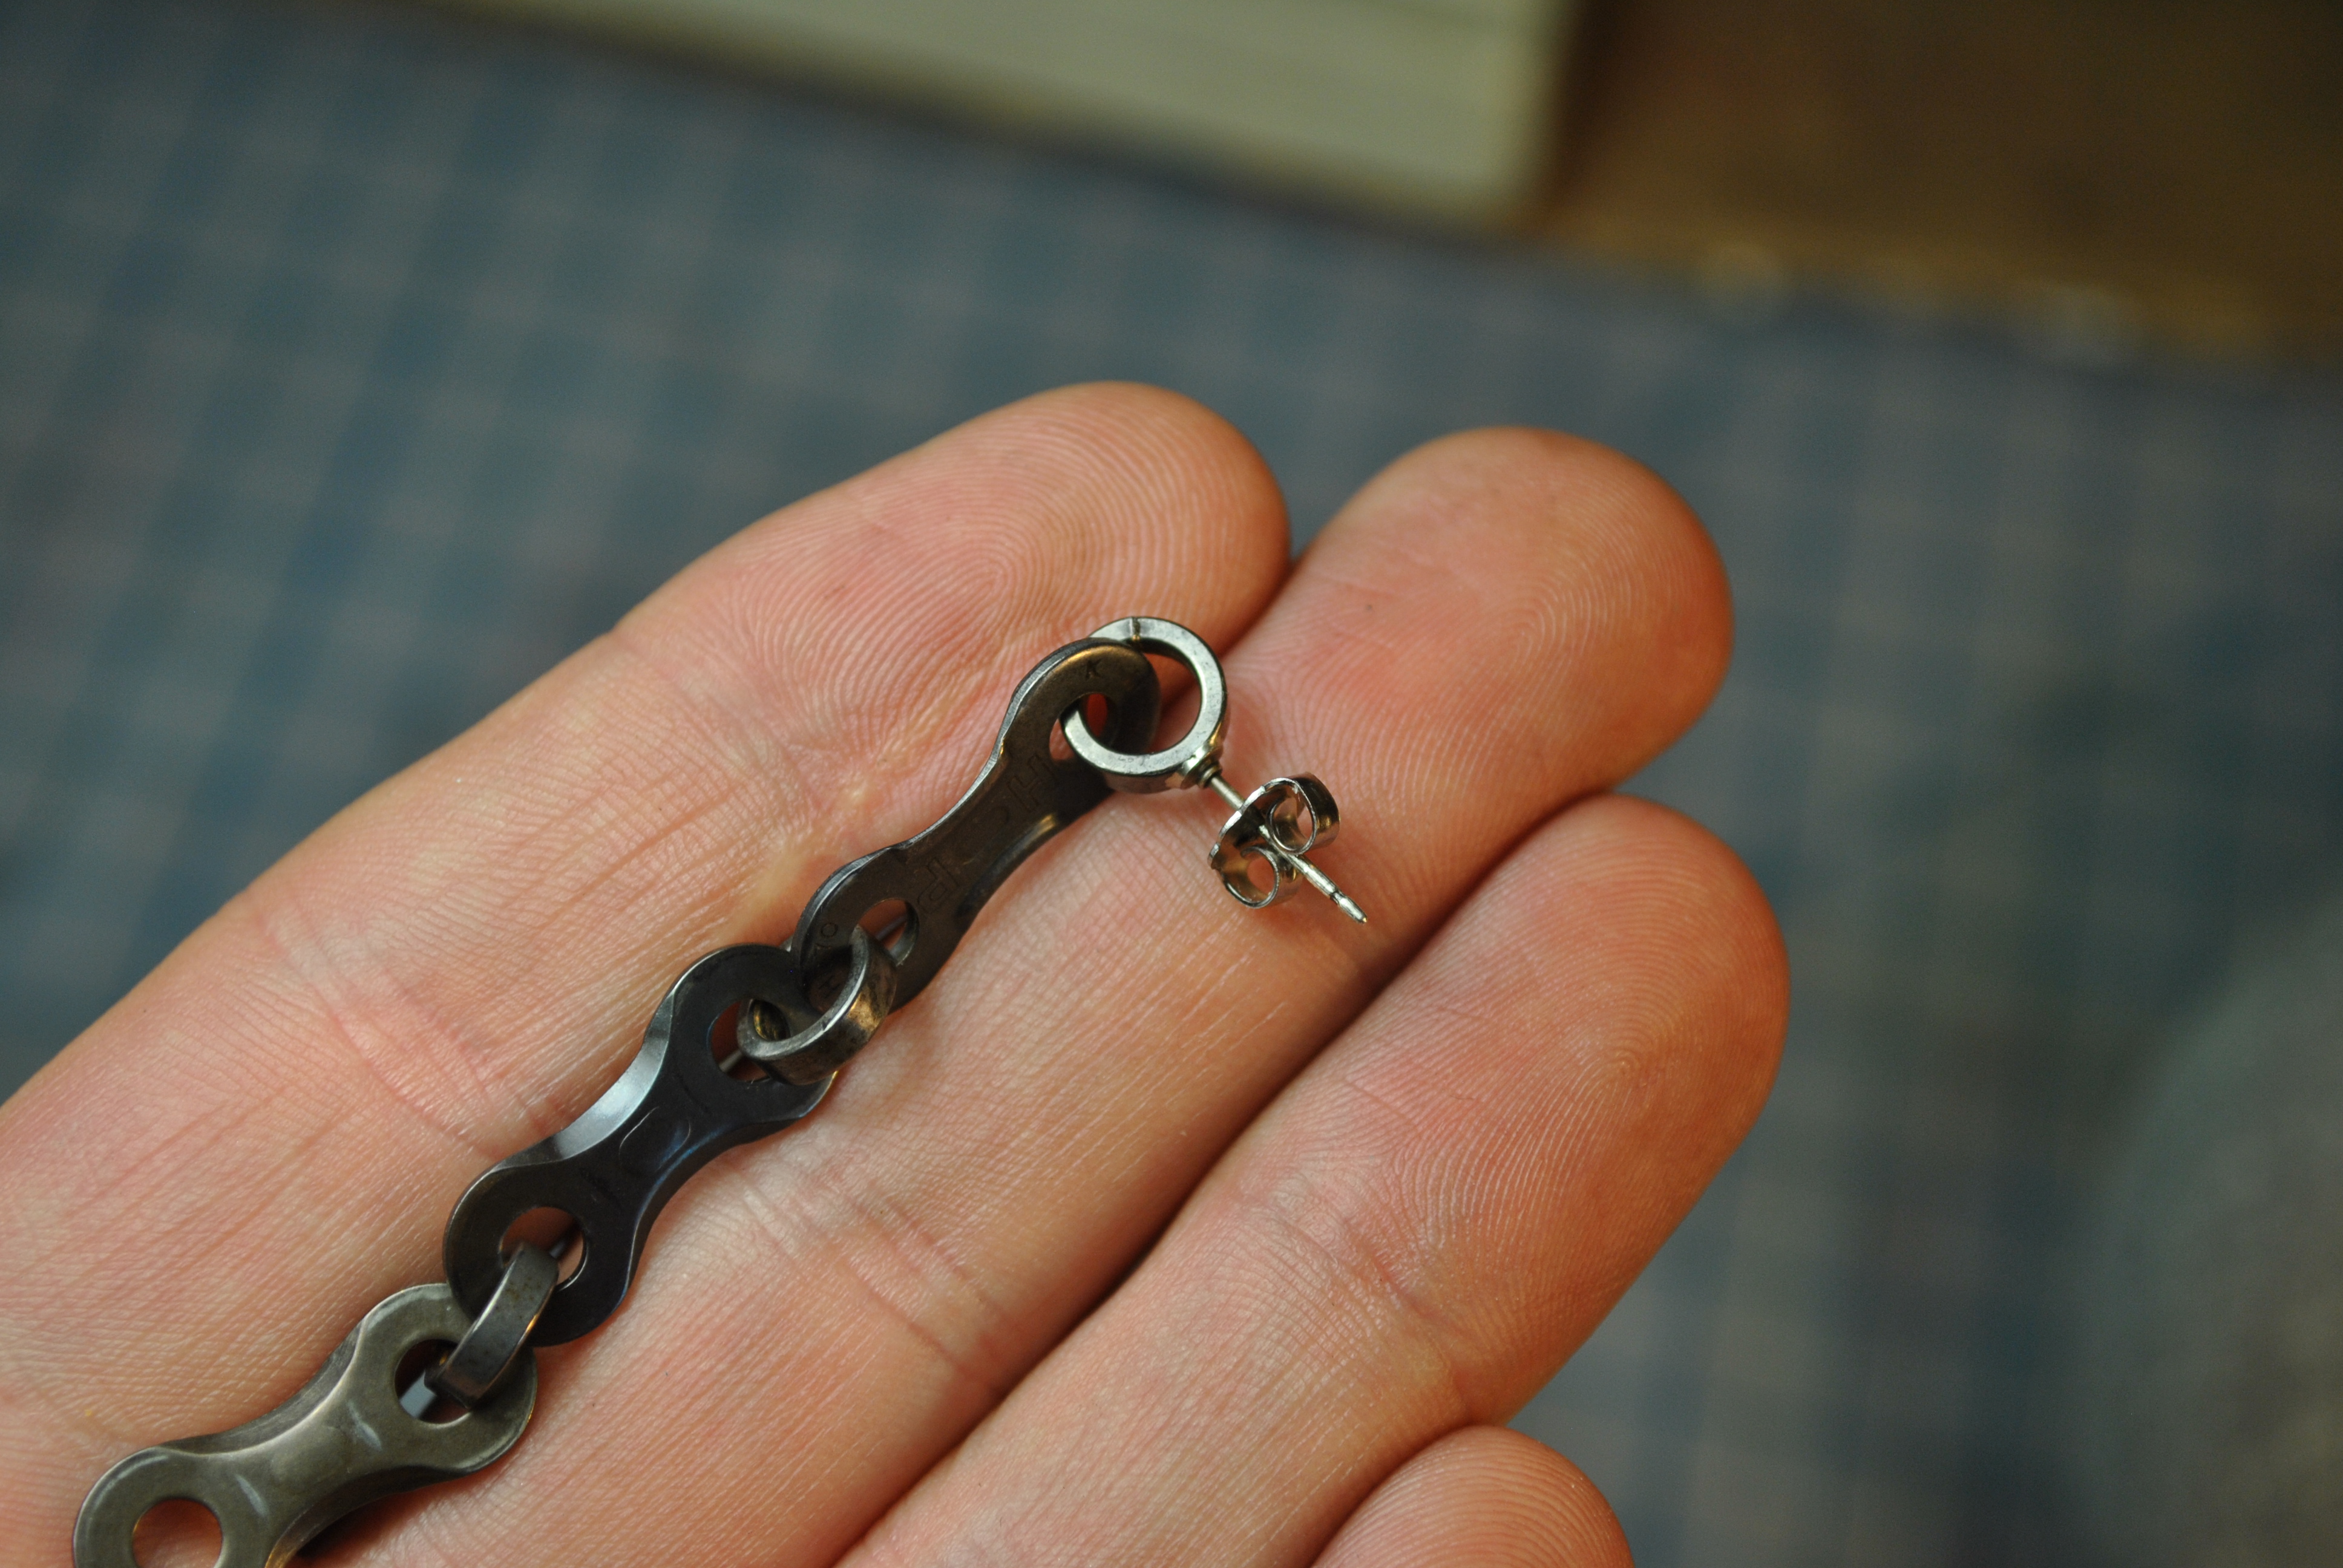
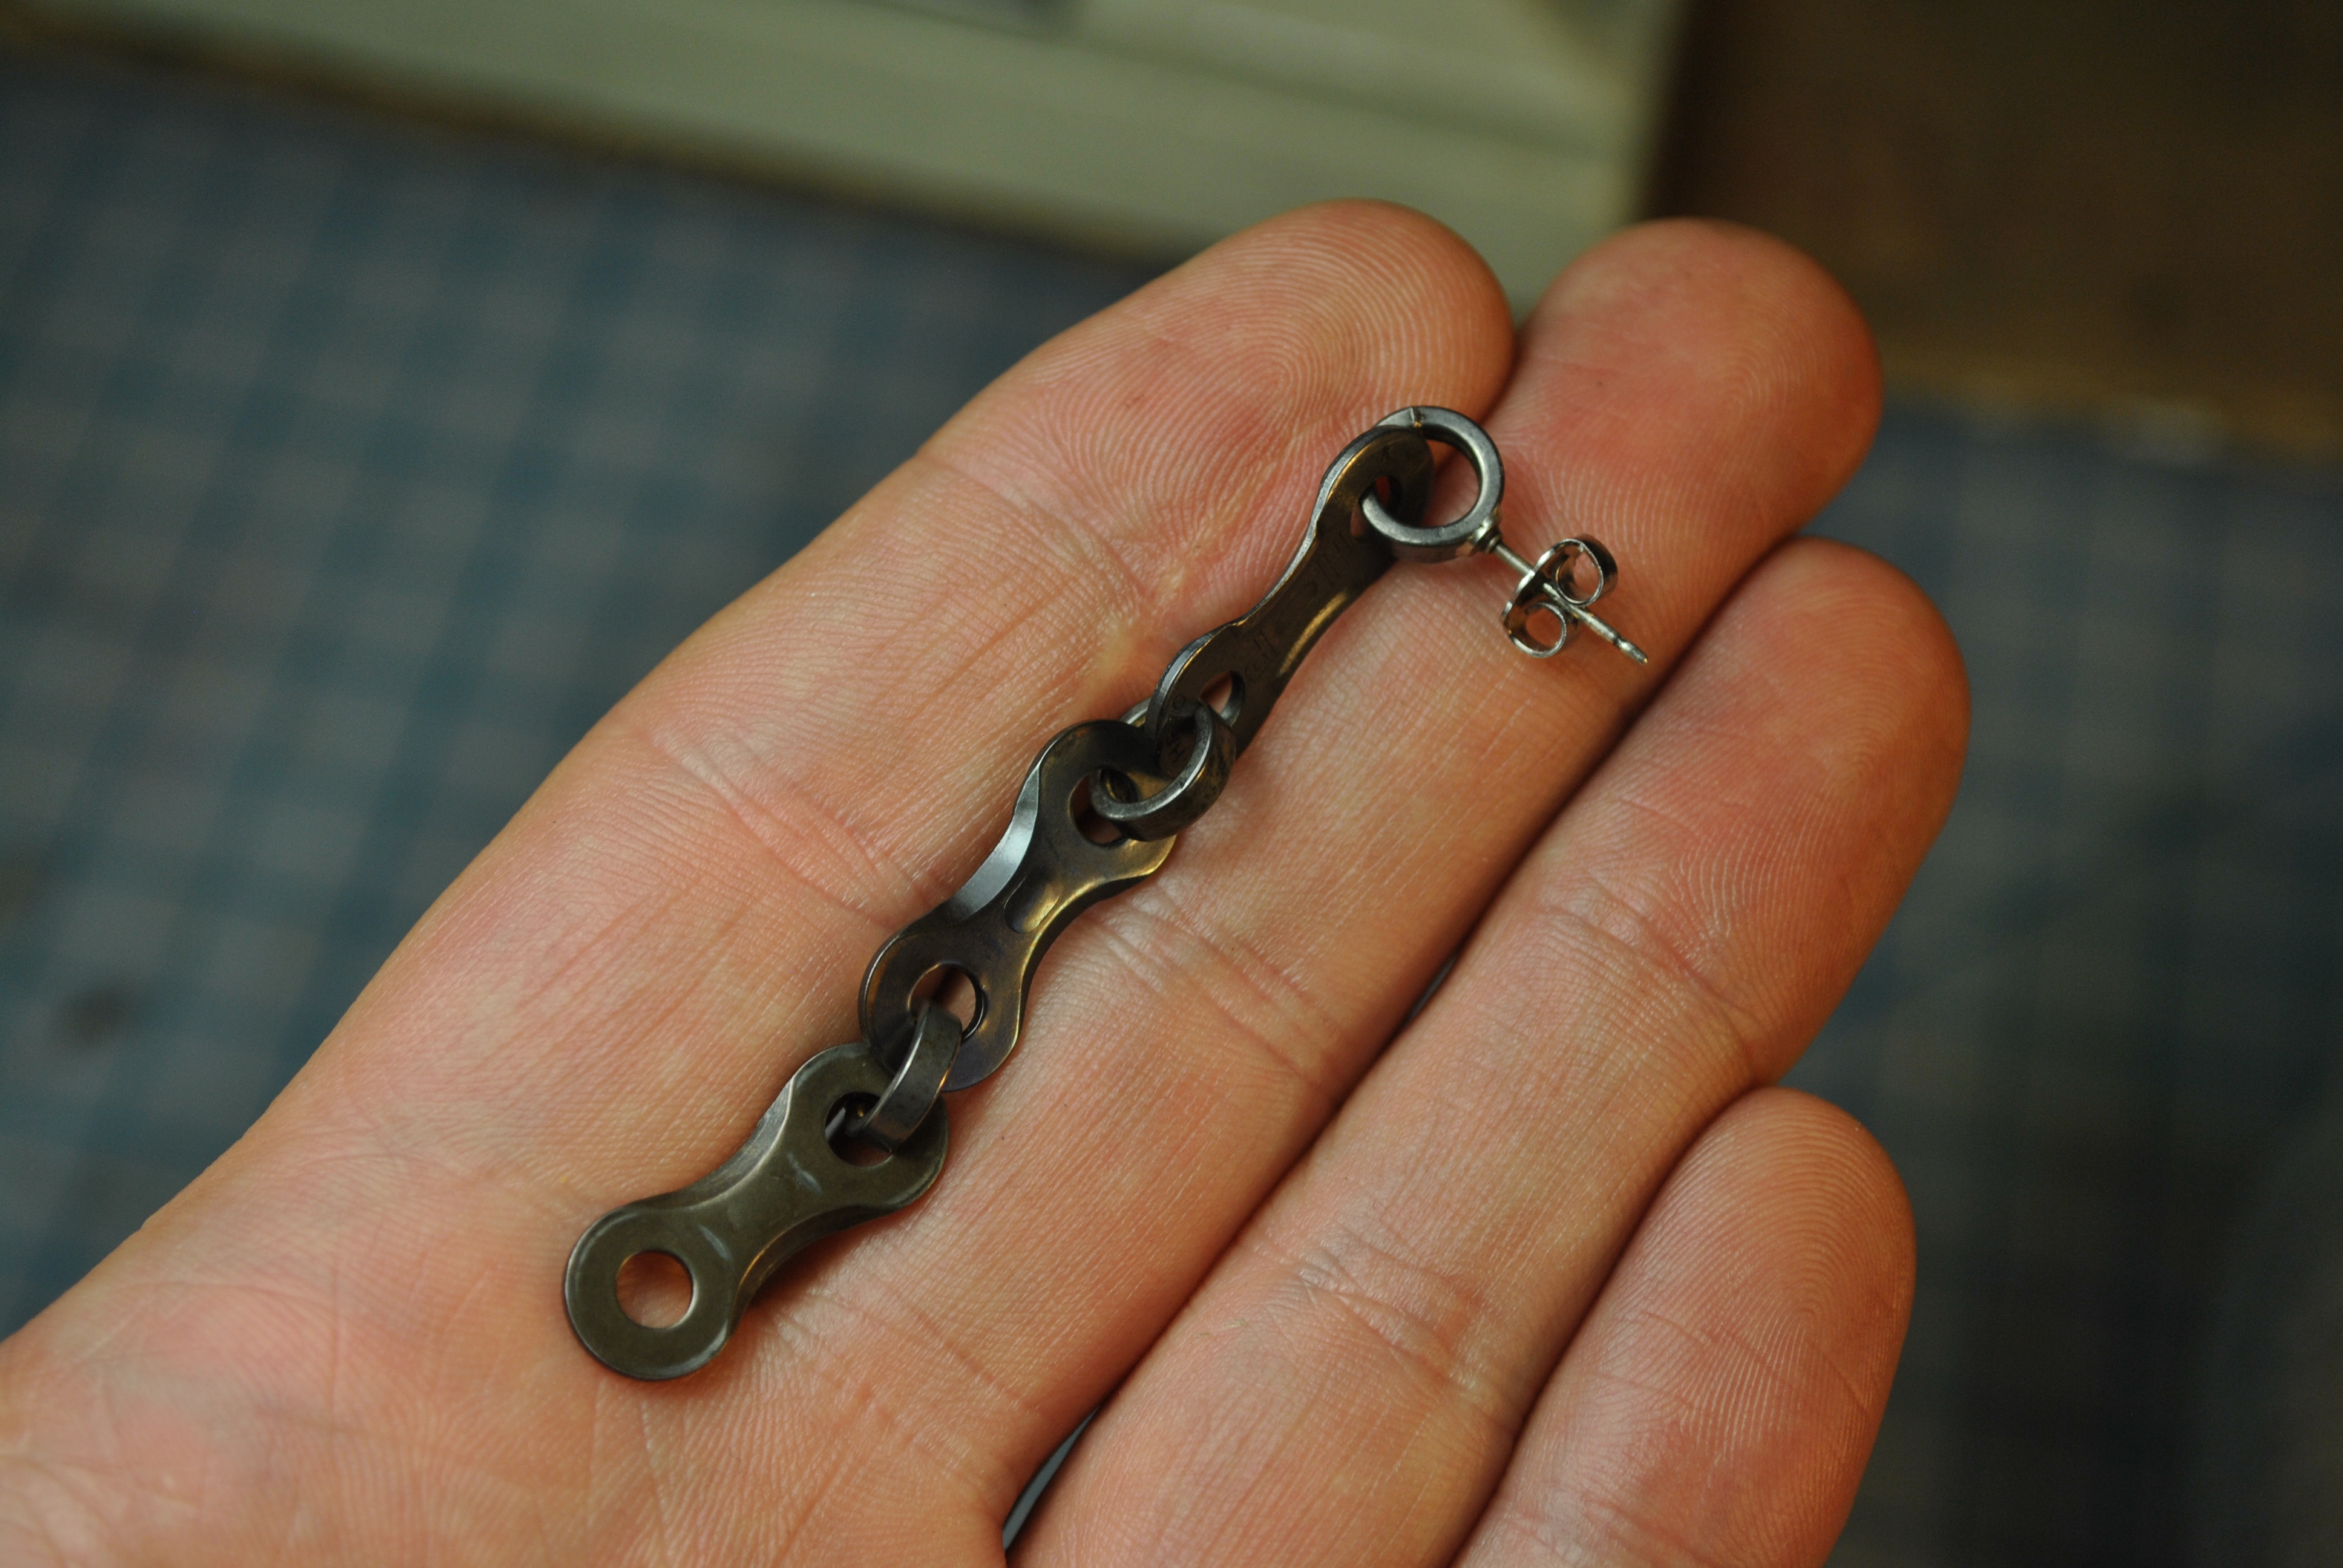

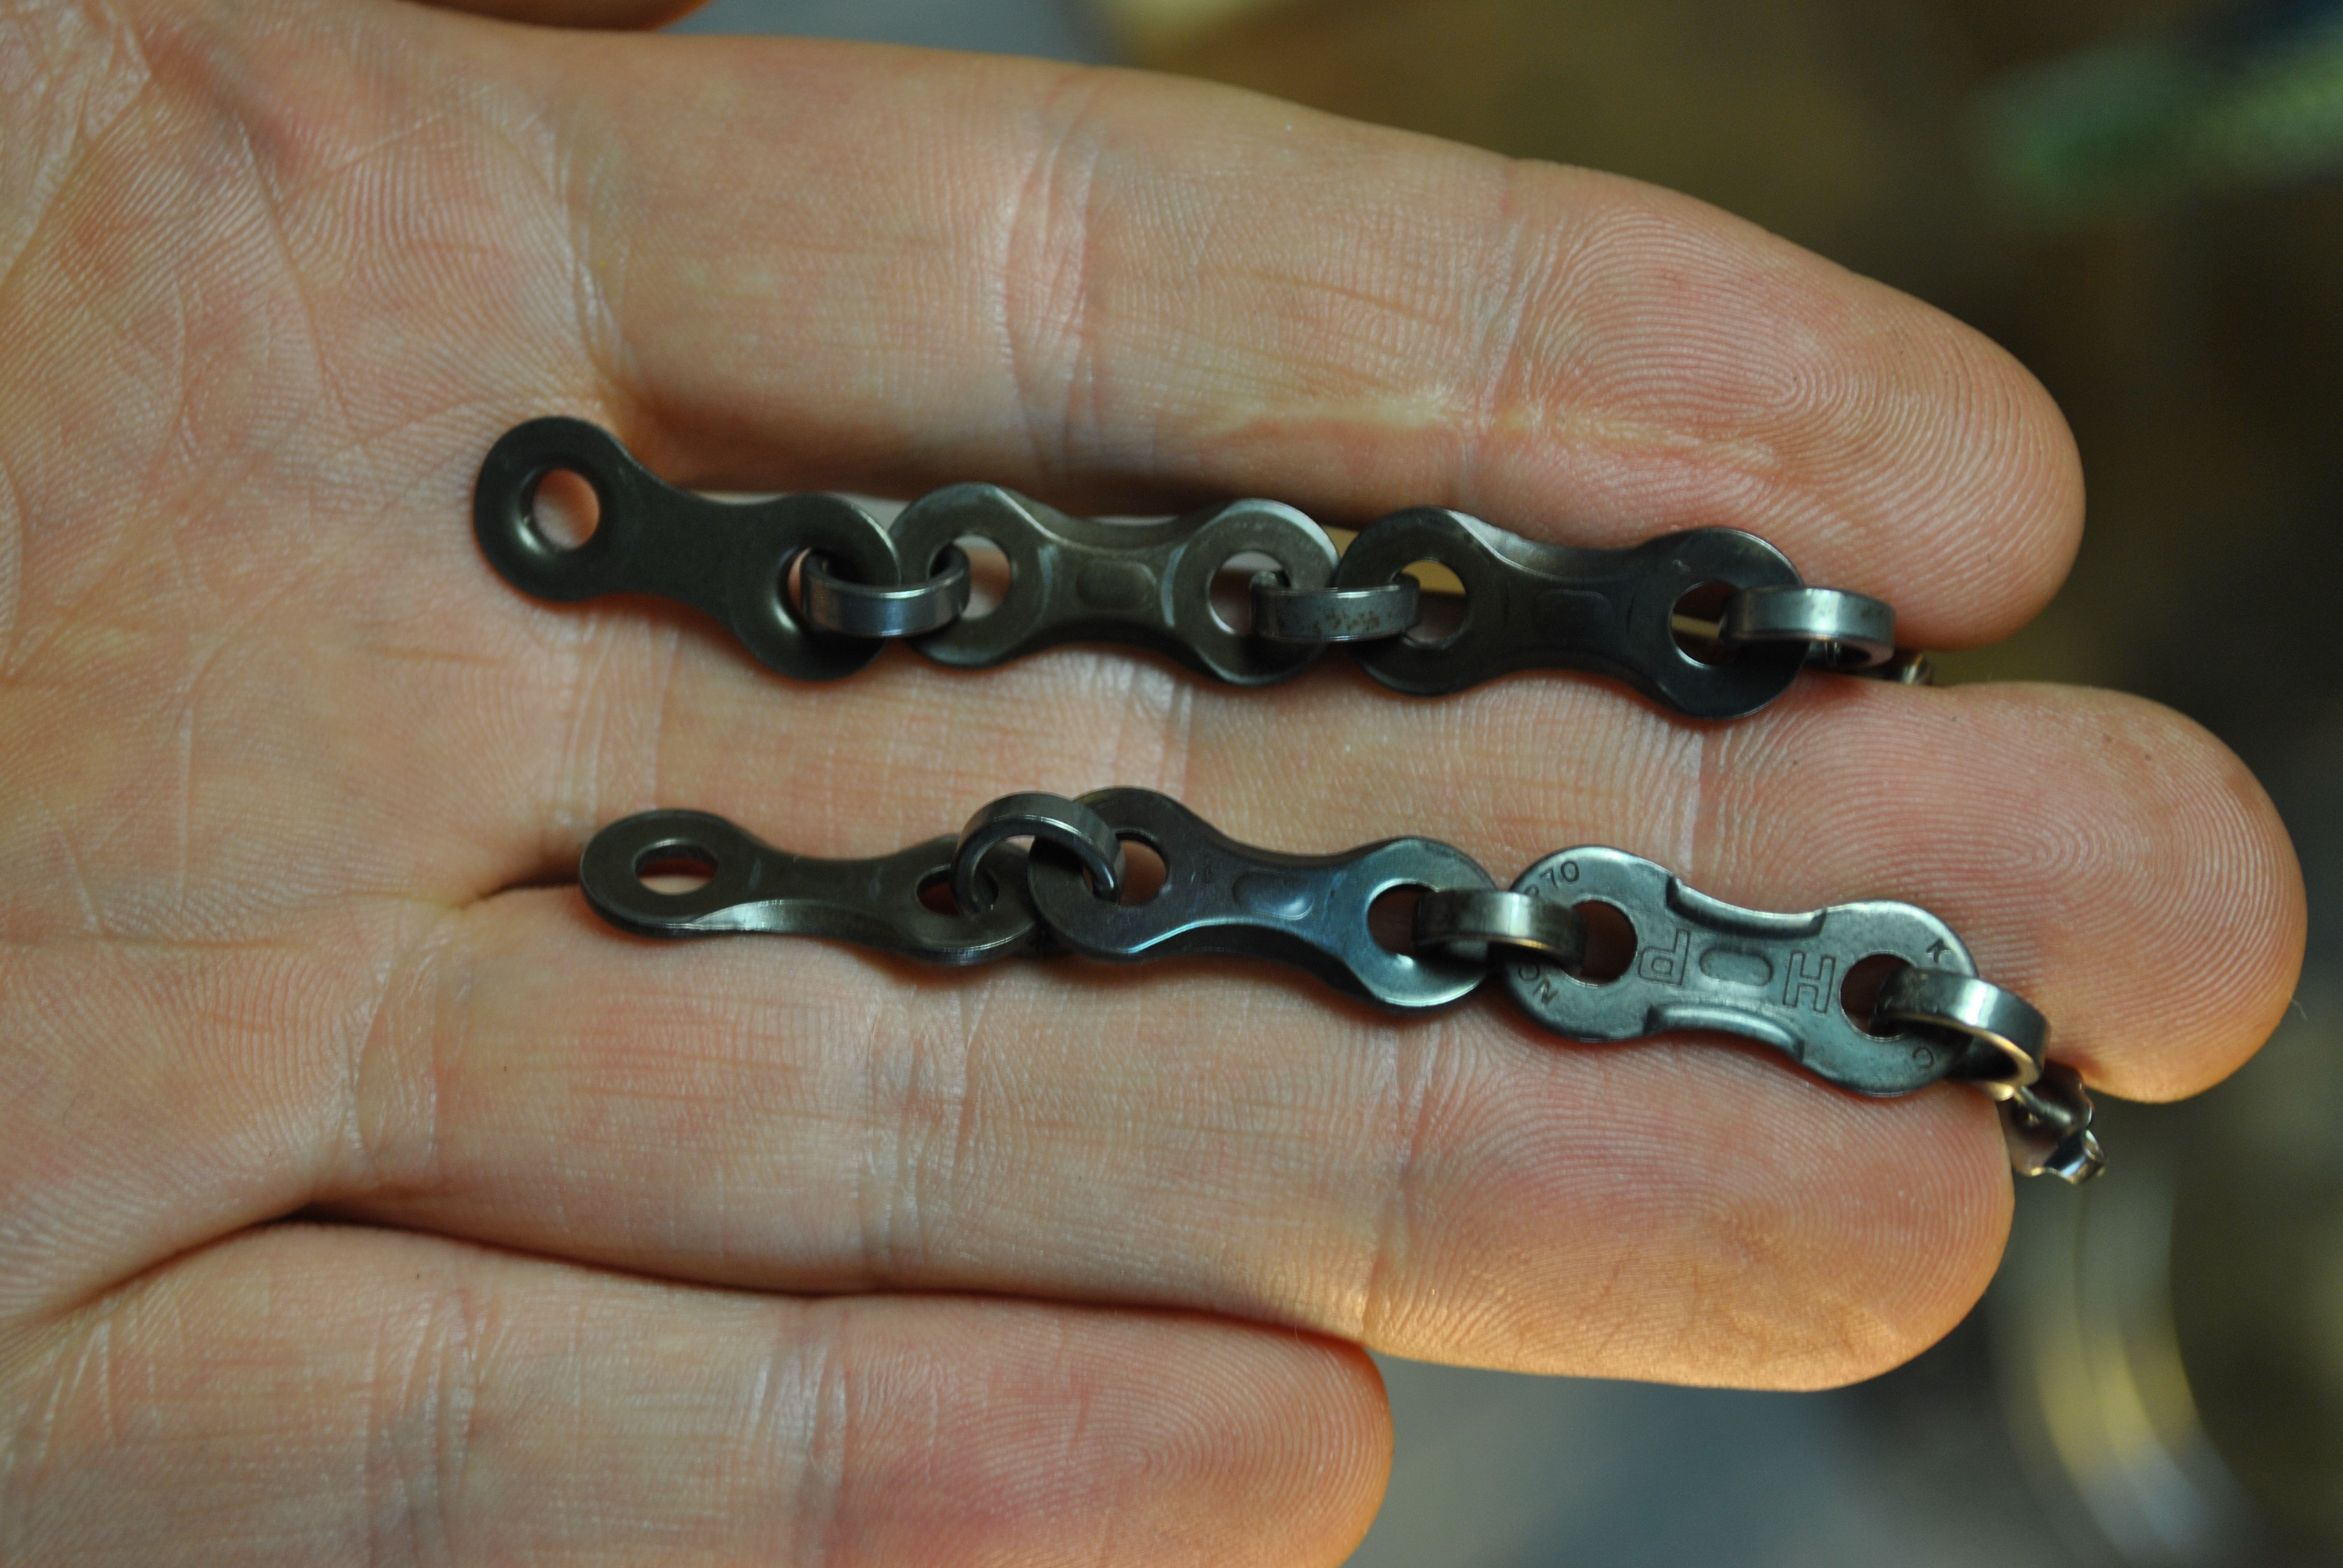
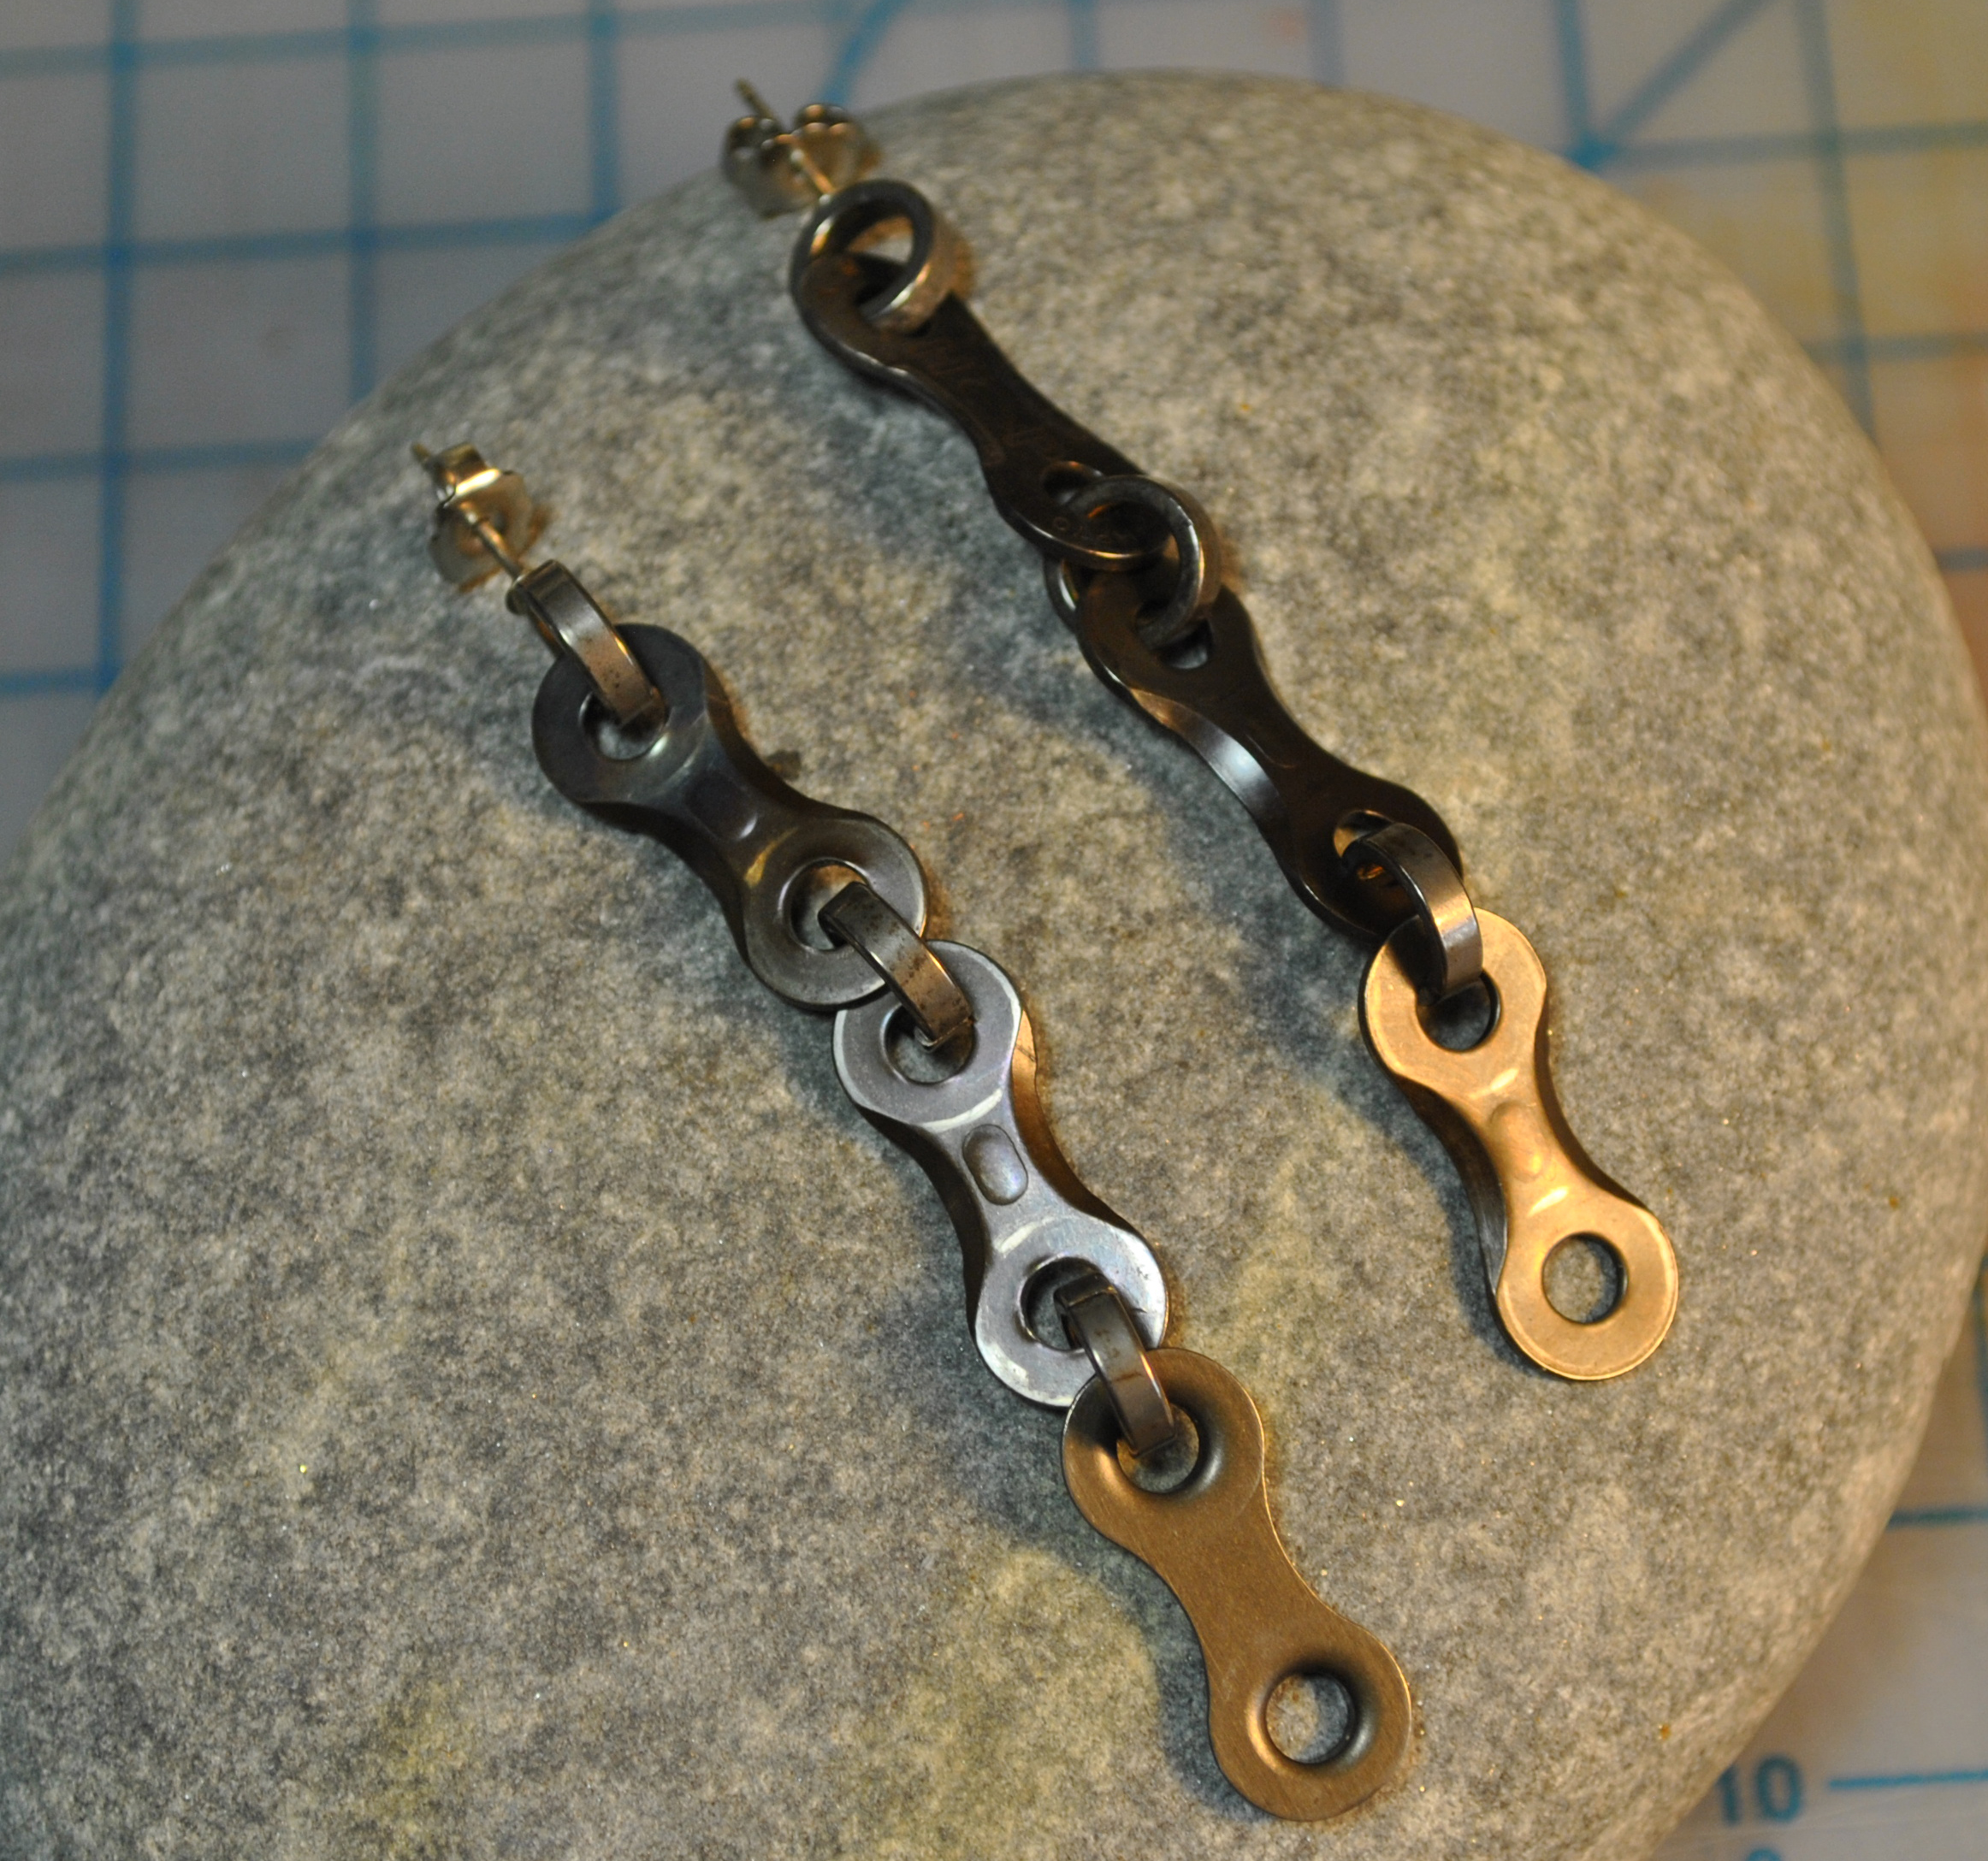
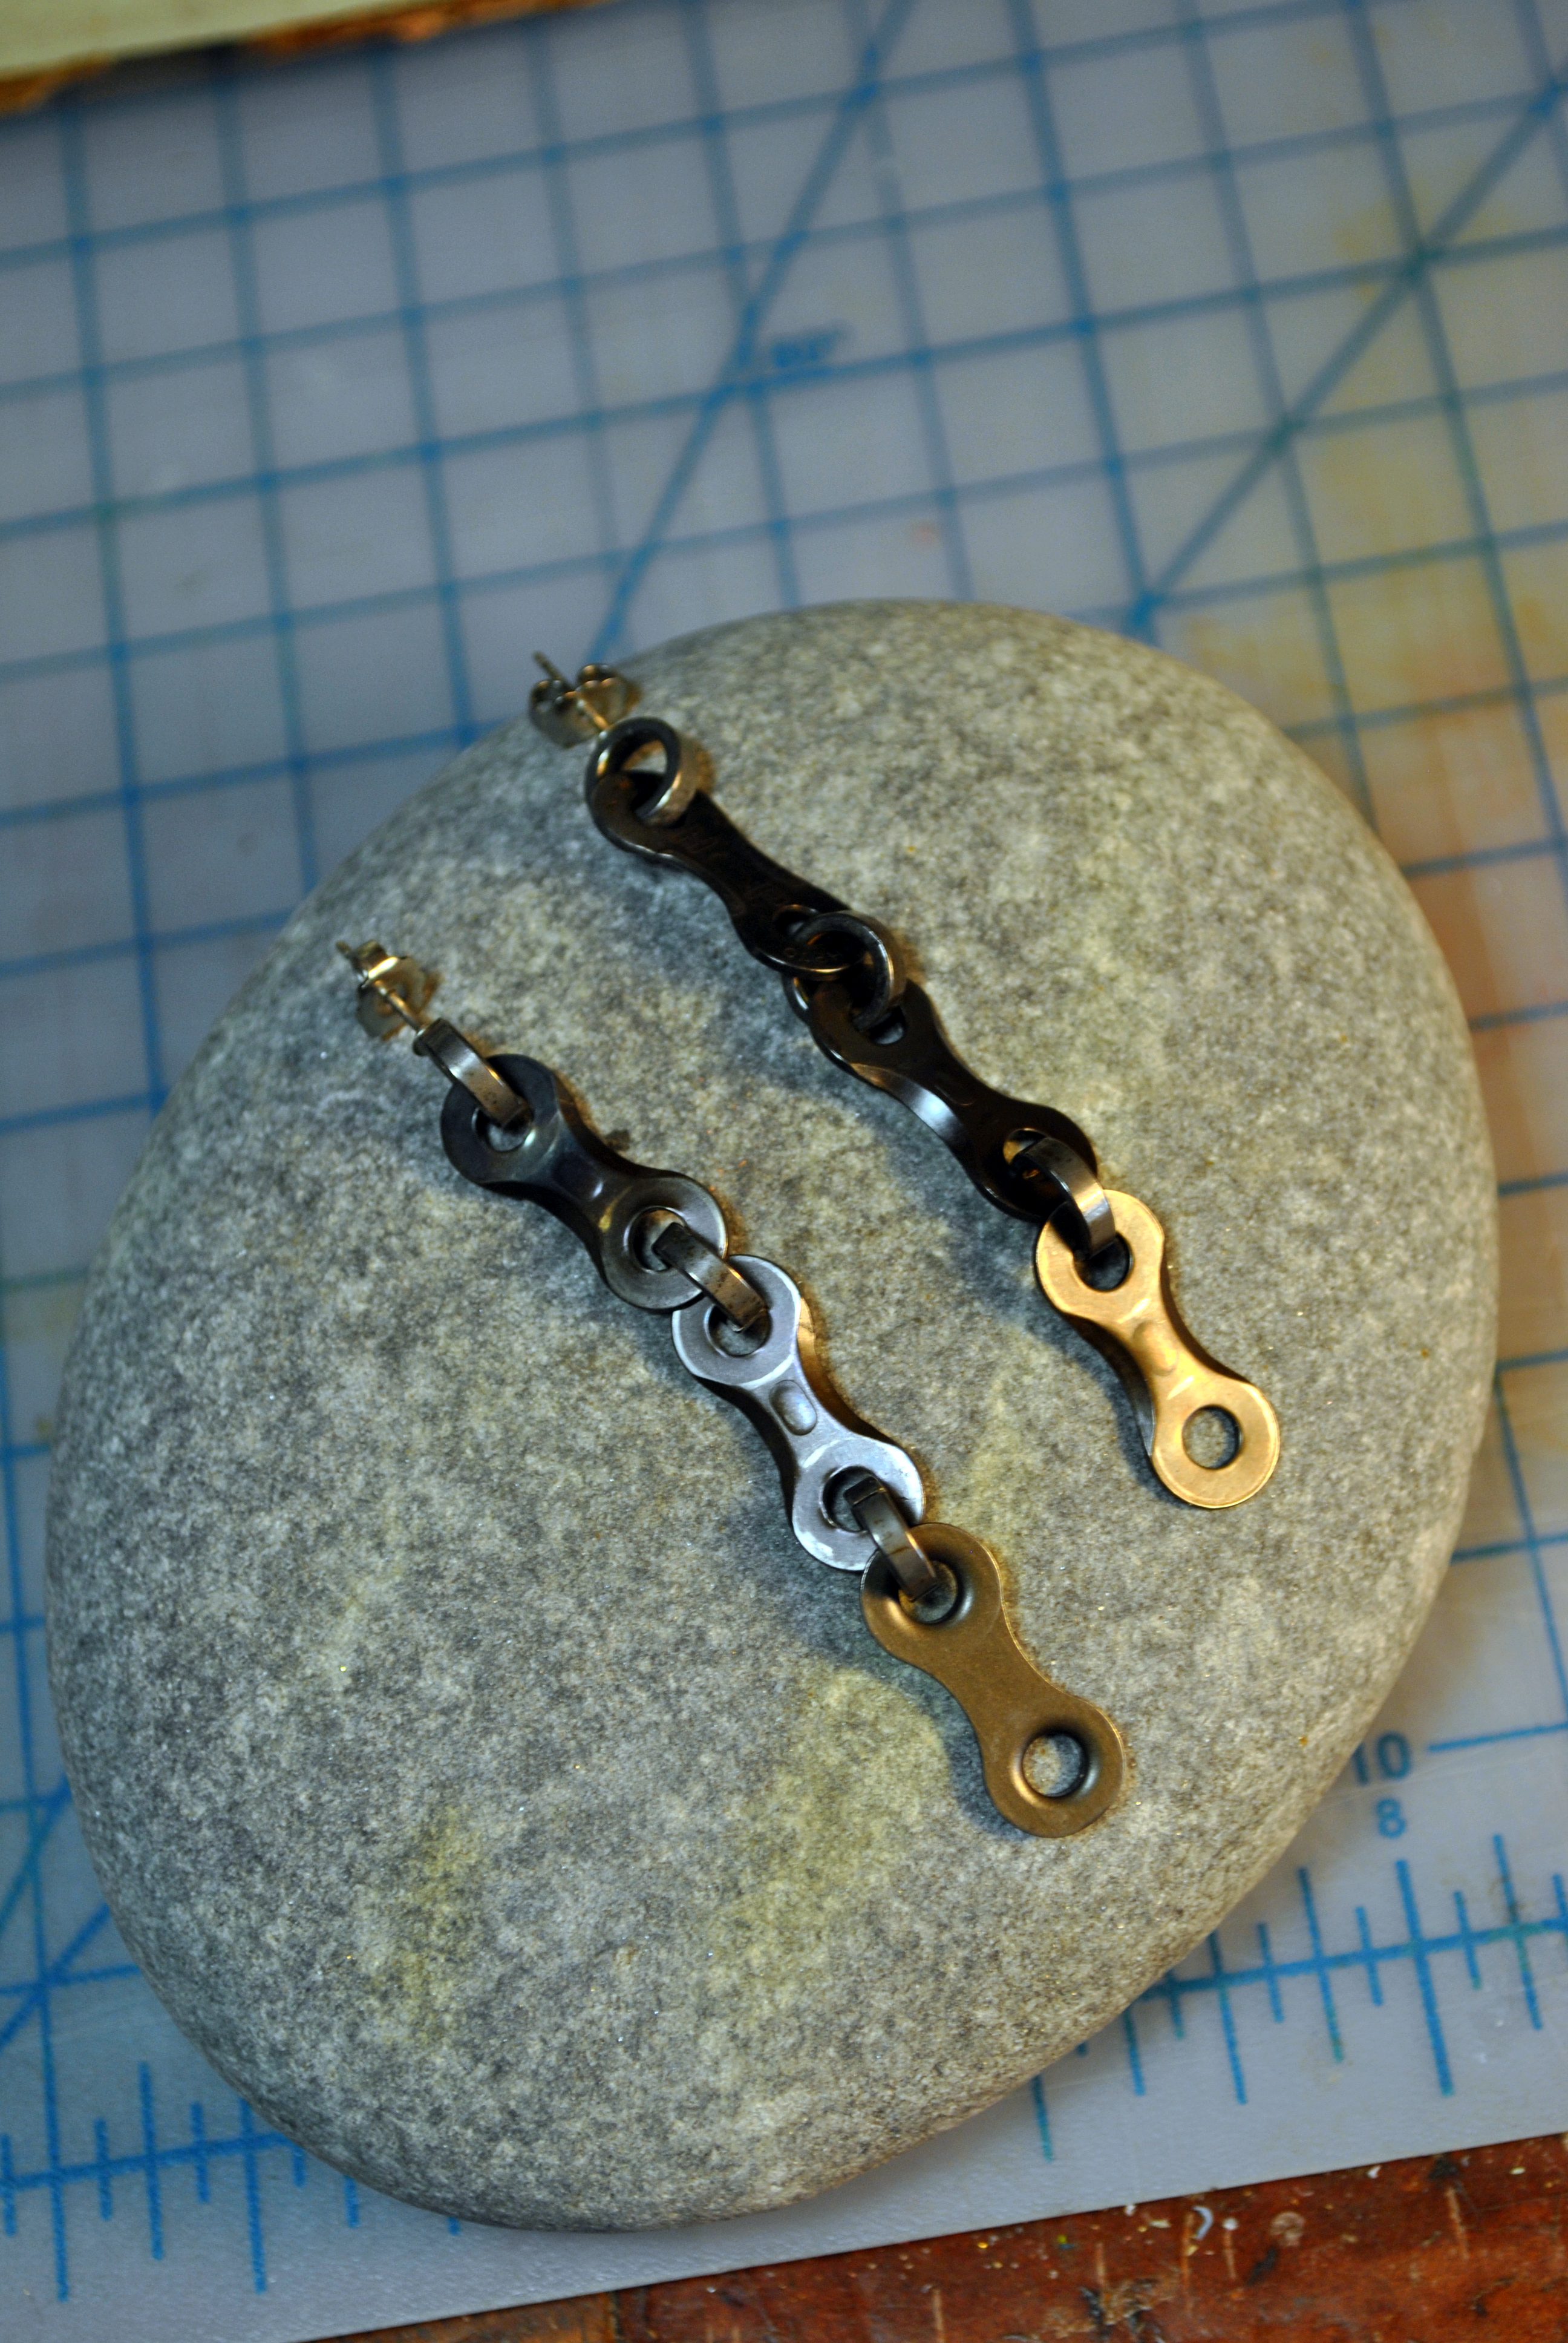
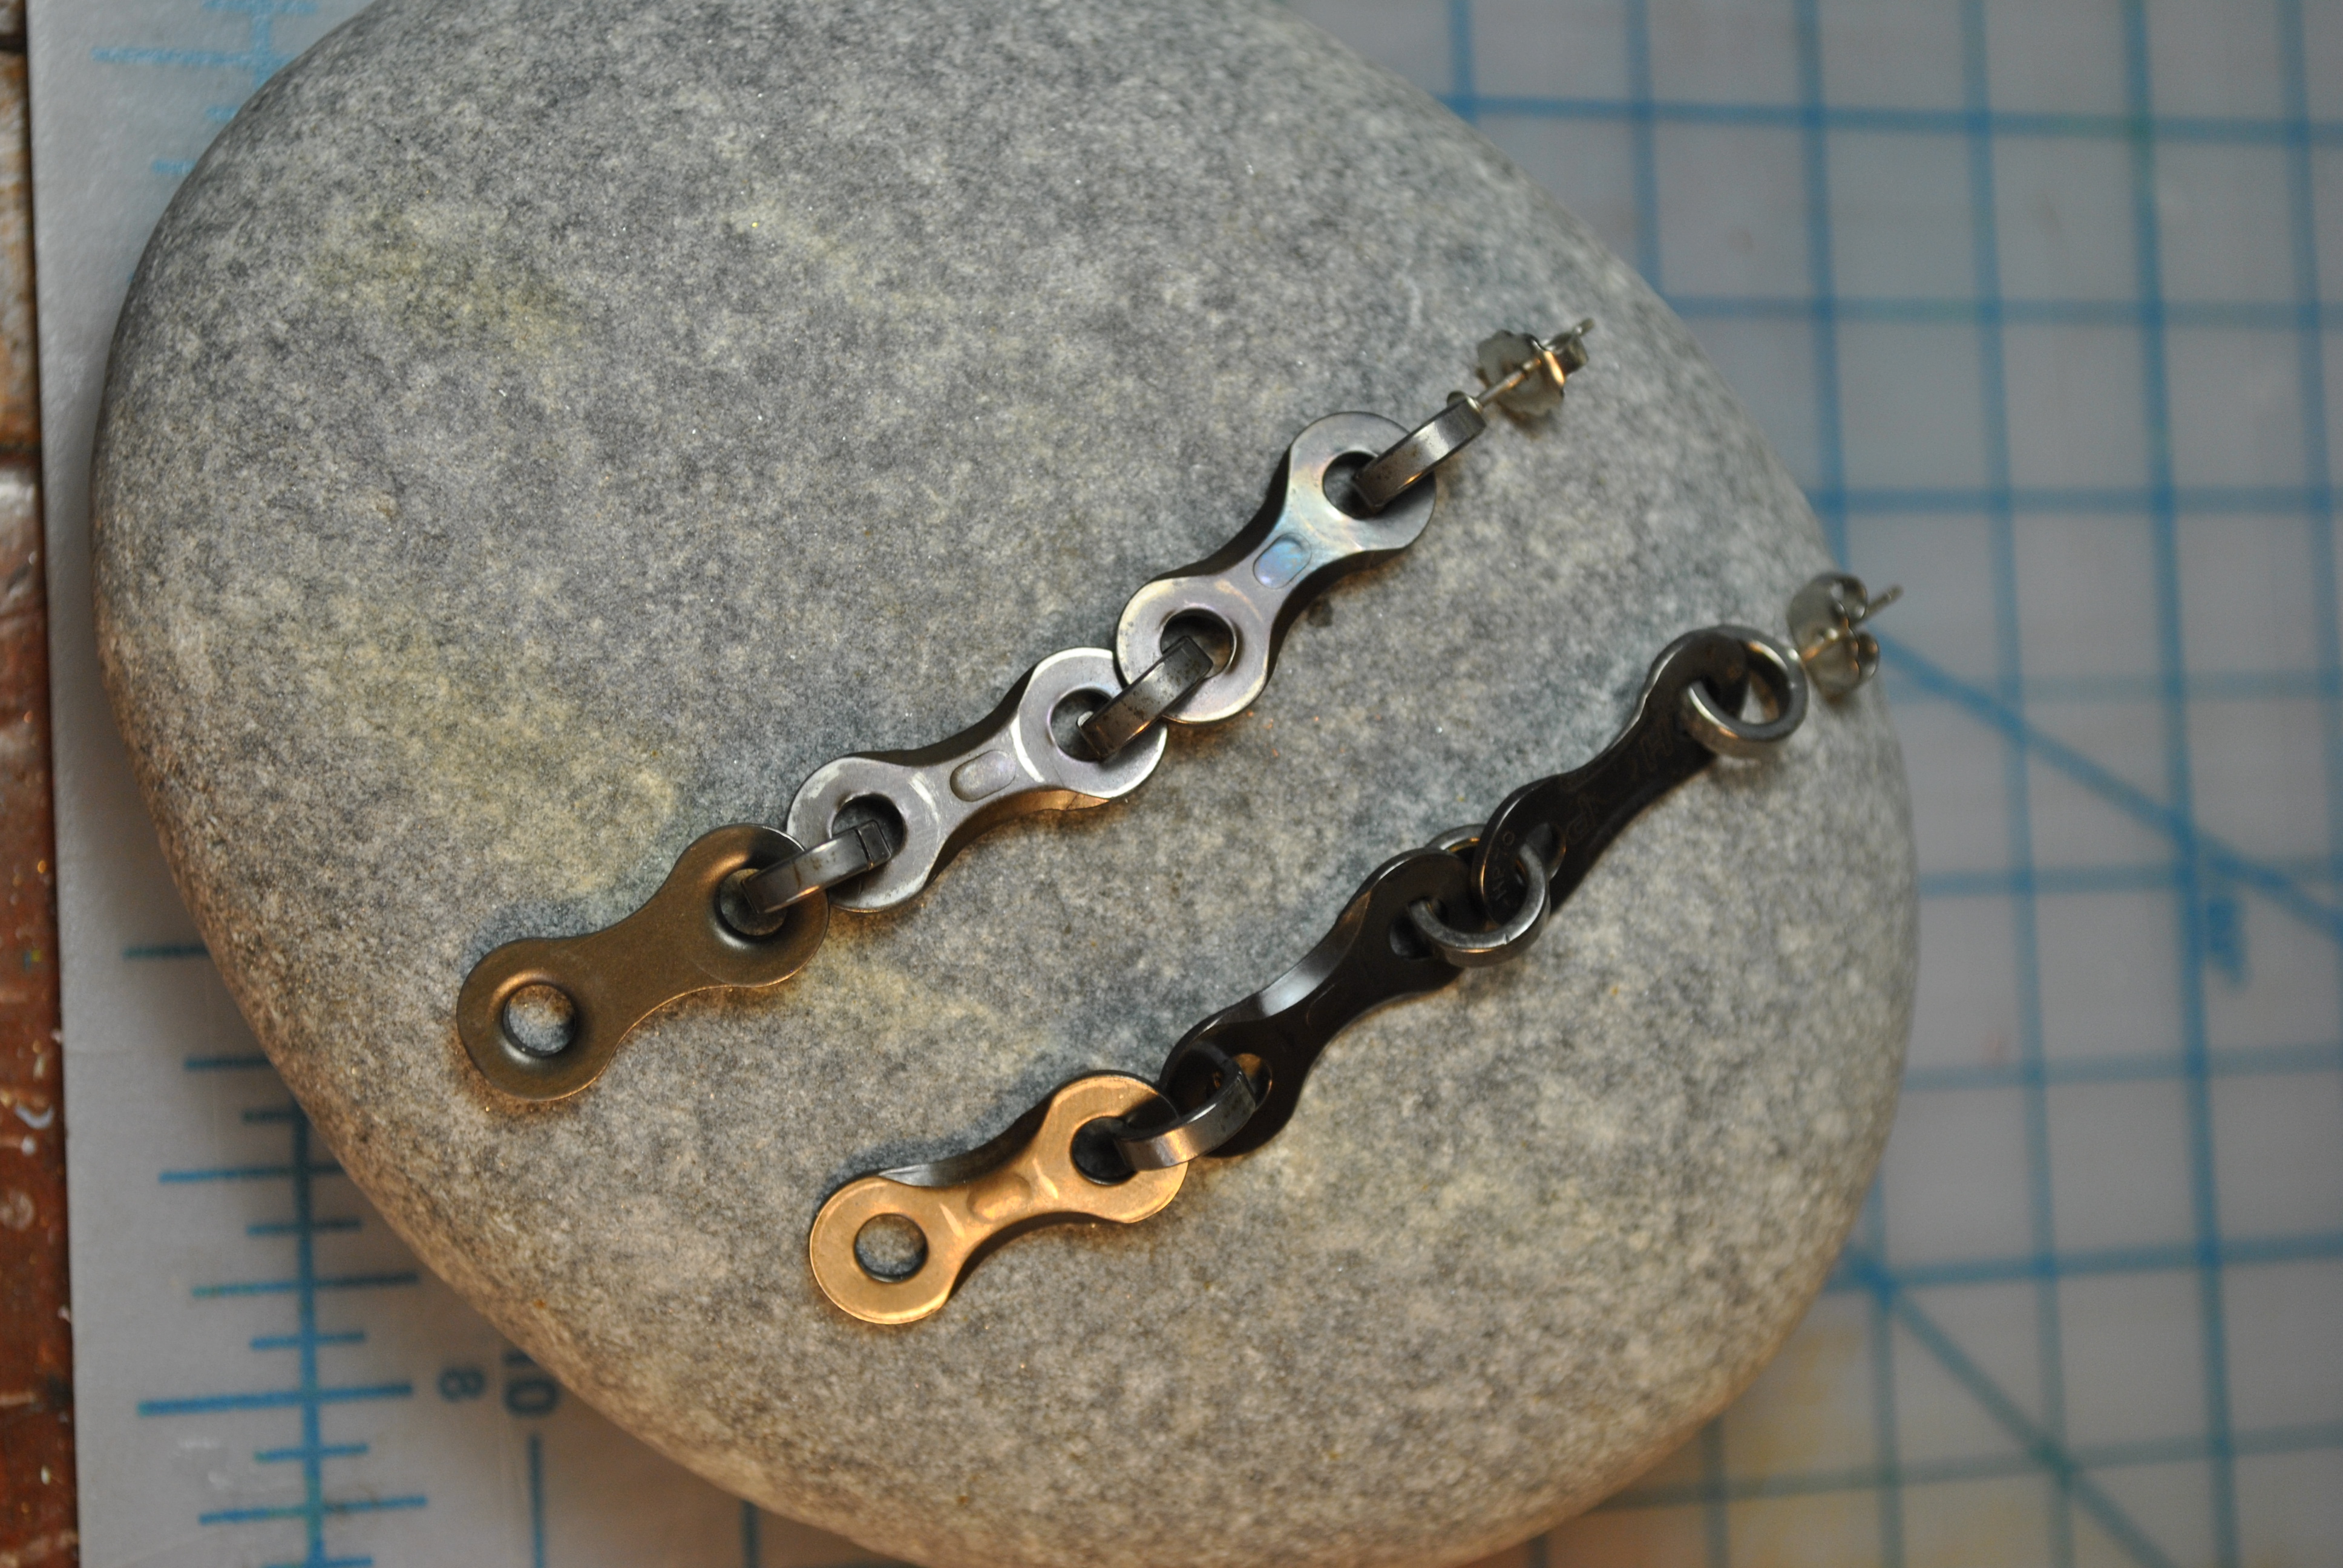
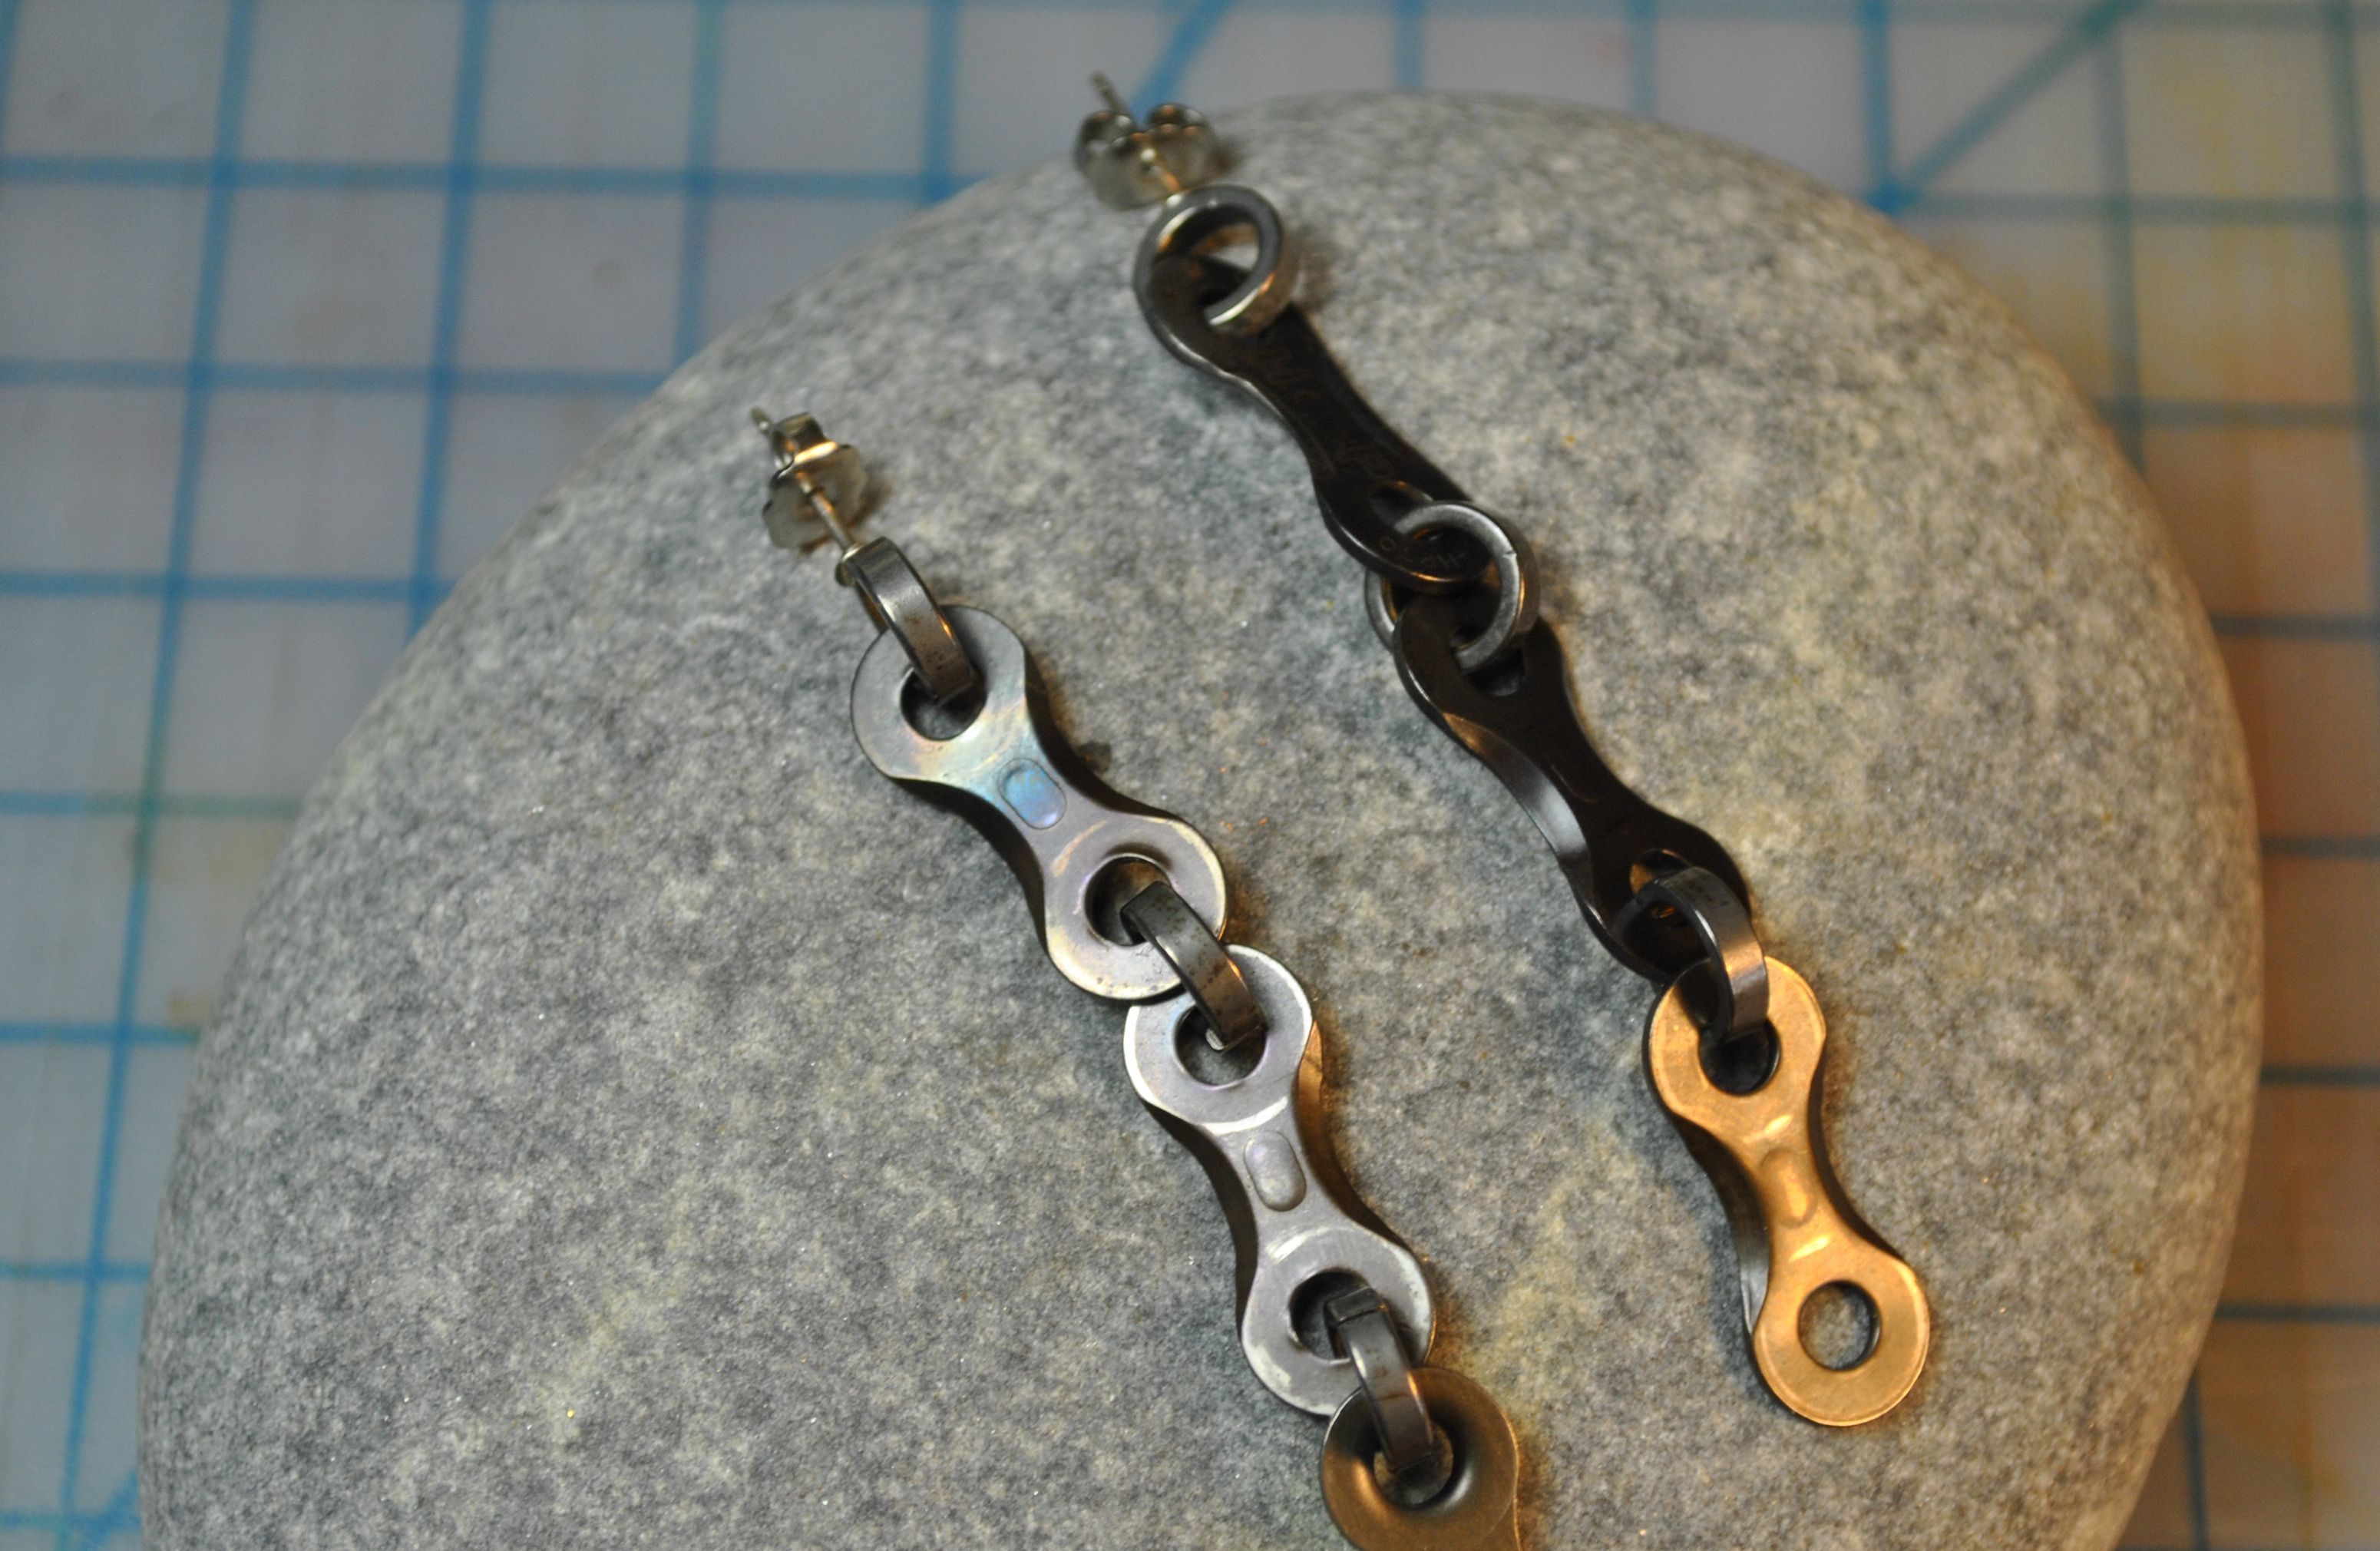
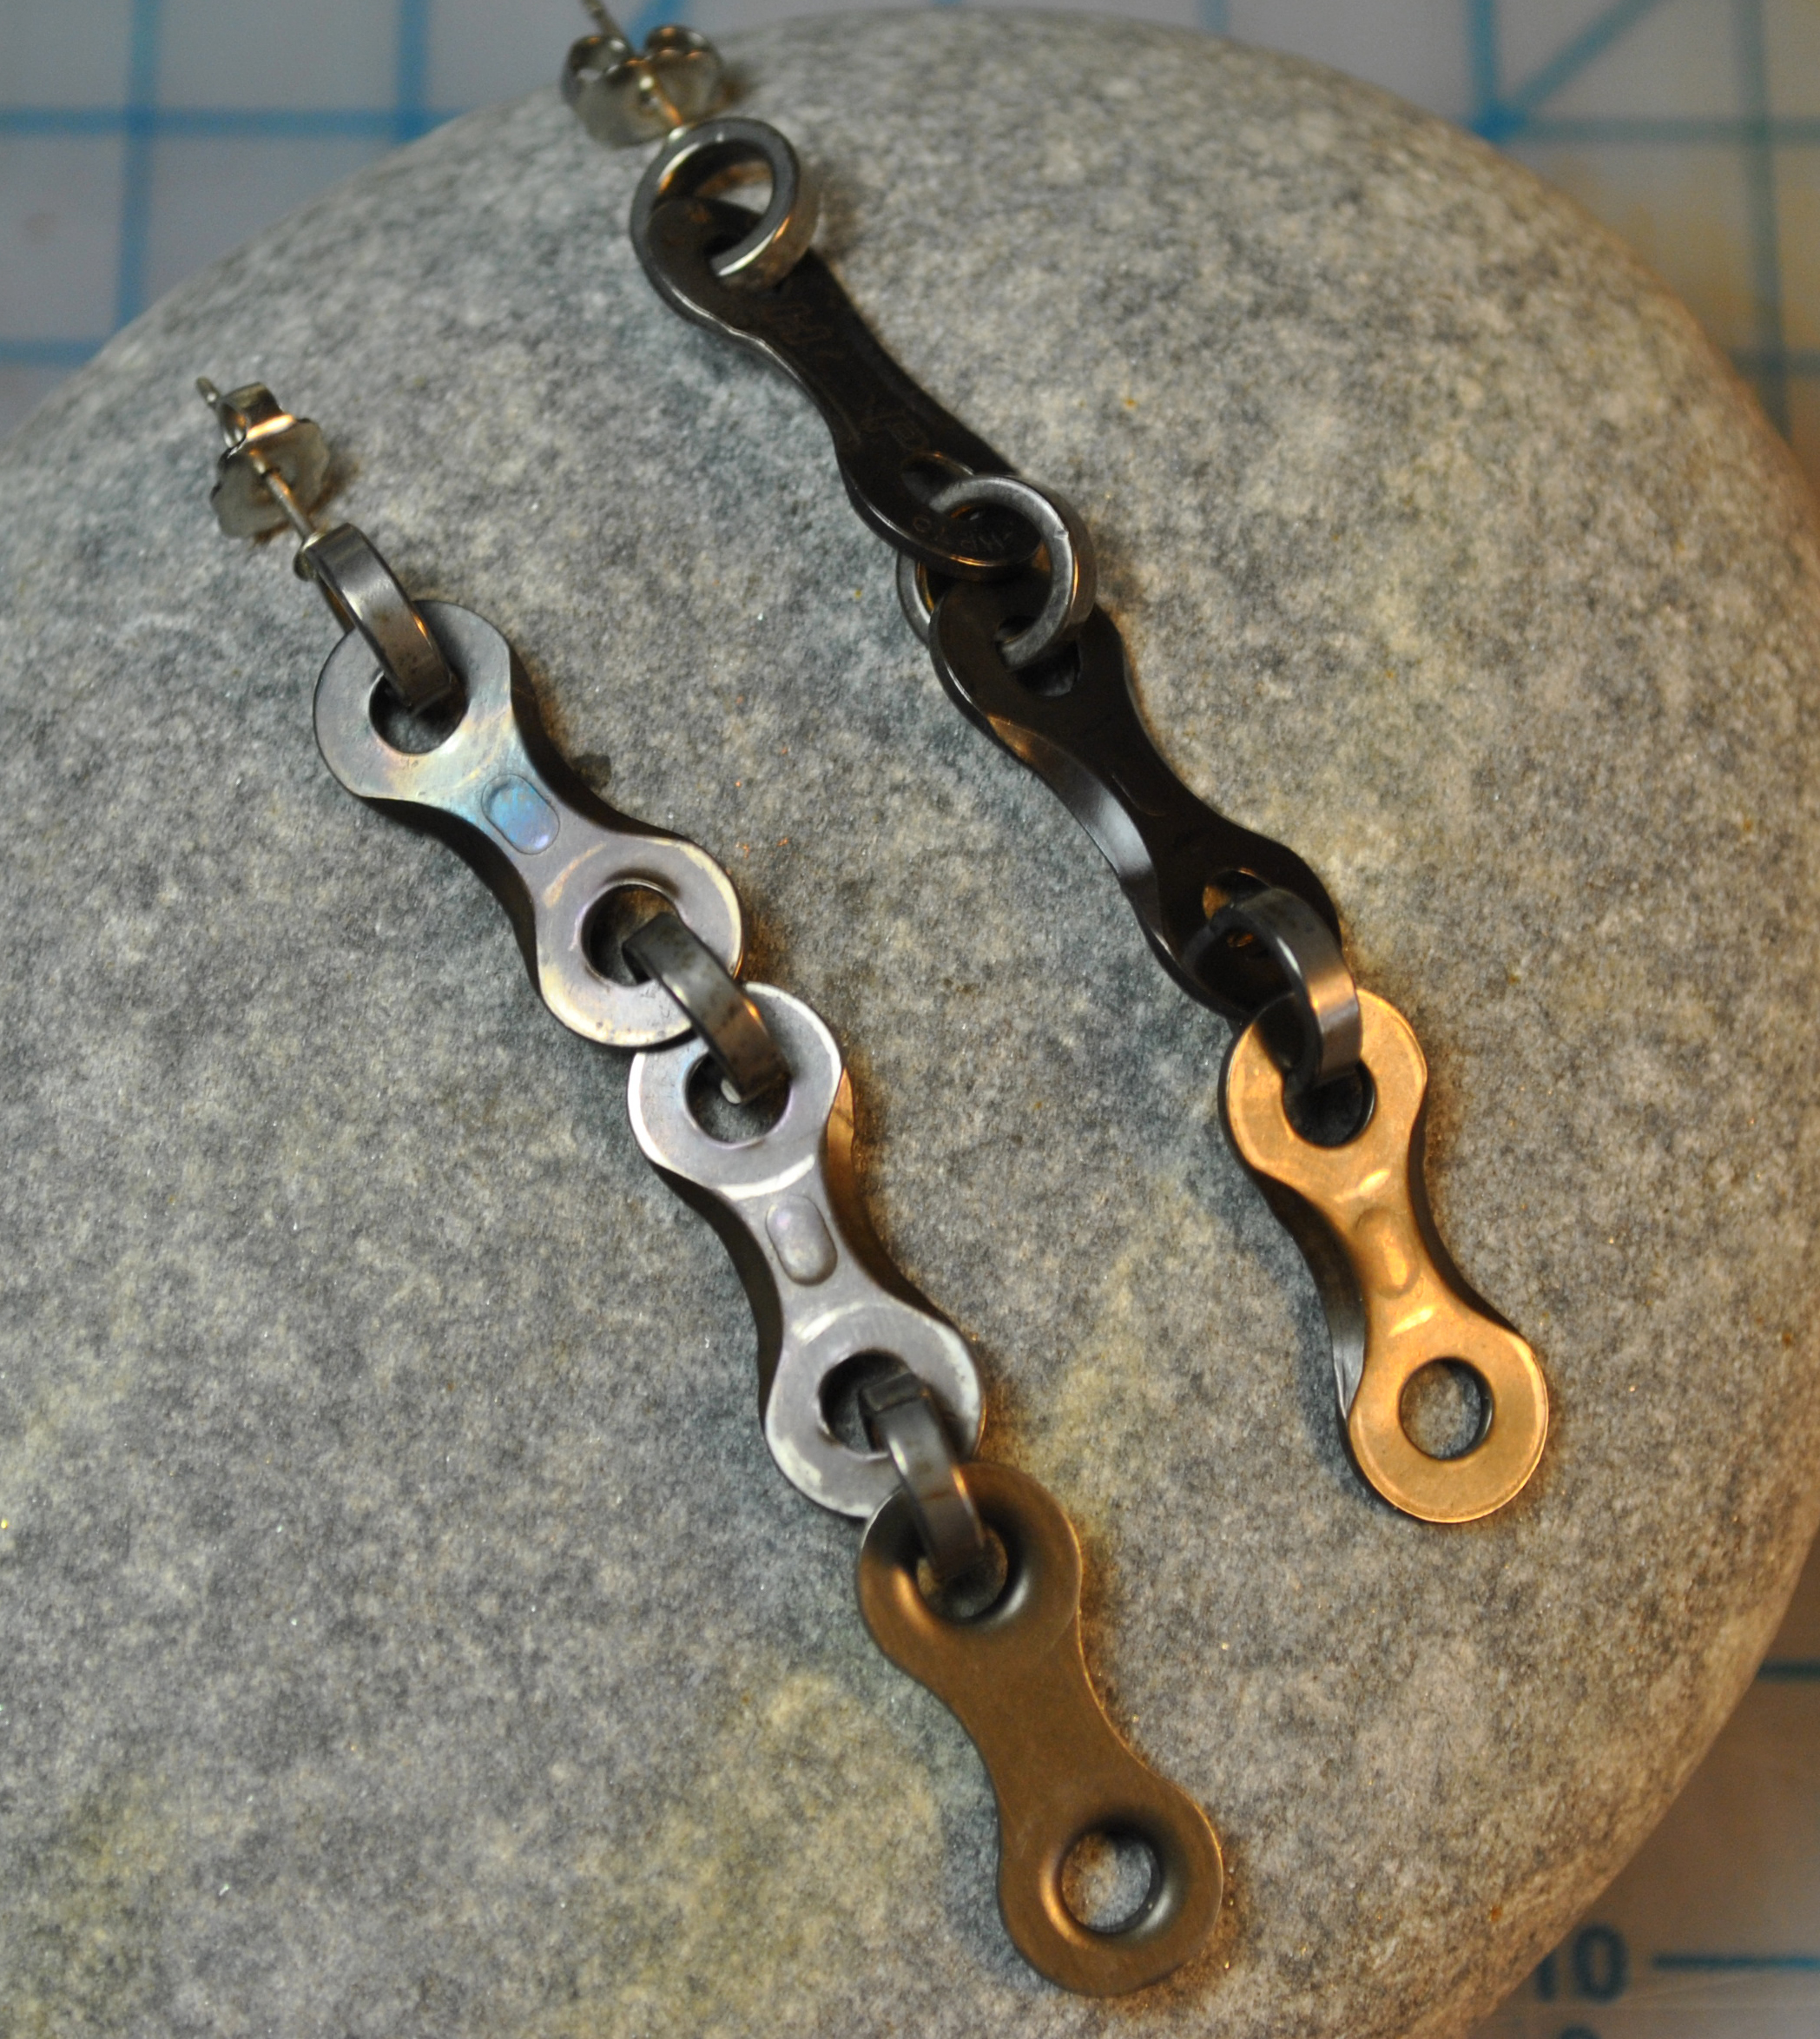
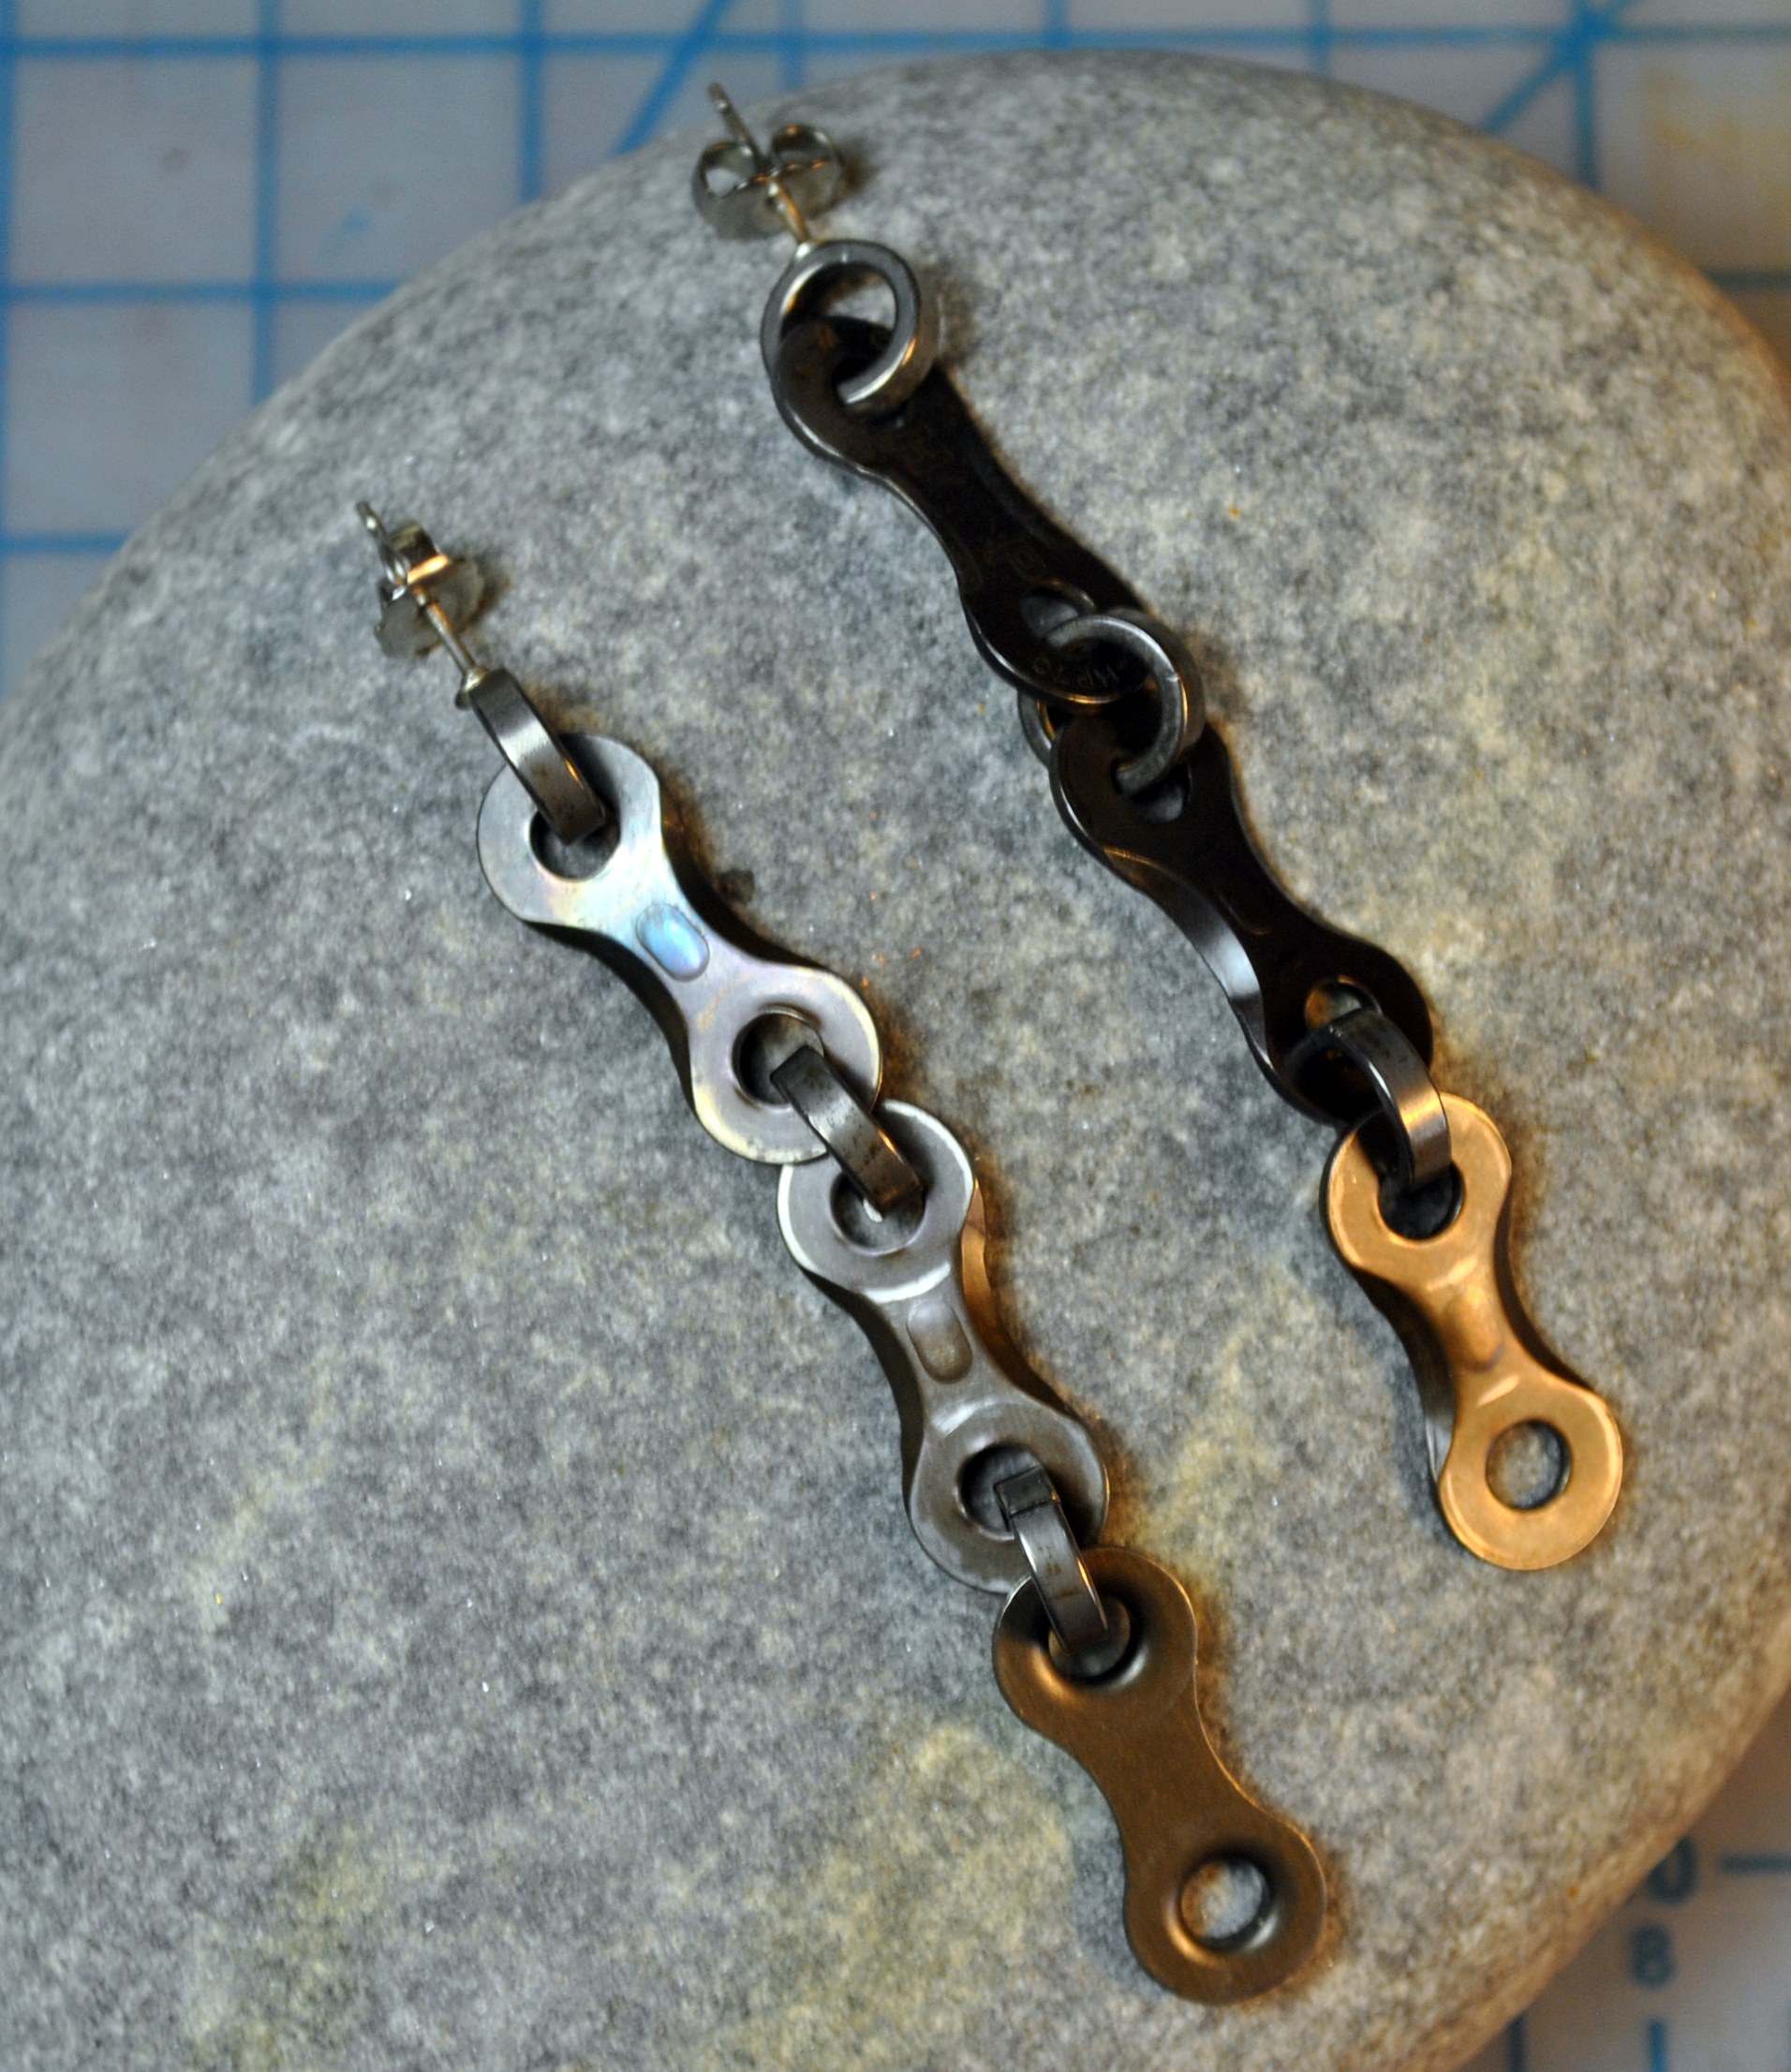

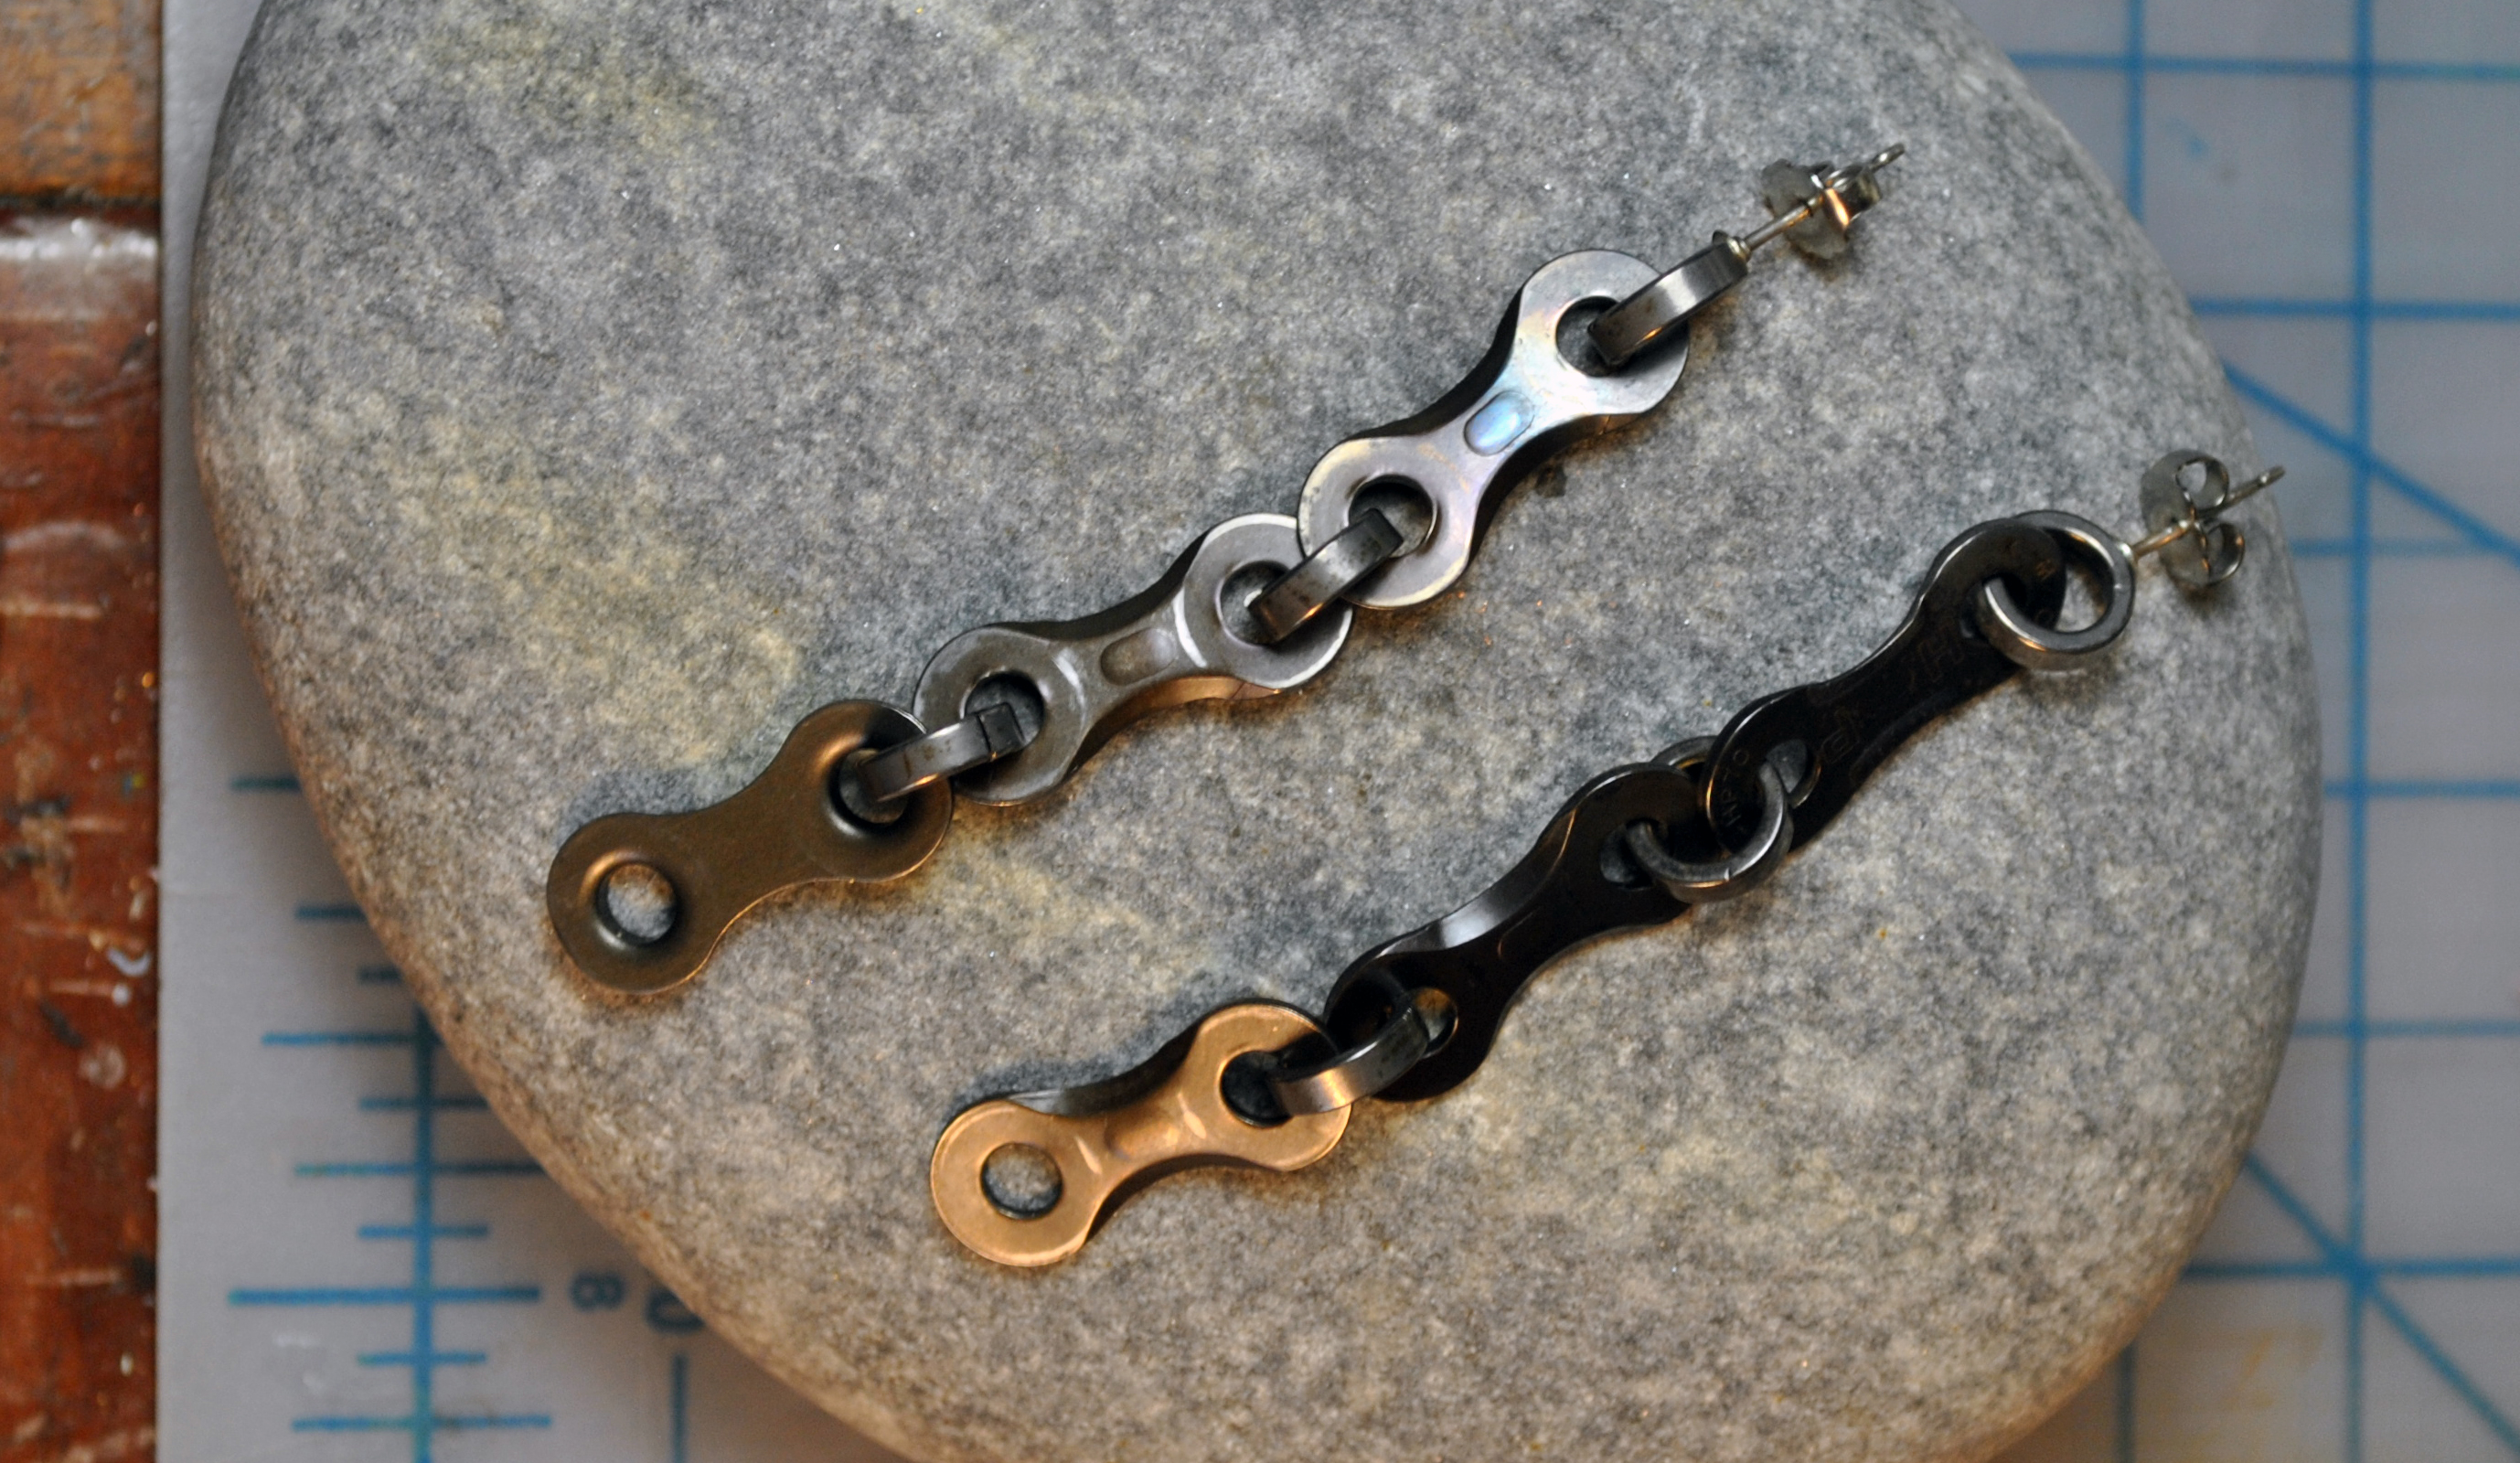
The entire construction is bike chain parts, except for the silver ear stud. The tricky part was figuring out how to cut the very hard steel rings…until I remembered you can tempter steel to make it softer, after several tempering the rings were soft enough to cut through with a jewelers saw, then it was just a matter of putting it all together with a little torch work and some pliers. They have a really nice dangley jingle to them, and the recipient has received many compliments.
If you like them they are available in my store.
Do you want to help me continue to bring you great projects, while also getting great rewards? Then support me on Patreon!
Thank you!
This one was pretty simple, I needed a yoga roll strap to aid in easier transport of a rolled up yoga mat. I had just purchased a new comforter that came with a long strip of cotton that held it together, combined with some scrap fabric, and a little work on the sewing machine. A simple project, but totally useful and worth it.
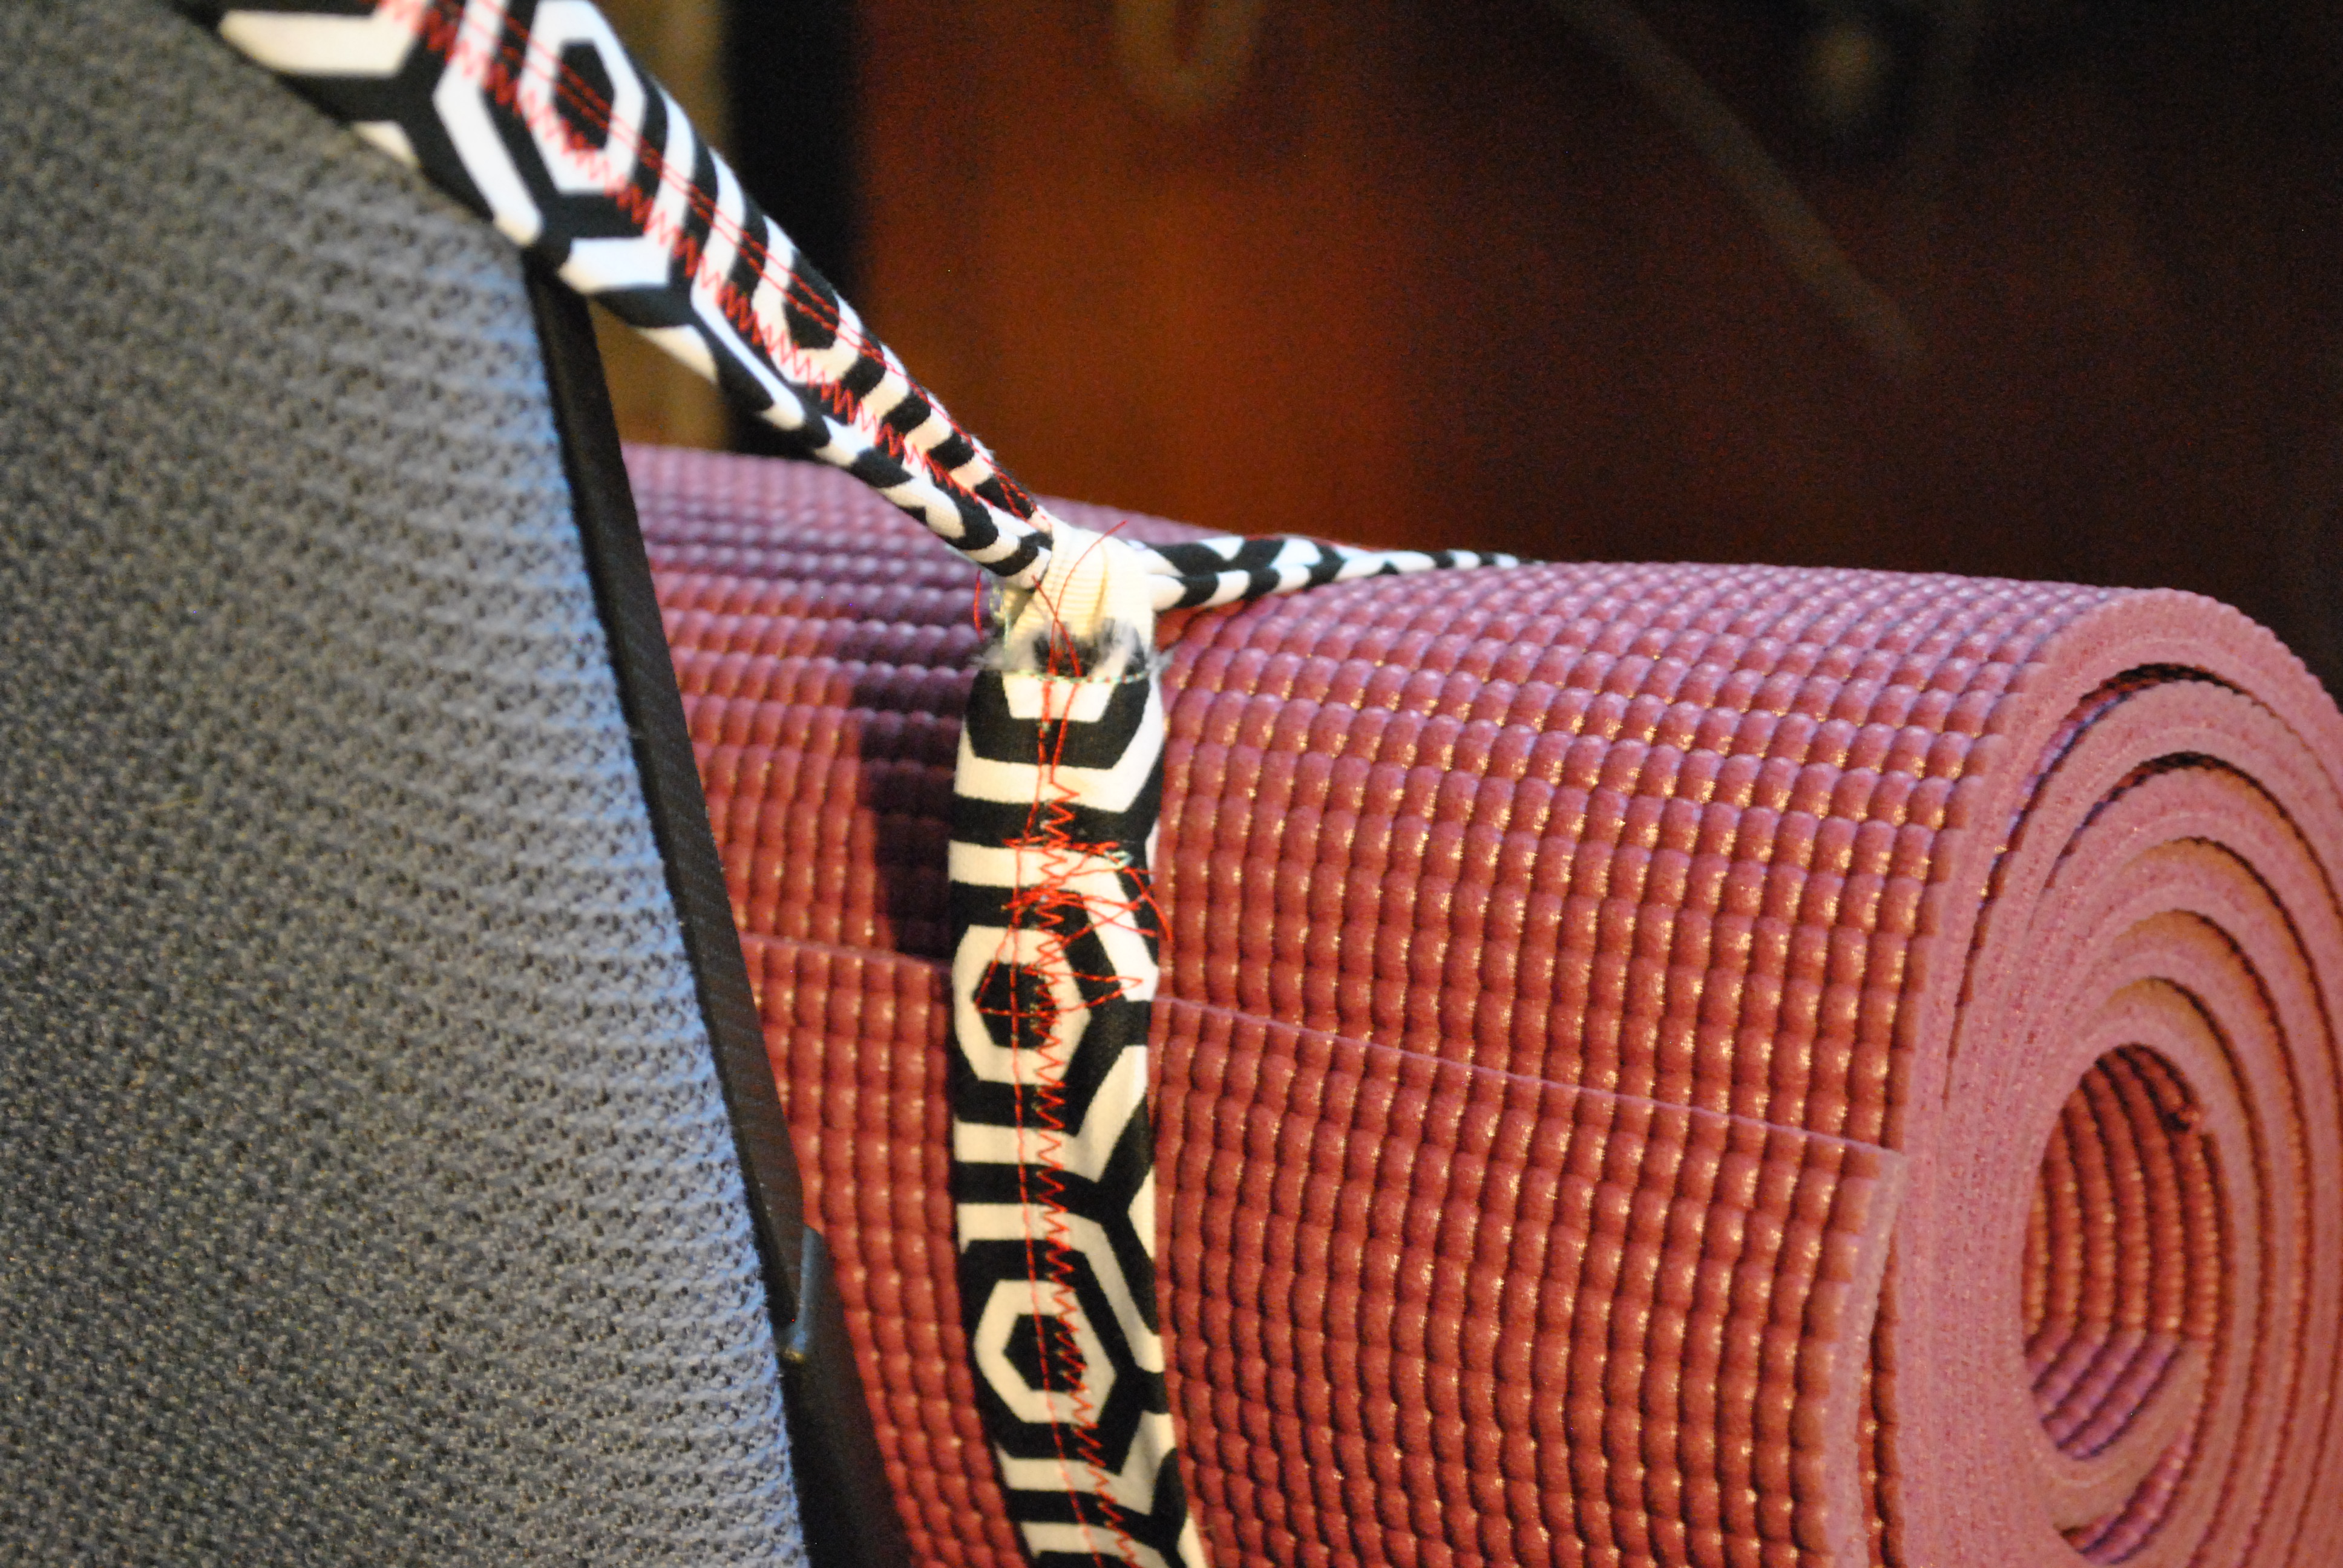
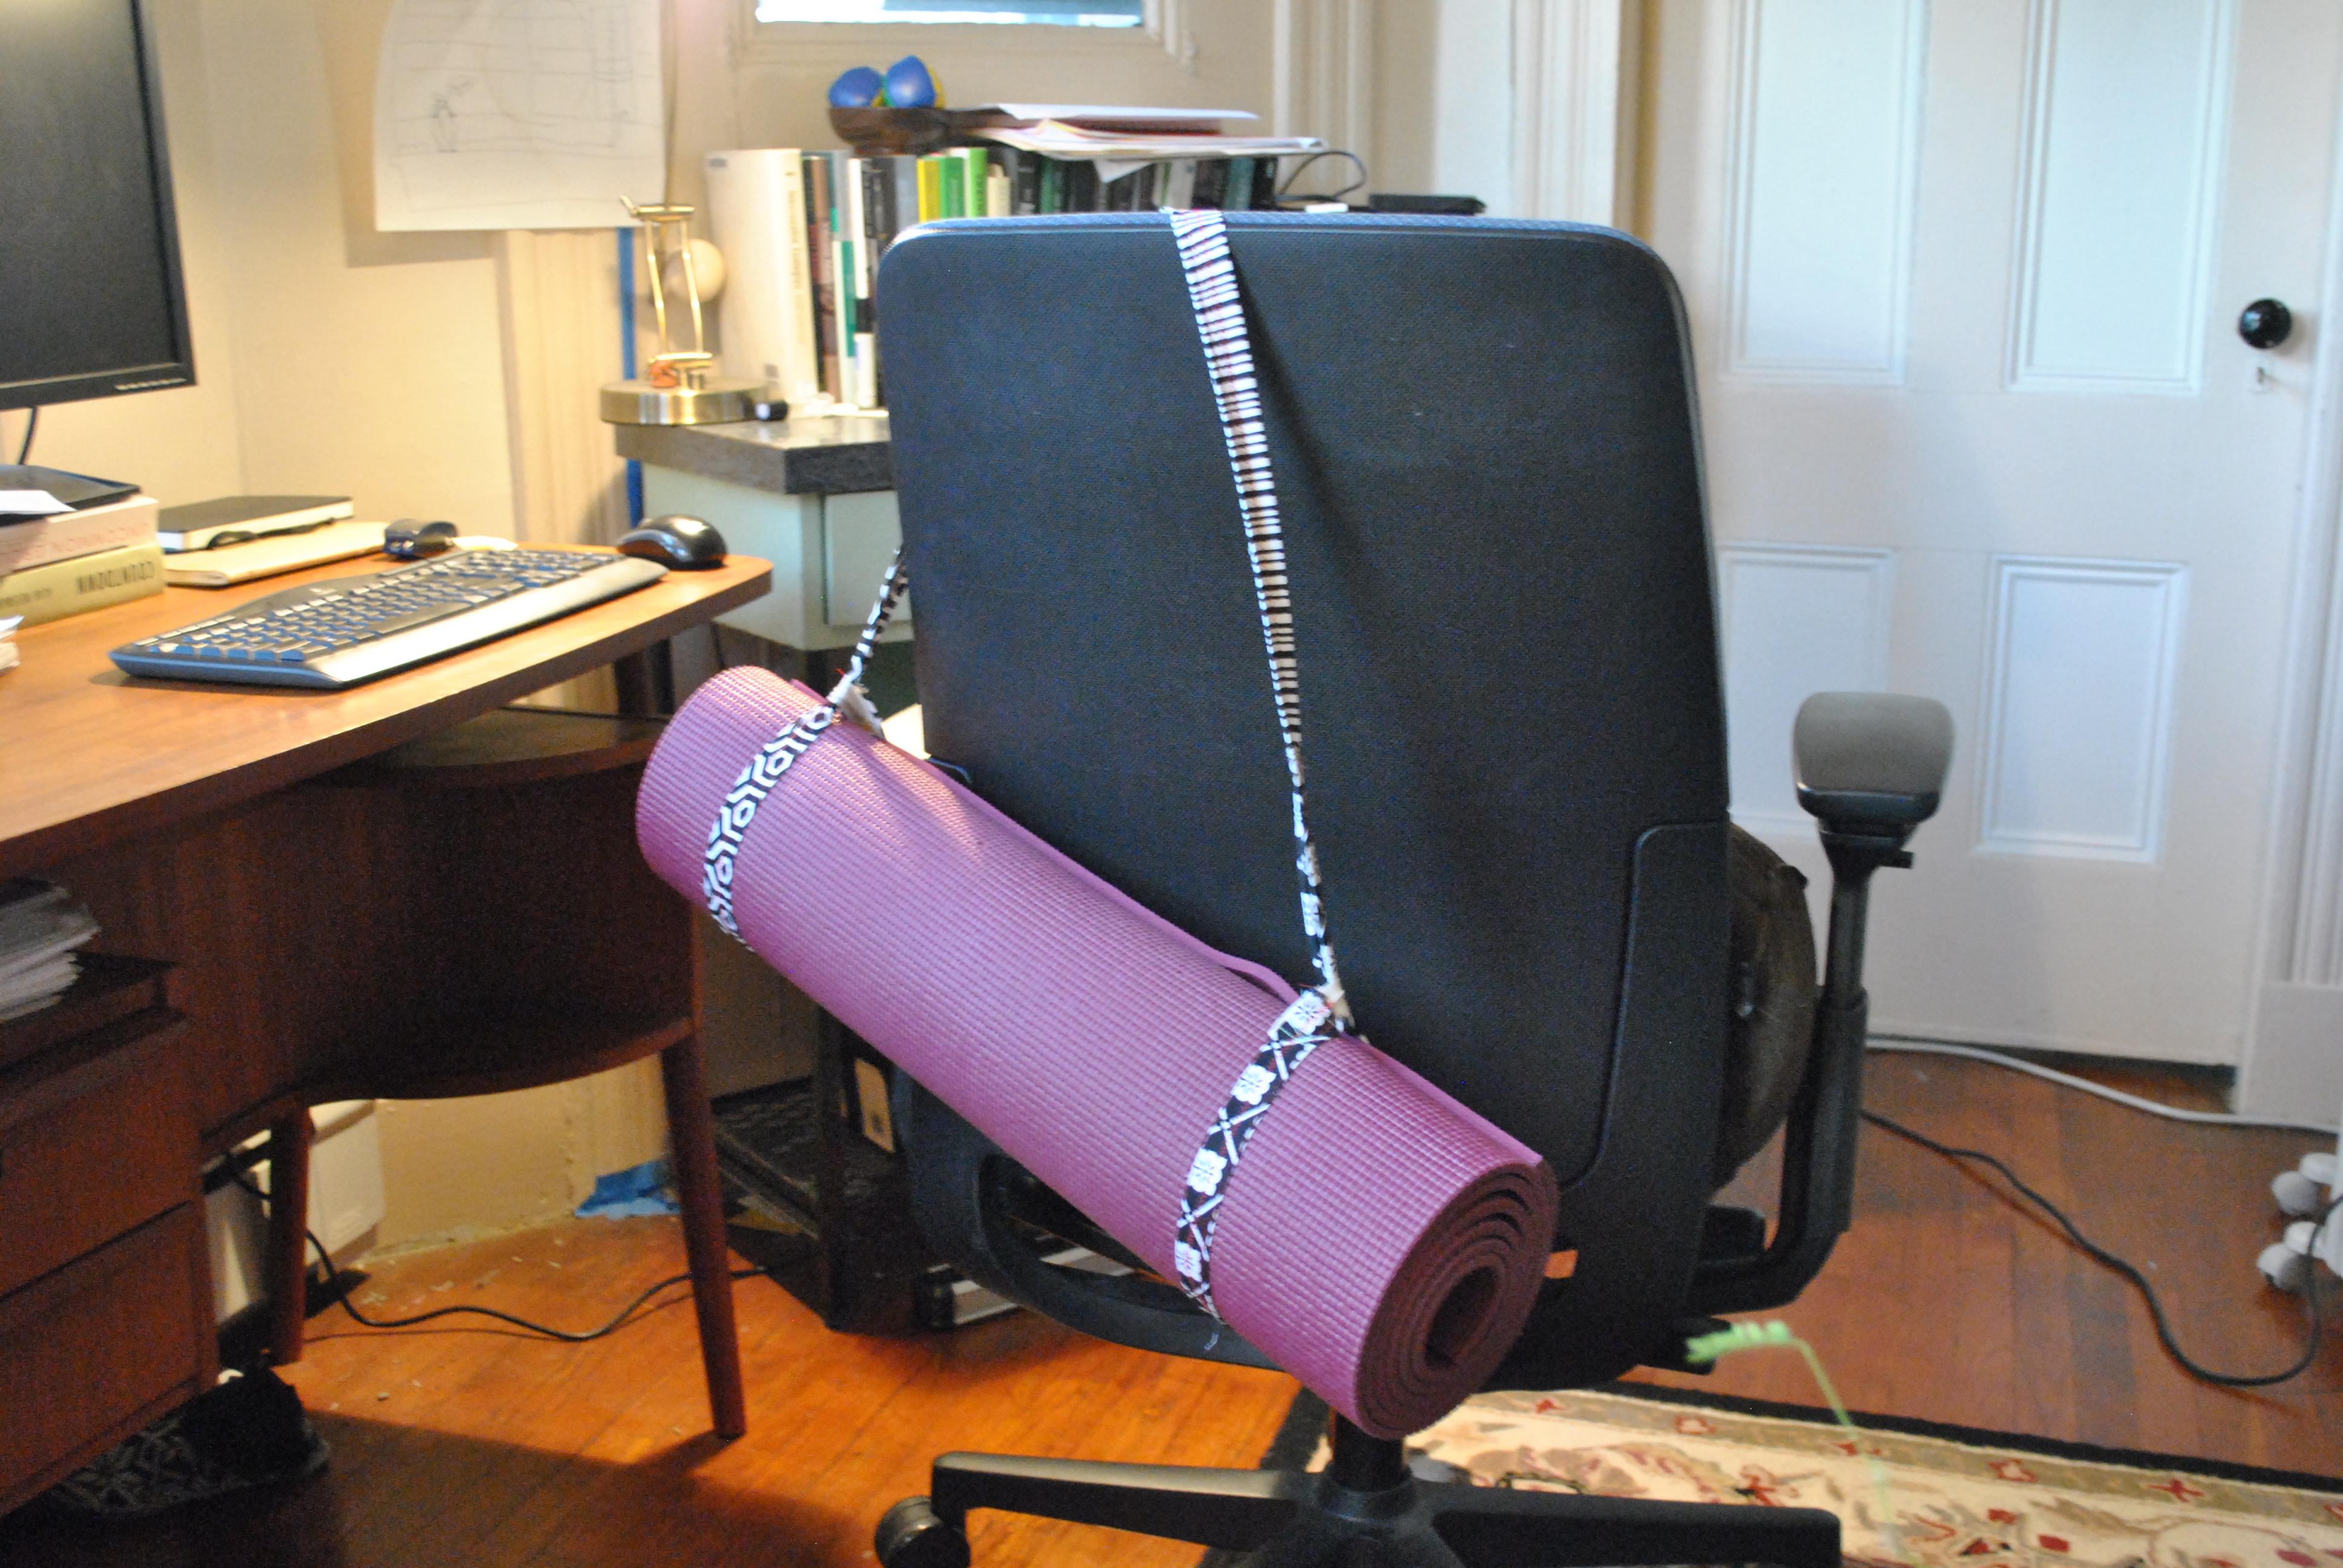
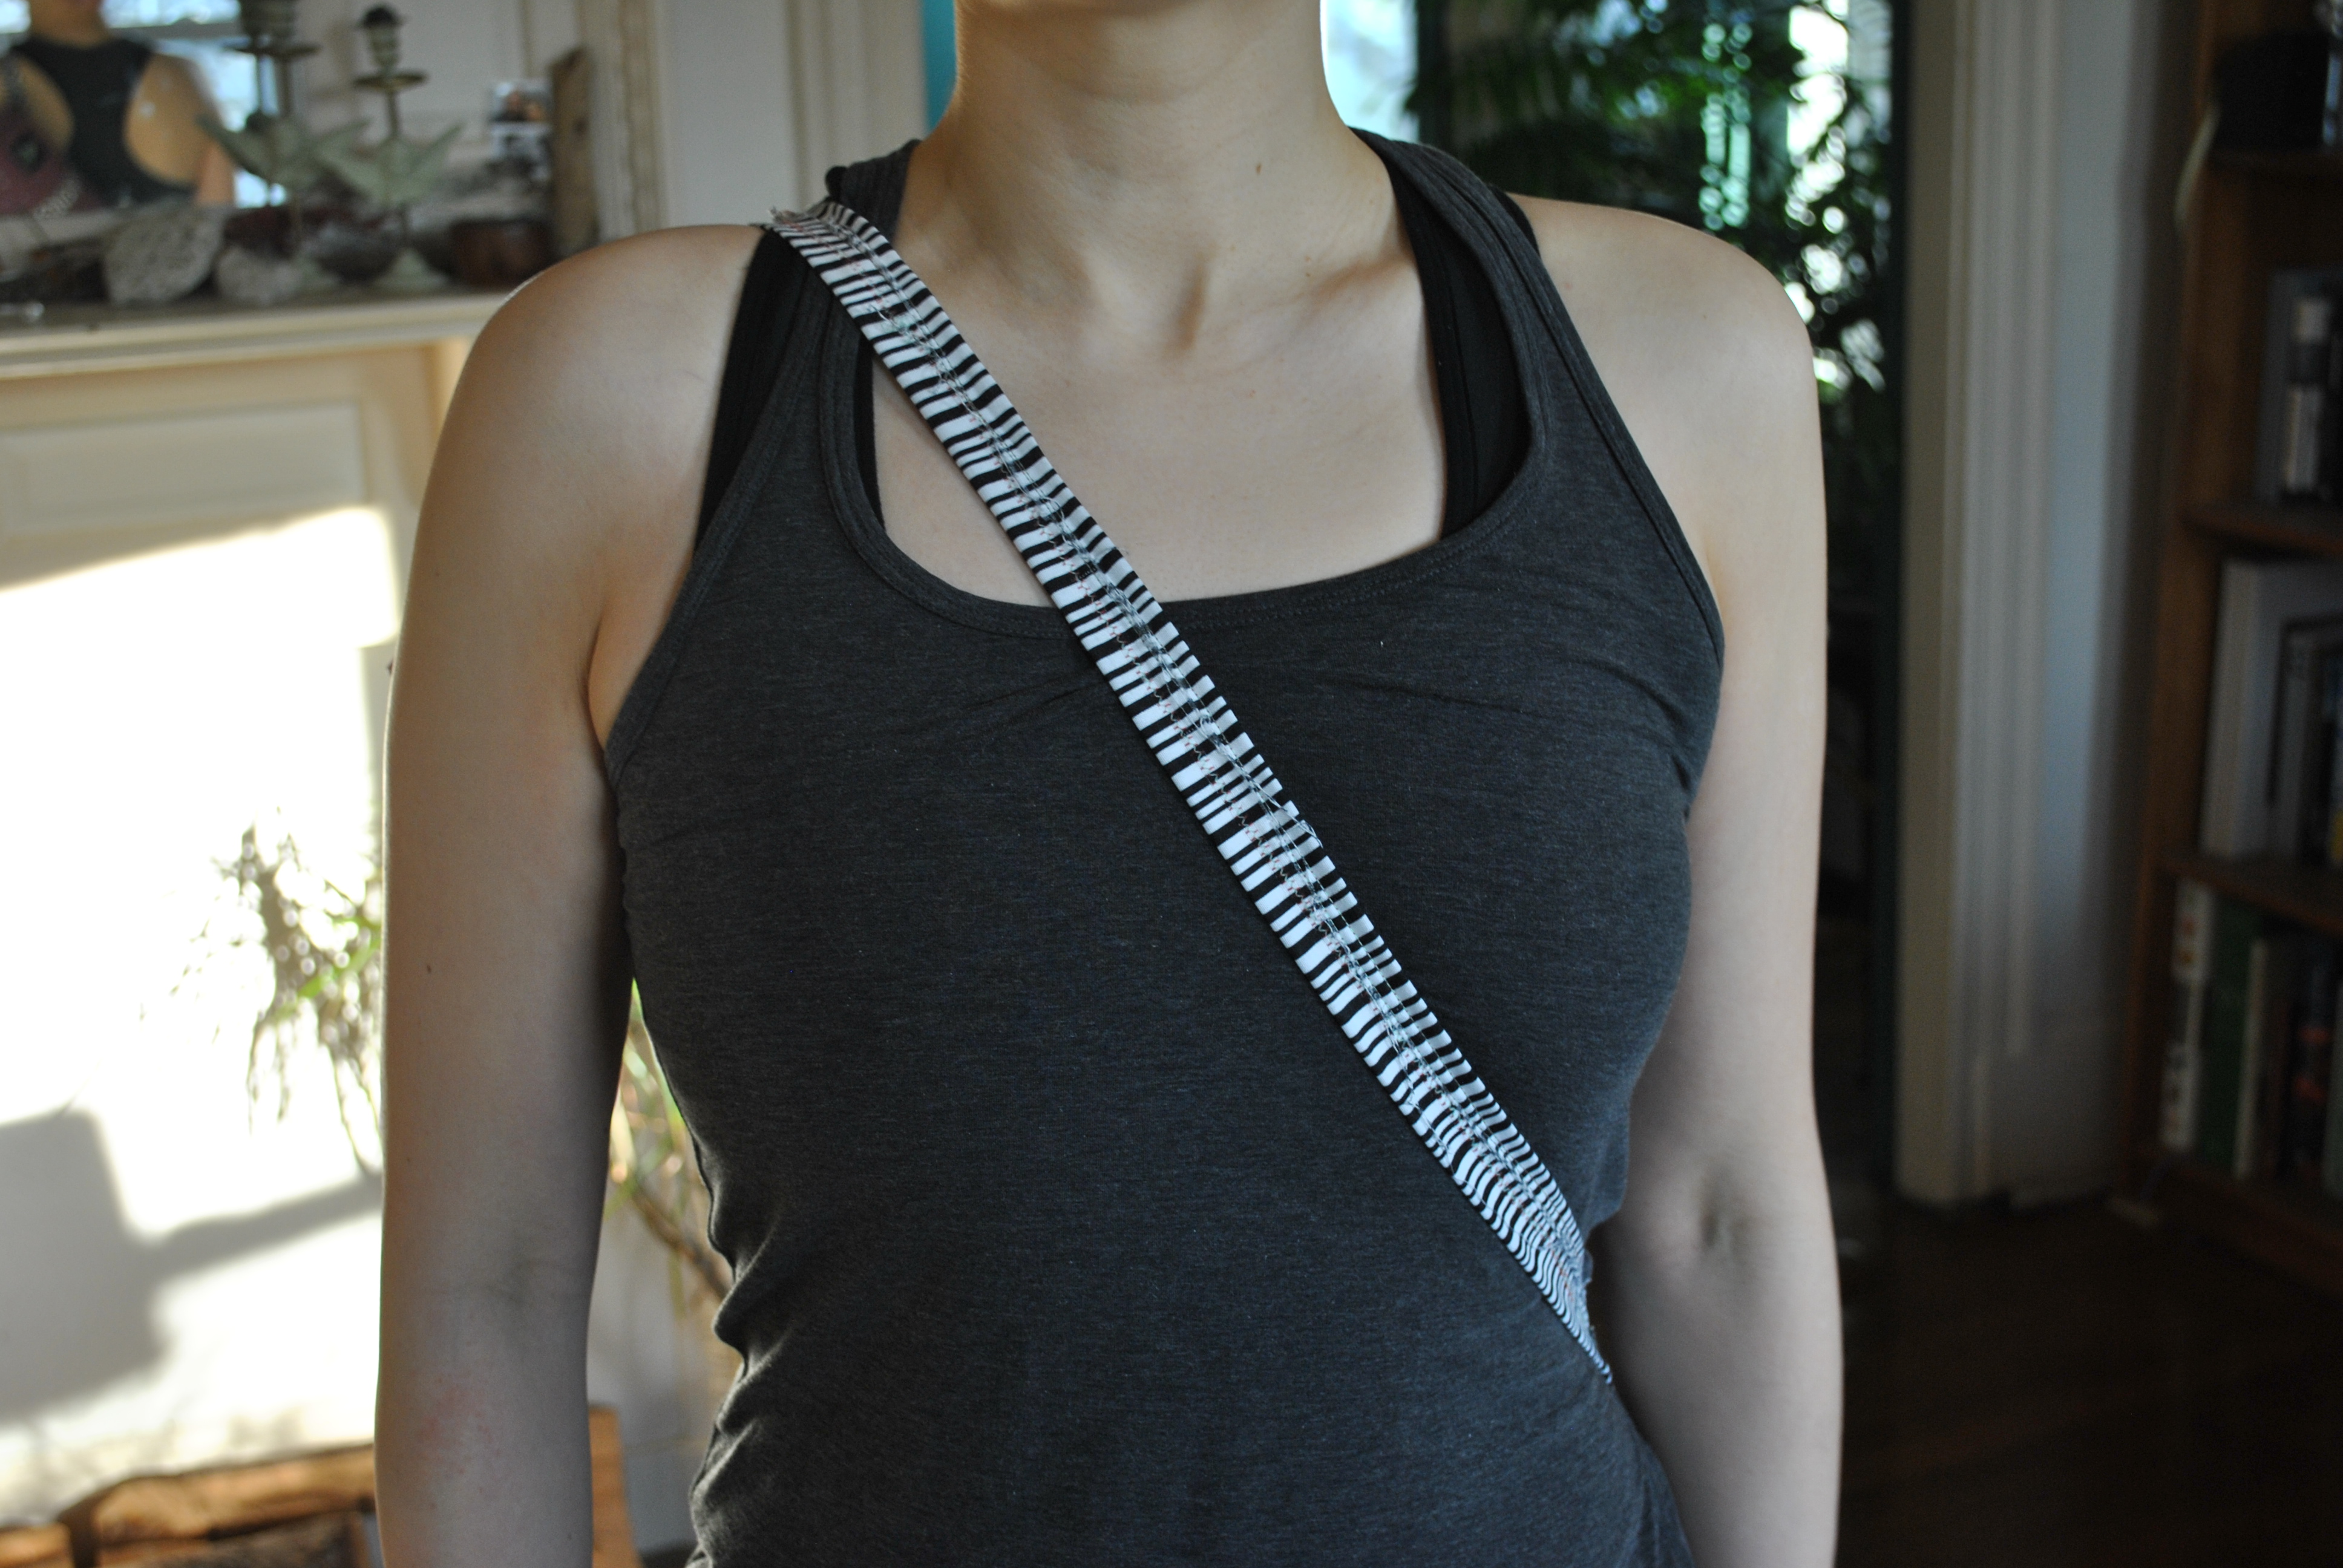
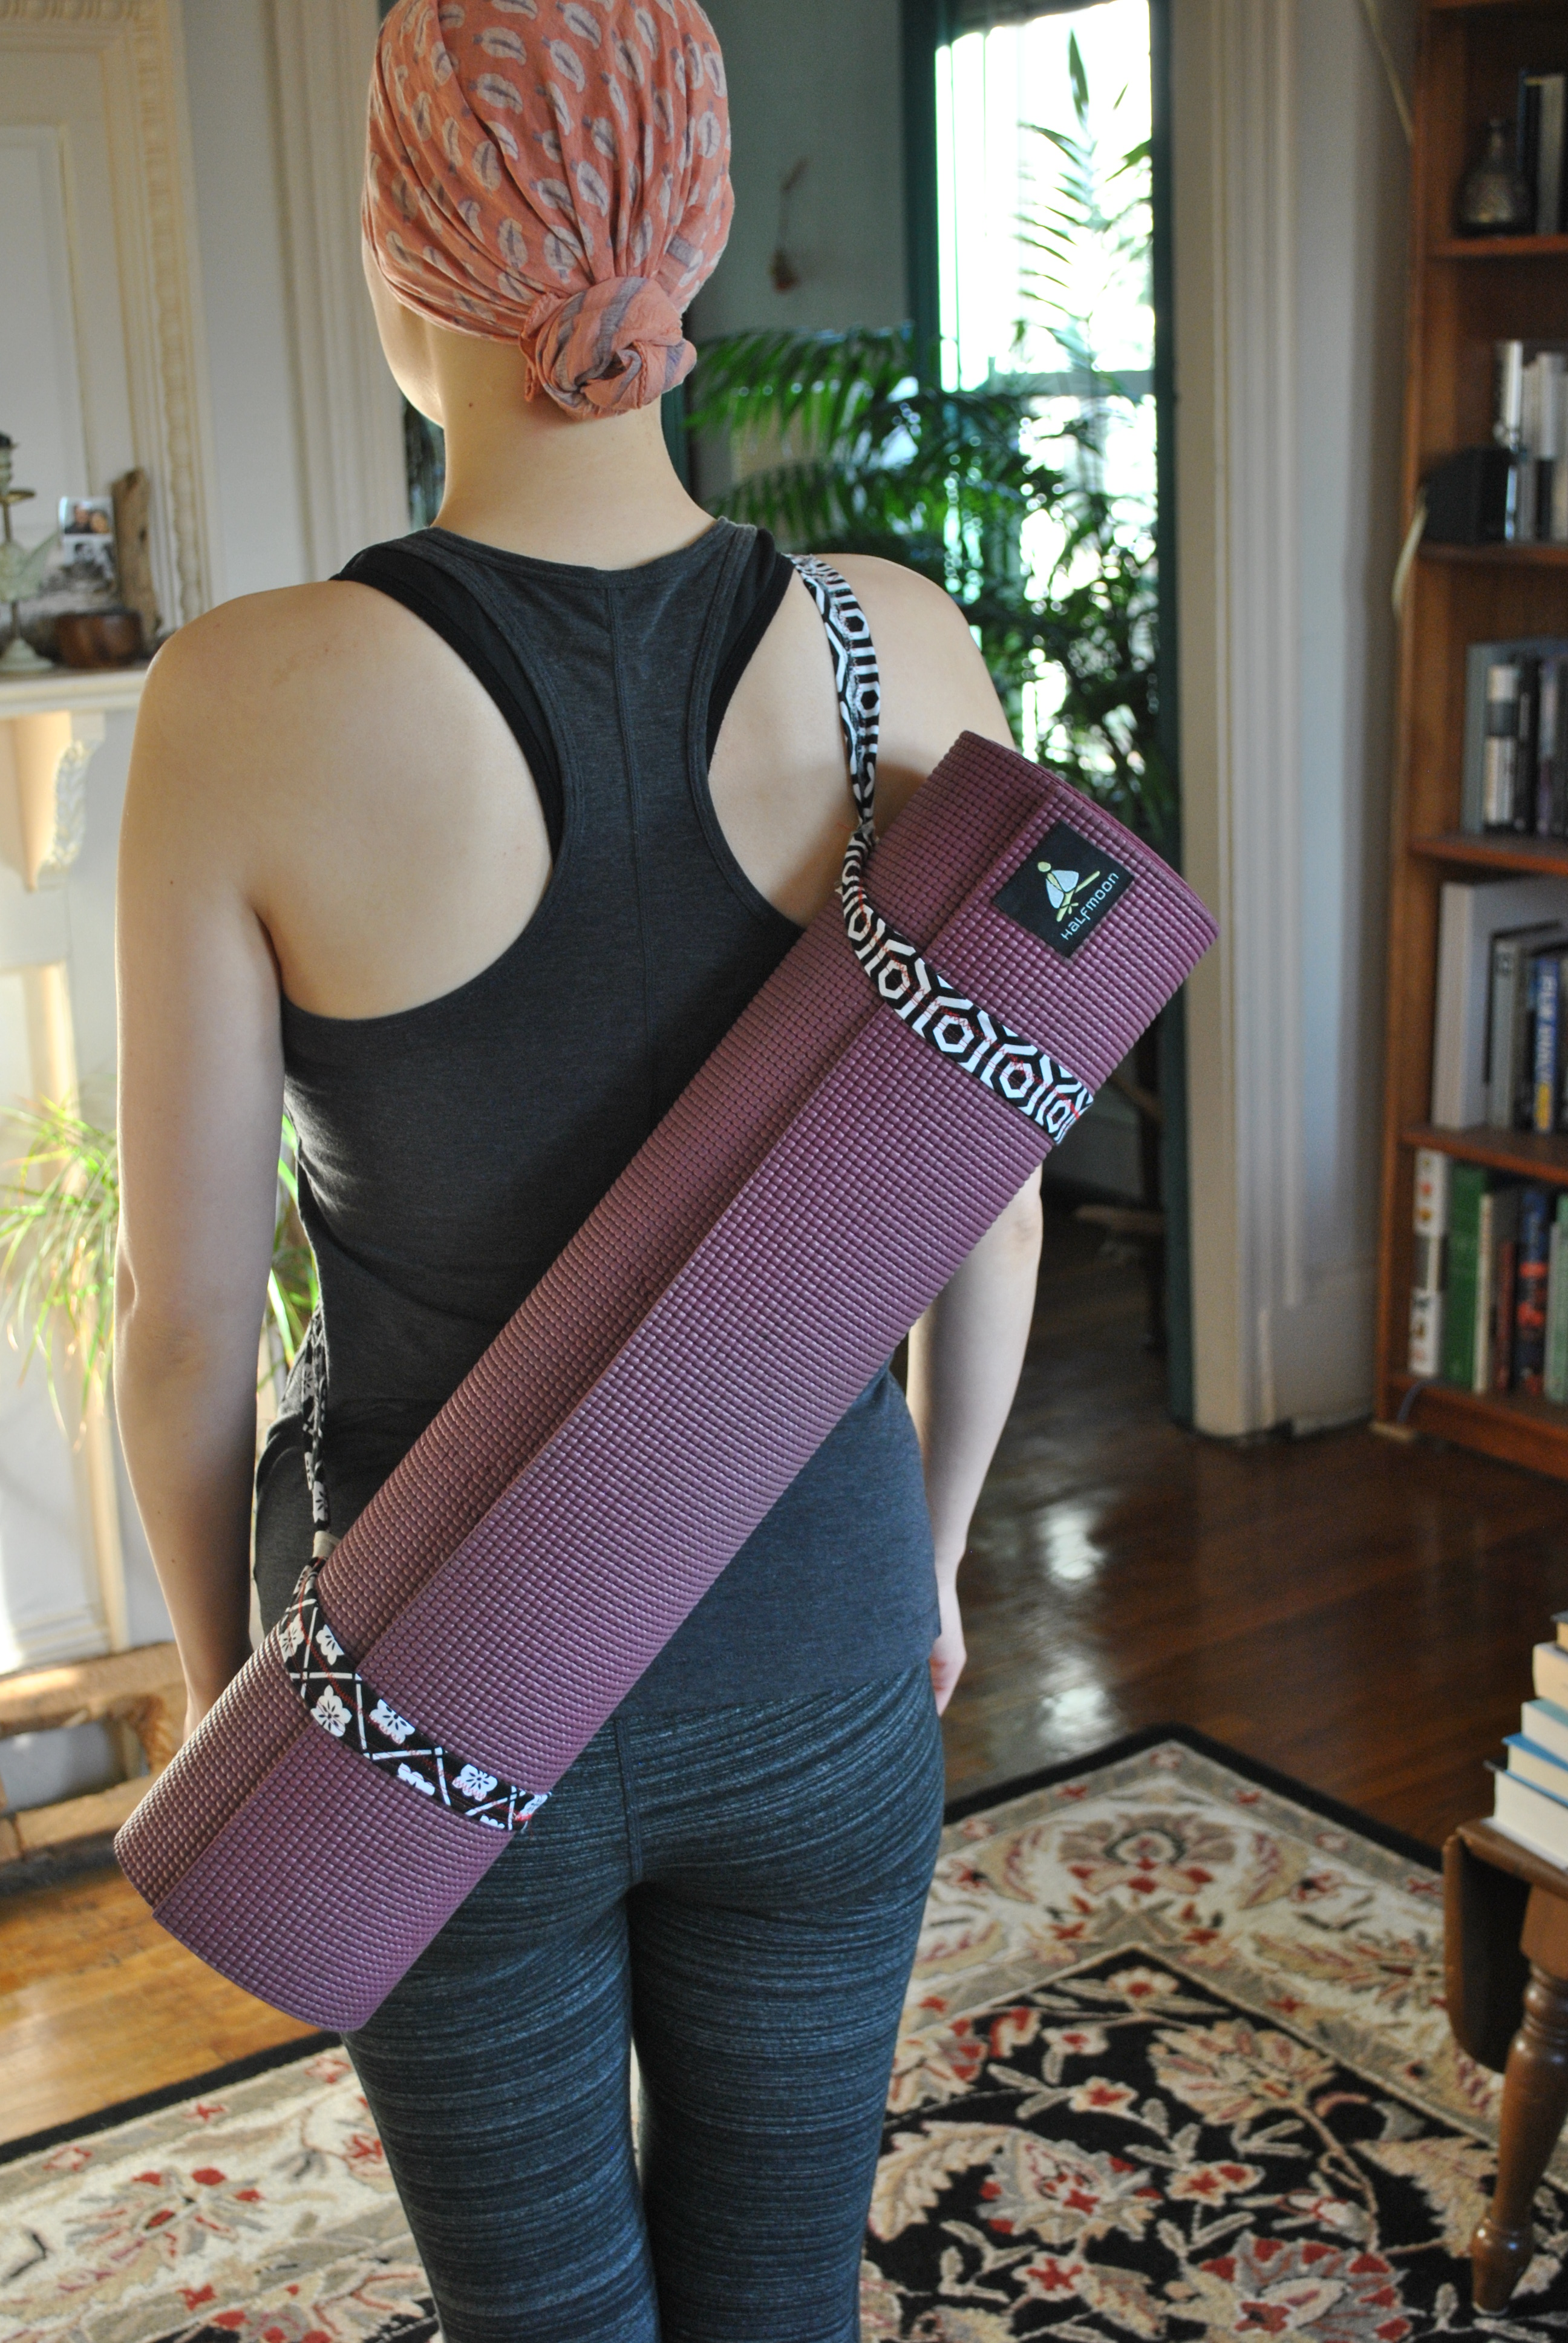
Took all of 10 minutes and works great! To make the loops I just folded one end over the strap and then sewed it into a permanent loop, to adjust you just slide the small loop down the length of the strap, put the roll in, and then tighten it.
Do you want to help me continue to bring you great projects, while also getting great rewards? Then support me on Patreon!
Thank you!
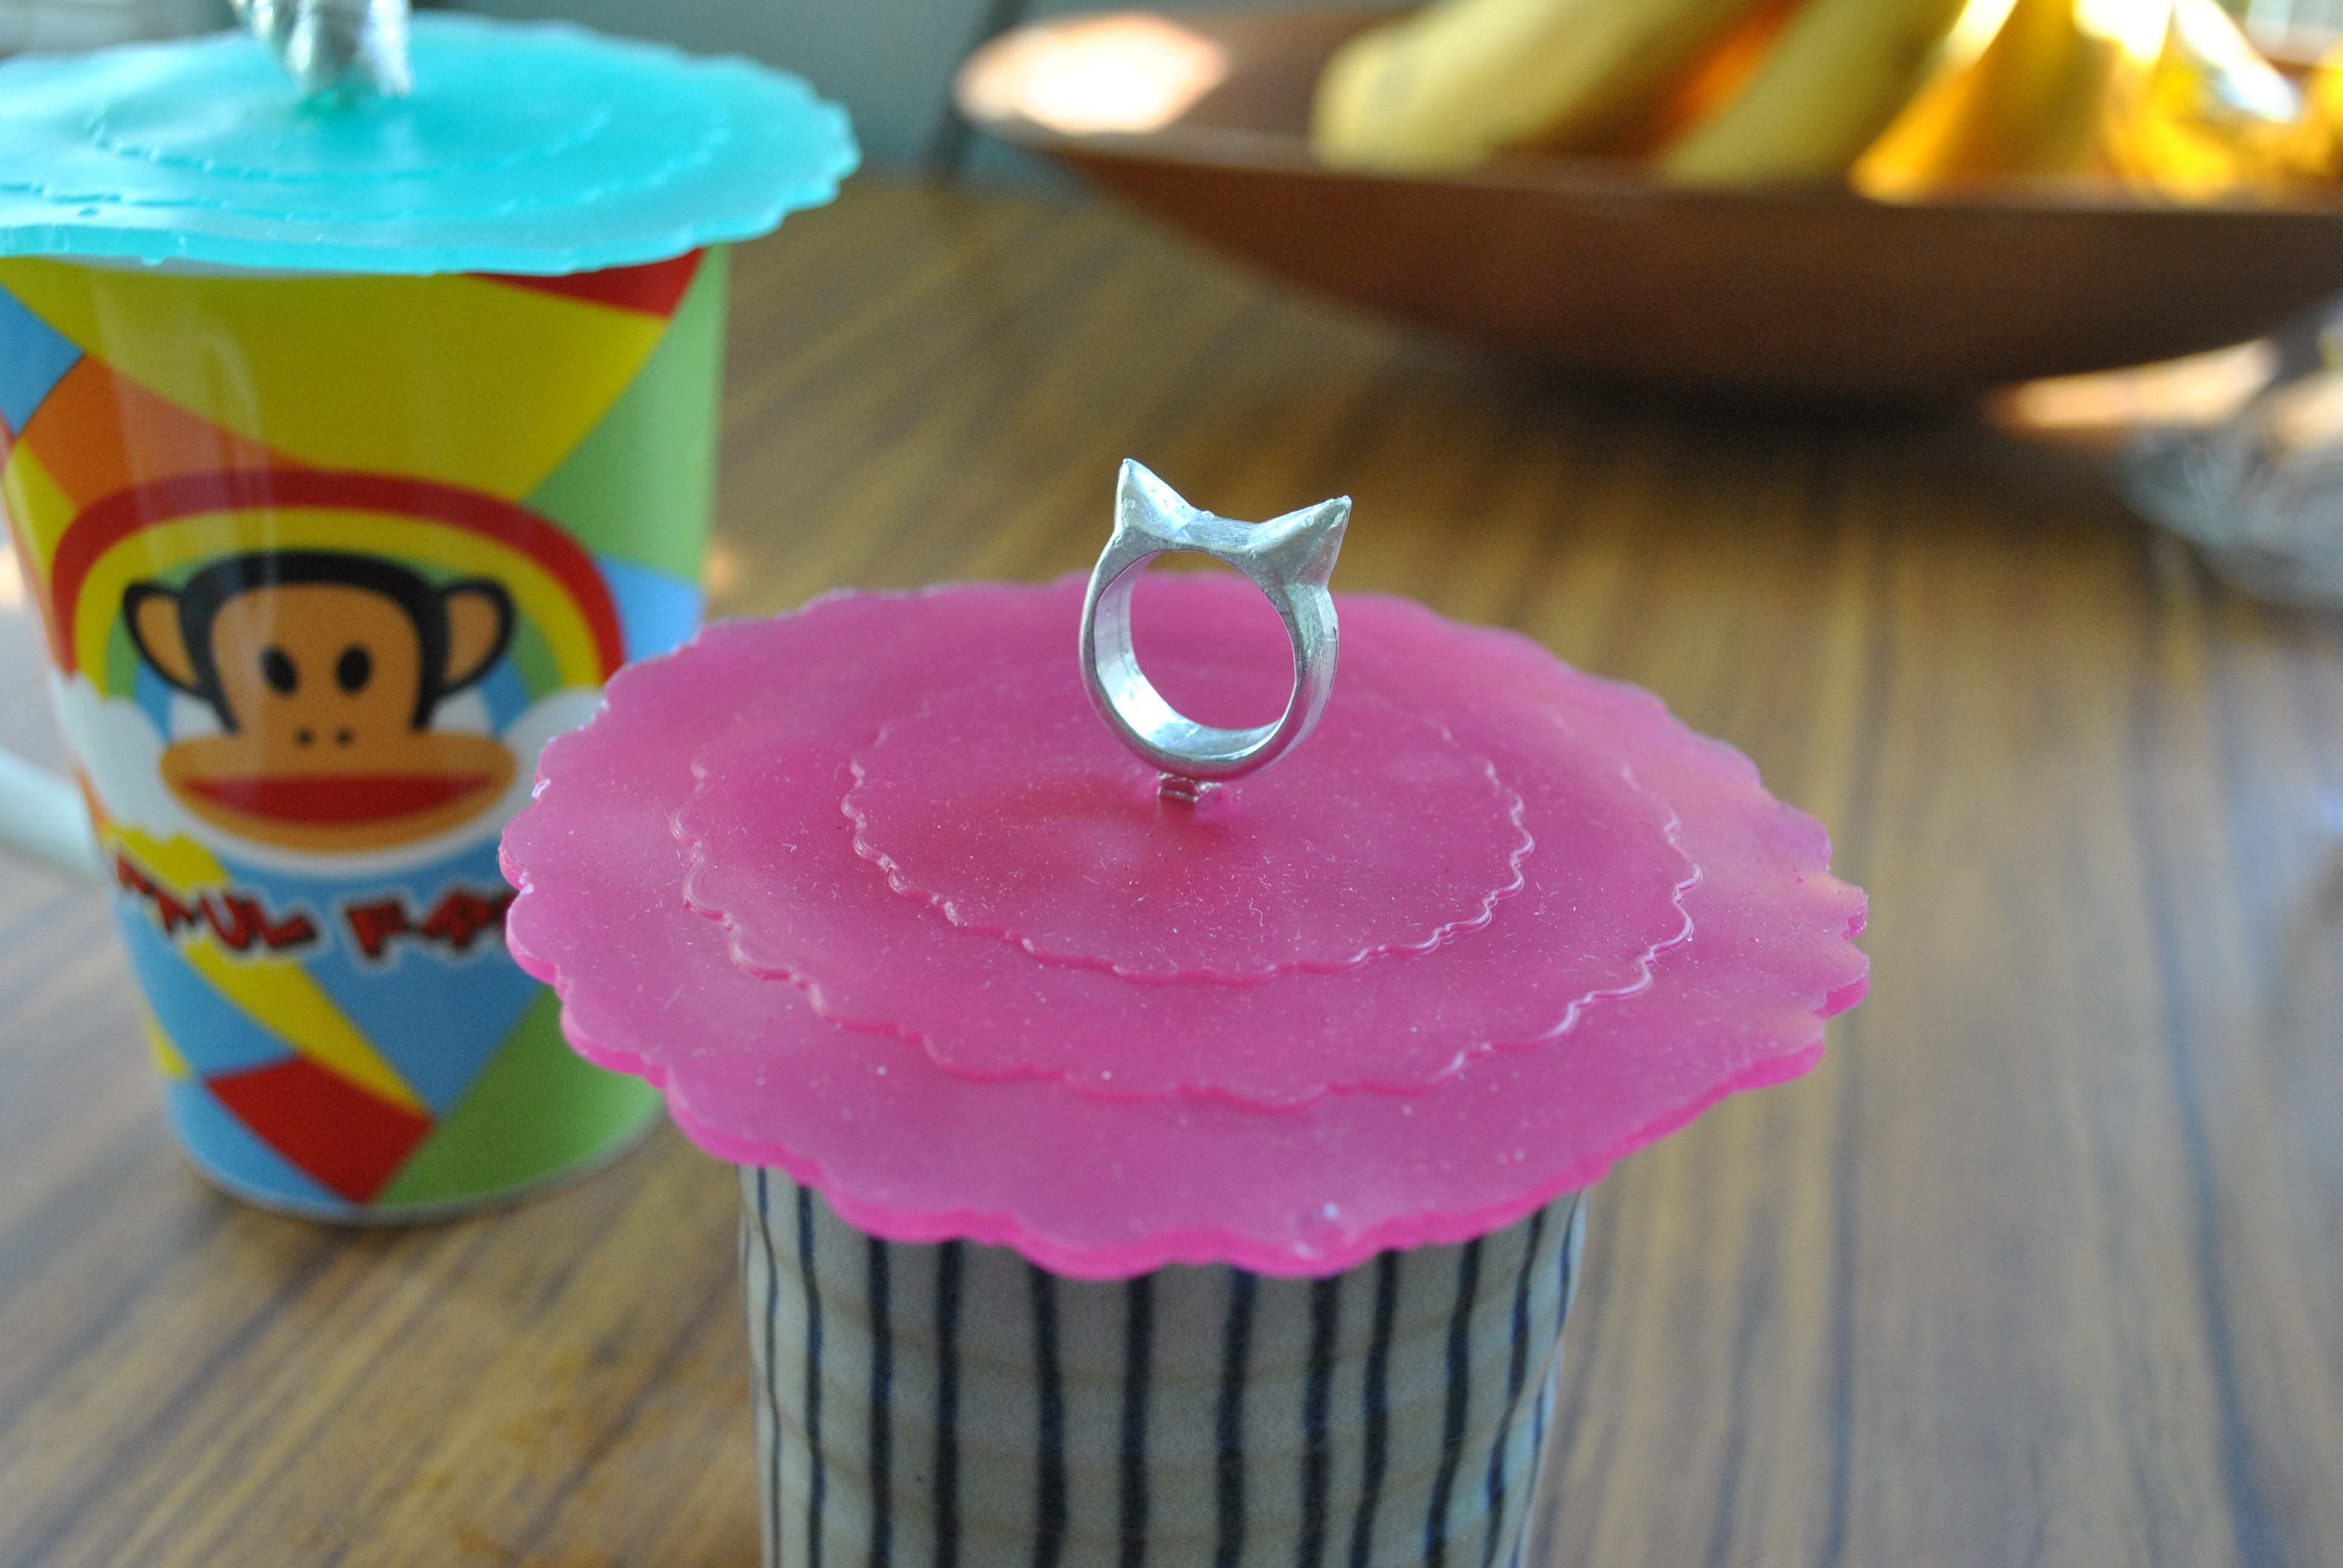
Last week I made some silicone tea covers to help with the steeping process, this week I made some pewter charms to go inside the little indentation that I made in the top of the design. Using the process I have come to think of “making things in pewter” I used some mold max 60 (see here for the process), and made some lovely little toppers.
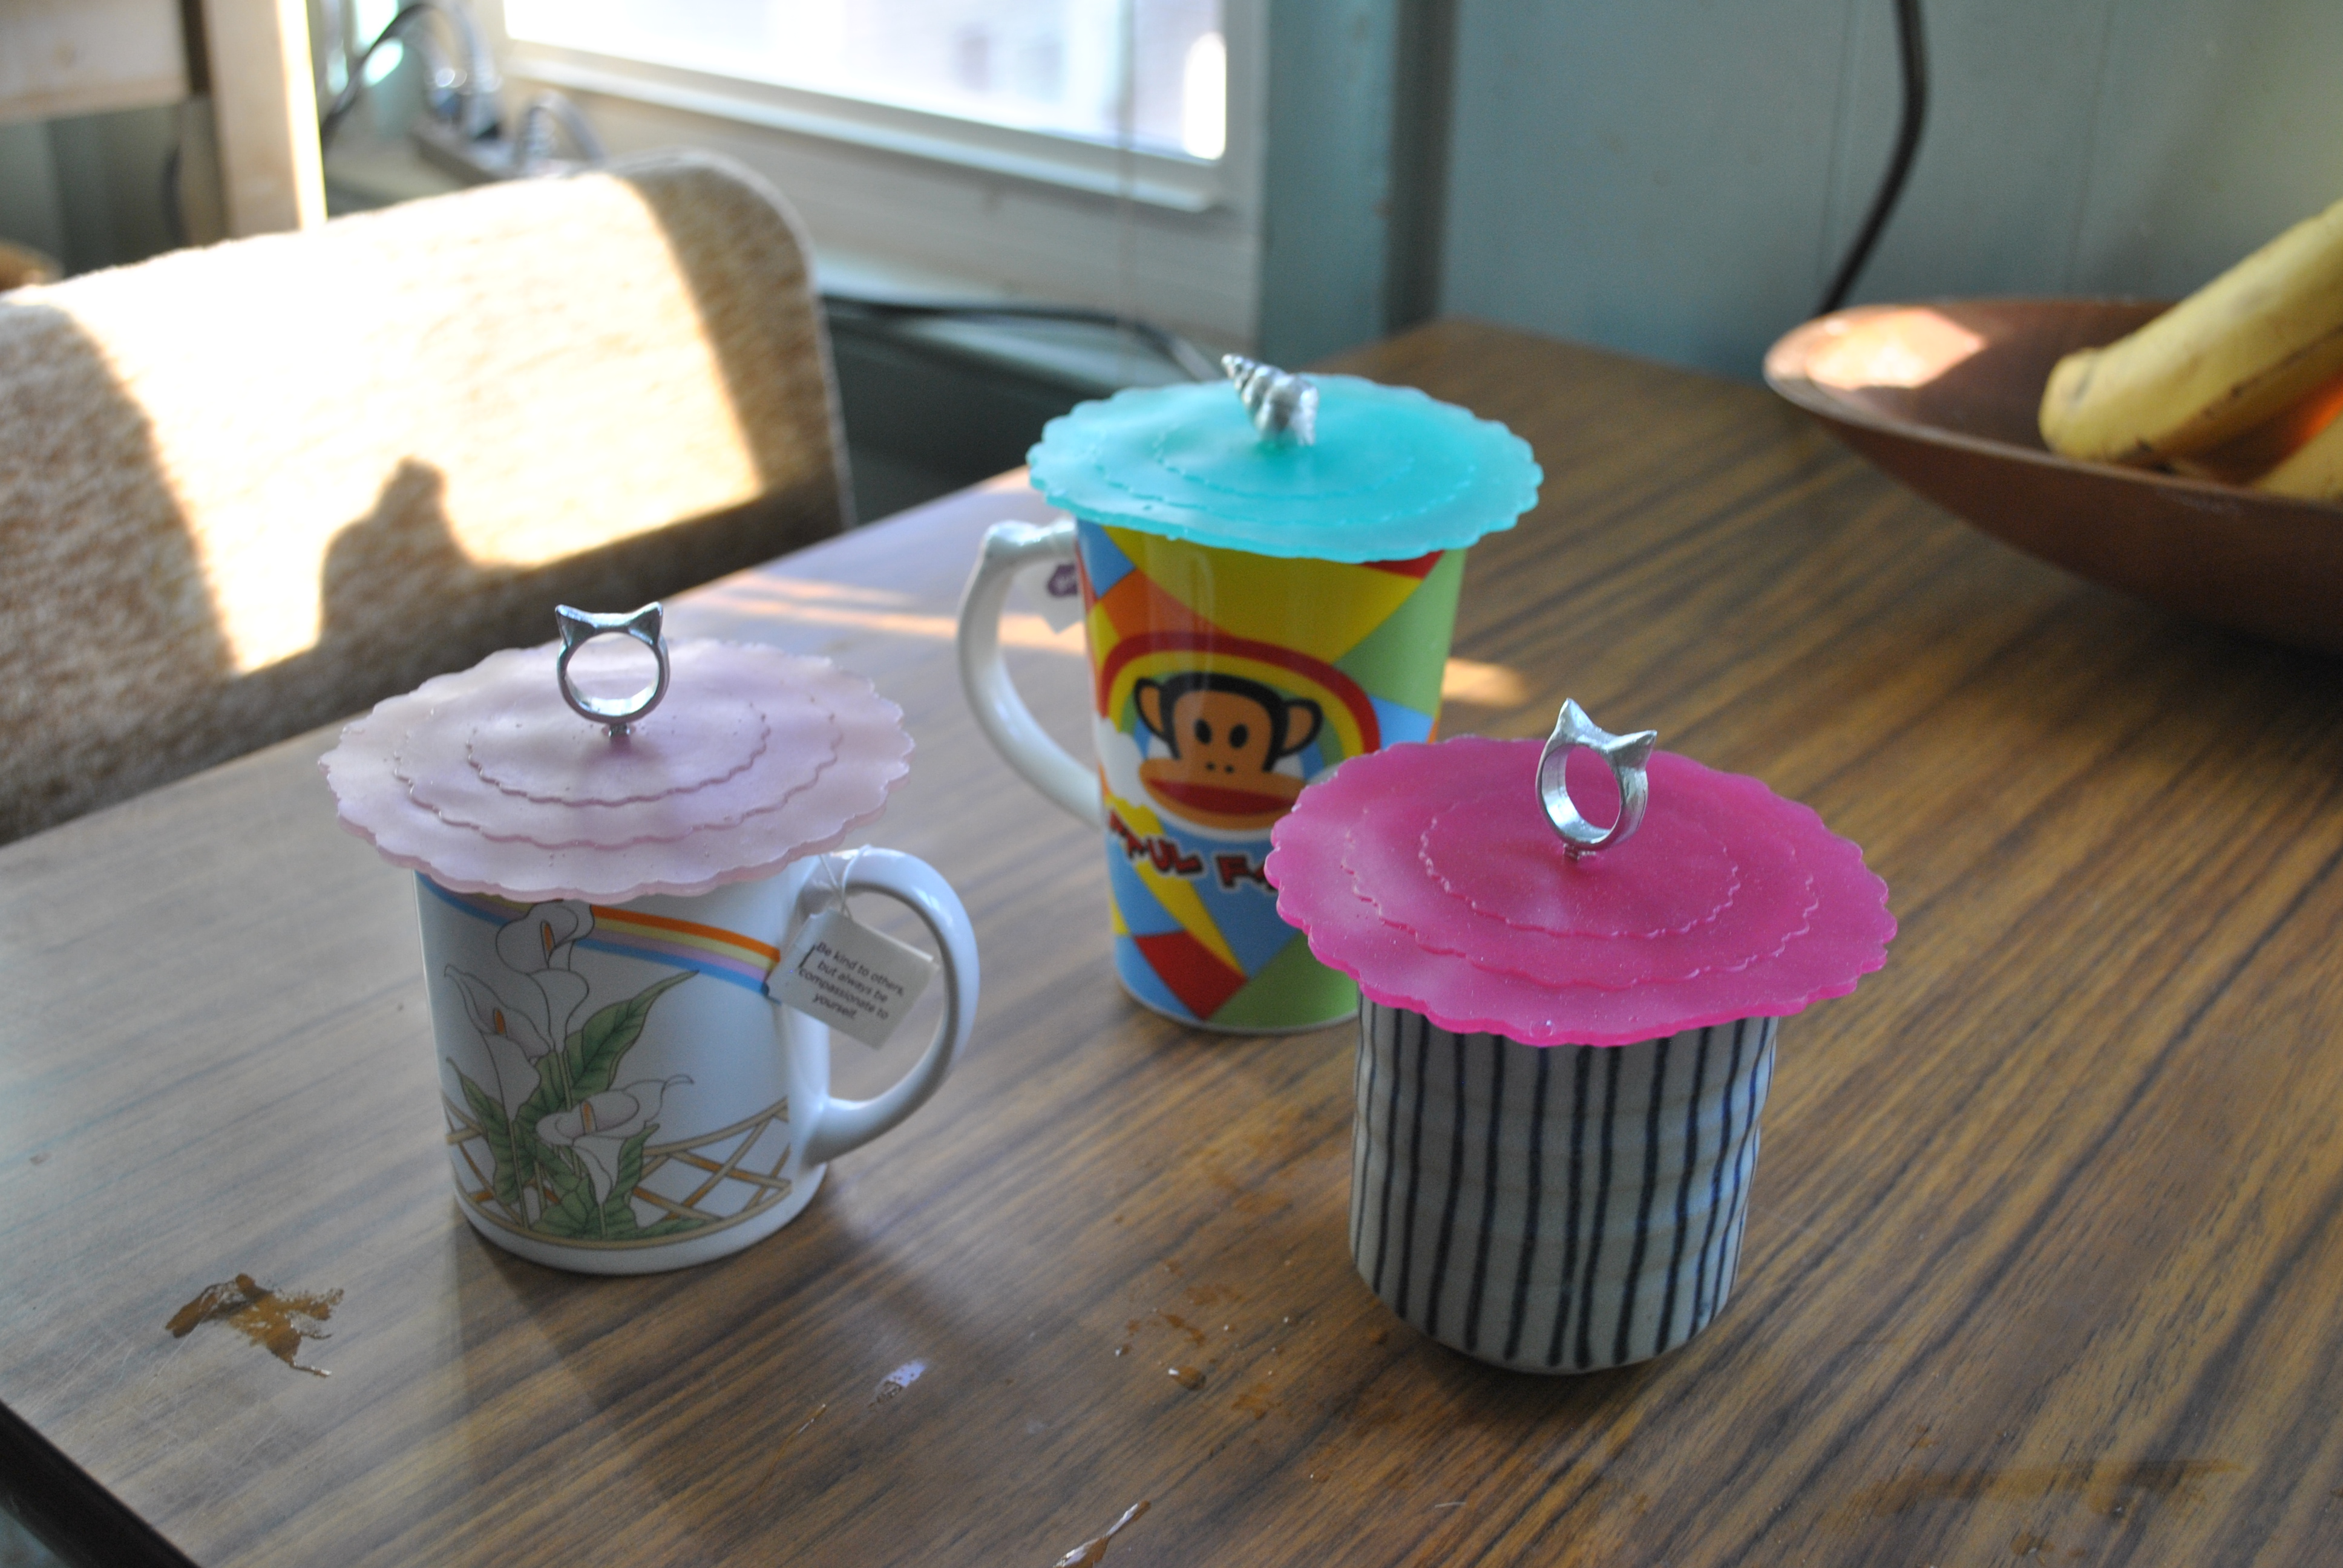
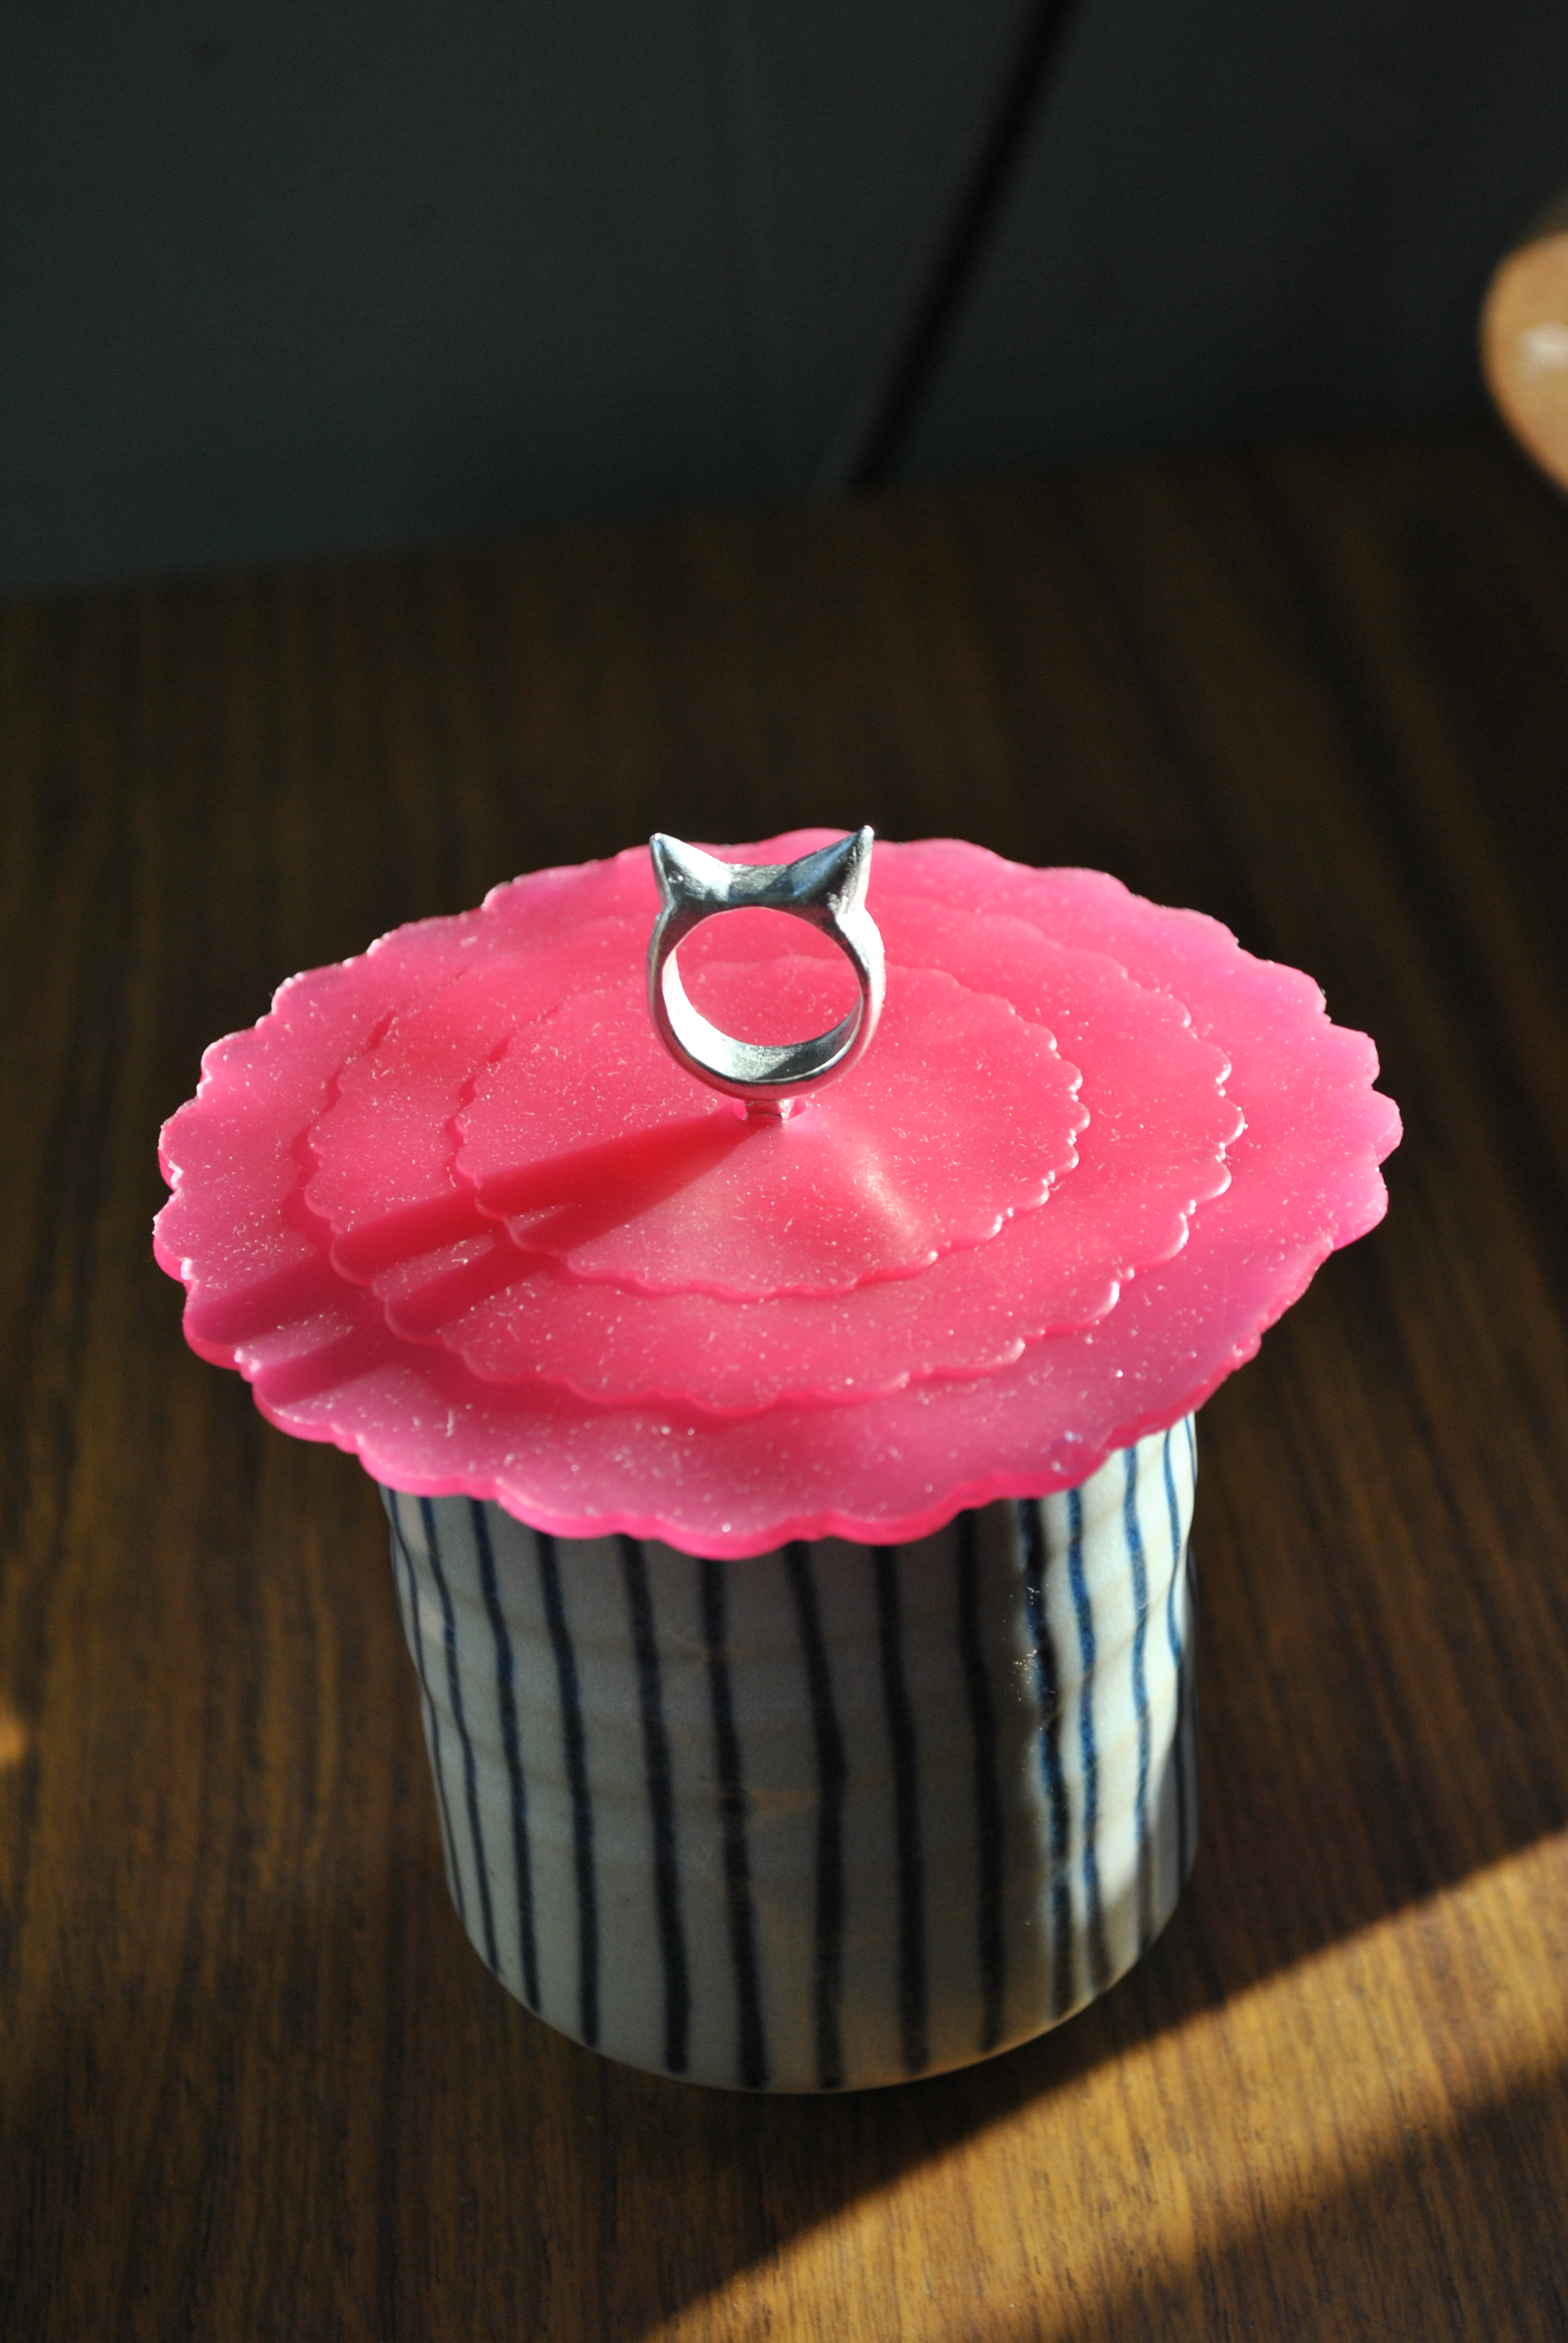

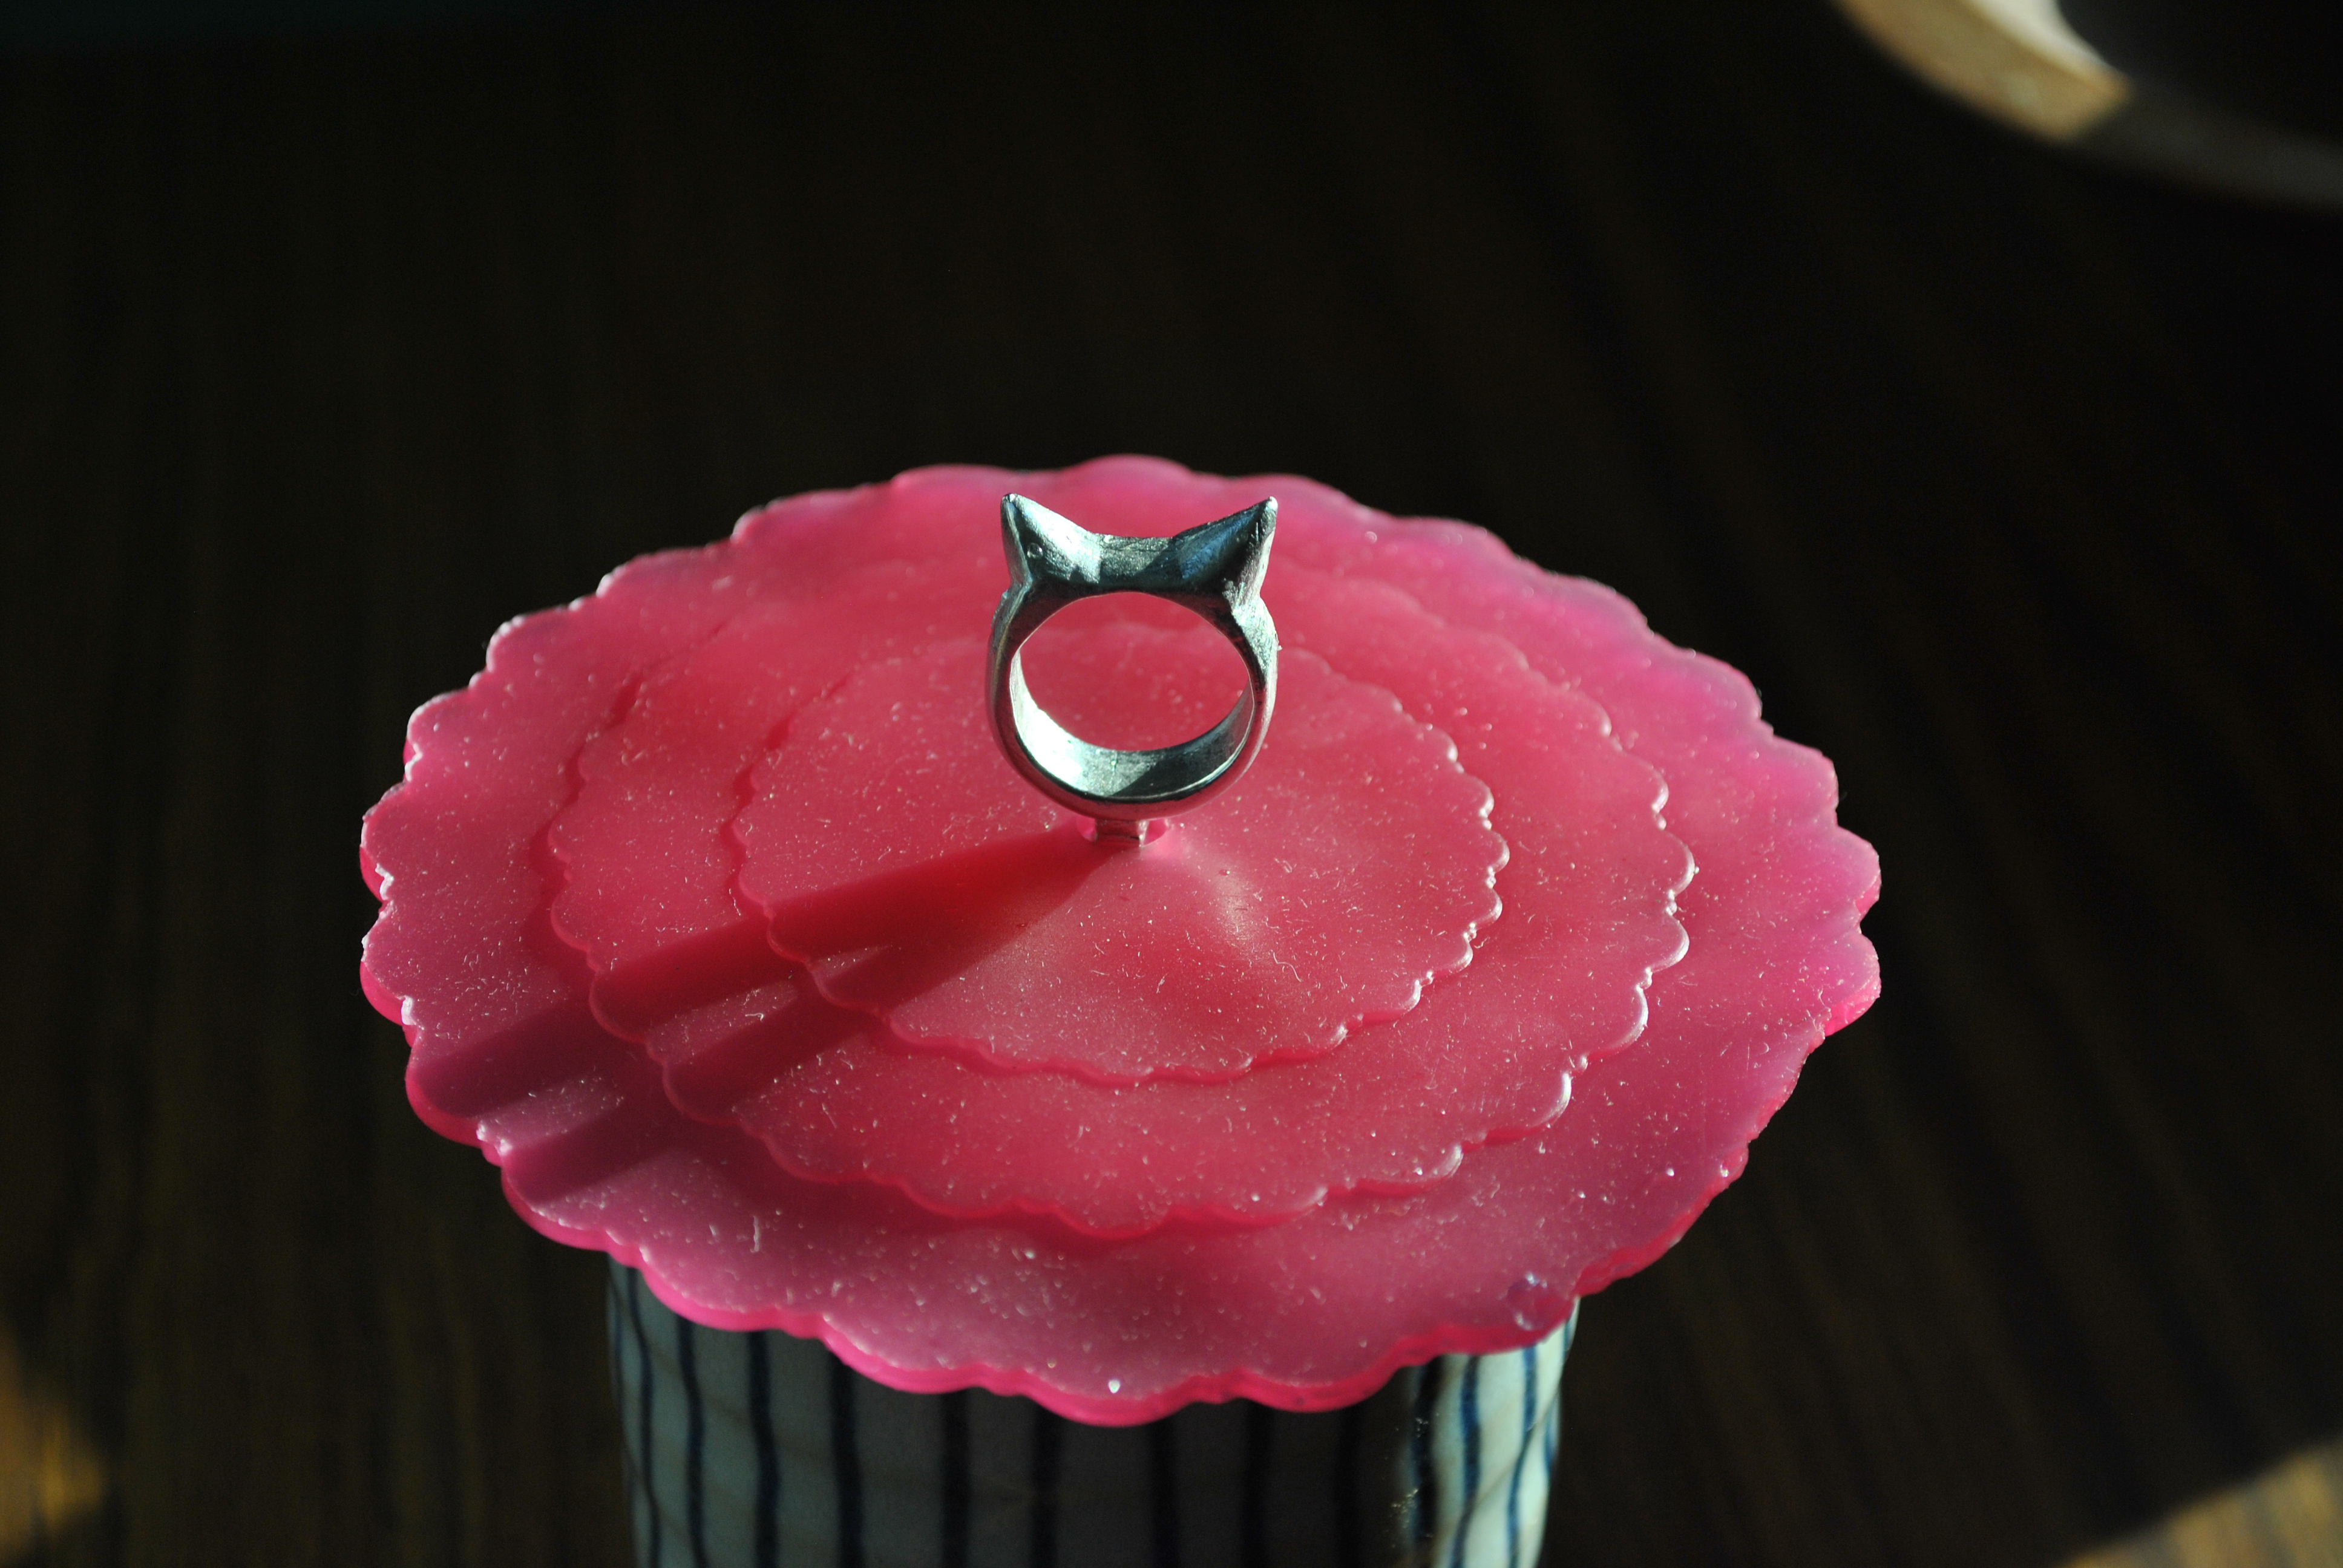

The nice thing about this design is that I can make any top charm I want. Even a Bernie Sanders one…
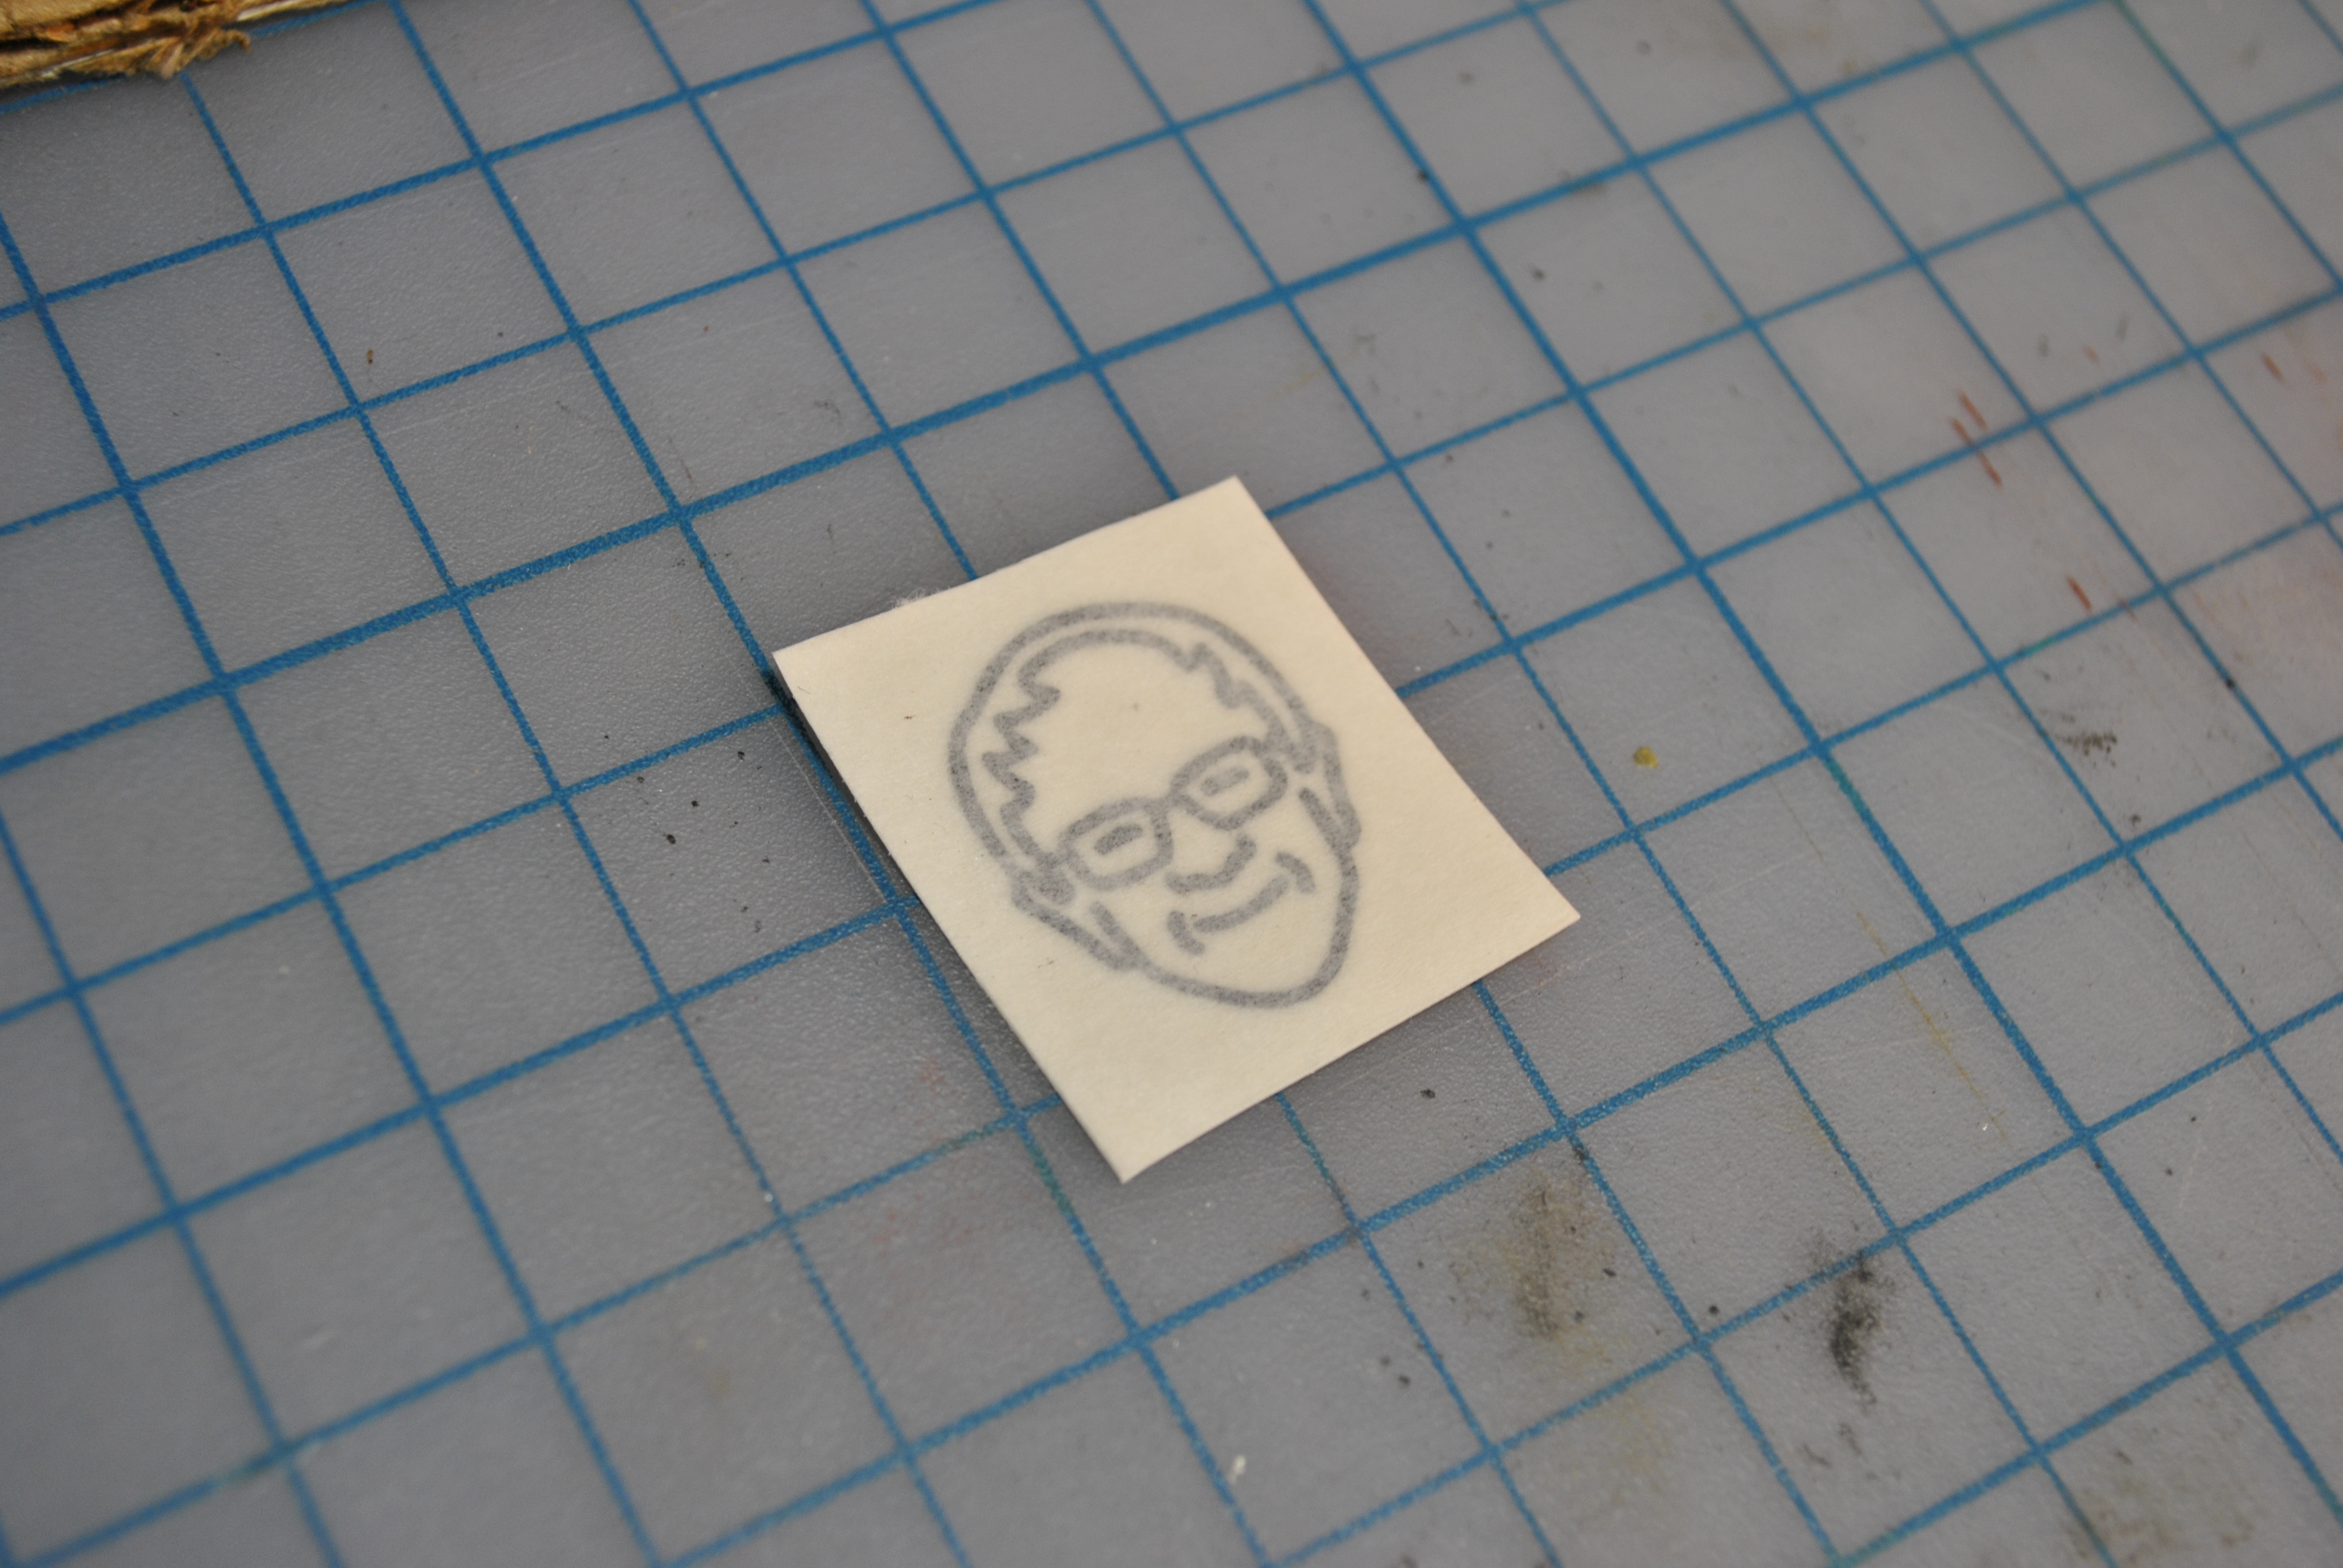
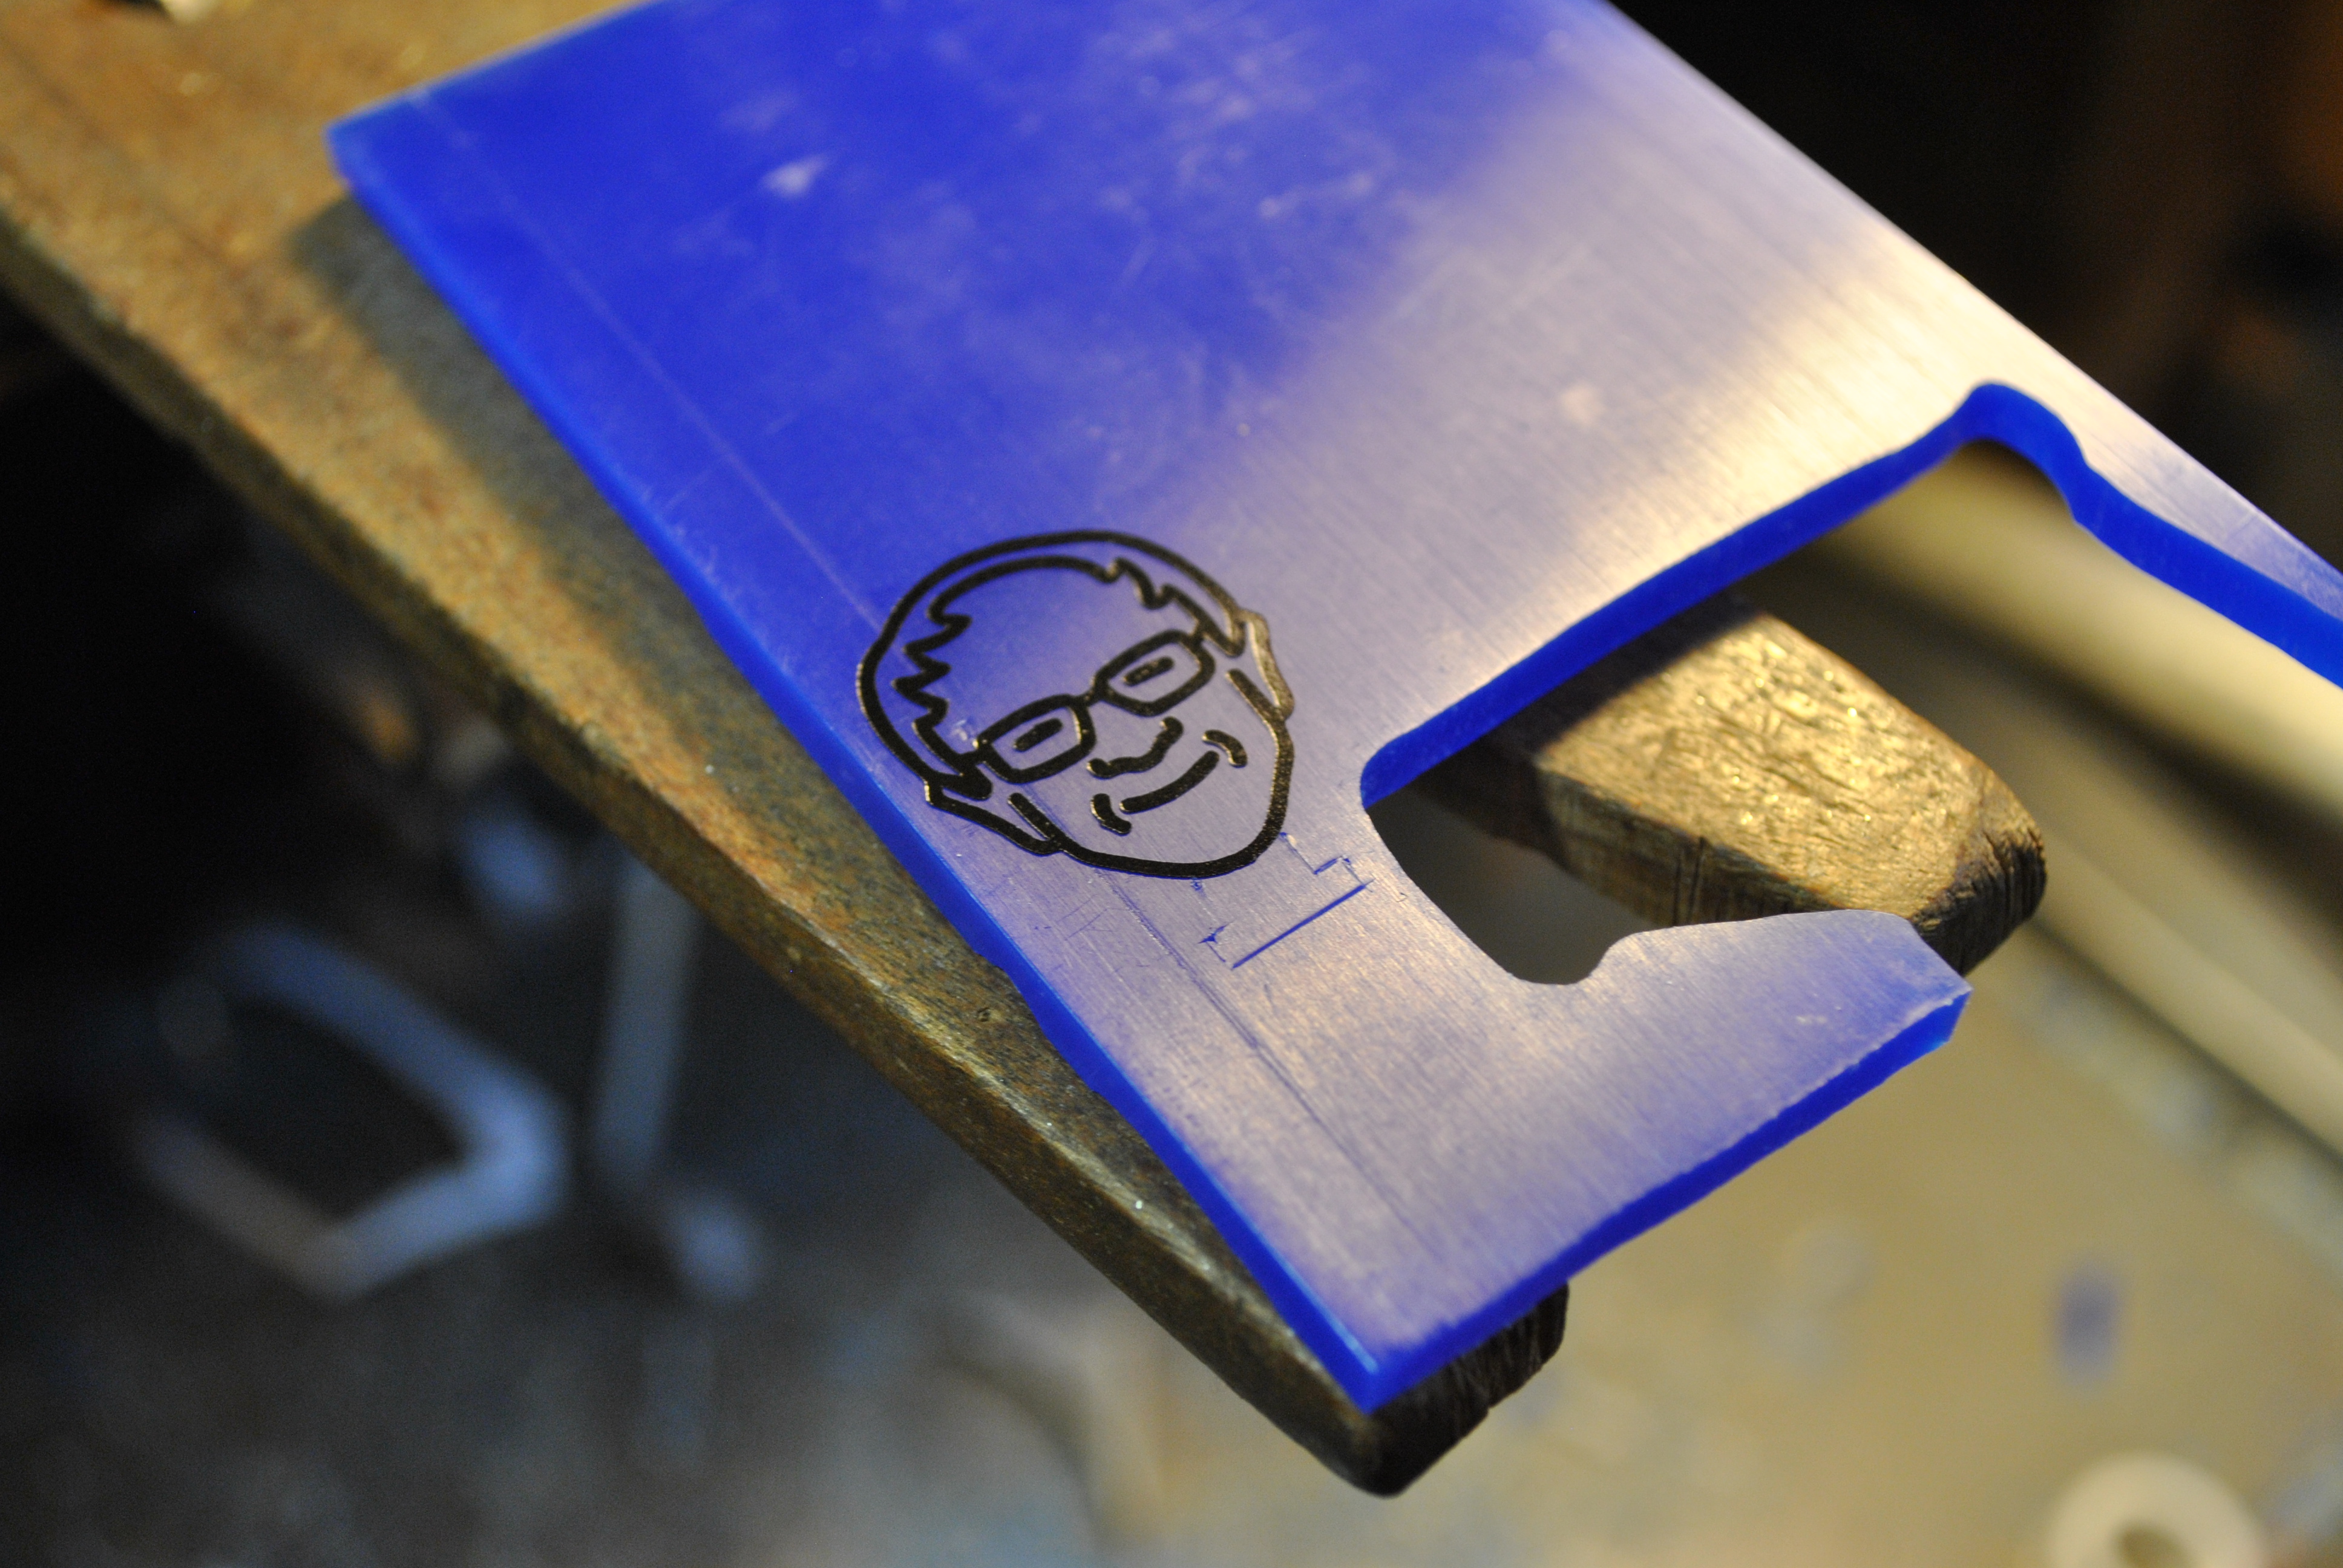
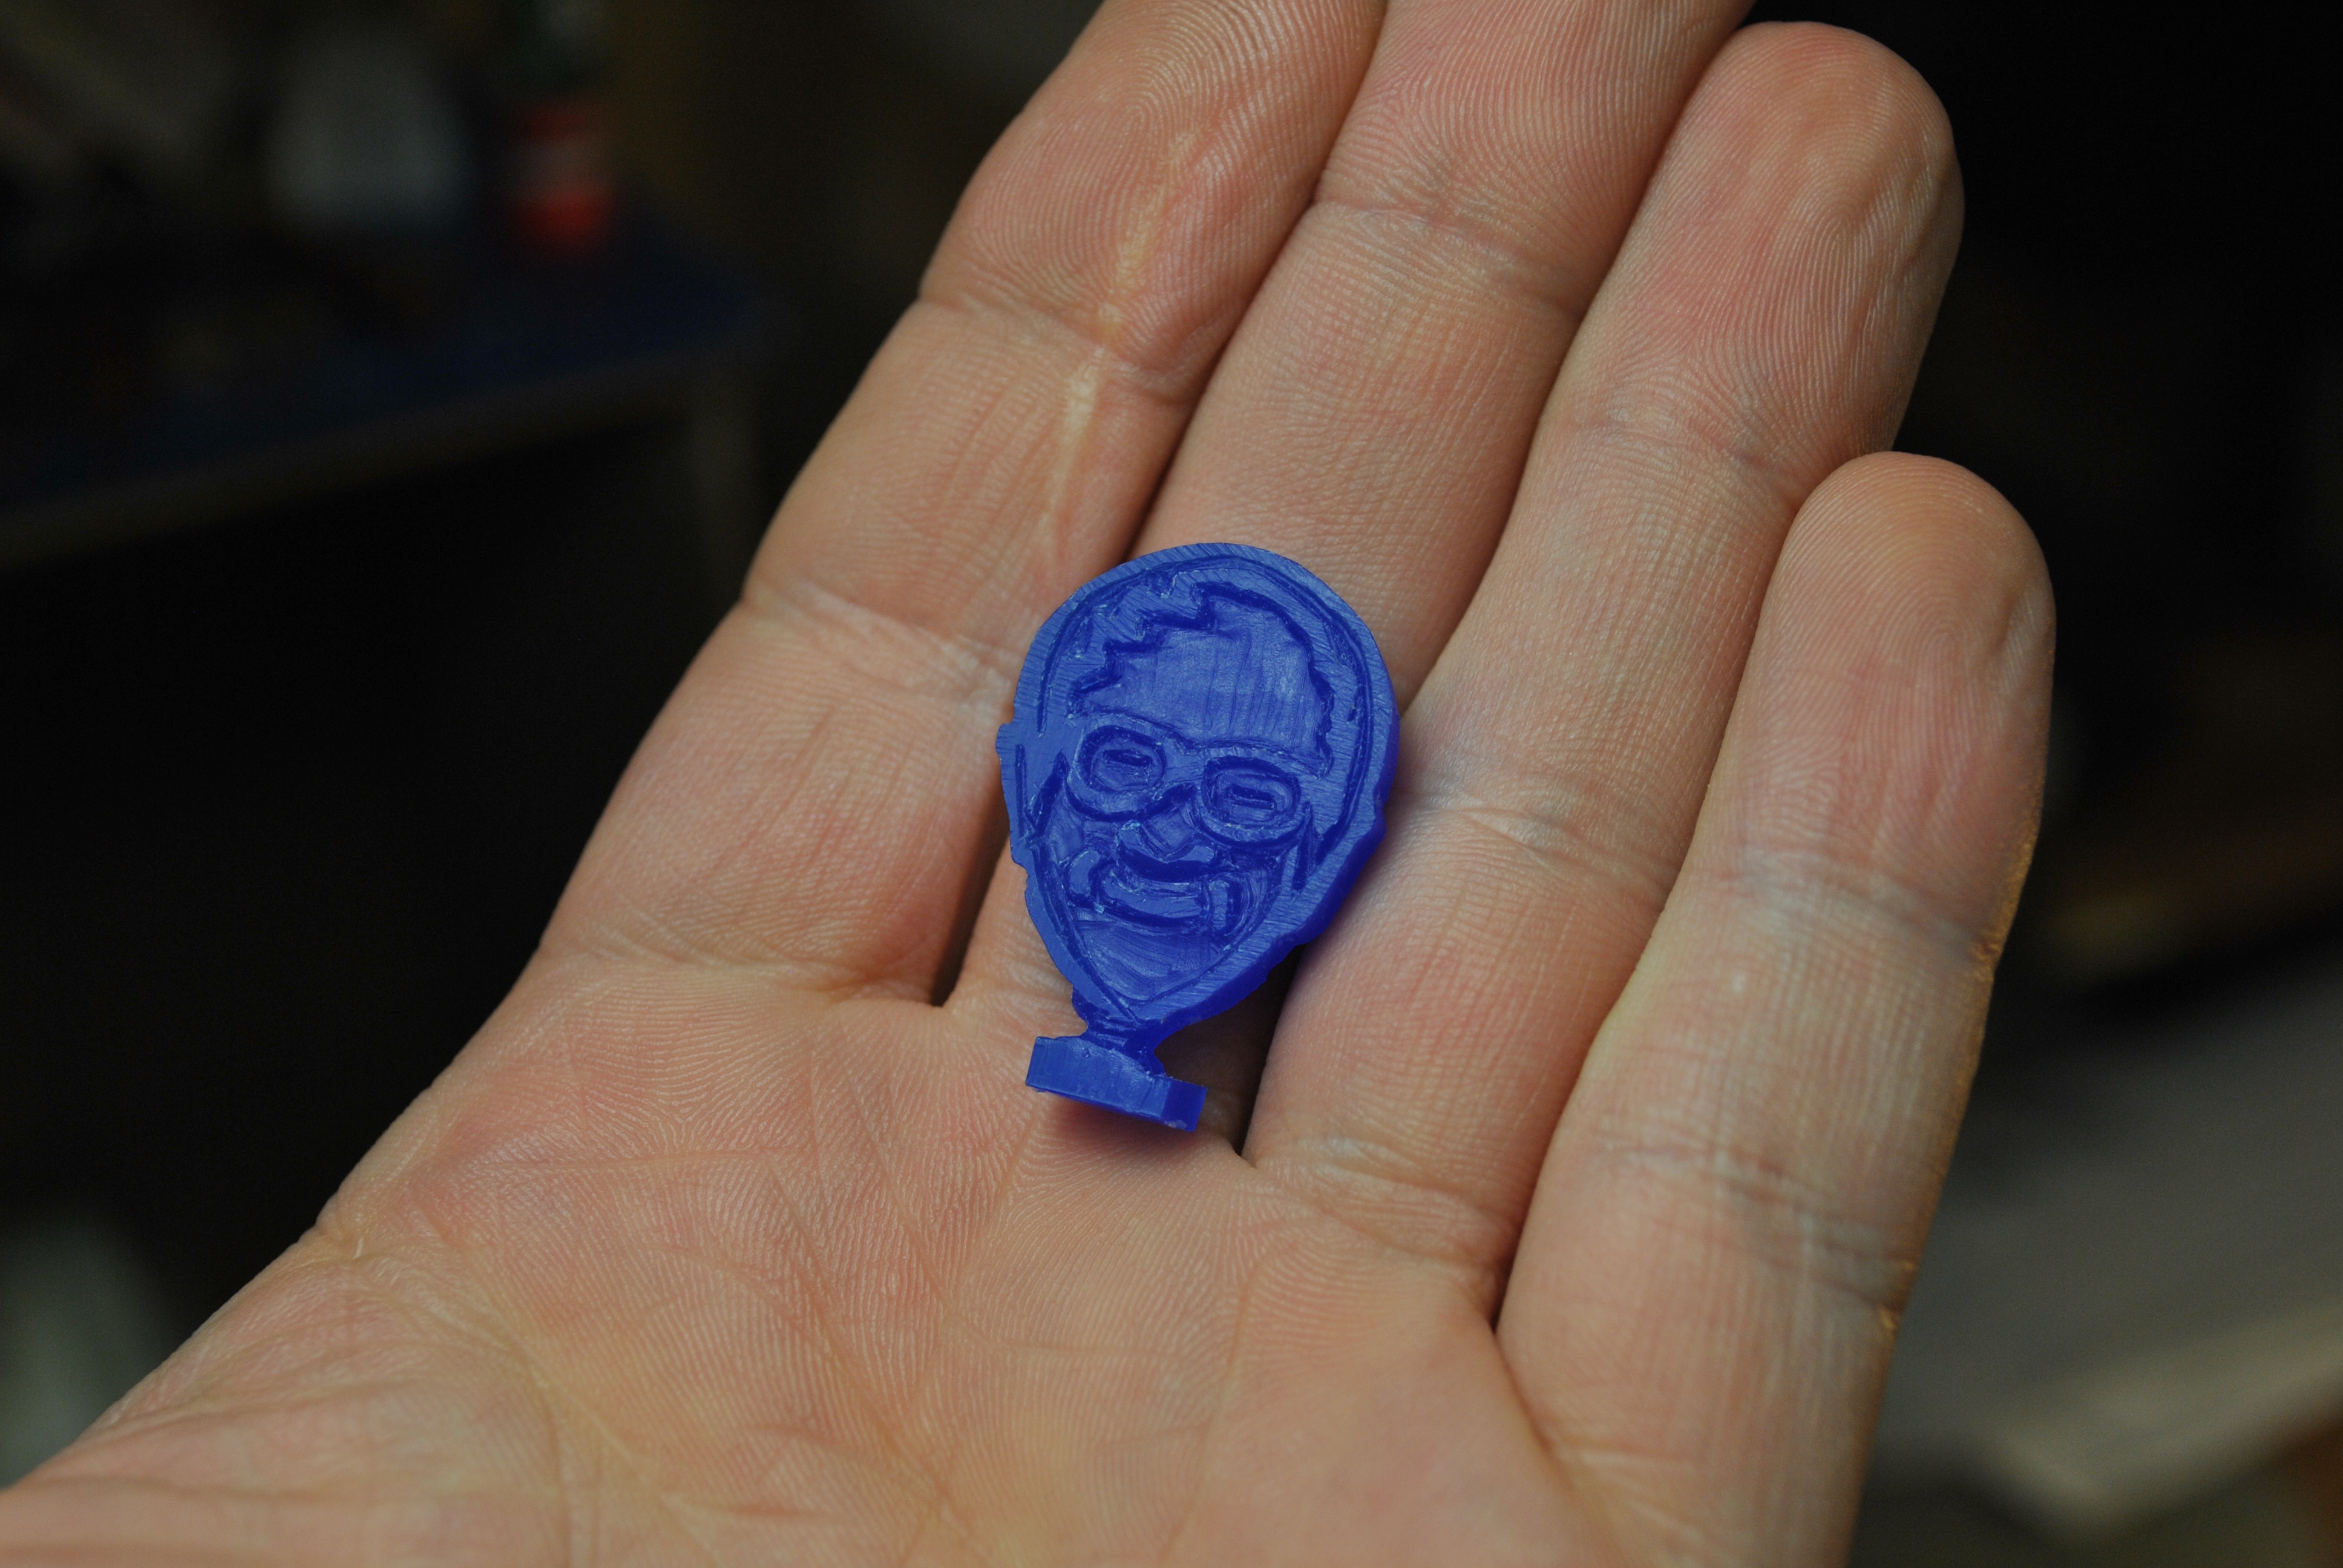
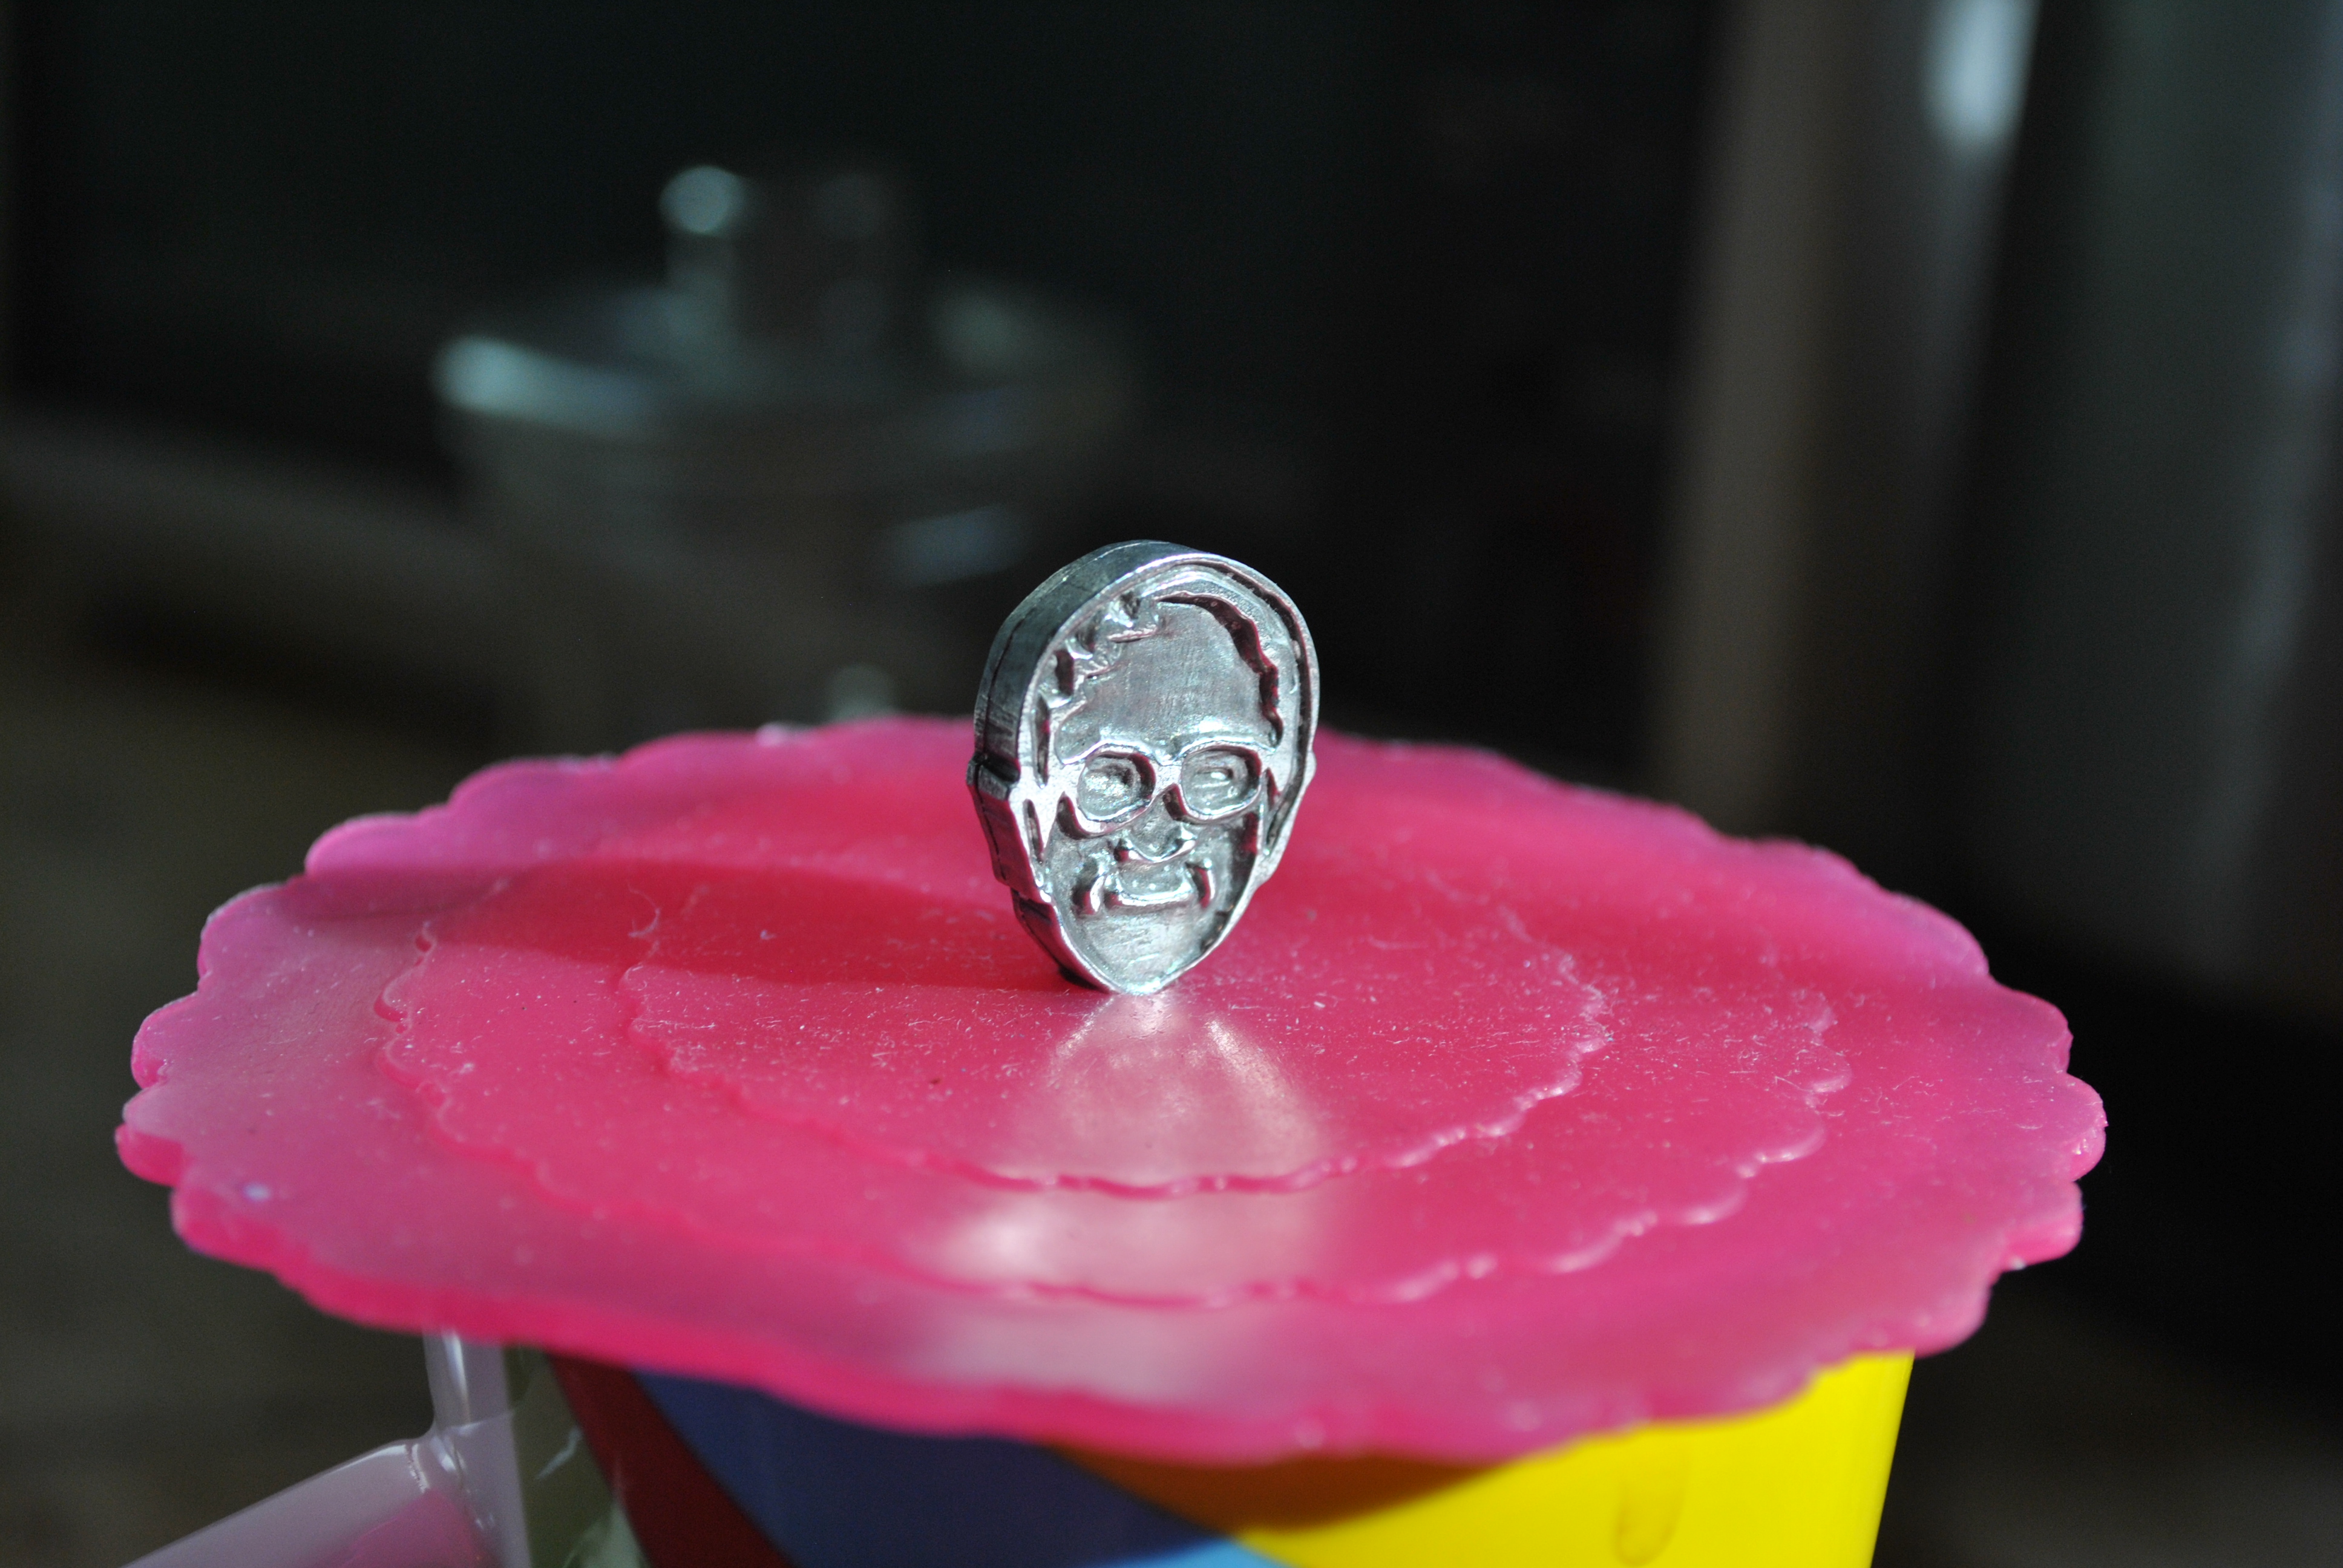
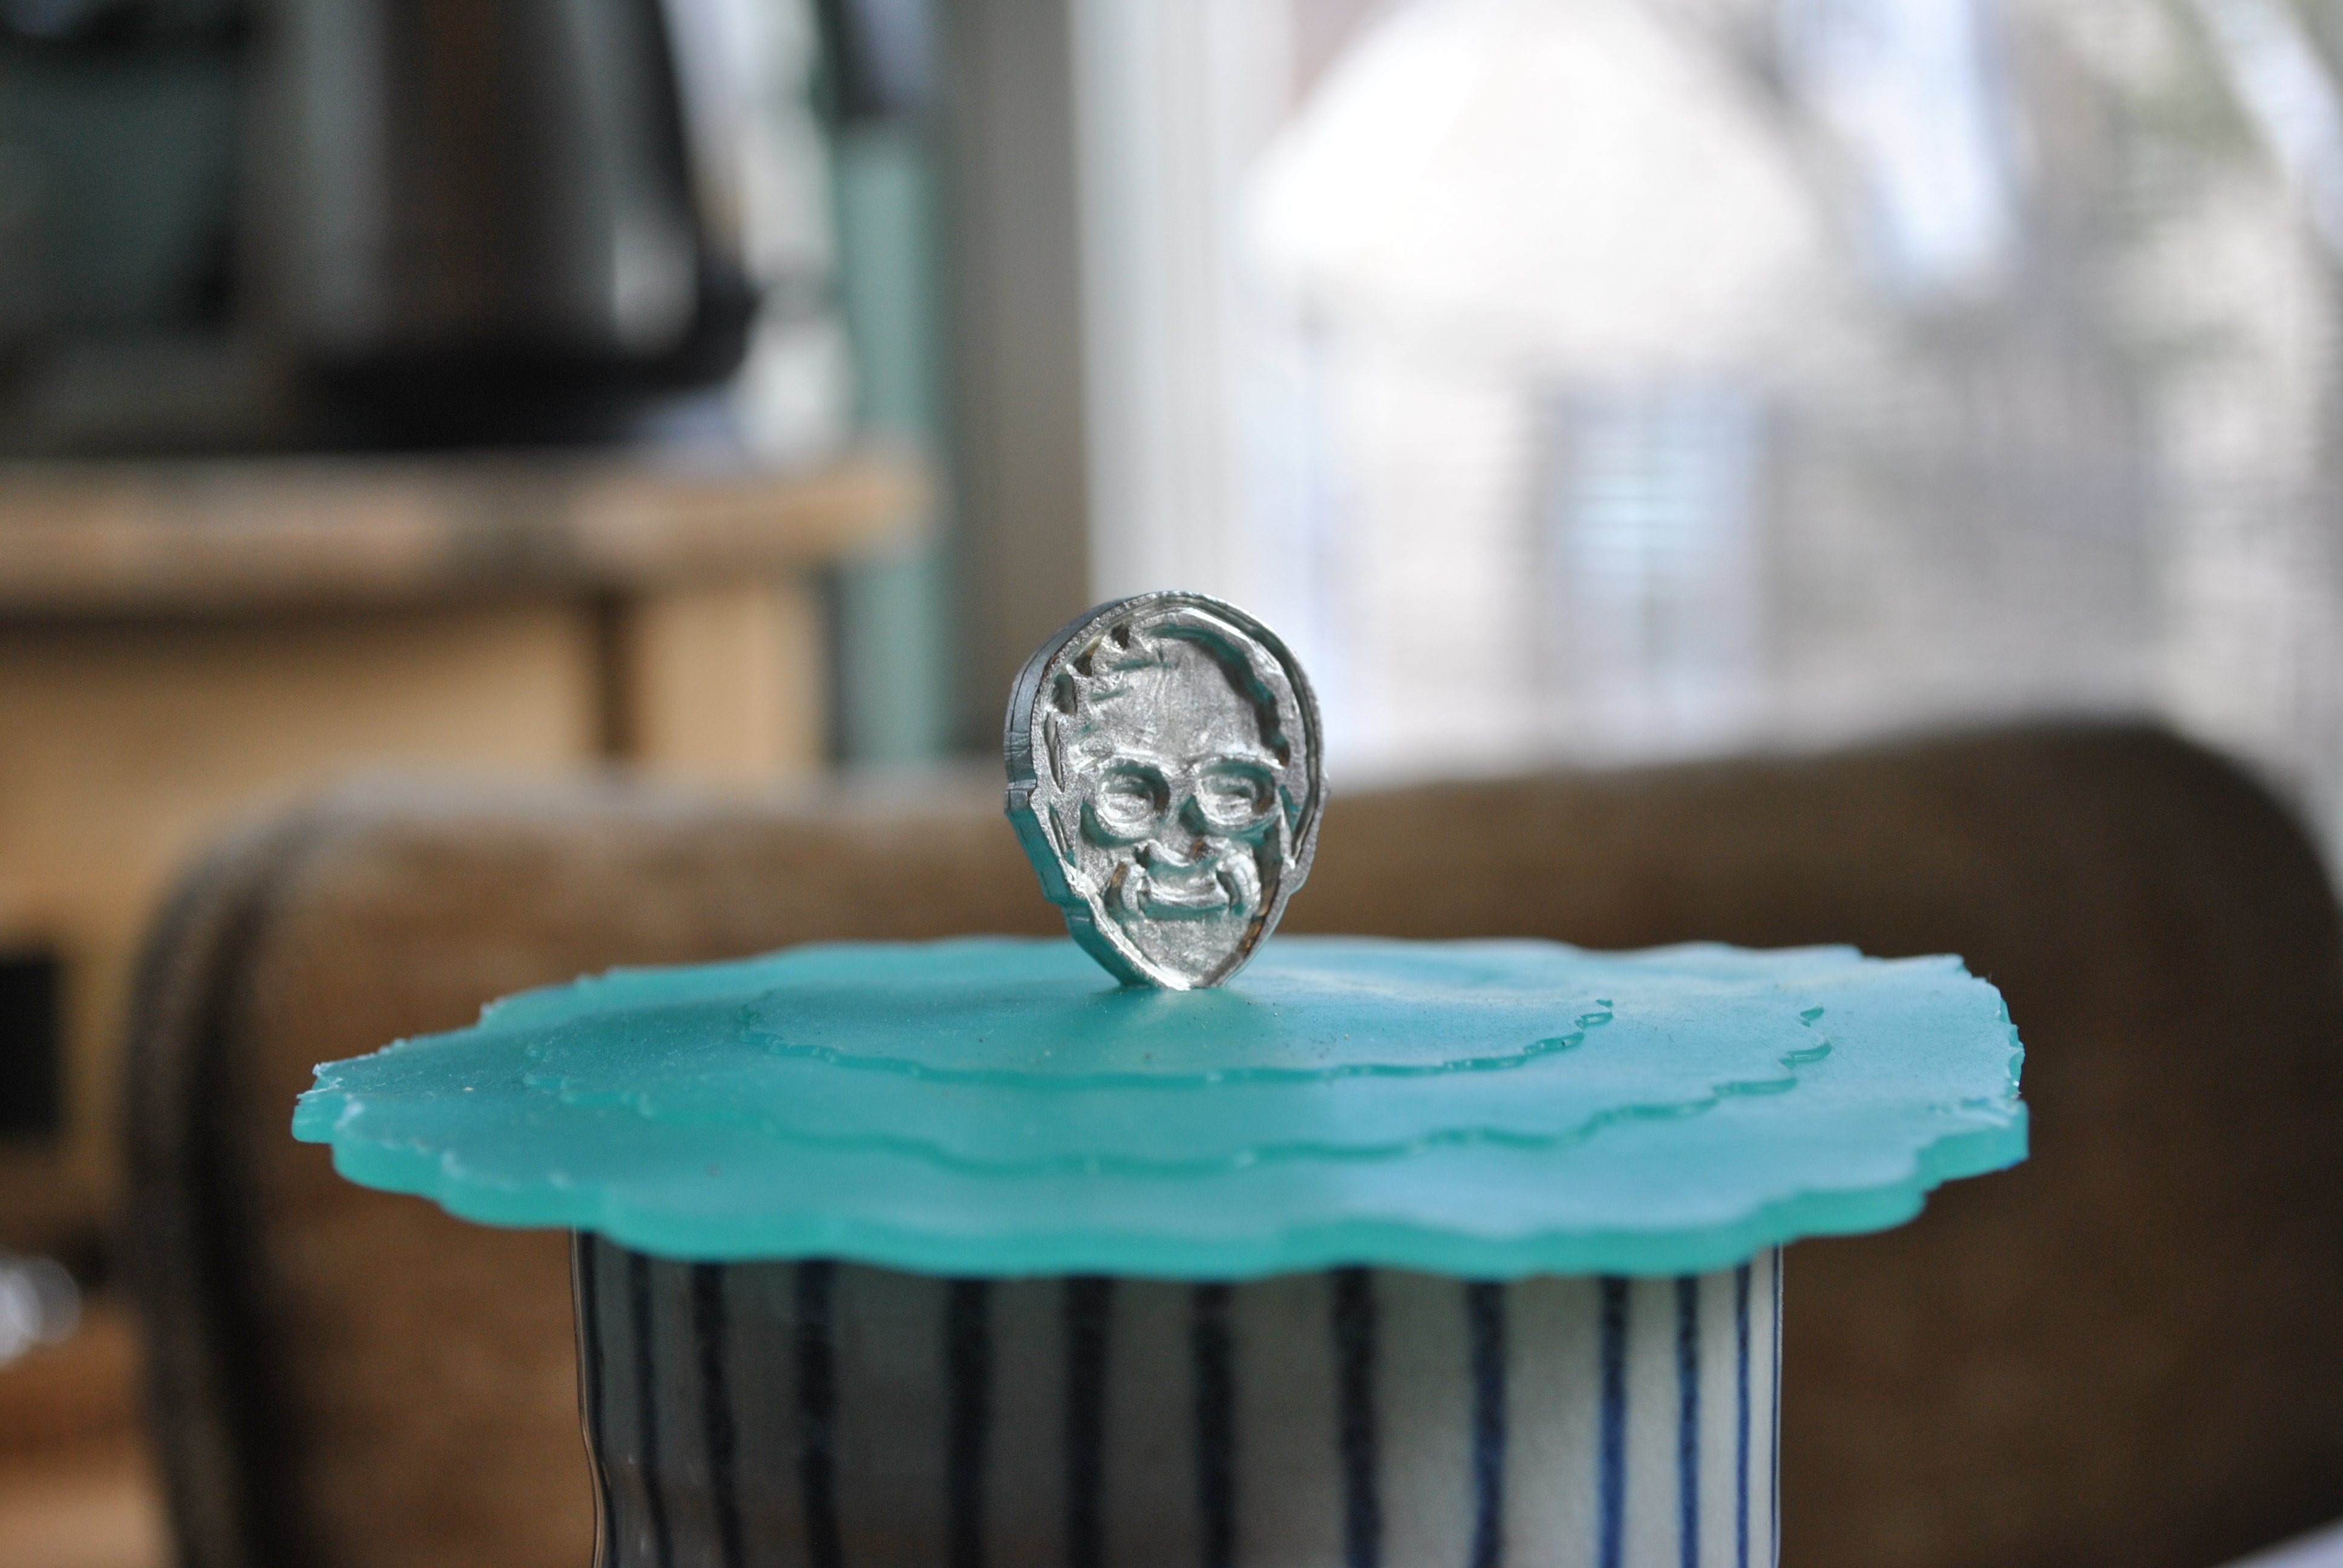
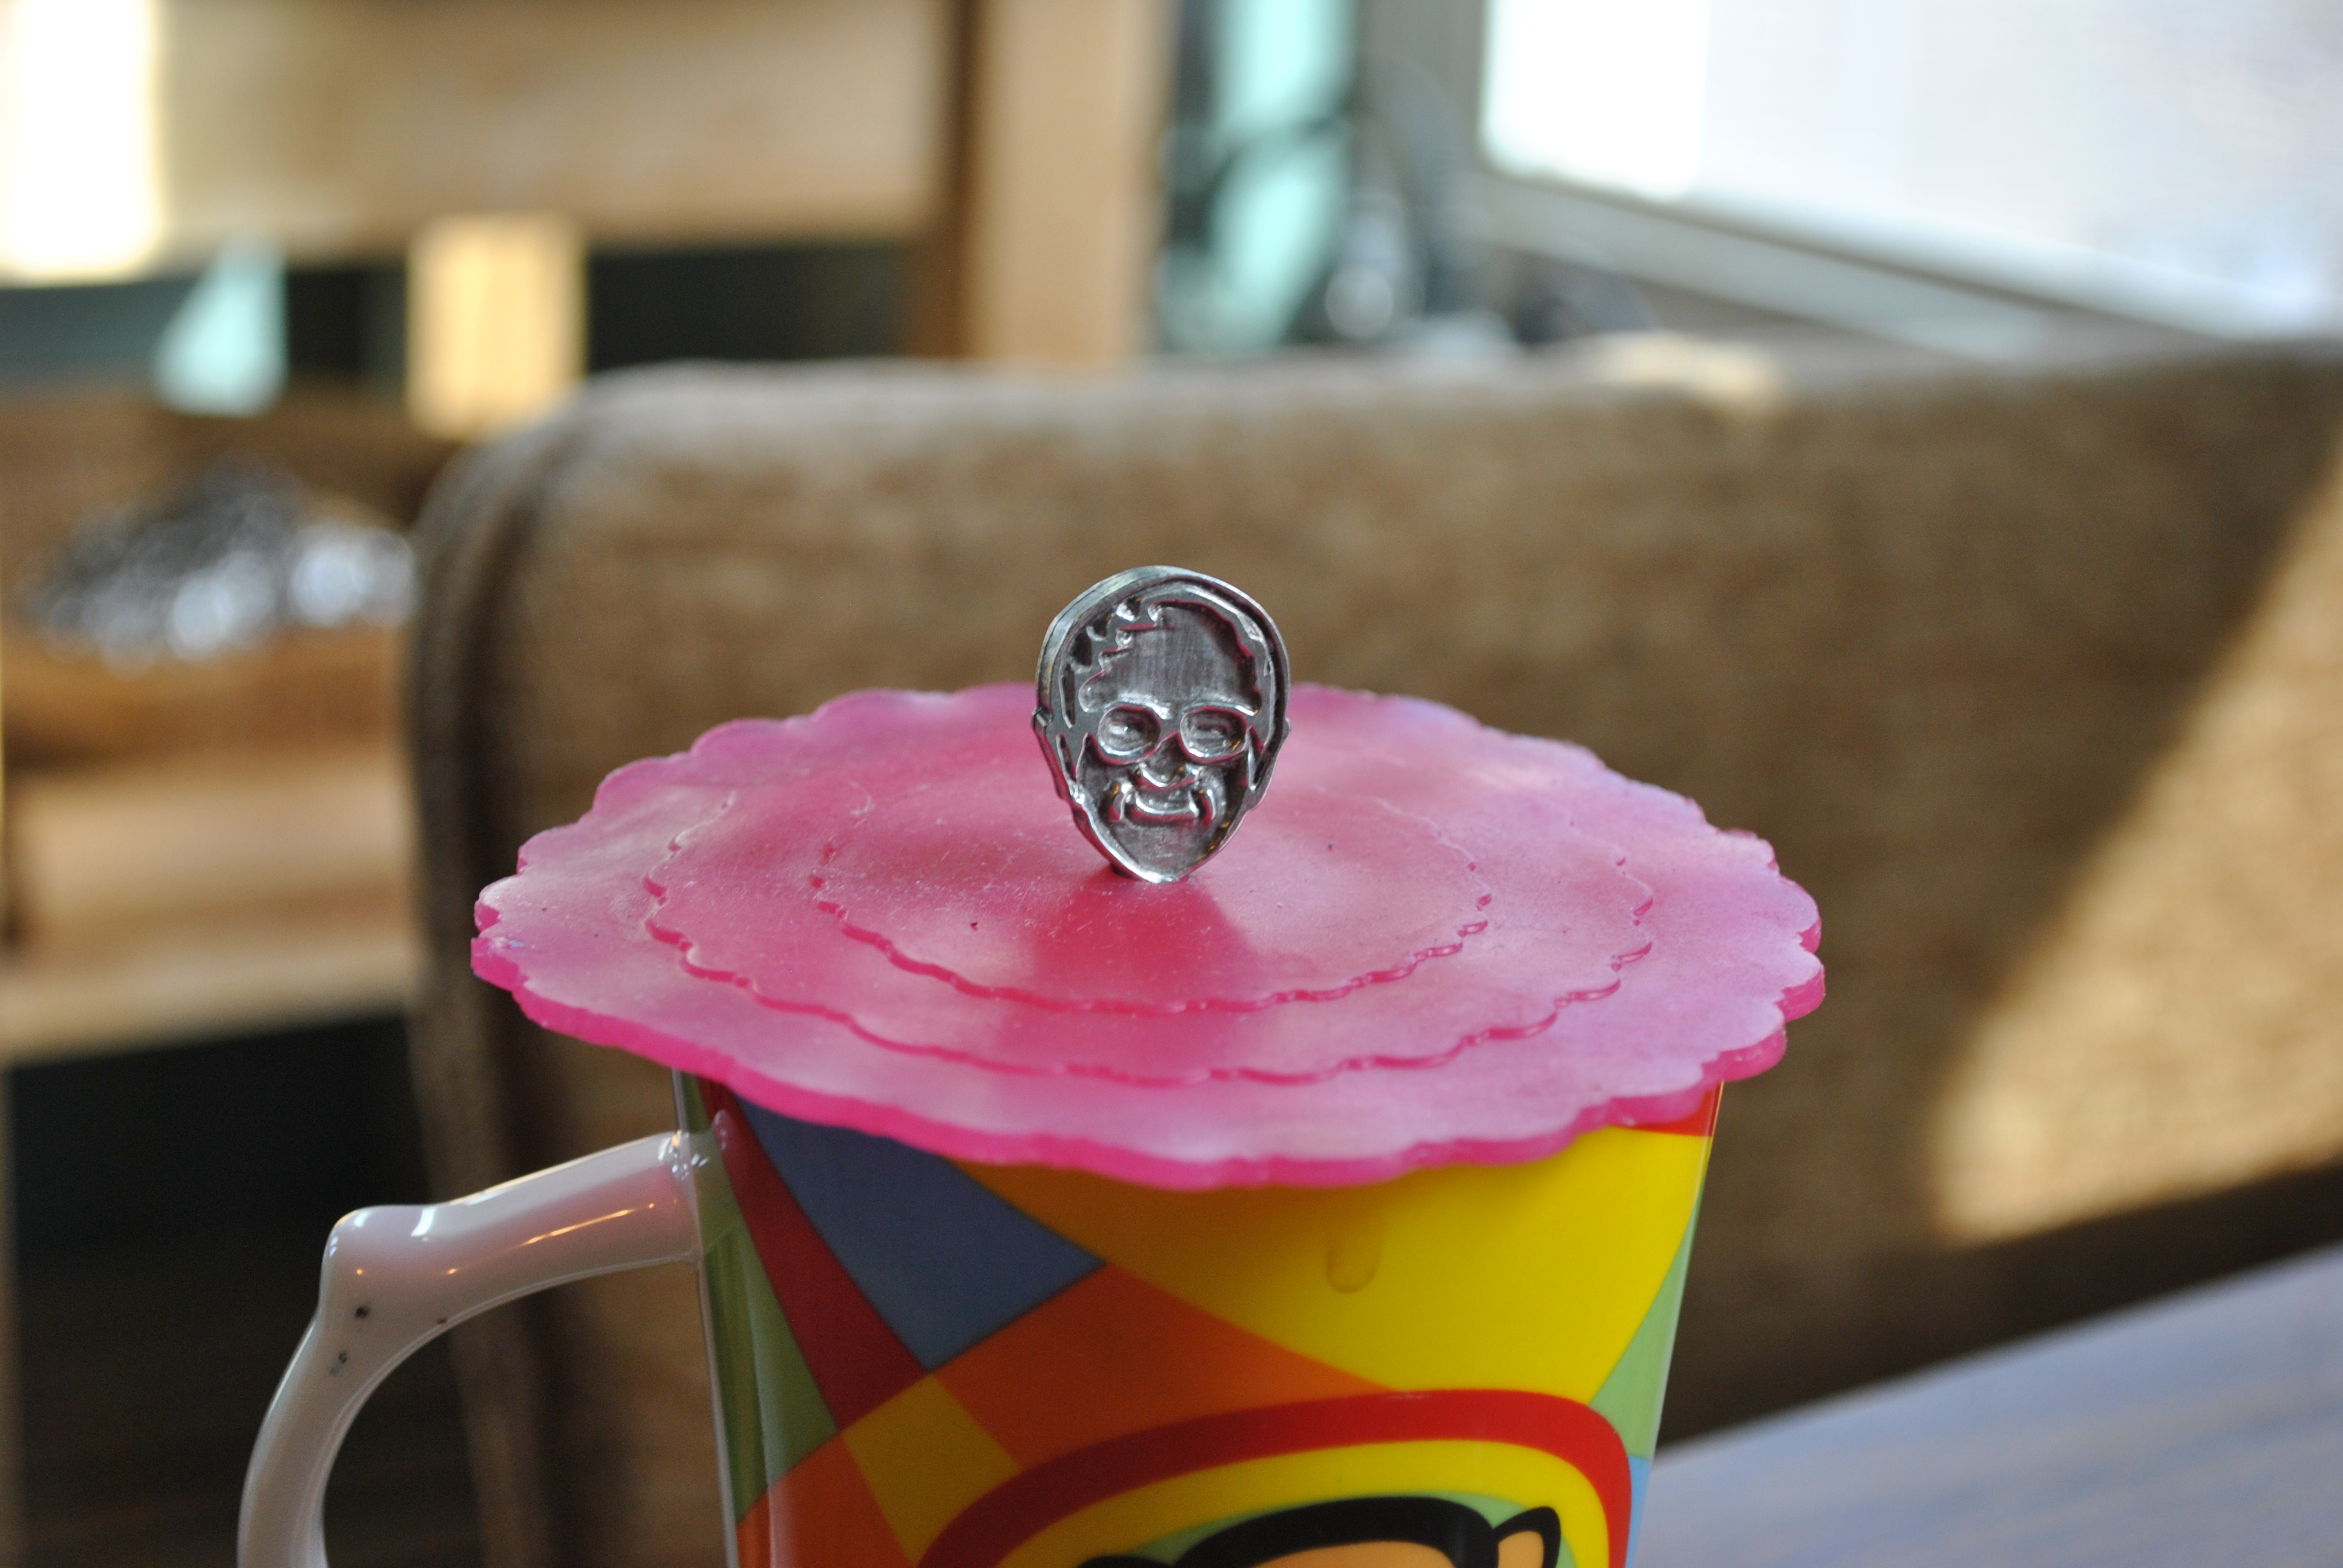
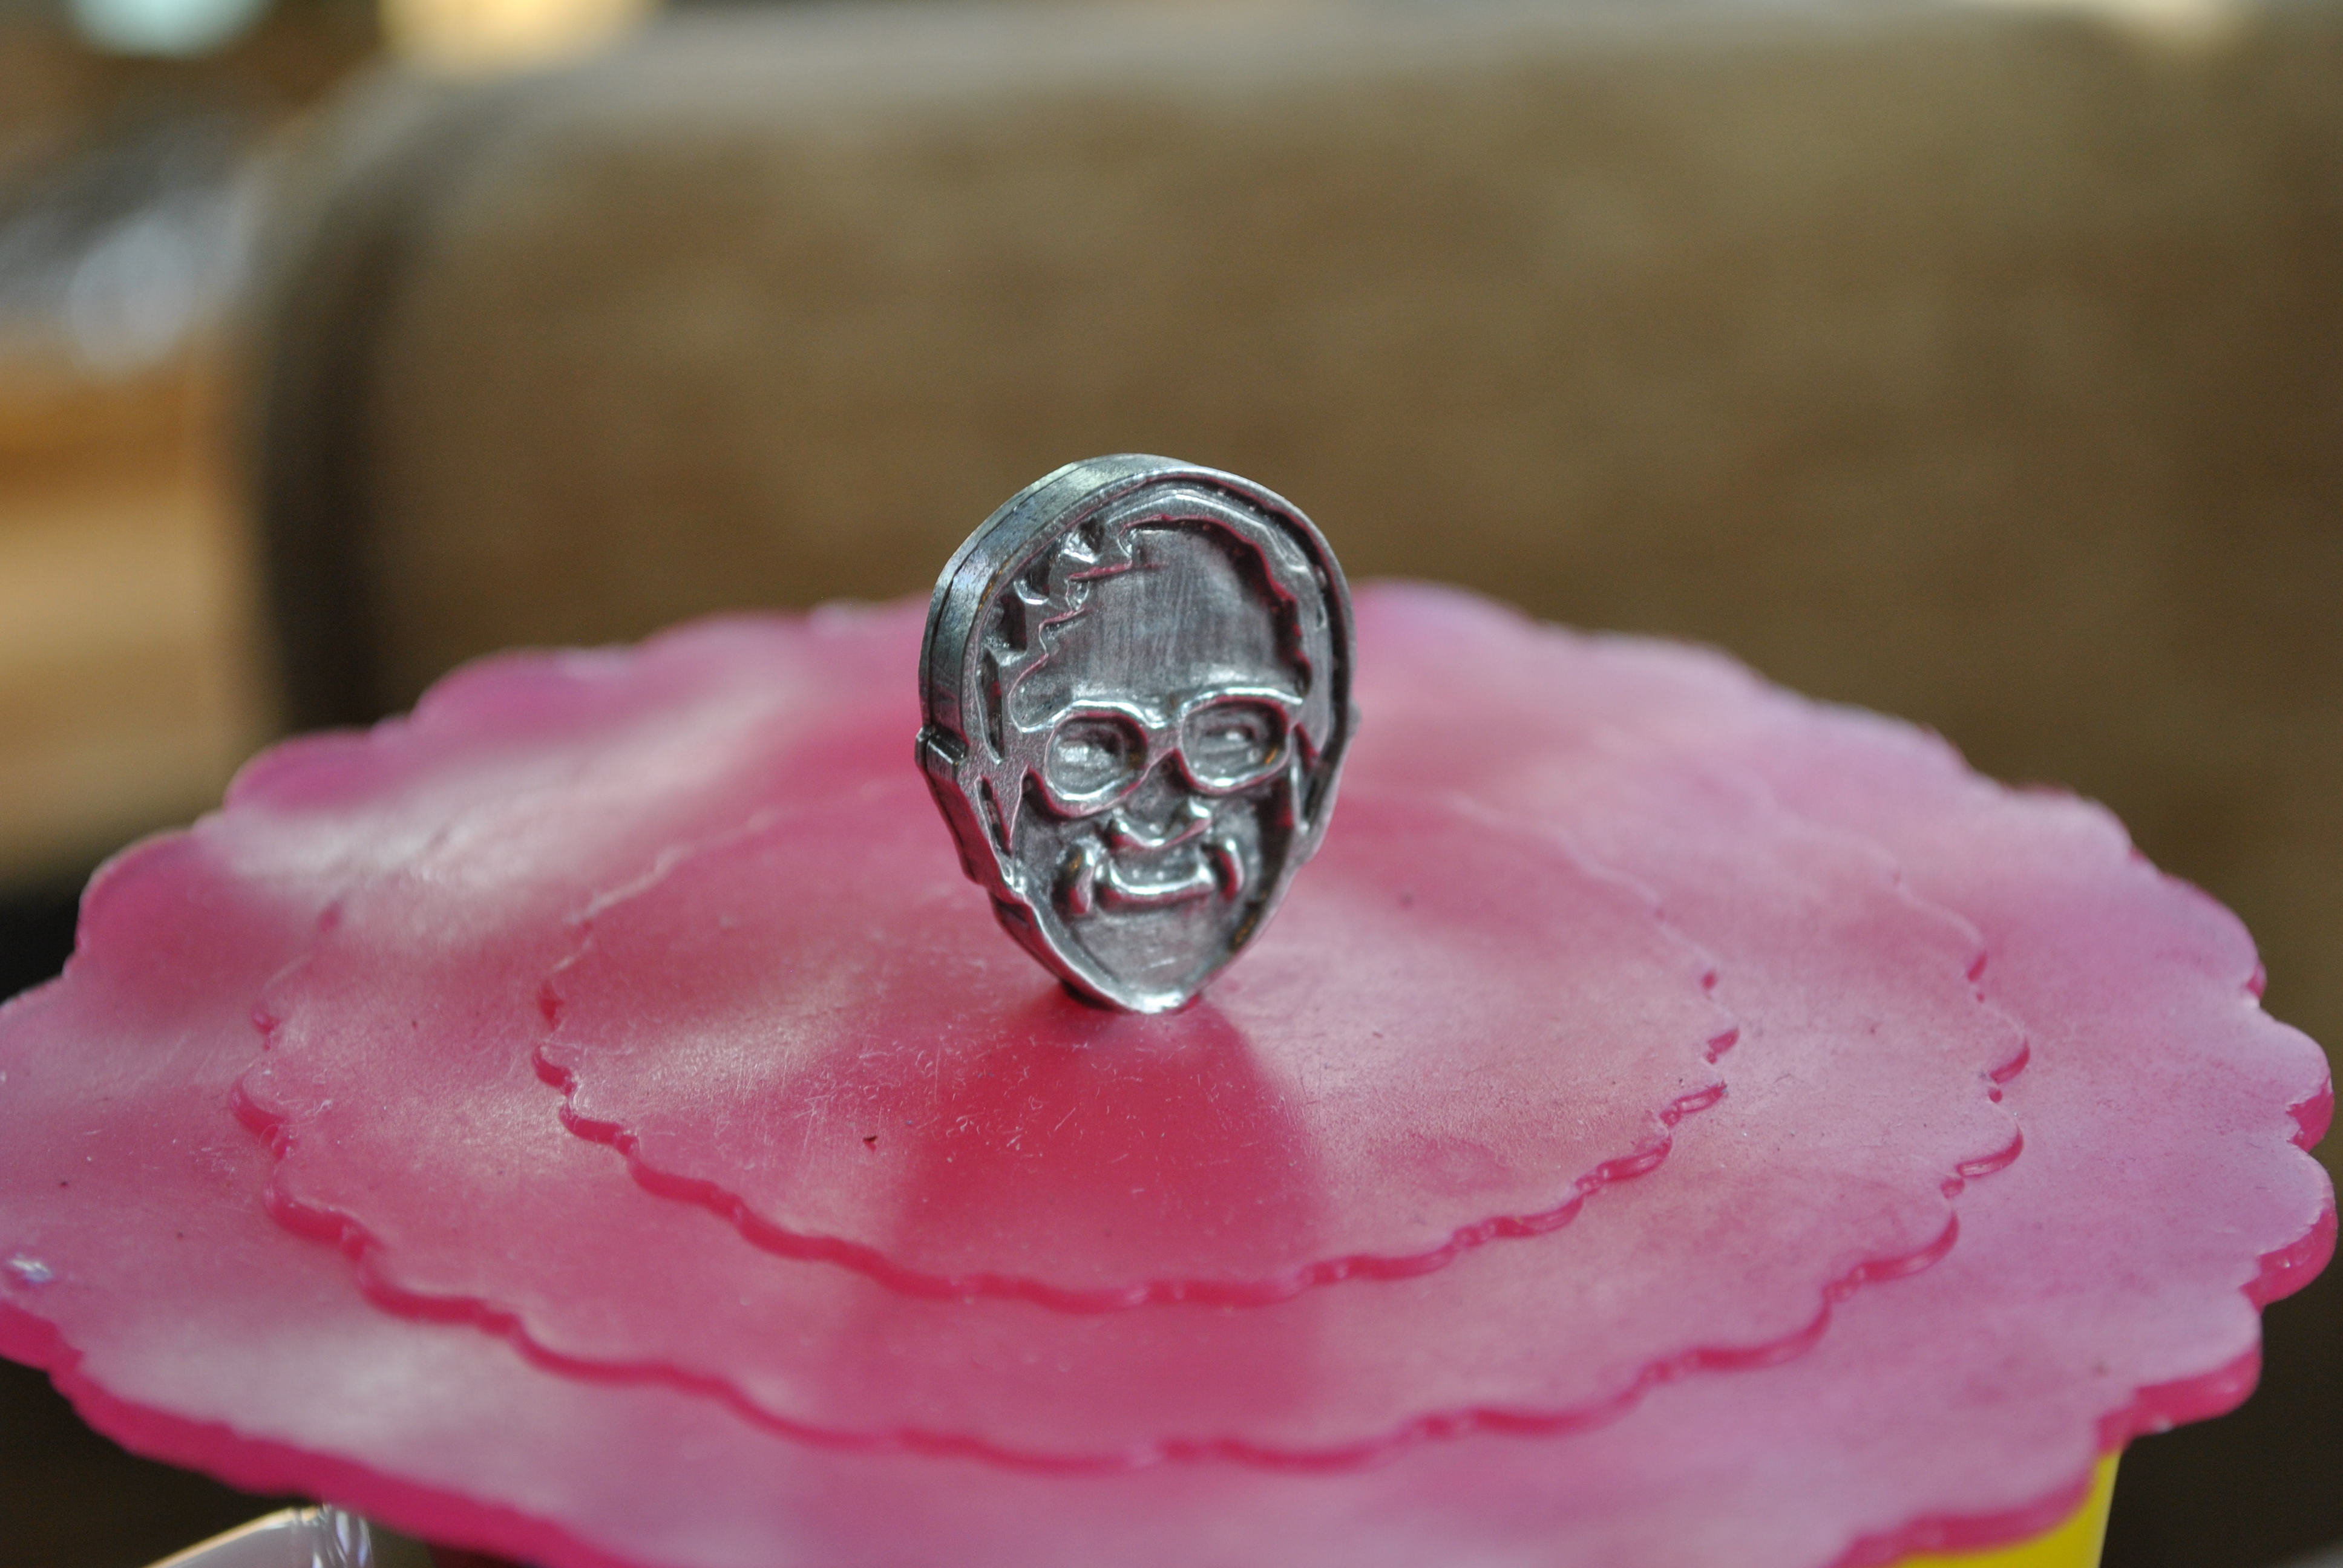
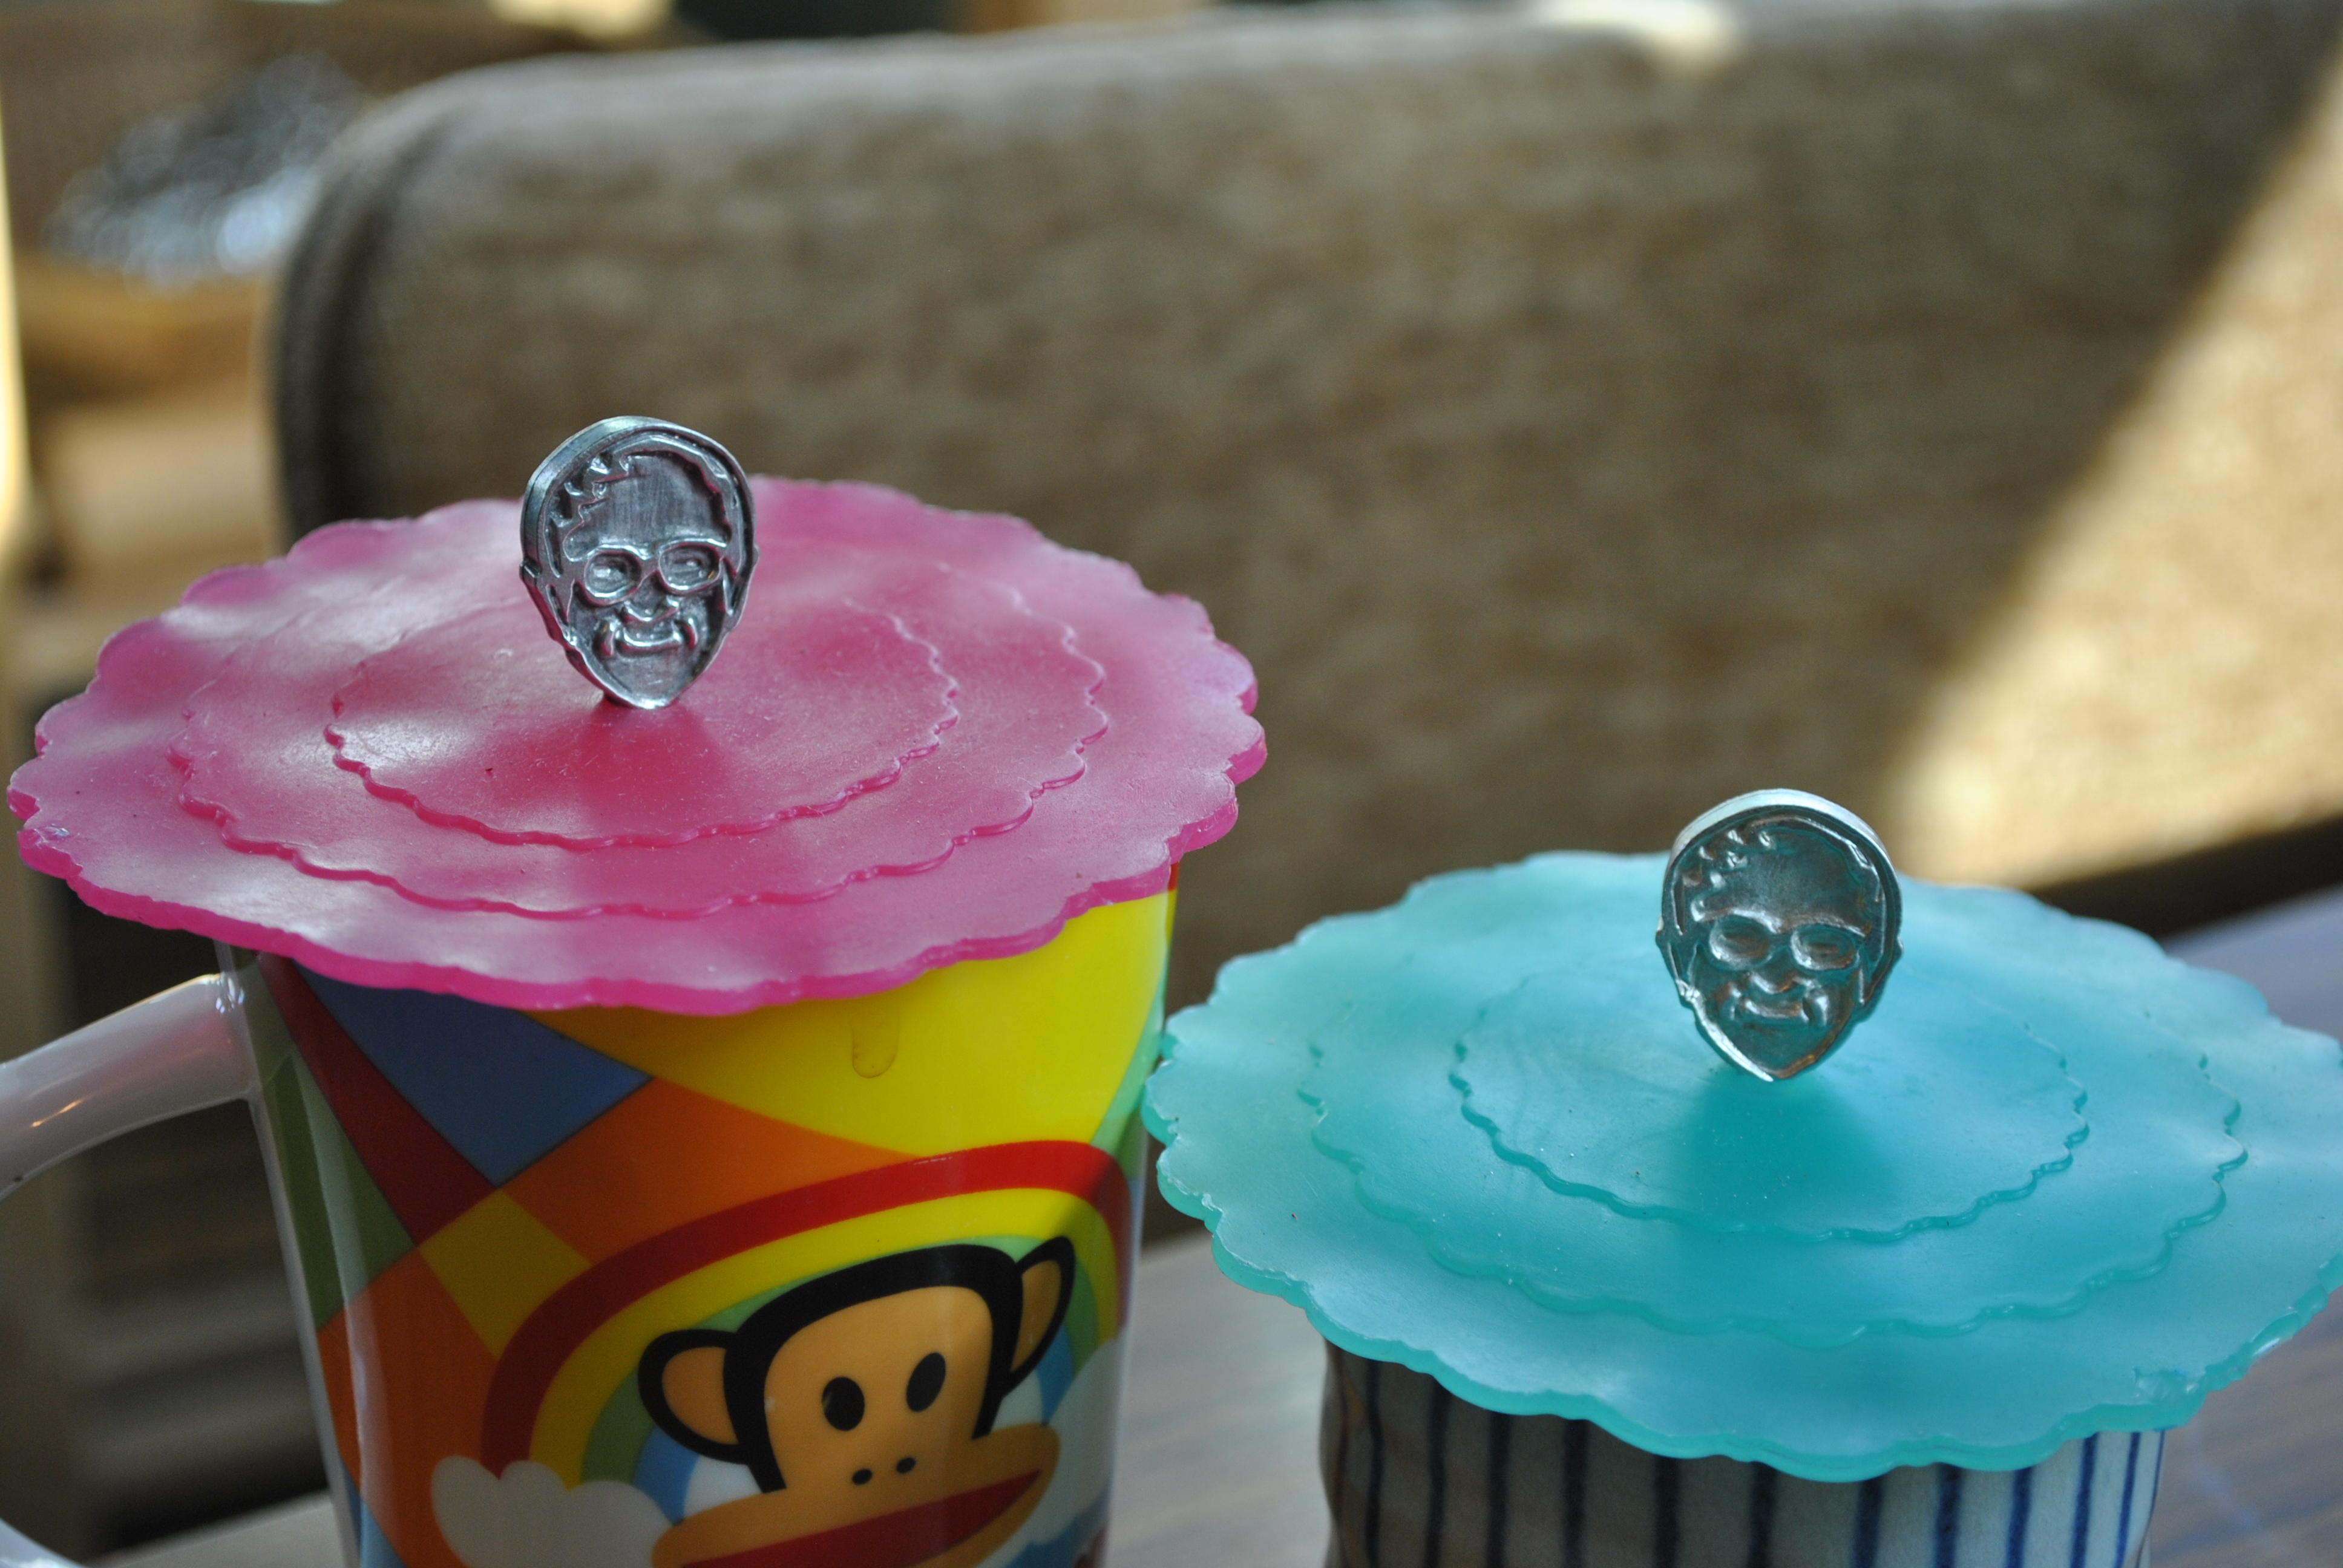
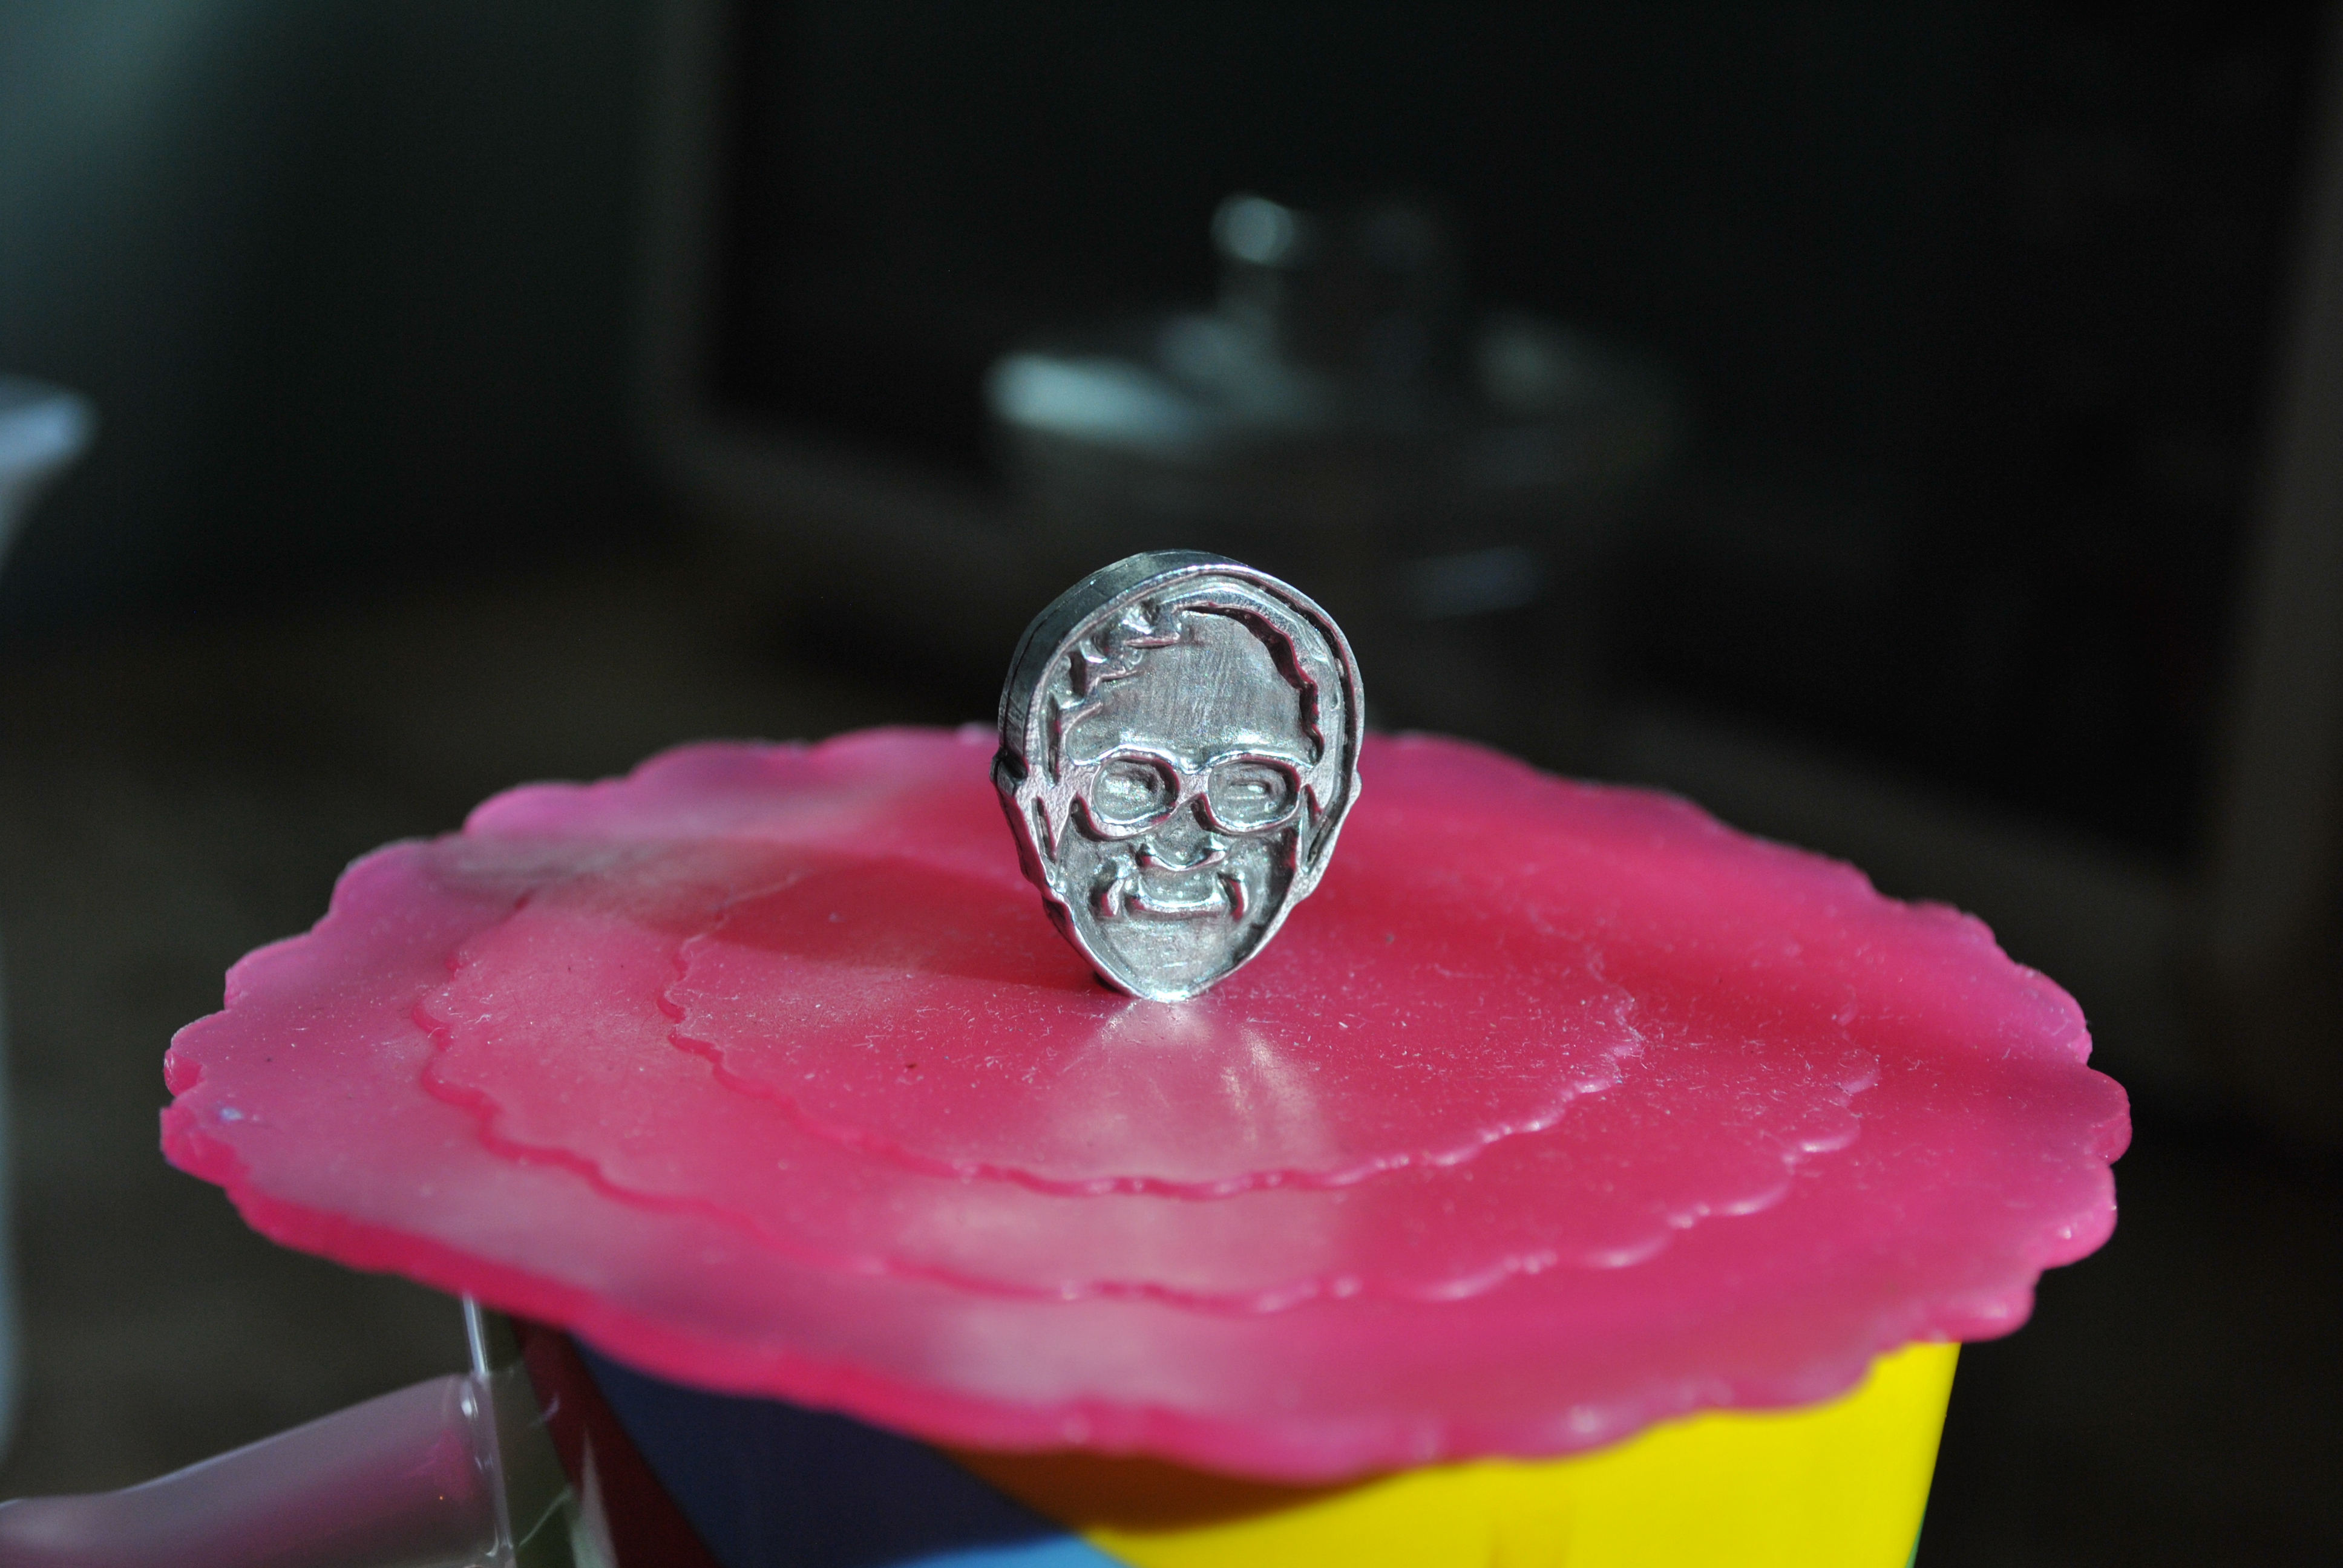
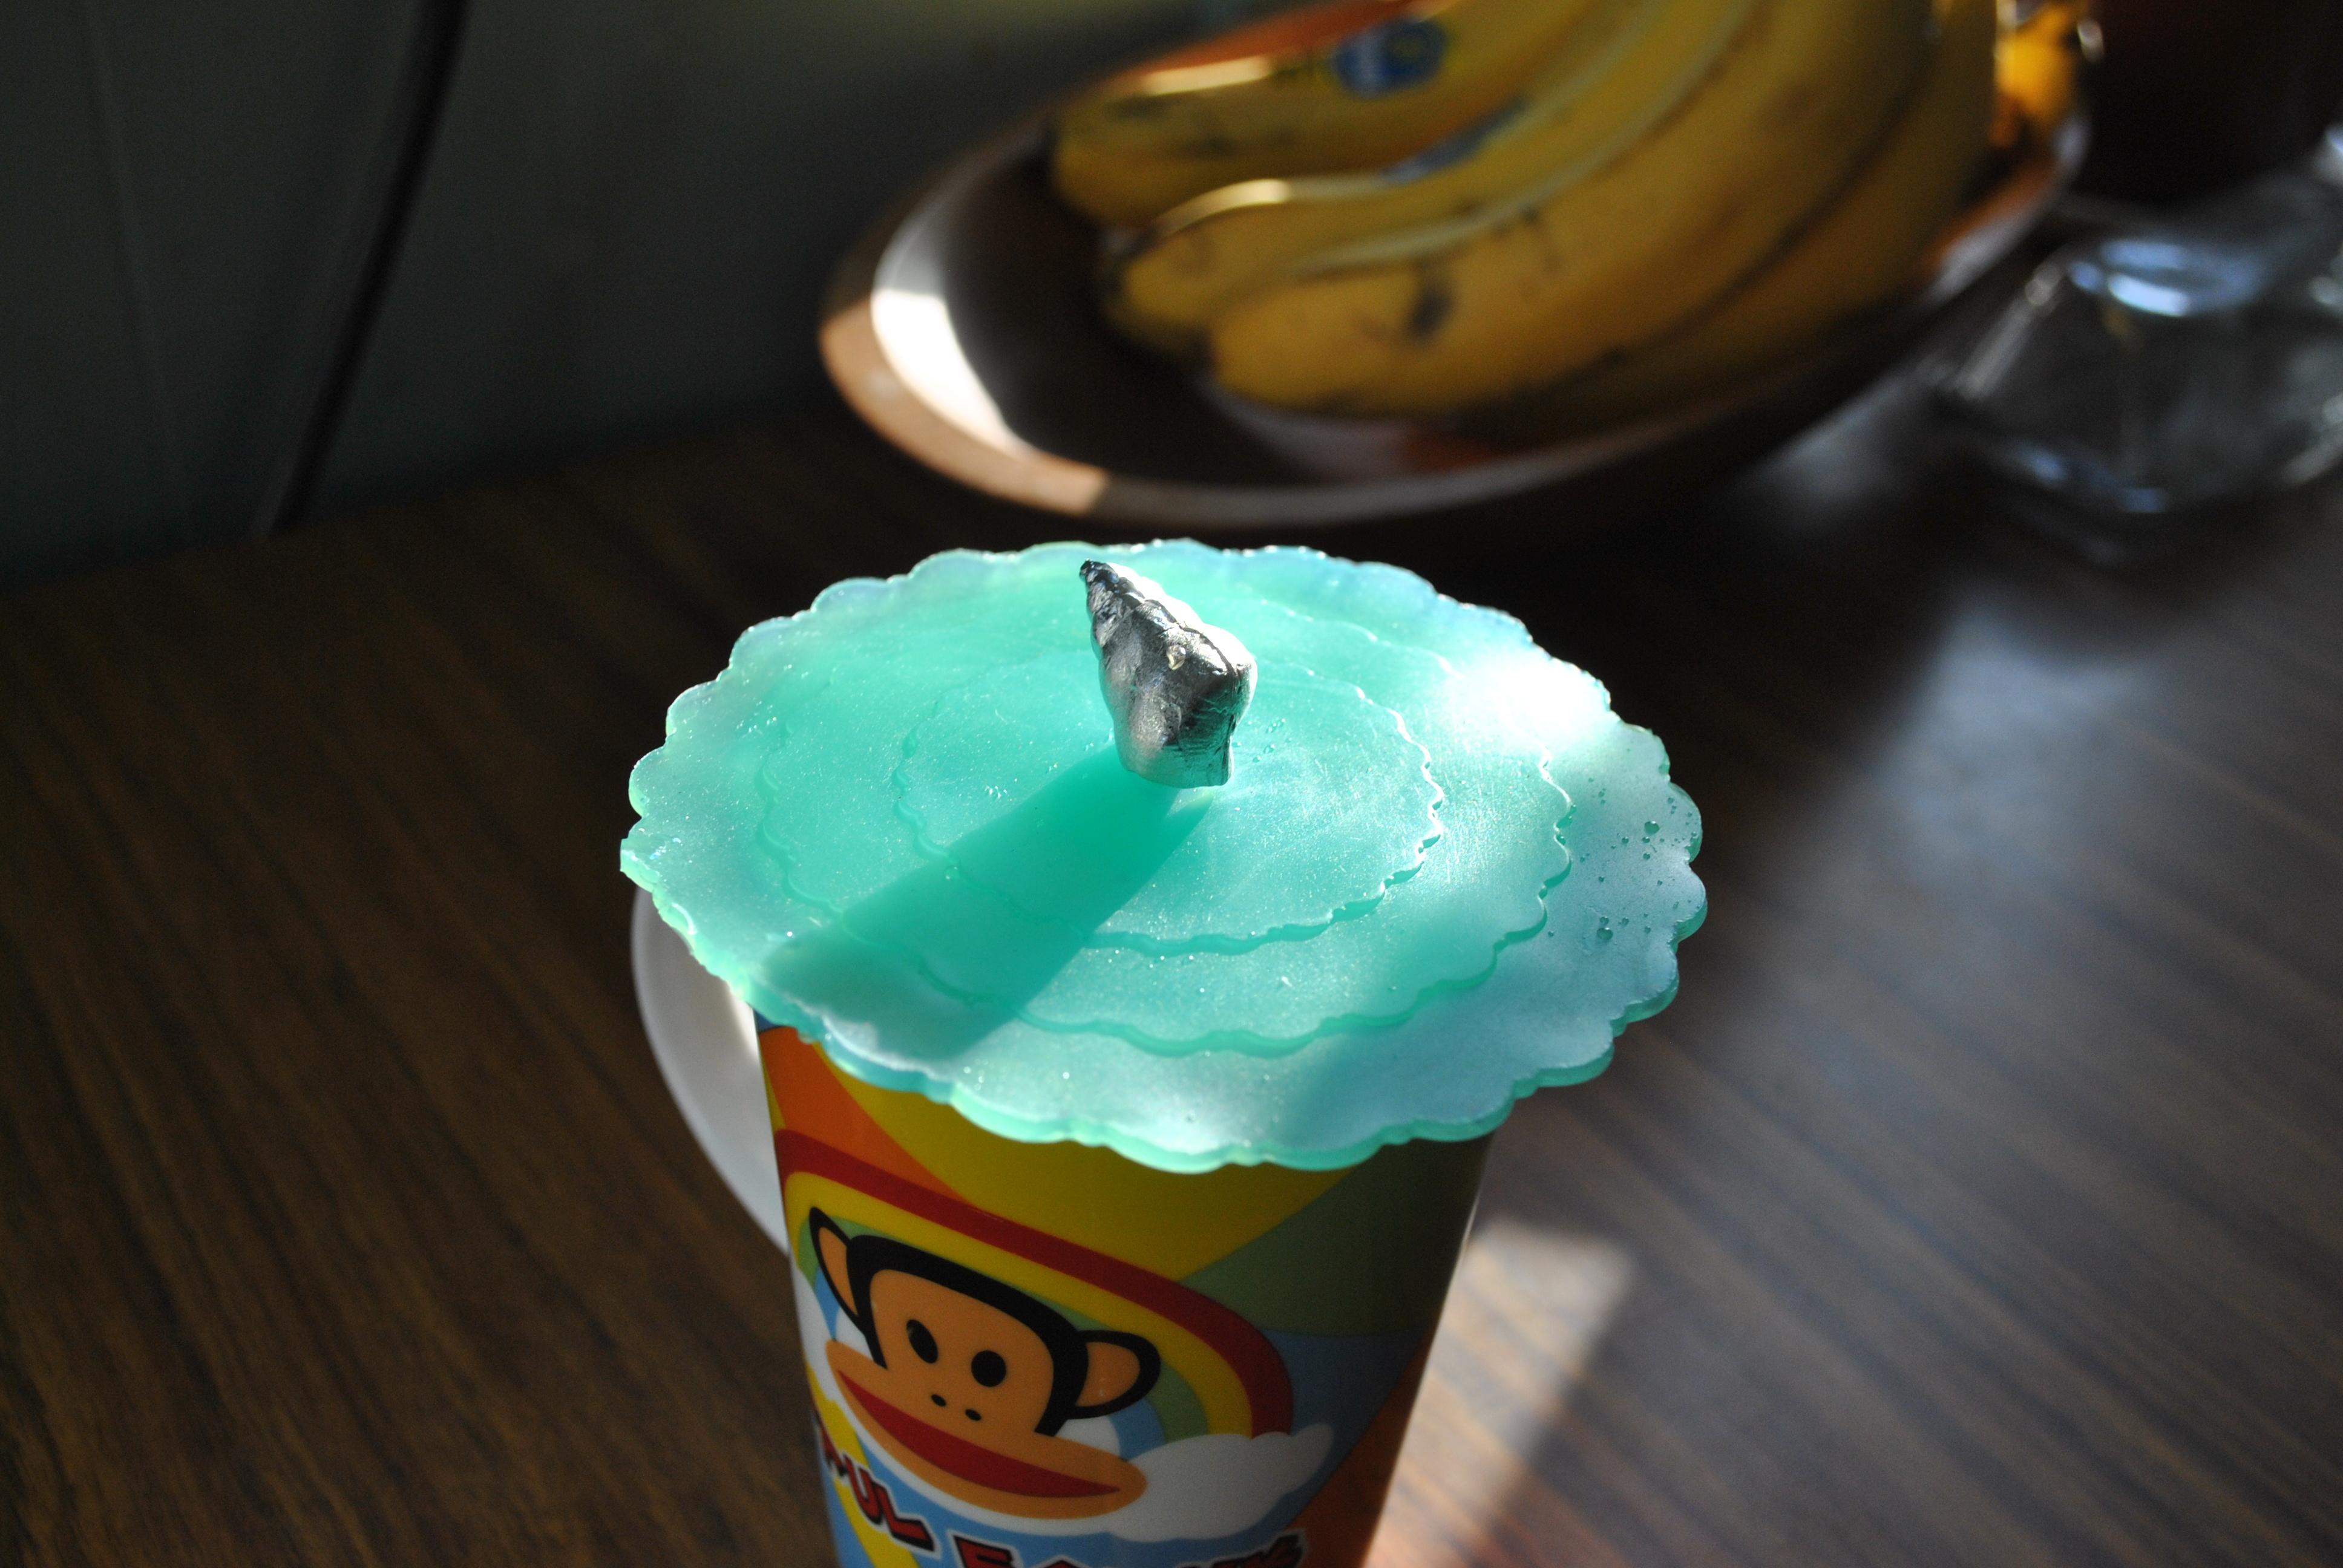
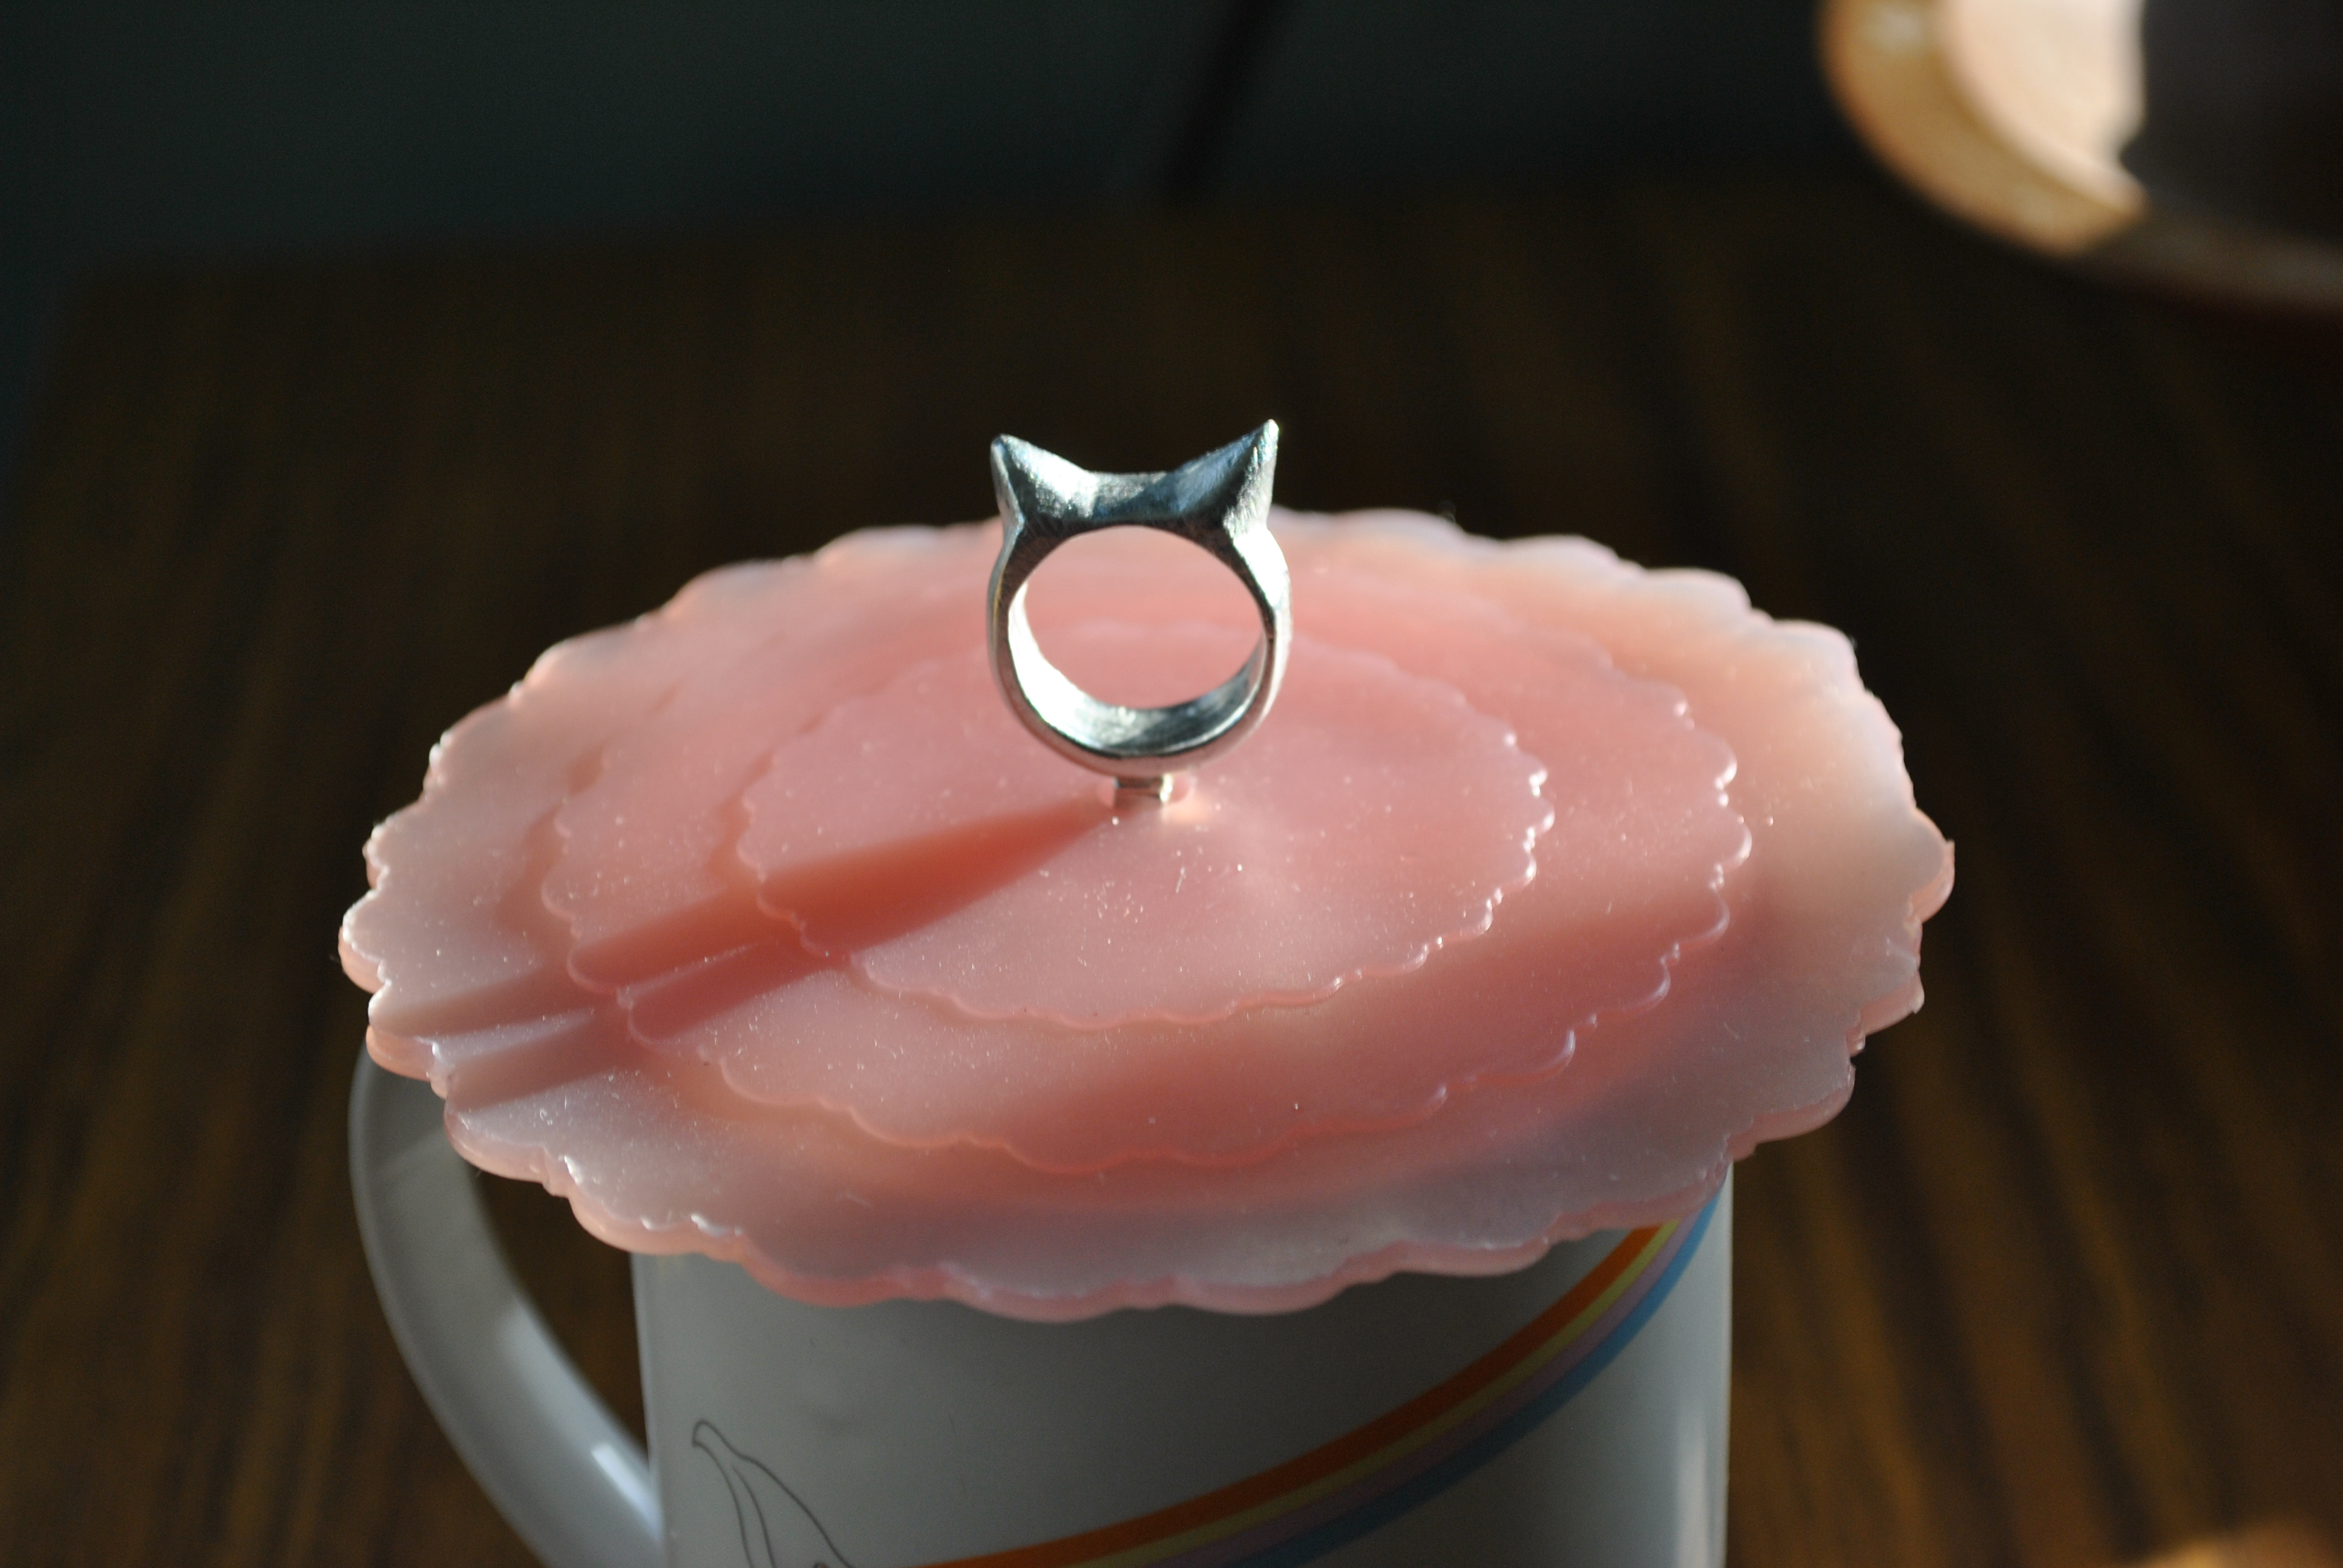
Basically any small charm with the appropriate little T shapped bottom bit will fit into the tea topper. I am going to have to think of some cool tea related things, but right now I just did some cat ears, a snail shell, and soon a tiny Bernie Sanders head.
At some point I will probably put some of these in my store.
Do you want to help me continue to bring you great projects, while also getting great rewards? Then support me on Patreon!
Thank you!
My girlfriend drinks a lot of tea…like she usually has multiple tea cups going at the same time. And she has these little things she puts on the tops of the cups to help each tea bag brew up nicely. I have seen the ones she has and I thought I could do them one better by making some custom tops for them with various fun cast pewter things. In this first part of the project I create a “basic” model in silicon that will be used for next weeks project.
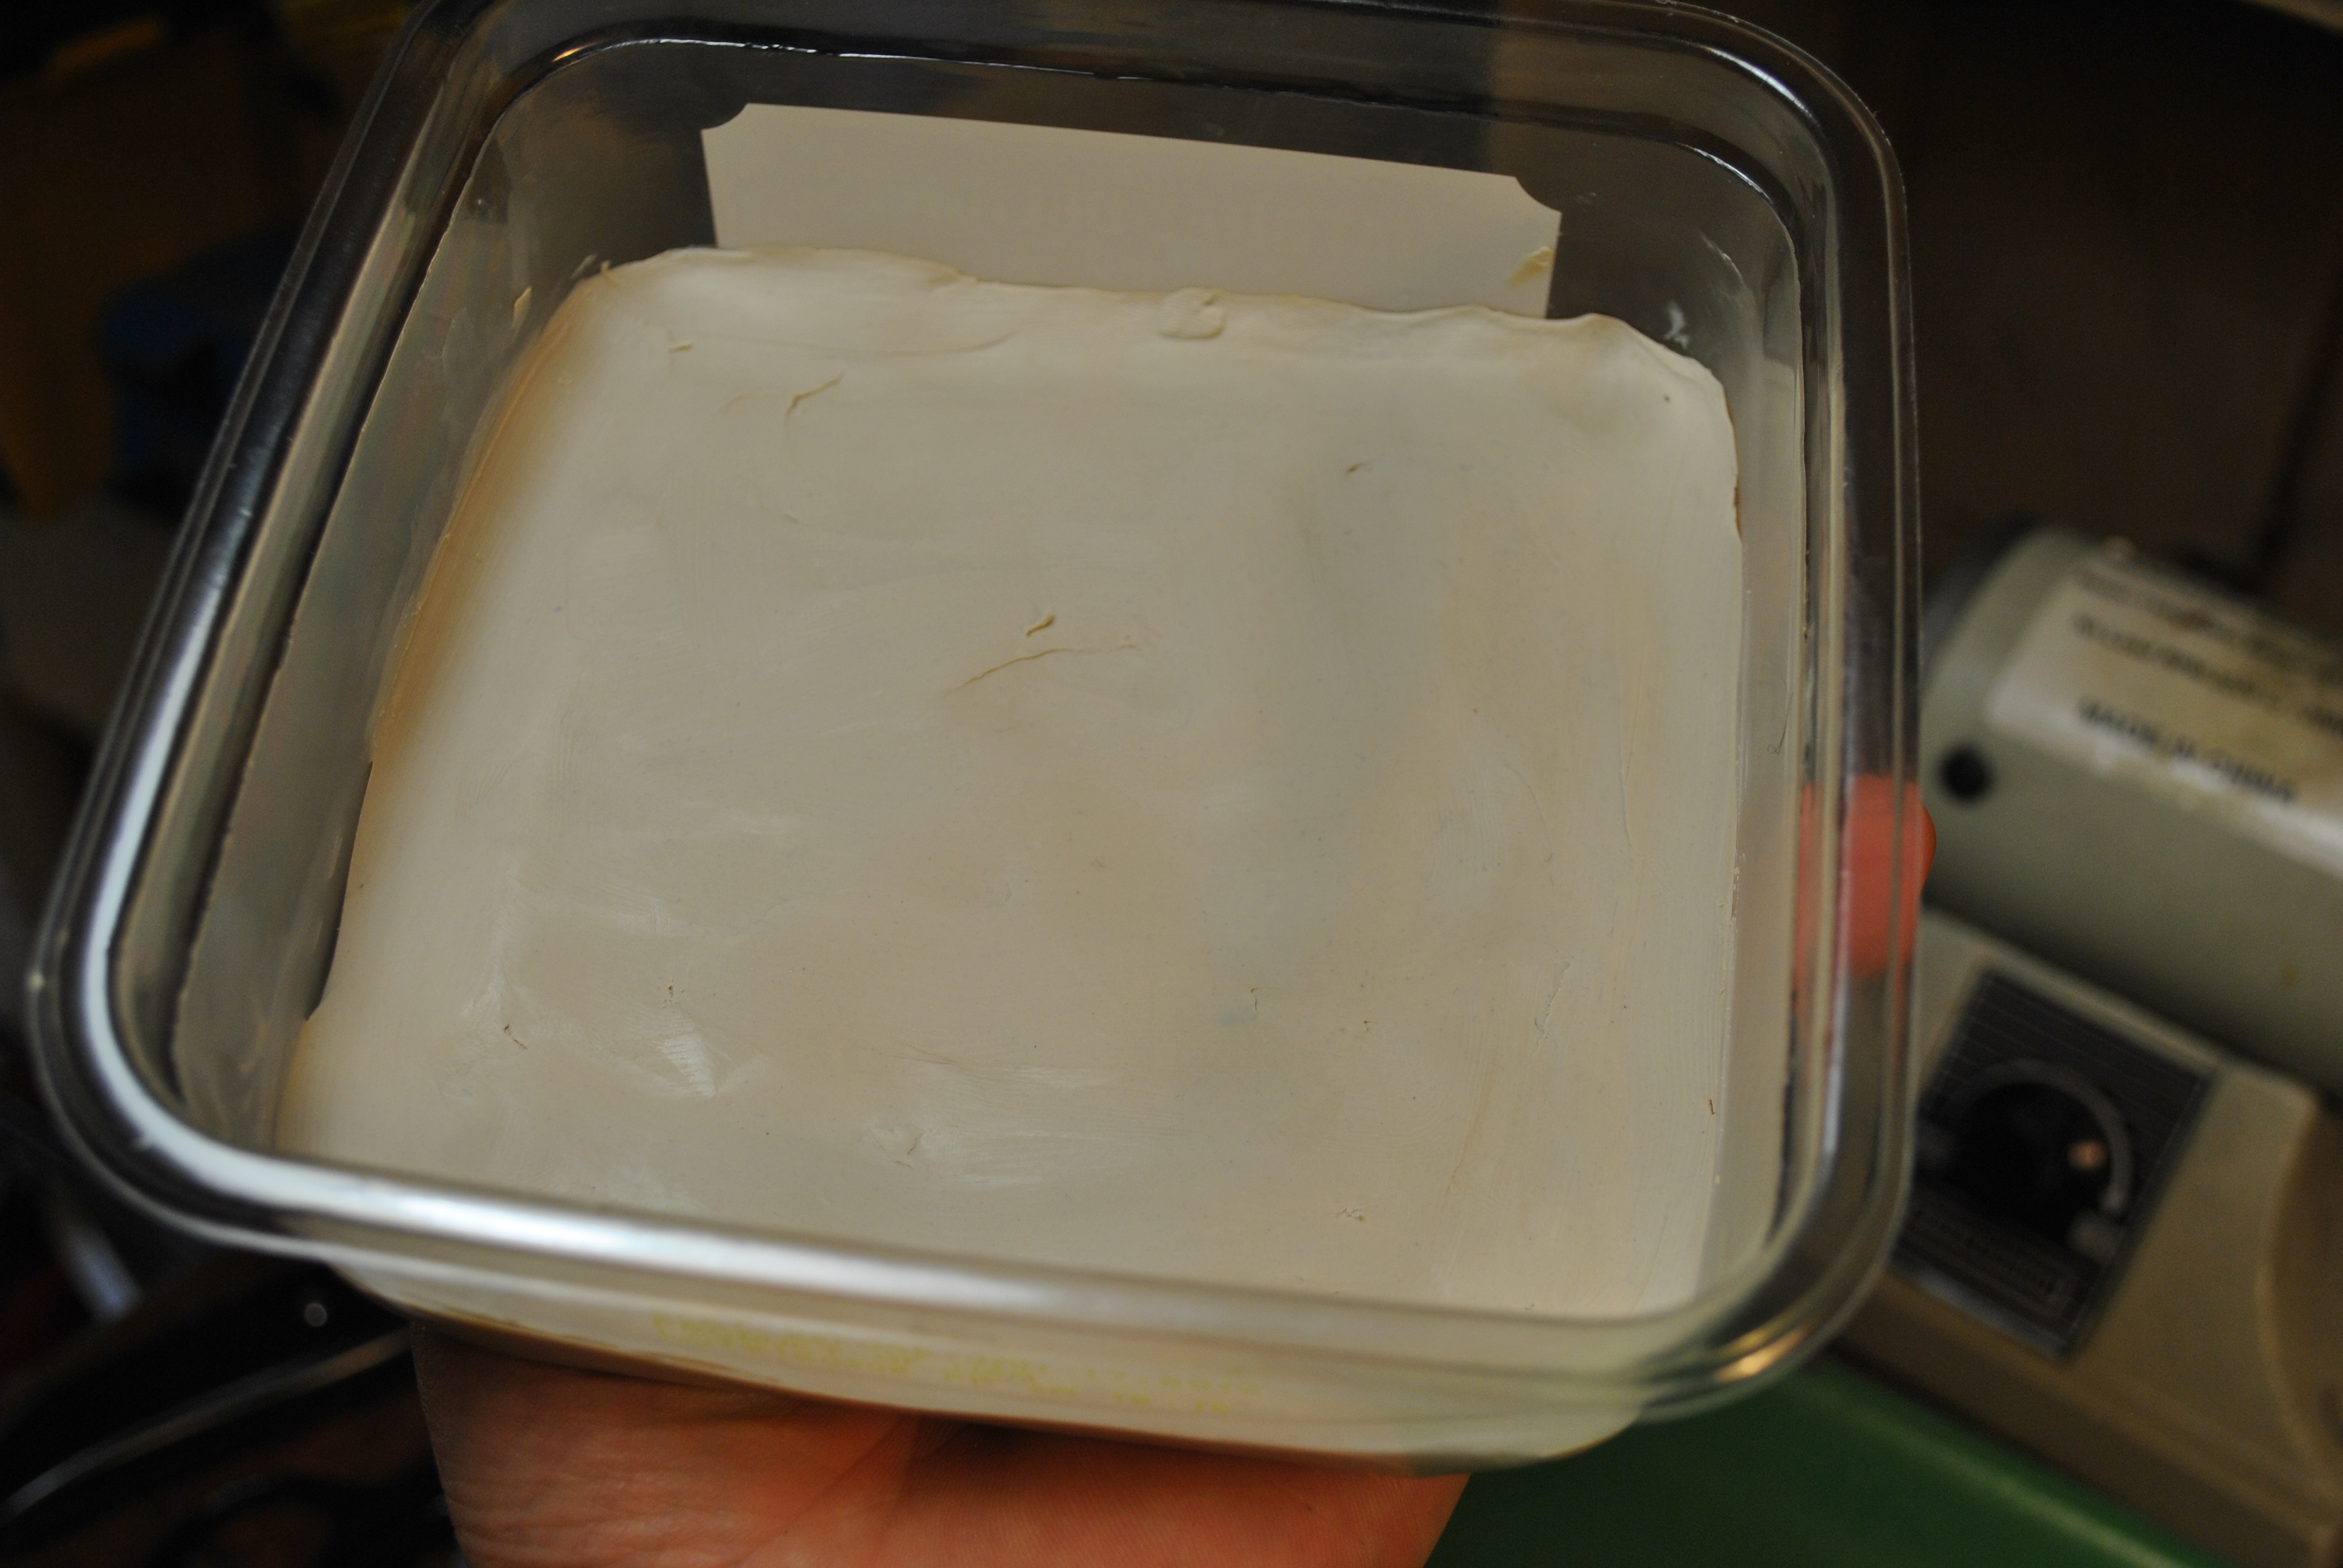
I started off with putting some soft clay in a plastic container (a dried date container if I remember correctly)
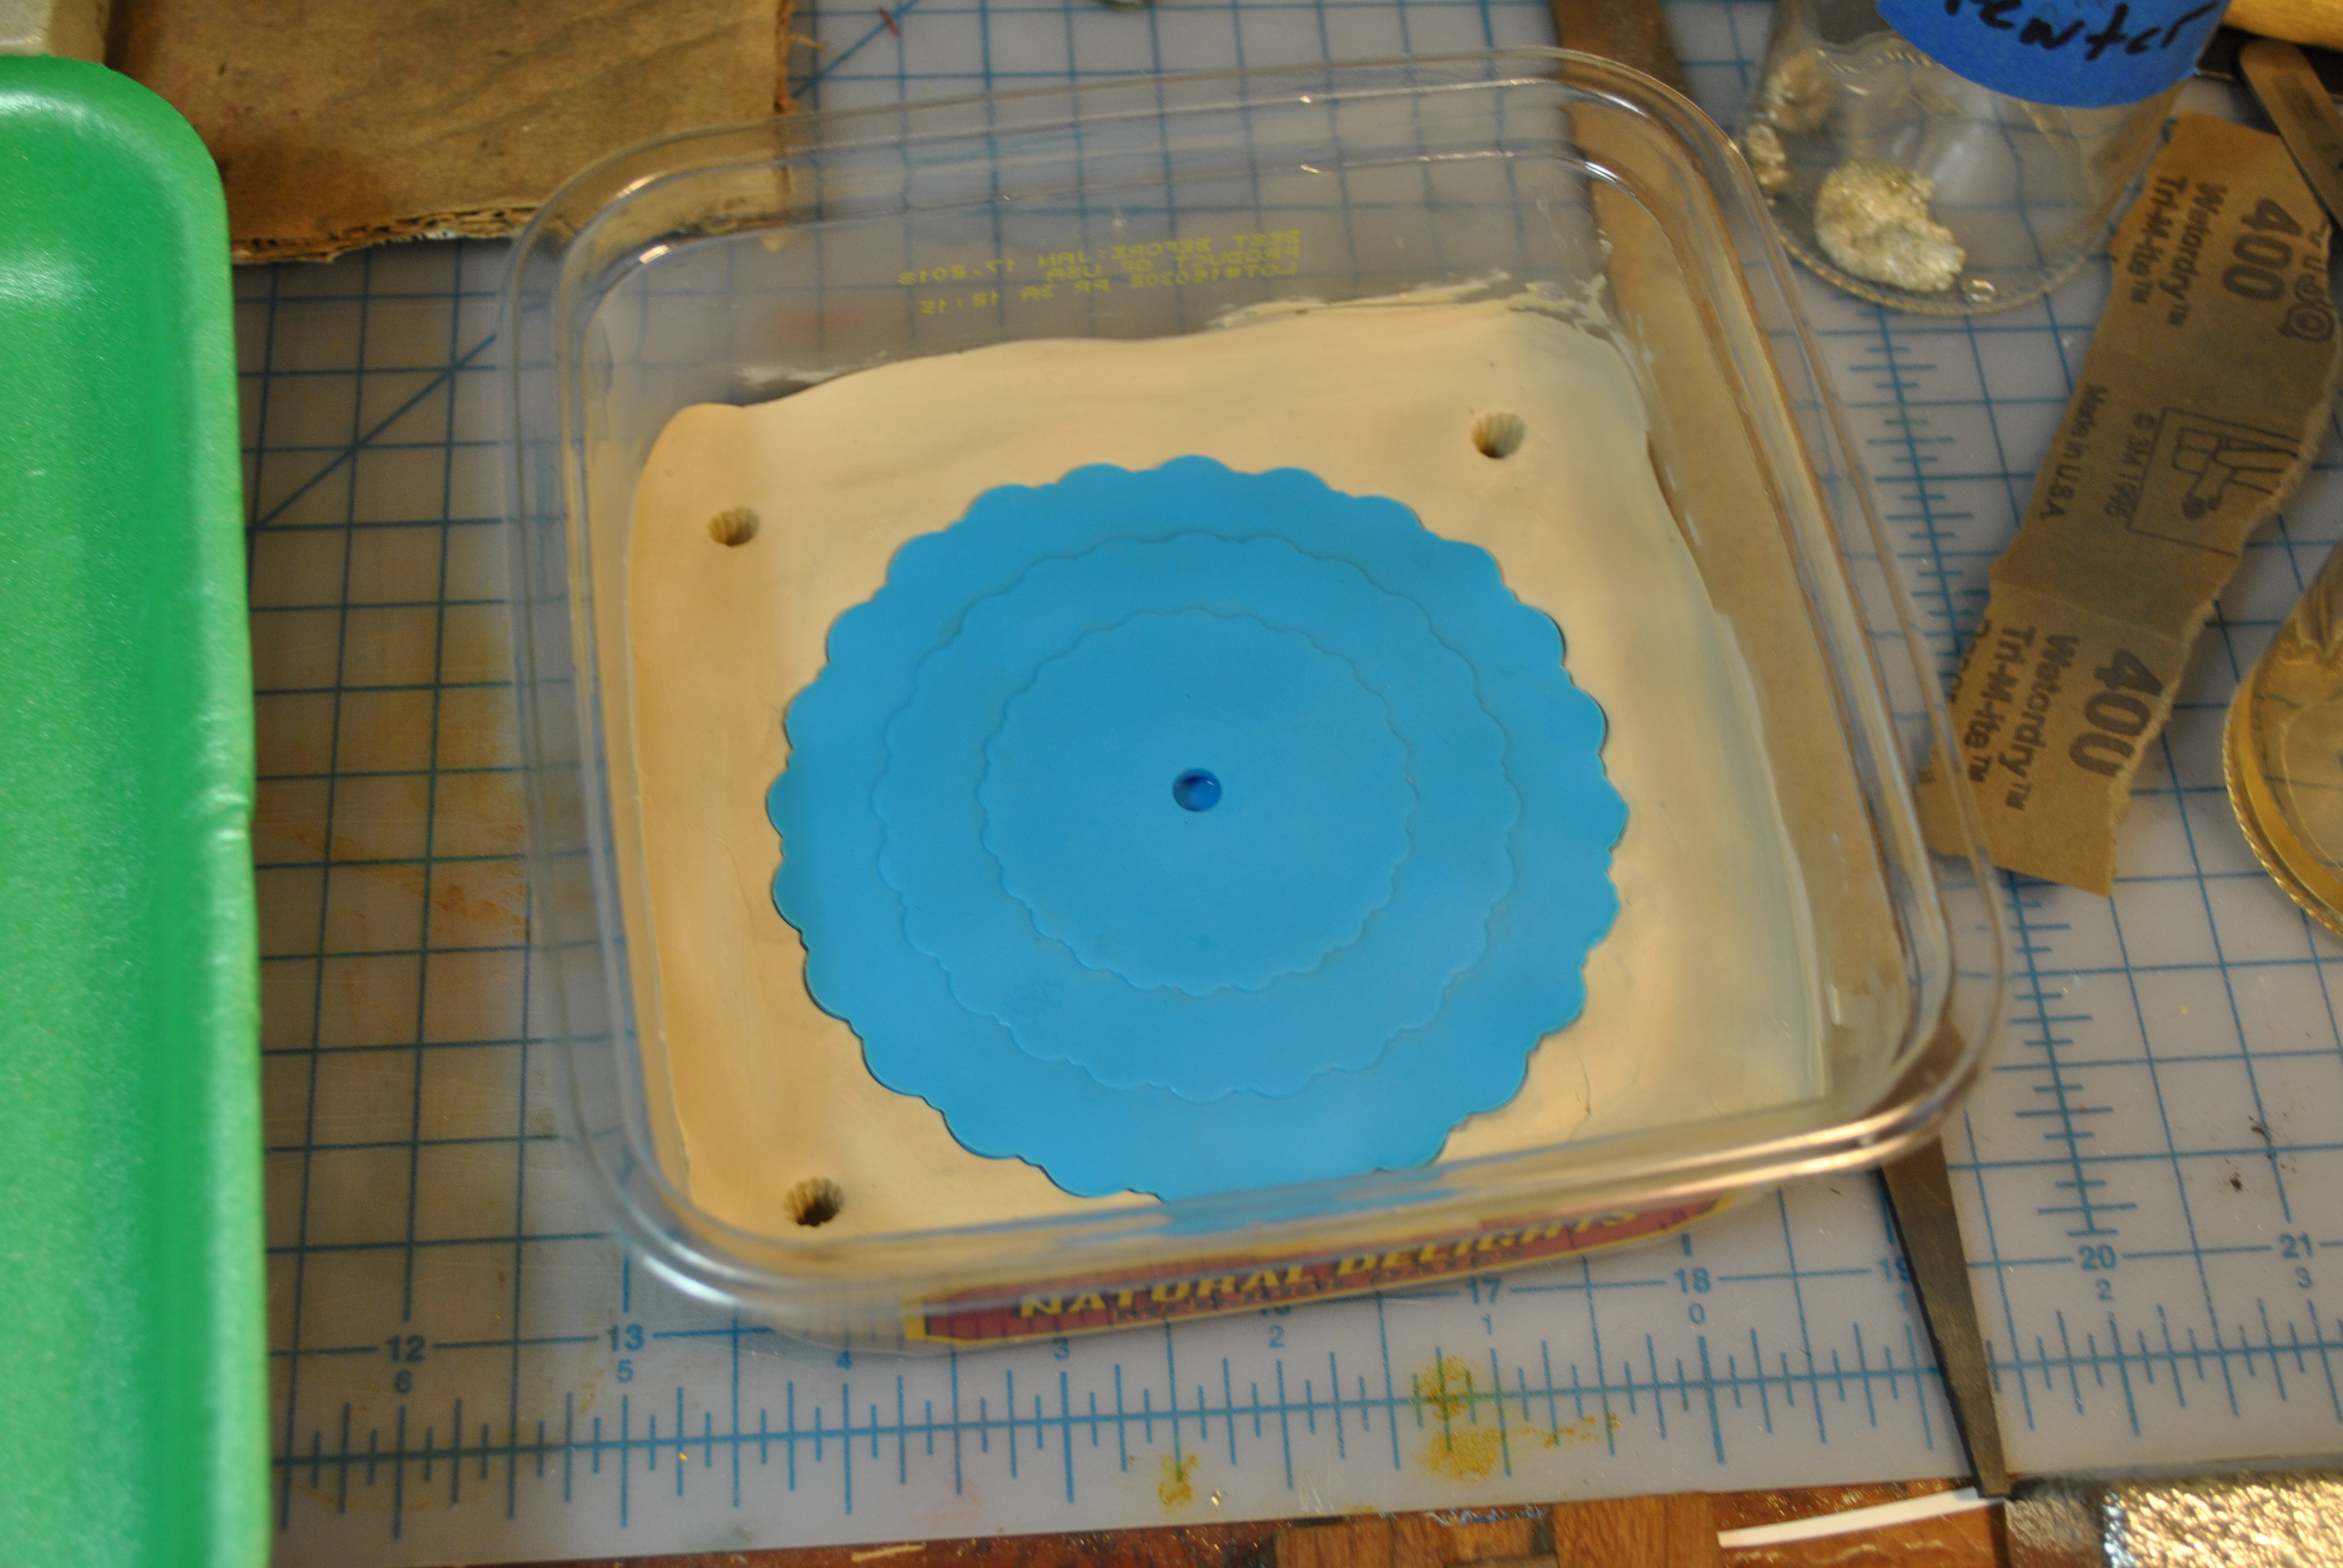
The model, it has concentric layers, and the middle is cut out to create a place to add the top charms later. I put three holes so that it will index later.
I am using mold star 30 from smooth on, a new product for me. It makes a pretty blue mold making material. I used it because it was slightly cheaper and promised to make a good mold.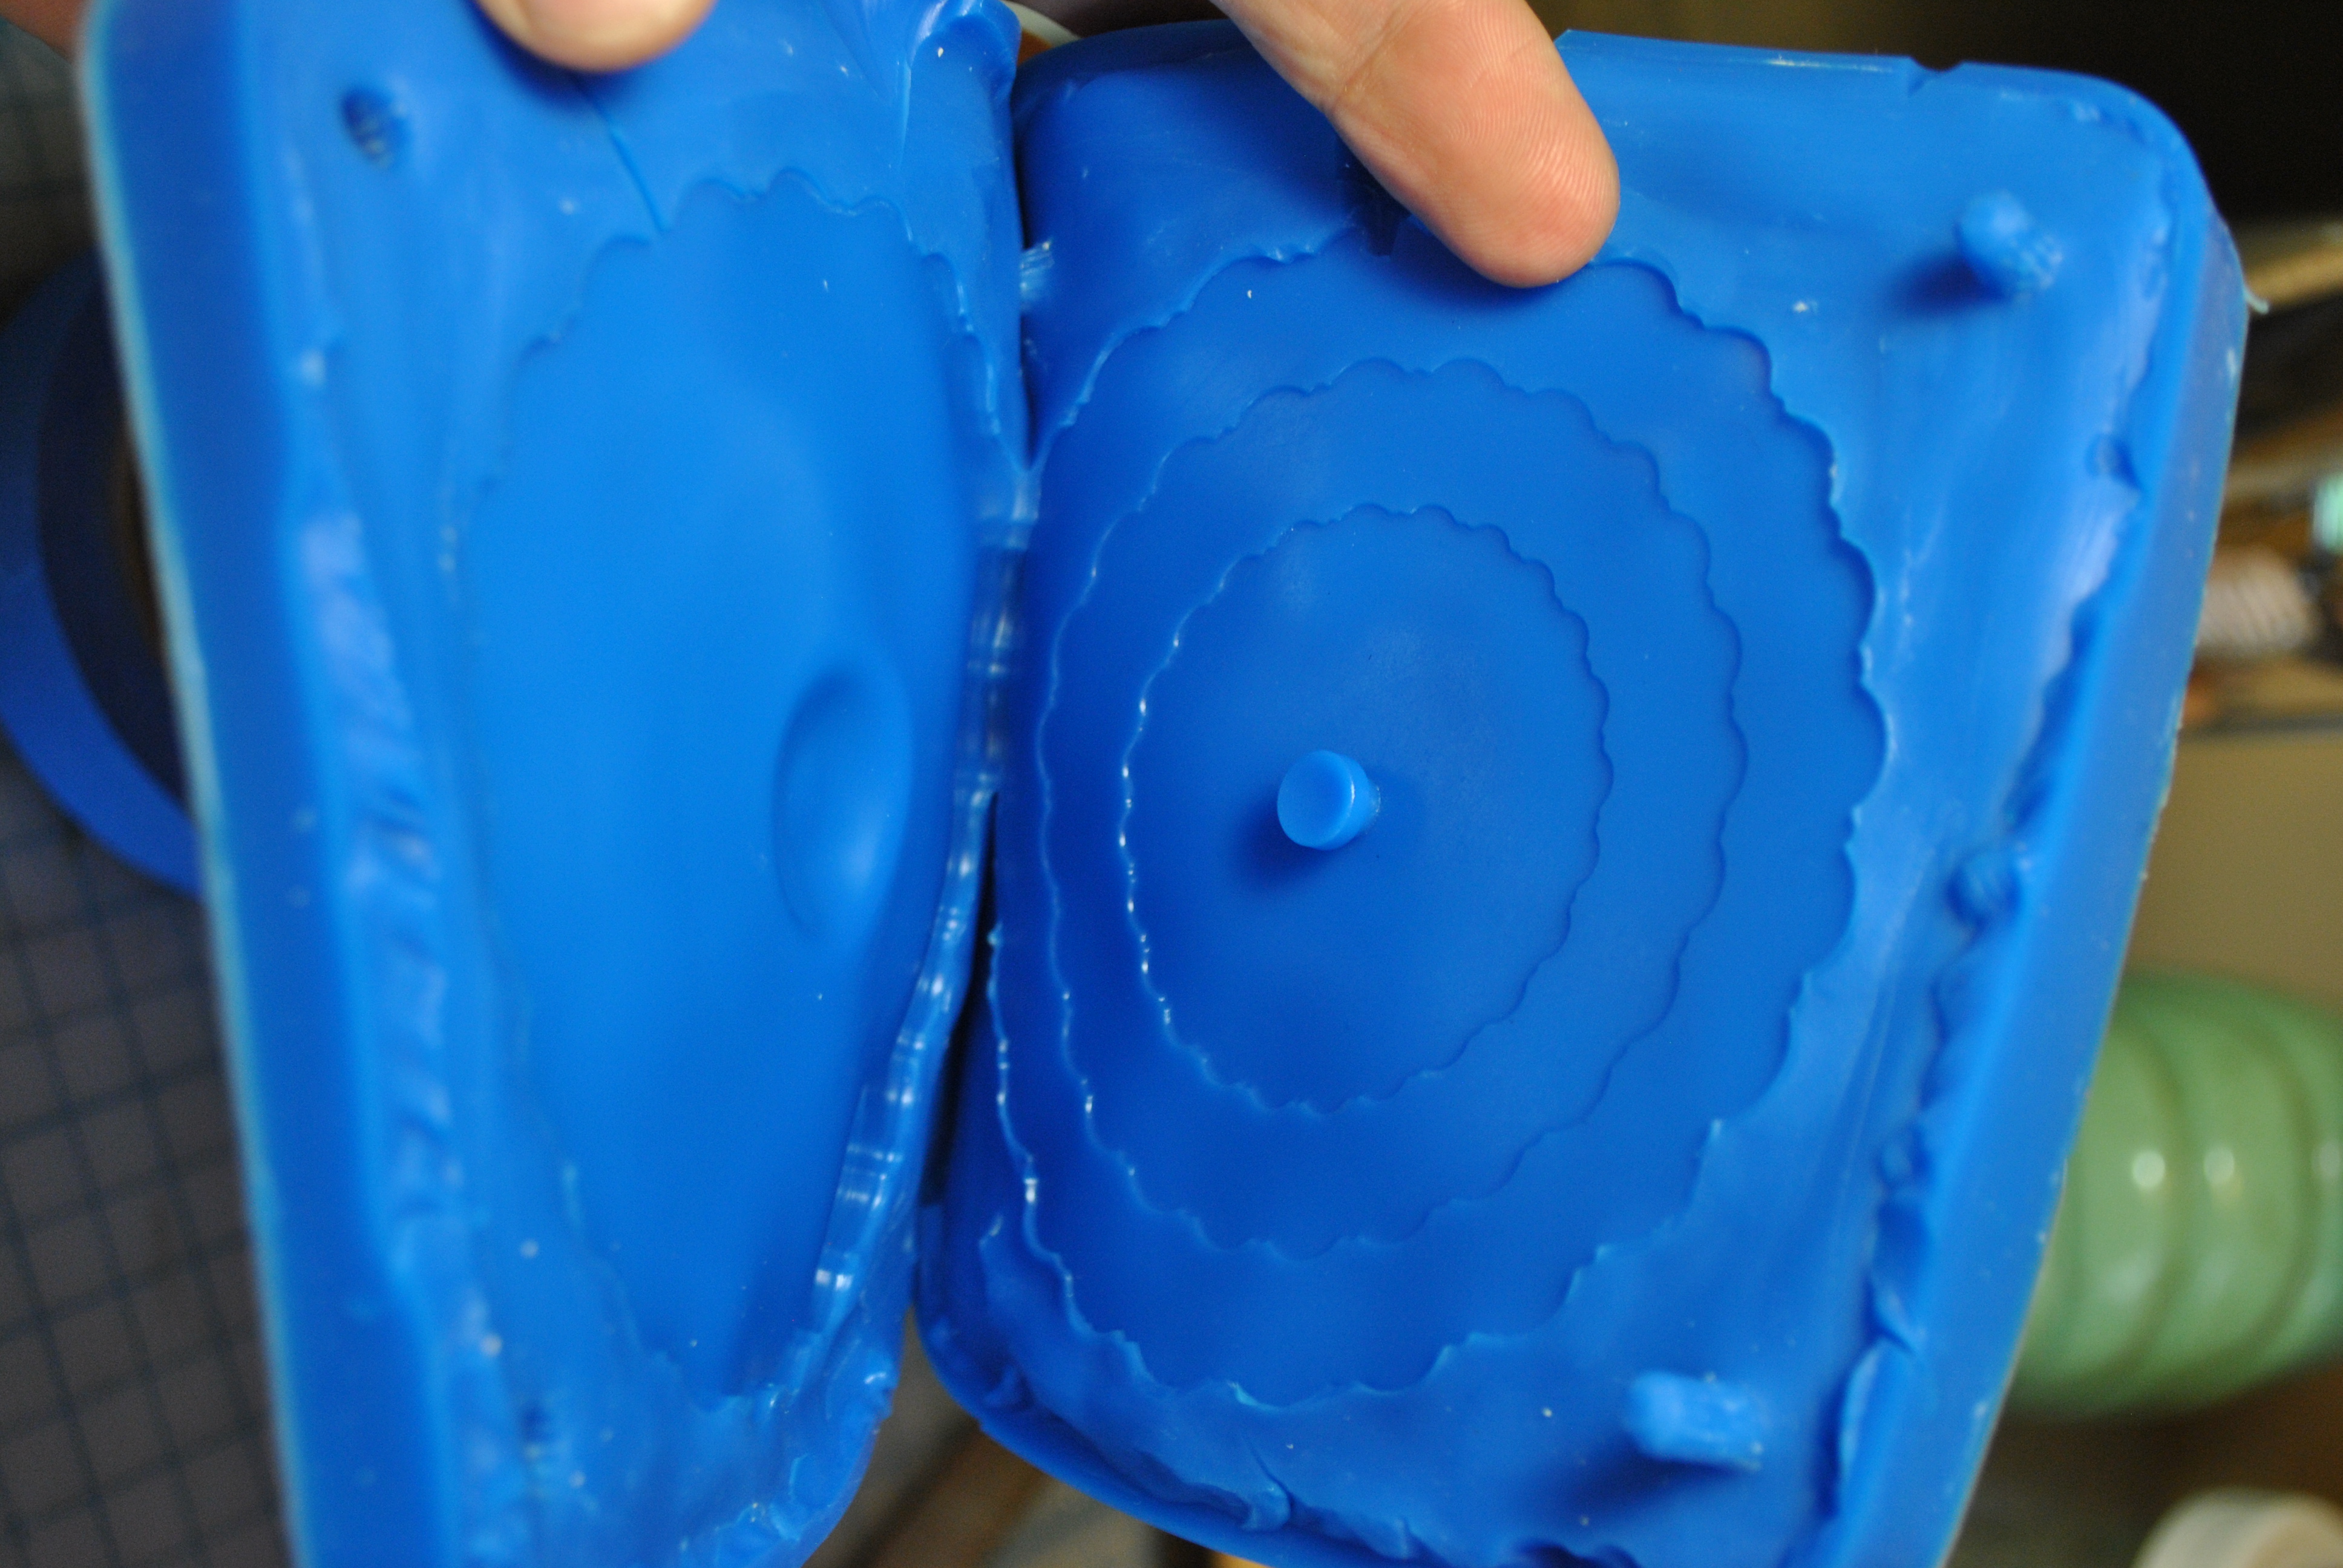
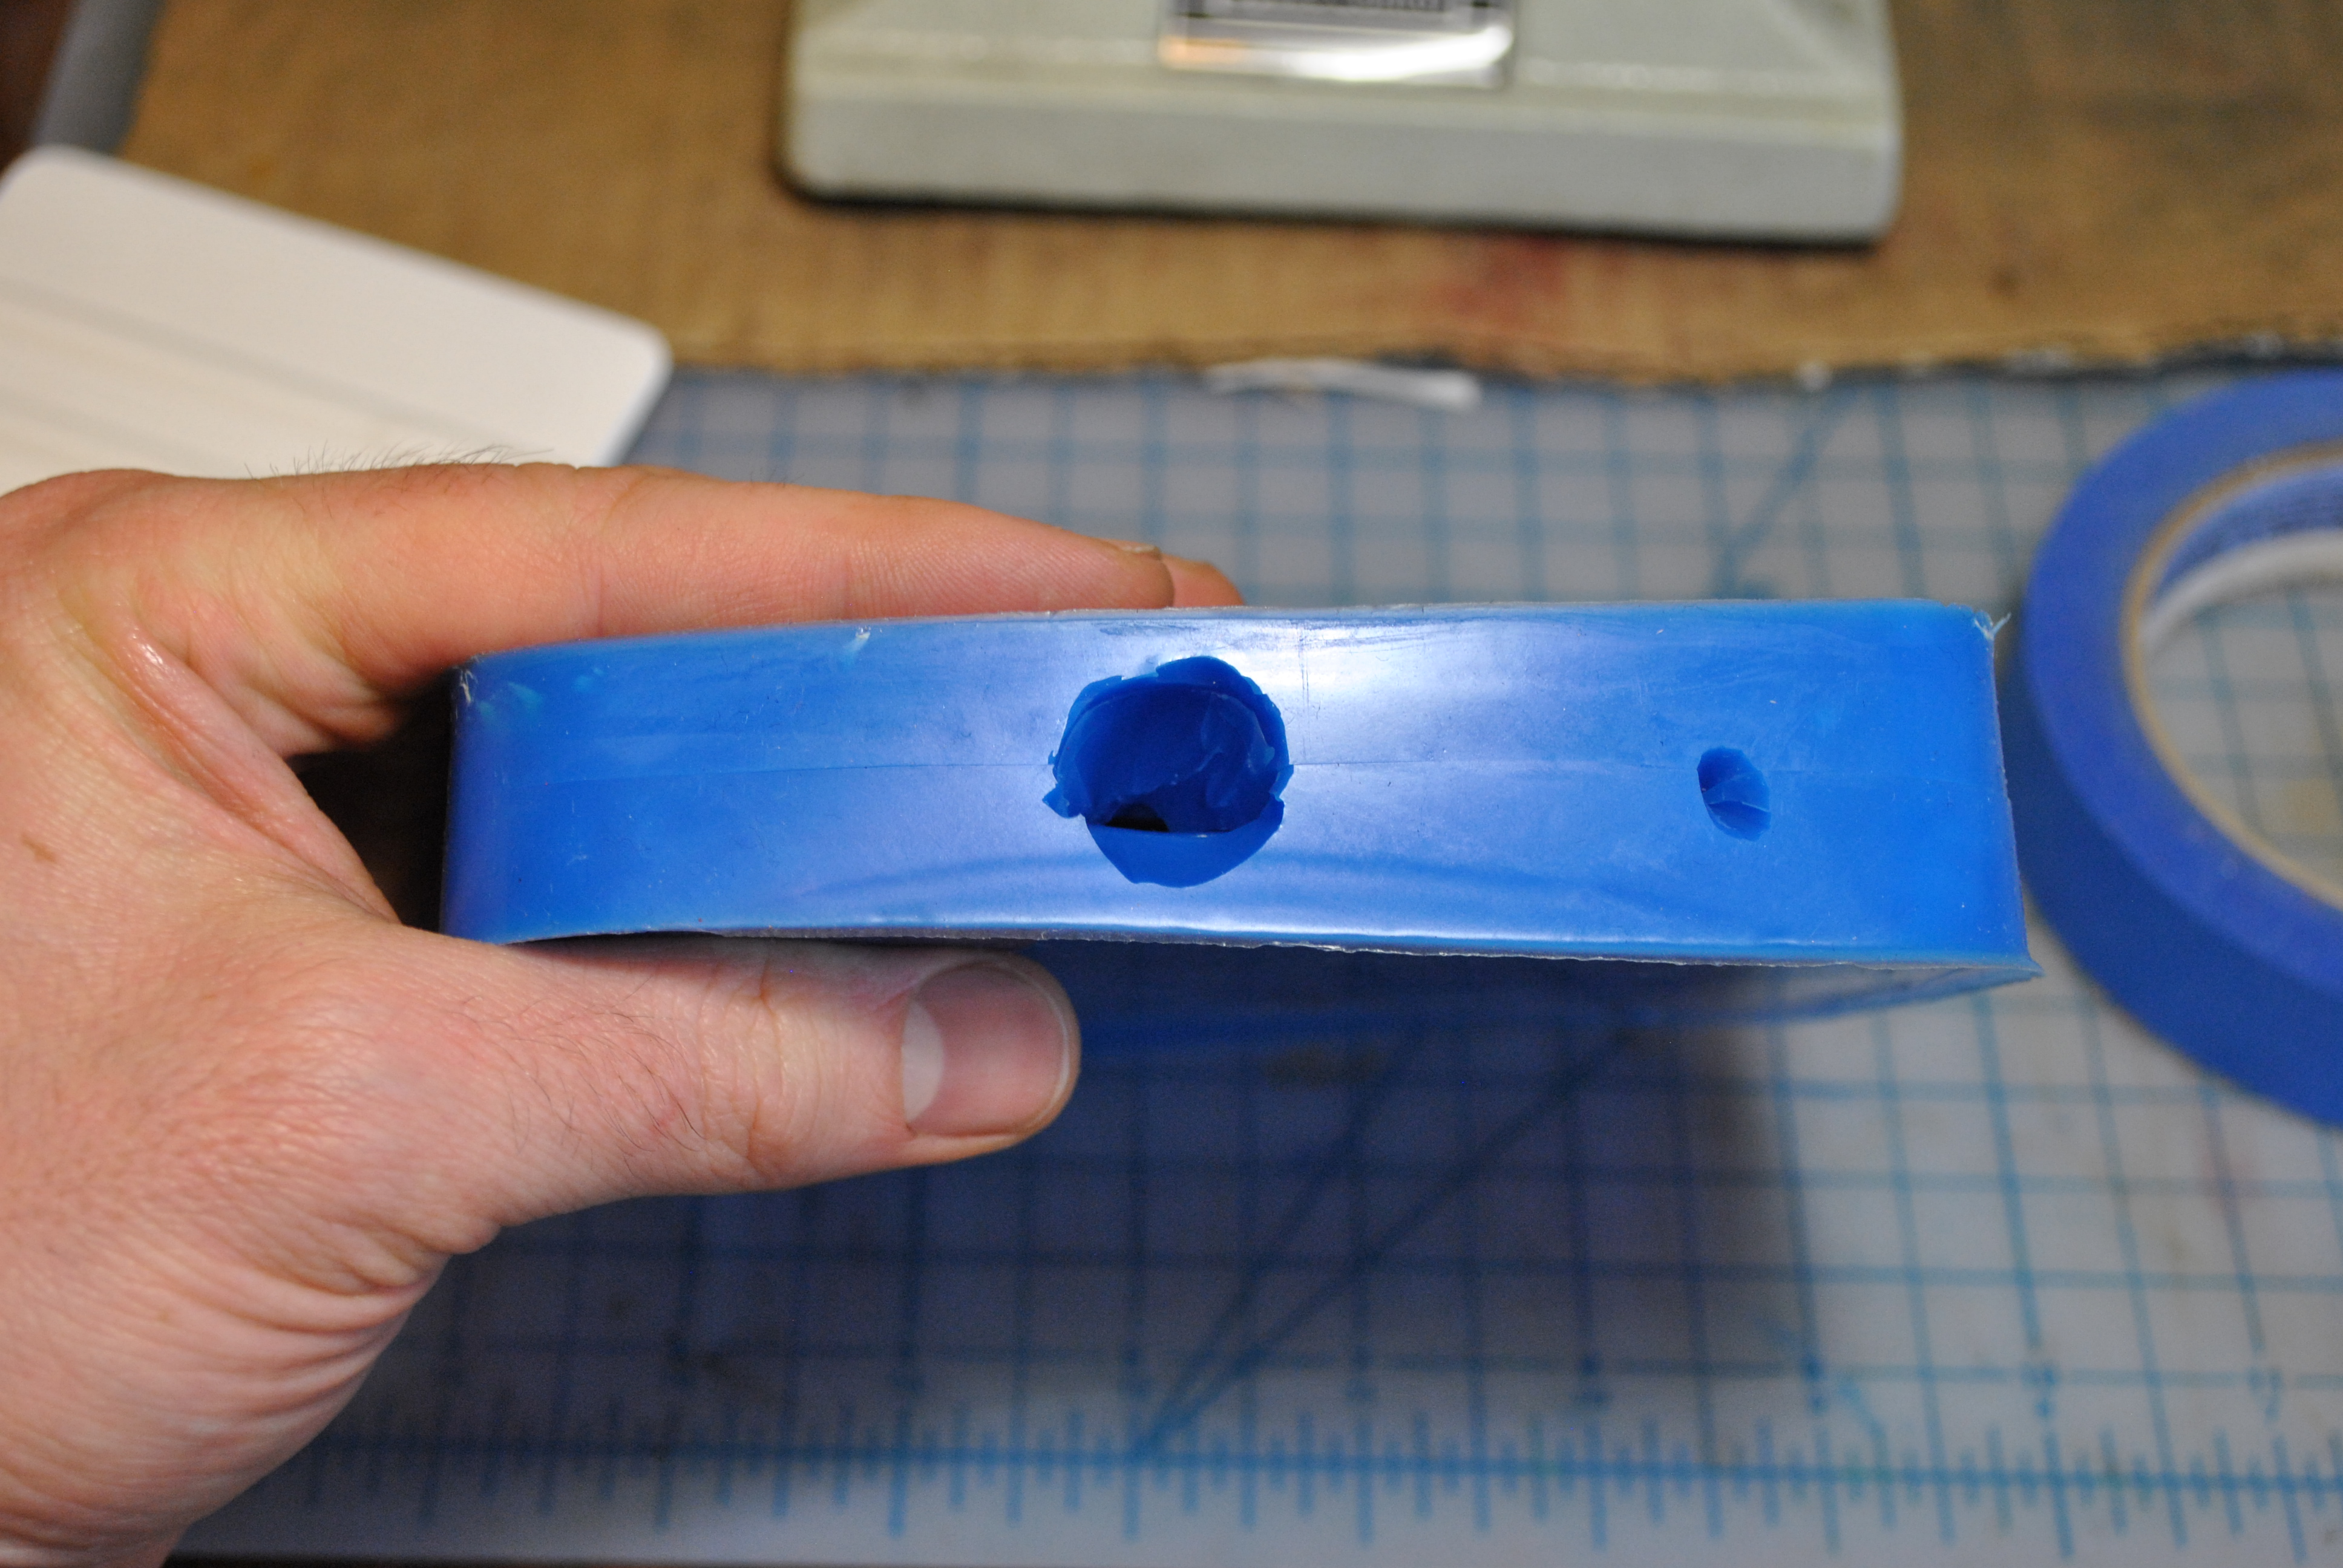
I cut in the pour hole instead of casting it in, in the future I really need to remember to do that. As you can never cut as smooth a hole as you can cast. I put an air hole in the top to allow bubbles to escape, later I would add several more.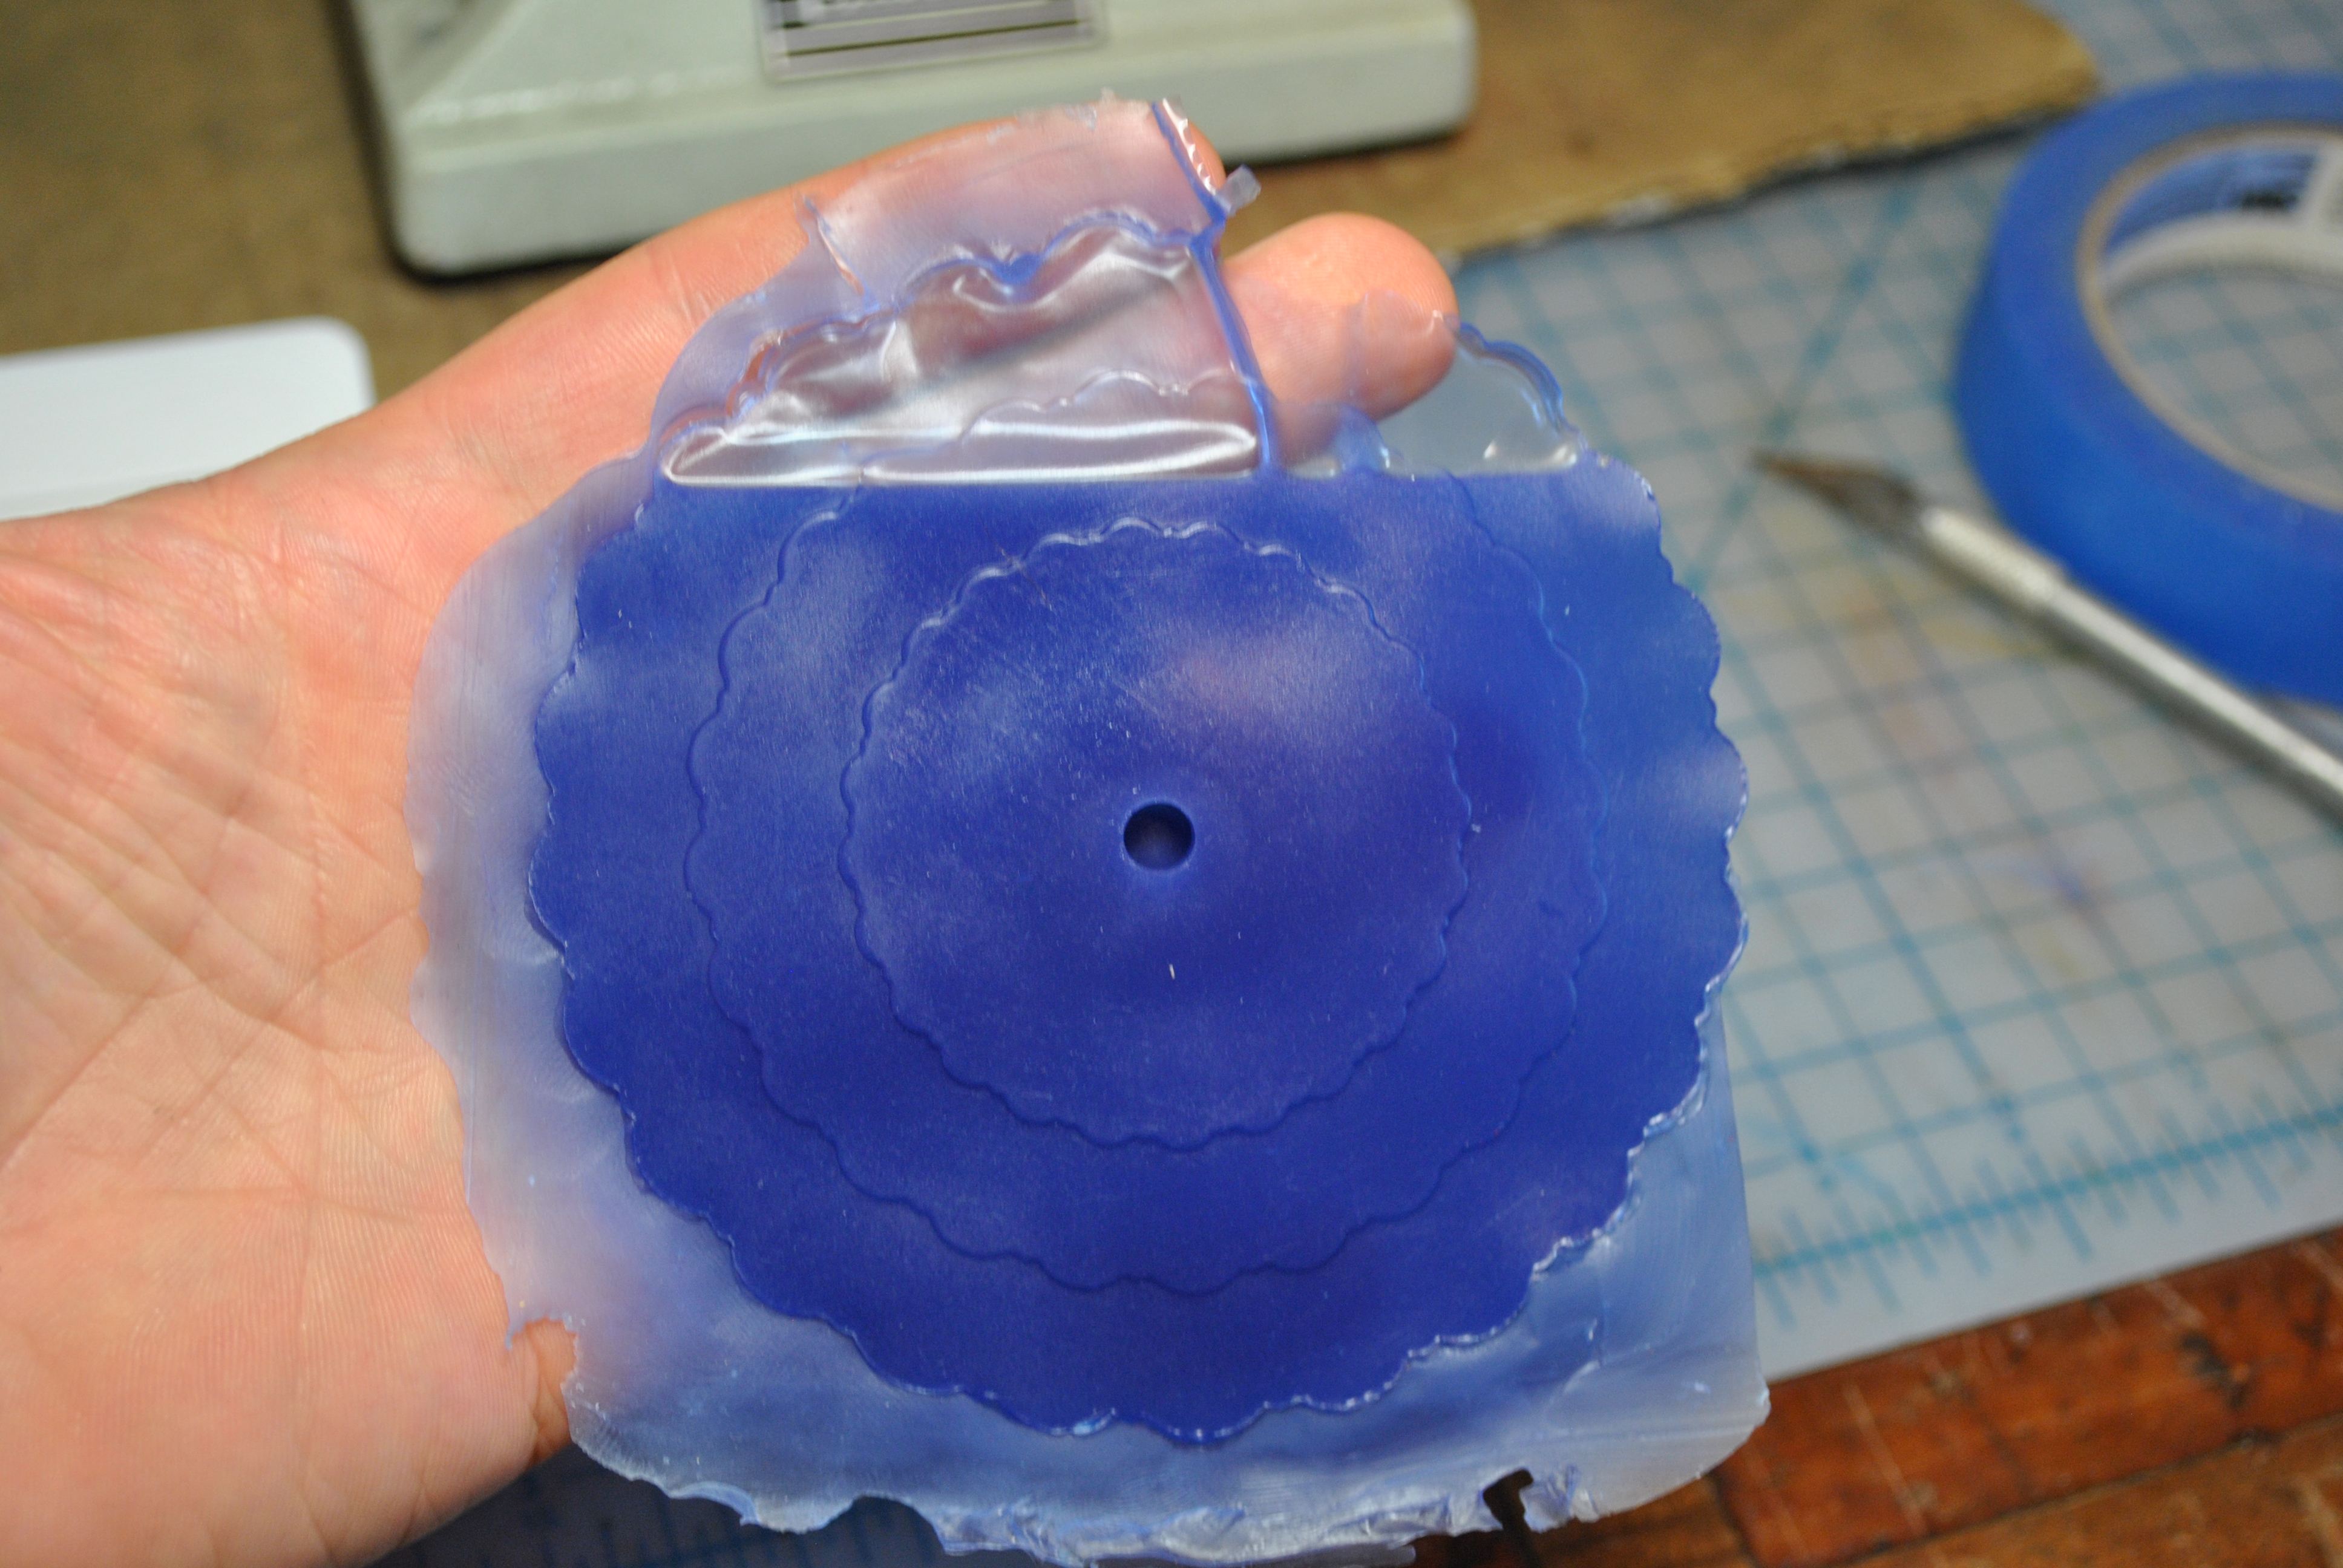
My first attempt at just pouring the silicone in didn’t go well, as it flowed in much too slowly and was starting to set before I could get enough in.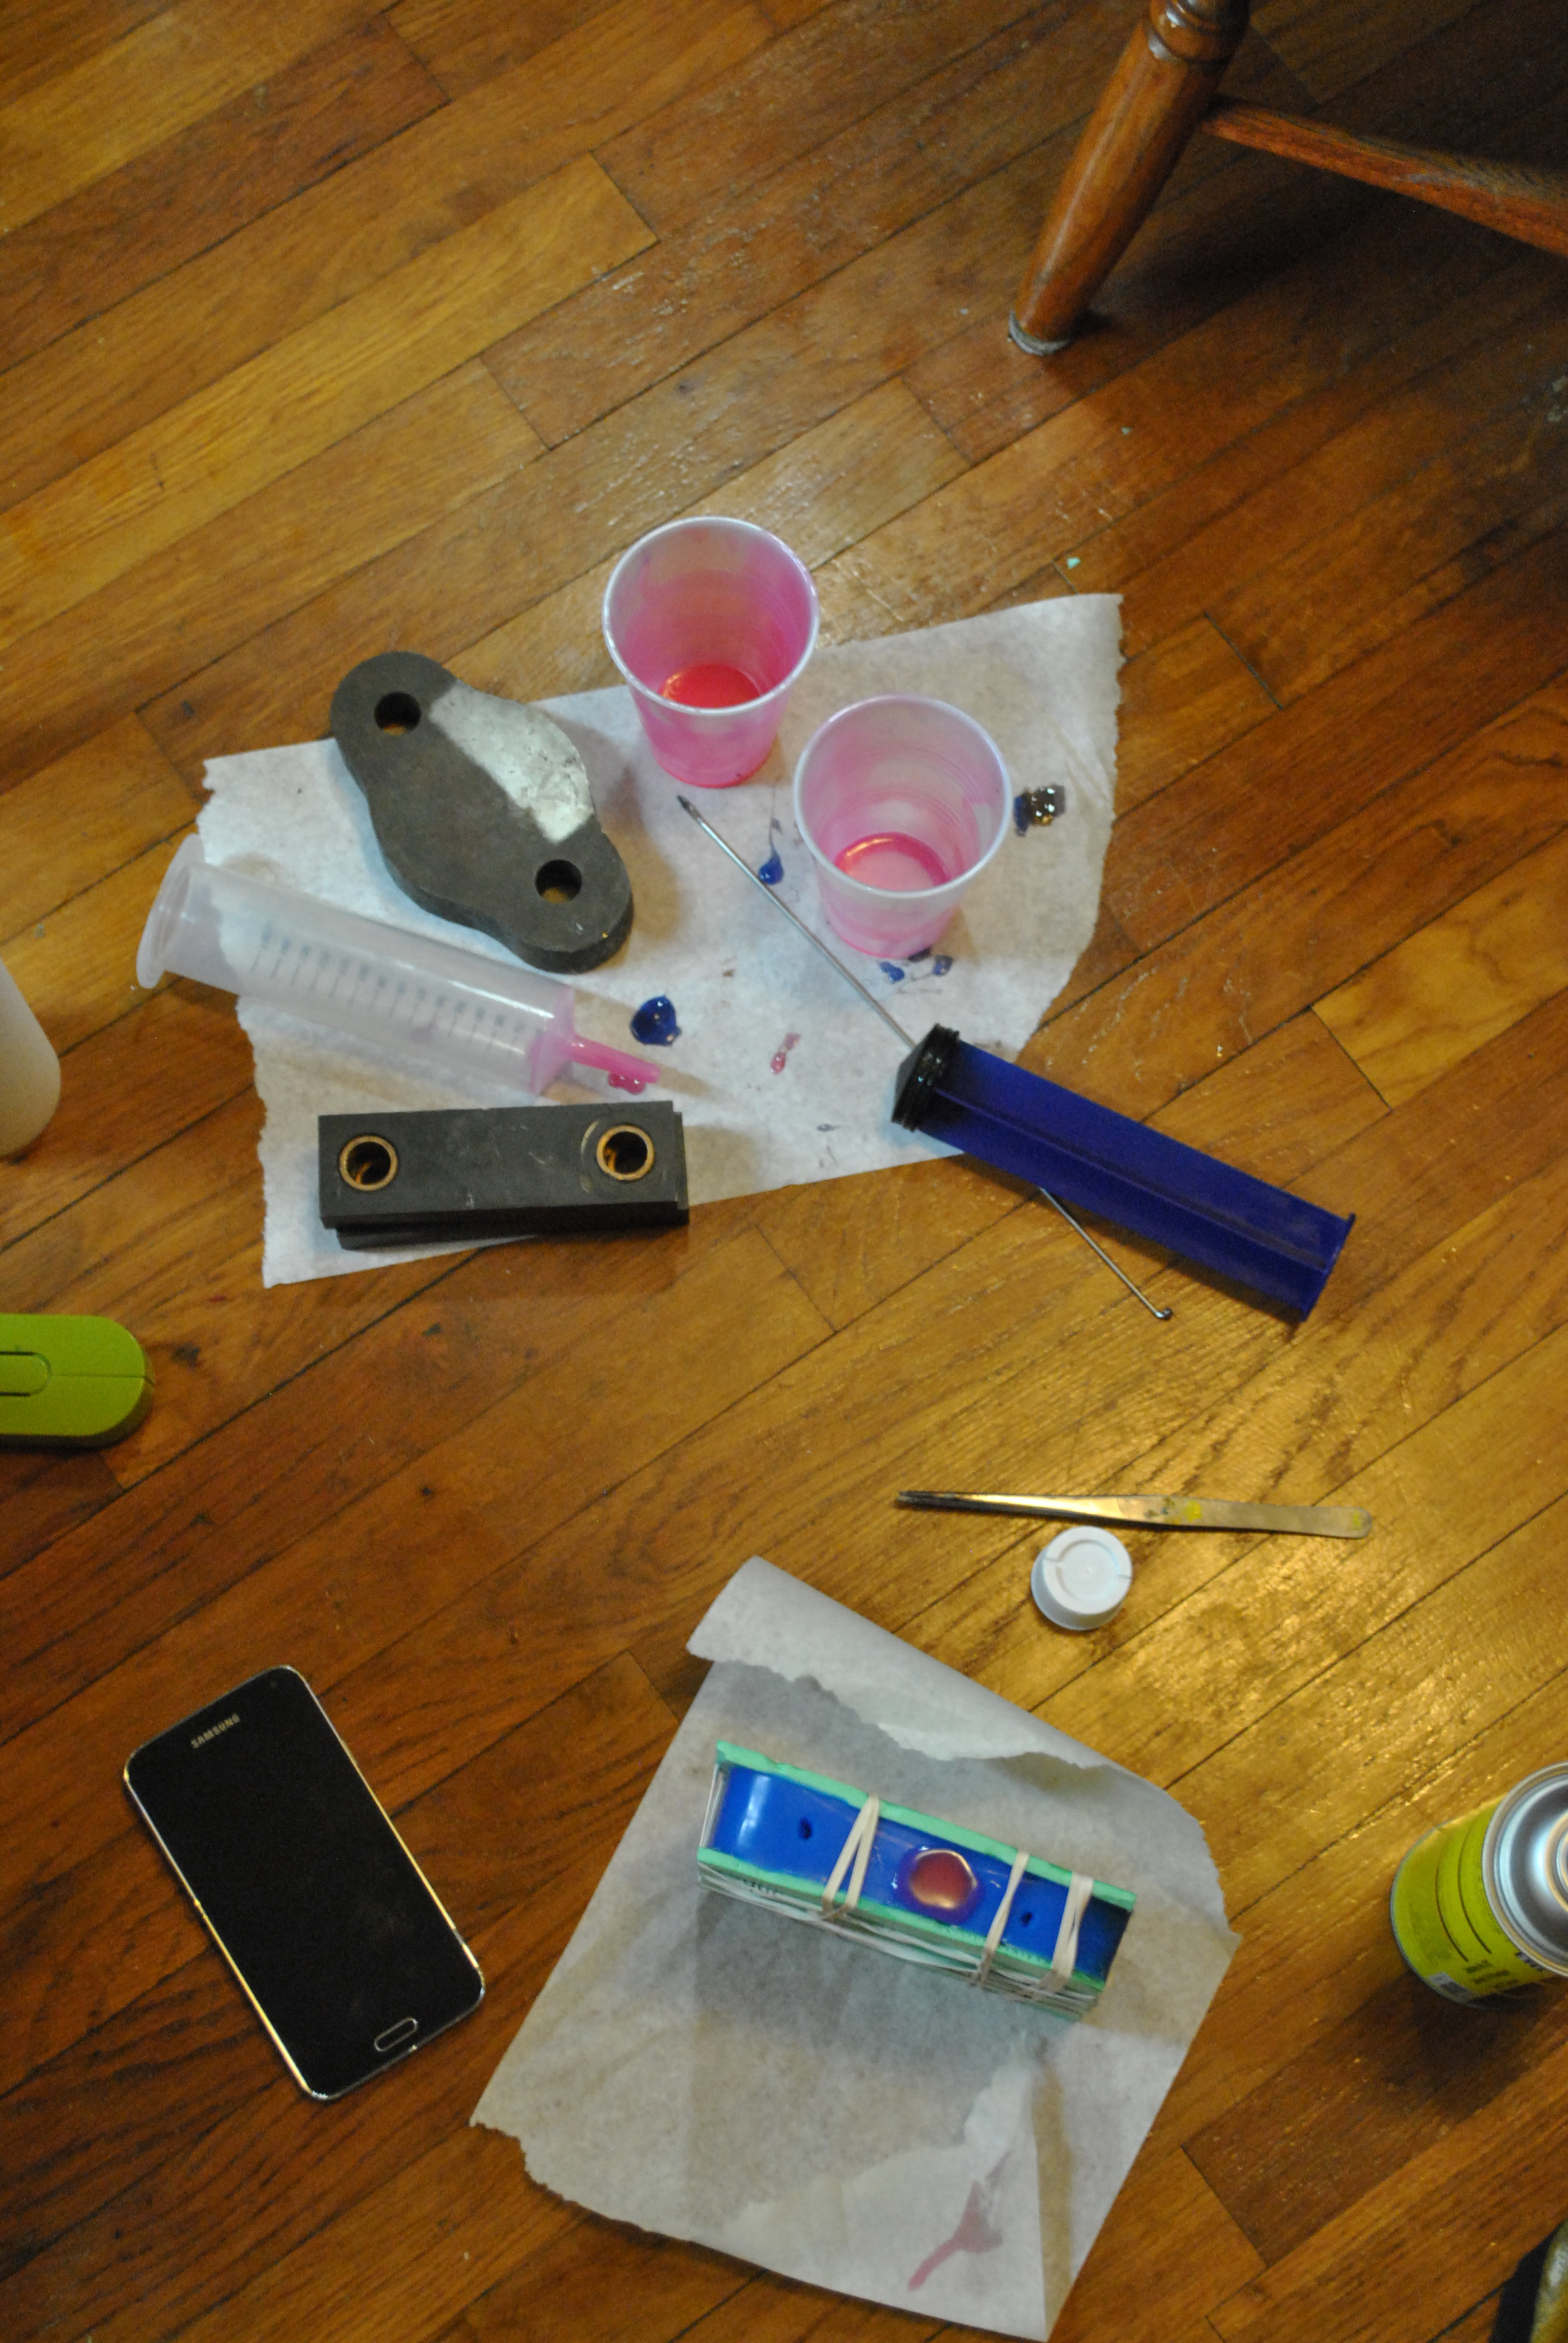
I had been wanting to try silicone injecting for a while so I gave it a go. I basically ordered a big plastic syringe from Amazon, mixed up the batch of silicone like I normally do and then carefully poured it into the syringe. I was careful to allow all the air to escape as I pushed the plunger down, and then flipped it over and pushed it into the pour hole as far as I could and slowly pushed it all in. Worked like a charm! I used Dragon Skin 20 and Dragon Skin 30 from smooth on and wasn’t able to tell a difference in this application, so will probably go with the 30 just to make them slightly stiffer. Once the silicone sets, you can scrape it out of the syringe and use it again.
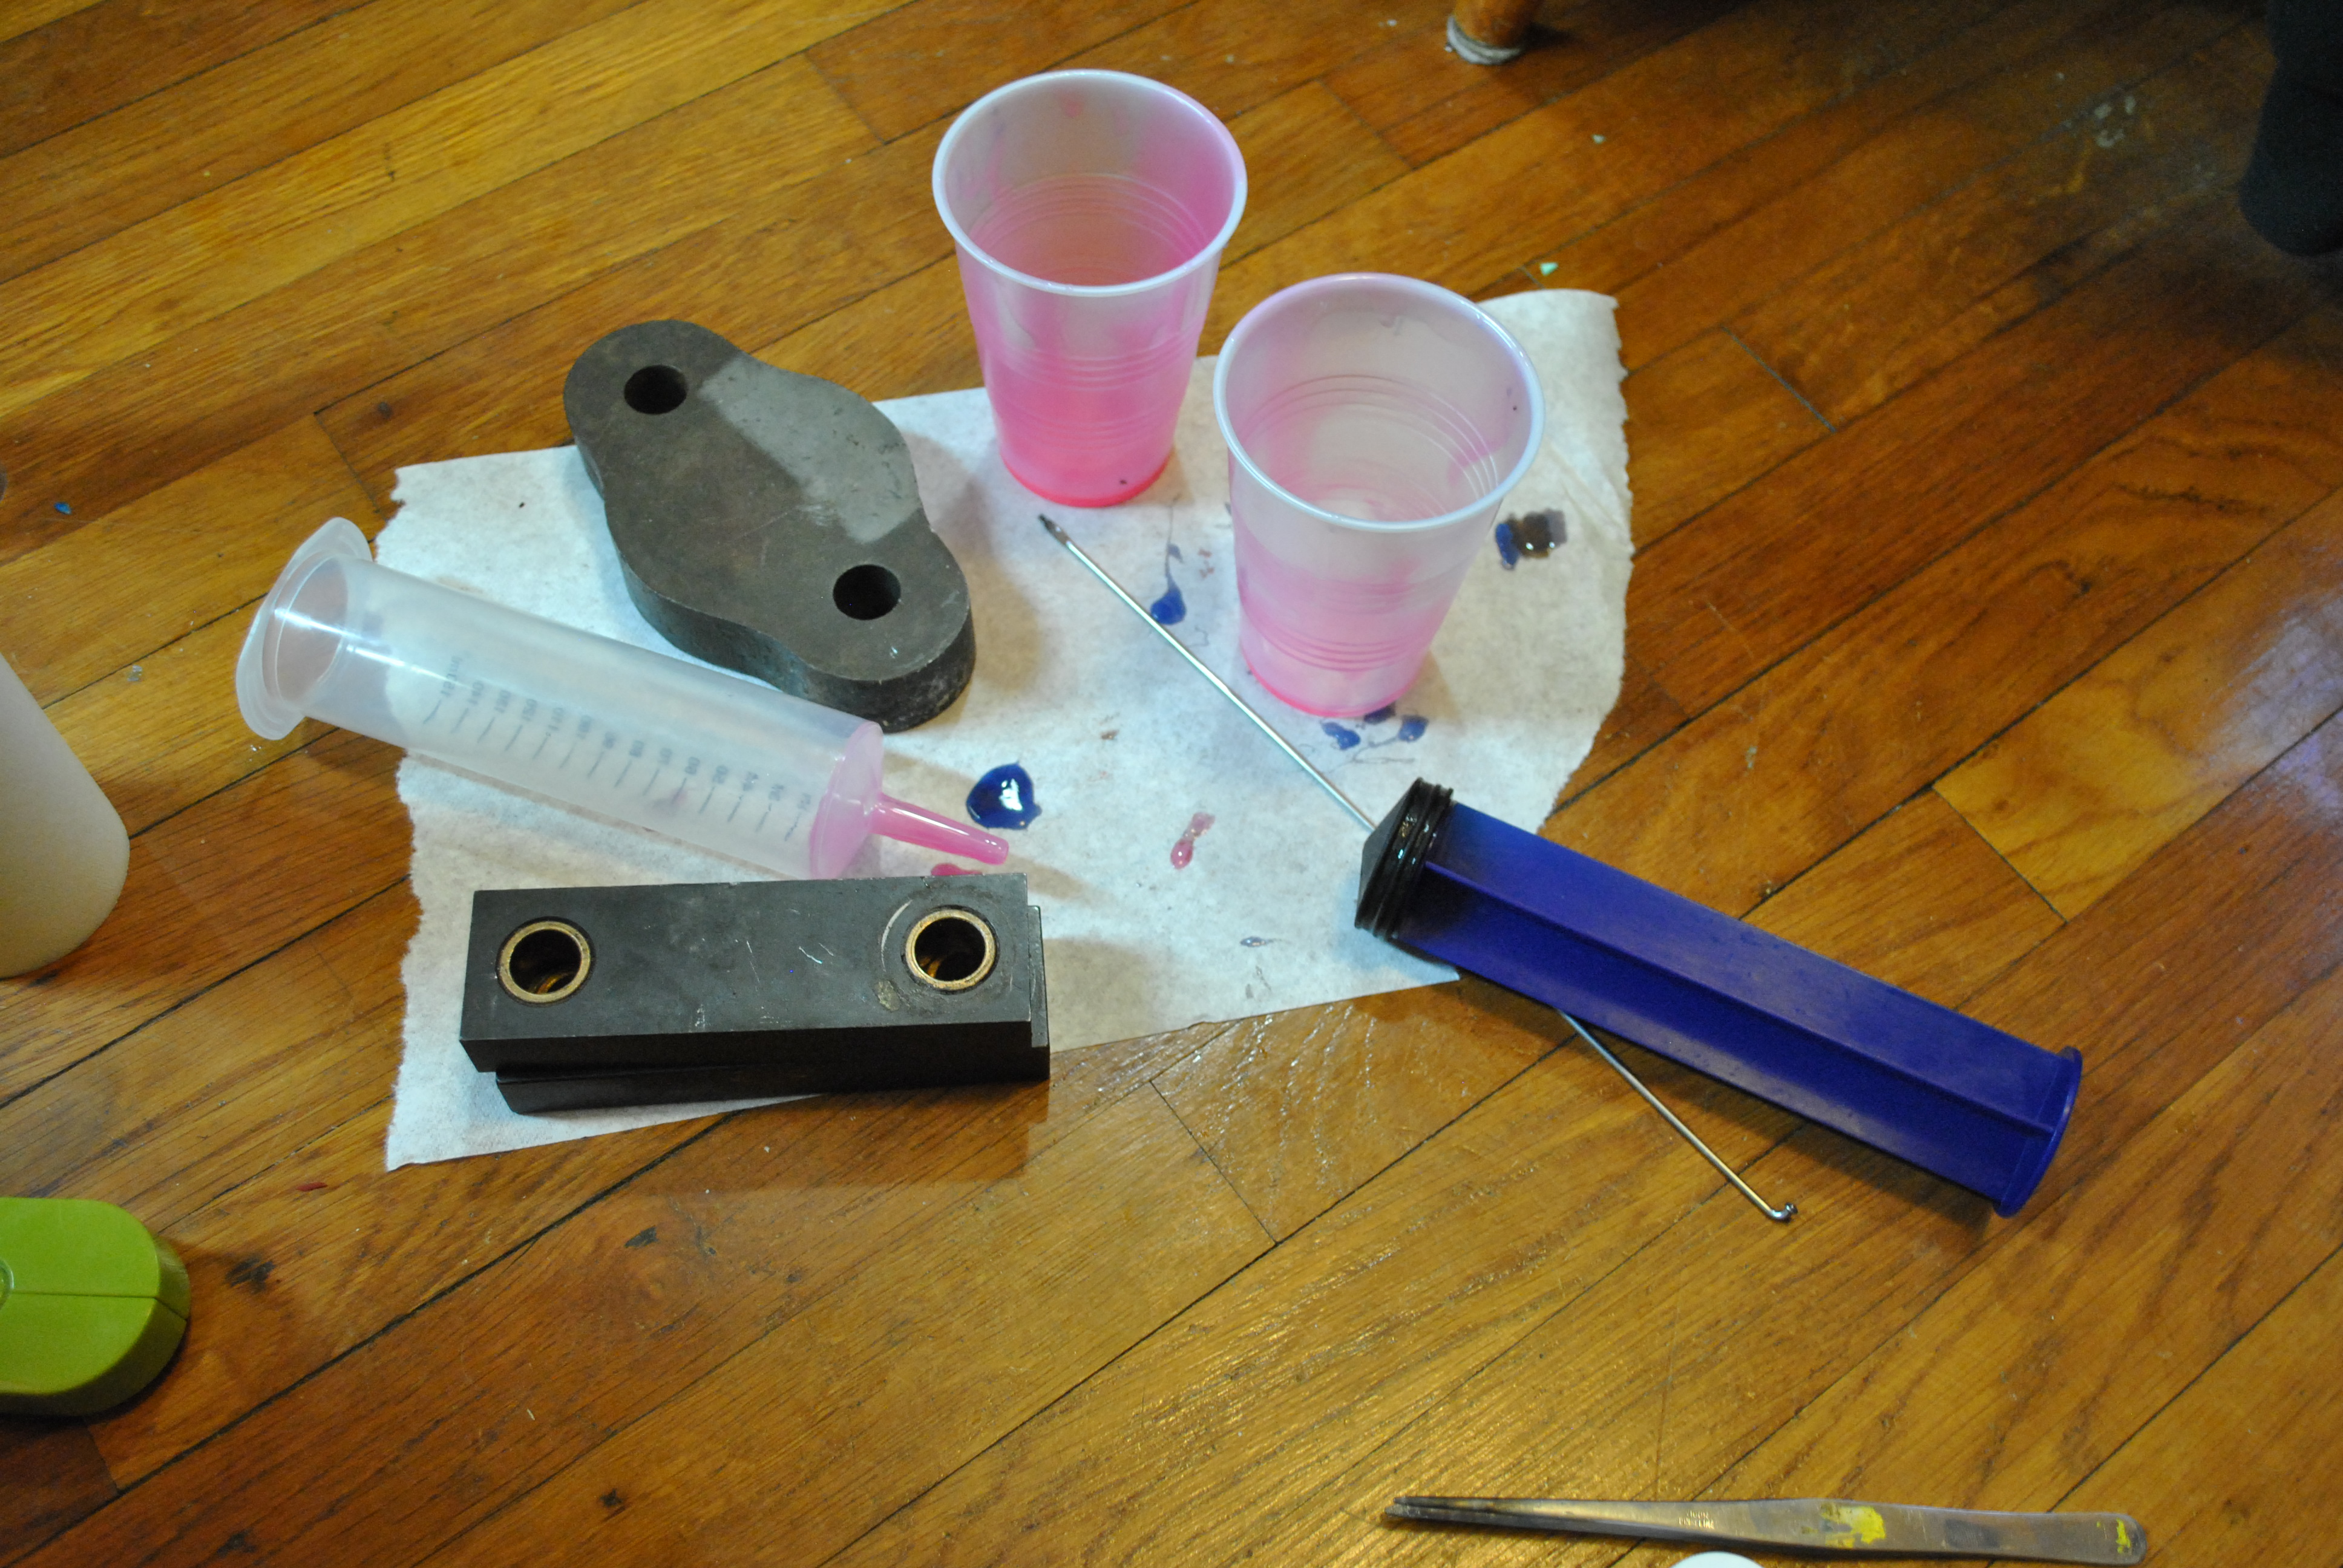
Sometimes I like working on the floor, as I have limited counter space.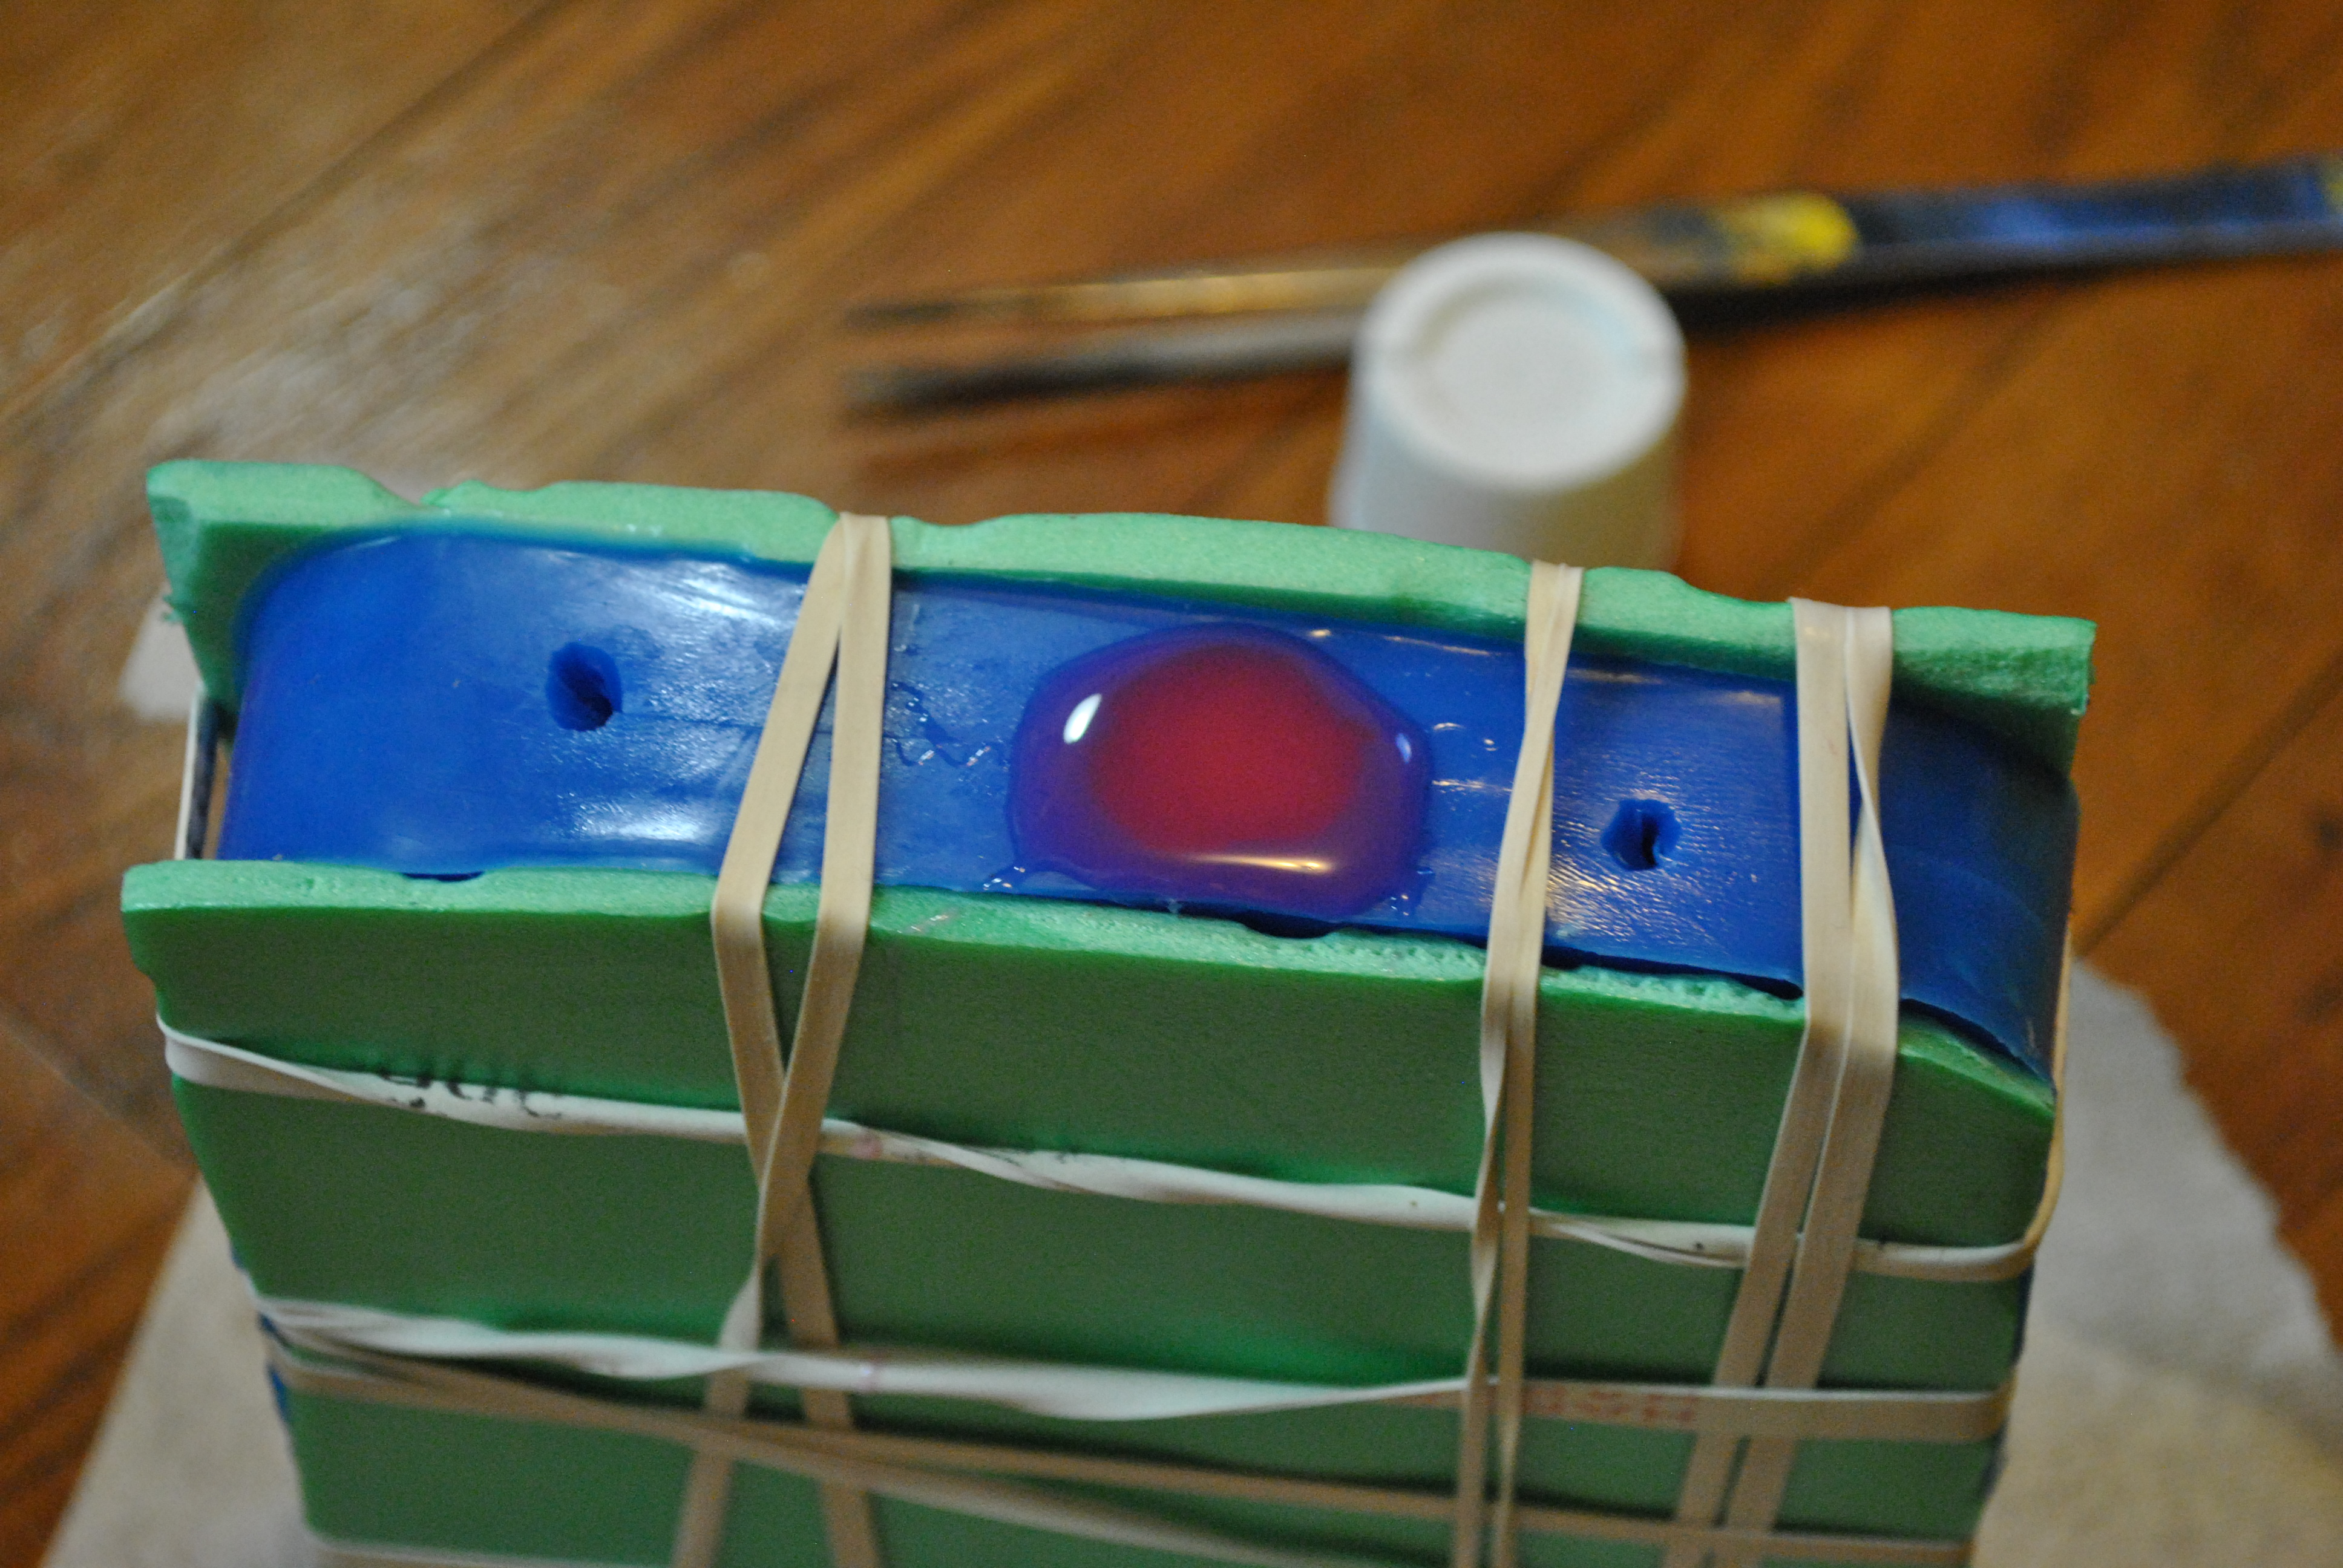
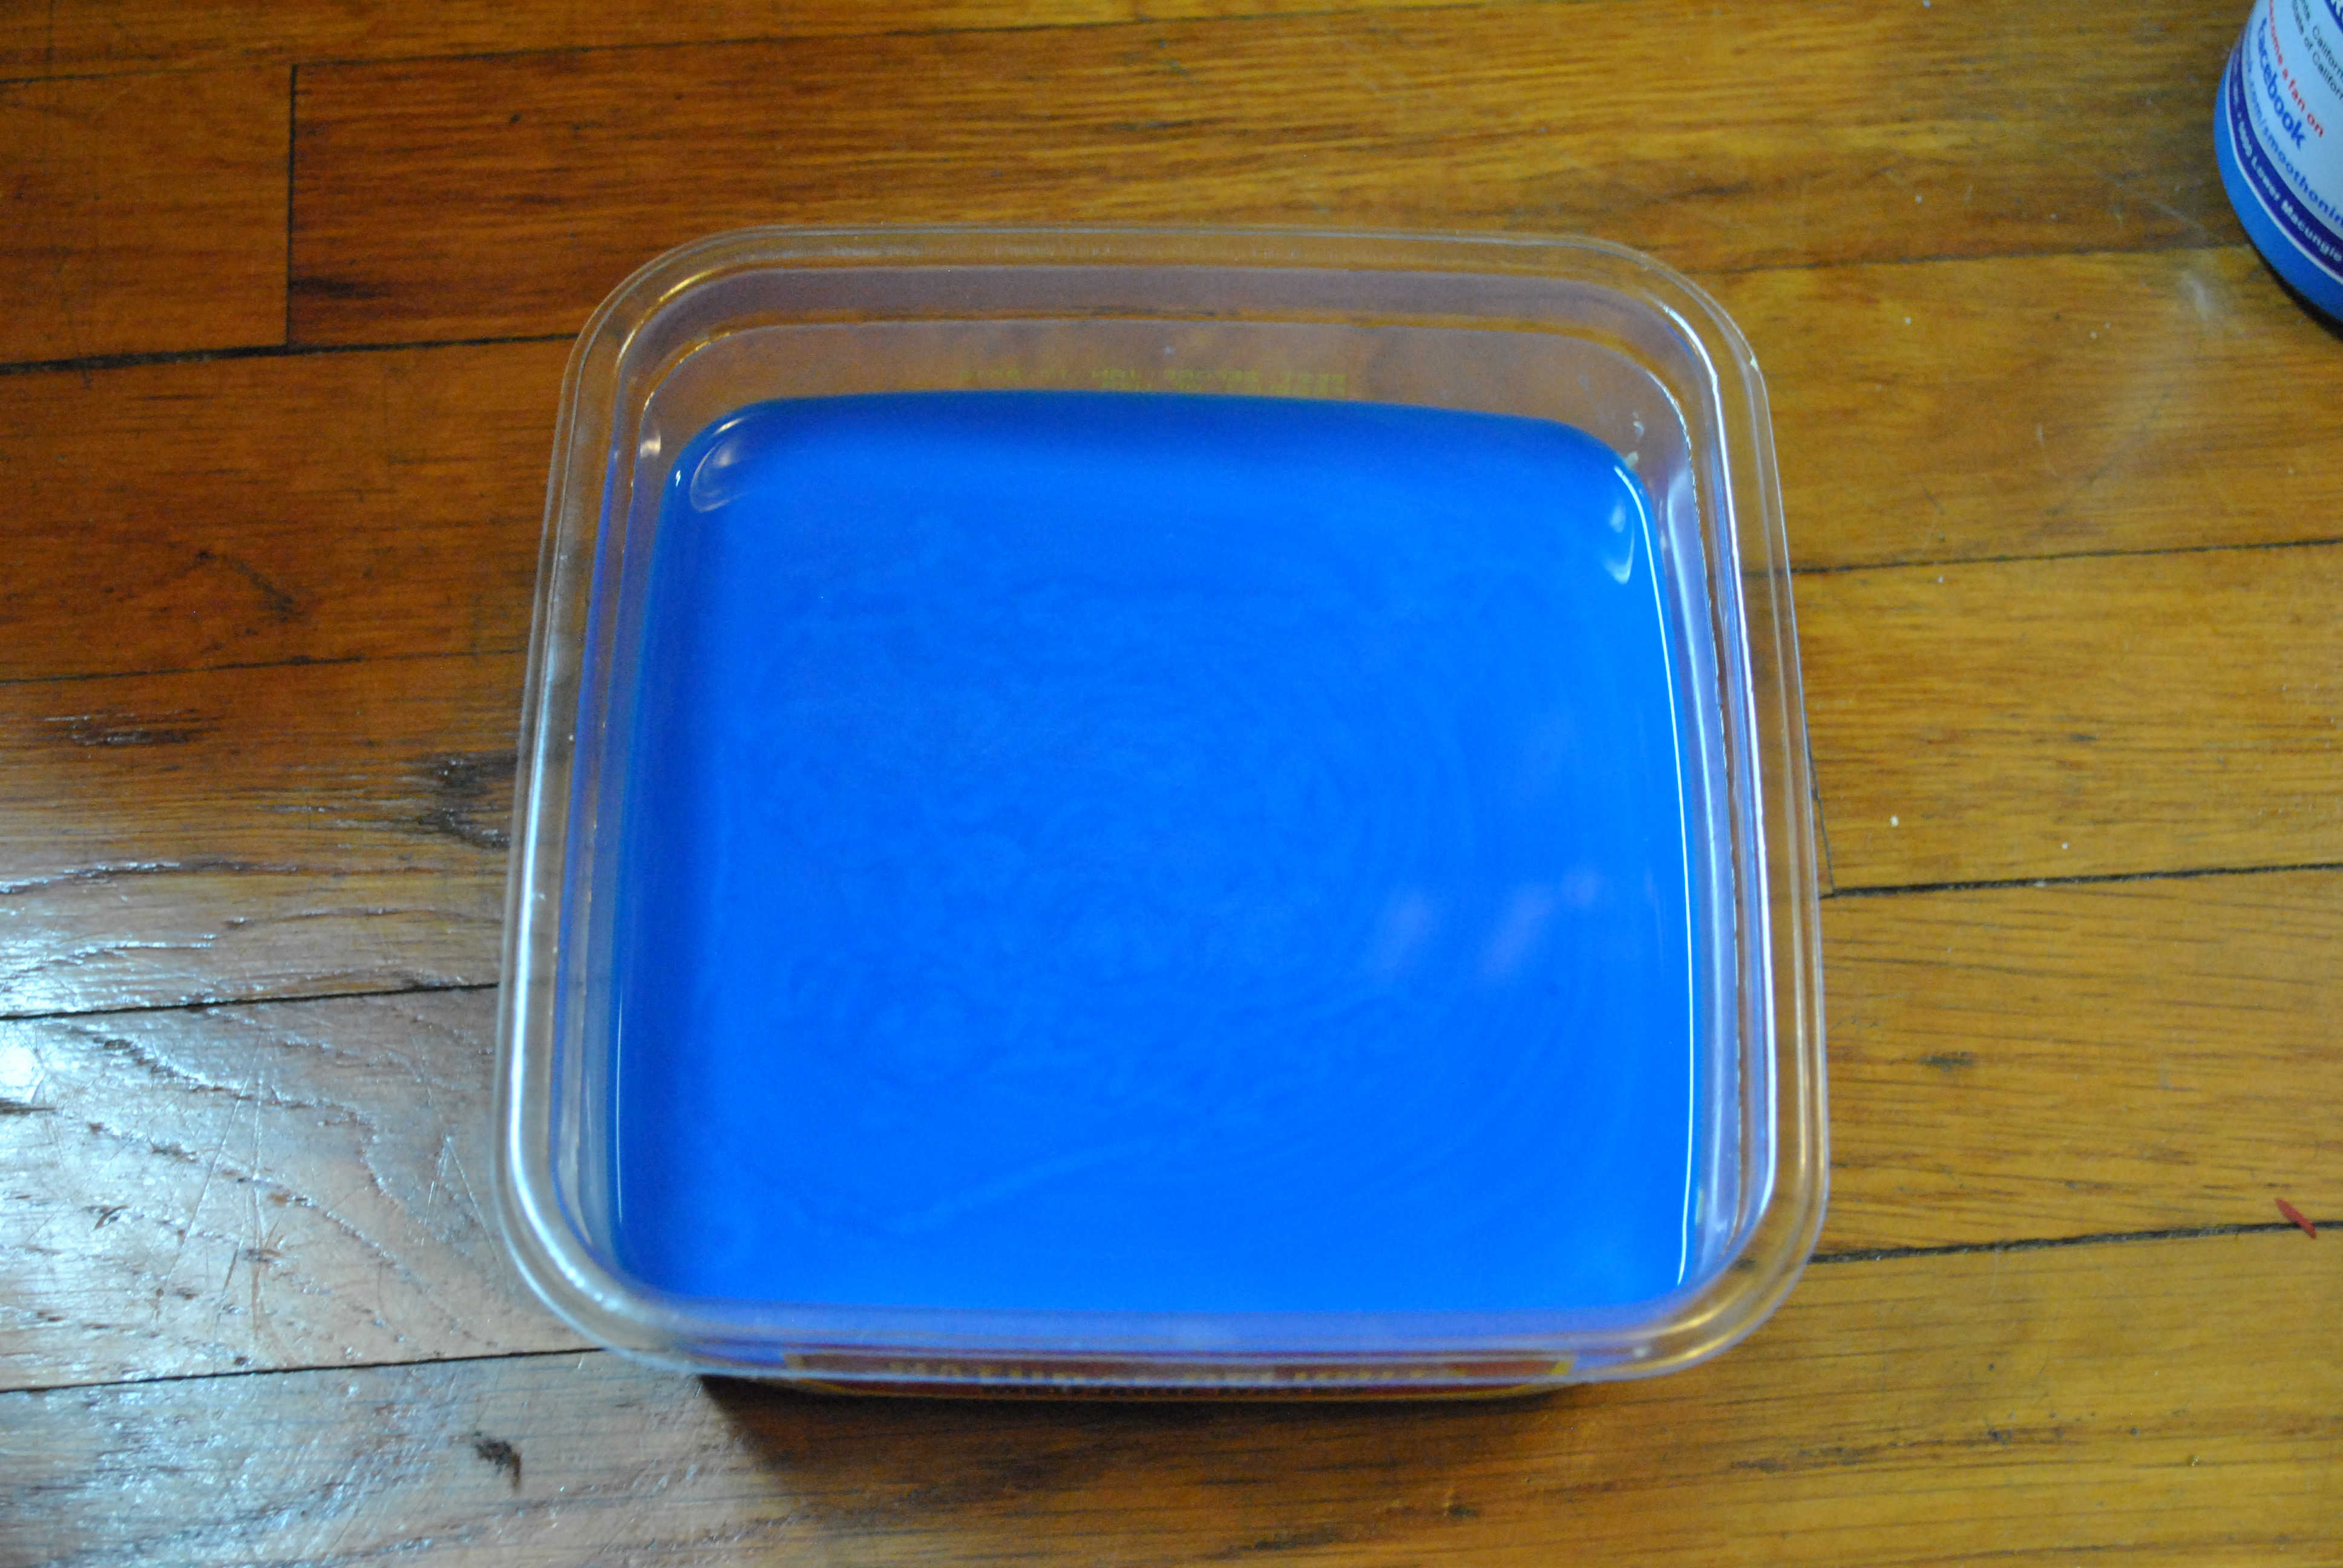
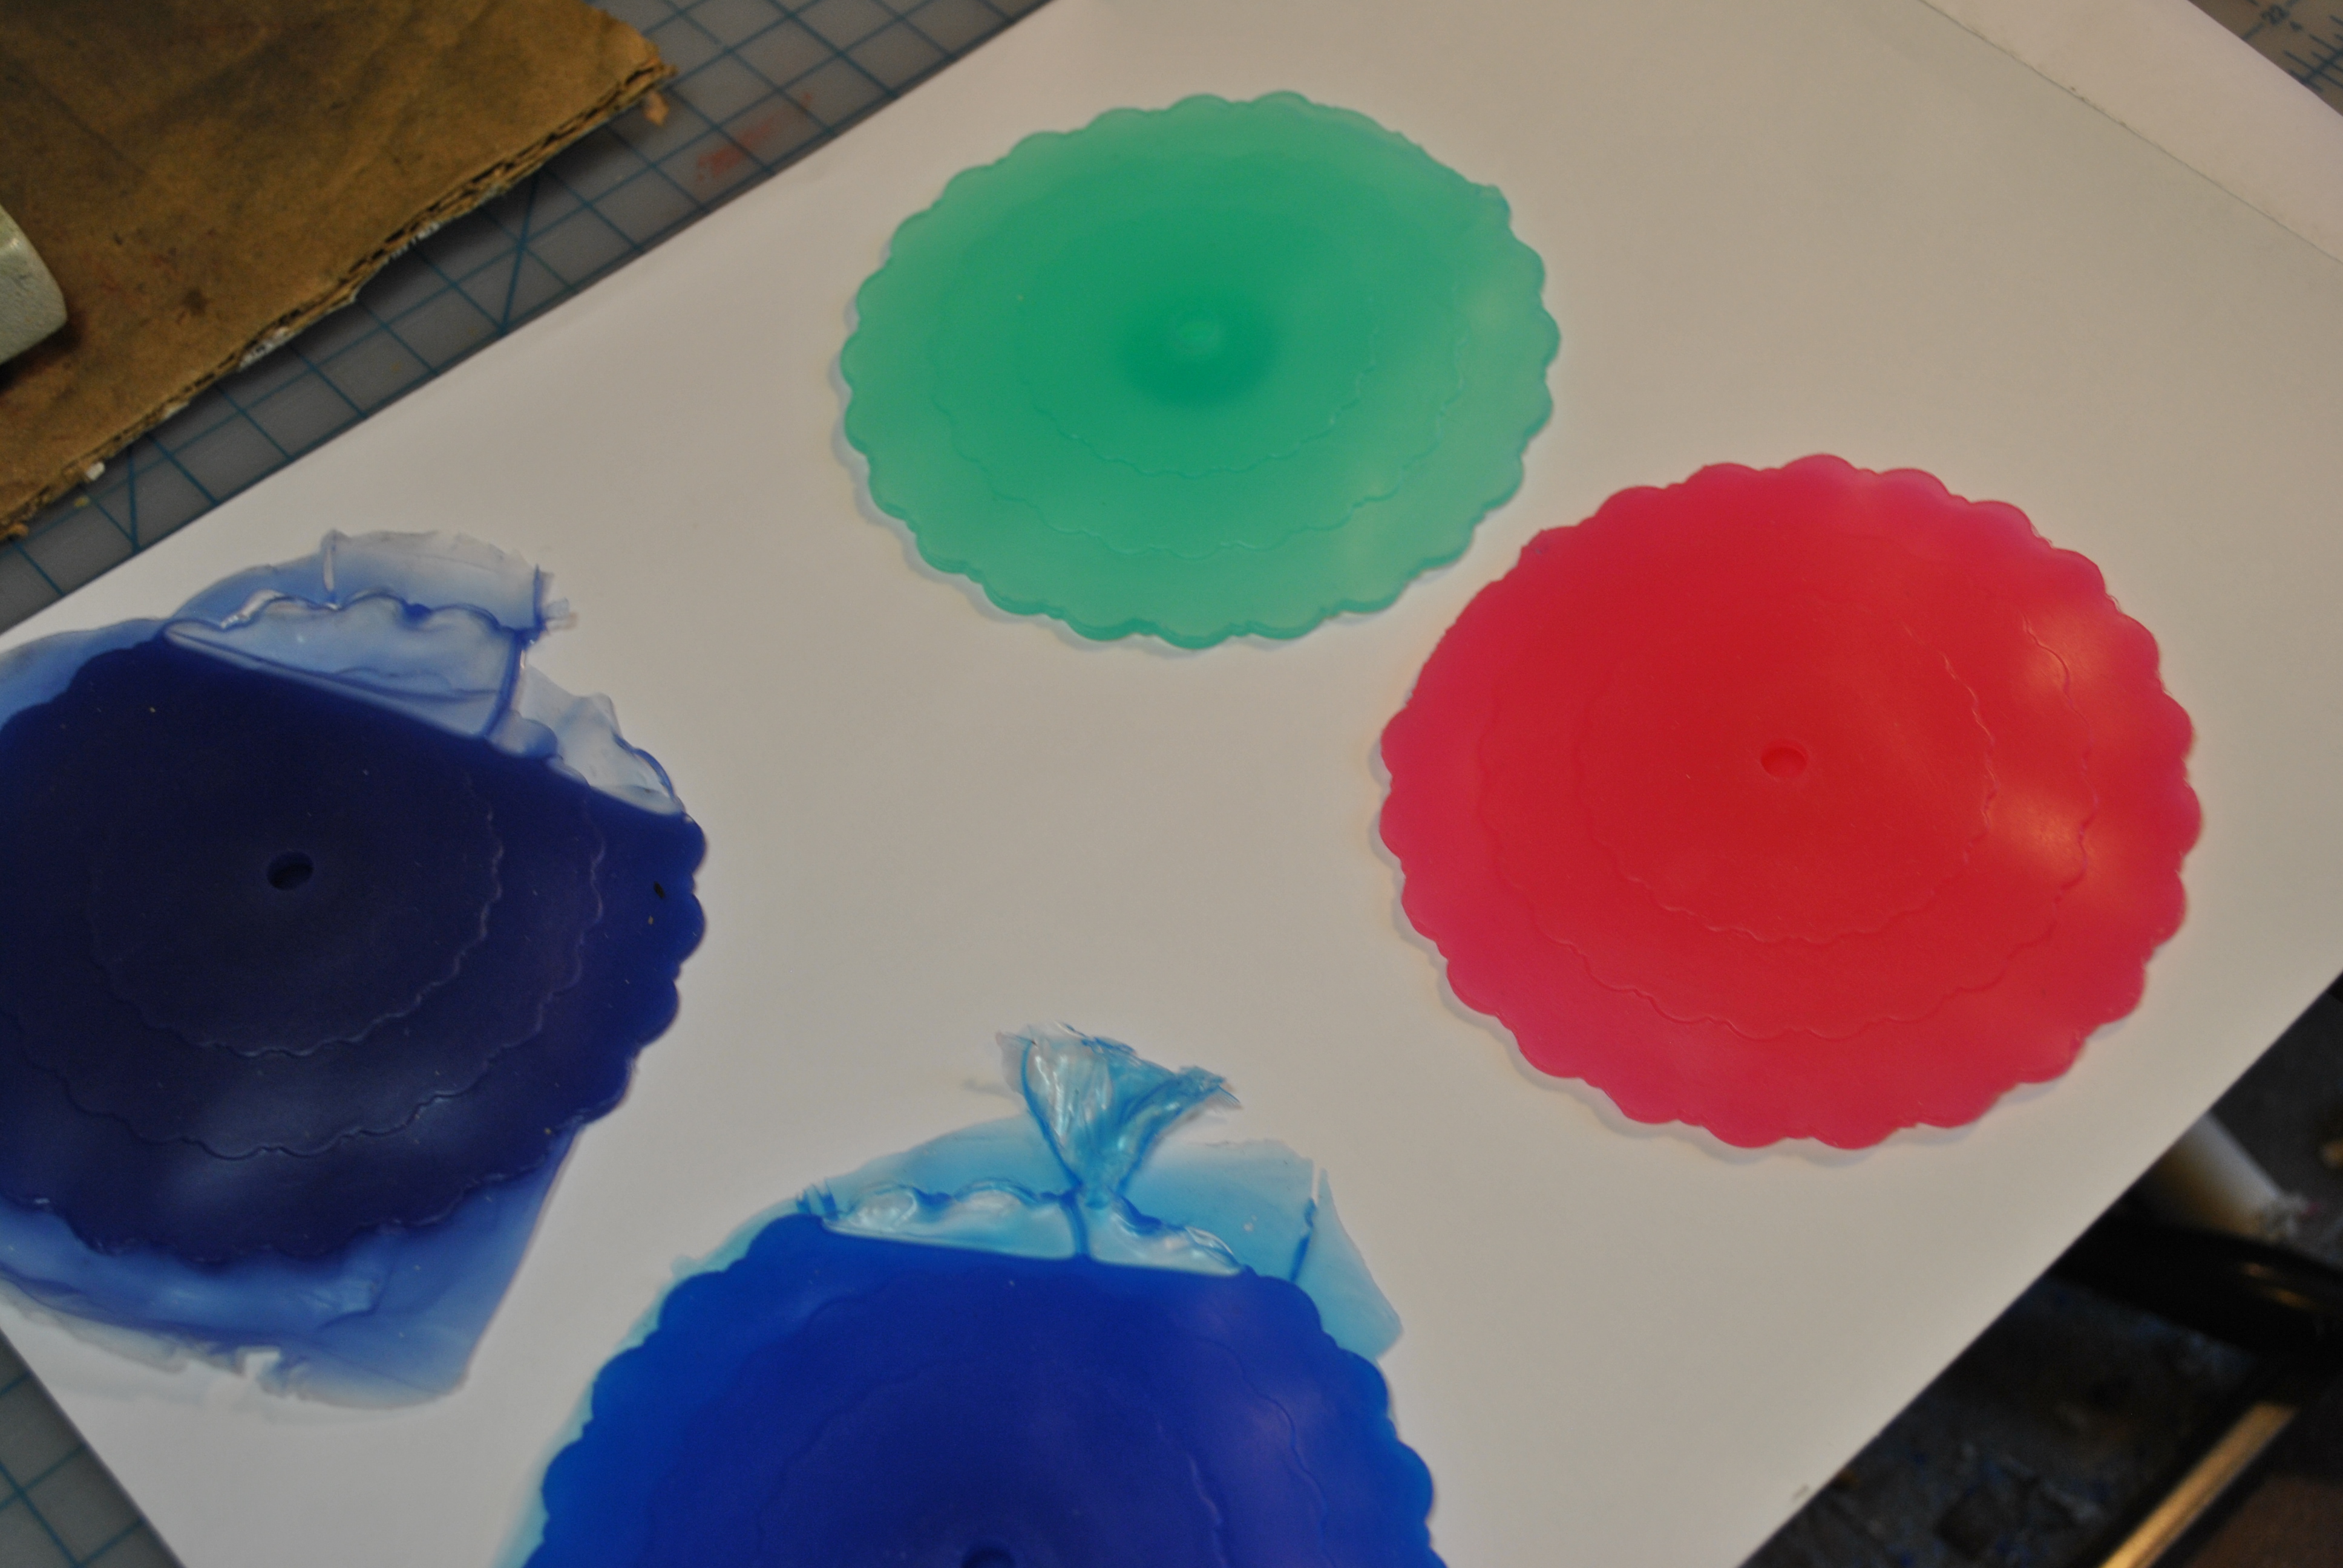
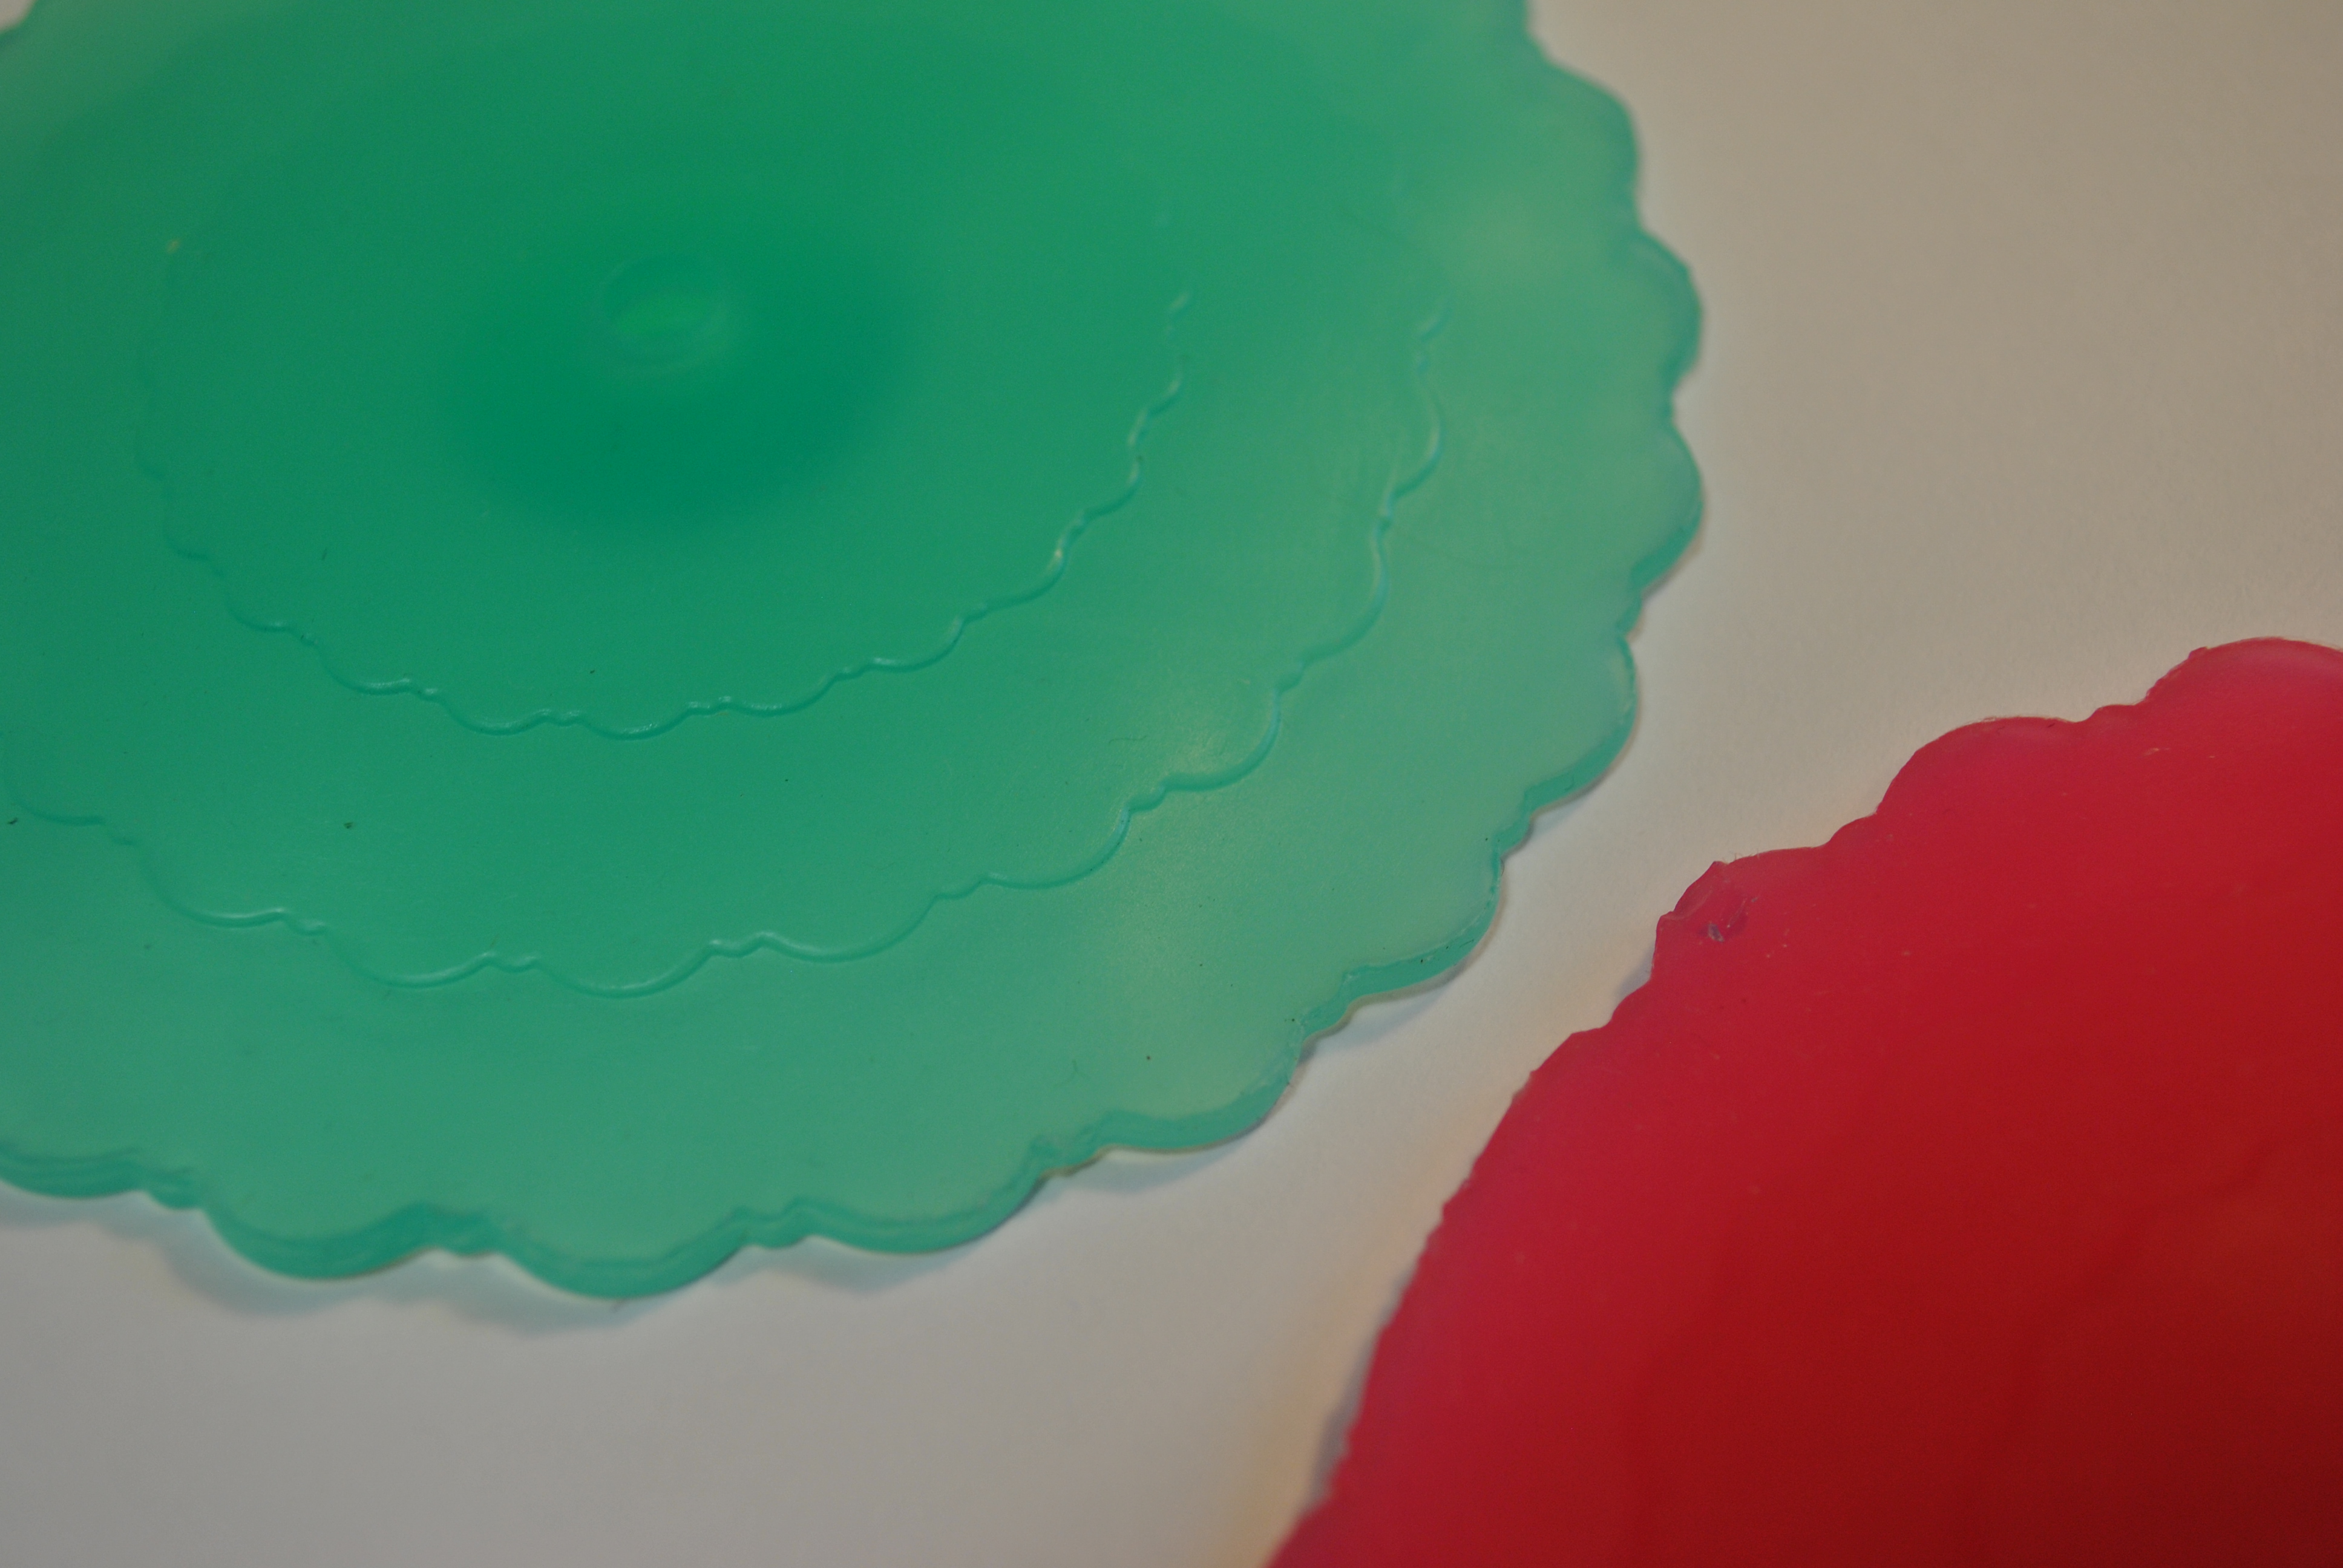
I kept filling until the silicone was all the way full. I made several copies, in different colors. 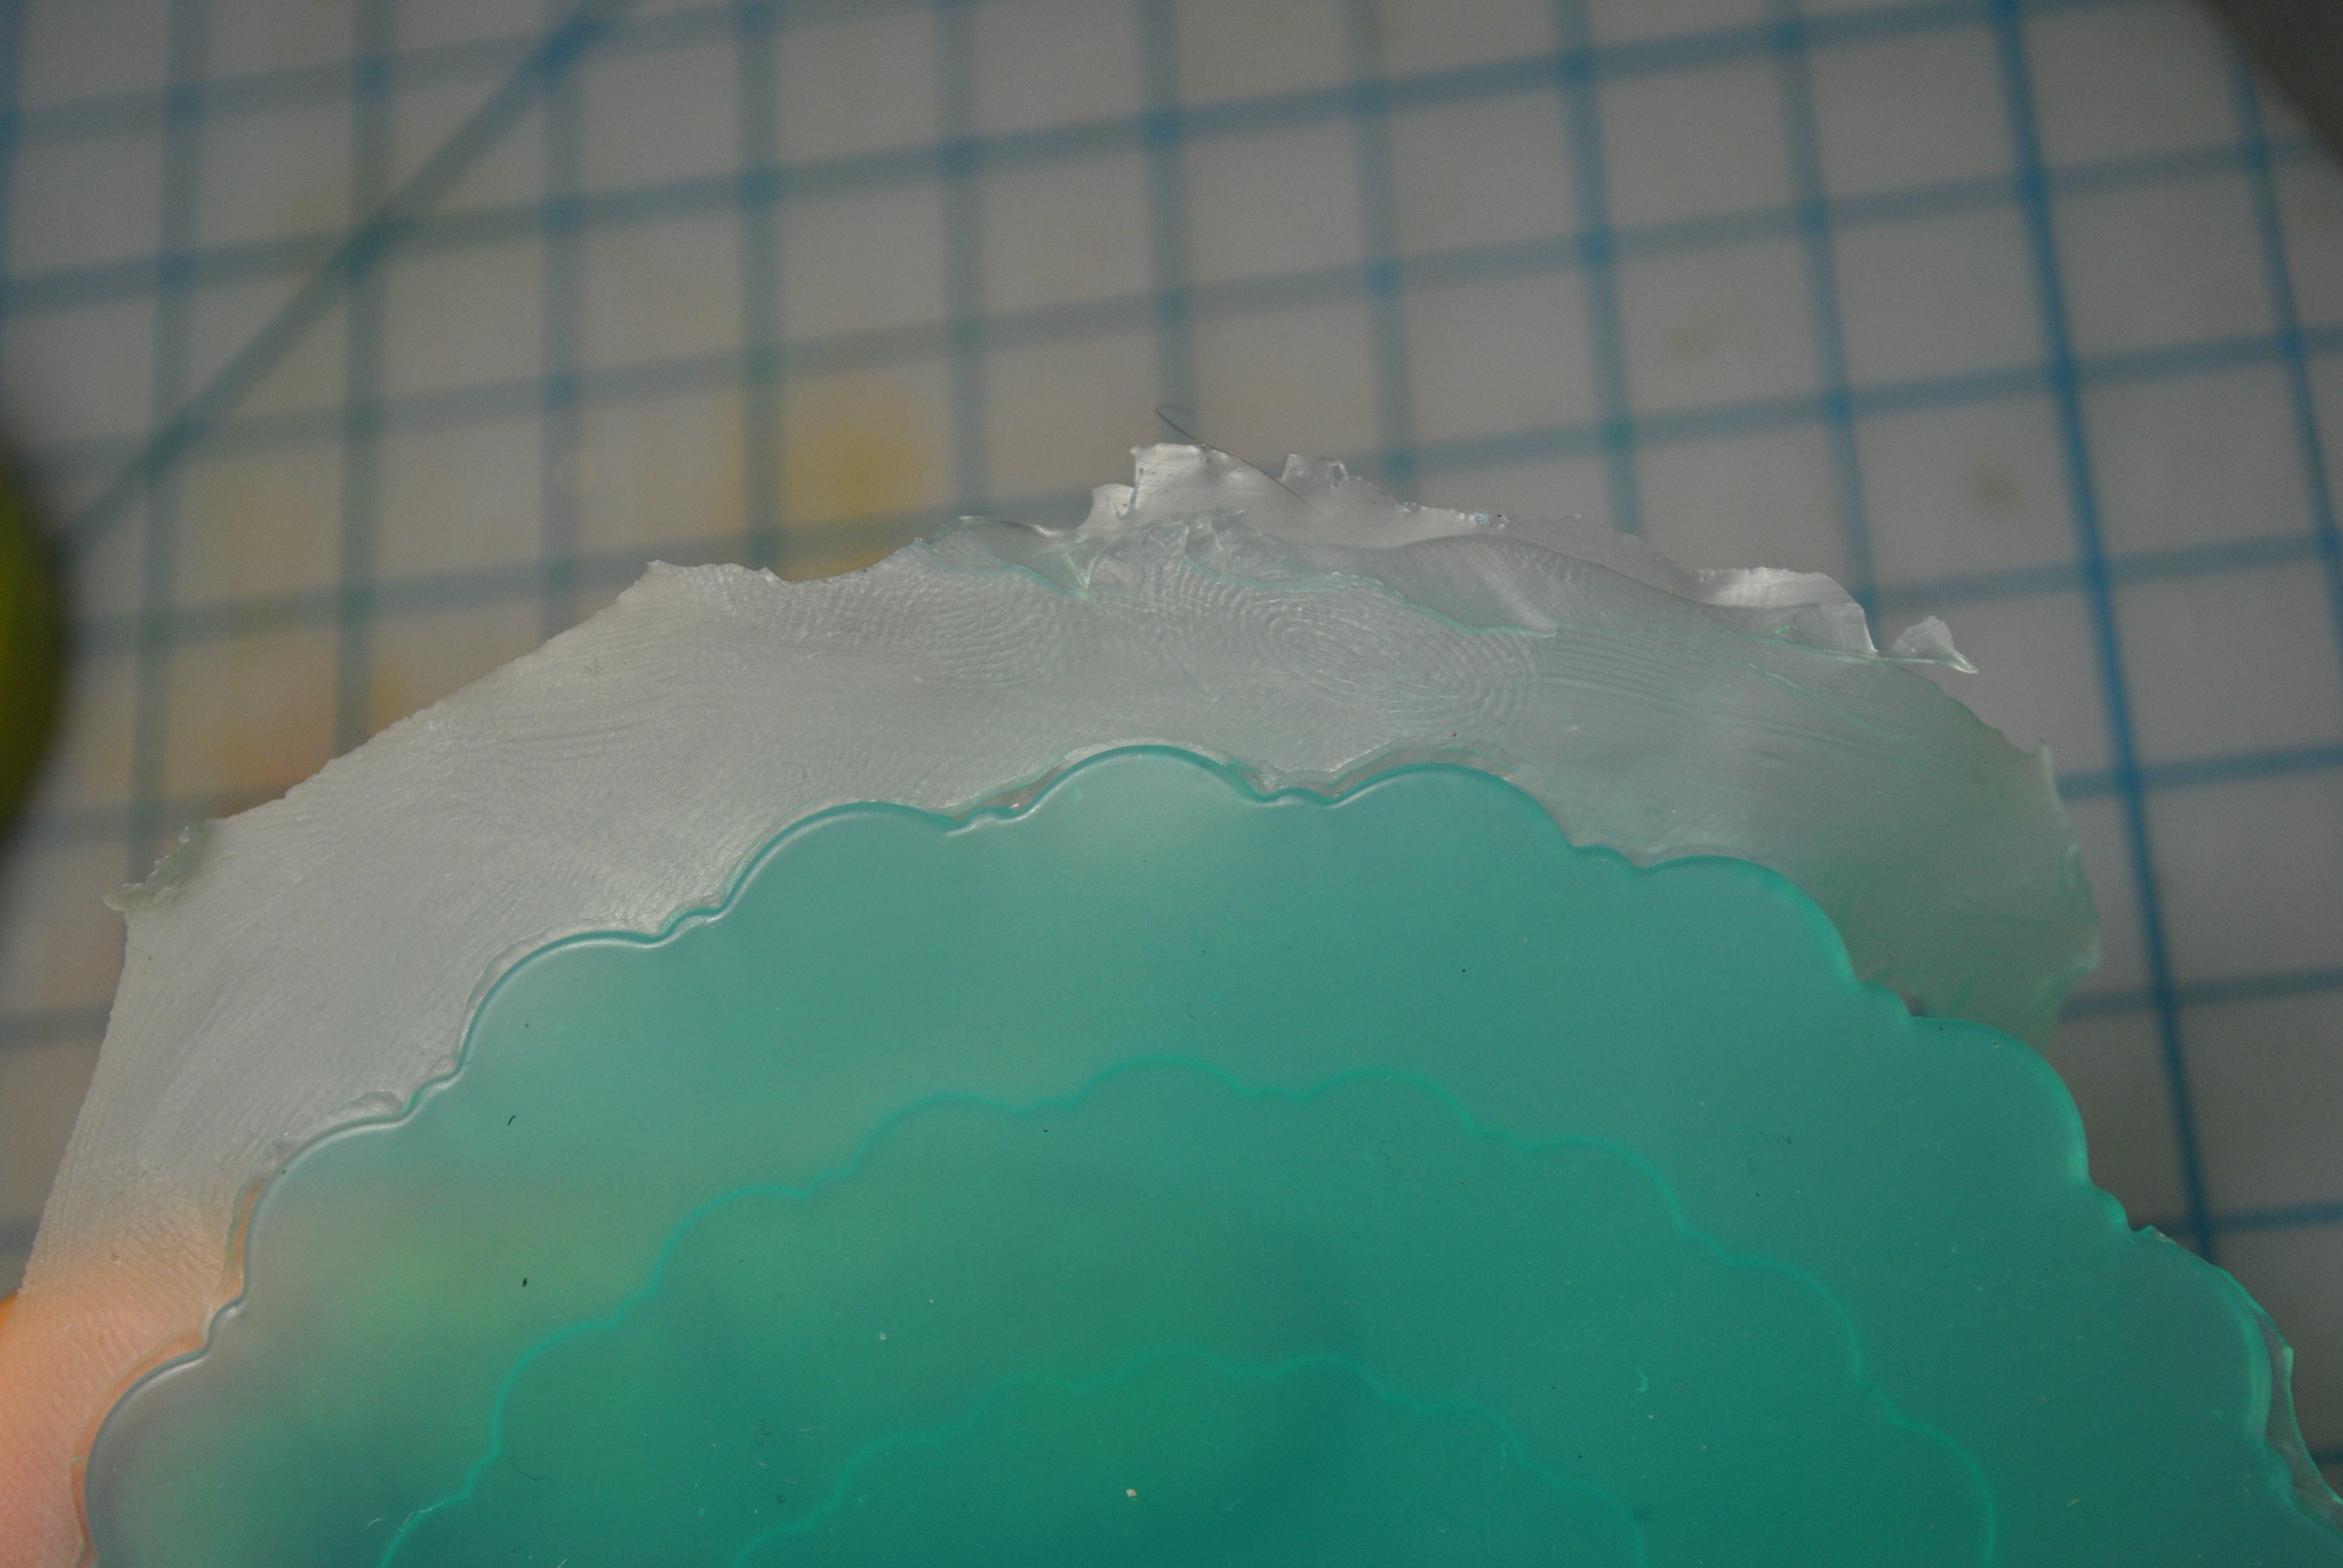
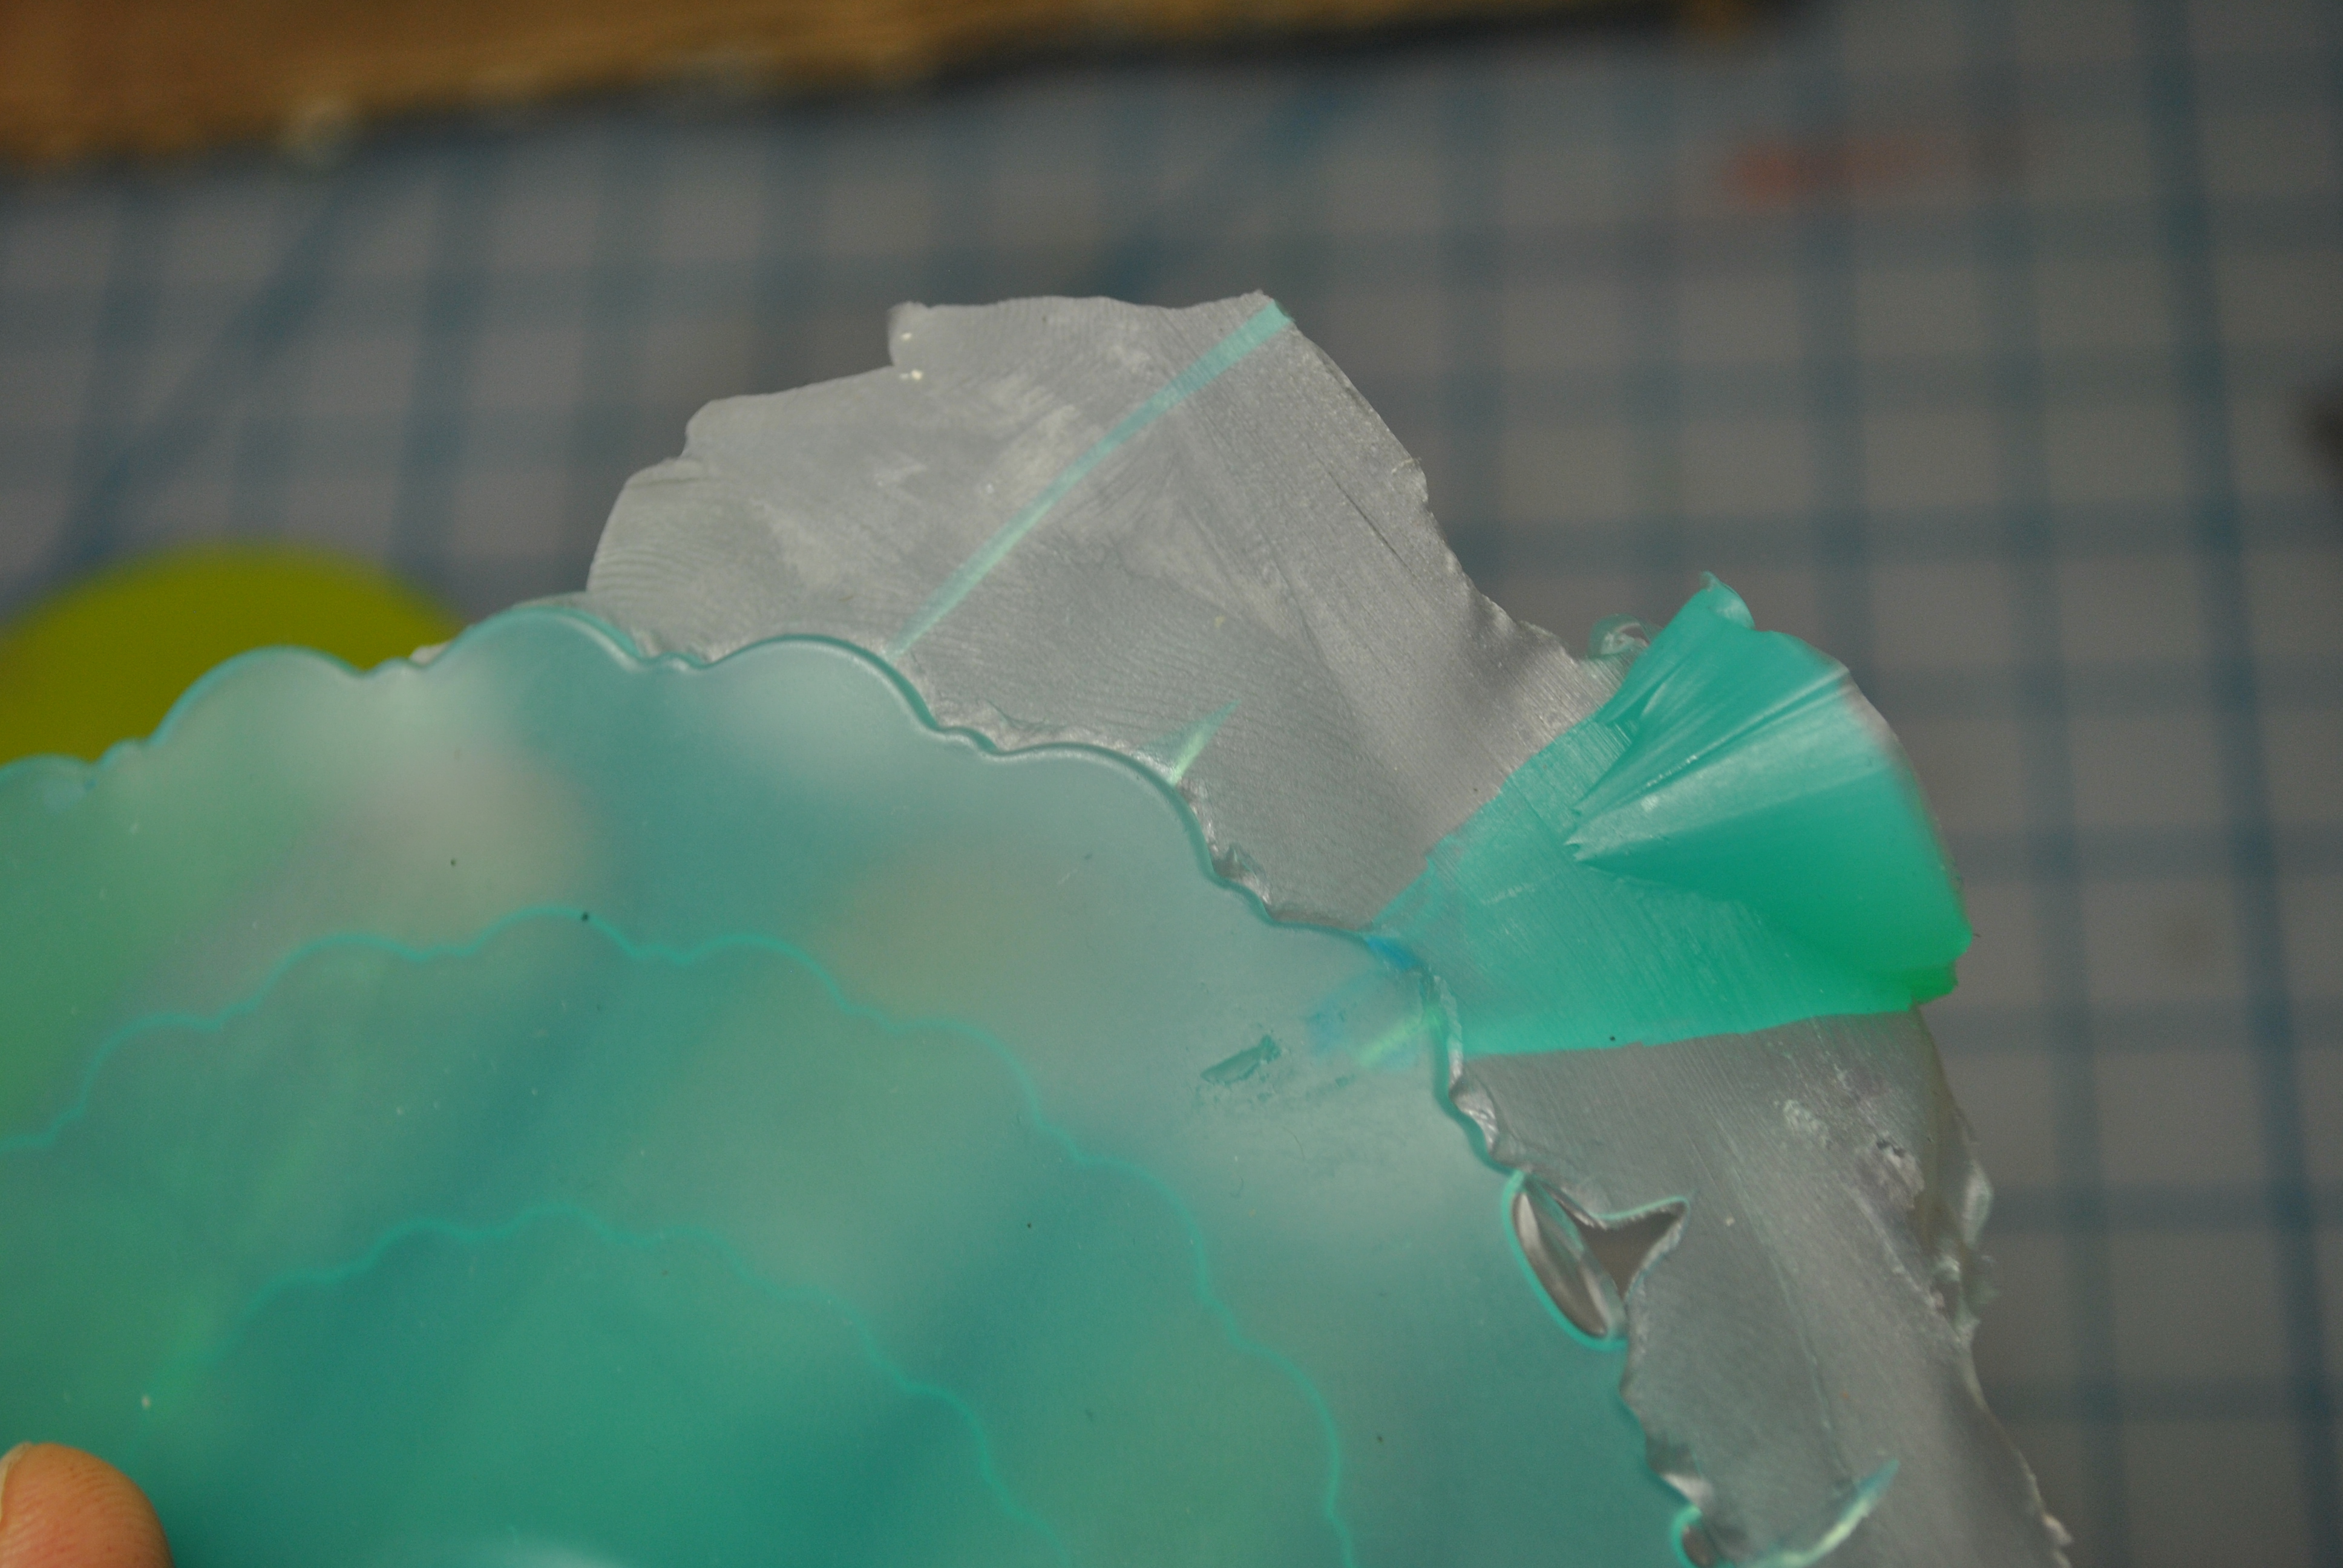
My mold is not perfect and there is some flashing, easily removed with a hobby knife.
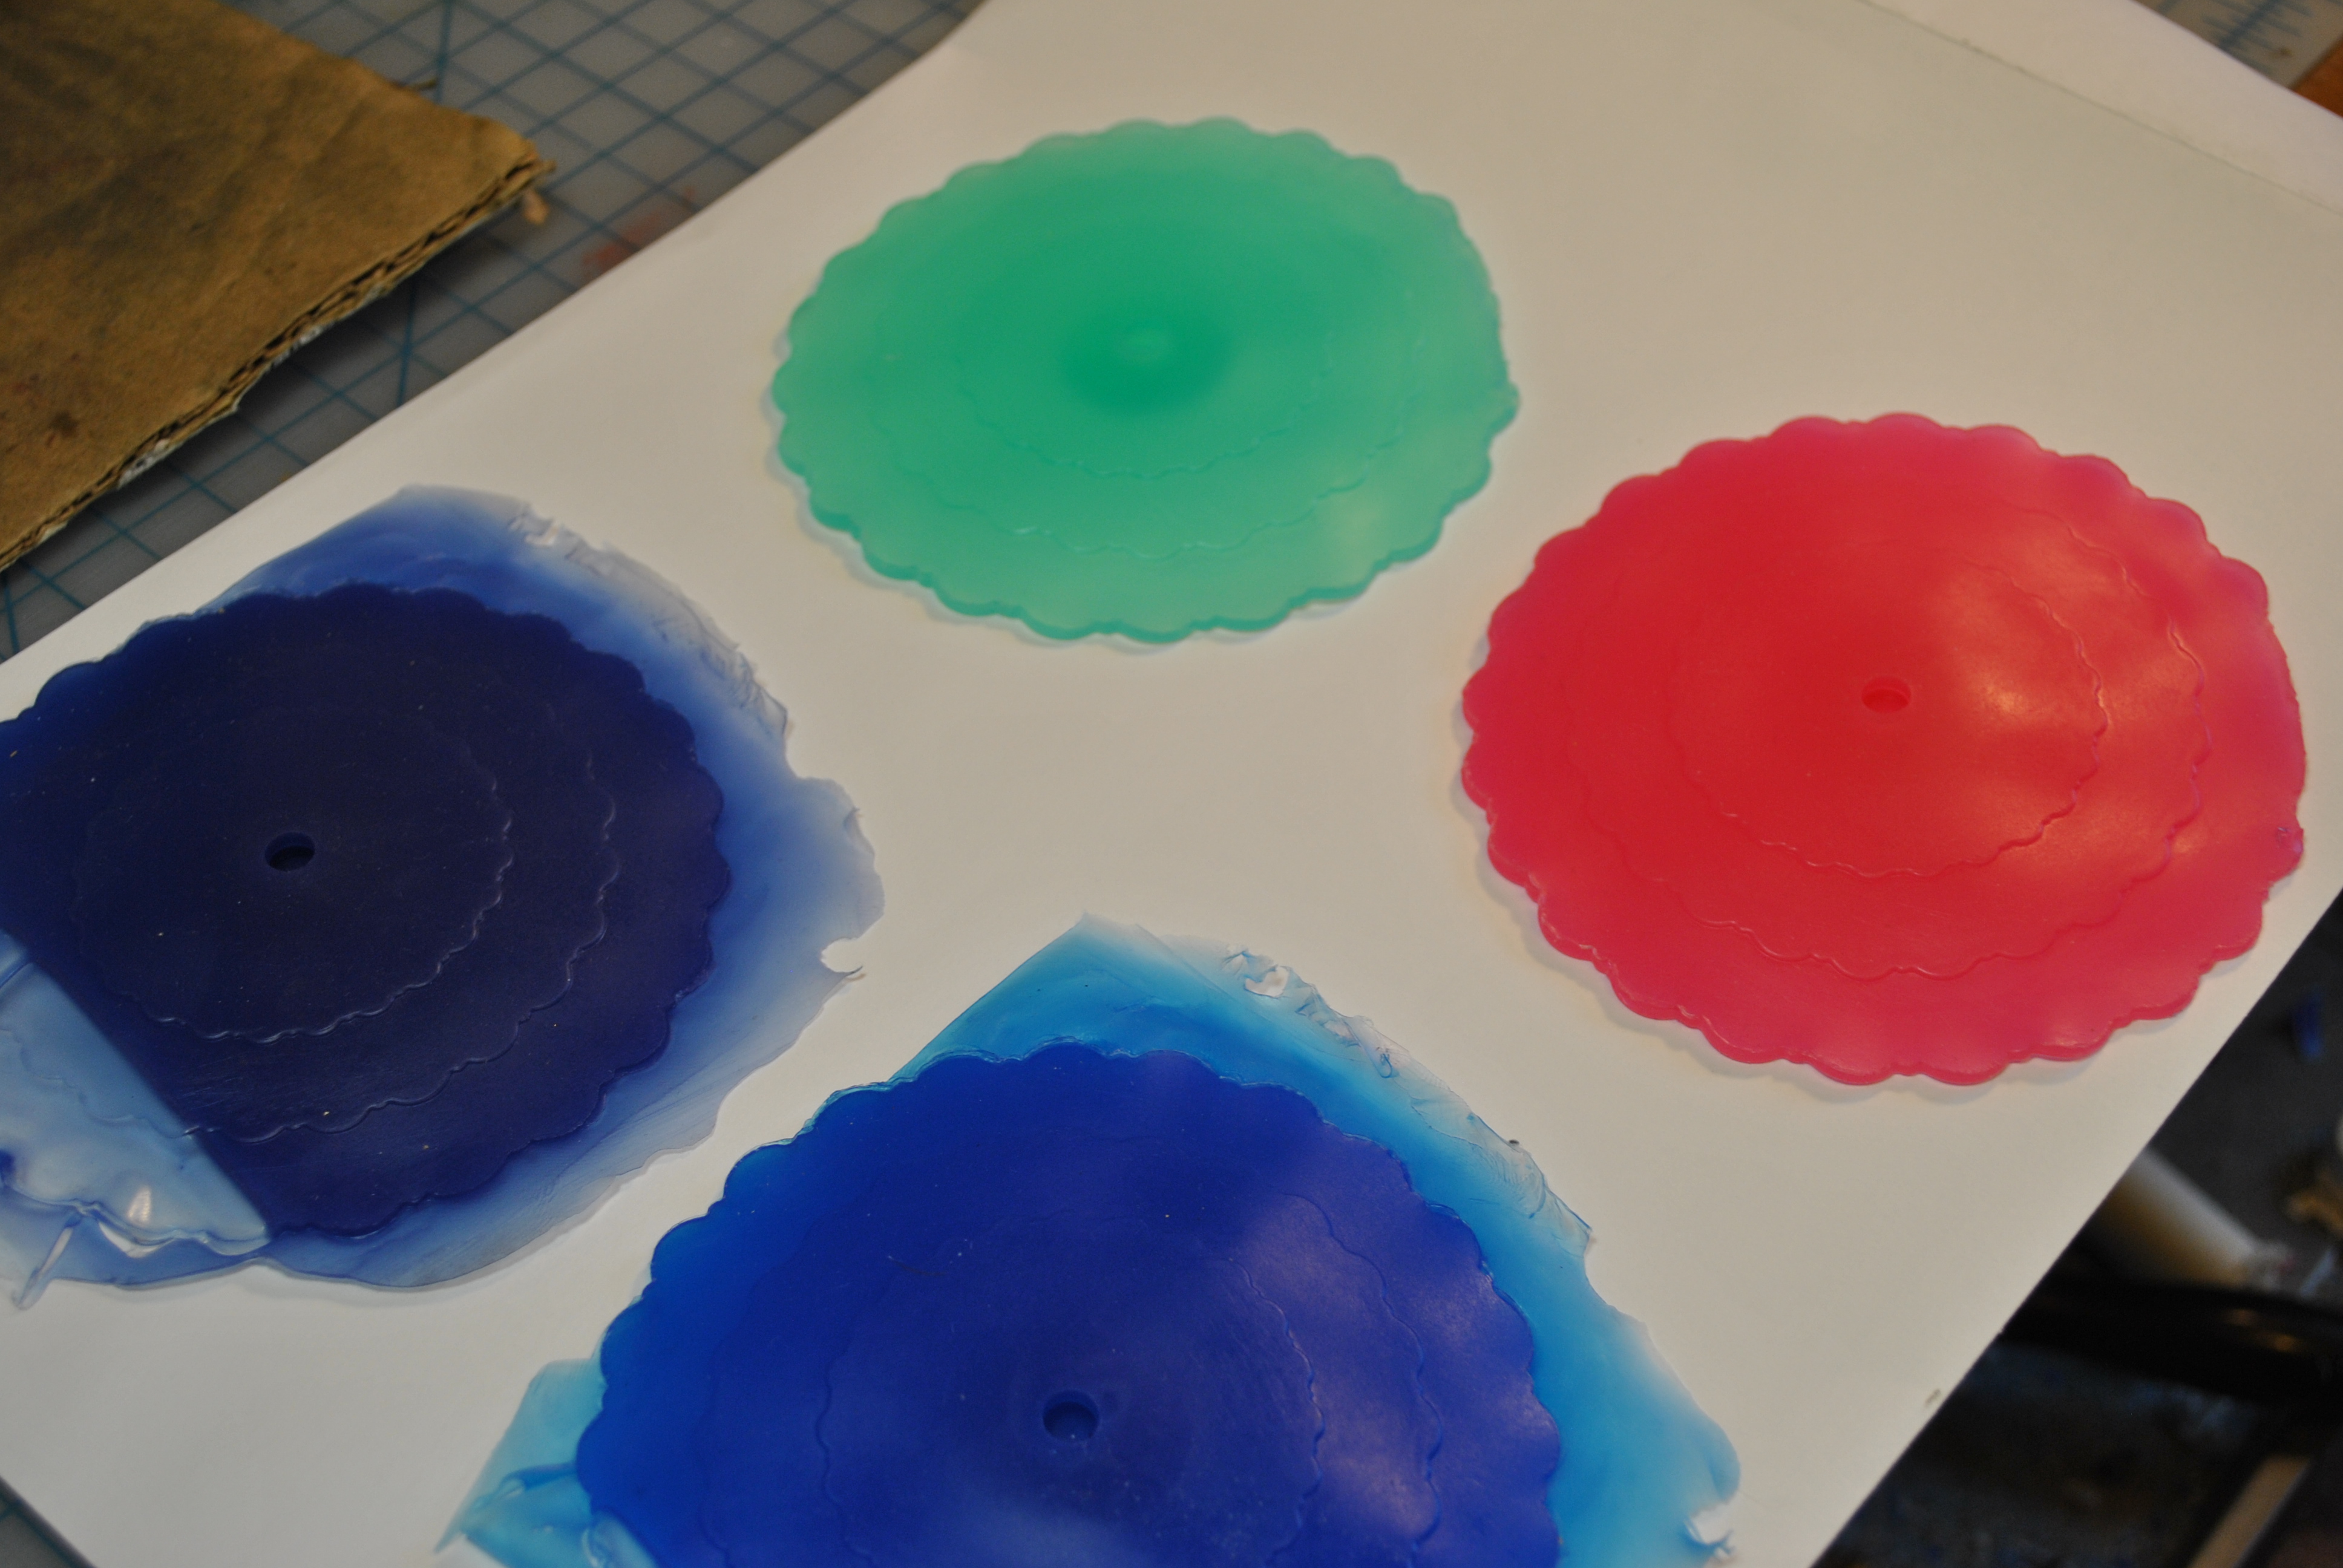
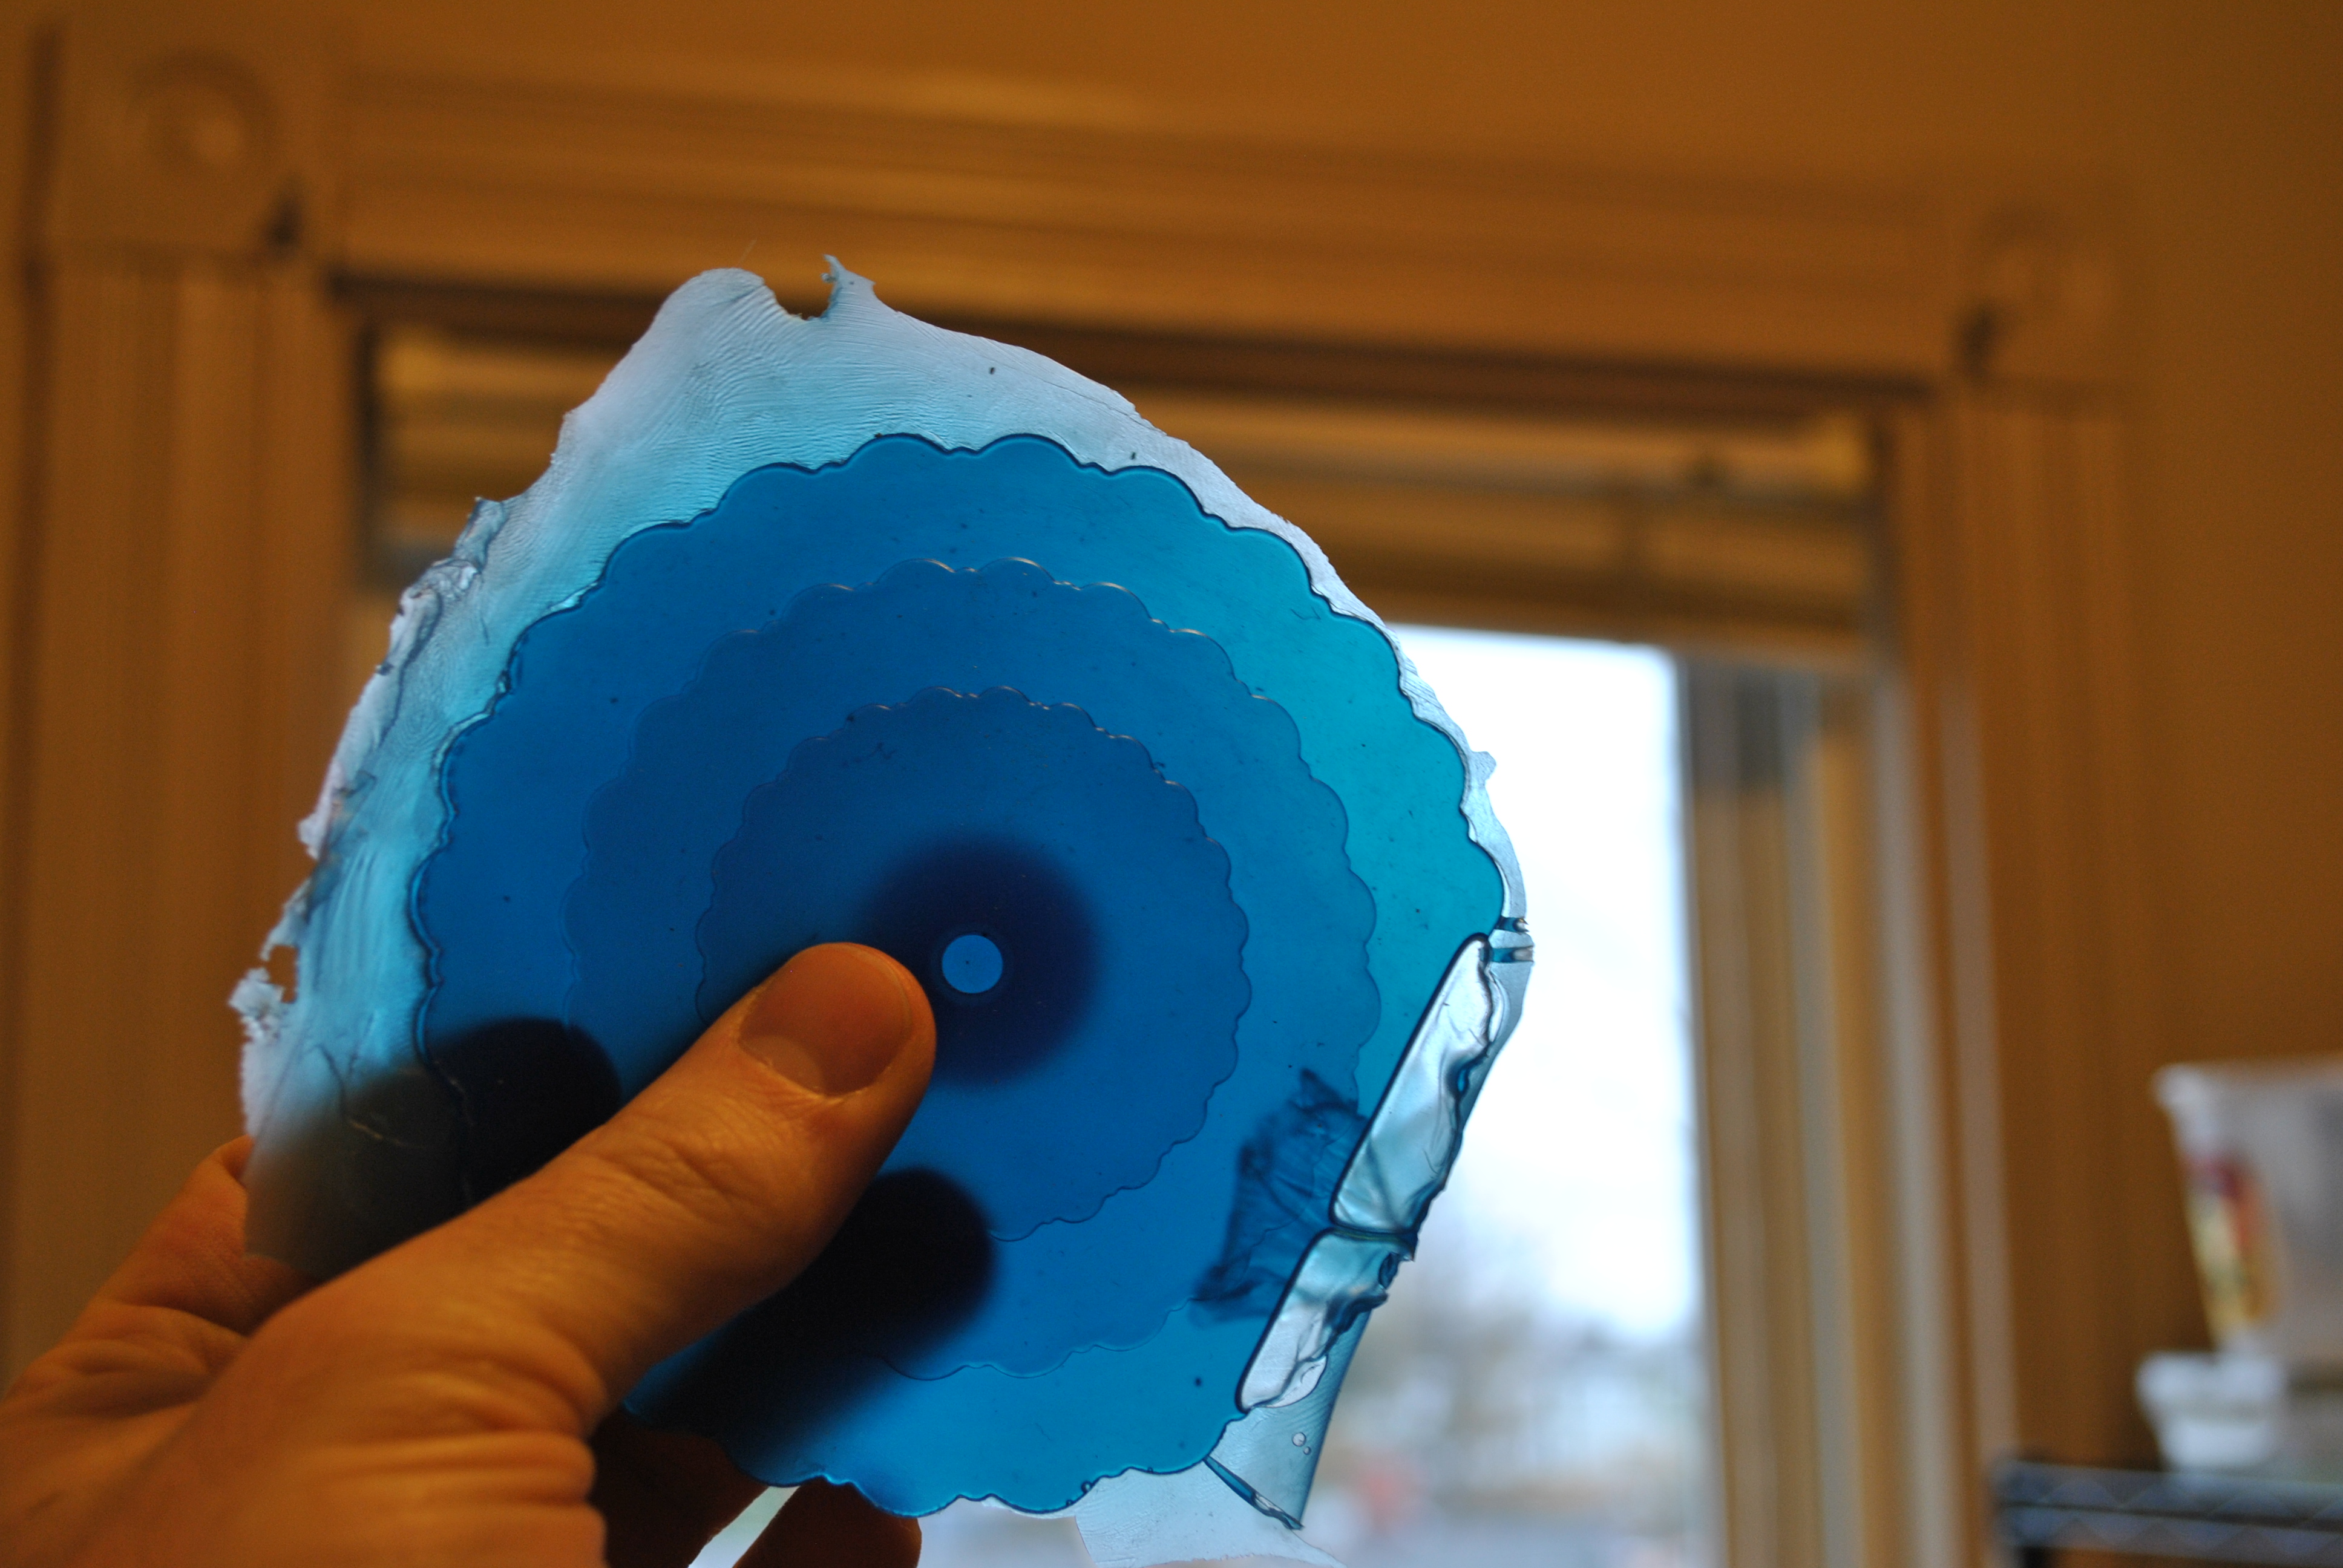
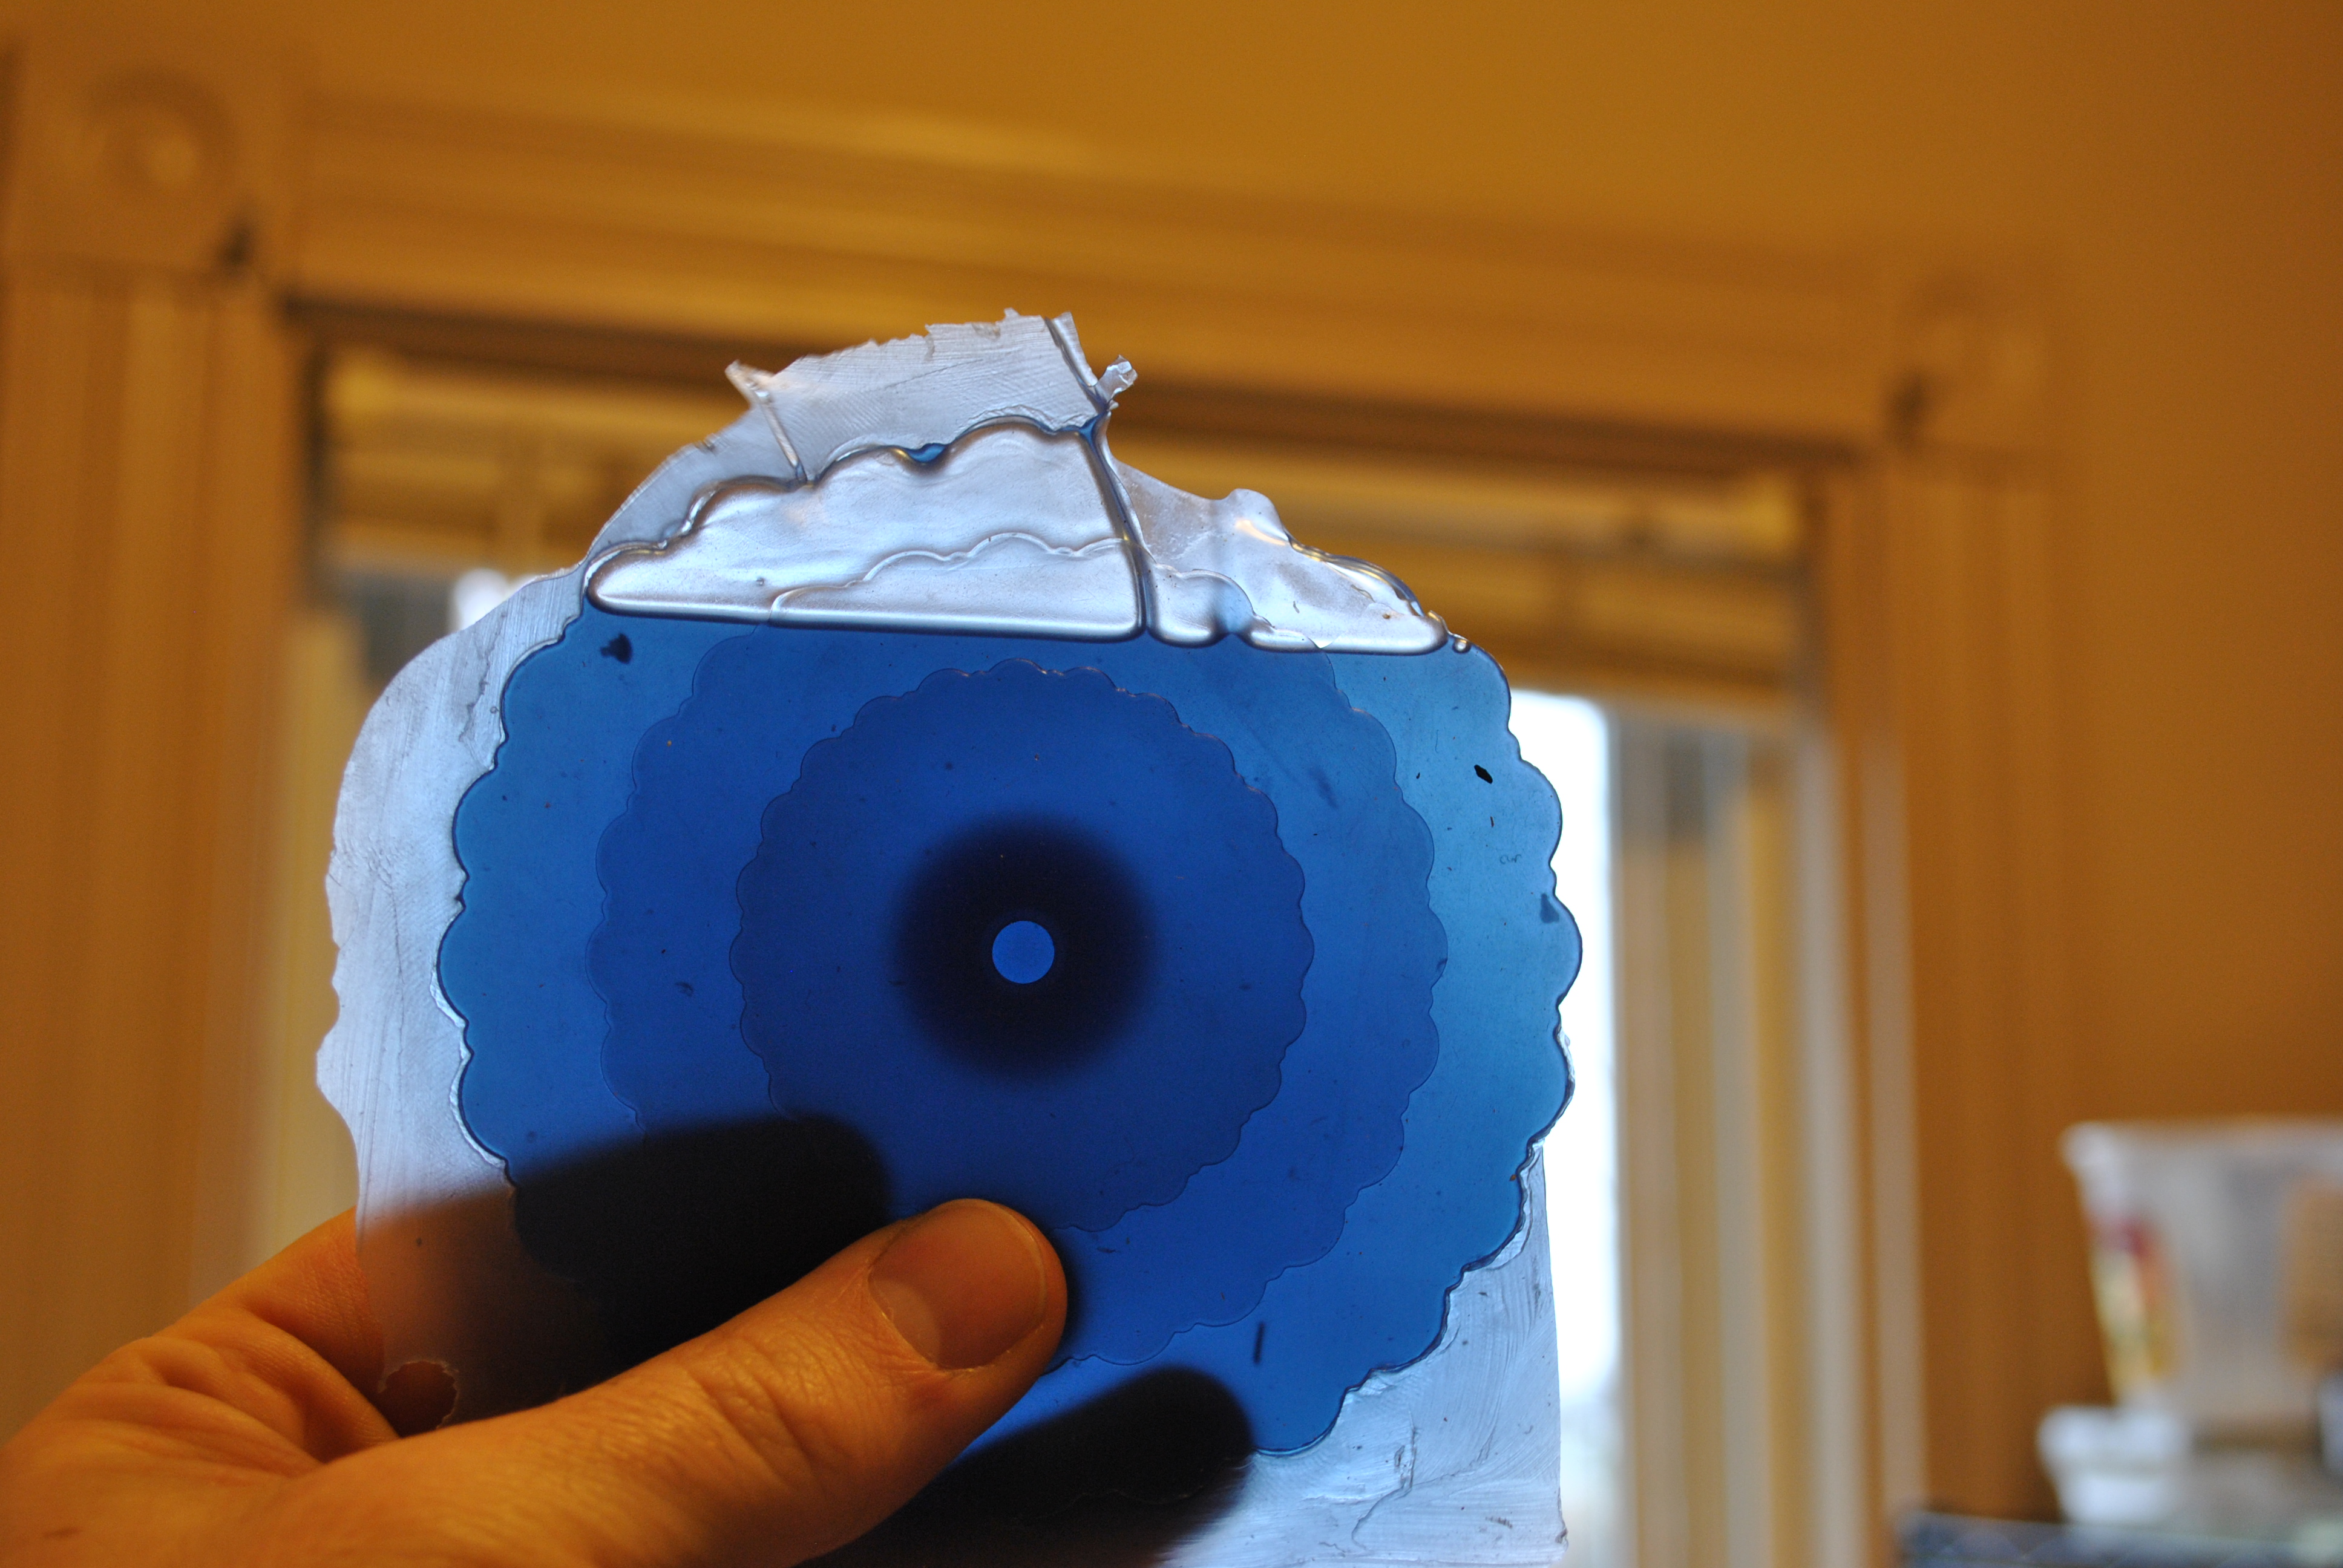
Two of my early failures next to two successes (after I switched to injecting)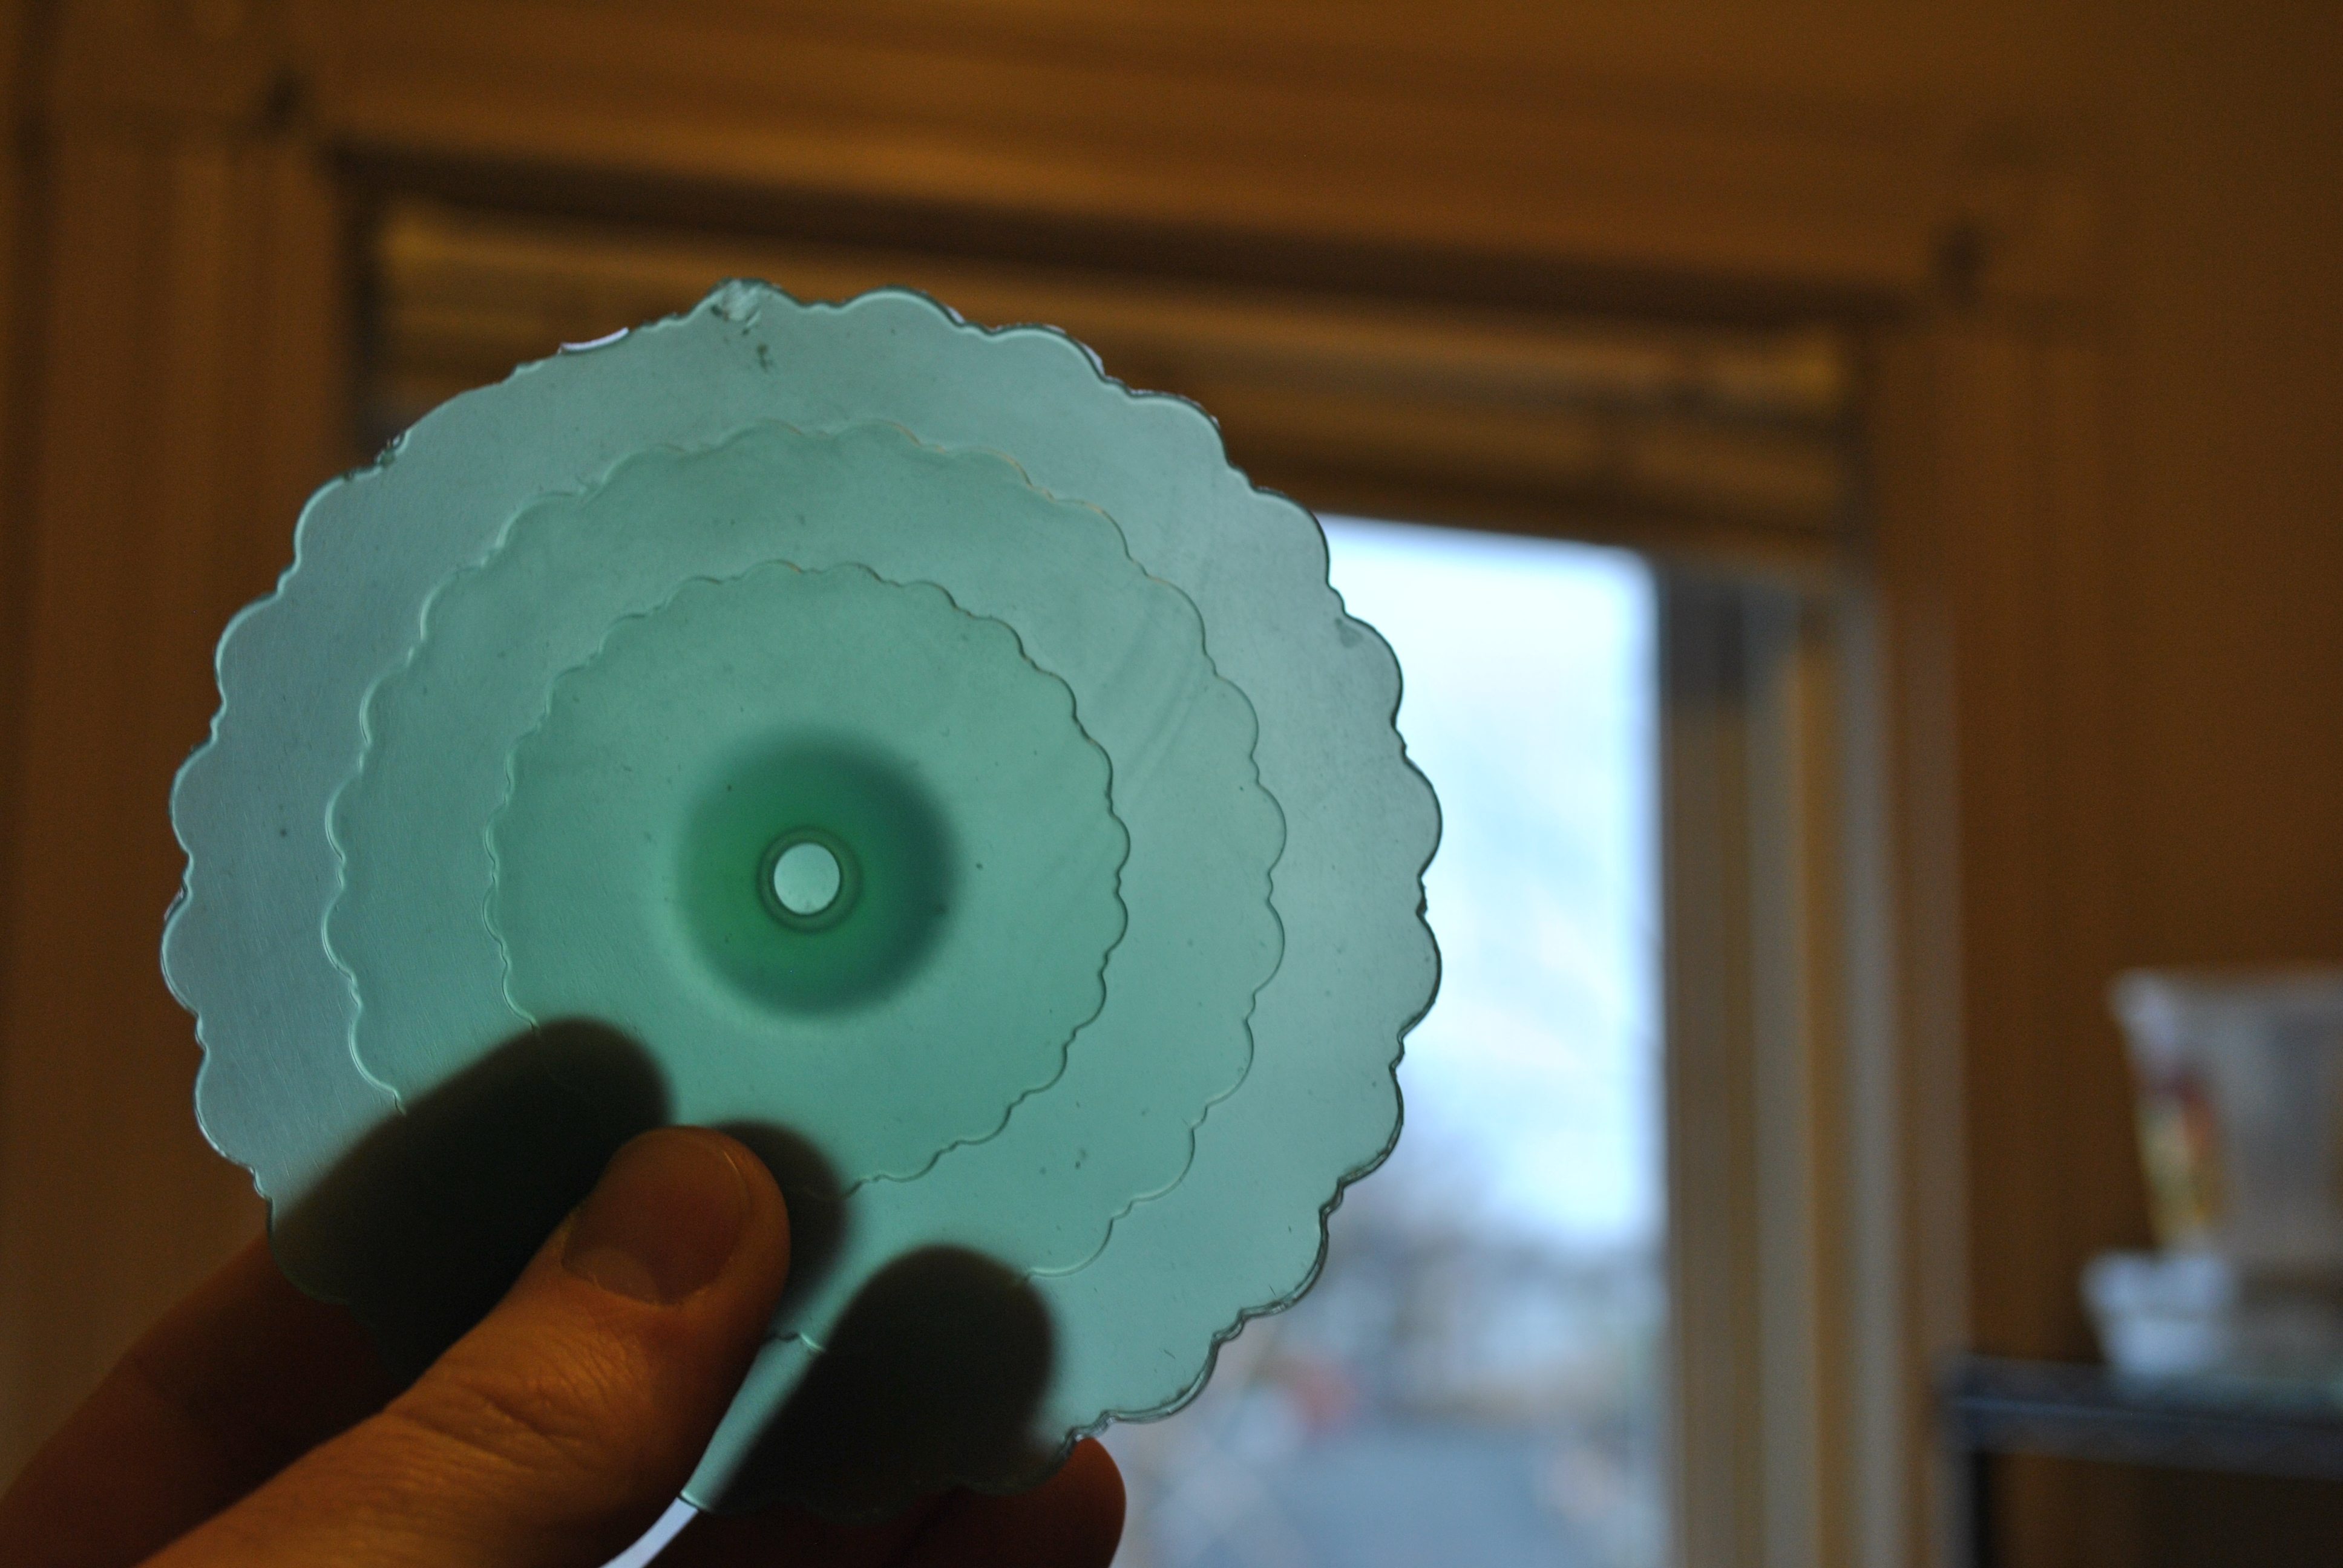
They have this really nice translucent quality to them.
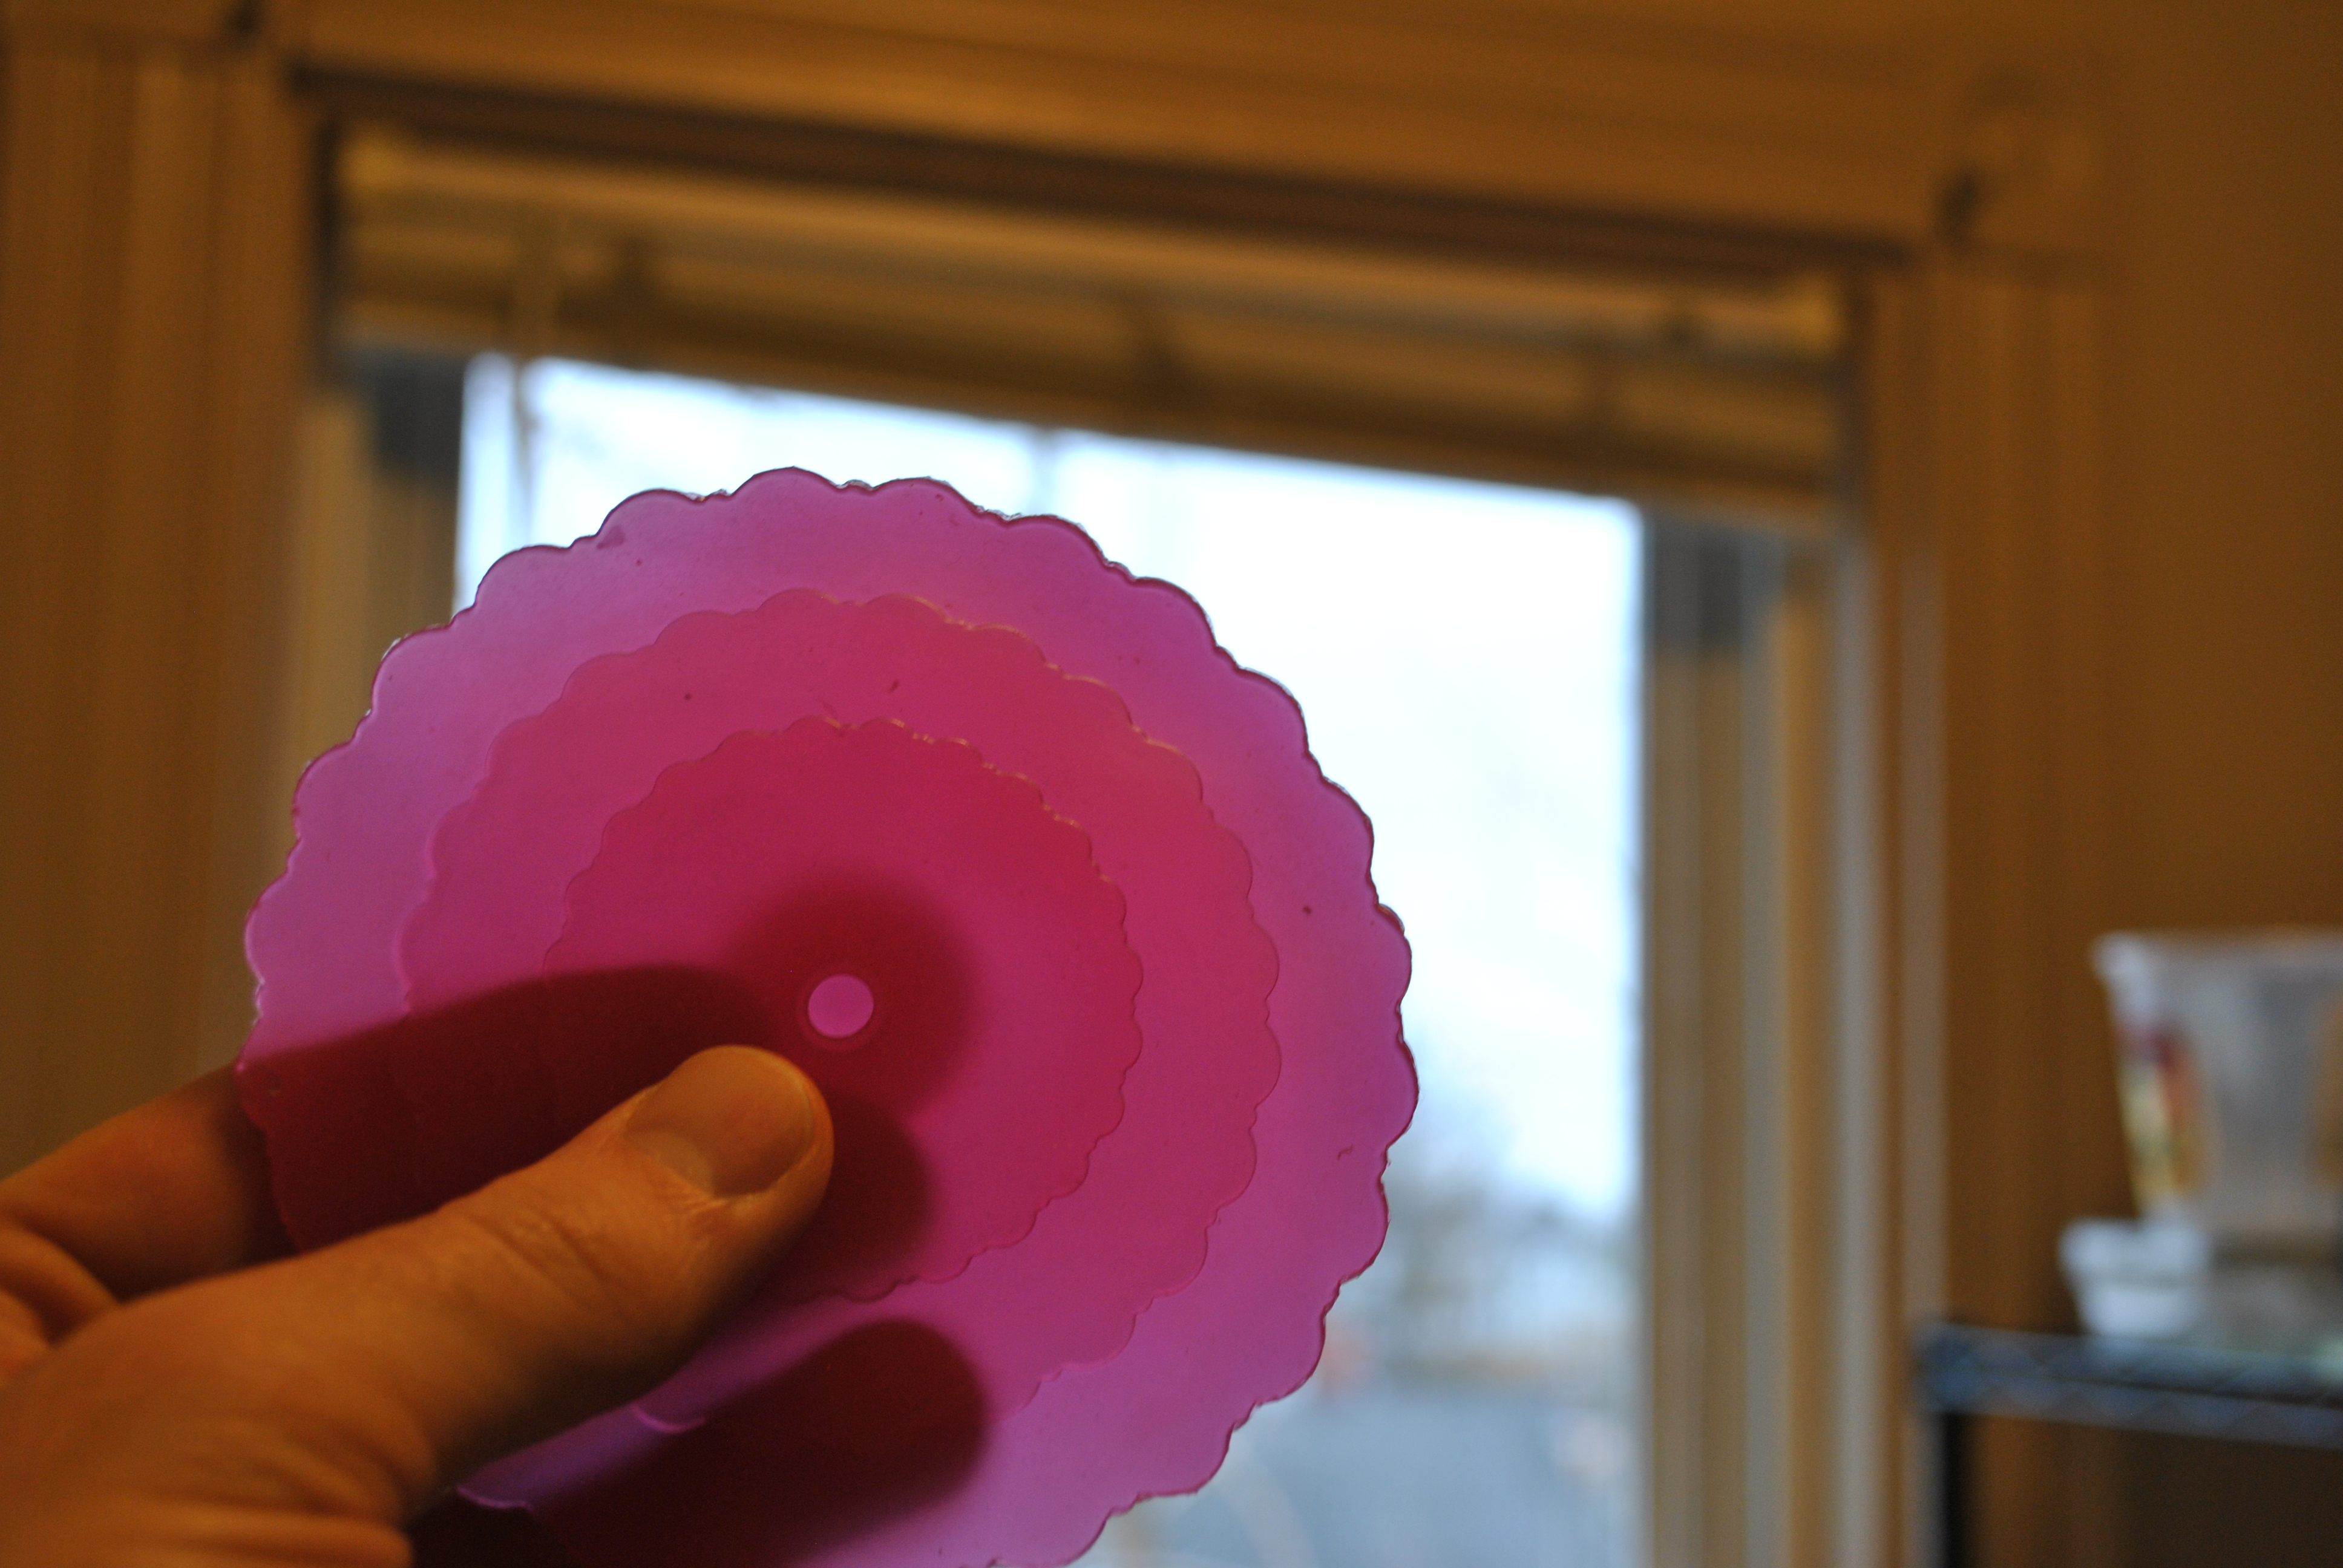
Even the failures are pretty.
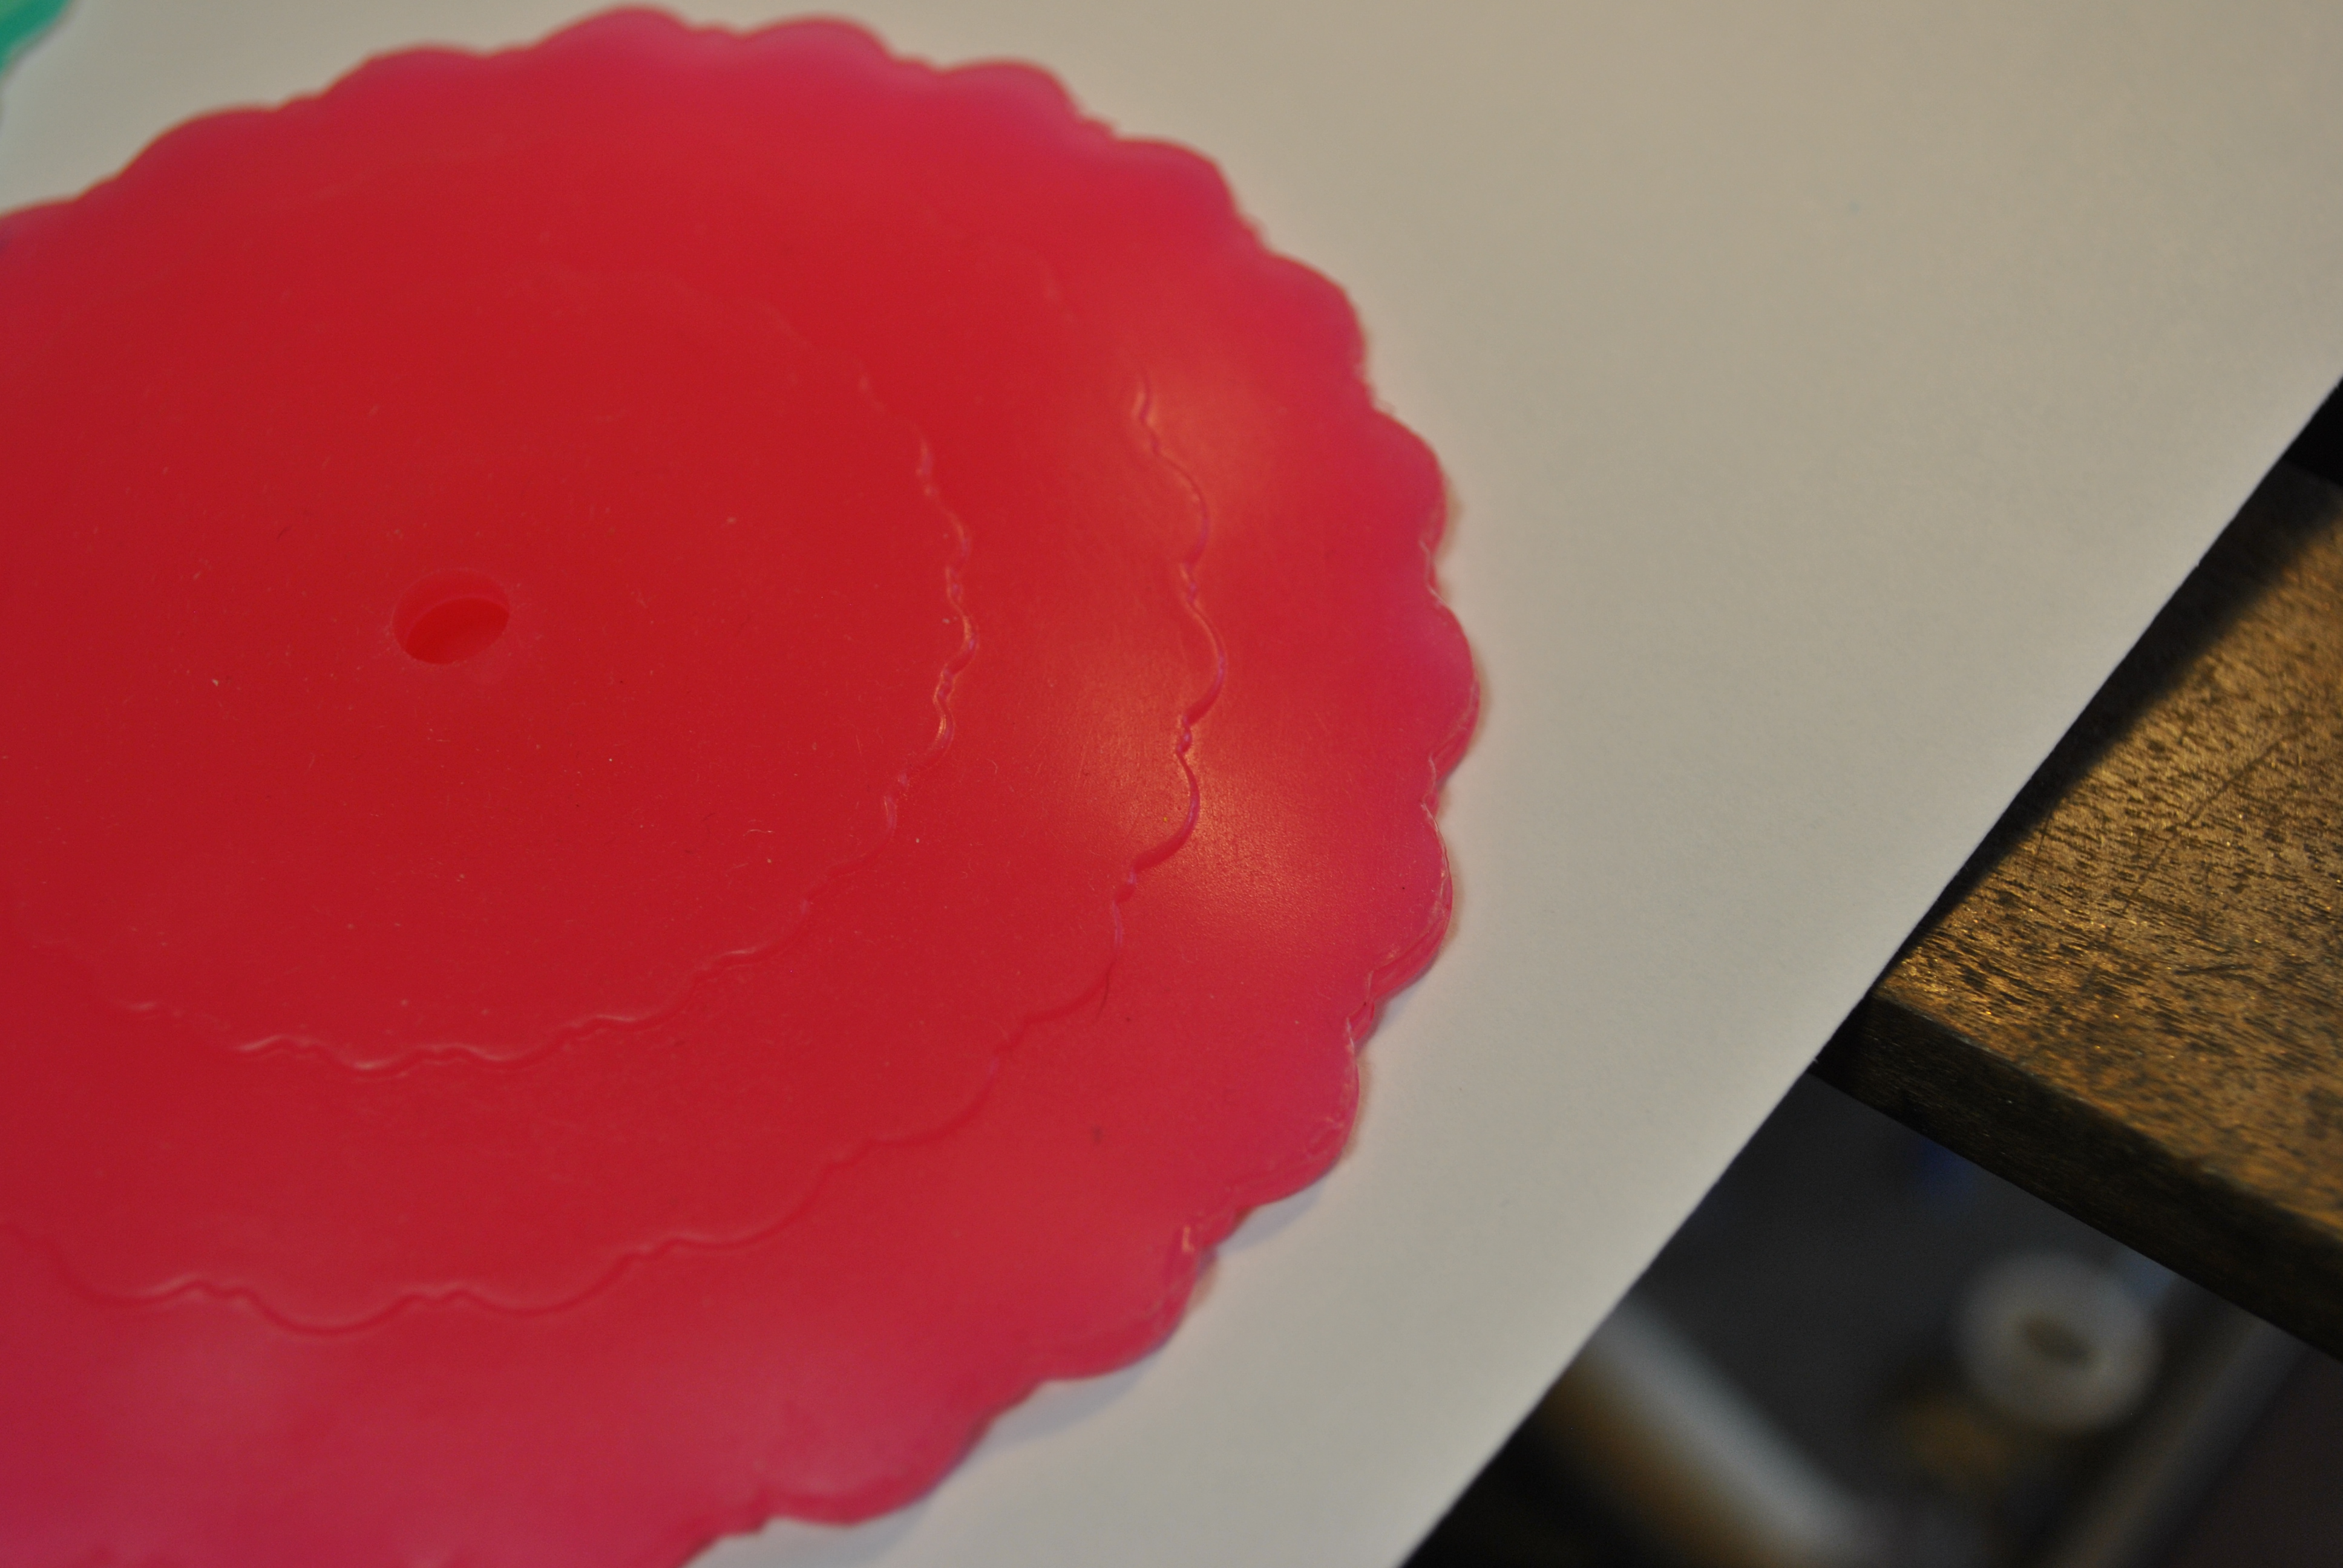
This small hole was designed to allow a small pewter charm to fit inside with a t-pin type configuration. The shape of the charm, and the elastic nature of the silicone will hold it in place, and act as a handle for the topper.
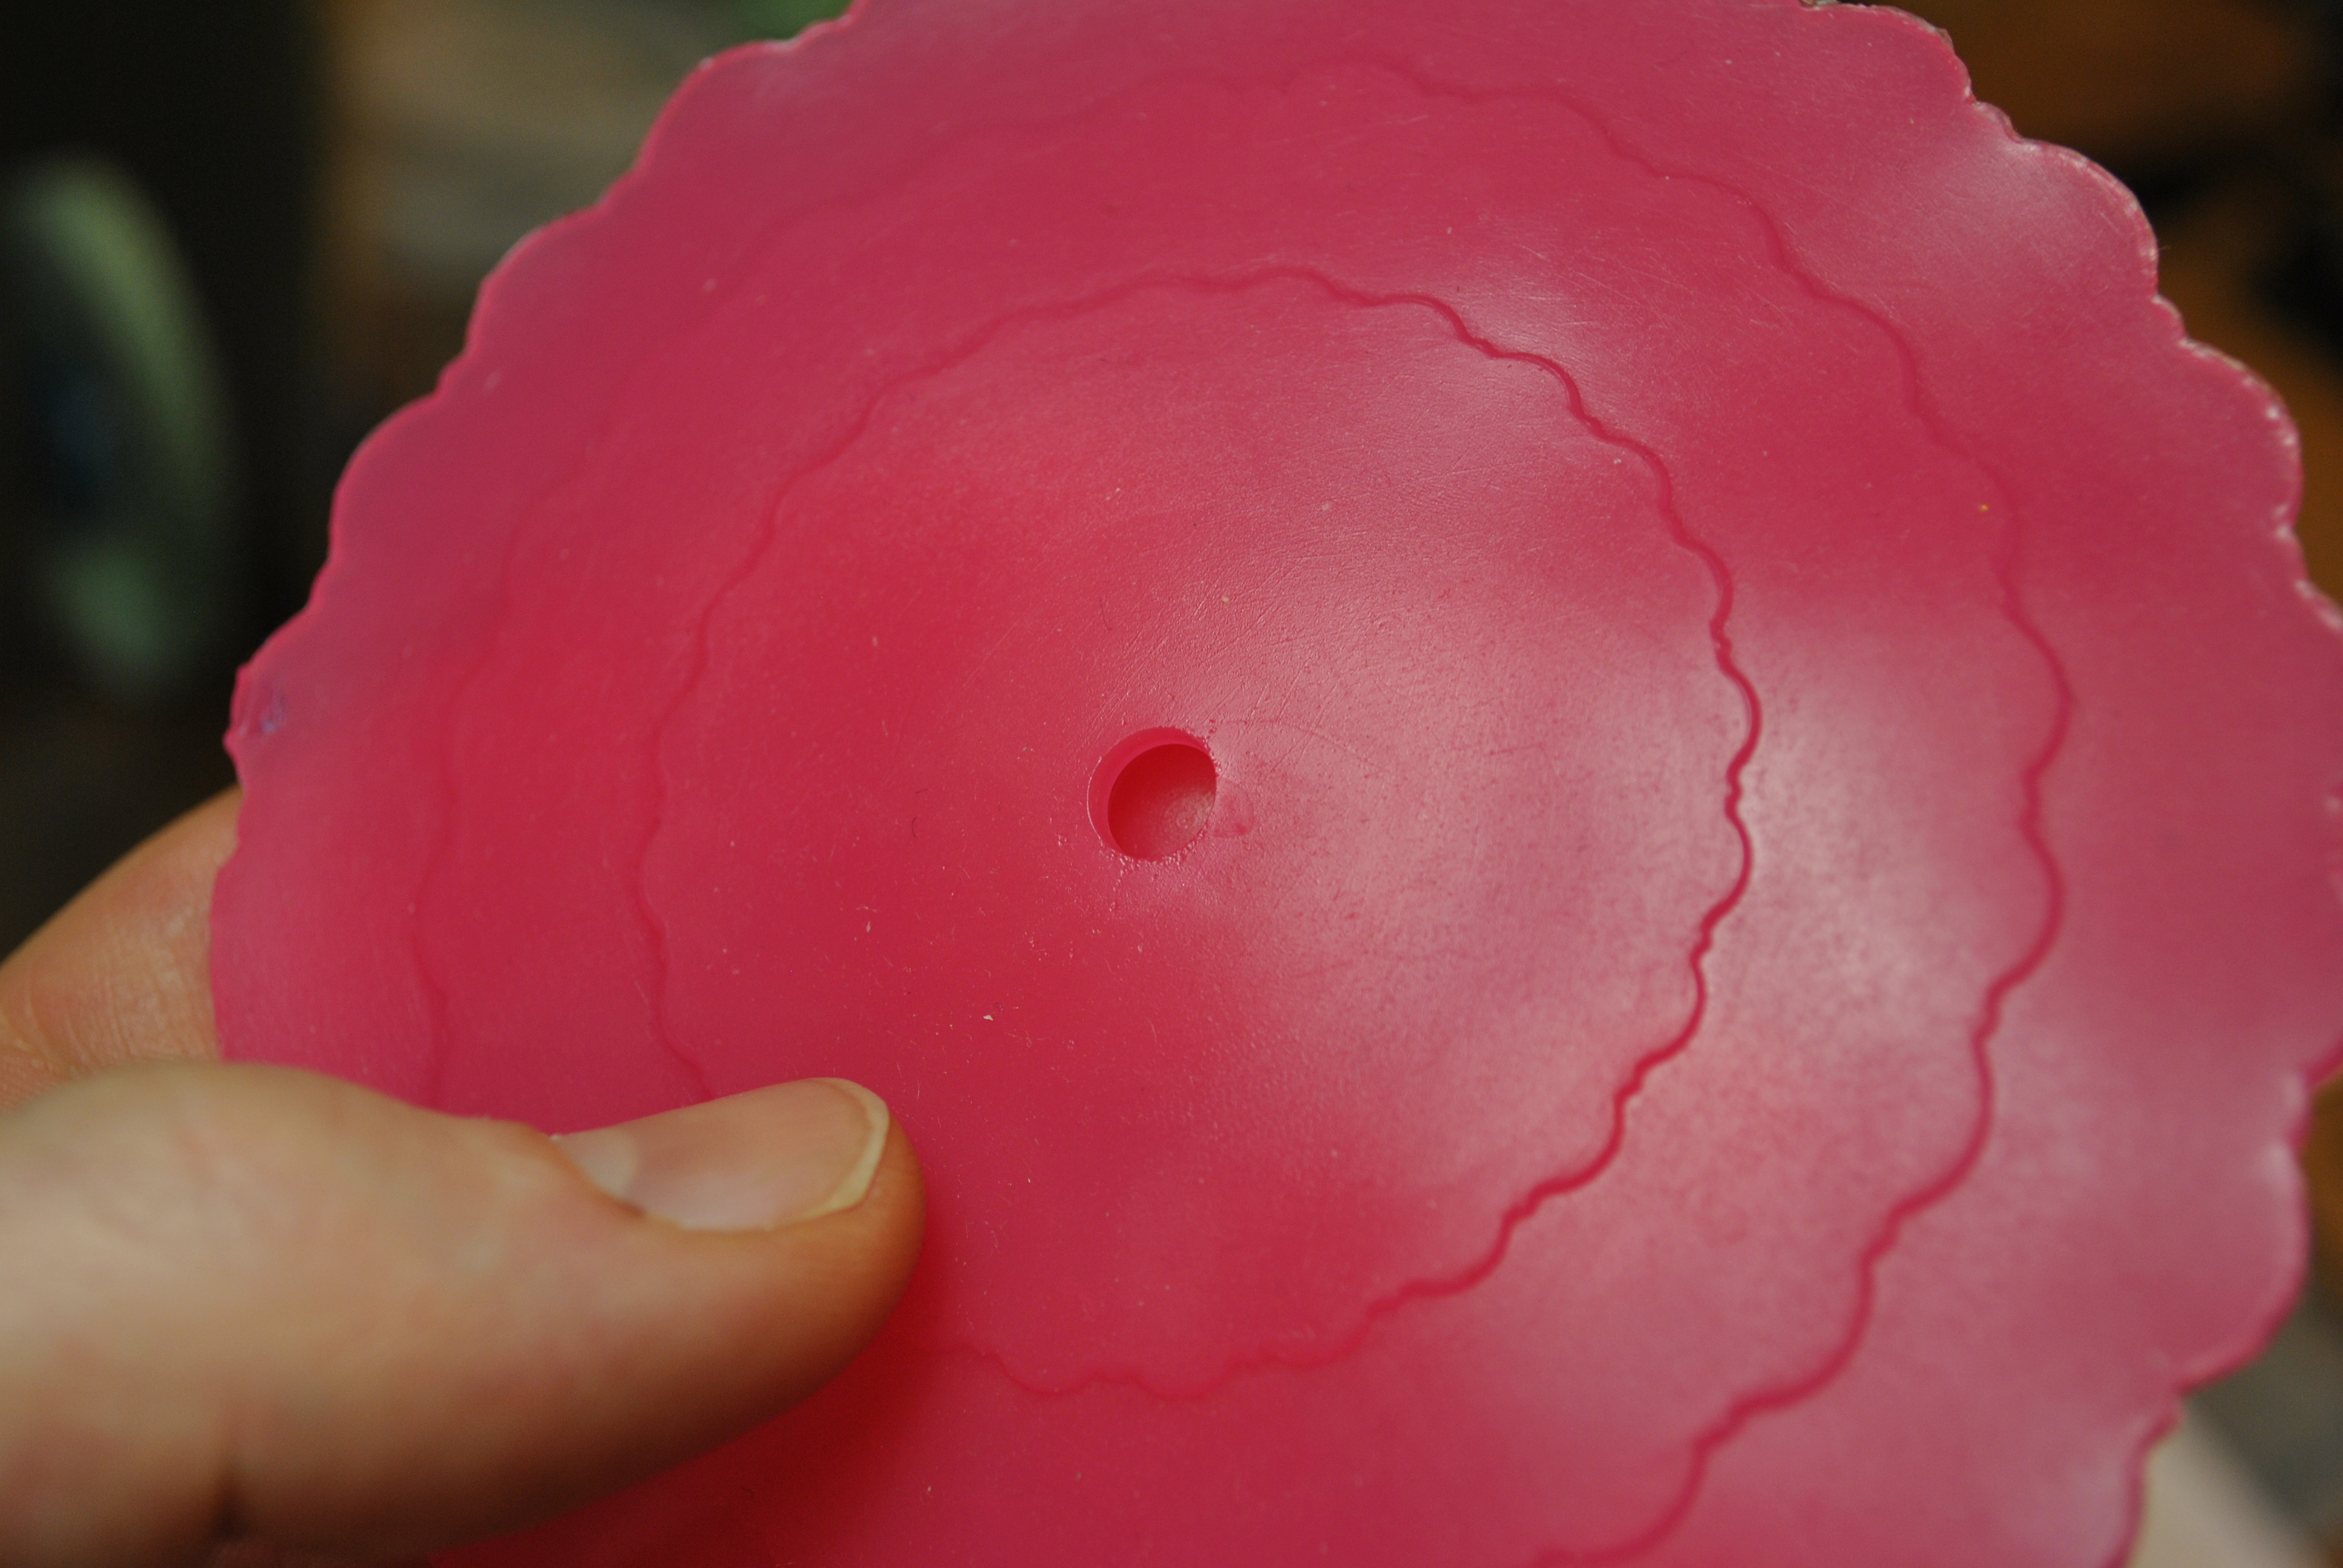
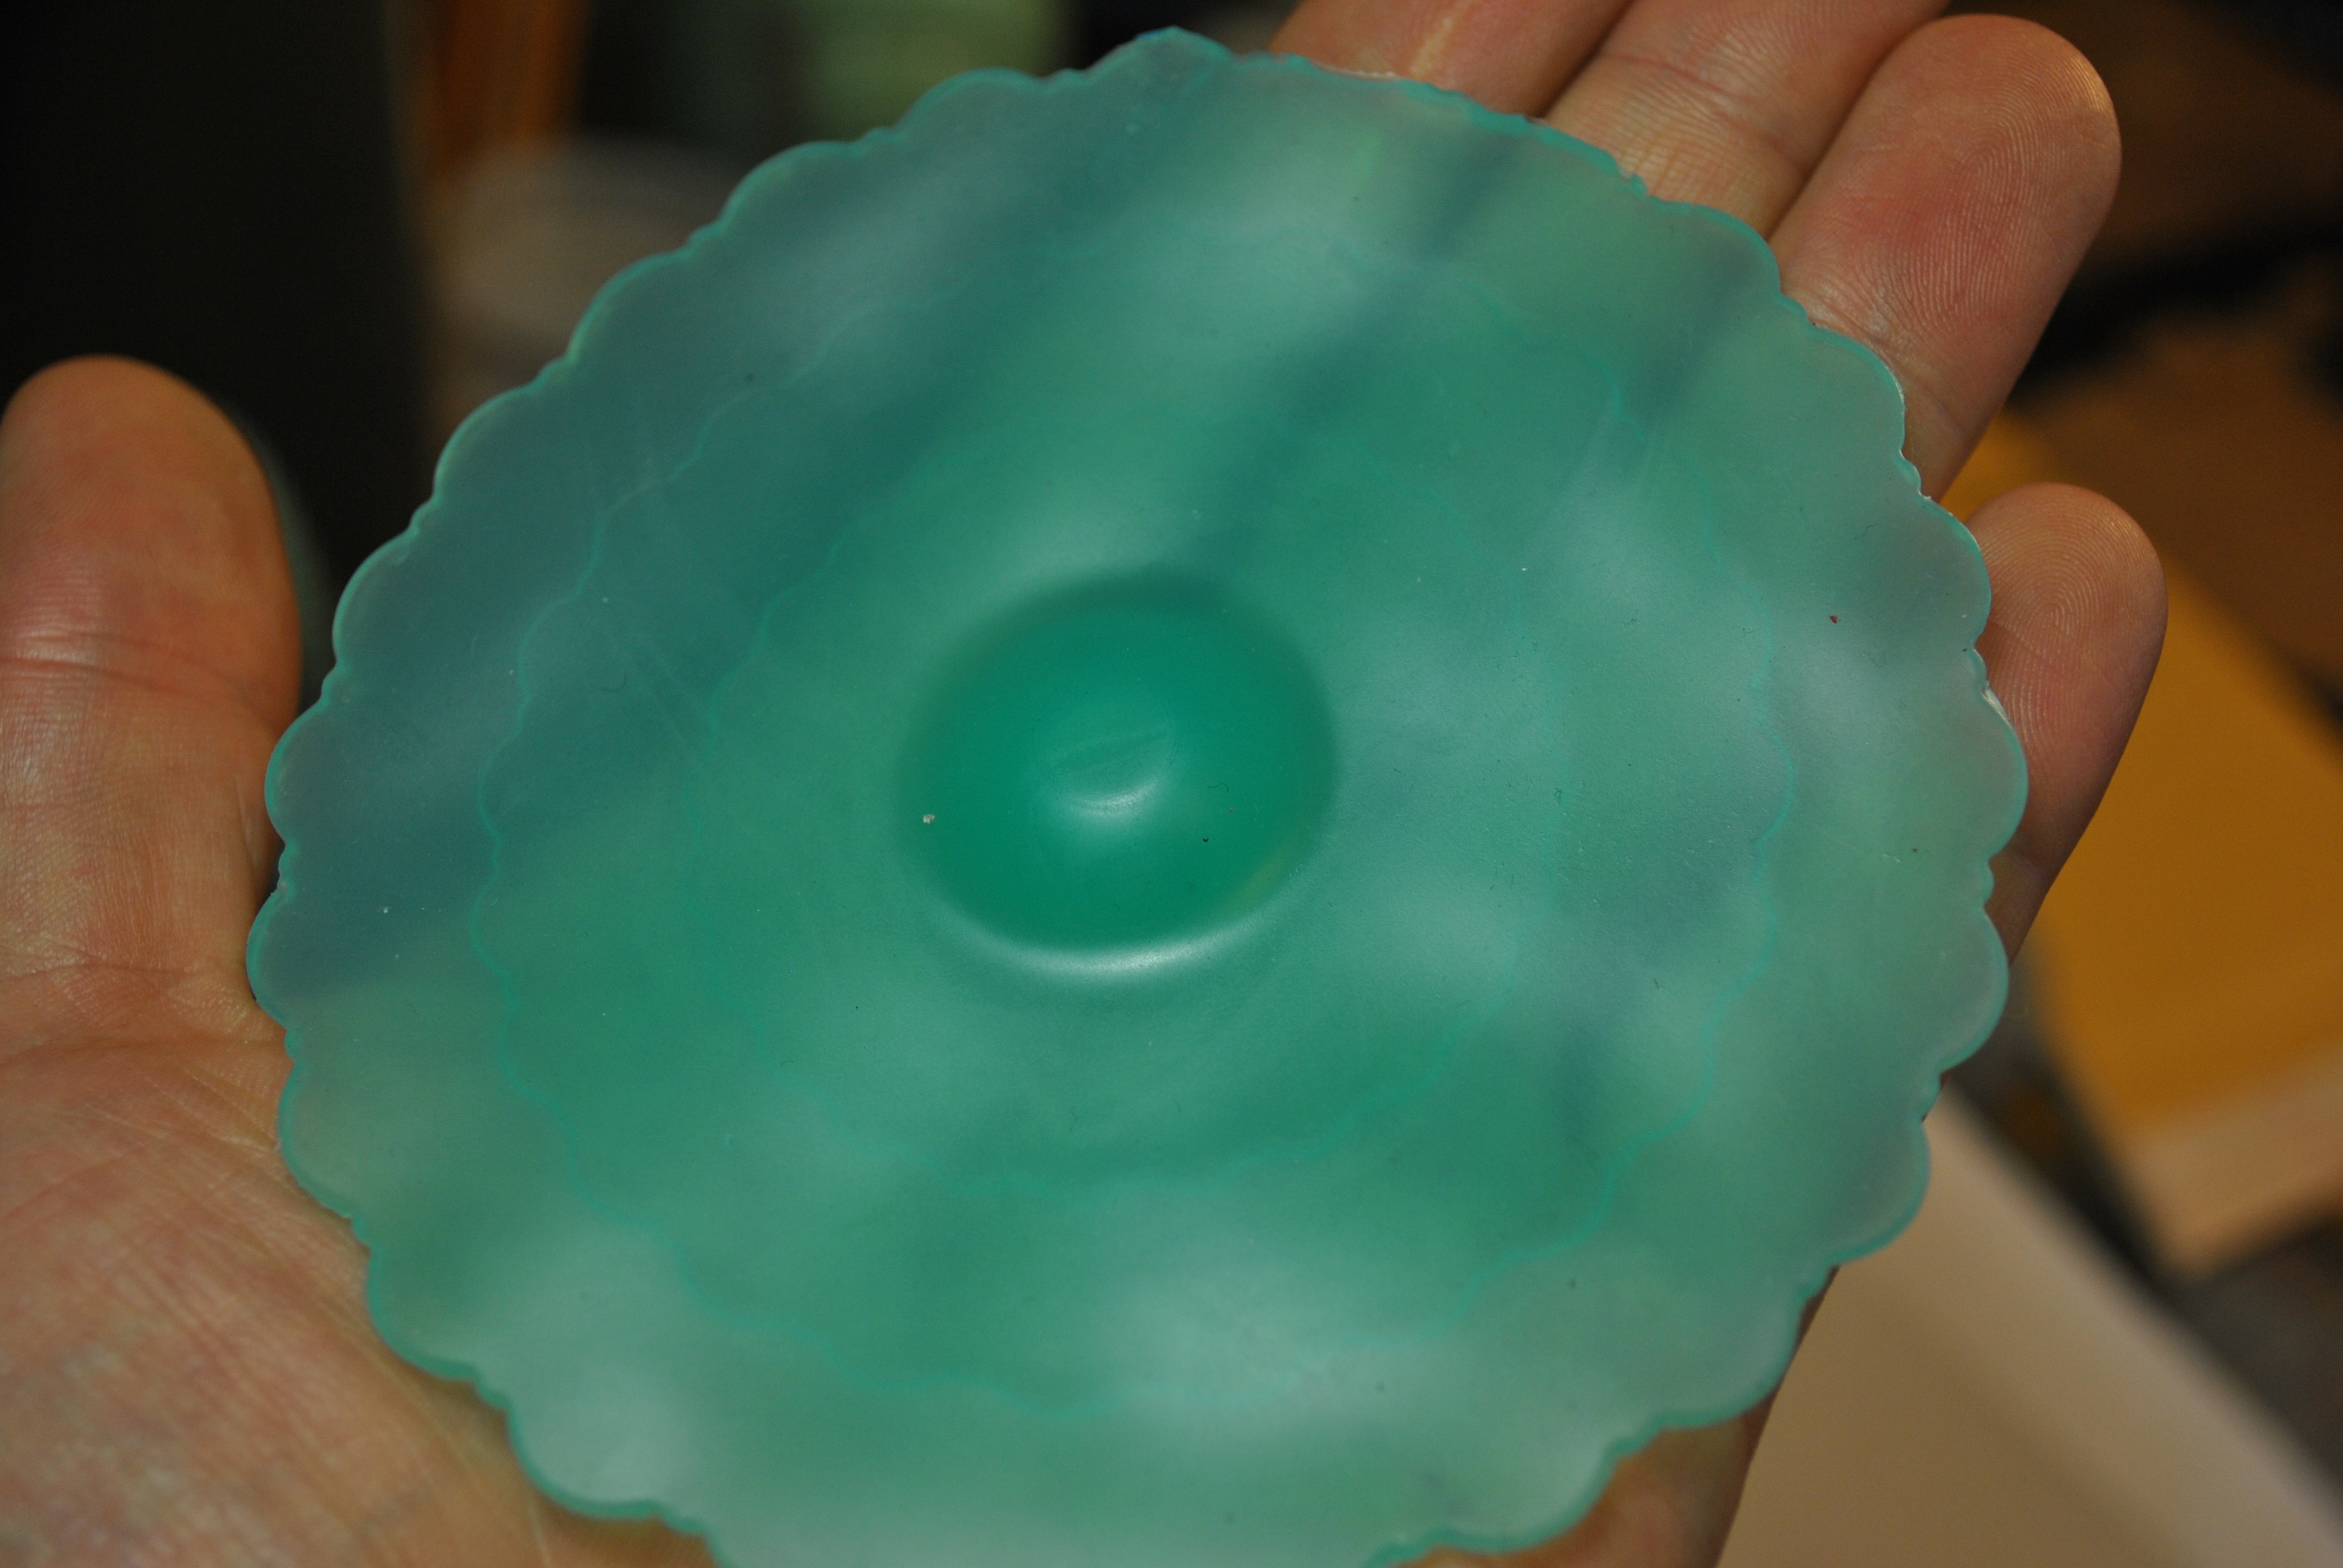
The back. This is the side that will be on top of the cup, with the ones we already have I can say they work great, the heat from the tea causes a bit of suction and the whole thing locks down on the cup making a nice seal for good steeping. Right now you have to peal them off by the side, but once I get the top charms on there will be a handle.
These came out amazing, and already plan on making them in a whole bunch of colors. Next week I am going to carve, cast, and pour some pewter charms to act as handles for these. If they come out as nice as I think they will, look for them in my Etsy Store soon.
Do you want to help me continue to bring you great projects, while also getting great rewards? Then support me on Patreon!
Thank you!
 Run The Jewels Gold and Black Fist and Gun Logo Vinyl Sticker/Decal
$22.00 – $27.00
Run The Jewels Gold and Black Fist and Gun Logo Vinyl Sticker/Decal
$22.00 – $27.00
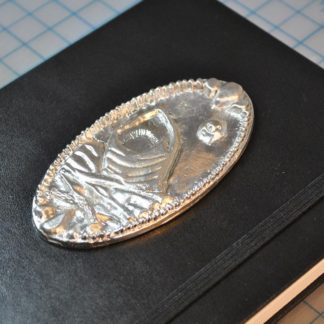 Hand Carved and Cast Dune Themed Journal
$80.00
Hand Carved and Cast Dune Themed Journal
$80.00
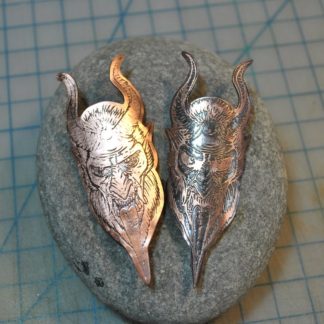 Krampus Head Badge
$65.00
Krampus Head Badge
$65.00
 My Other Ride Is Shai-Hulud Vinyl Two Color Sticker/decal
$9.00 – $13.00
My Other Ride Is Shai-Hulud Vinyl Two Color Sticker/decal
$9.00 – $13.00
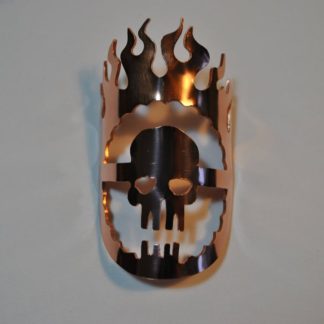 Mad Max Imorten Joe Head Badge
$65.00
Mad Max Imorten Joe Head Badge
$65.00