My girlfriend drinks a lot of tea…like she usually has multiple tea cups going at the same time. And she has these little things she puts on the tops of the cups to help each tea bag brew up nicely. I have seen the ones she has and I thought I could do them one better by making some custom tops for them with various fun cast pewter things. In this first part of the project I create a “basic” model in silicon that will be used for next weeks project.
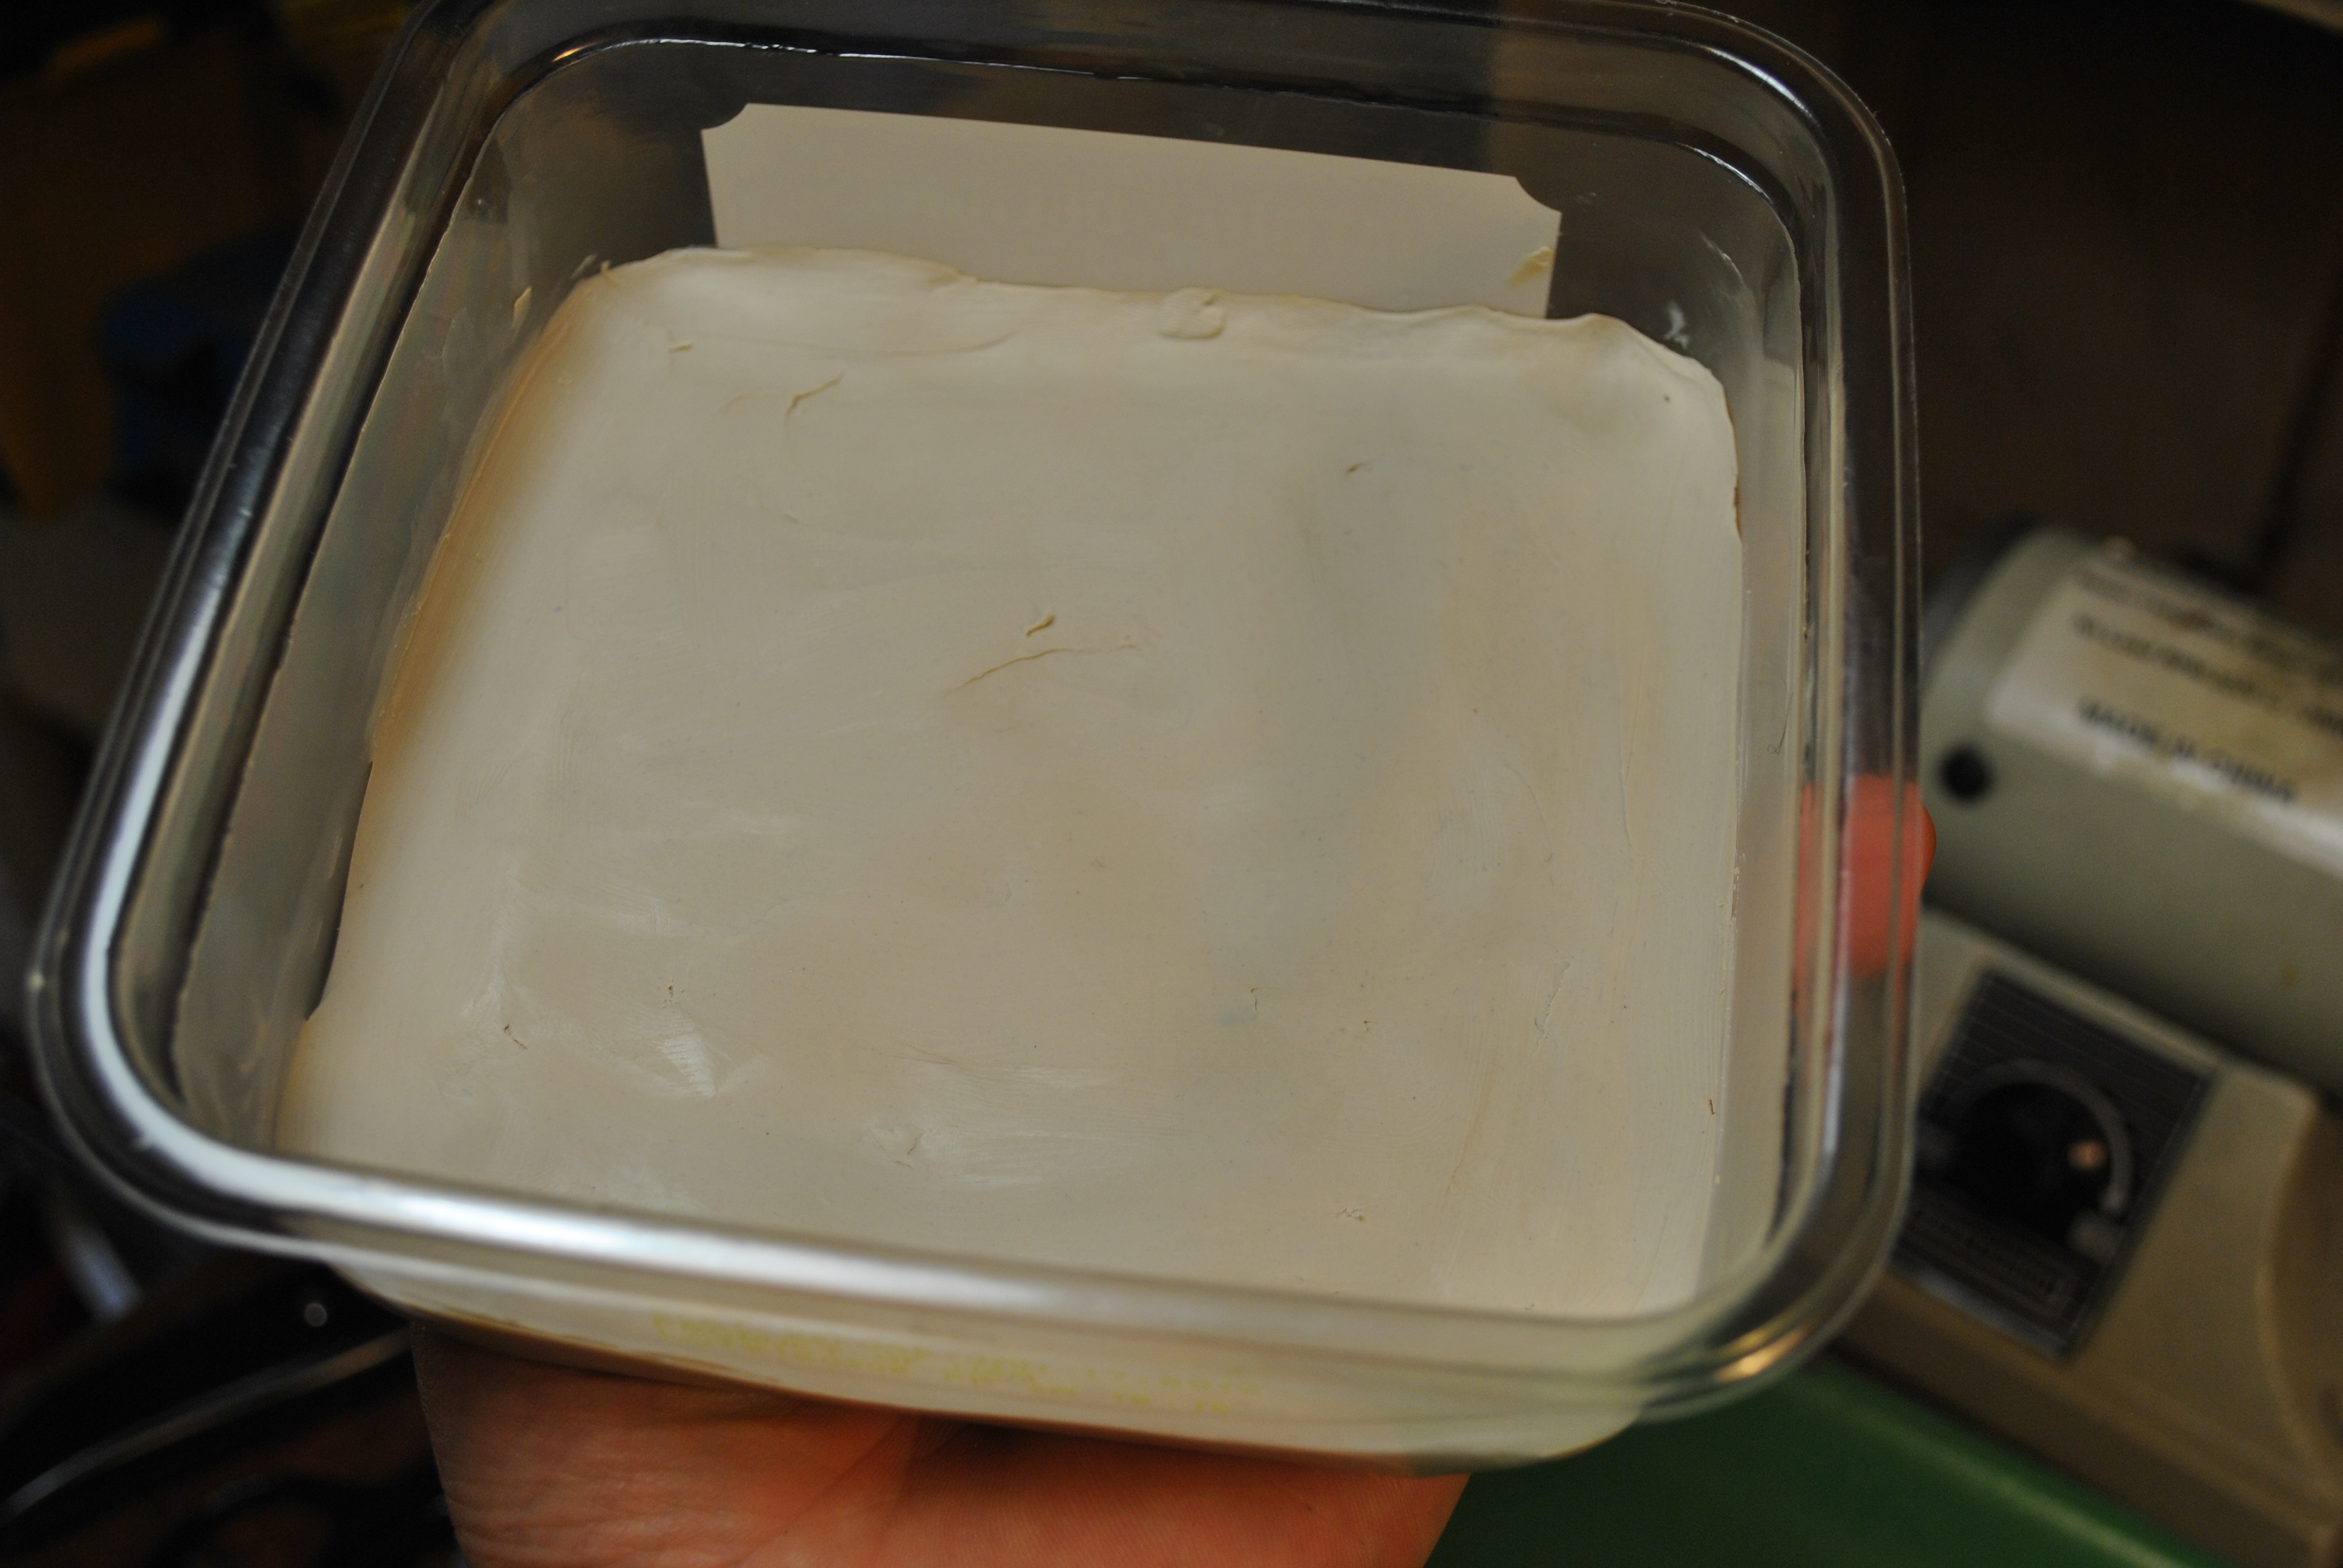
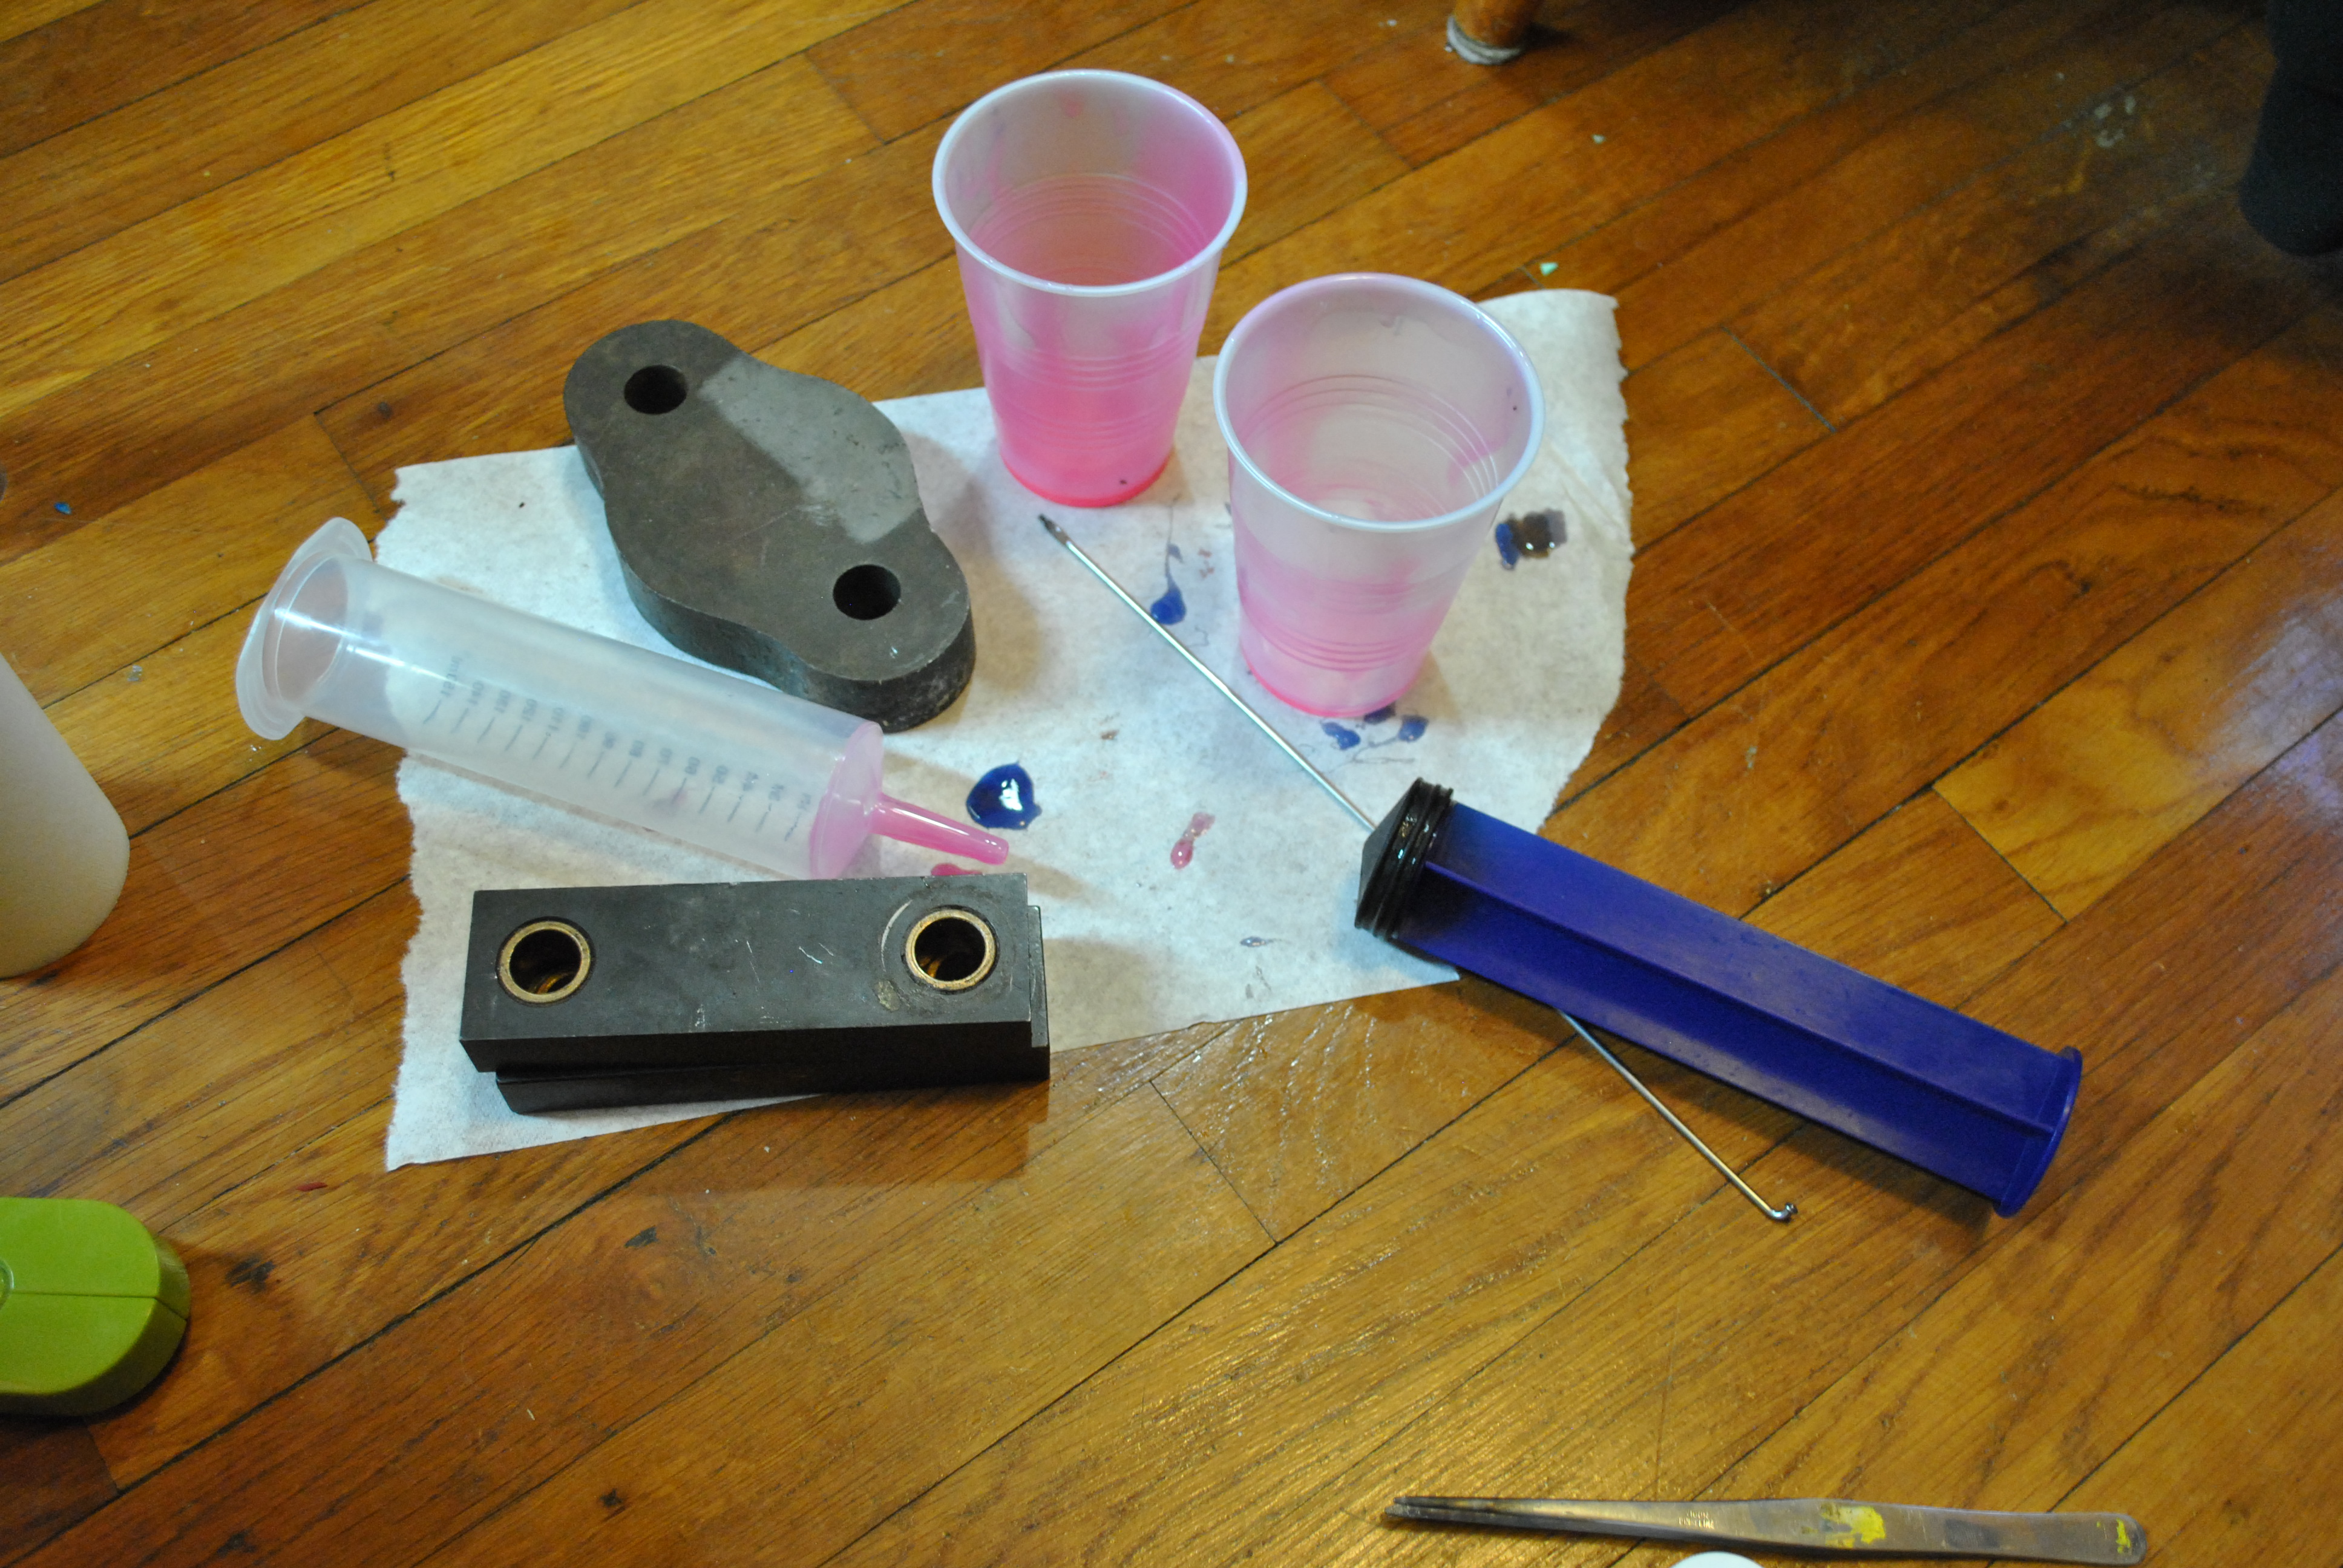
I started off with putting some soft clay in a plastic container (a dried date container if I remember correctly)
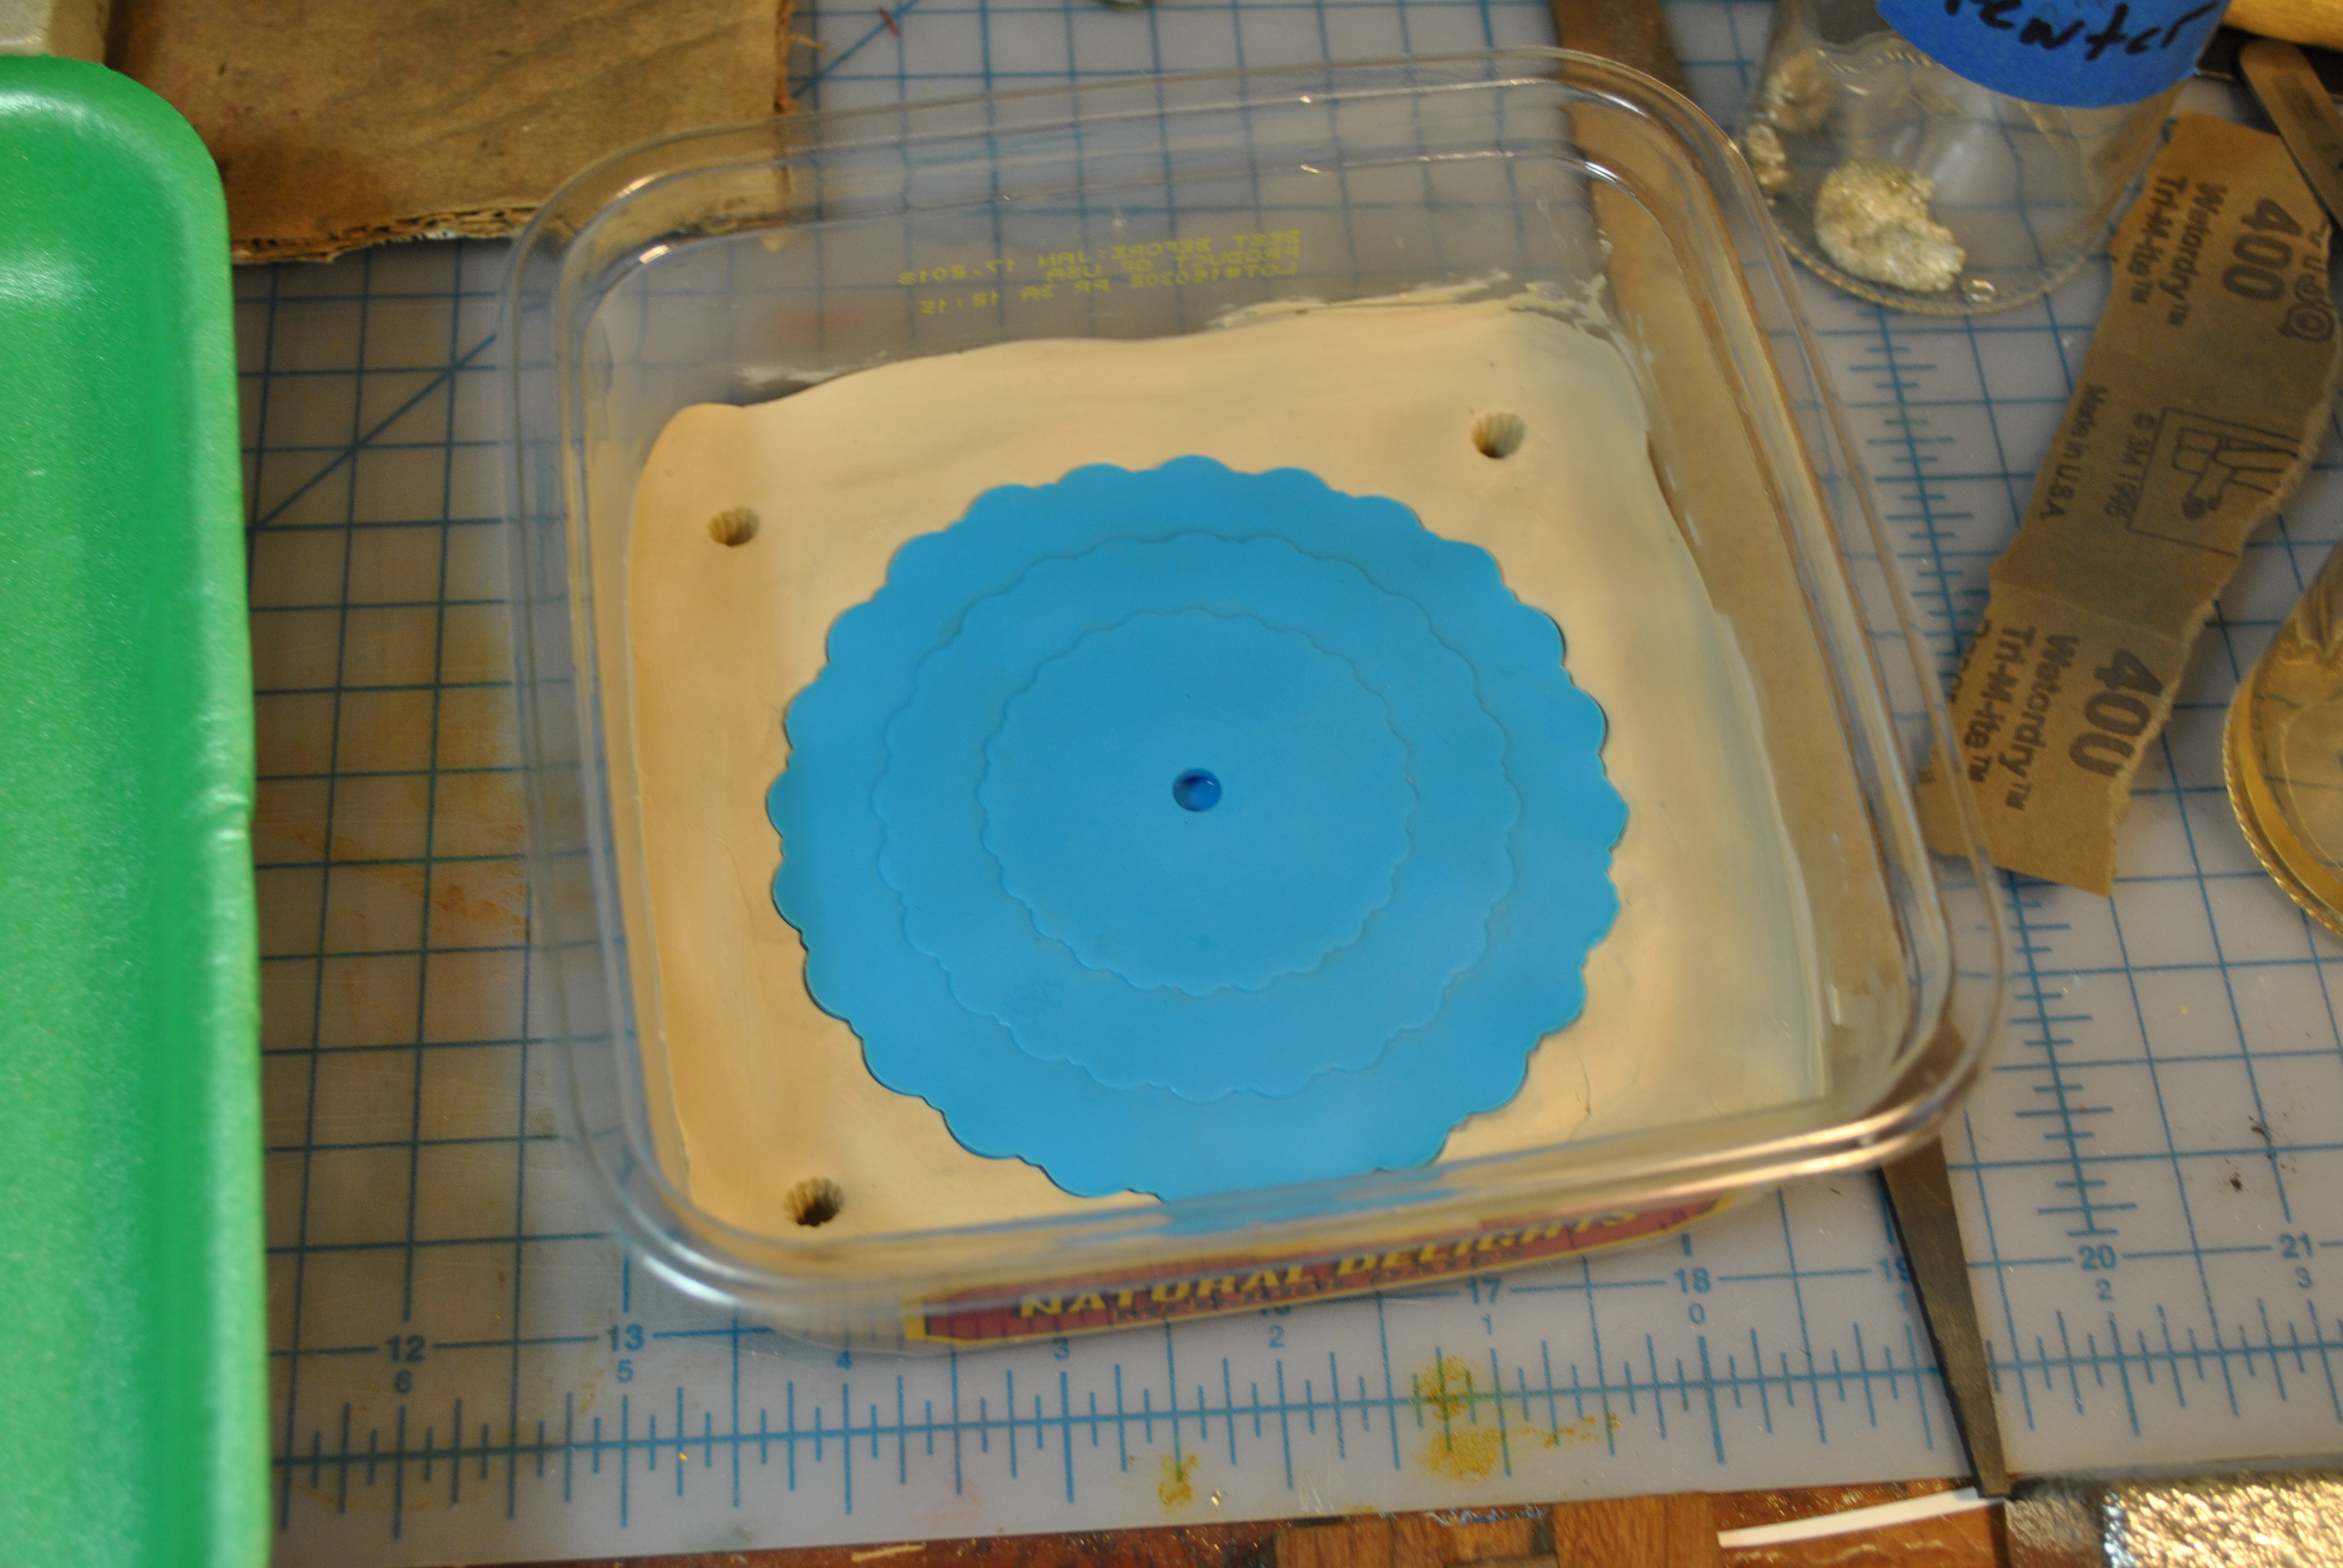
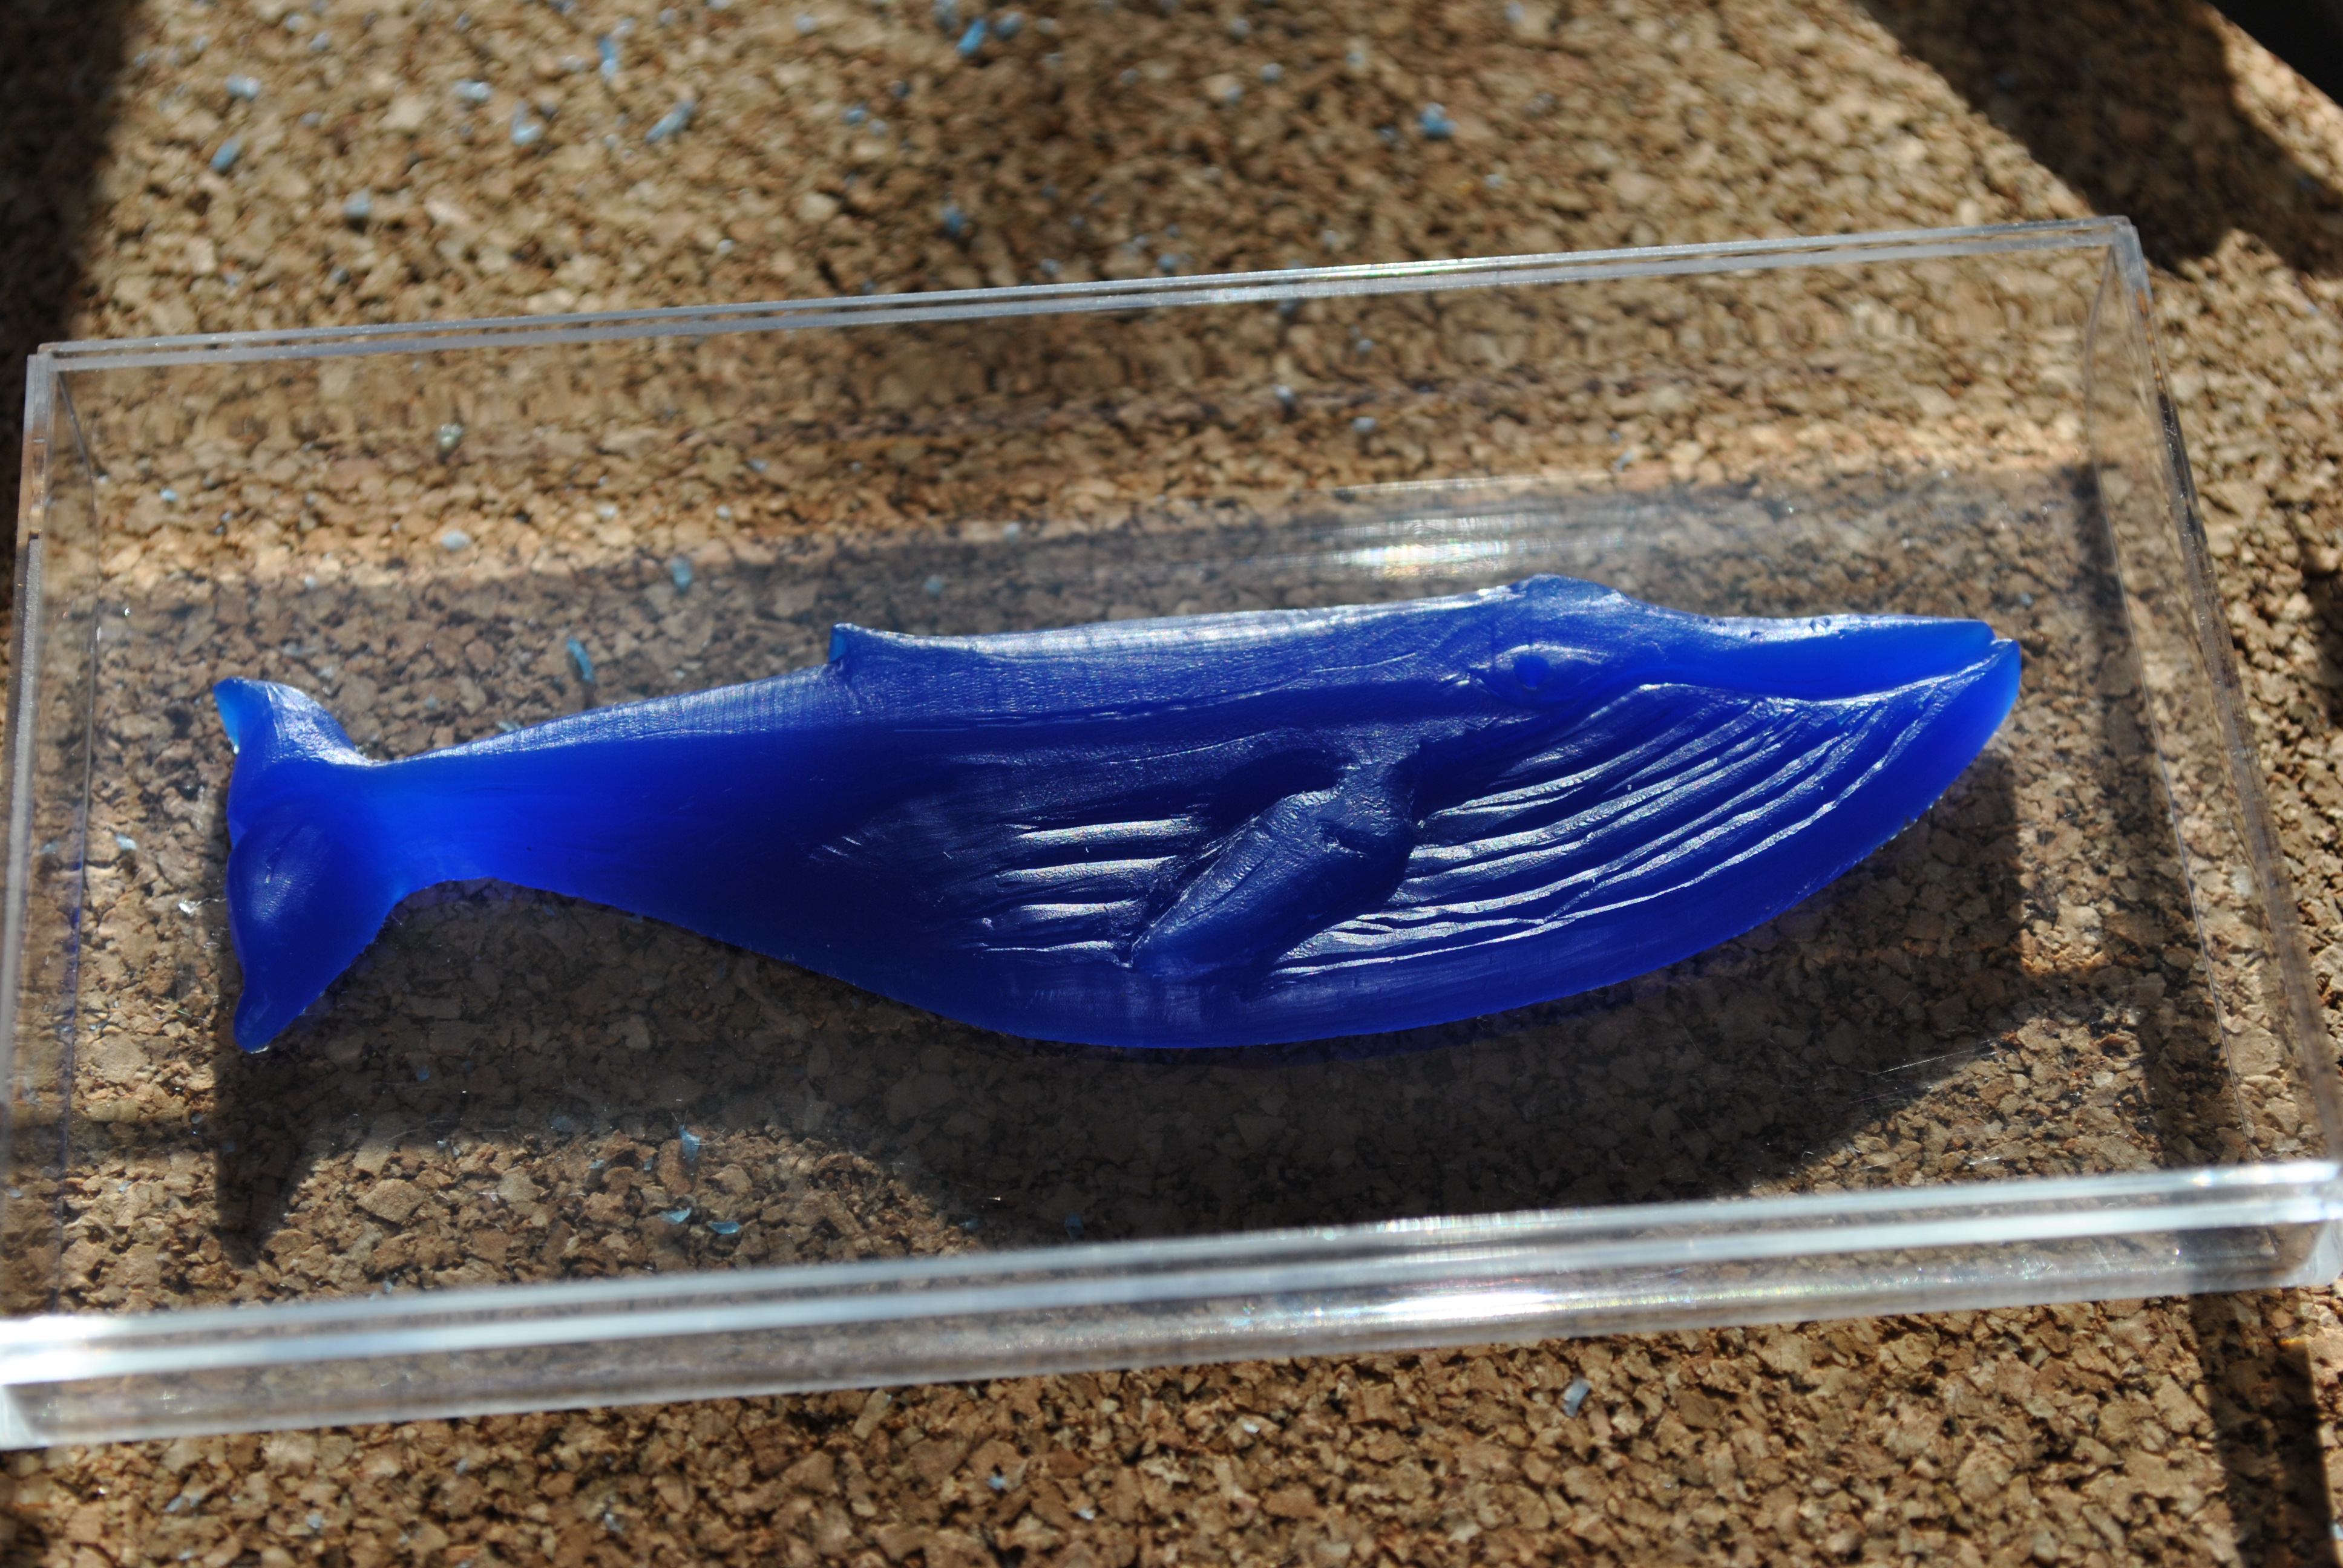
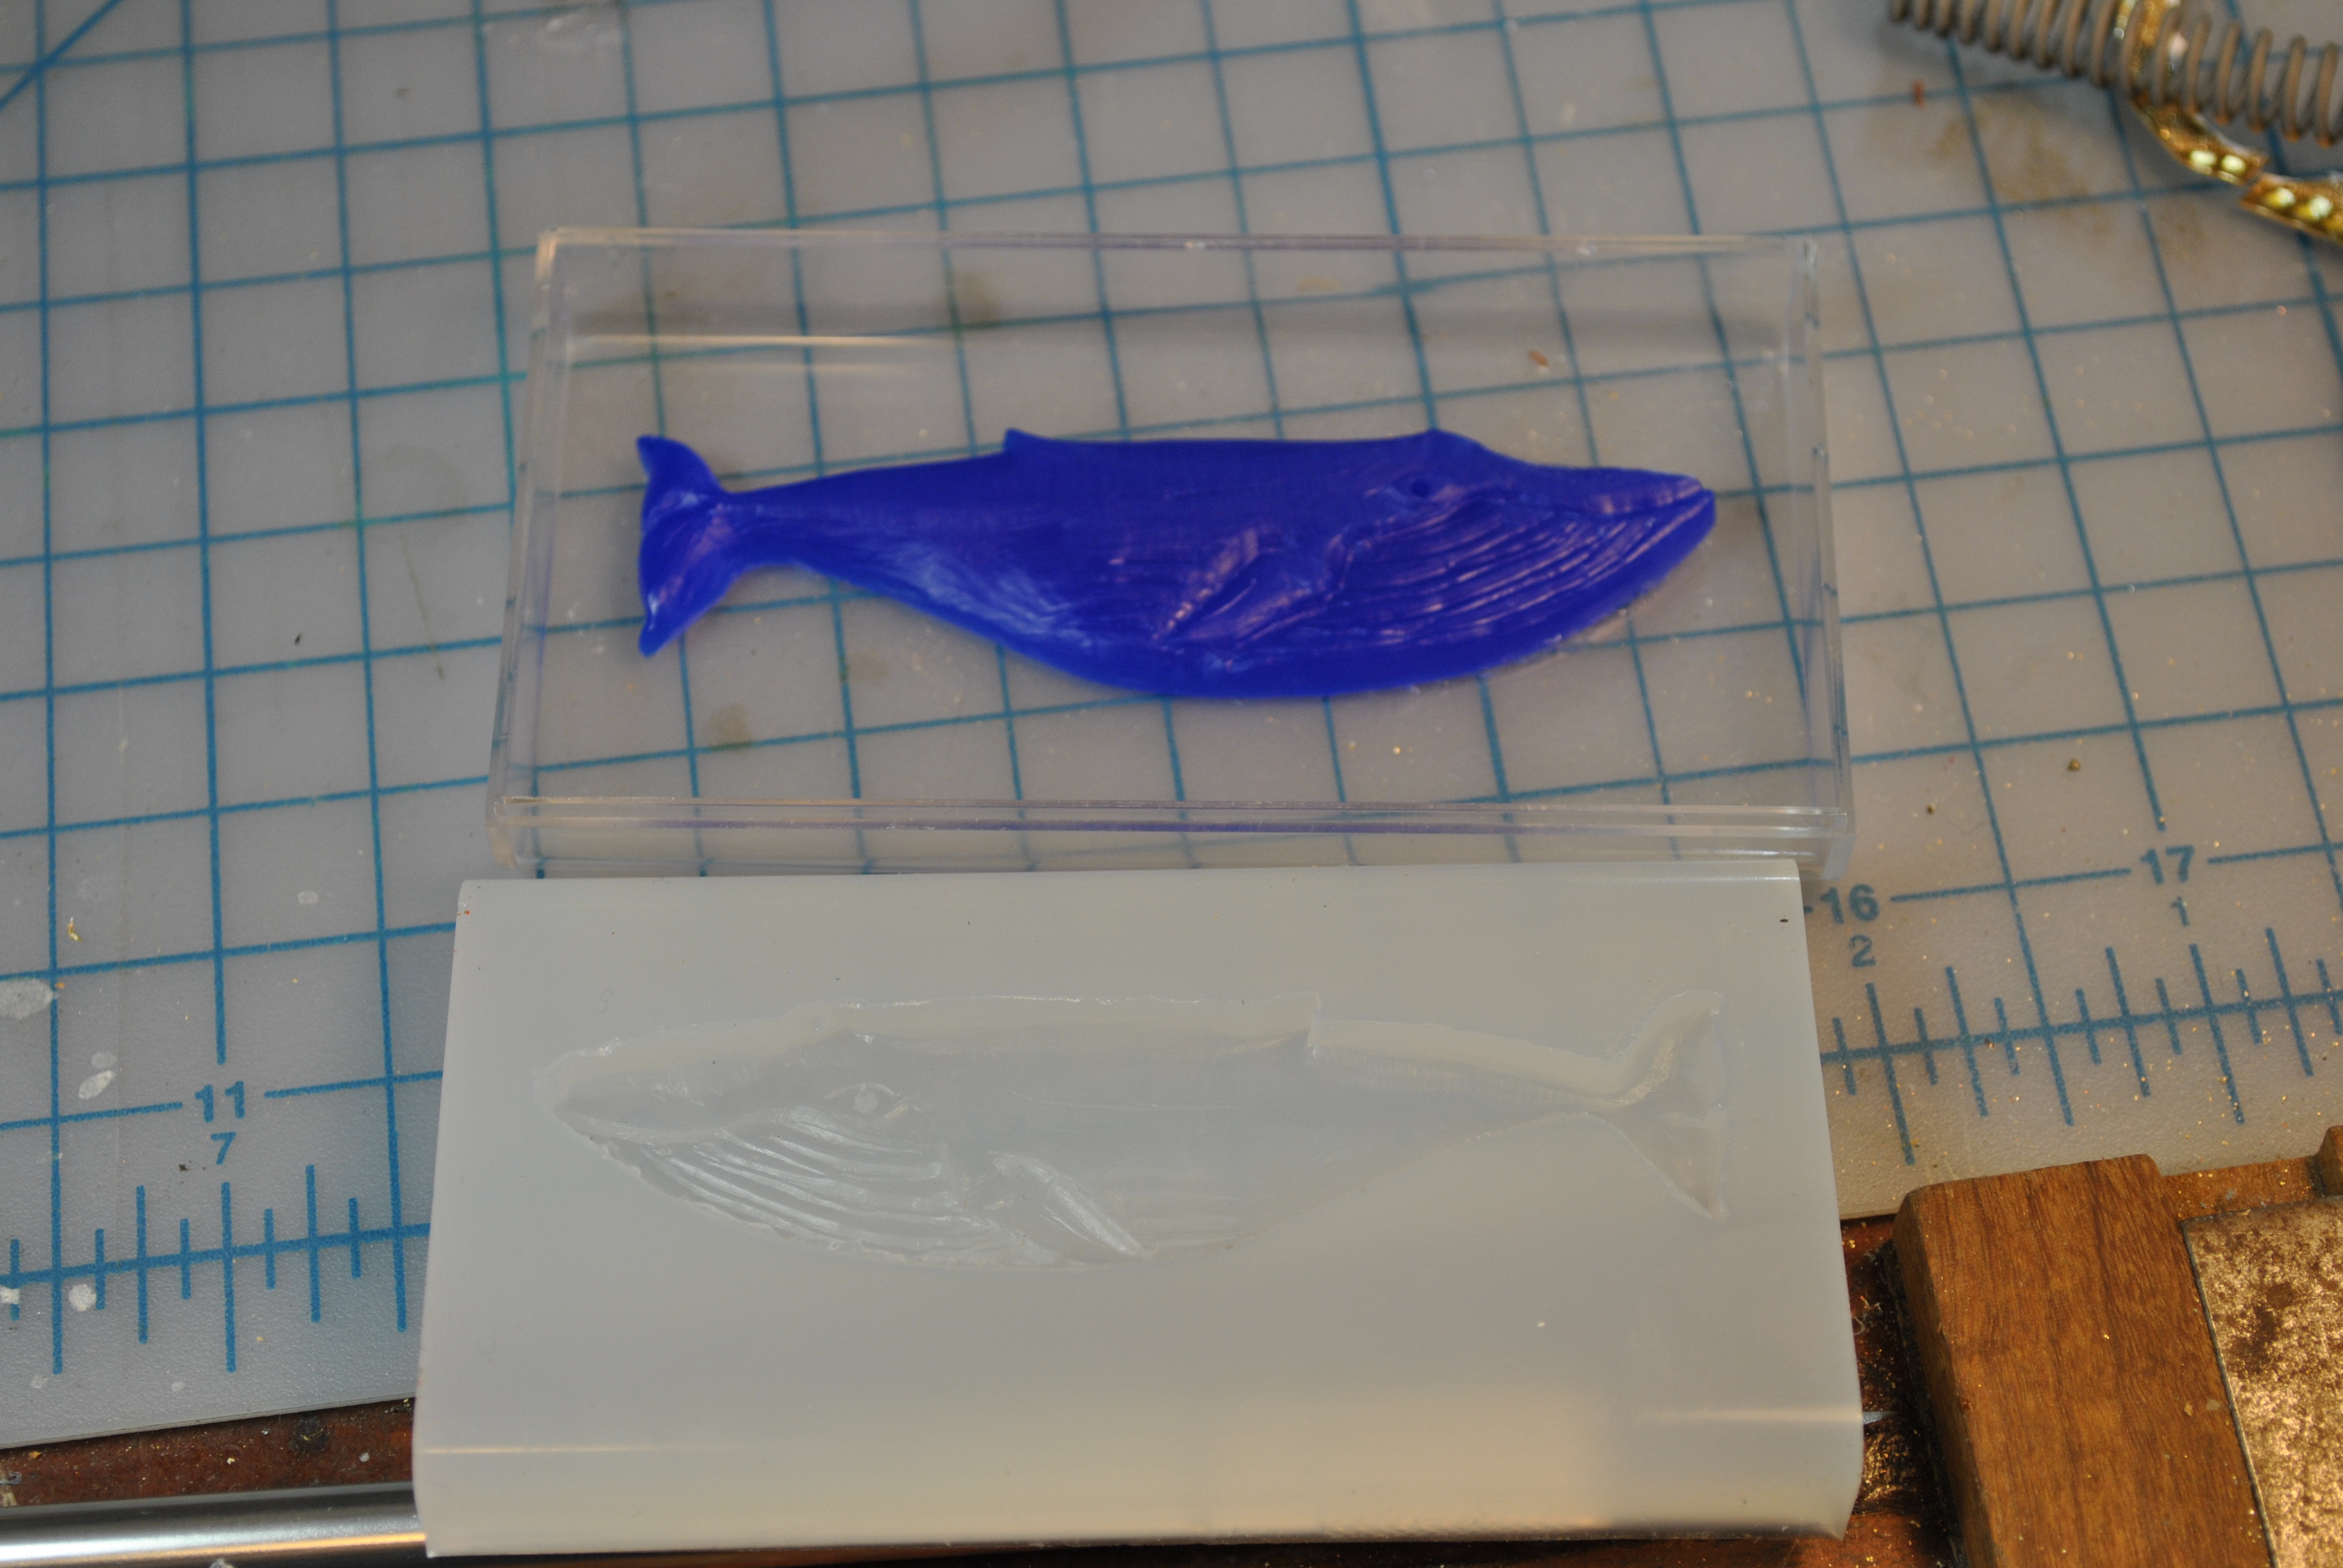
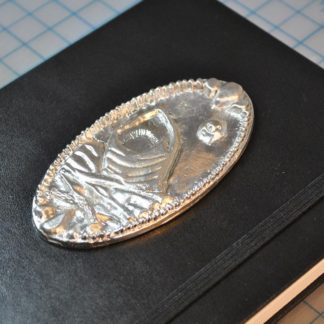
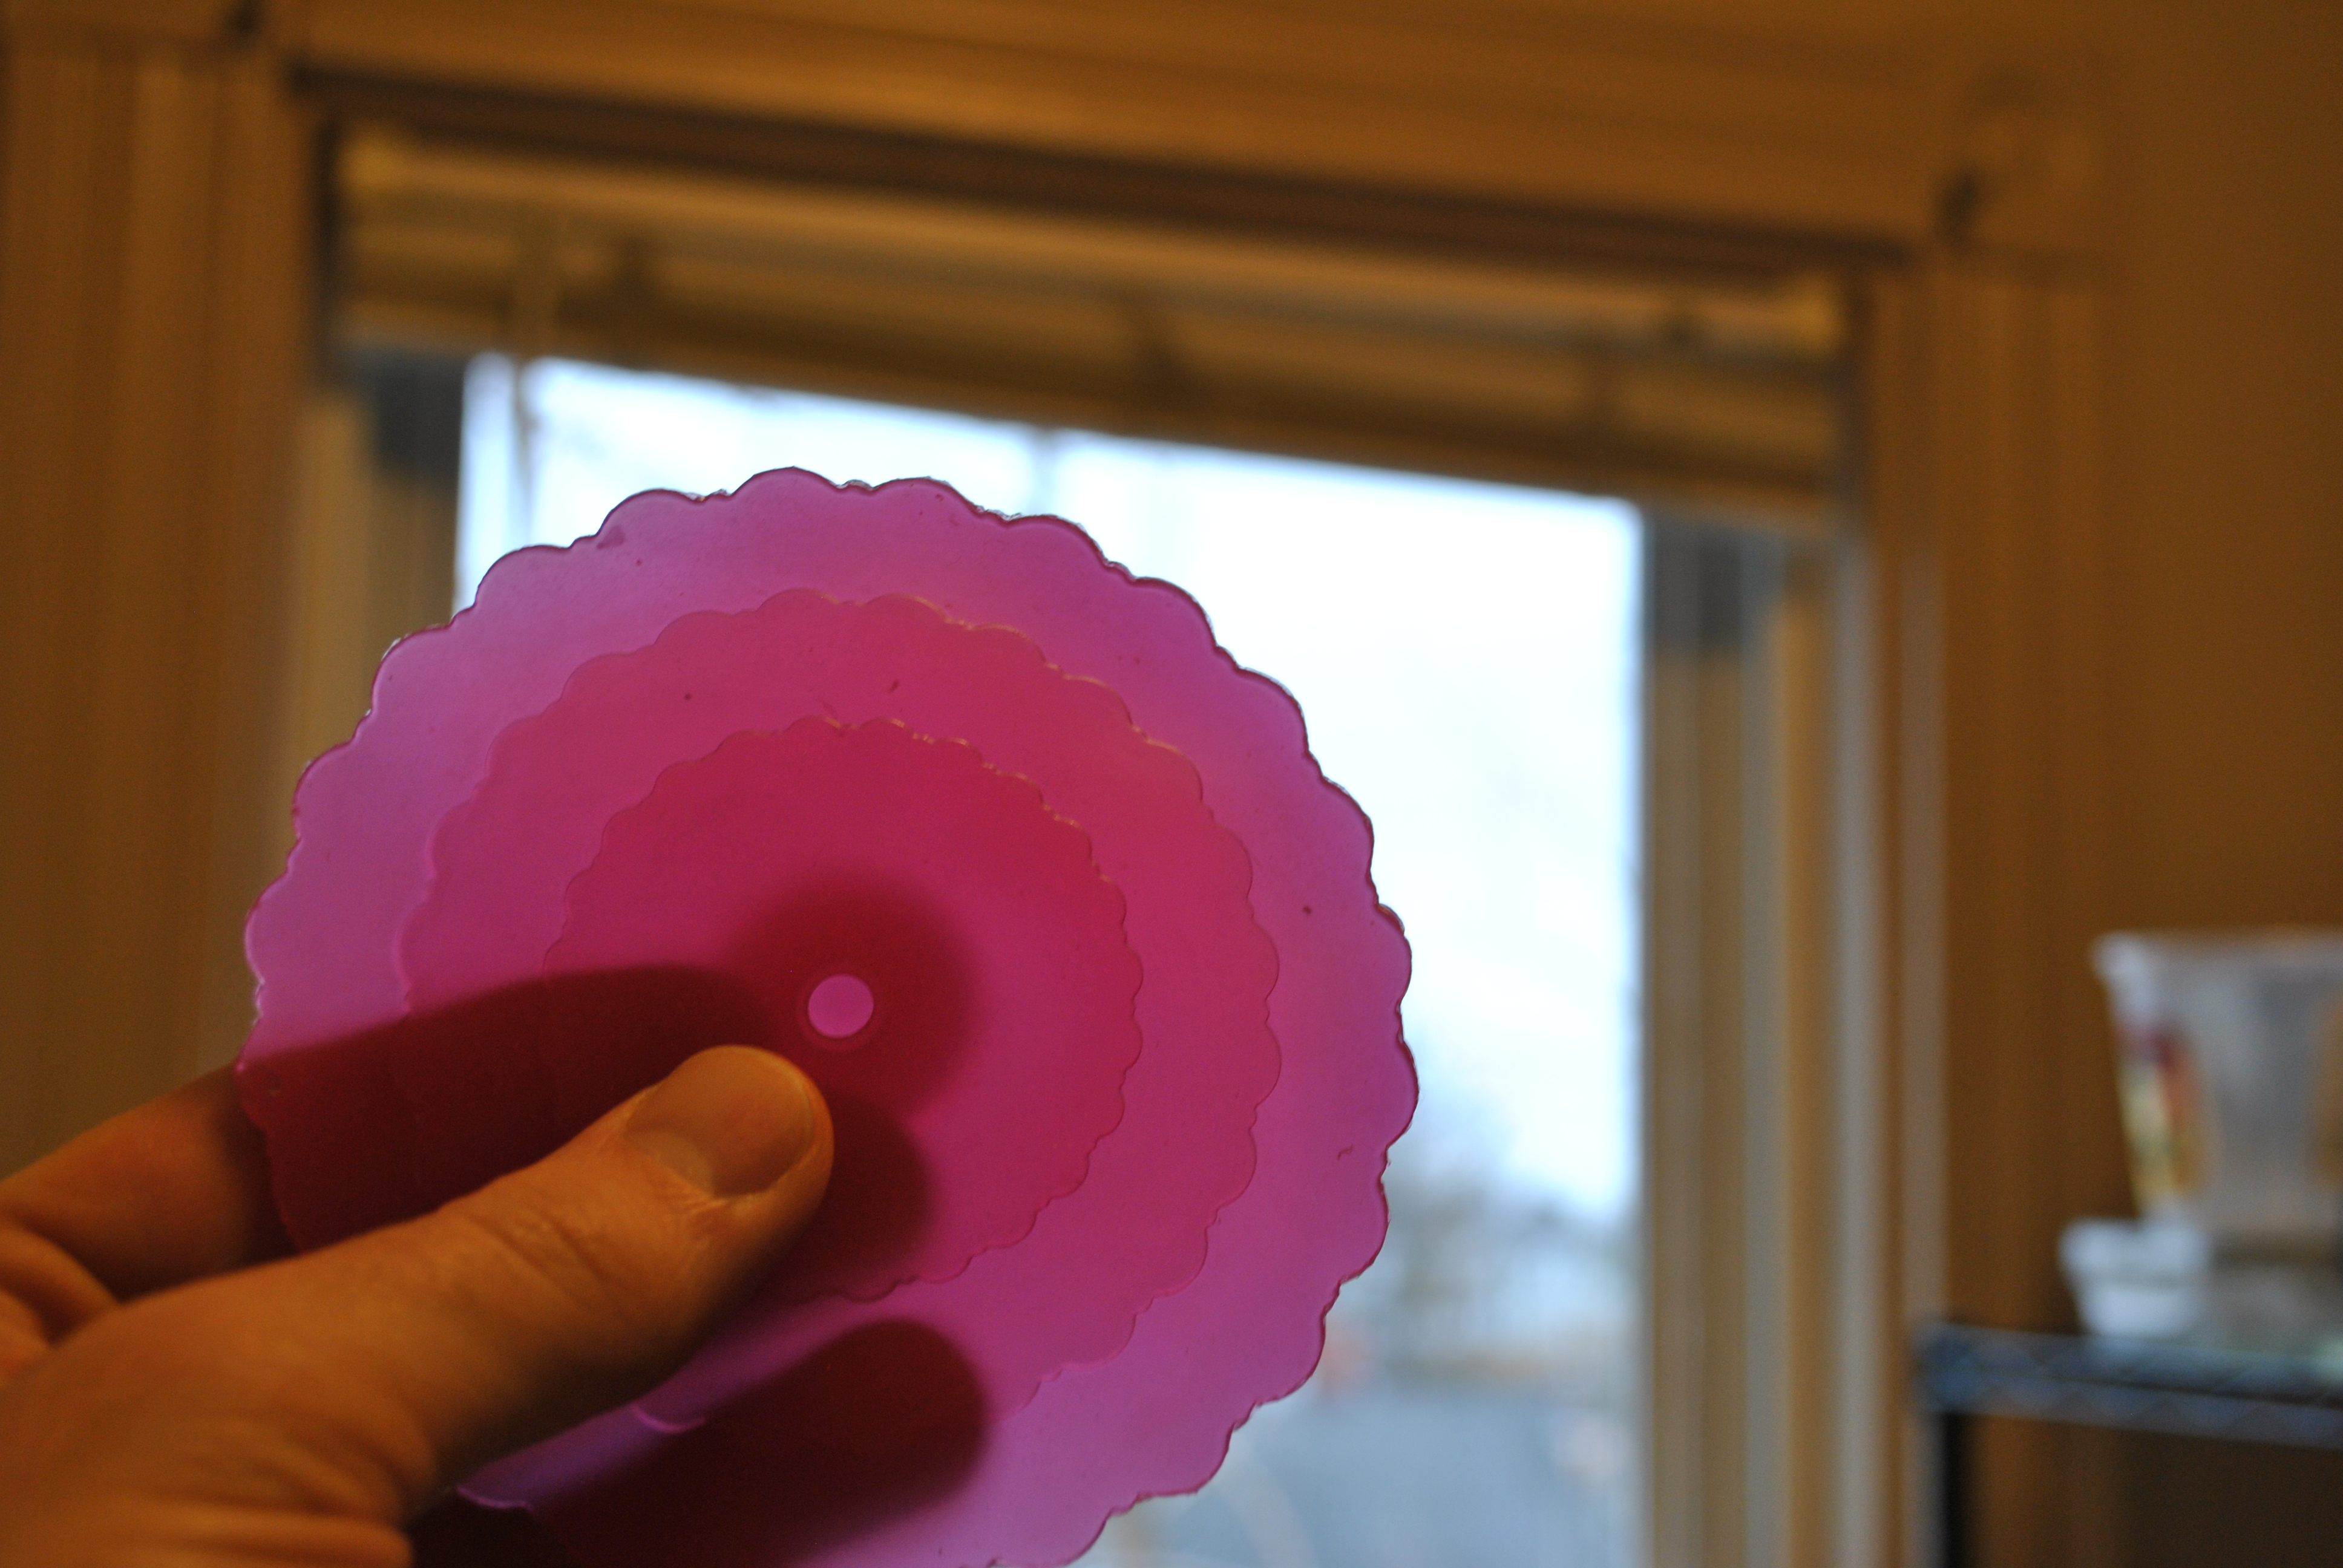
The model, it has concentric layers, and the middle is cut out to create a place to add the top charms later. I put three holes so that it will index later.
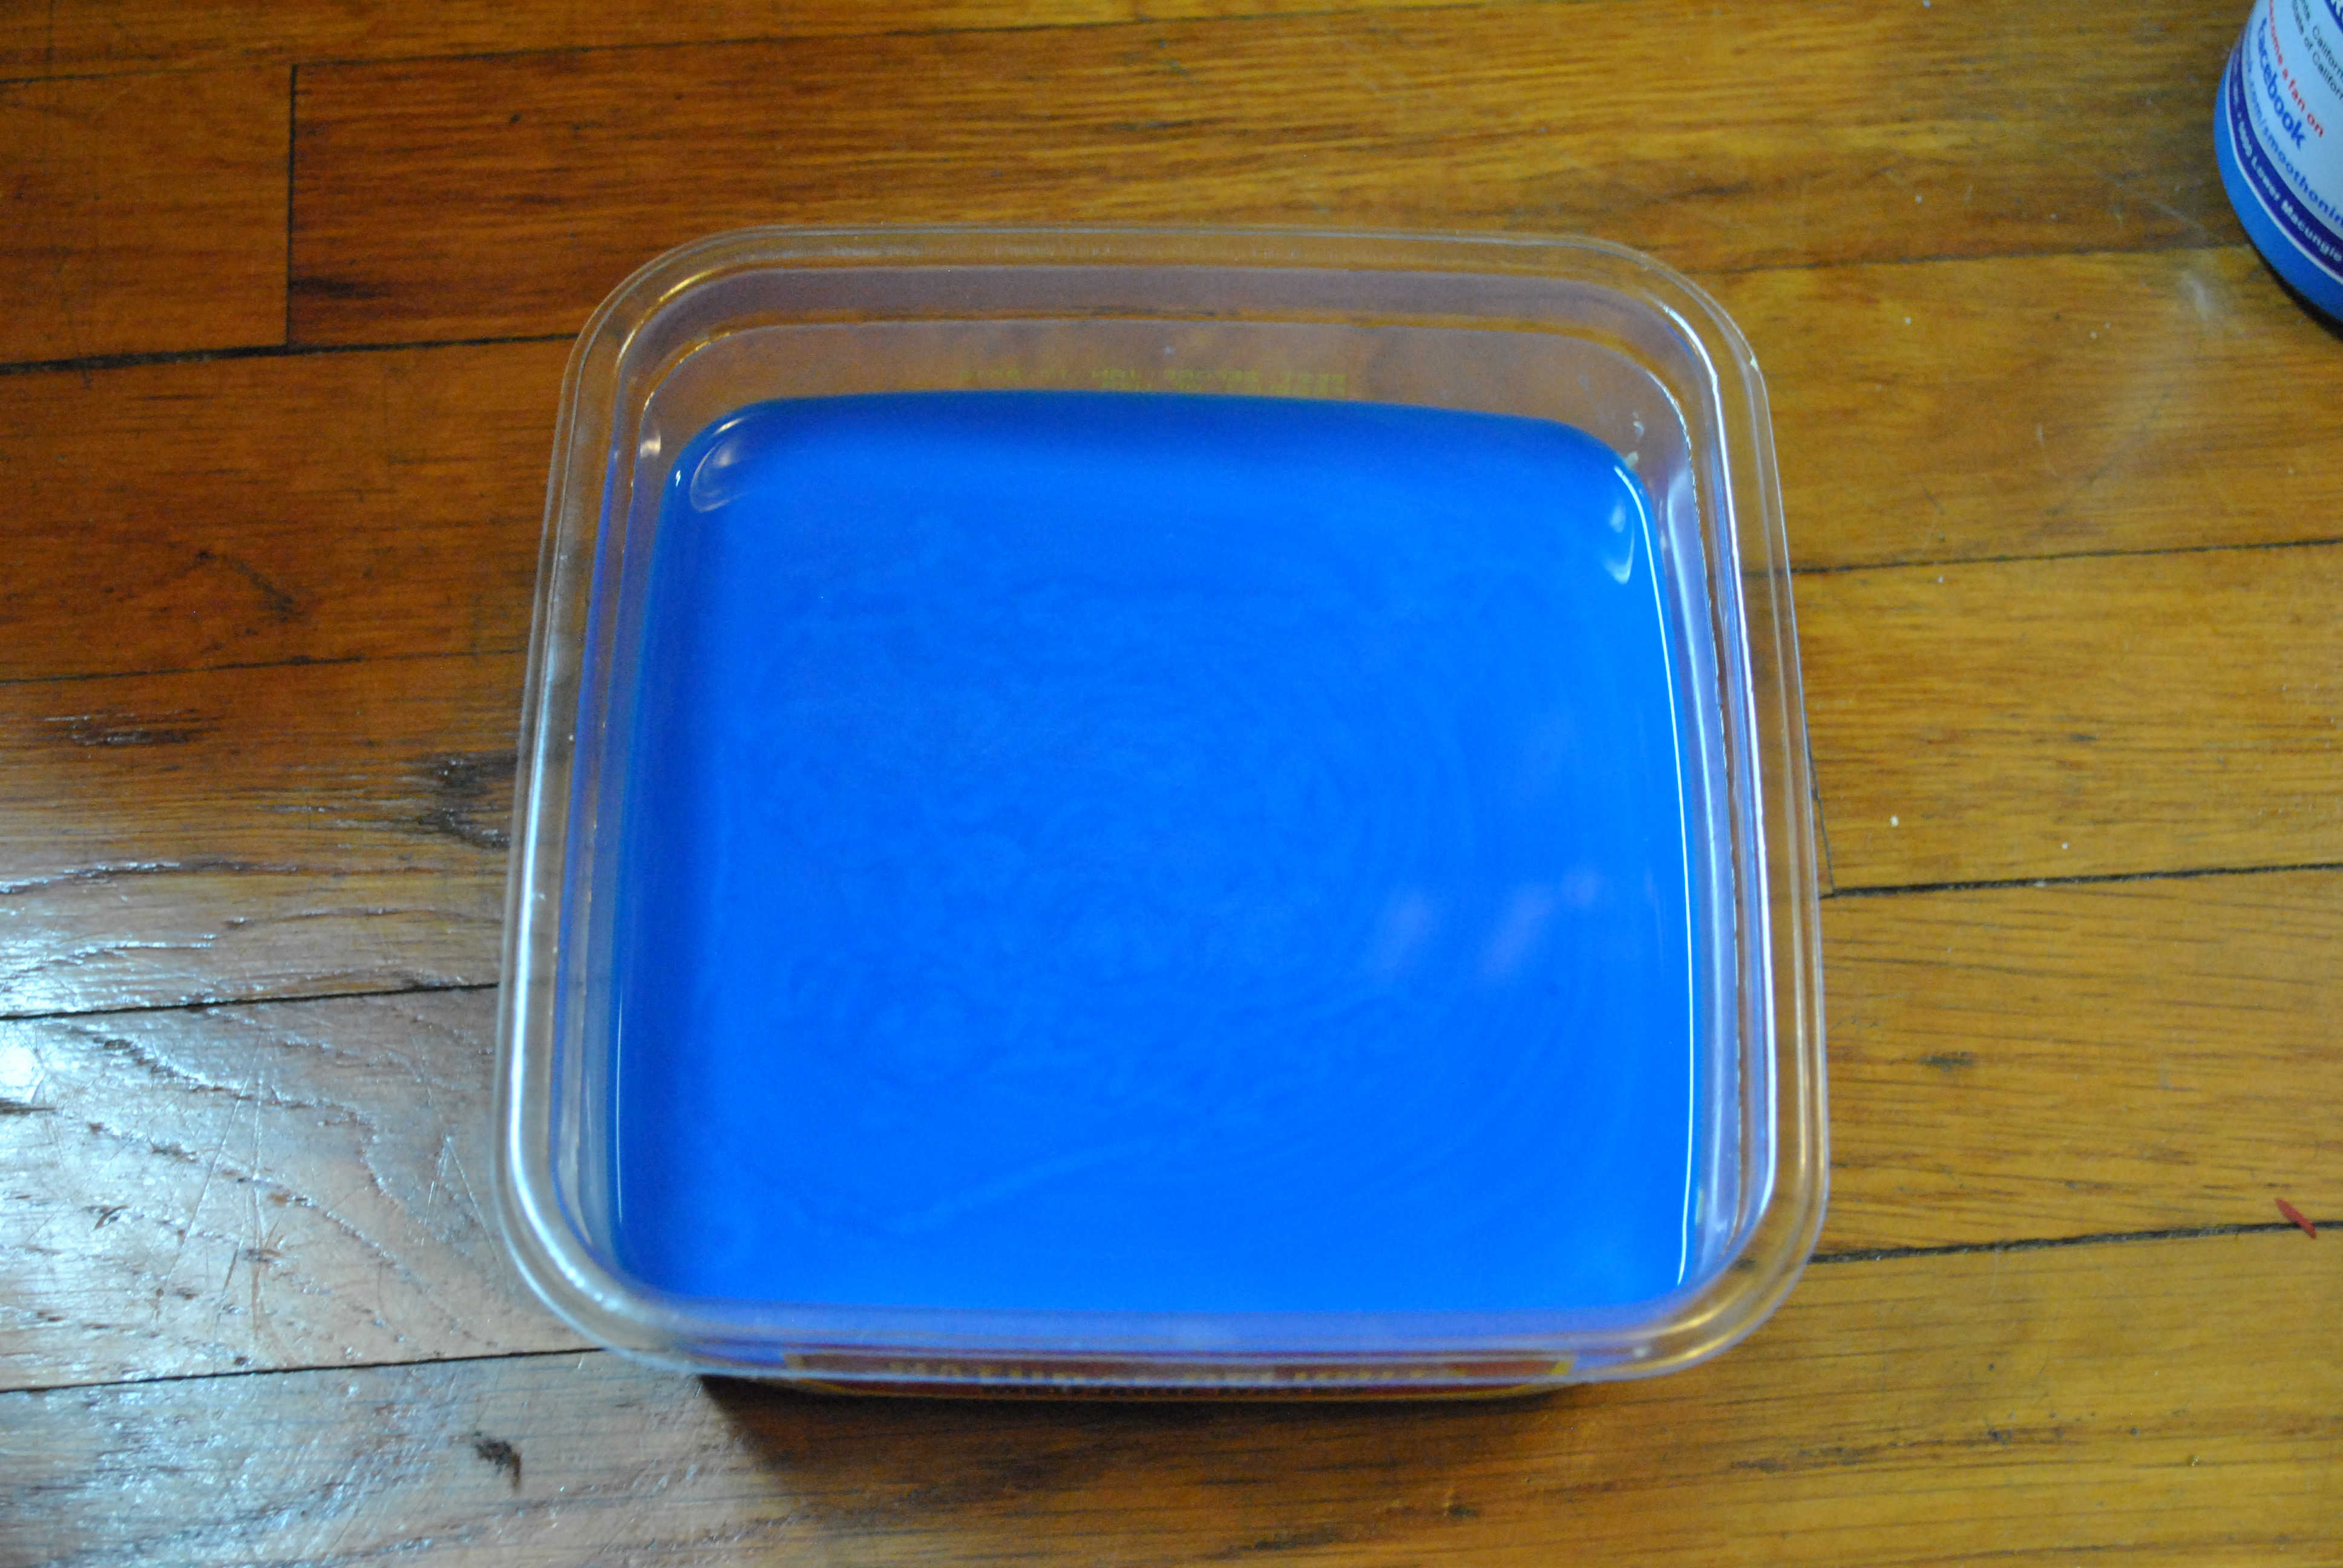
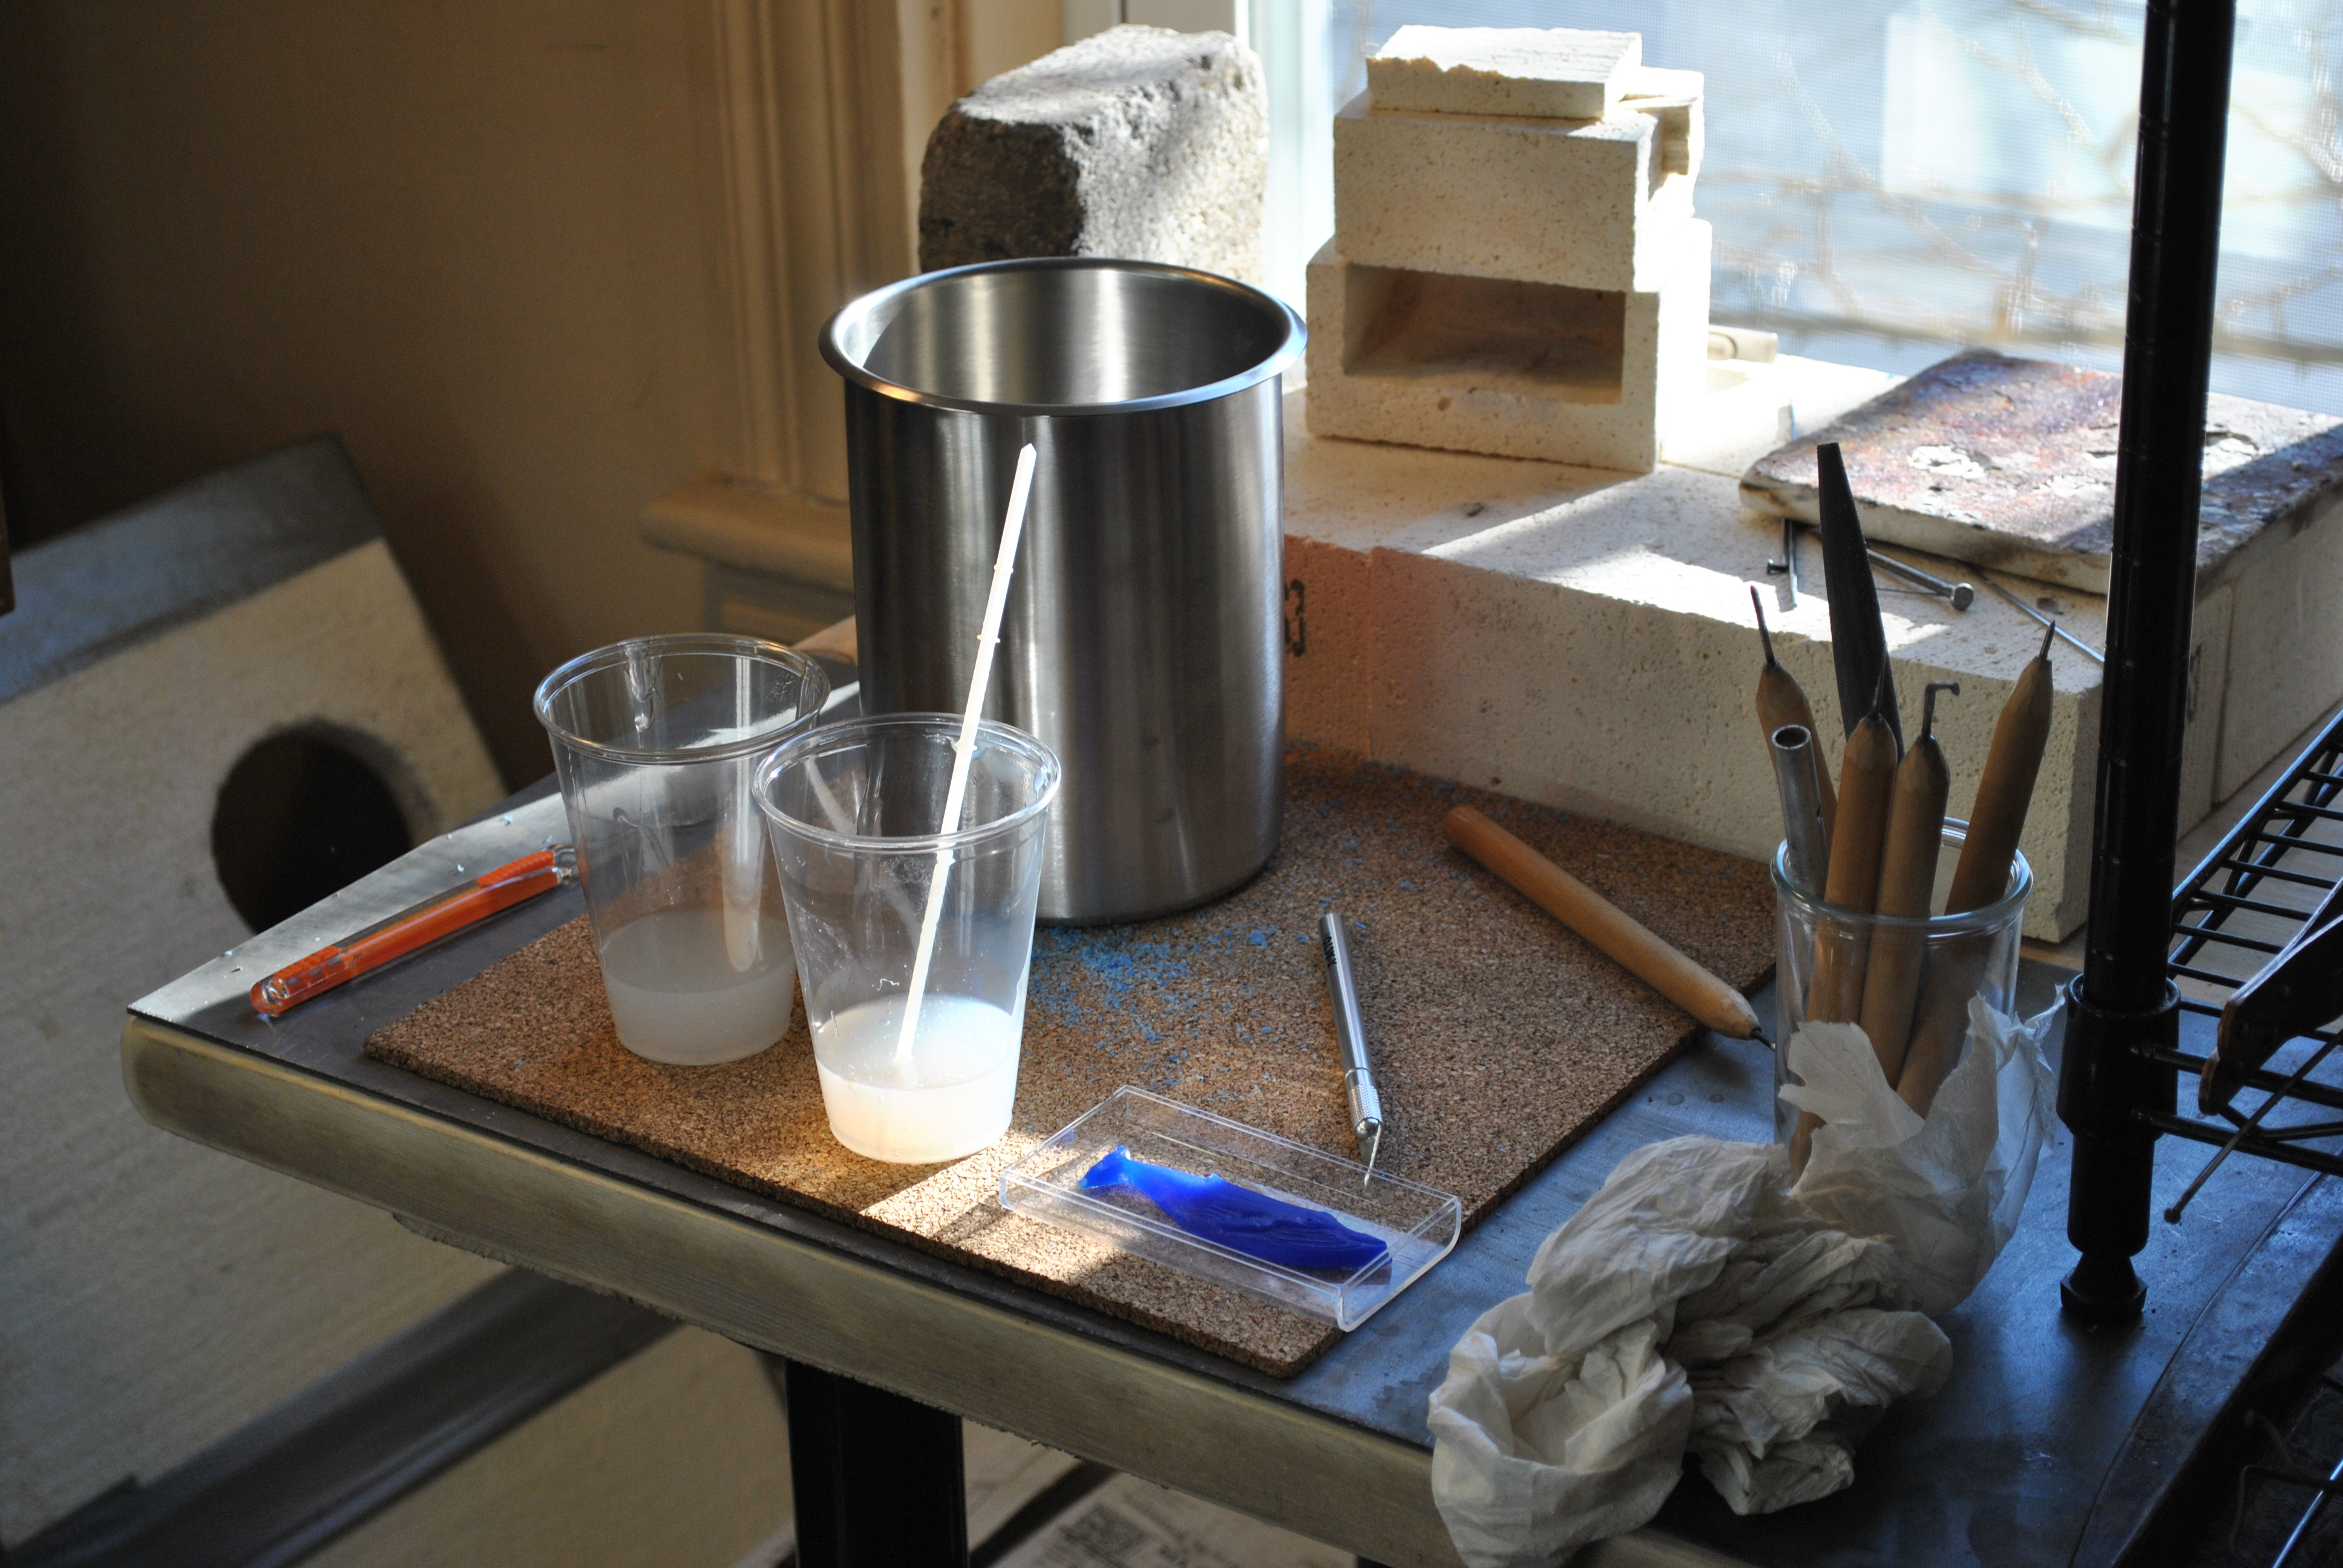
I am using mold star 30 from smooth on, a new product for me. It makes a pretty blue mold making material. I used it because it was slightly cheaper and promised to make a good mold.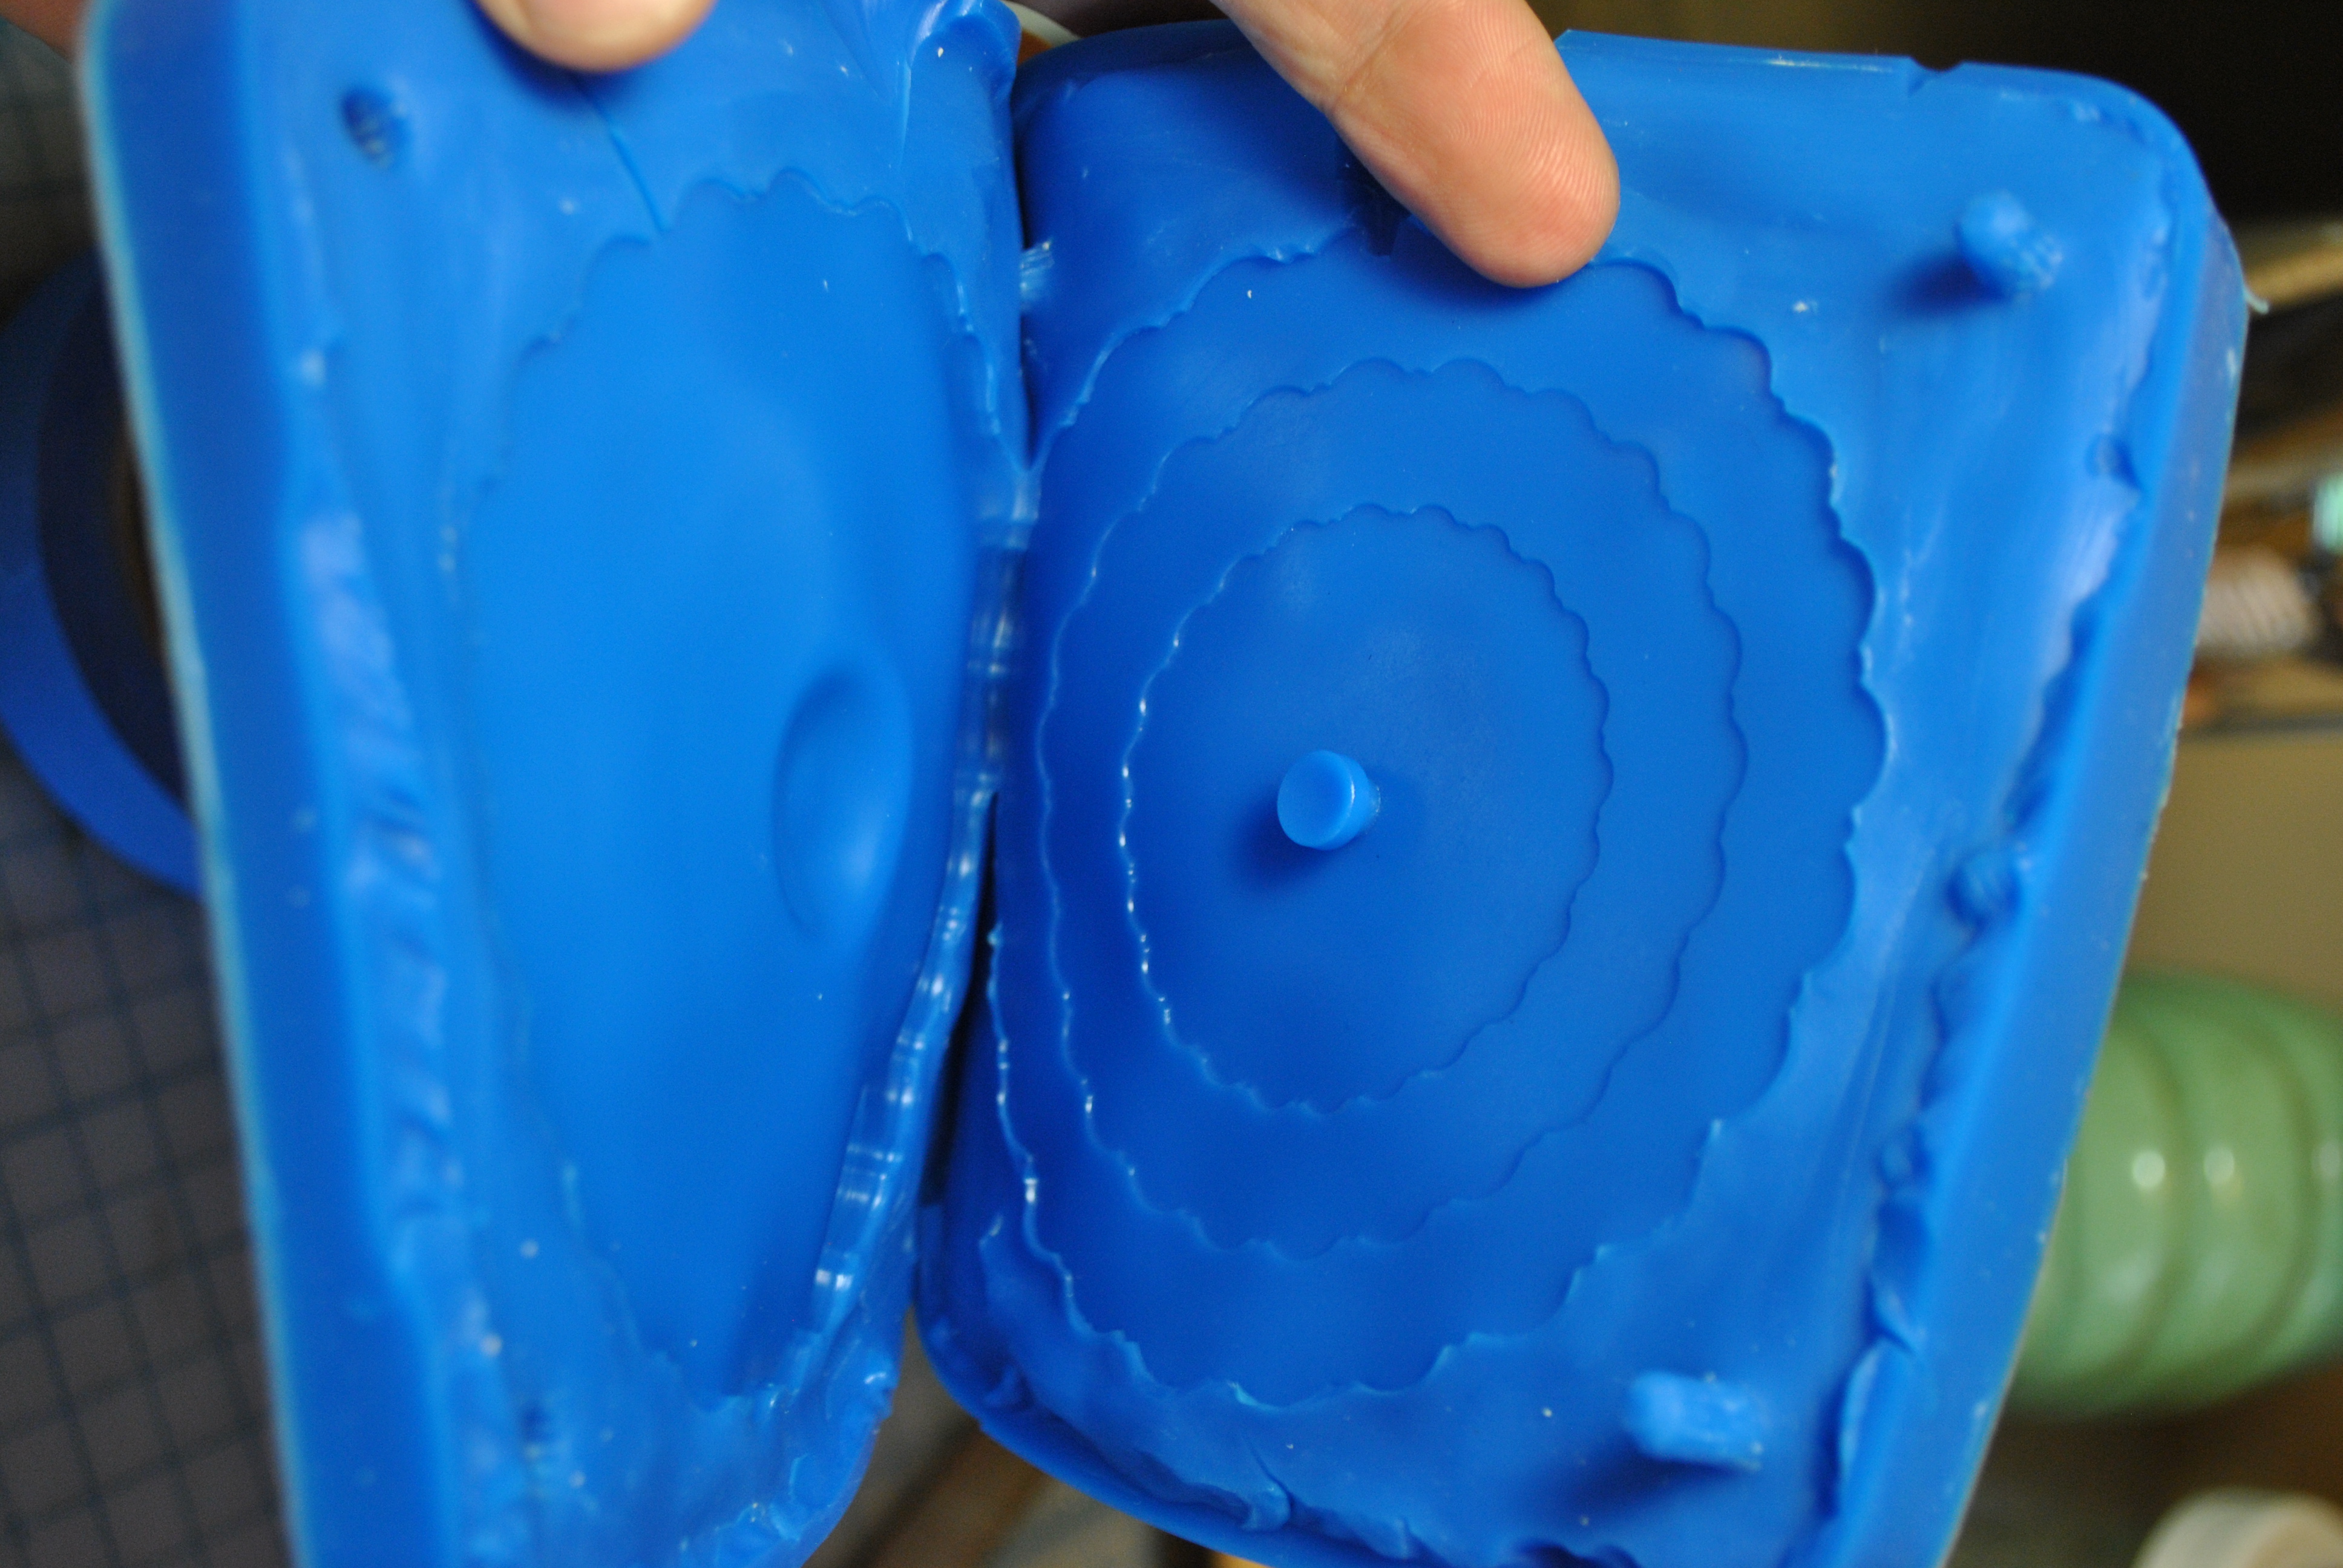
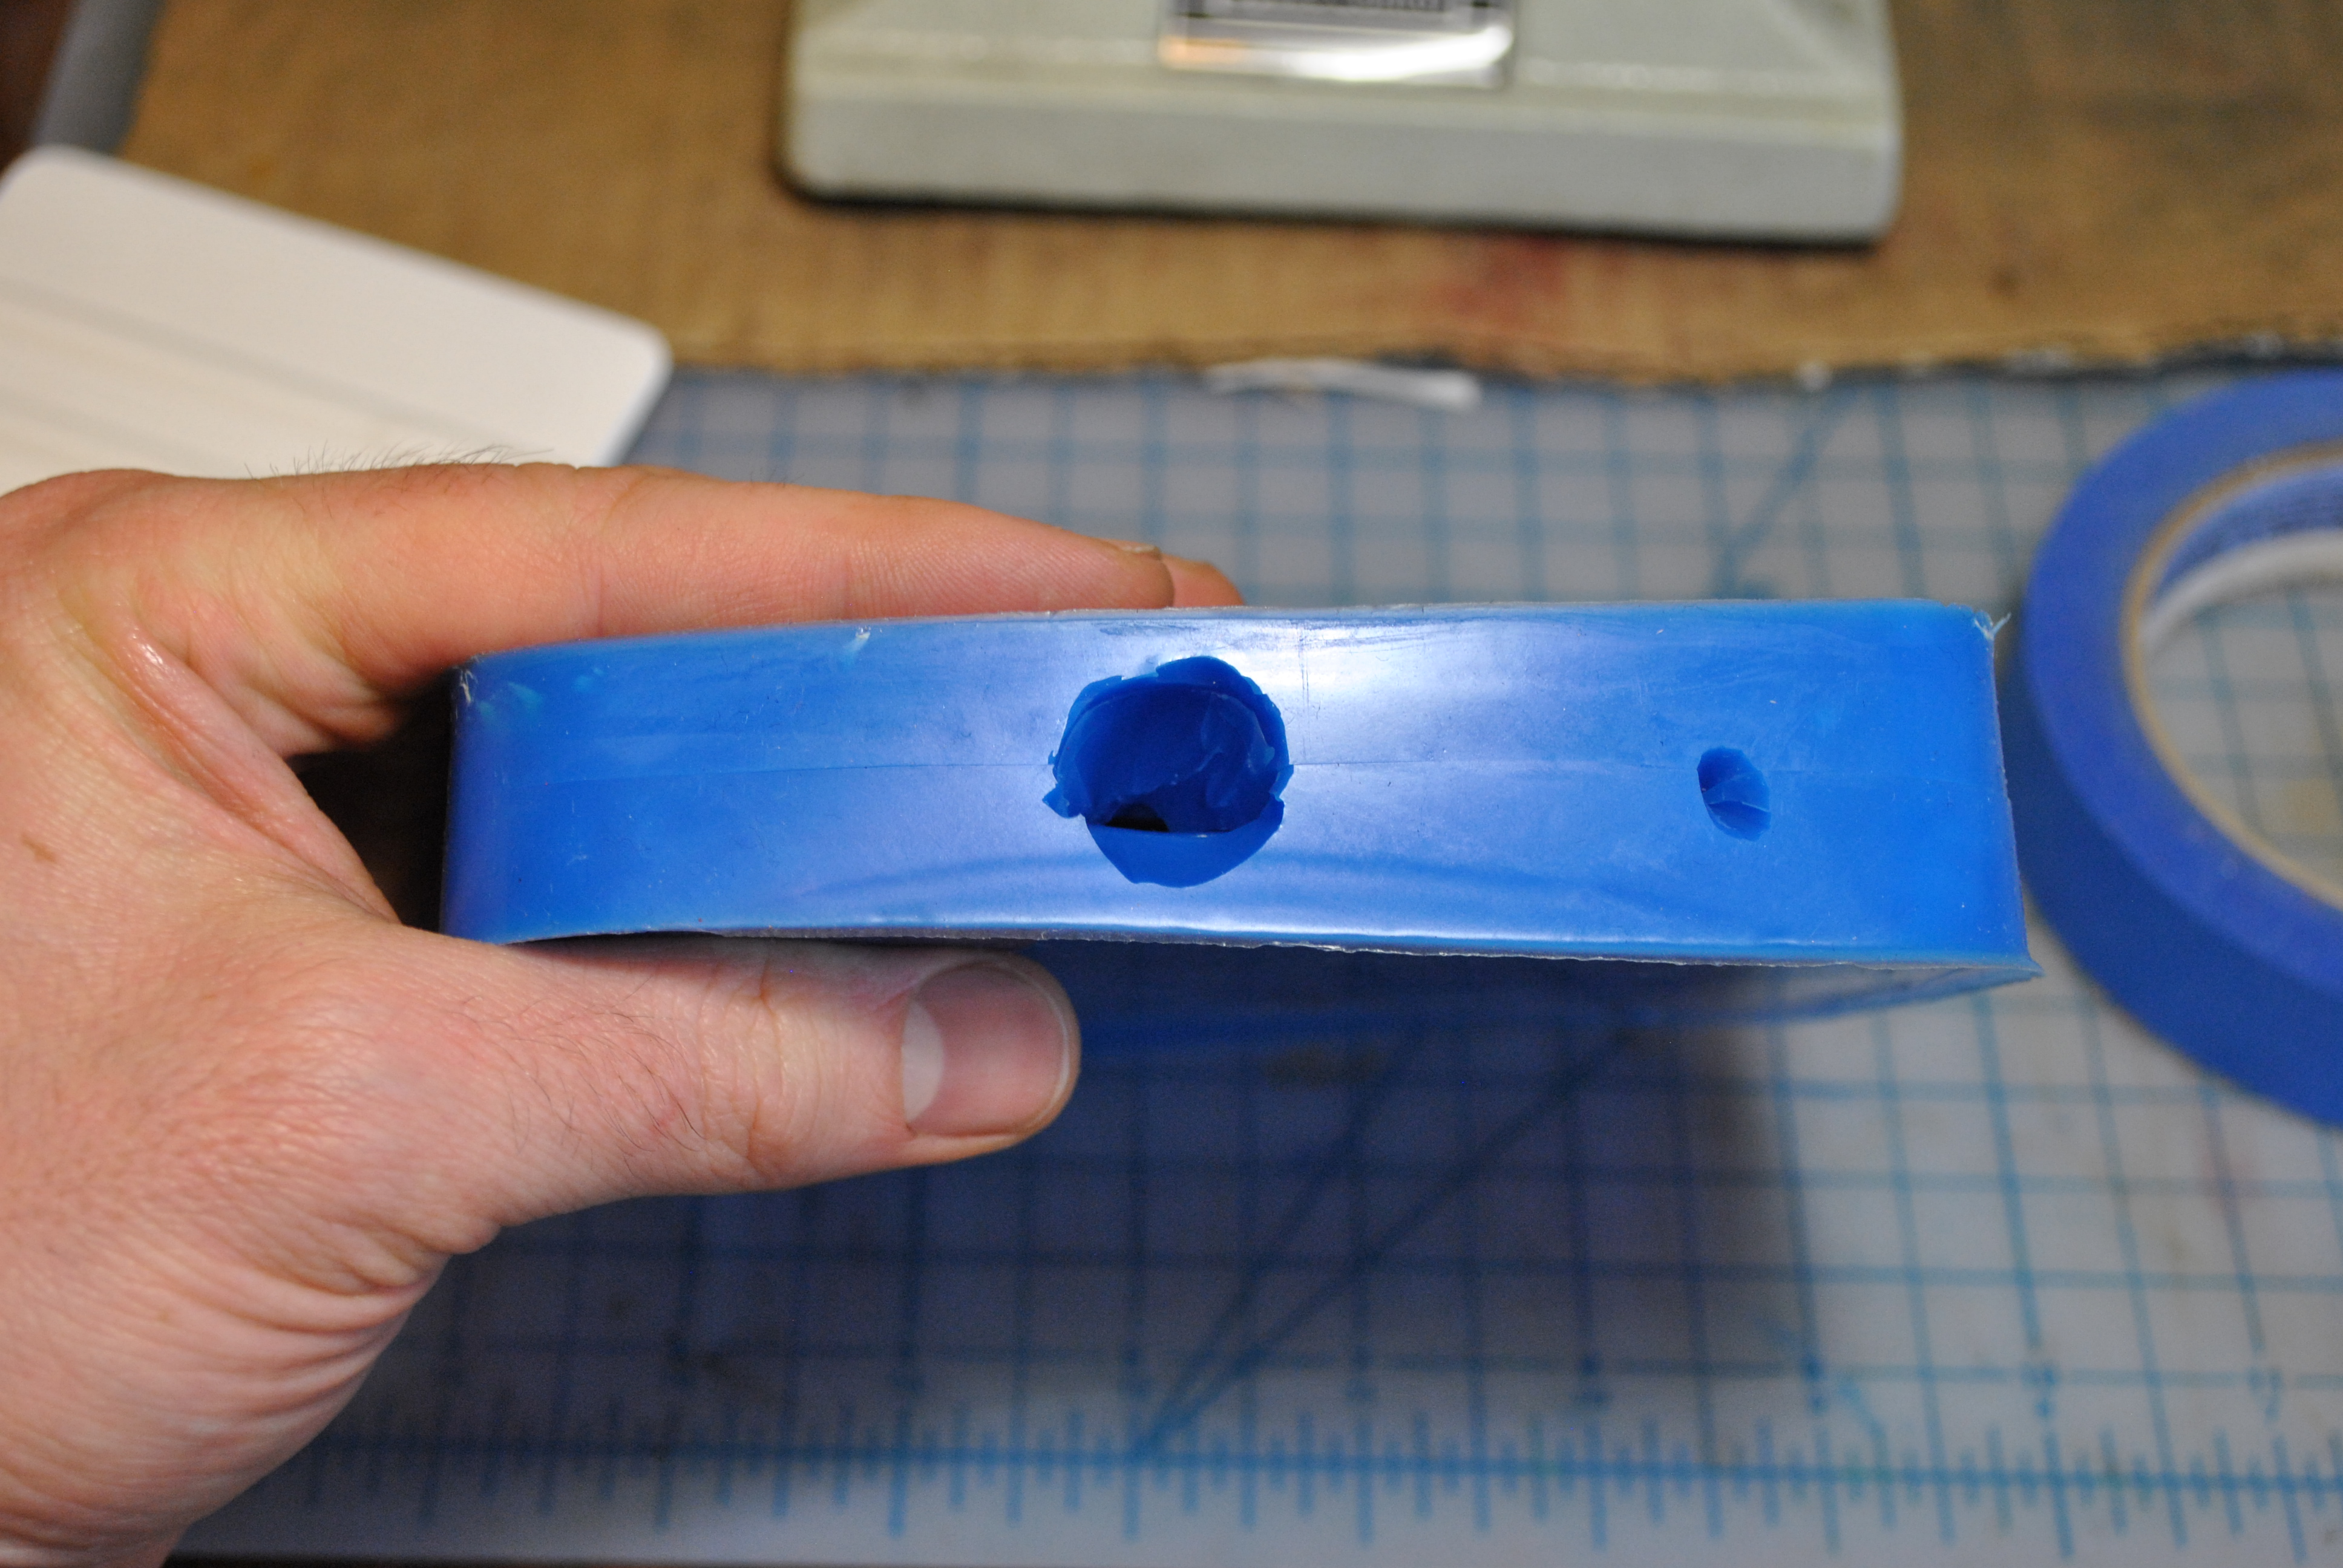
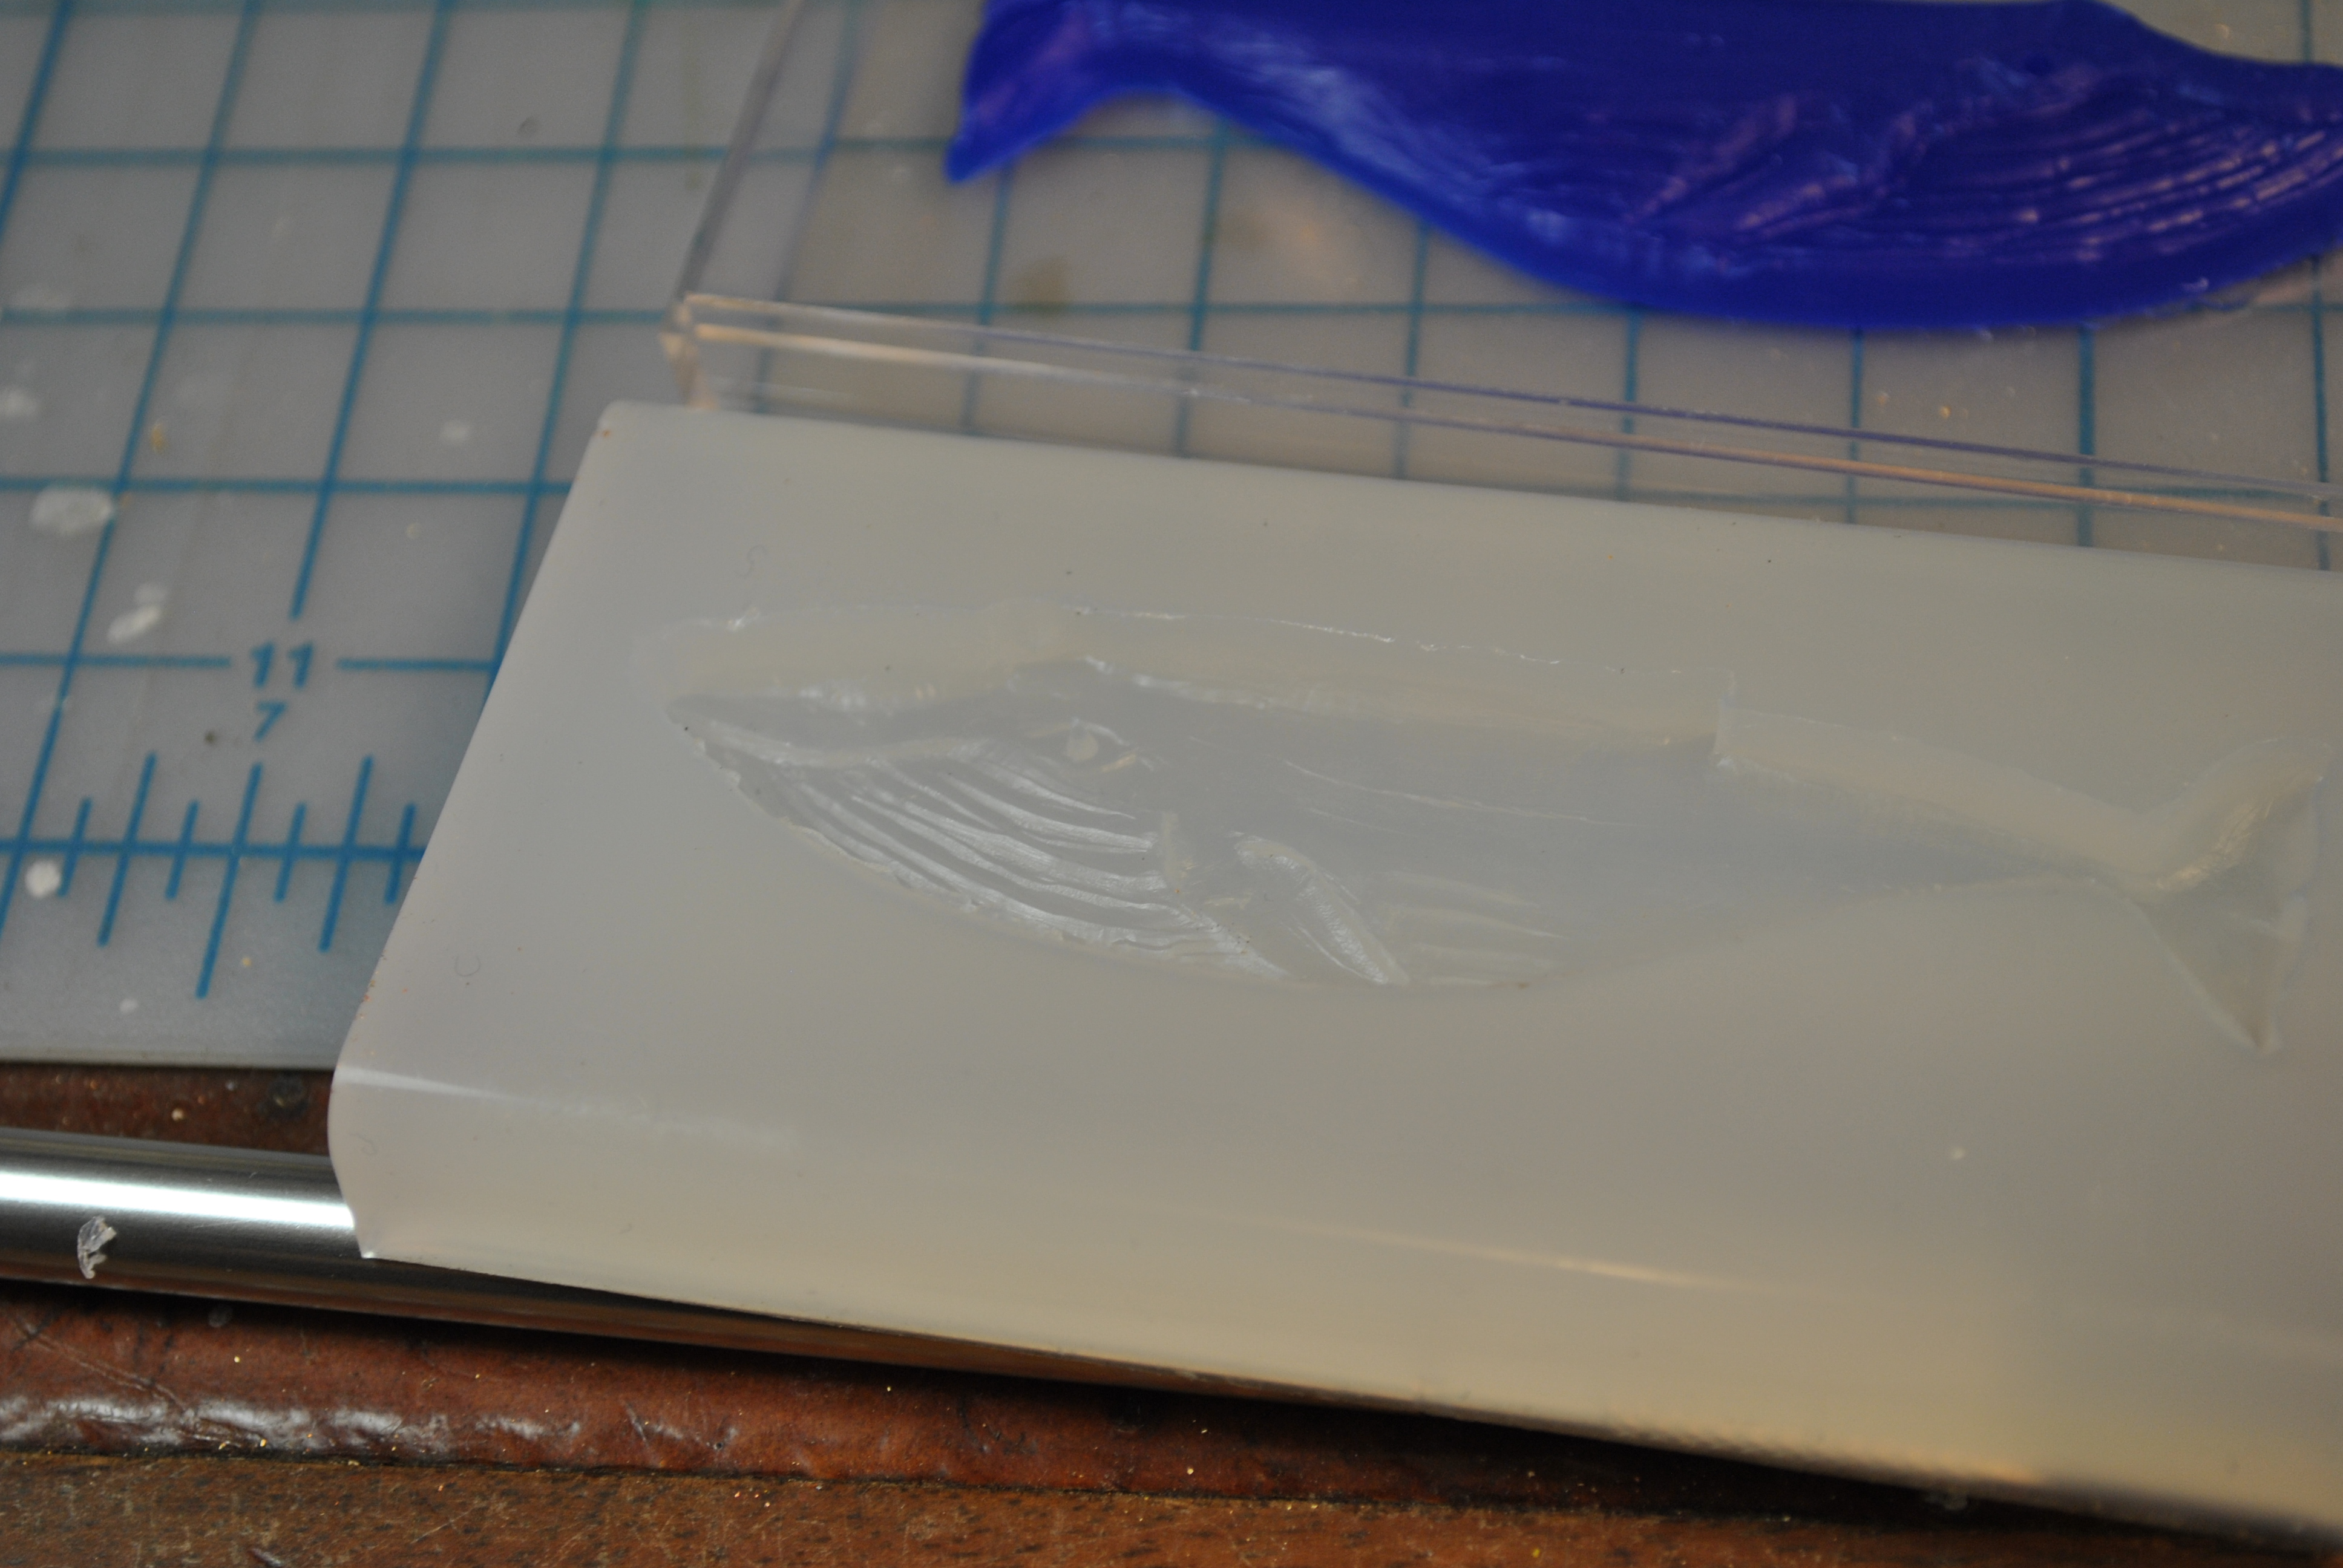
I cut in the pour hole instead of casting it in, in the future I really need to remember to do that. As you can never cut as smooth a hole as you can cast. I put an air hole in the top to allow bubbles to escape, later I would add several more.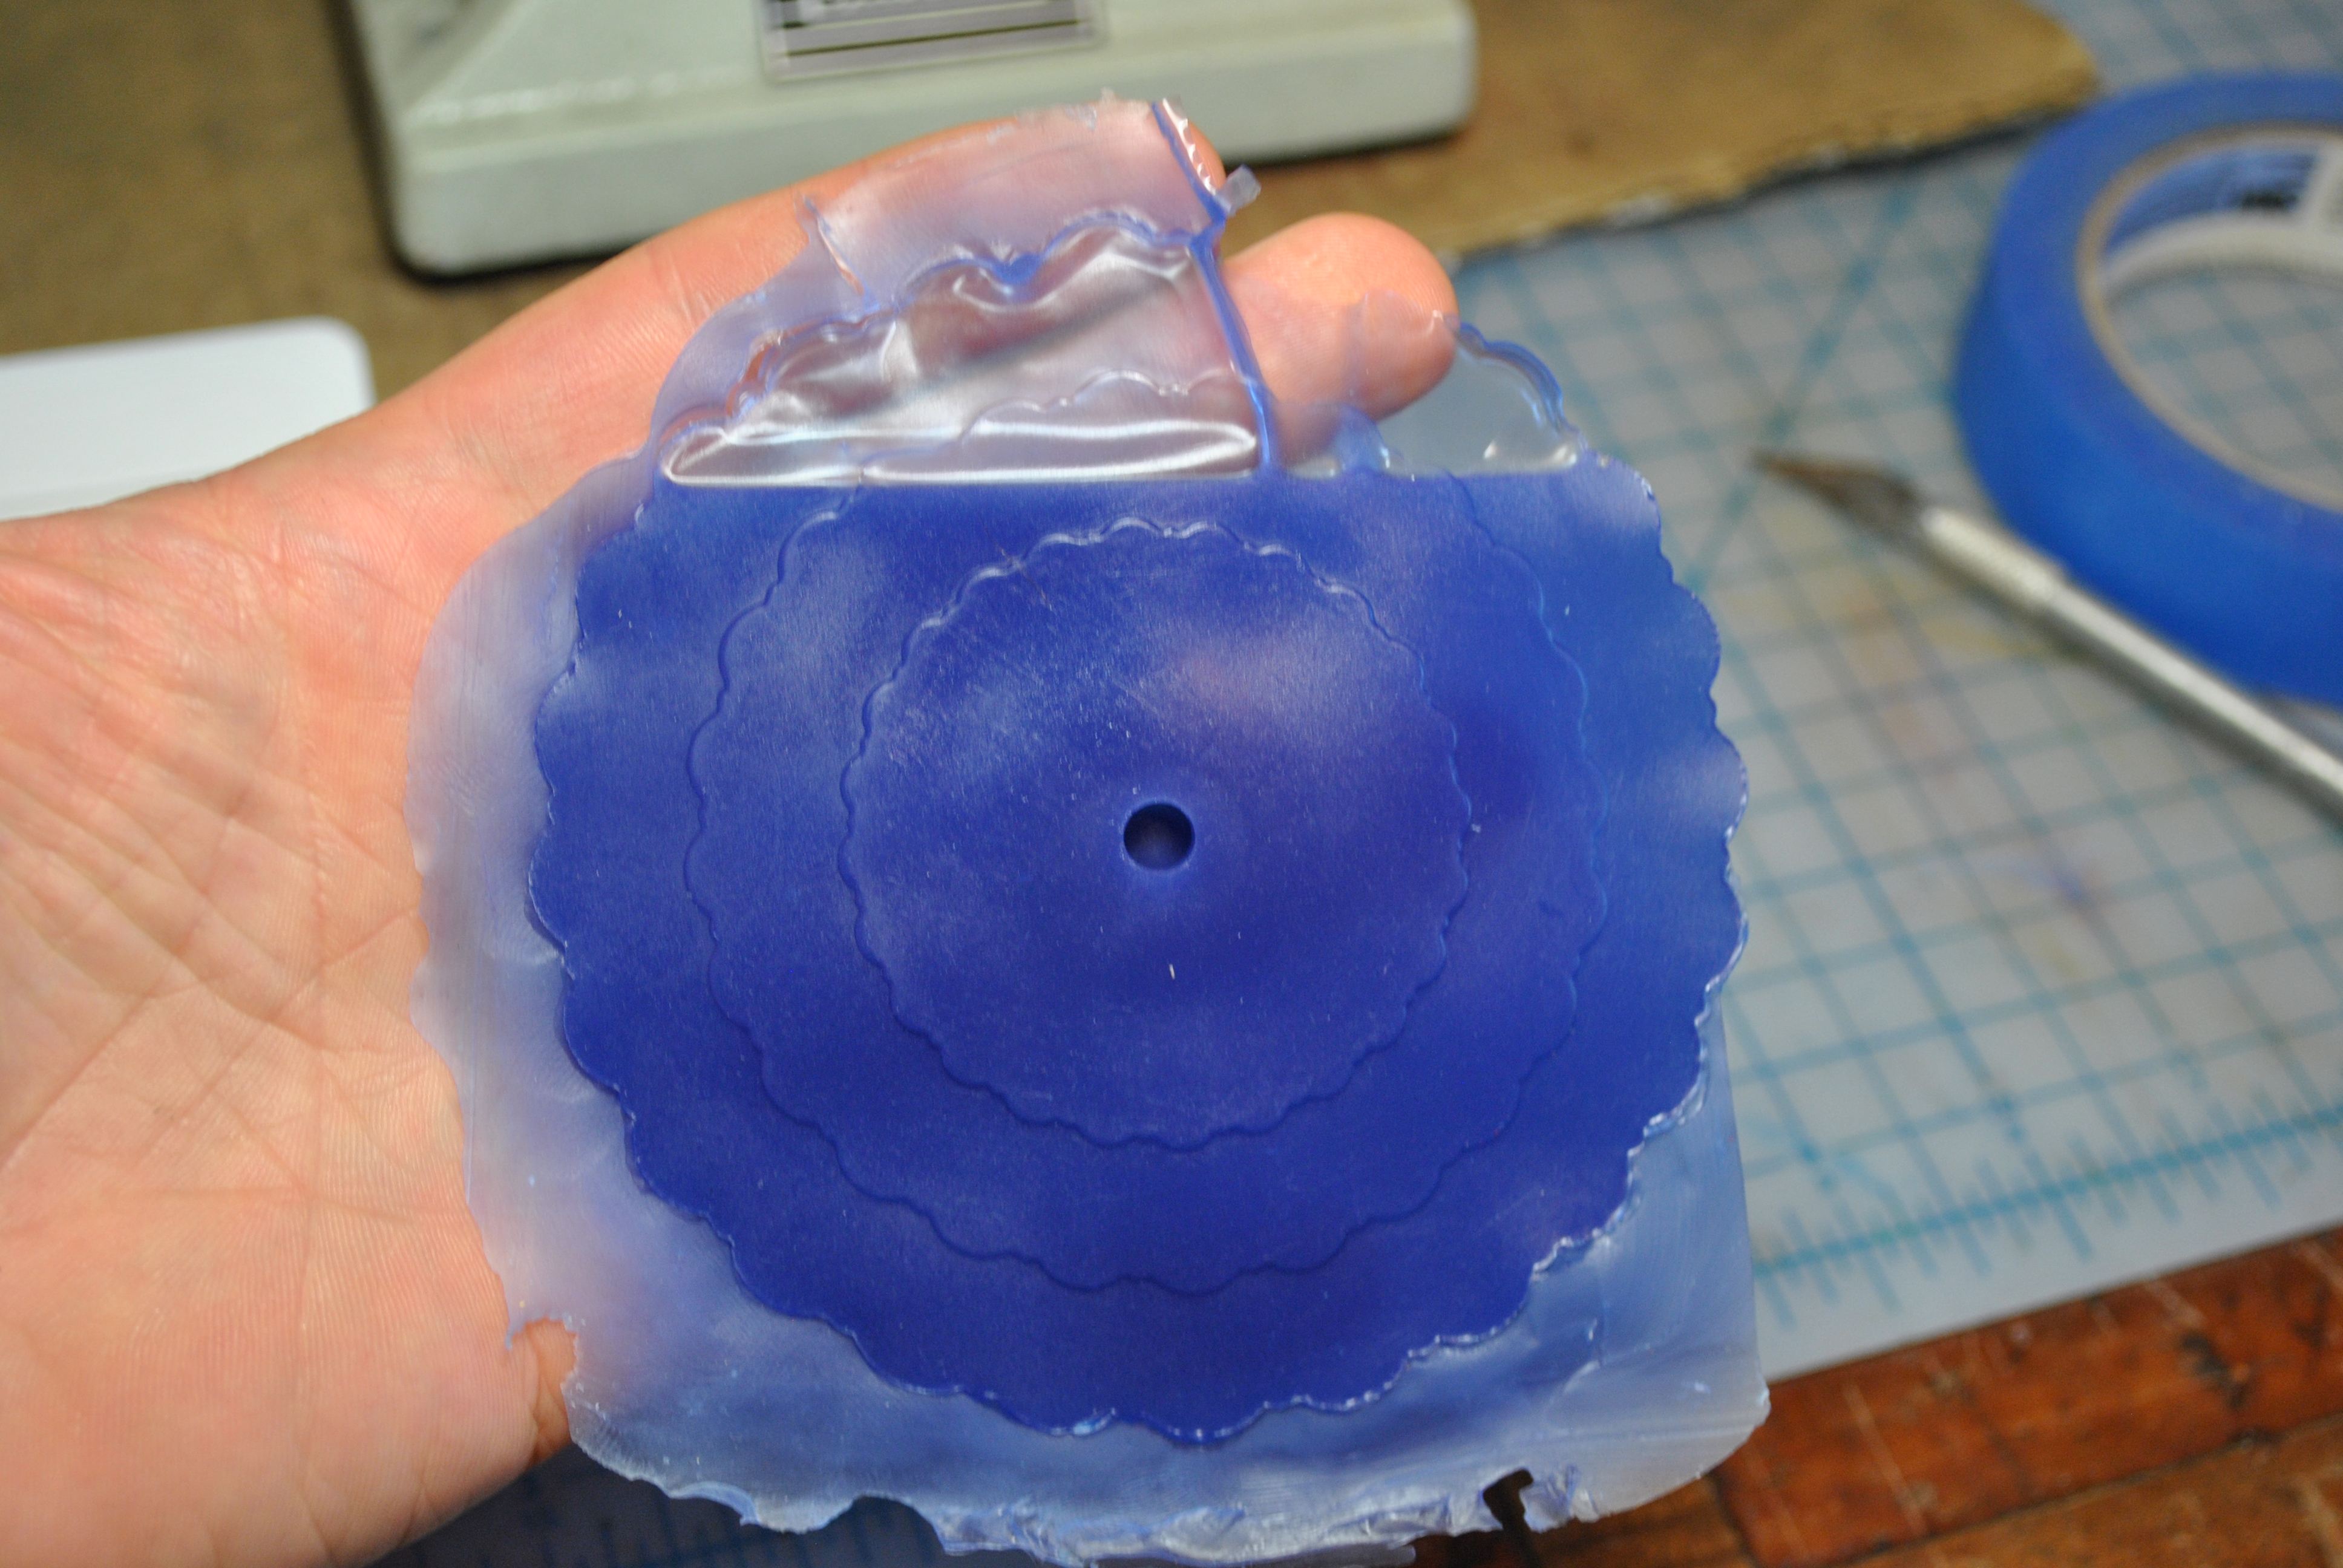
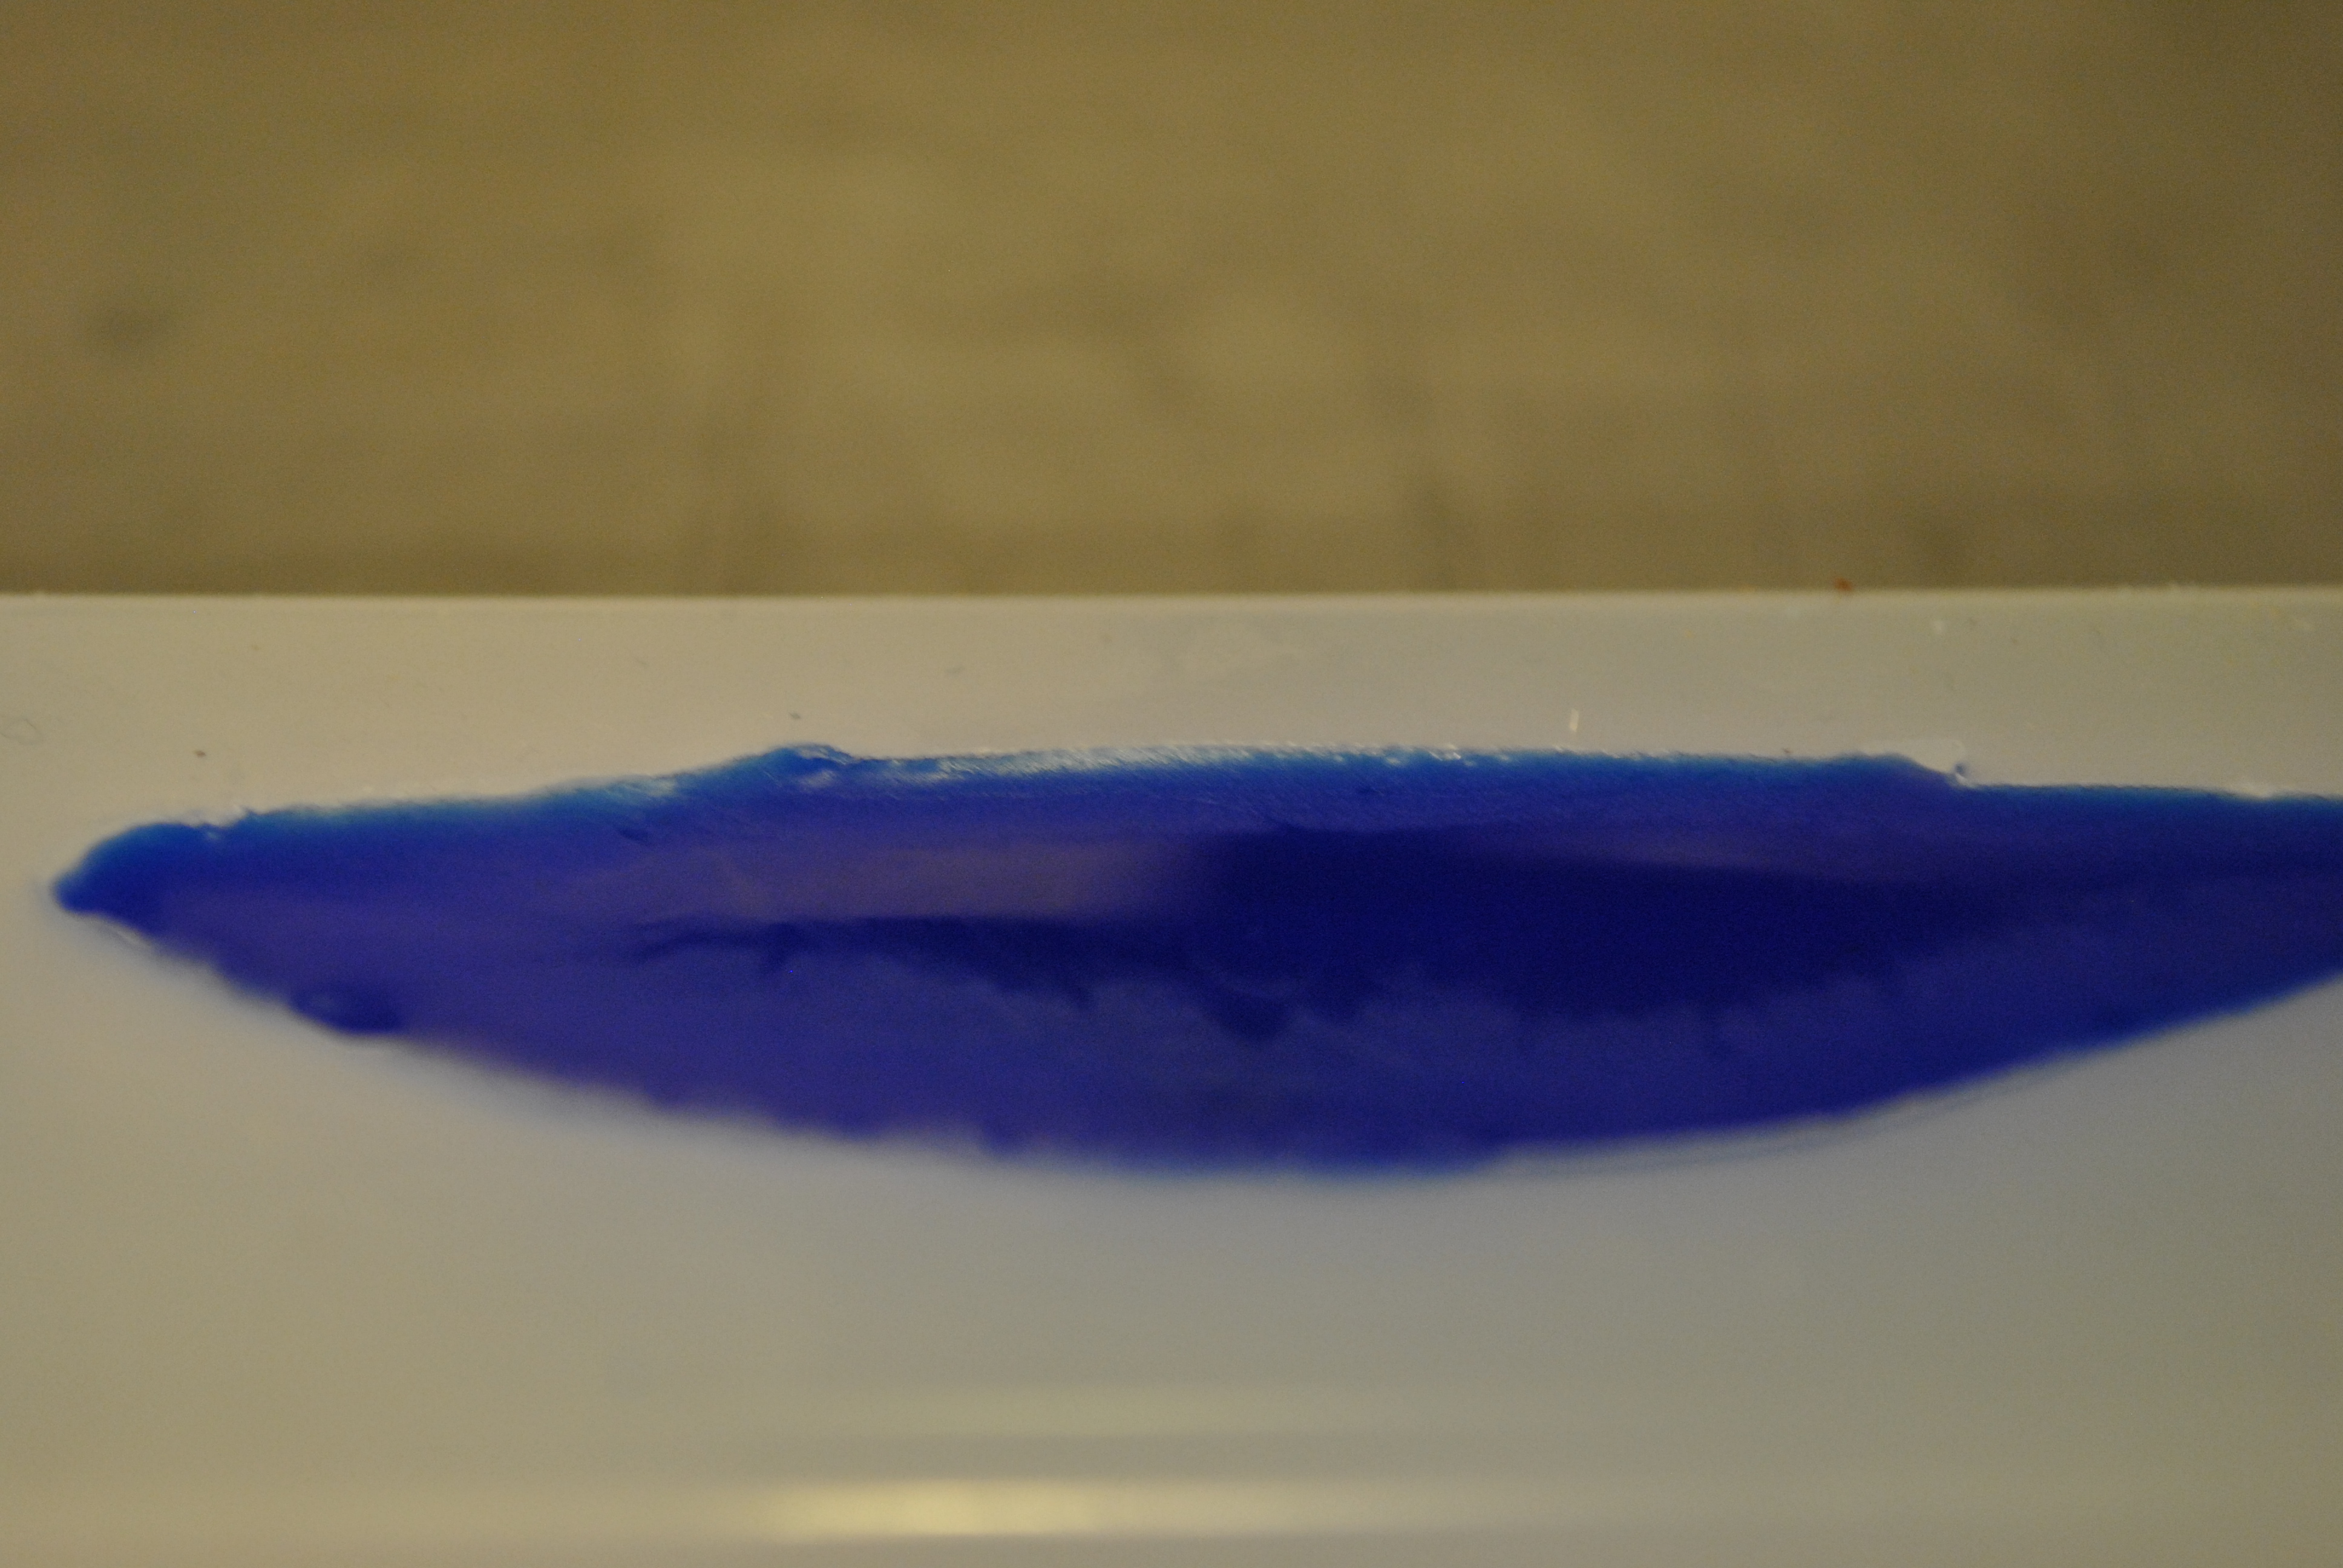
My first attempt at just pouring the silicone in didn’t go well, as it flowed in much too slowly and was starting to set before I could get enough in.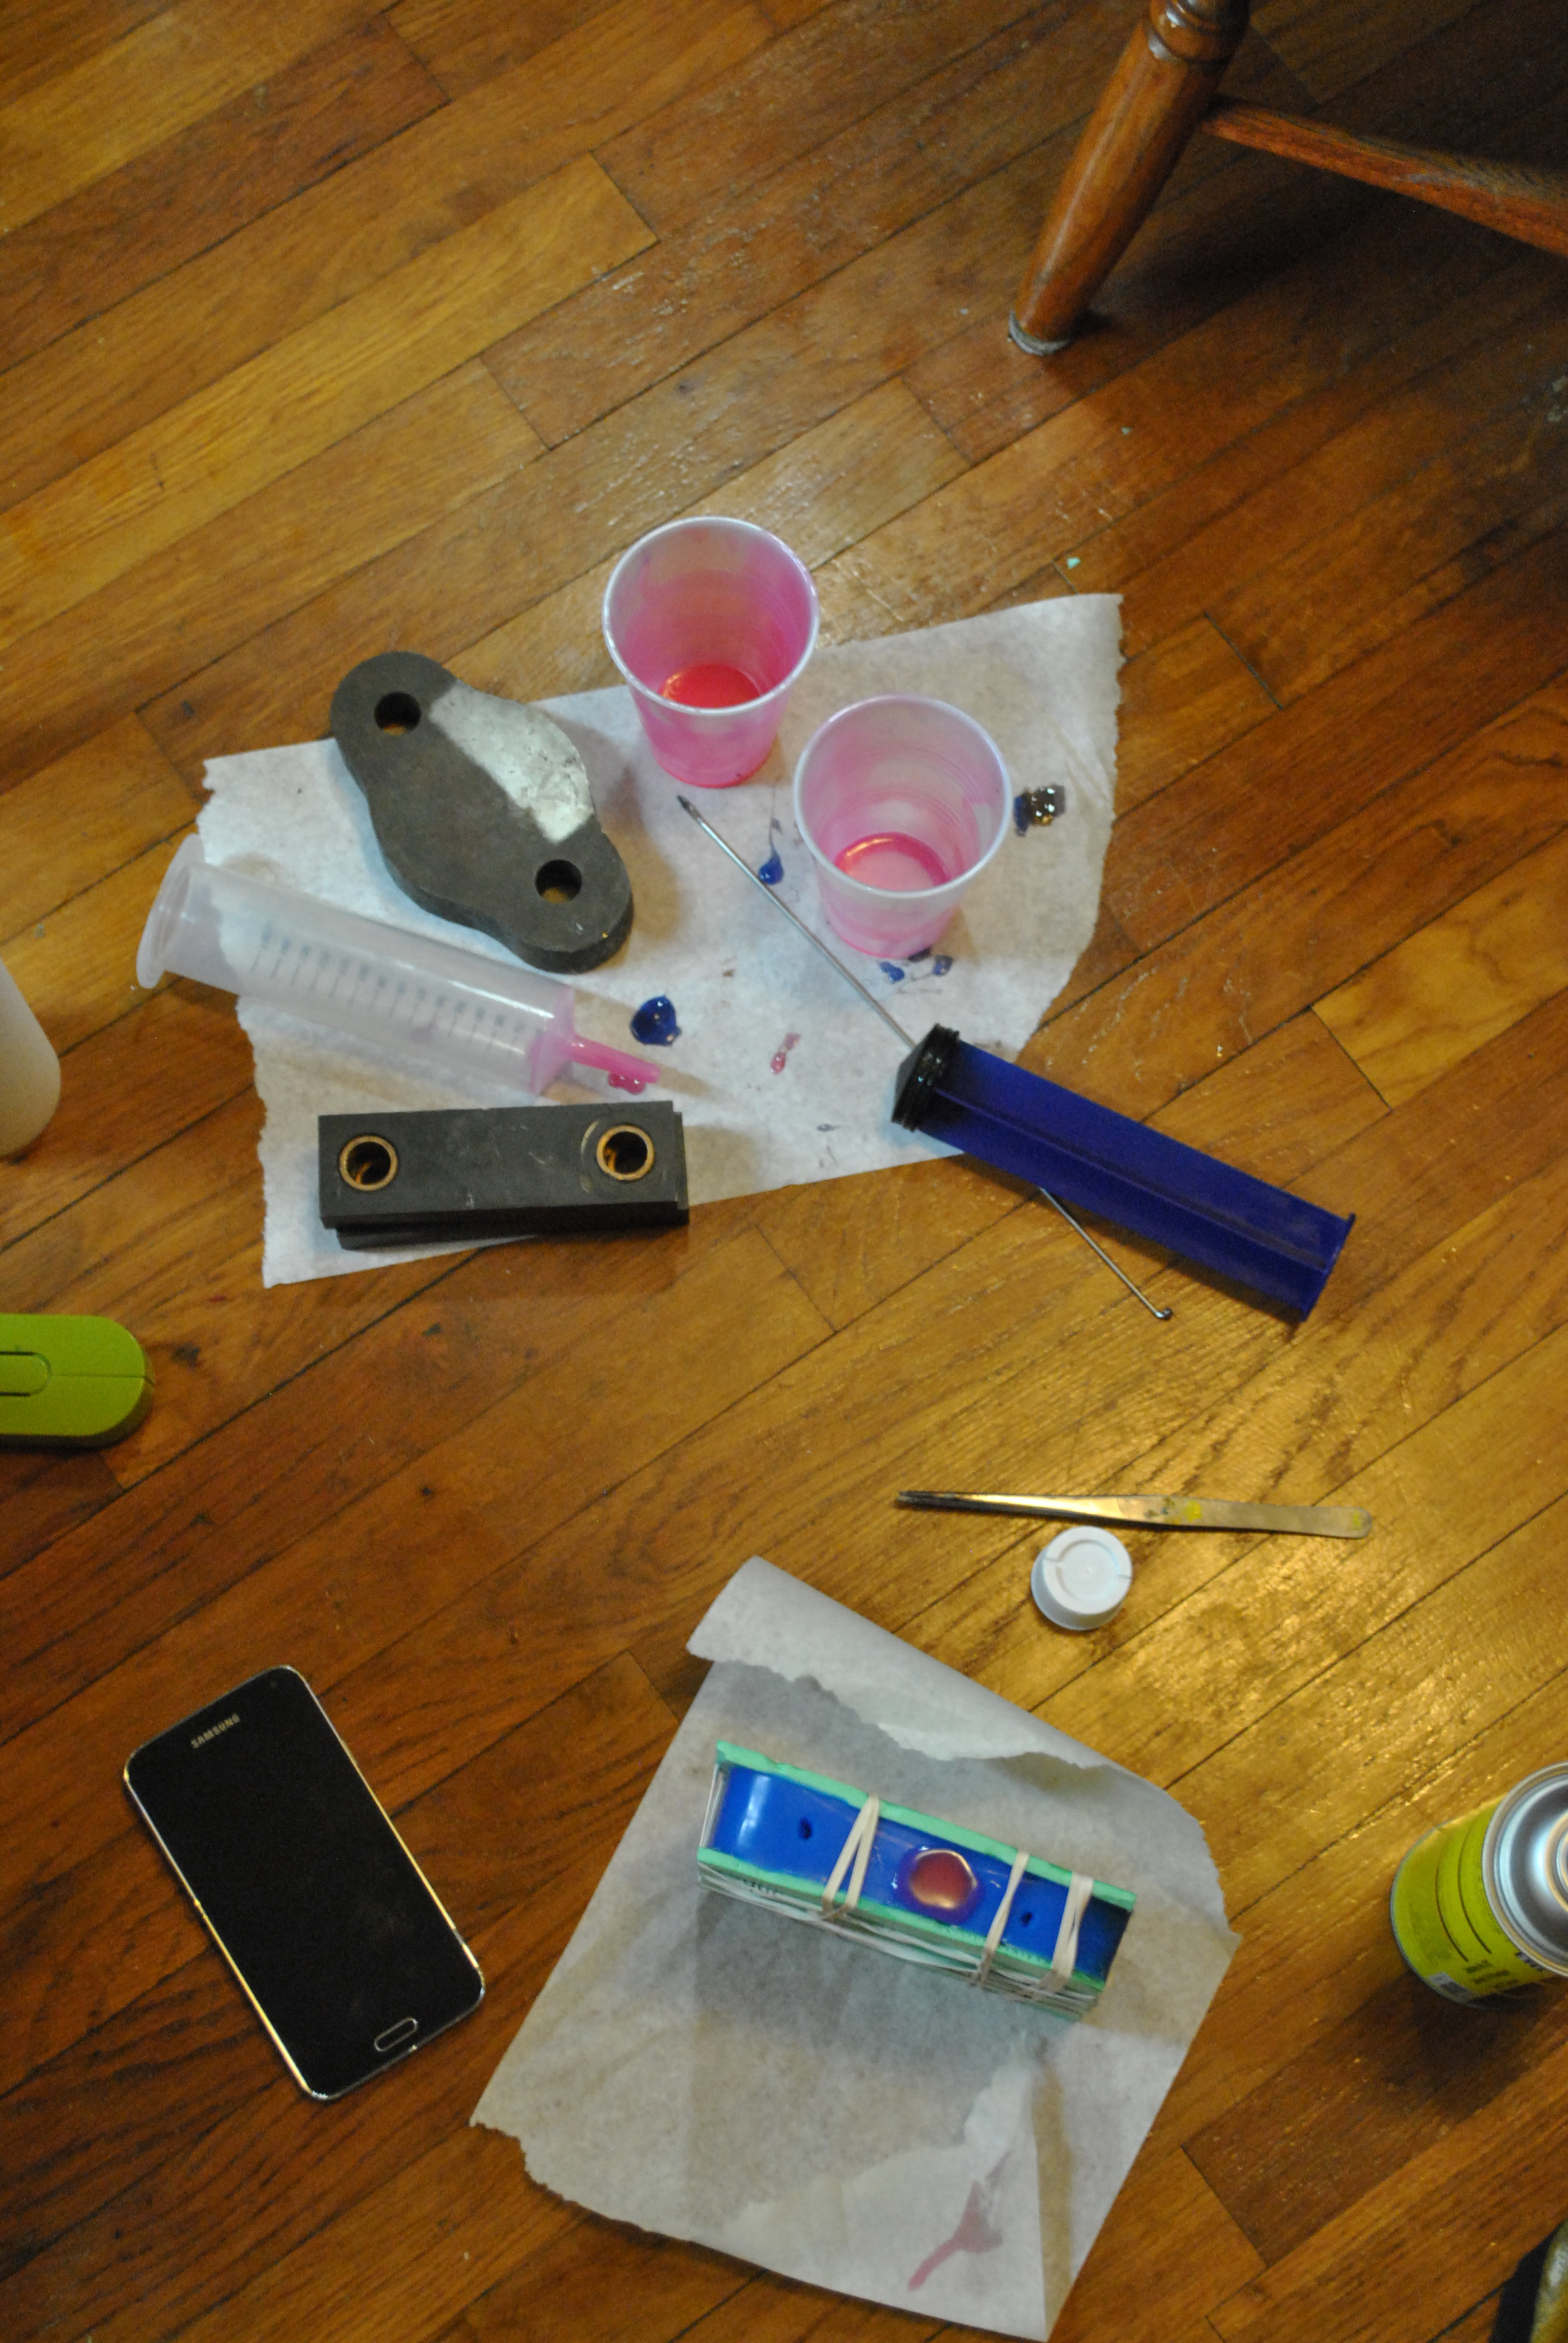
I had been wanting to try silicone injecting for a while so I gave it a go. I basically ordered a big plastic syringe from Amazon, mixed up the batch of silicone like I normally do and then carefully poured it into the syringe. I was careful to allow all the air to escape as I pushed the plunger down, and then flipped it over and pushed it into the pour hole as far as I could and slowly pushed it all in. Worked like a charm! I used Dragon Skin 20 and Dragon Skin 30 from smooth on and wasn’t able to tell a difference in this application, so will probably go with the 30 just to make them slightly stiffer. Once the silicone sets, you can scrape it out of the syringe and use it again.
Sometimes I like working on the floor, as I have limited counter space.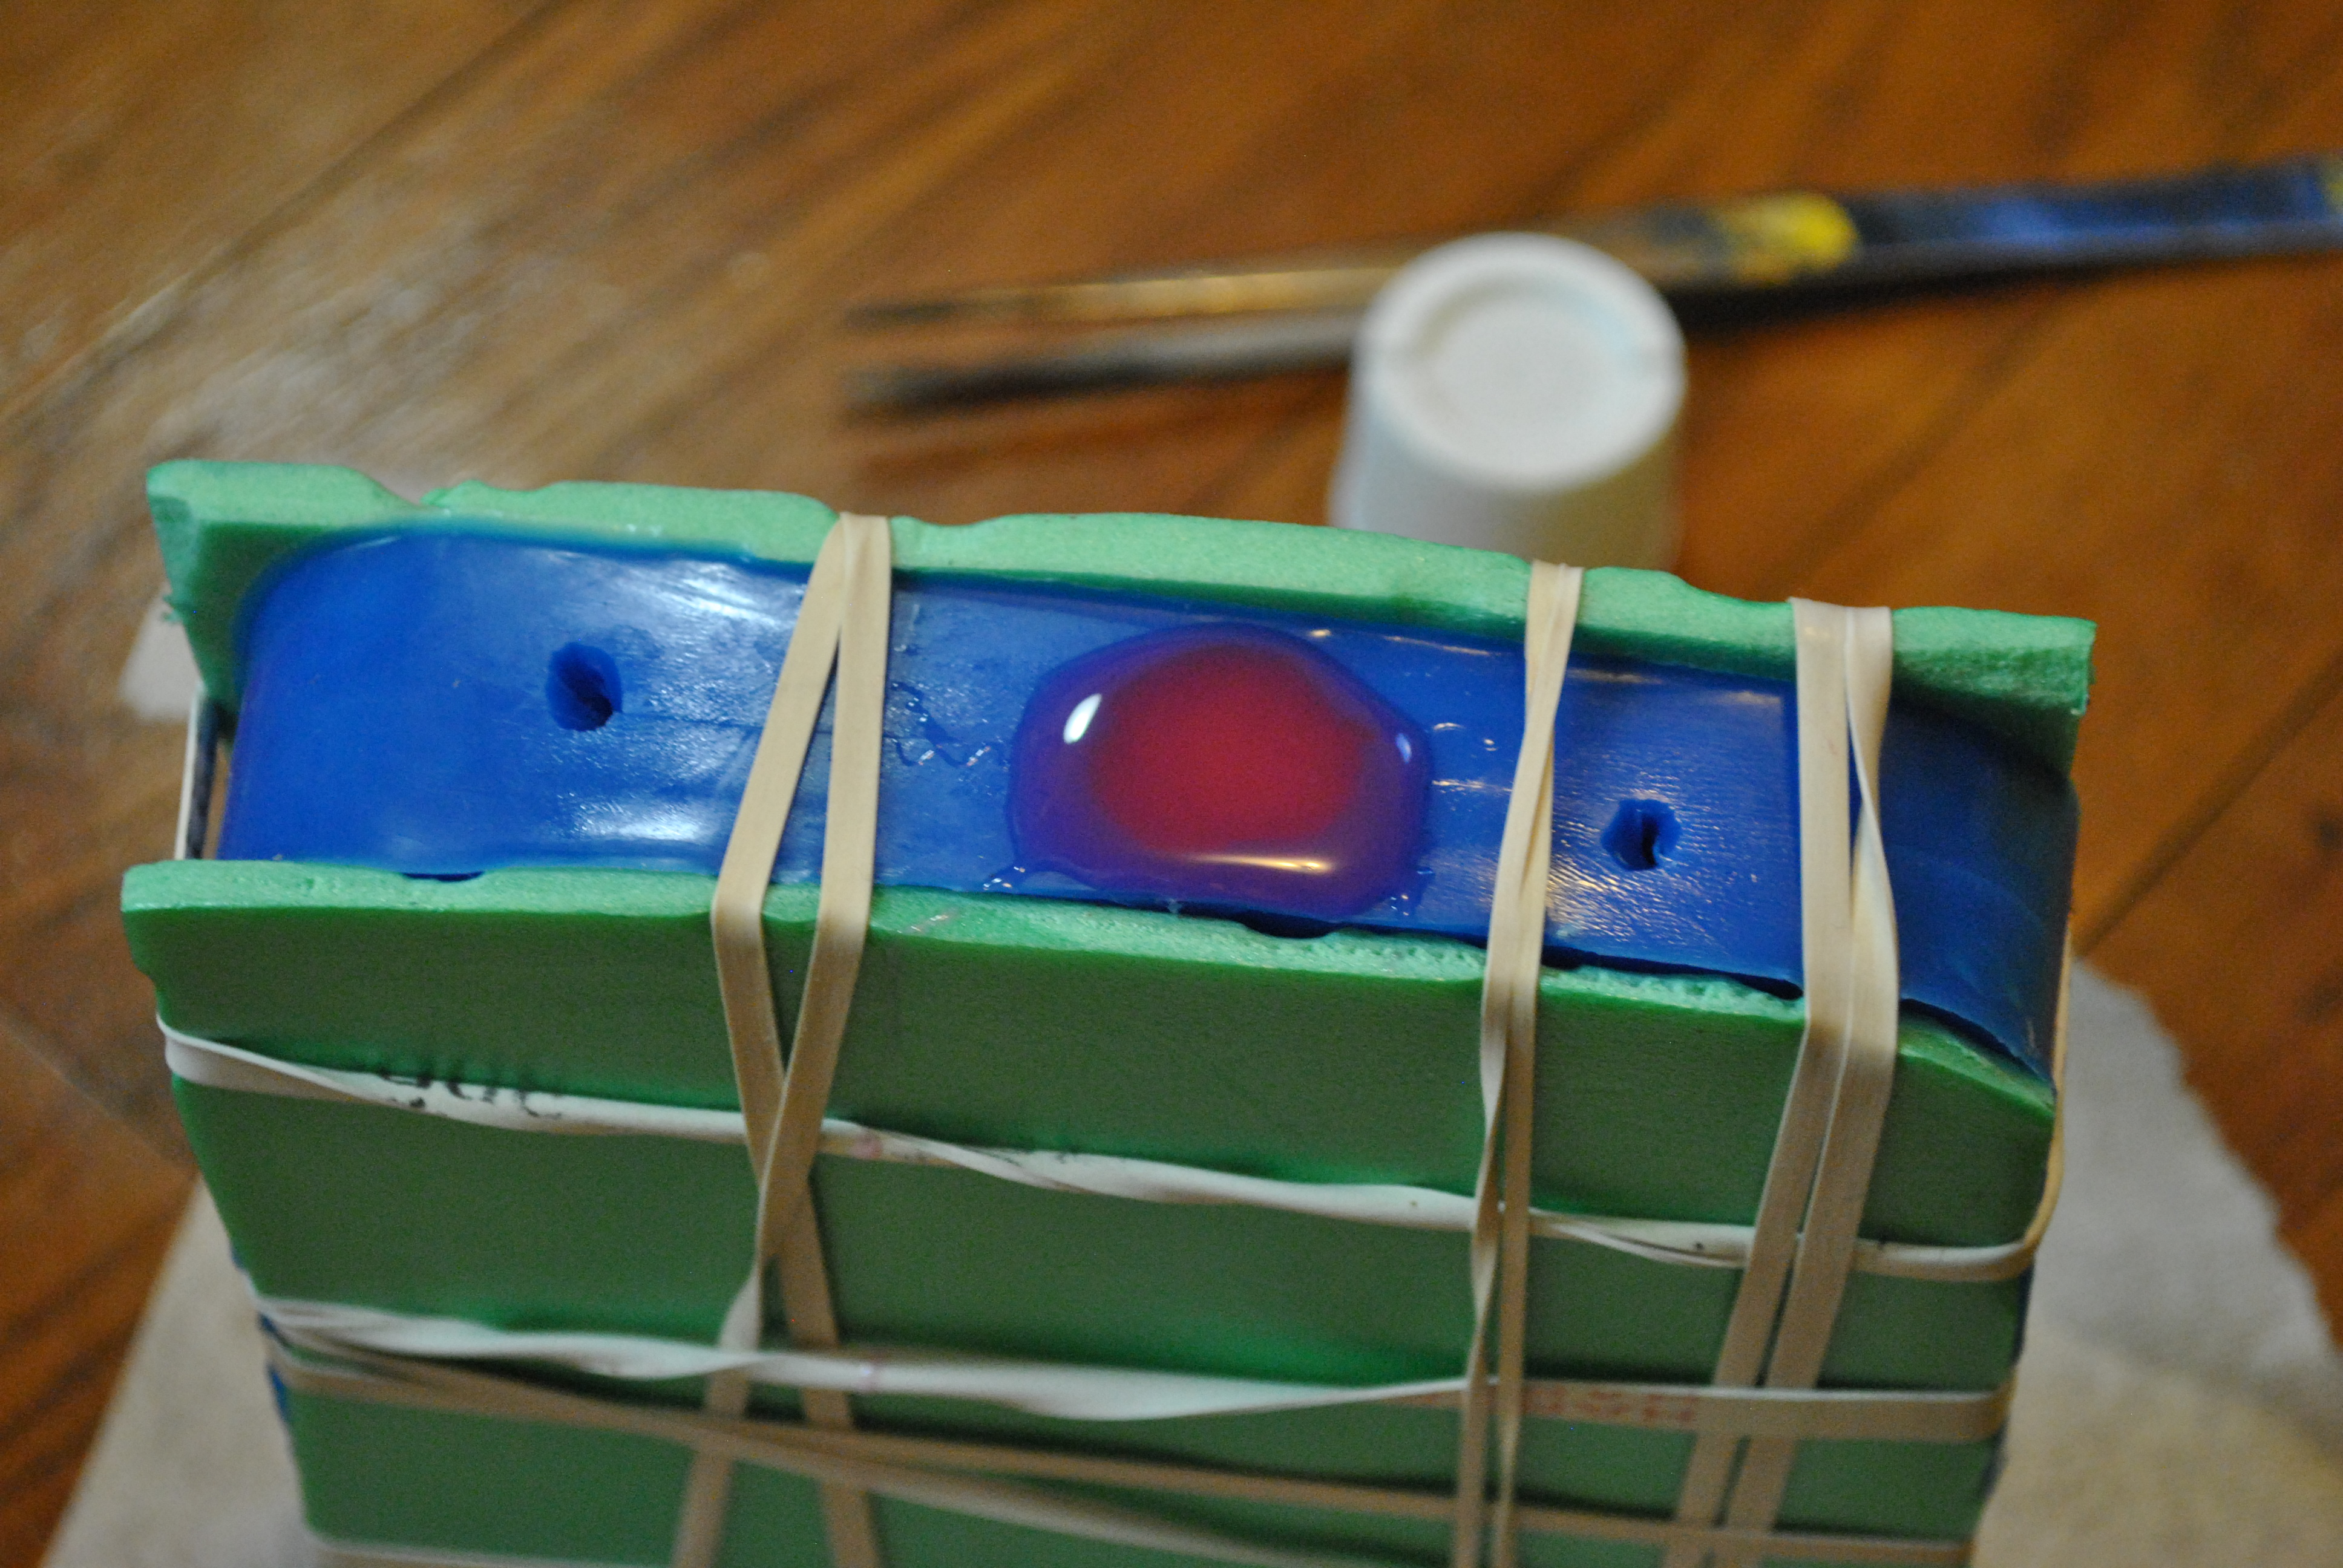
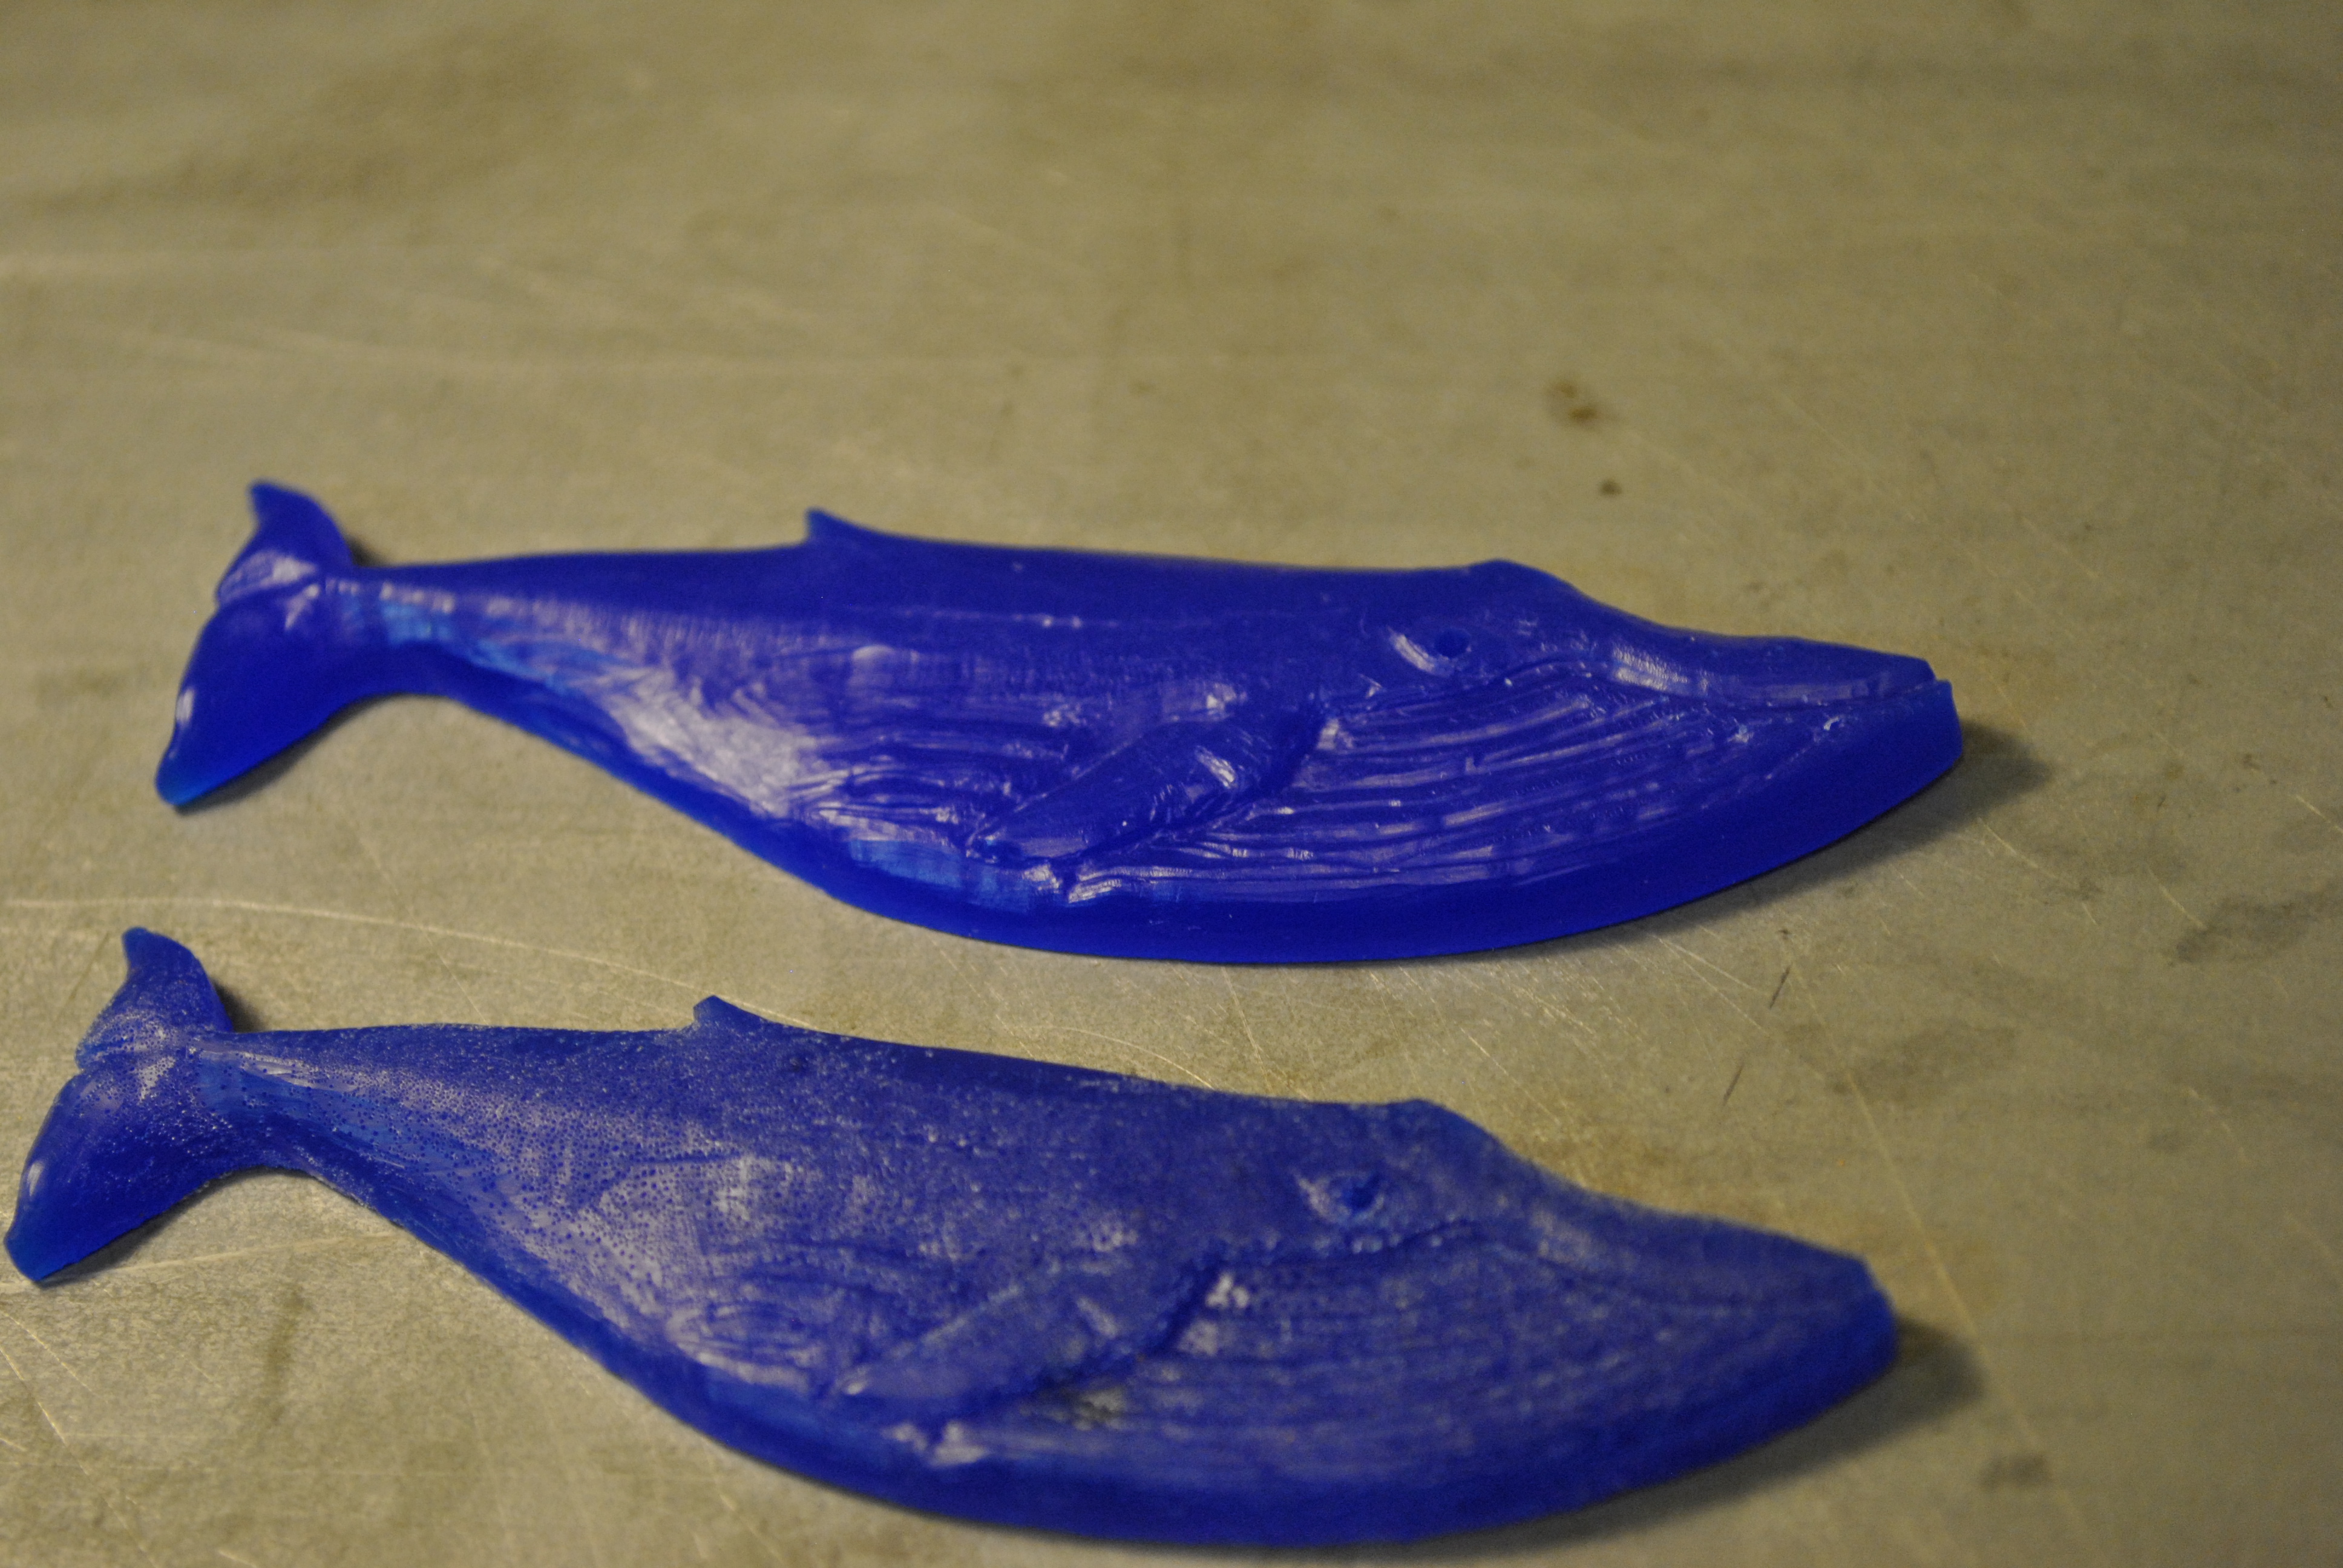
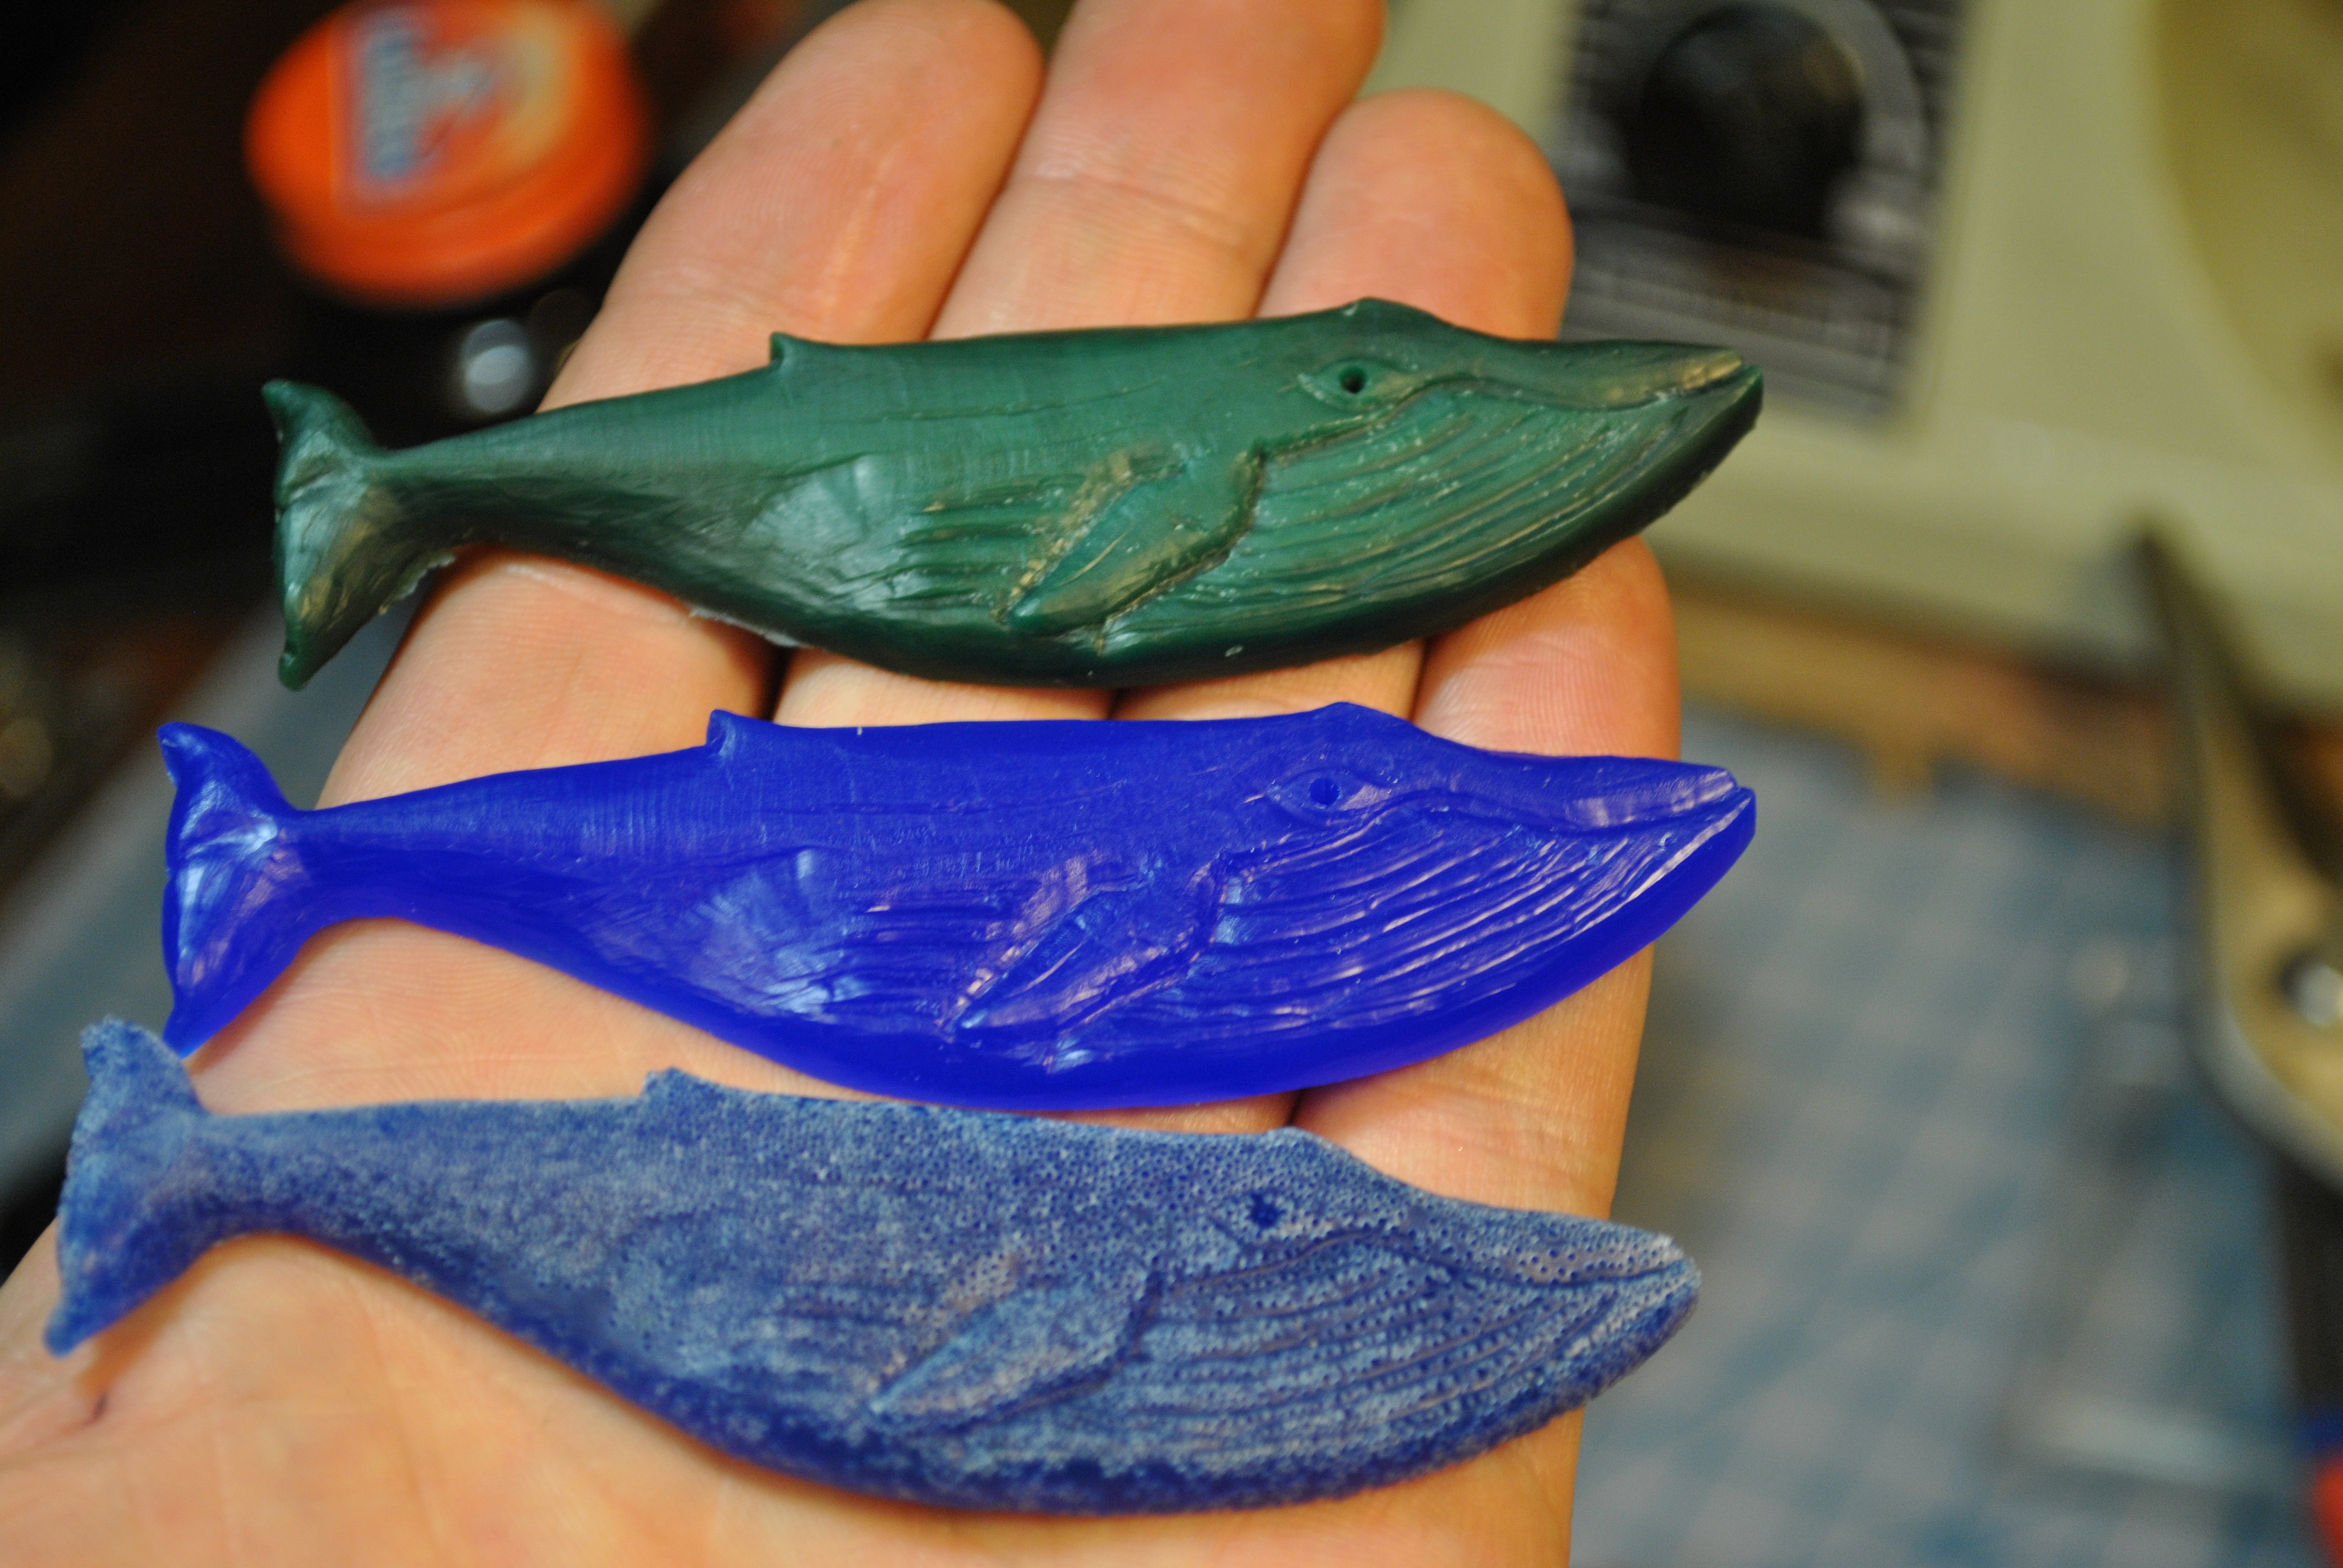
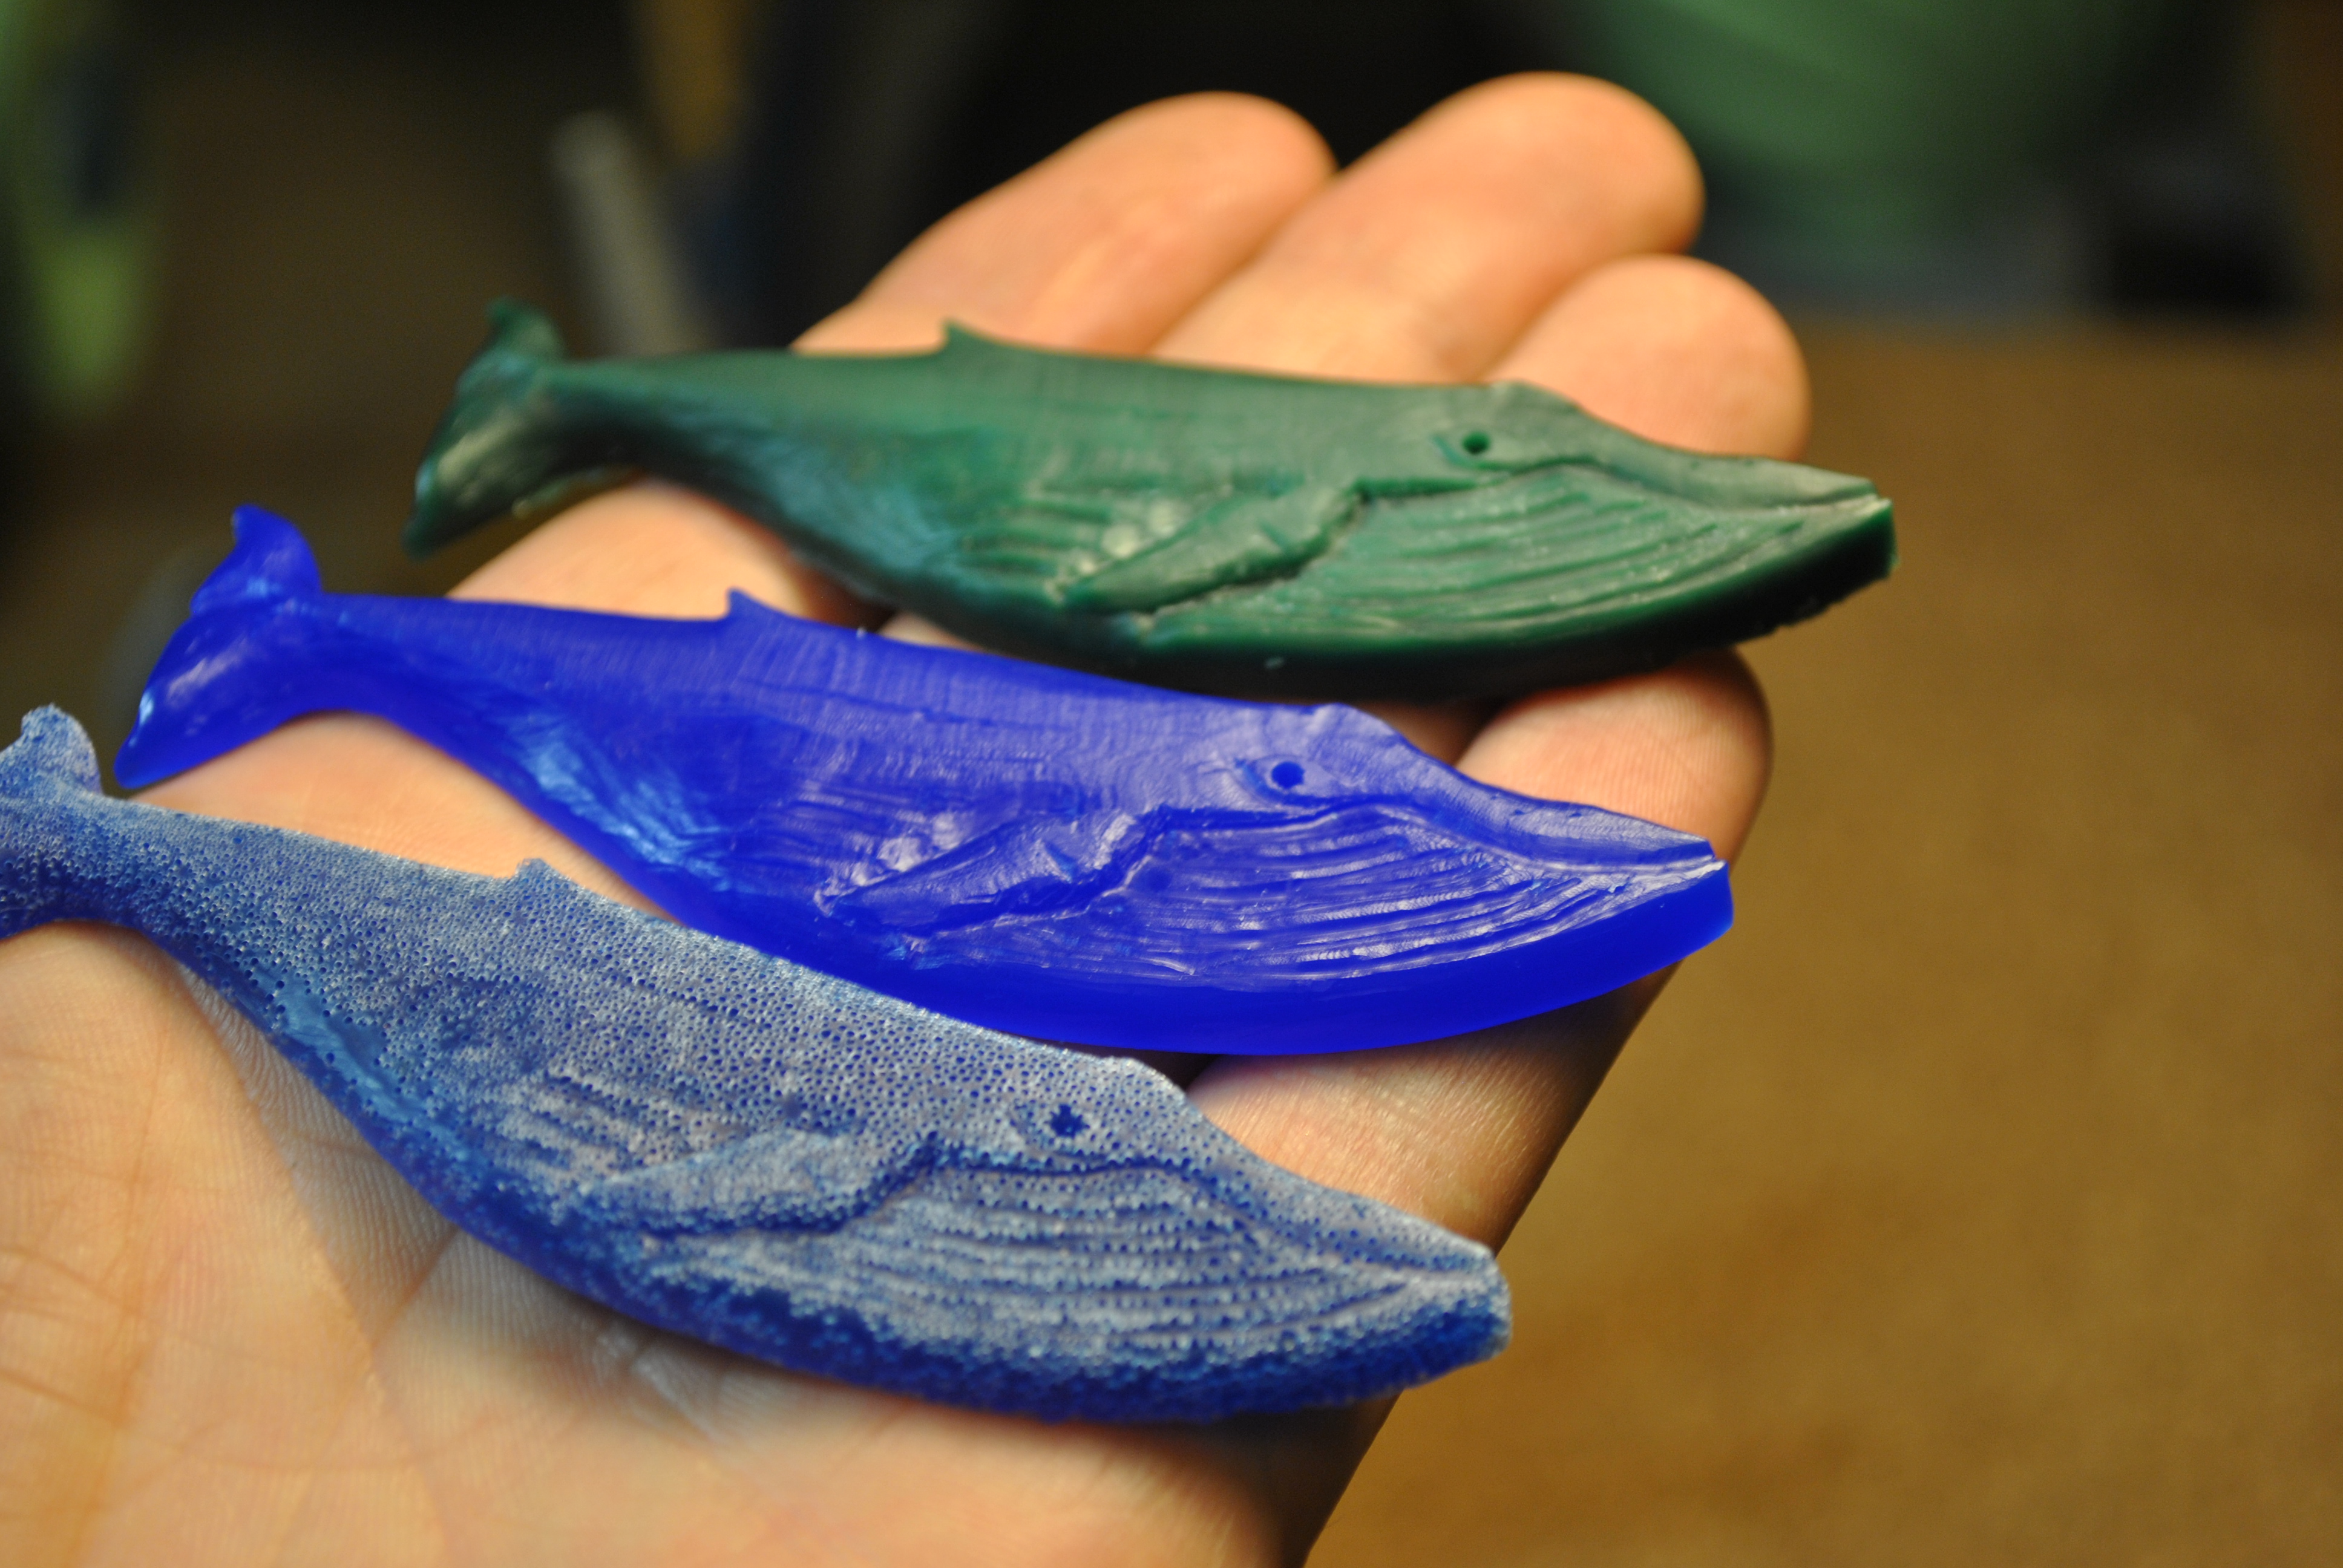
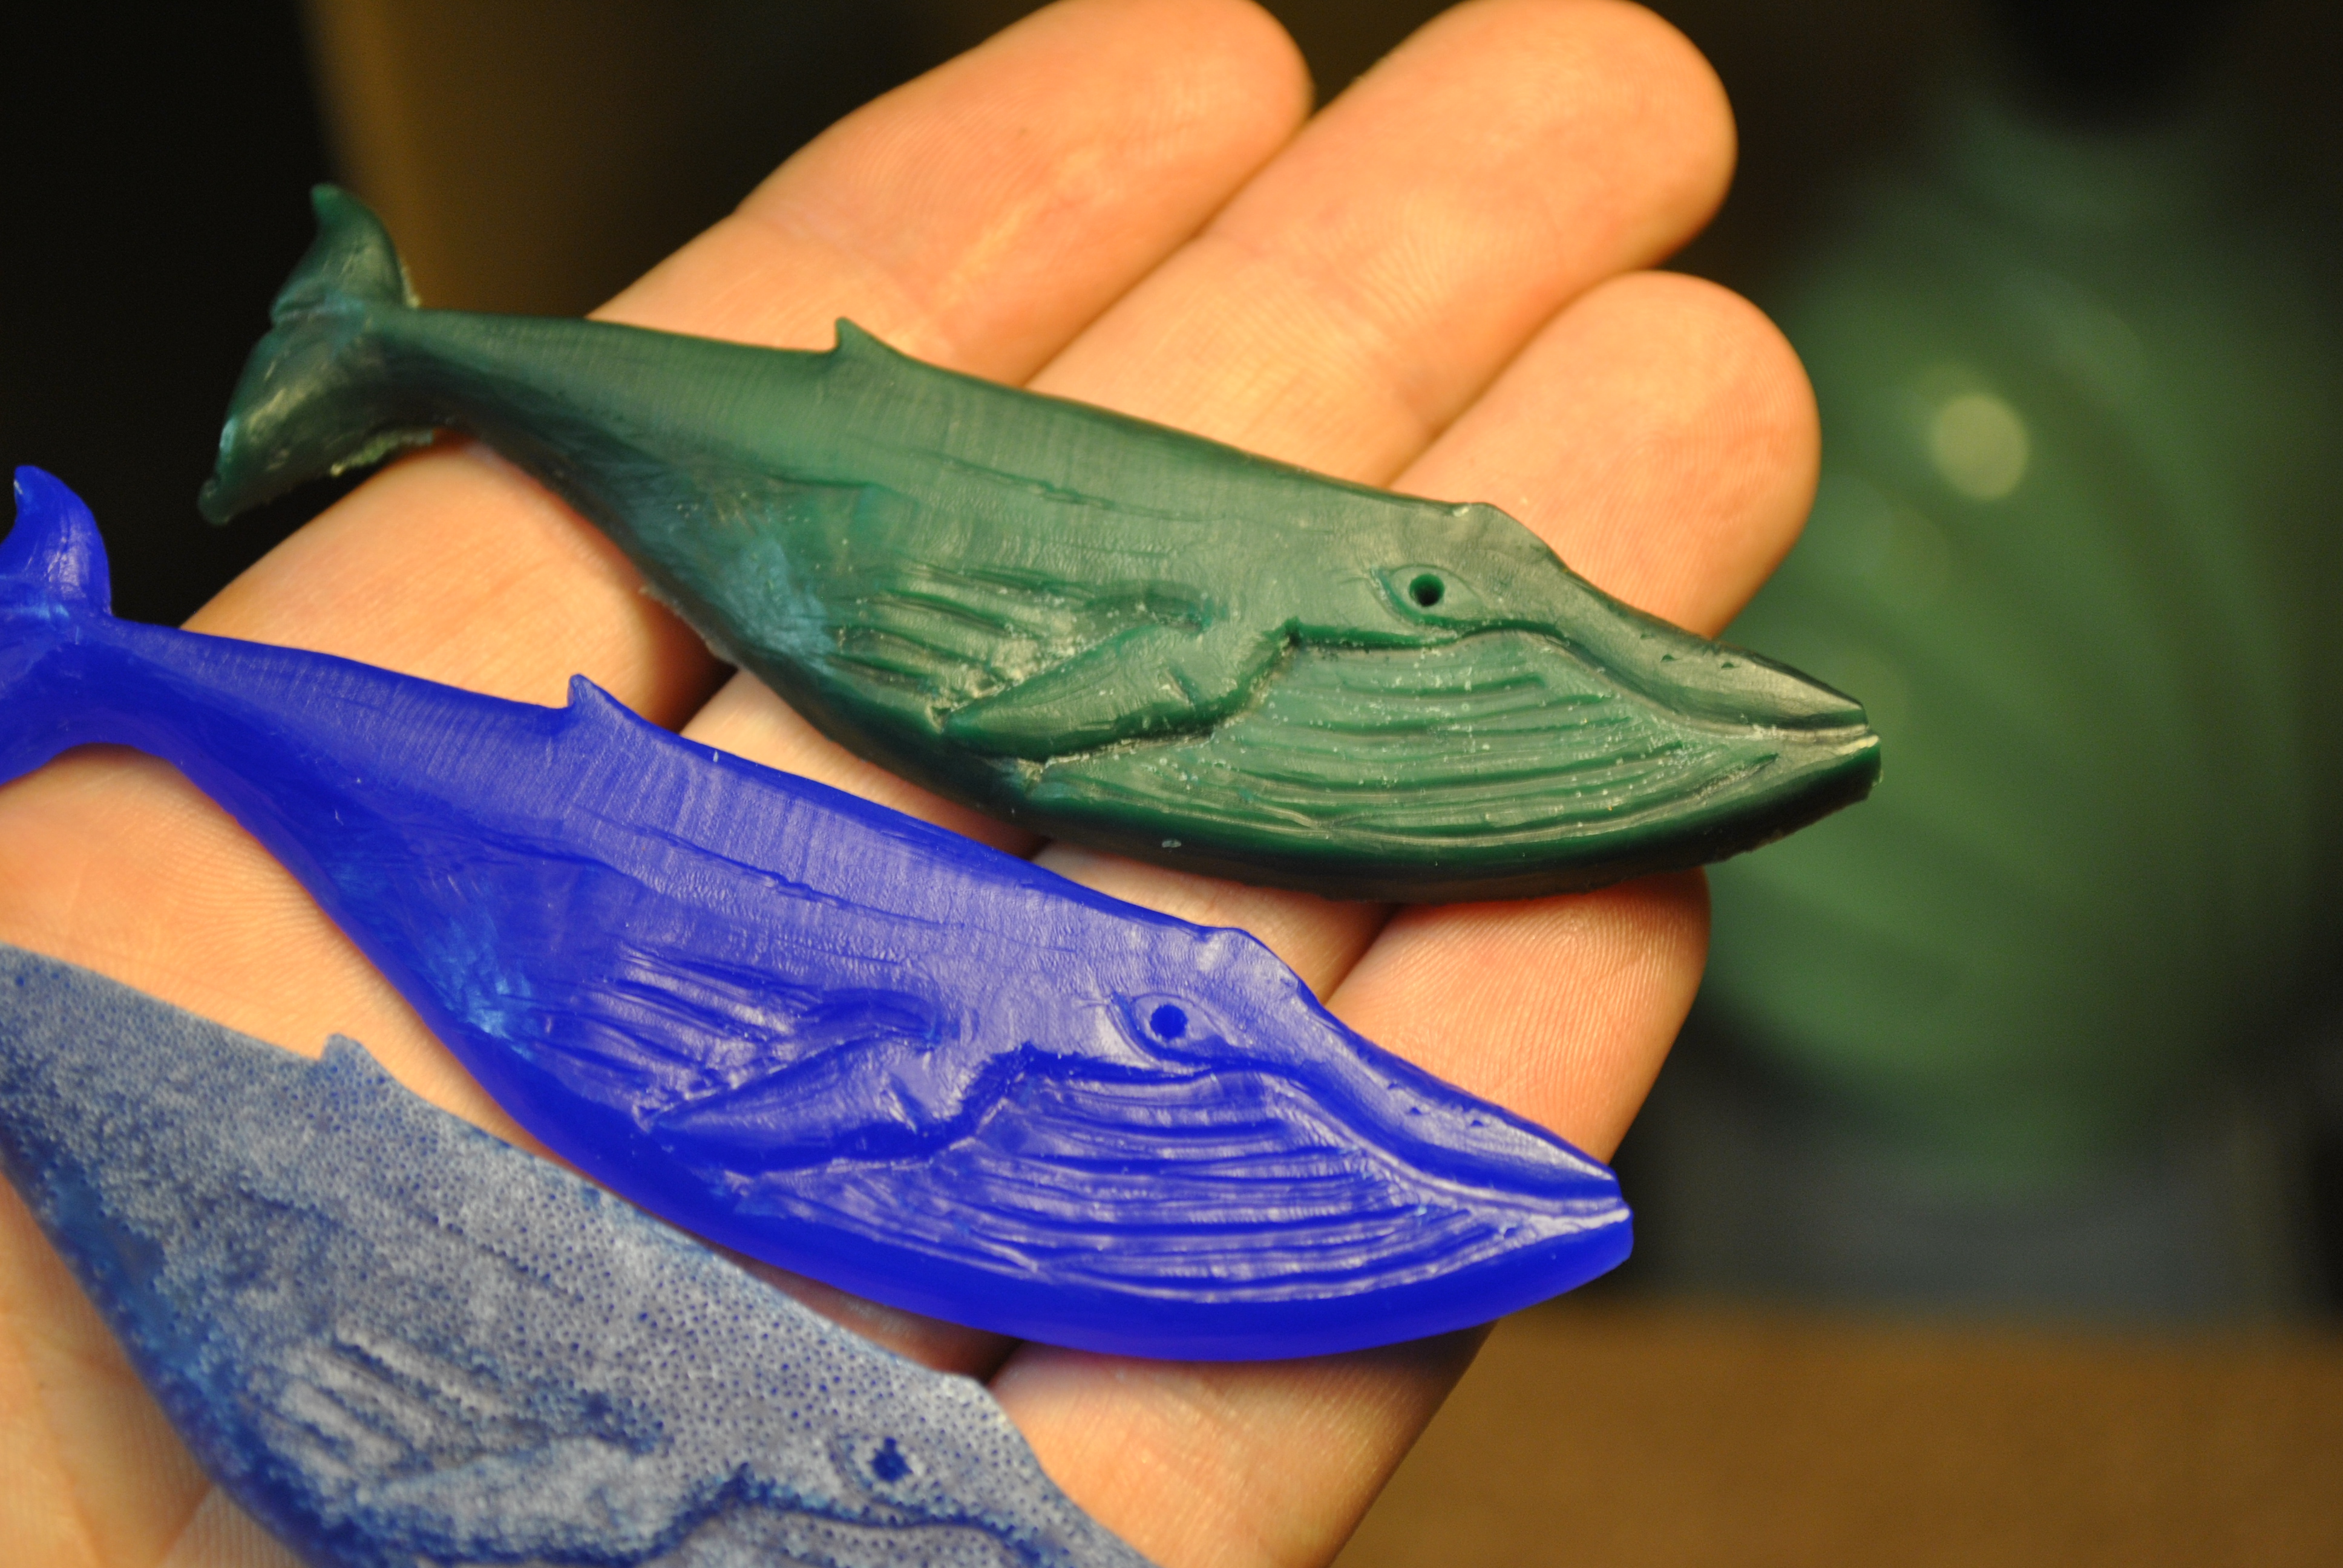
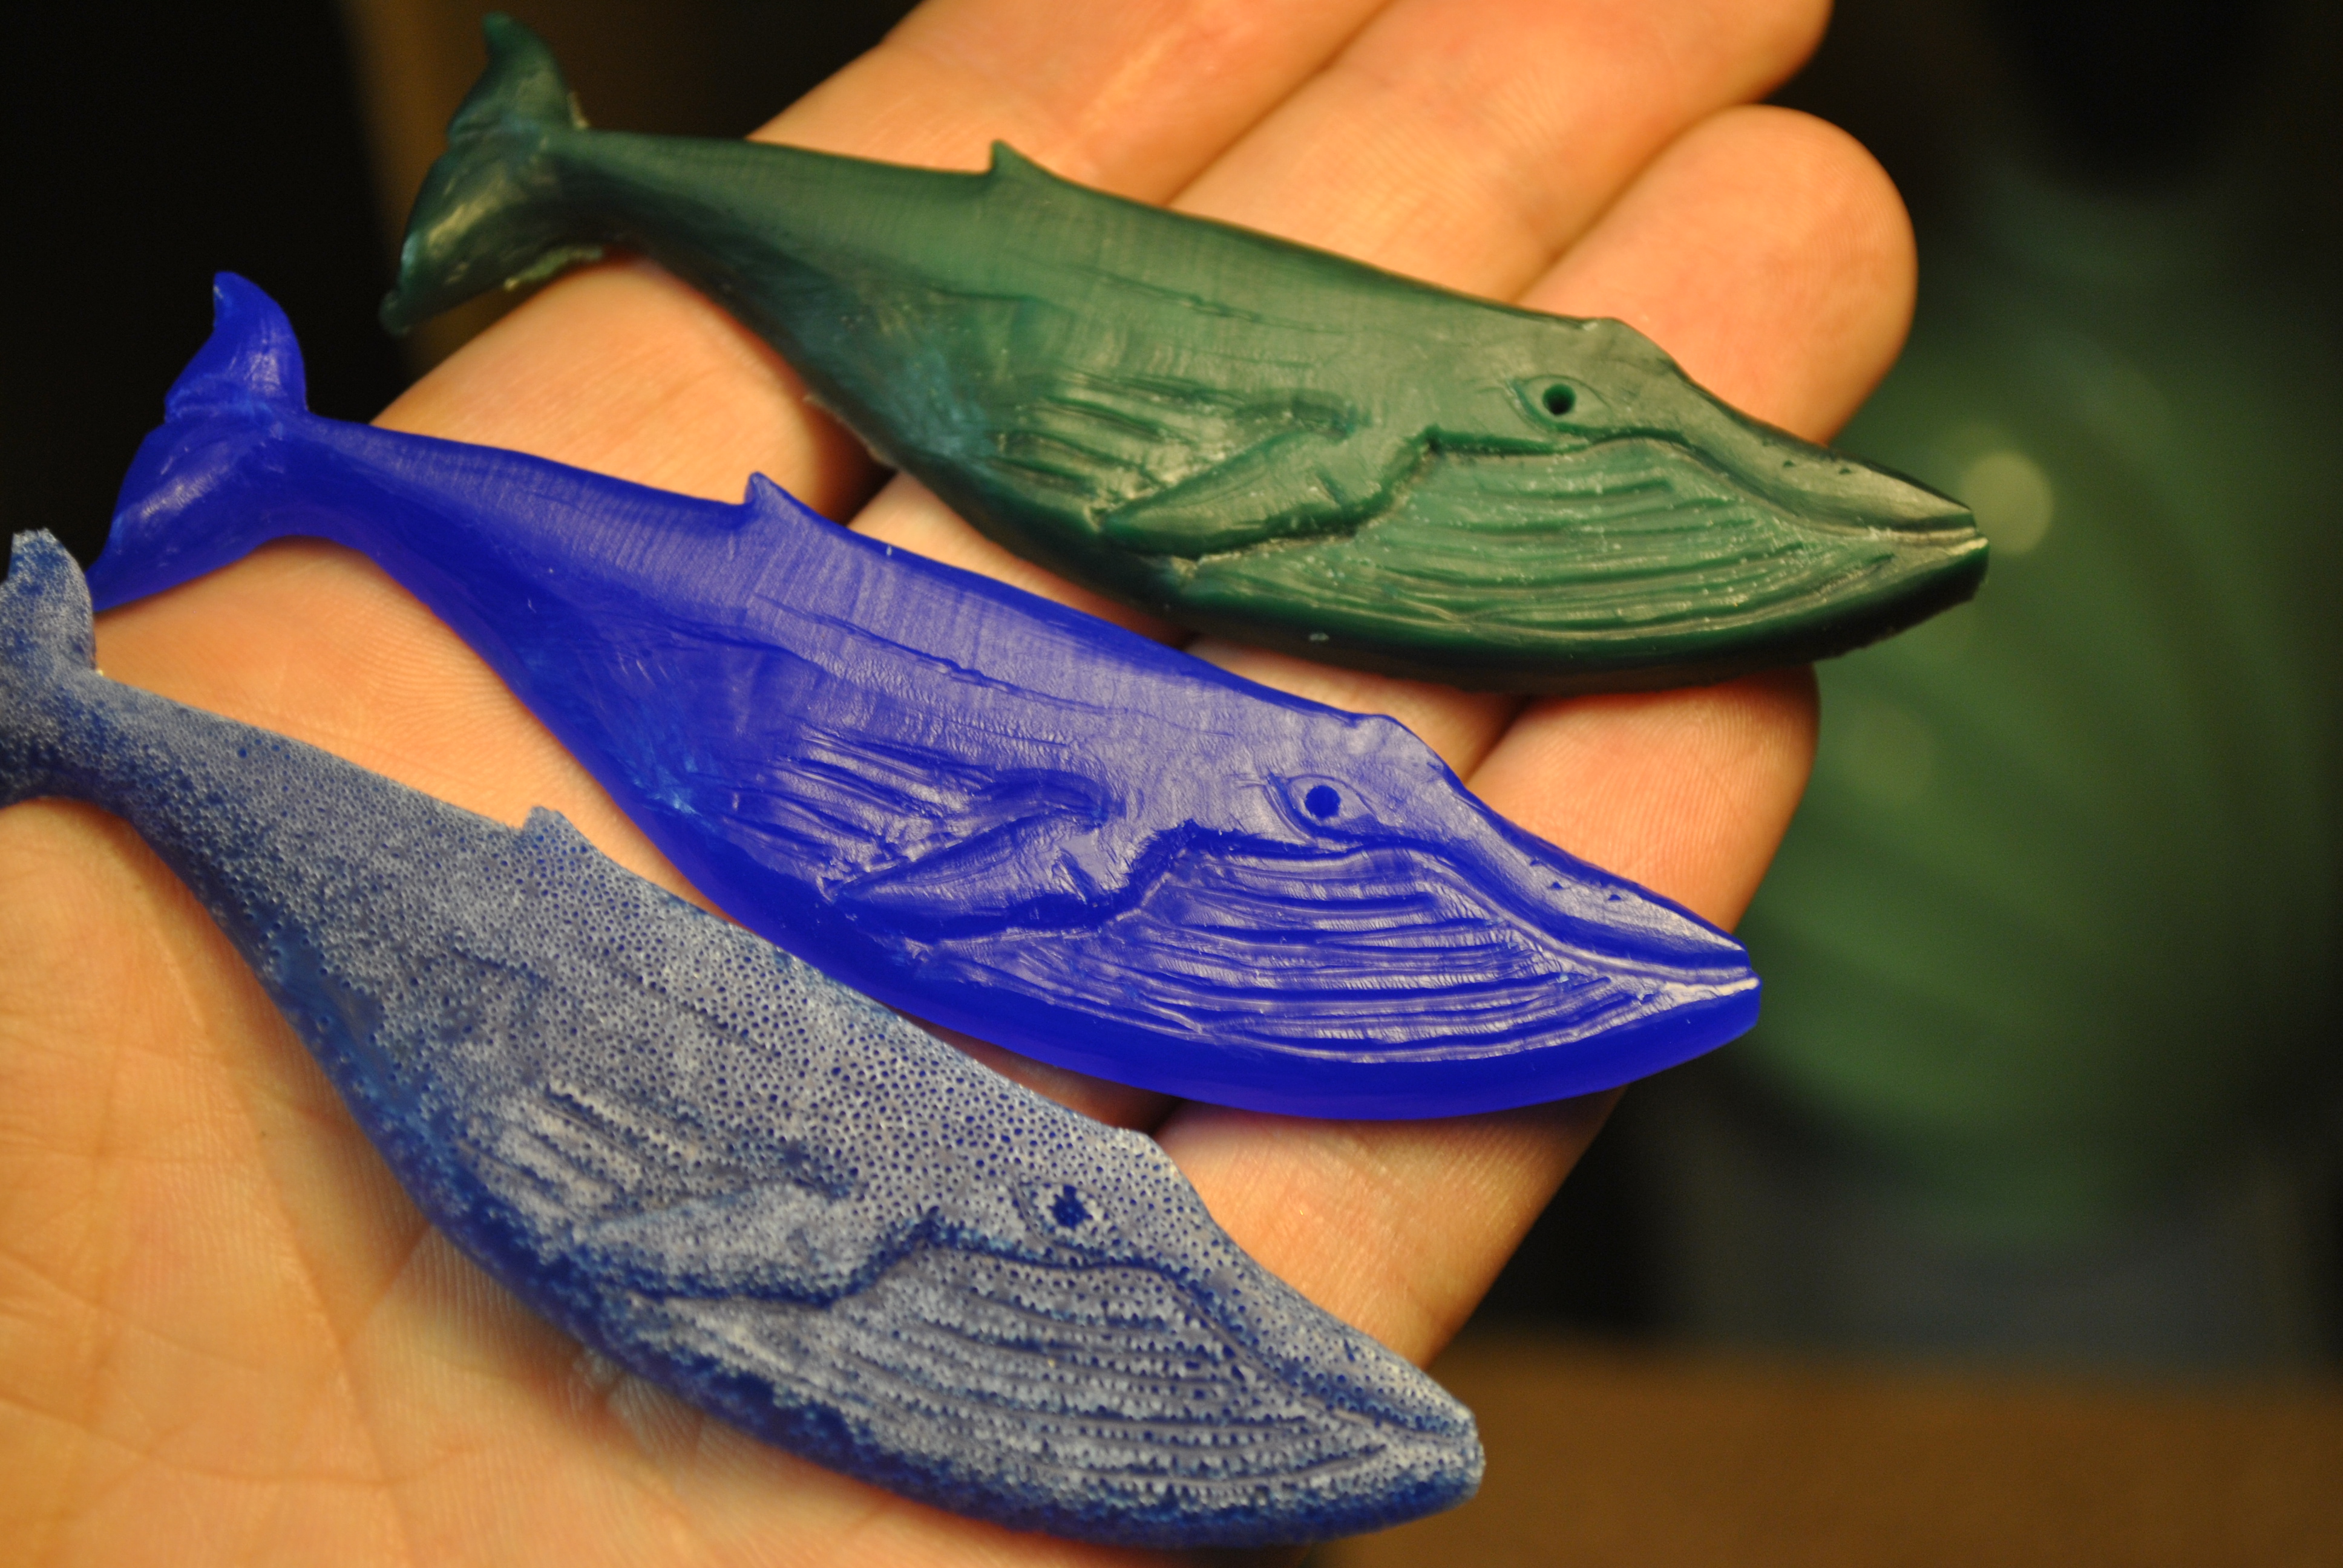
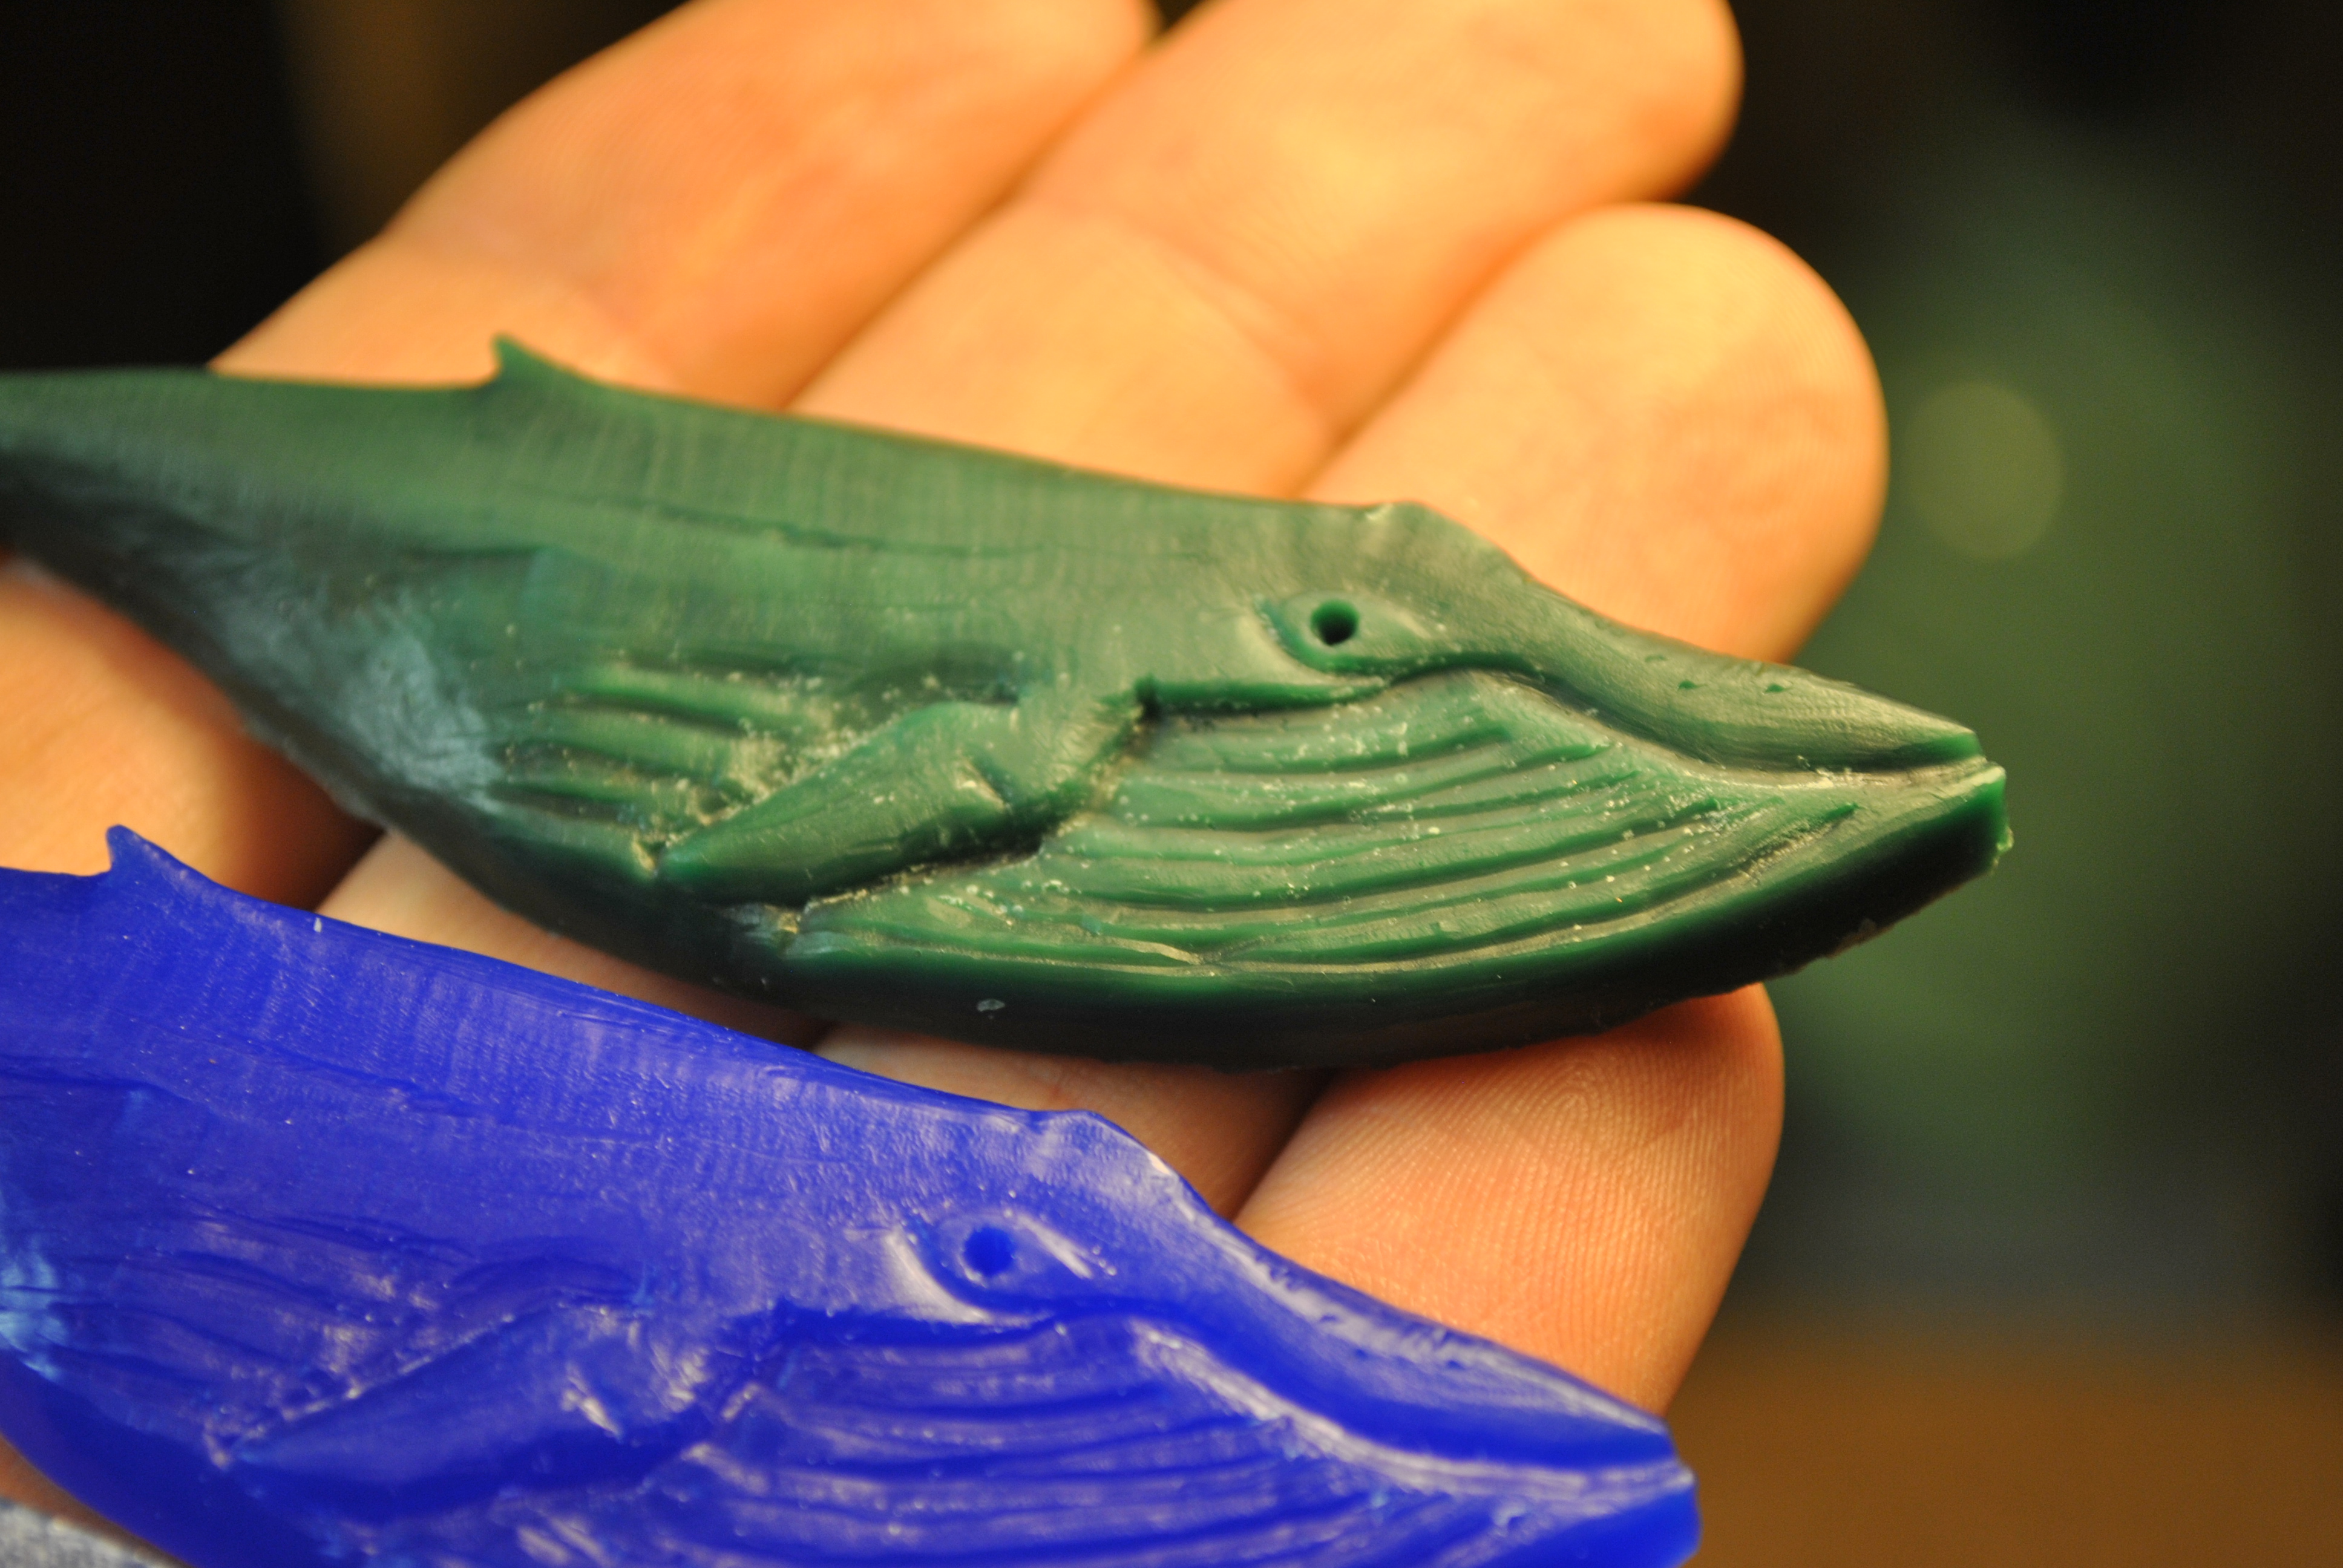
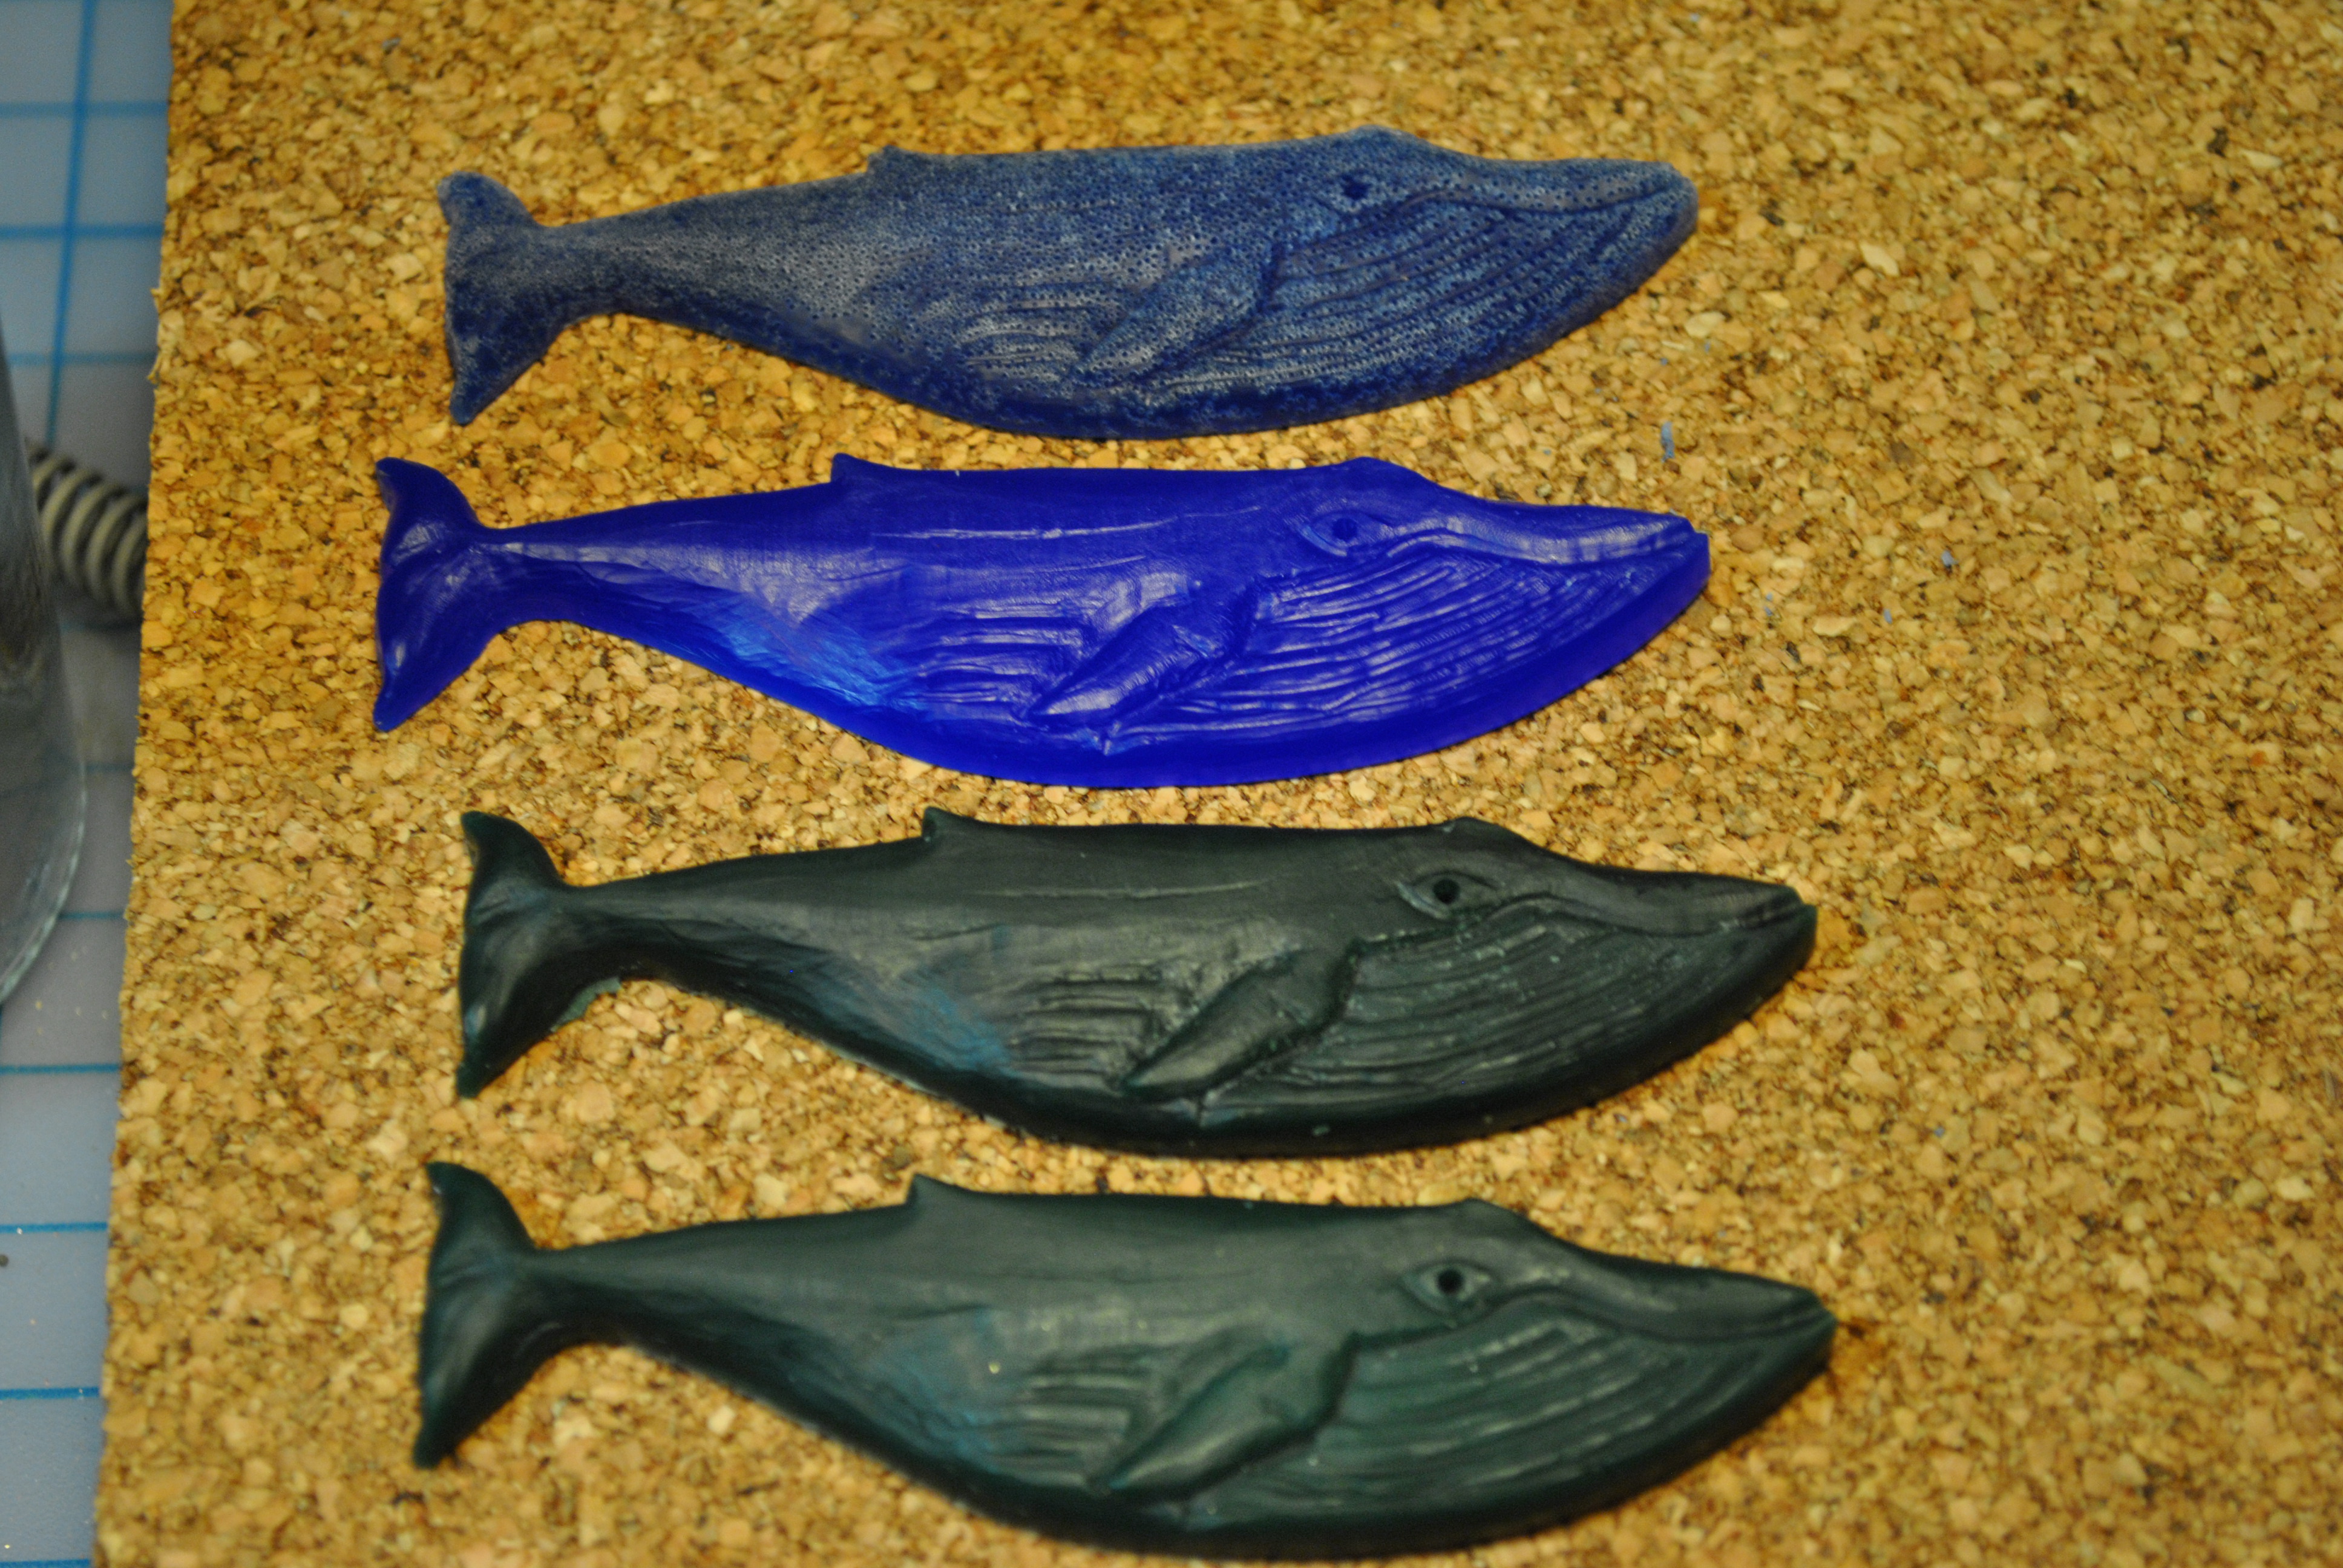
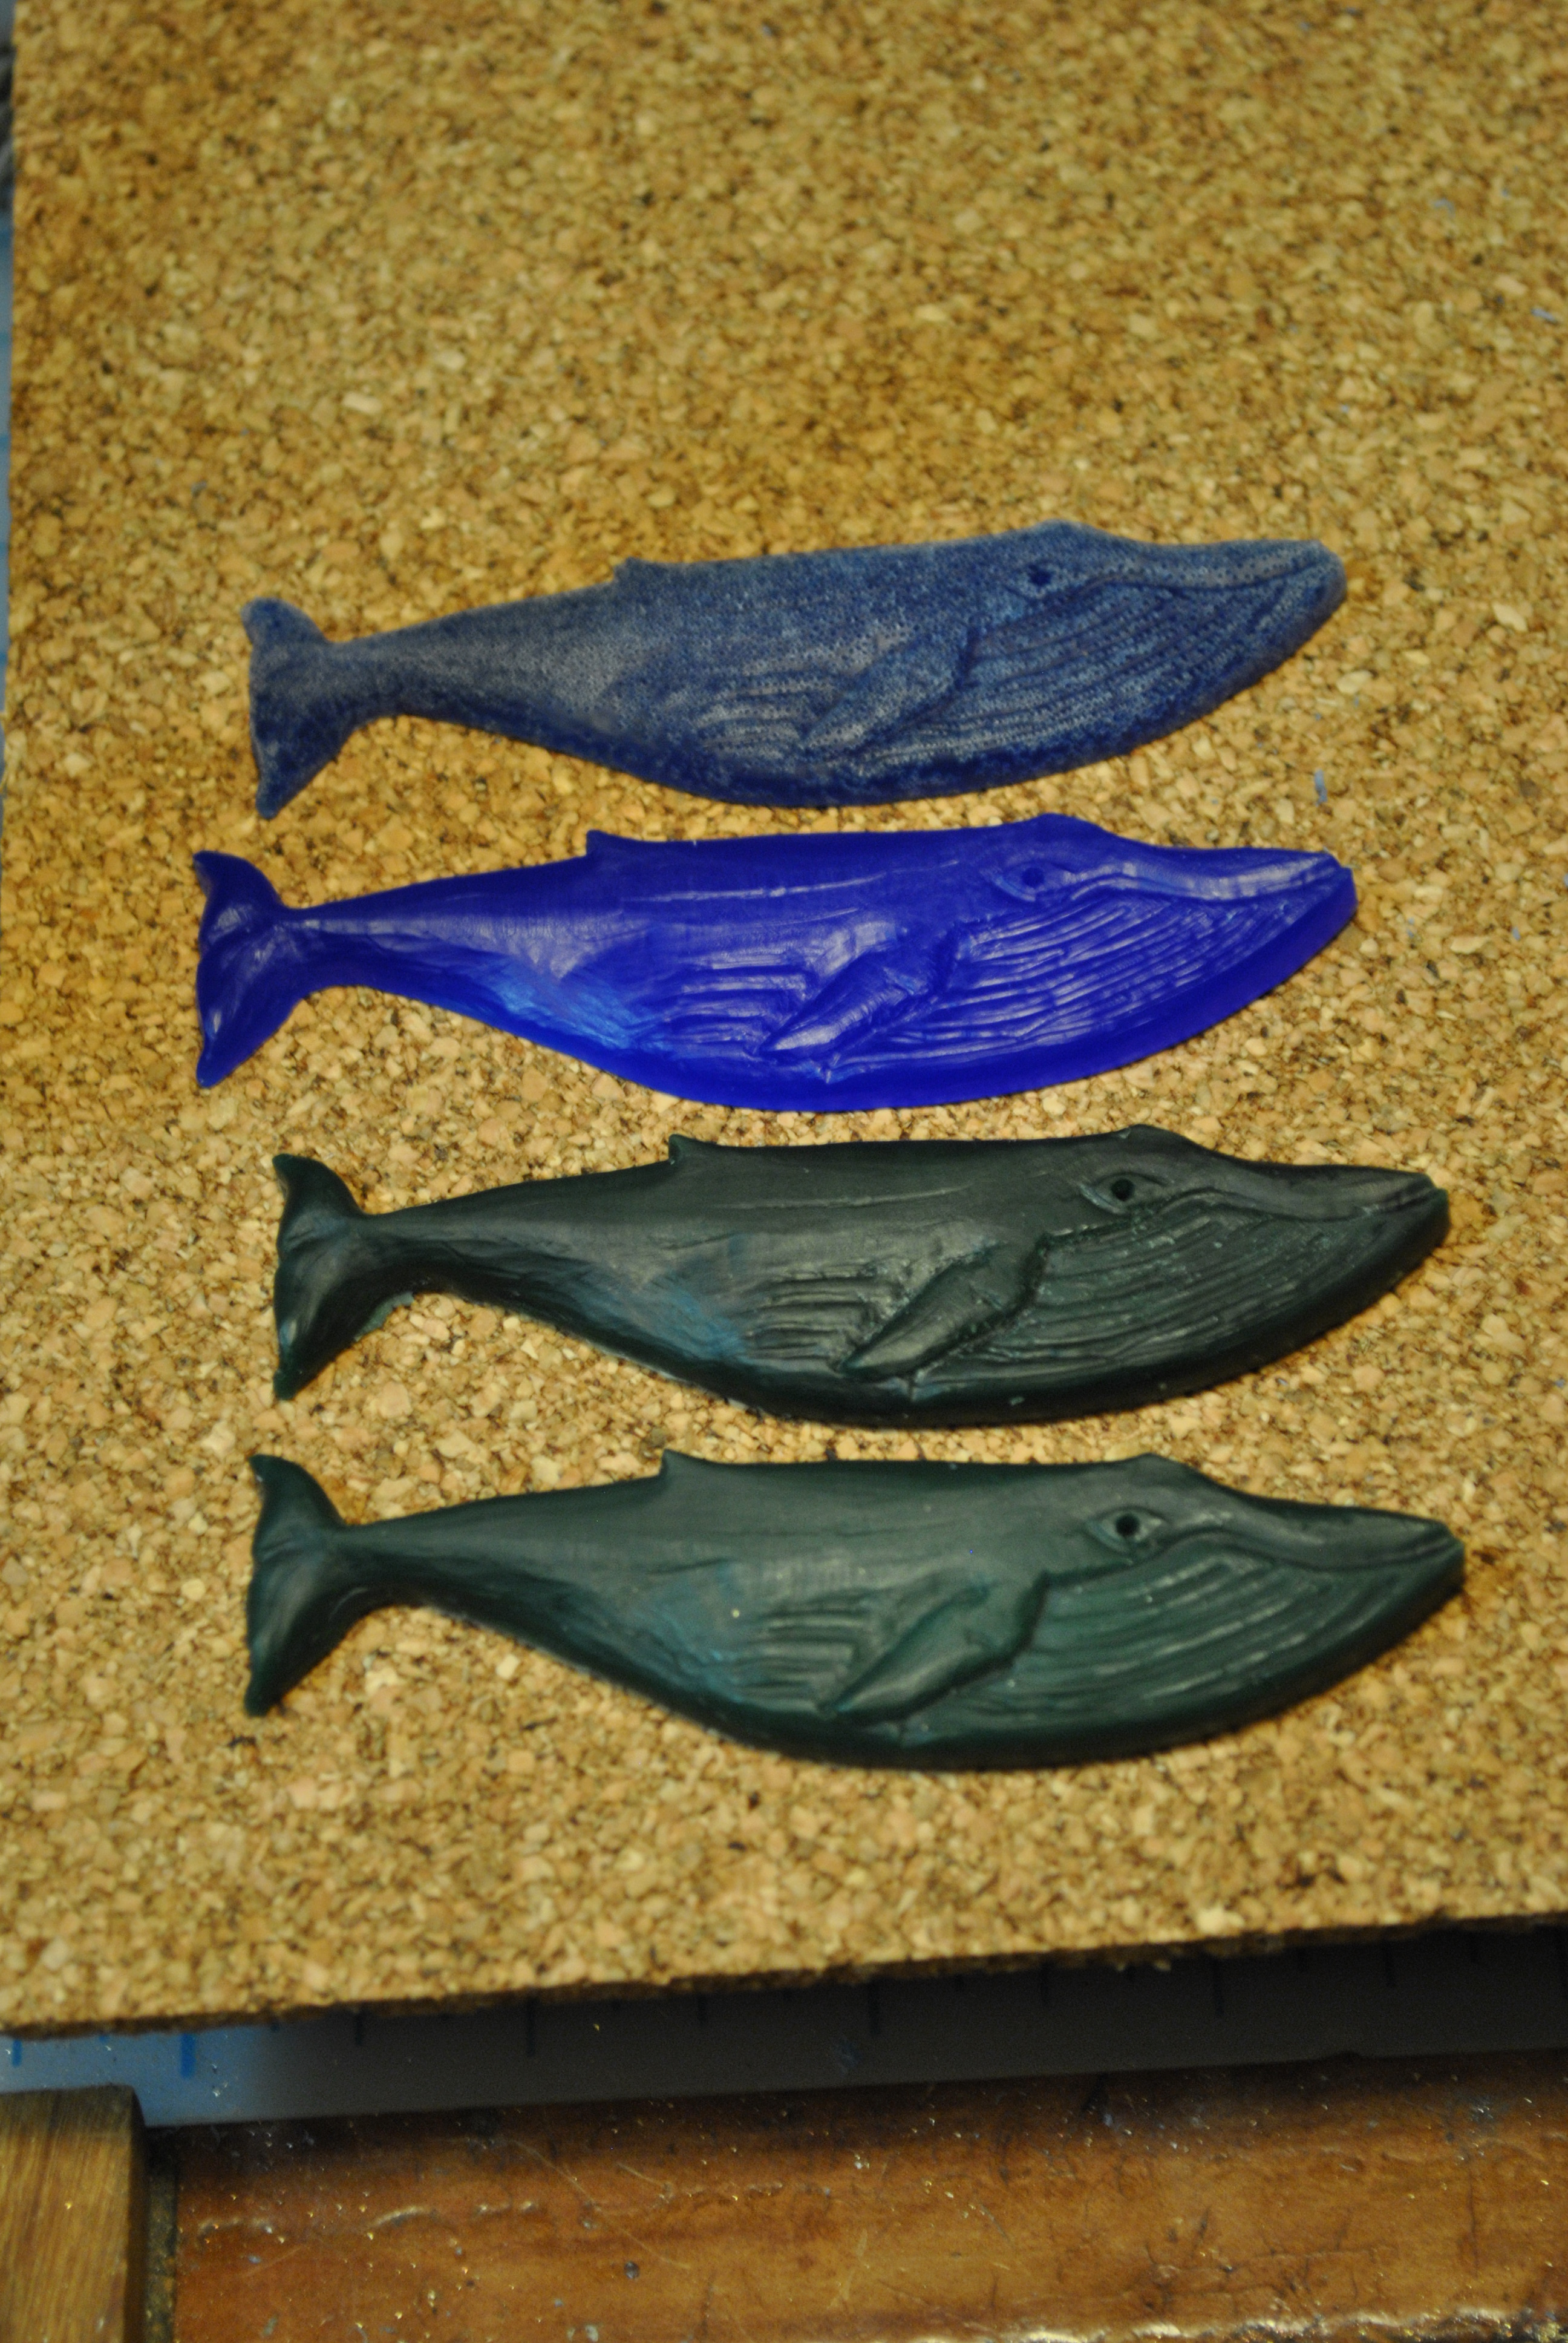
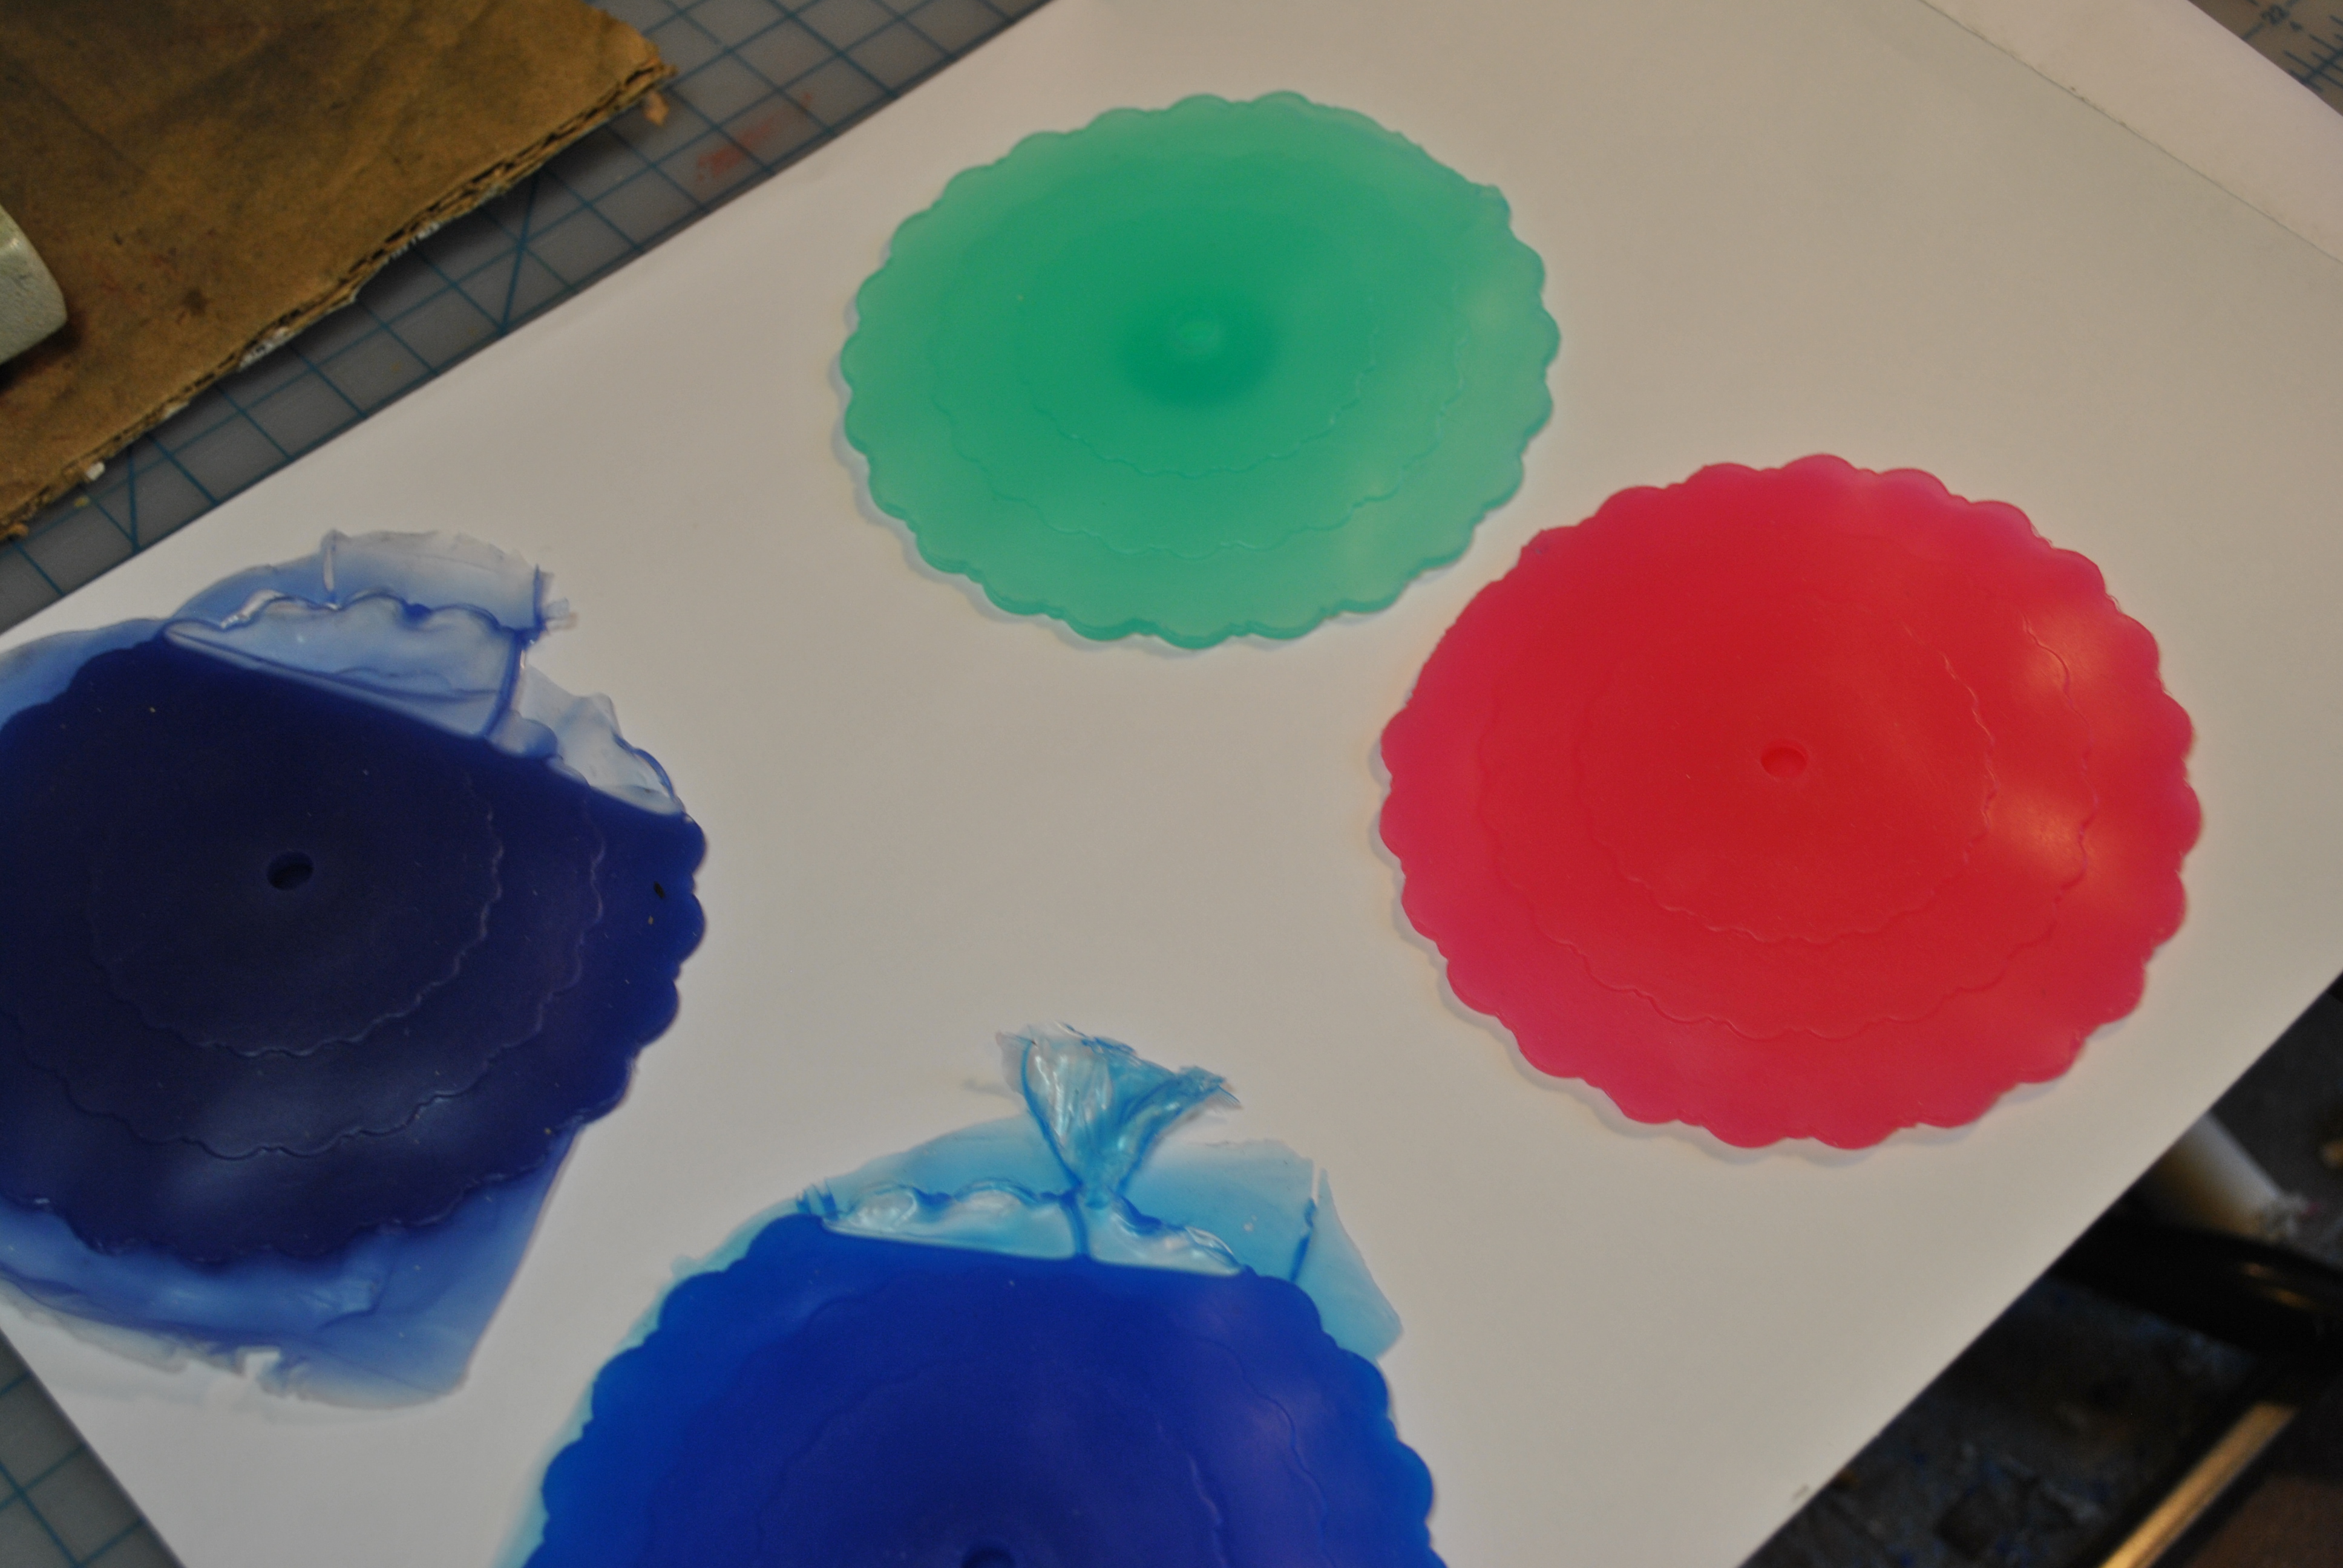
I kept filling until the silicone was all the way full. I made several copies, in different colors. 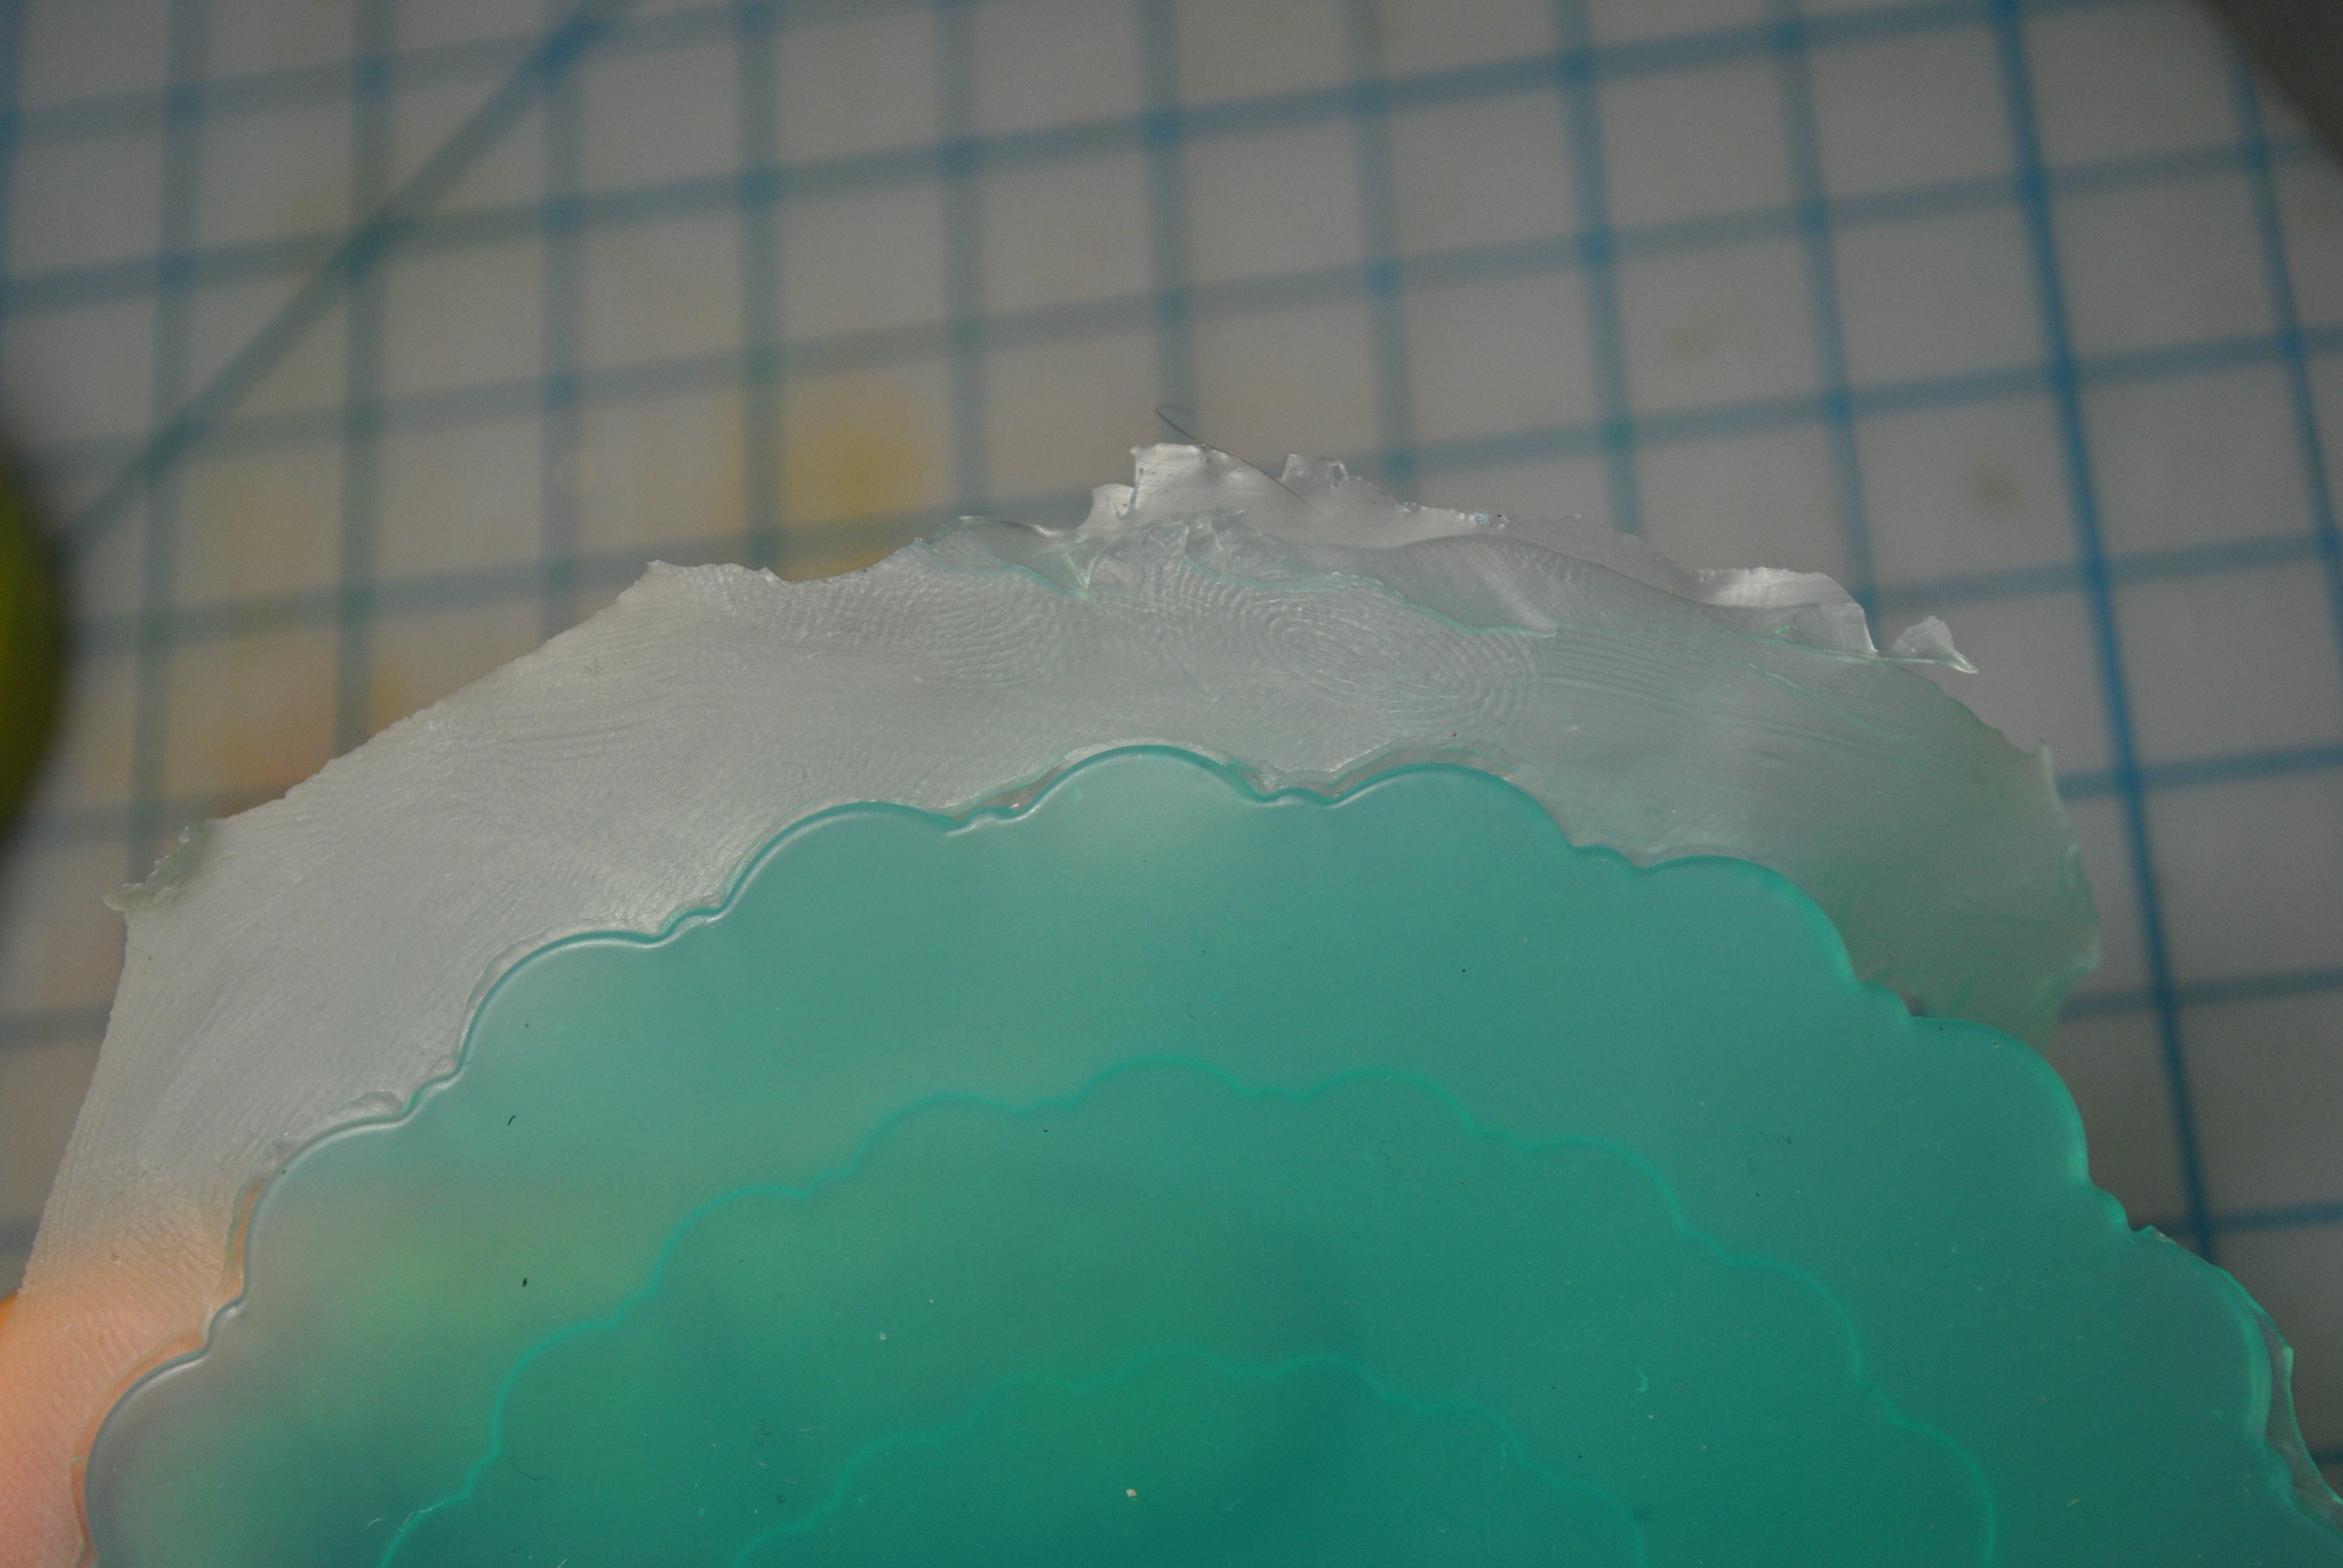
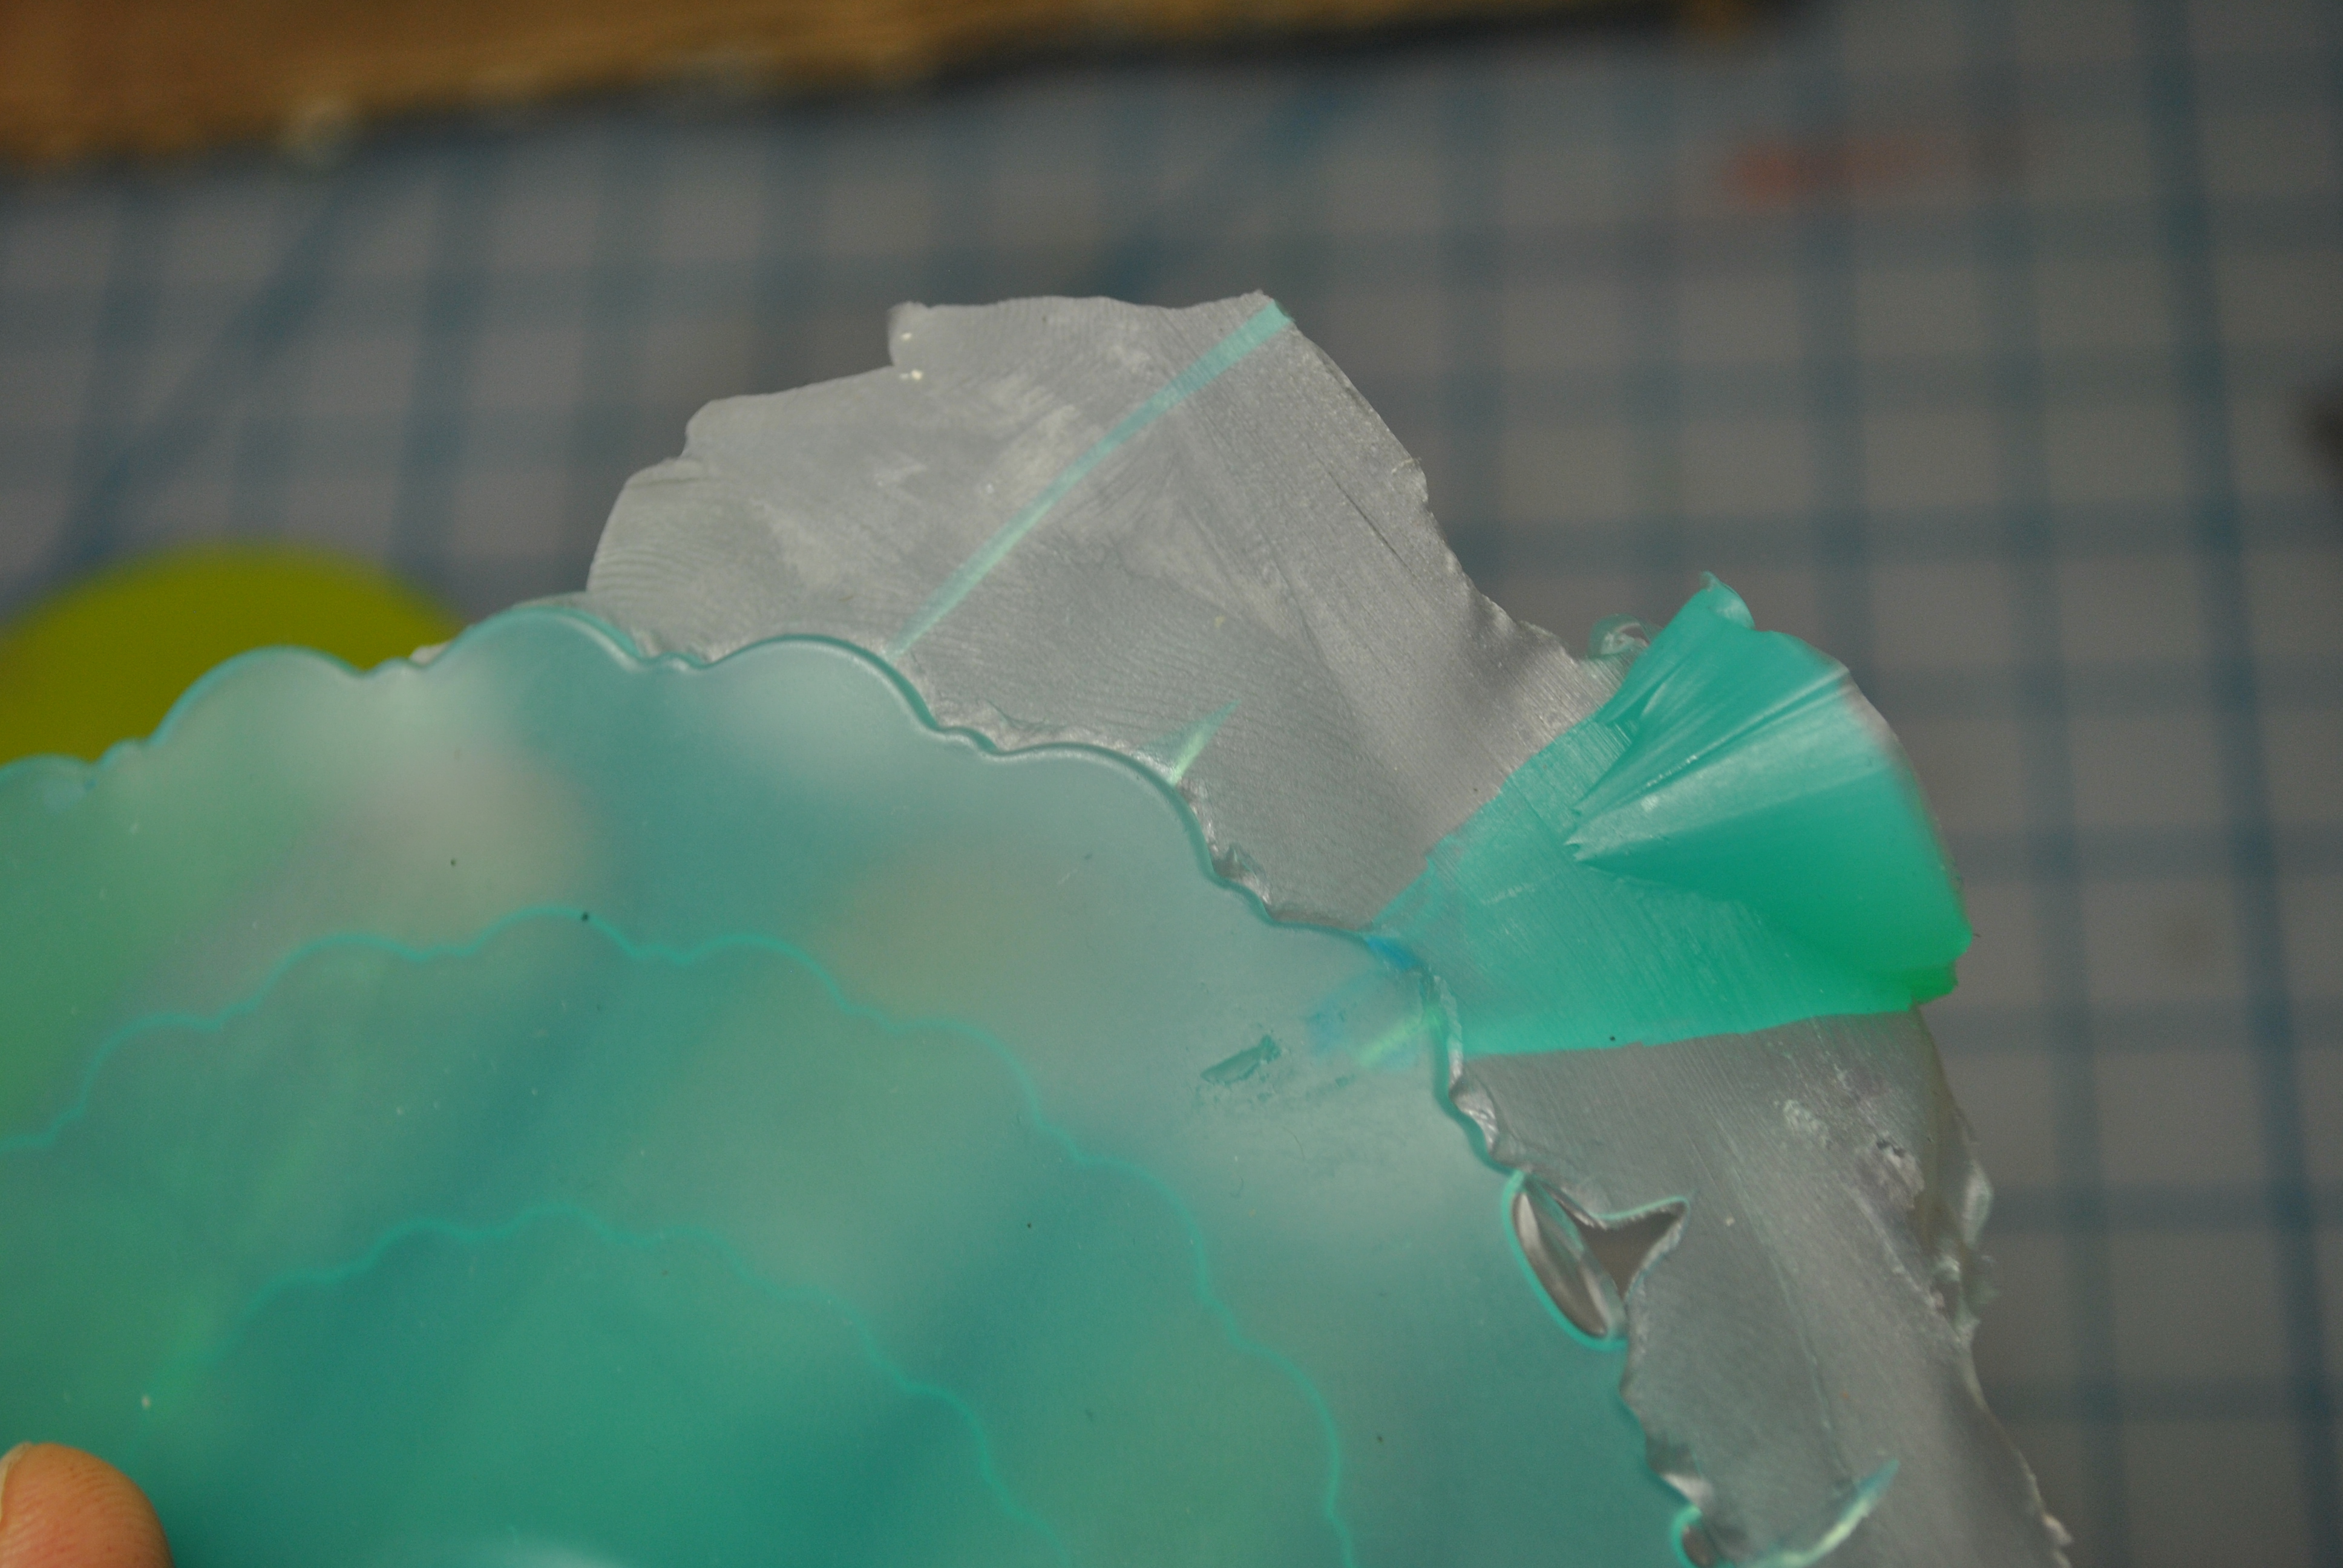
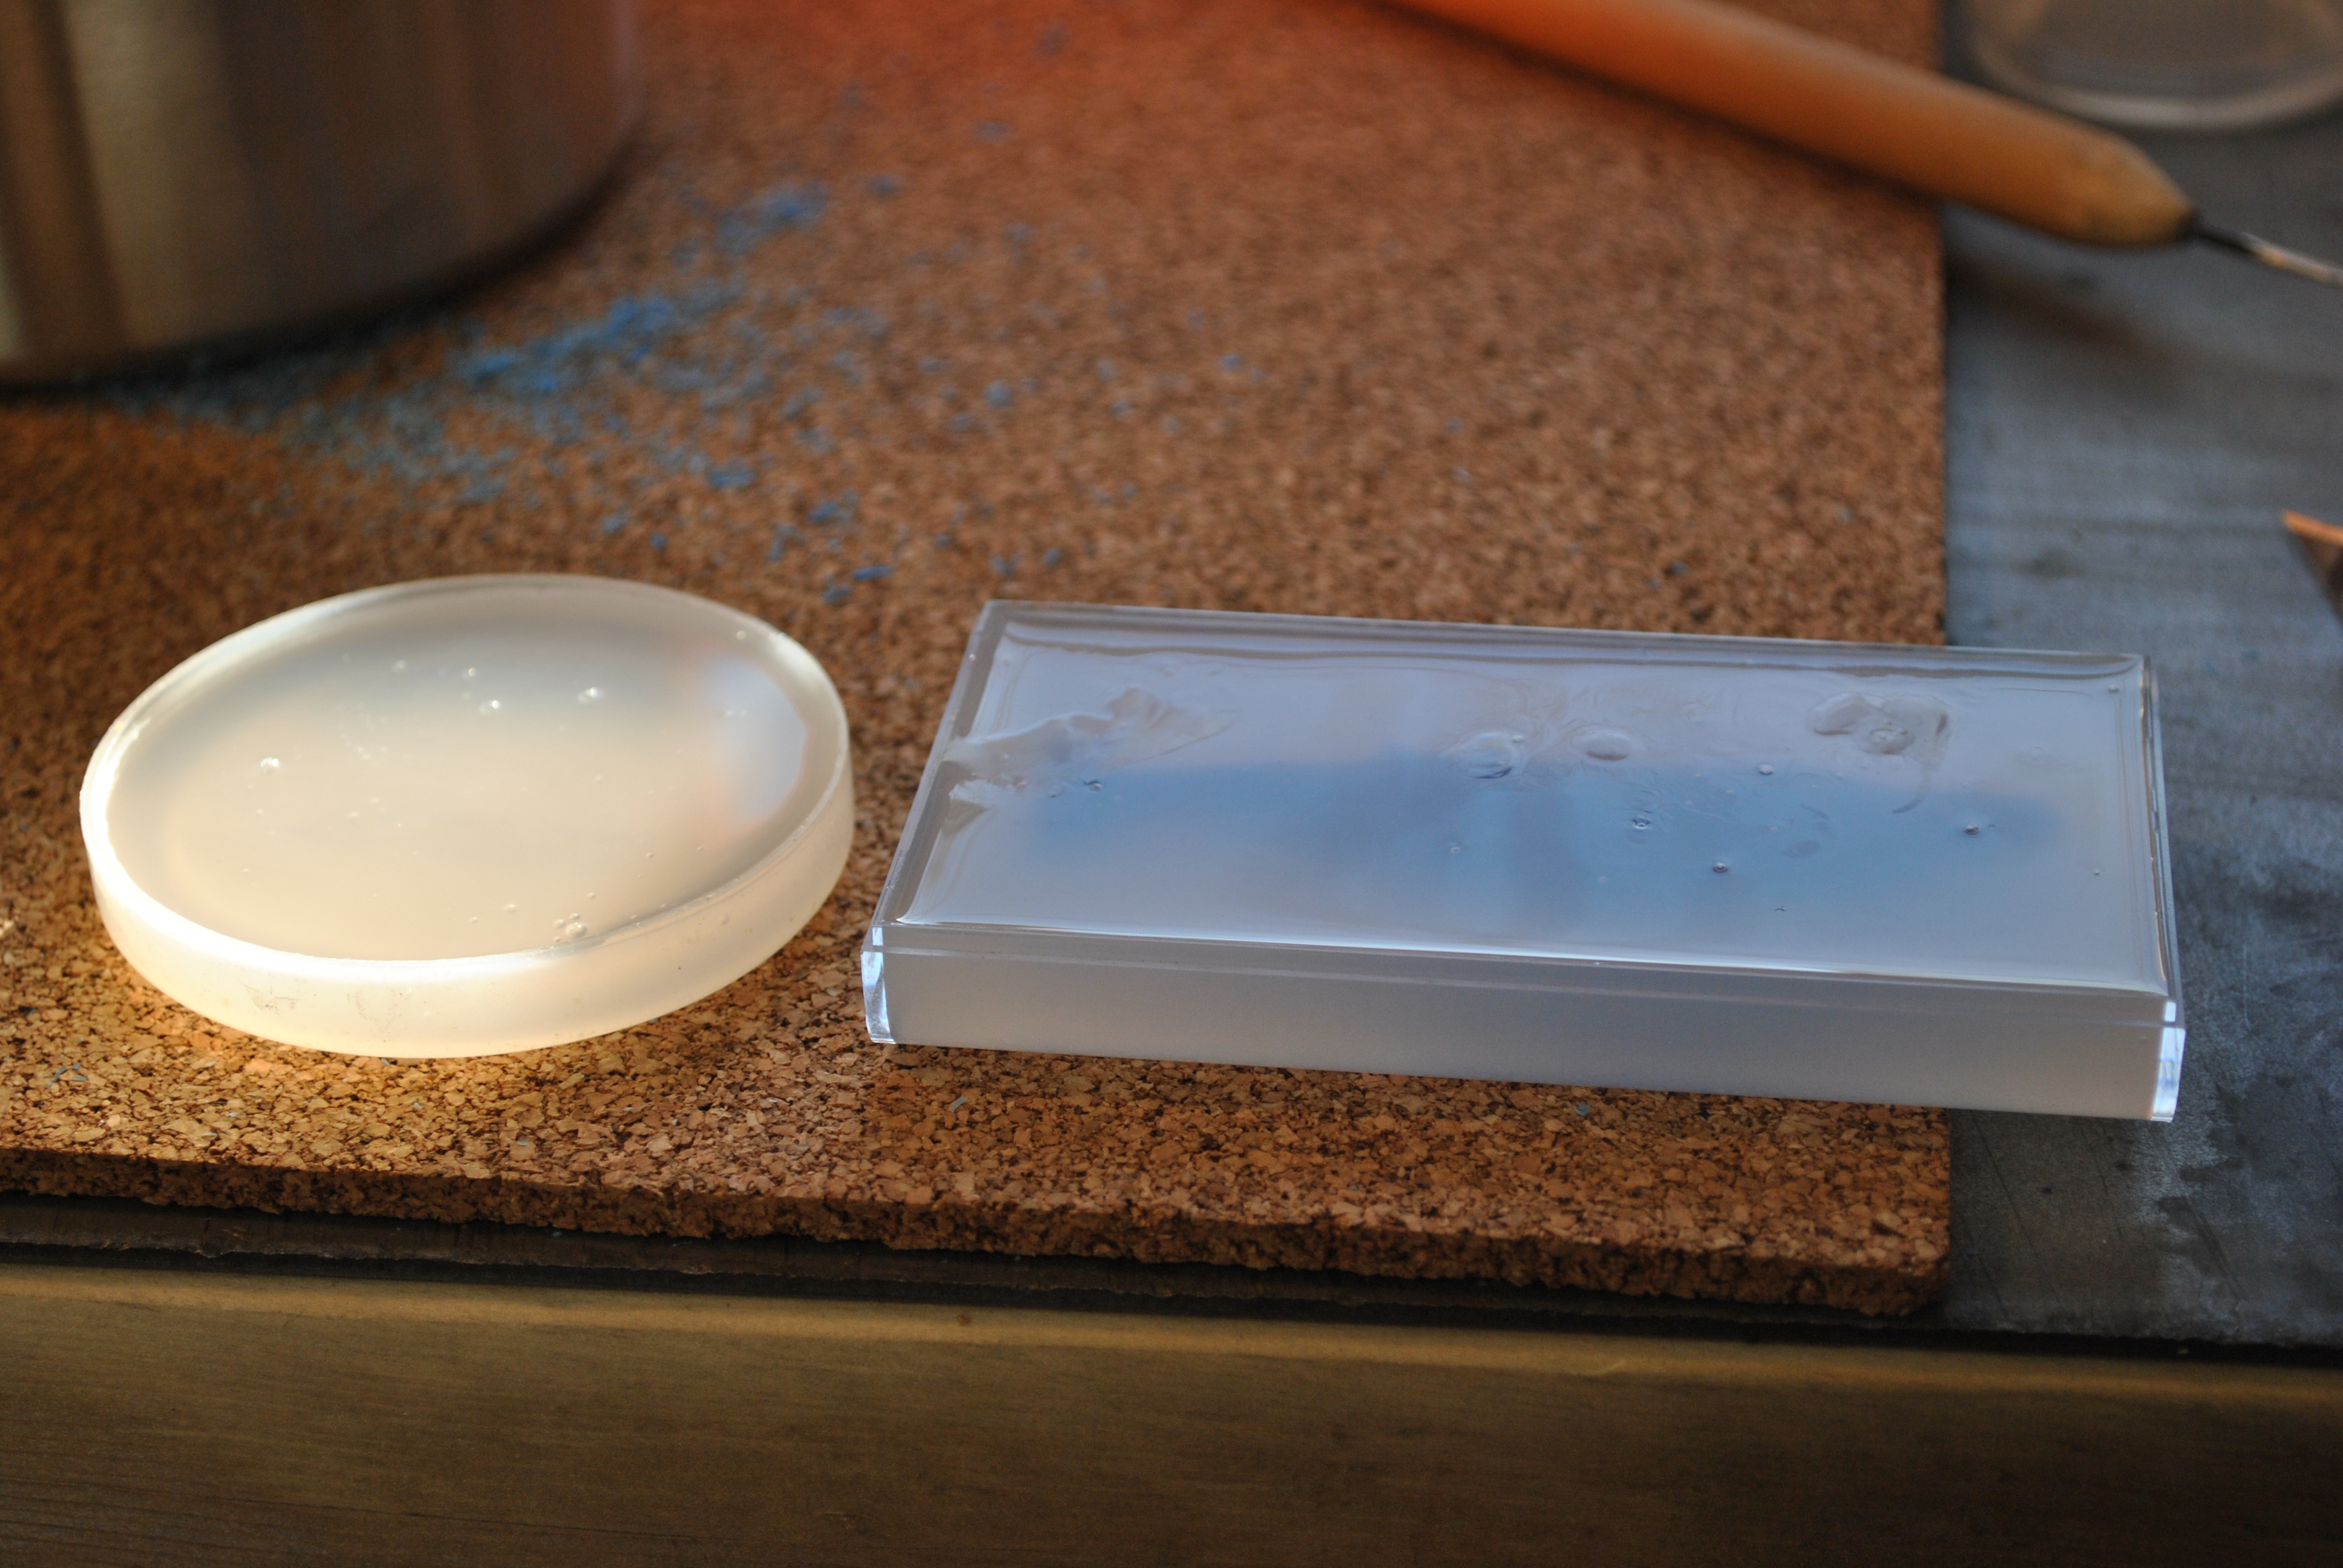
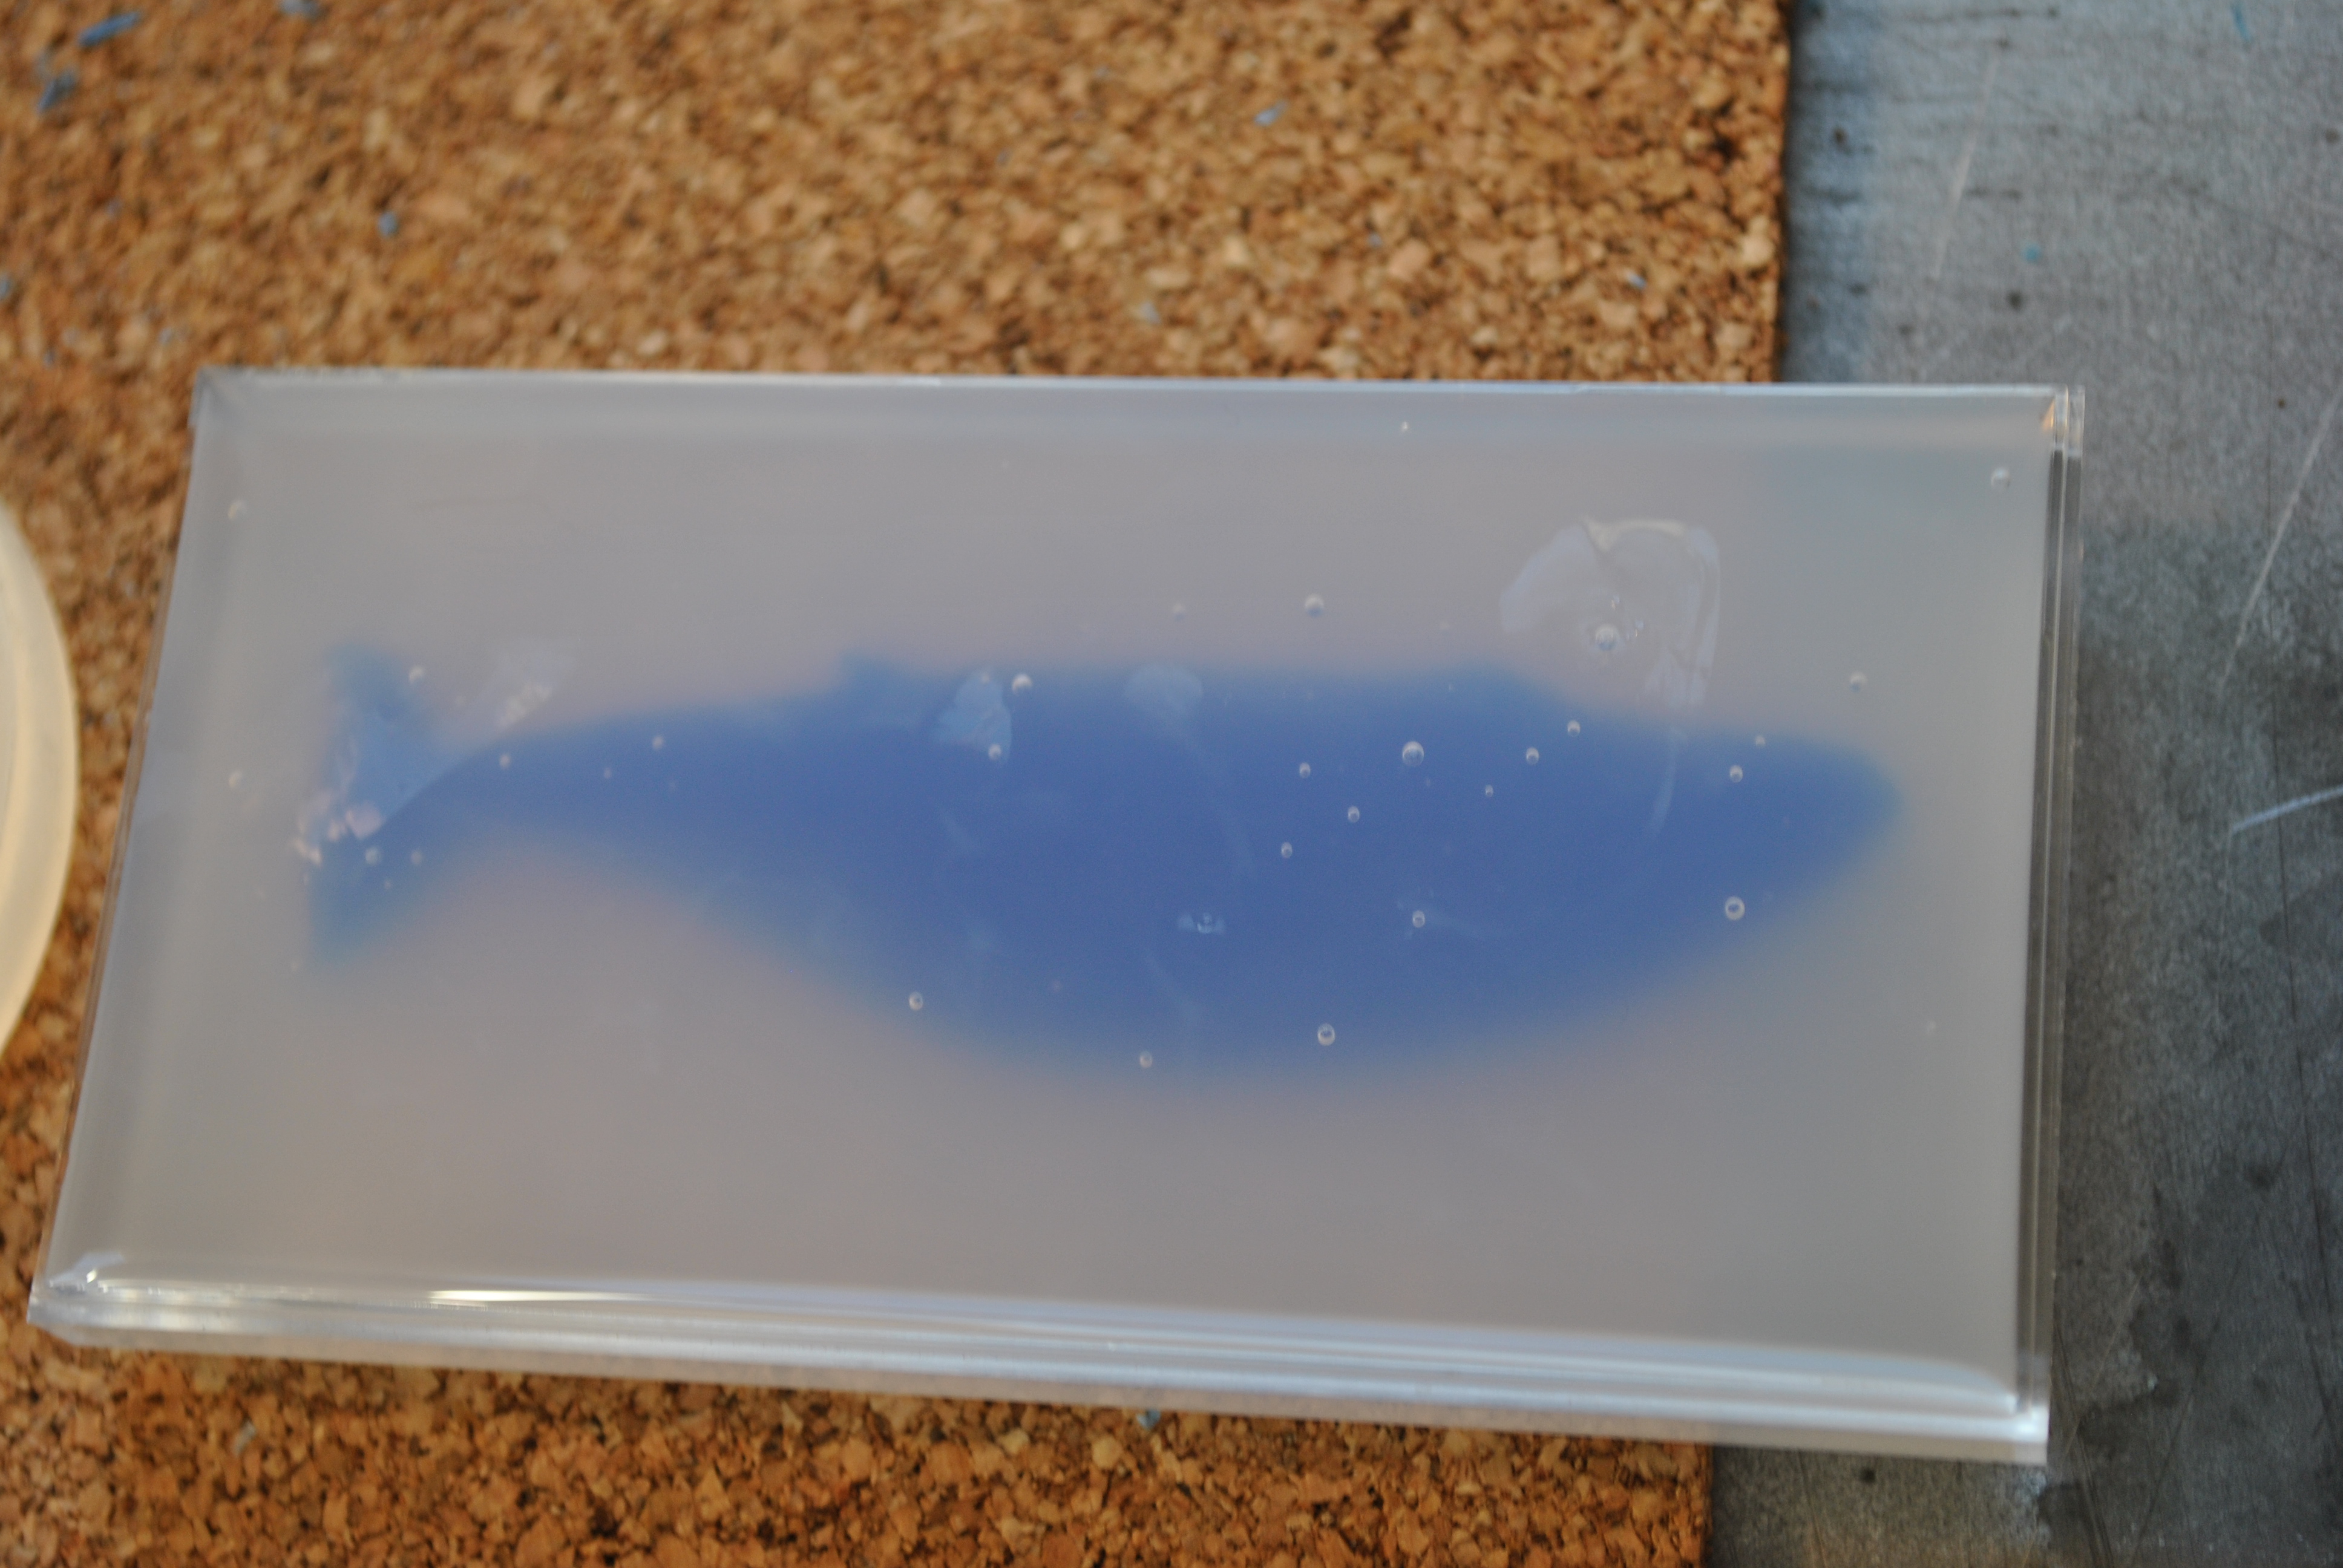
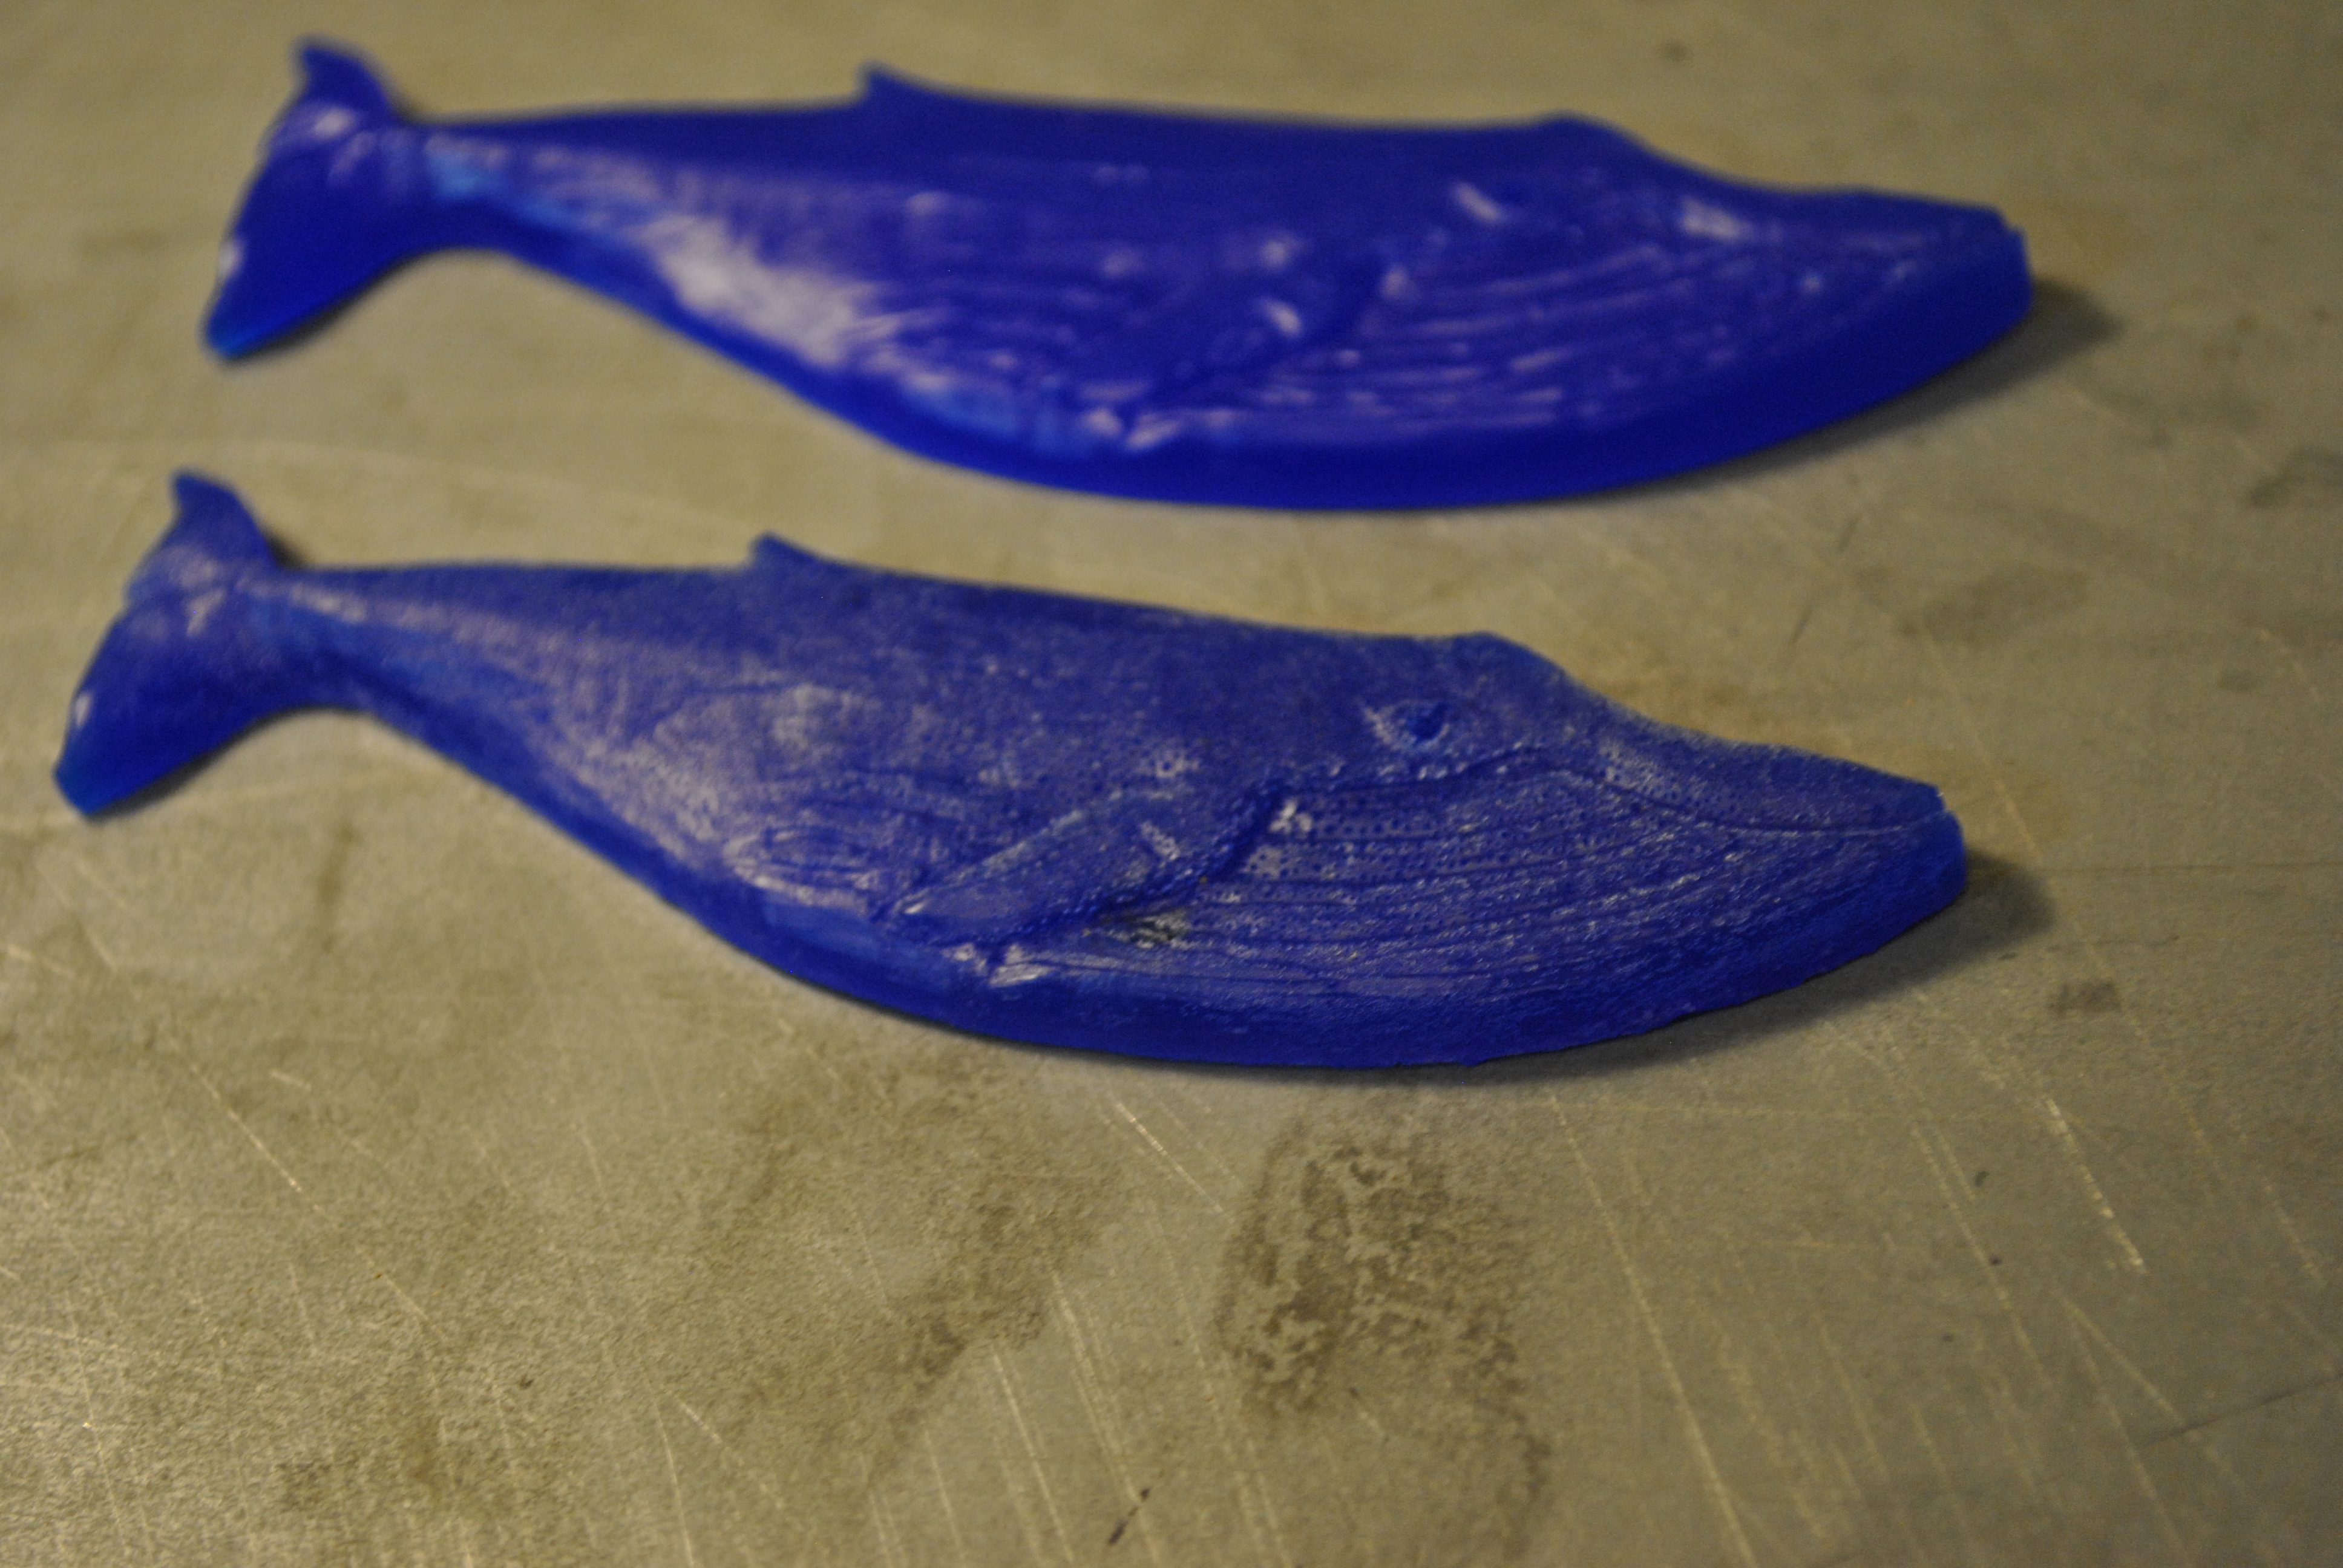
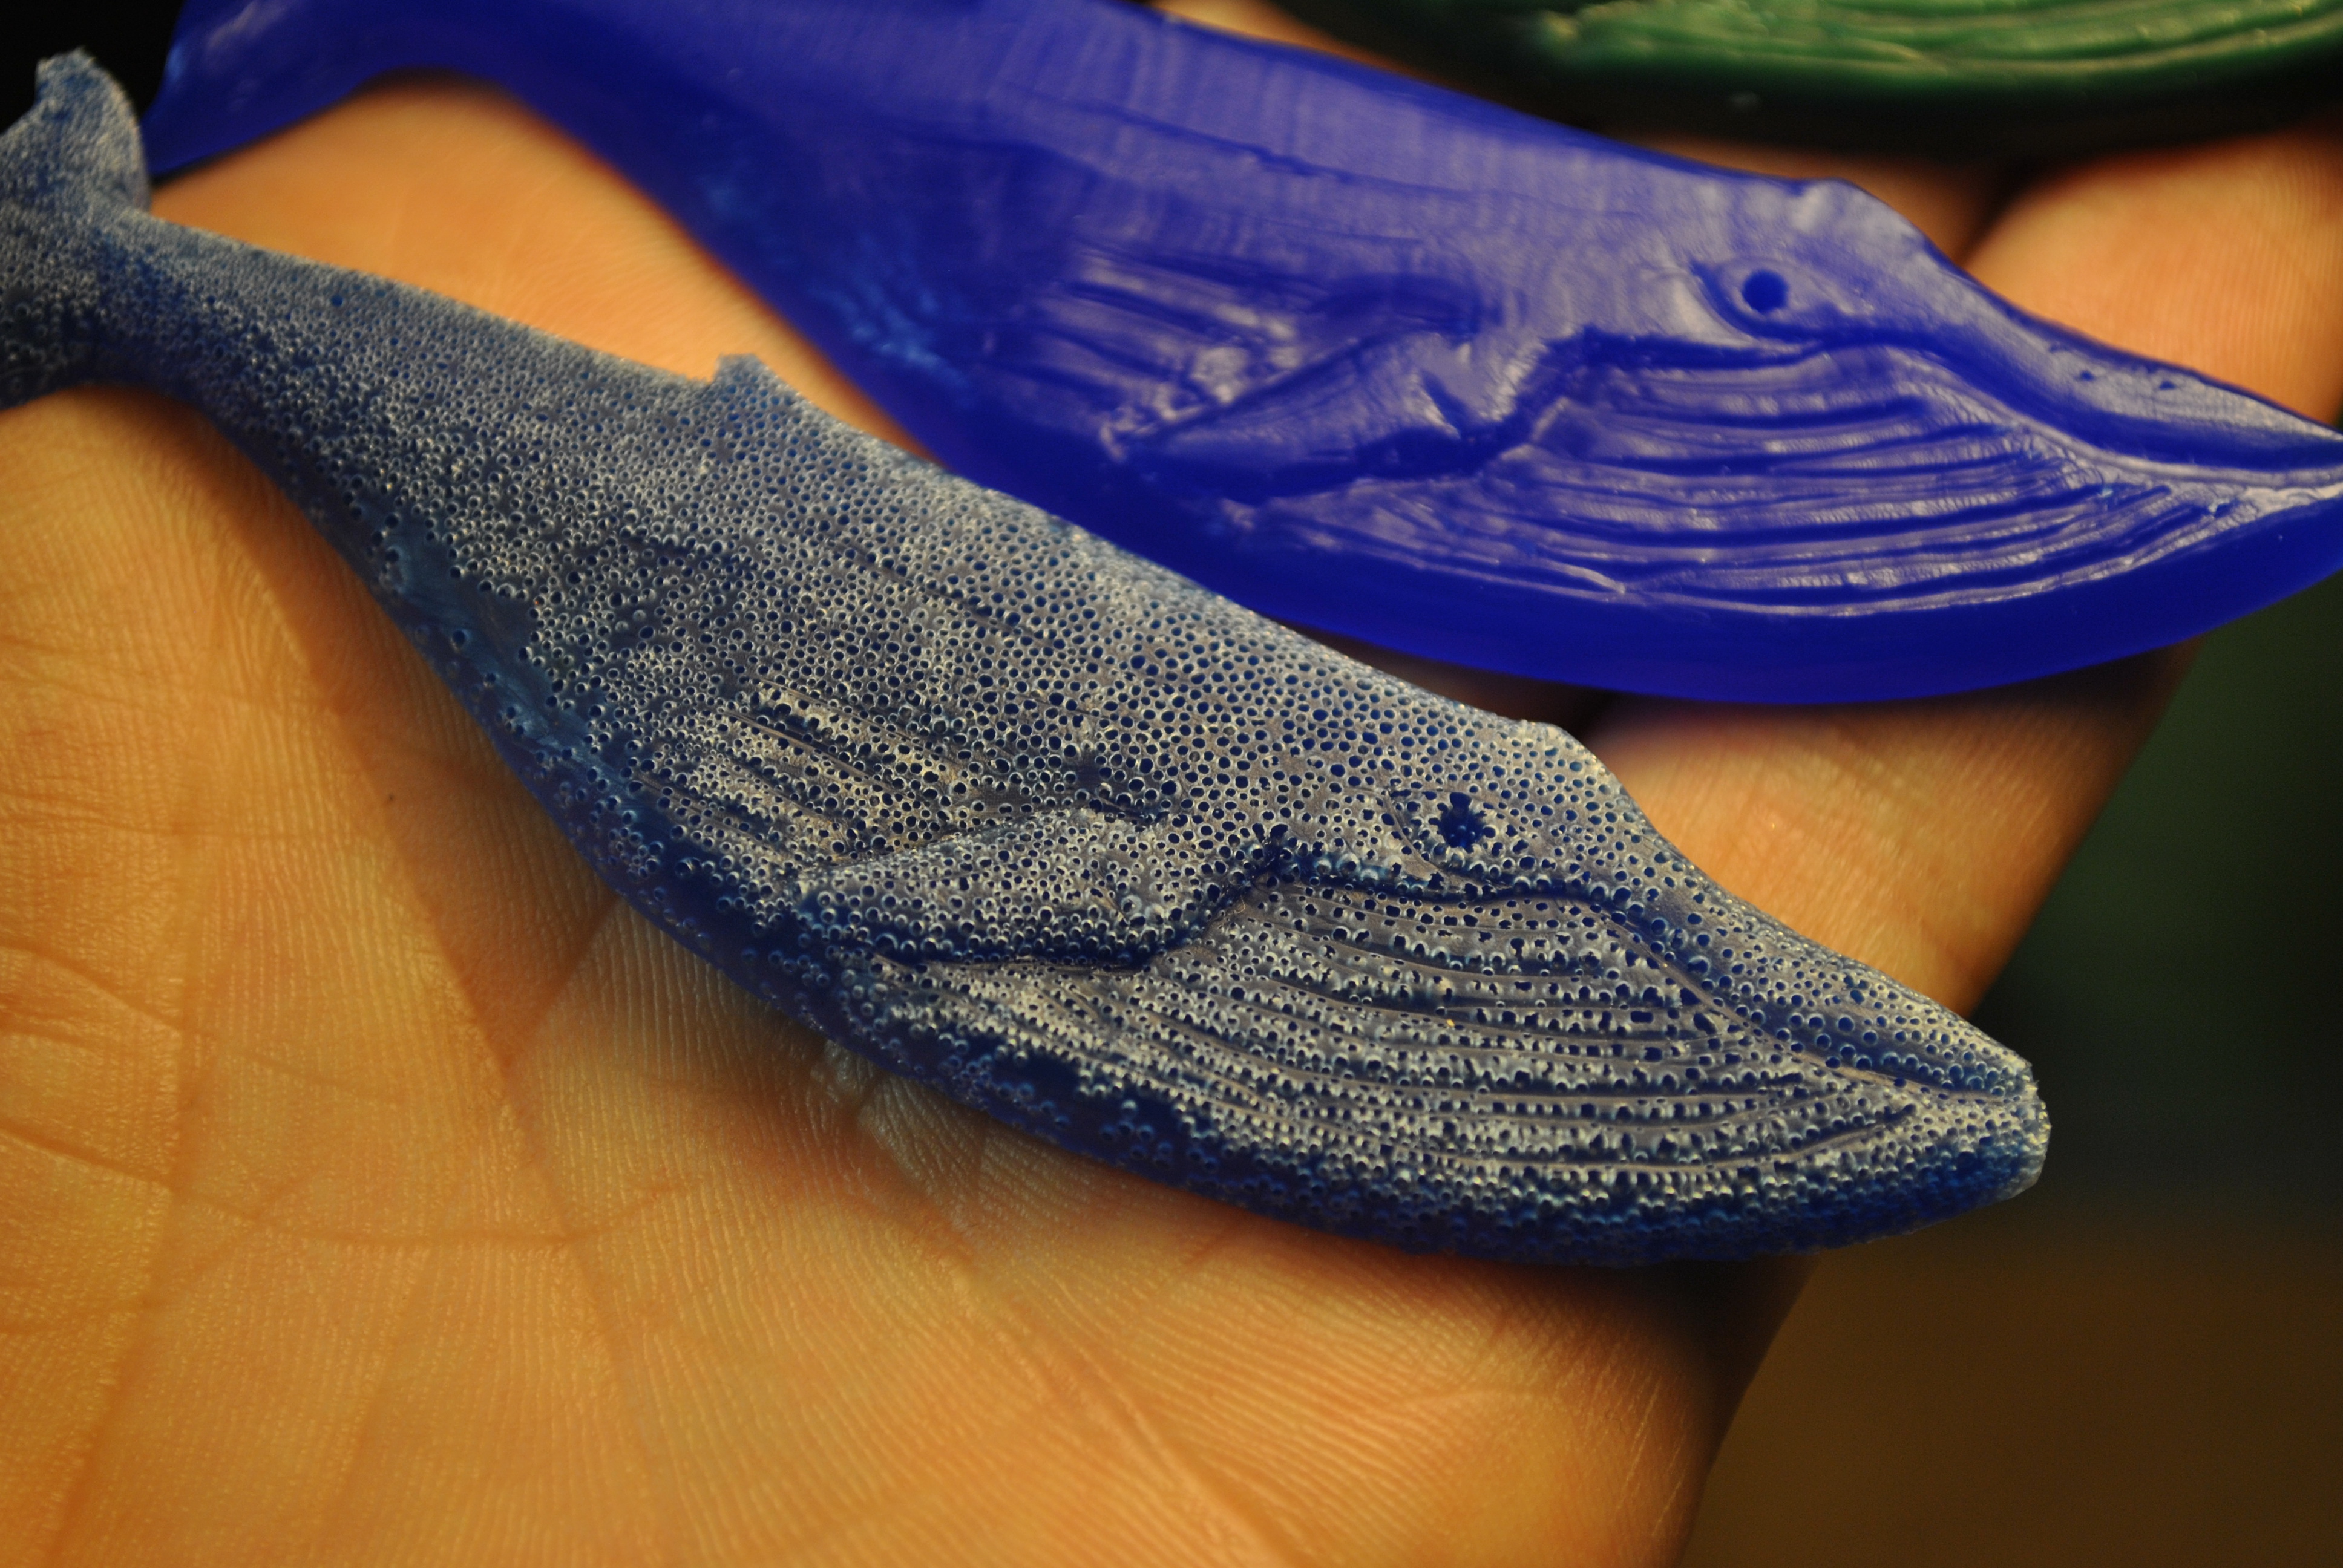
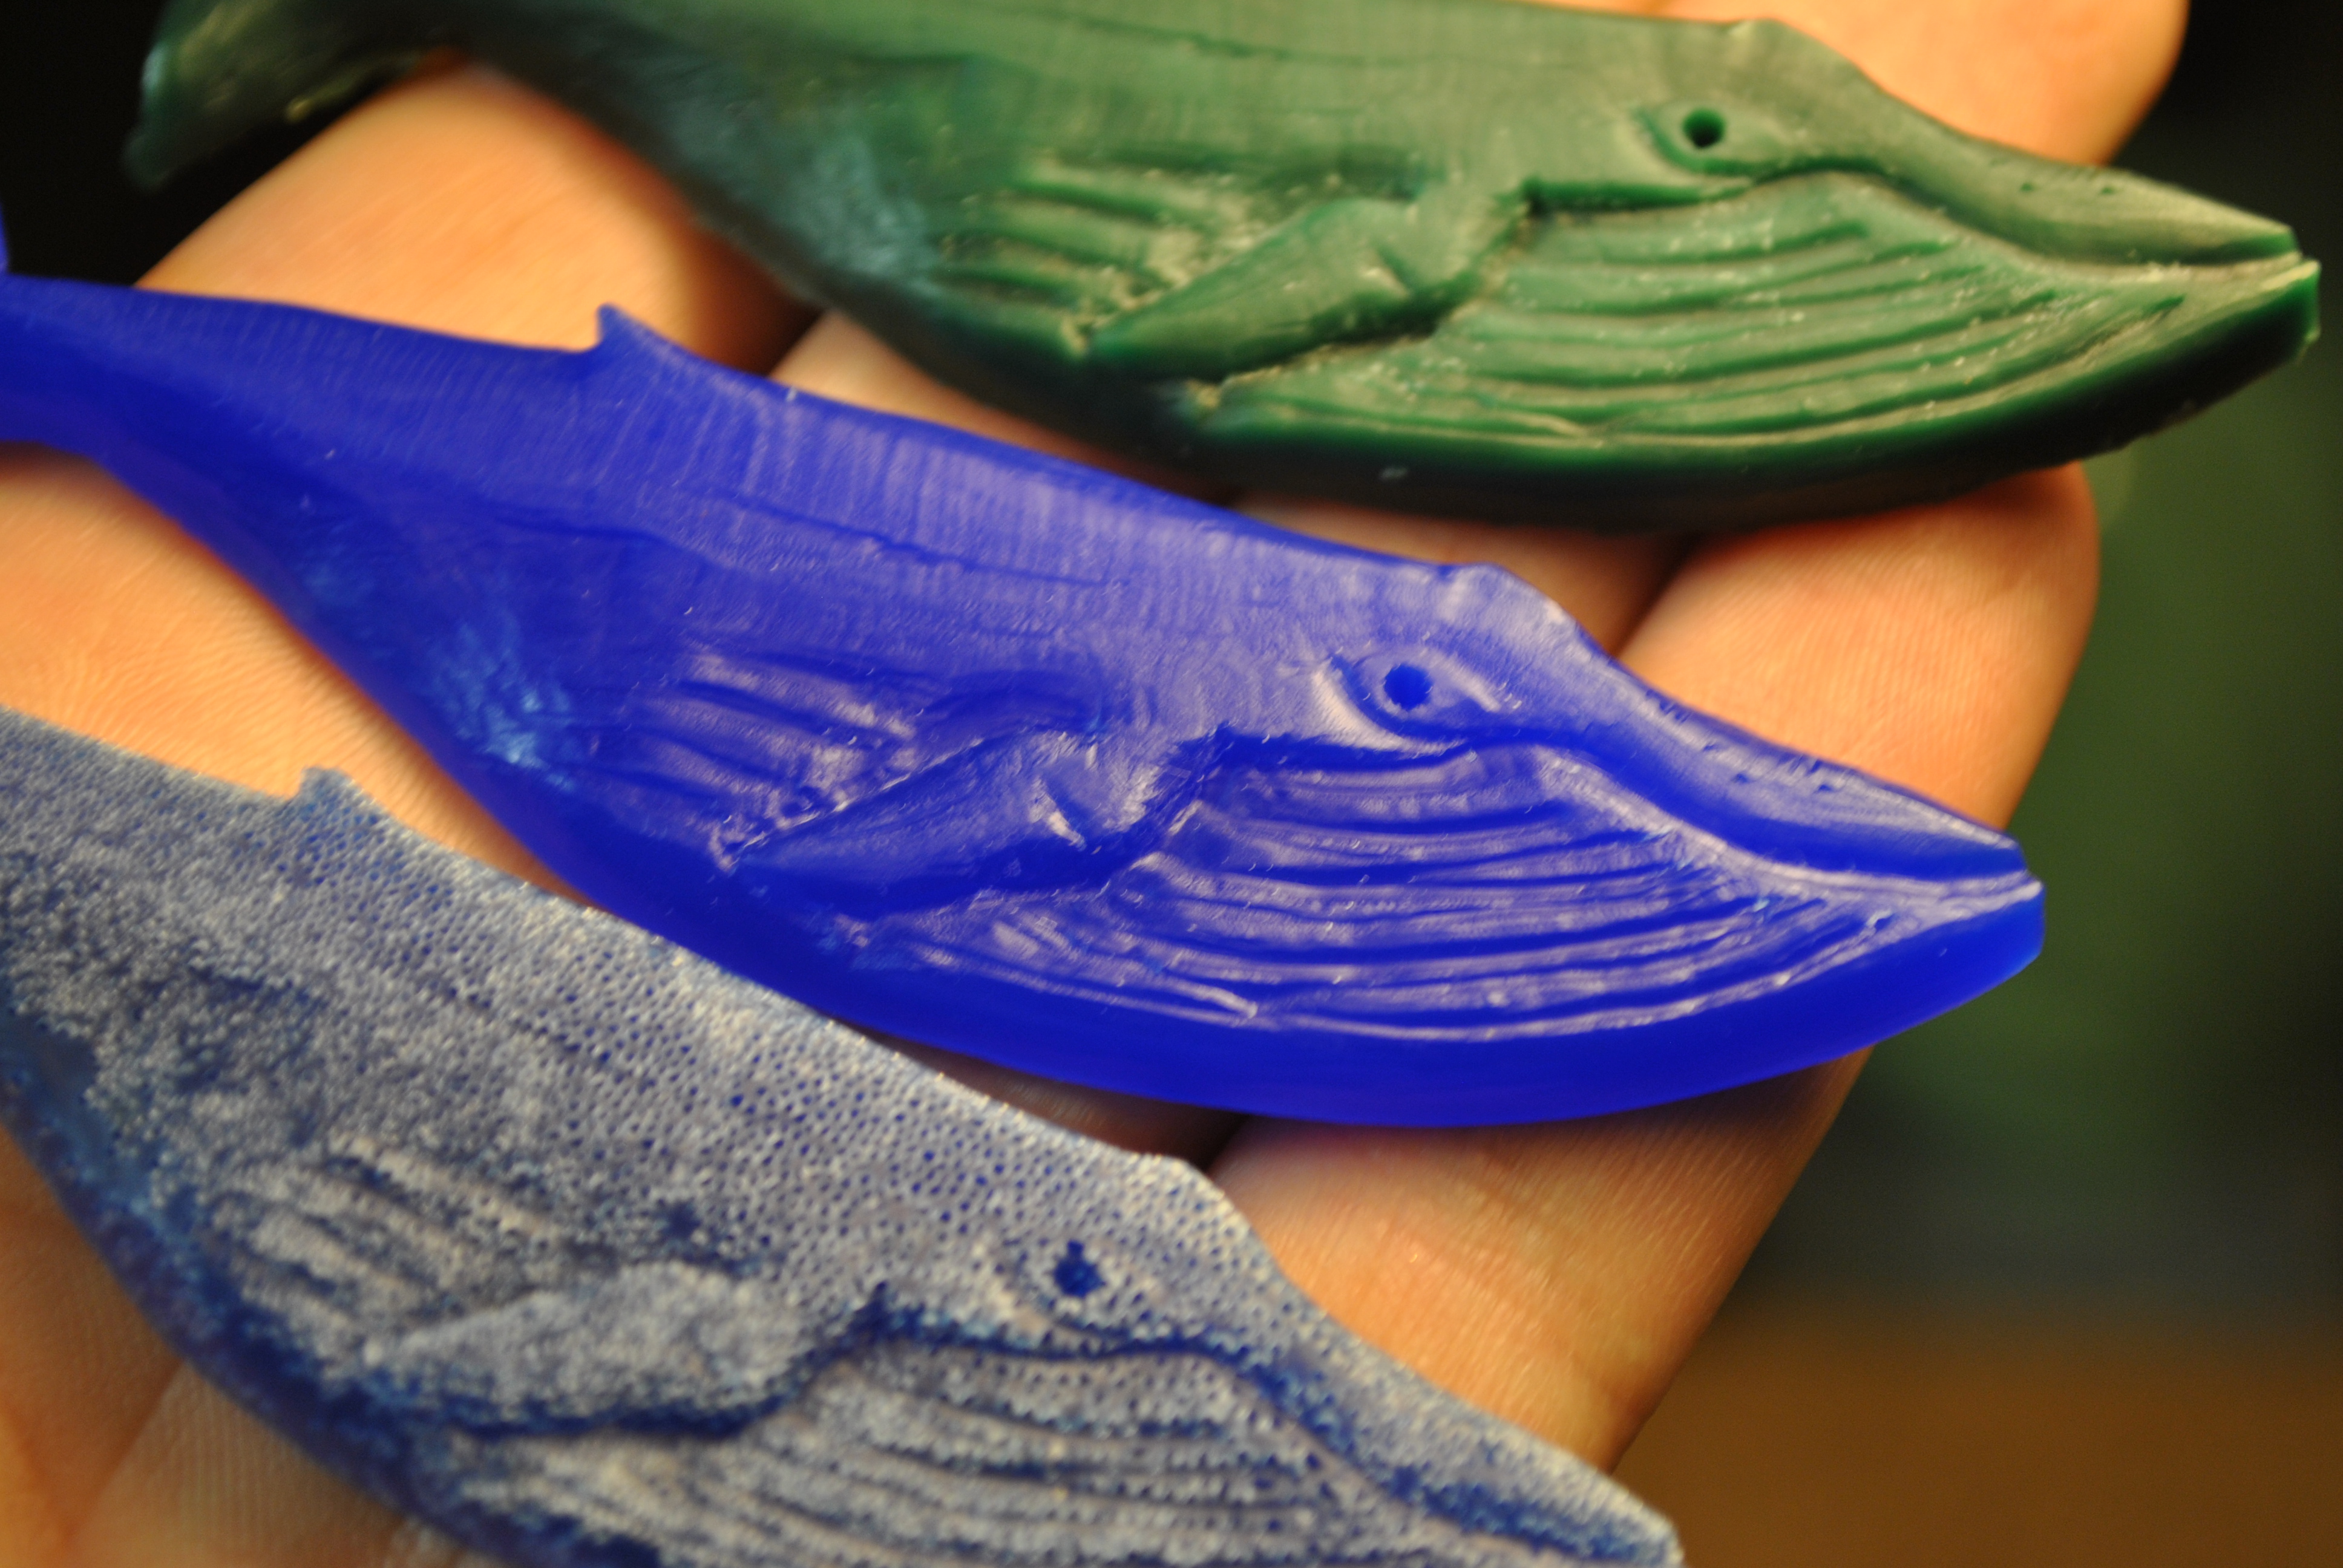
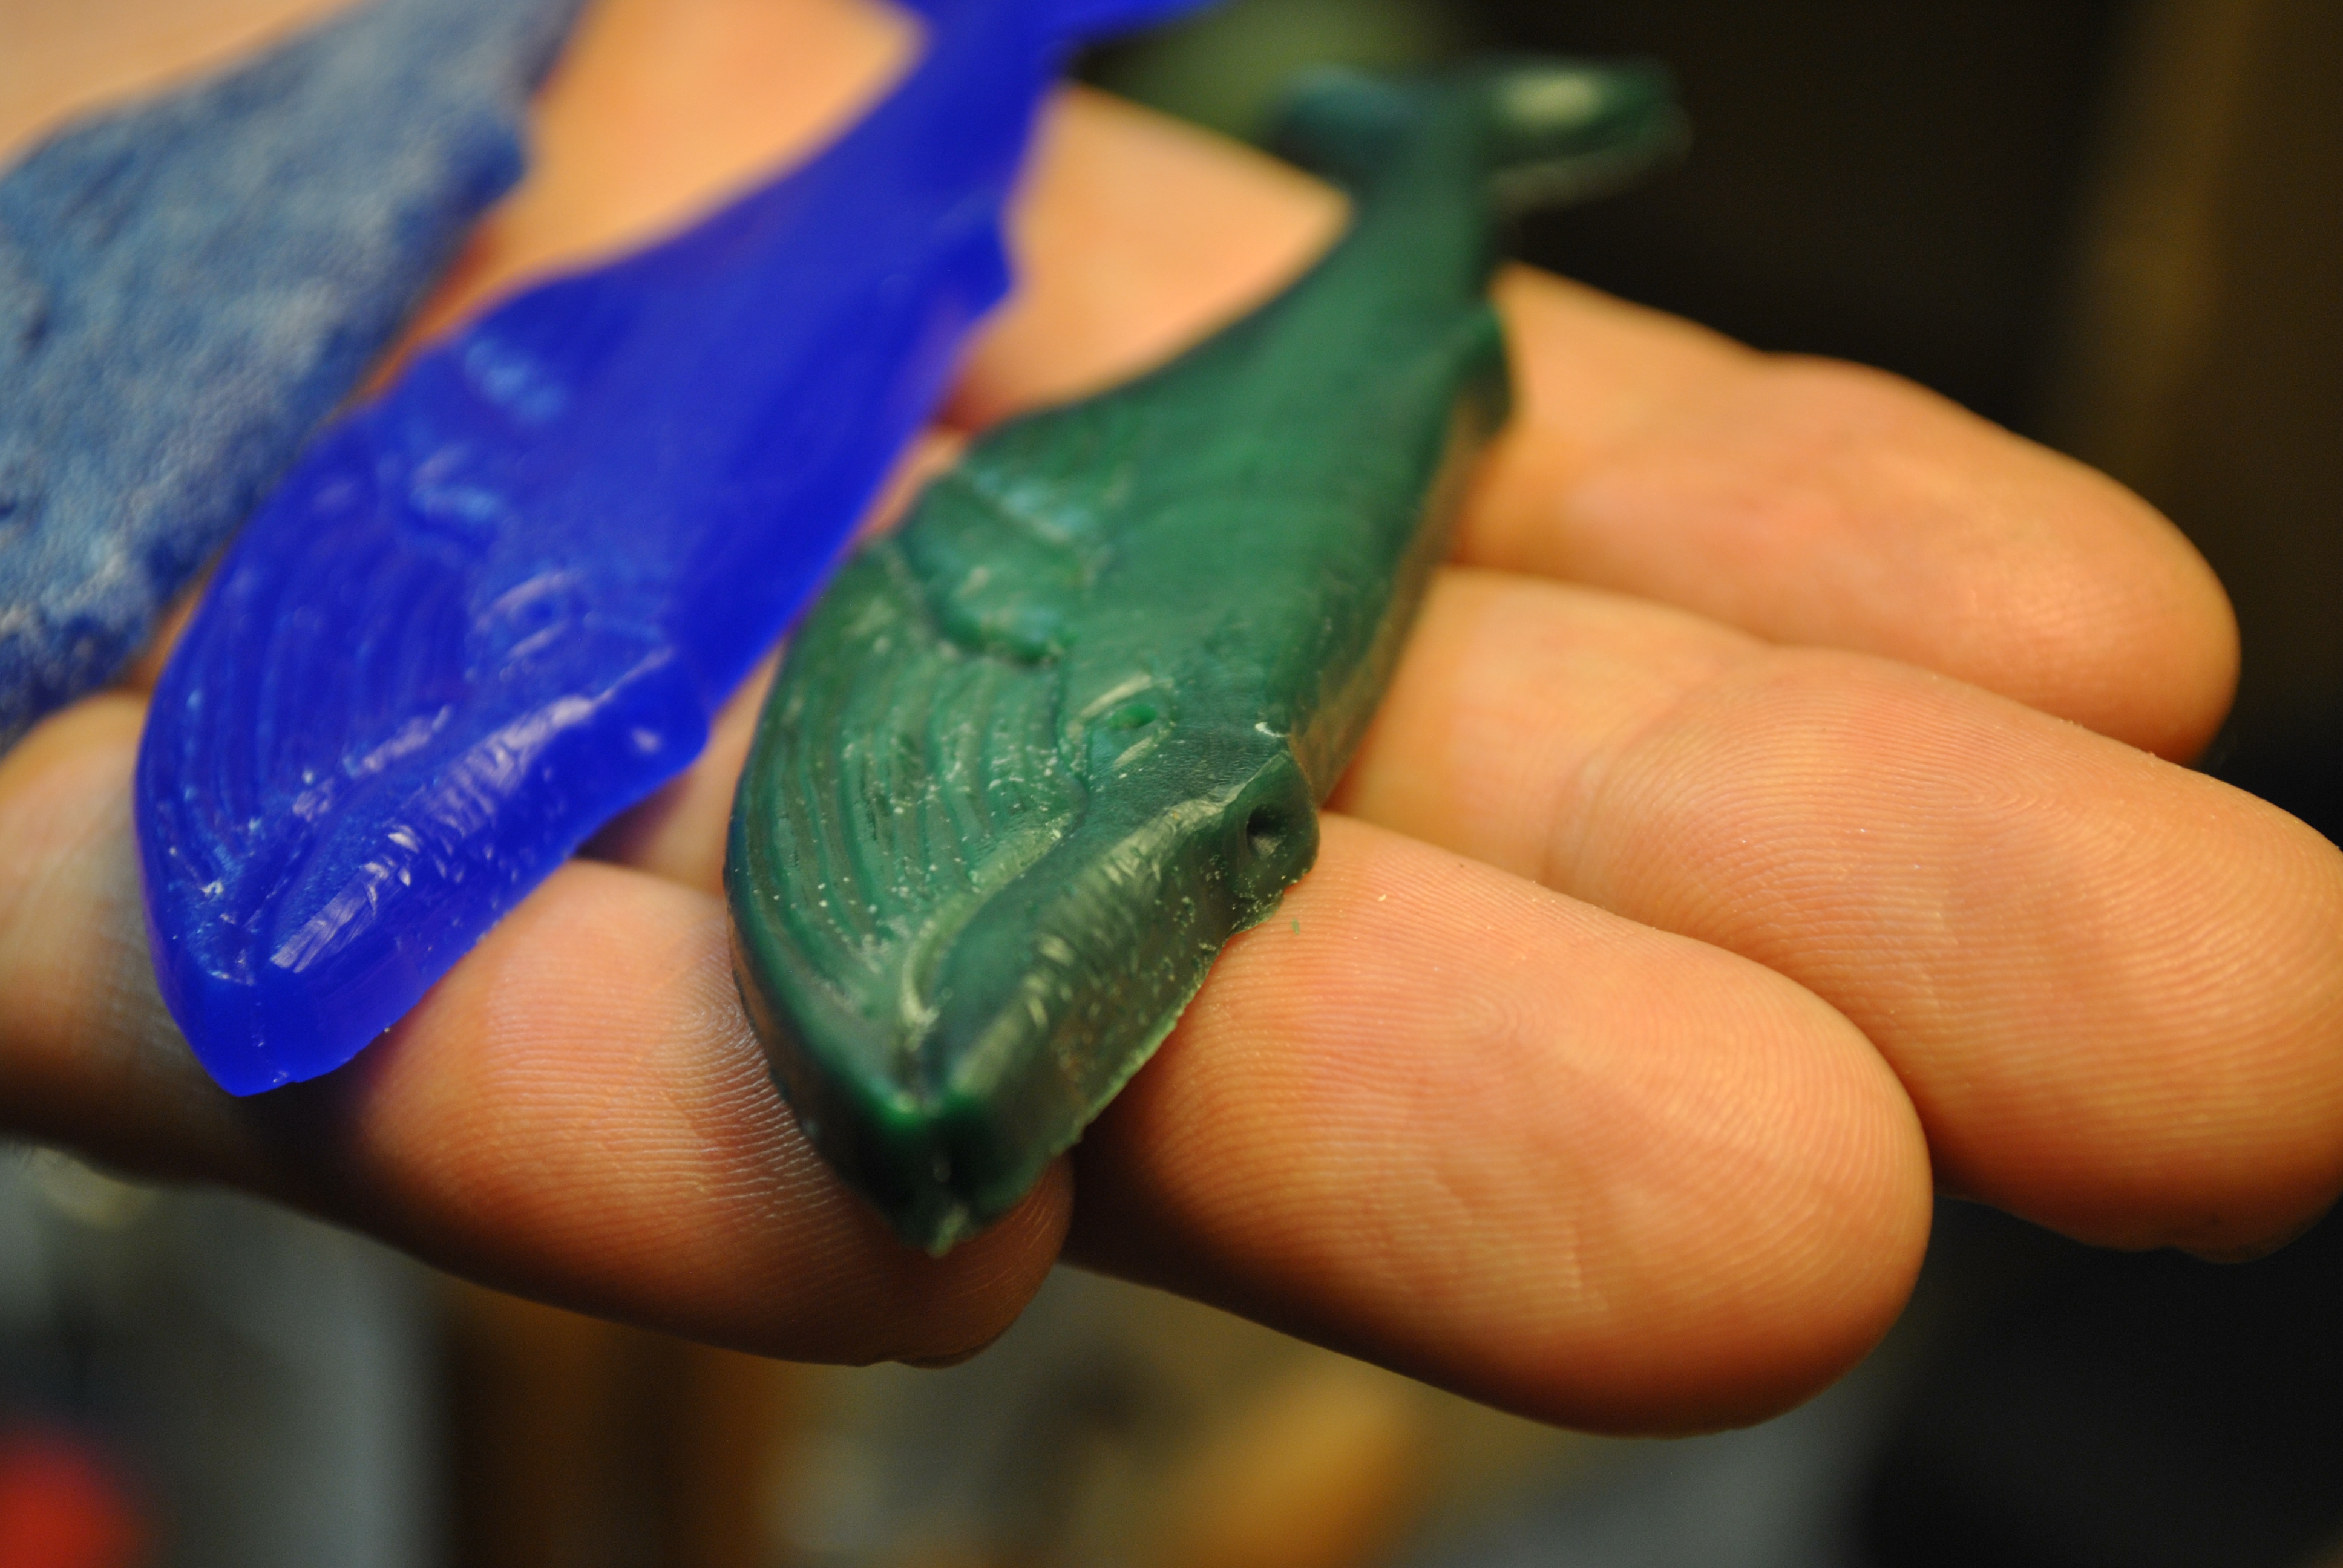
My mold is not perfect and there is some flashing, easily removed with a hobby knife.
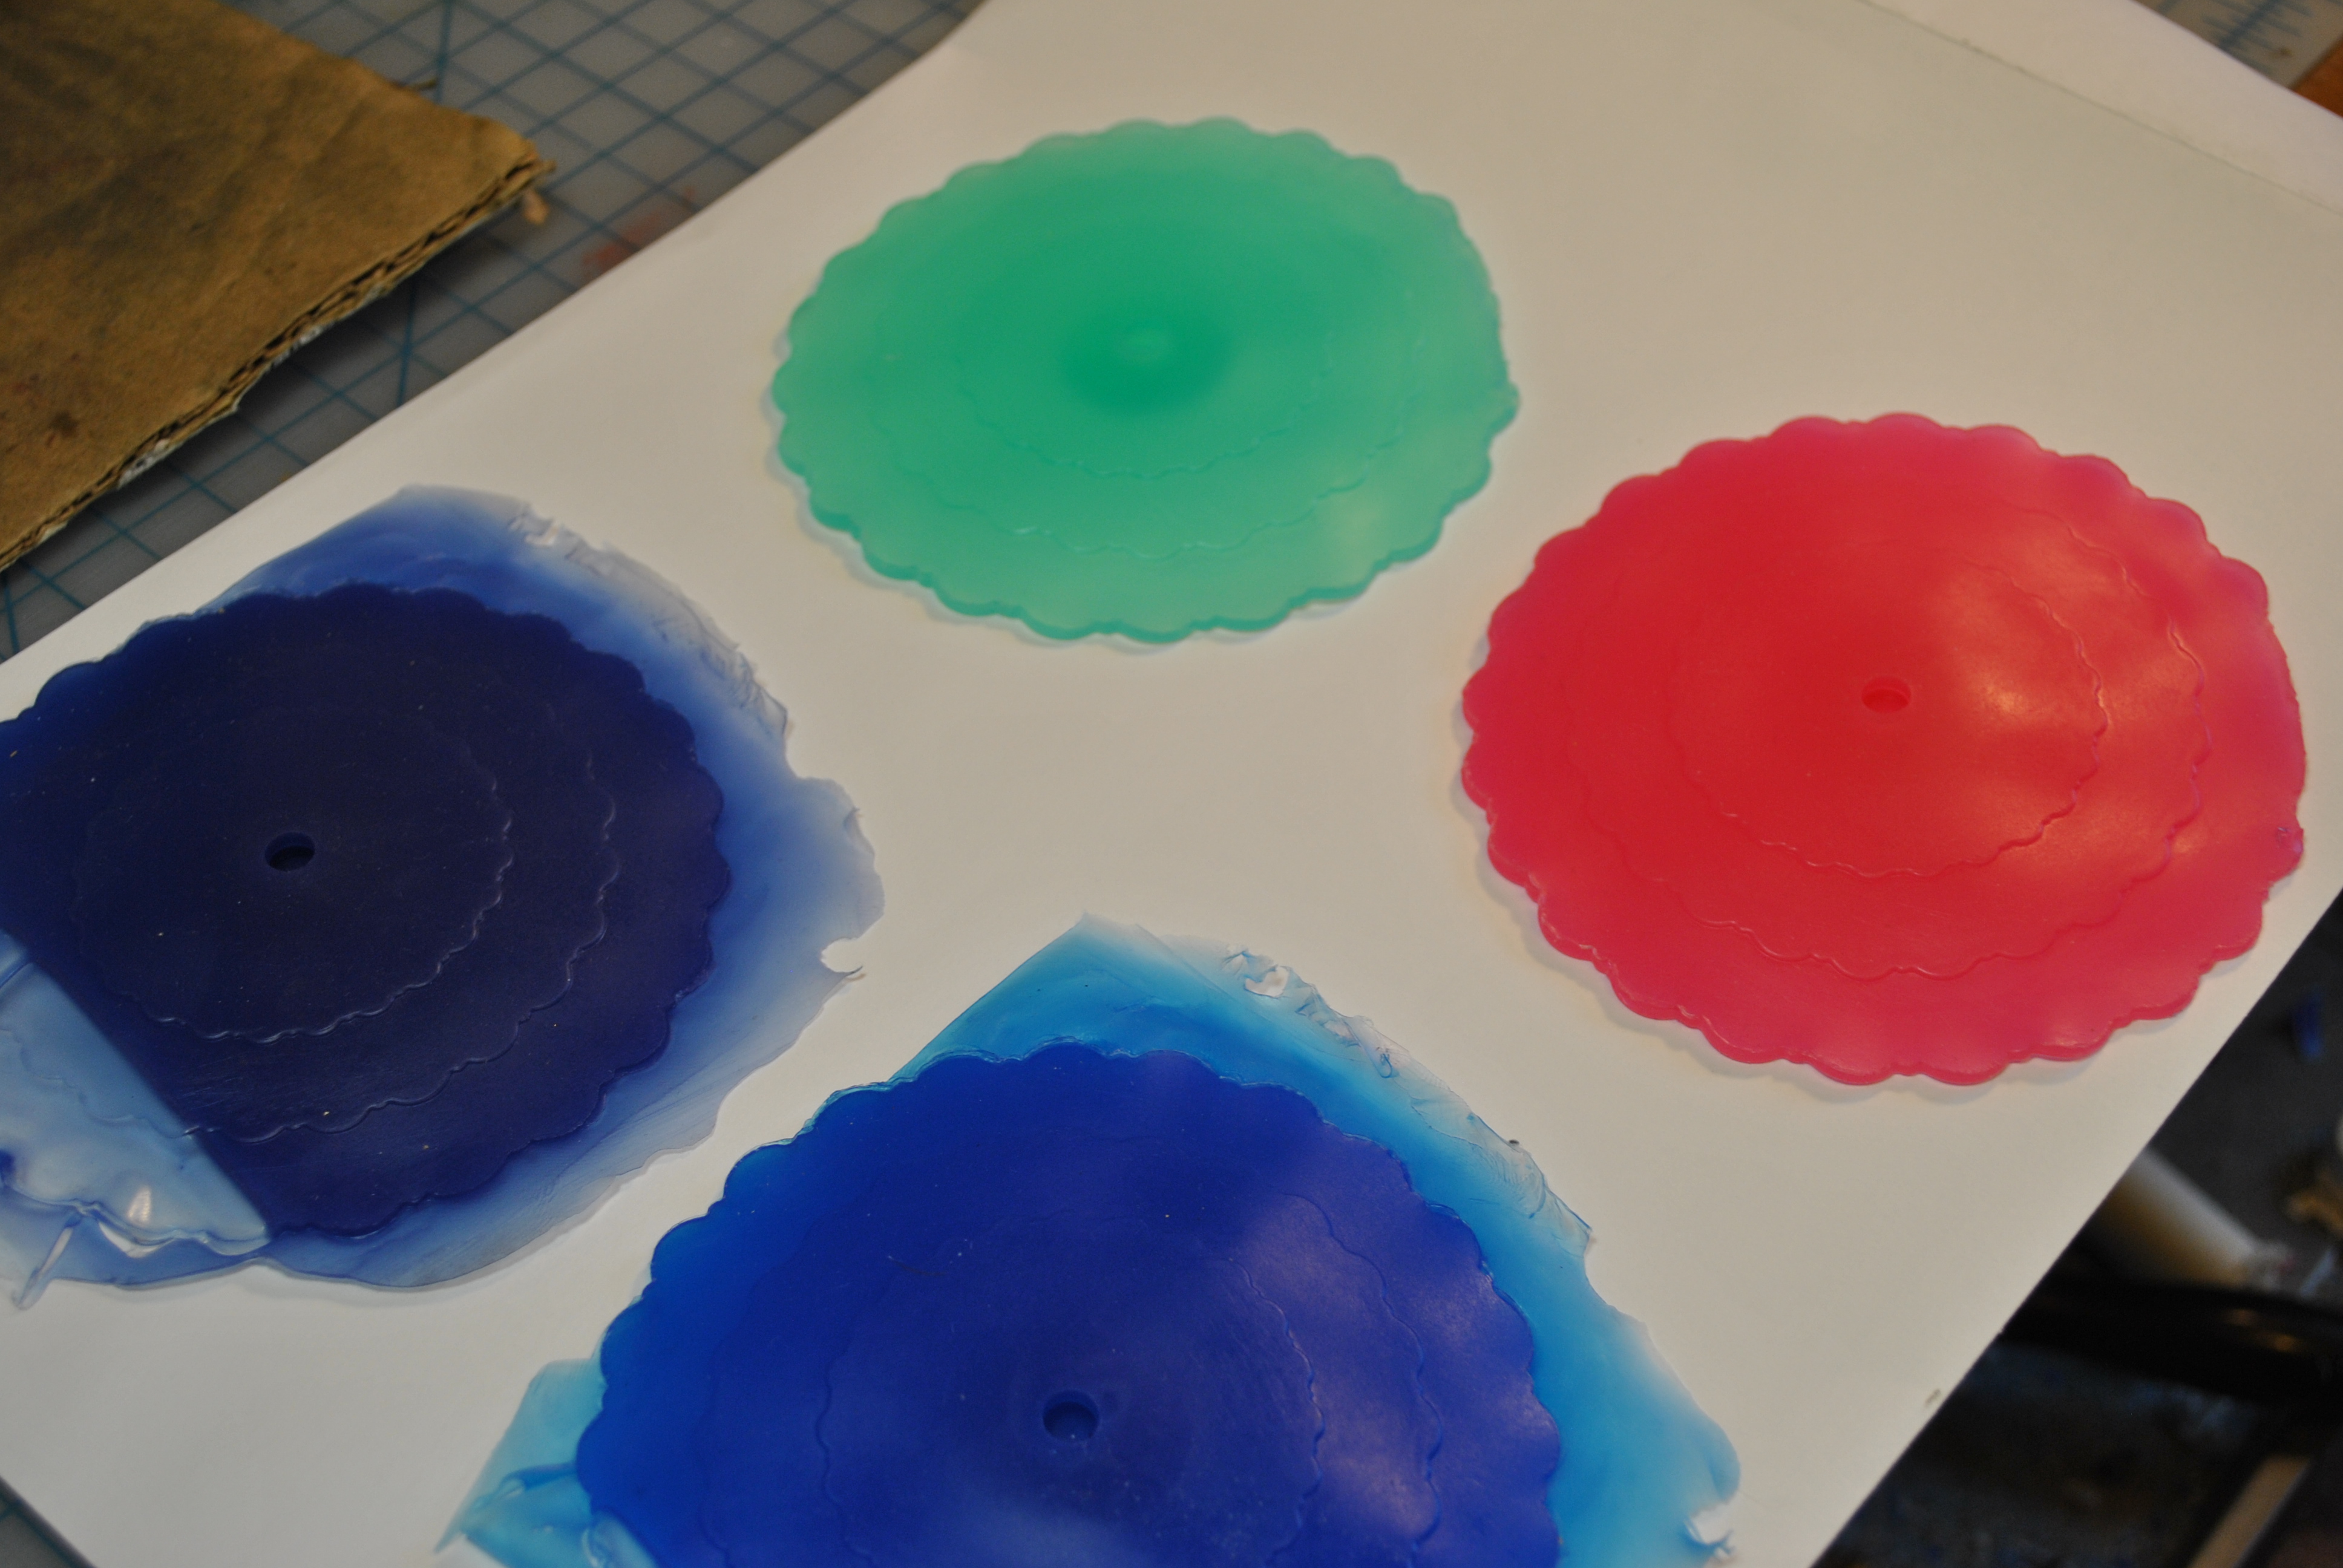
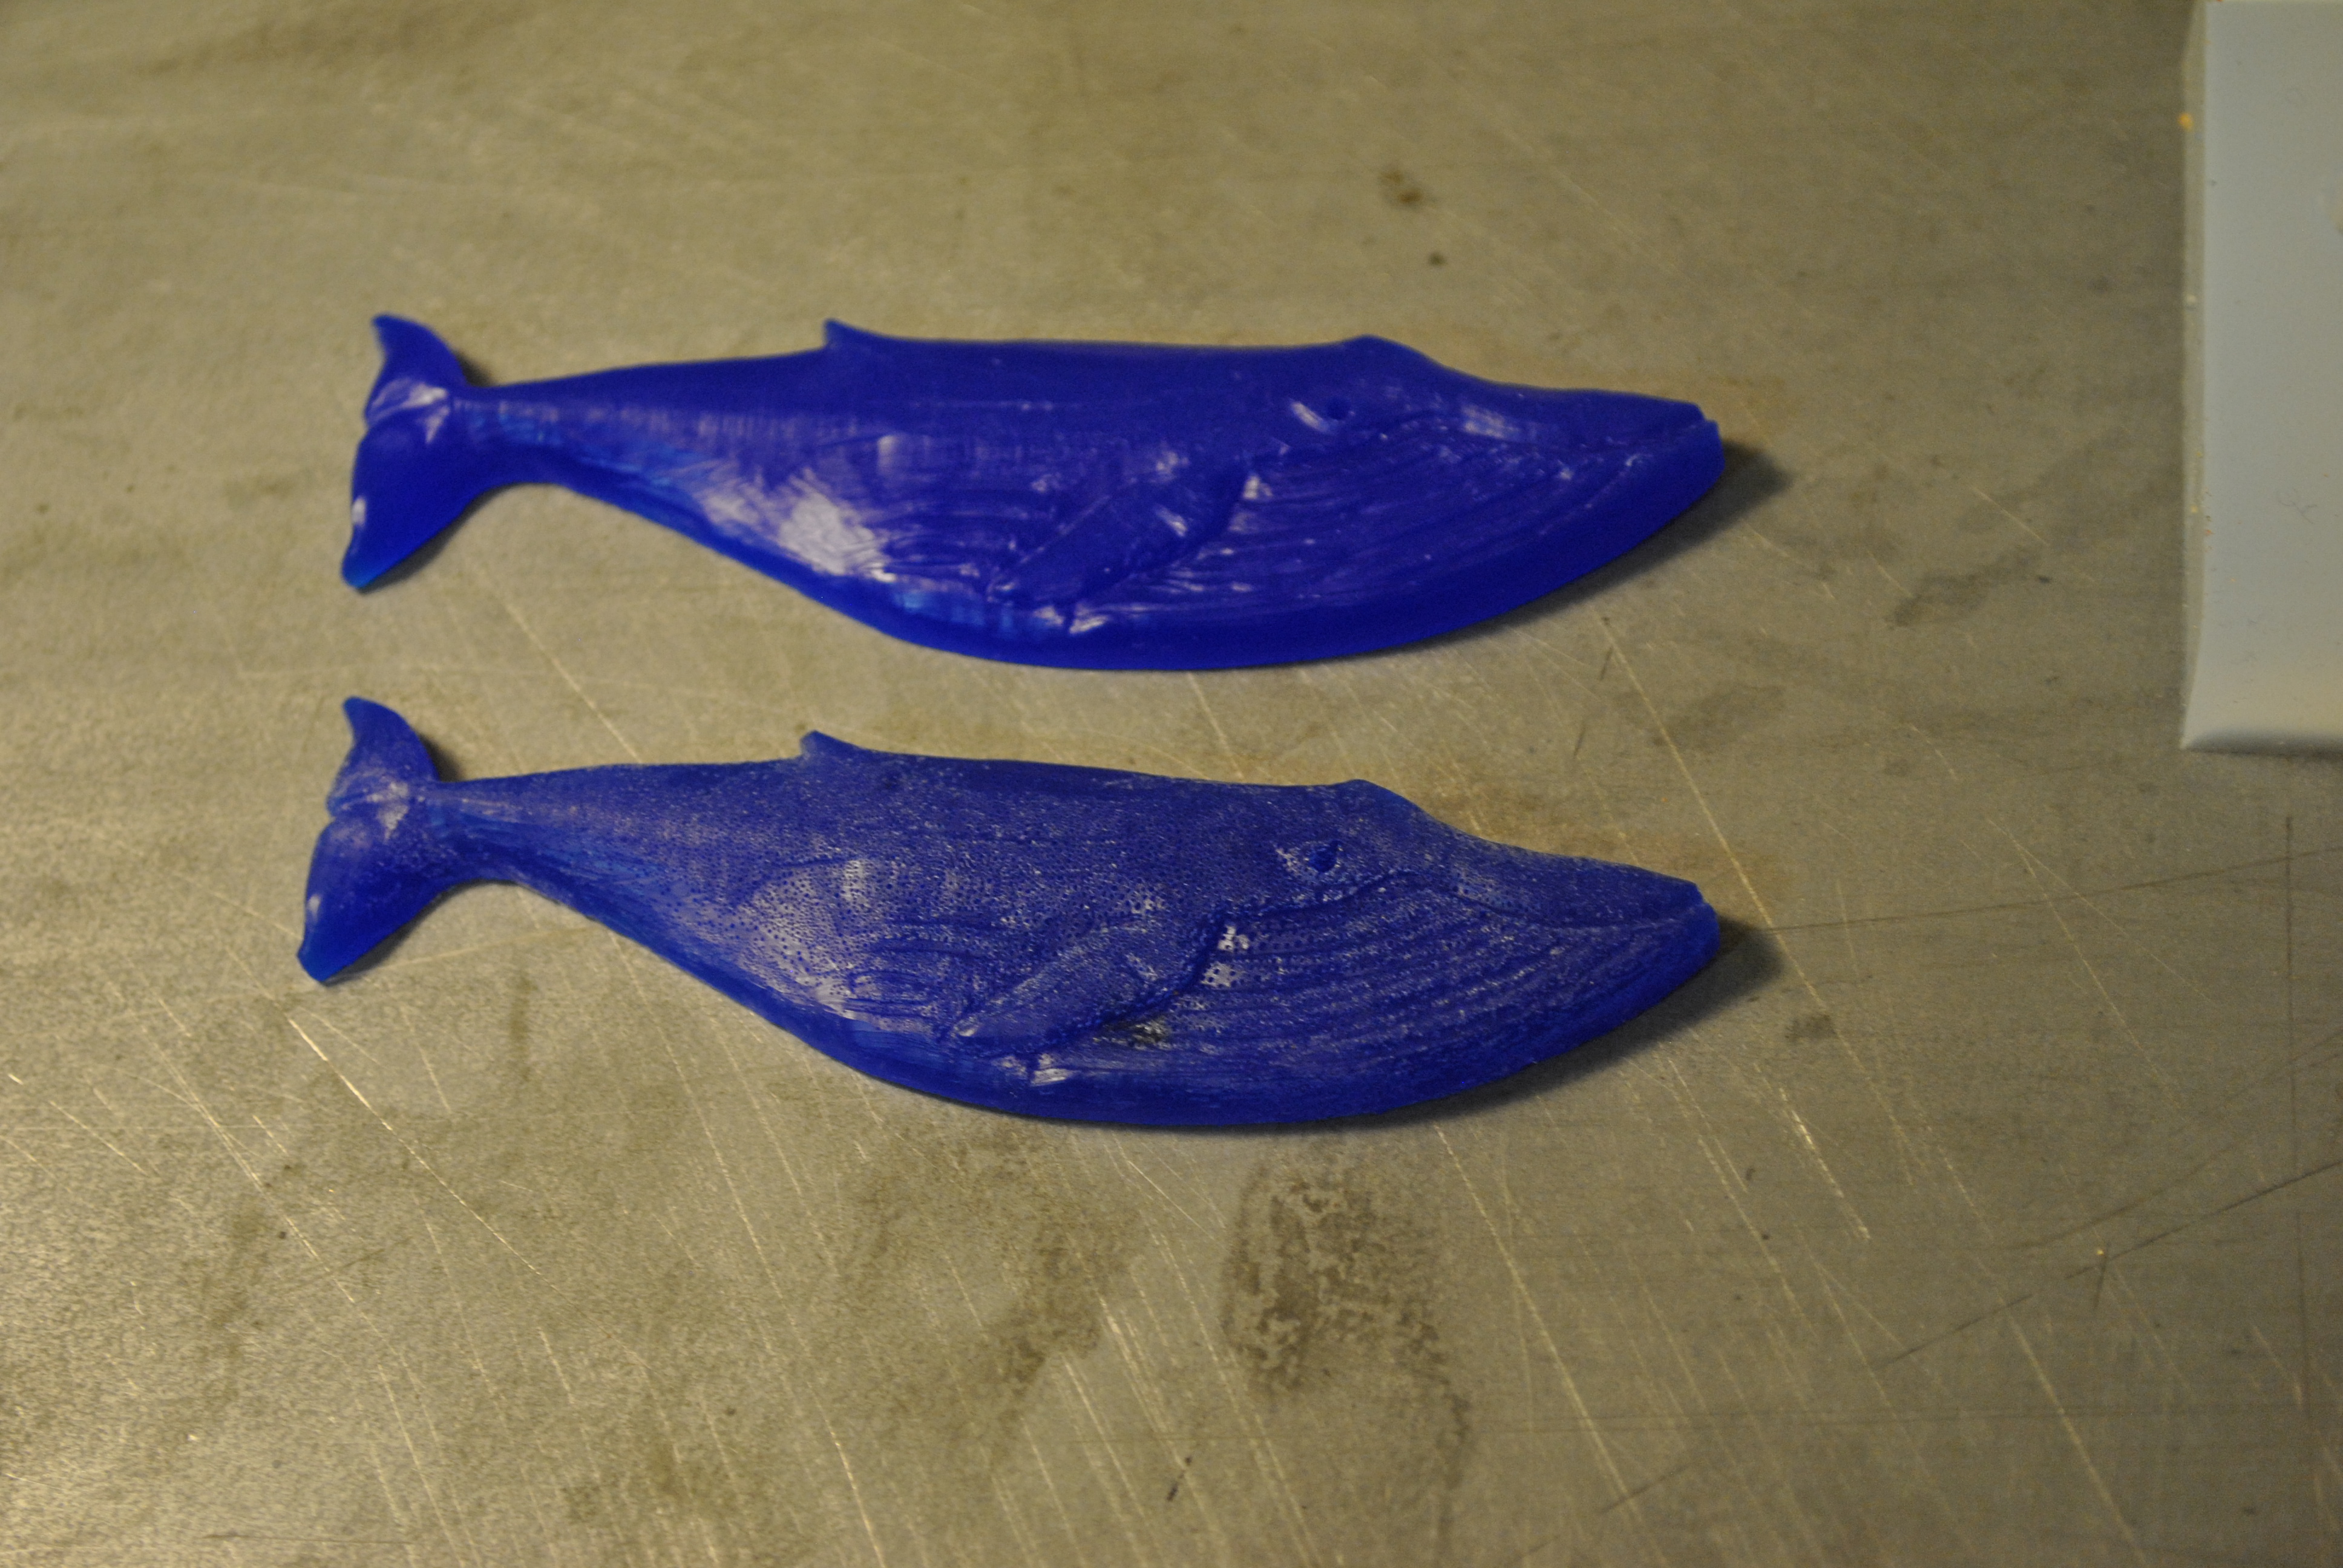
Two of my early failures next to two successes (after I switched to injecting)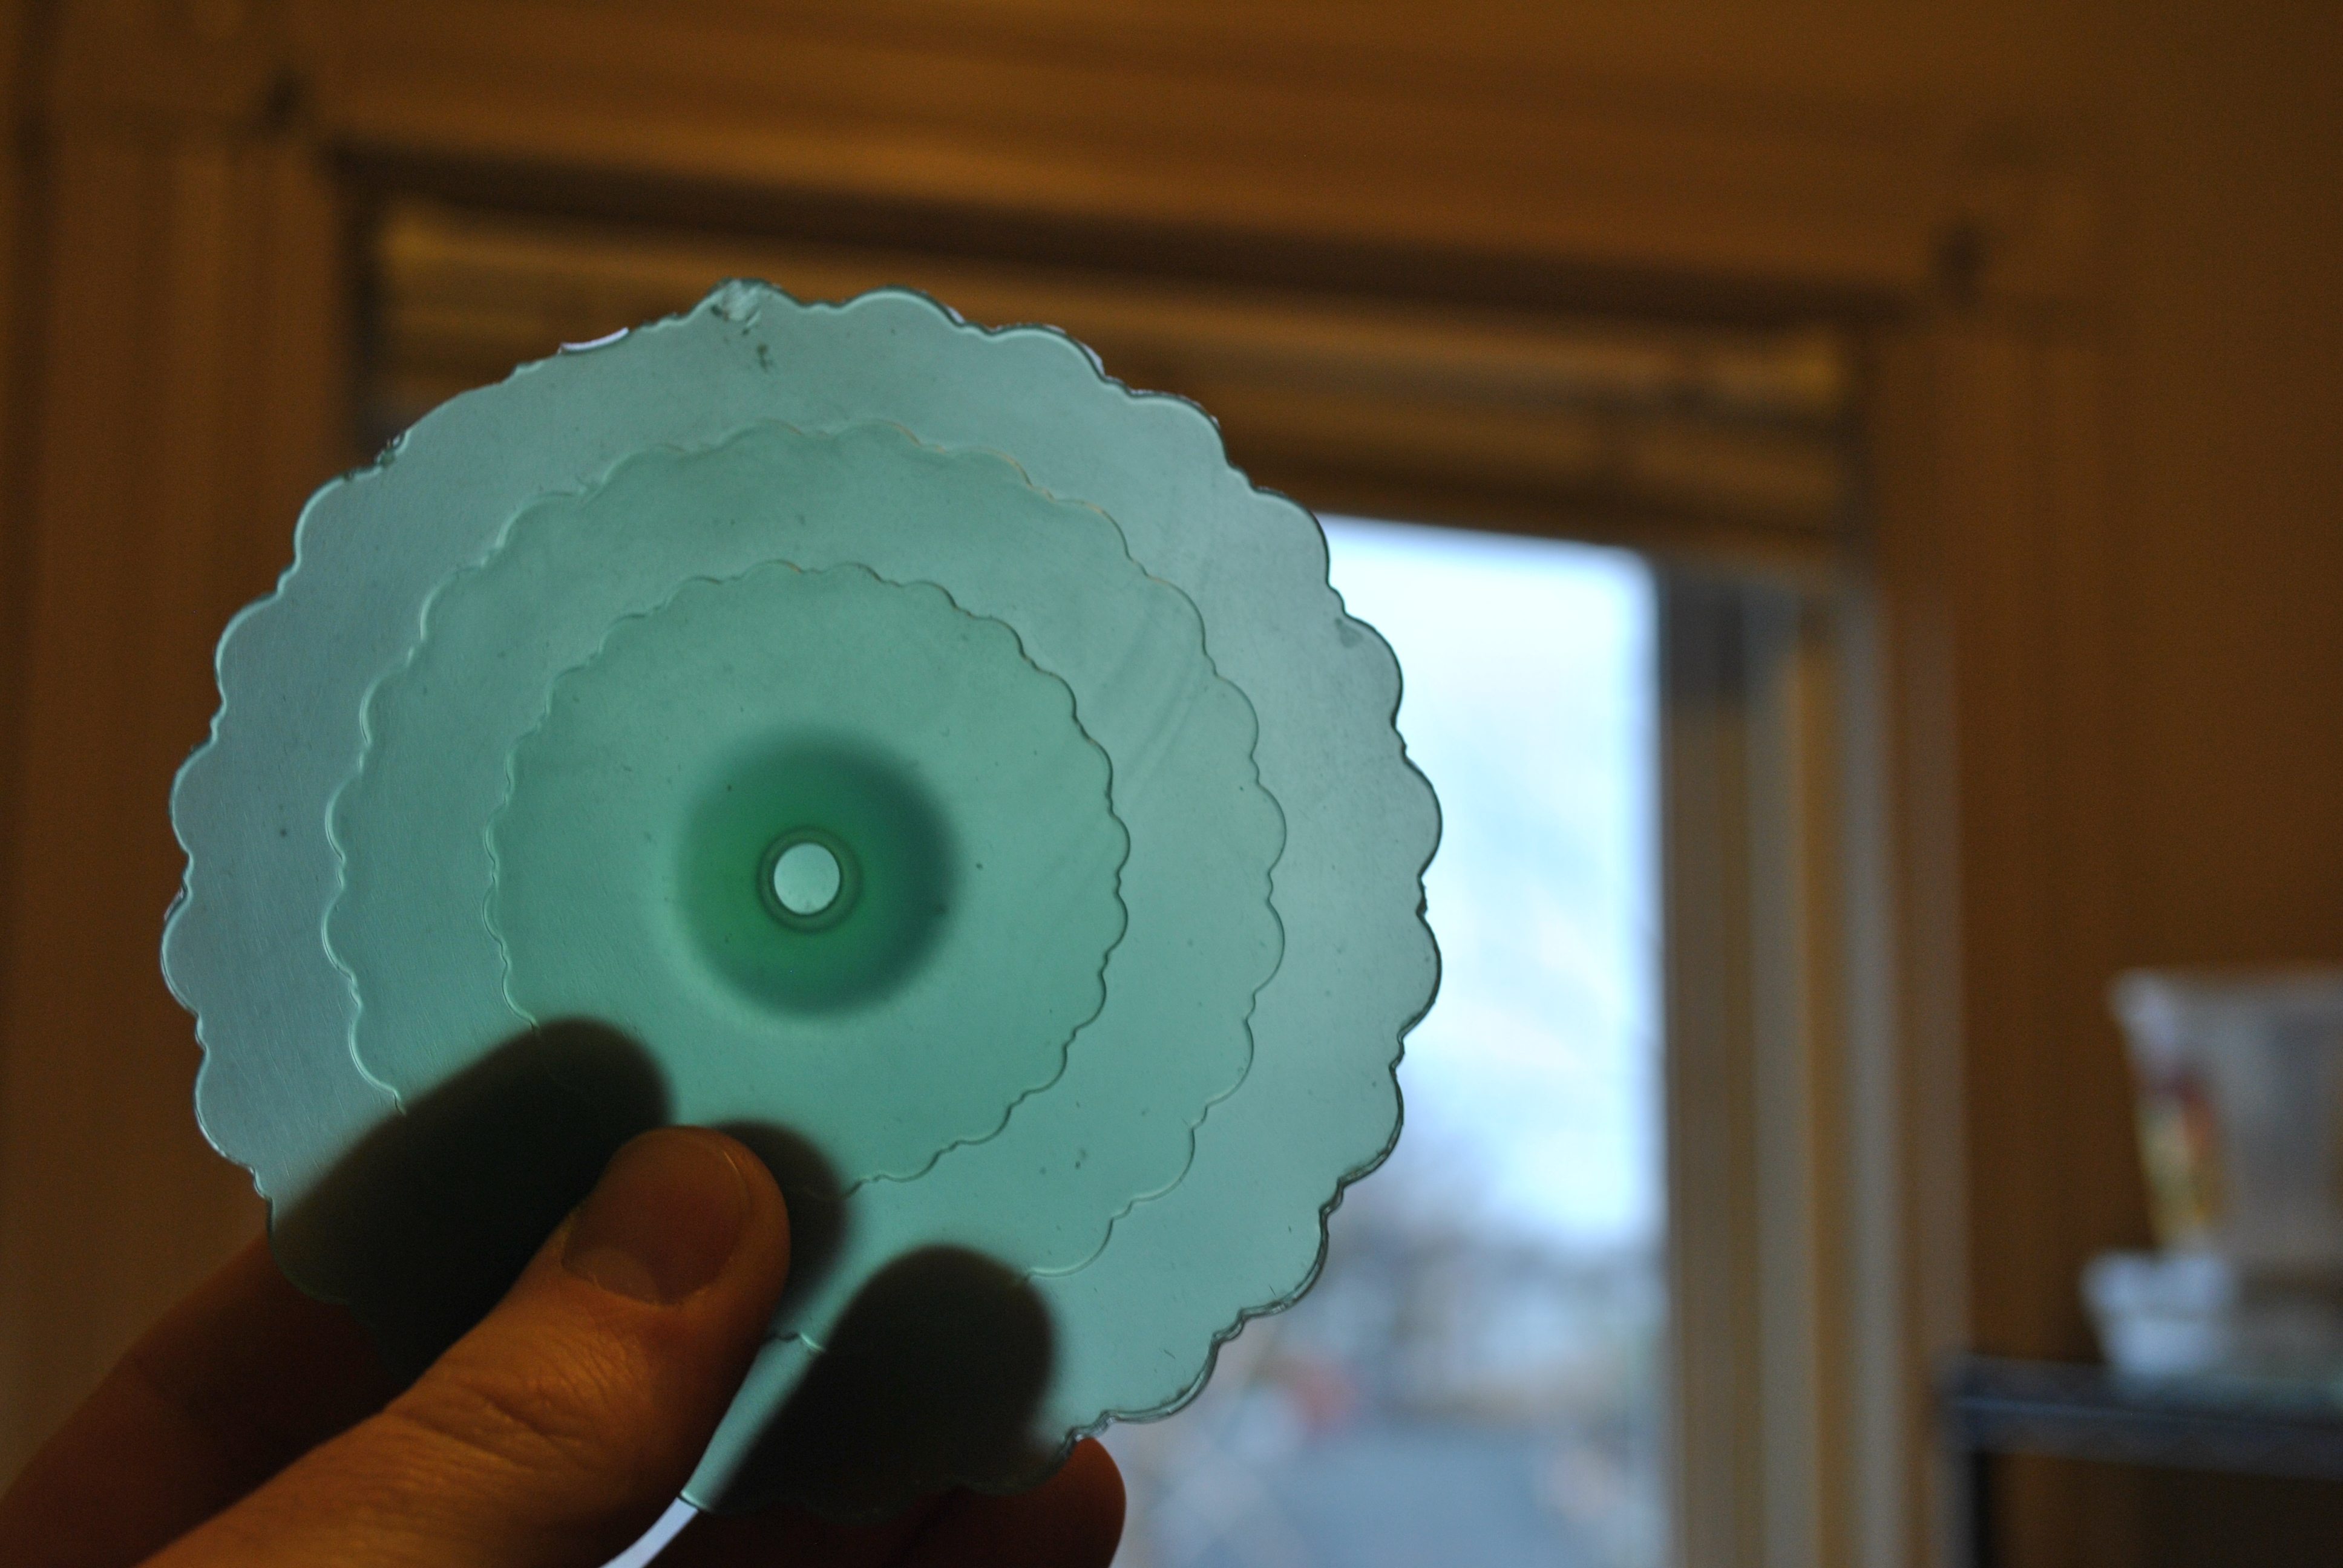
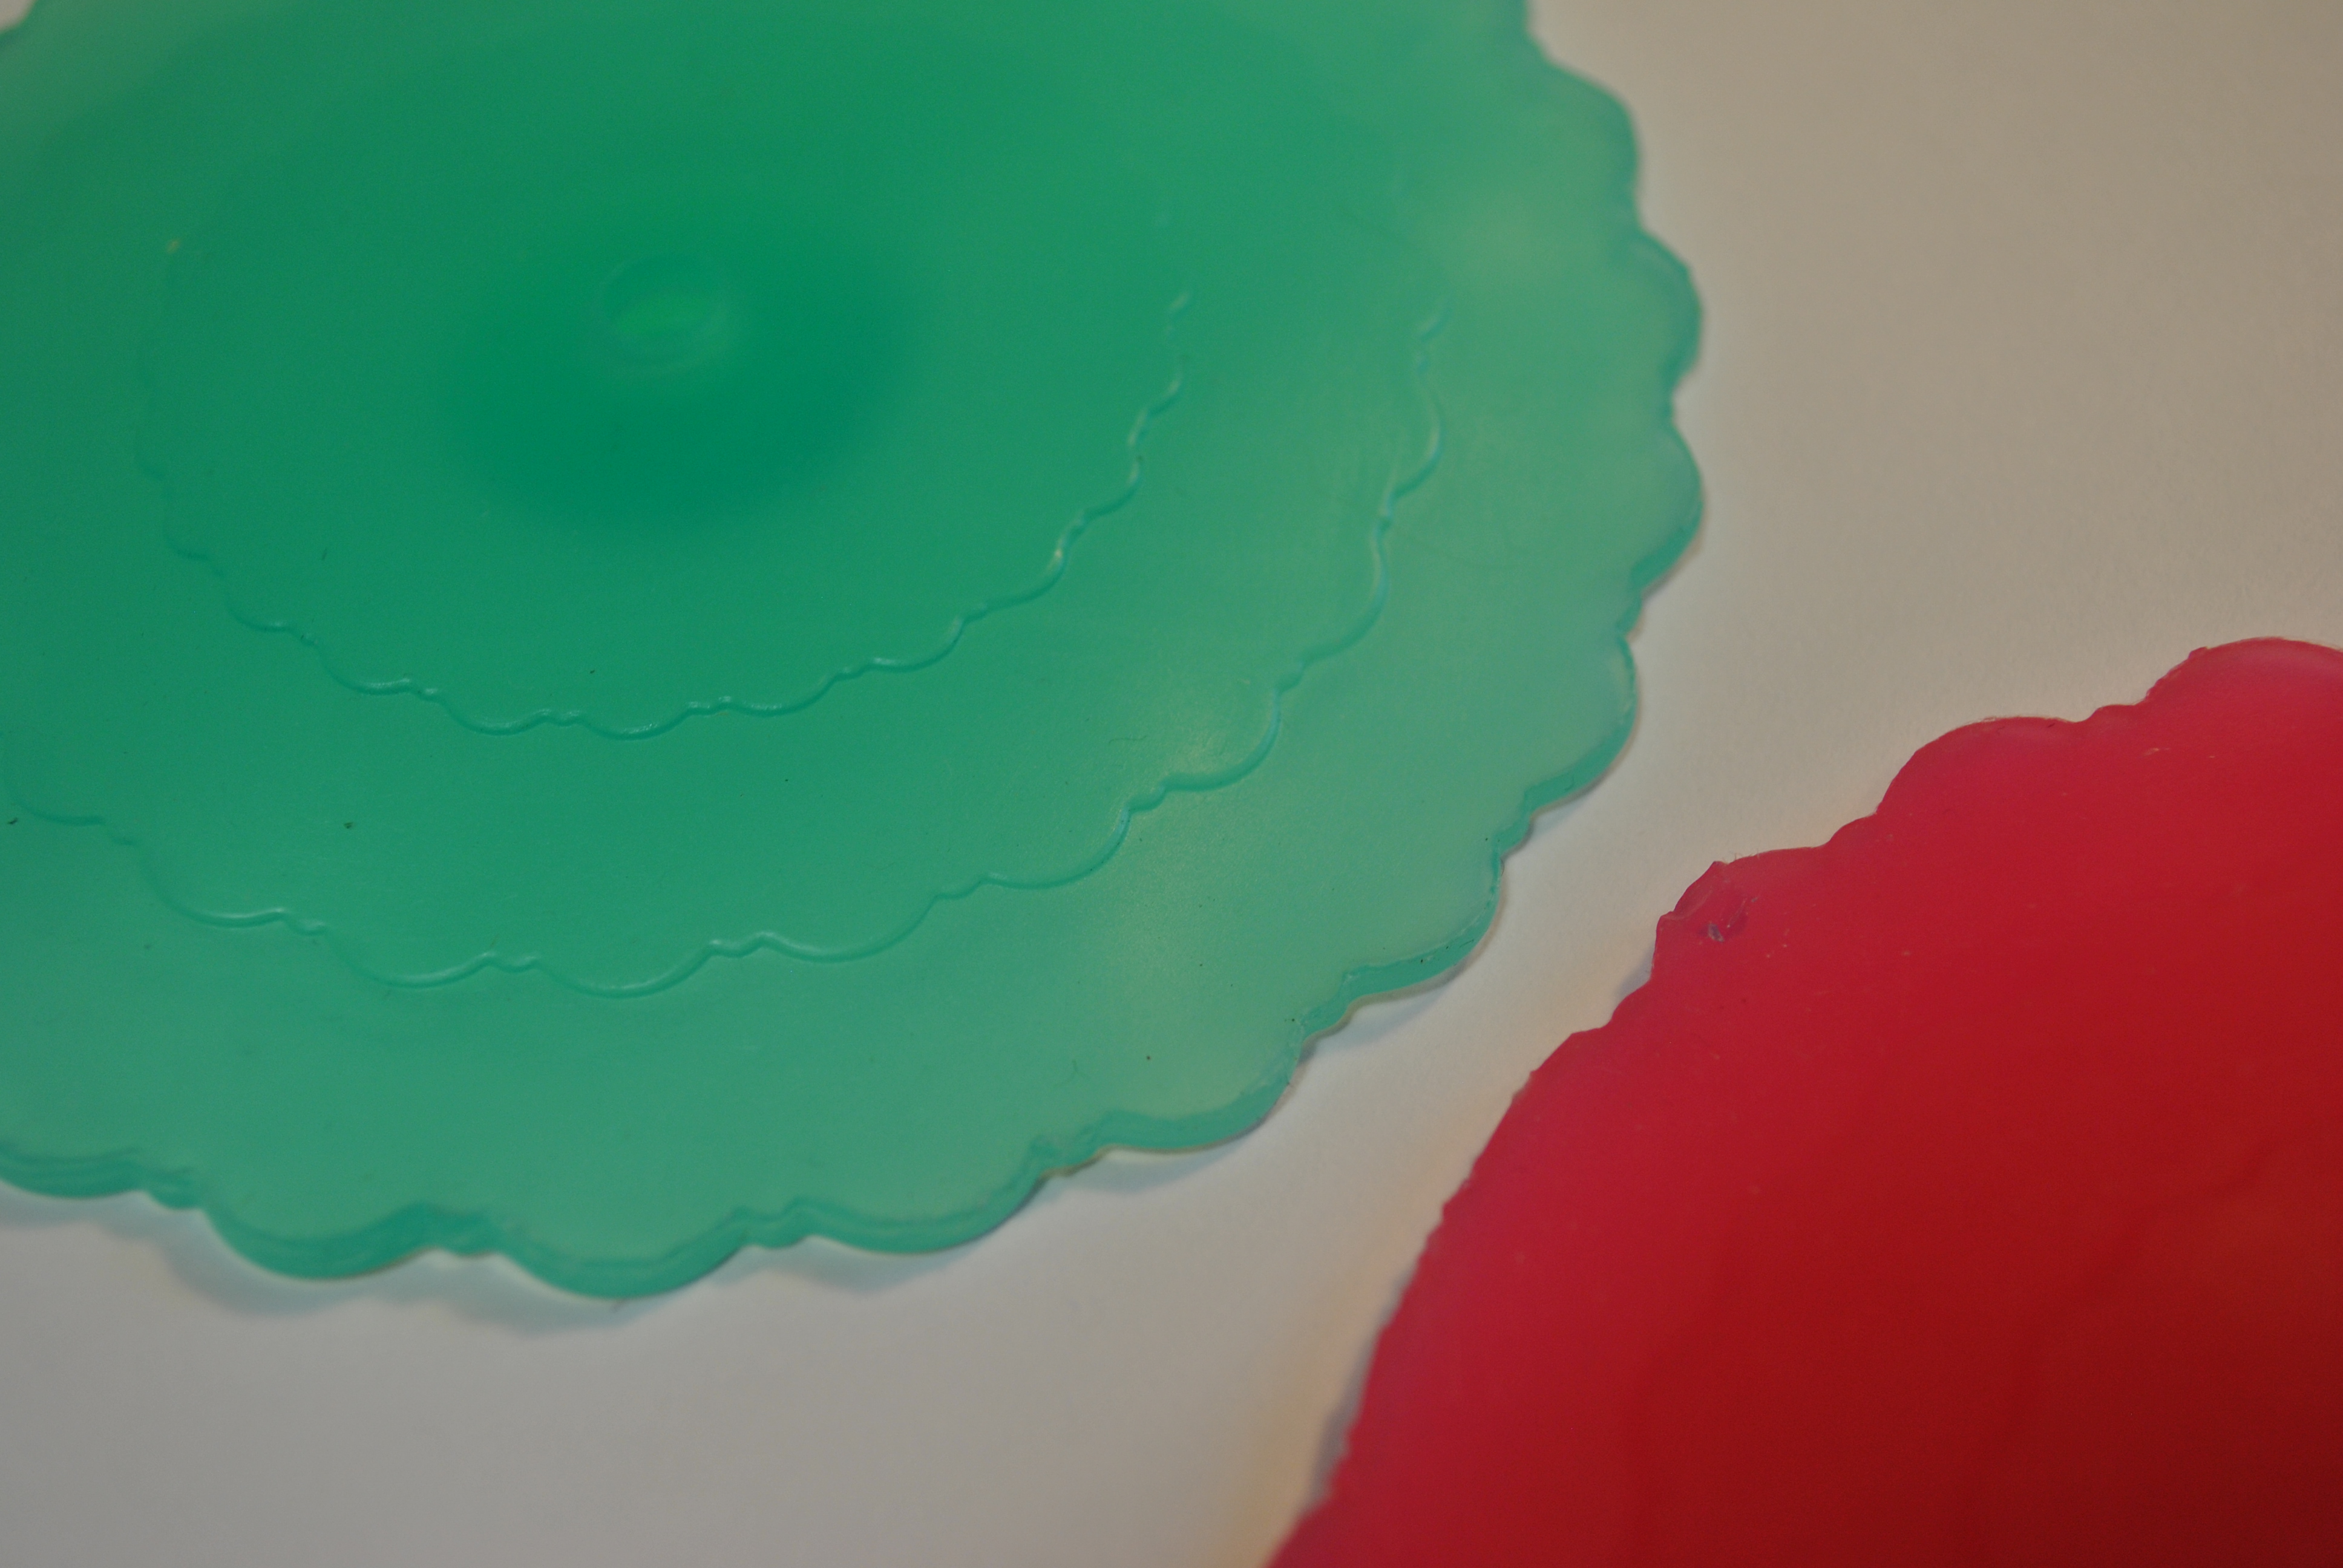
They have this really nice translucent quality to them.
Even the failures are pretty.
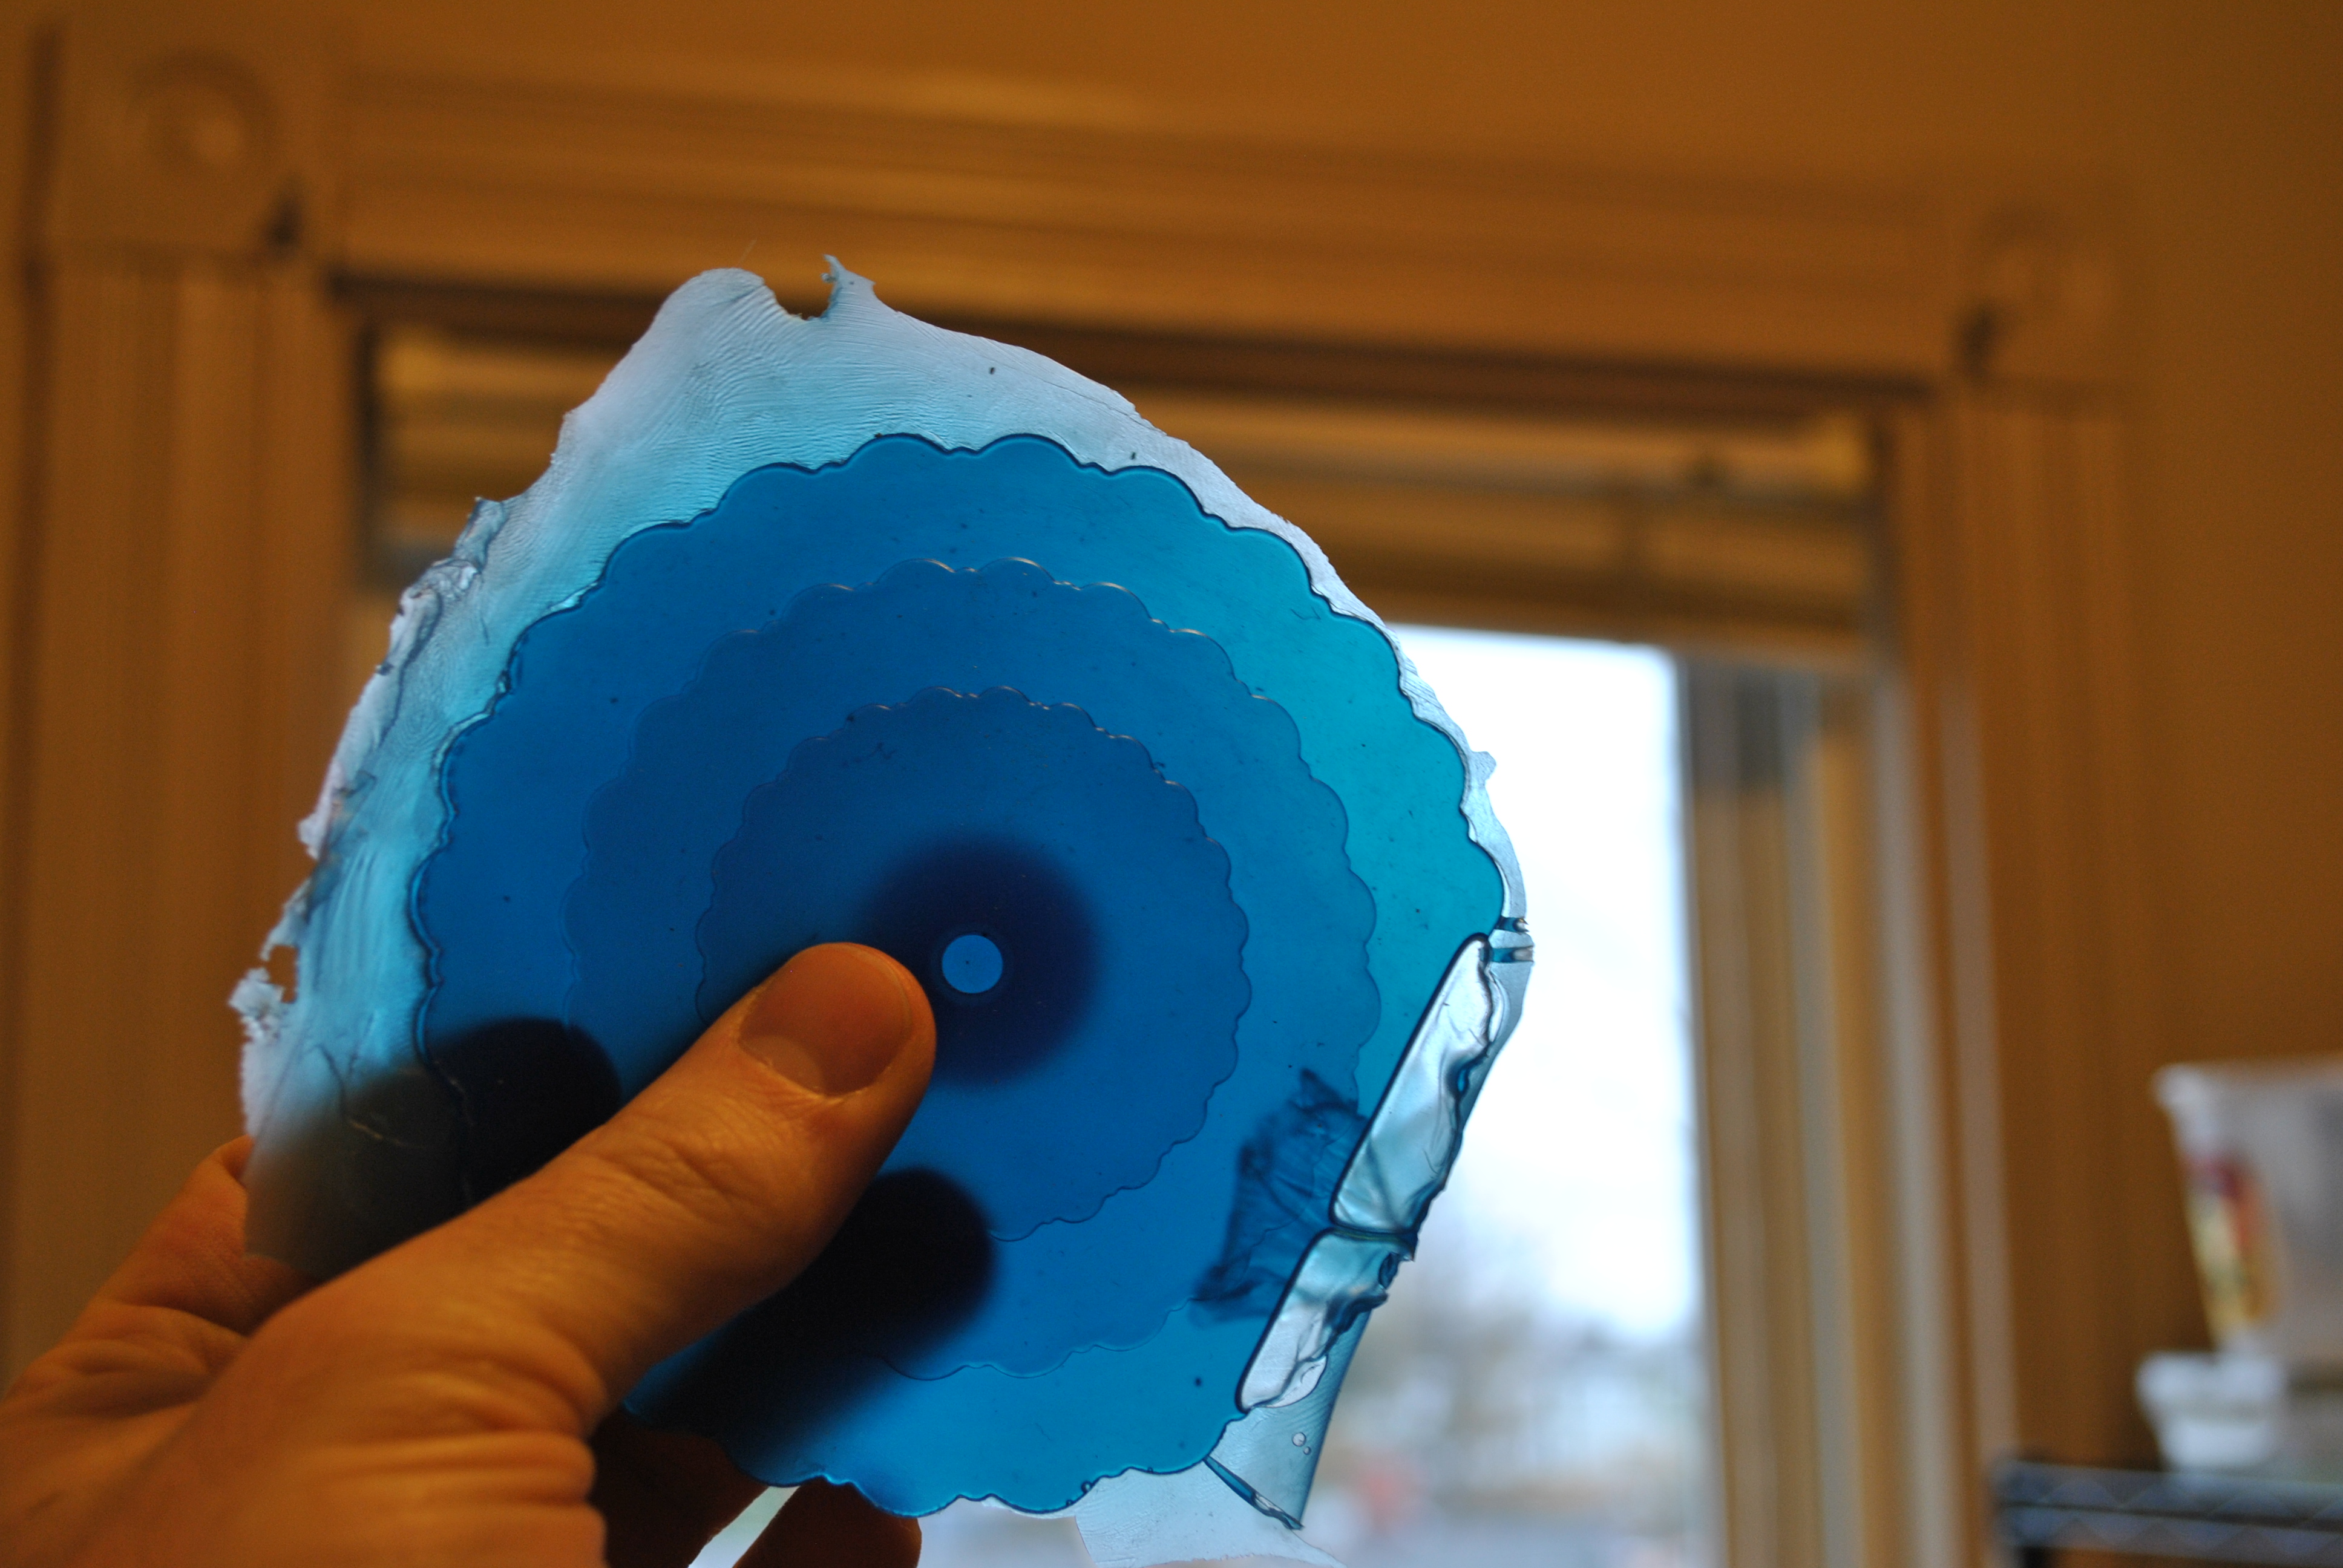
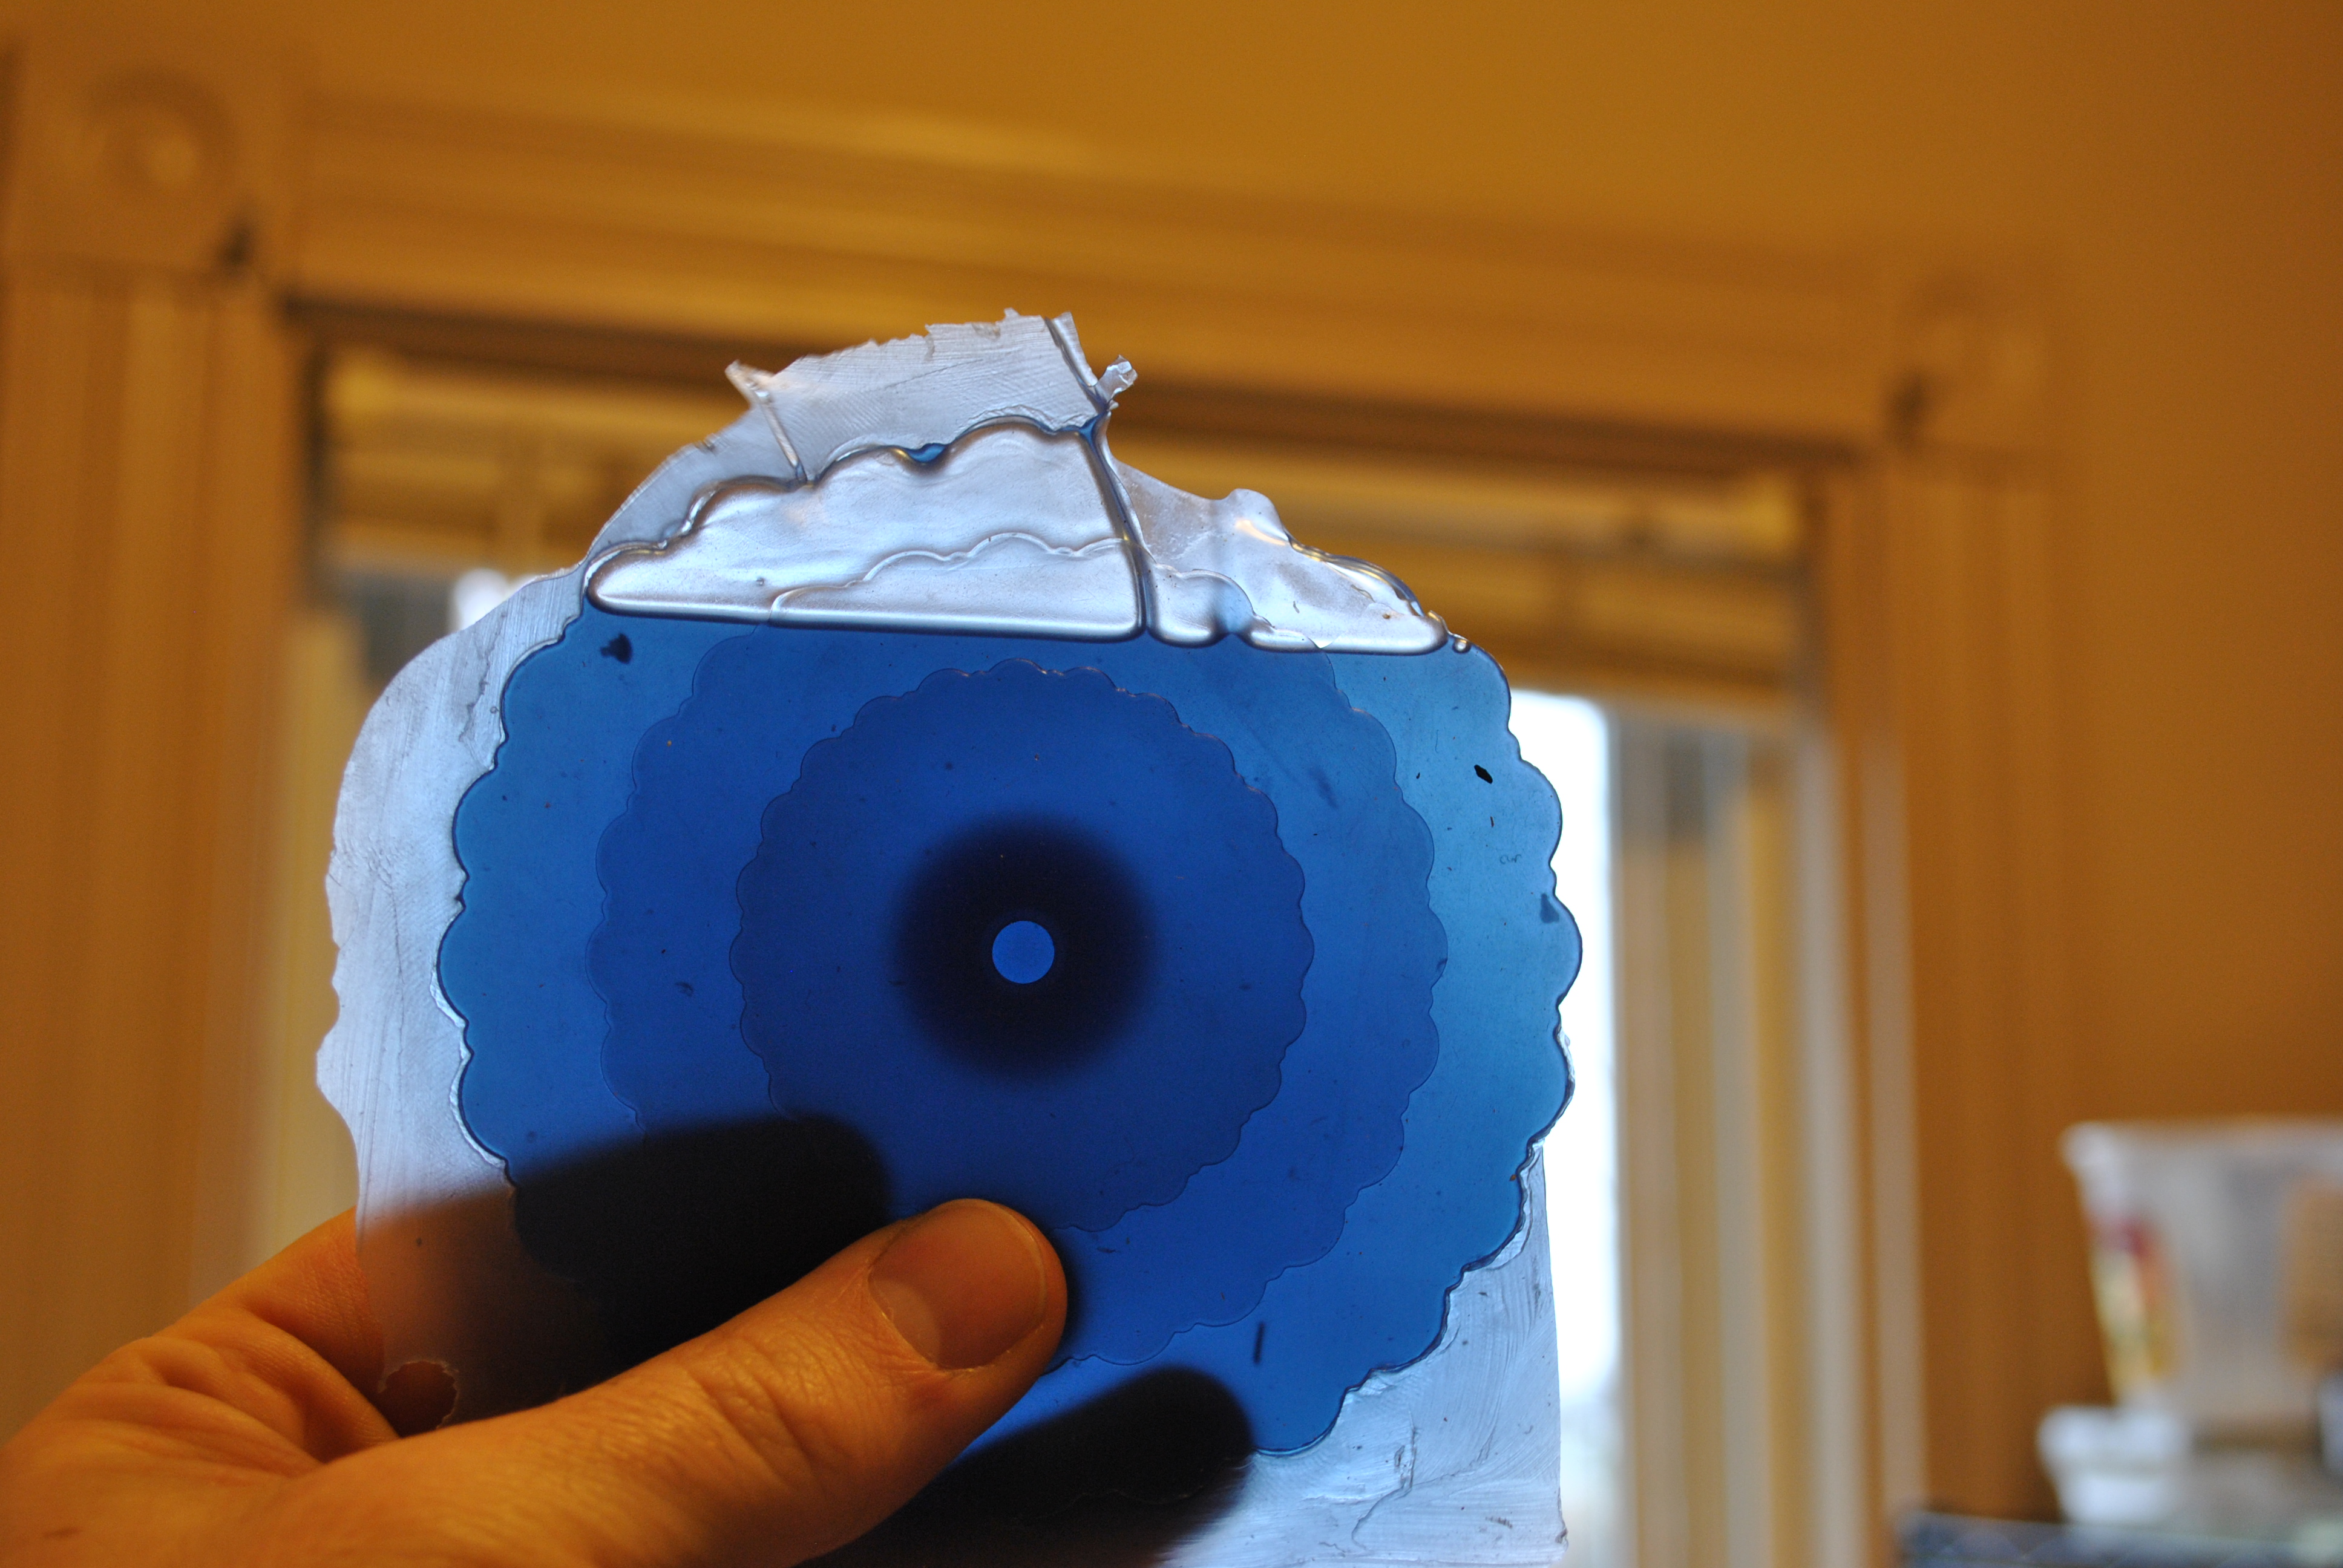
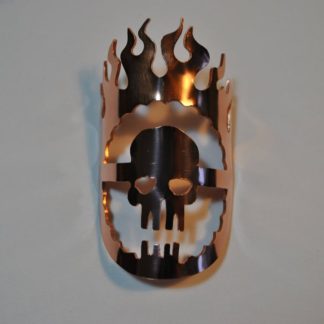
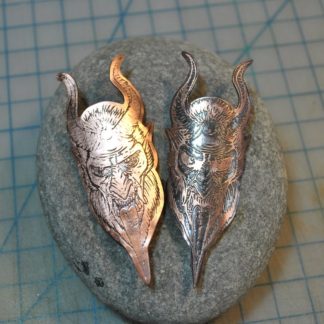
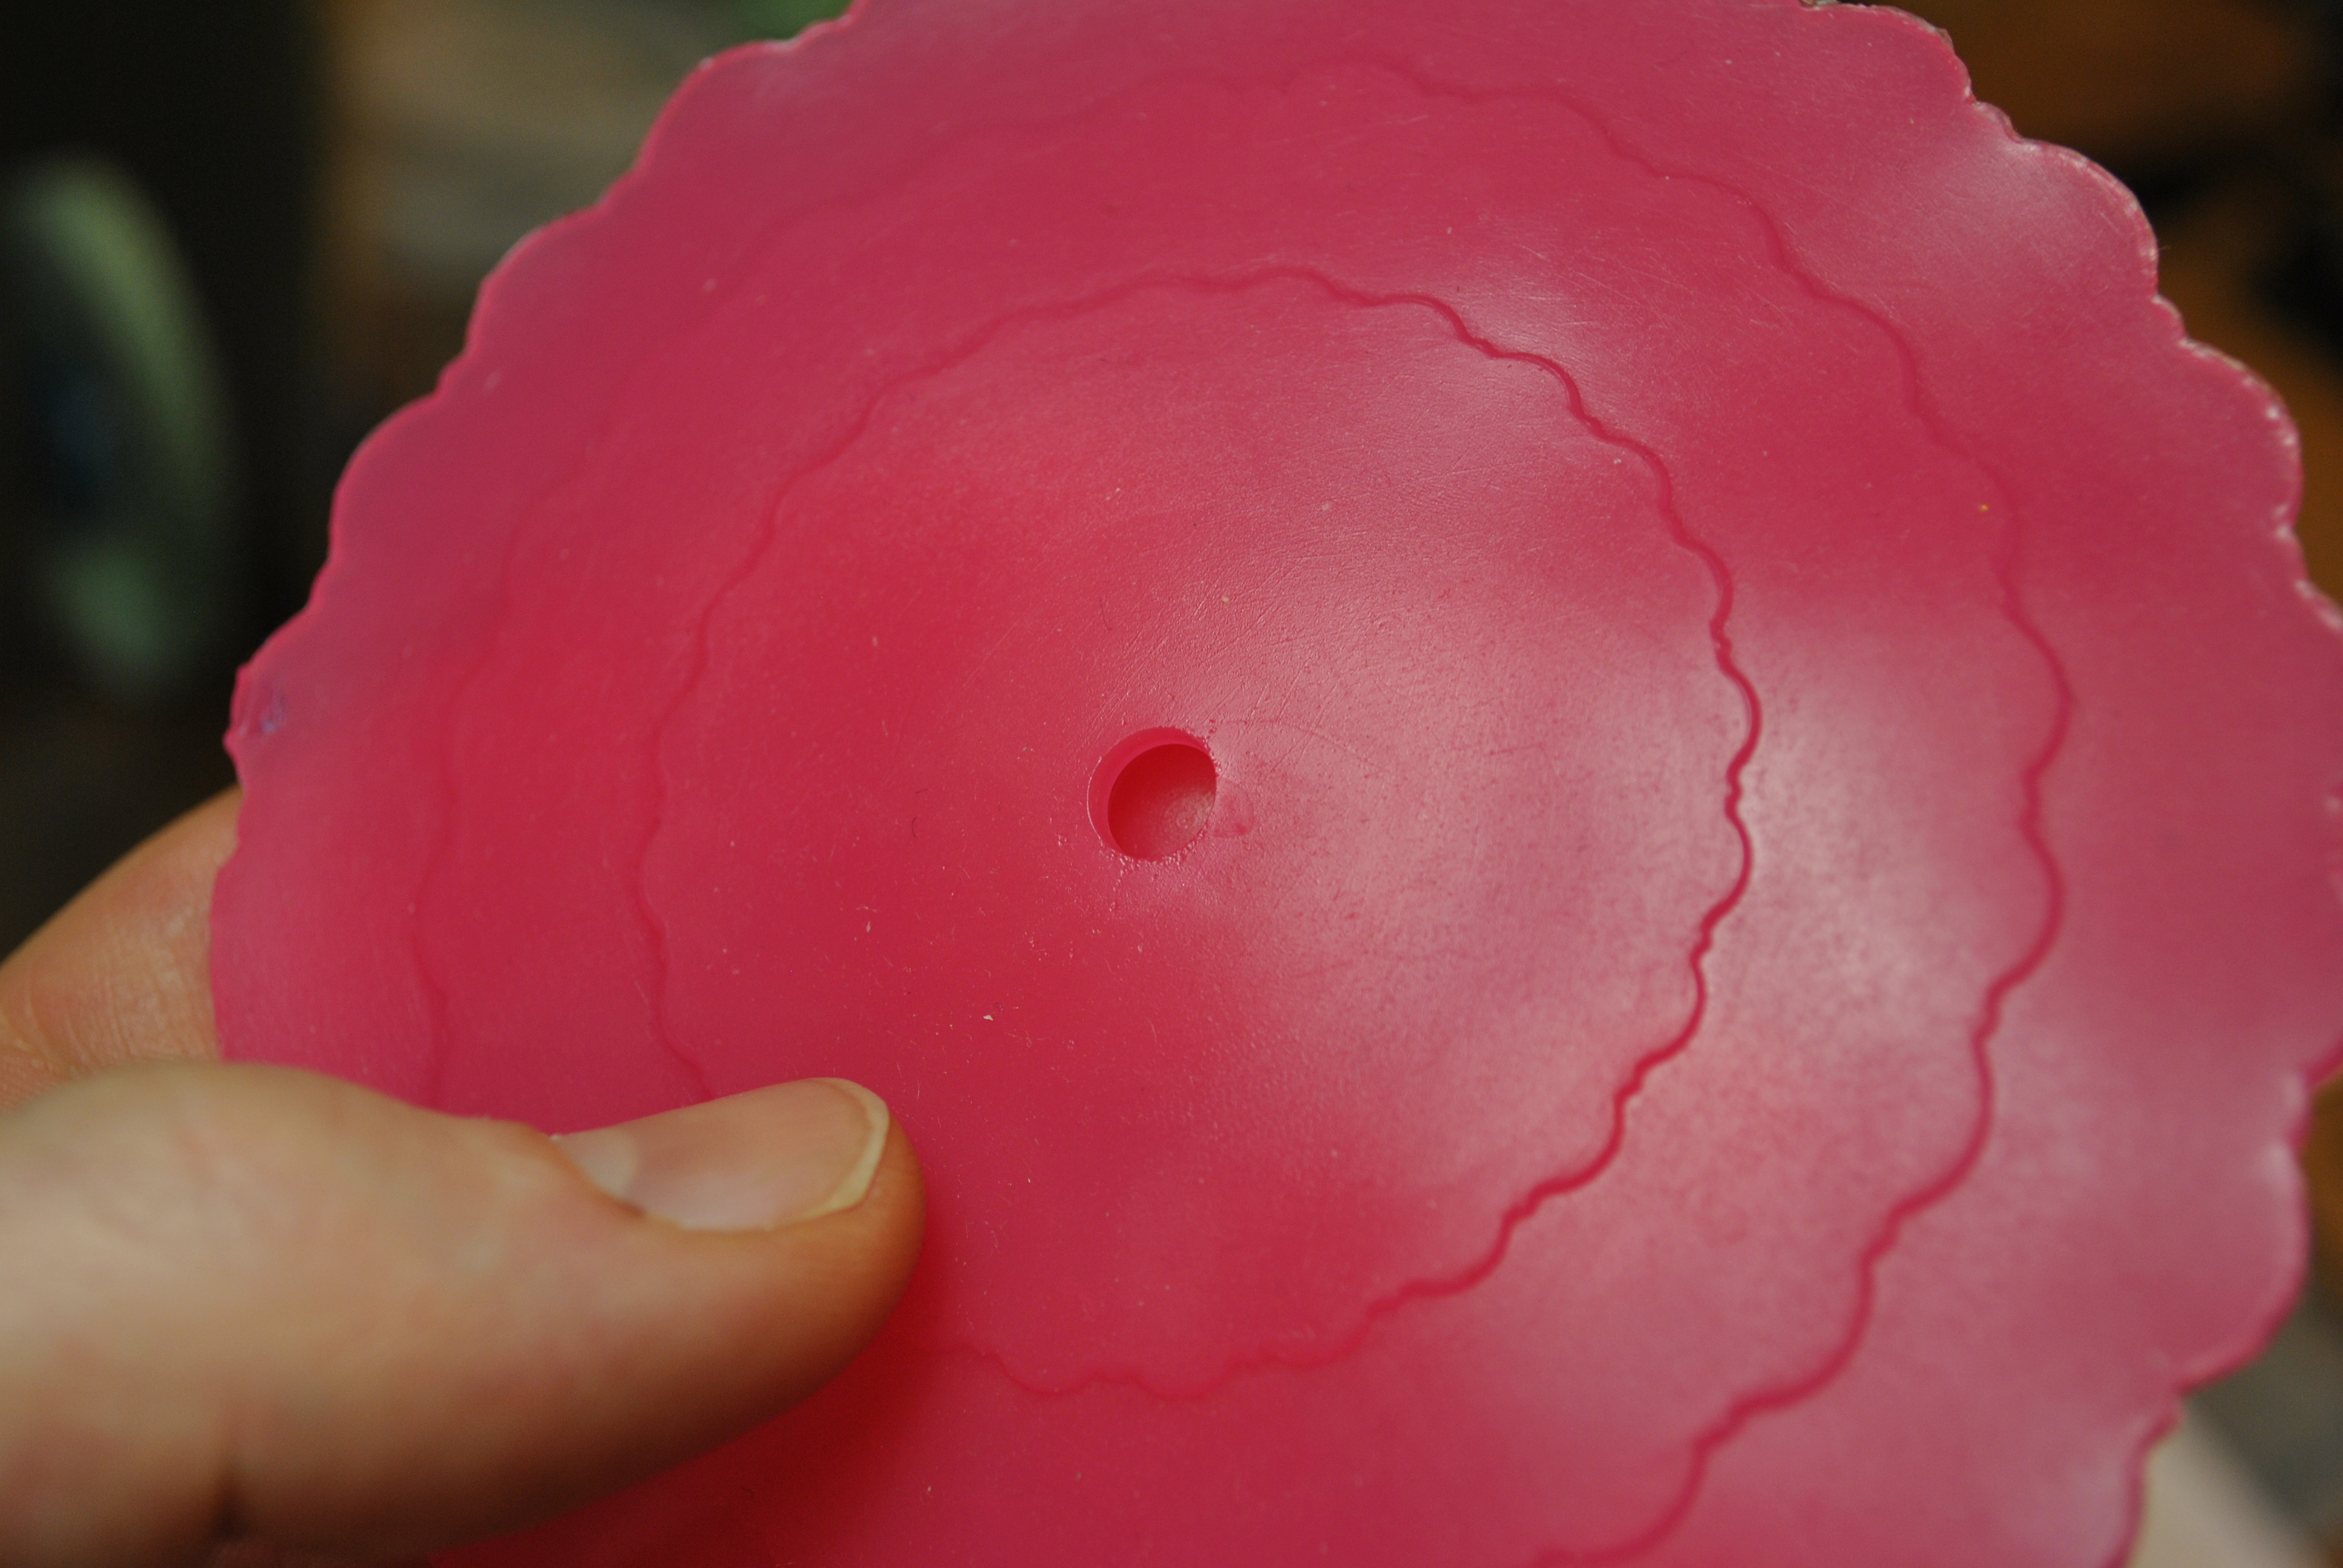
This small hole was designed to allow a small pewter charm to fit inside with a t-pin type configuration. The shape of the charm, and the elastic nature of the silicone will hold it in place, and act as a handle for the topper.
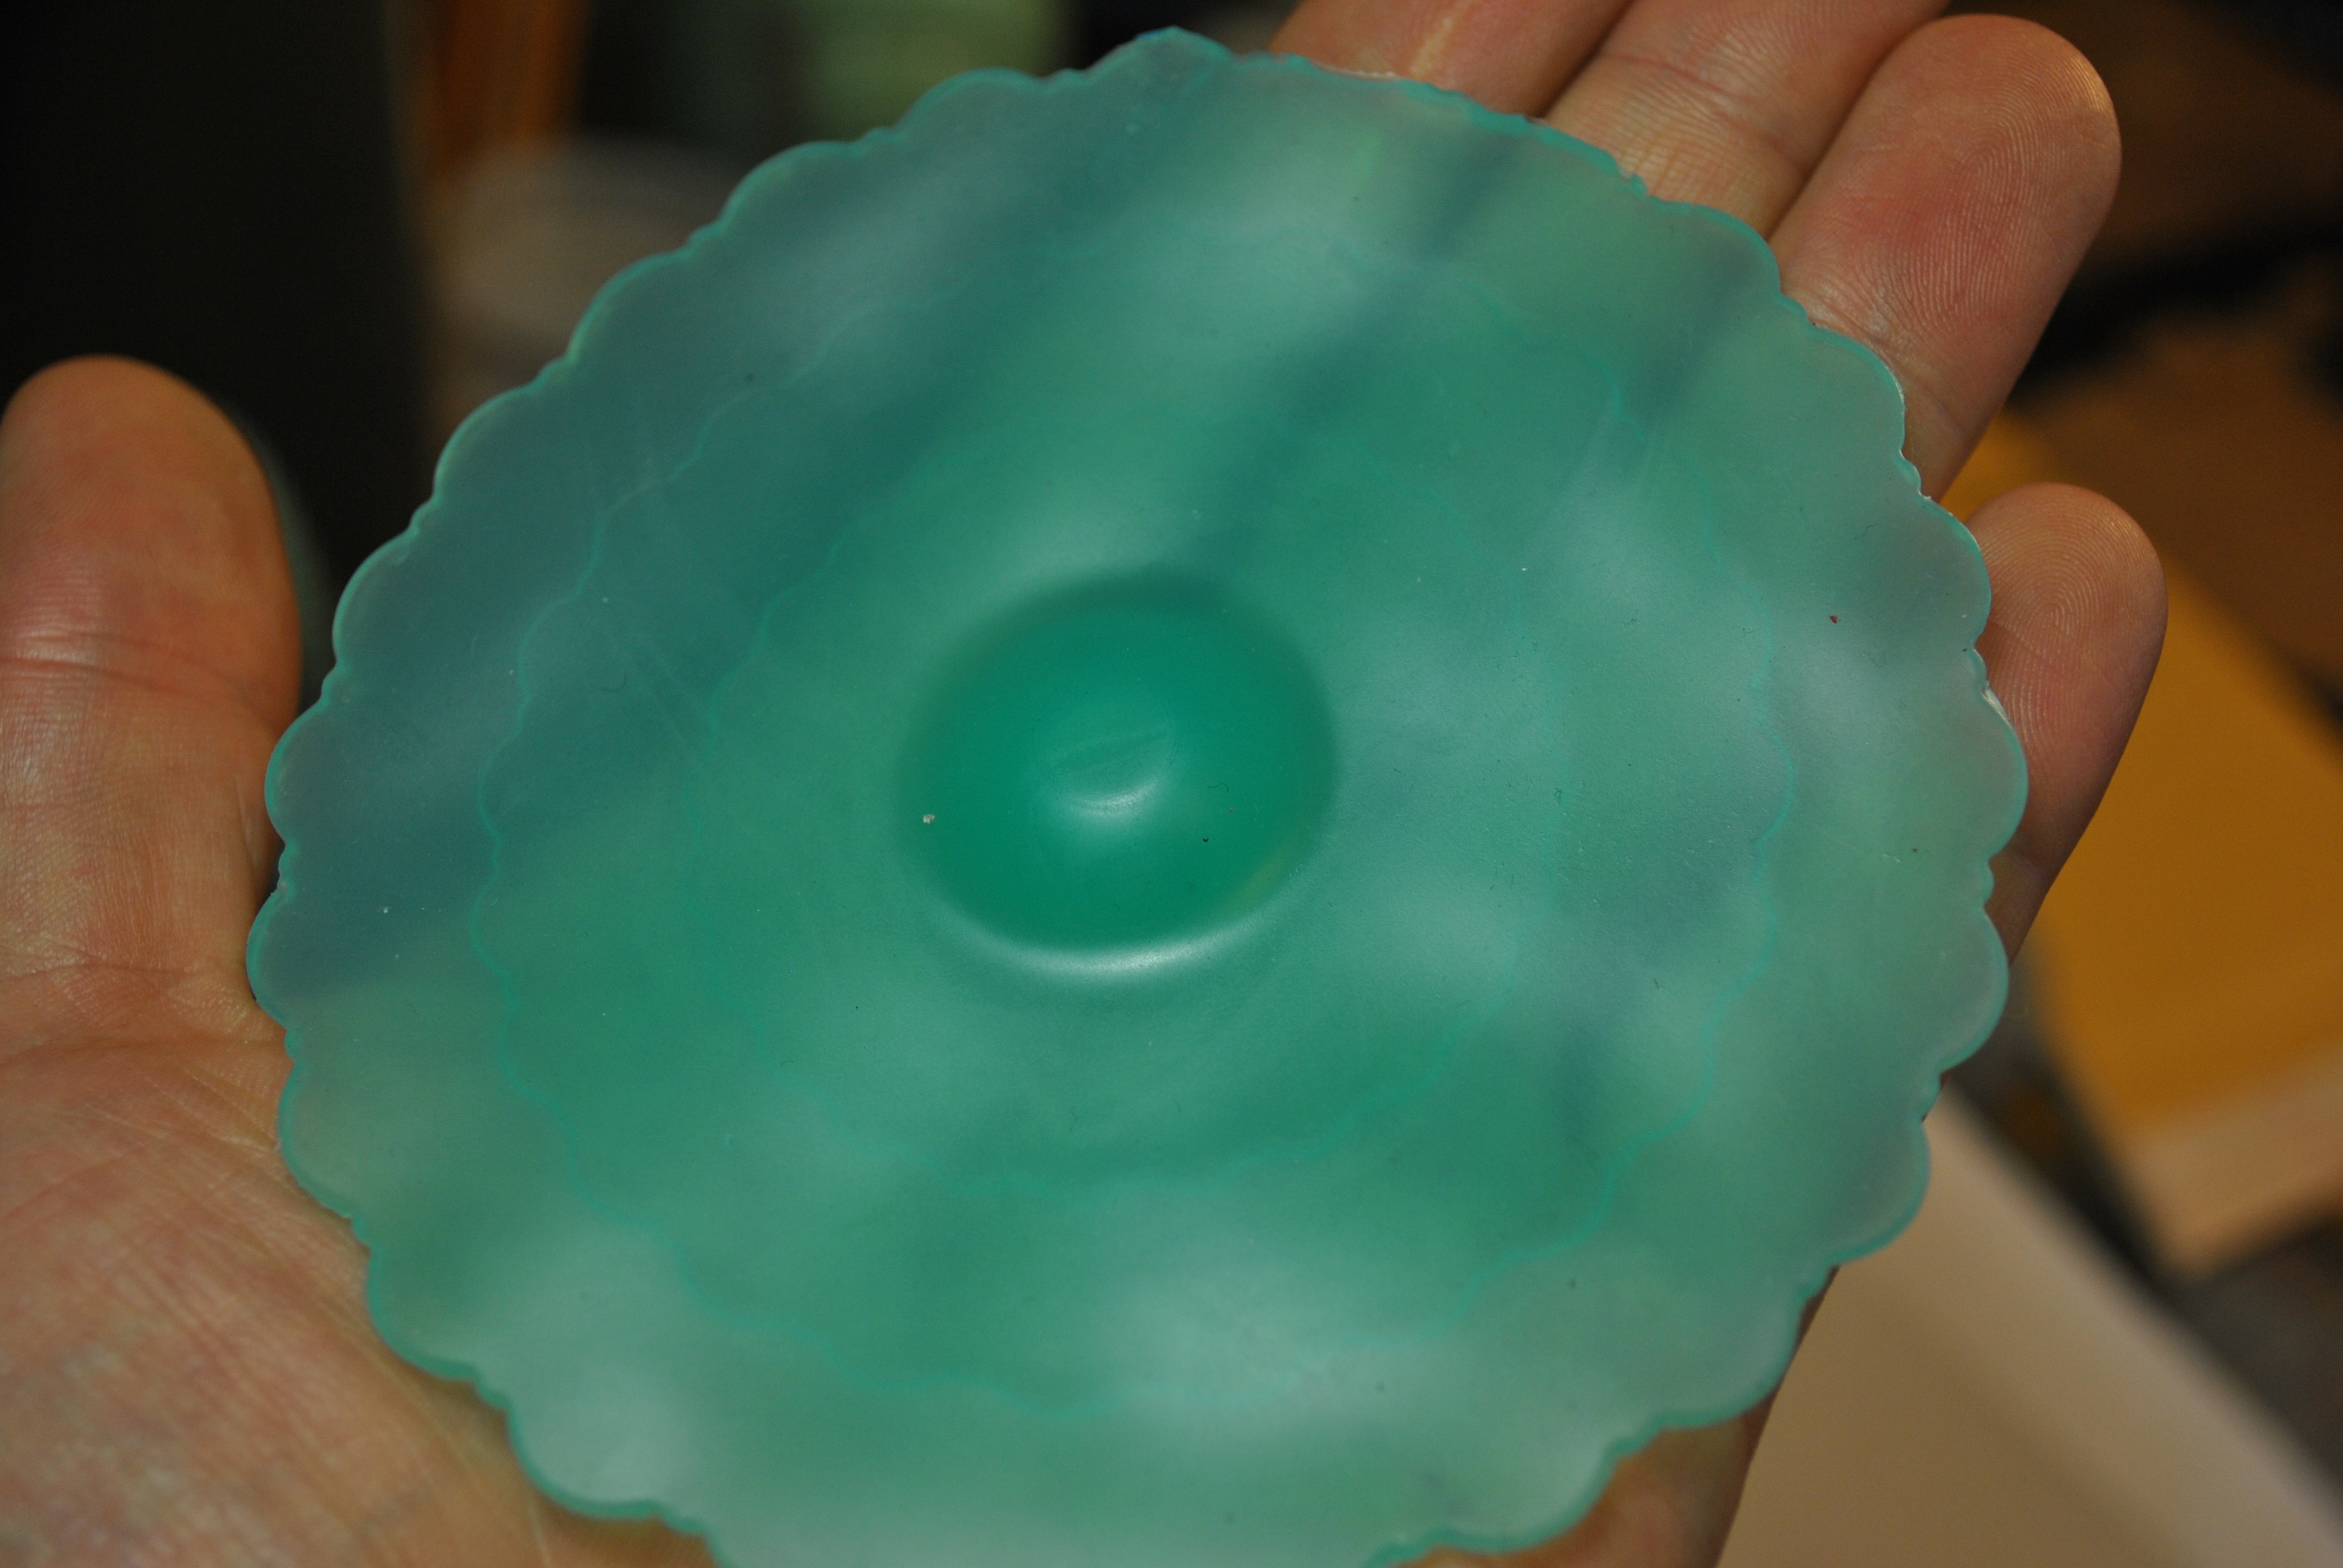
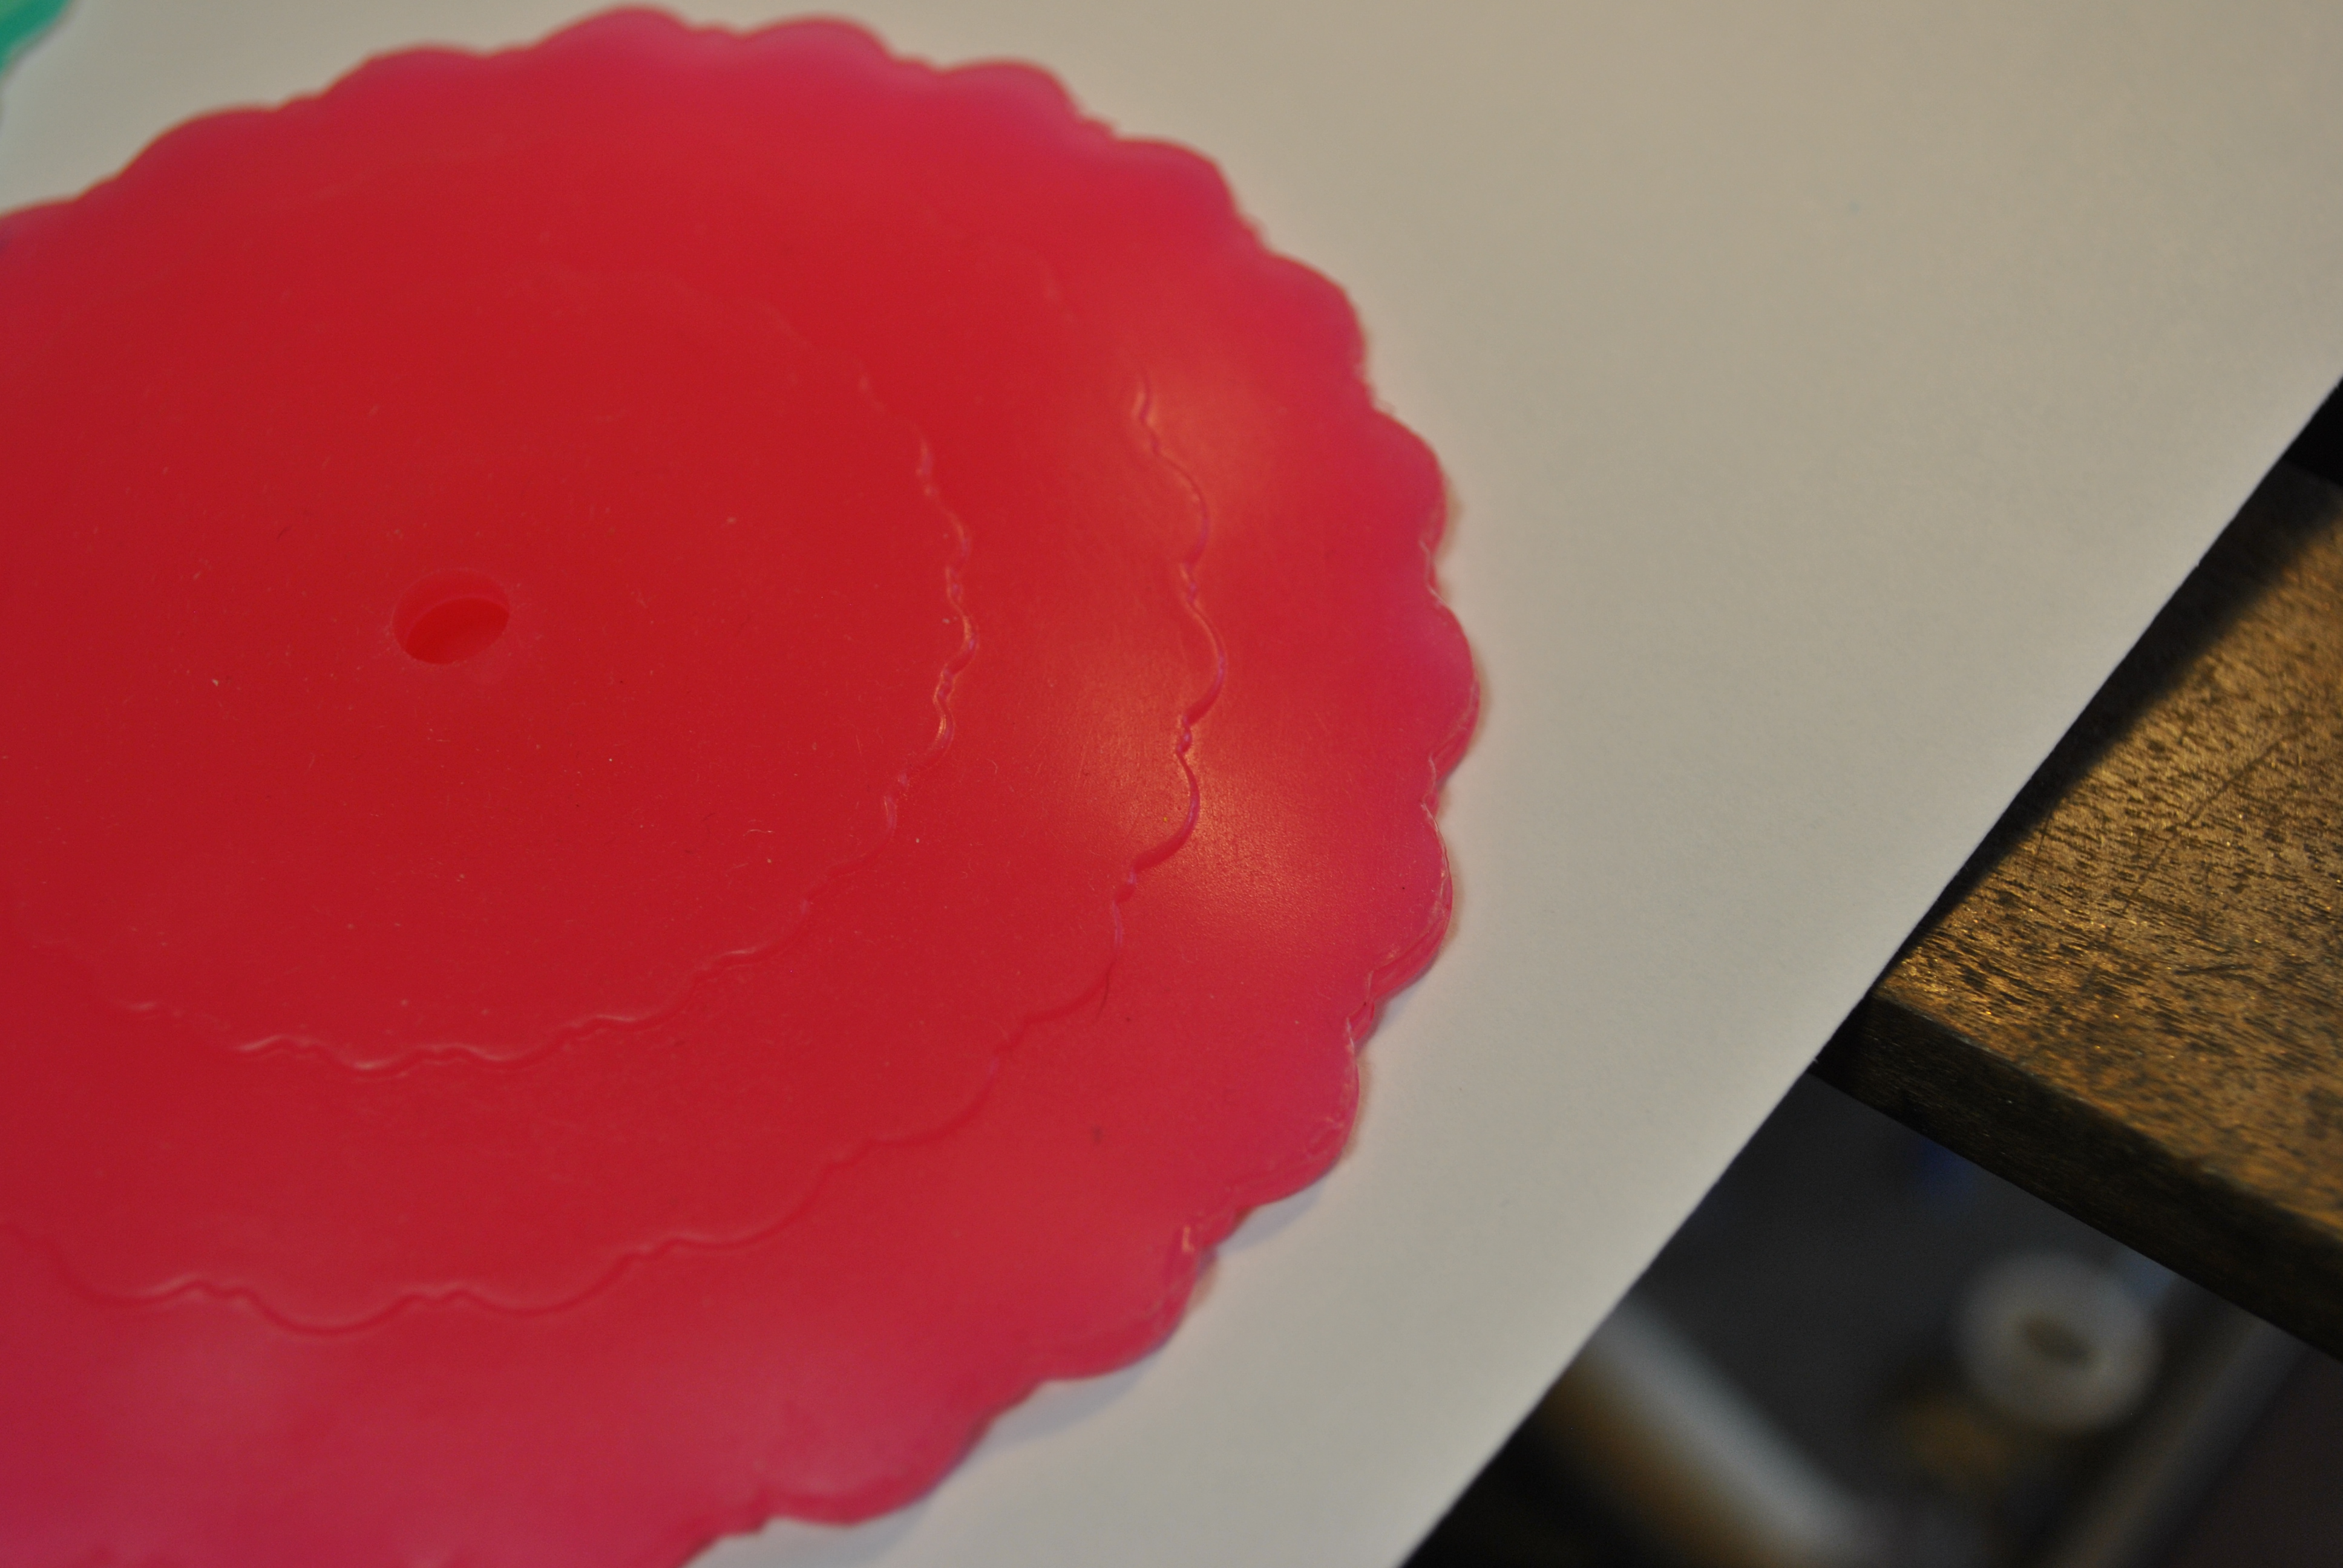
The back. This is the side that will be on top of the cup, with the ones we already have I can say they work great, the heat from the tea causes a bit of suction and the whole thing locks down on the cup making a nice seal for good steeping. Right now you have to peal them off by the side, but once I get the top charms on there will be a handle.
These came out amazing, and already plan on making them in a whole bunch of colors. Next week I am going to carve, cast, and pour some pewter charms to act as handles for these. If they come out as nice as I think they will, look for them in my Etsy Store soon.
Do you want to help me continue to bring you great projects, while also getting great rewards? Then support me on Patreon!
Thank you!