Posted on

Thing A Week 4: Borax Red Jewlery

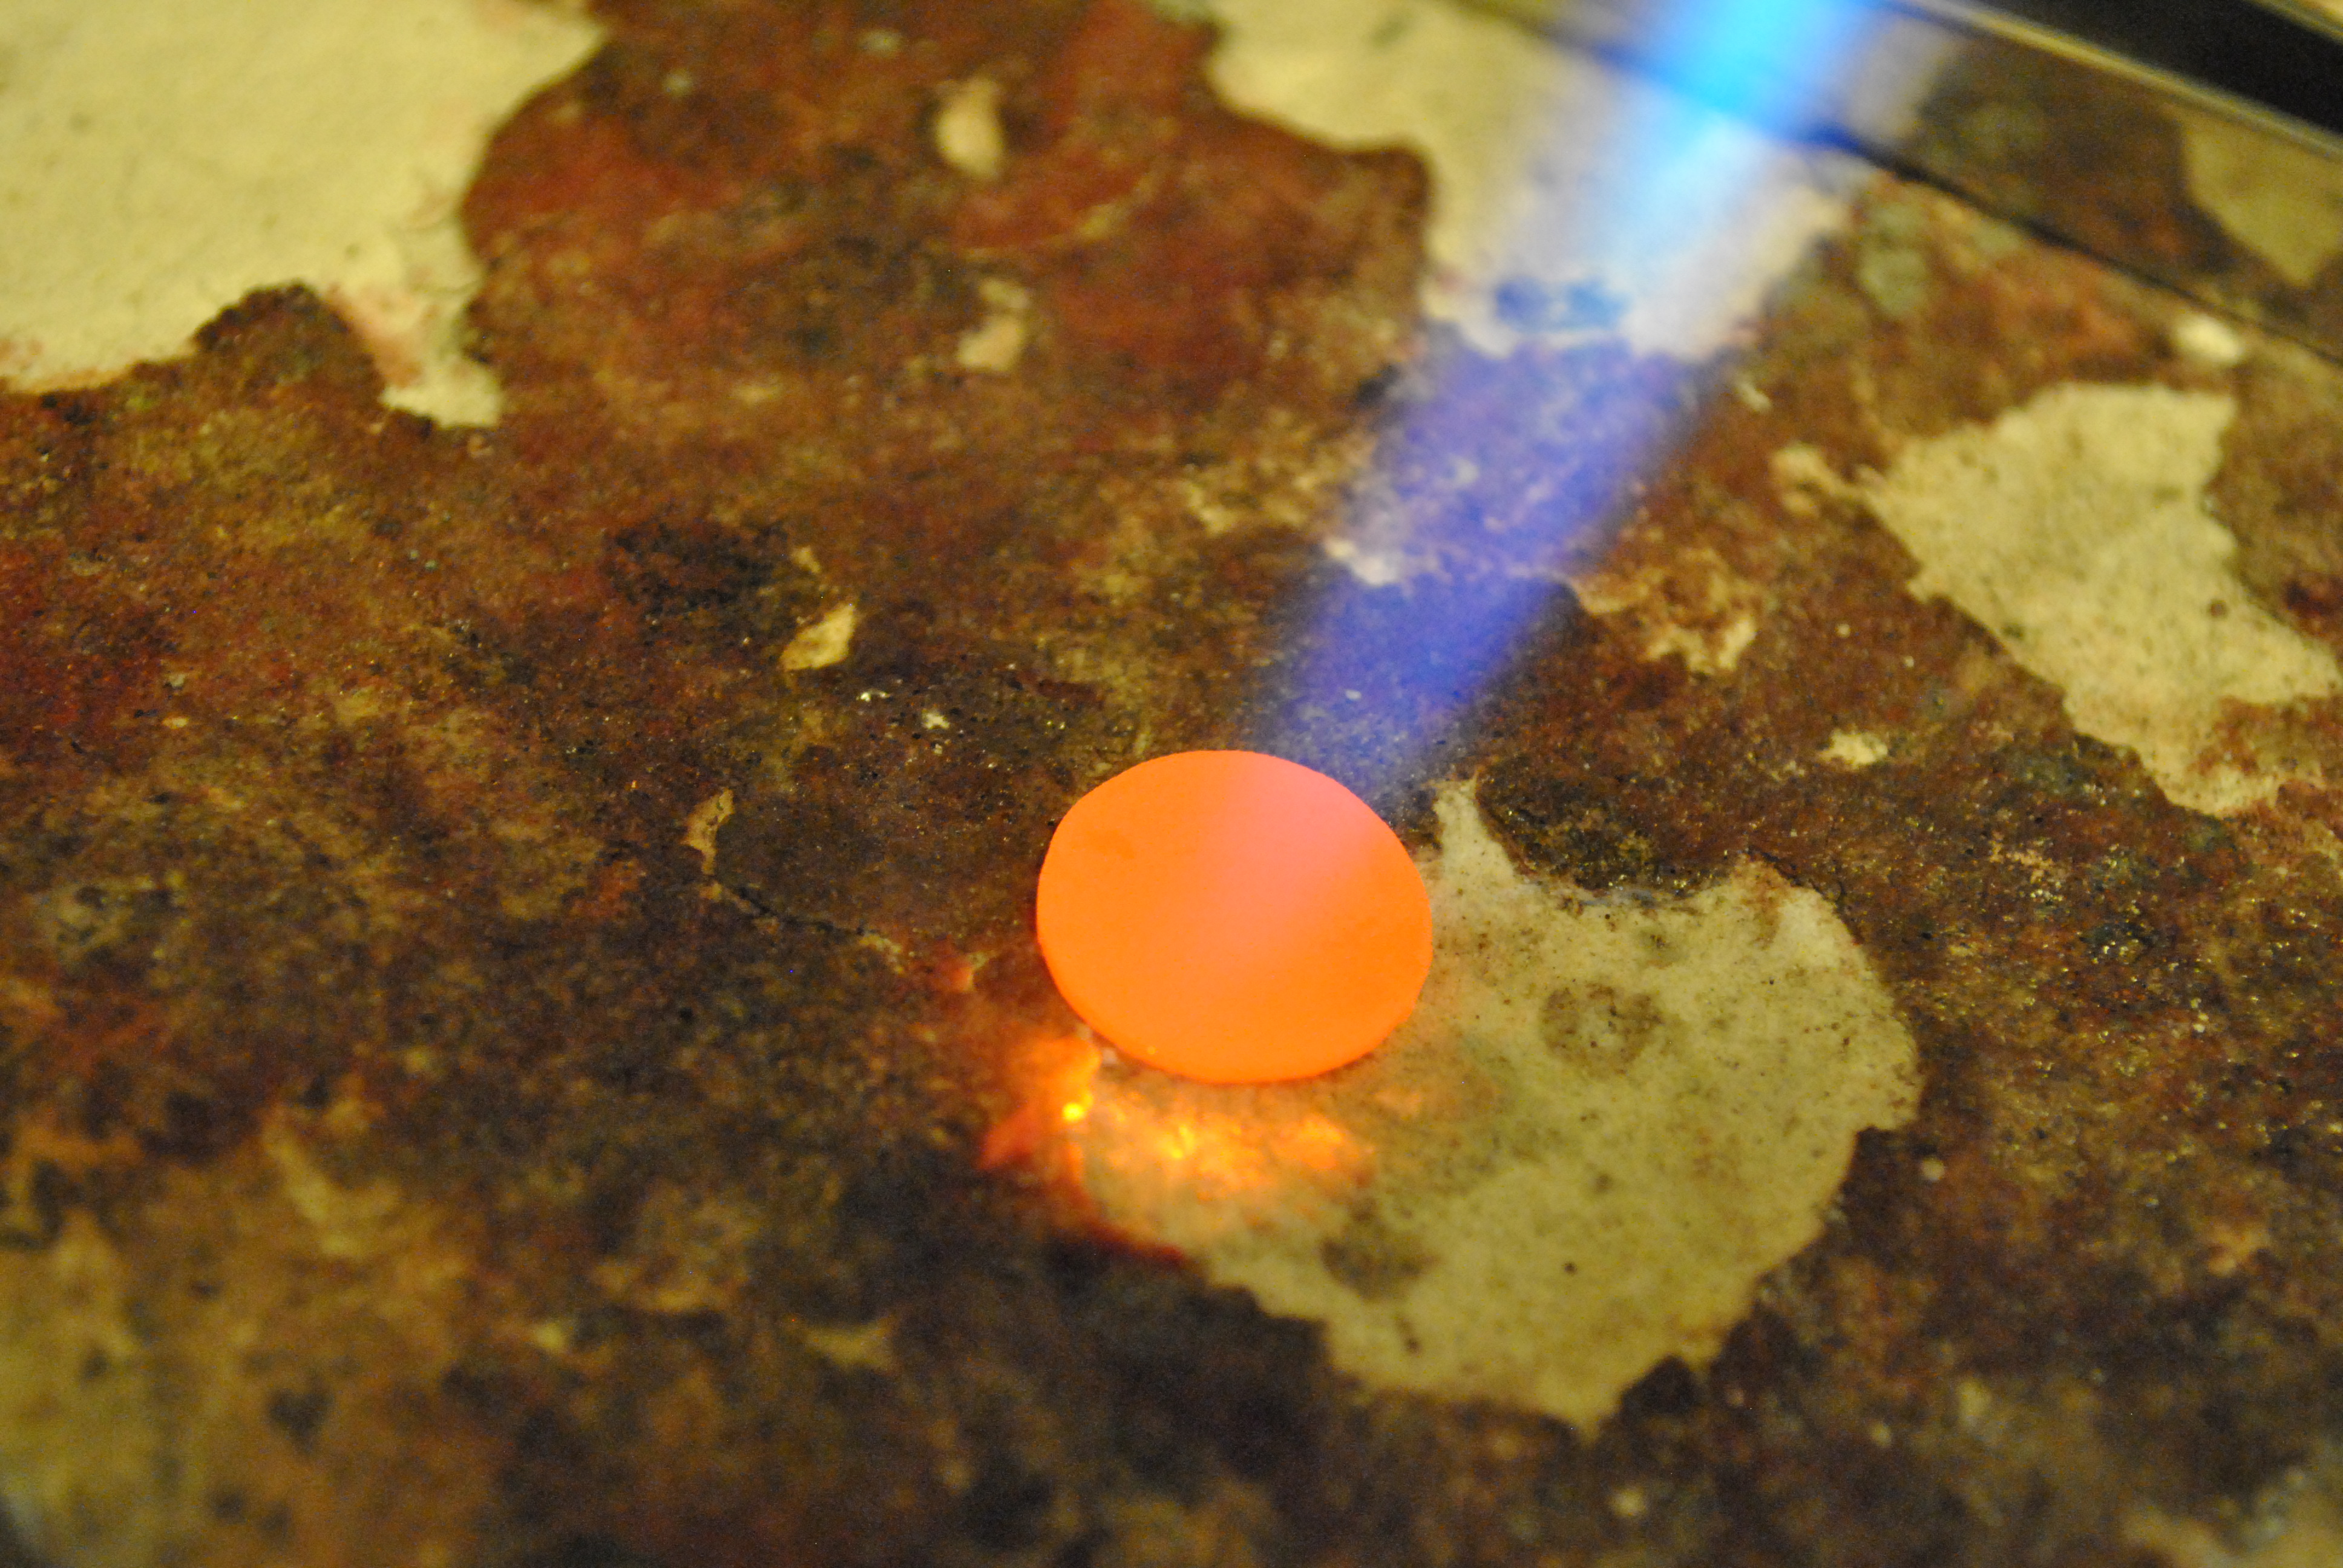
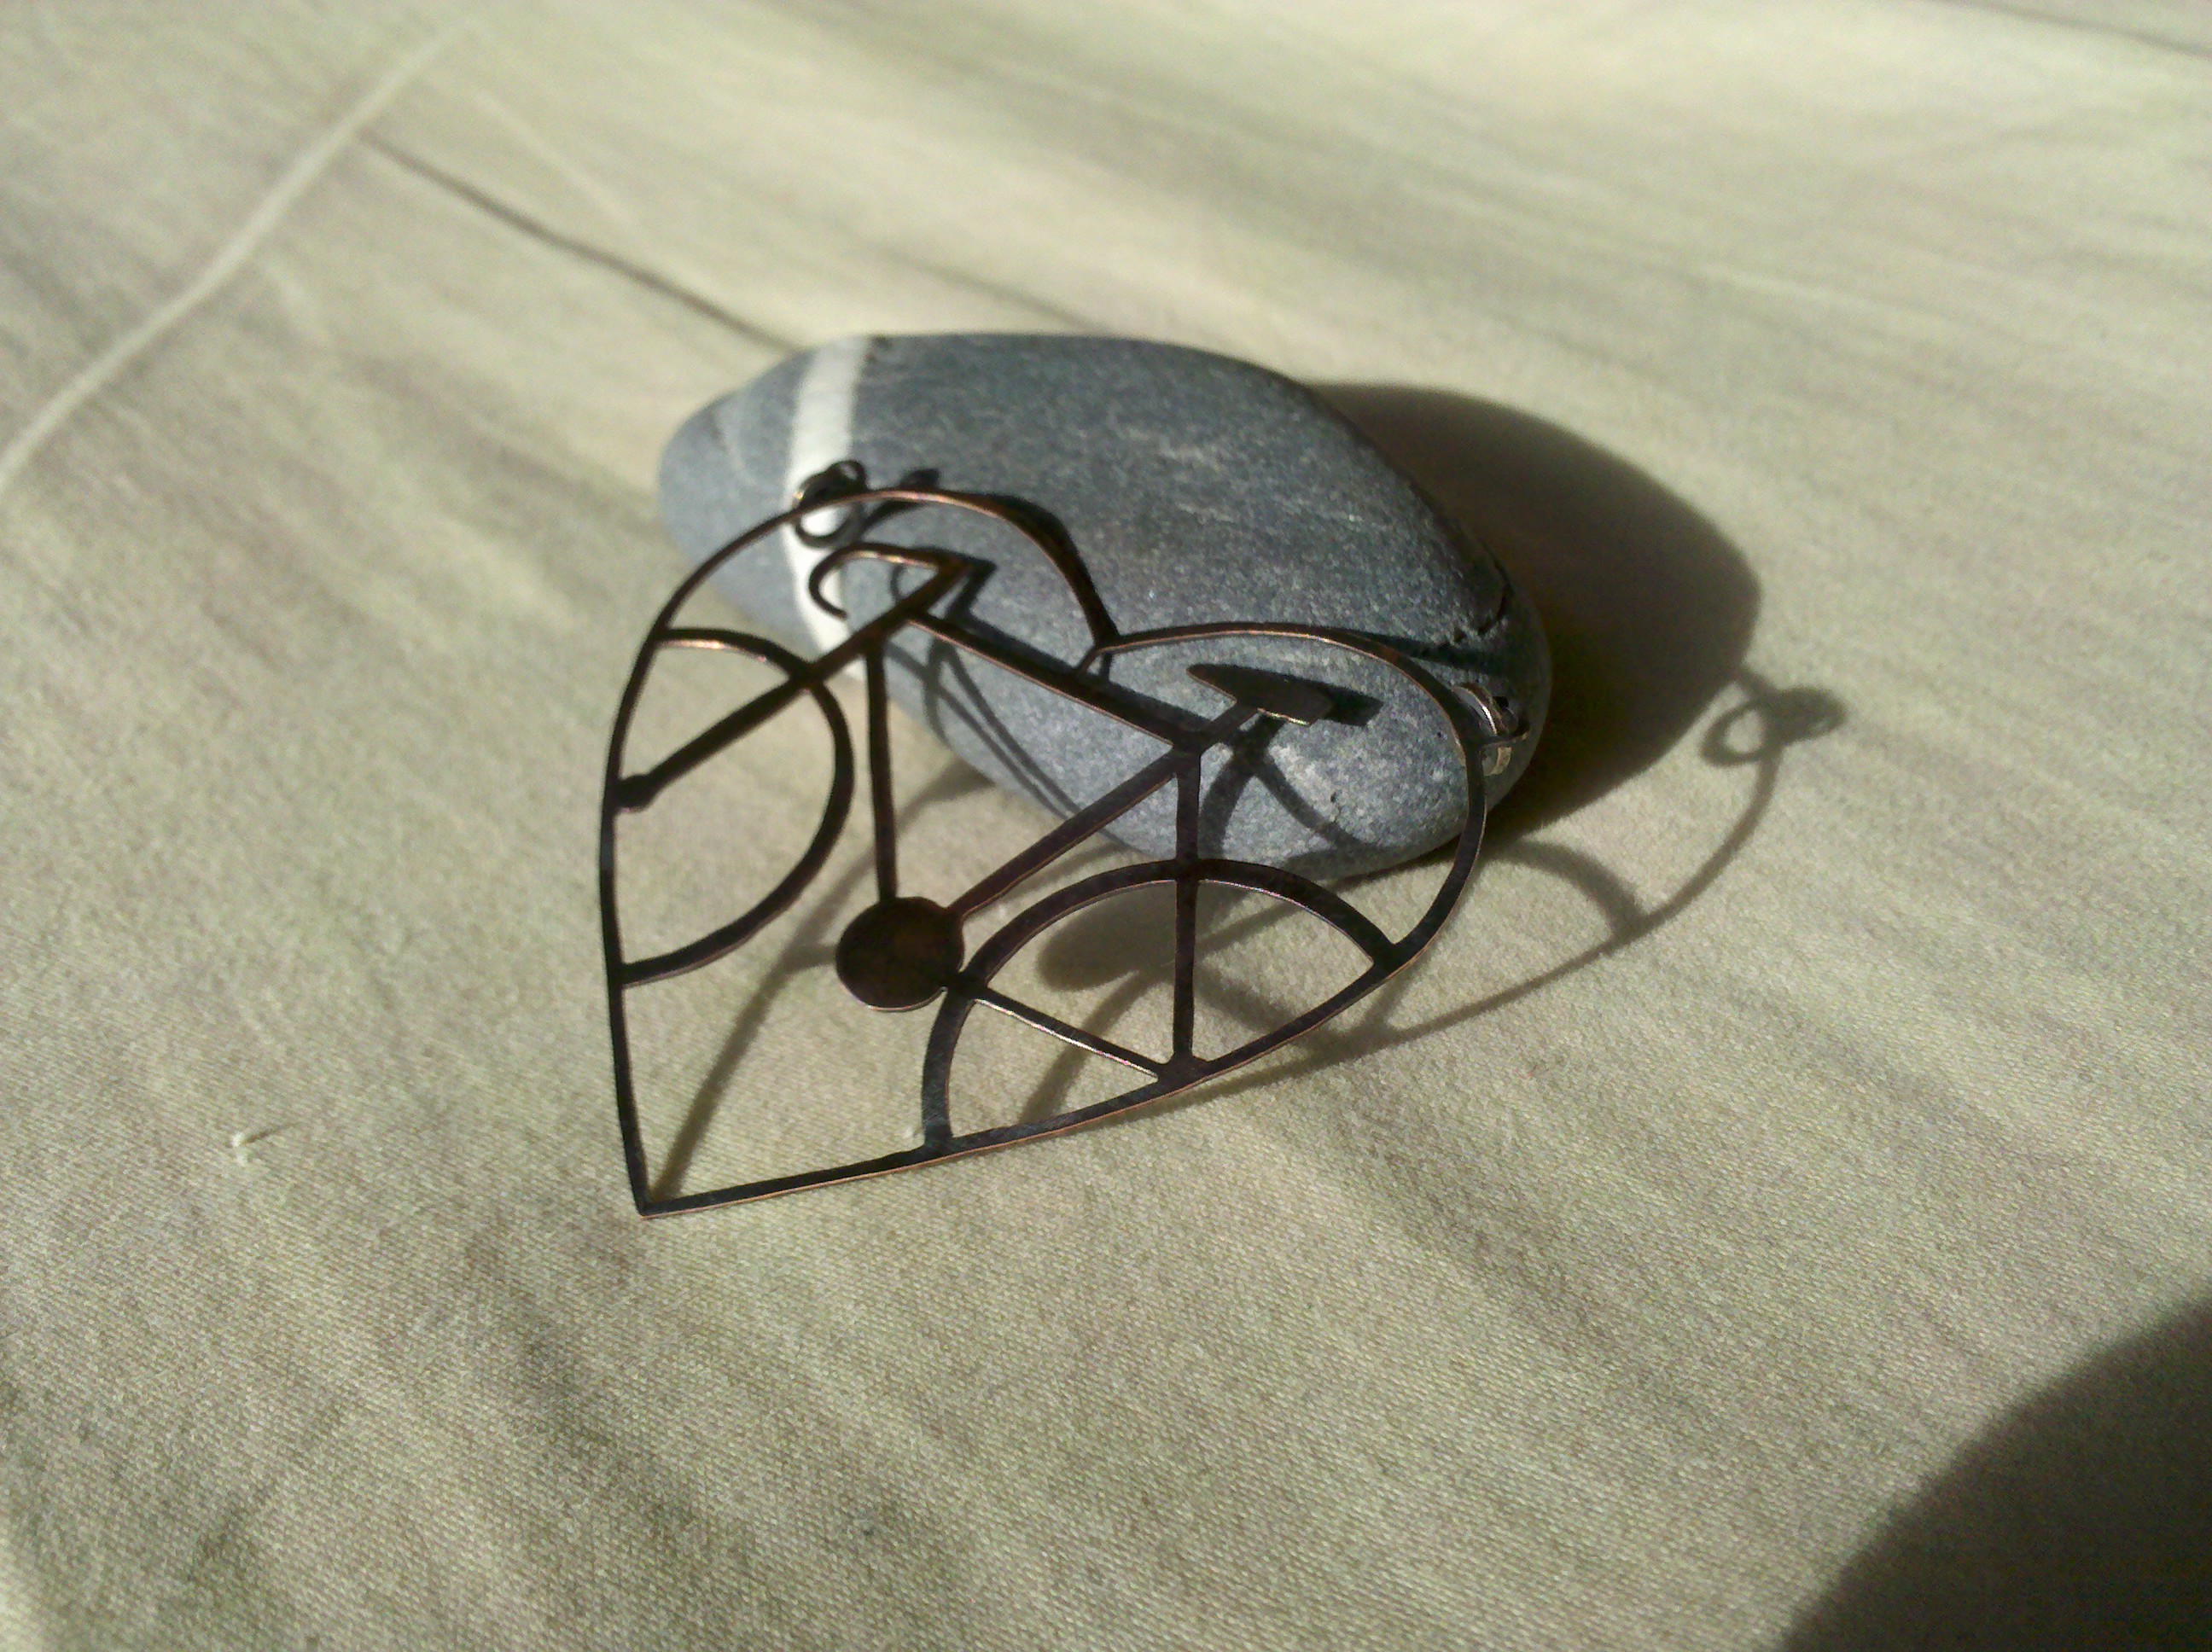
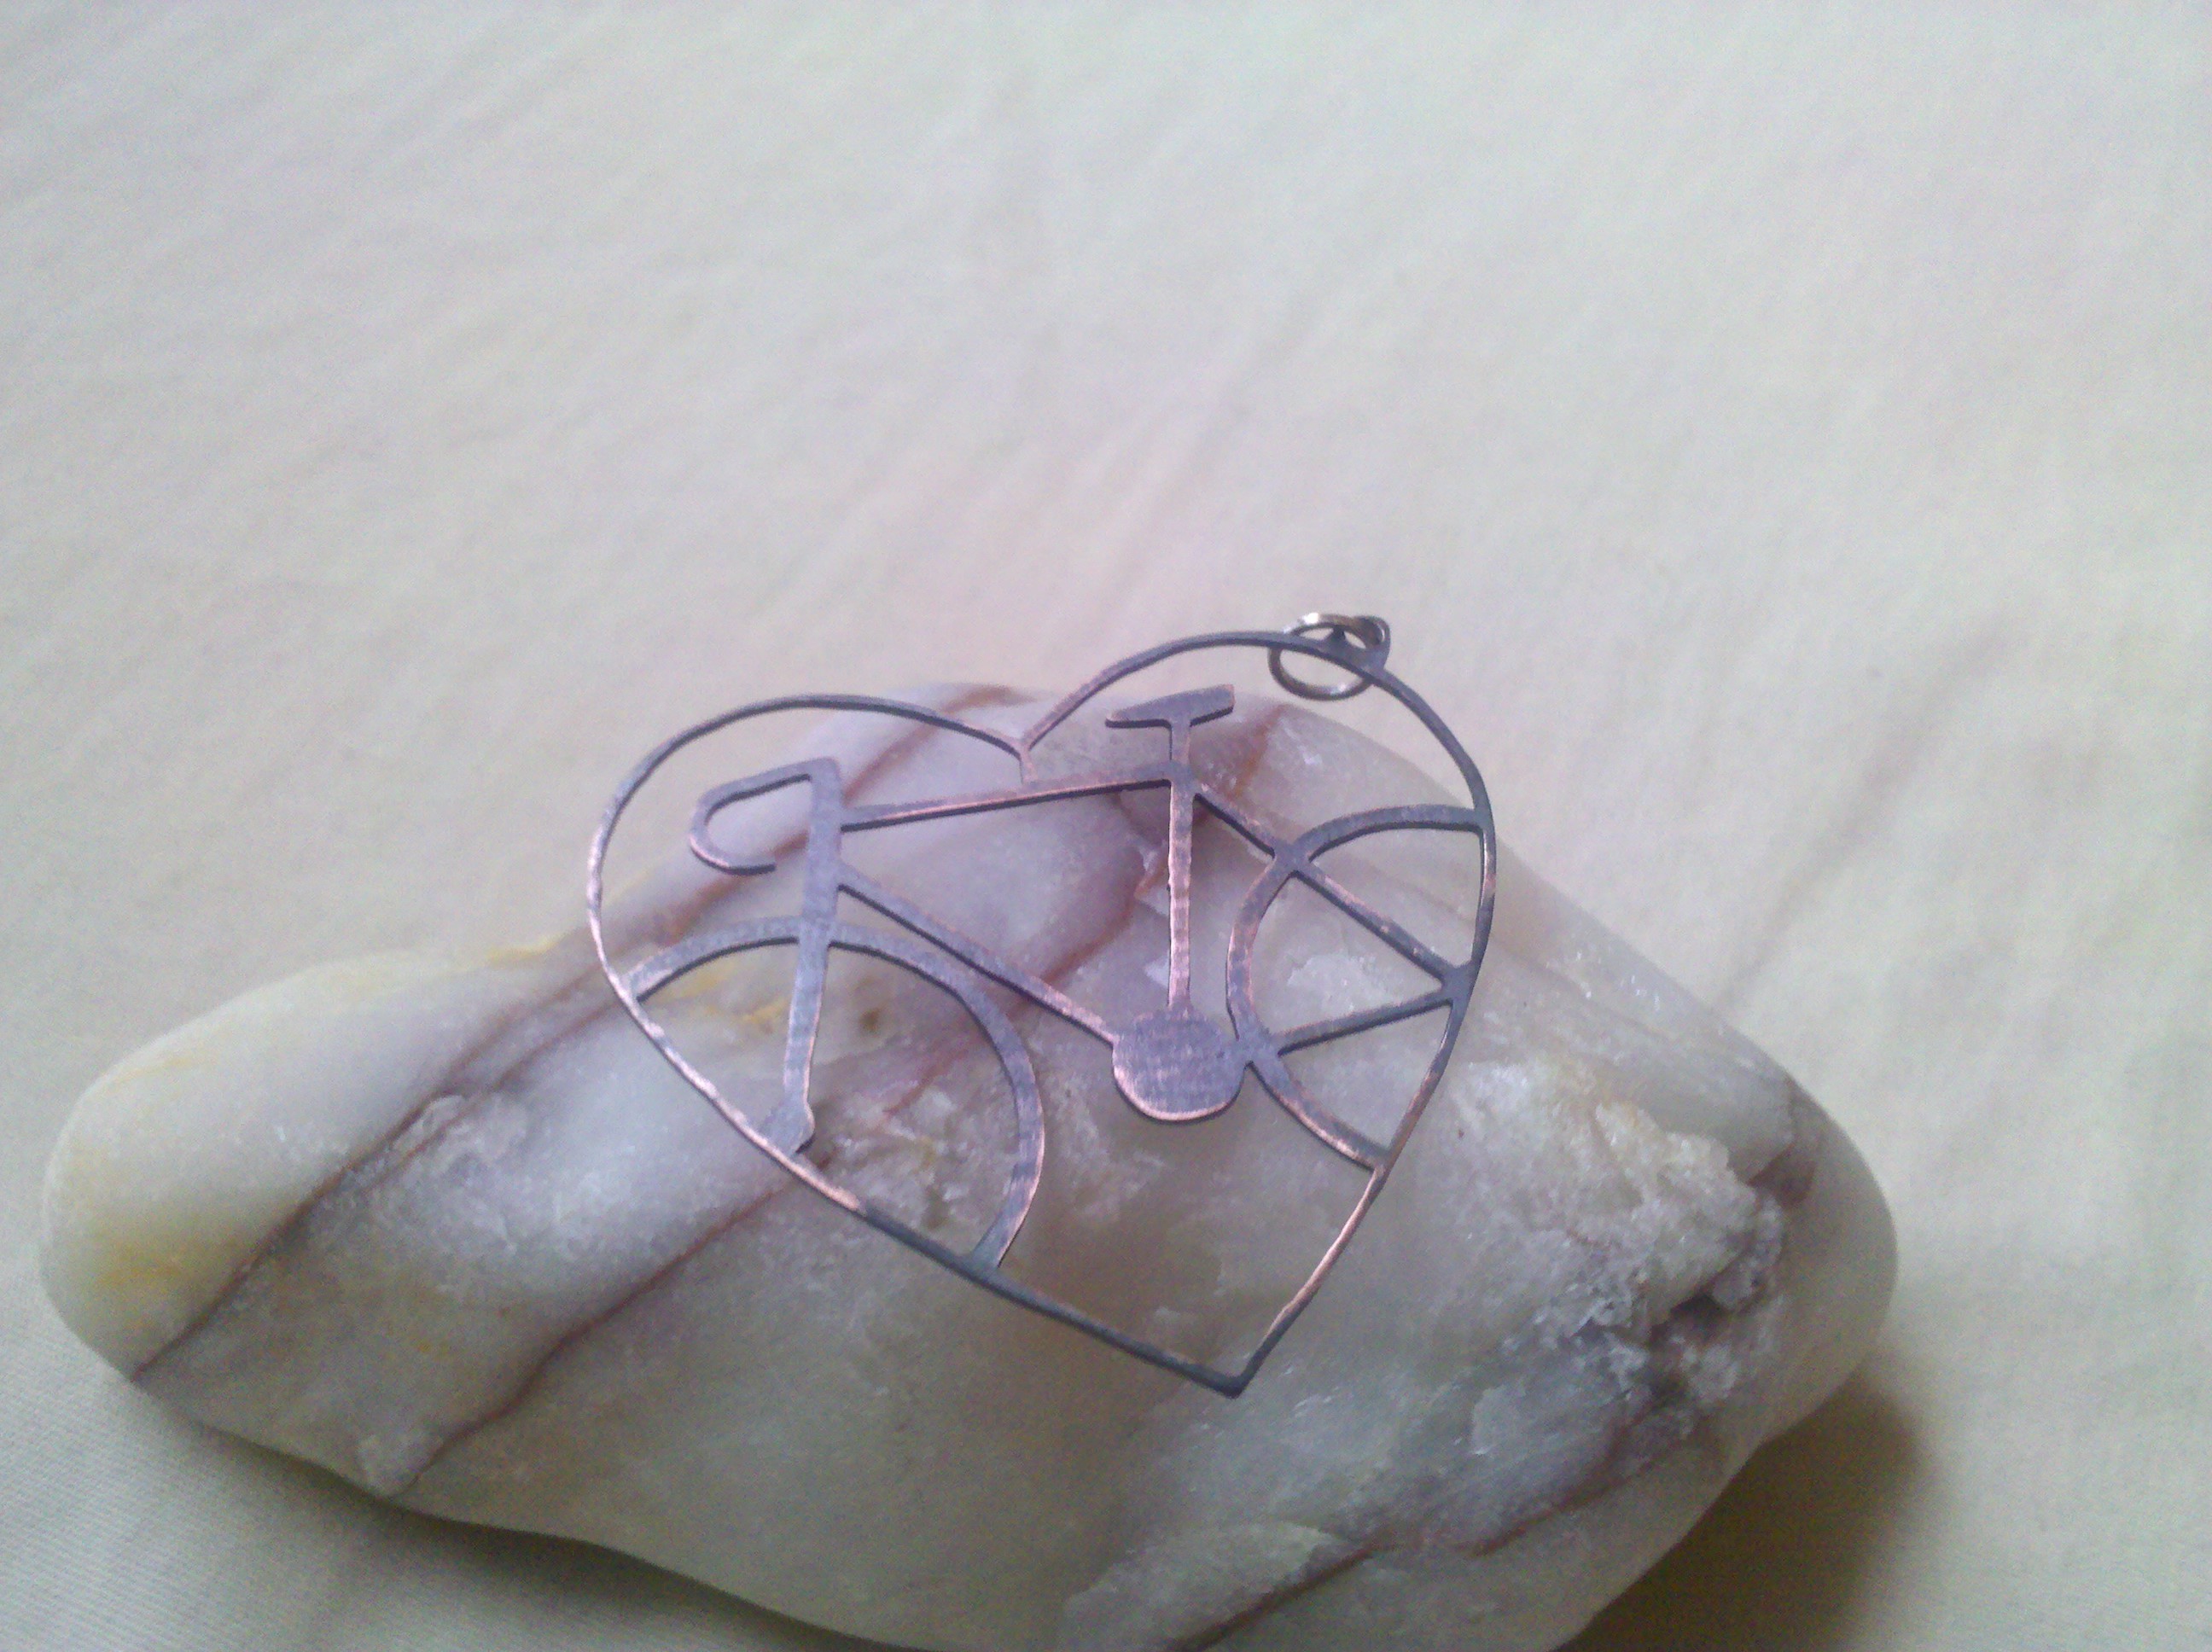
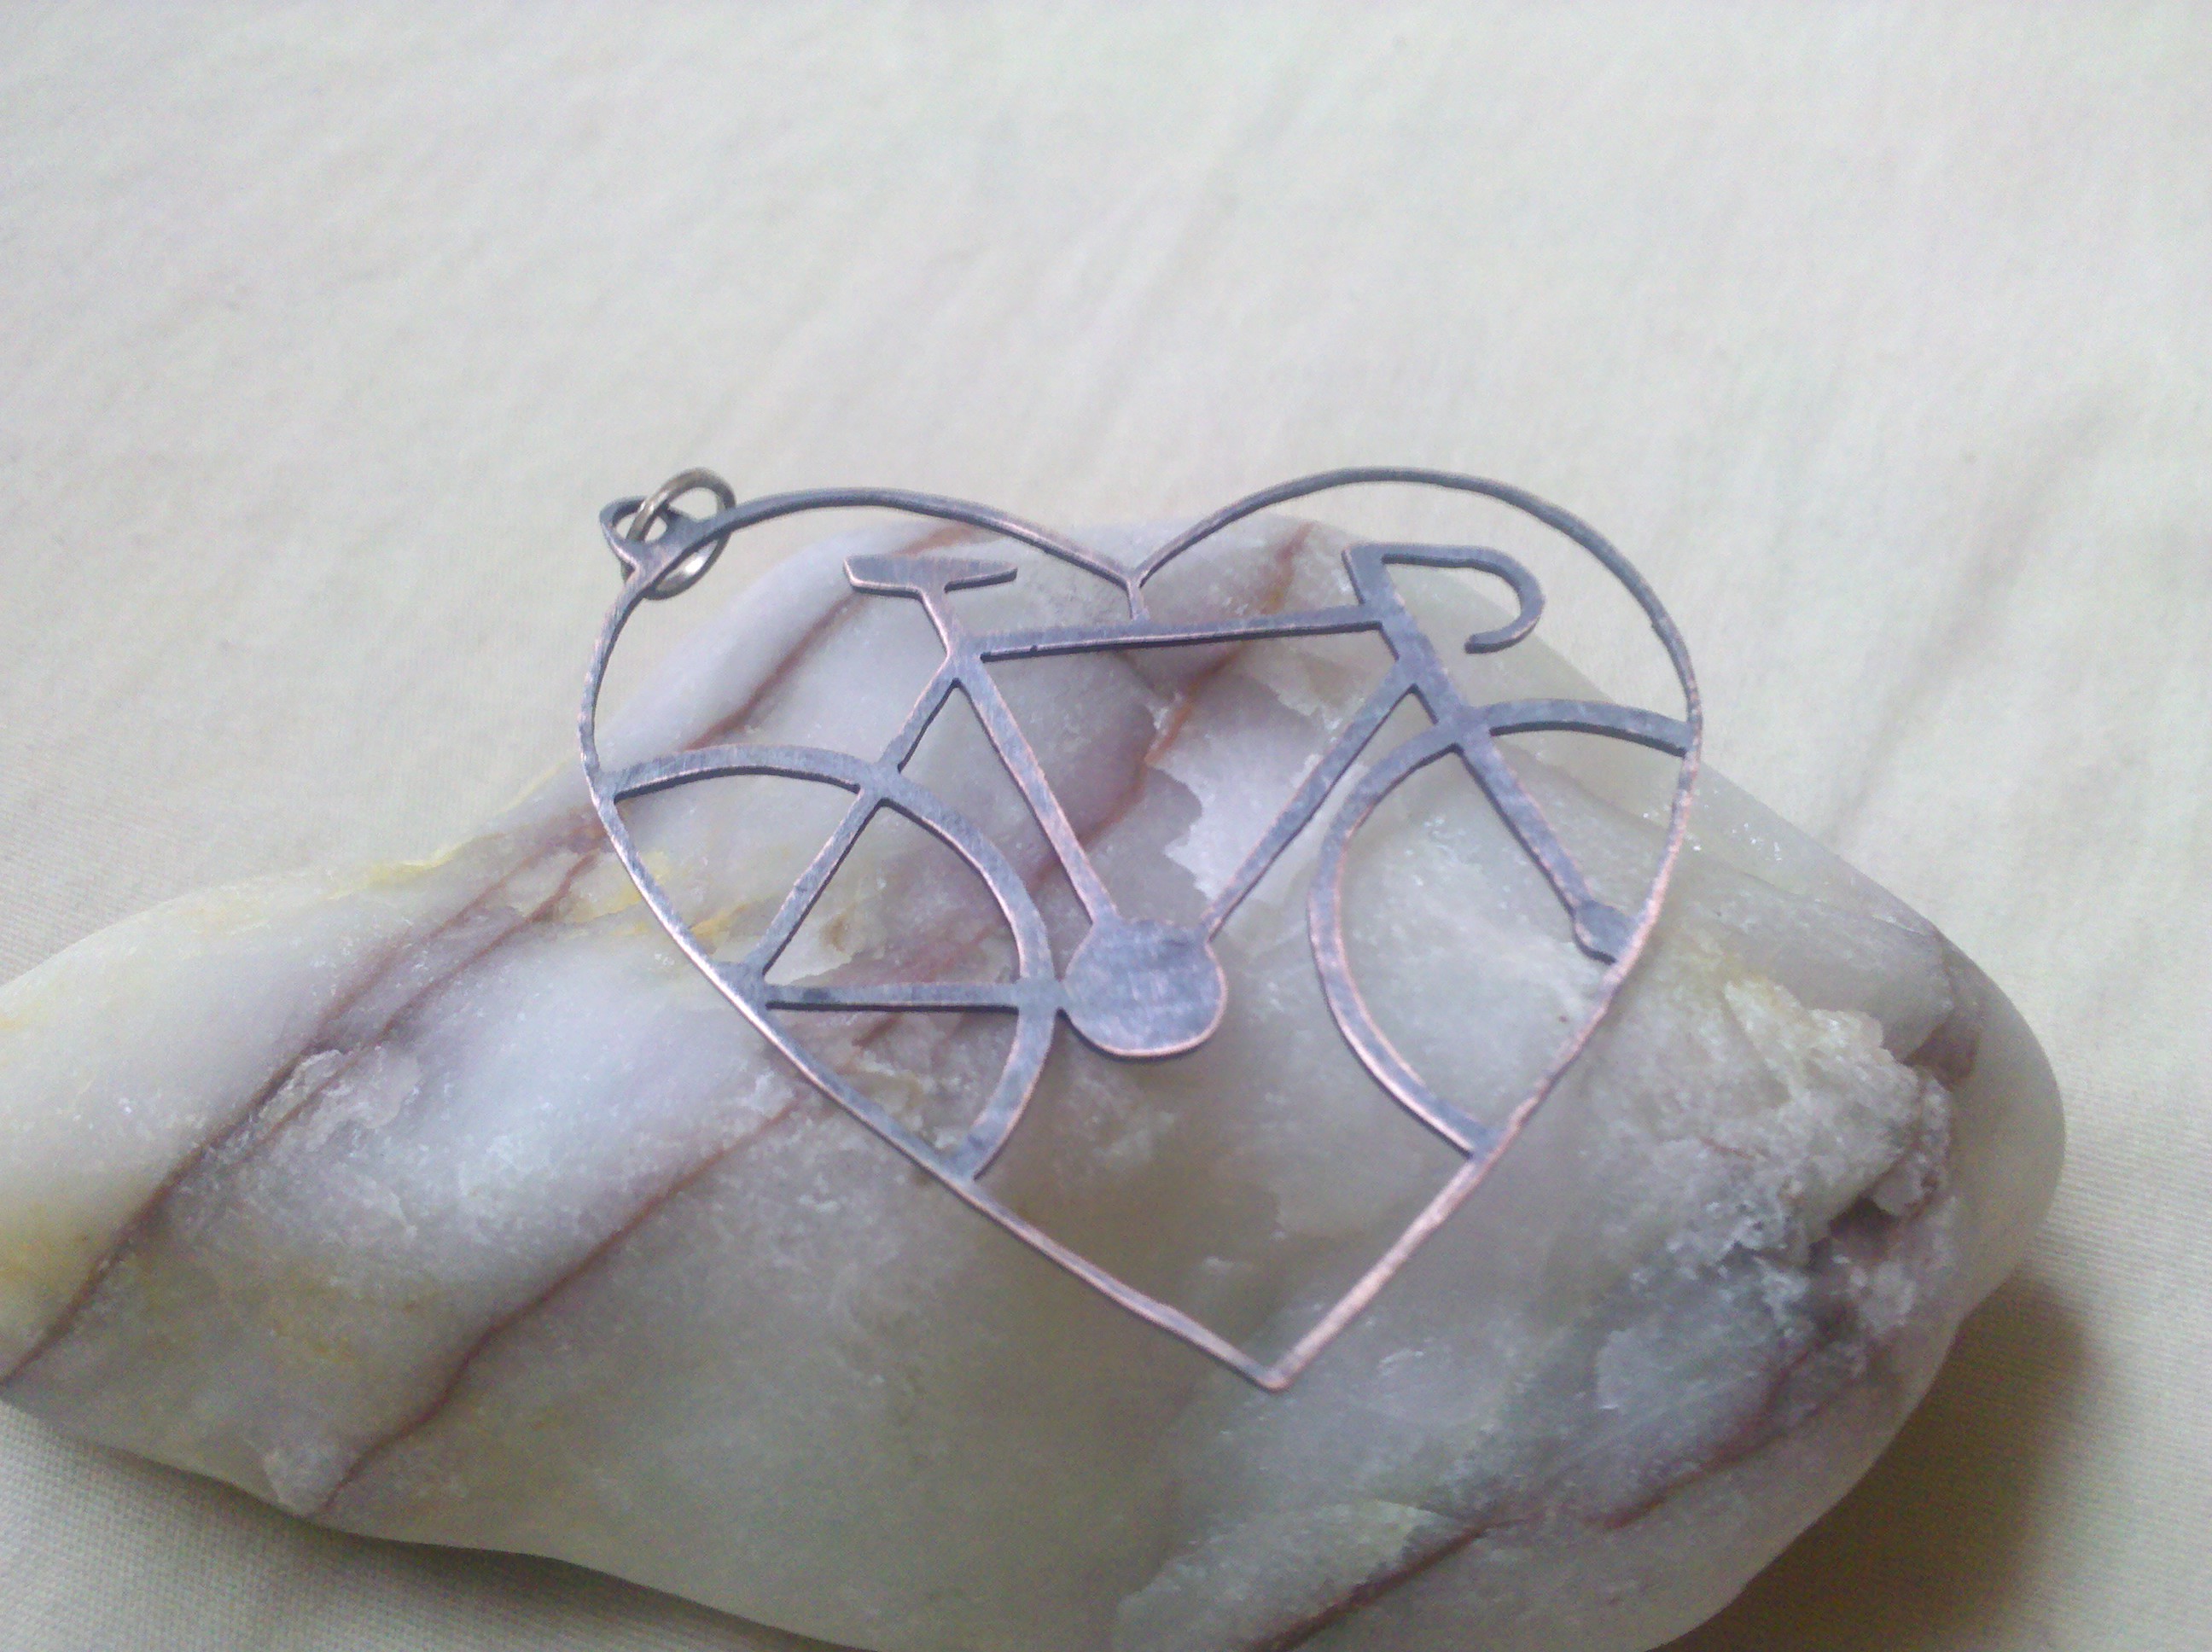
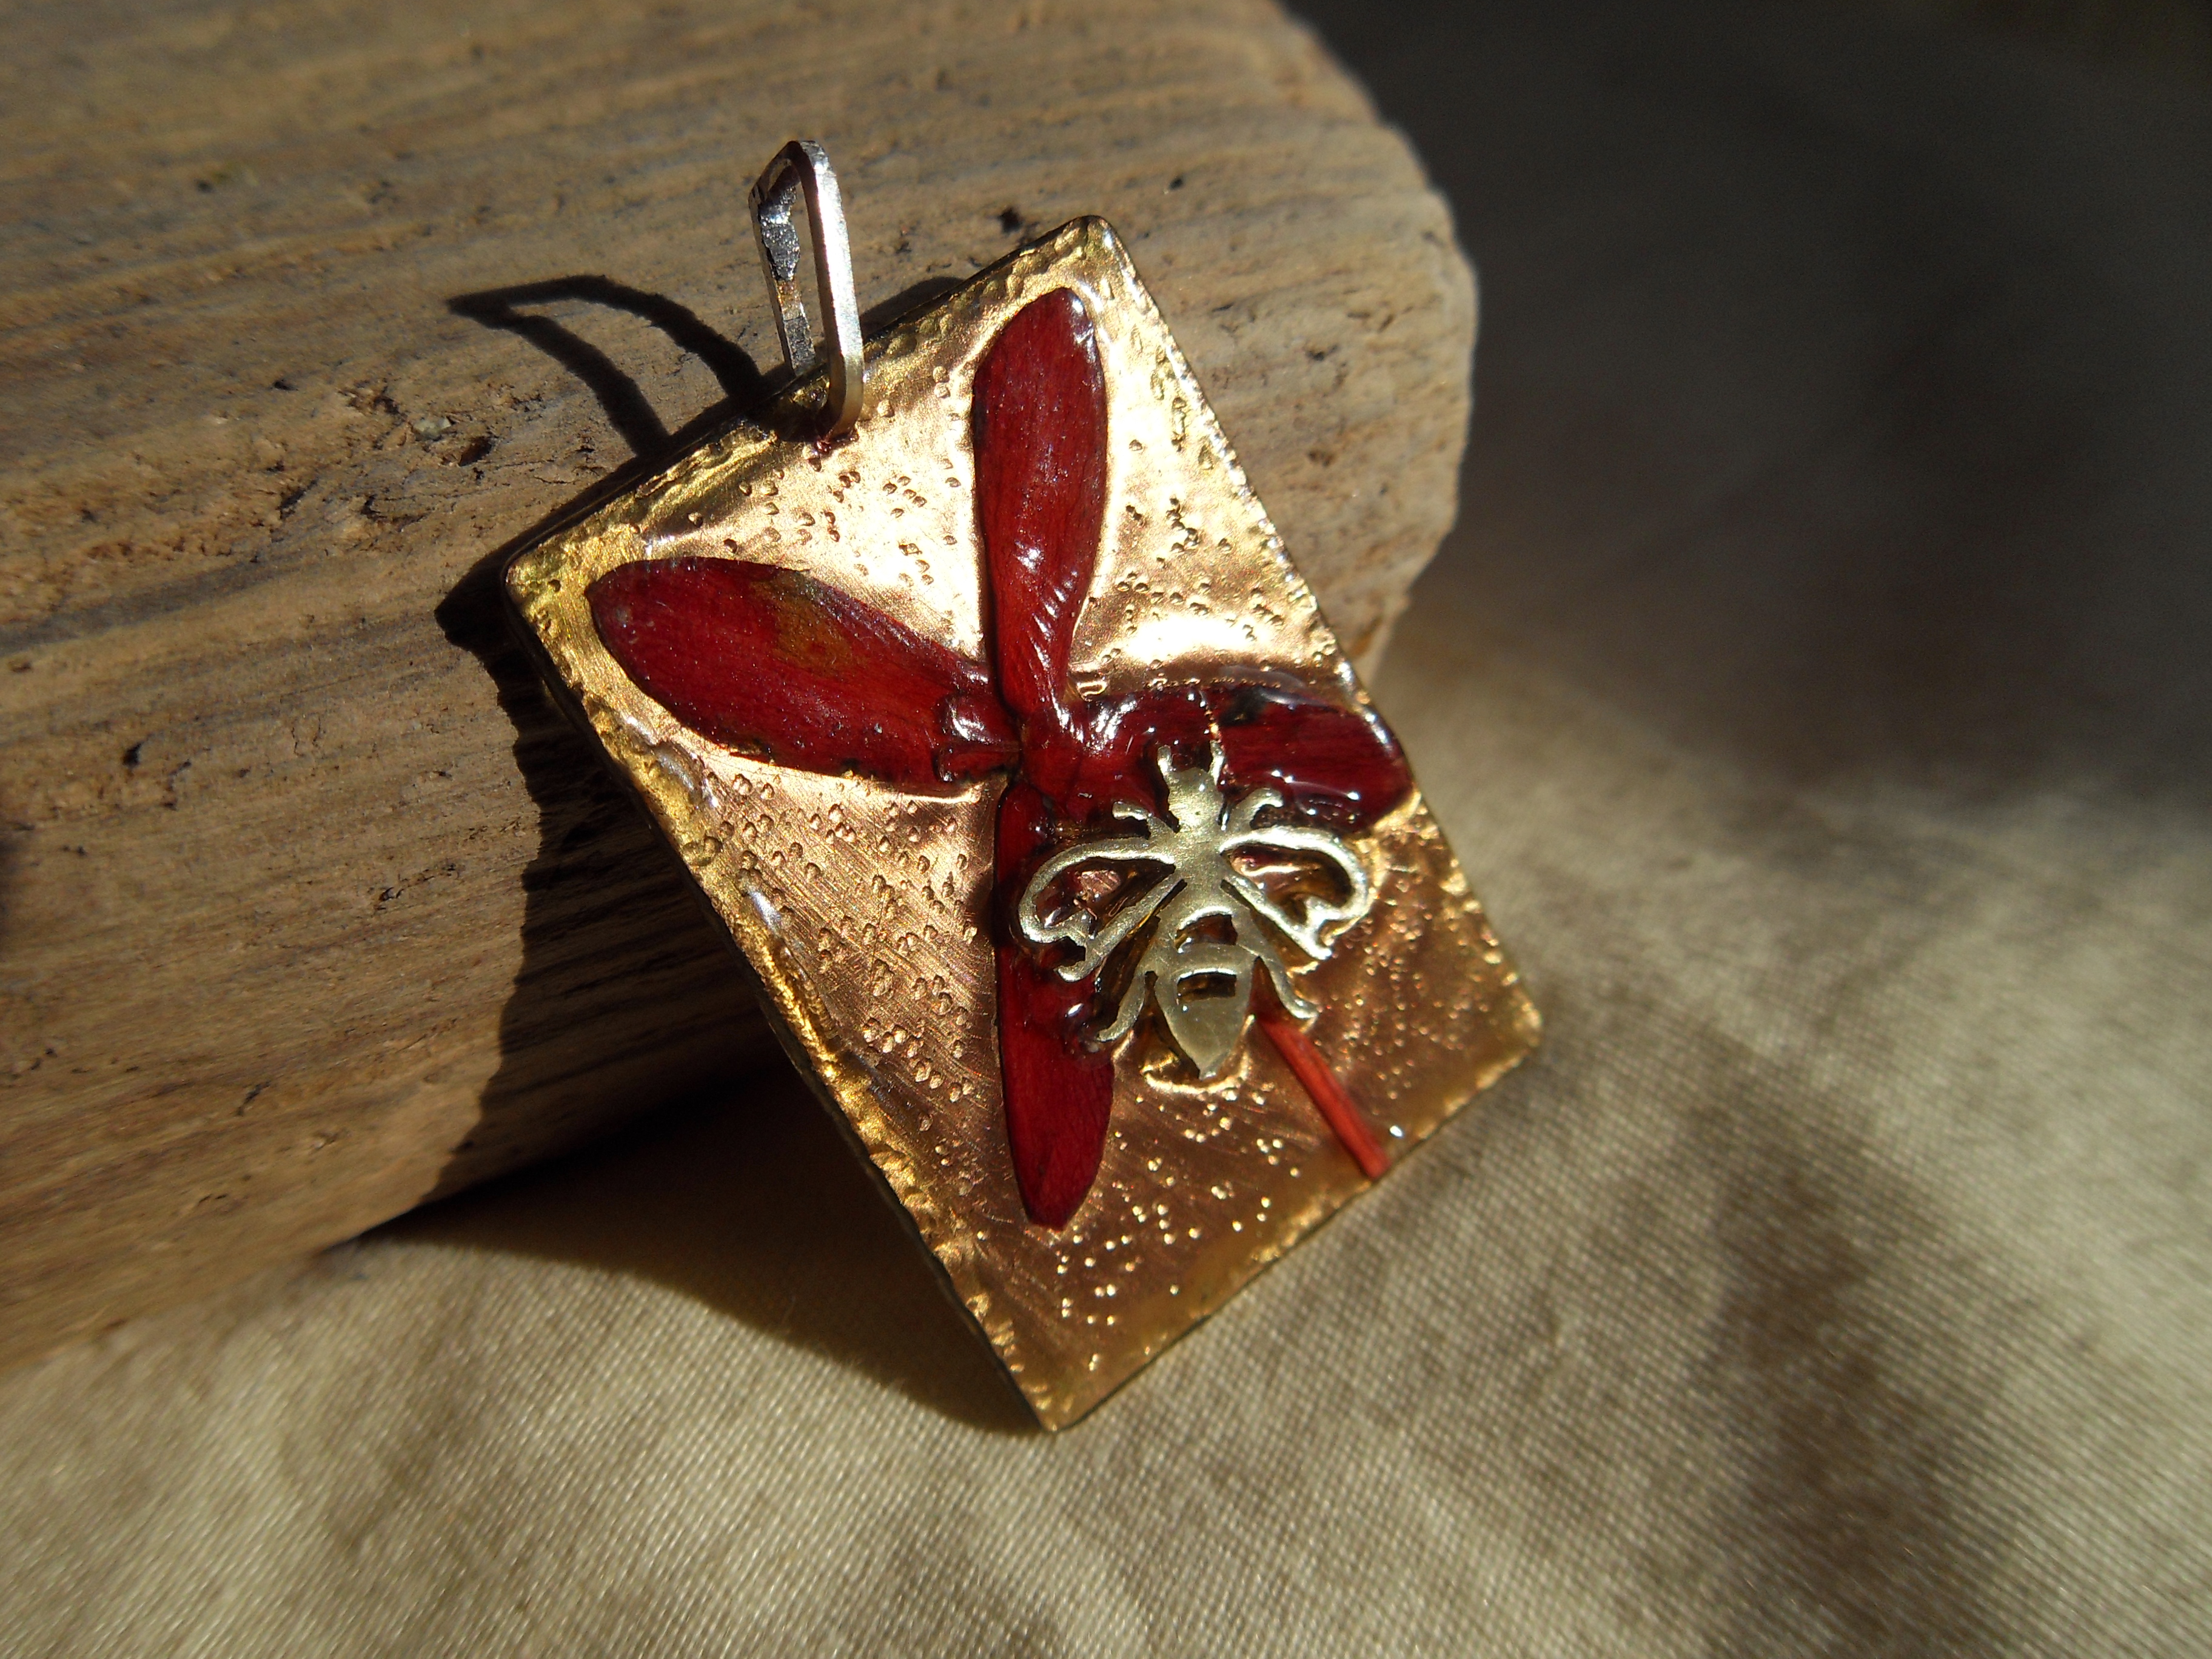
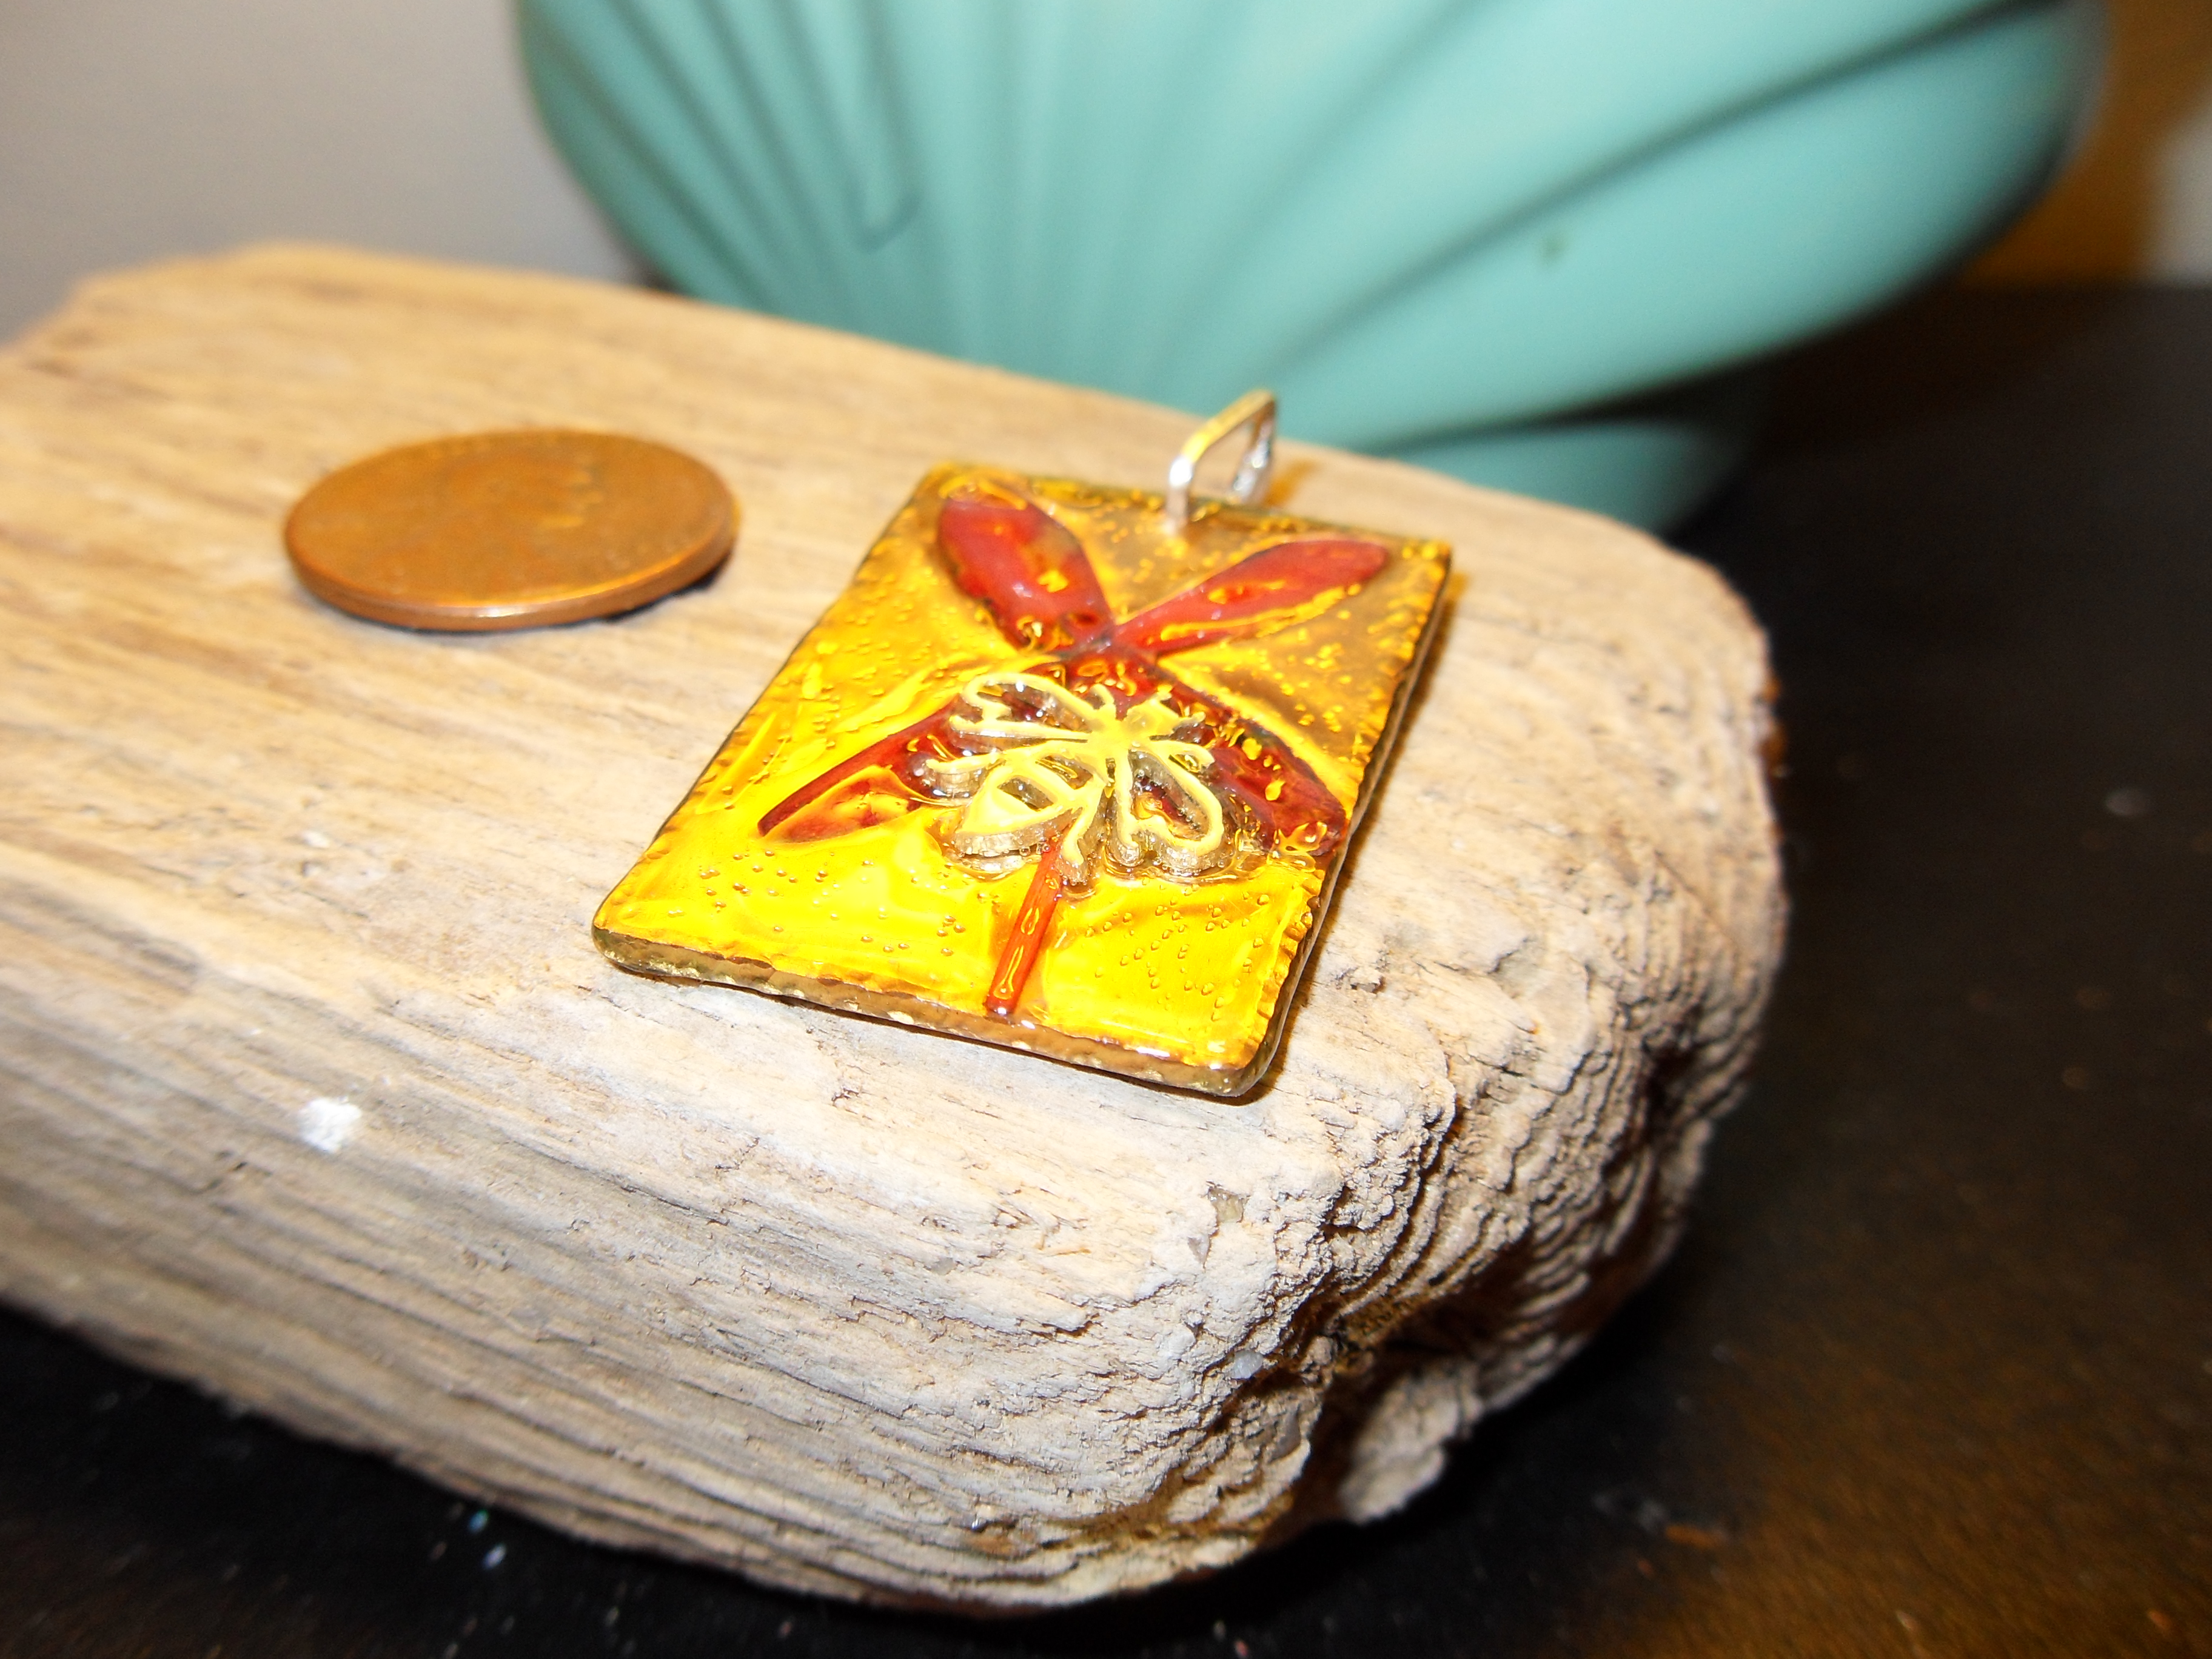
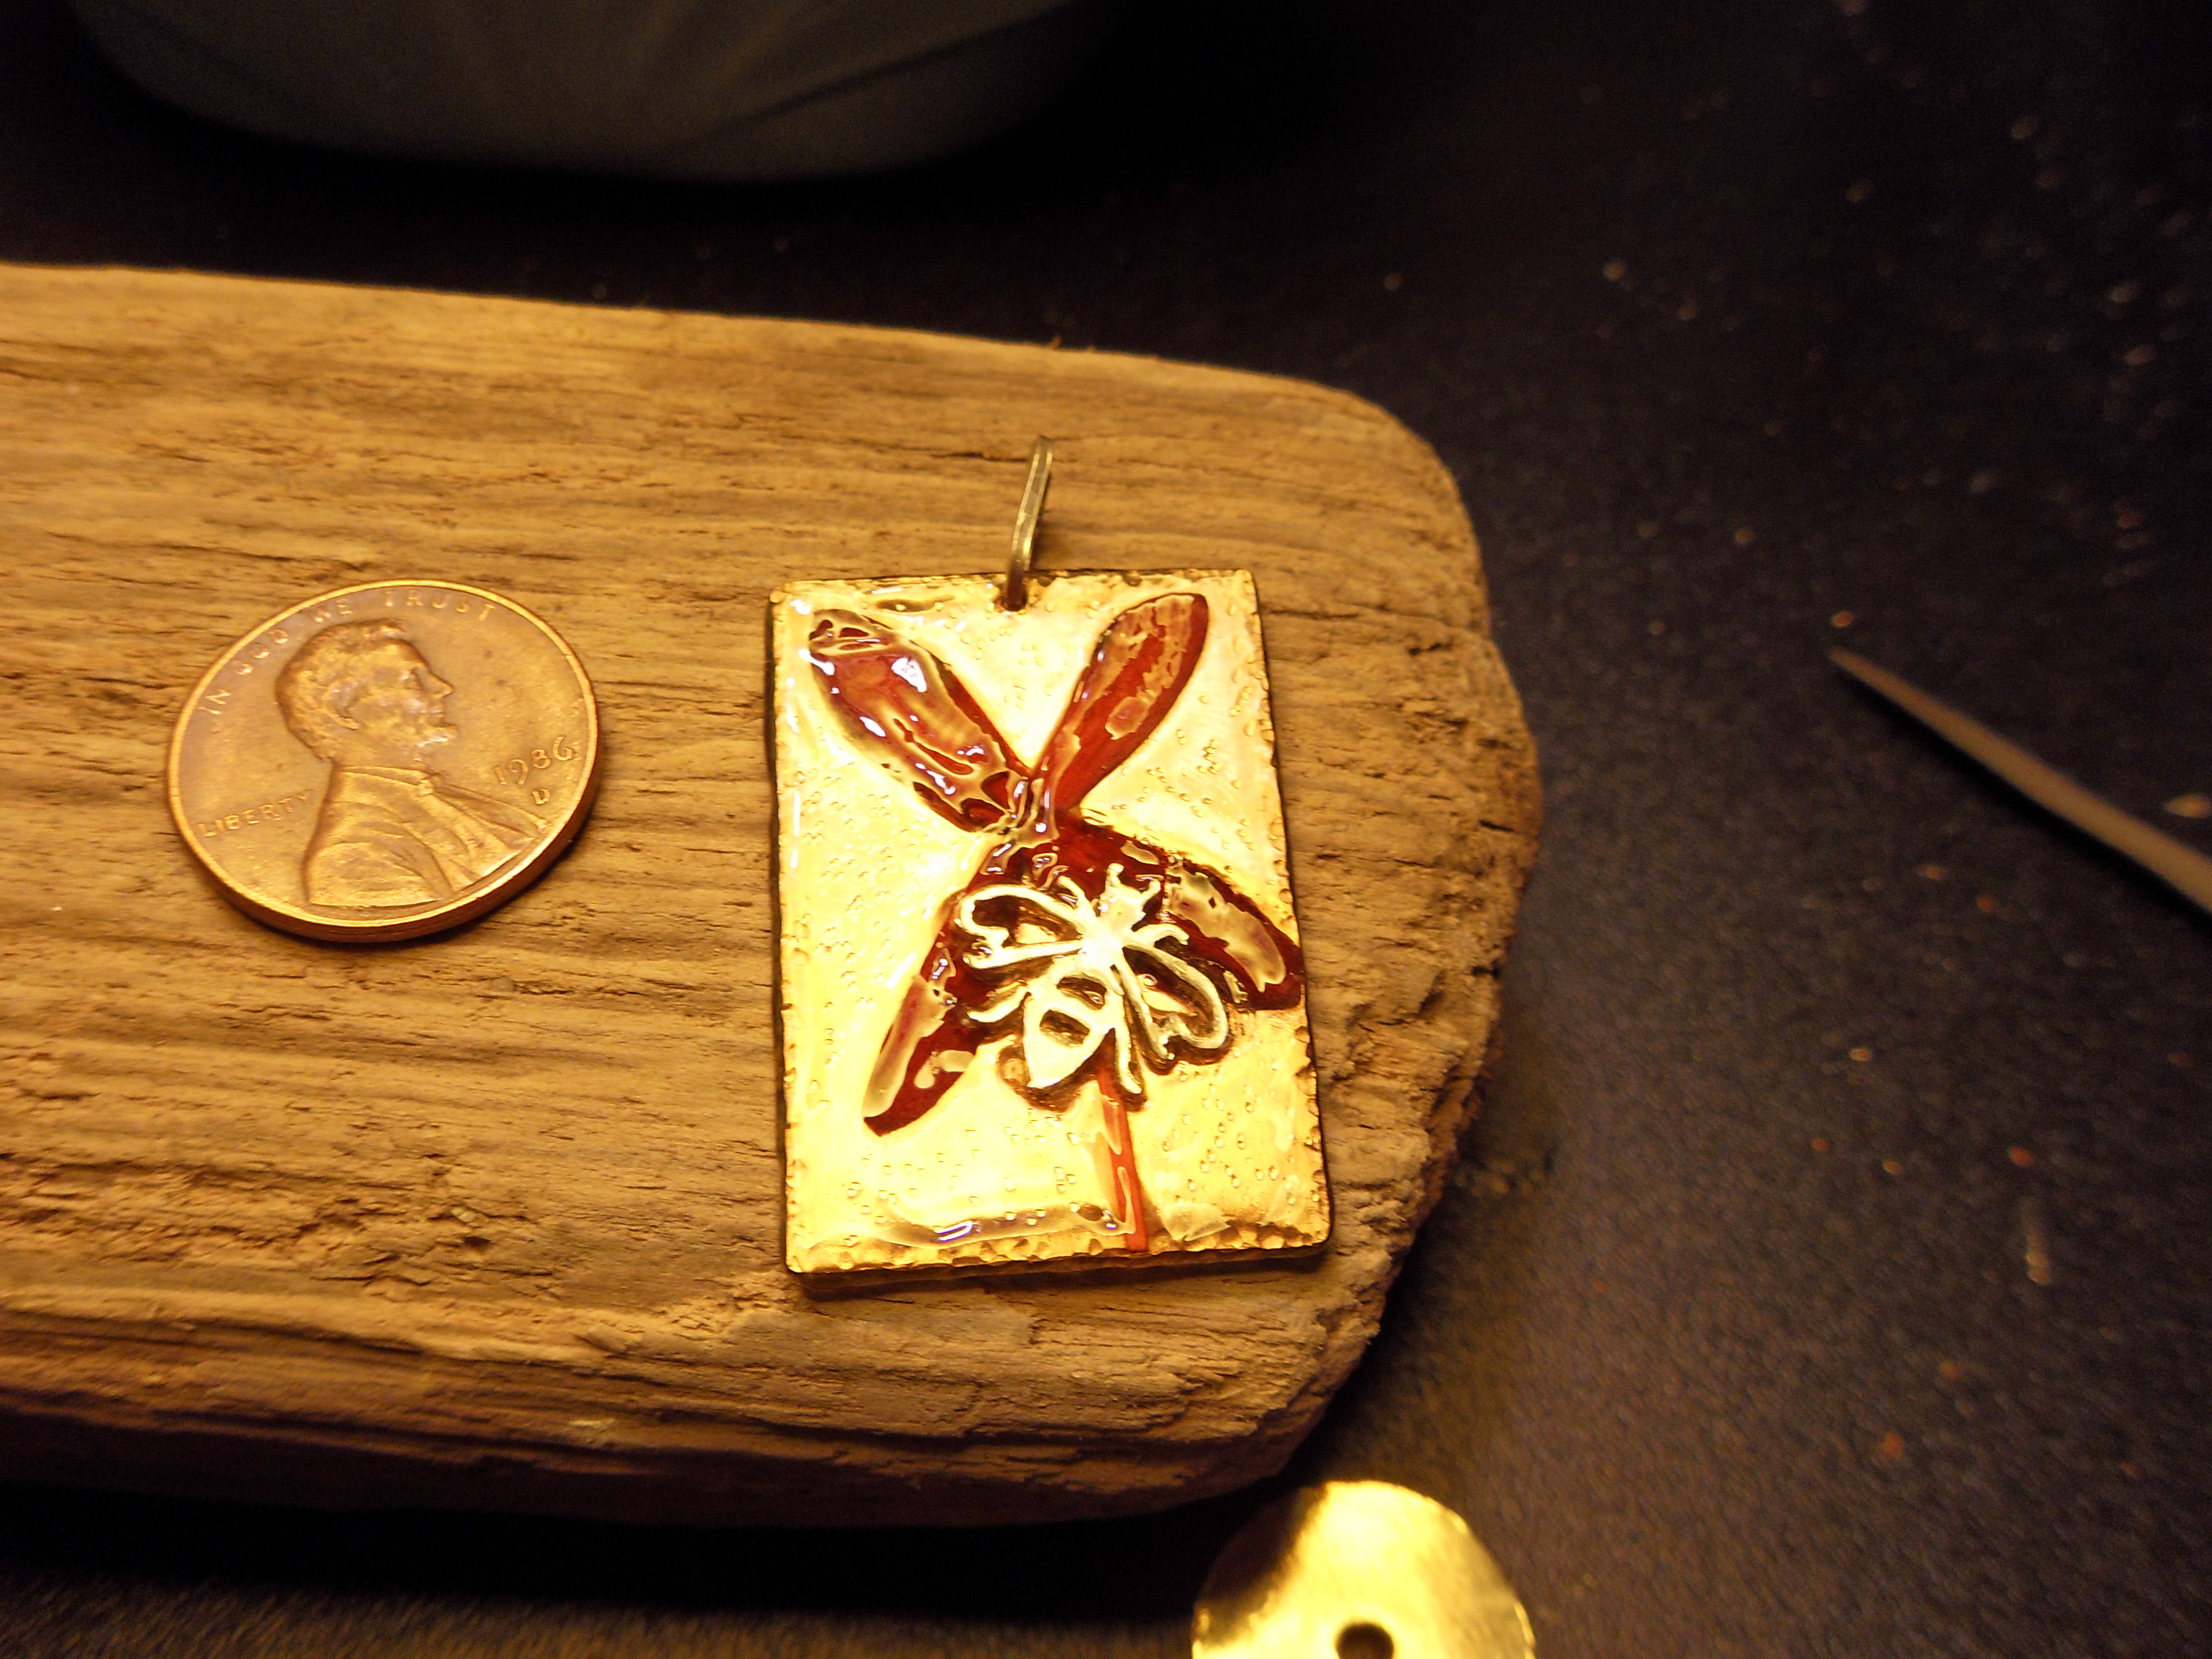
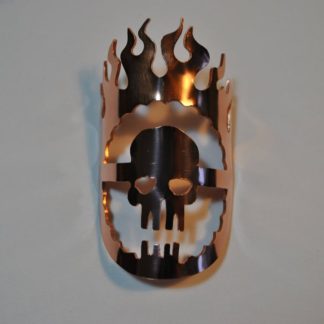
I have occasionally in my goofing around with torch and flux turned a piece of copper bright red. I had no idea how I had accomplished it, and chocked it up to a fluke of chemistry.  The color however was gorgeous, and I was sad I couldn’t recreate it….that was until I stumbled upon the hidden knowledge of the Borax Red Patina.

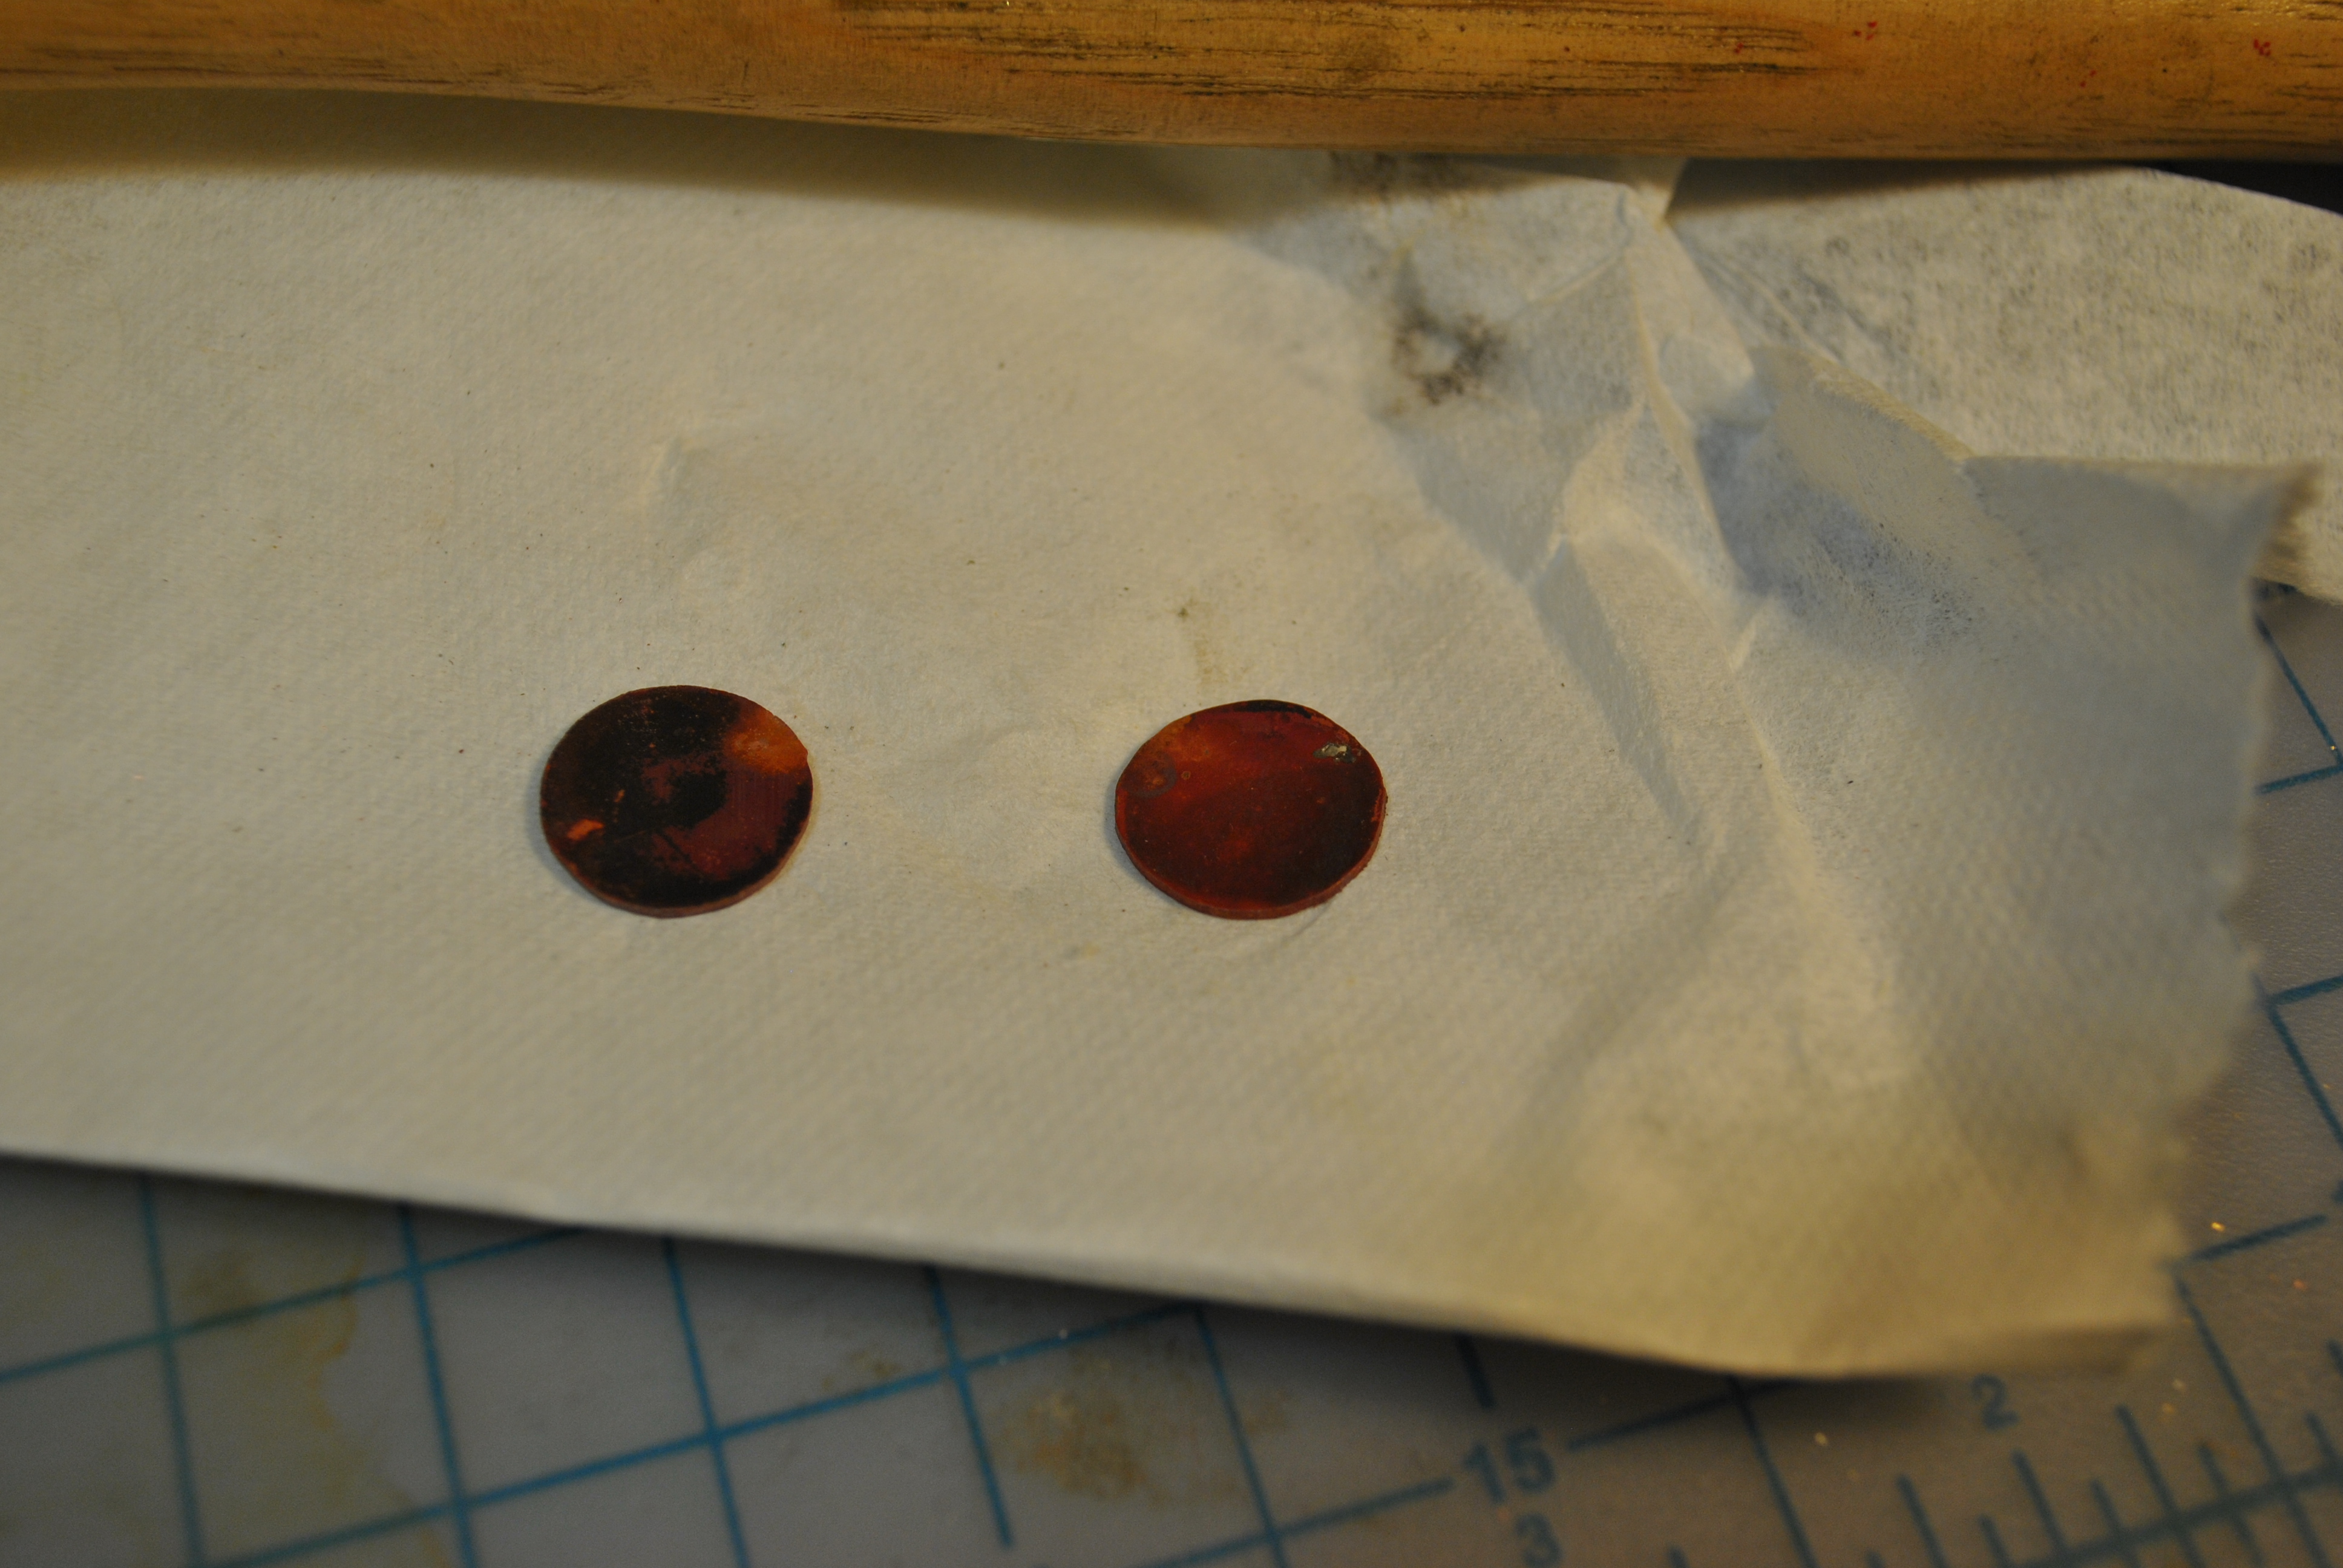
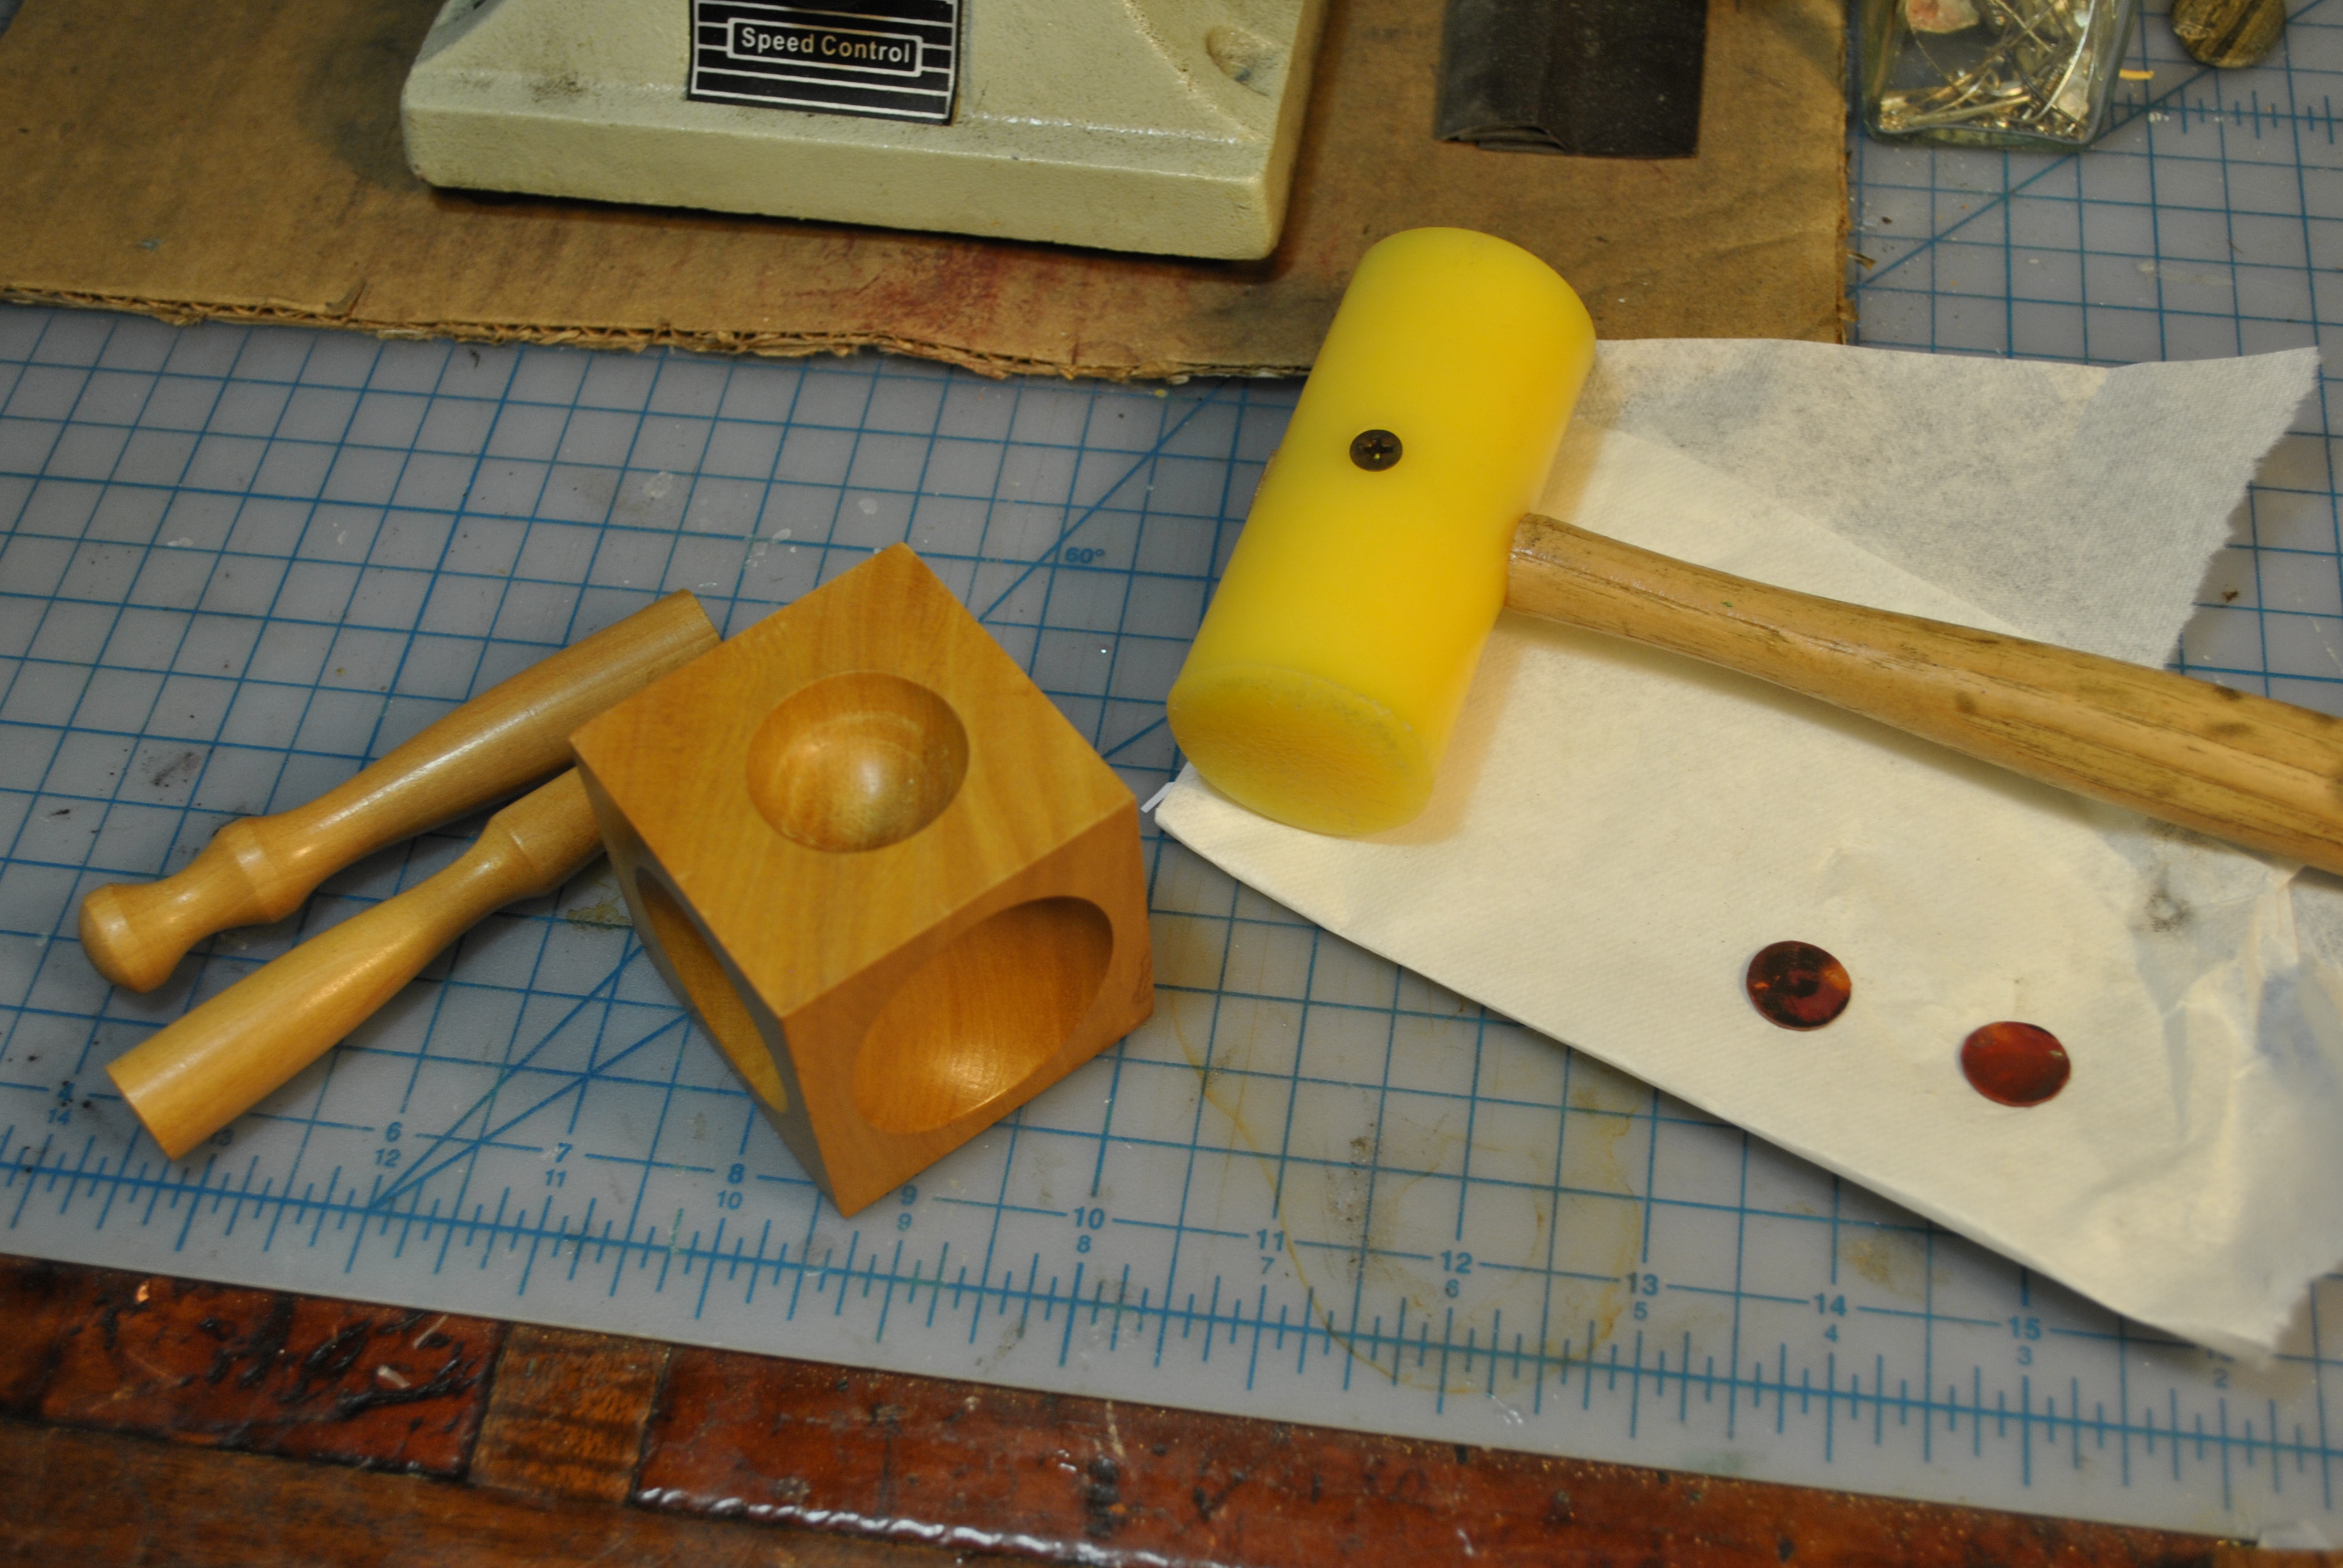
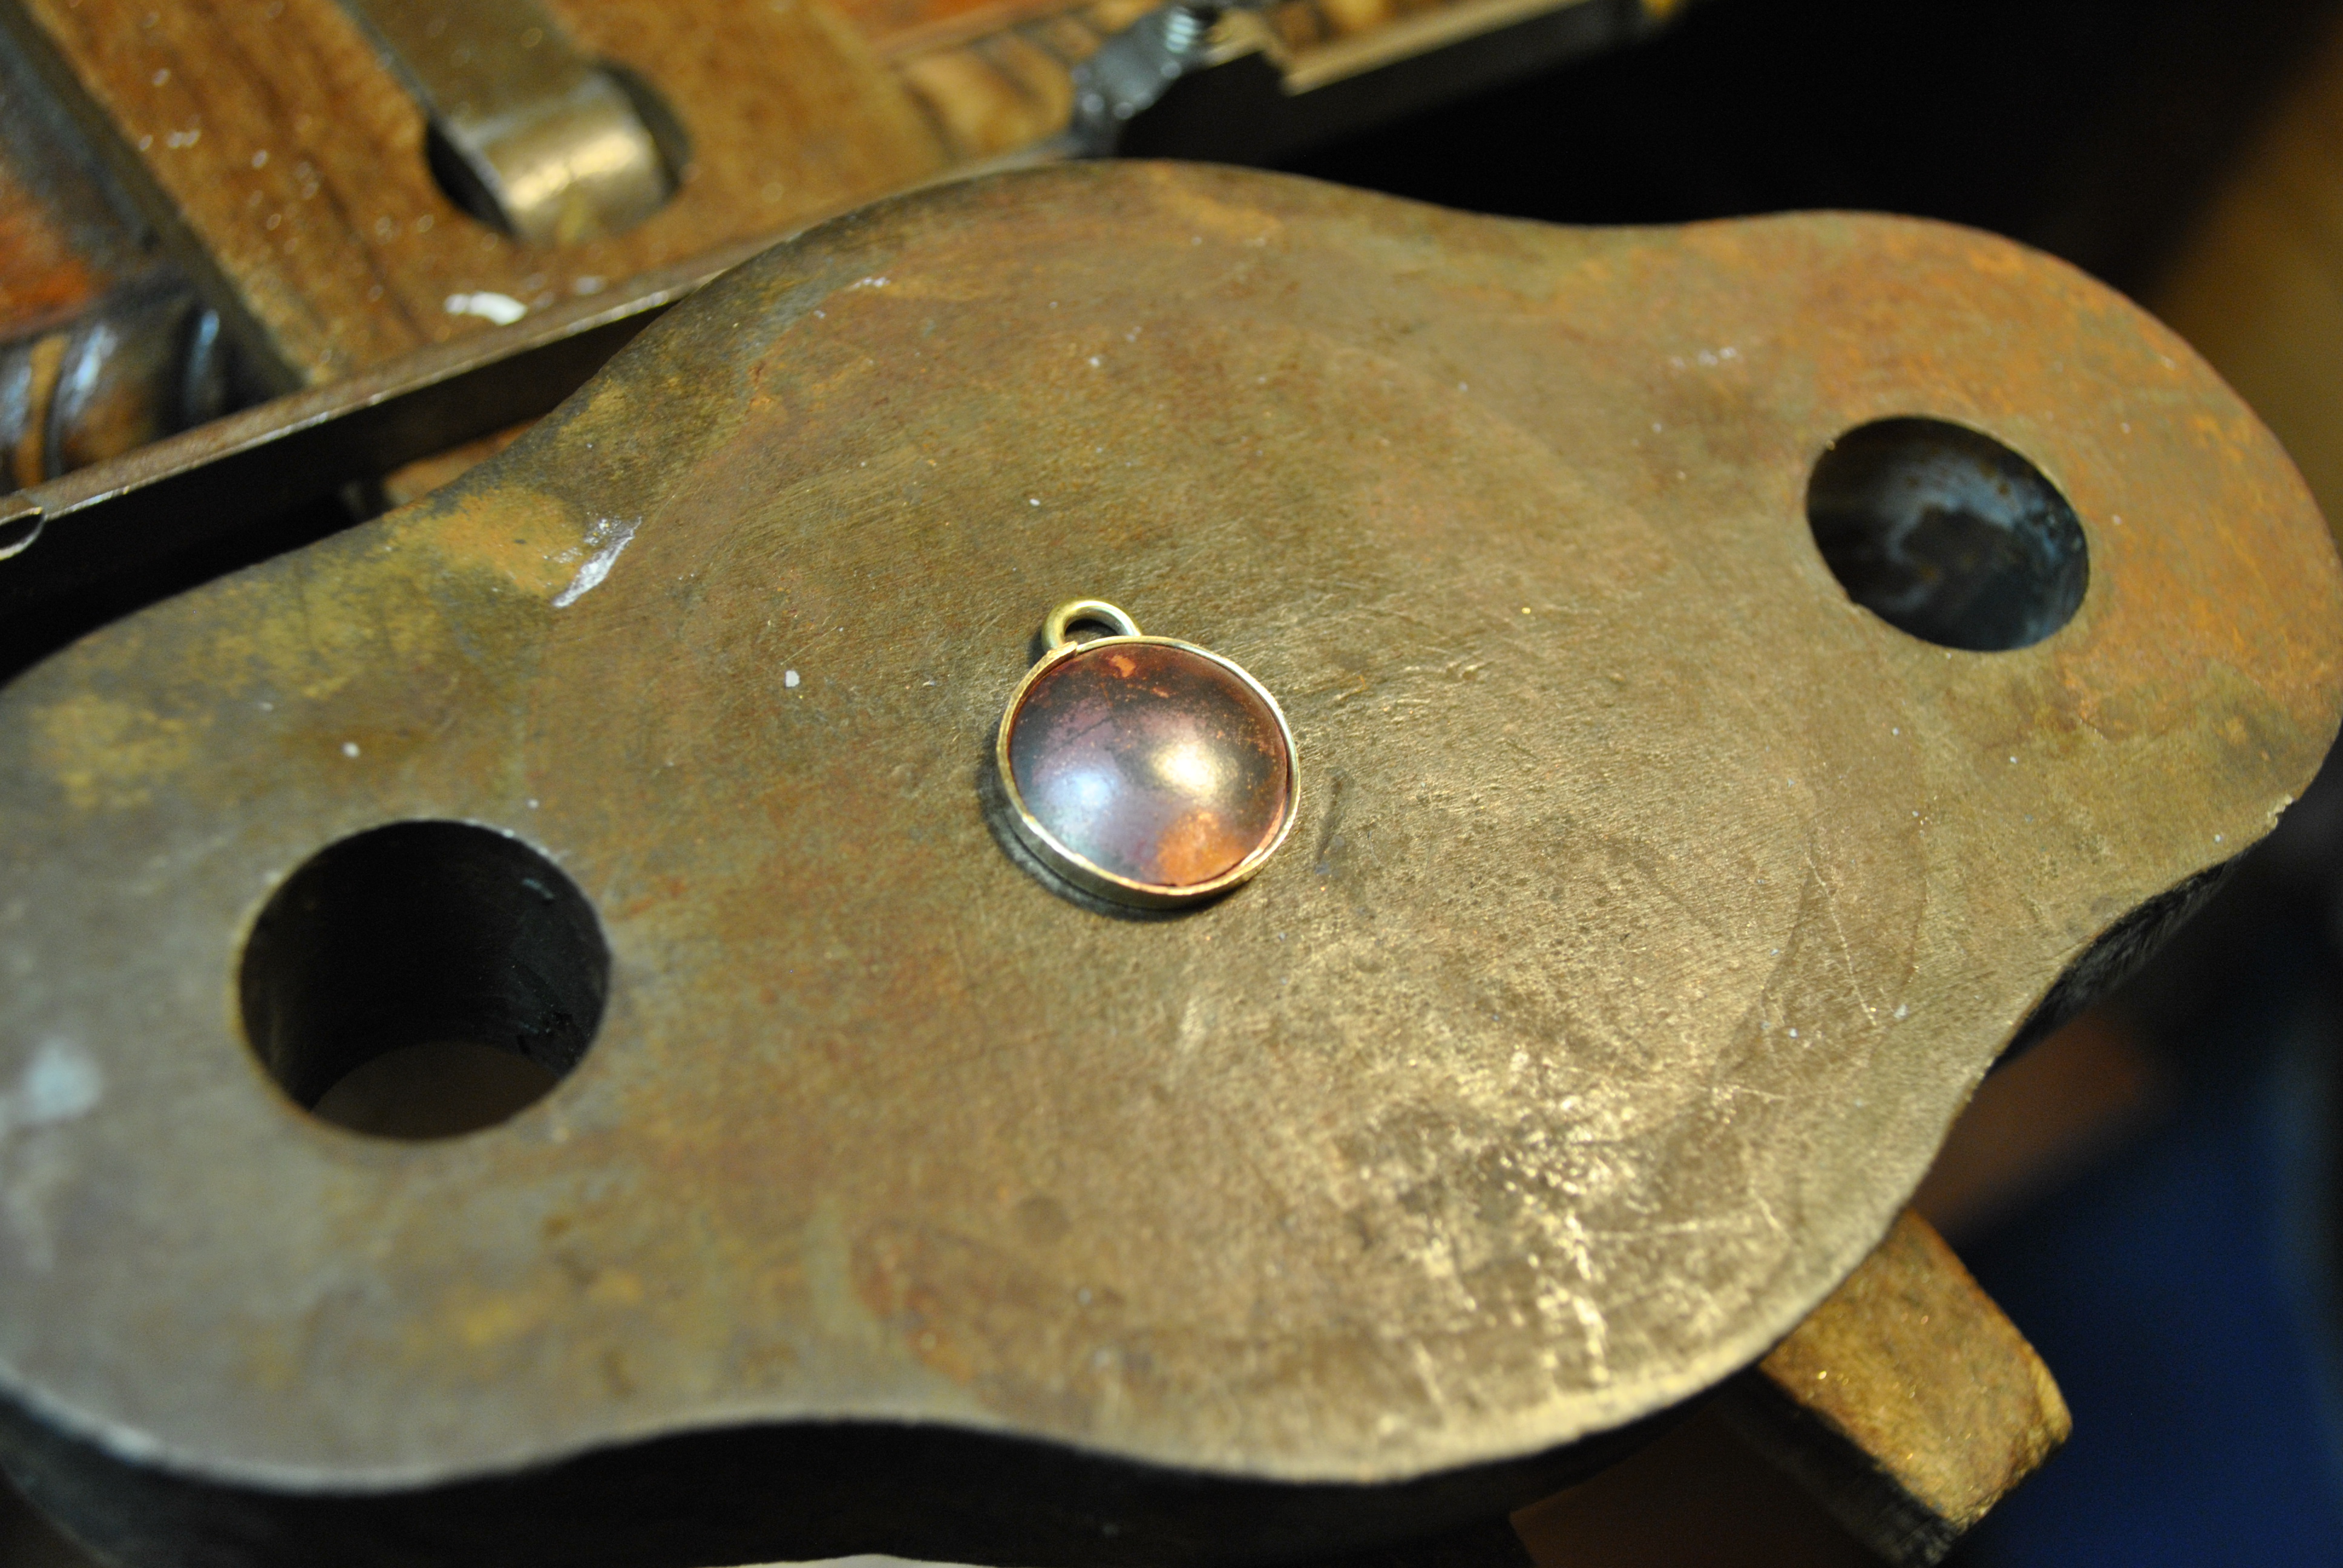
It’s super simple, you just take some water, dissolve as much Borax (20 mule team Borax from the store works just fine), heat your copper up till its bright red, and dunk it in the water.  The finish is very rugged and wont wear off, but it is heat sensitive, so make sure you only do cold forming after the treatment, if you need to solder anything on its going to be a little tricky.


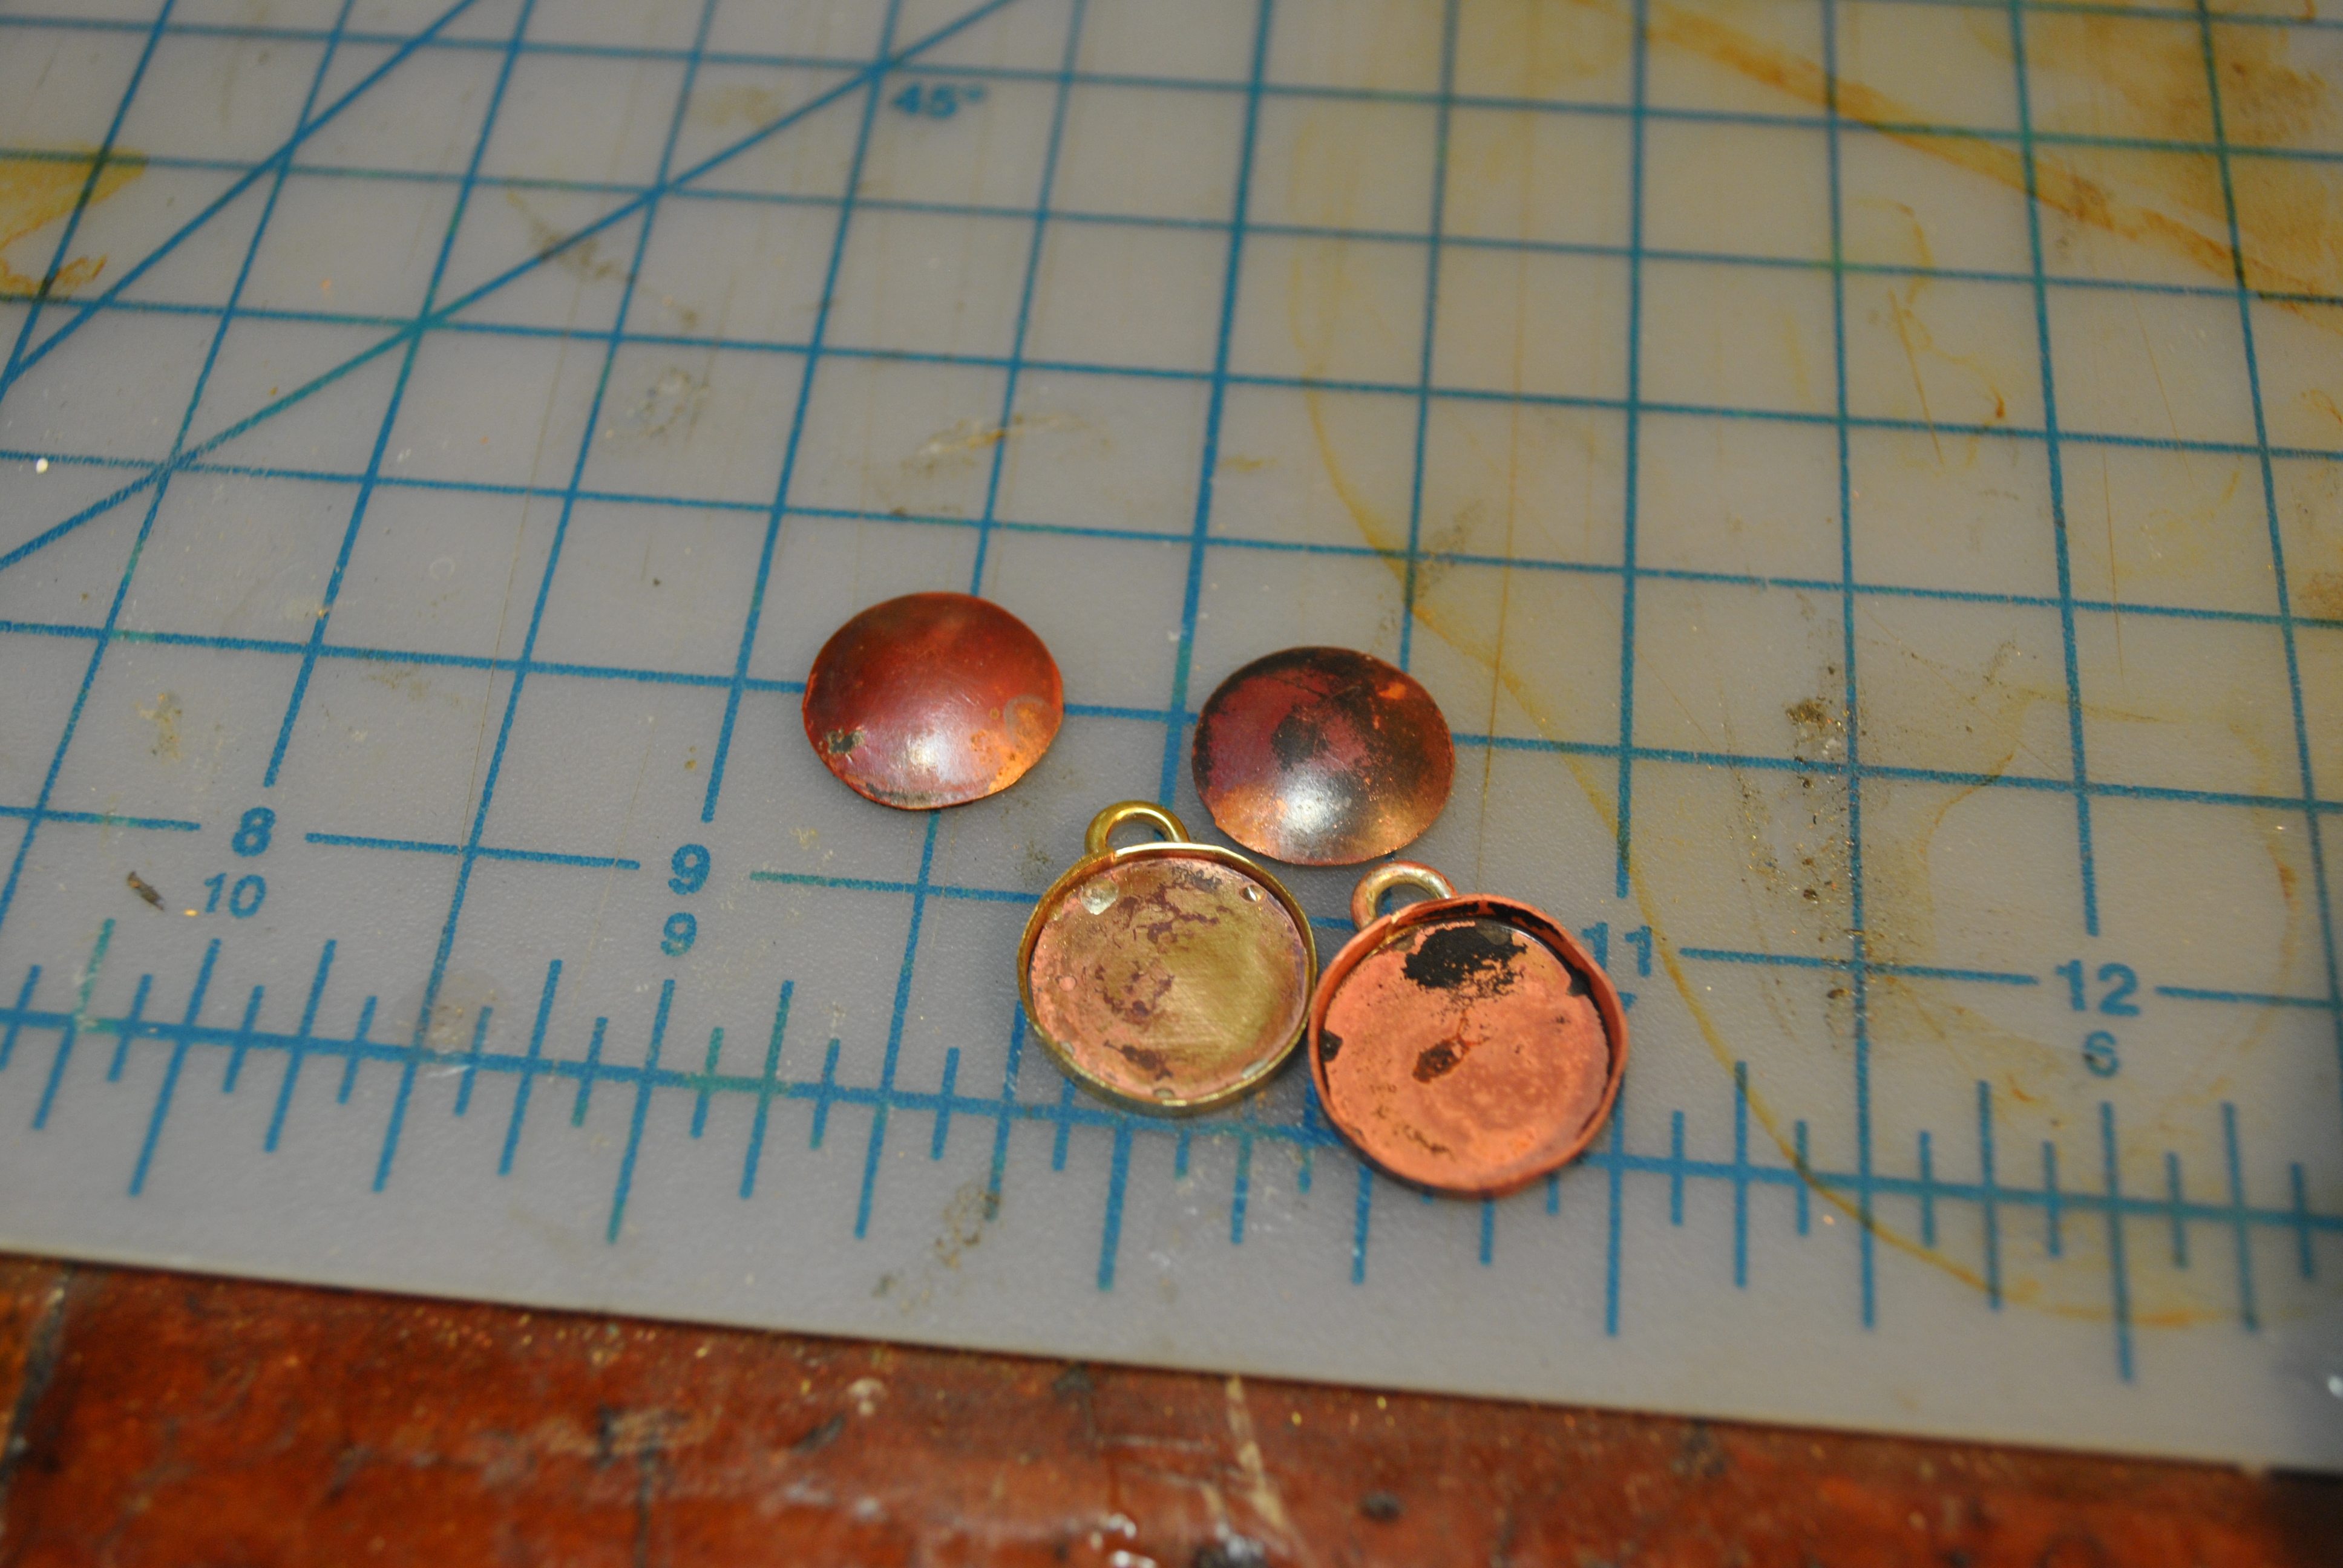
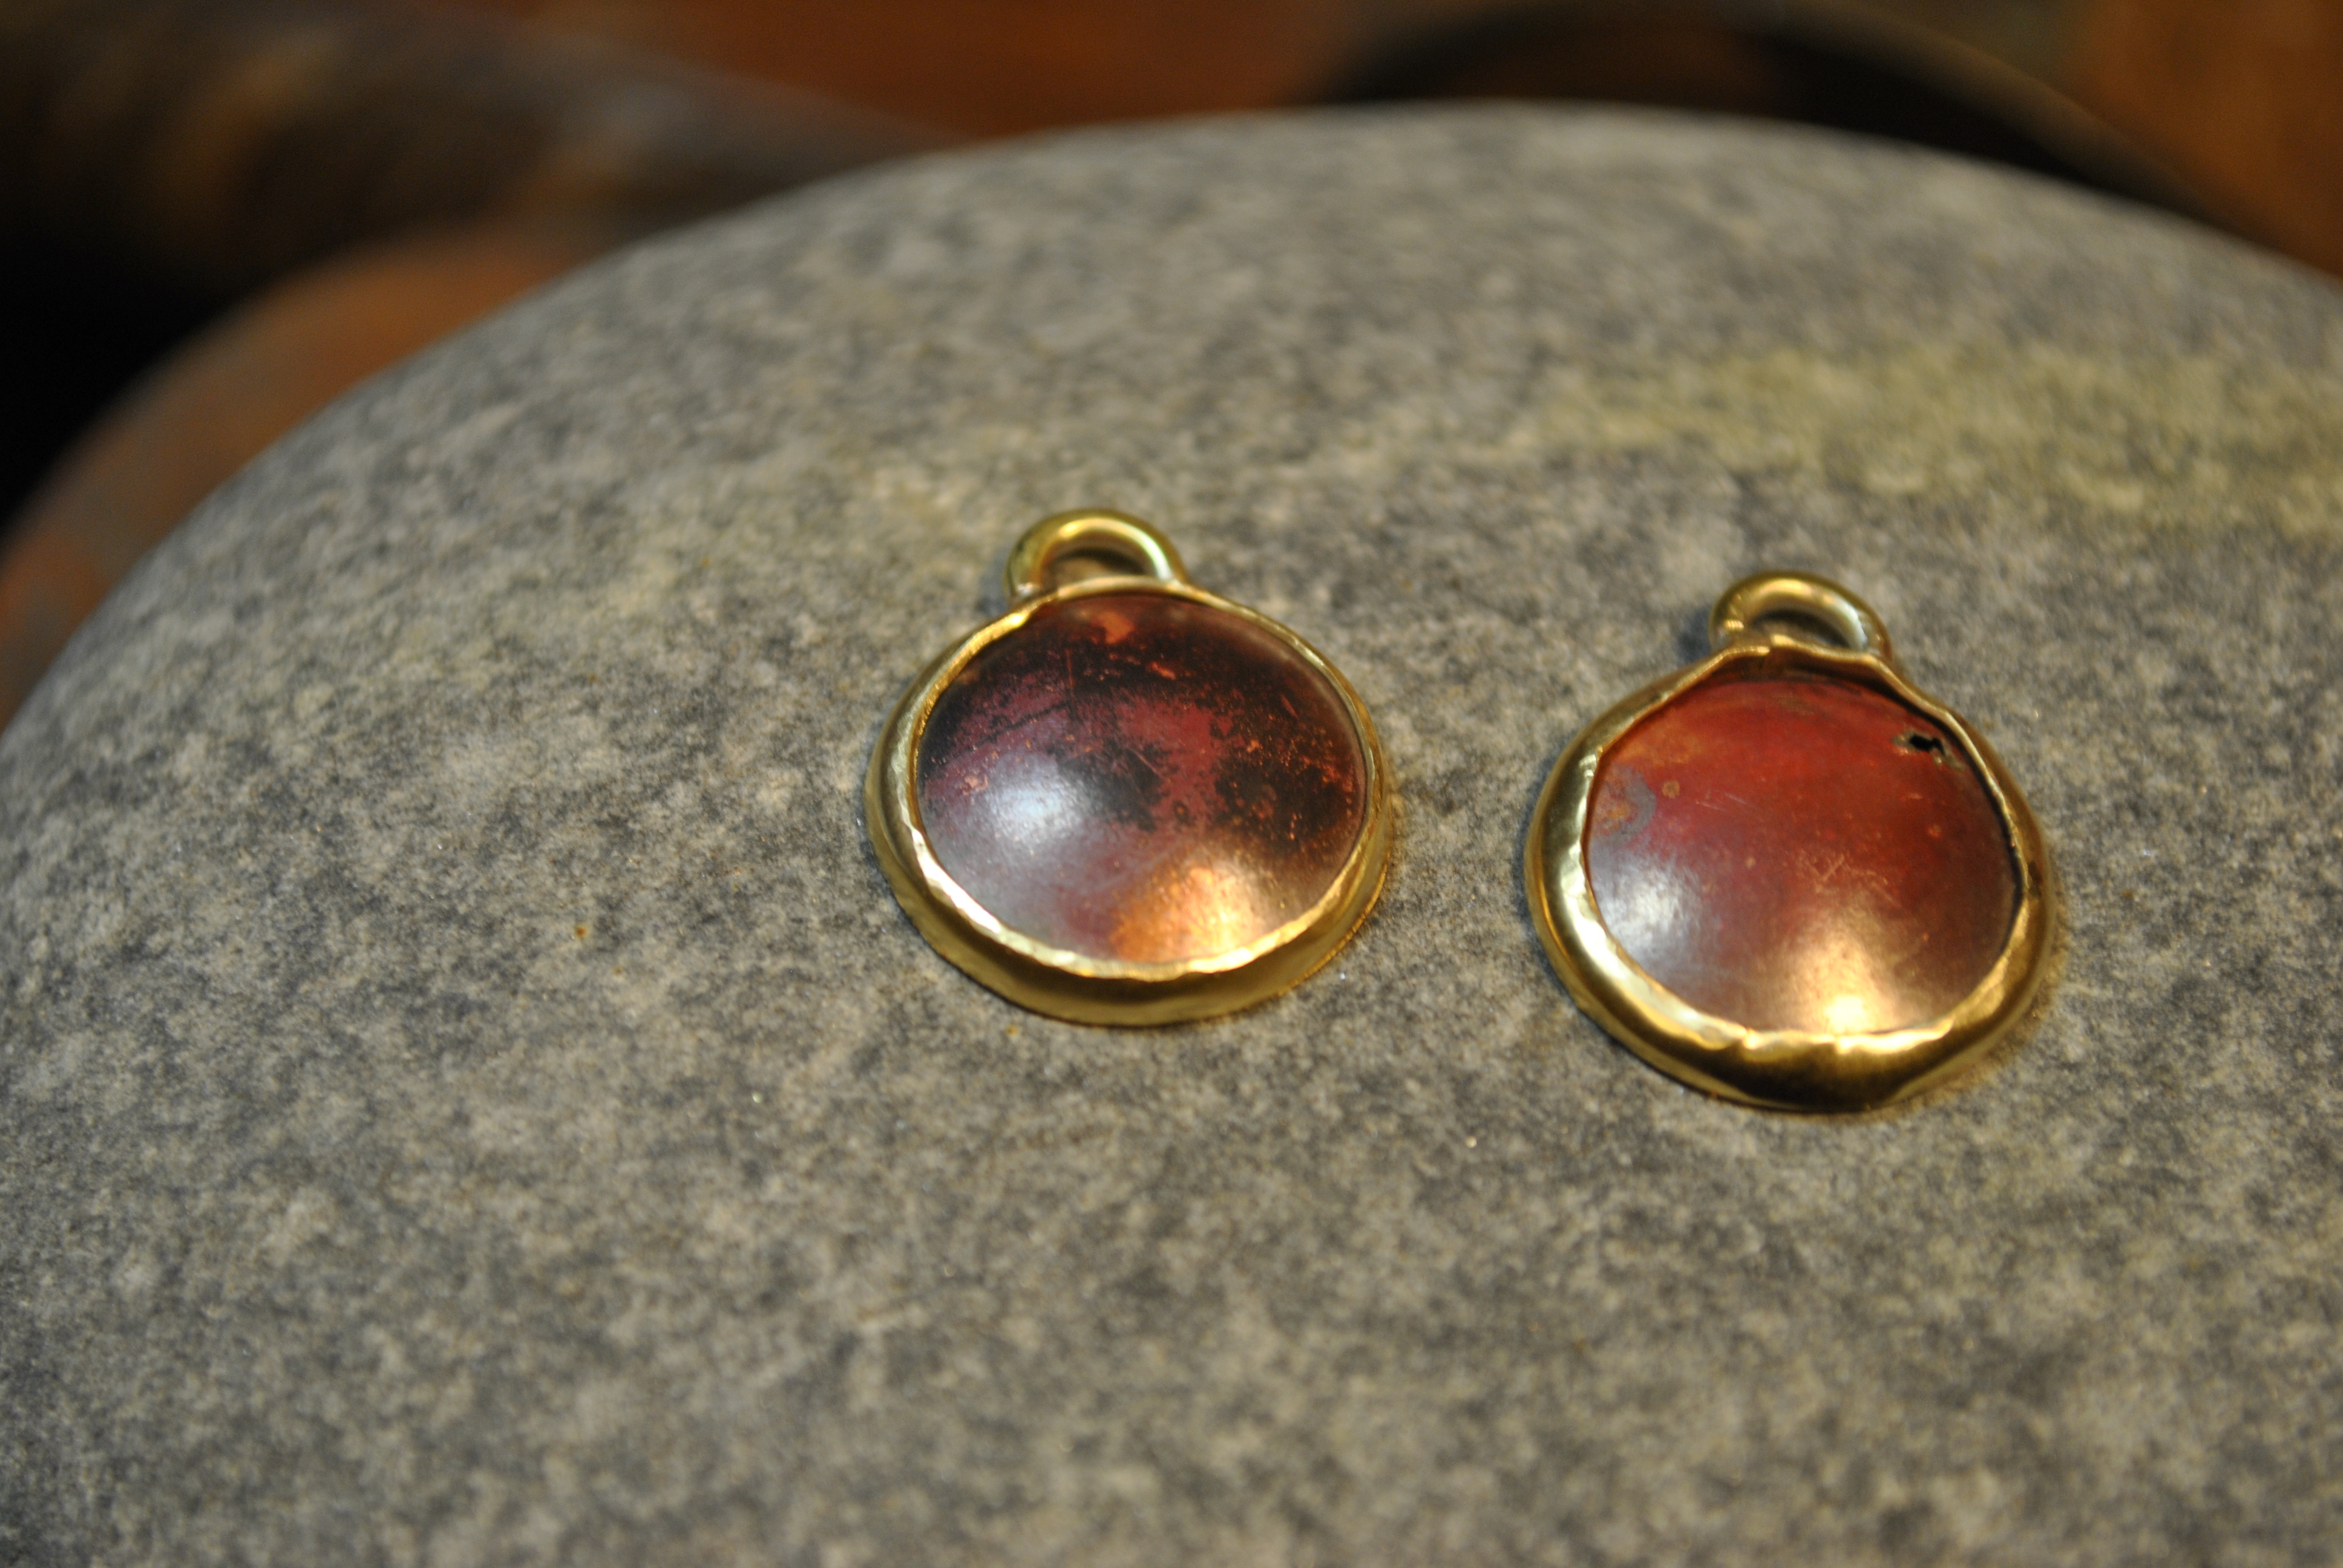
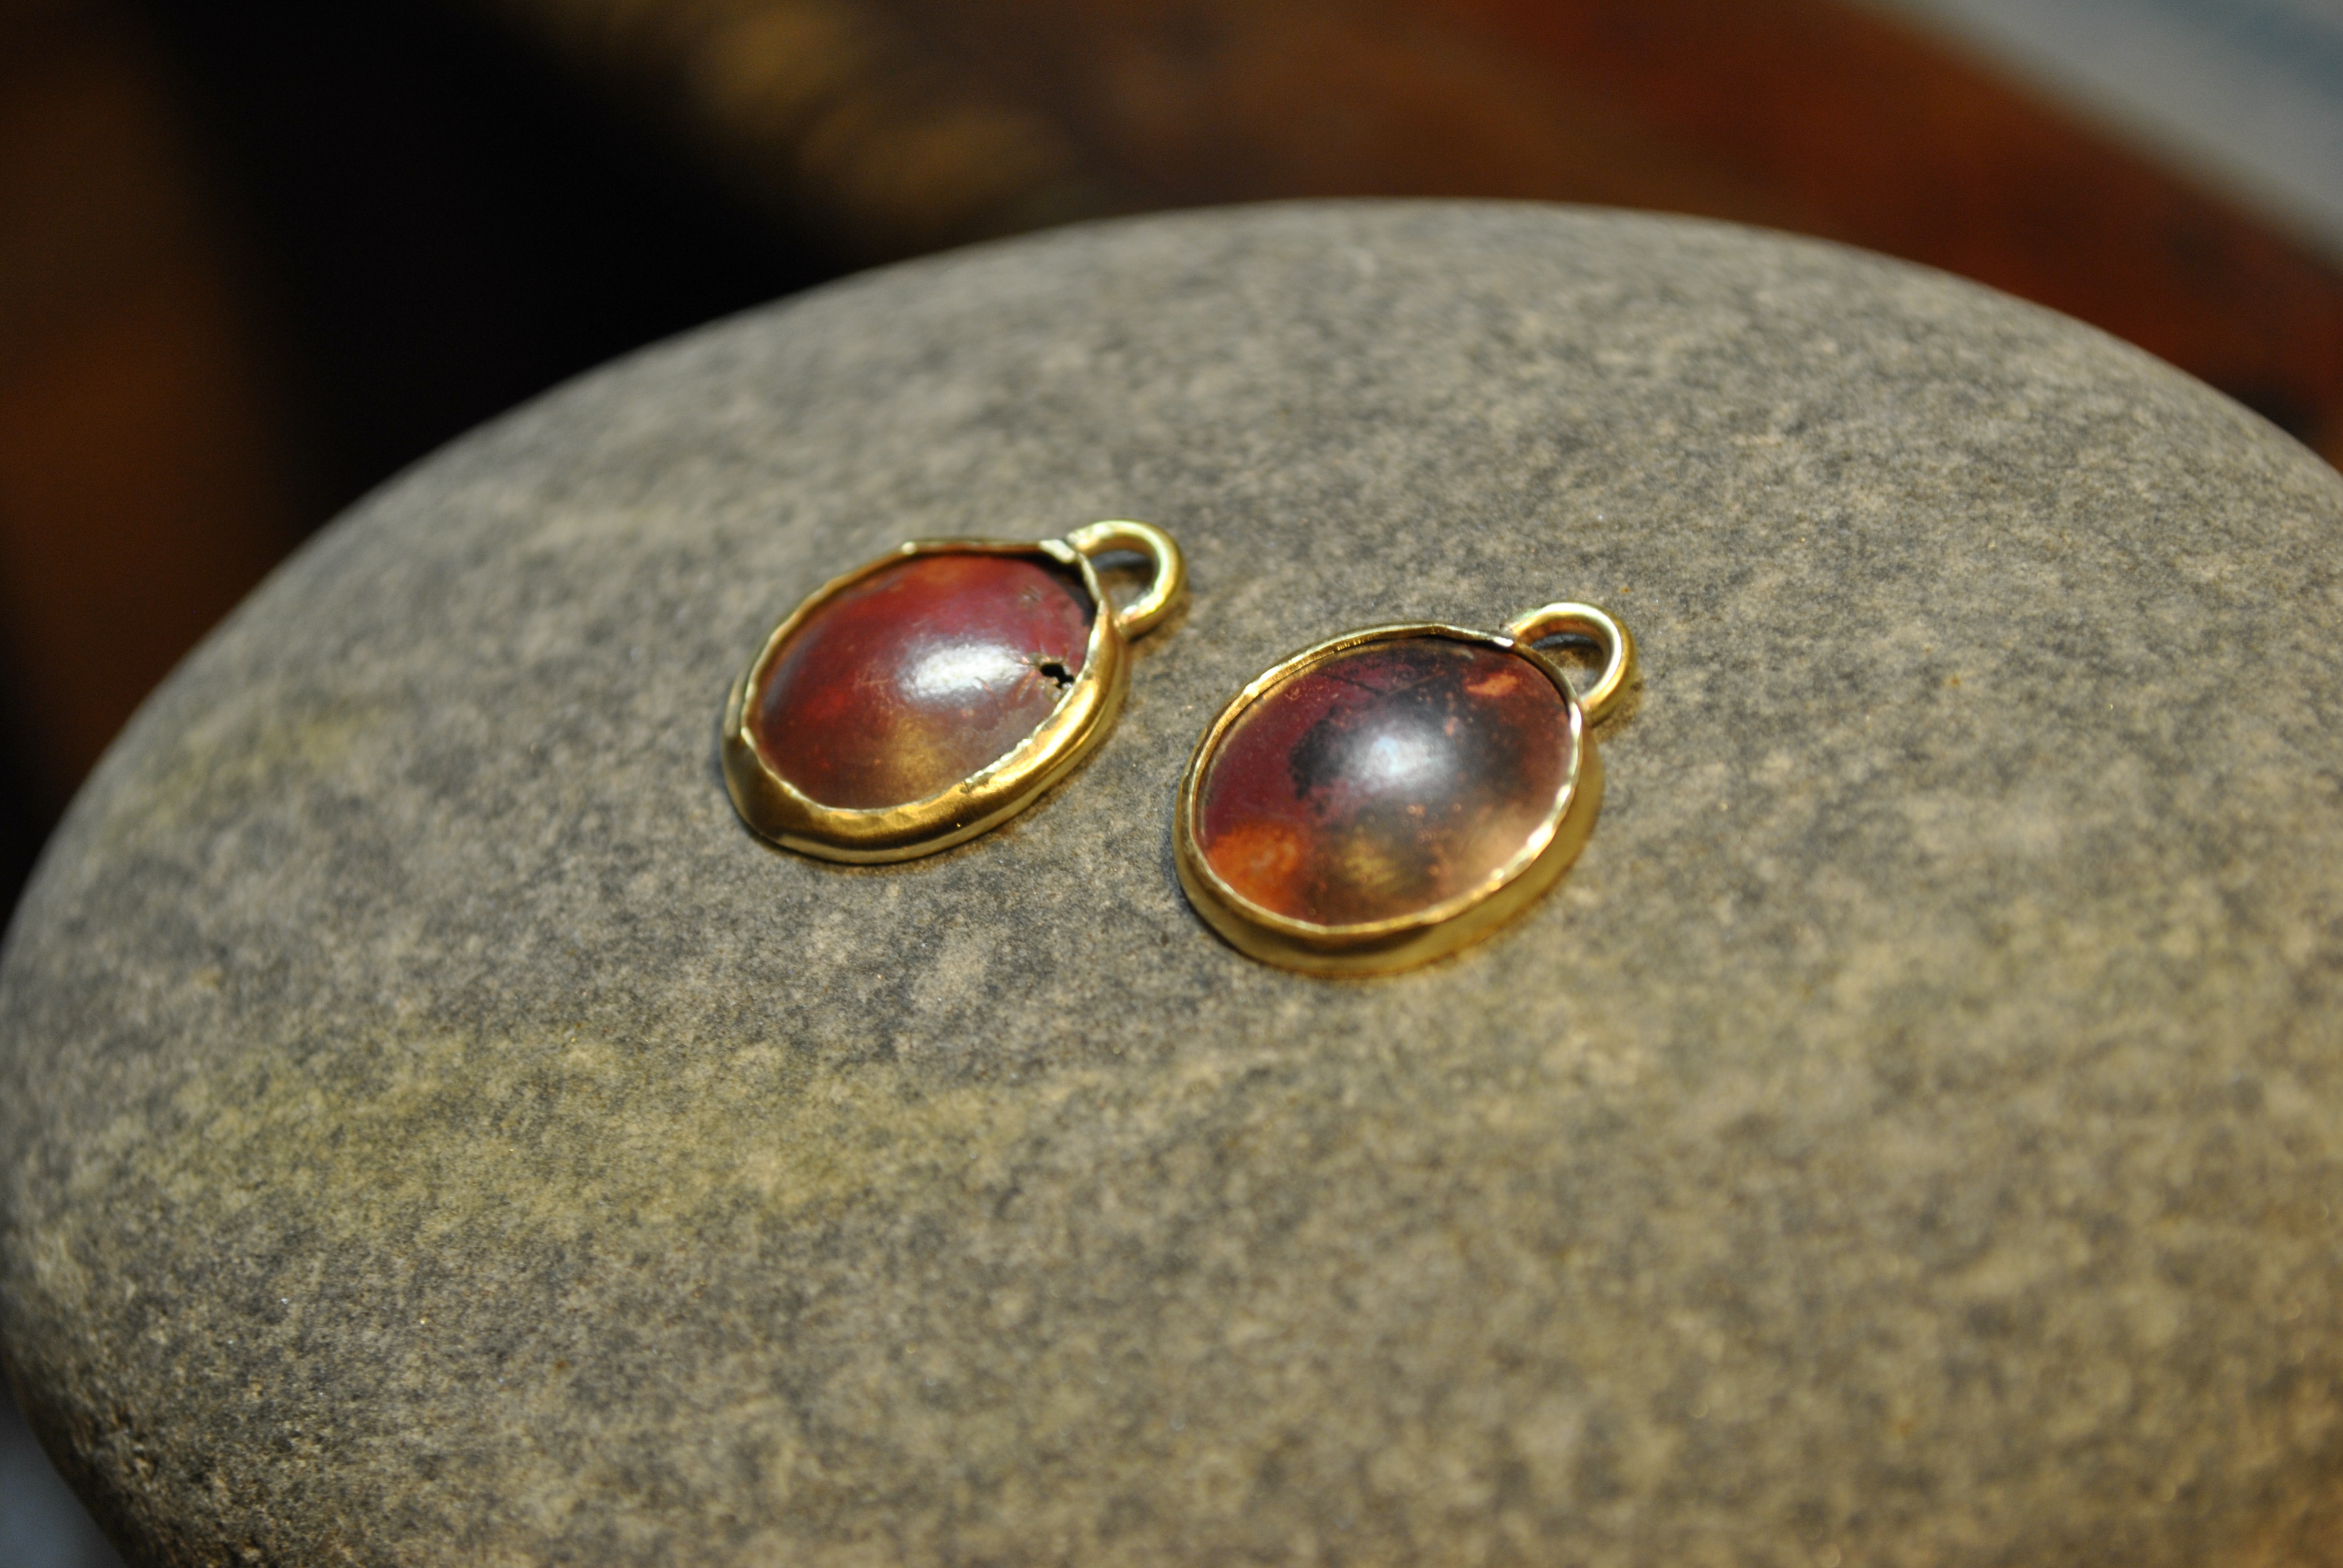
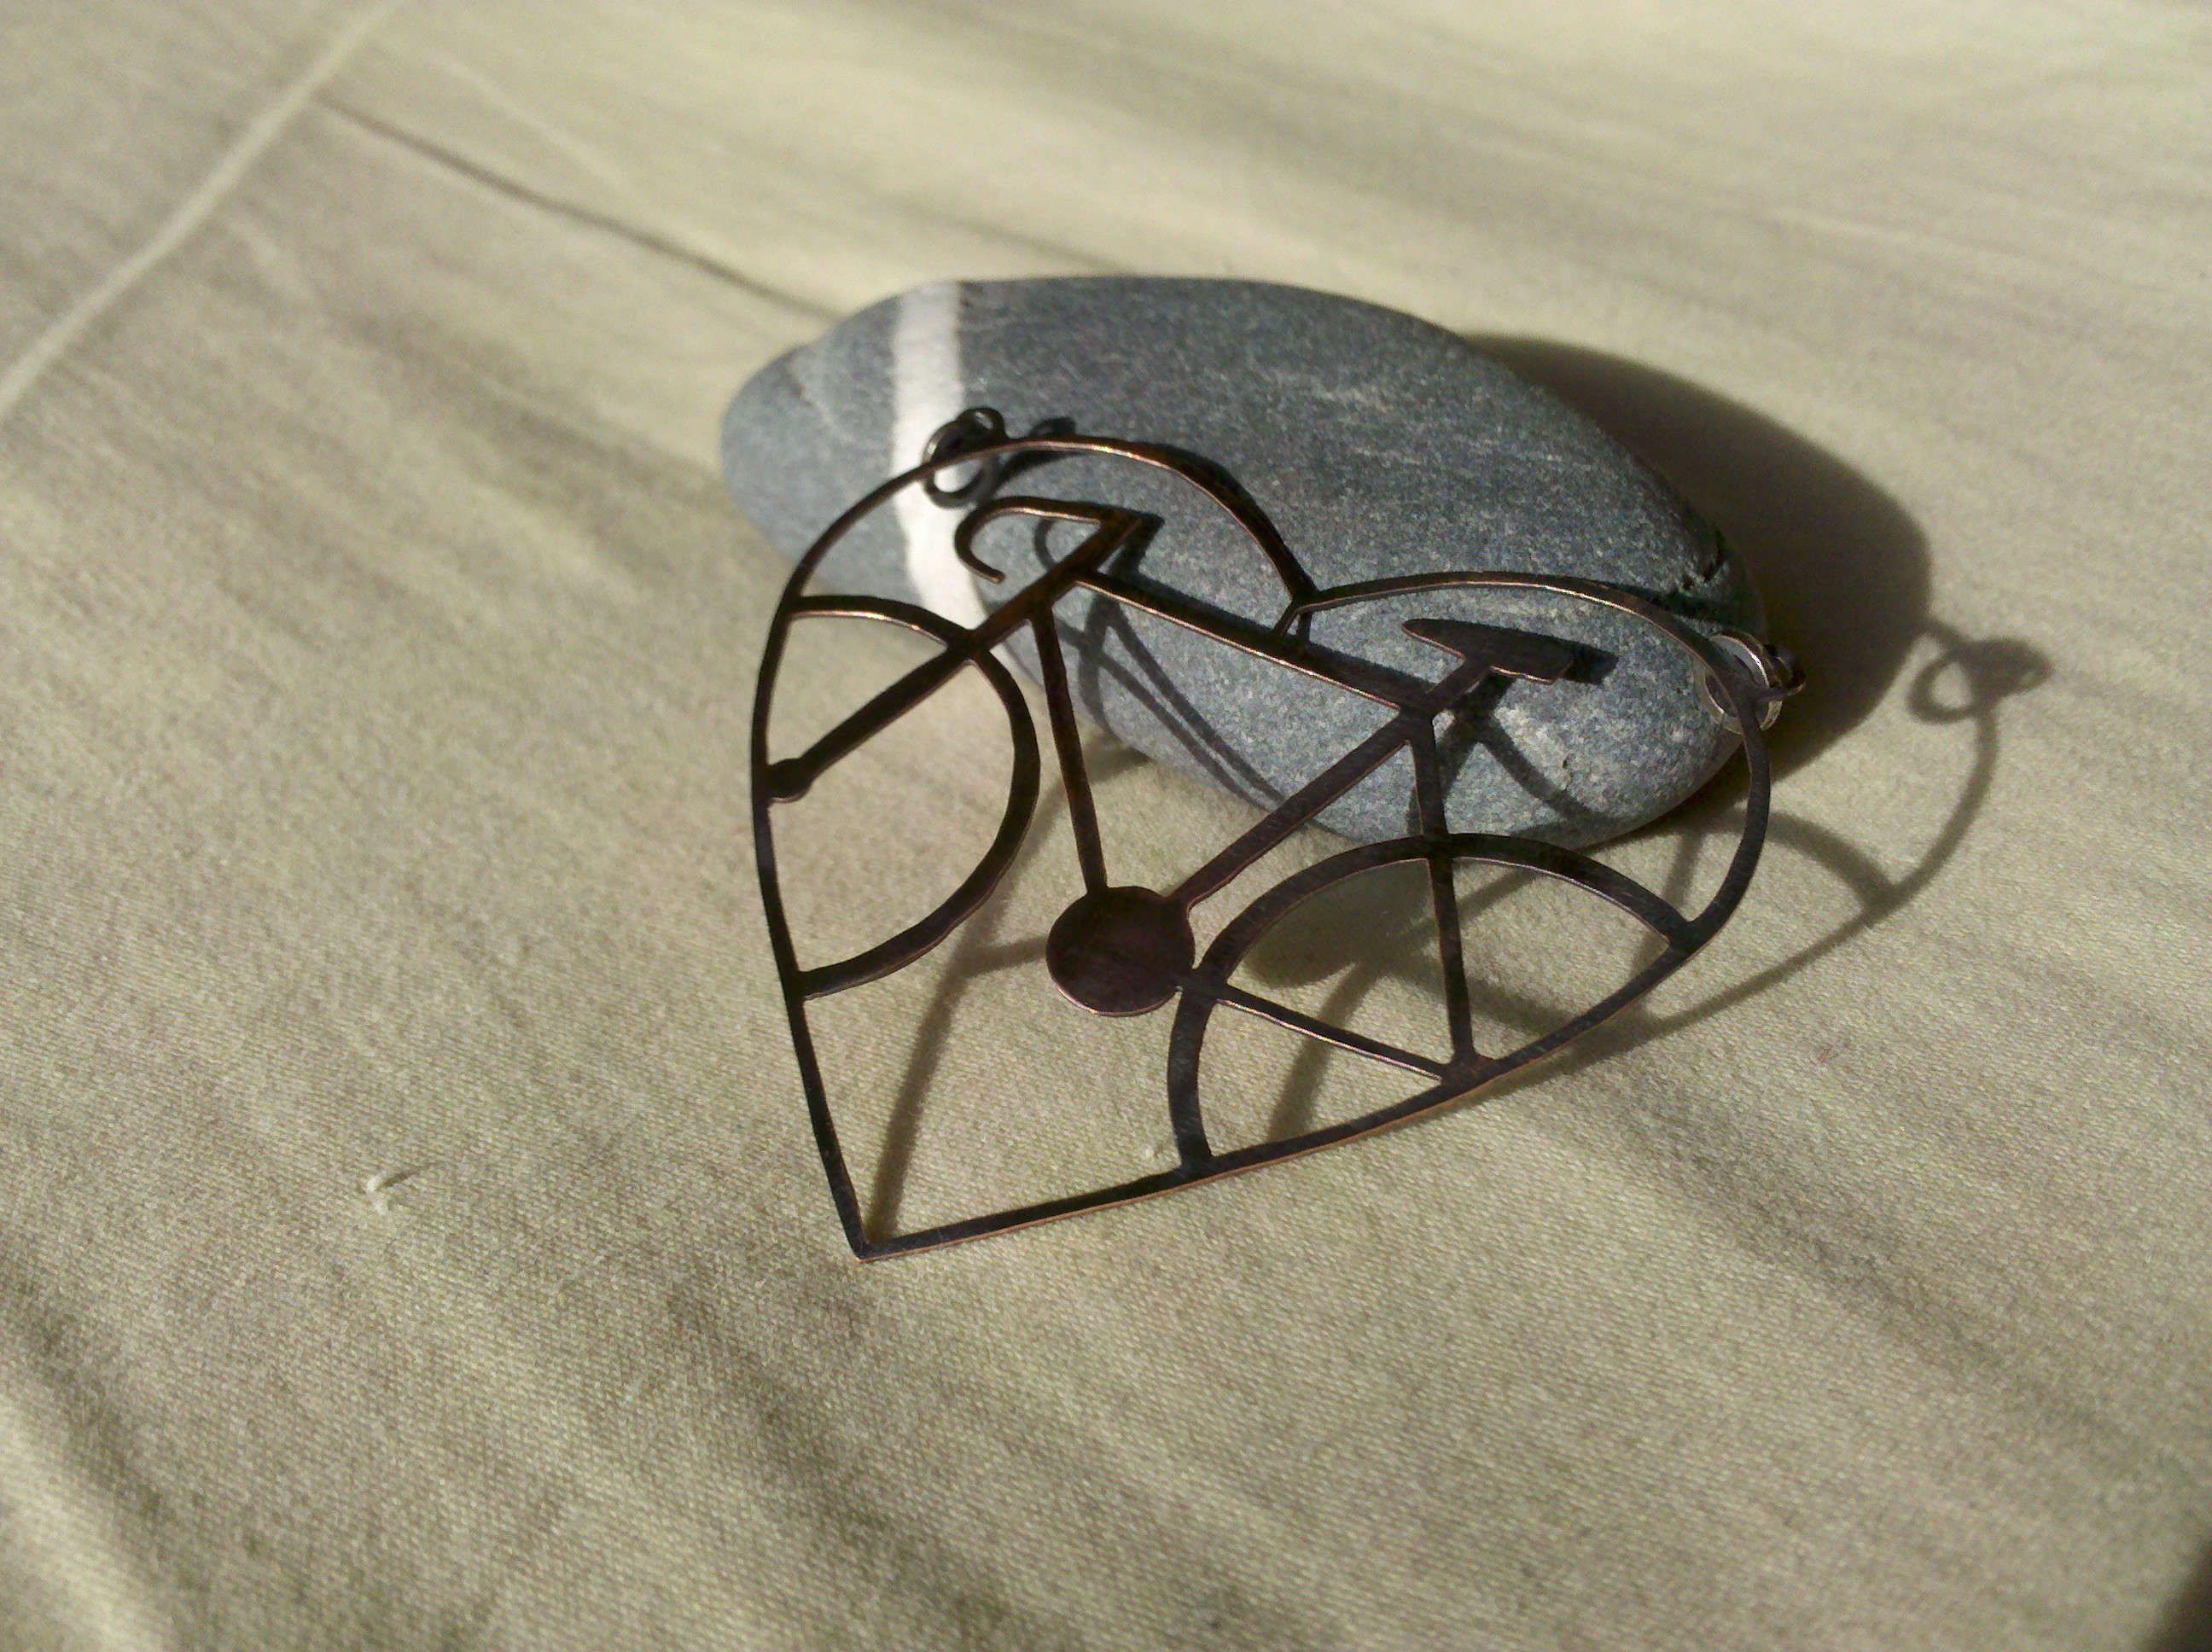
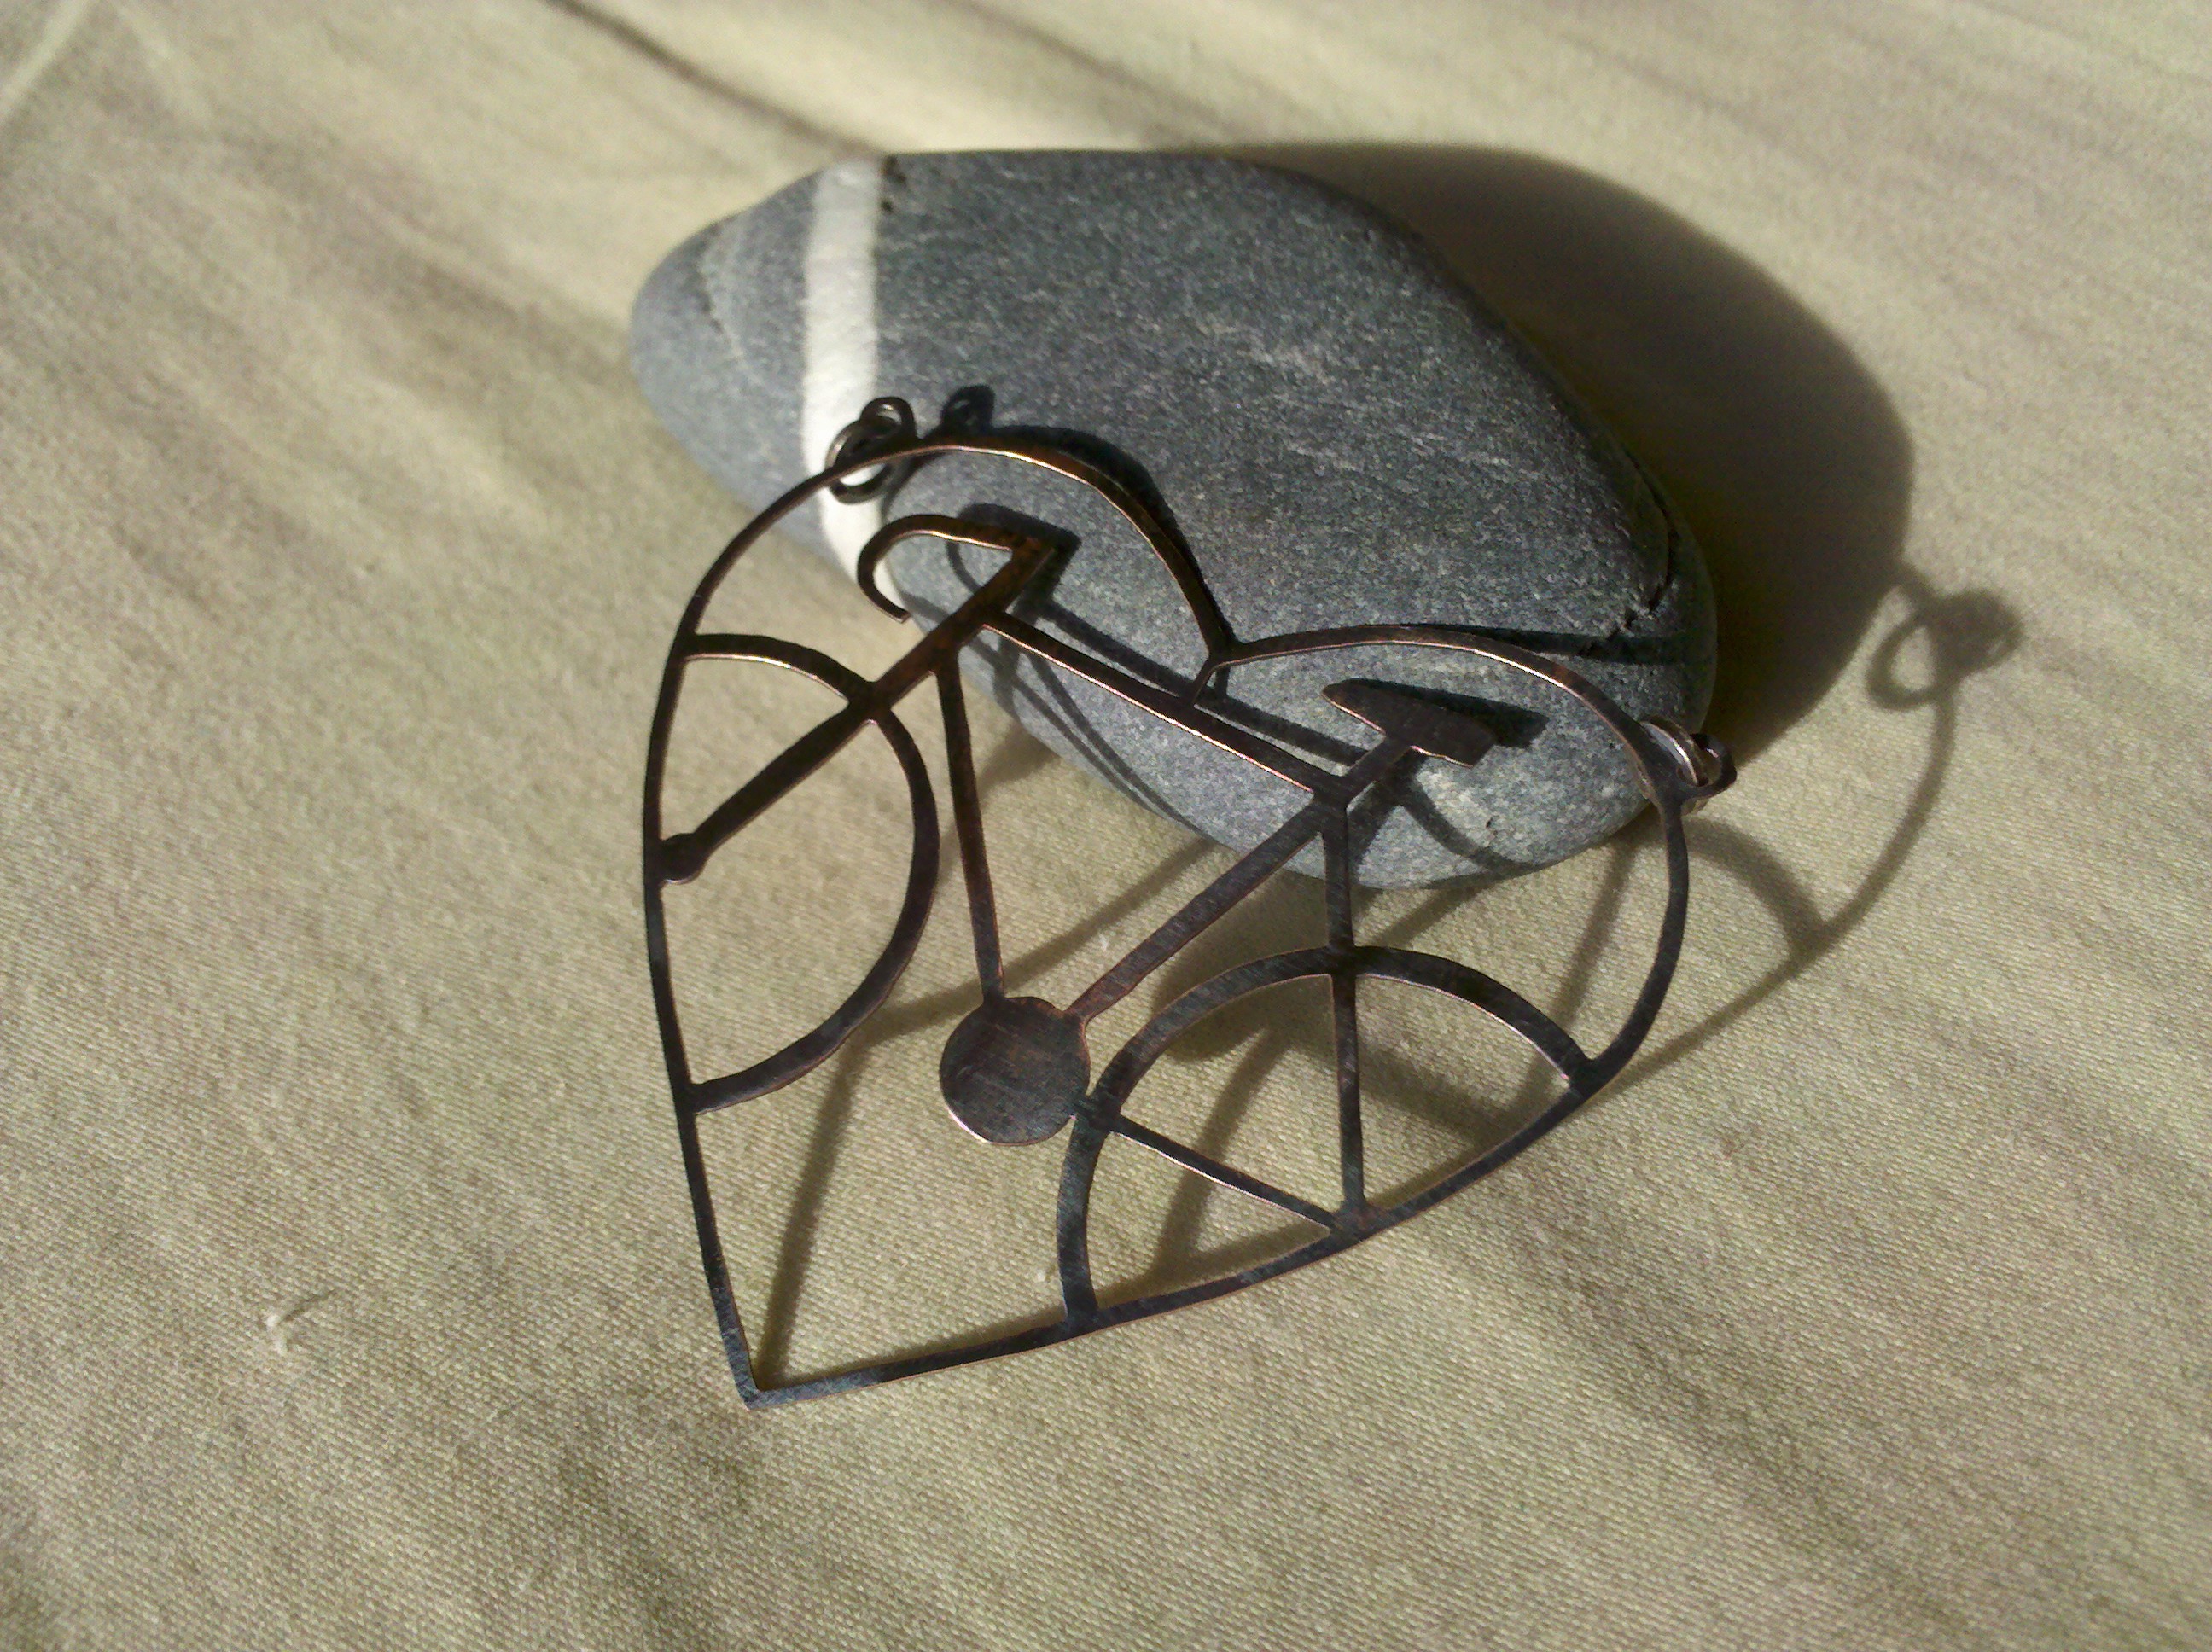
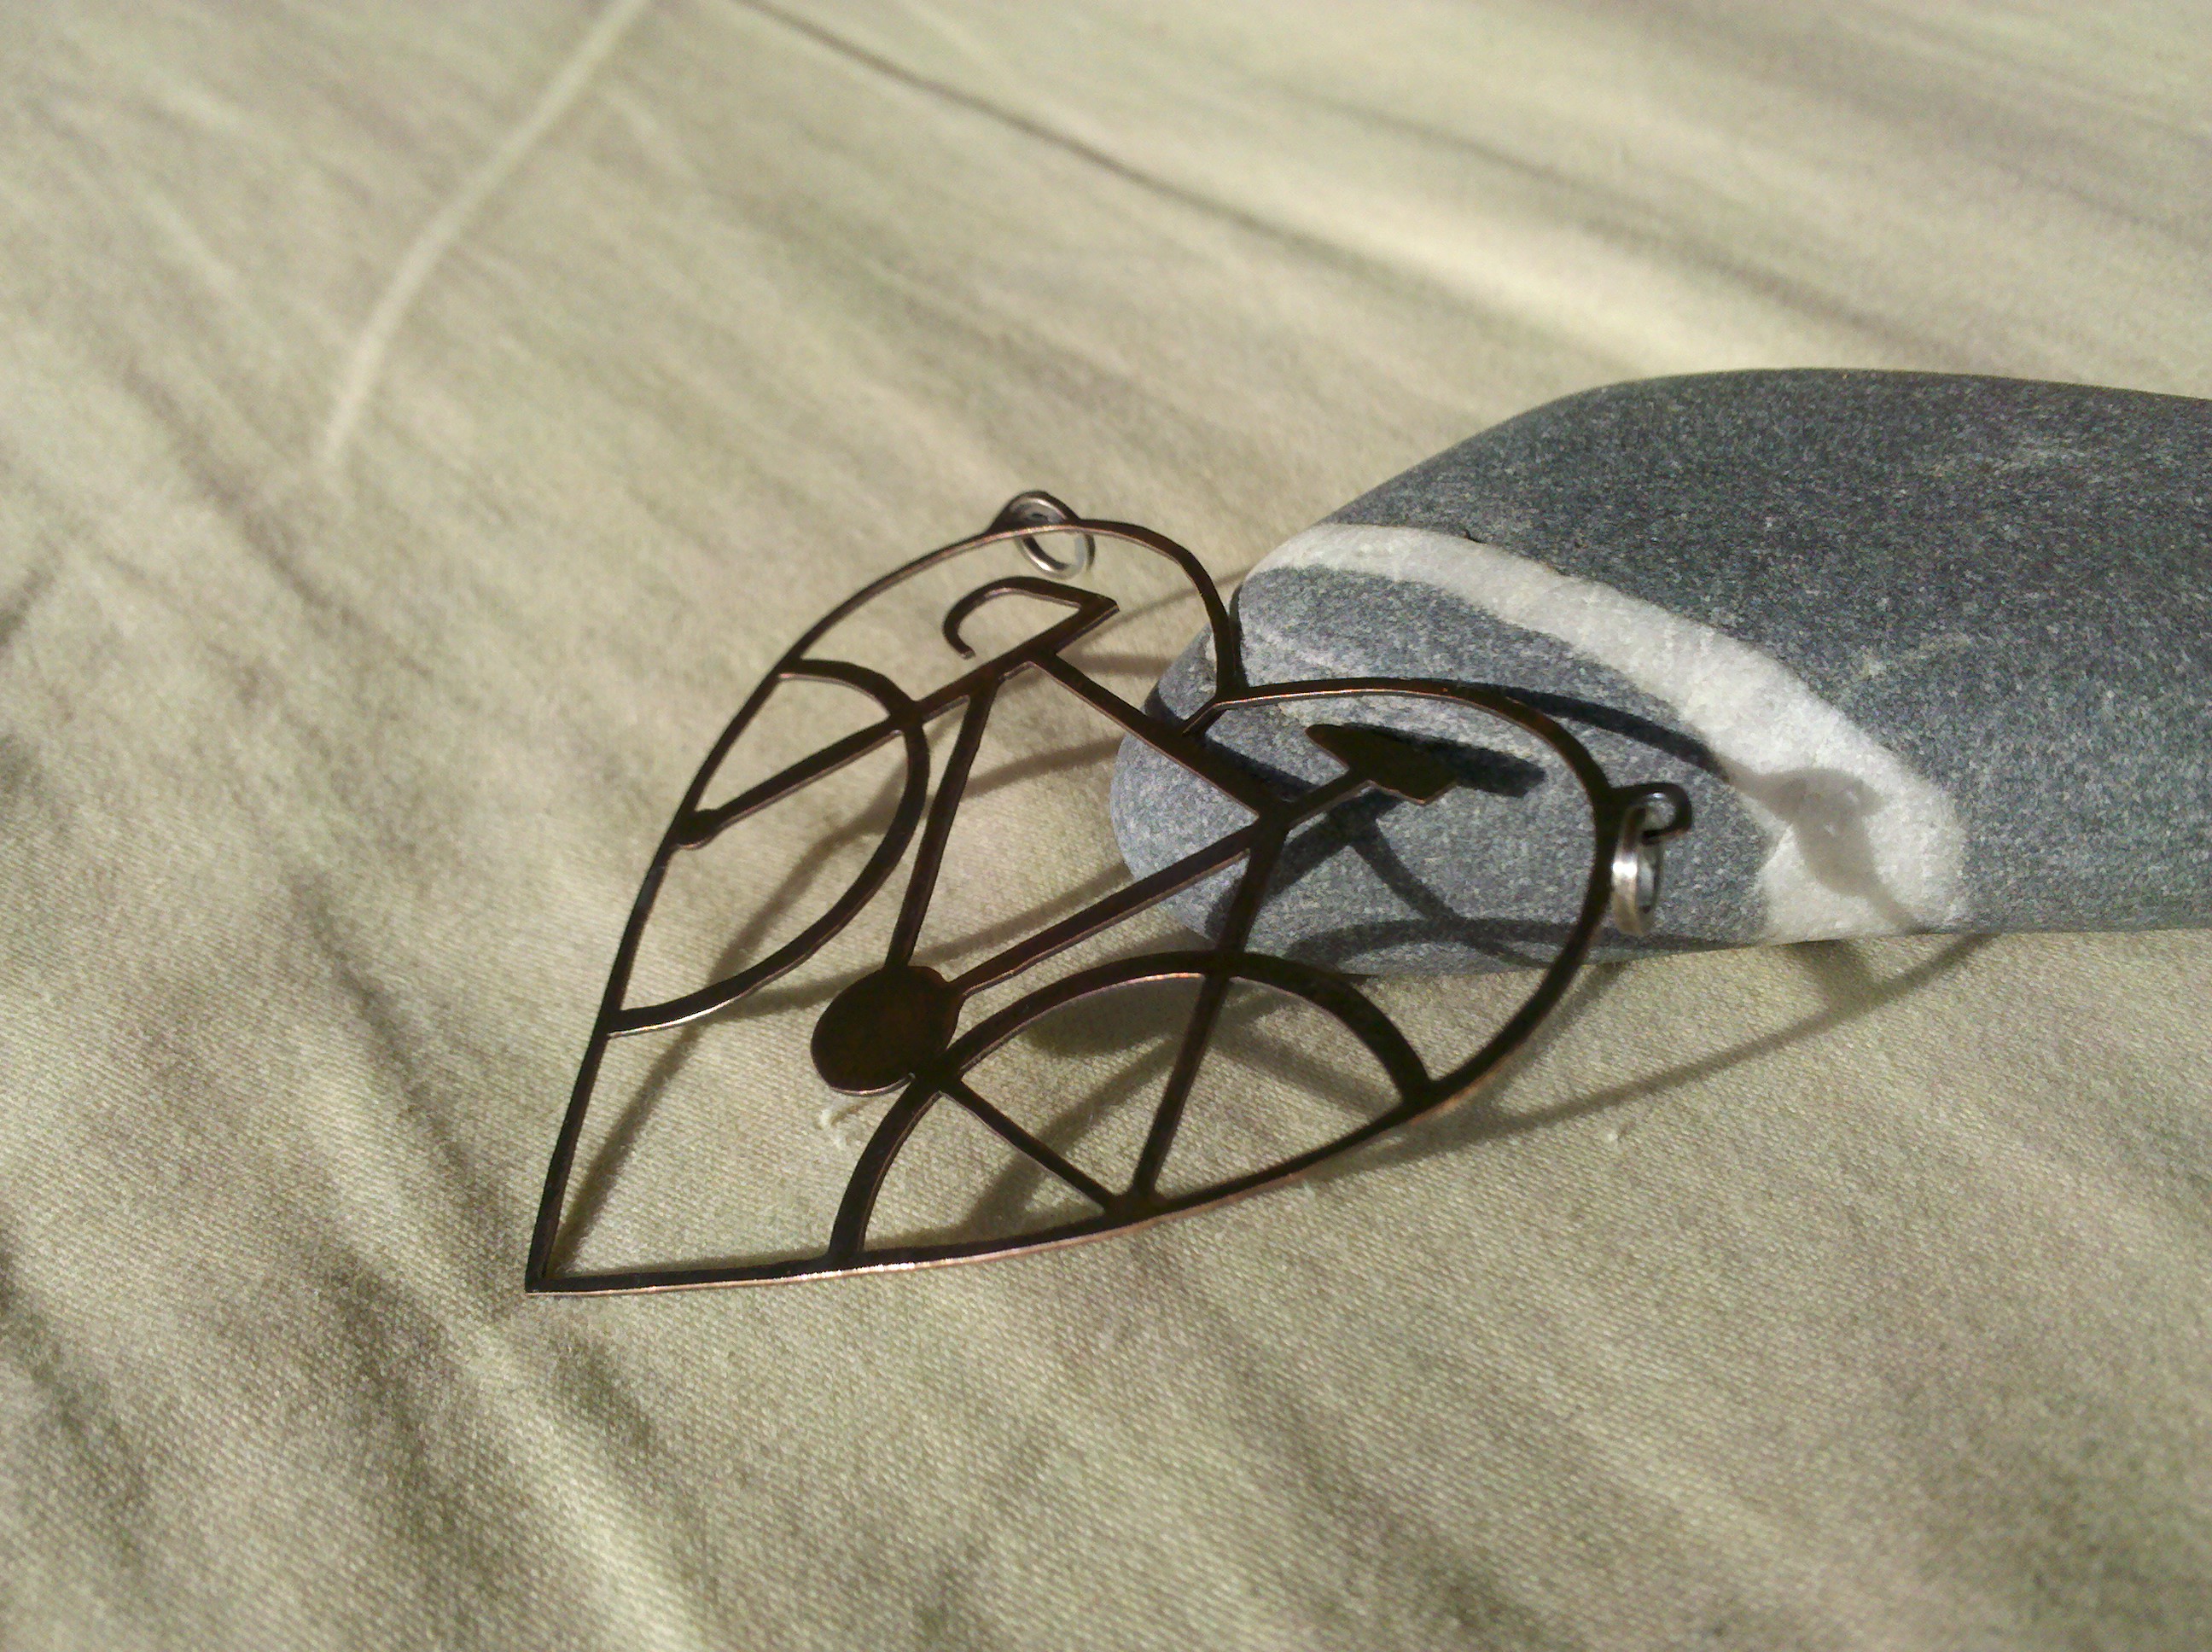
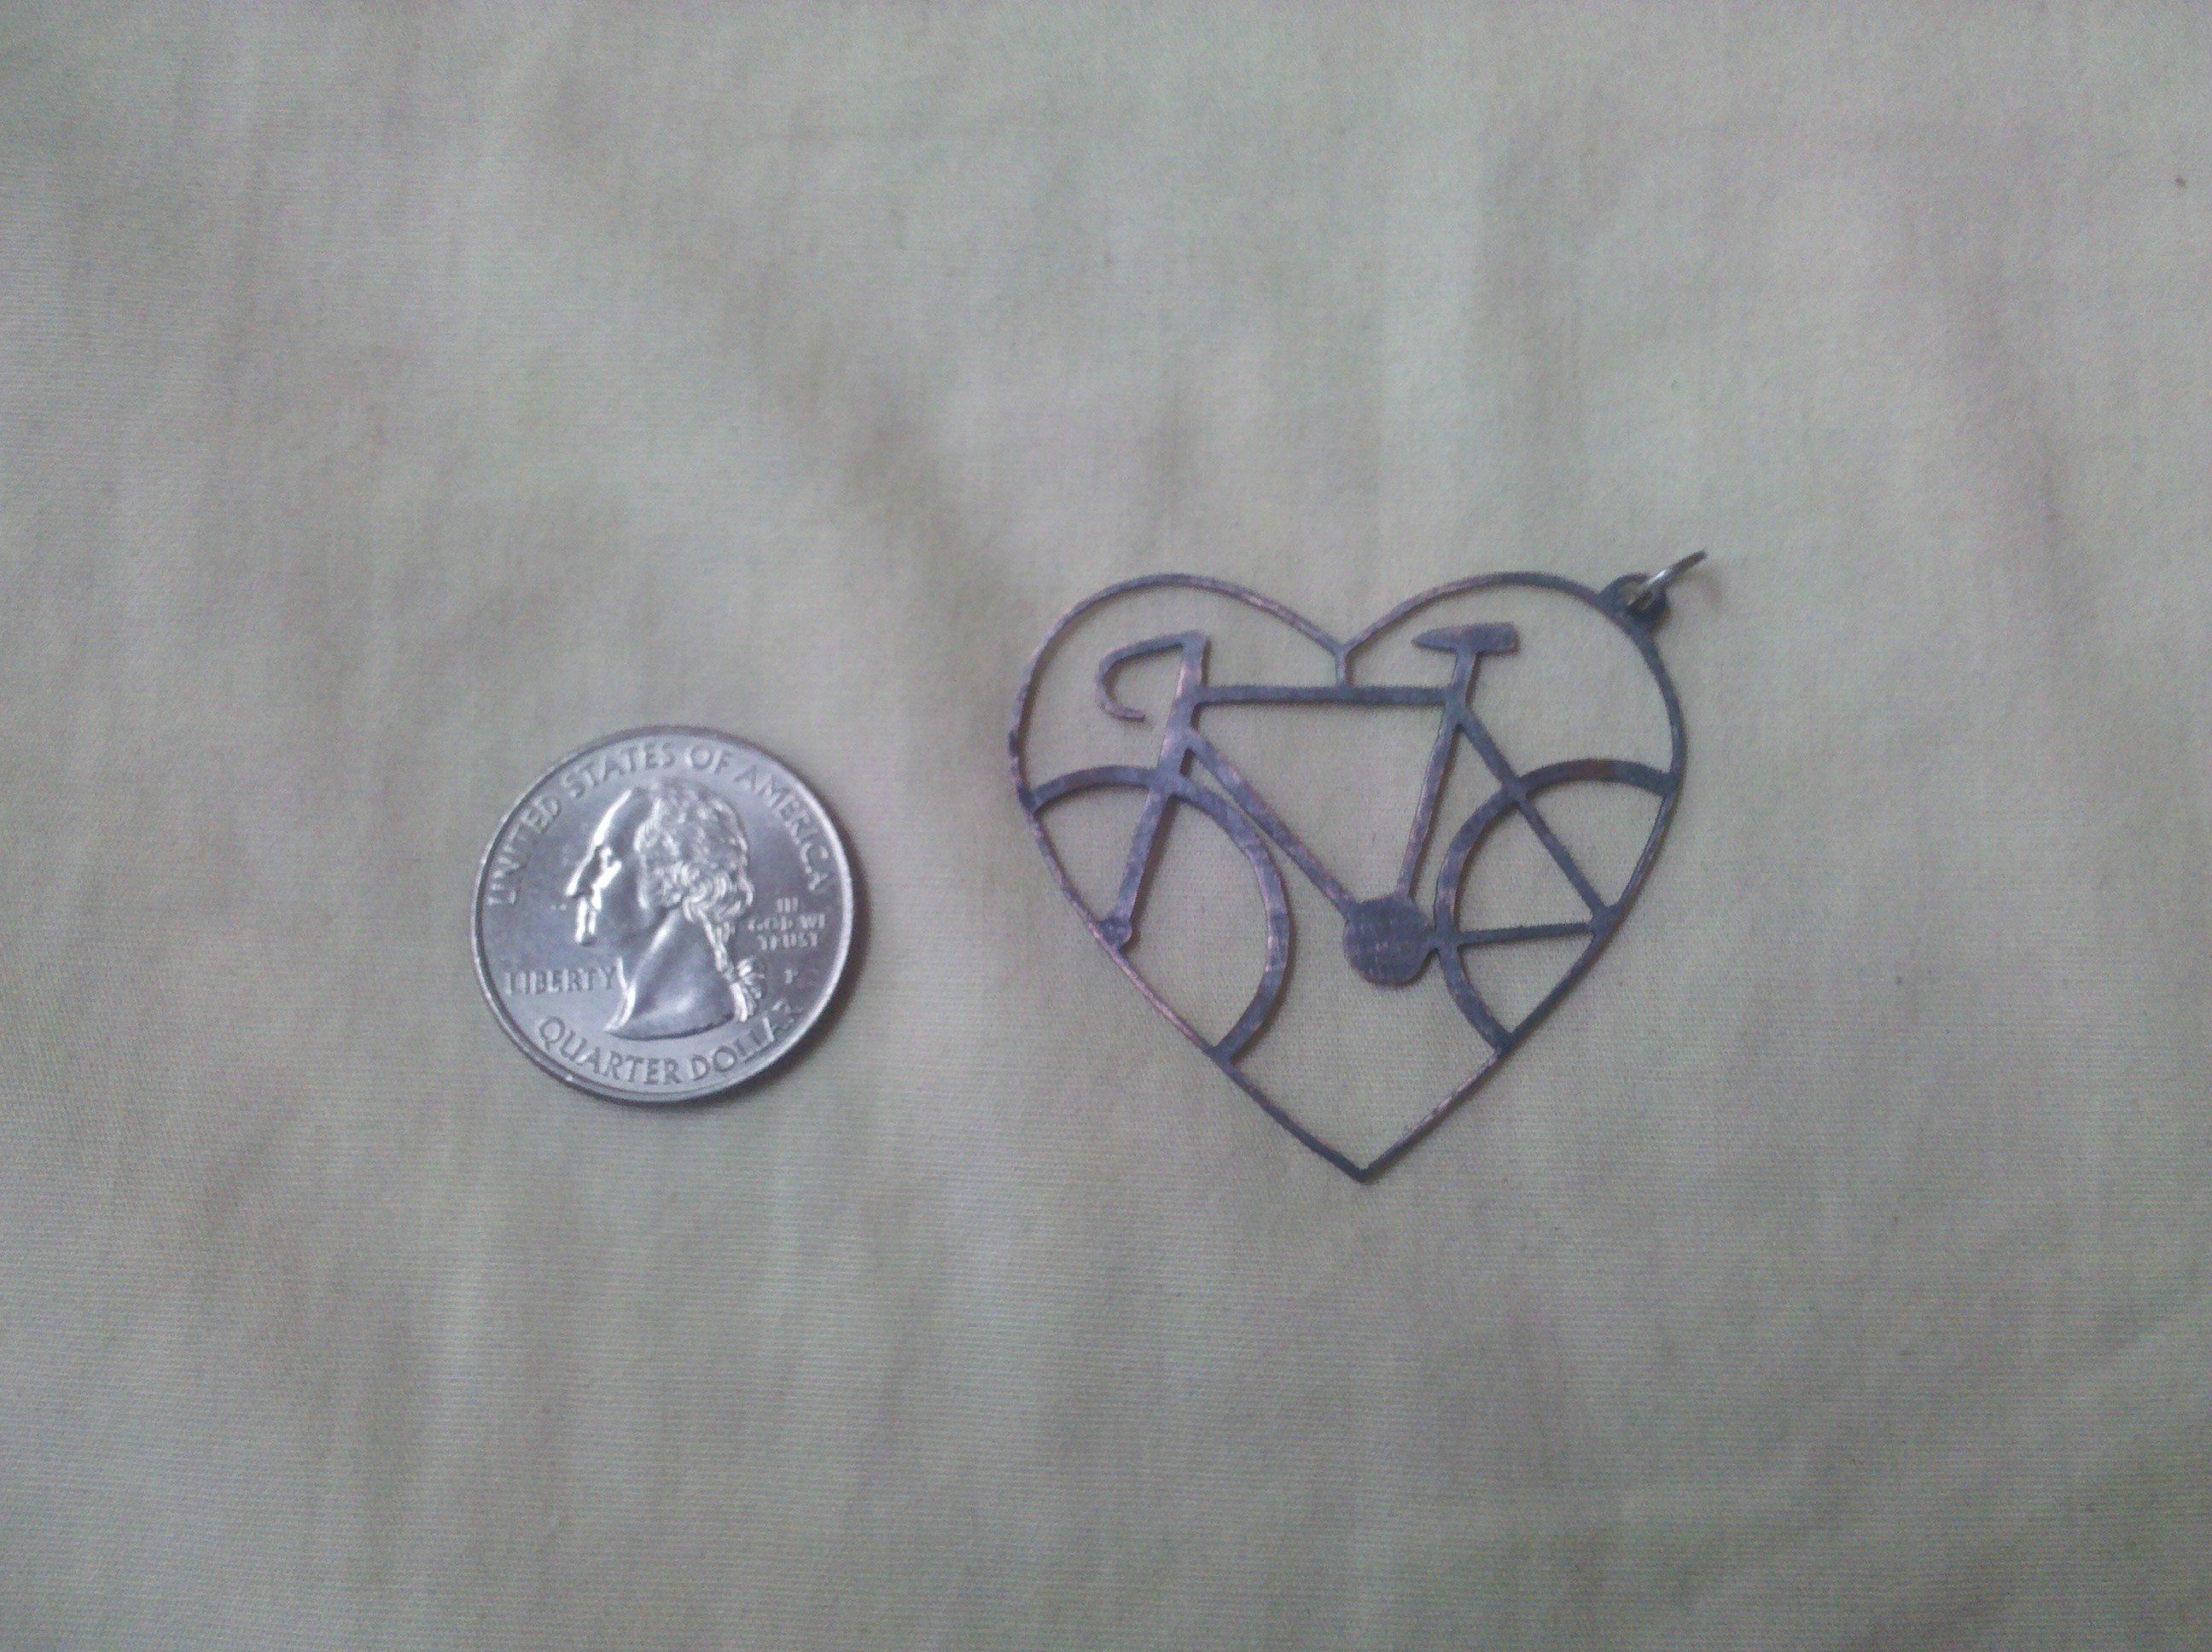
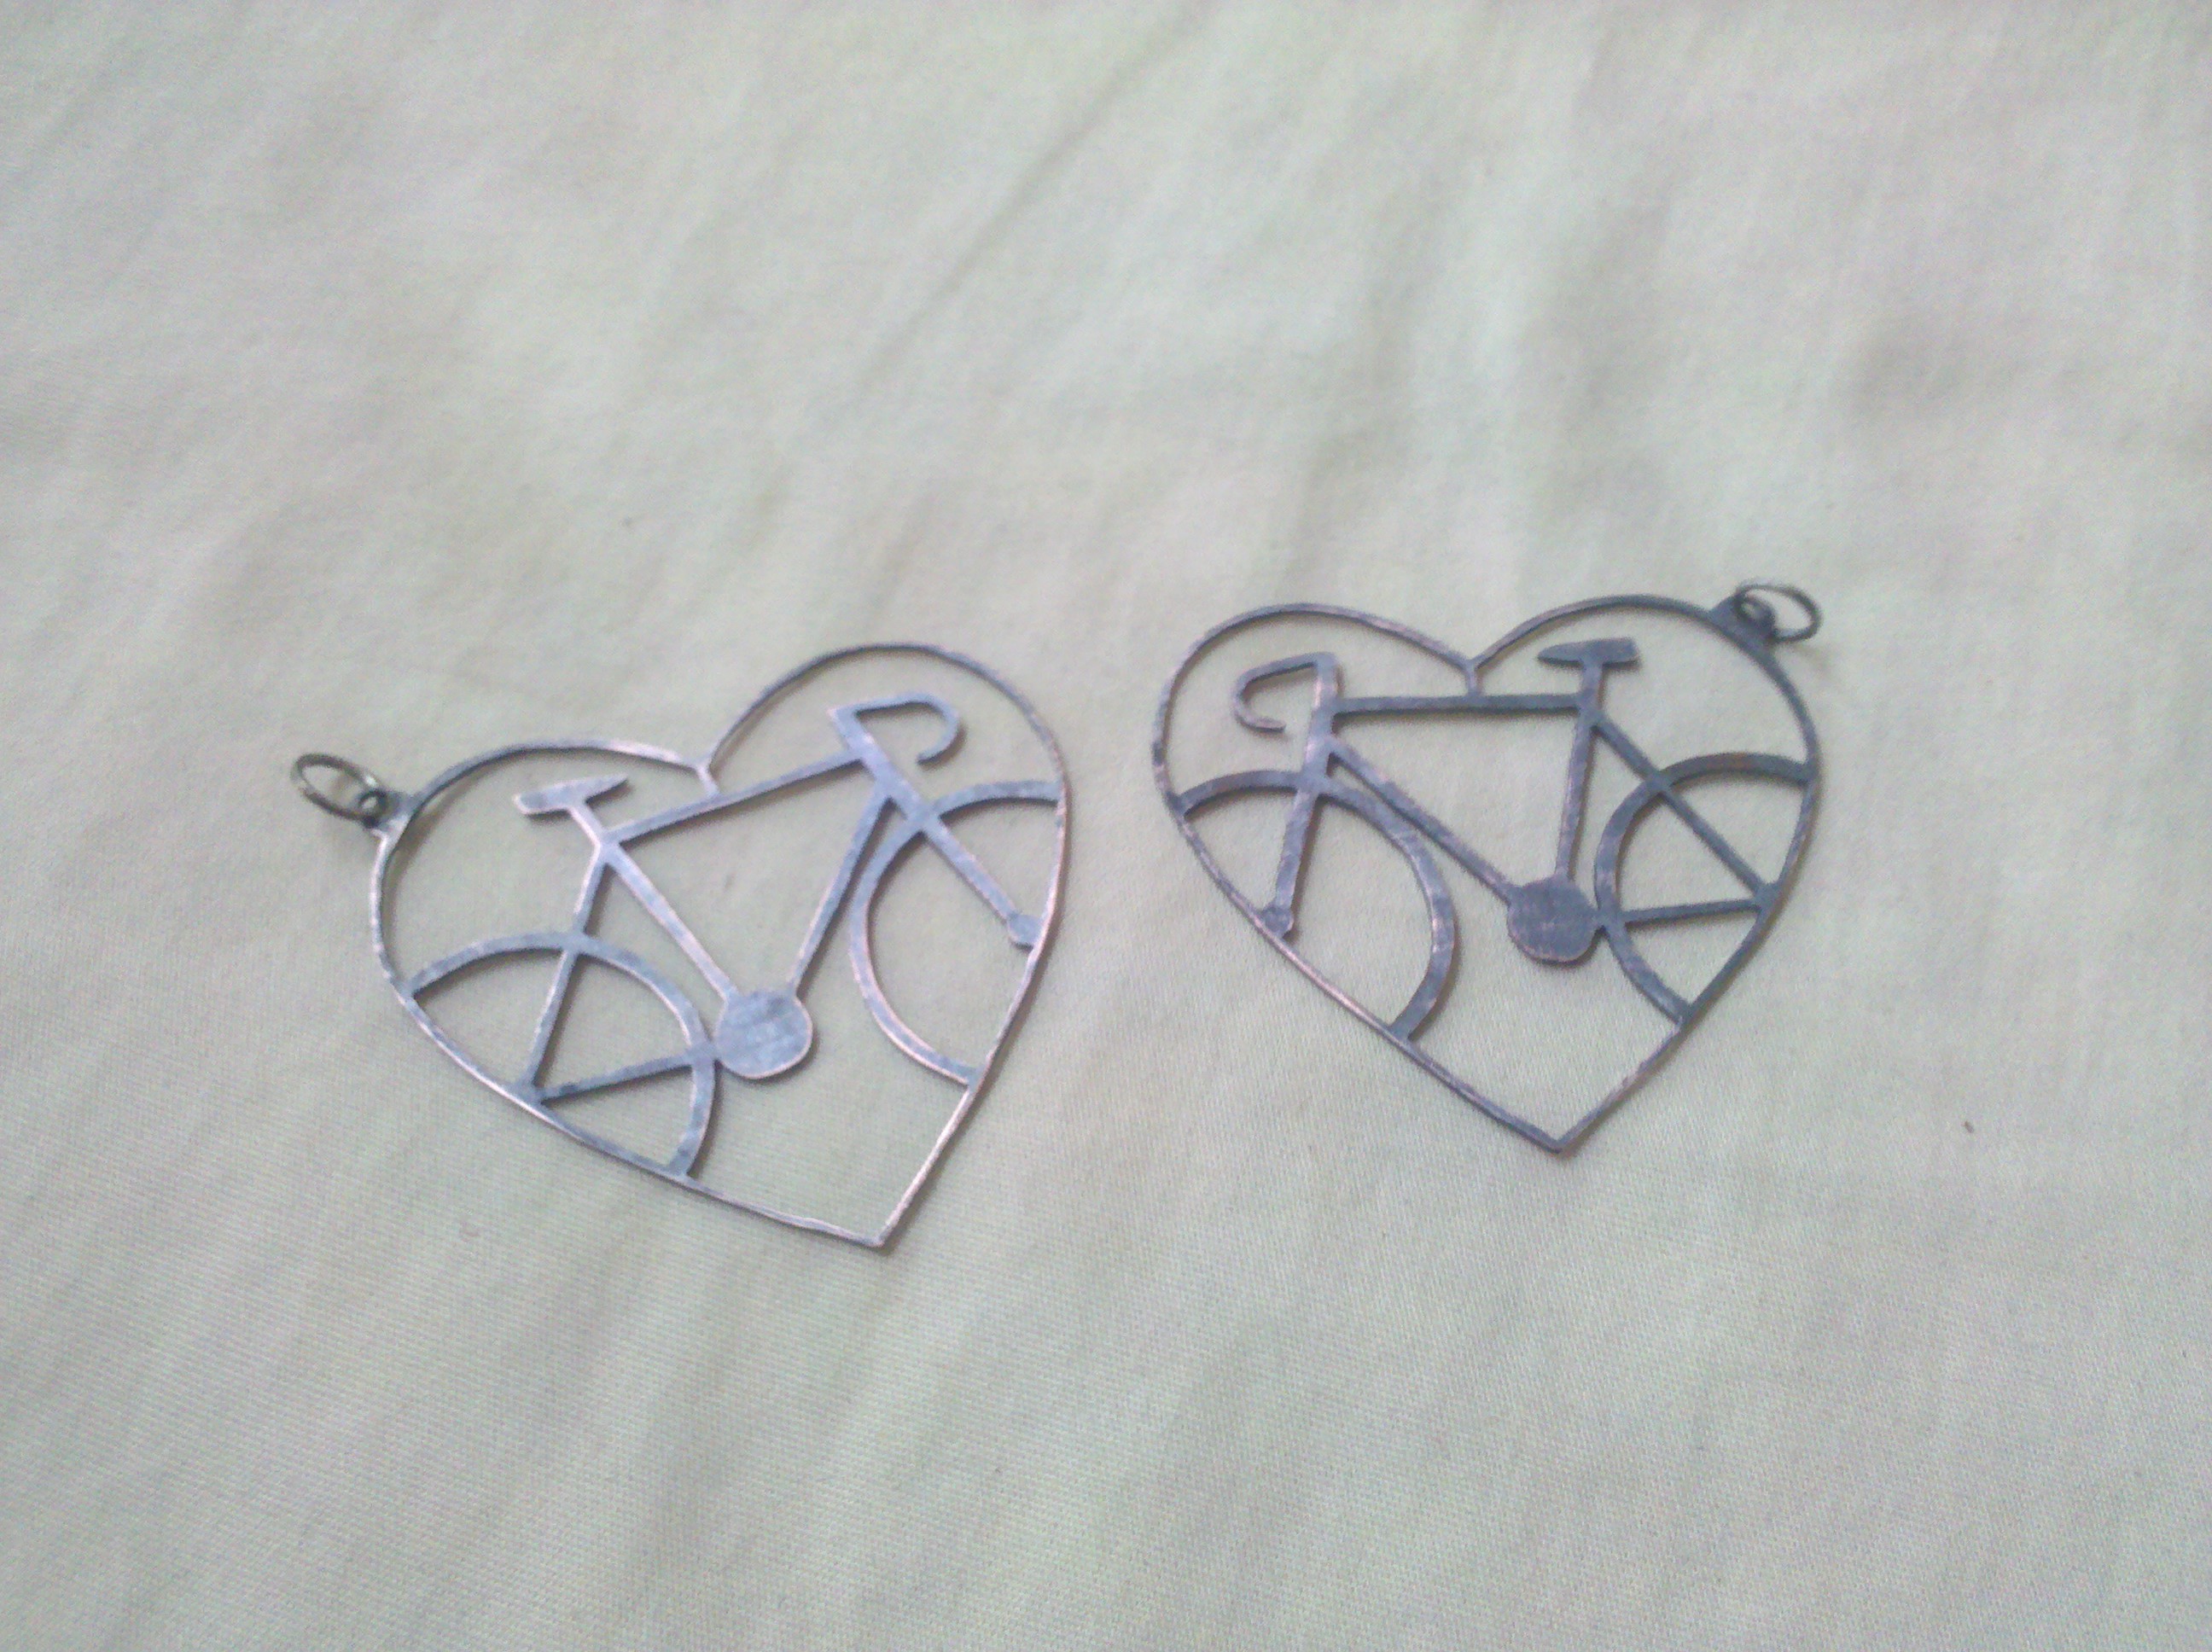
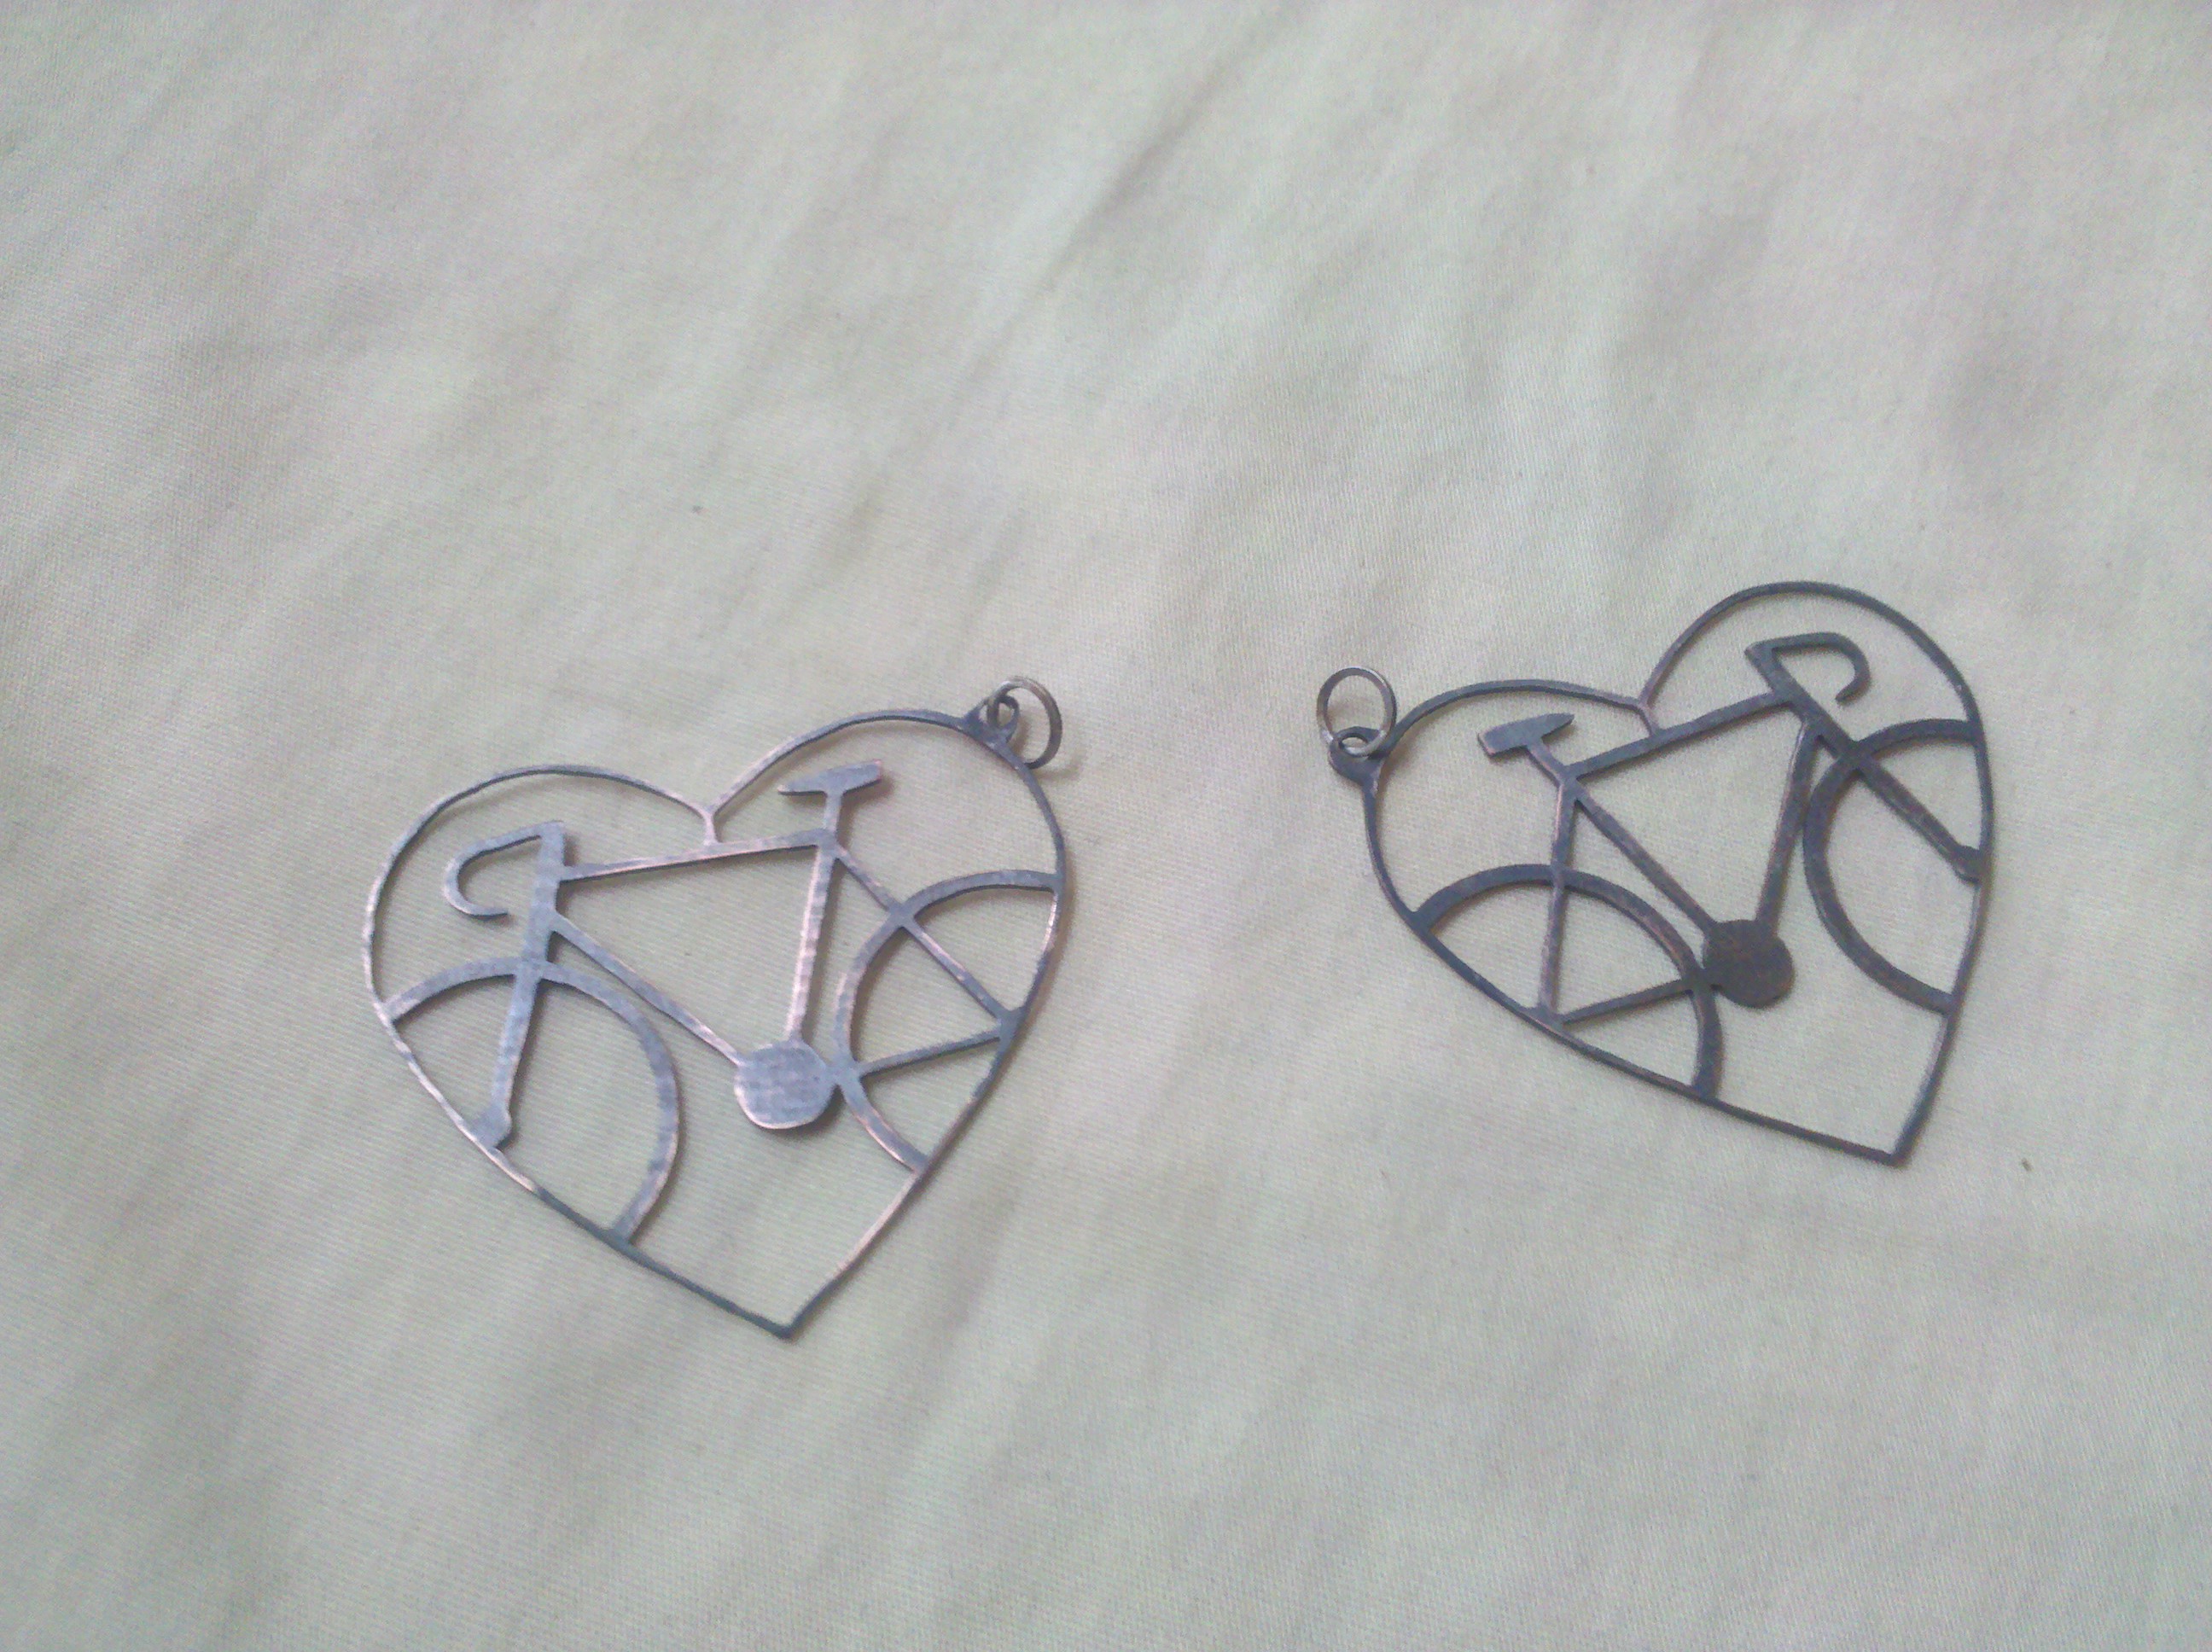
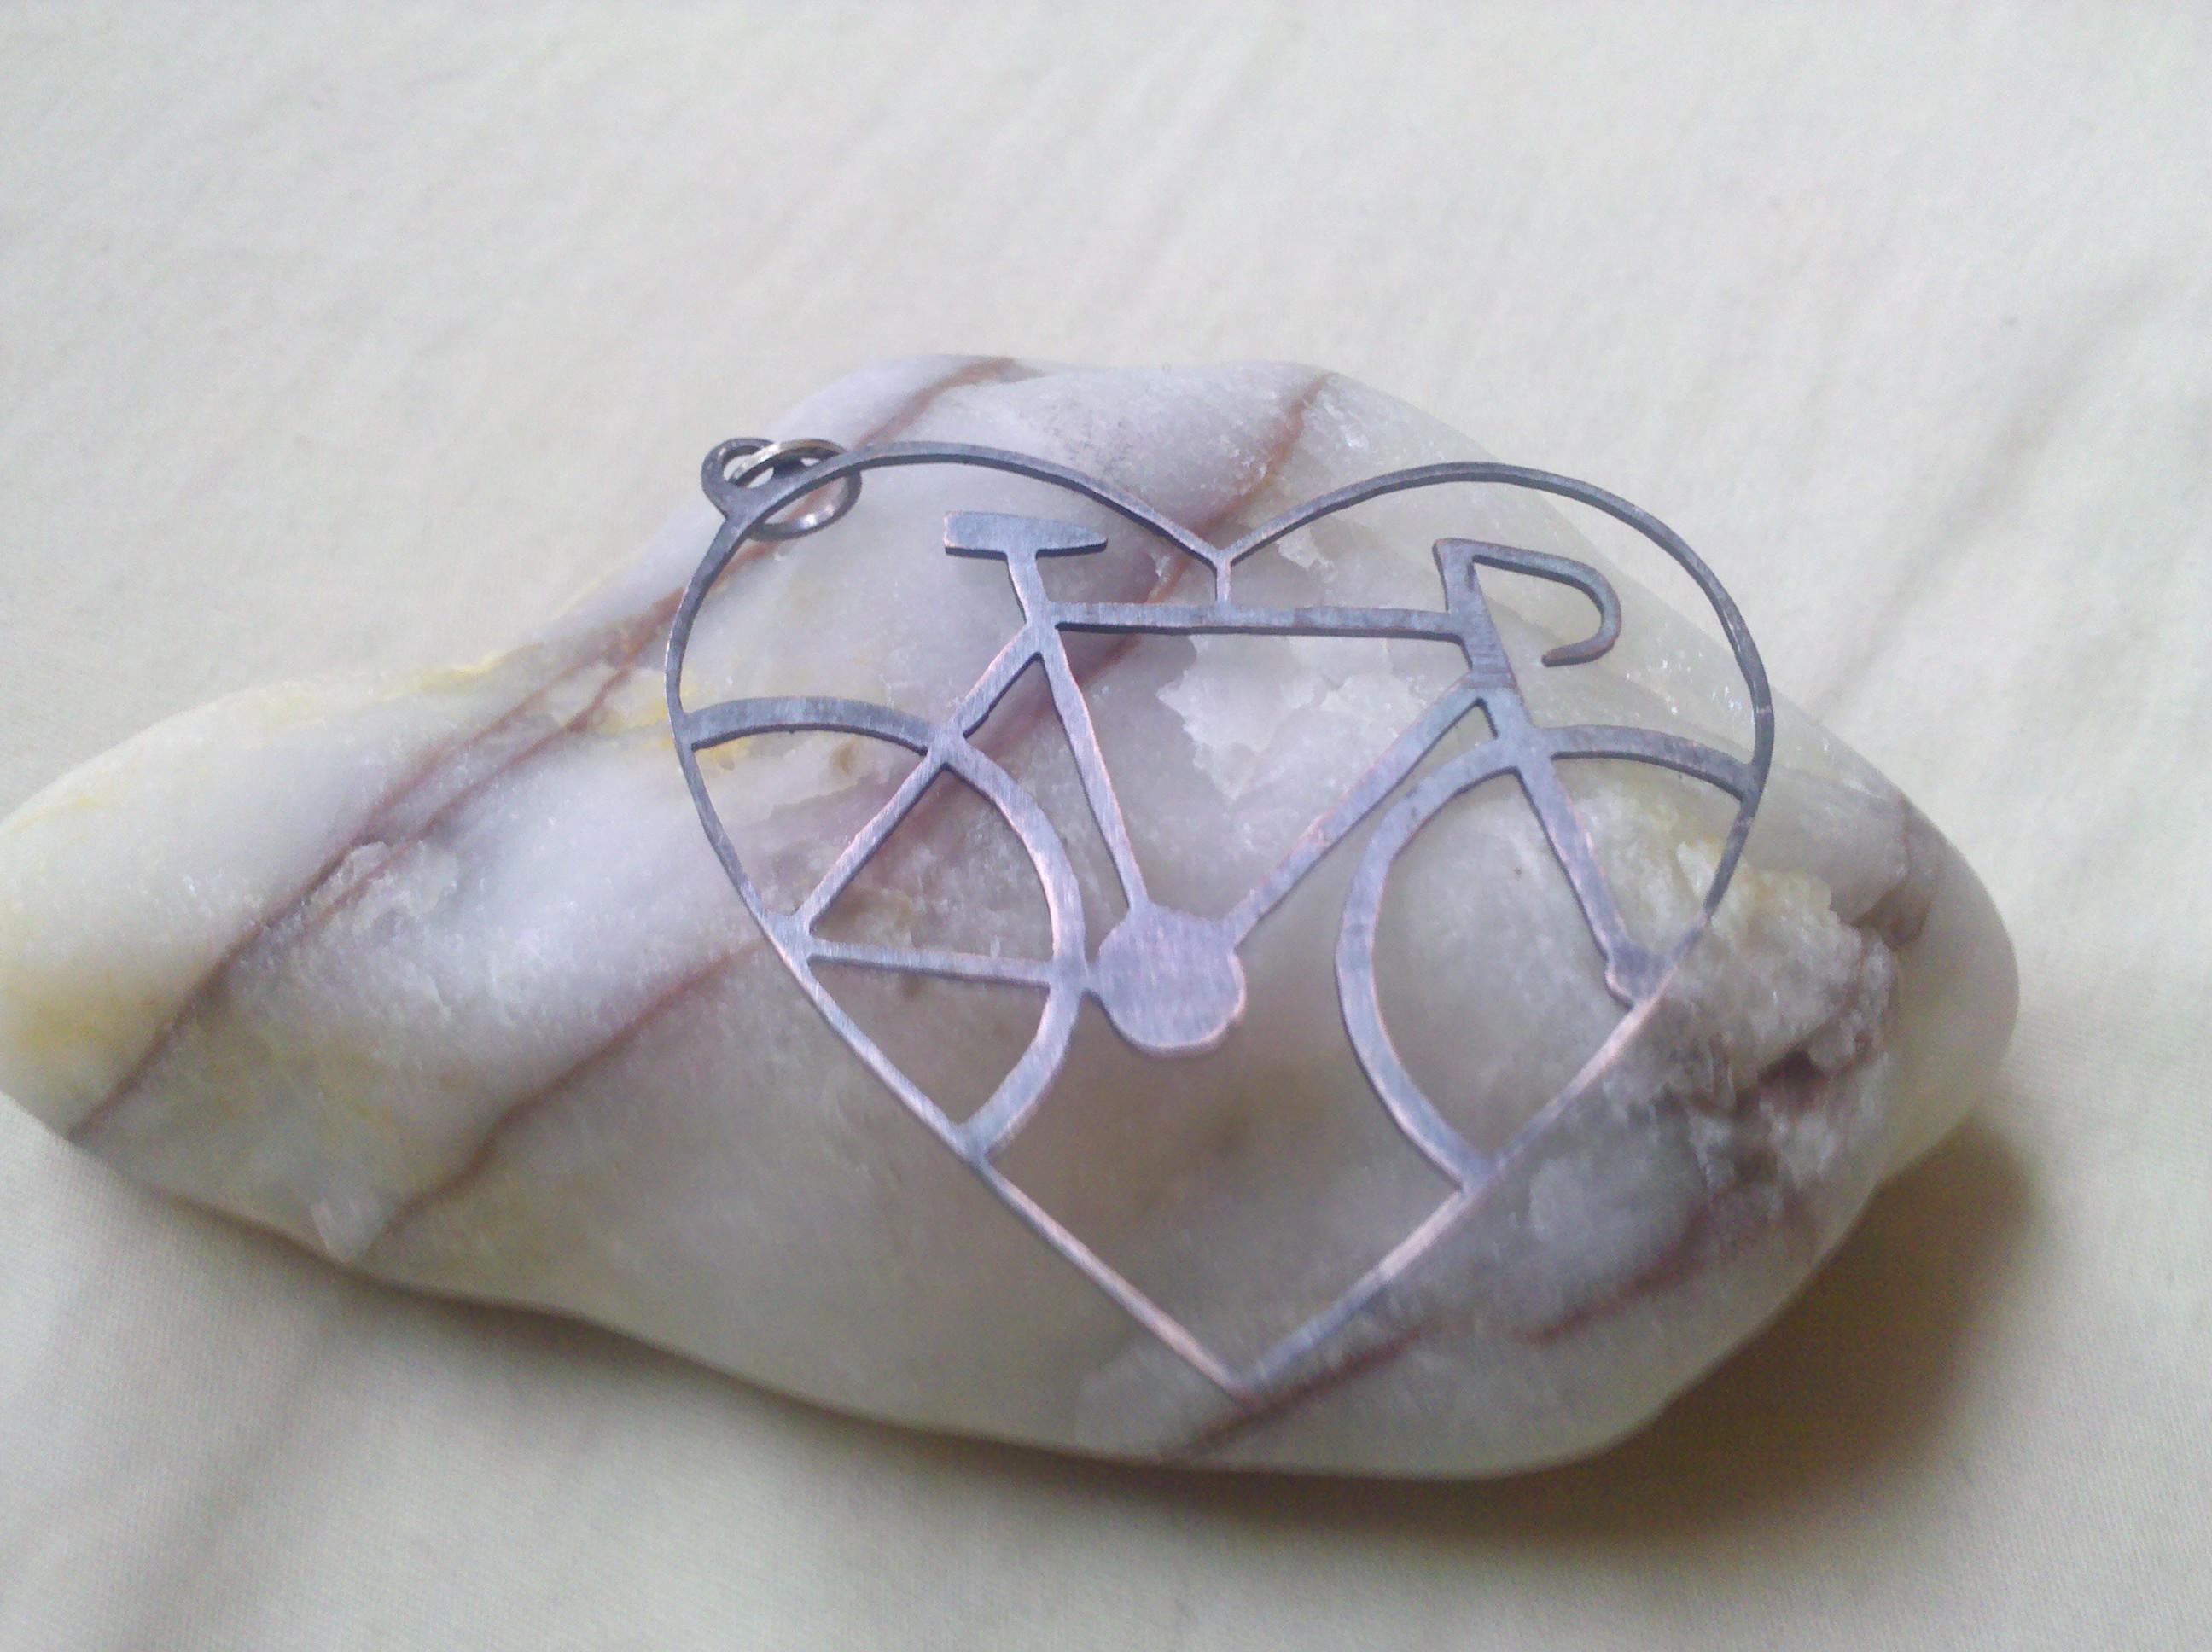
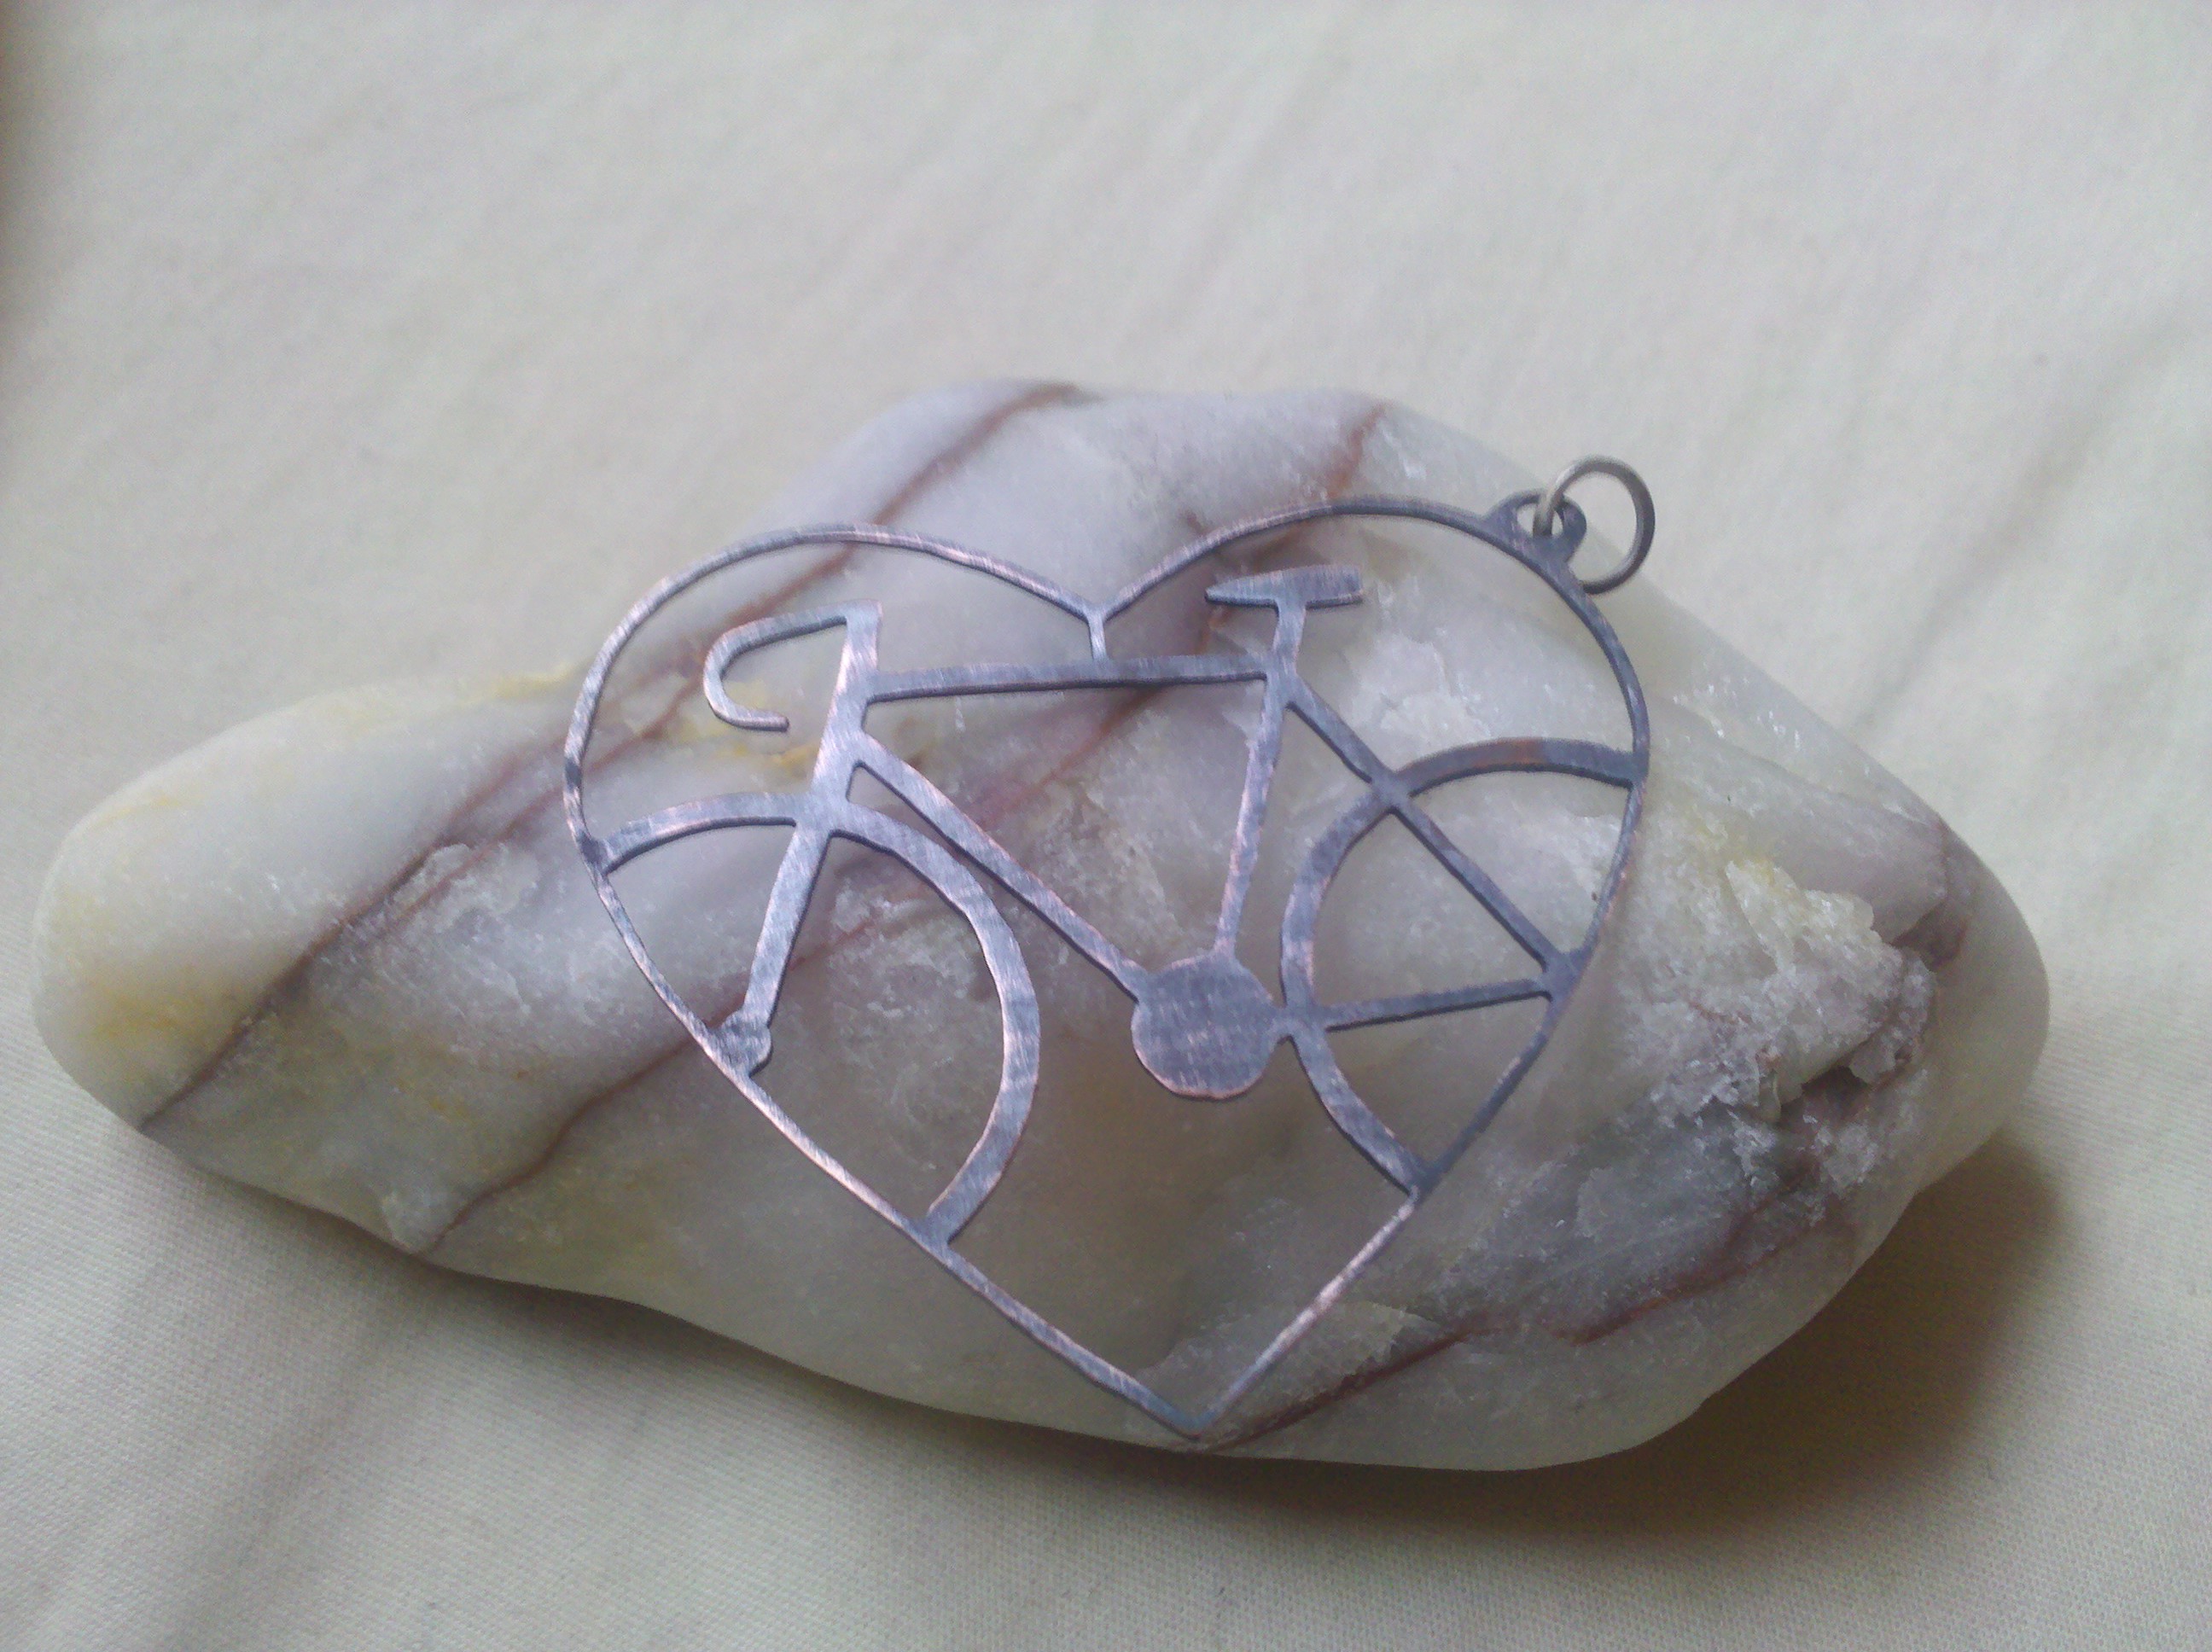
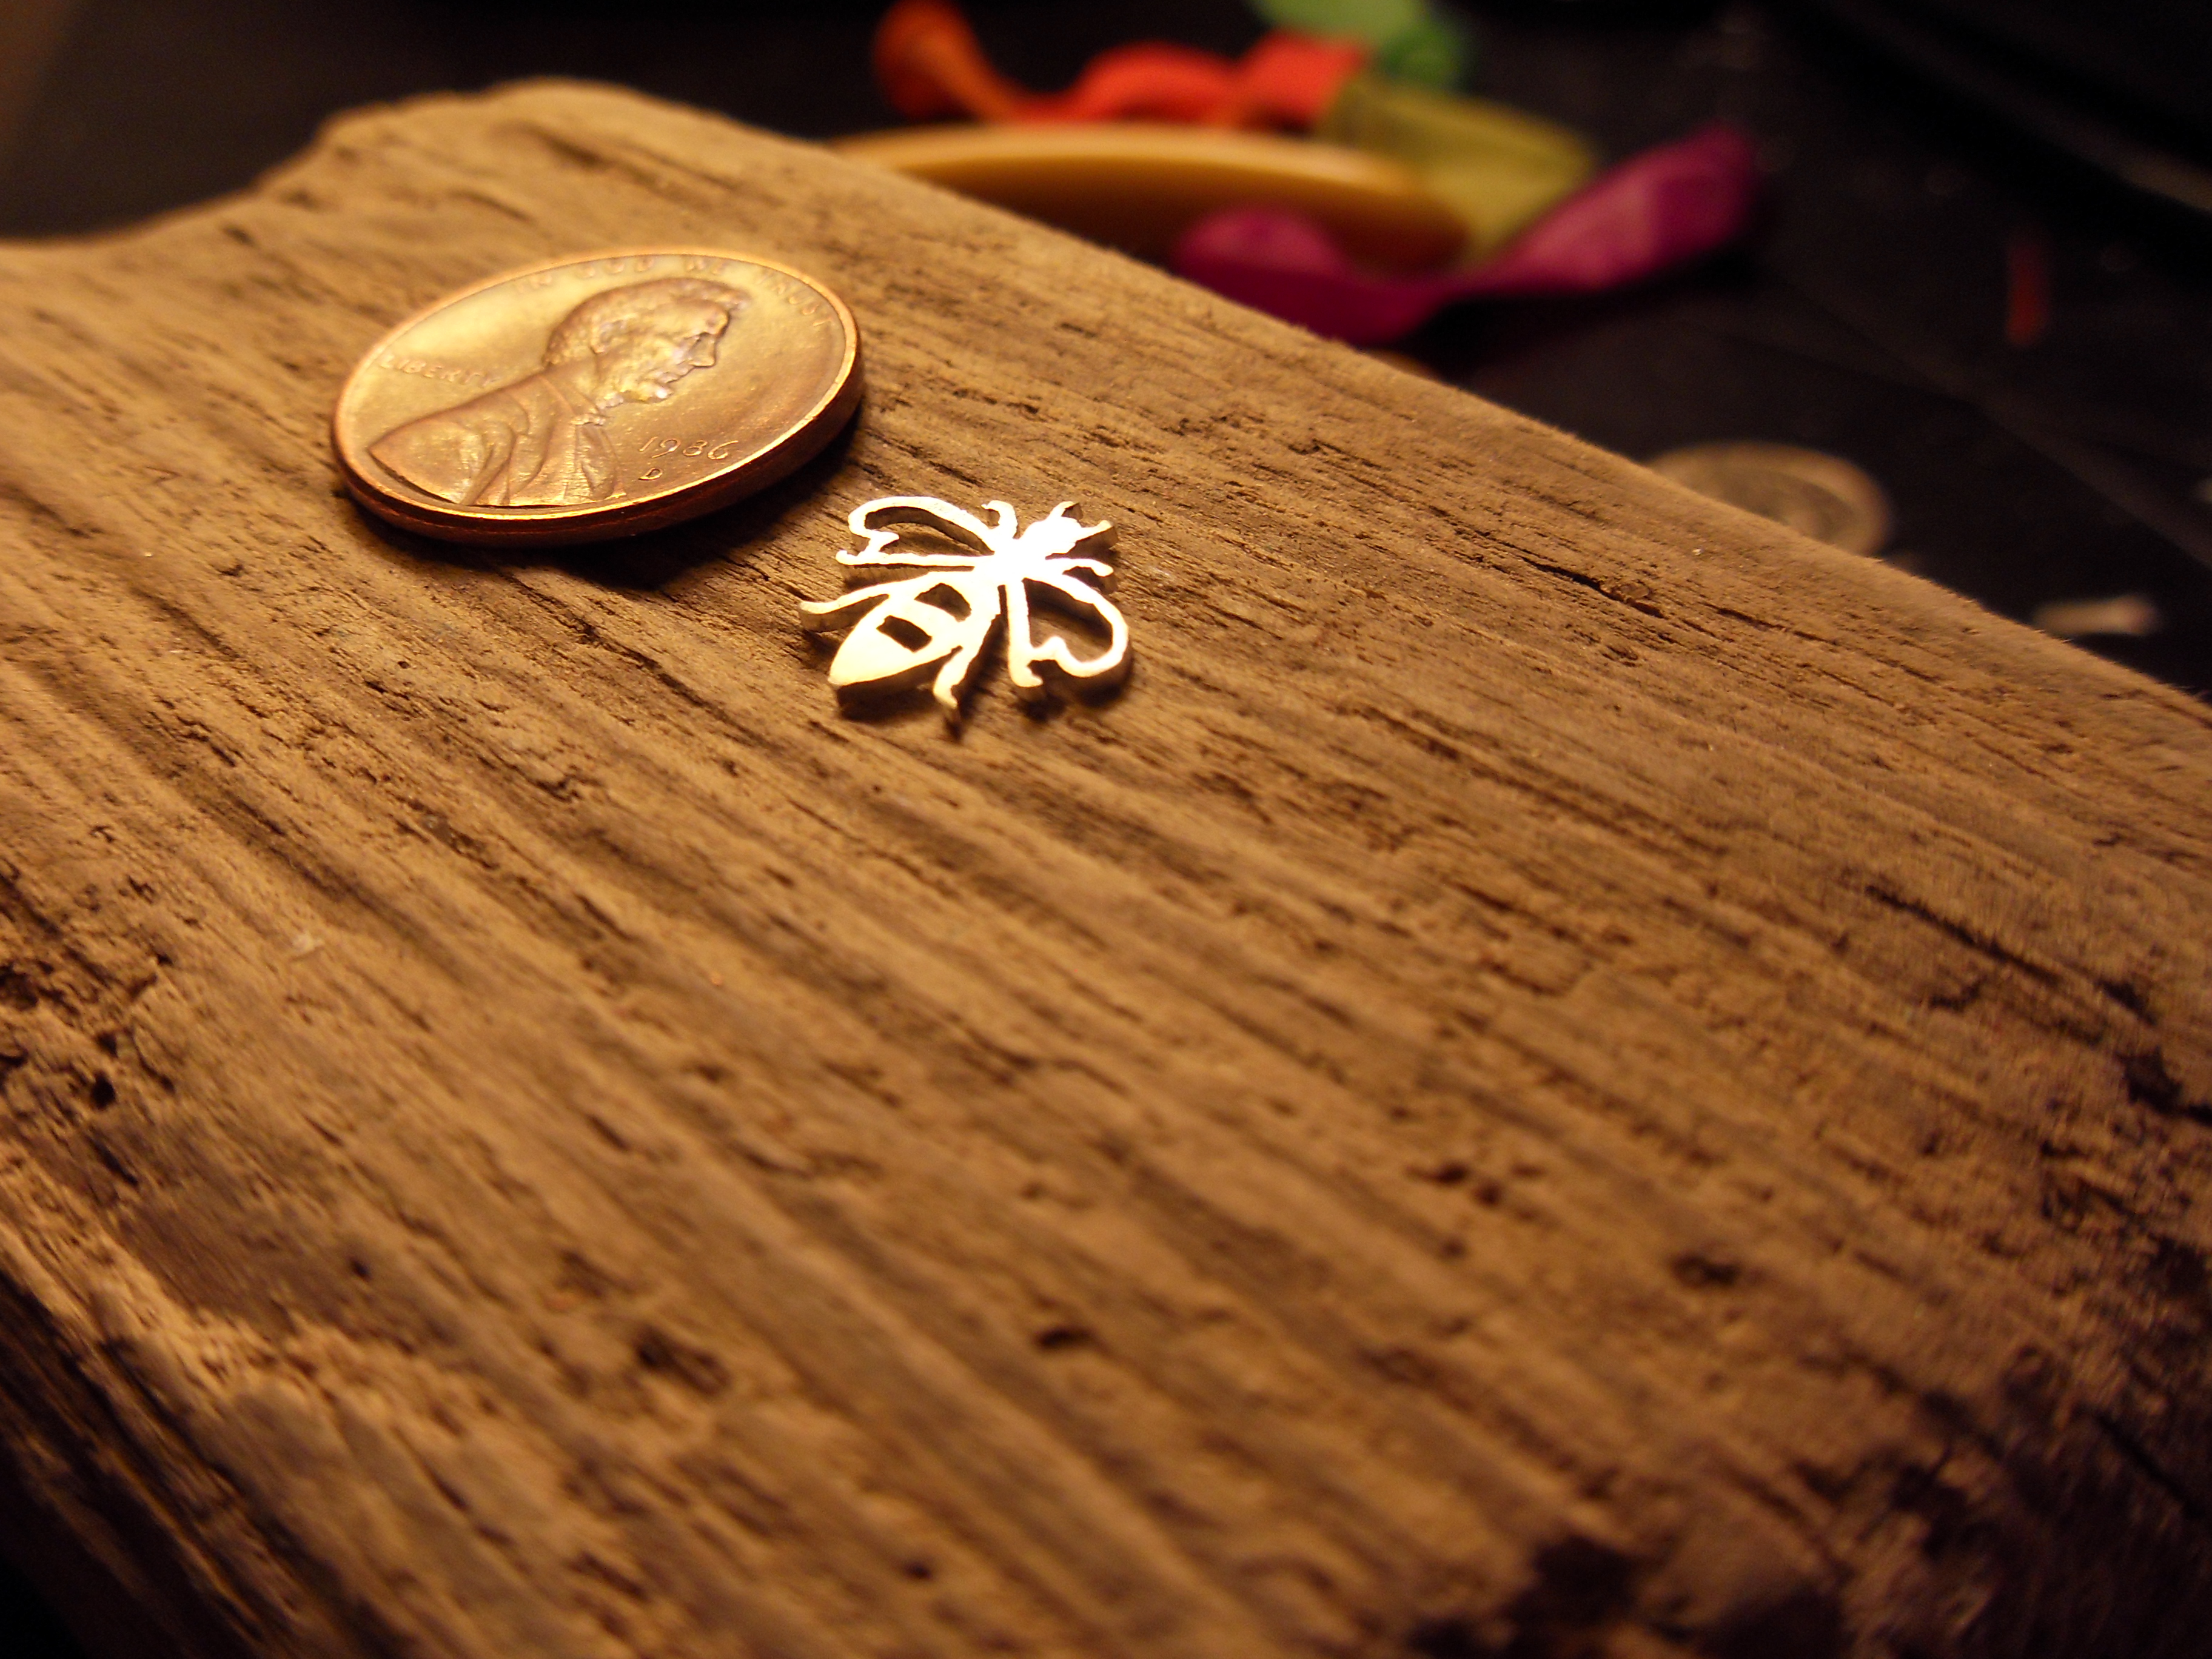
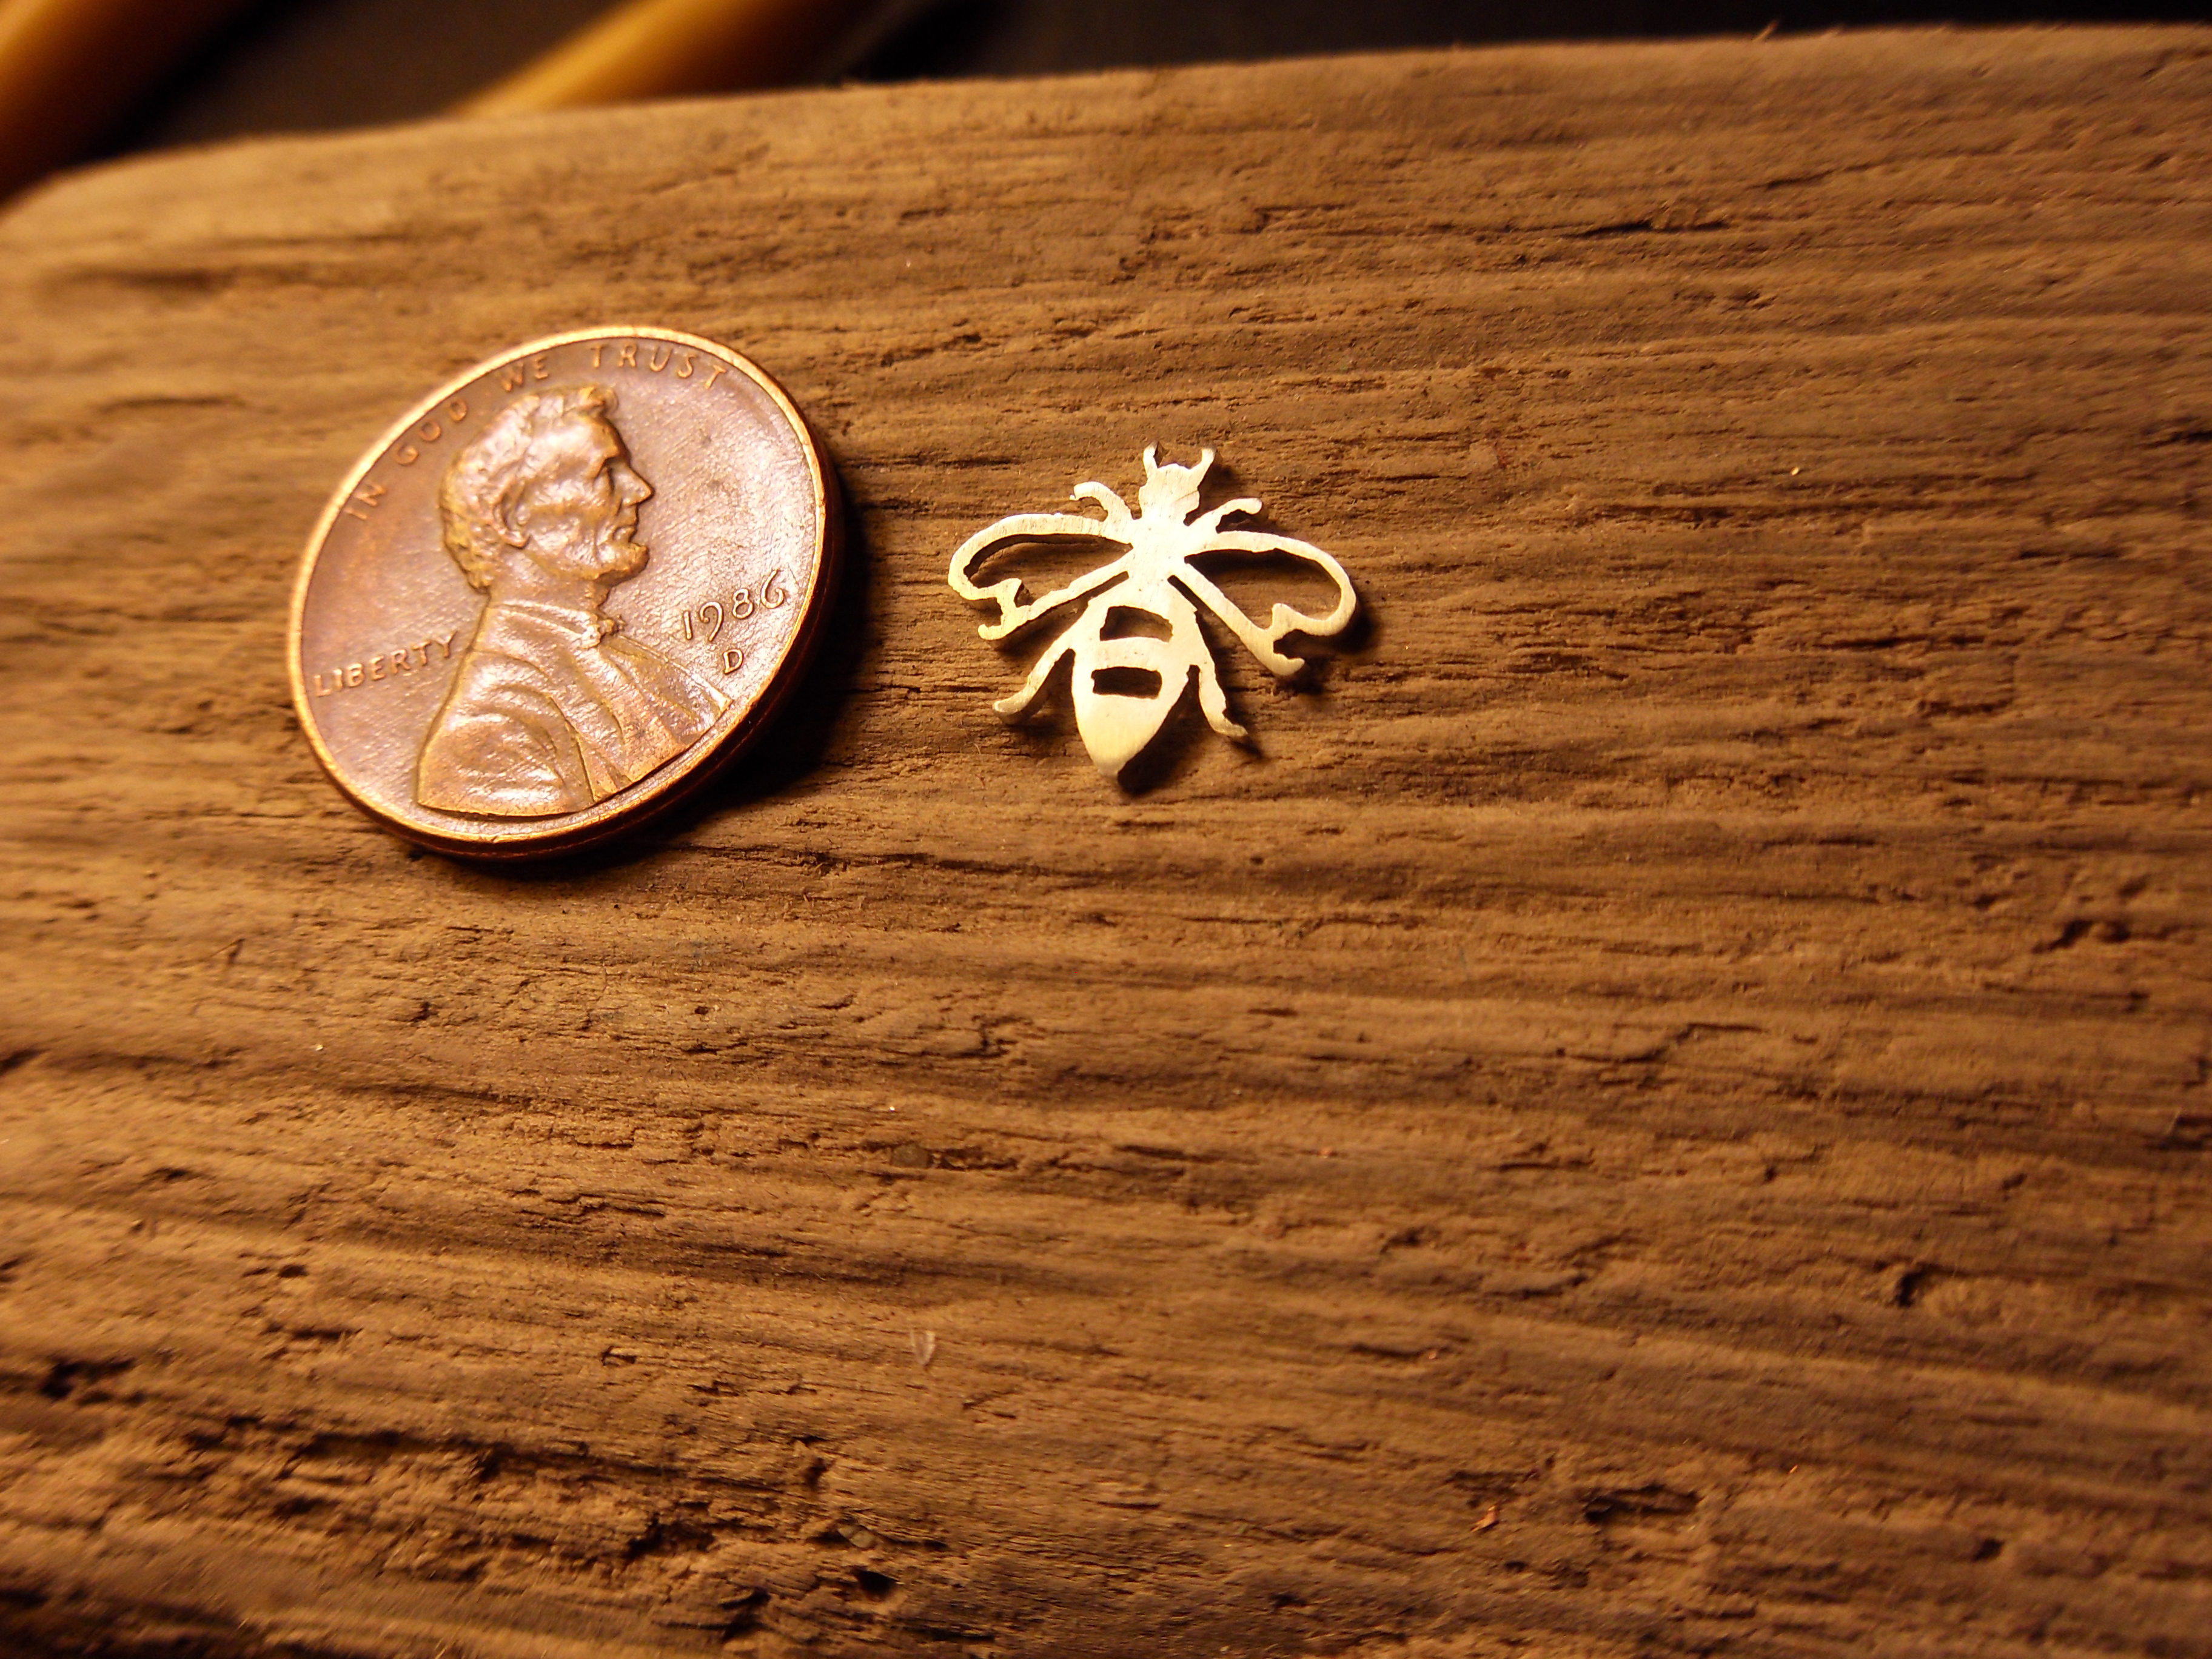
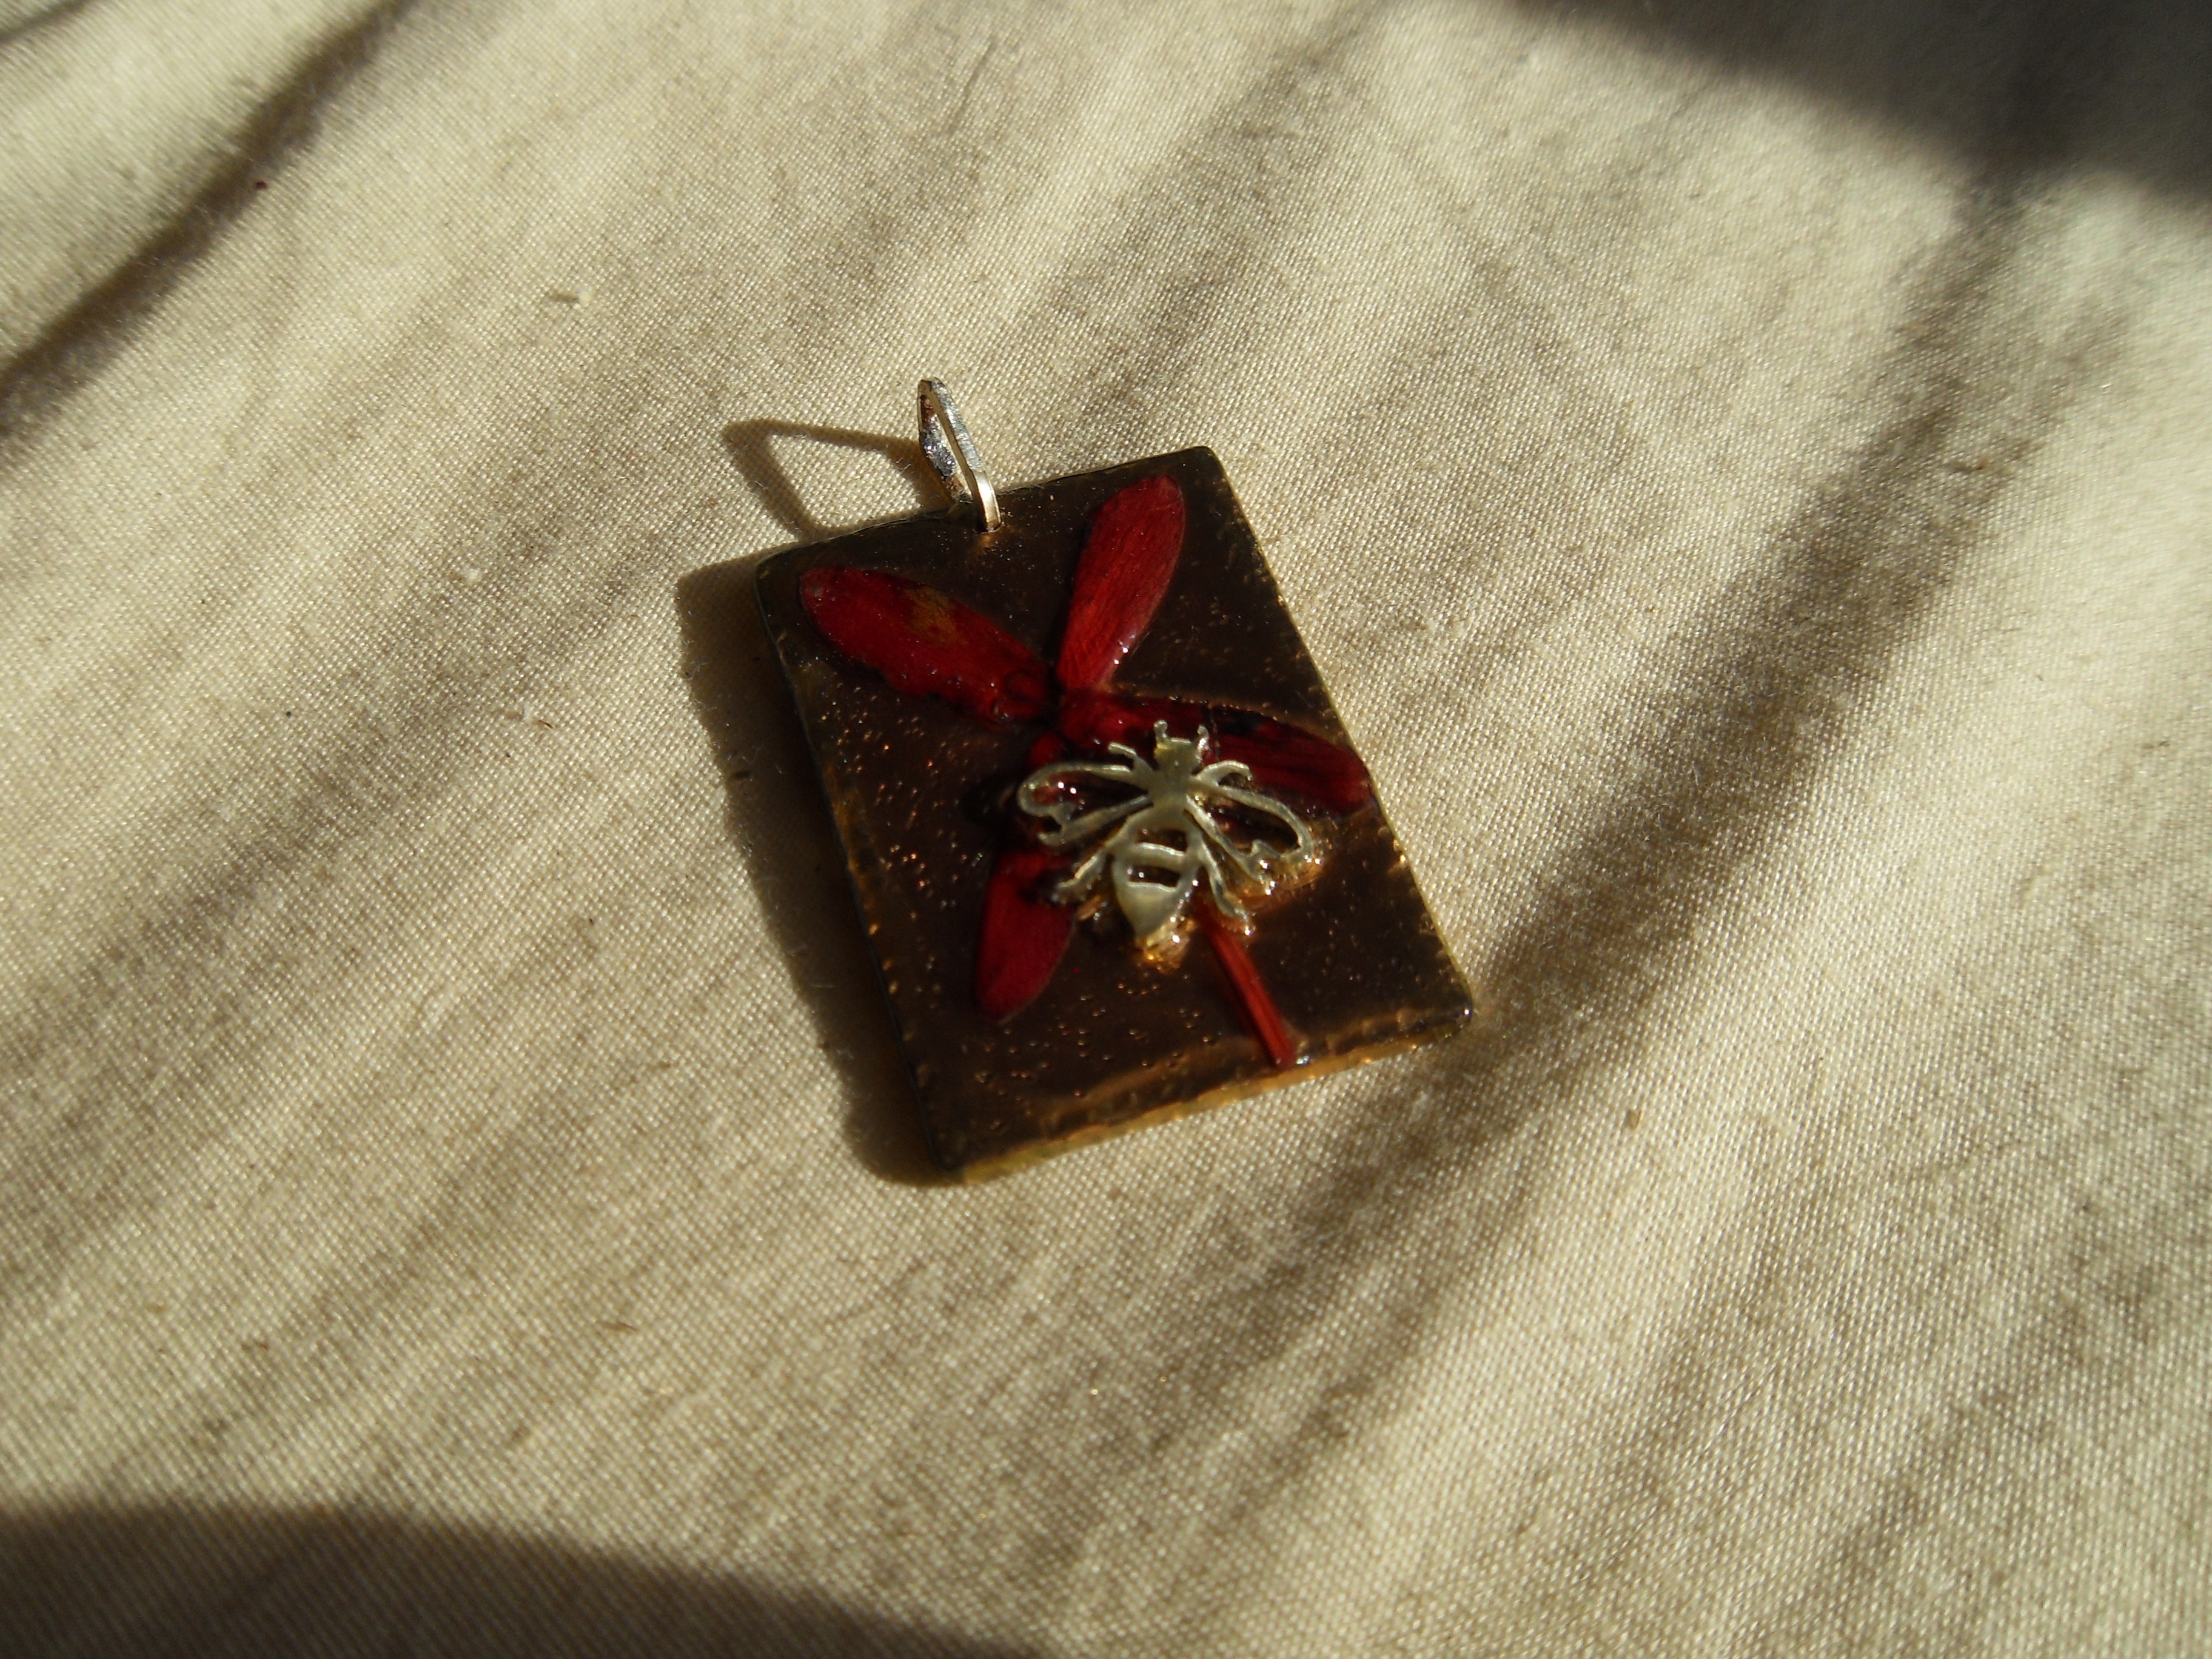
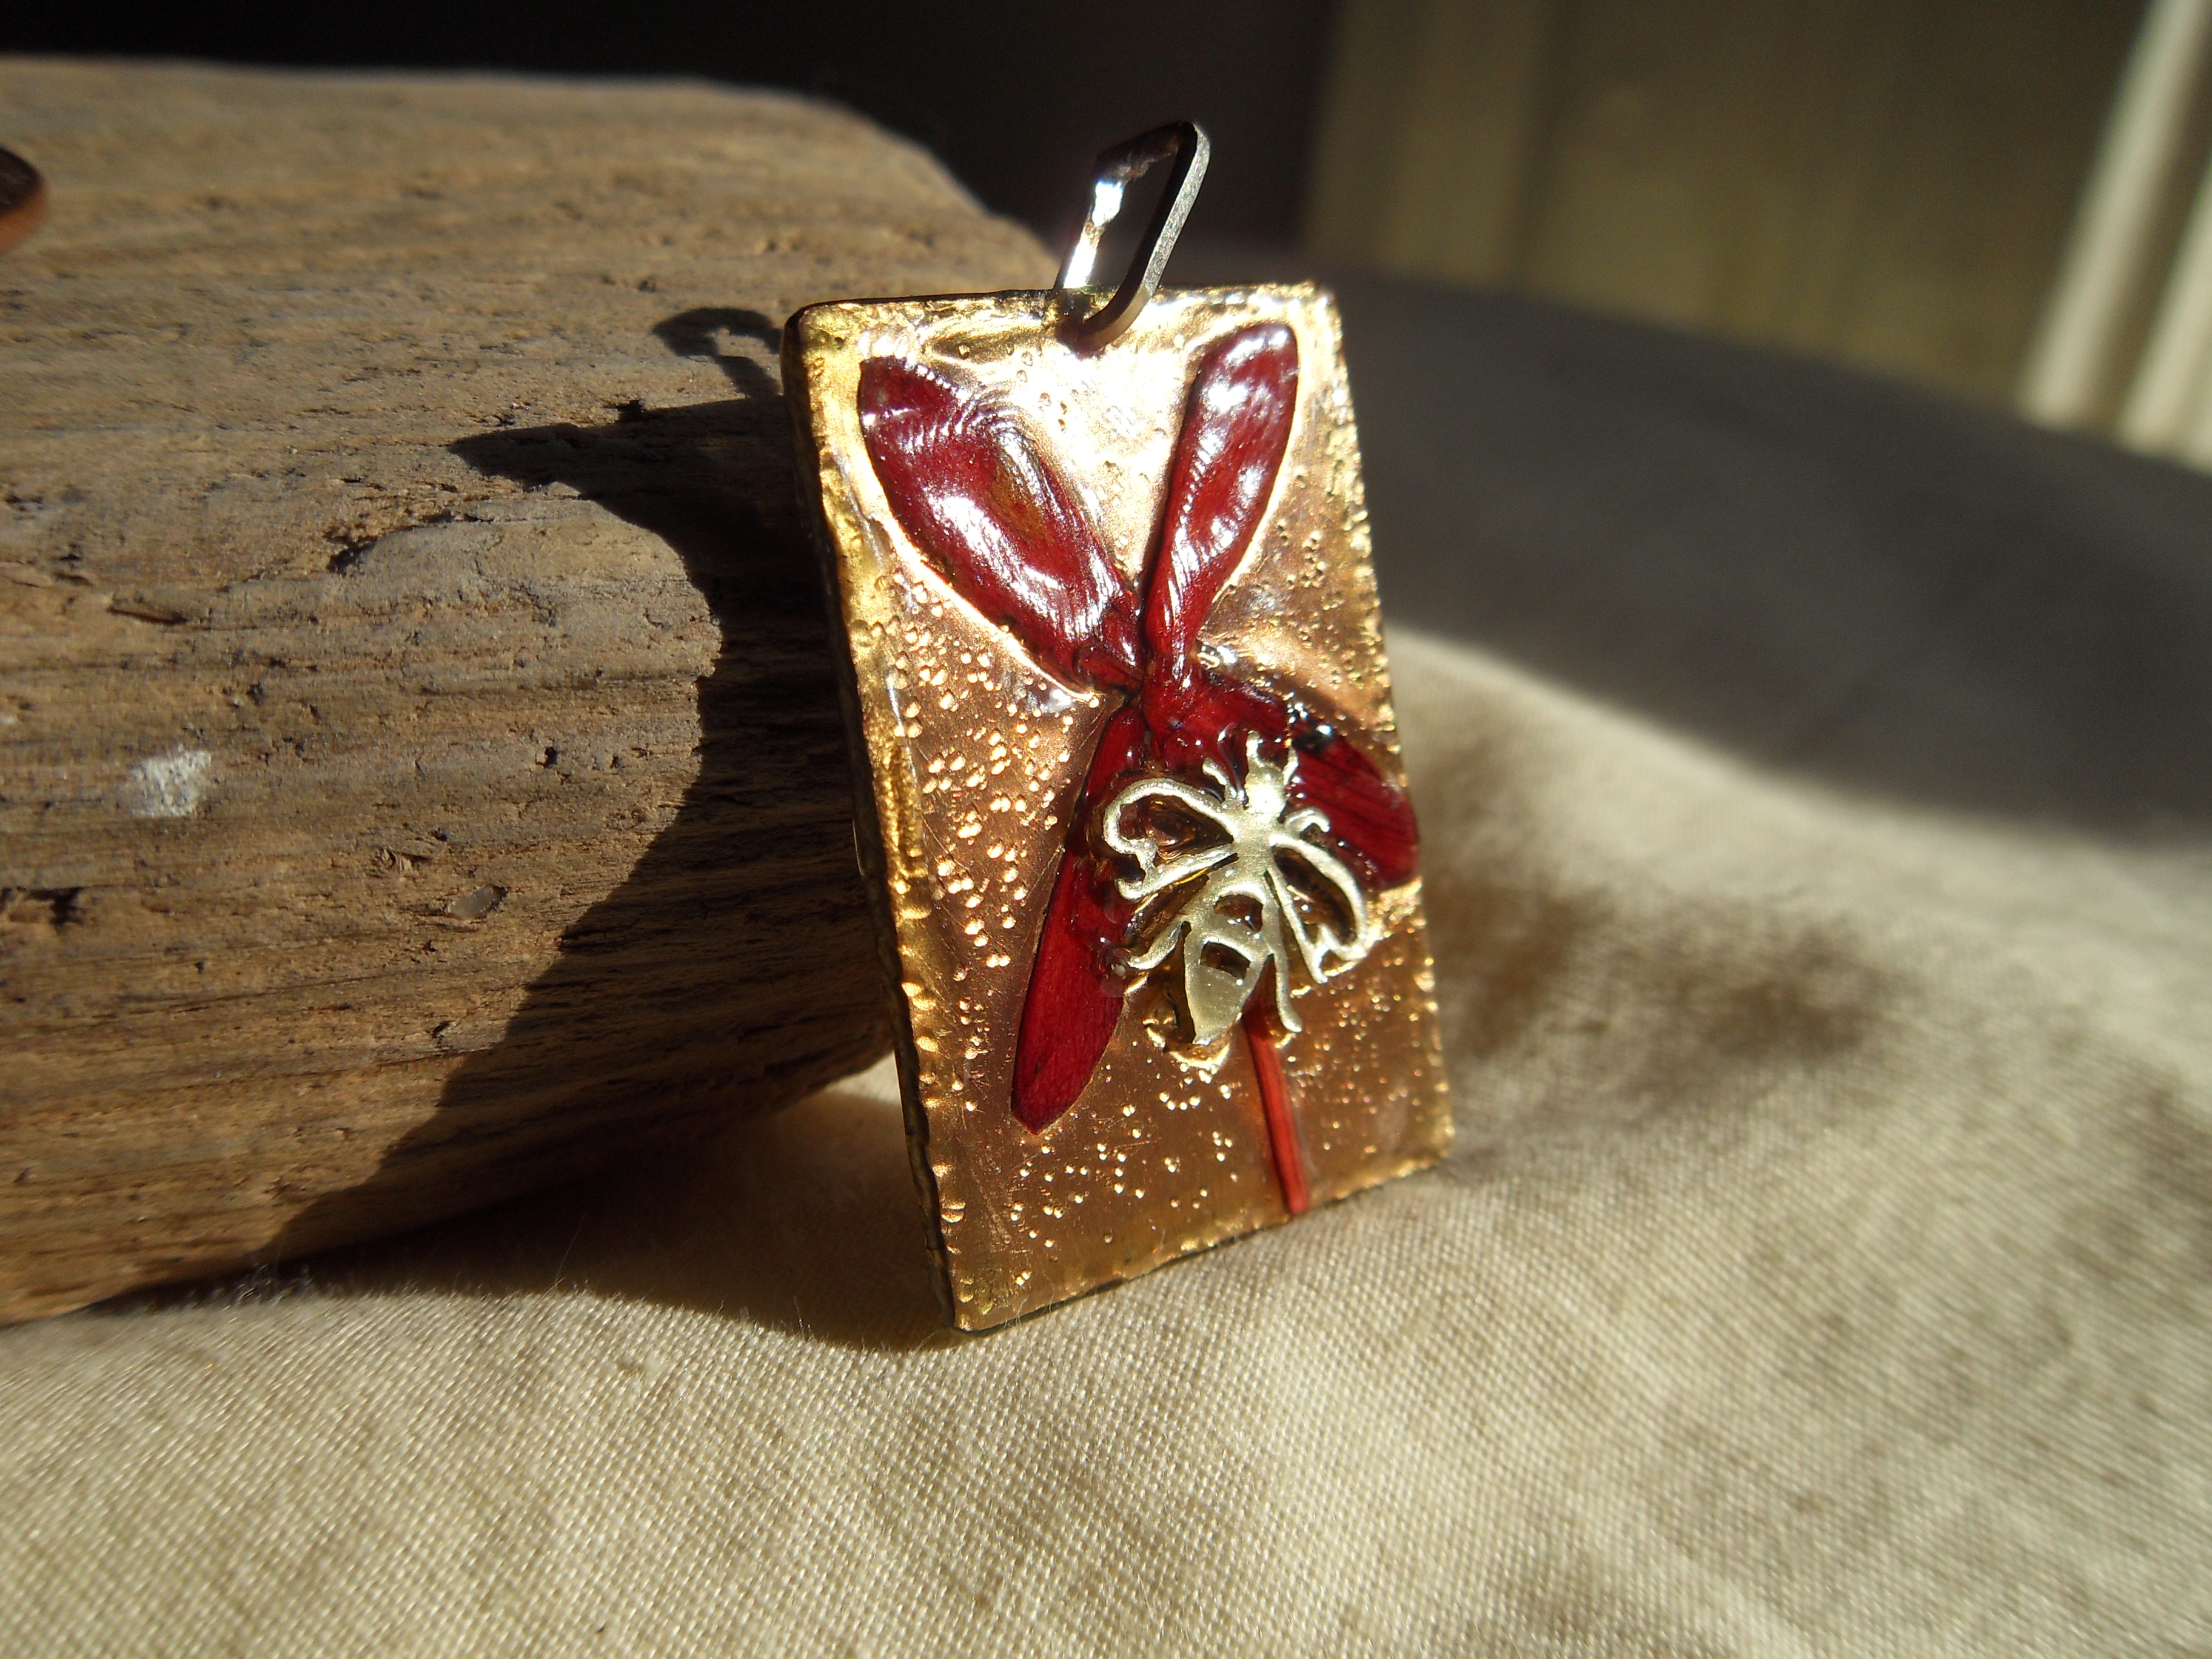
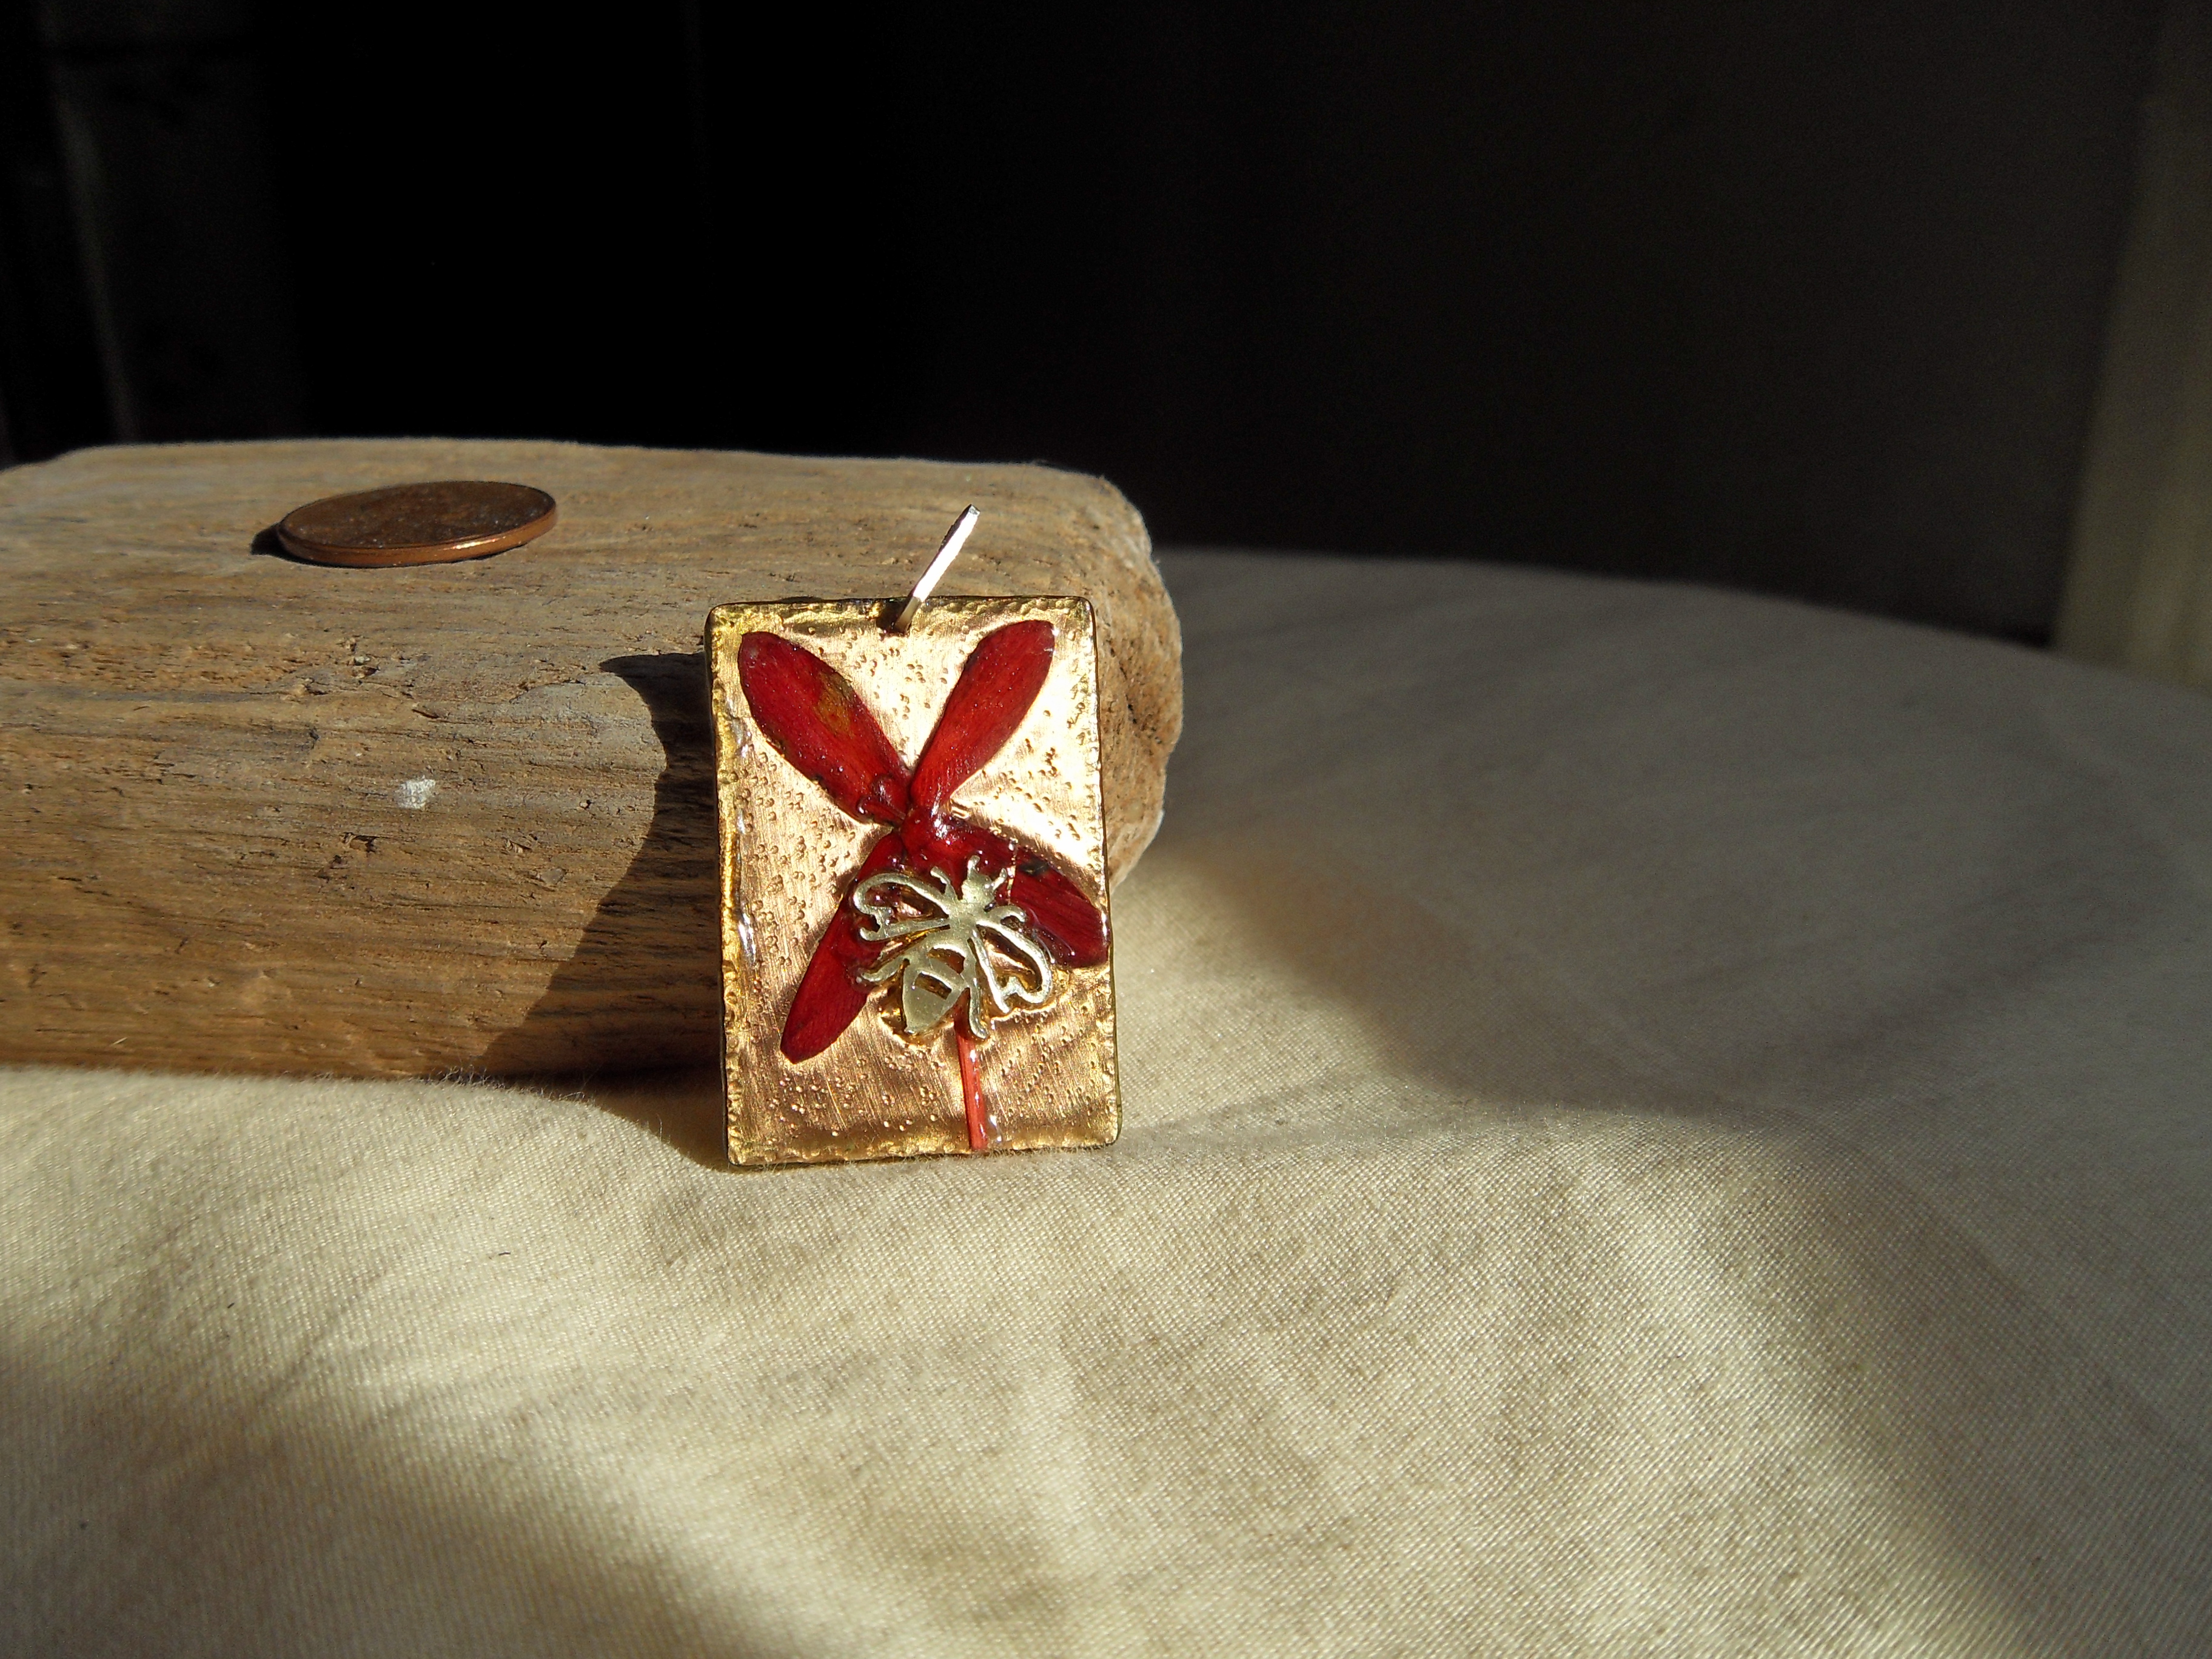
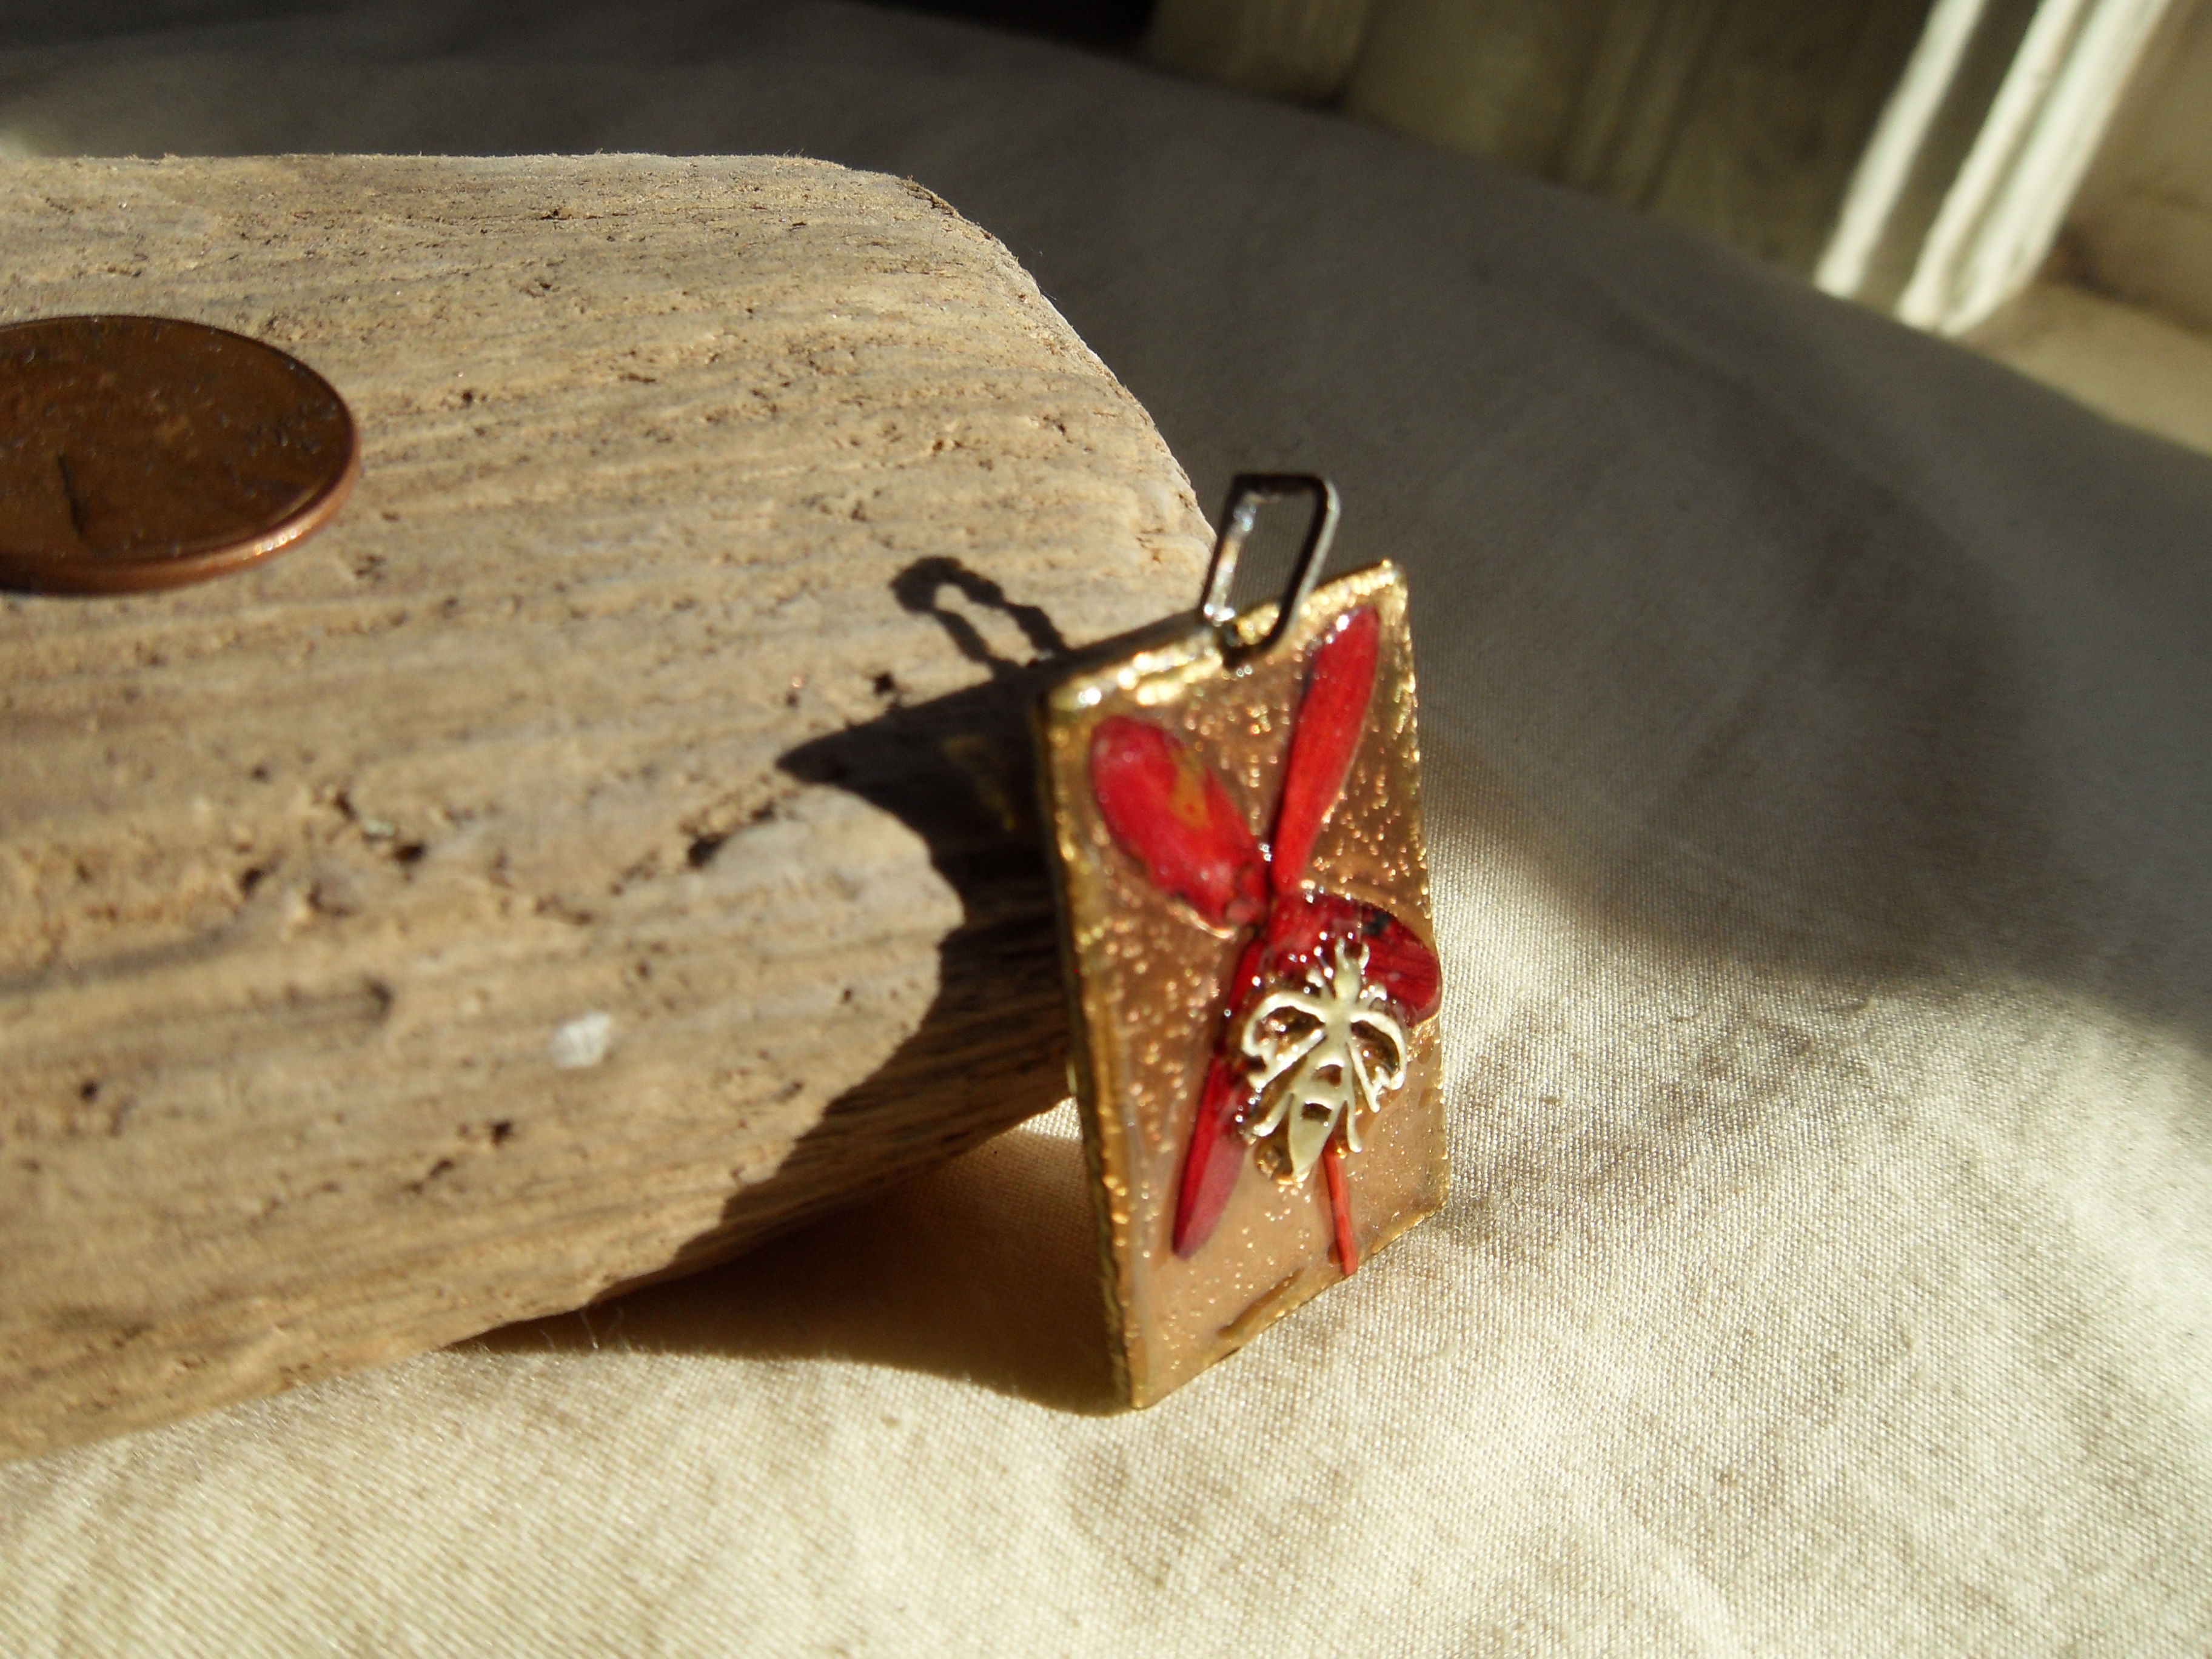
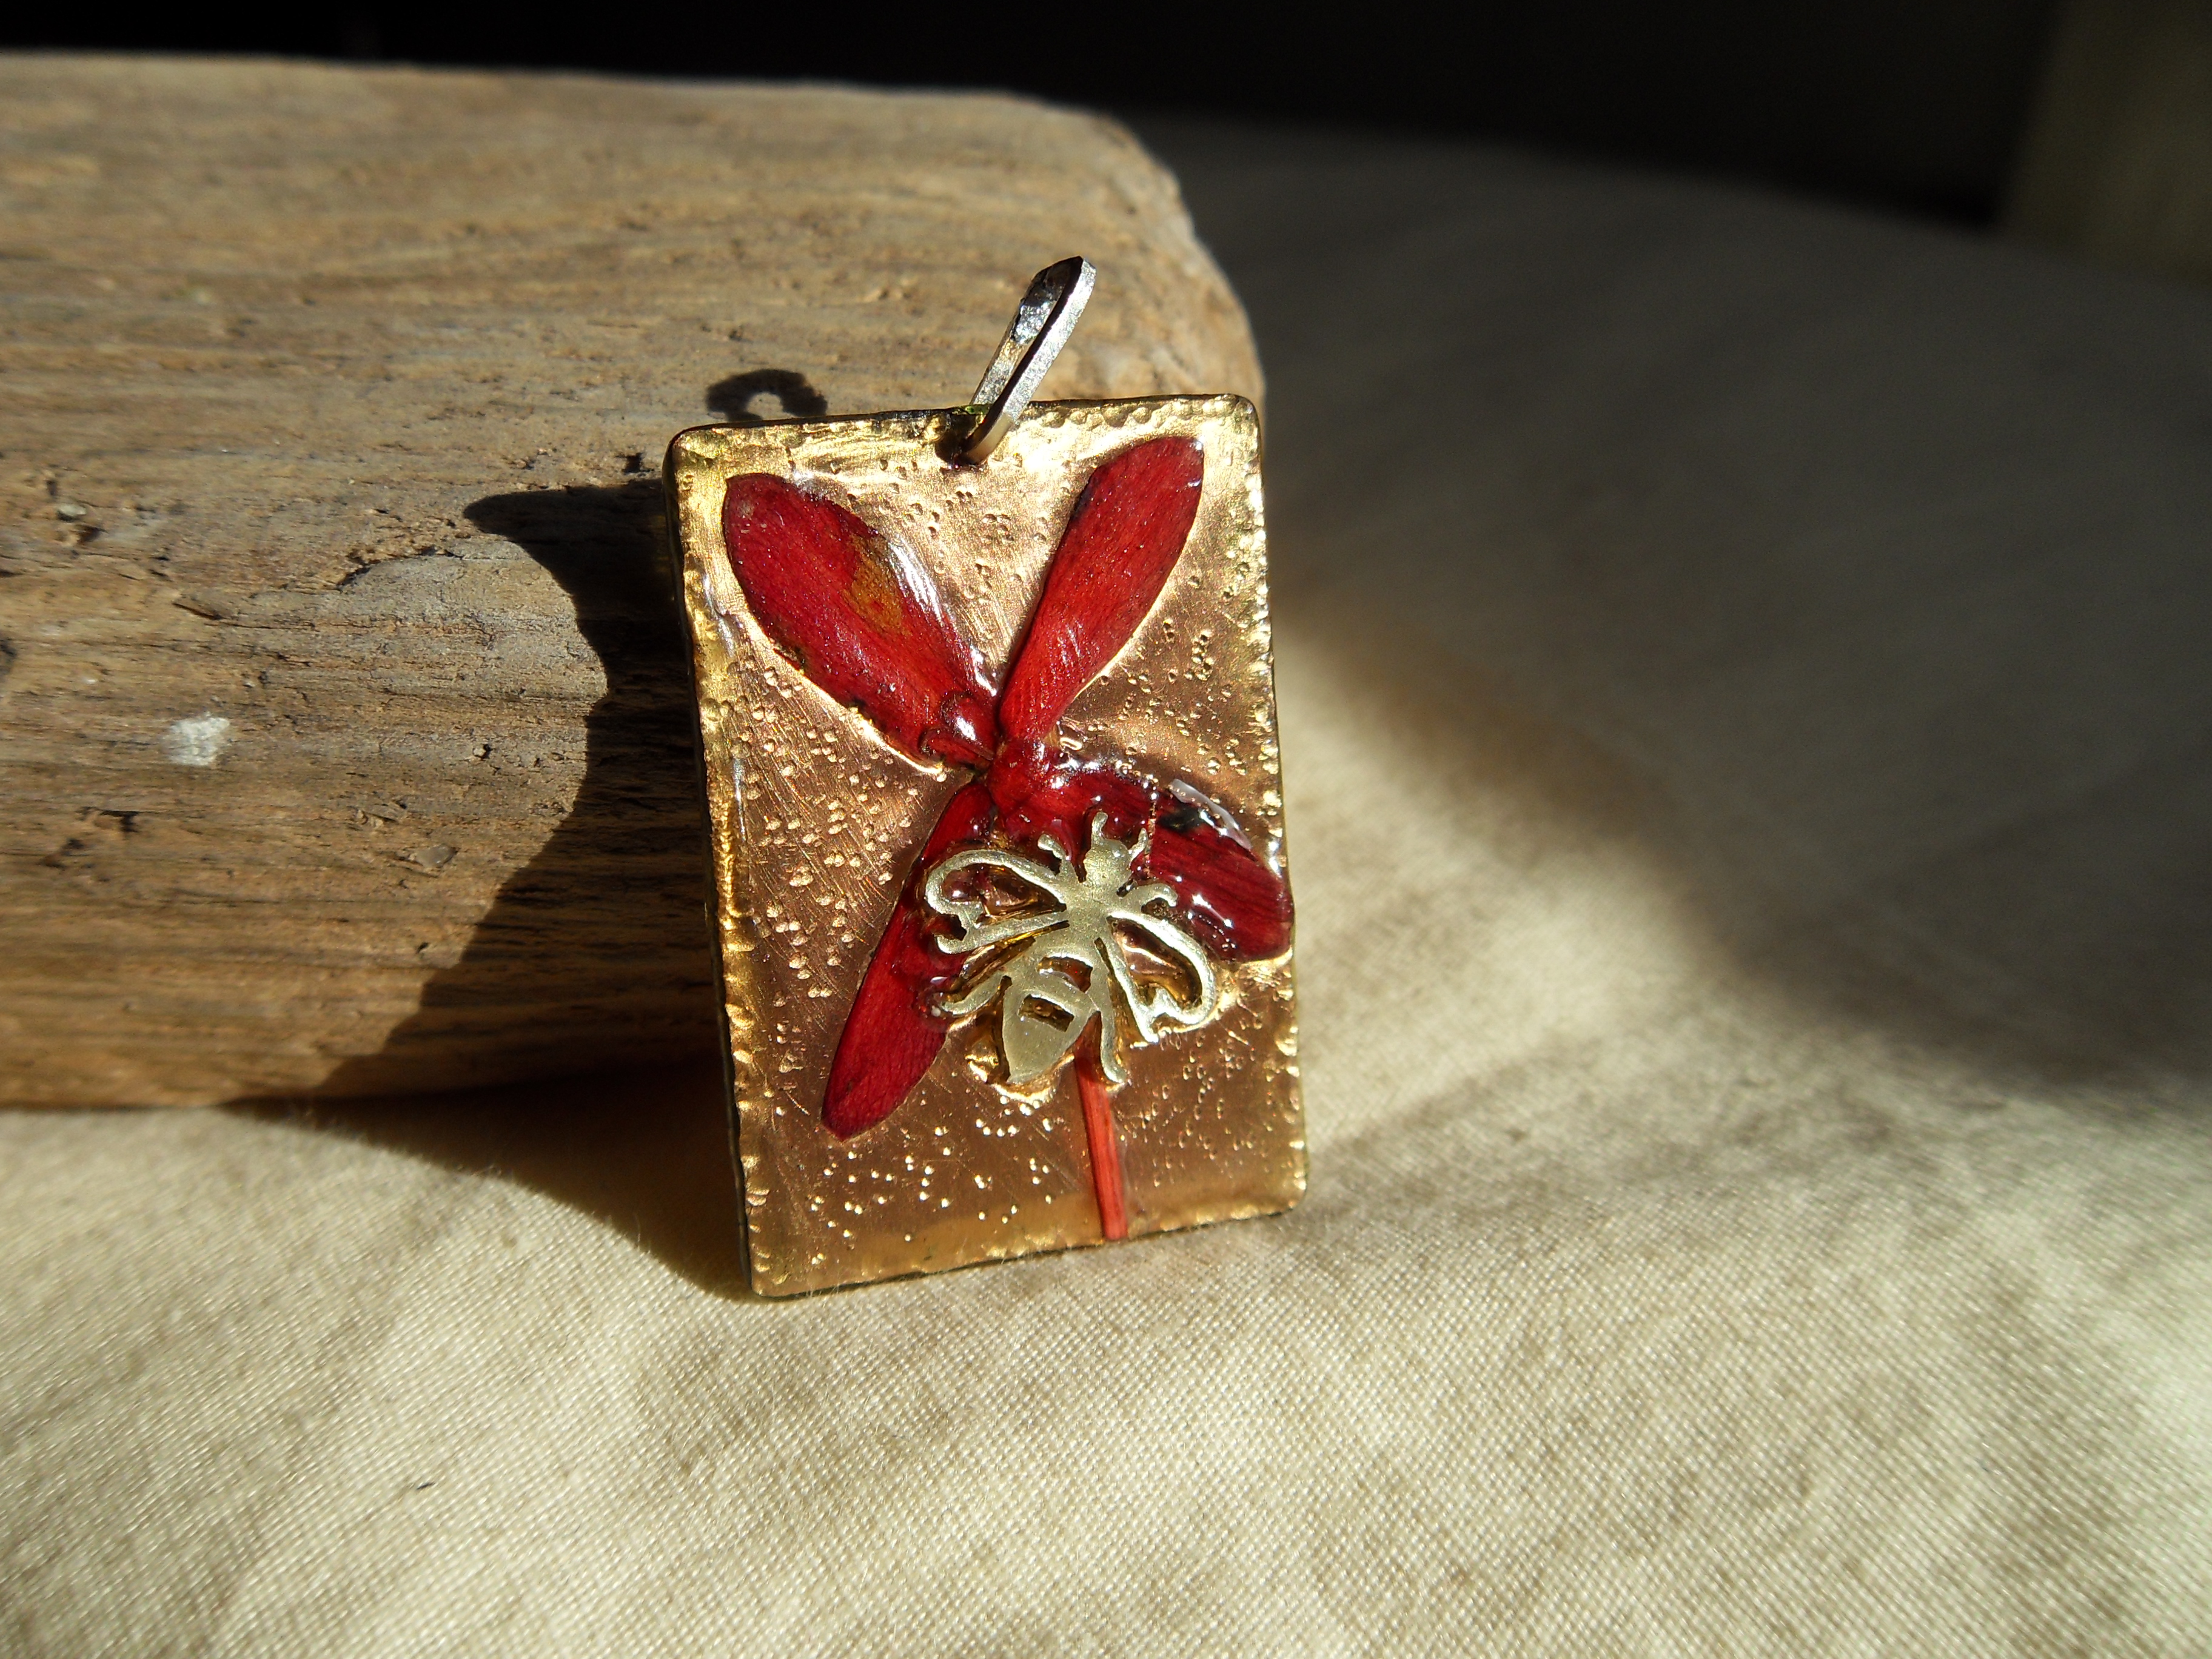
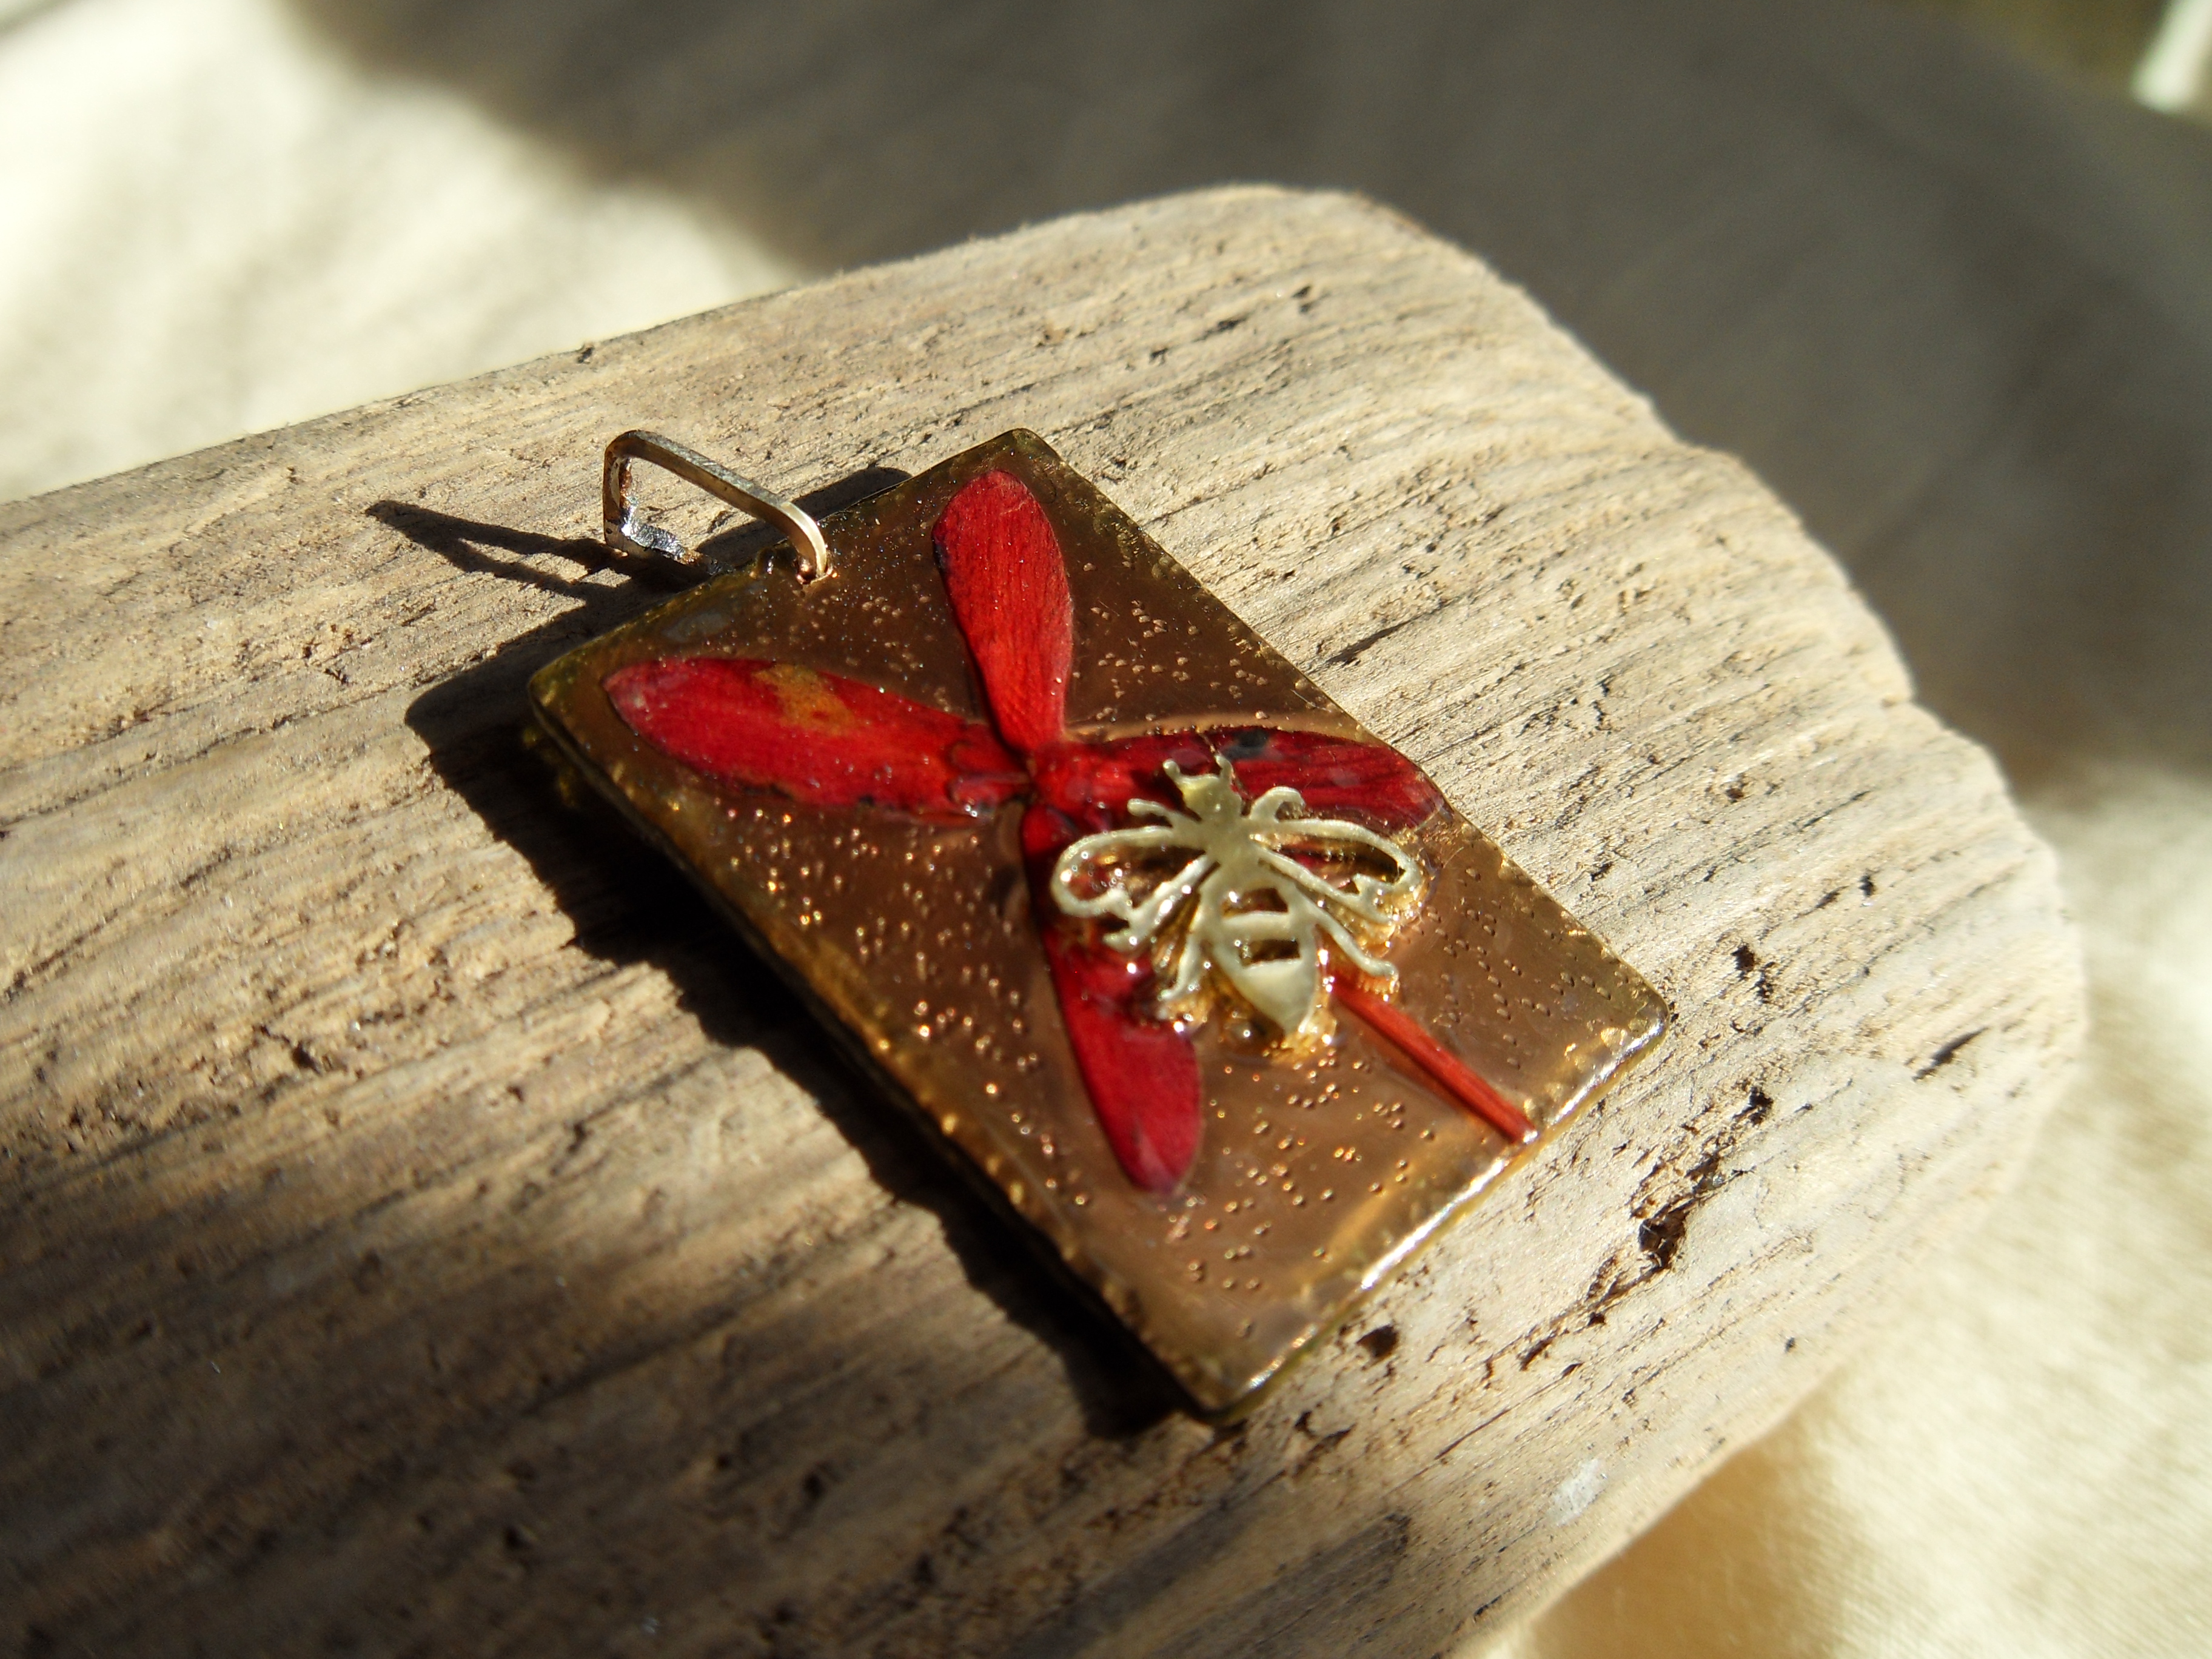
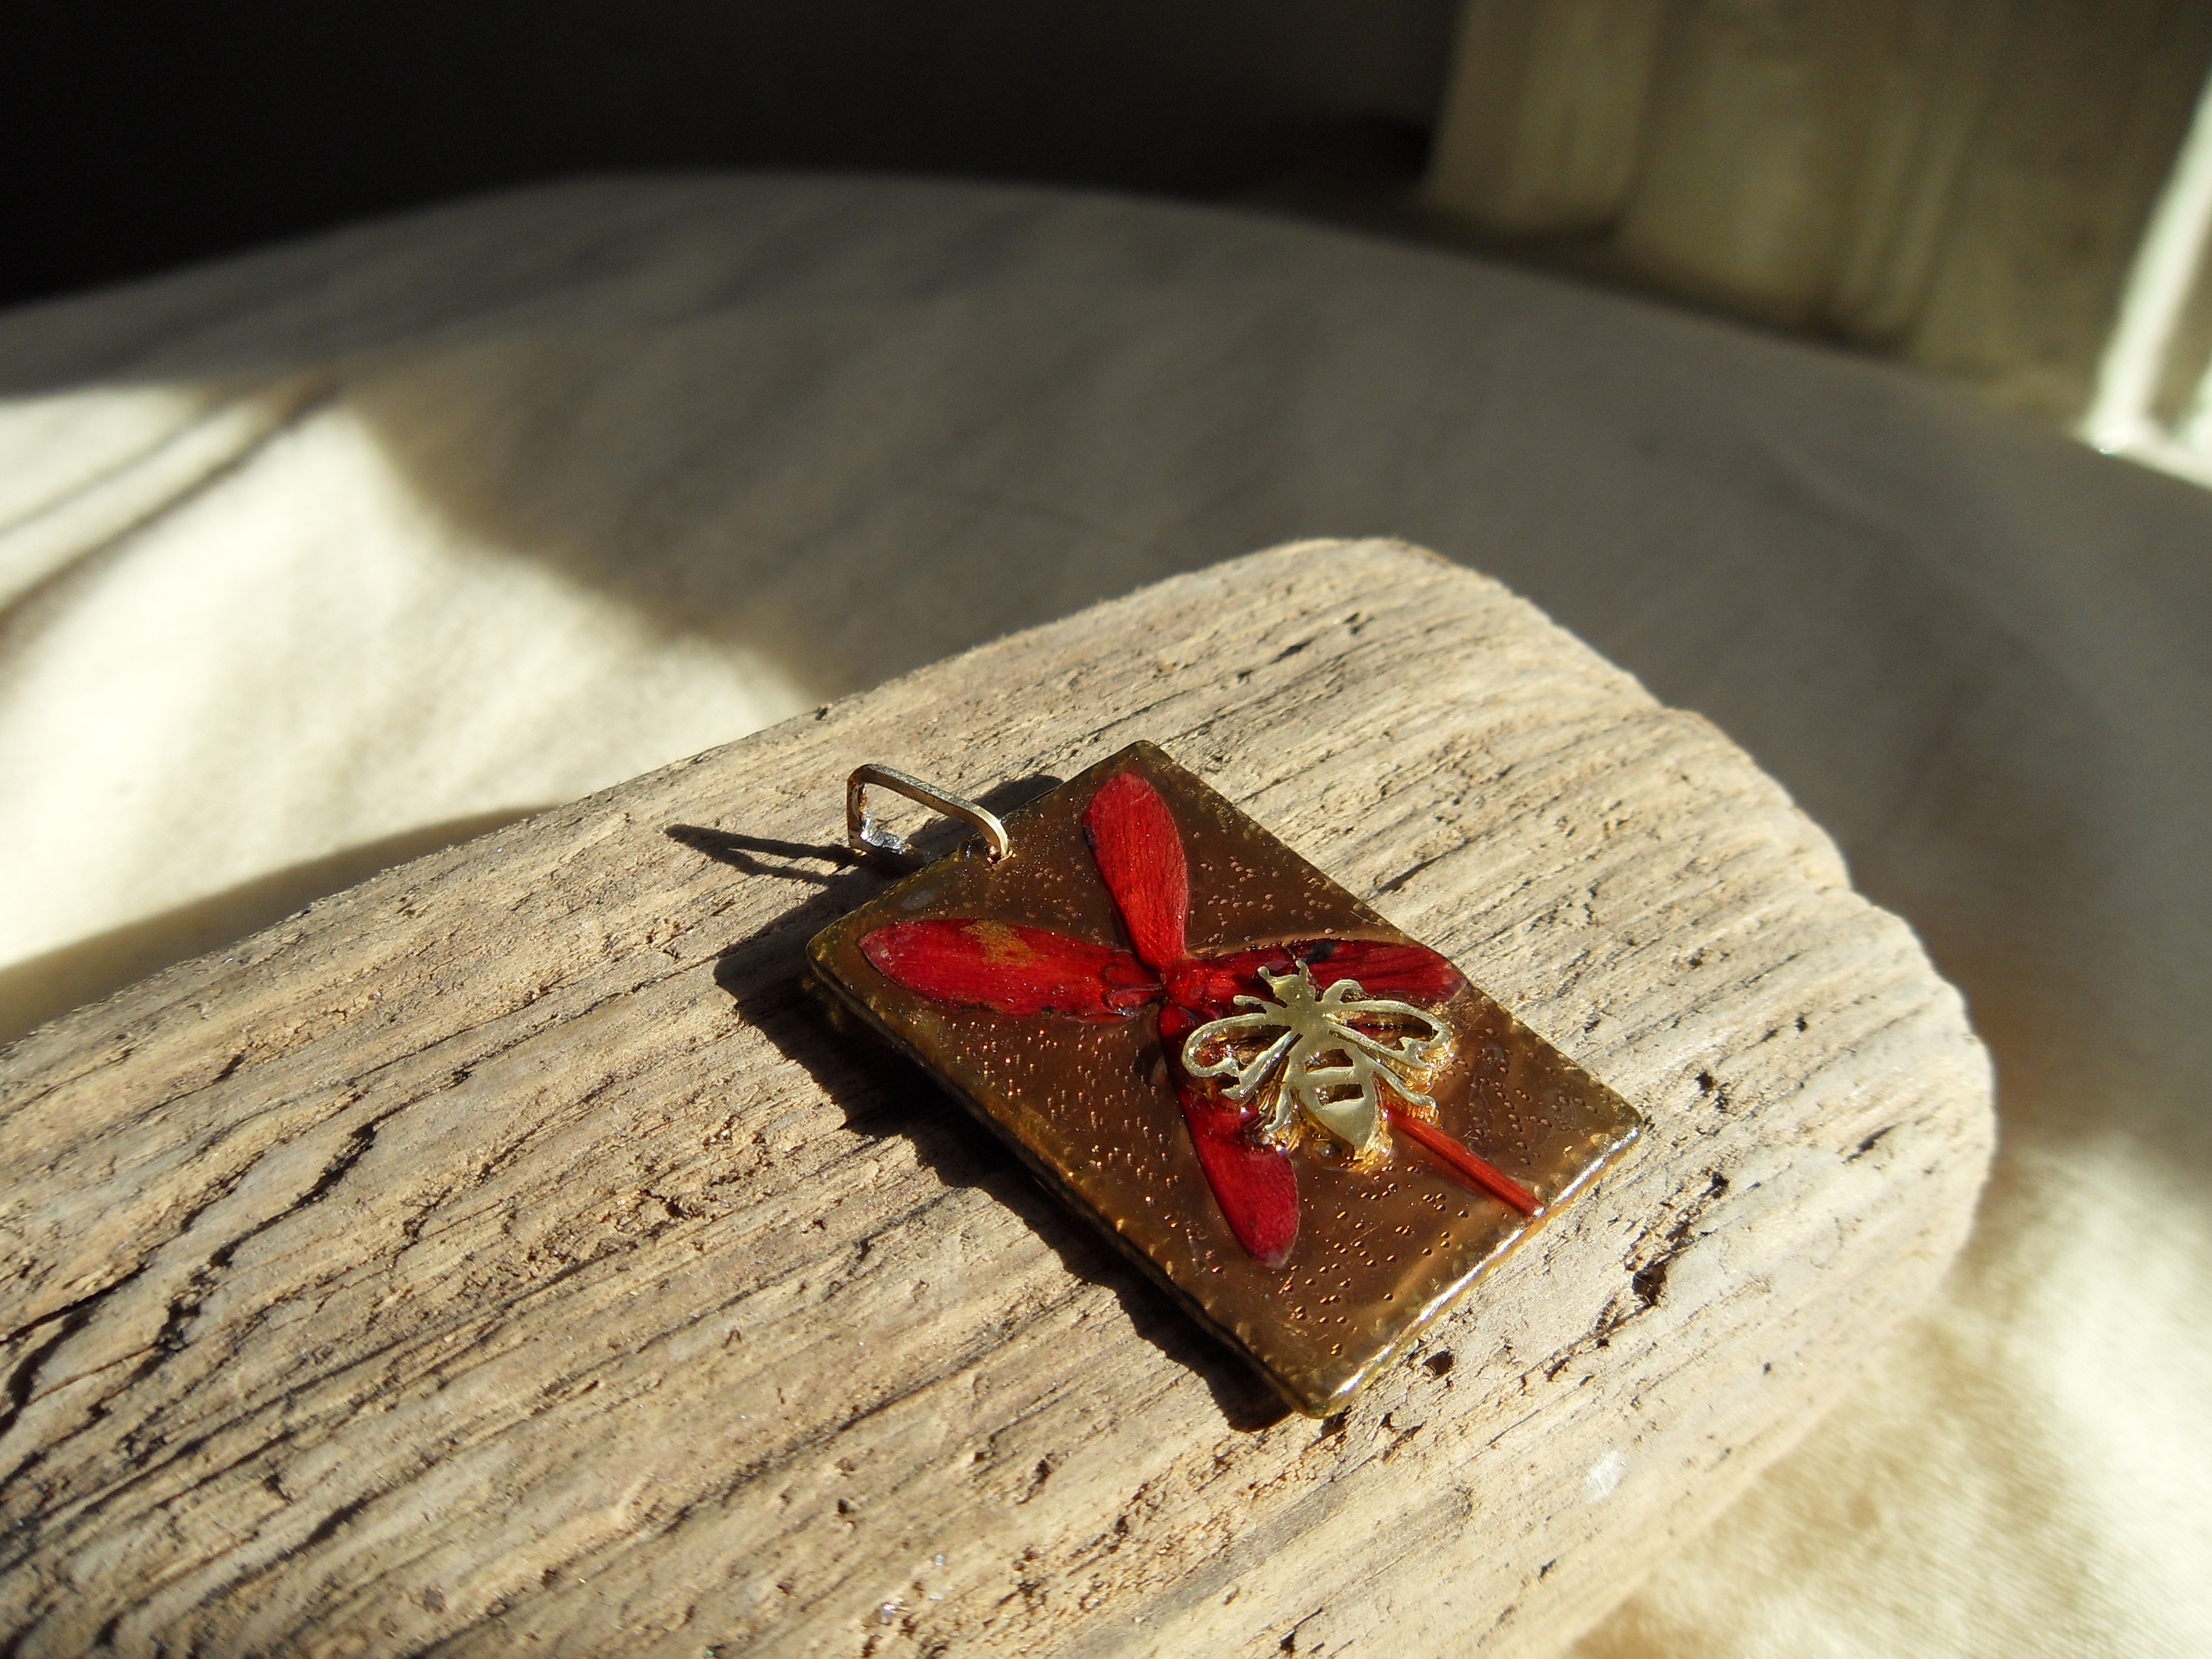
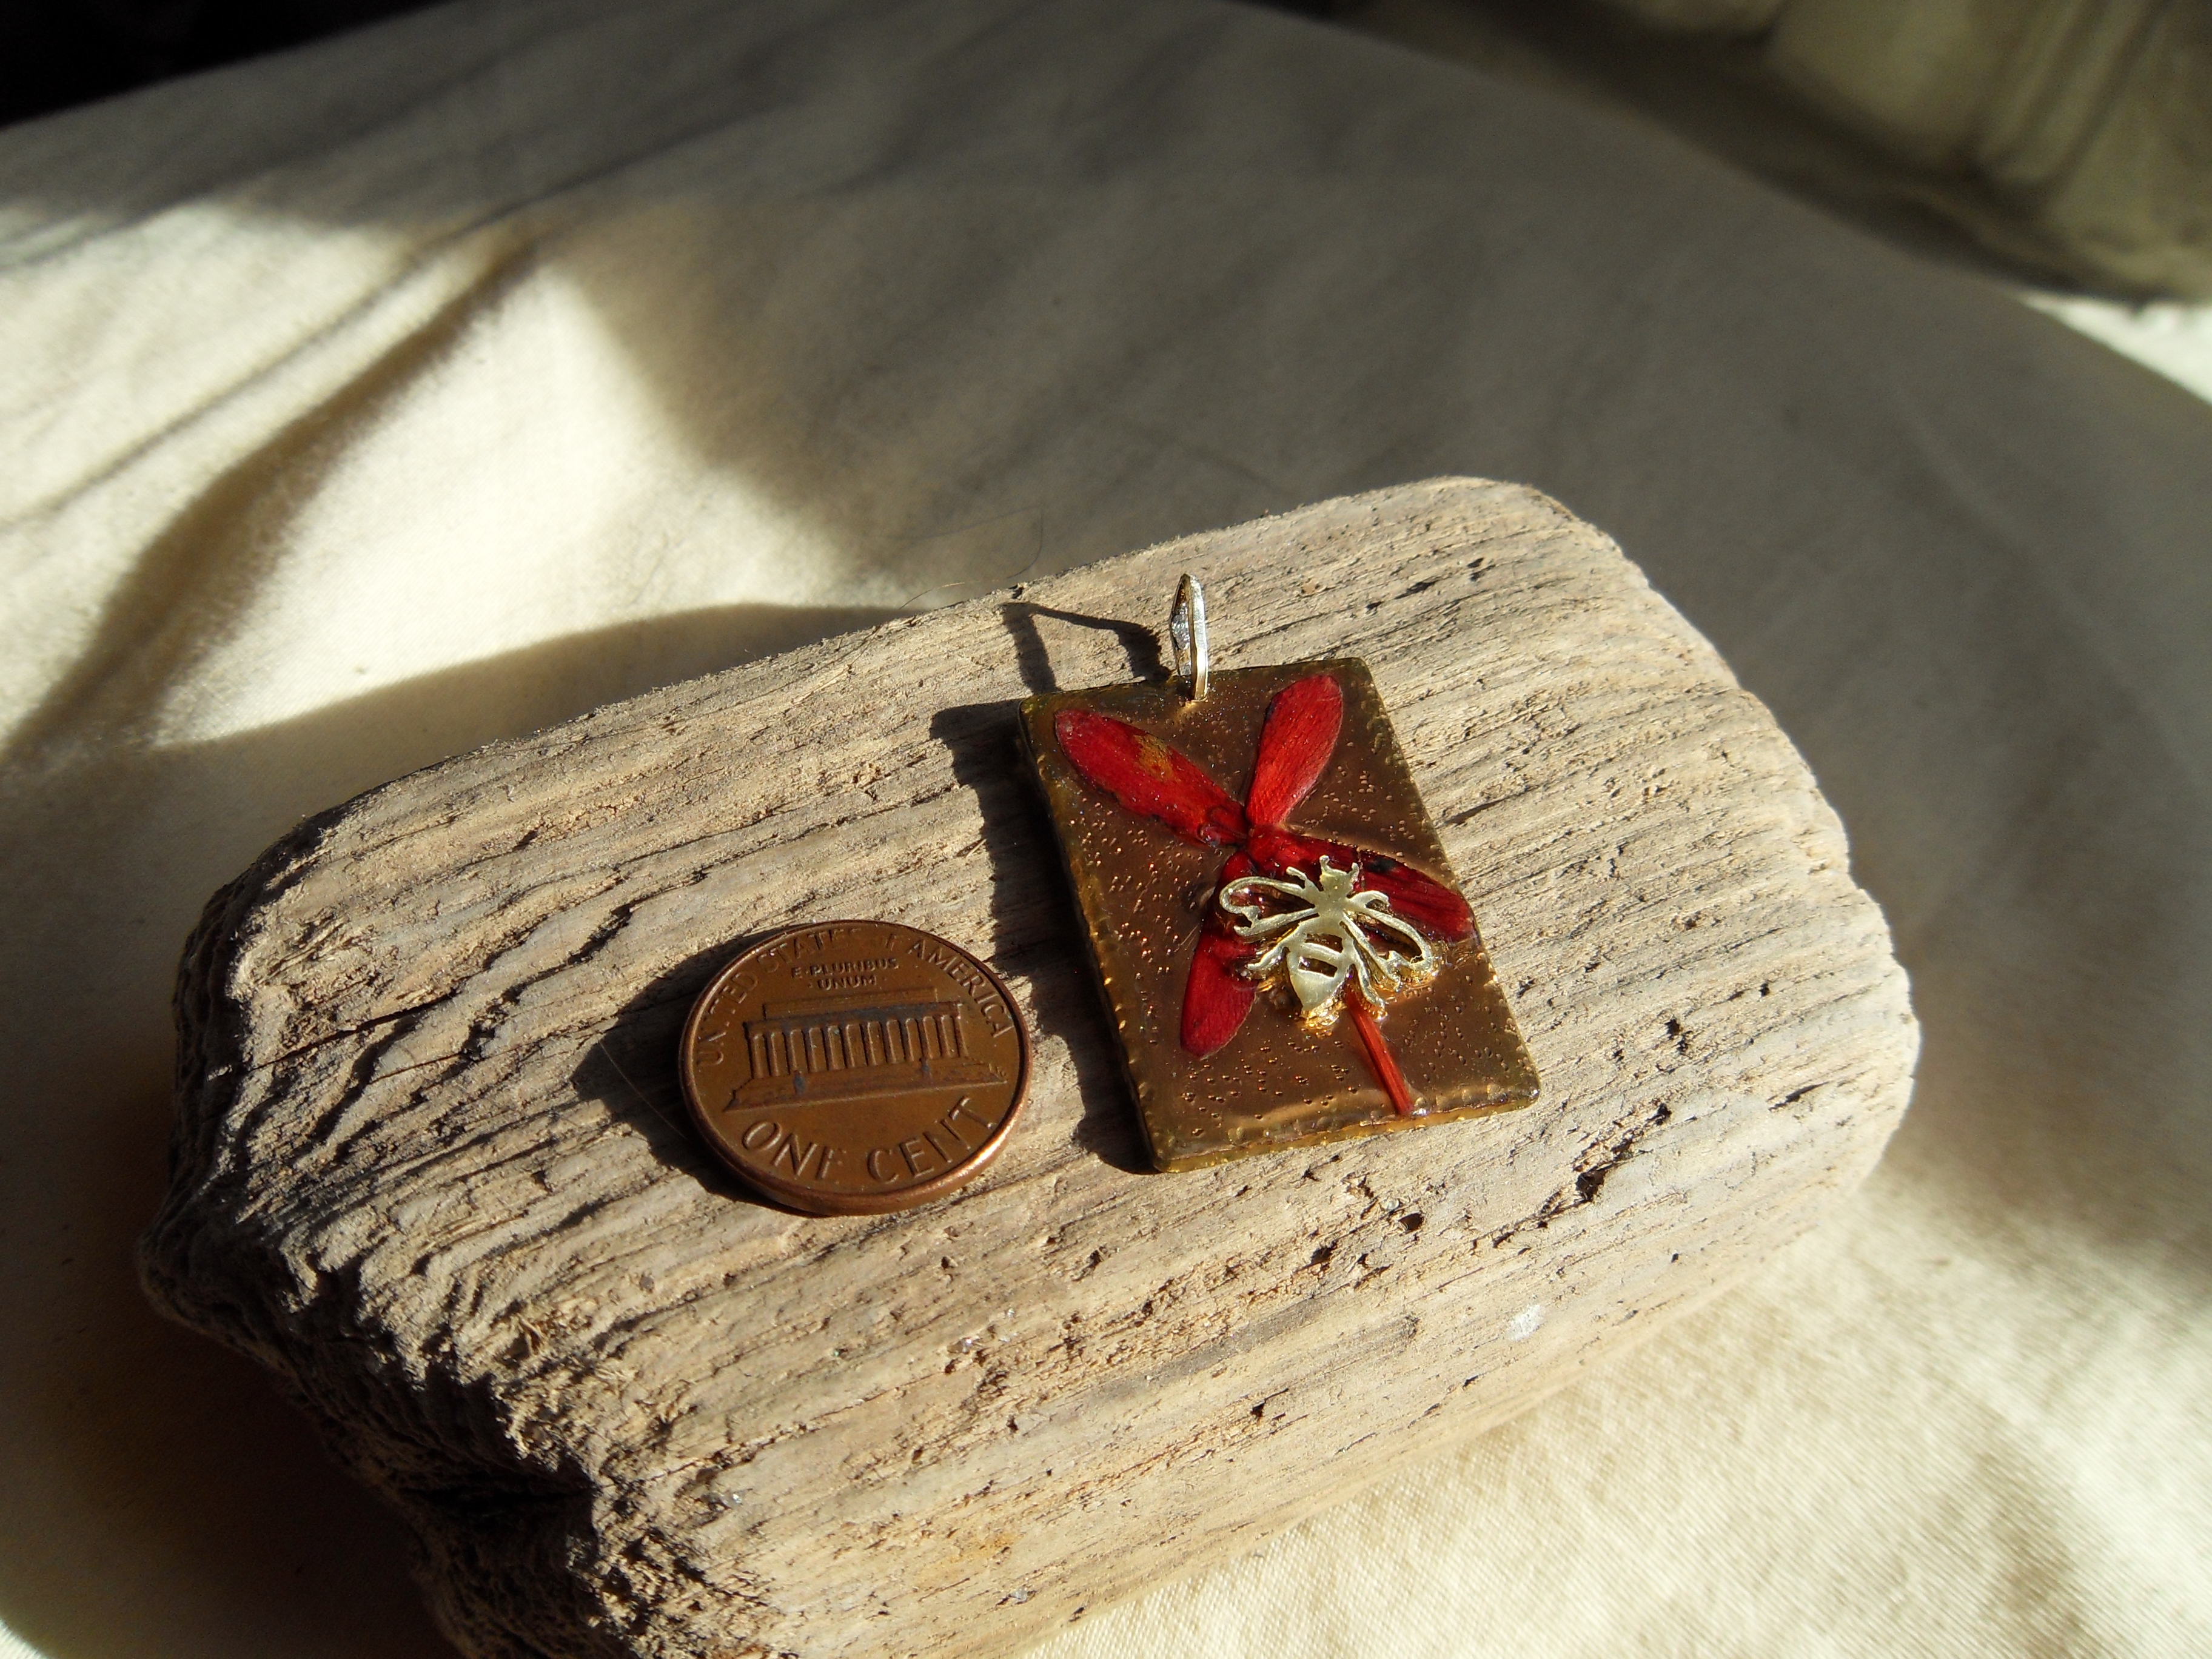
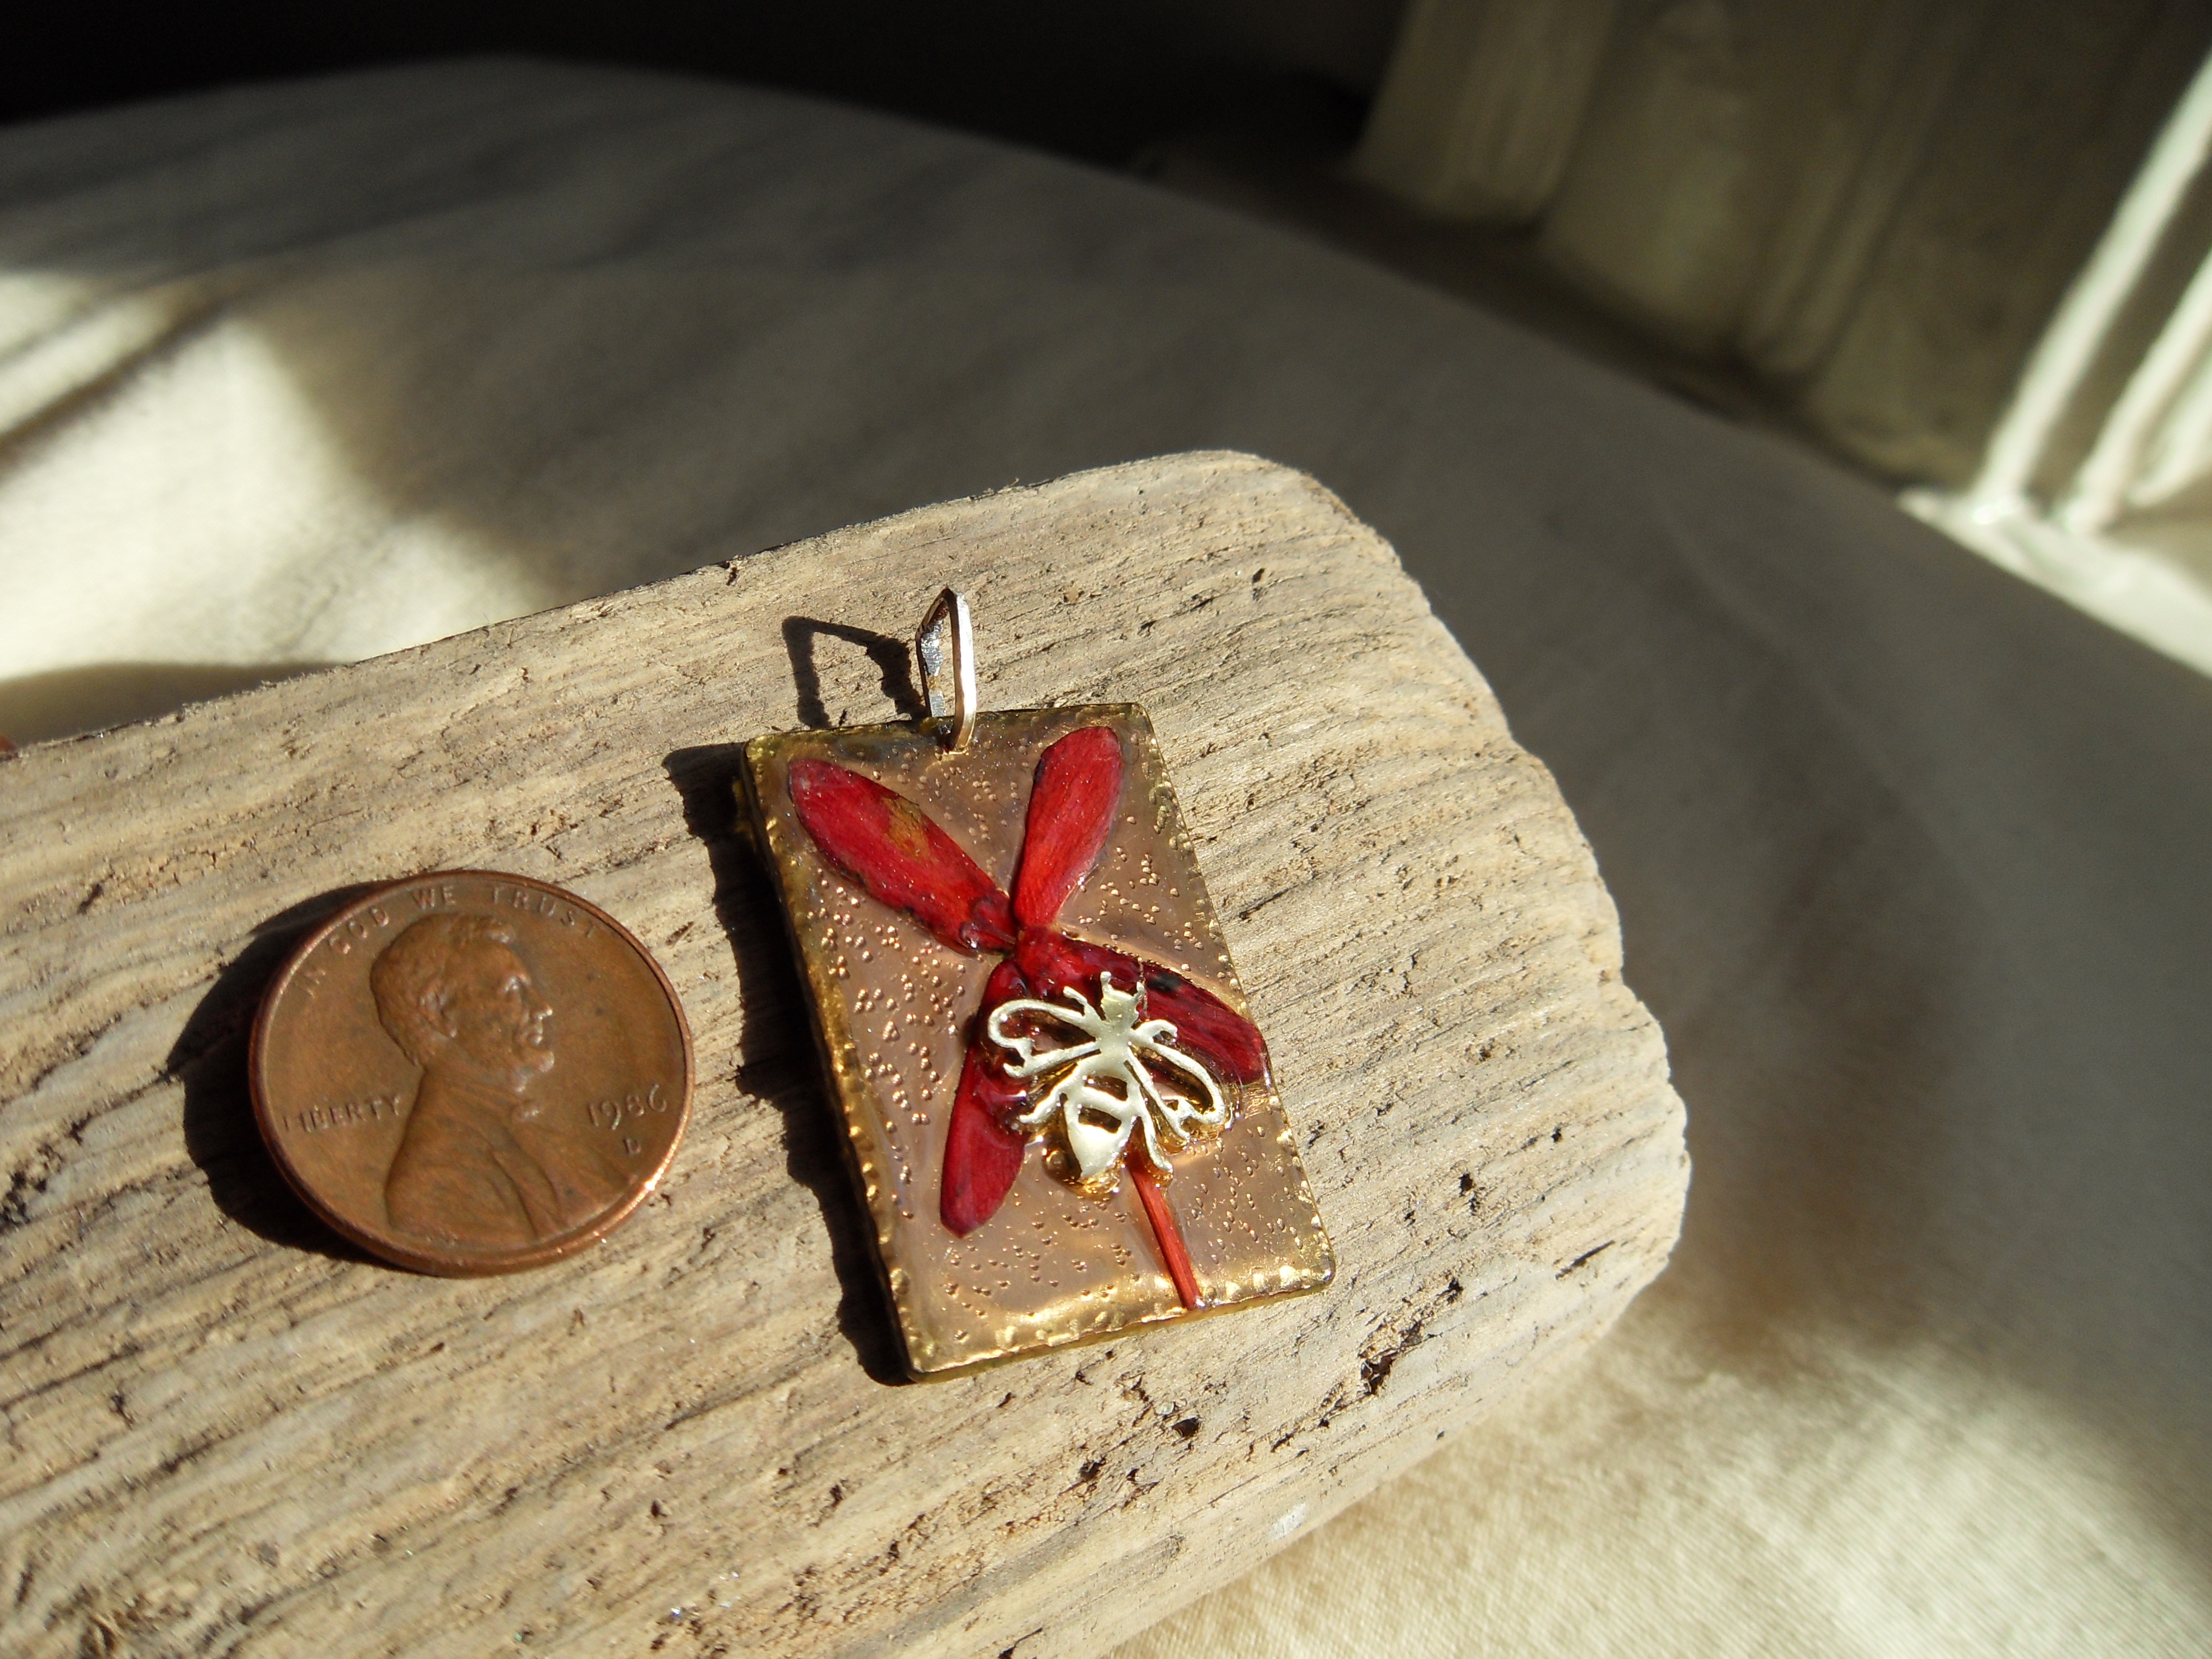
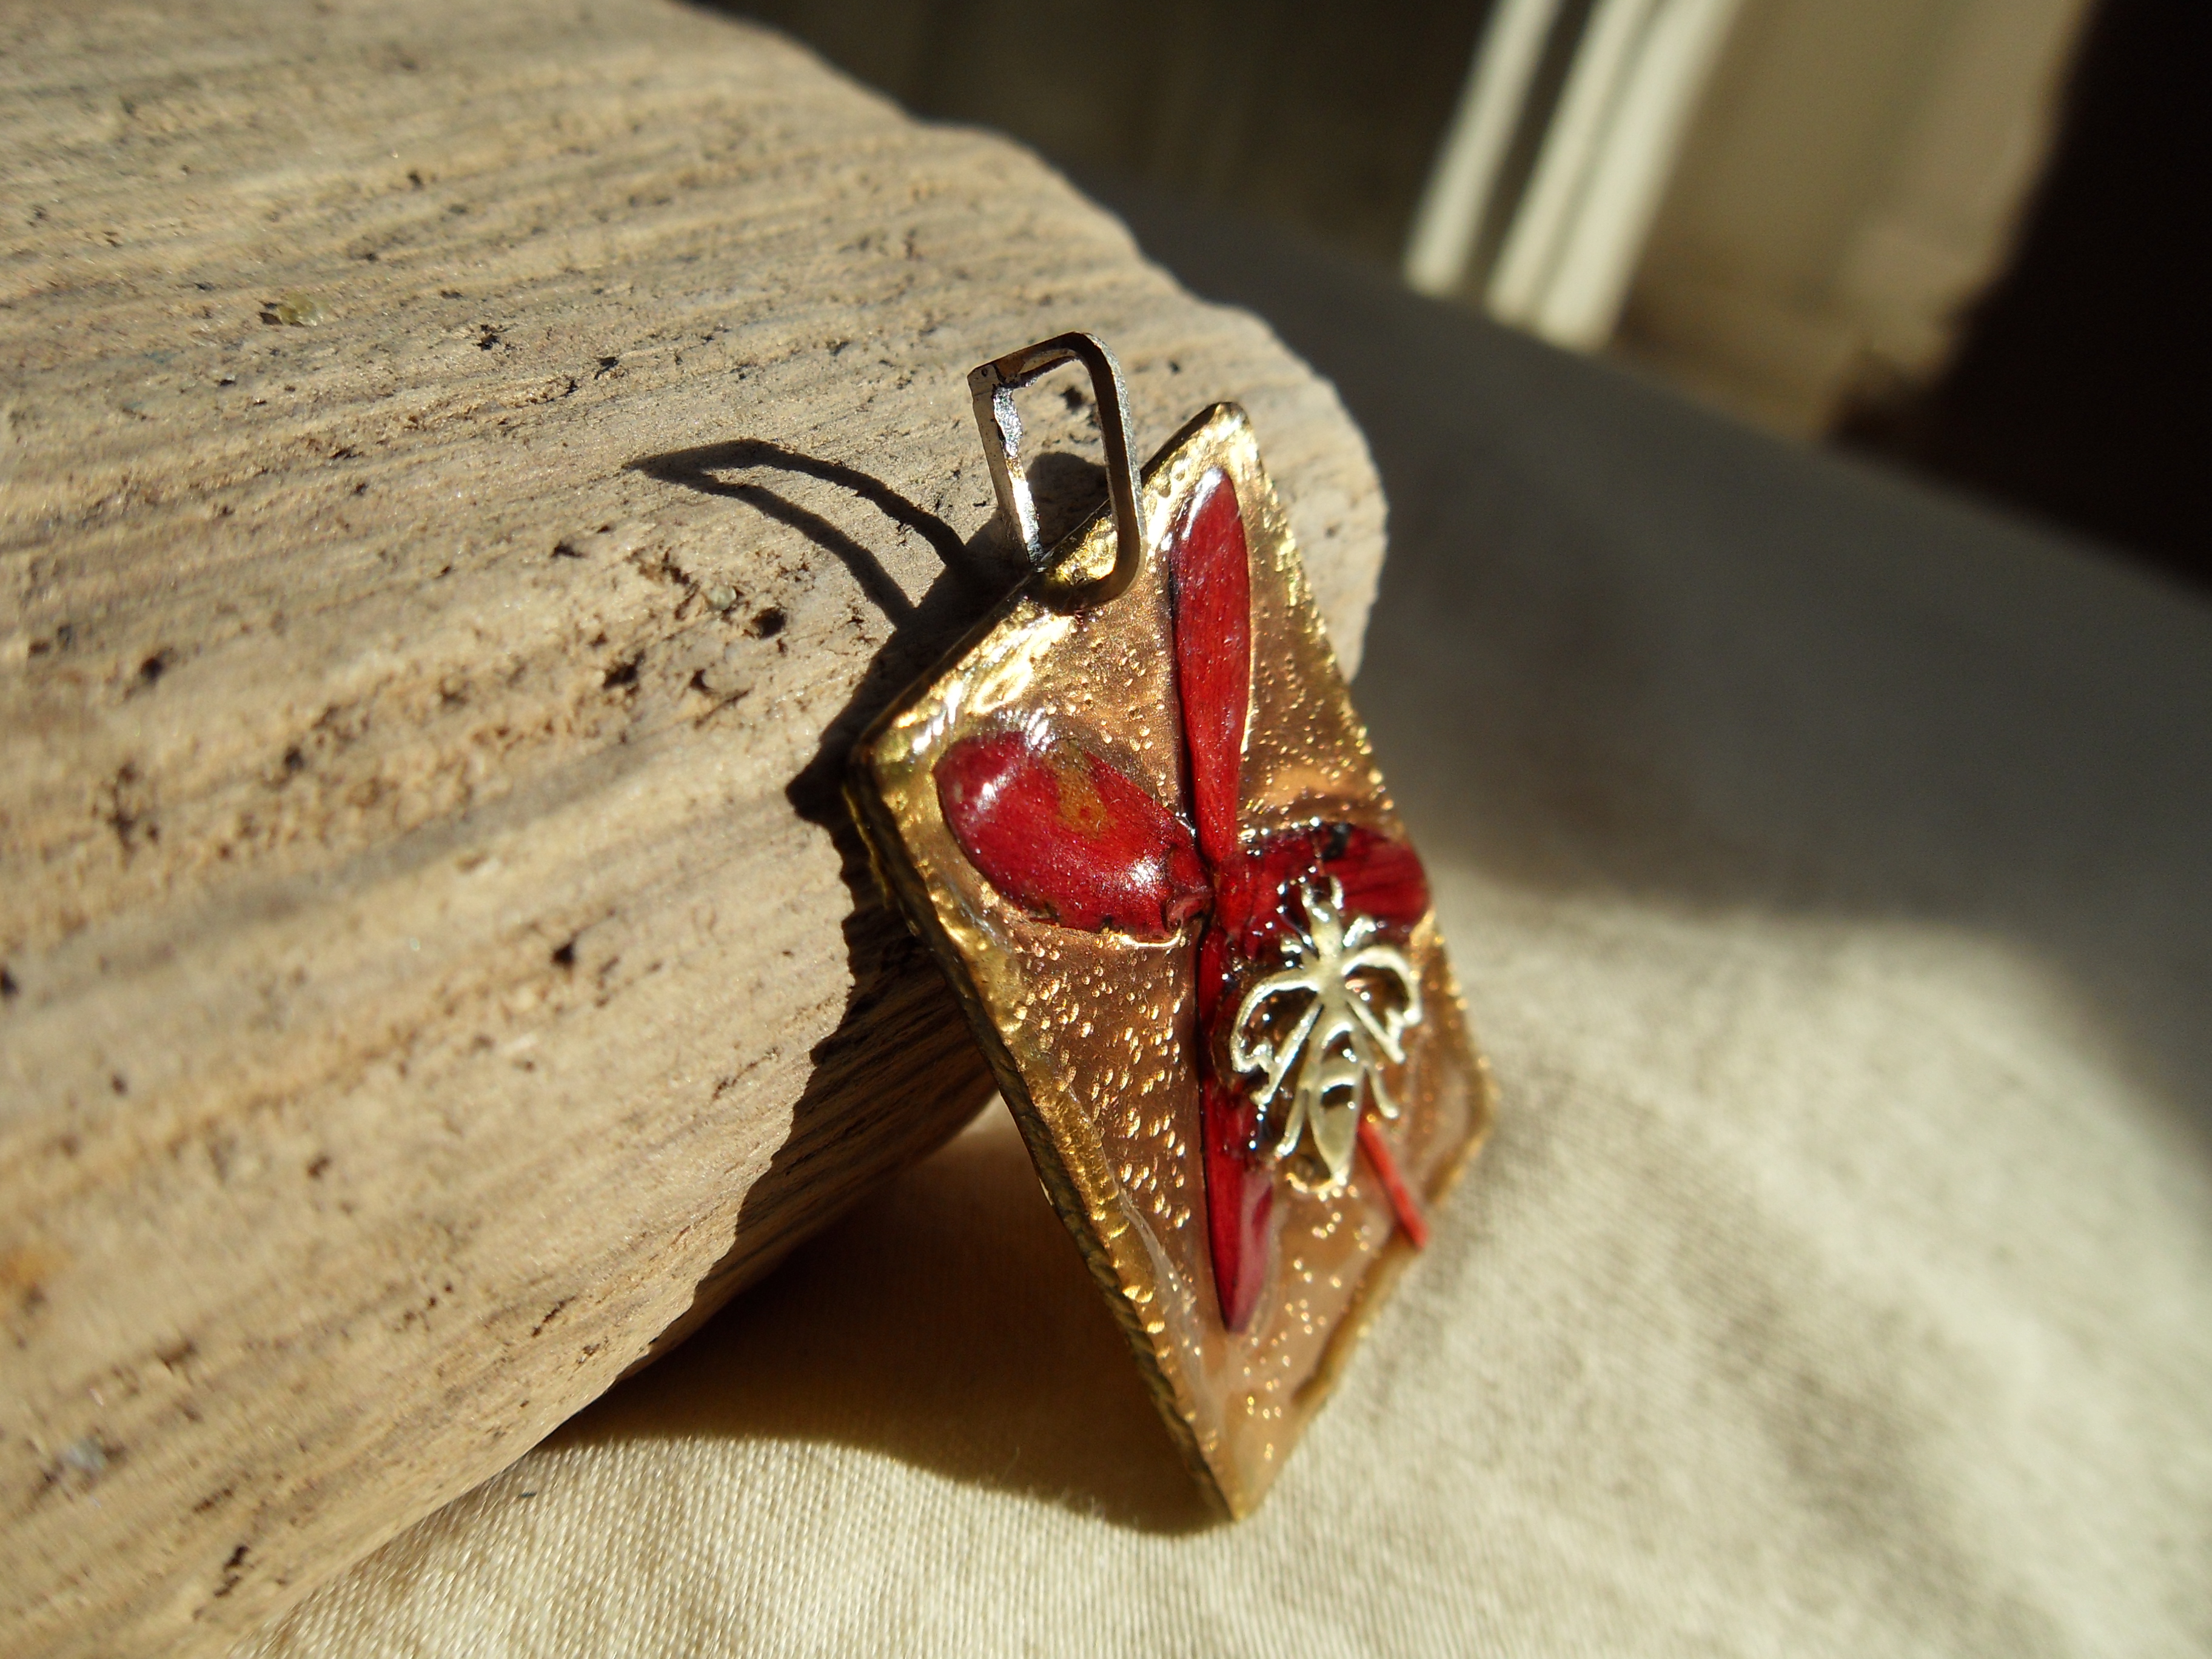
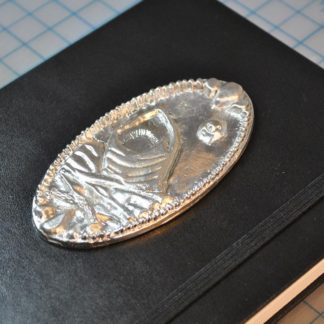
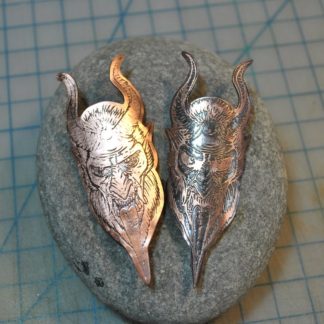
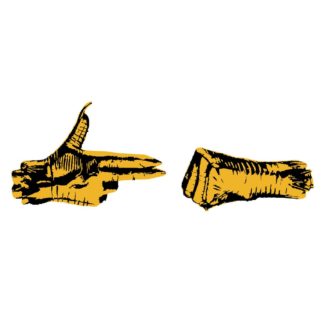
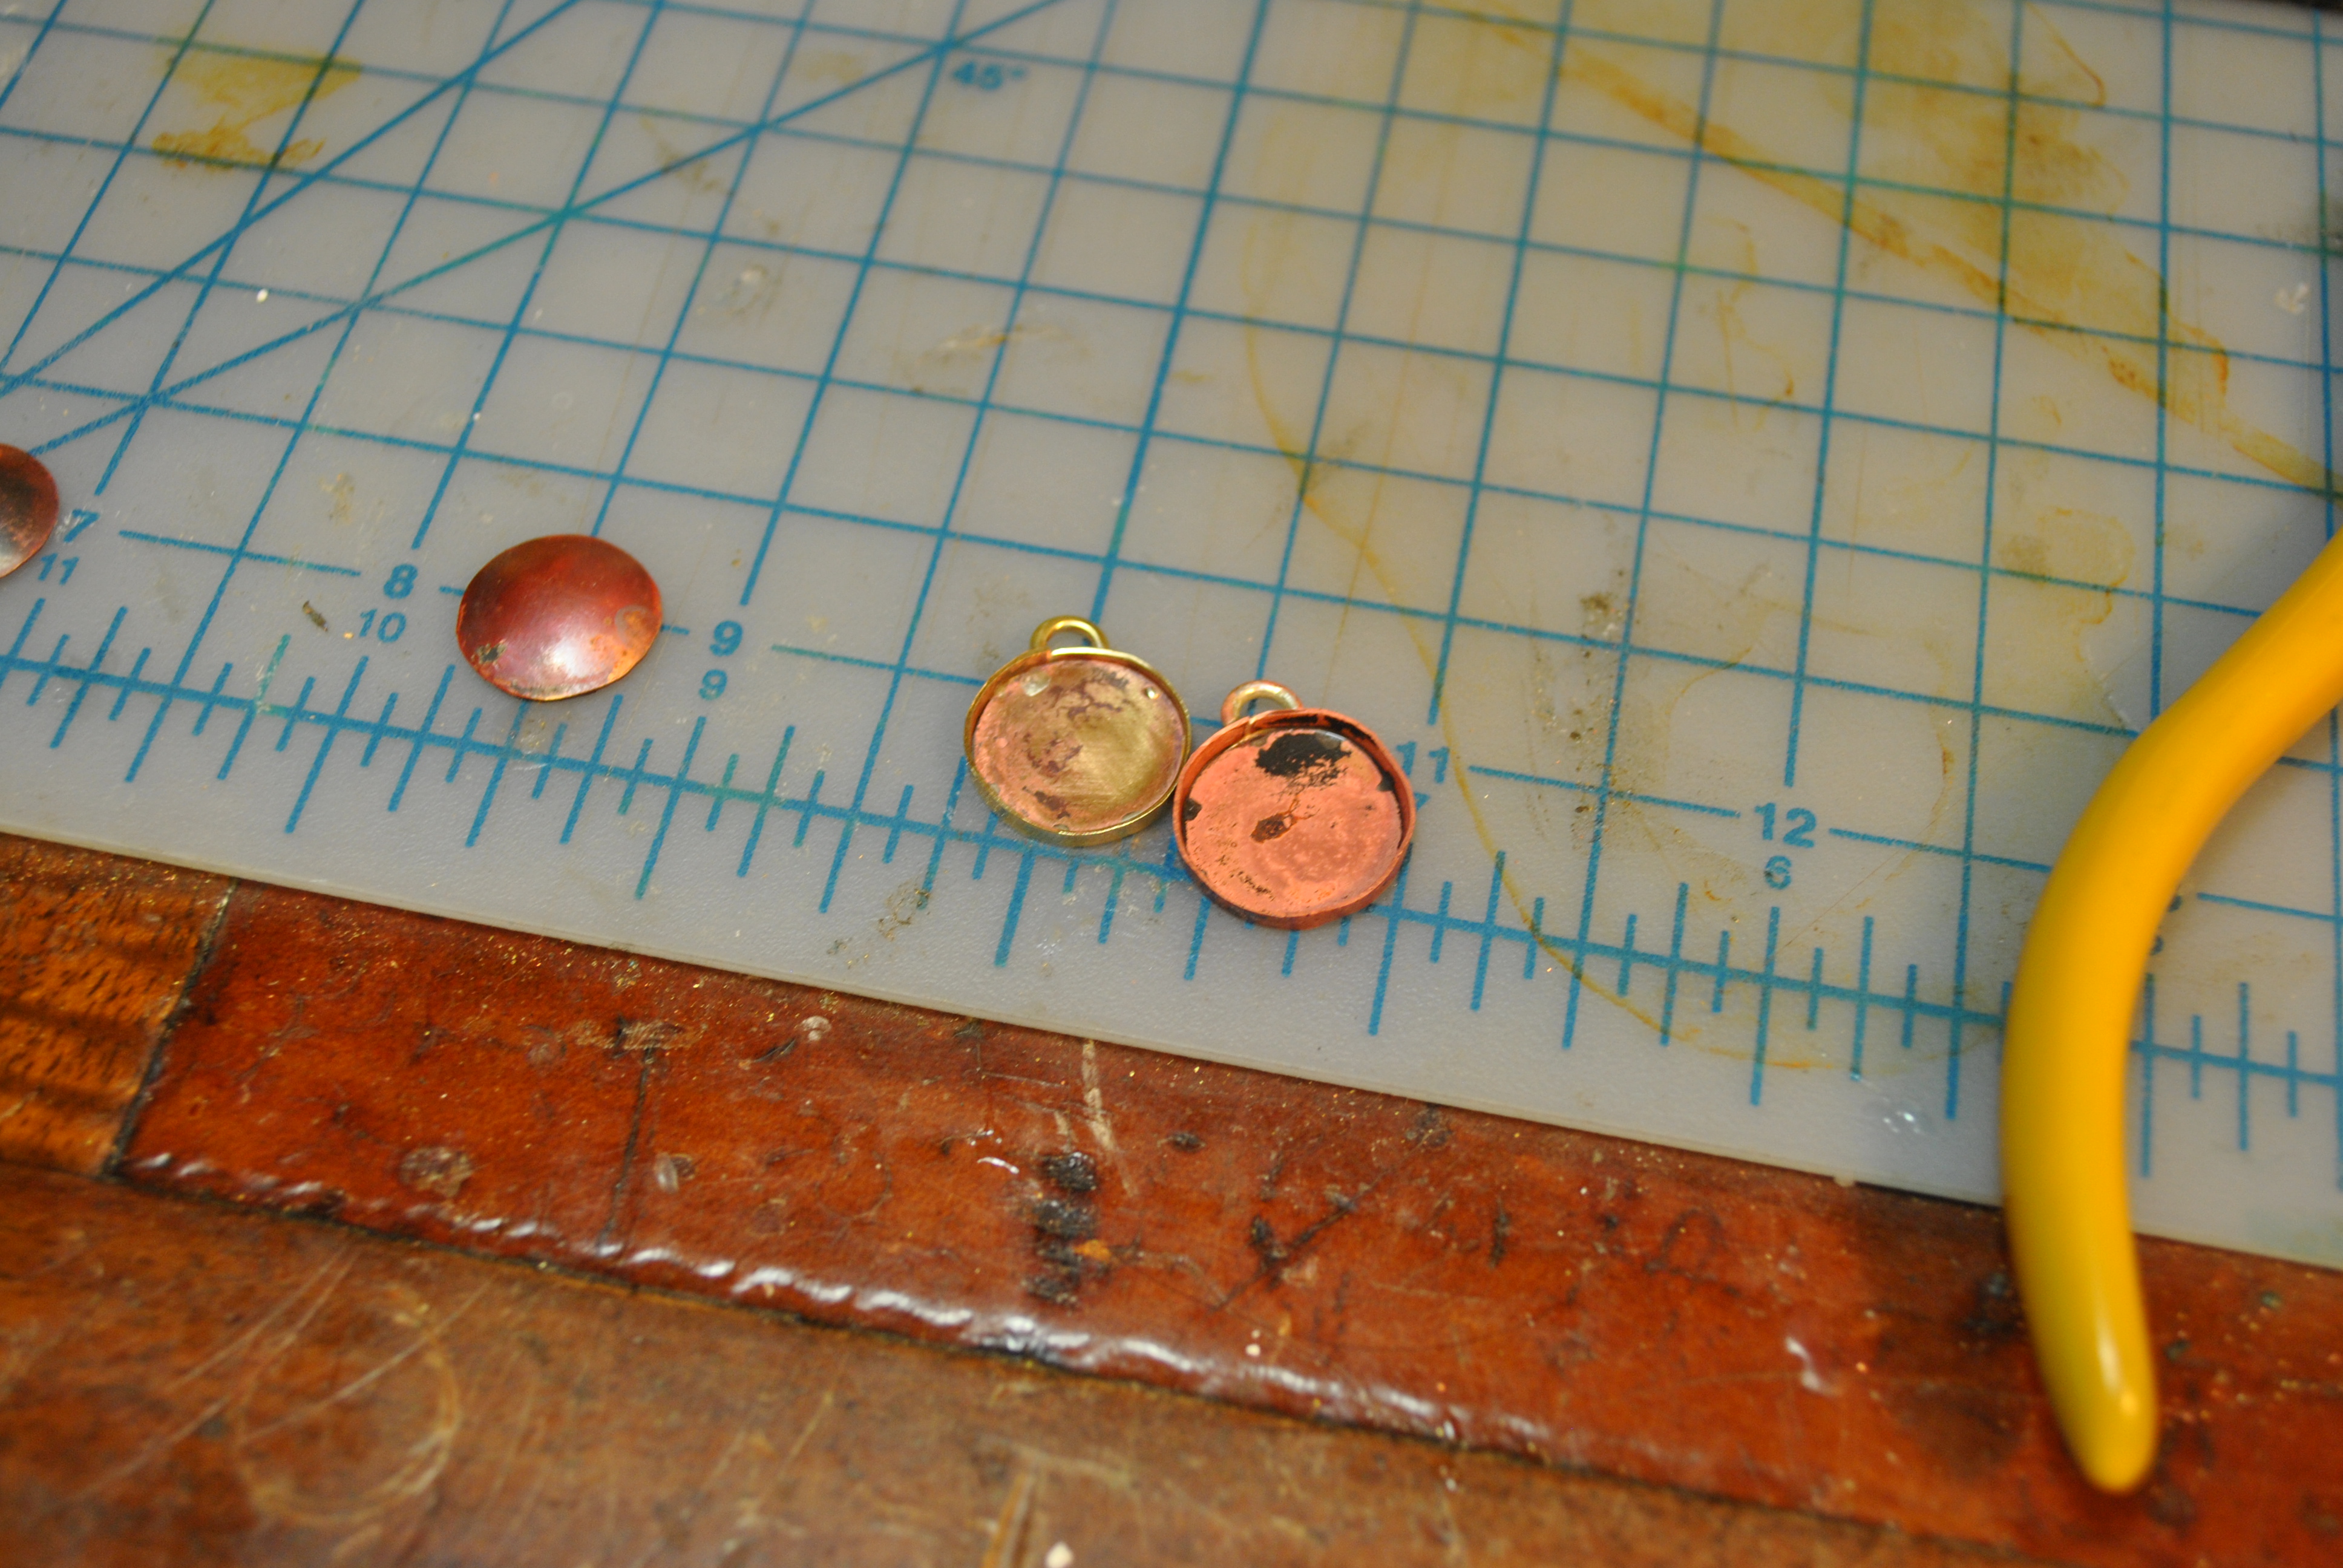
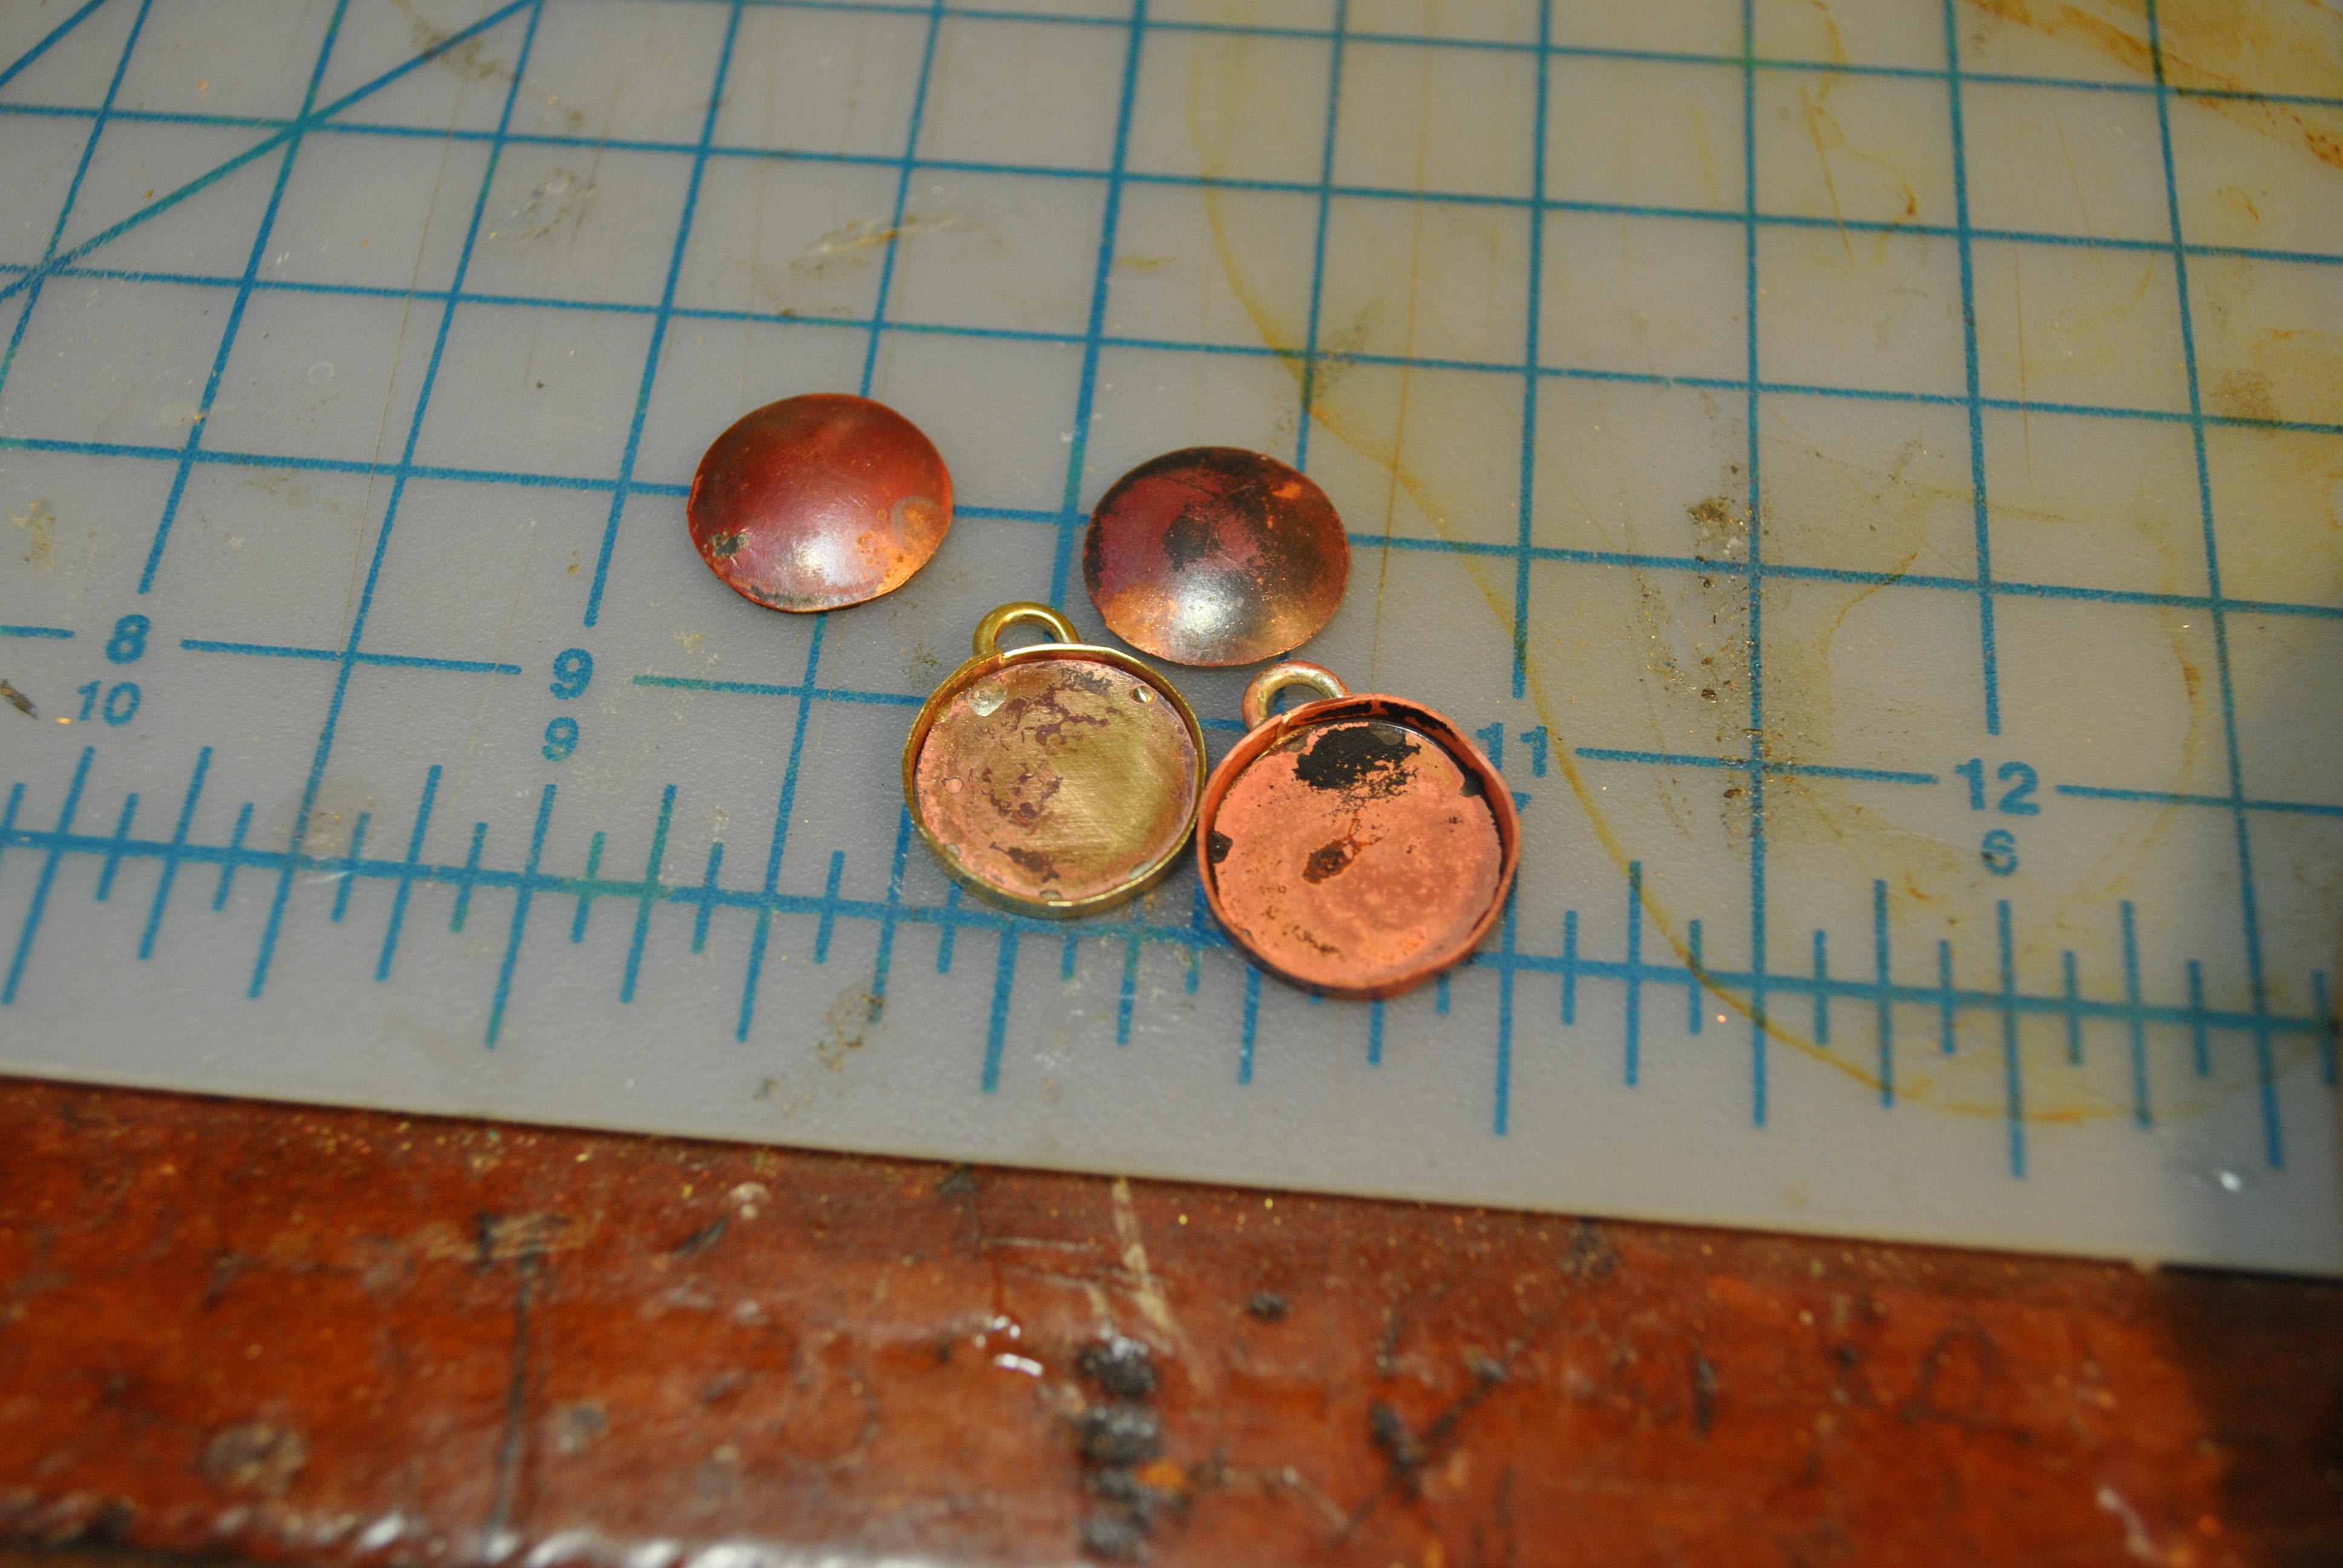
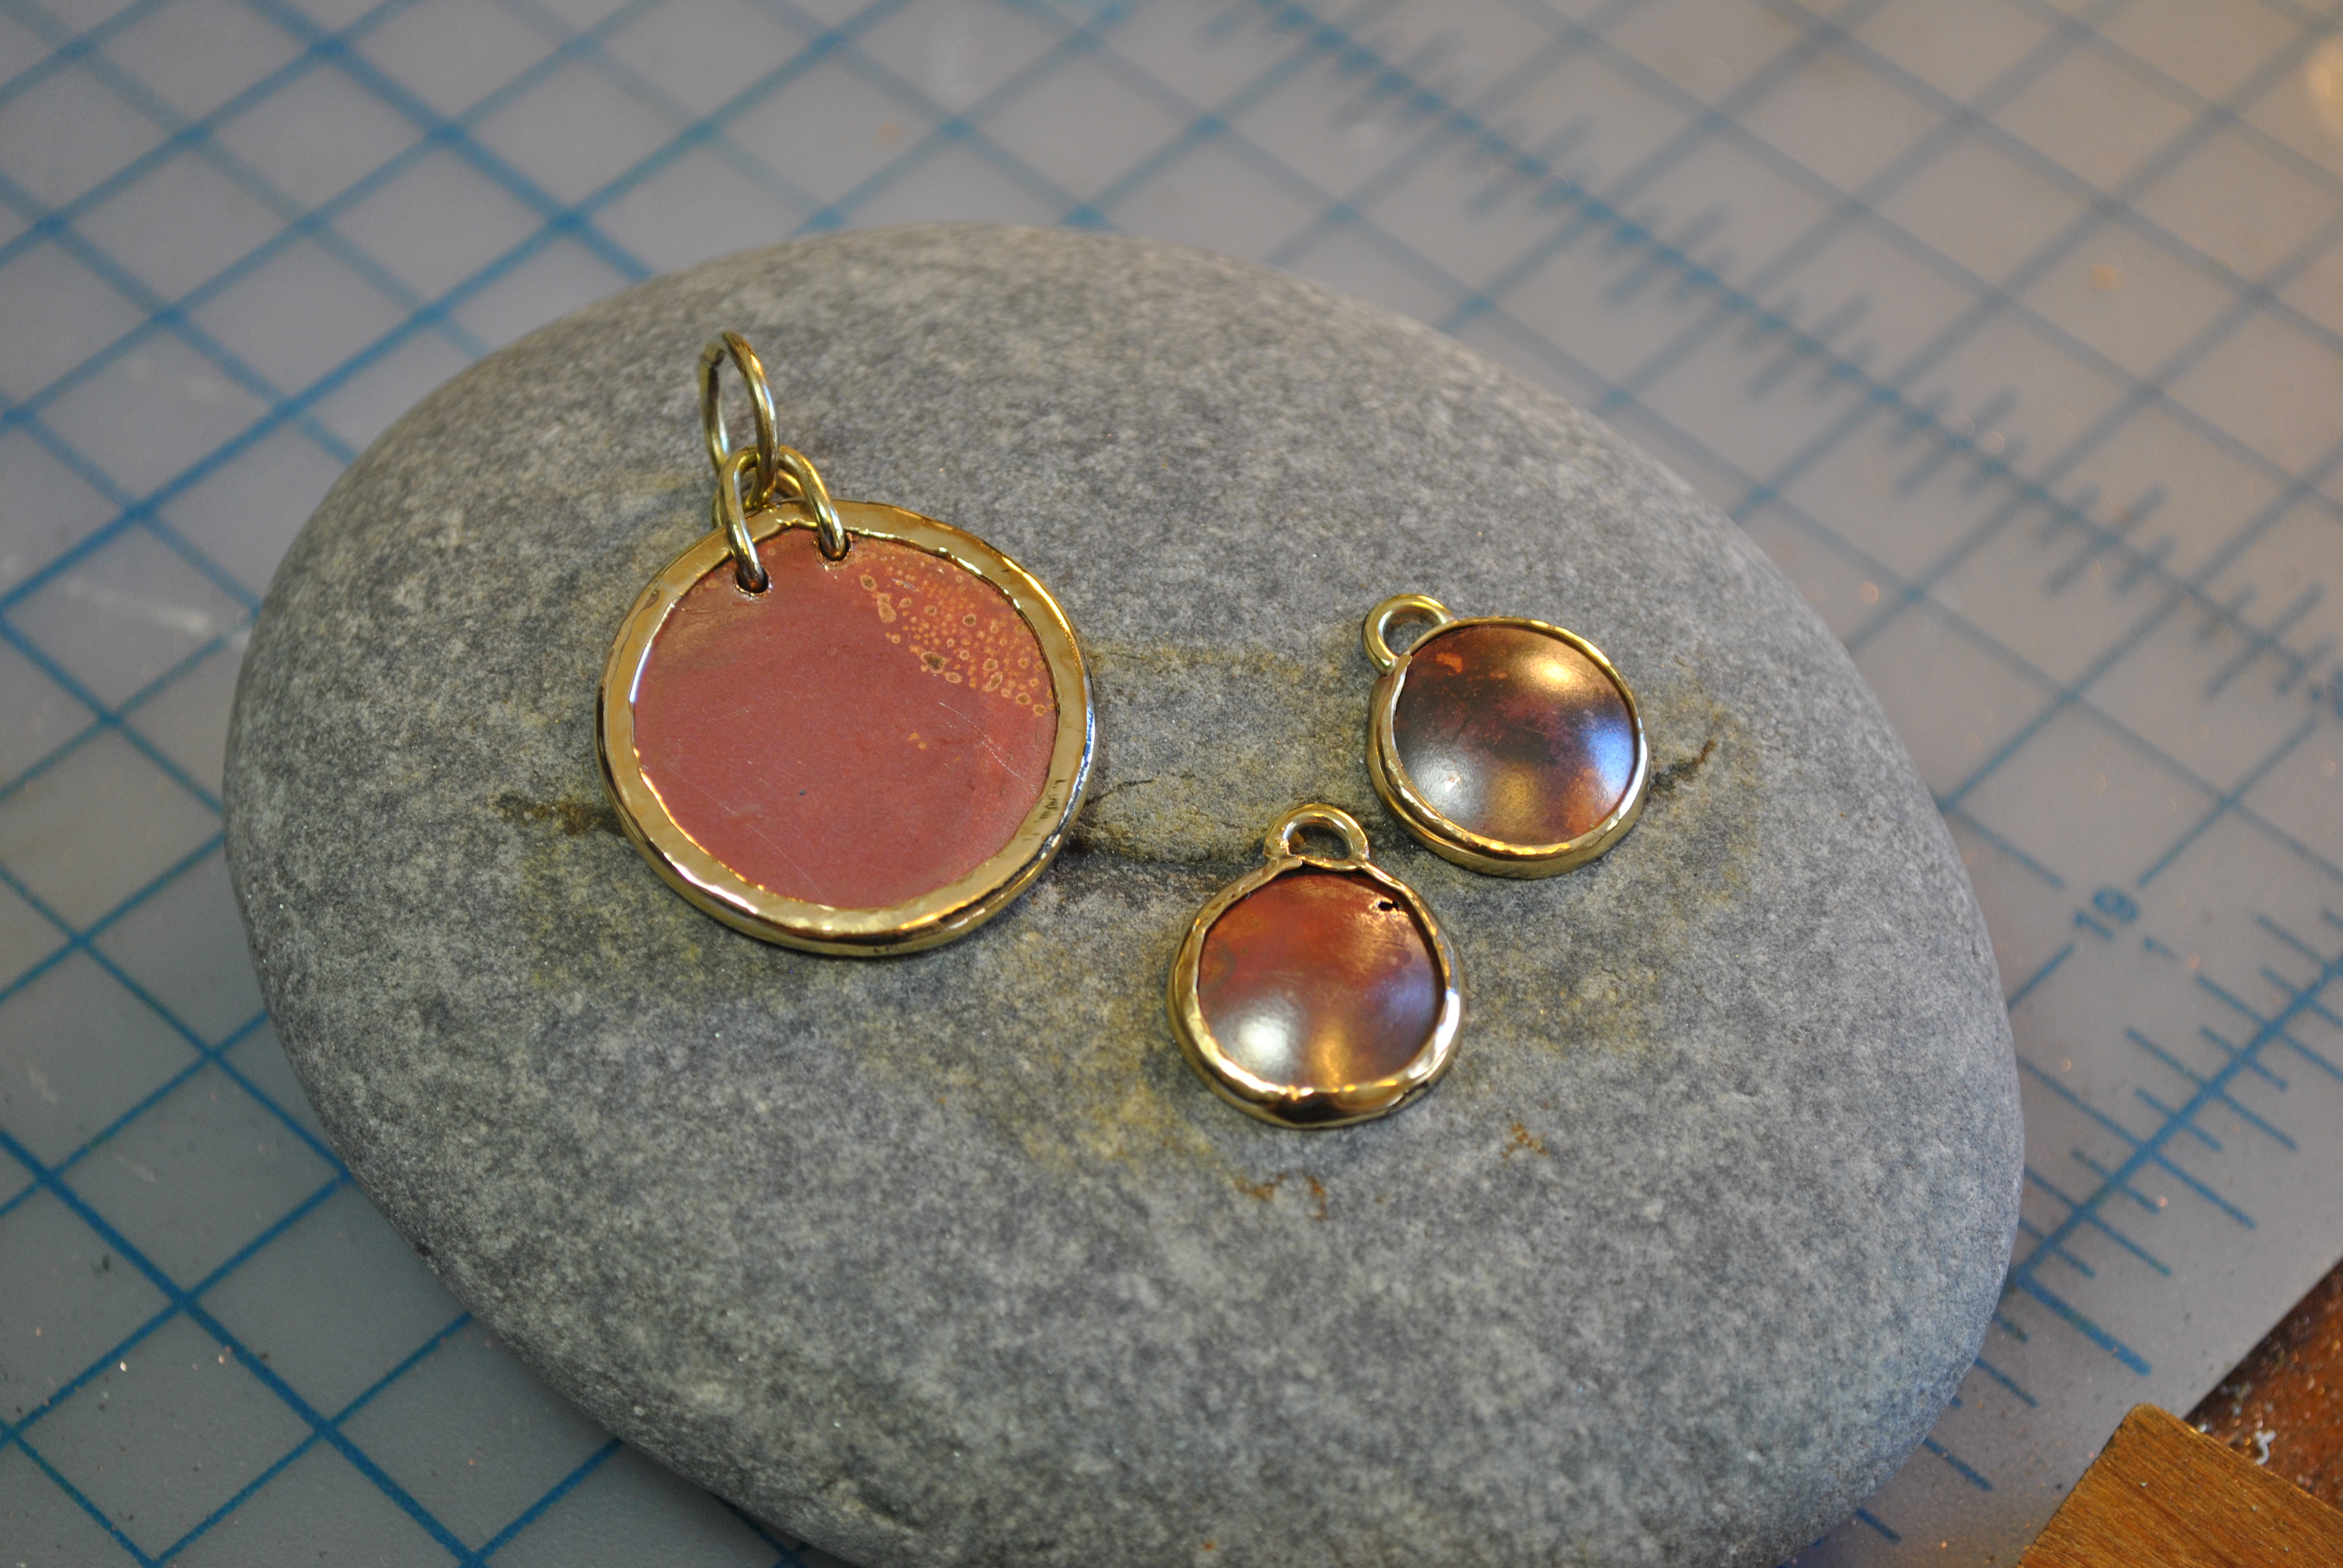
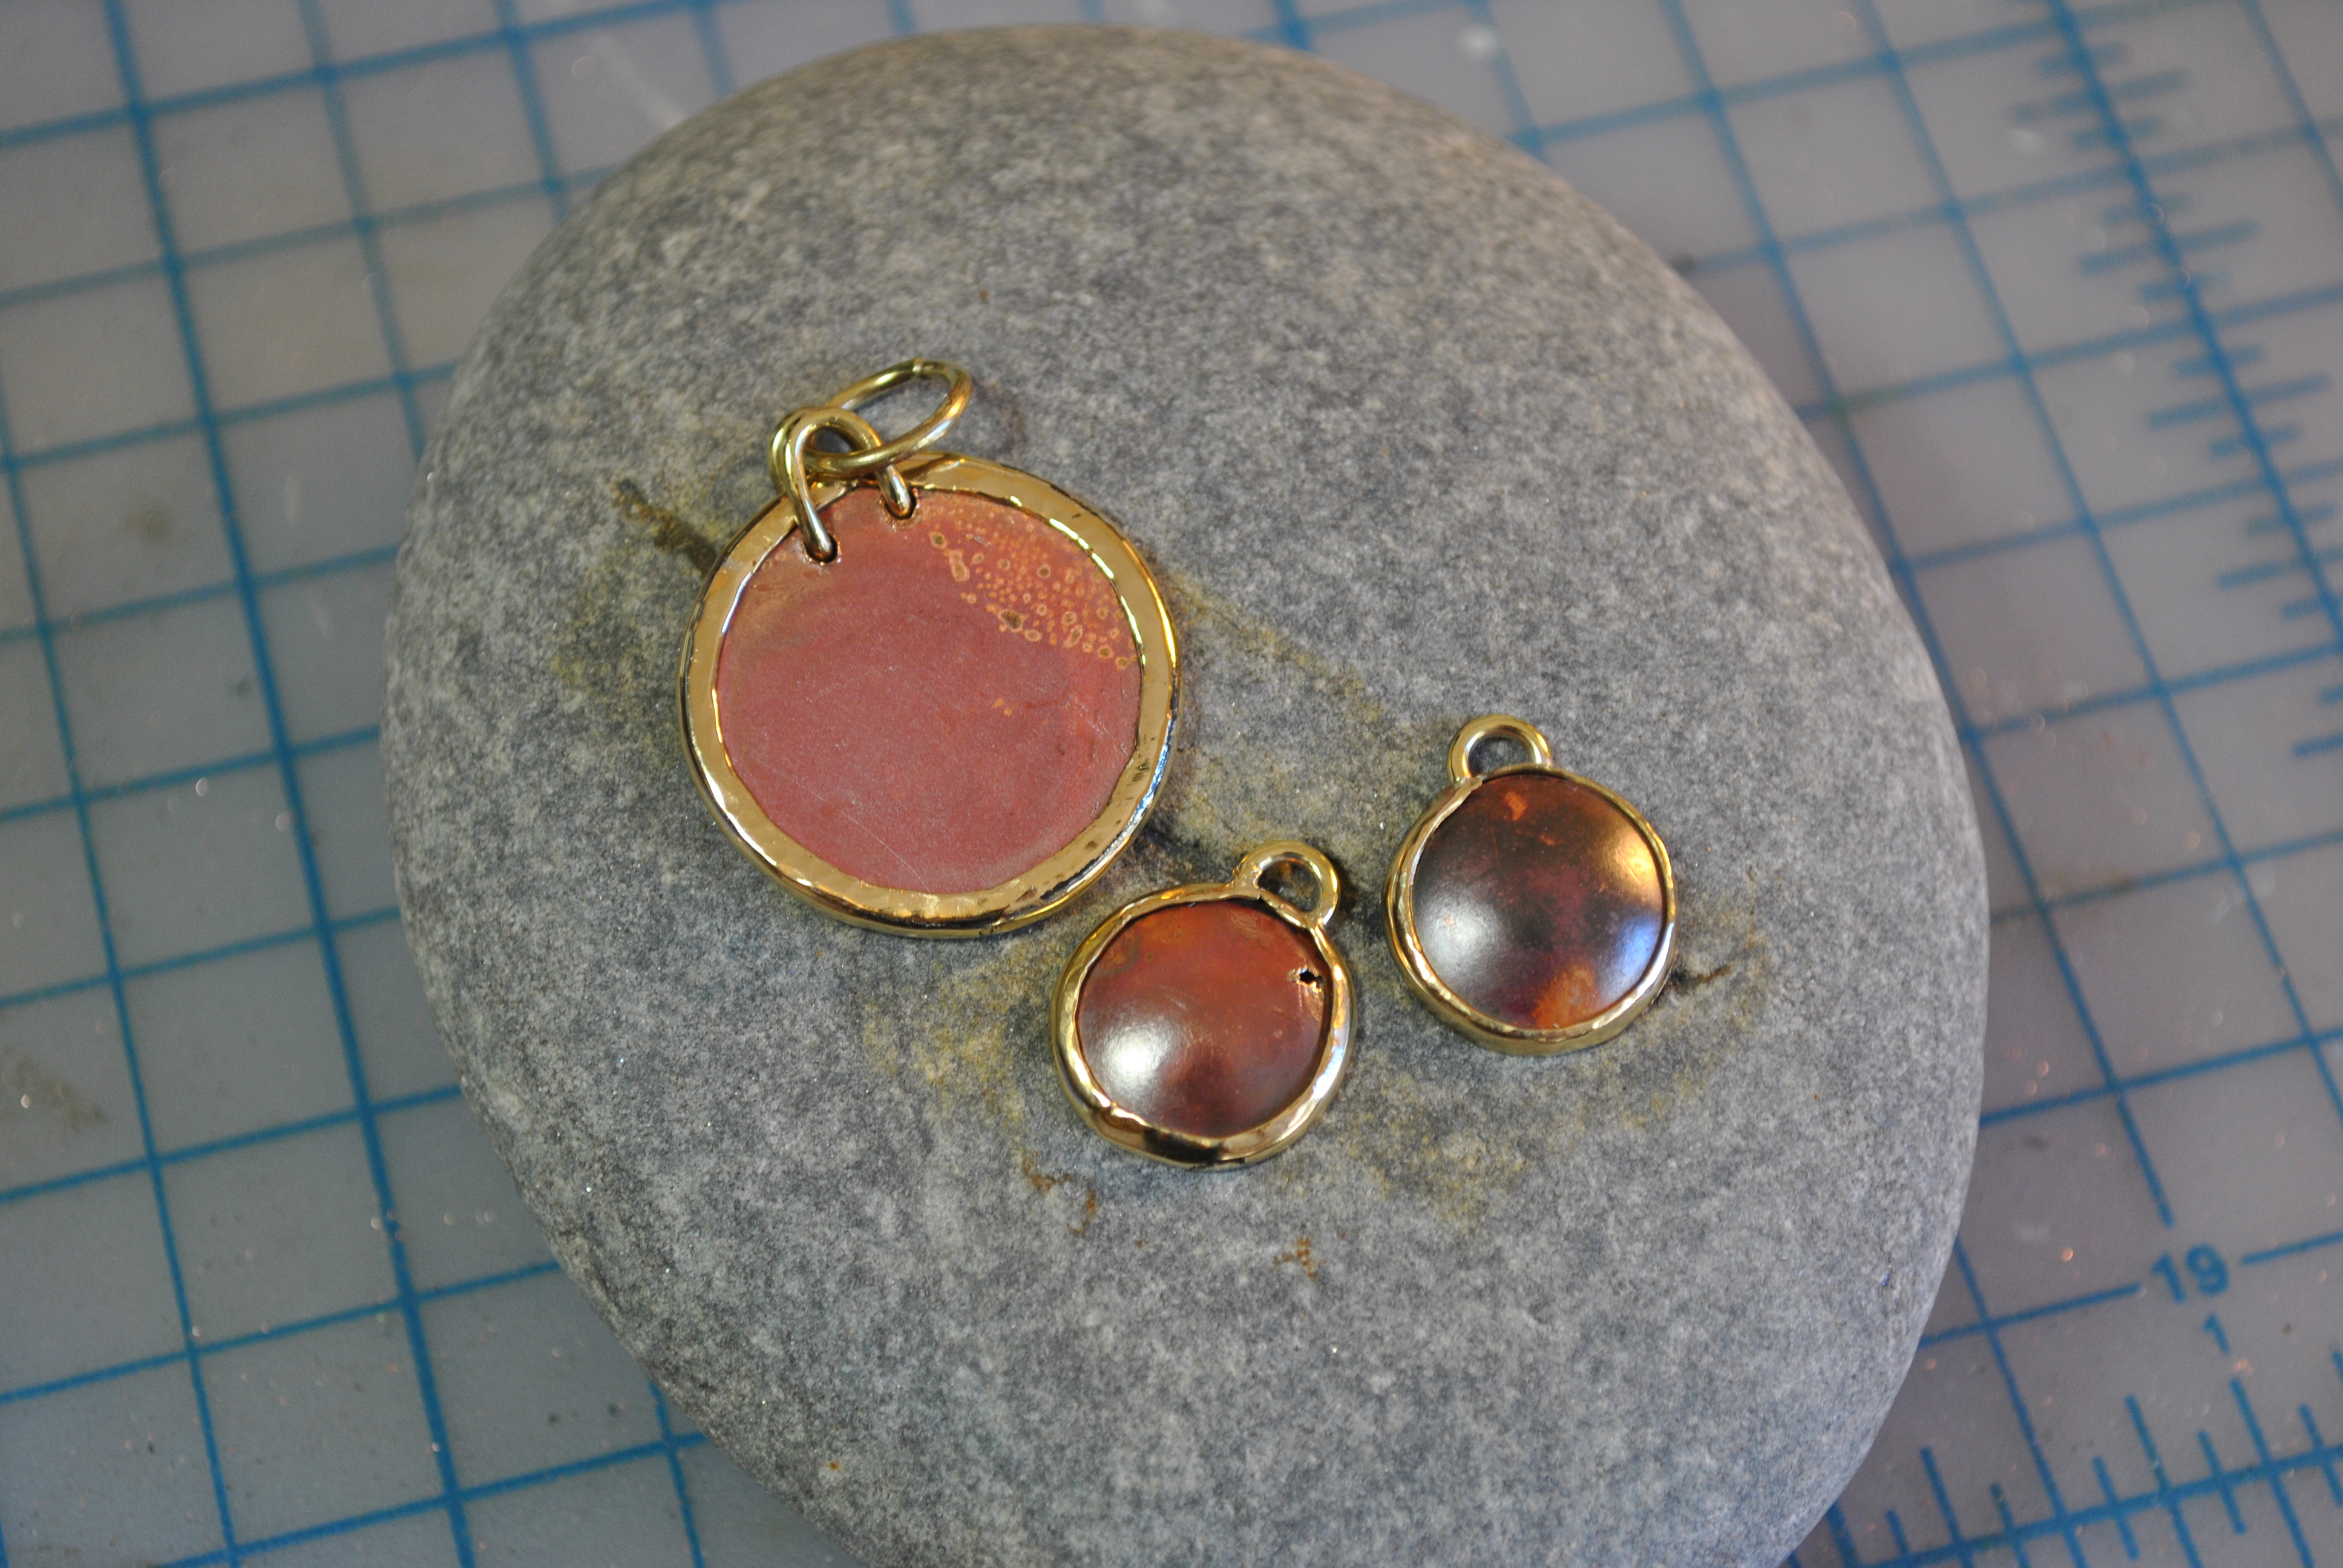
I played around with the technique for a while and found it rather fun to just make the copper red, you can lightly polish it after to bring out the redness and make it more interesting.

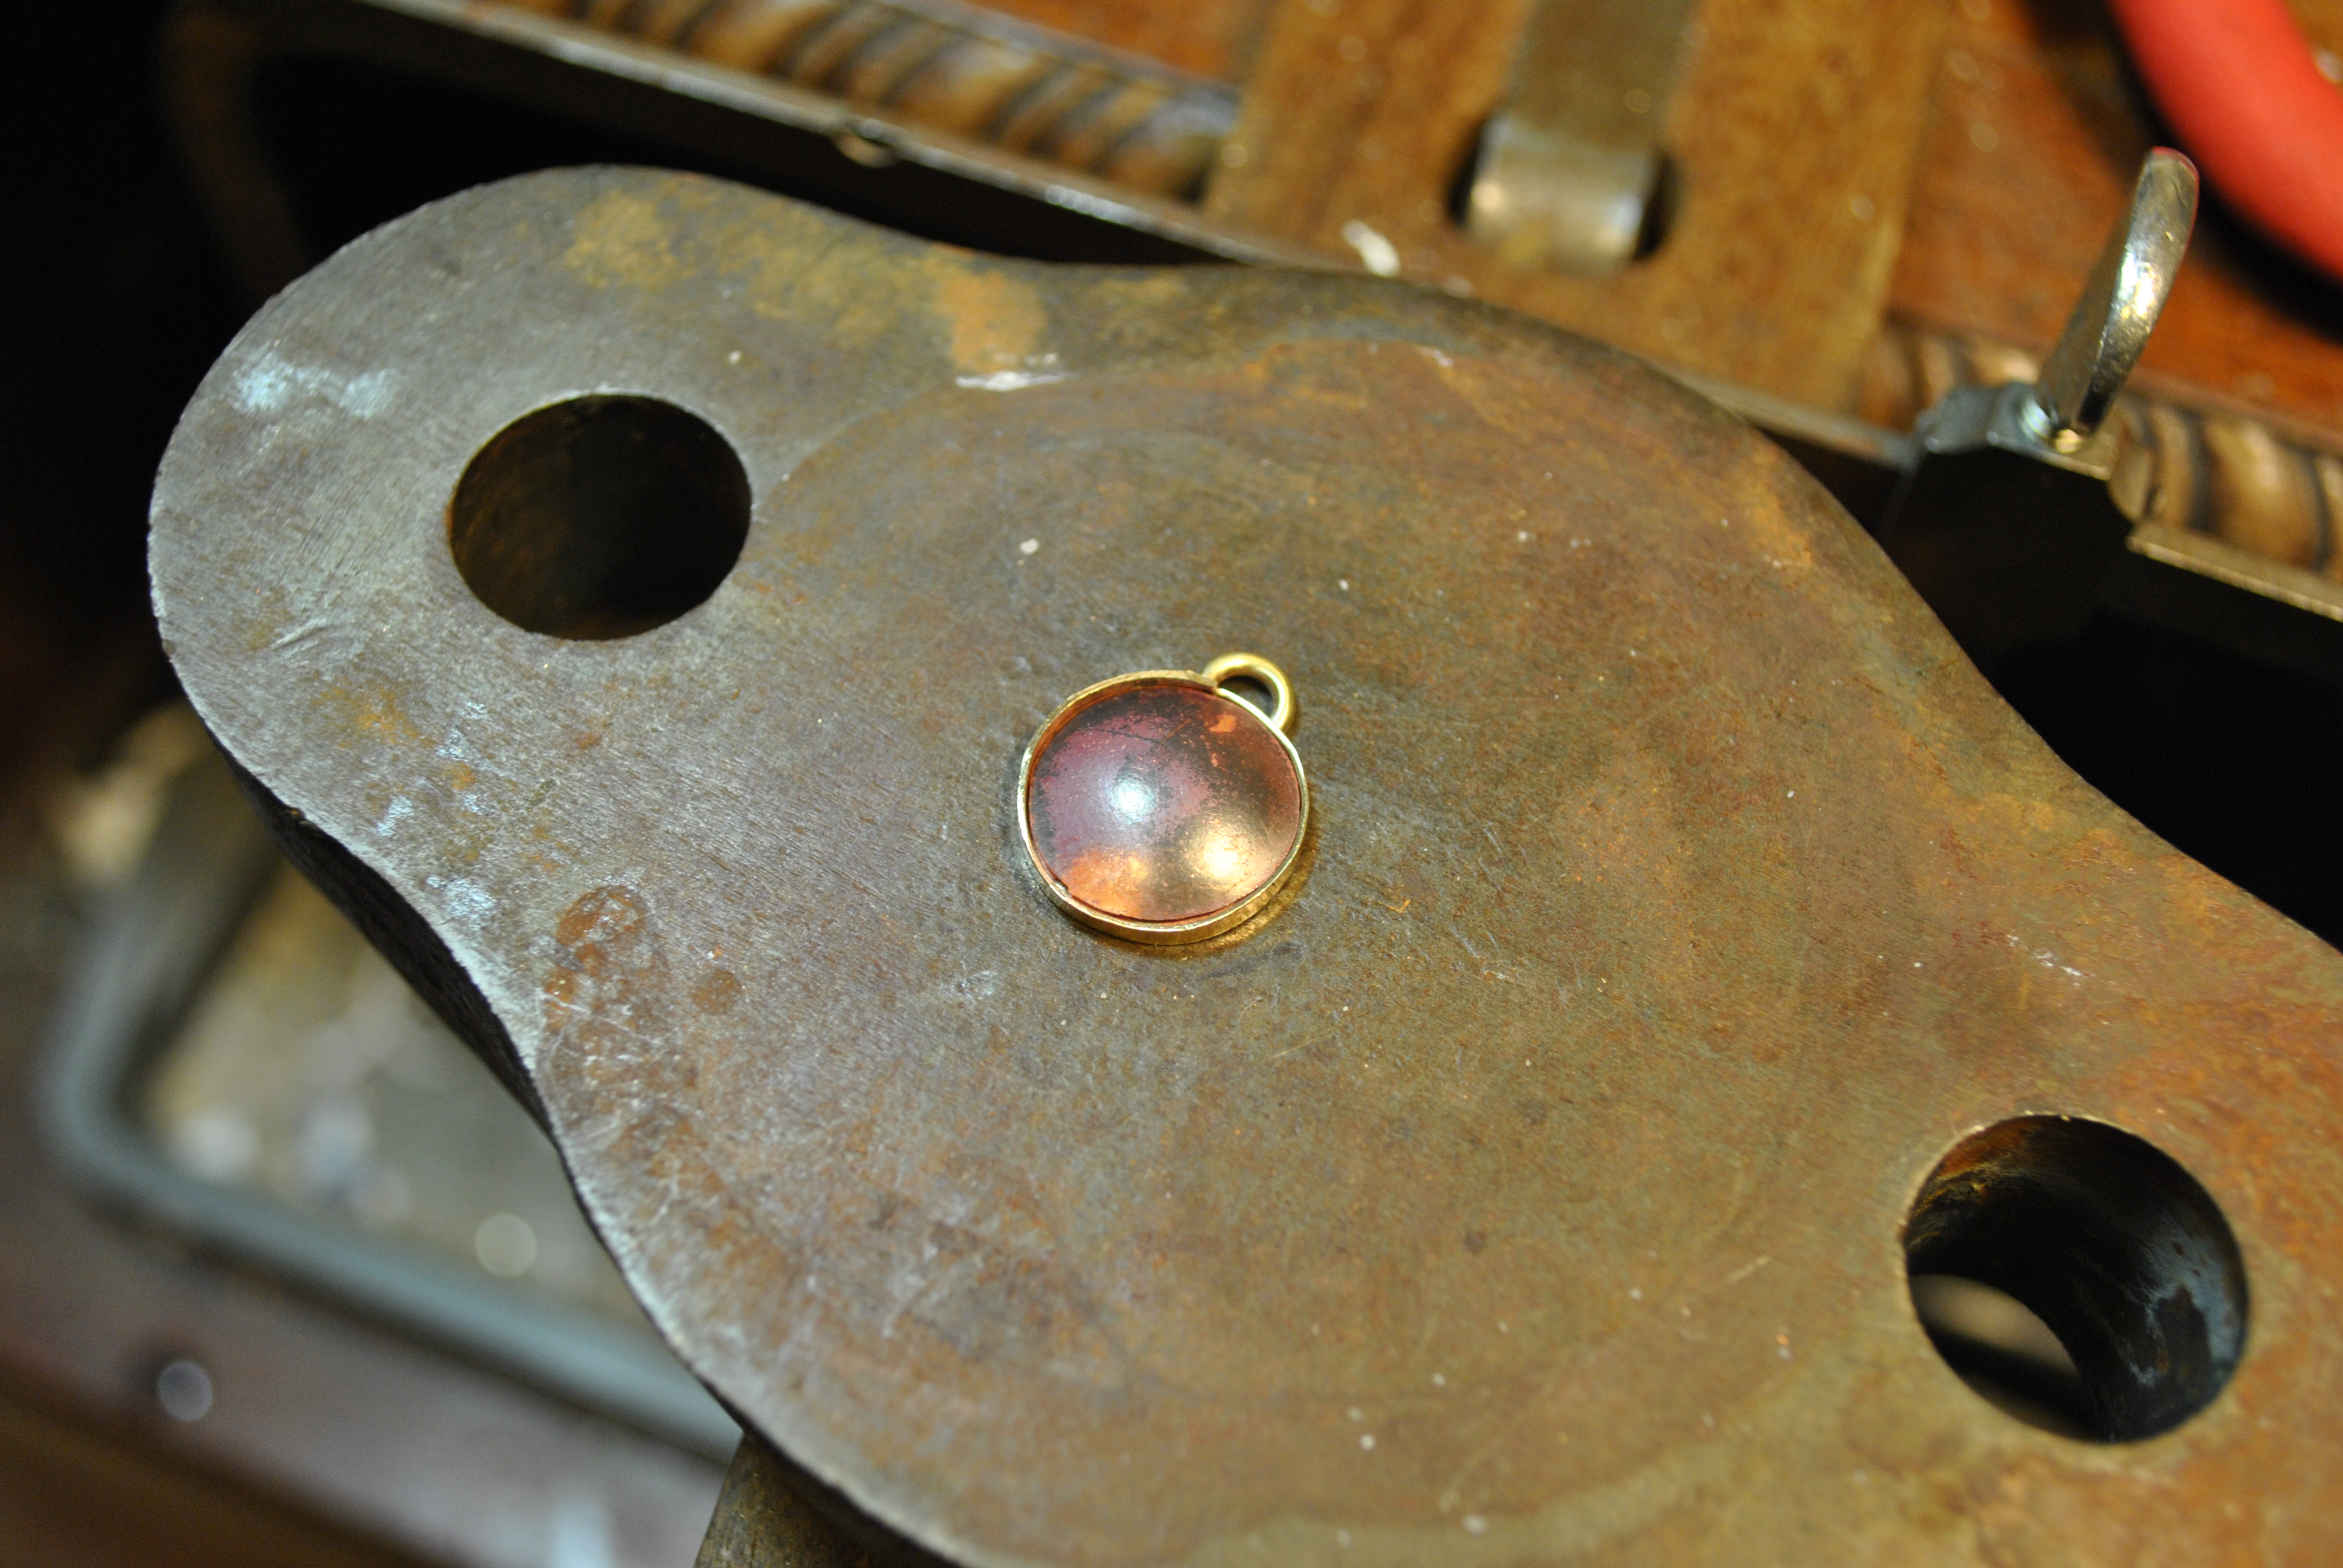
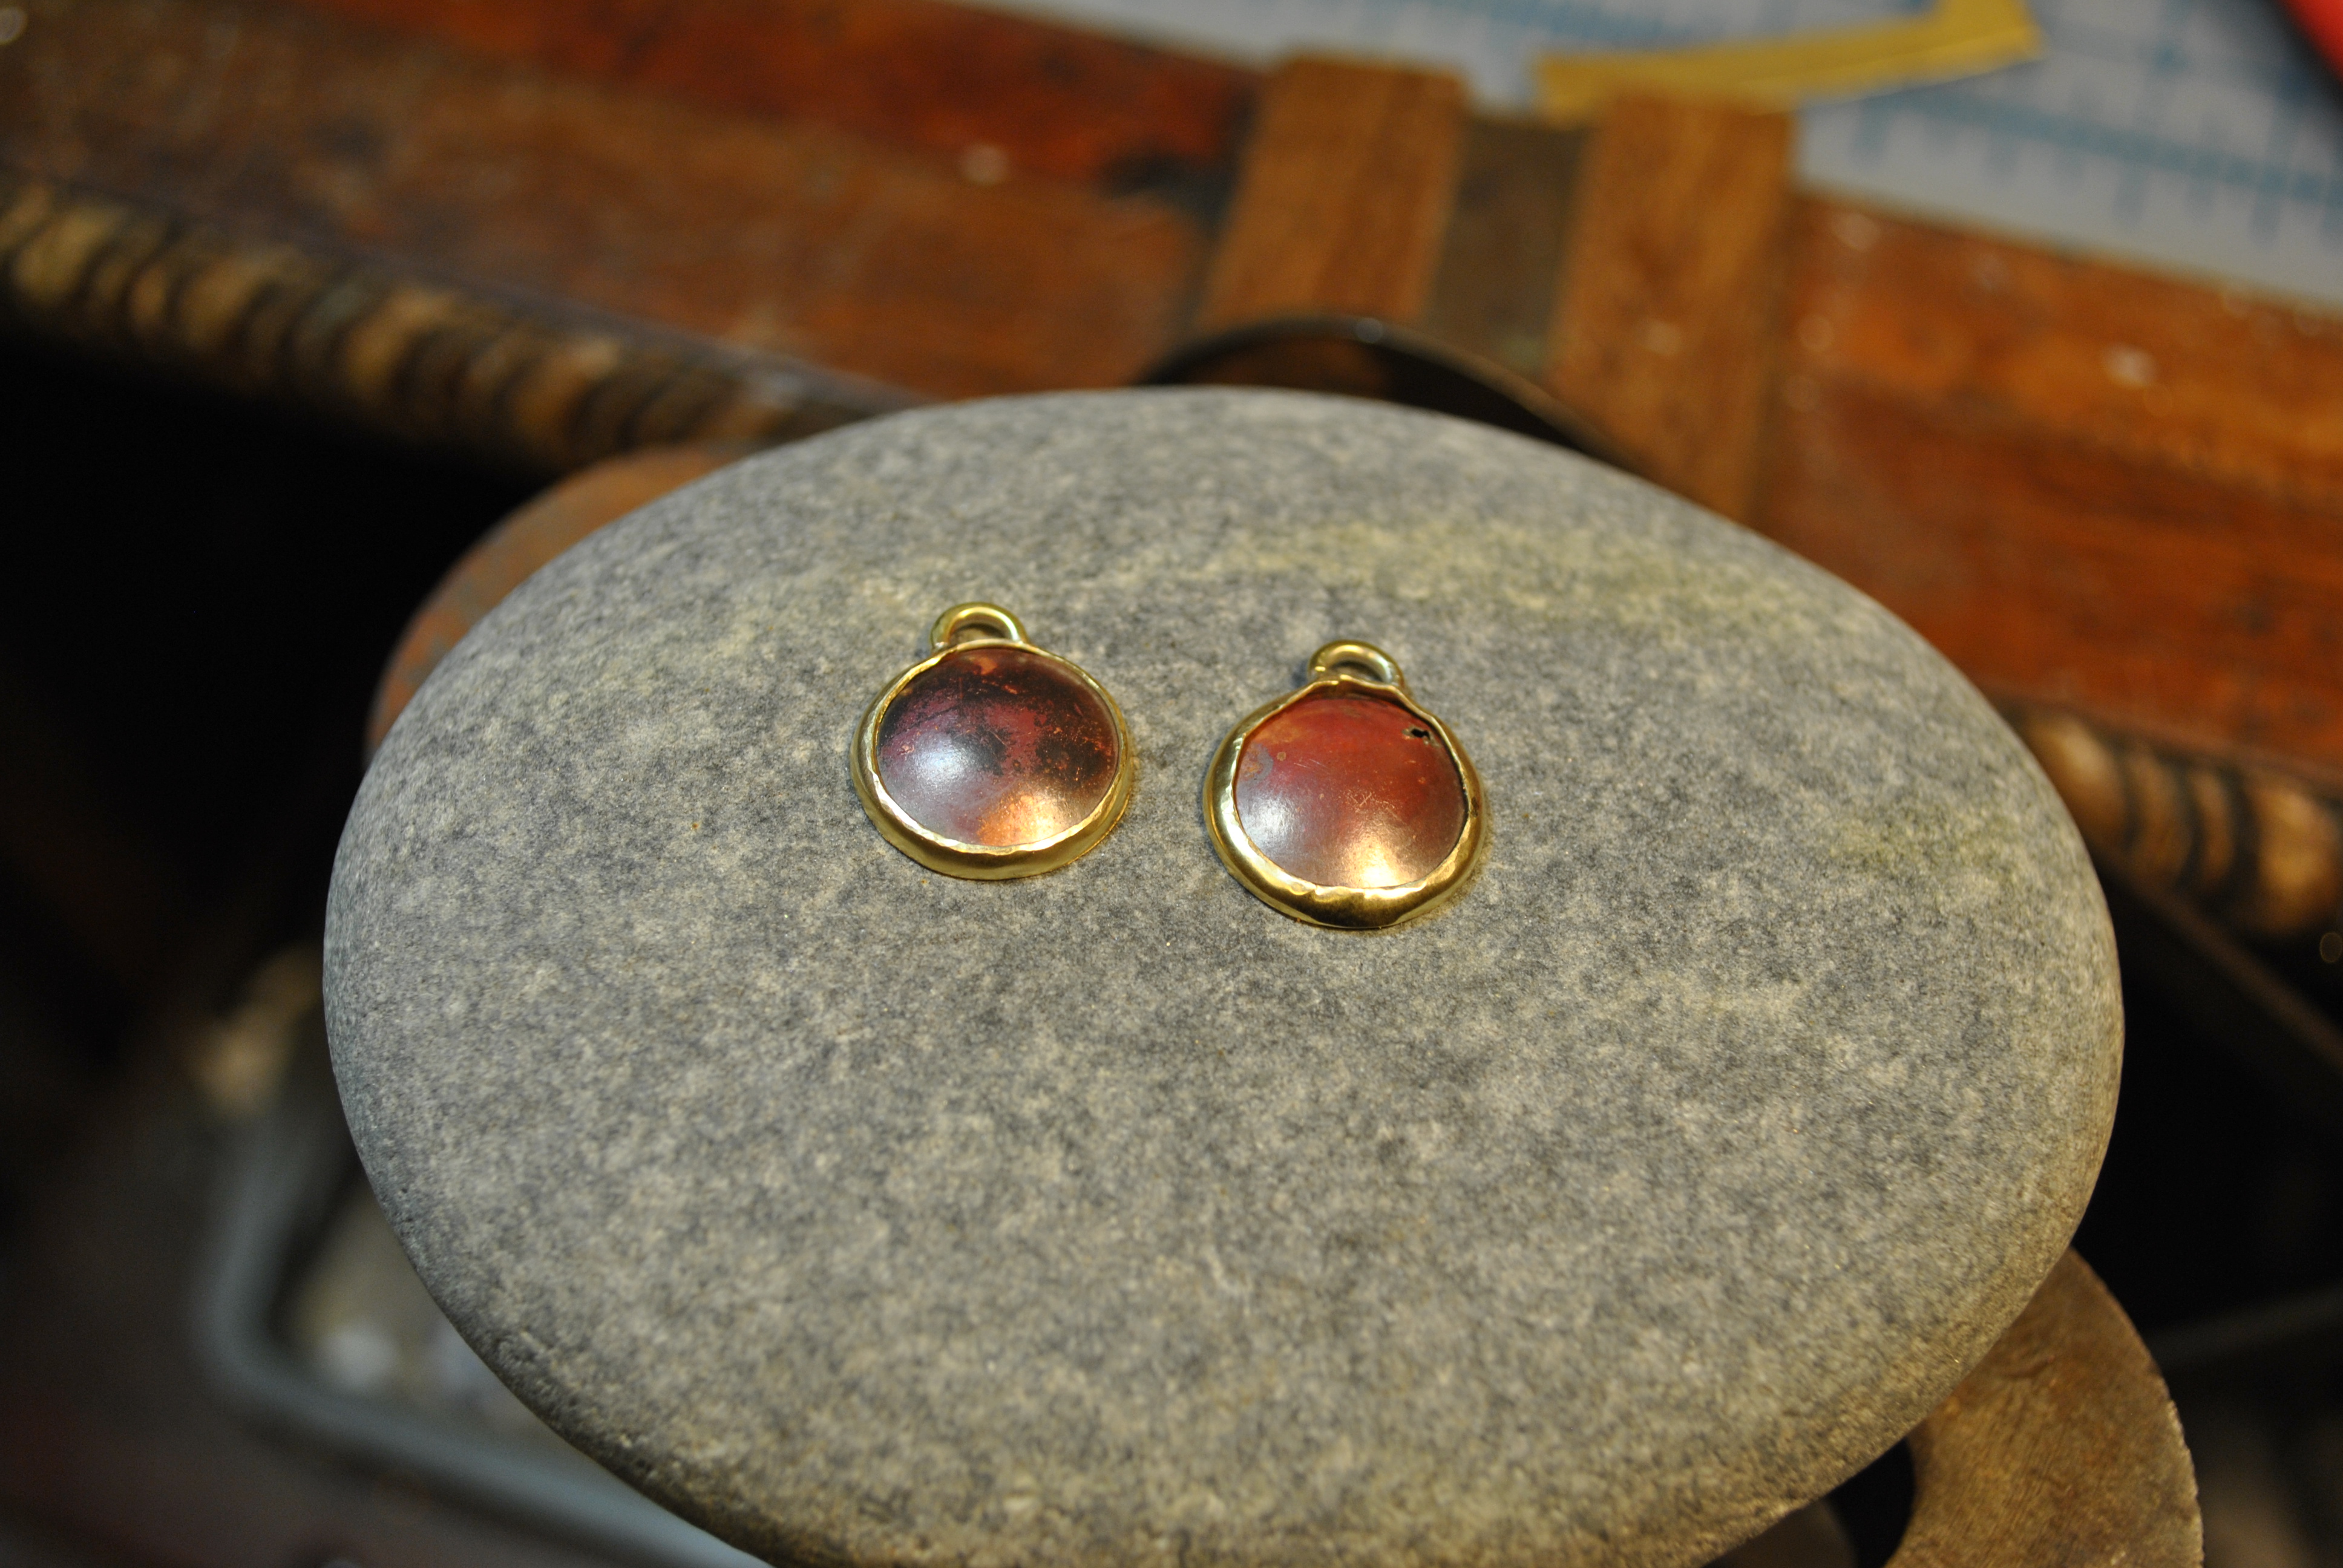
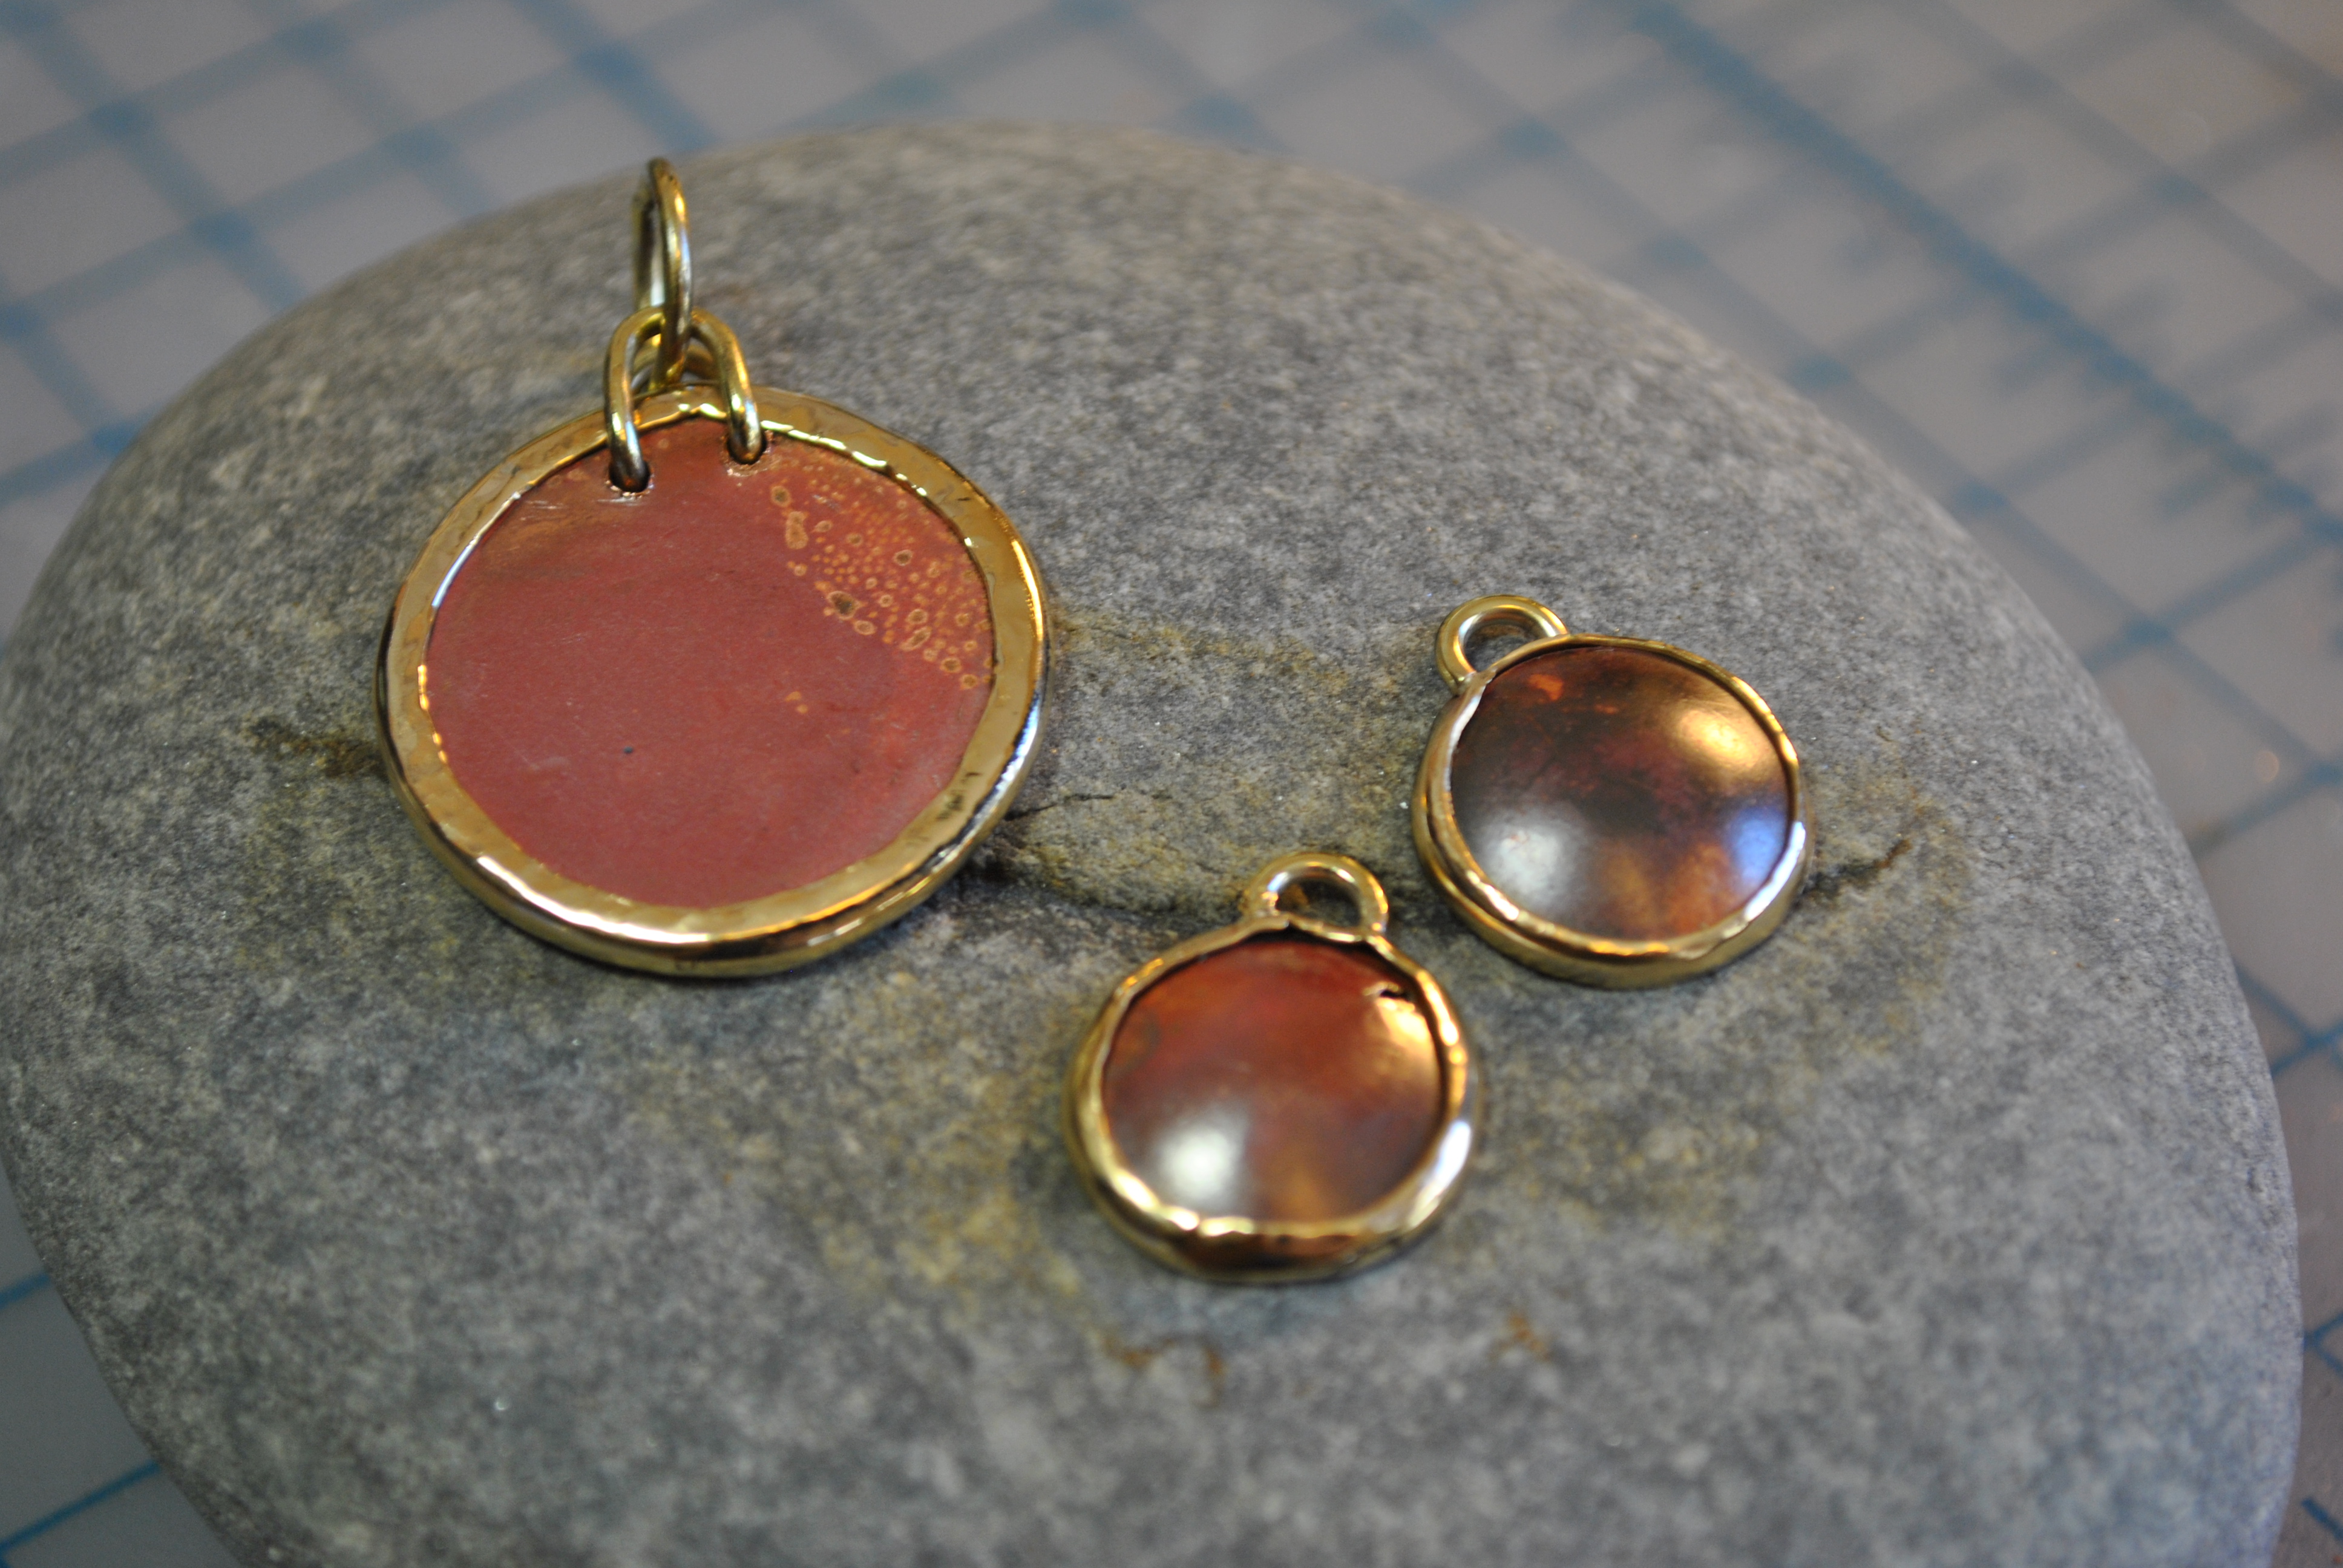
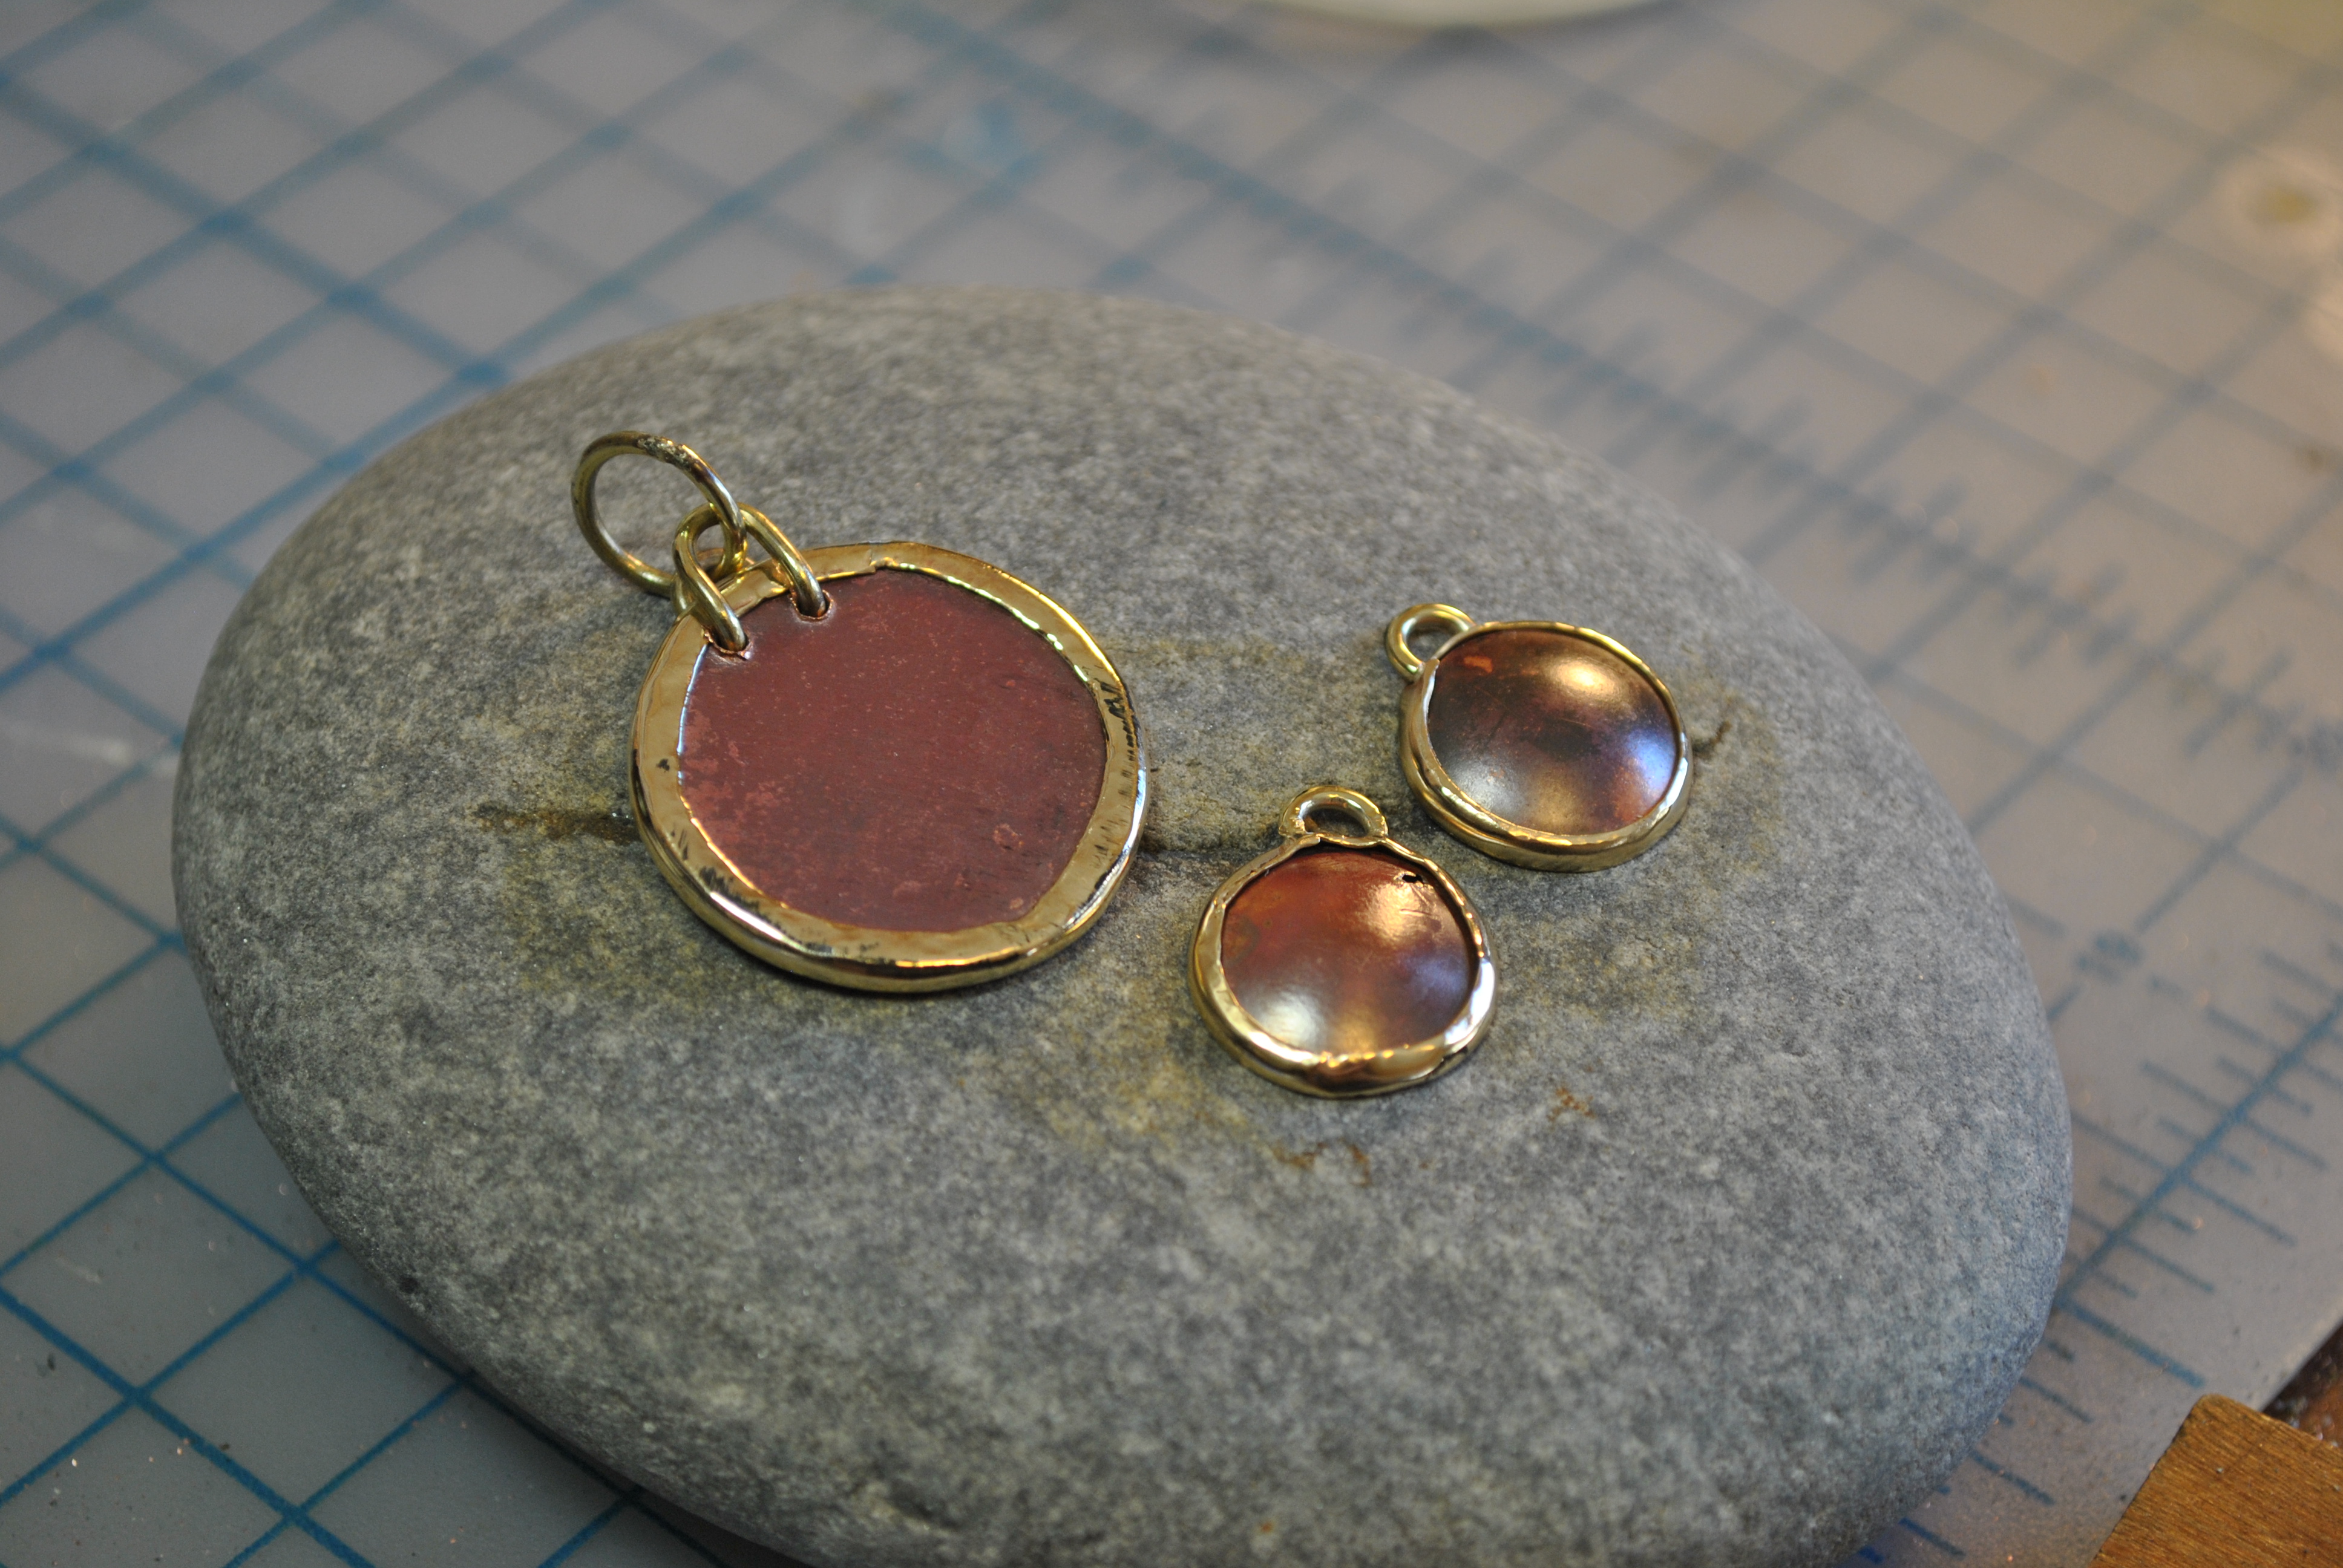
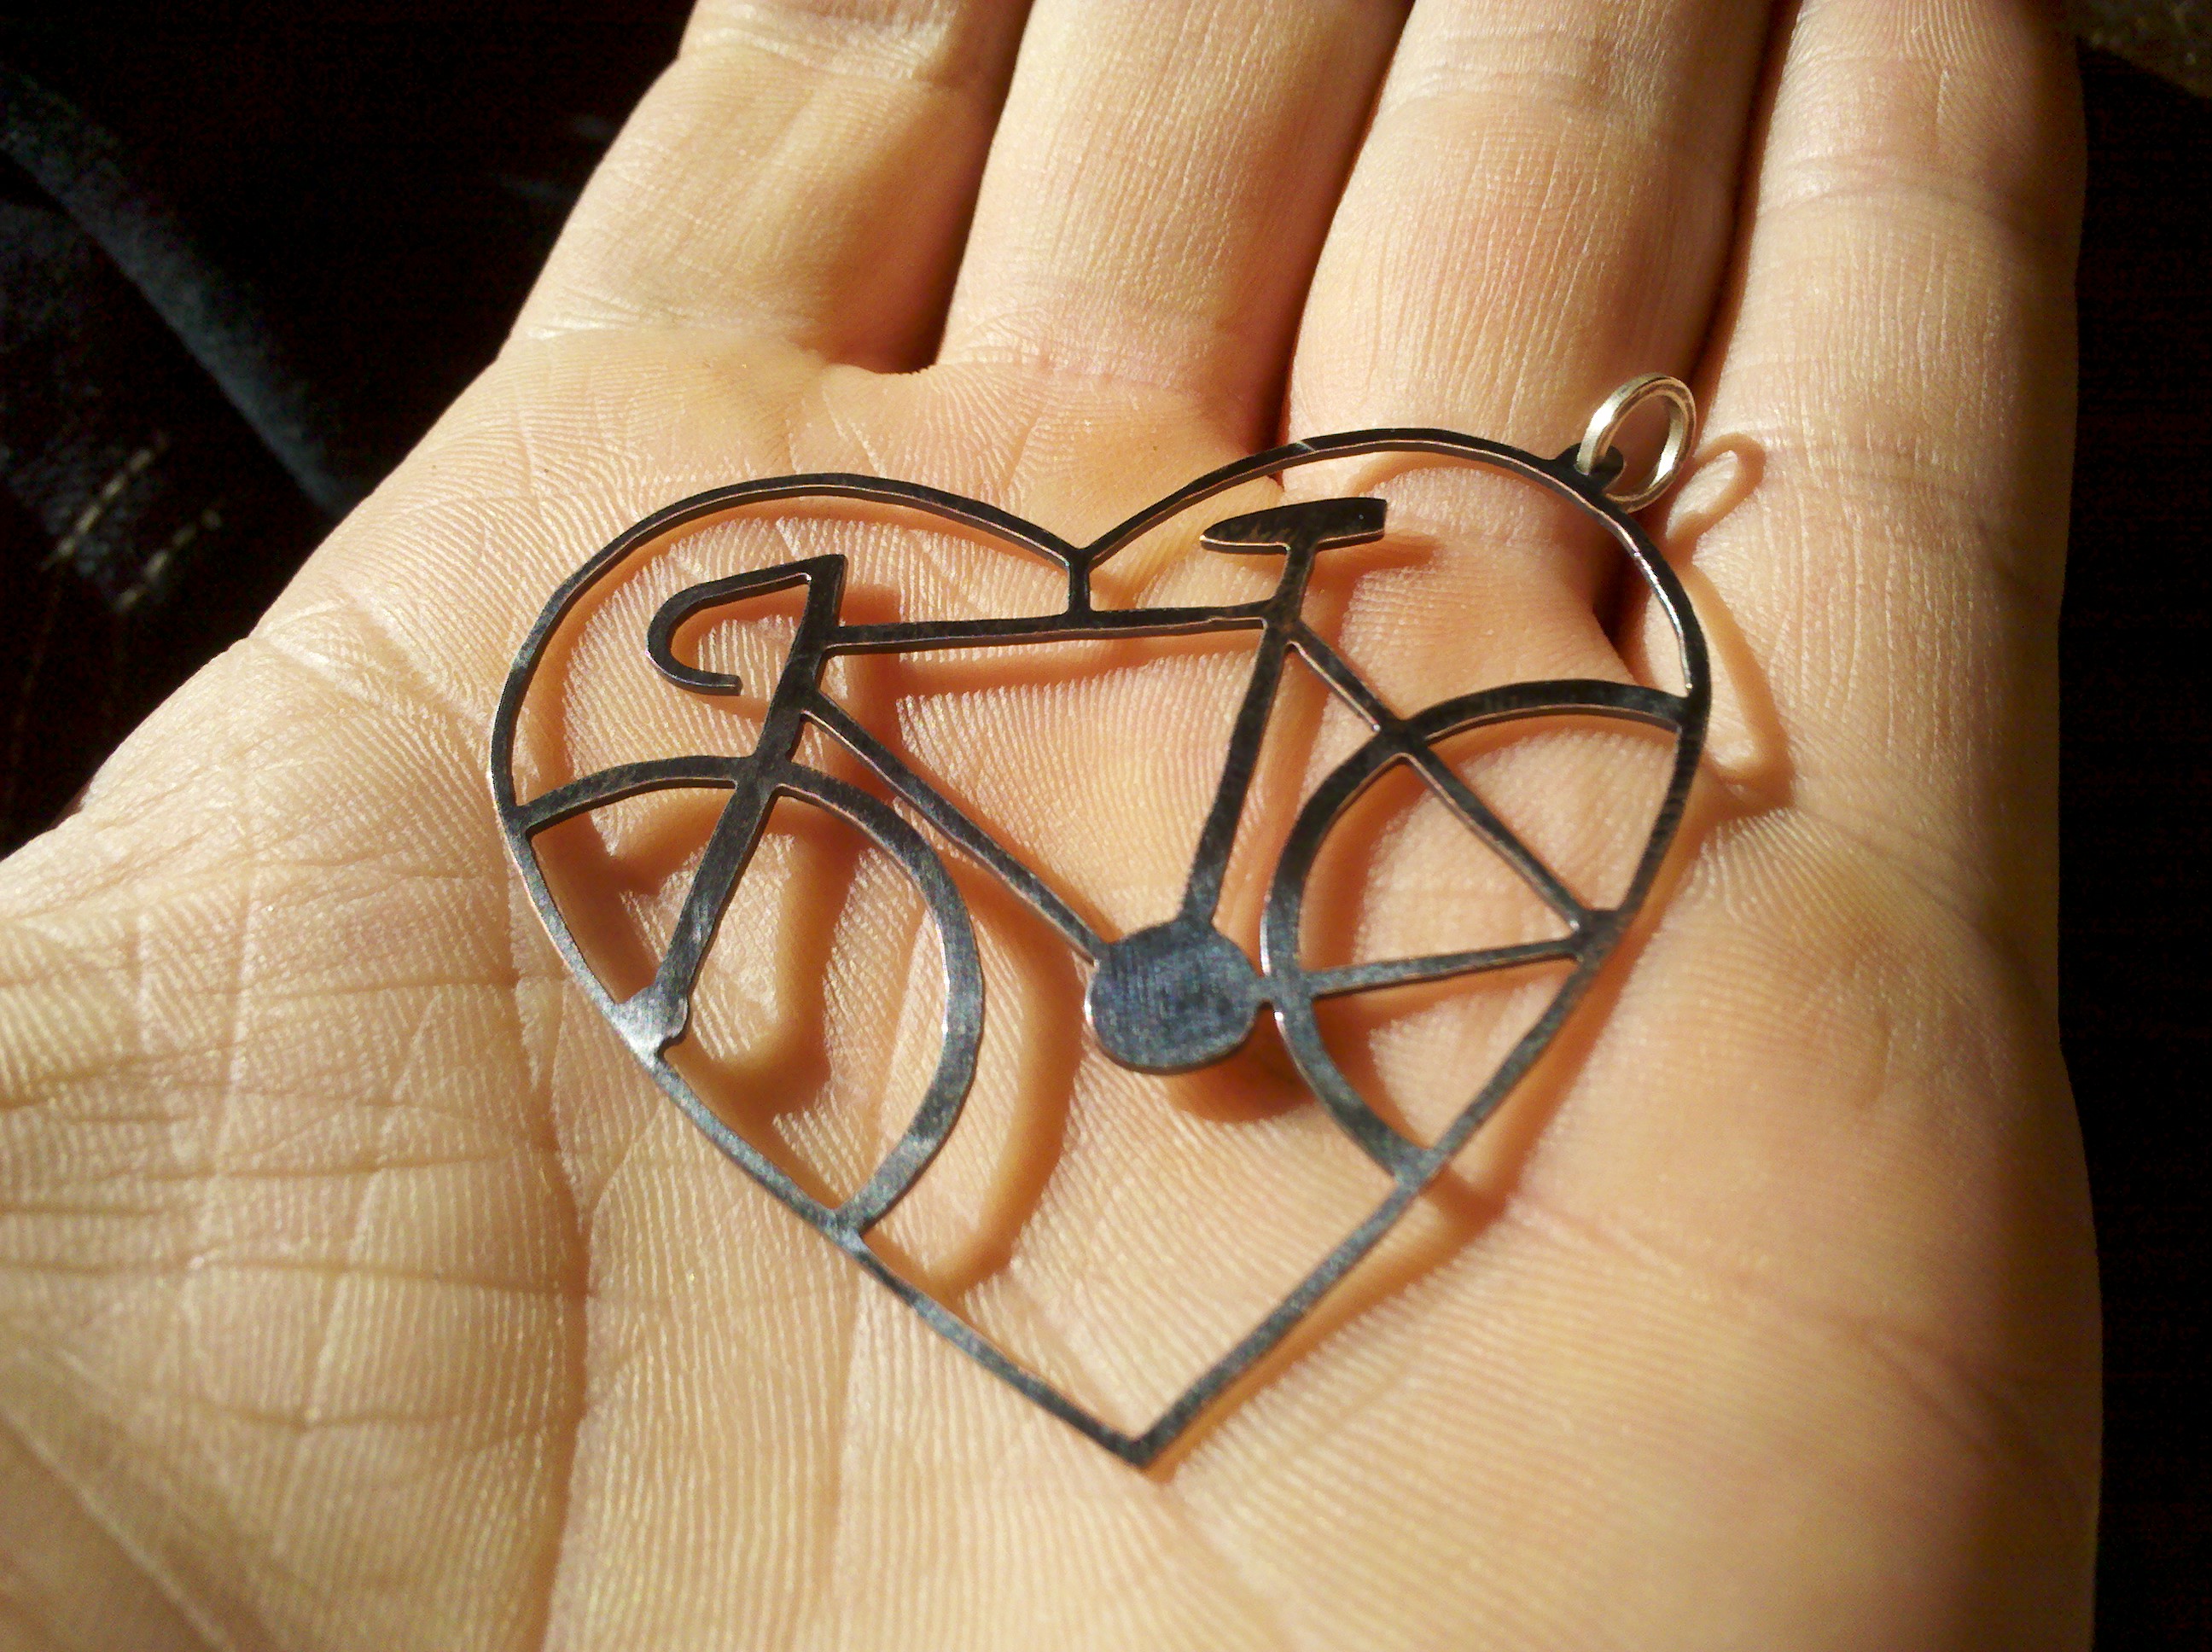
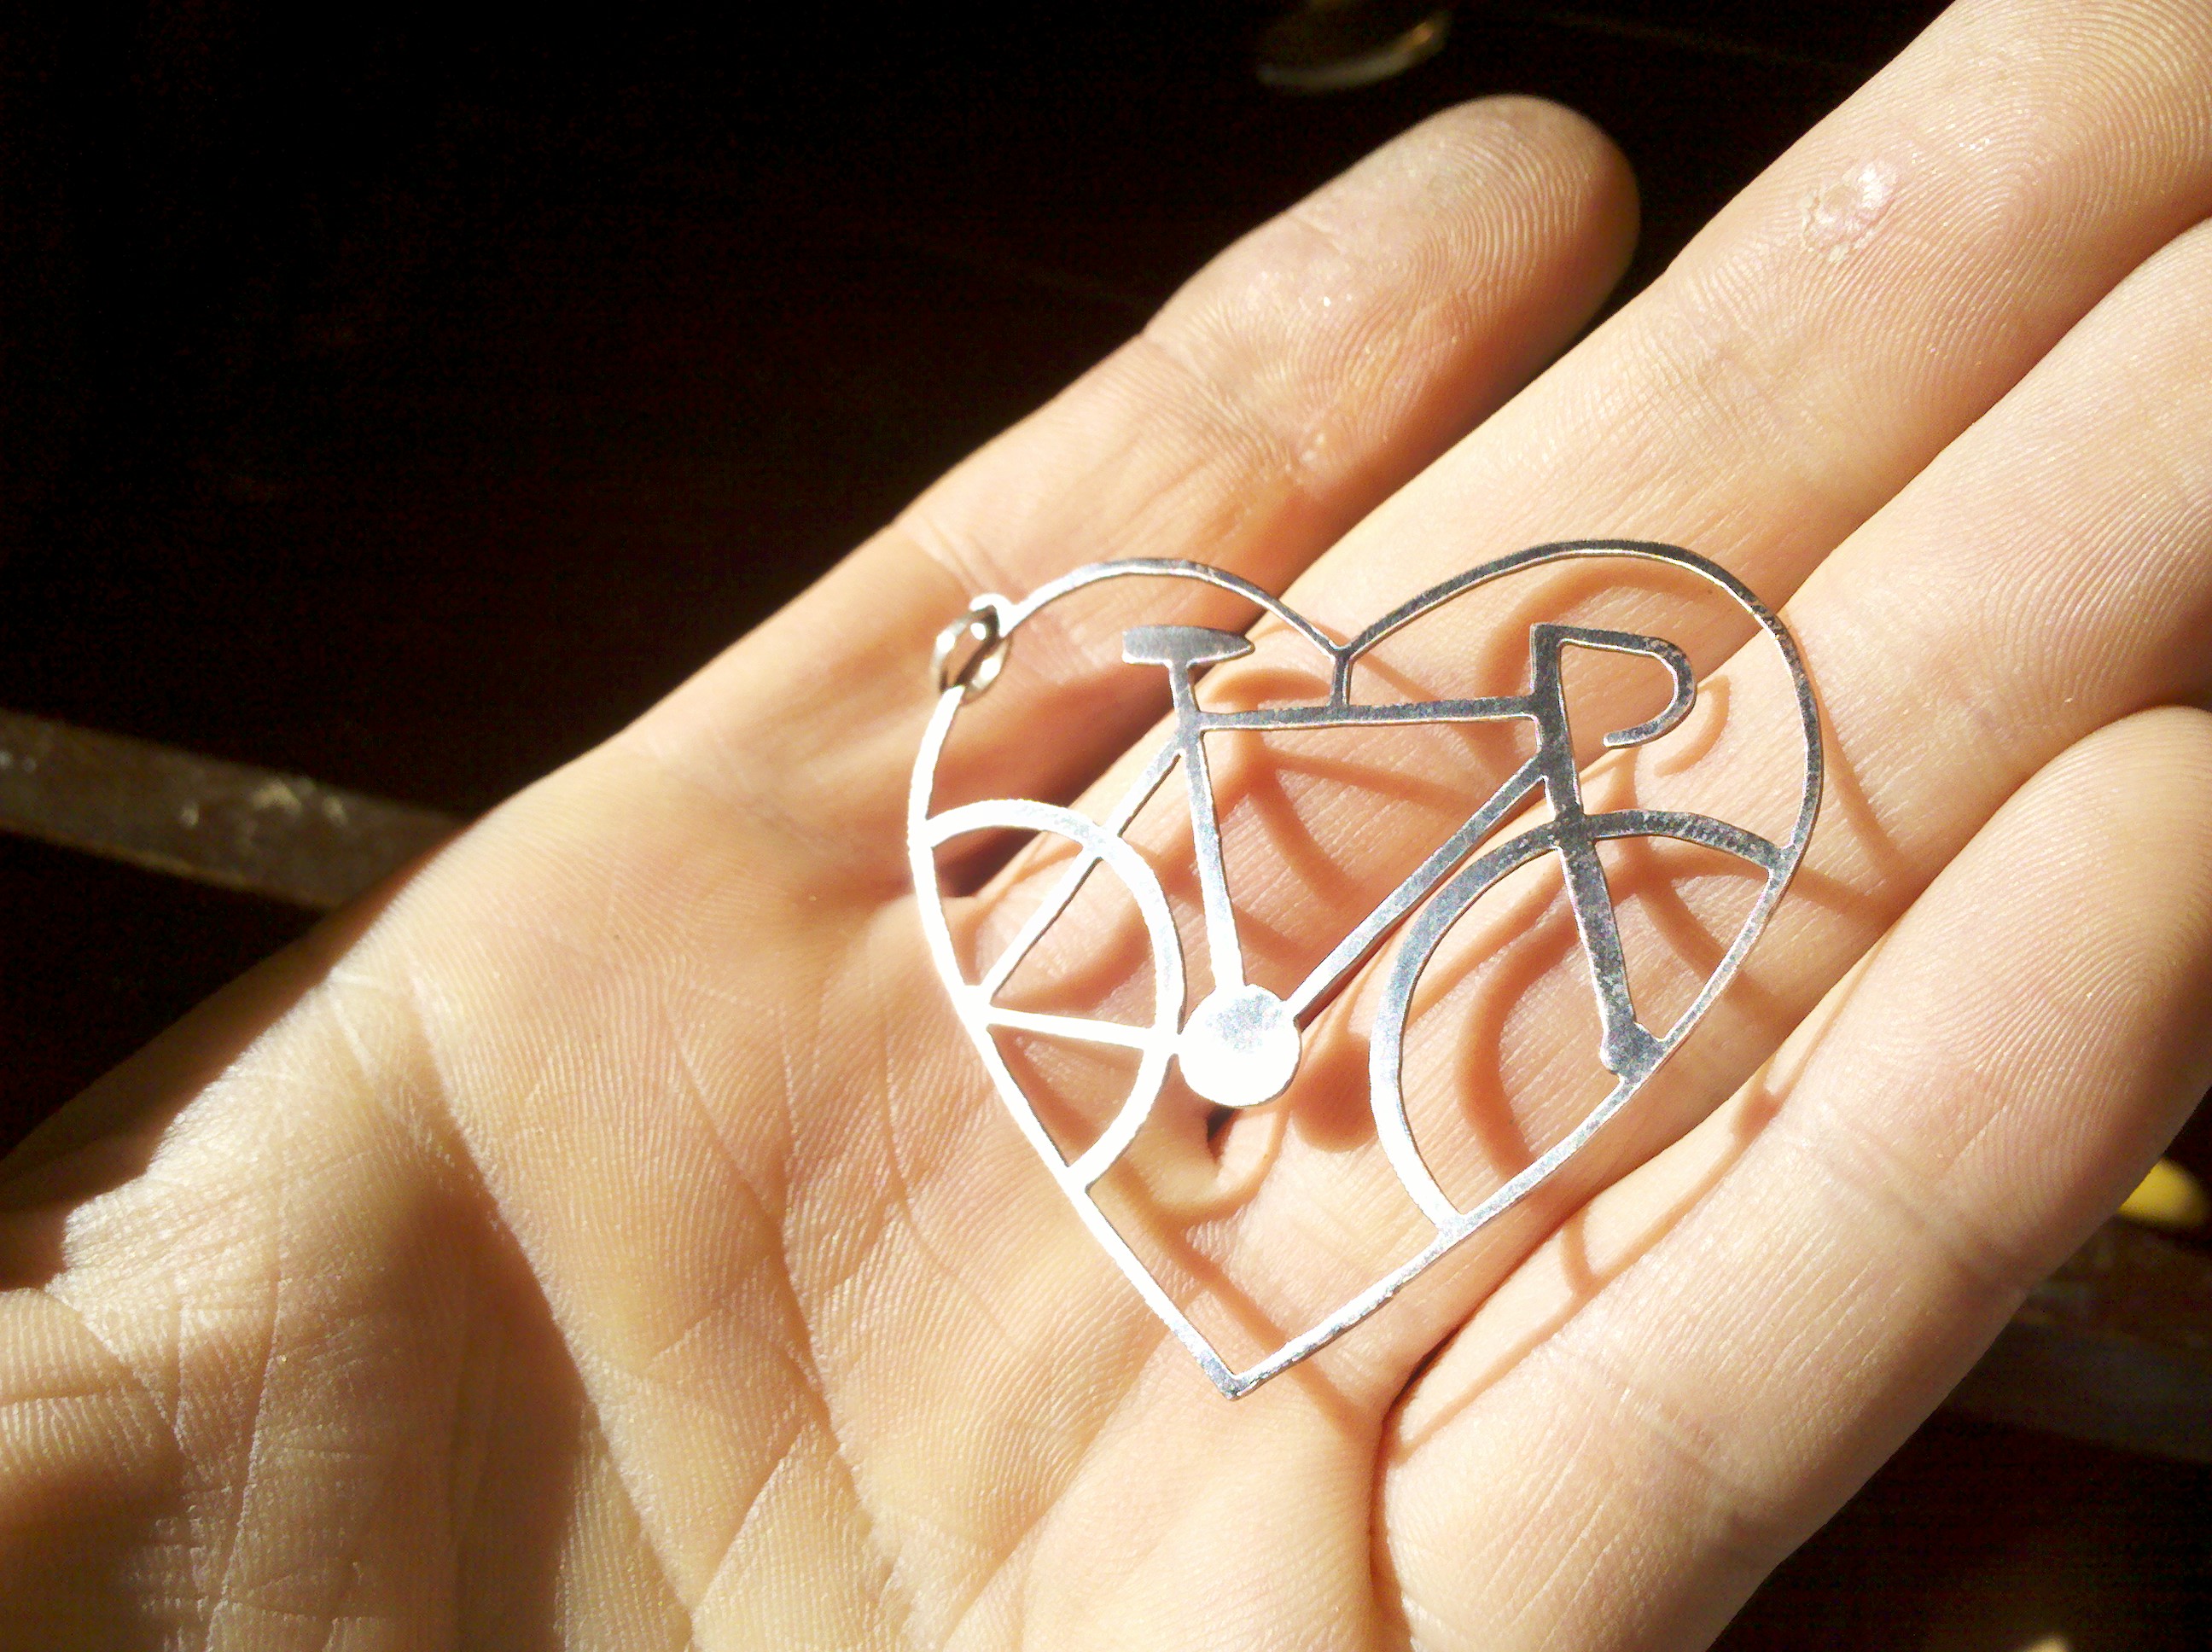
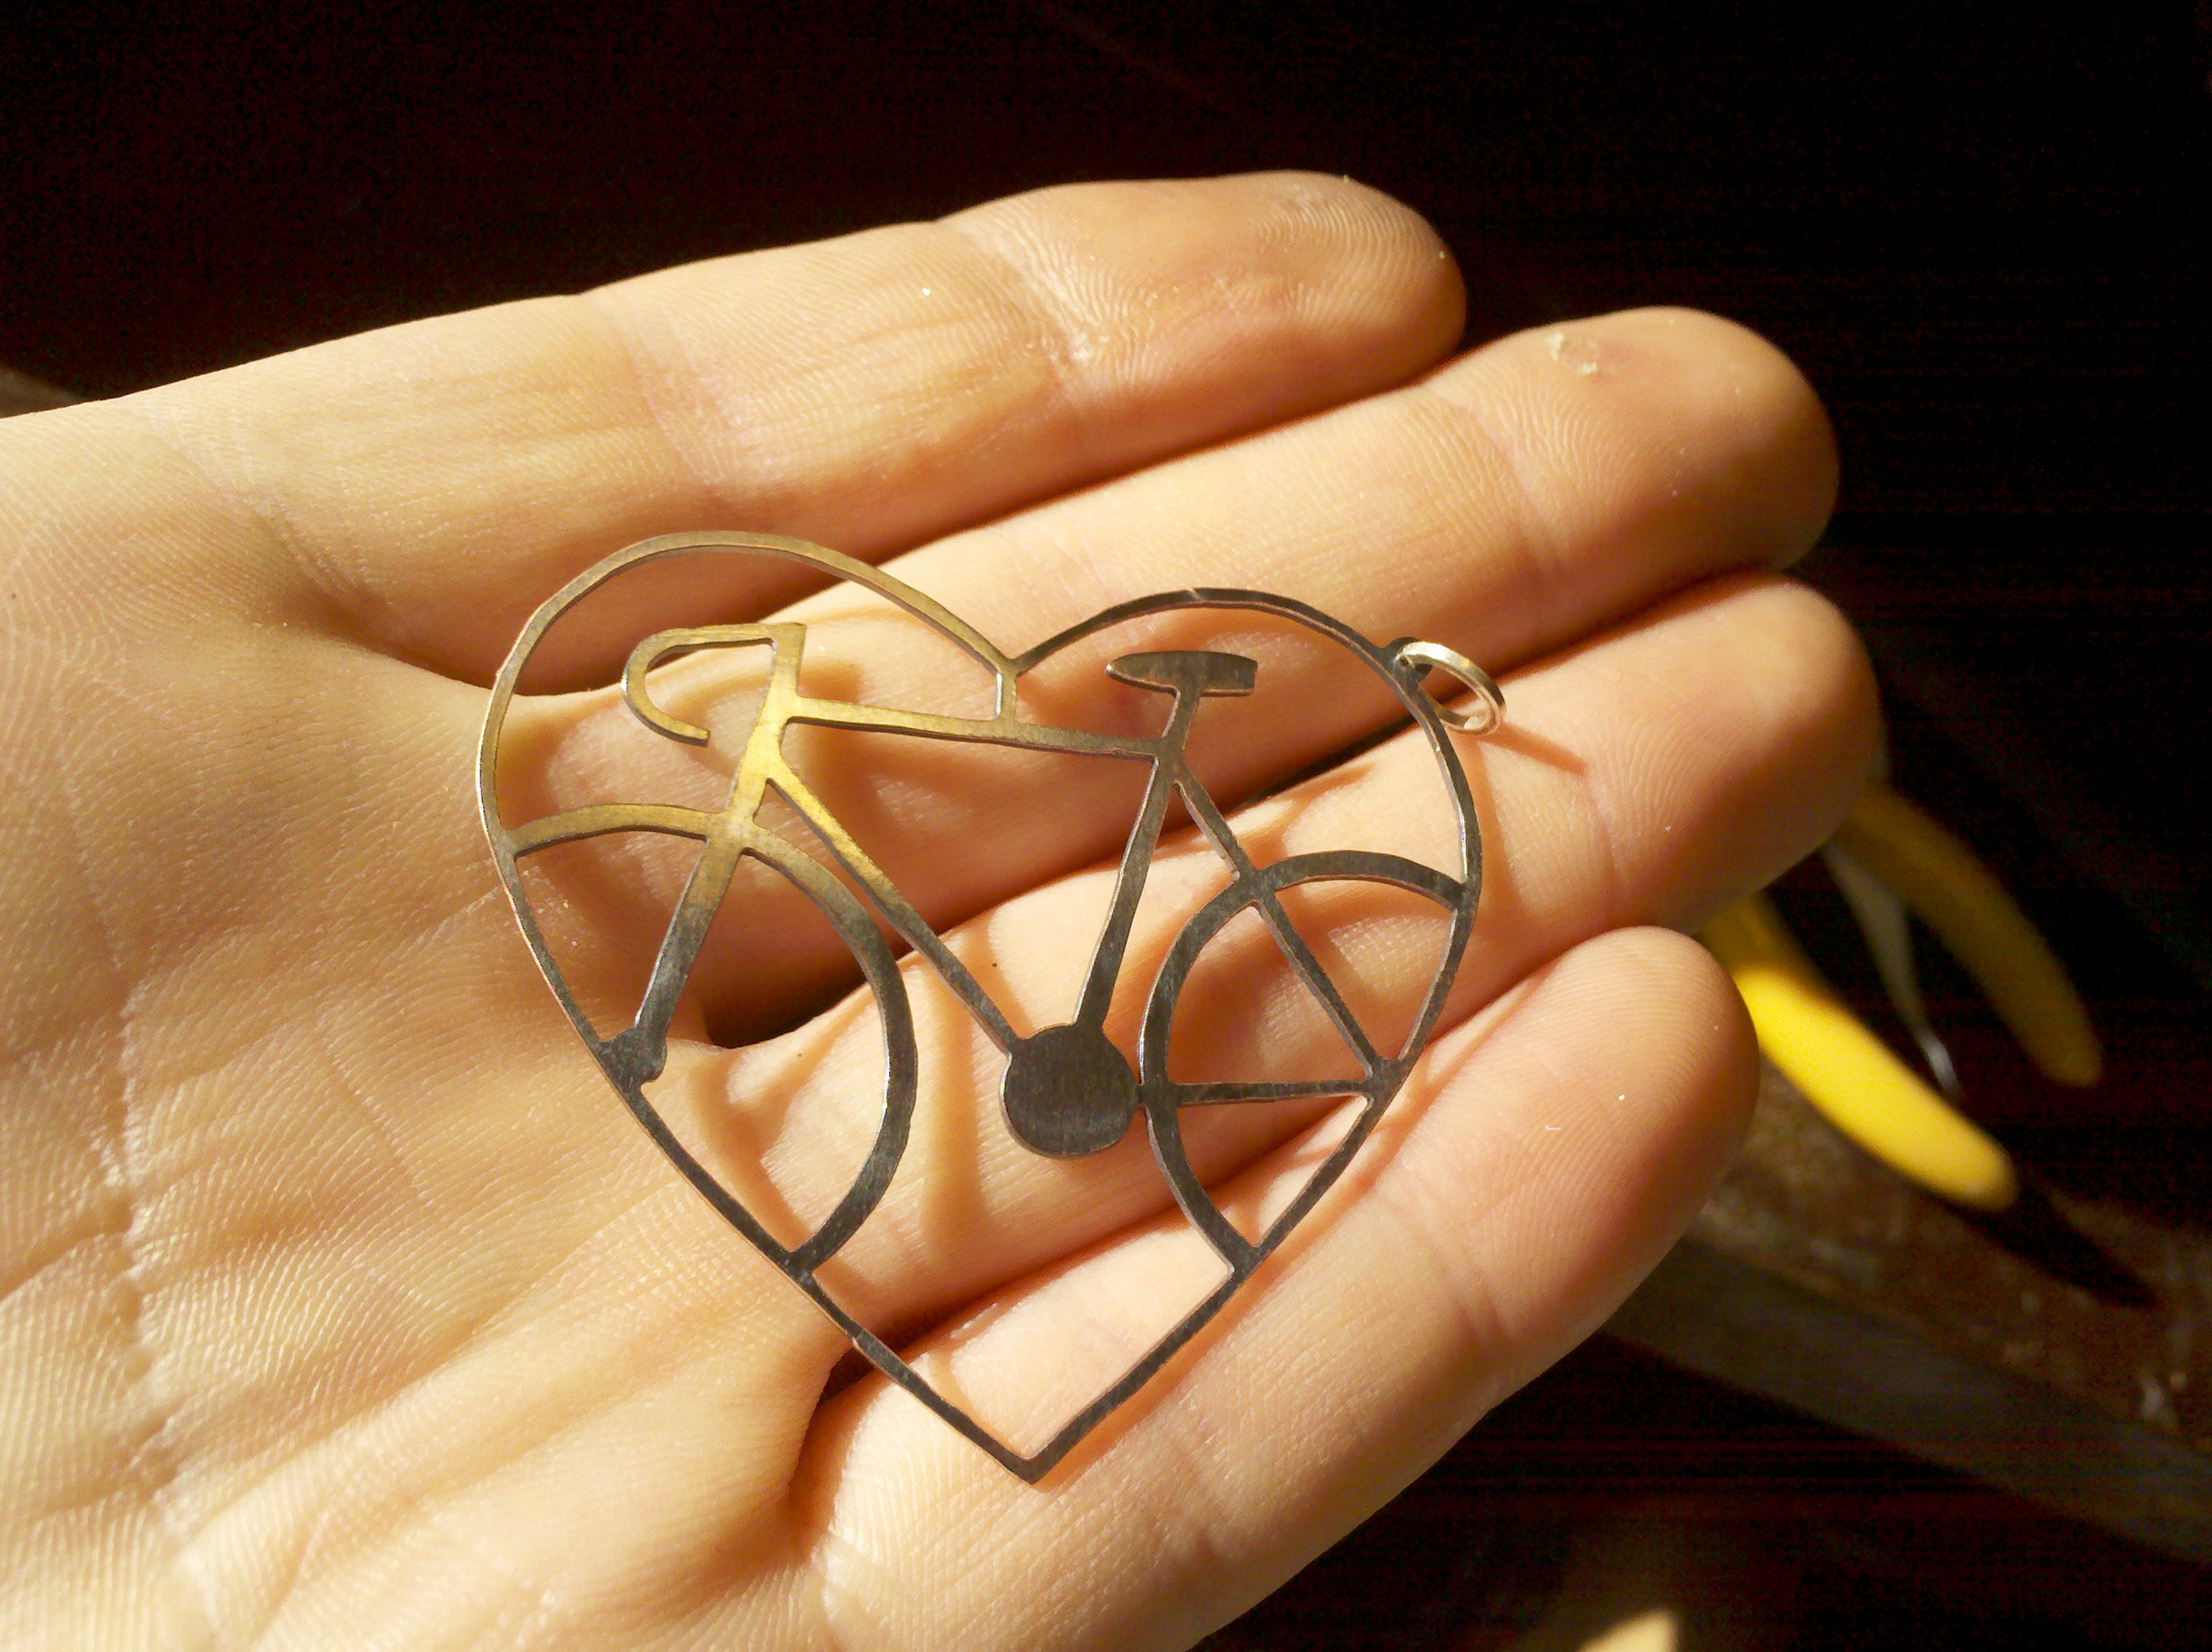
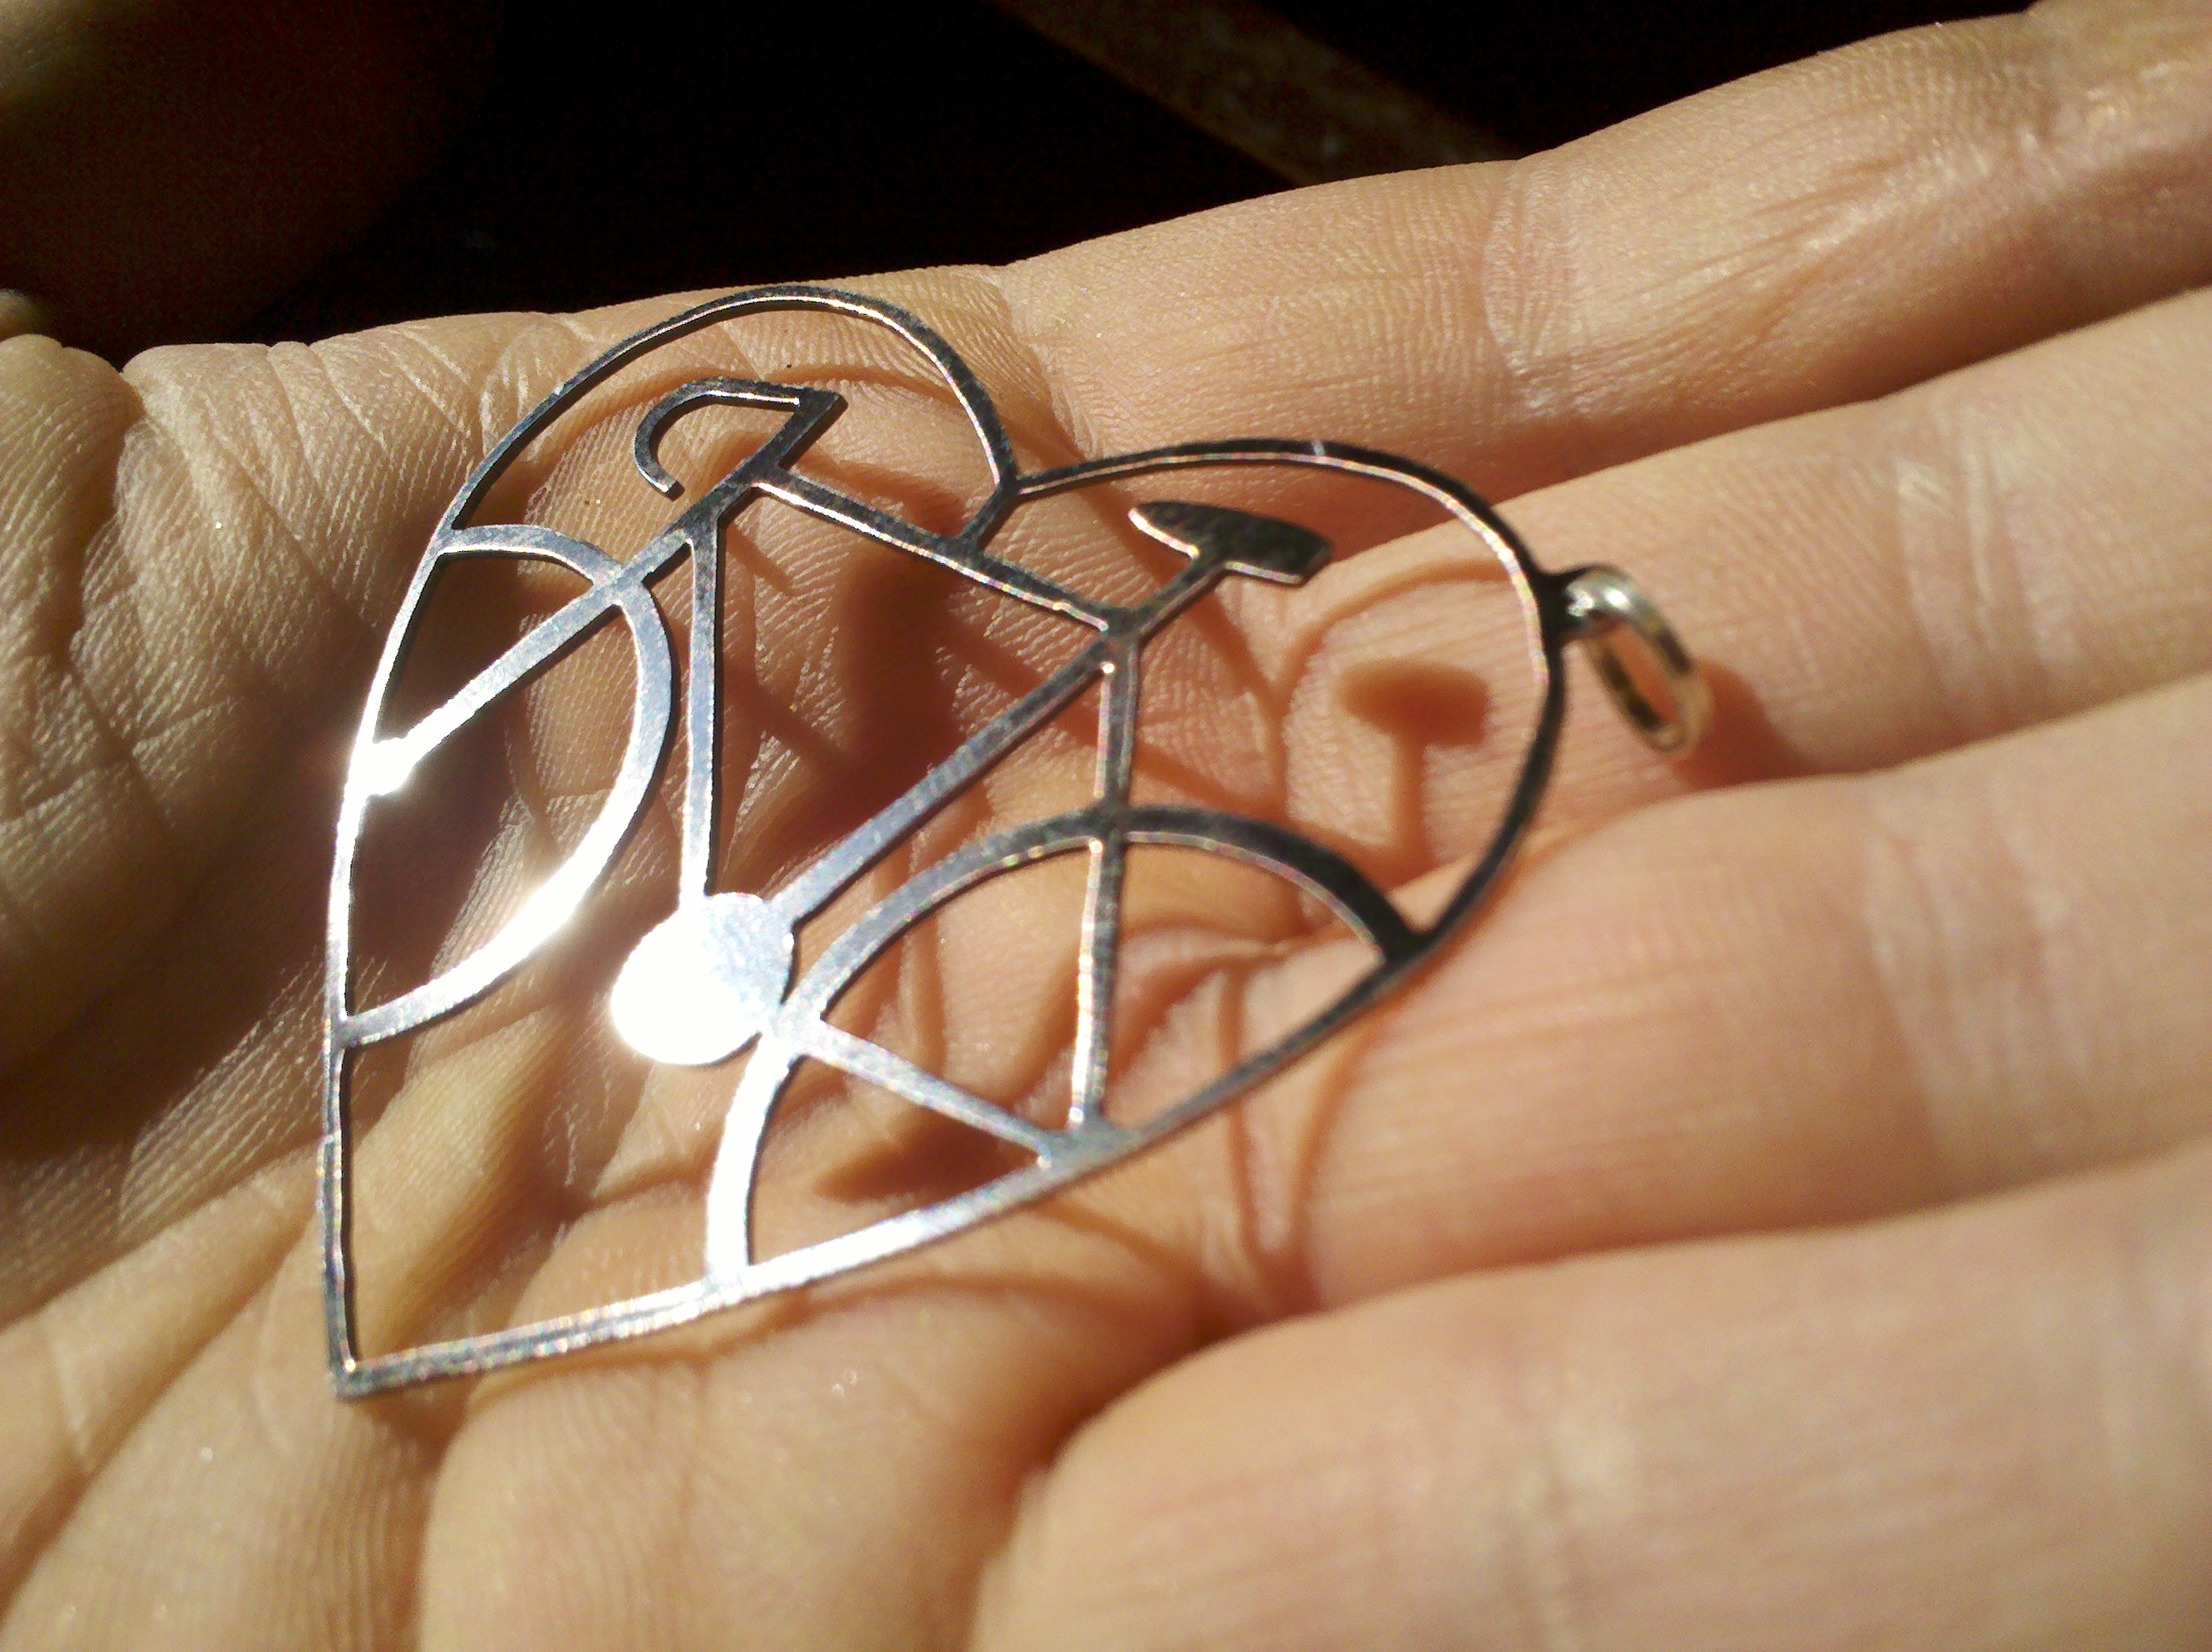
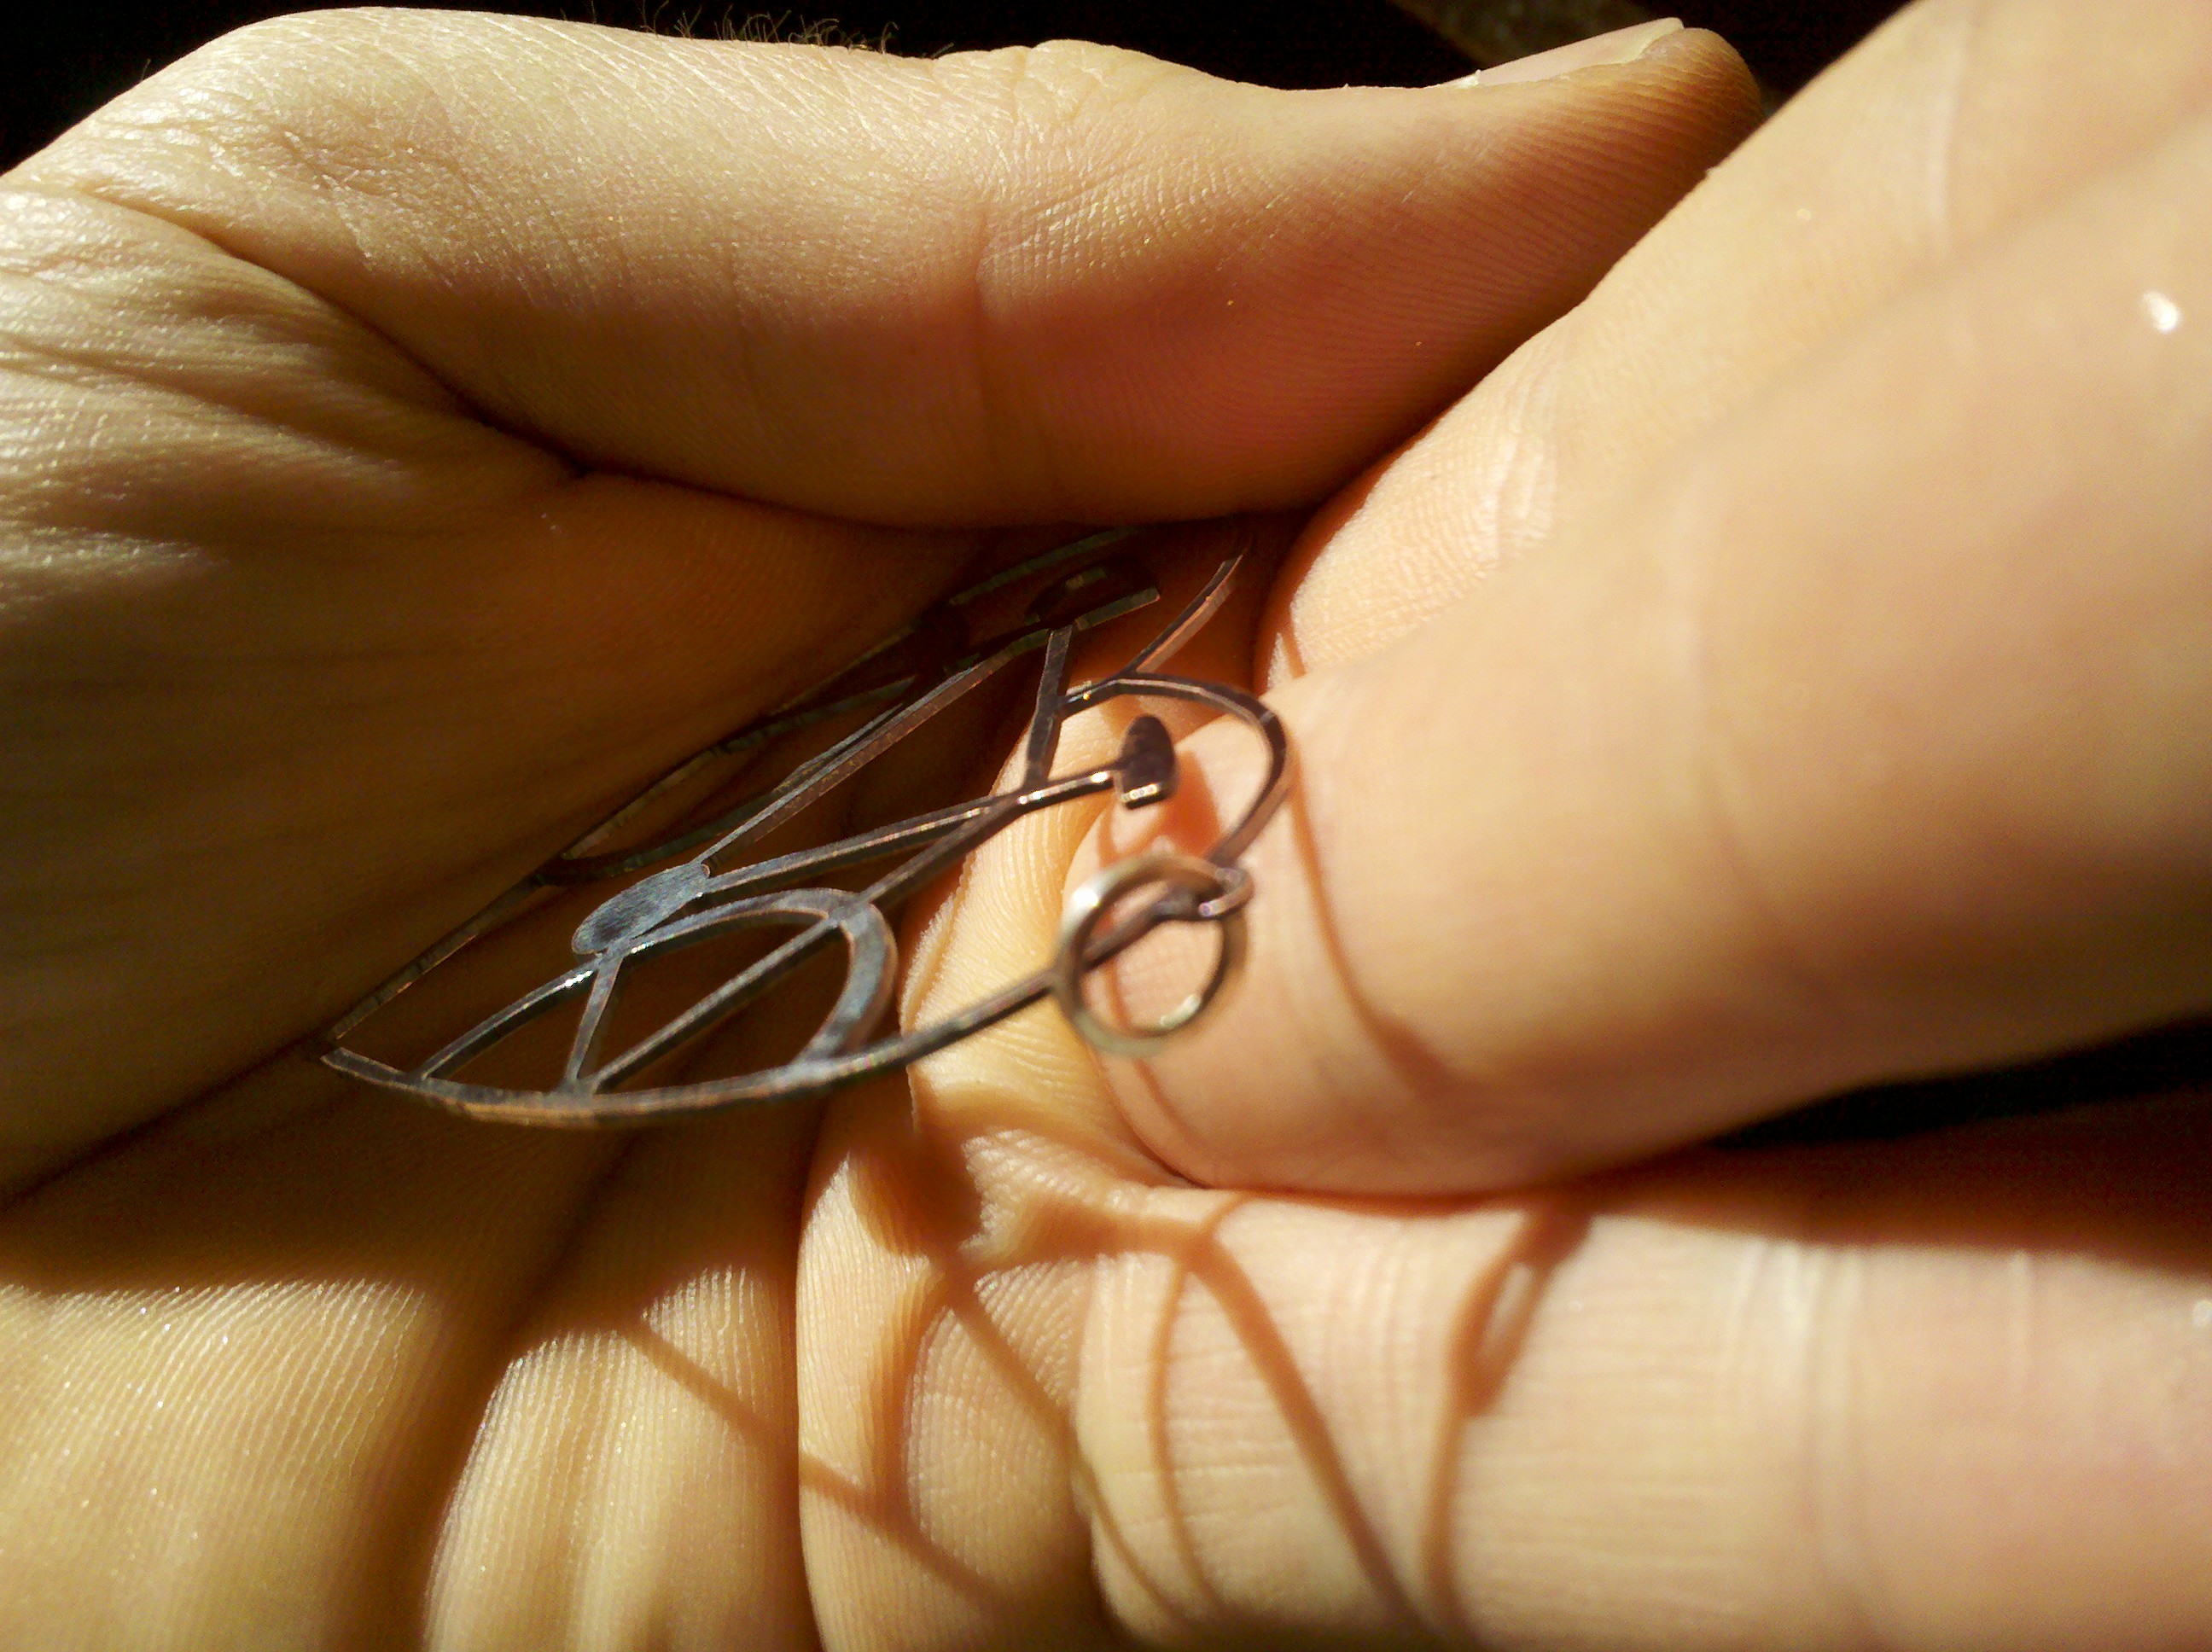
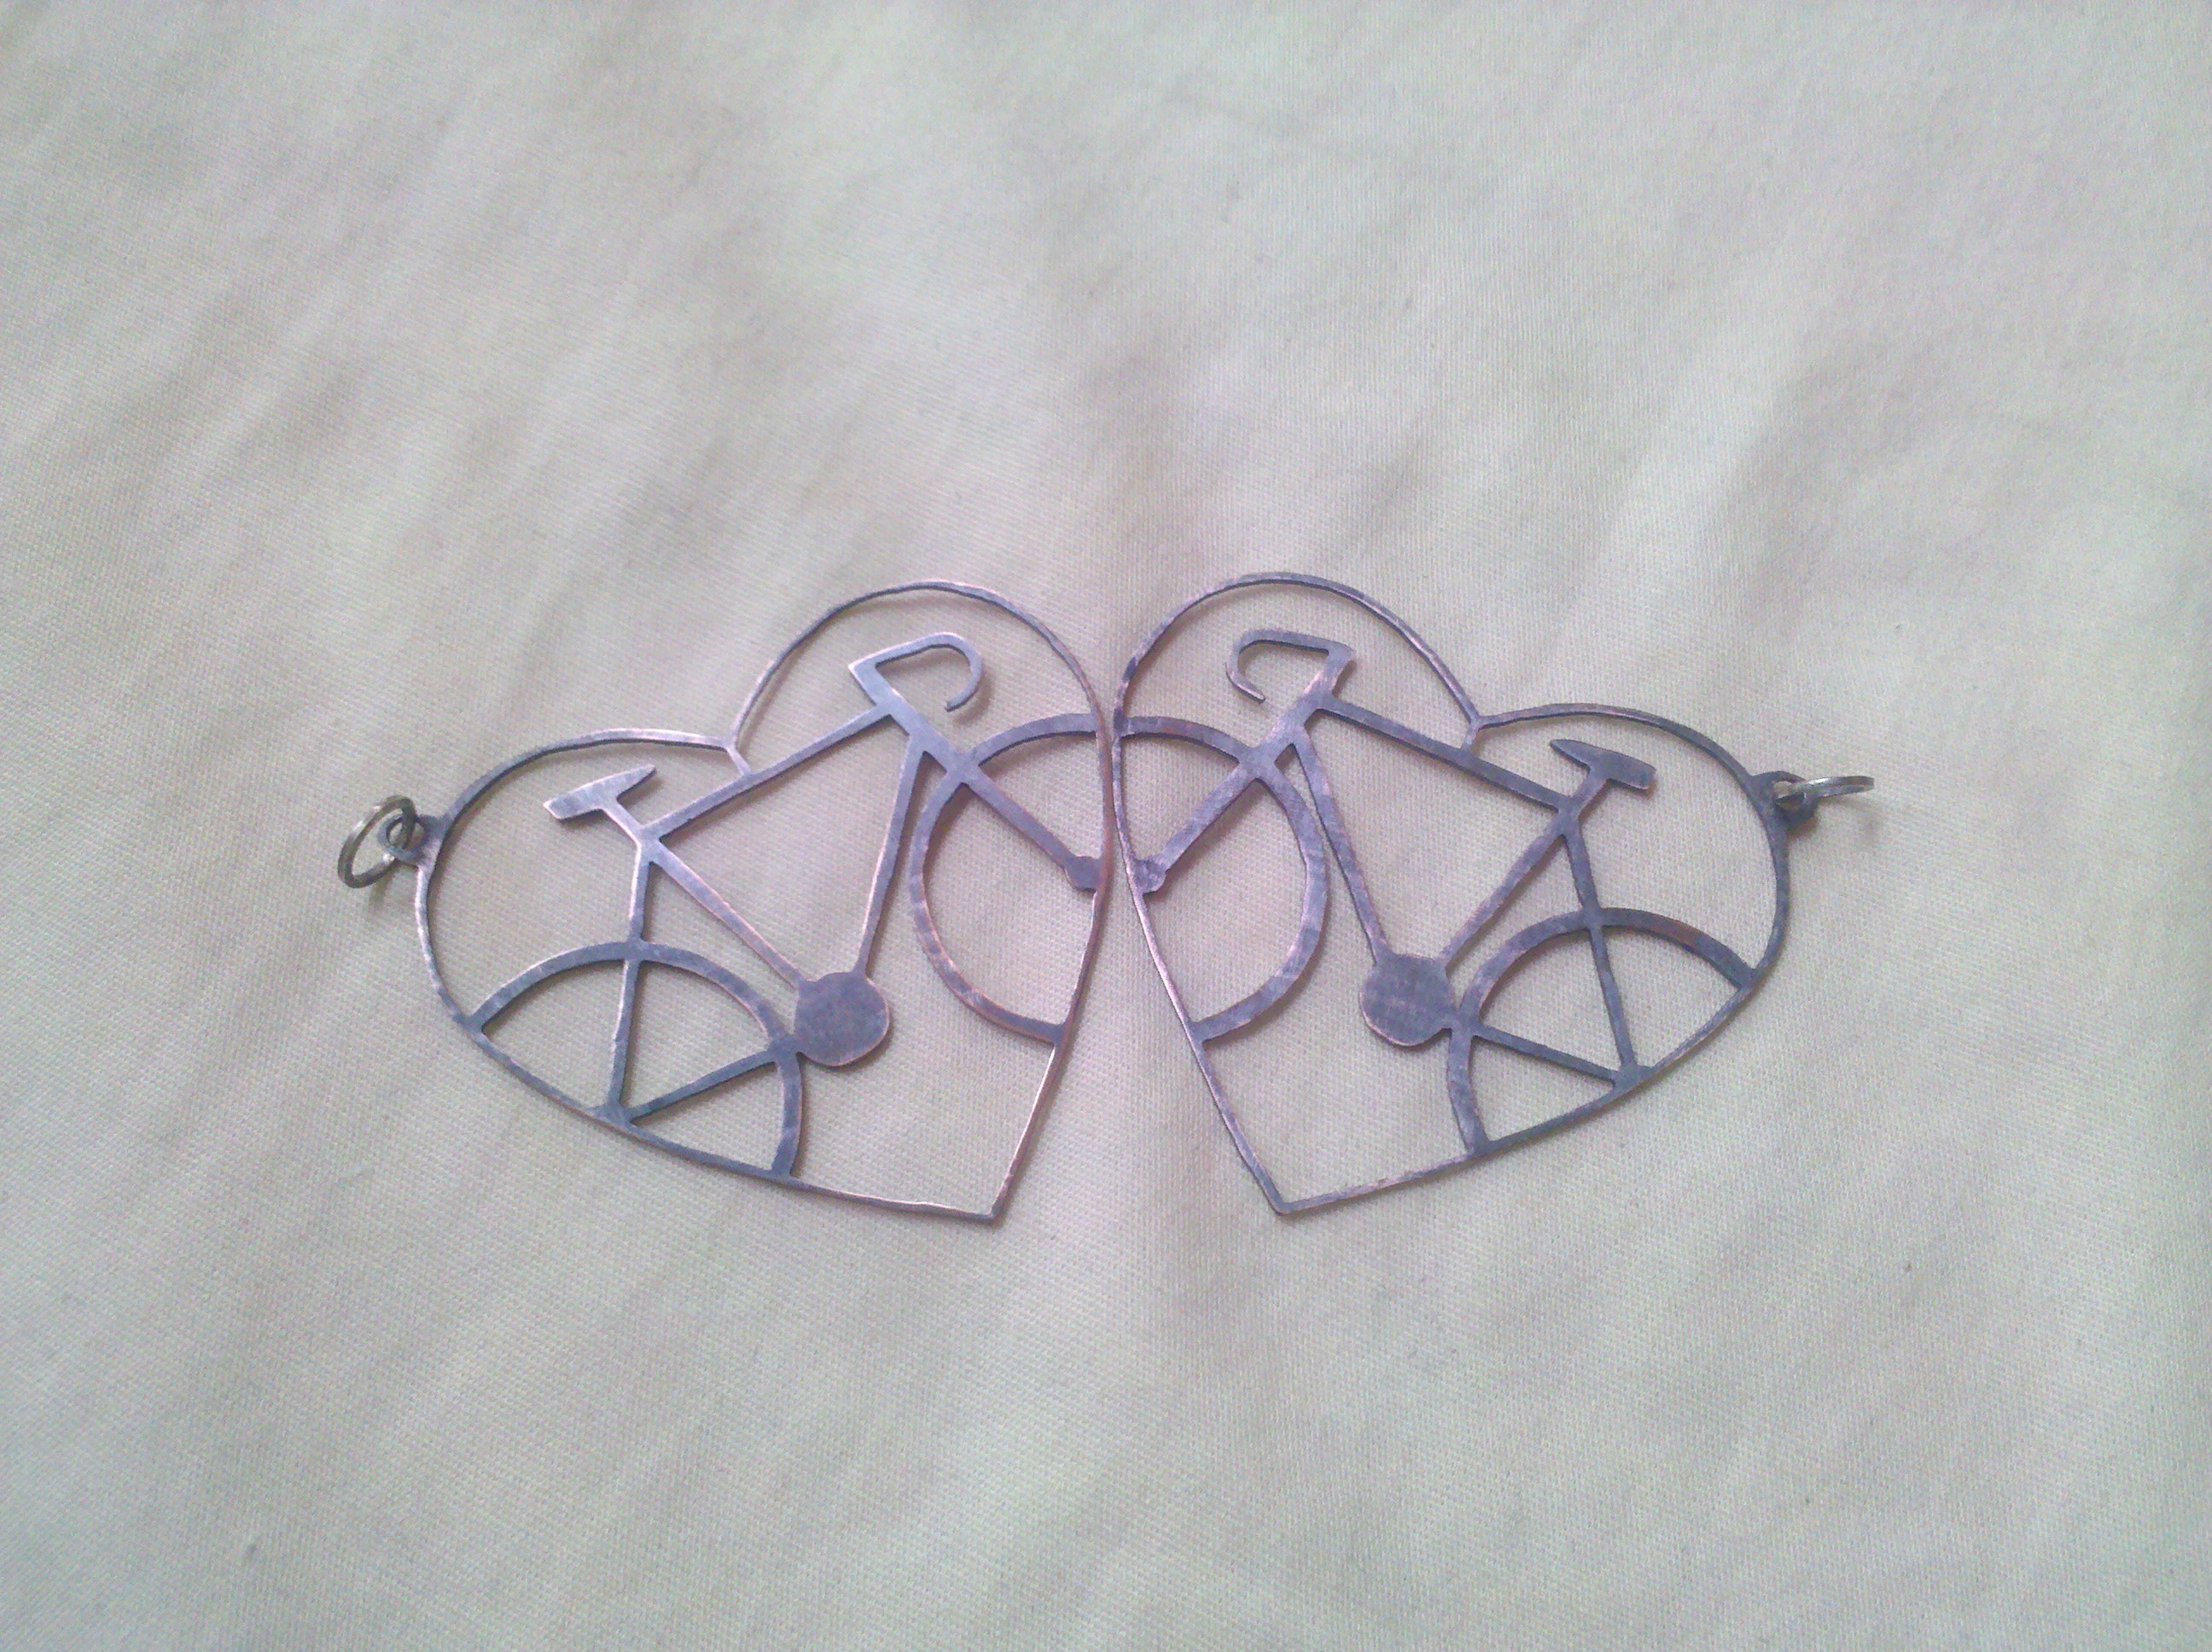
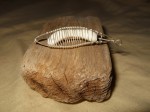
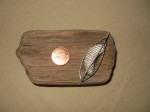
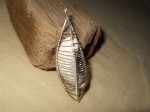
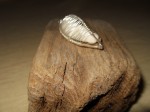
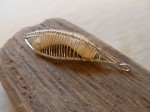
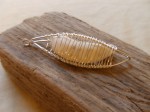
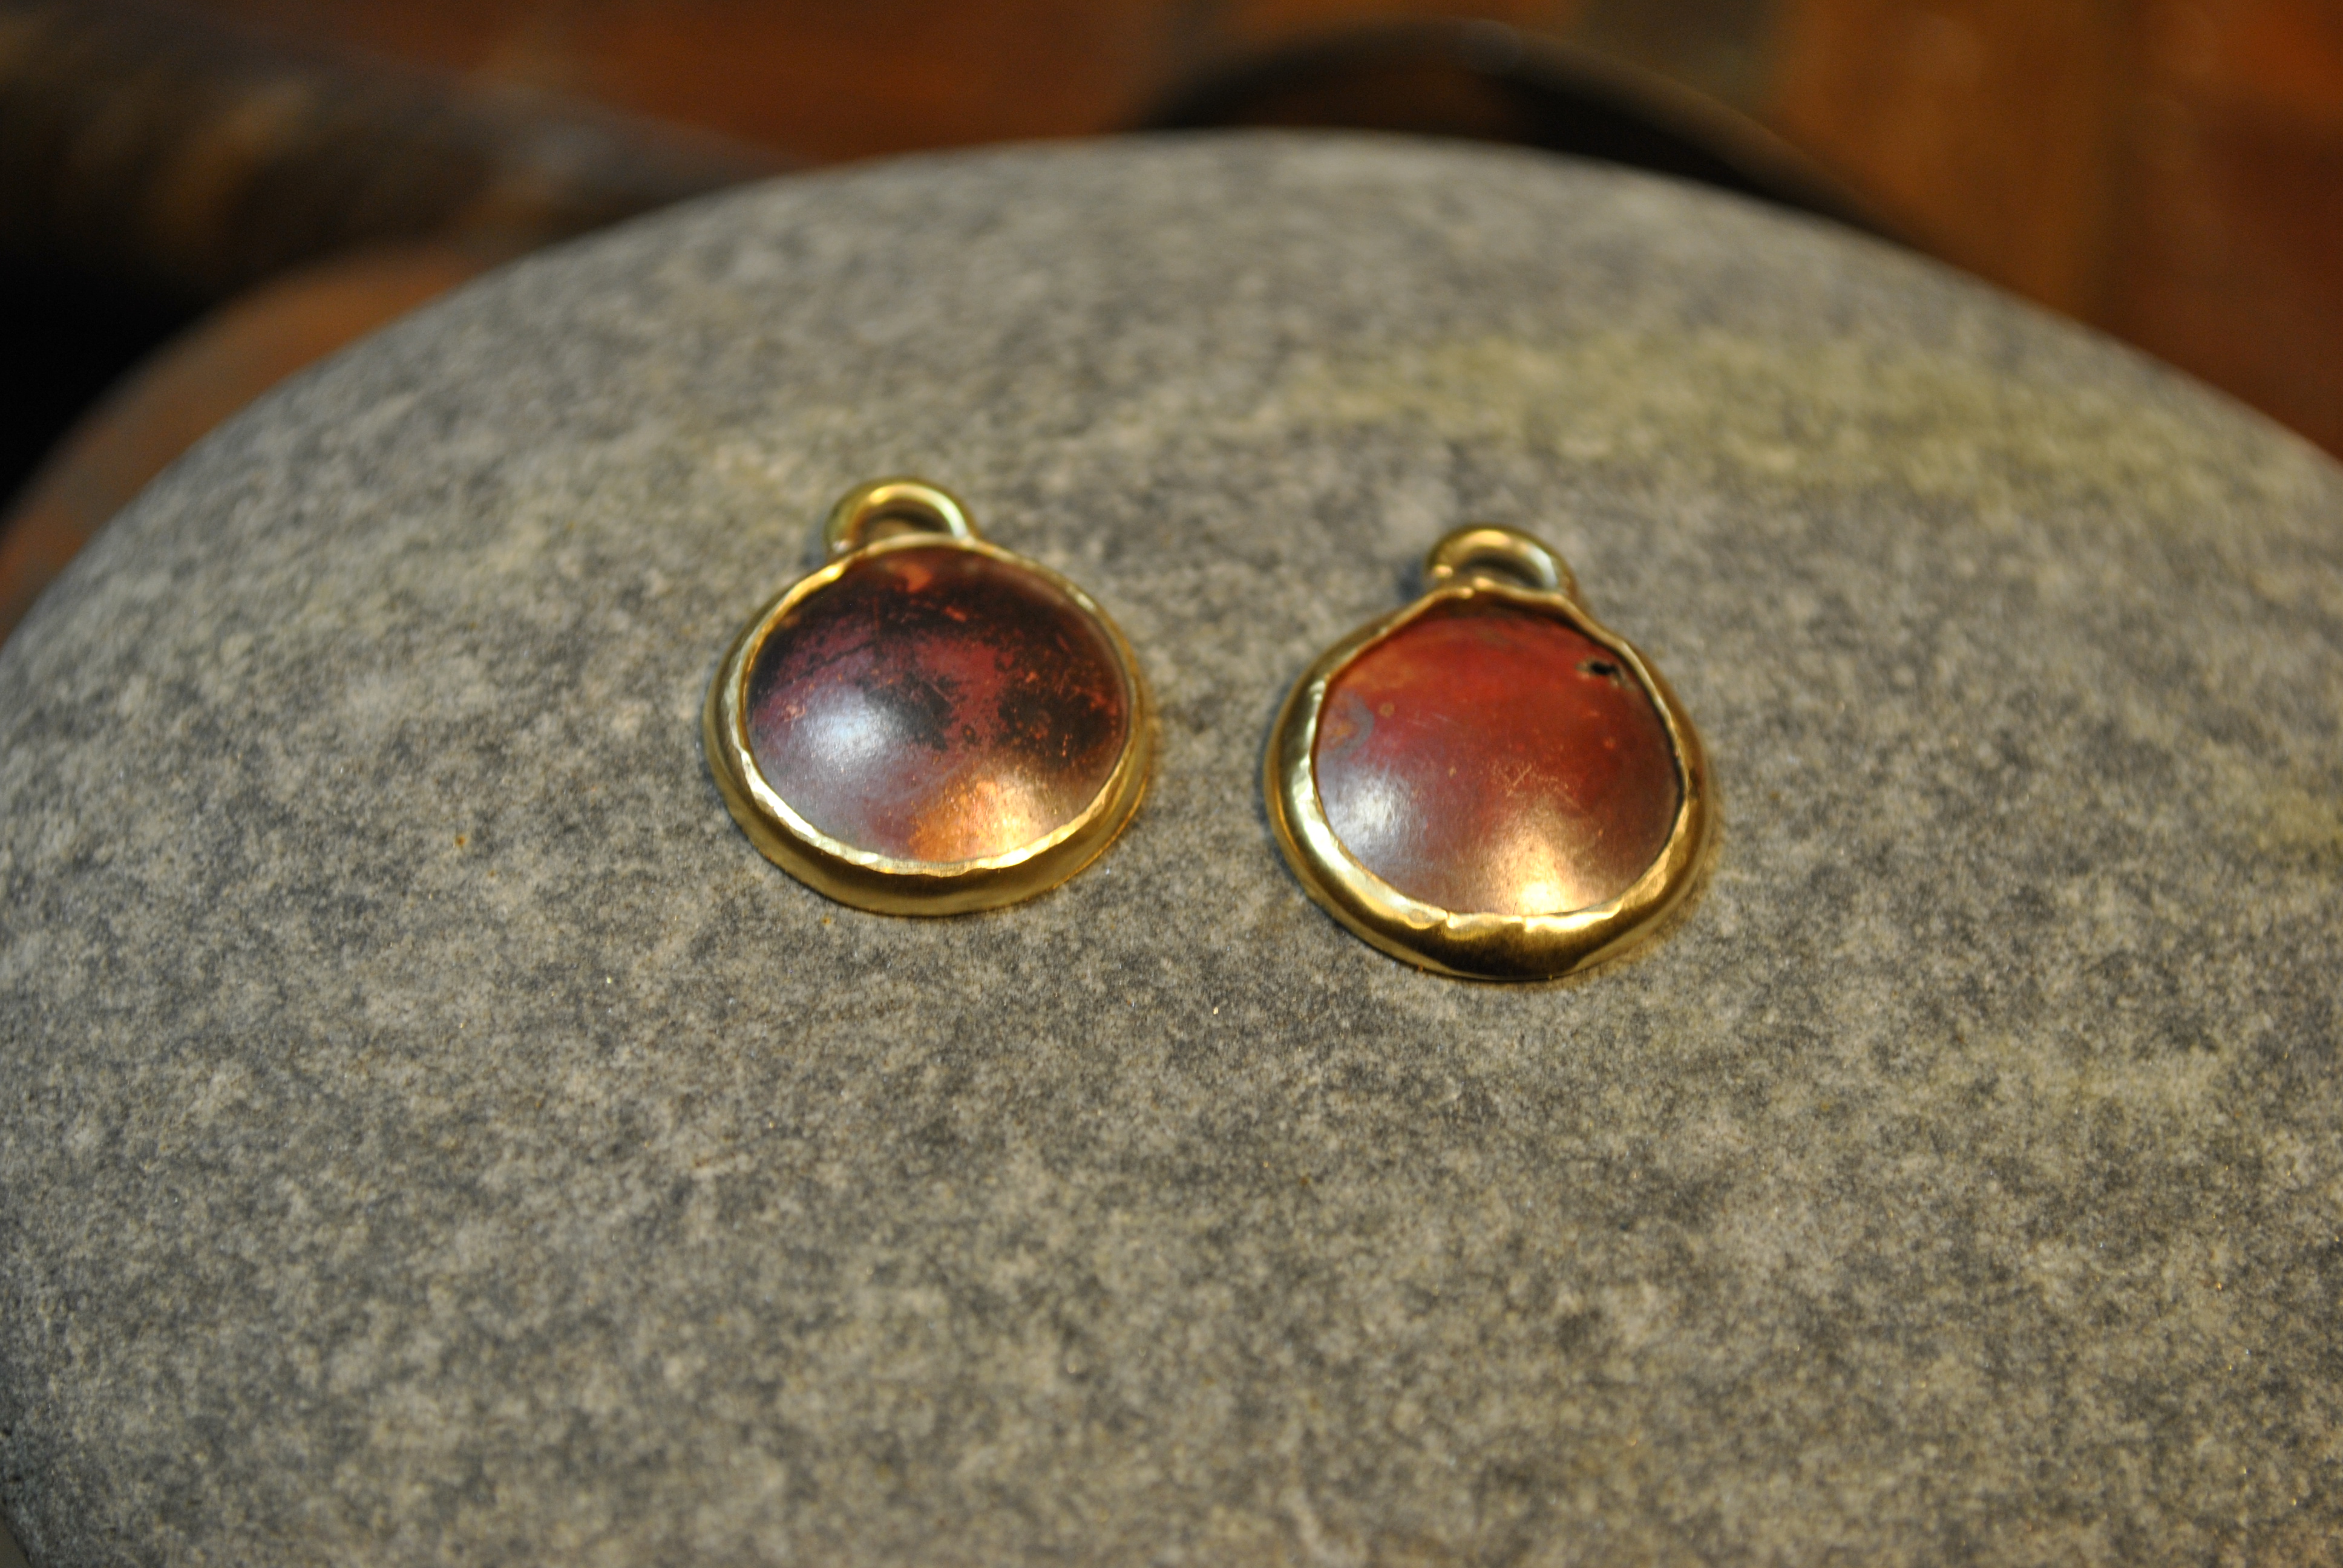
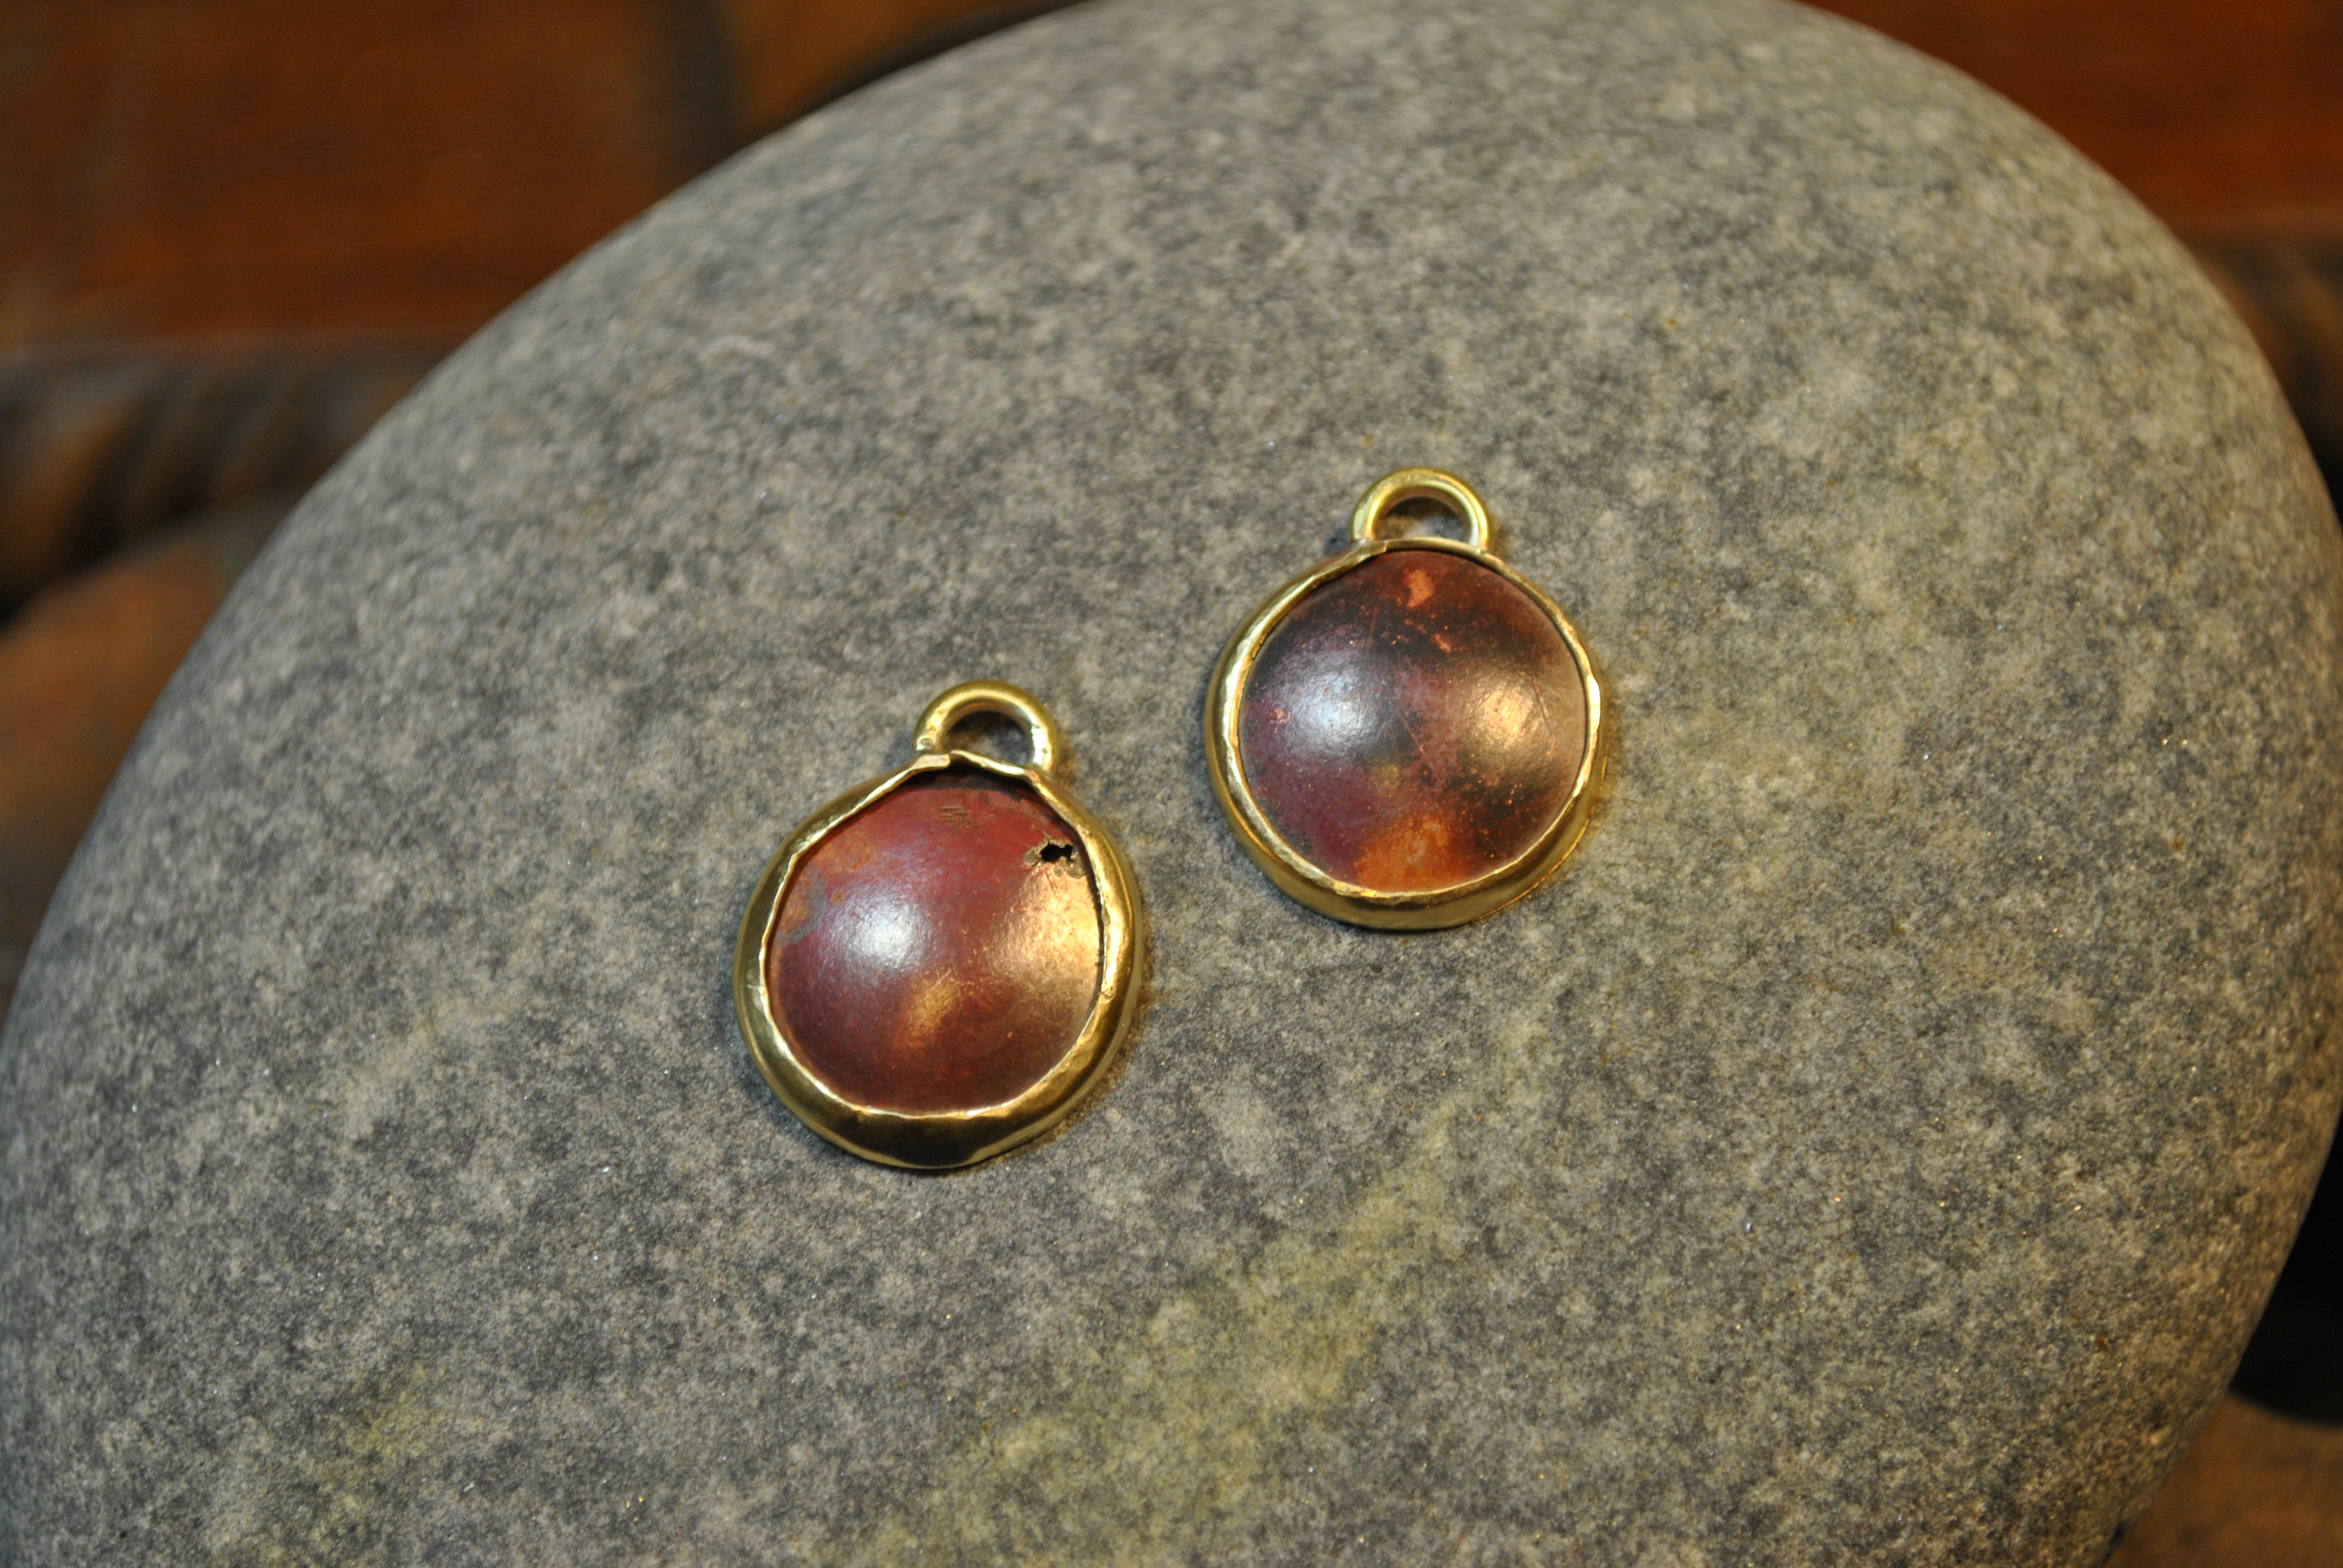
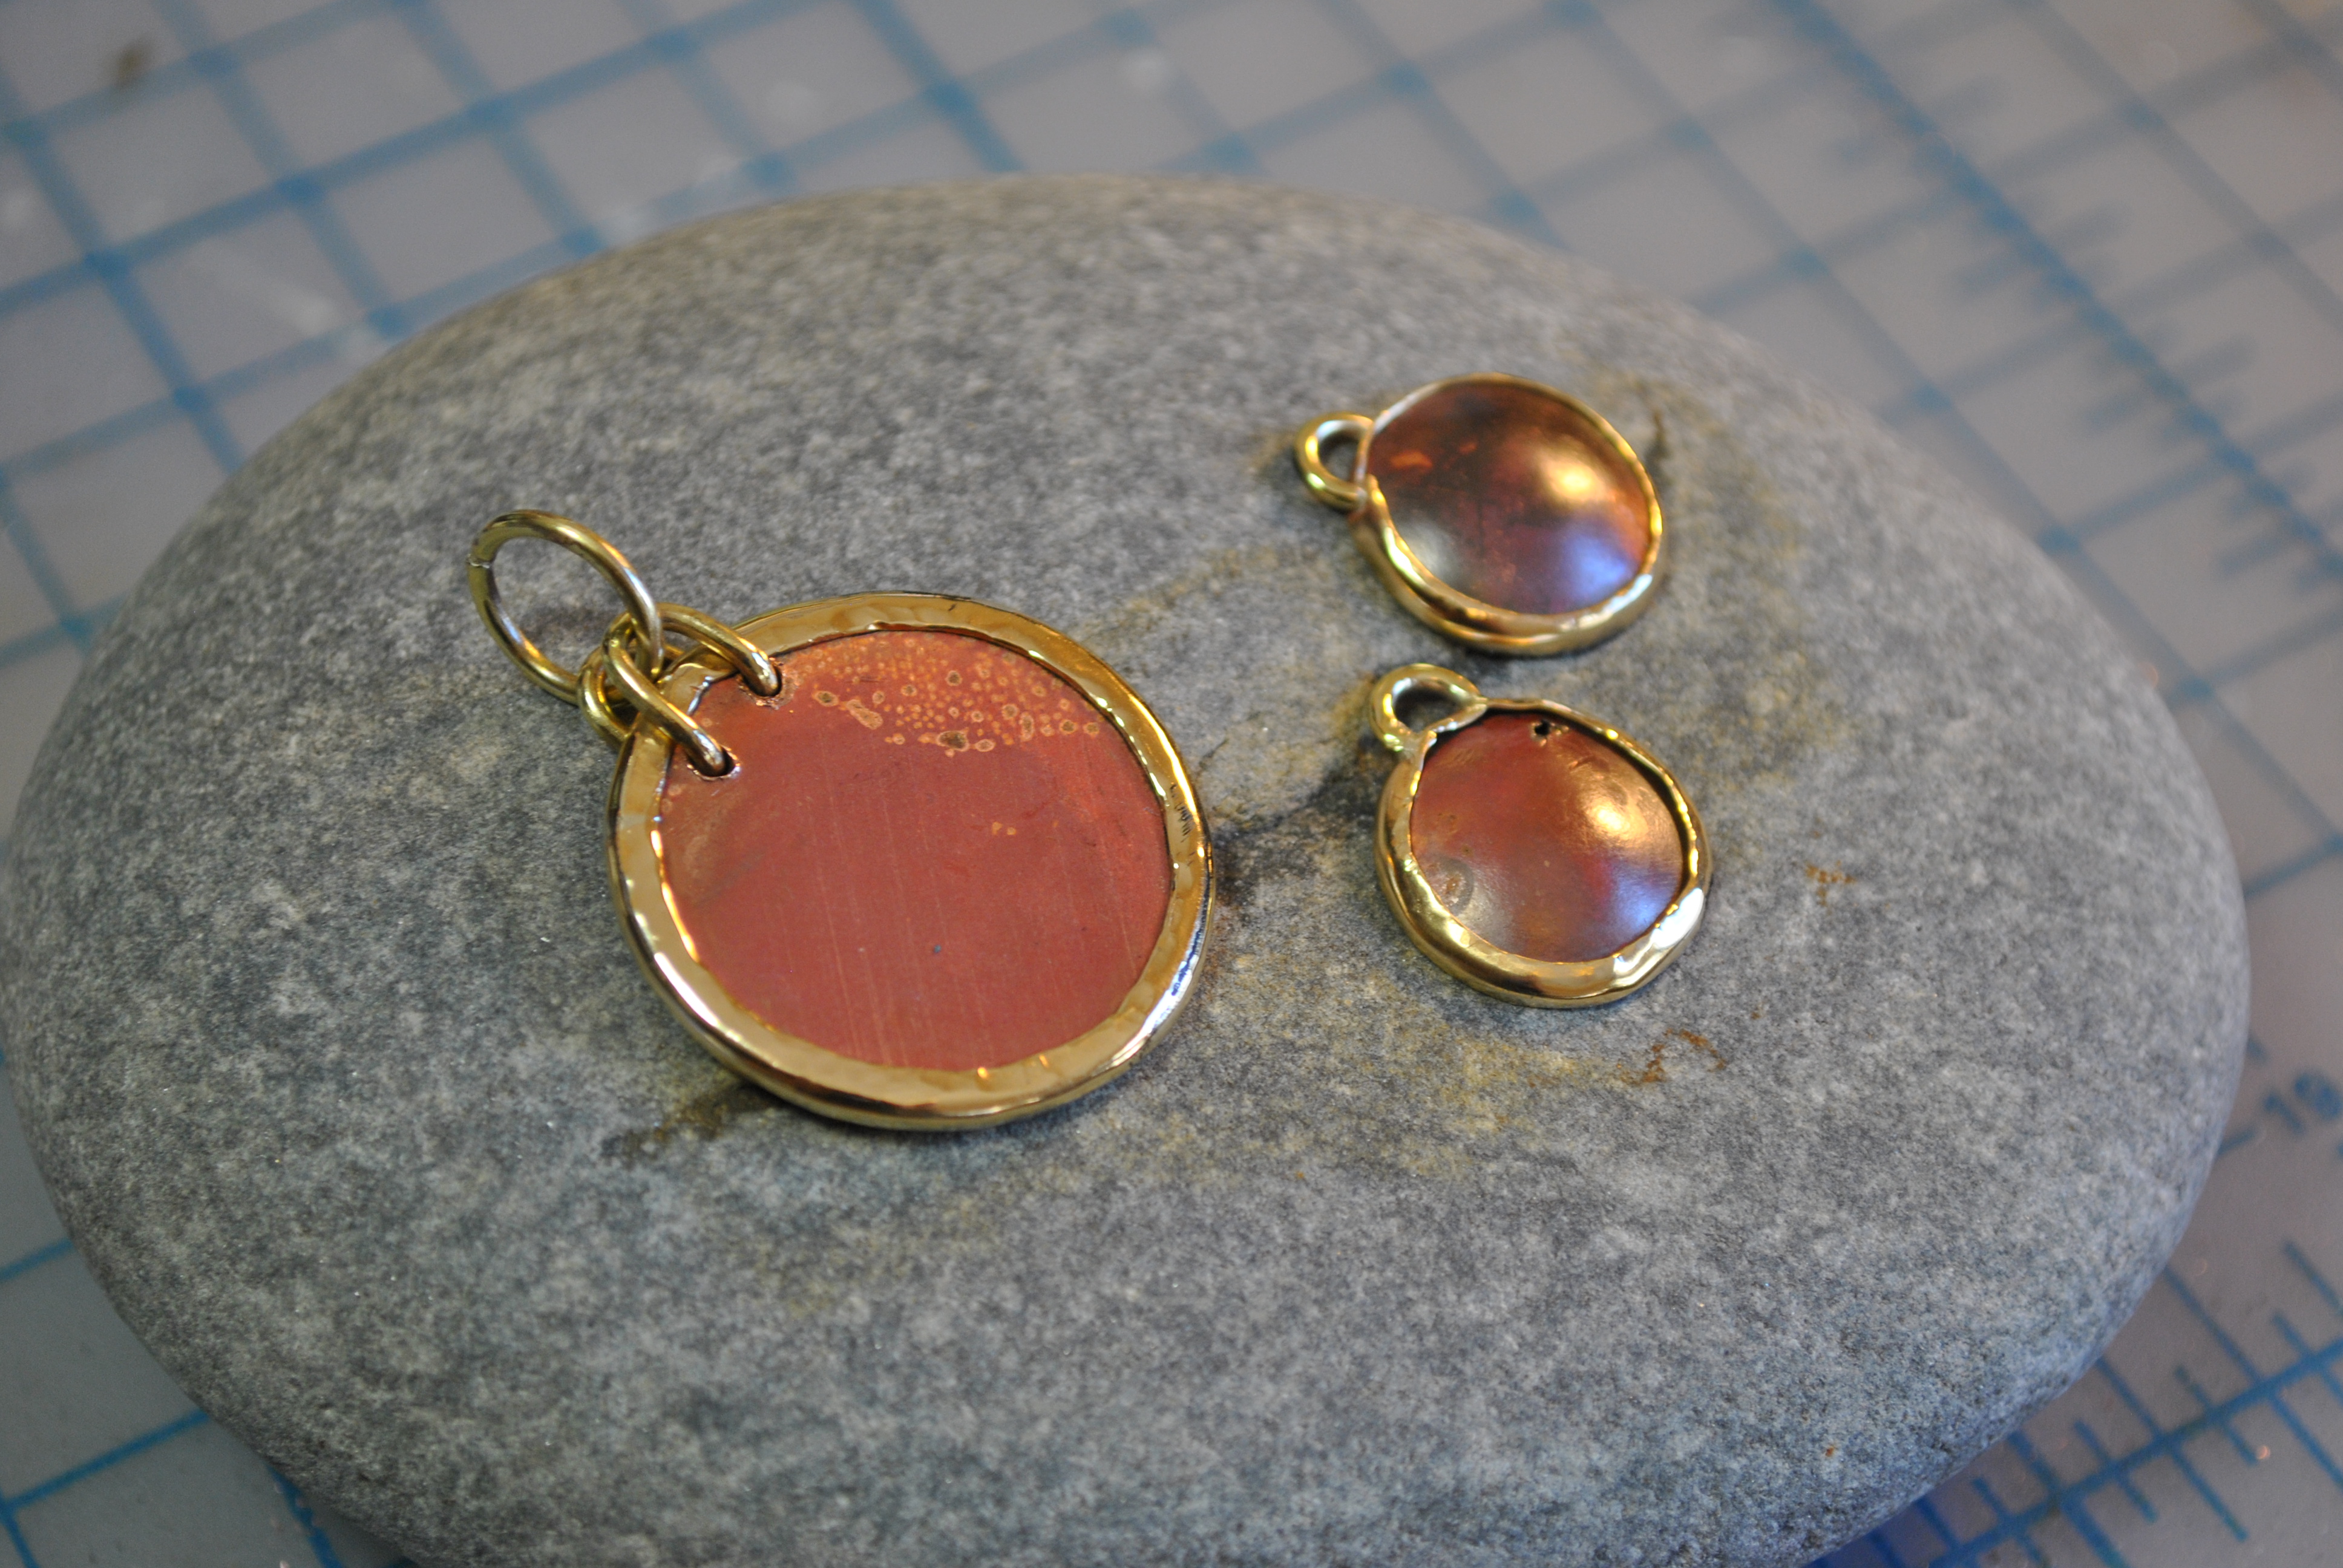
I ended up making an earring and pendant set.  Its all pretty rough, as I was just sort of playing around, but I am glad I figured out the technique and will use it again in the future.


Posted on

Bike Heart Pendant Process

I had a request from another customer to make some more bike heart pendants. These are fun to make but take a while due to all the piercing and sawing. They are not complicated, just involved, so I thought it might be fun to take some process photos and share how they are made.

Start by prepping and cleaning the copper, then I apply the printed design to the copper with rubber cement.

I am making two of them...

Then plan out where you are going to drill all your holes, I do this by hand with a little manual drill (I find power drills to be a little hard to control sometimes when I want to drill into really tight areas). You can do this with a punch and a strike plate first if you are having trouble keeping the drill bit from jumping around.

lots of holes.

Then the fun part, cut out all the tiny pieces.

notice it is still kind of rough around the edges, no sanding has been done yet.

Then I sand, file, and finish the copper with some liver of sulfur.

I use a slightly thicker gauge copper for the pendants than for the earrings, mostly for strength, and also because it gives it more dimension.

Posted on

Silver And Shell Pendant

The silver wire took a long time to wrap delicately around the “bones” of the pendant, with special care spend on spacing and making sure each one is well adjusted. The shell had been weathered to a fine polish which really looks good when combined with the silver. I am happy how this came out as it was my first attempt at anything like this. I will be making more of these in the future. It is also nice because I really like to pick things up off the ground and put them in my pocket and I have a bucket of little nick nacks that I need to do something with.