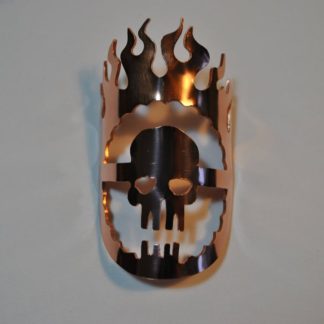
Tag: bicycle

Needle Doc. Head Badge
Custom request from a customer, wanted a pair. Digging the way the fine details came out.

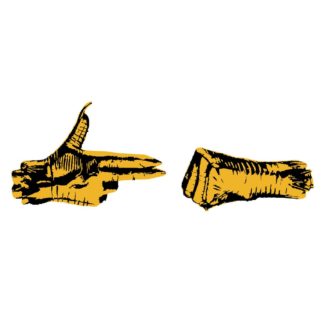
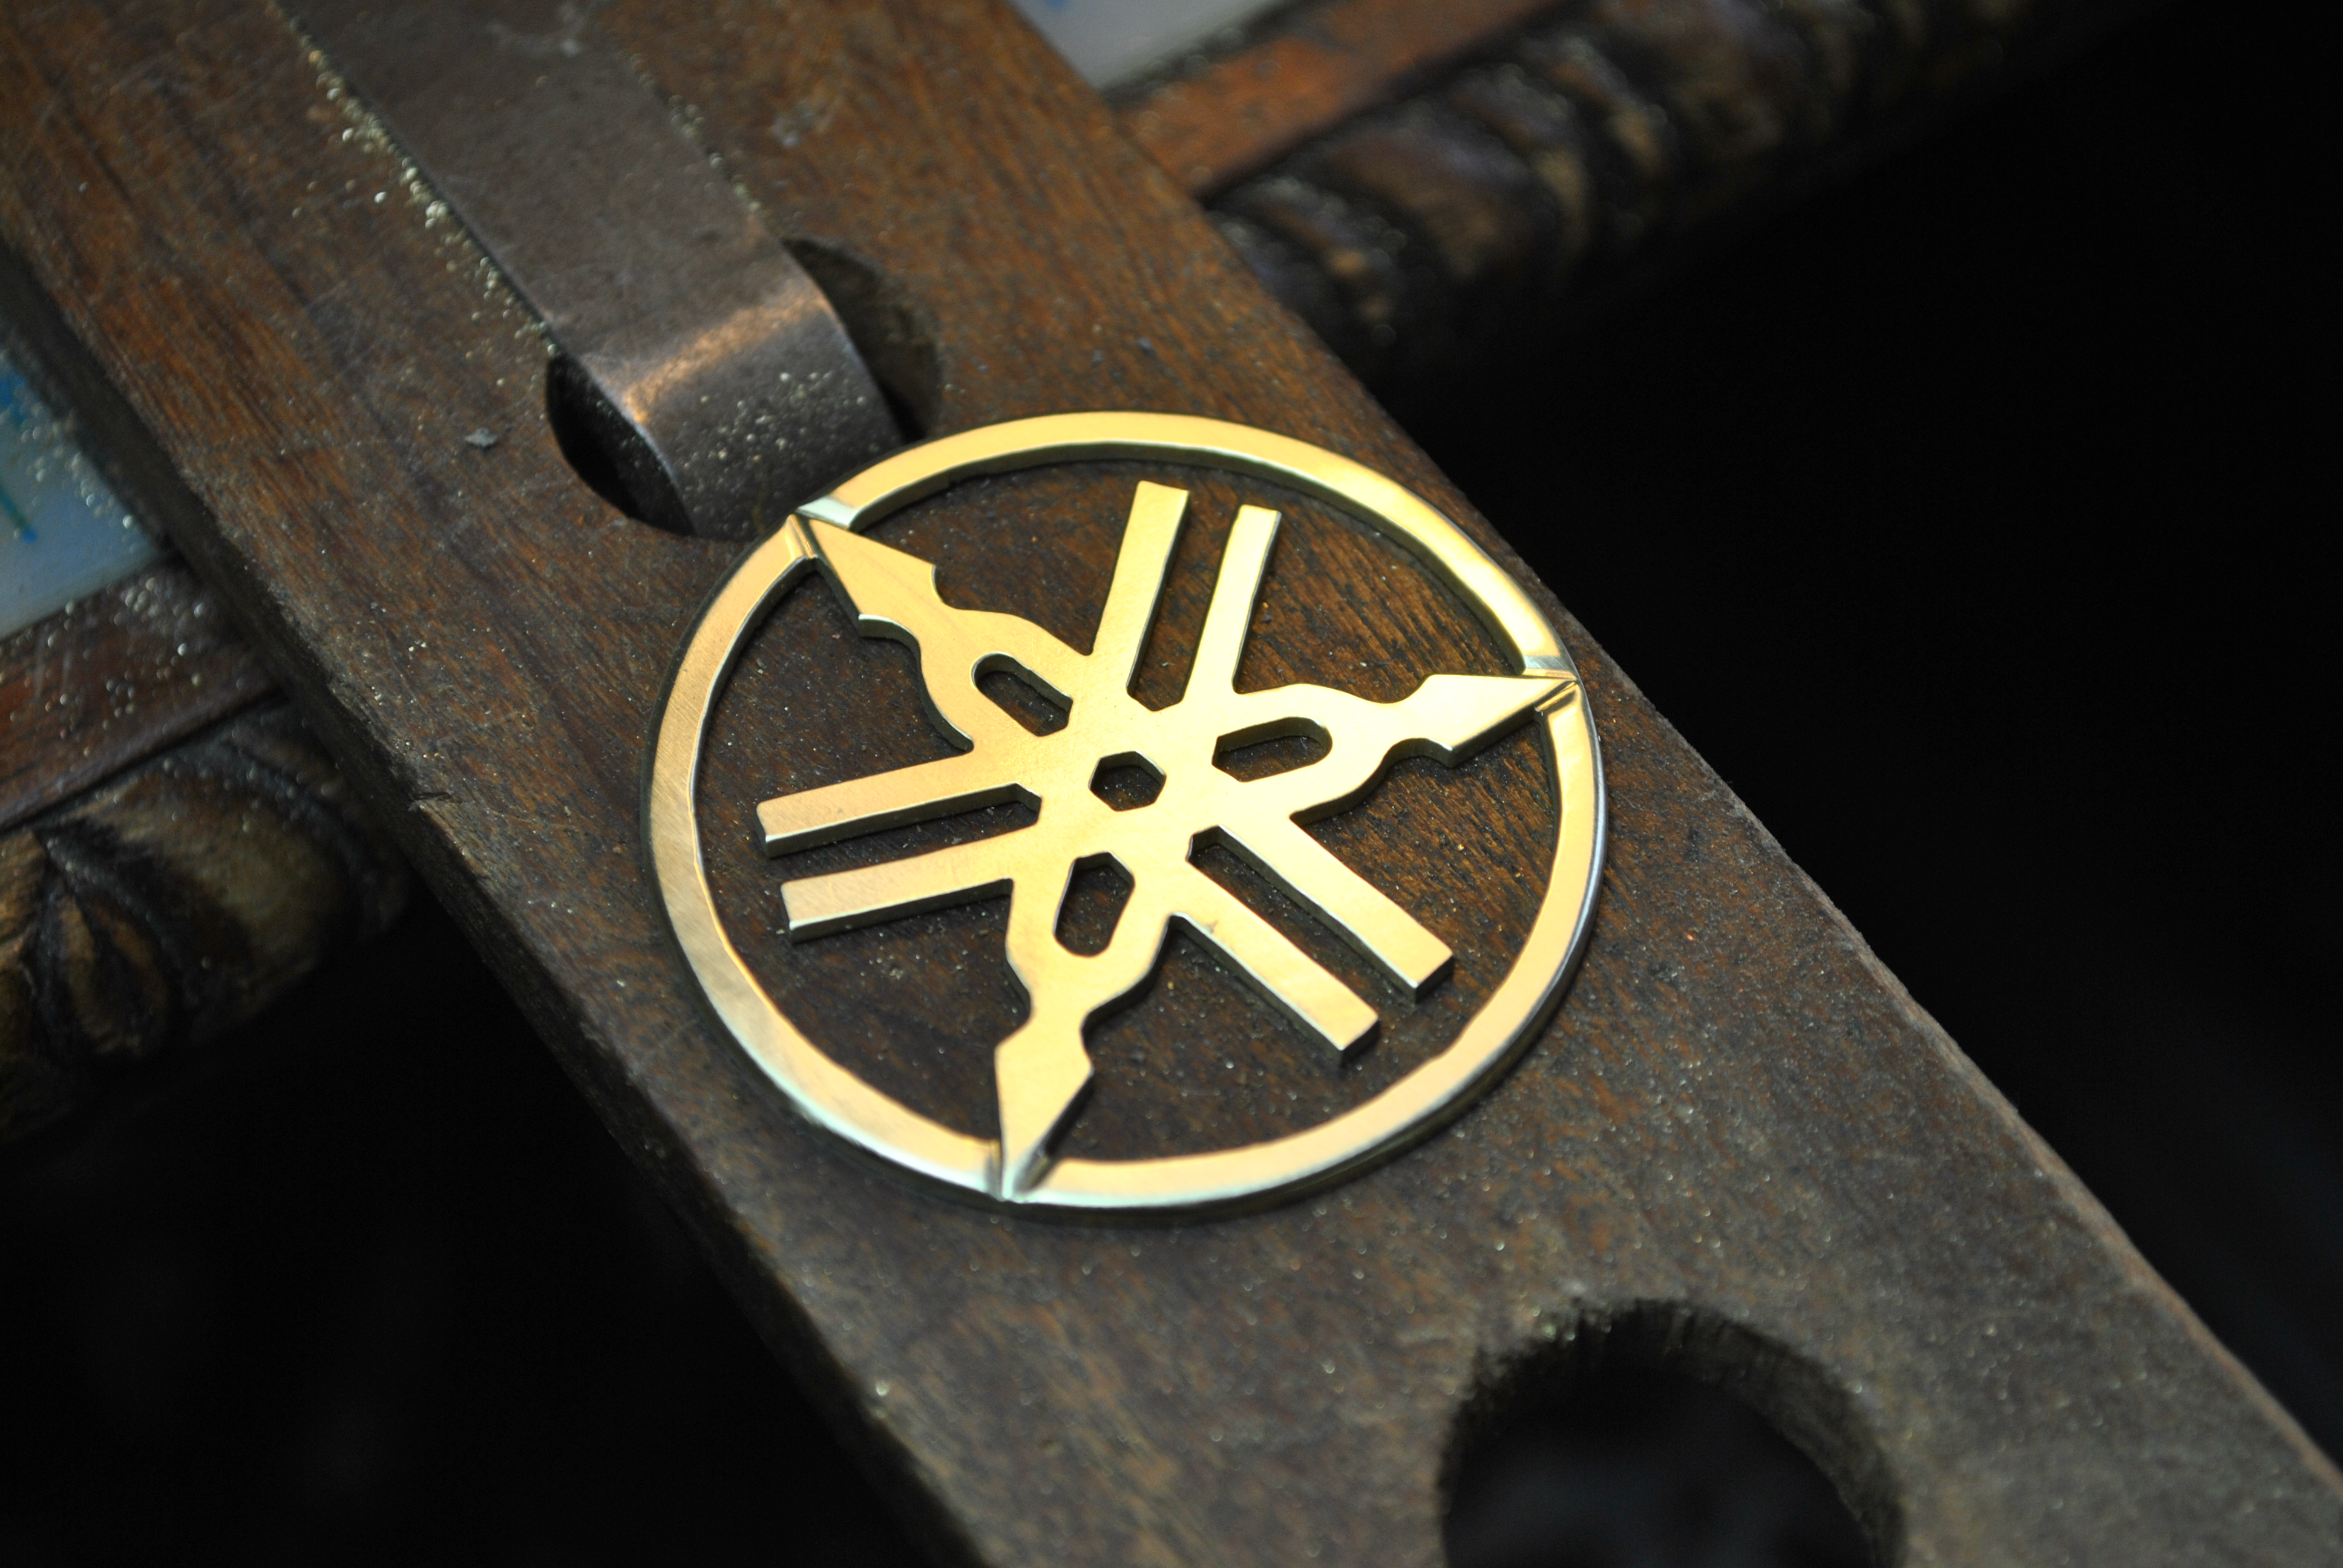
Yamaha 3 Tuning Forks Bicycle Head Badge
I was contacted by a client in Australia to make this badge. I am pleased with the way it came out. The outer softness contrasts the hard lines of the inside. The way the points intrude into the outer circle, and the over all design. It also feels really nice when you pick it up, which is always a good sign. I can’t wait to see it on the bicycle!
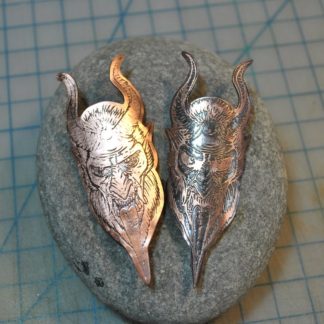
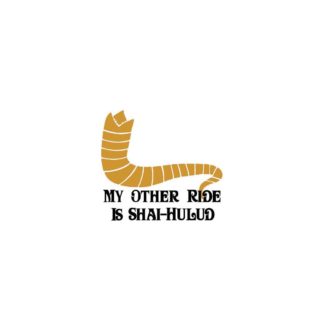
Krampus Head Badges
Etched in copper, here is both a “dark” and “light” Krampus head badge. These Krampuses (Krampi?) are available for order if you want to have one on your bicycle. Check out my store for details, or contact me.
Nickel And Copper M Cog Head Badge
Made this stylish “M” cog head badge for a customer. Nickel Cog with a Copper M, the copper is treated with liver of sulfur to give it a deep dark finish. 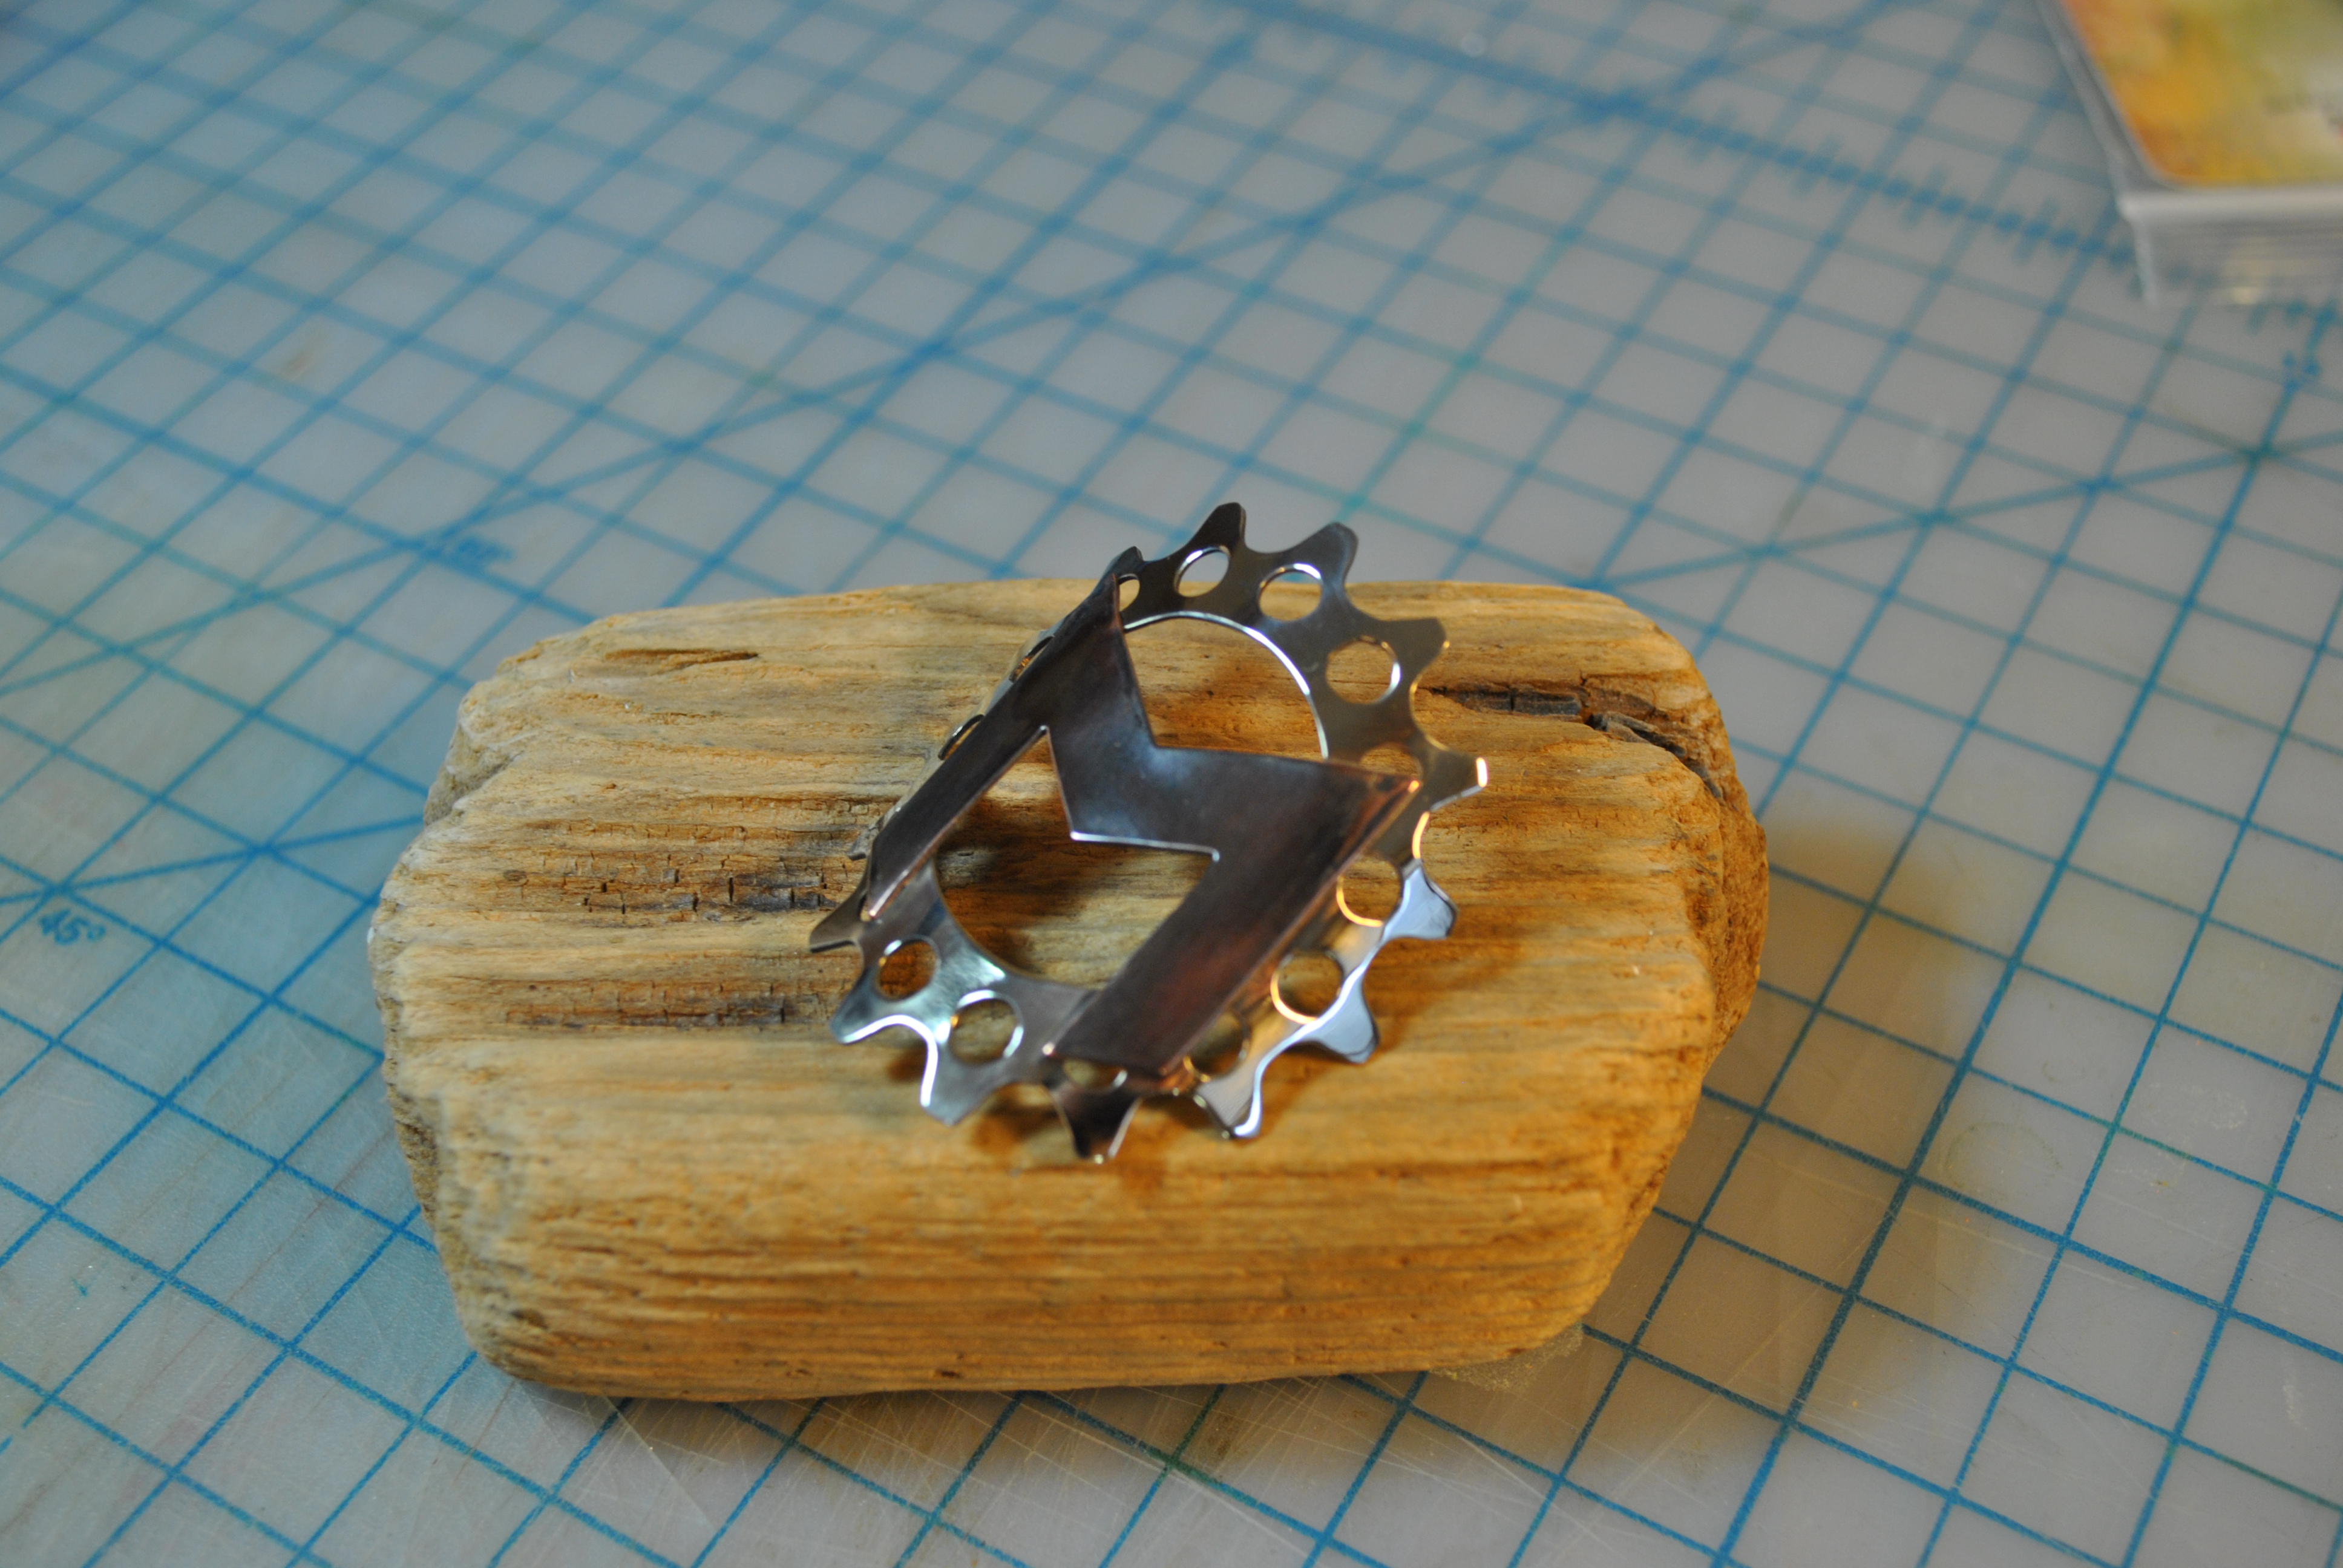 Continue reading Nickel And Copper M Cog Head Badge
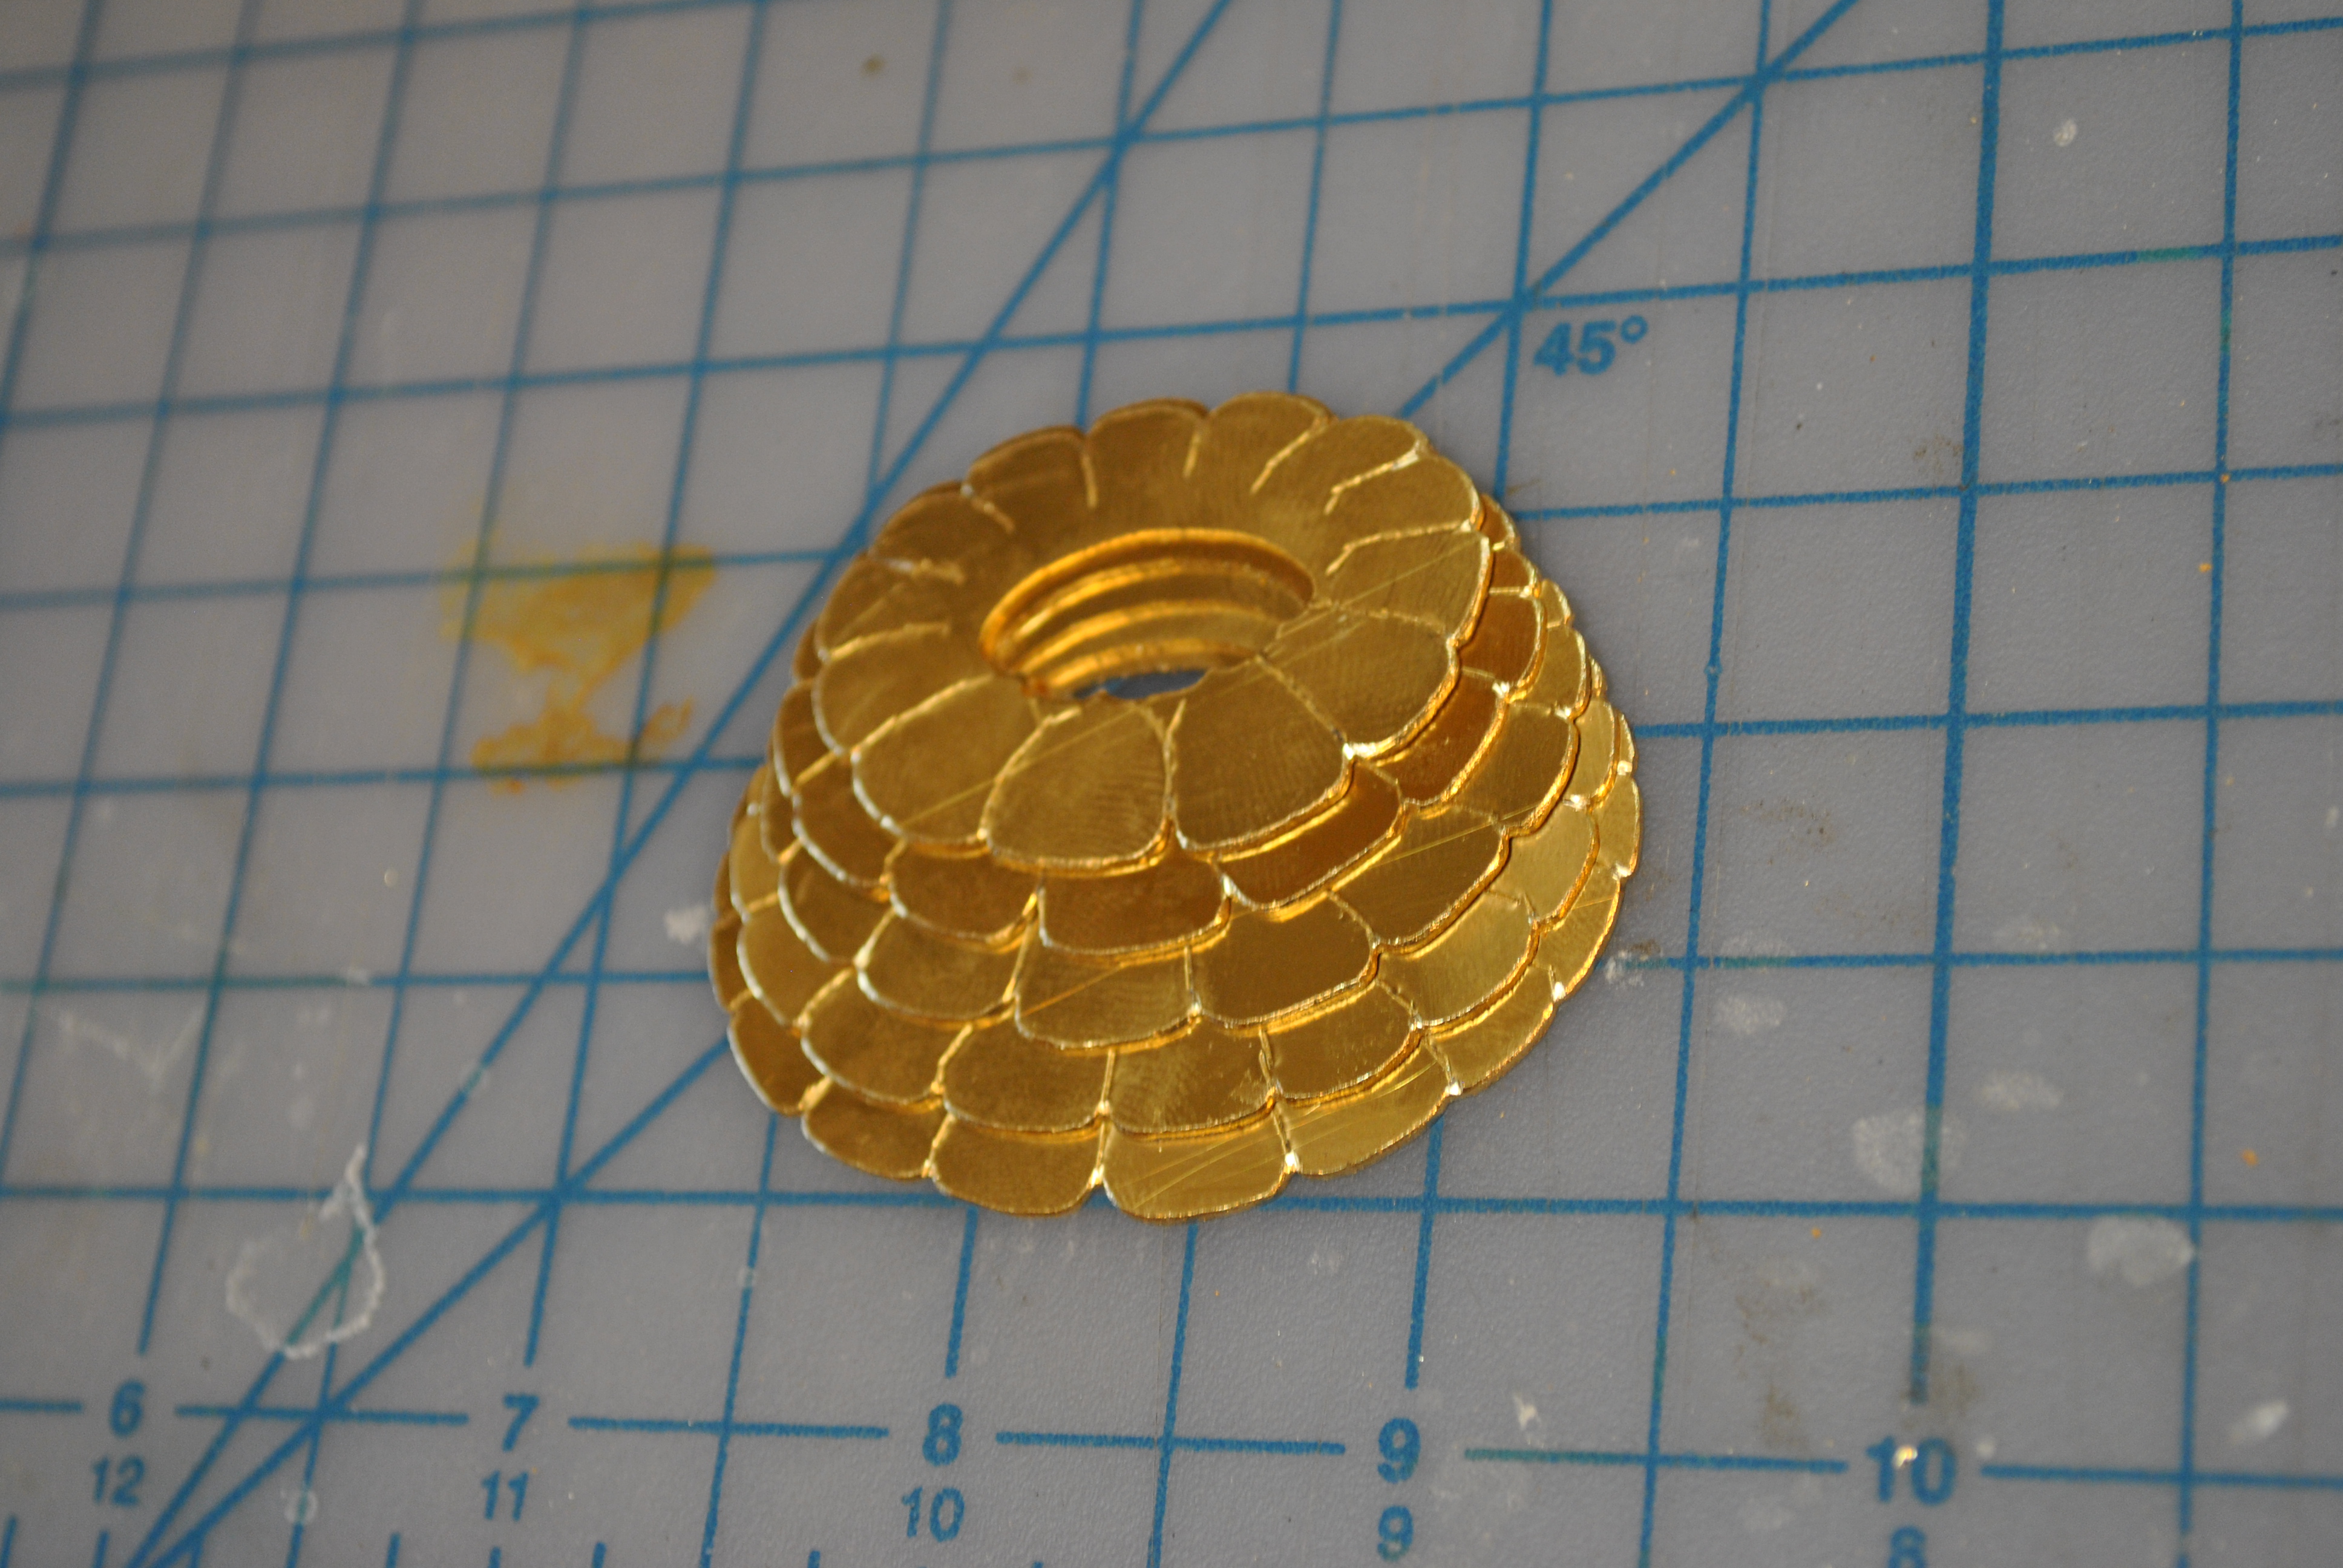
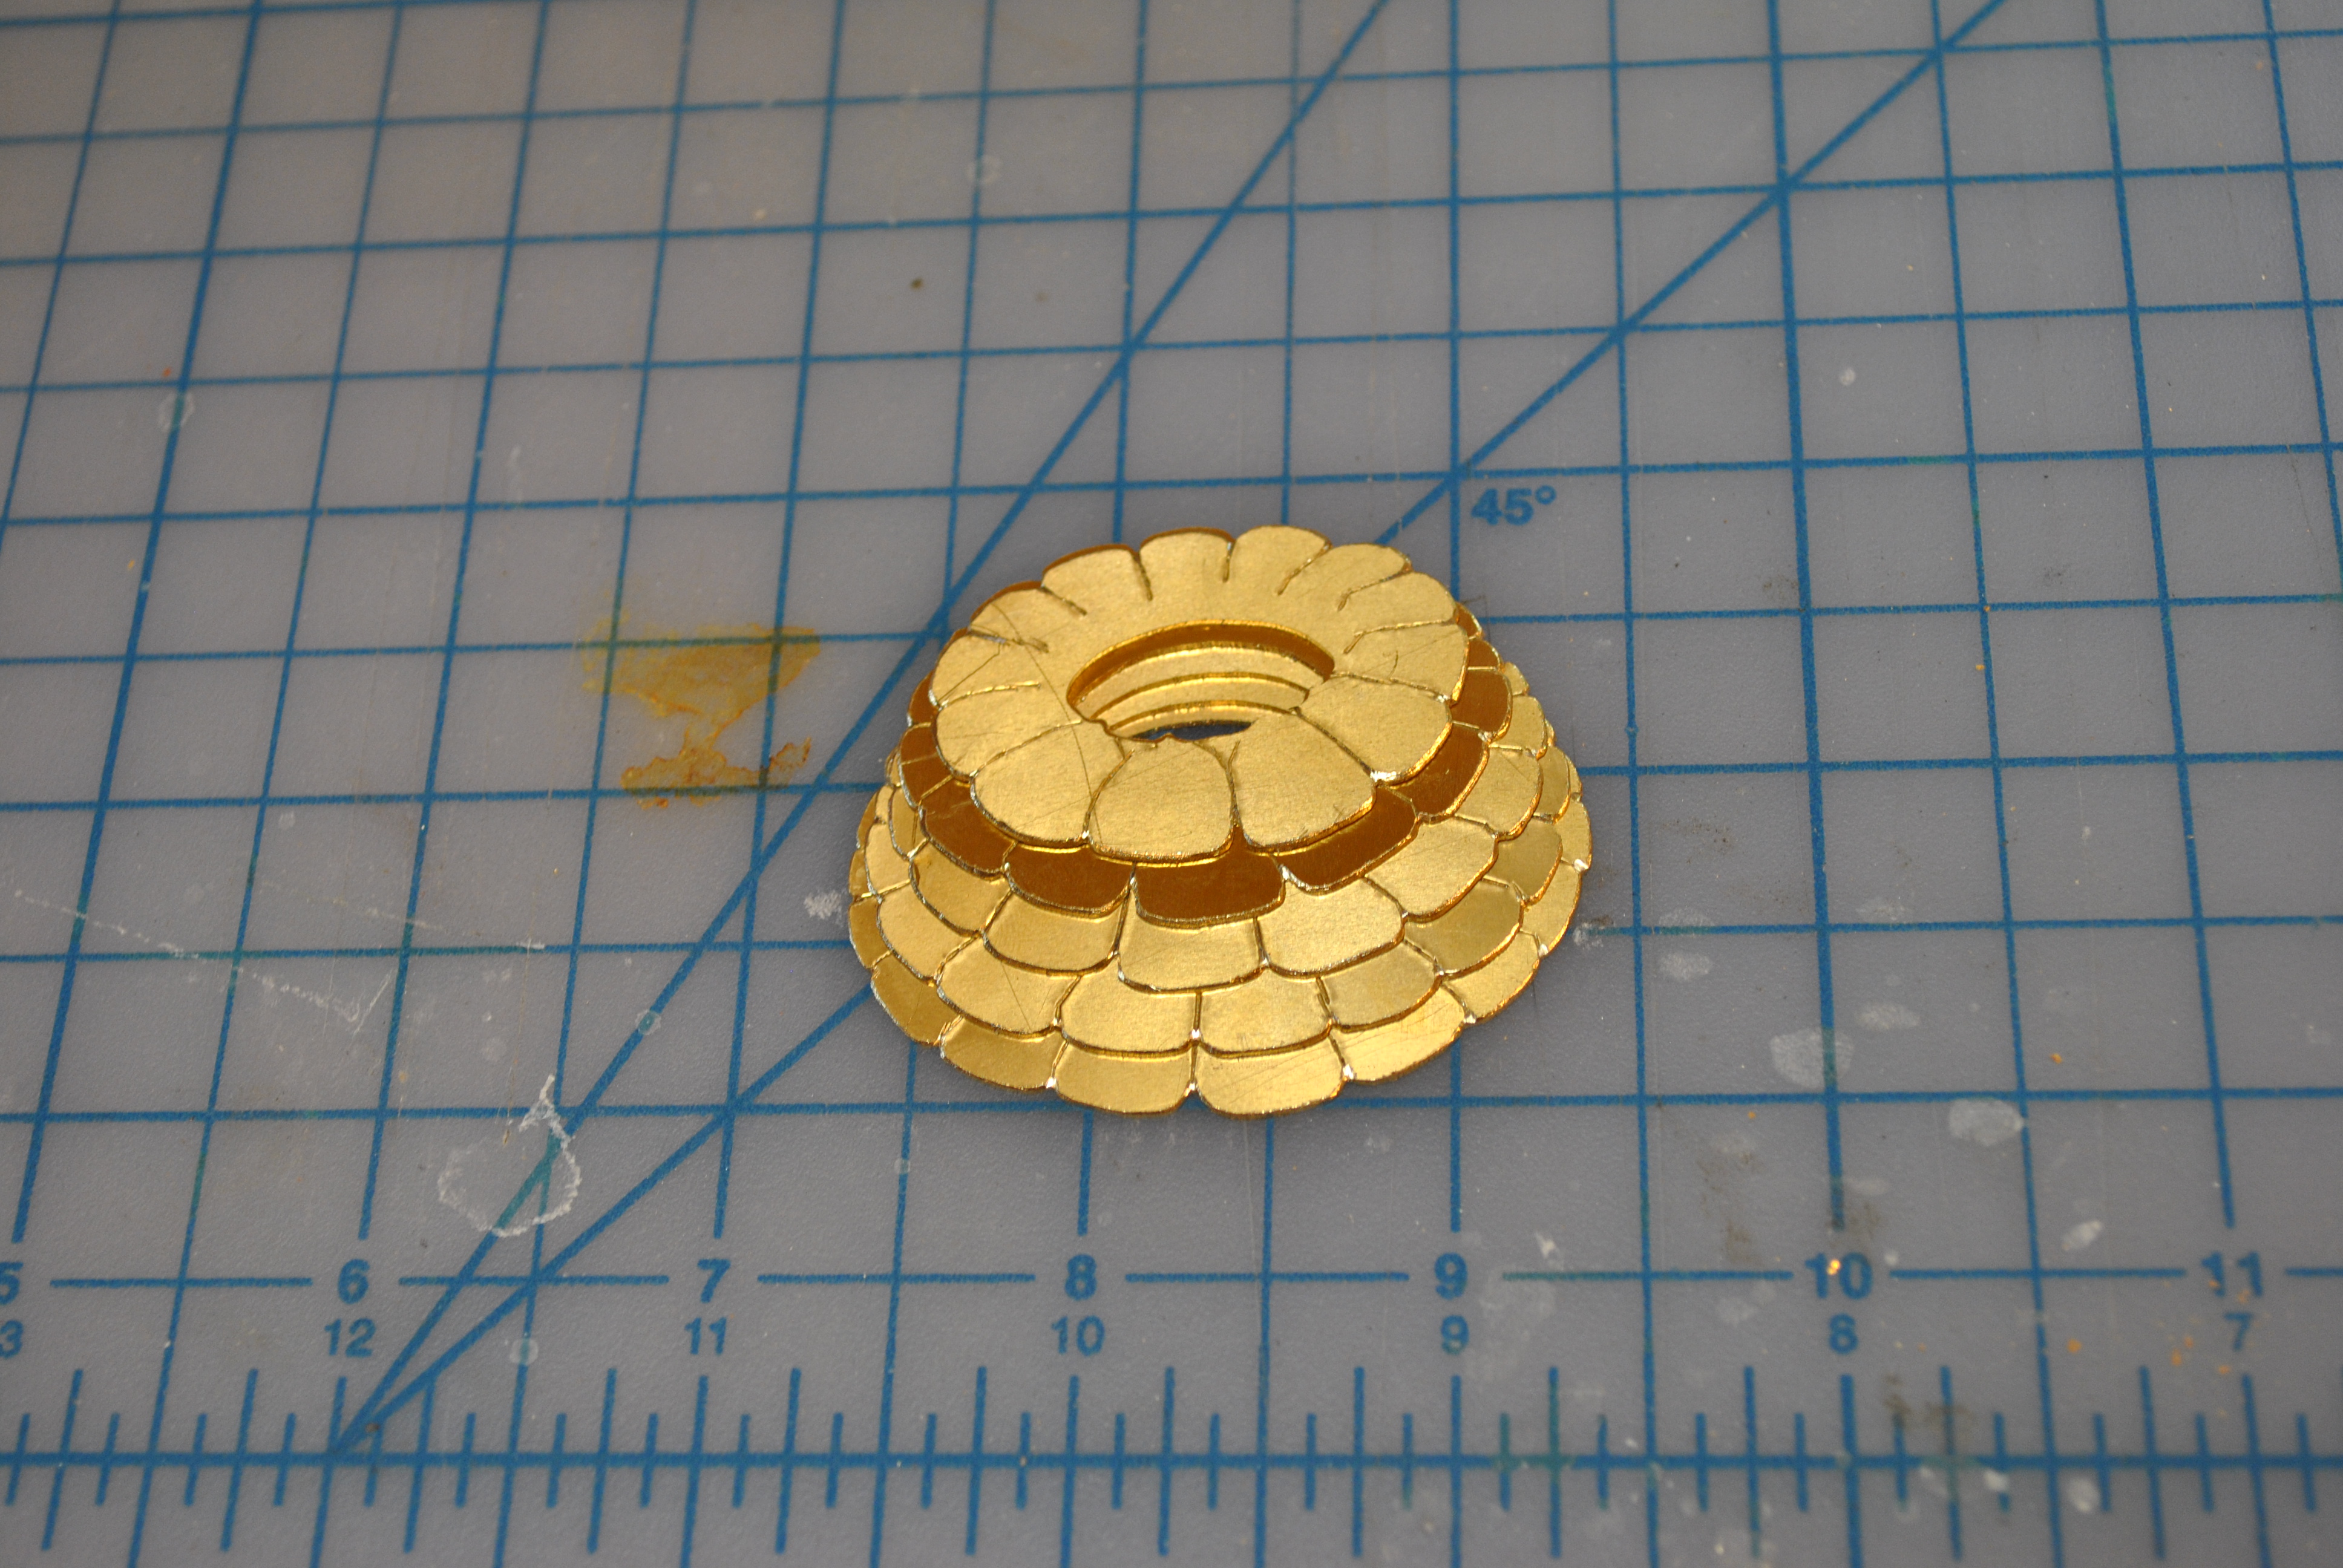
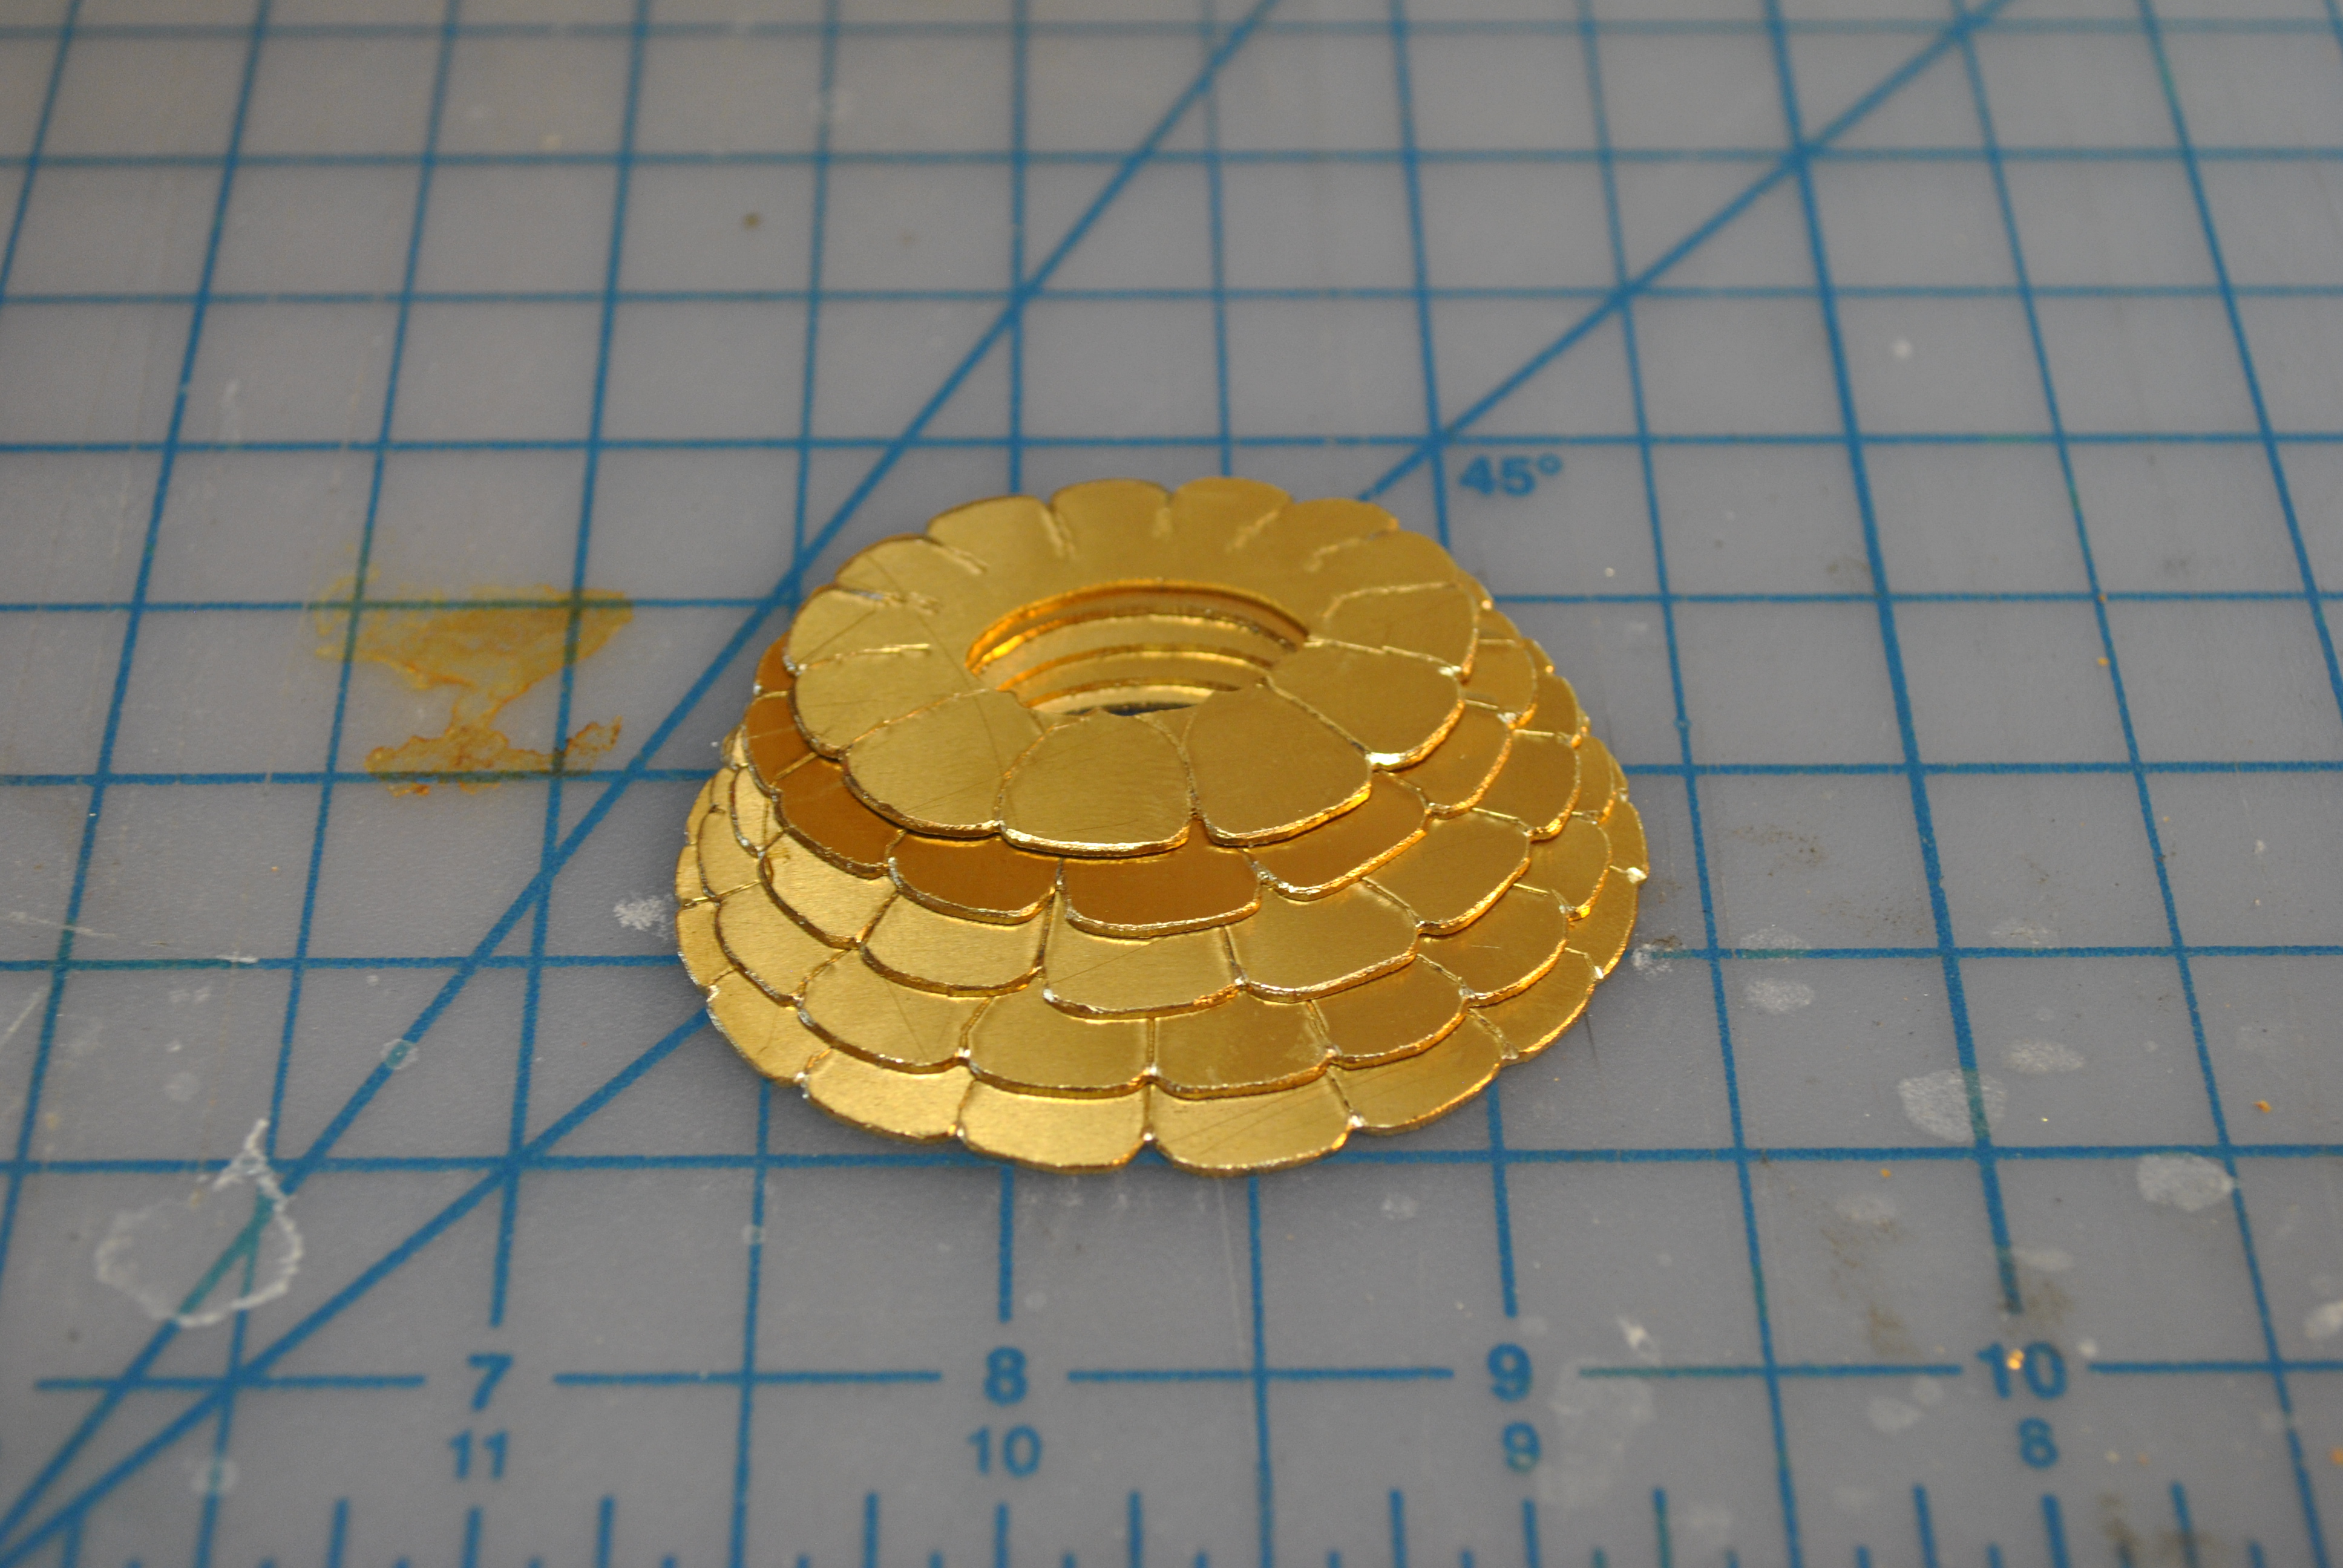
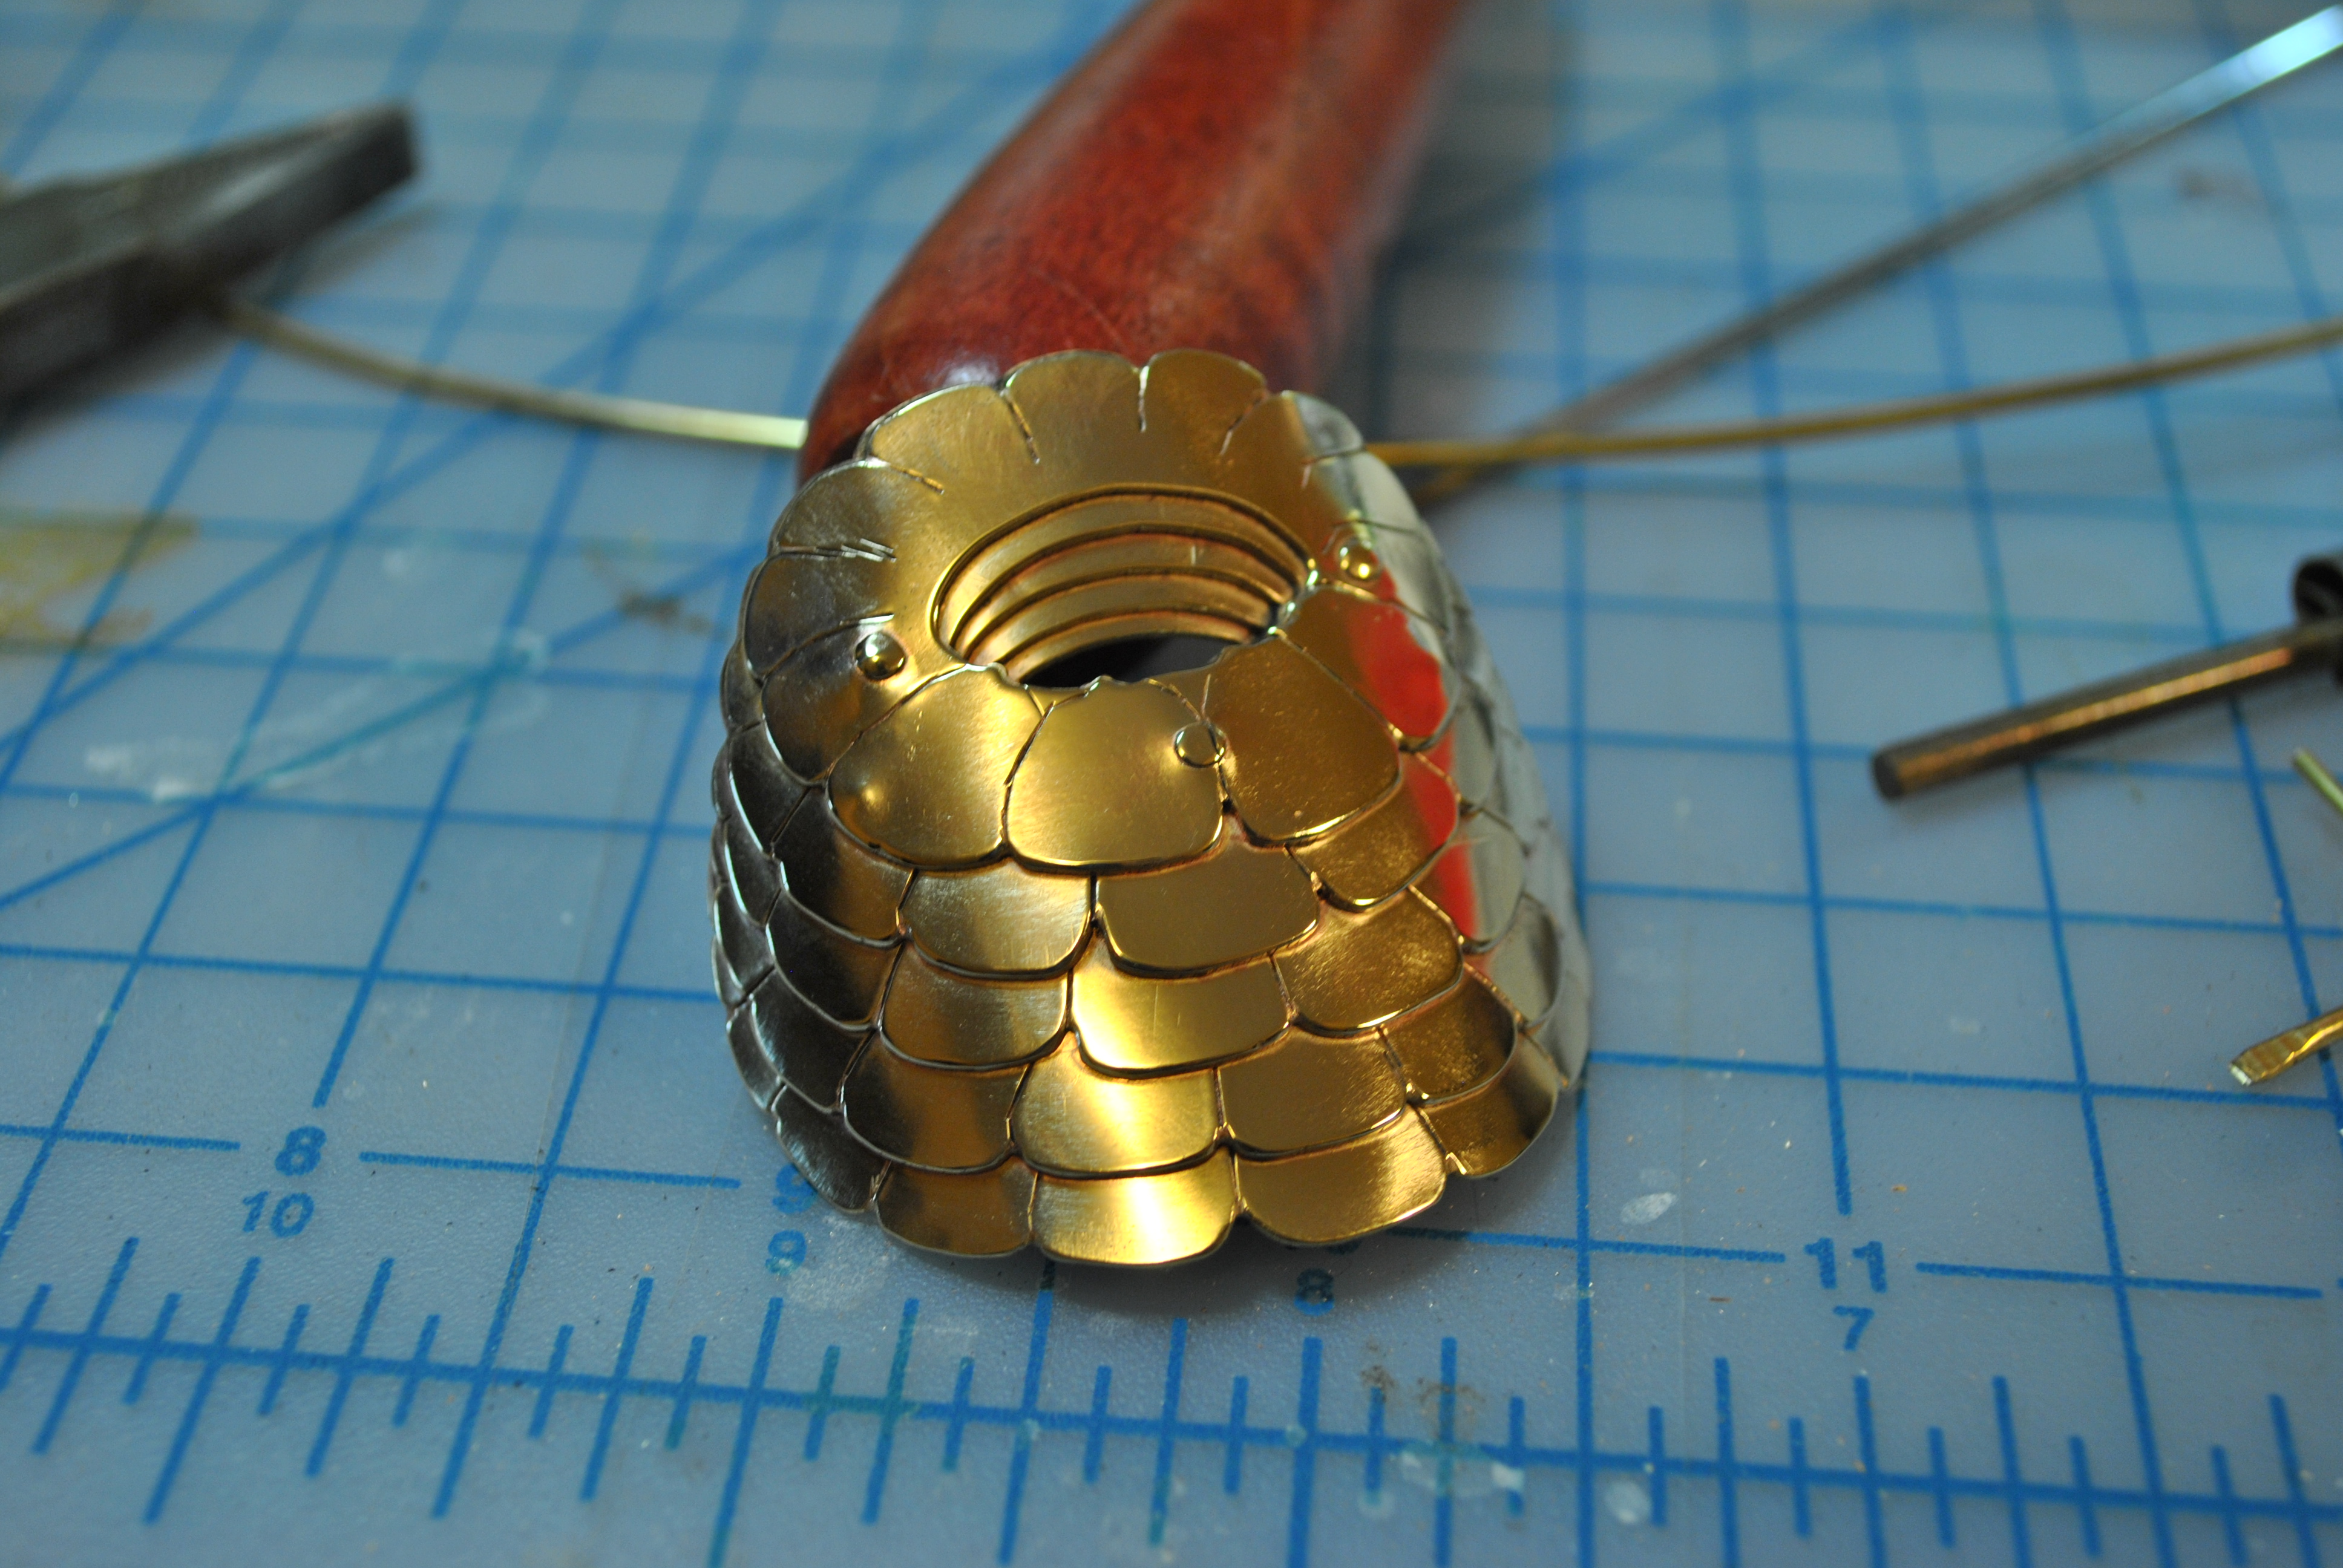
Making A Corn Cog Head Badge
Got this awesome design from a client, I was inspired to try something a little different, a multi-layered riveted design. It turned out better than I would have thought! I also did something different than I normally do and documented the process.

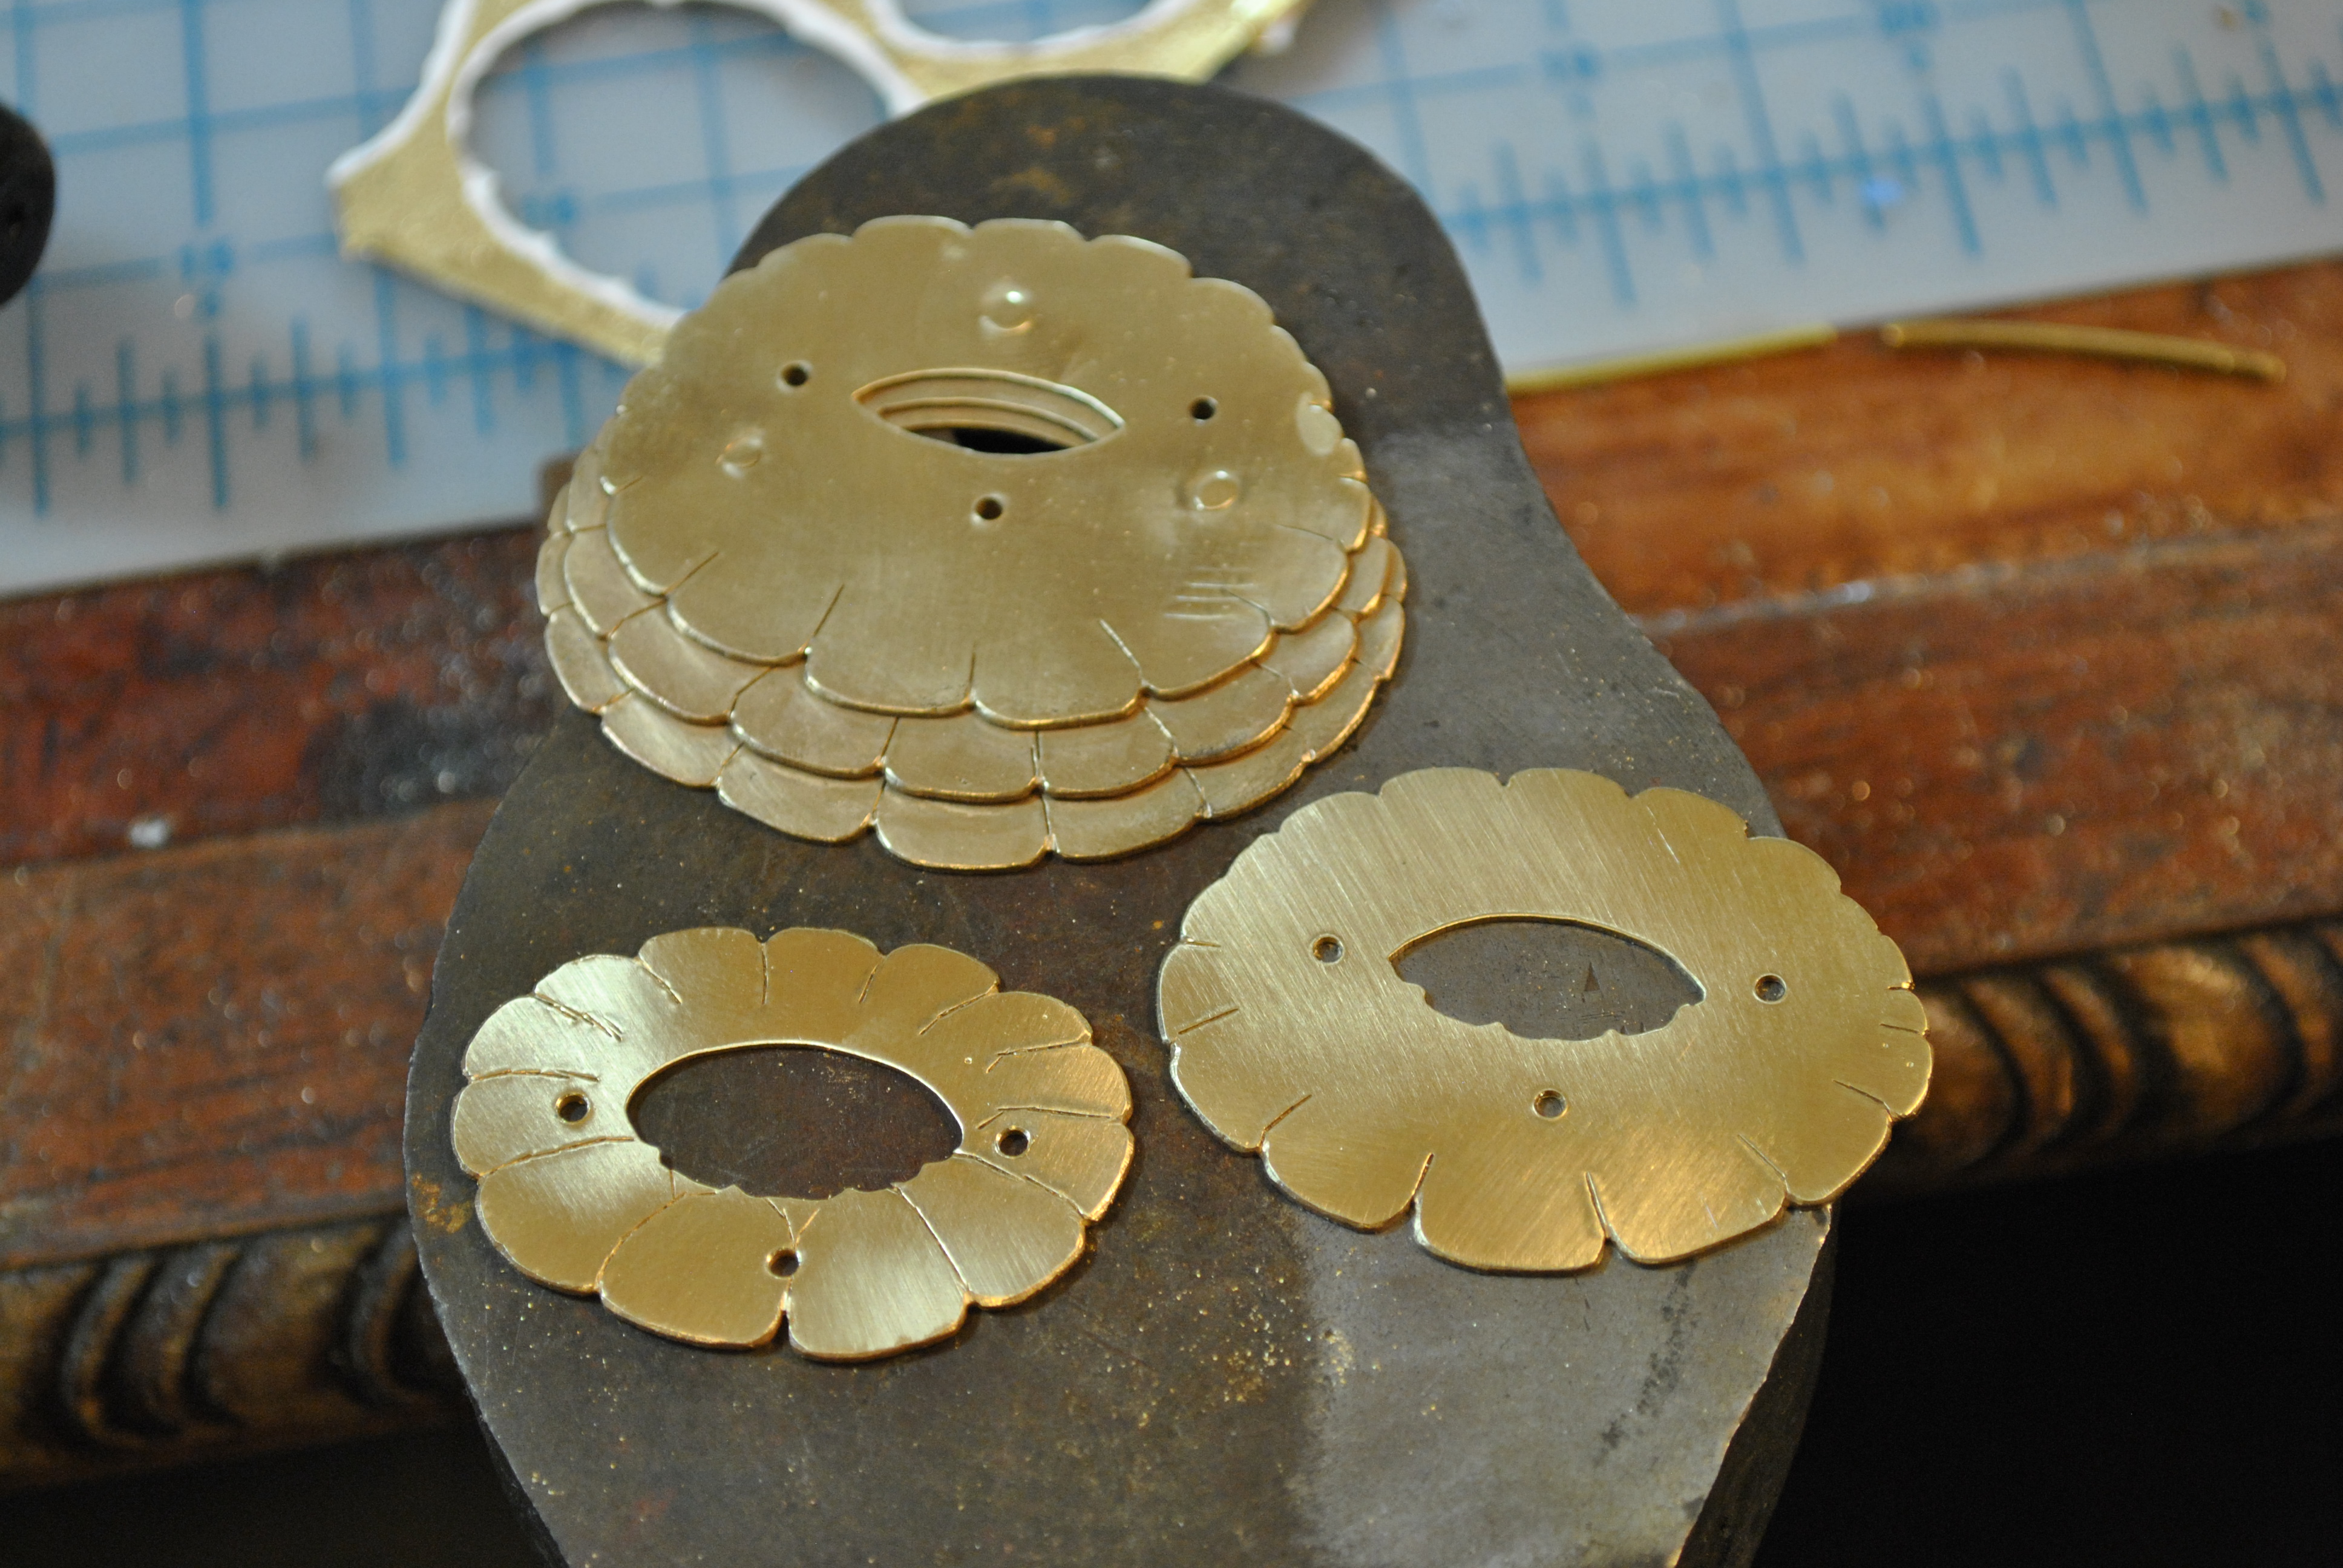
Start with a sheet of 22g brass and the design broken out into the layers.
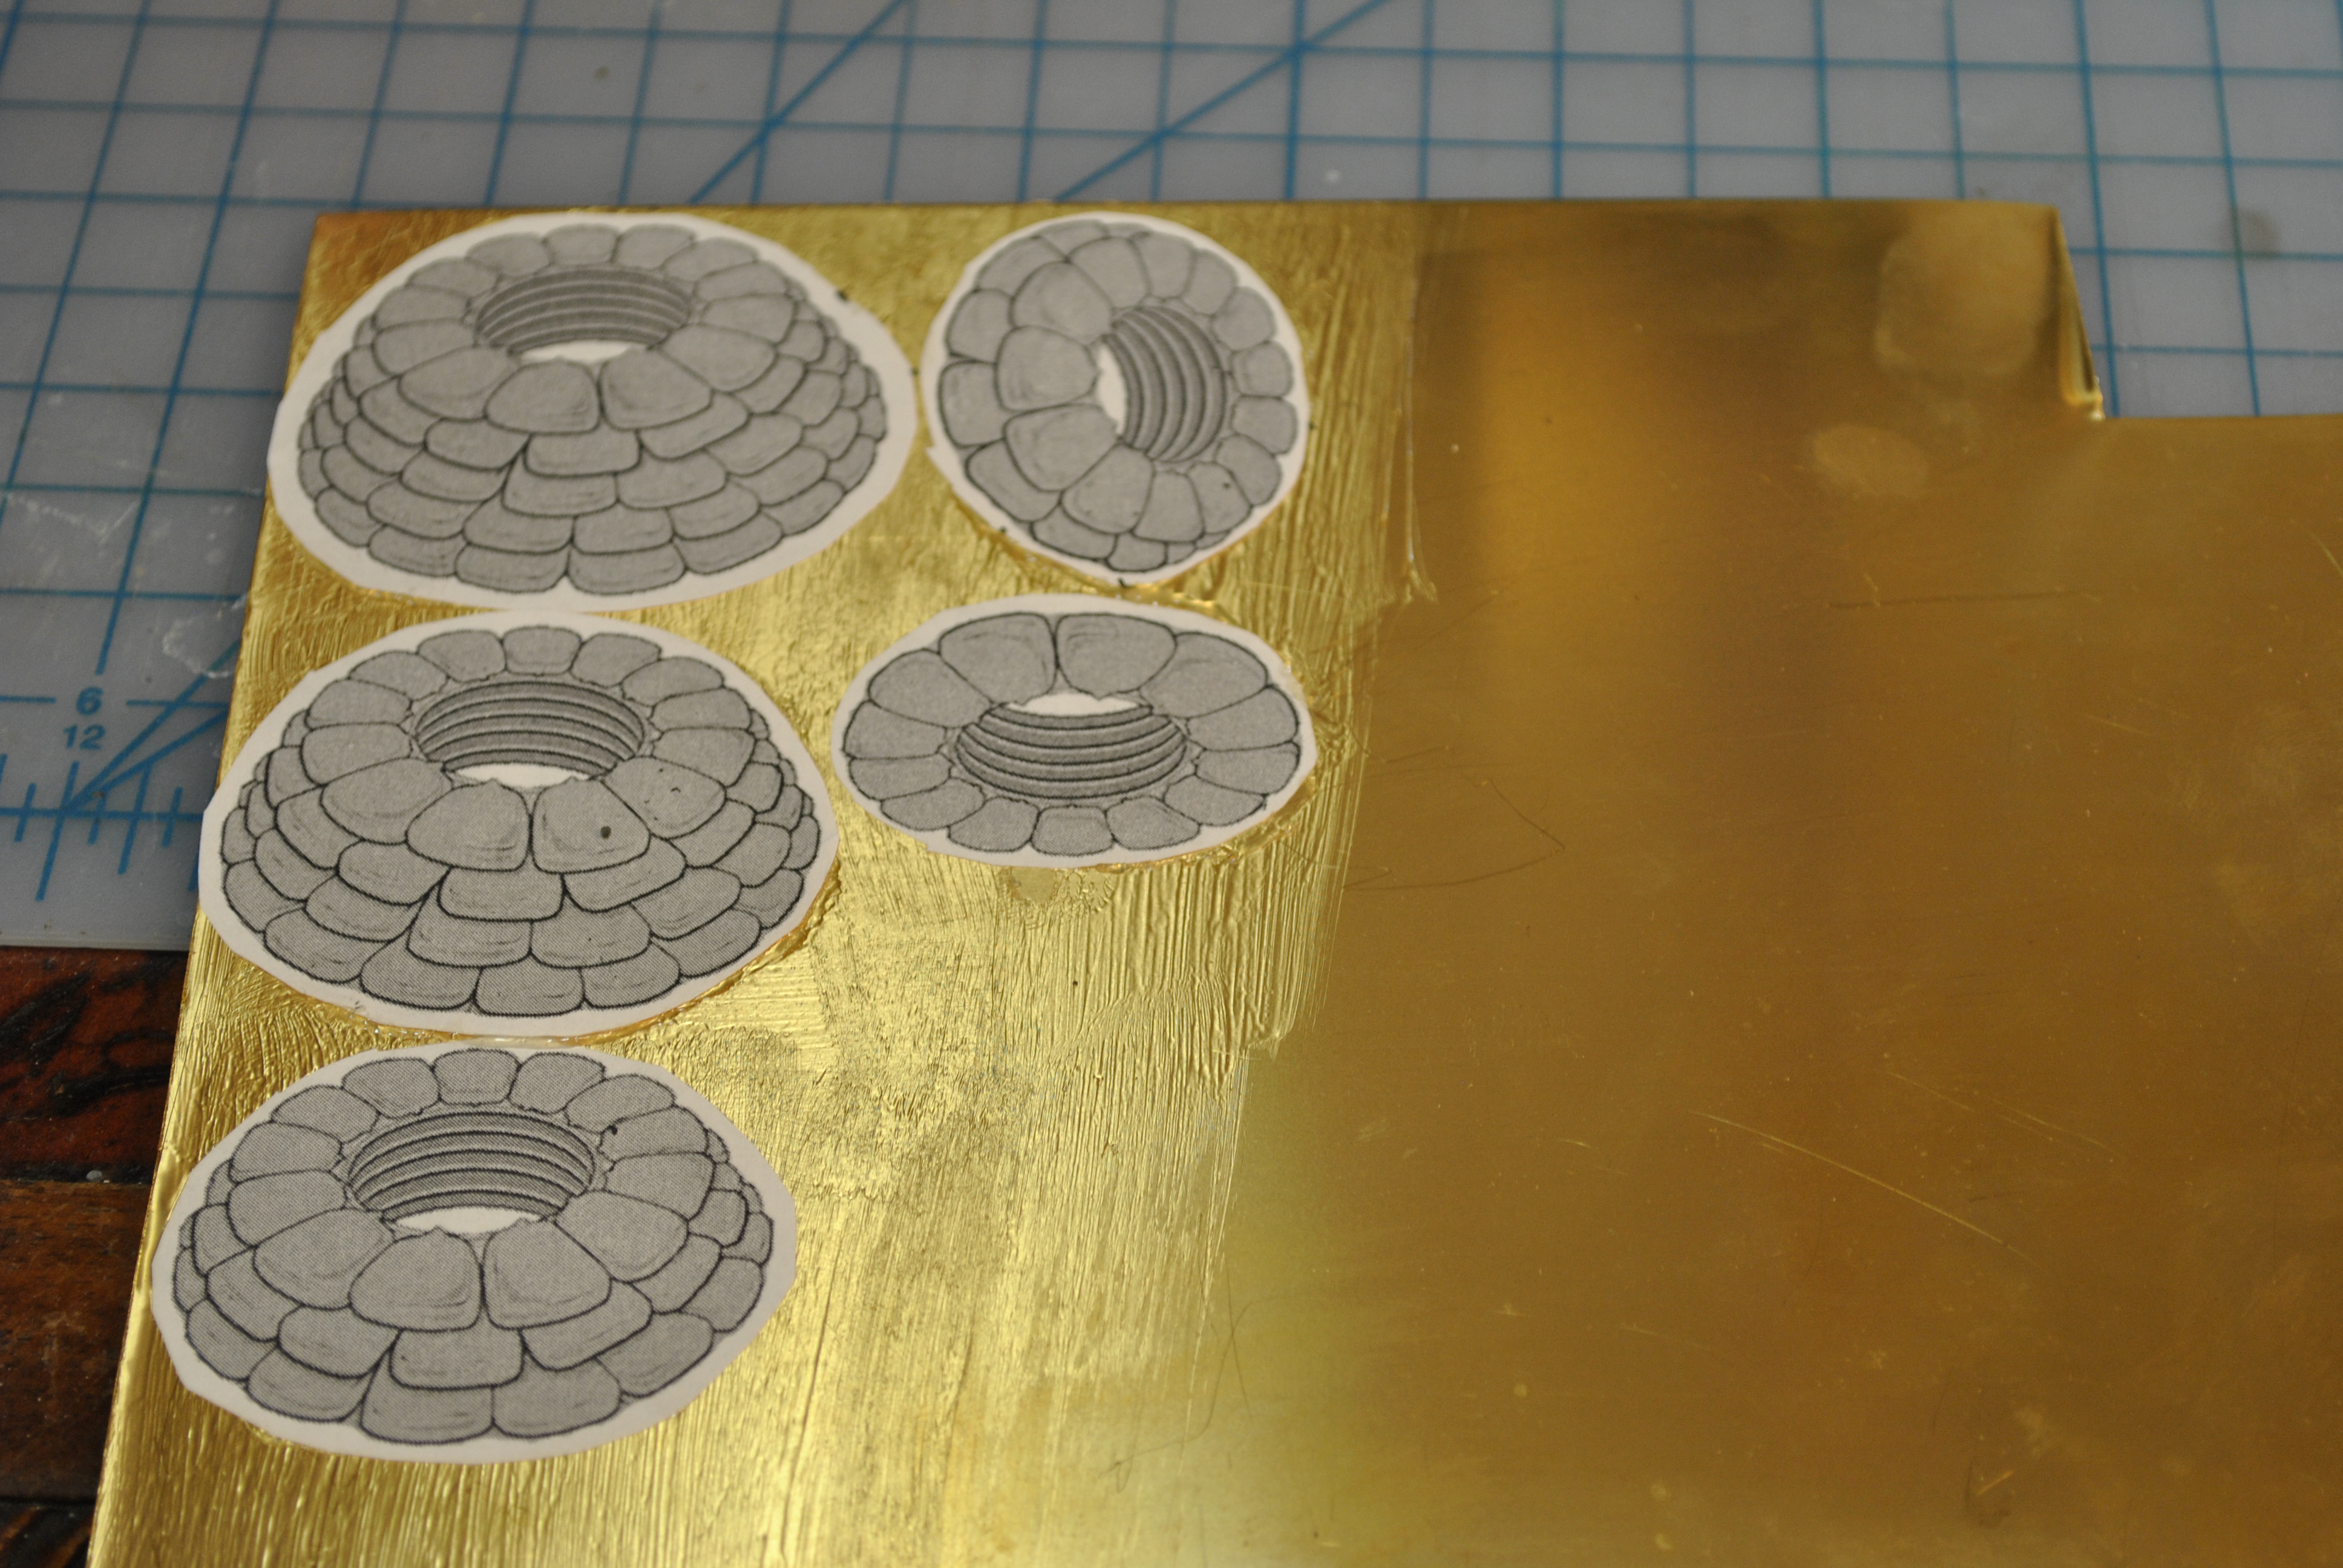
Using rubber cement I attached the cut out designs on the brass sheet.
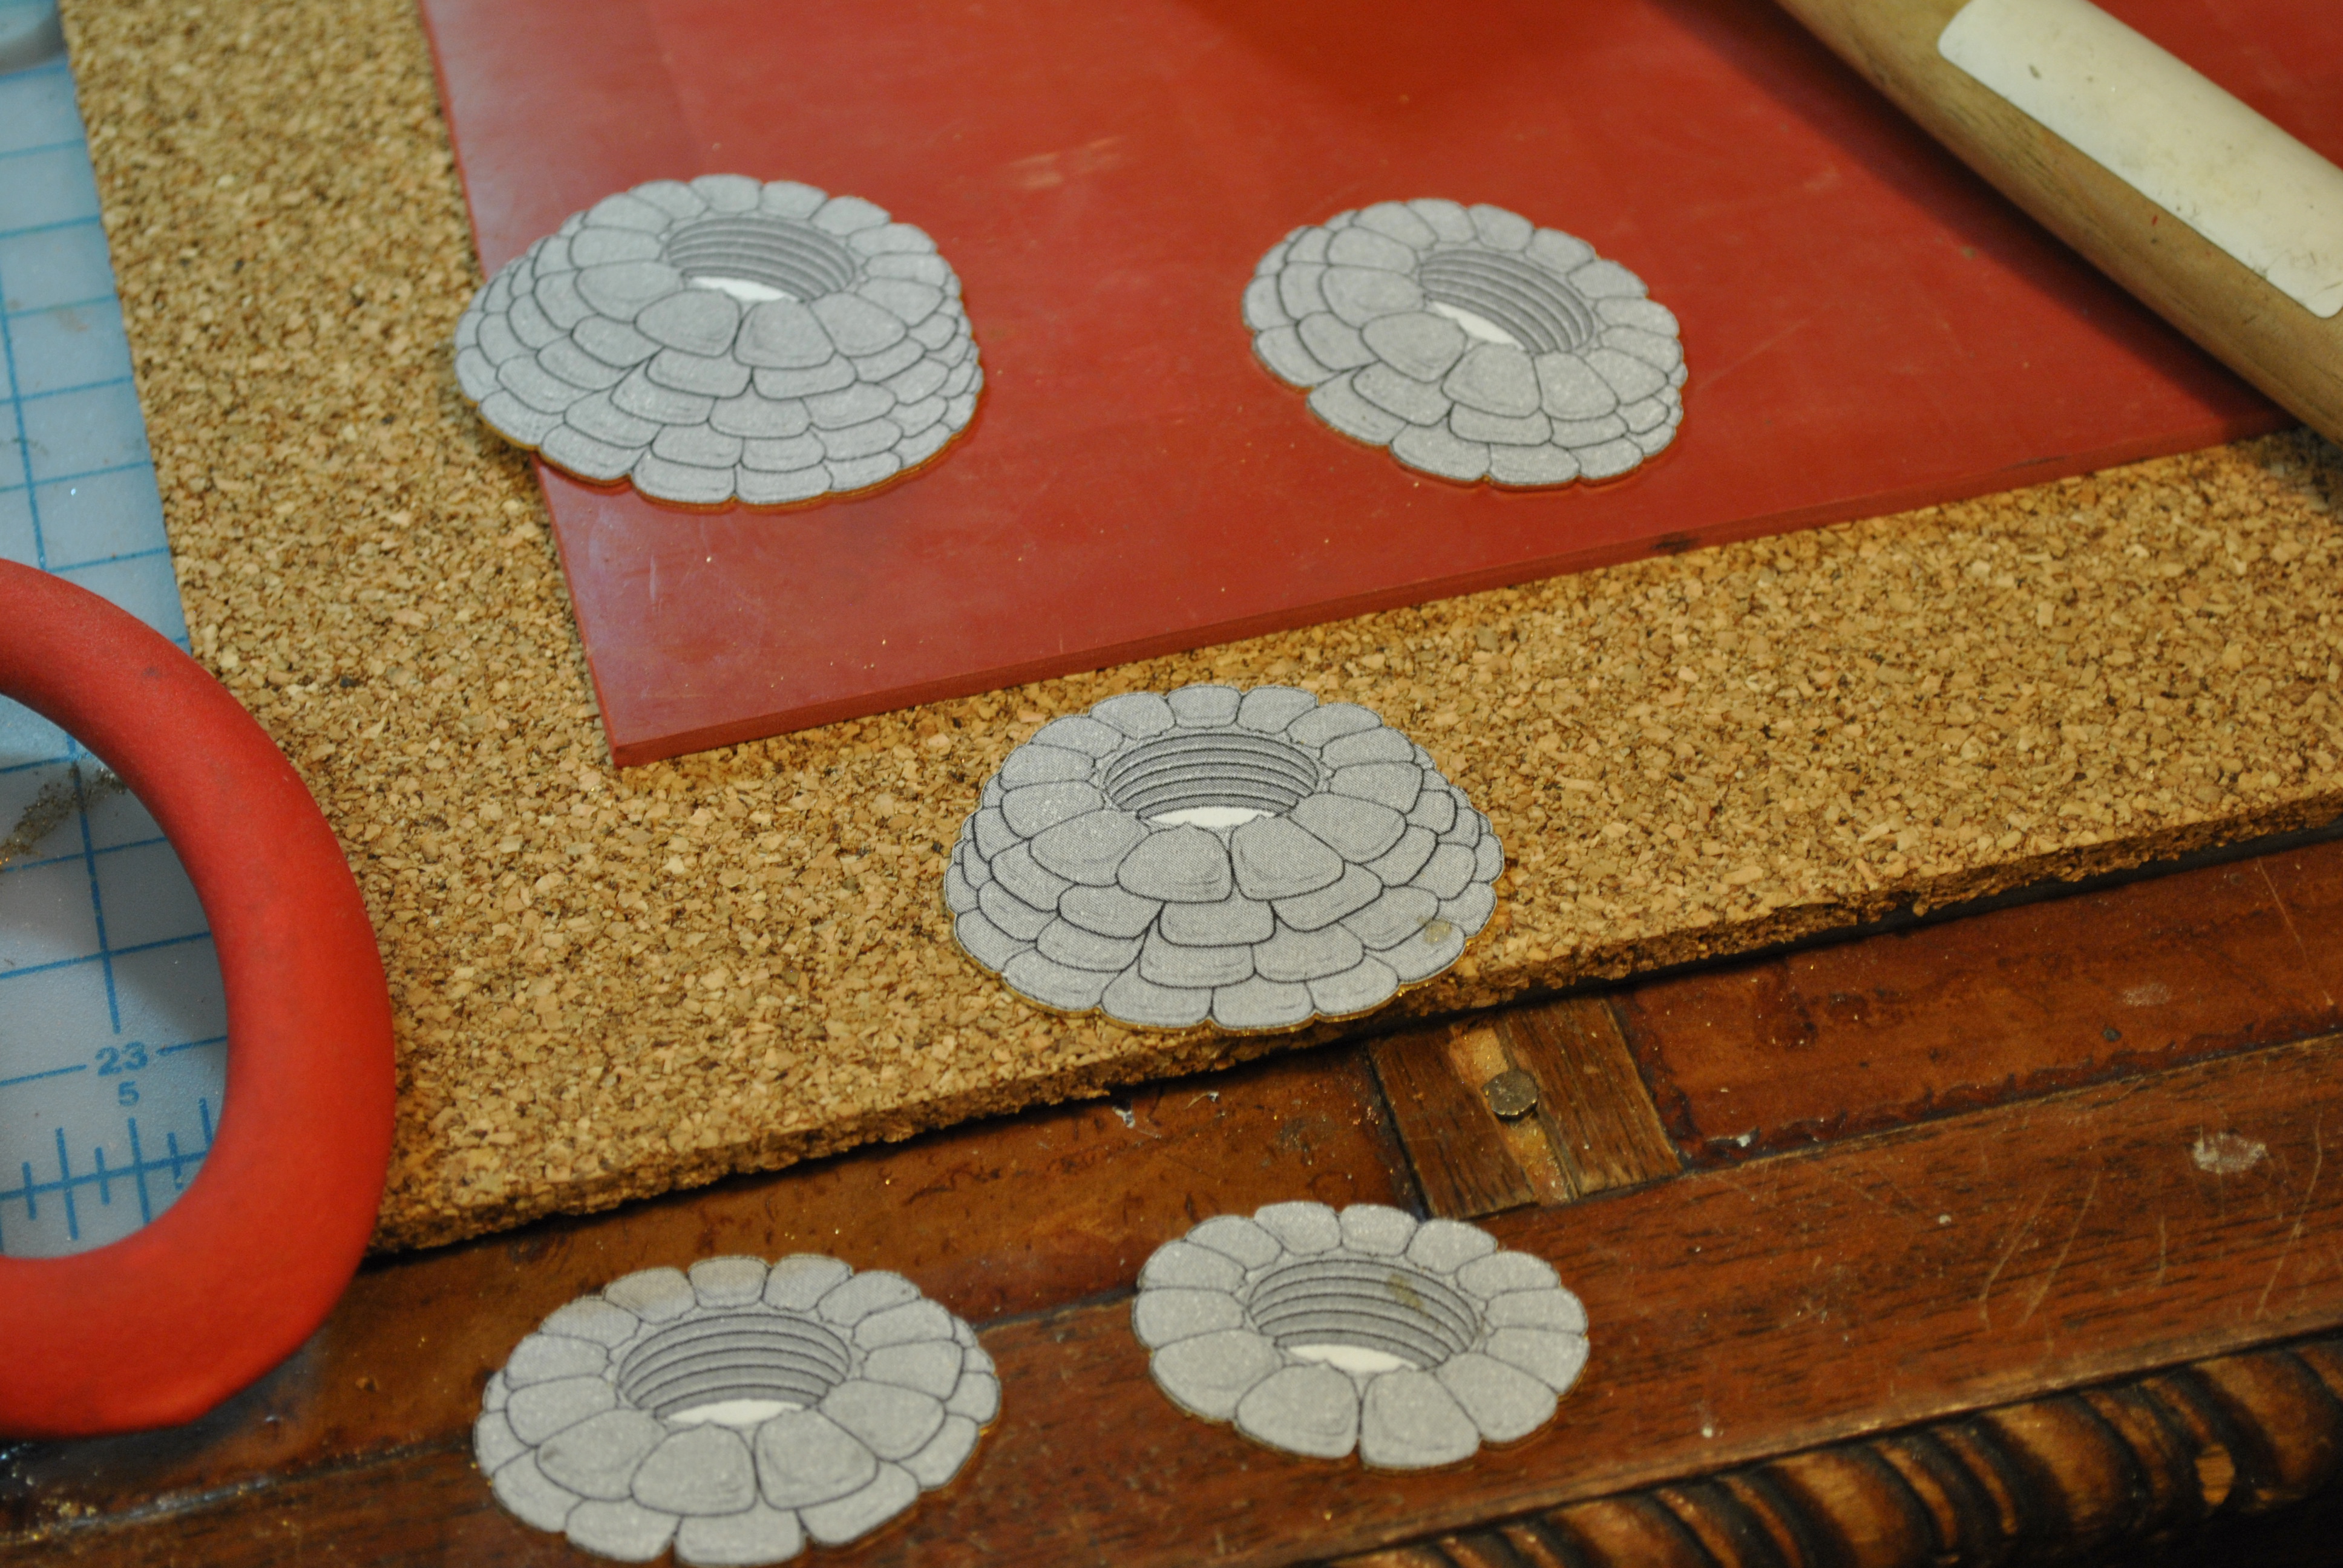
After they were cut out I filed and cut out the interior of the design, what you can’t see in this picture (but you can in the following) is where I etched the lines of the design in and filed the kernels of the corn.
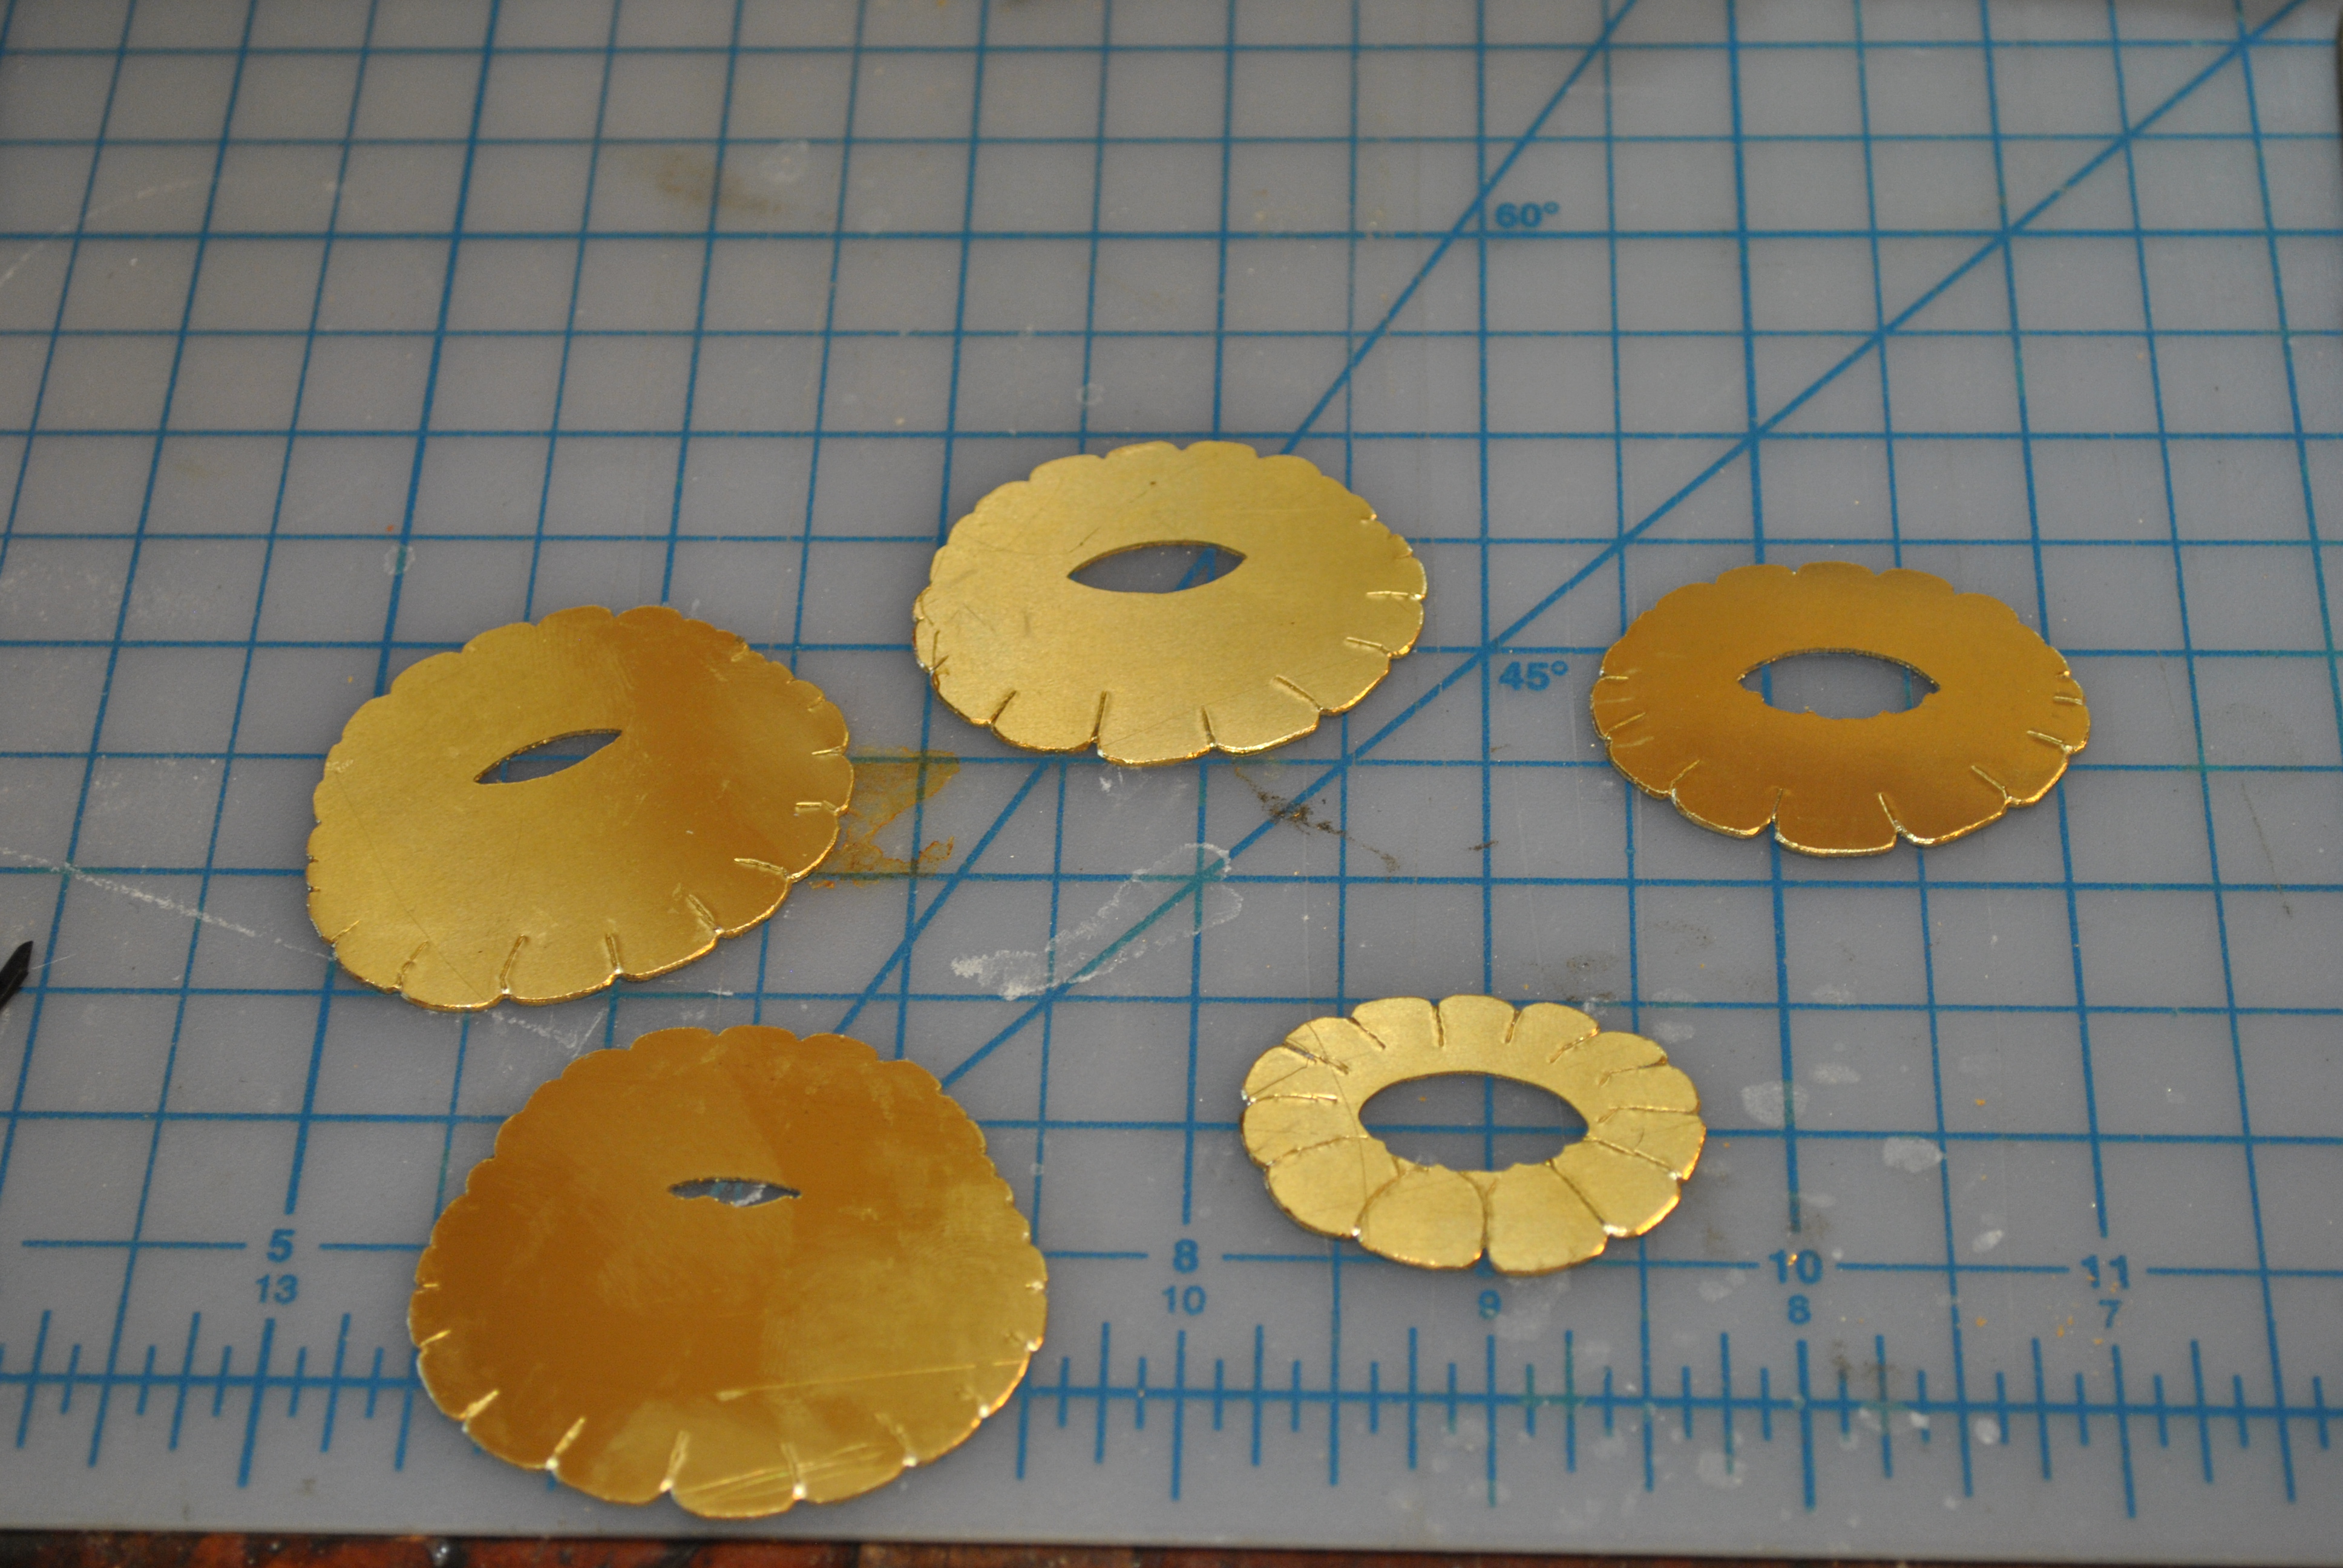
the final cut outs with etching and filing.
Dry fitting getting ready for the riveting.
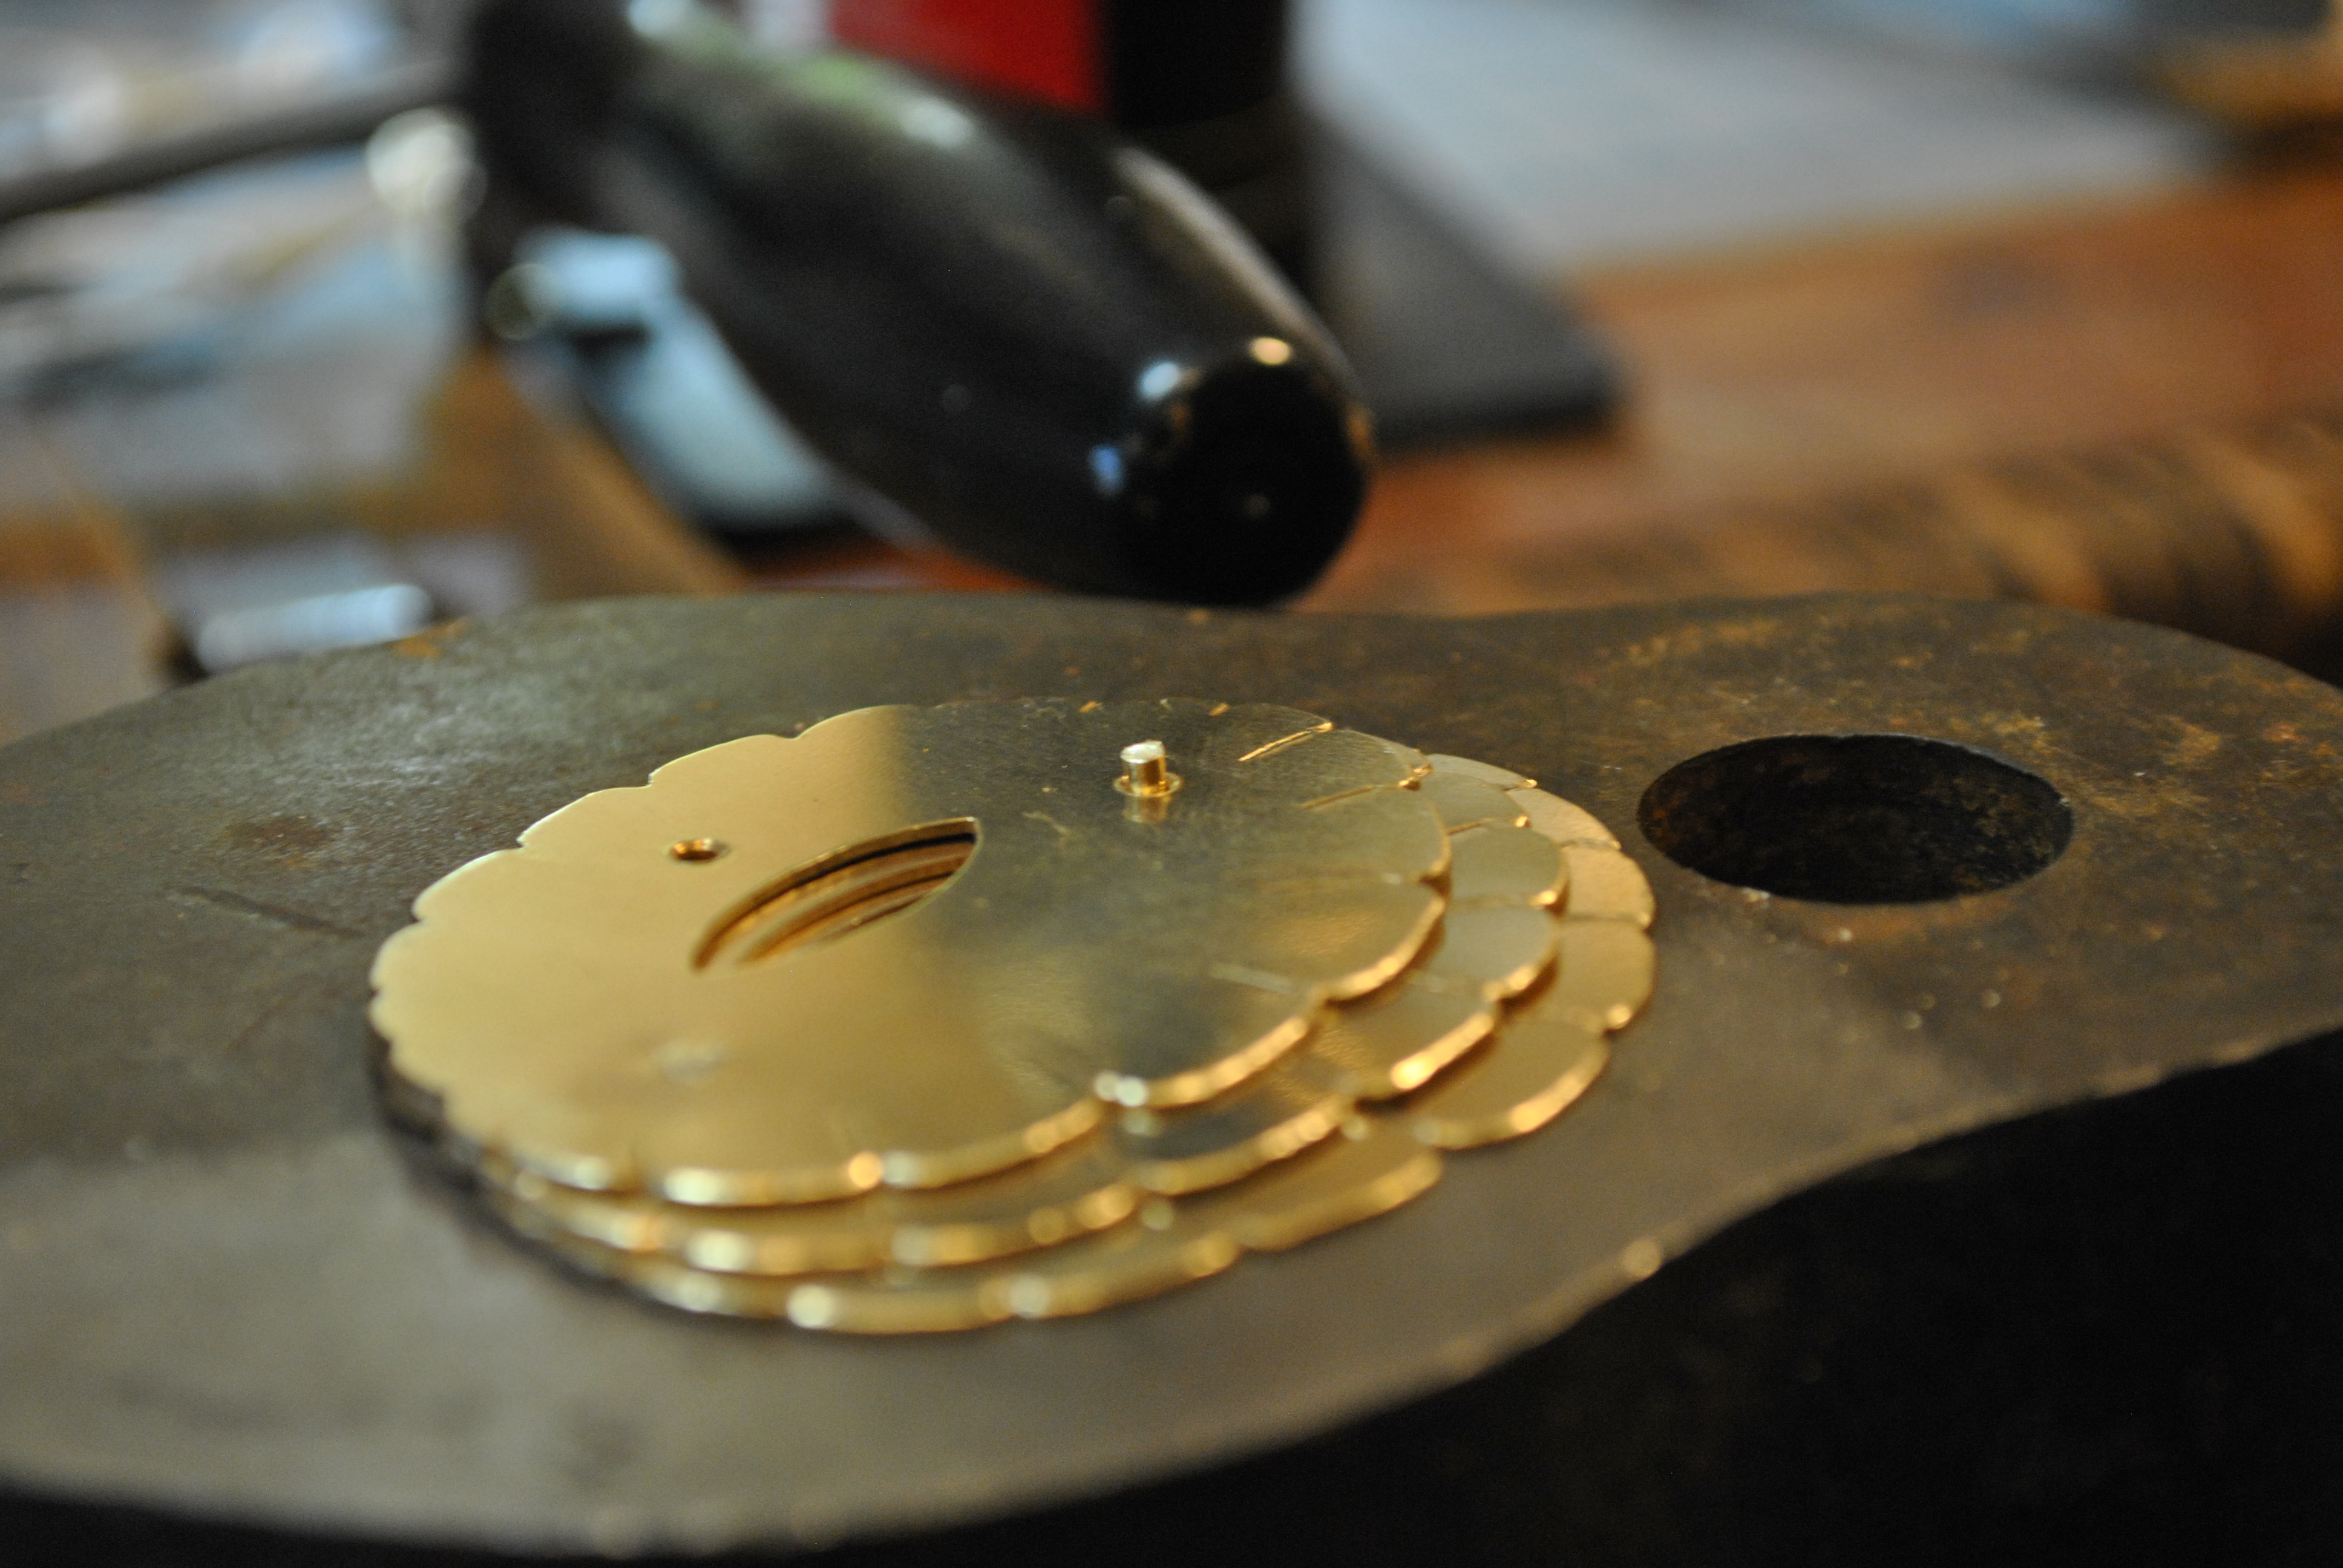

I did the rivets in two layers for strength and also so that they would fit better into the final design. I didn’t want rivets showing on every layer, but also wanted it to be strong, so there are three “hidden” rivets.
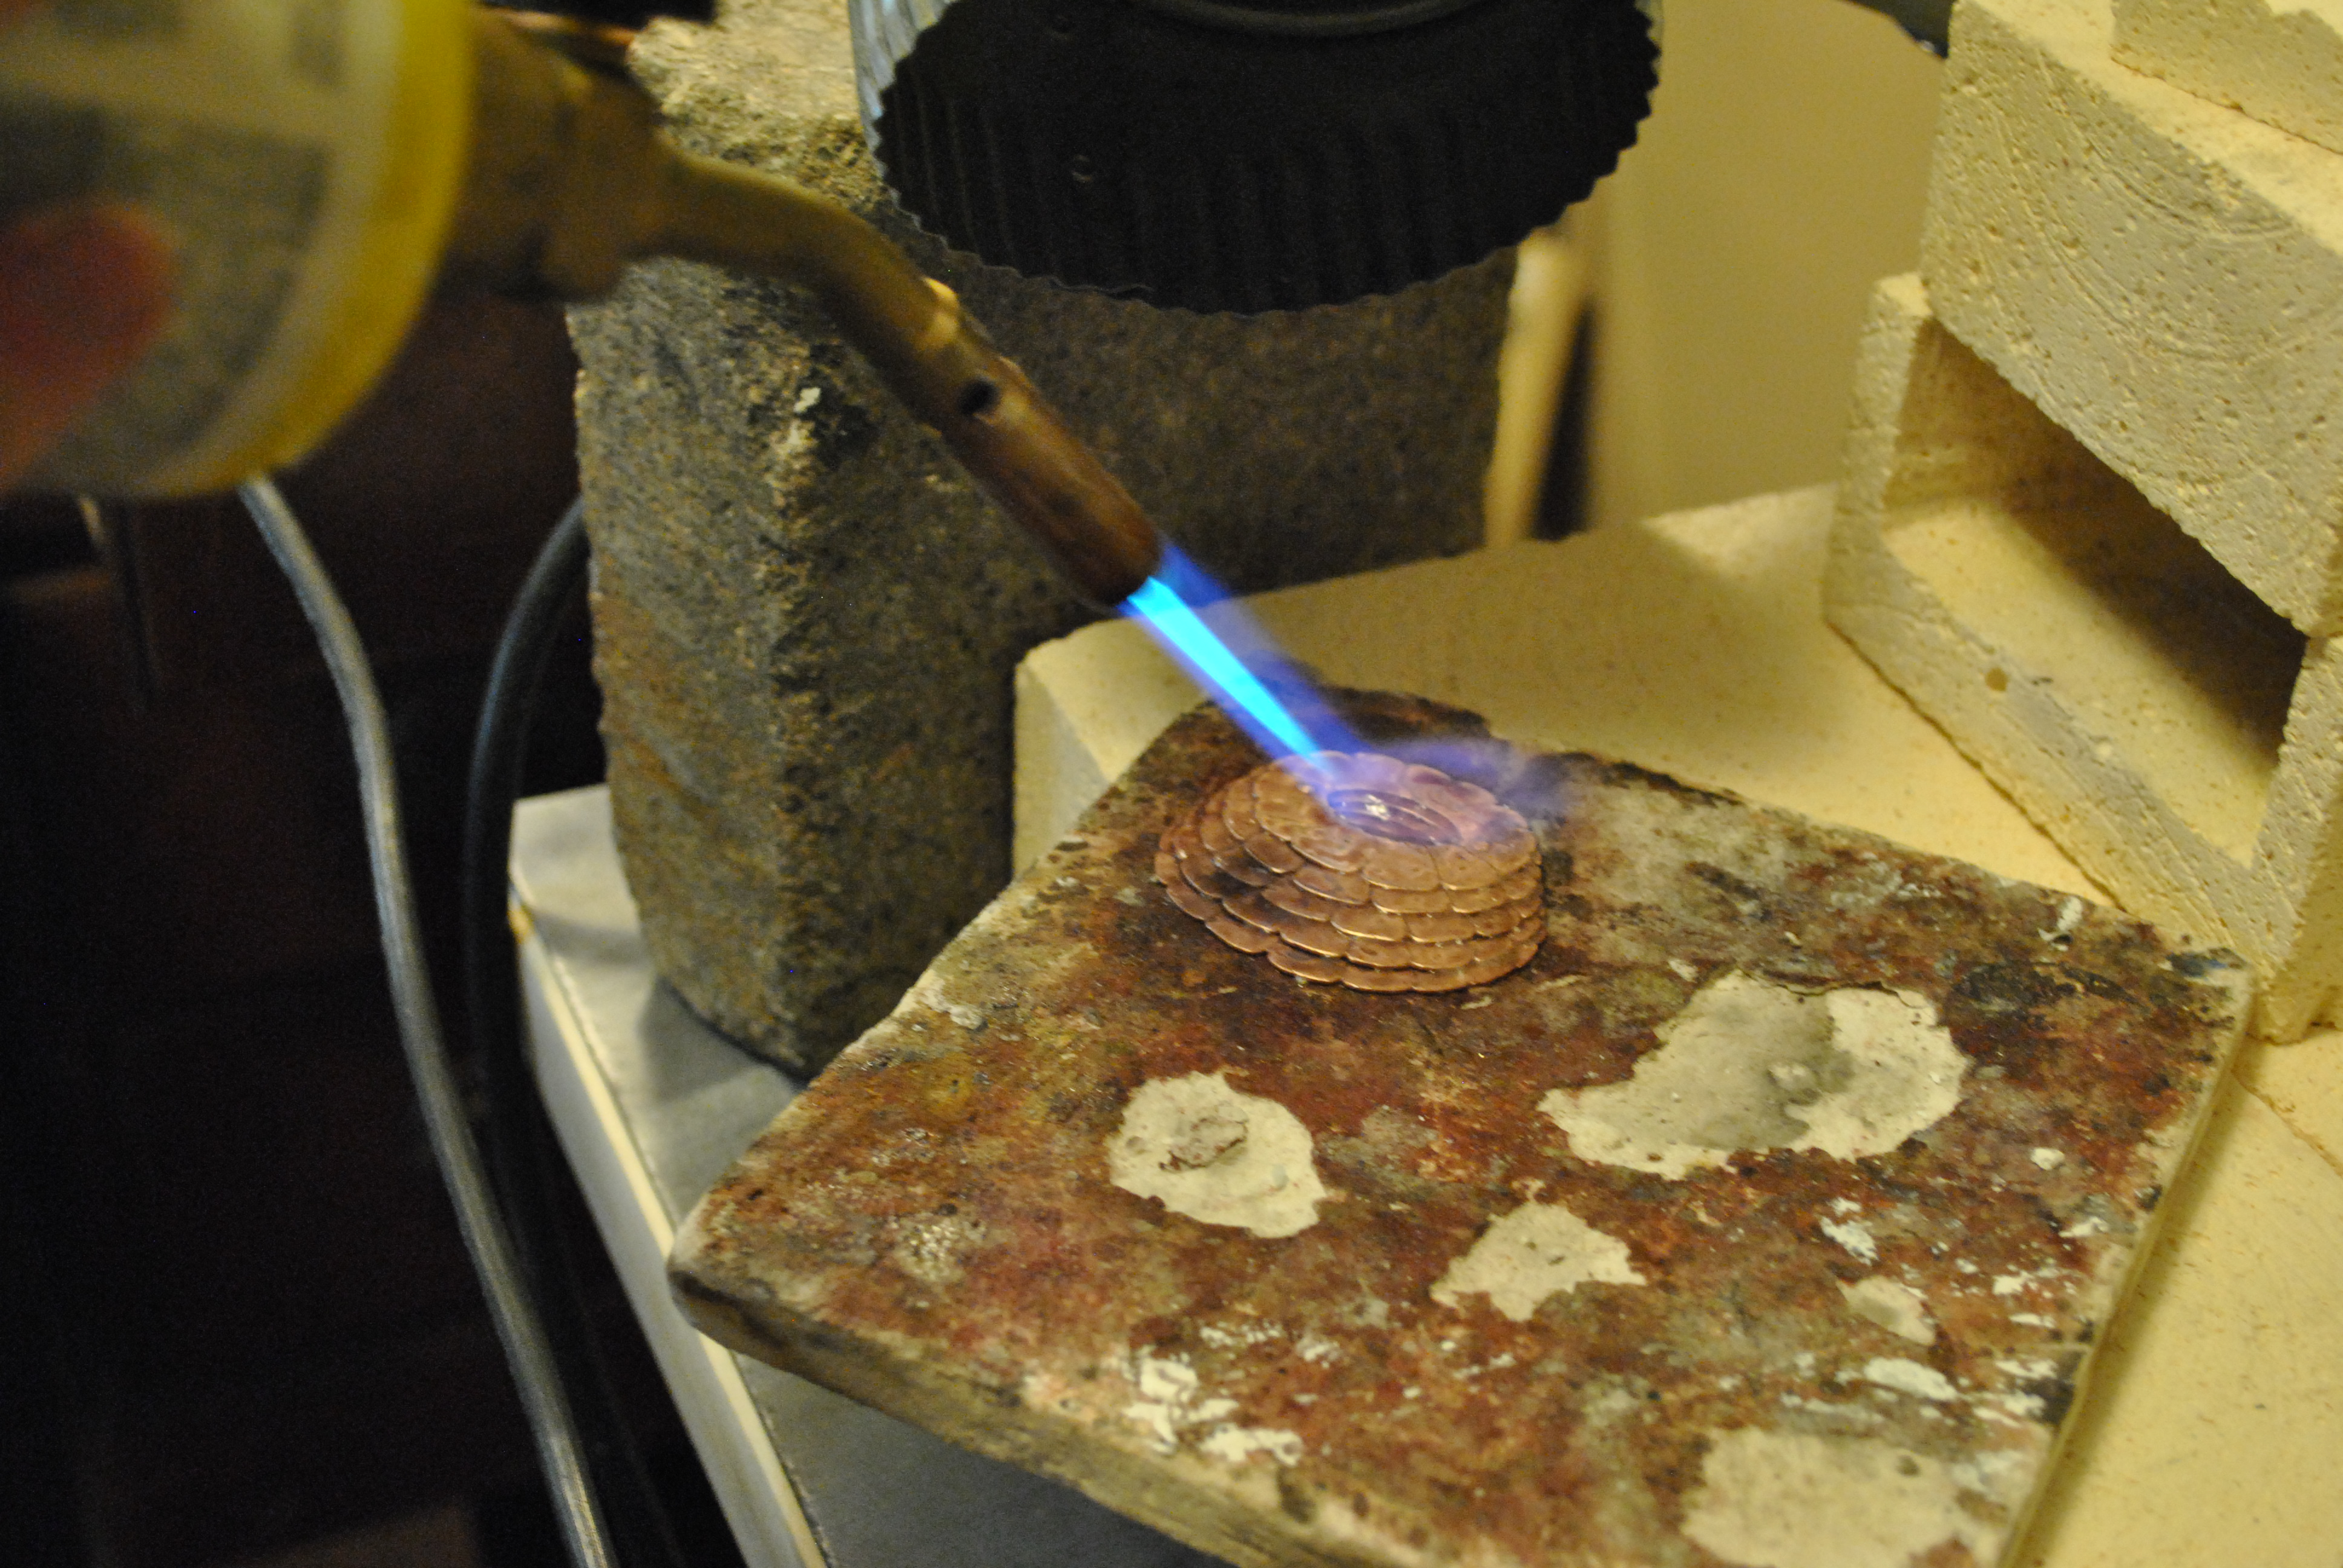
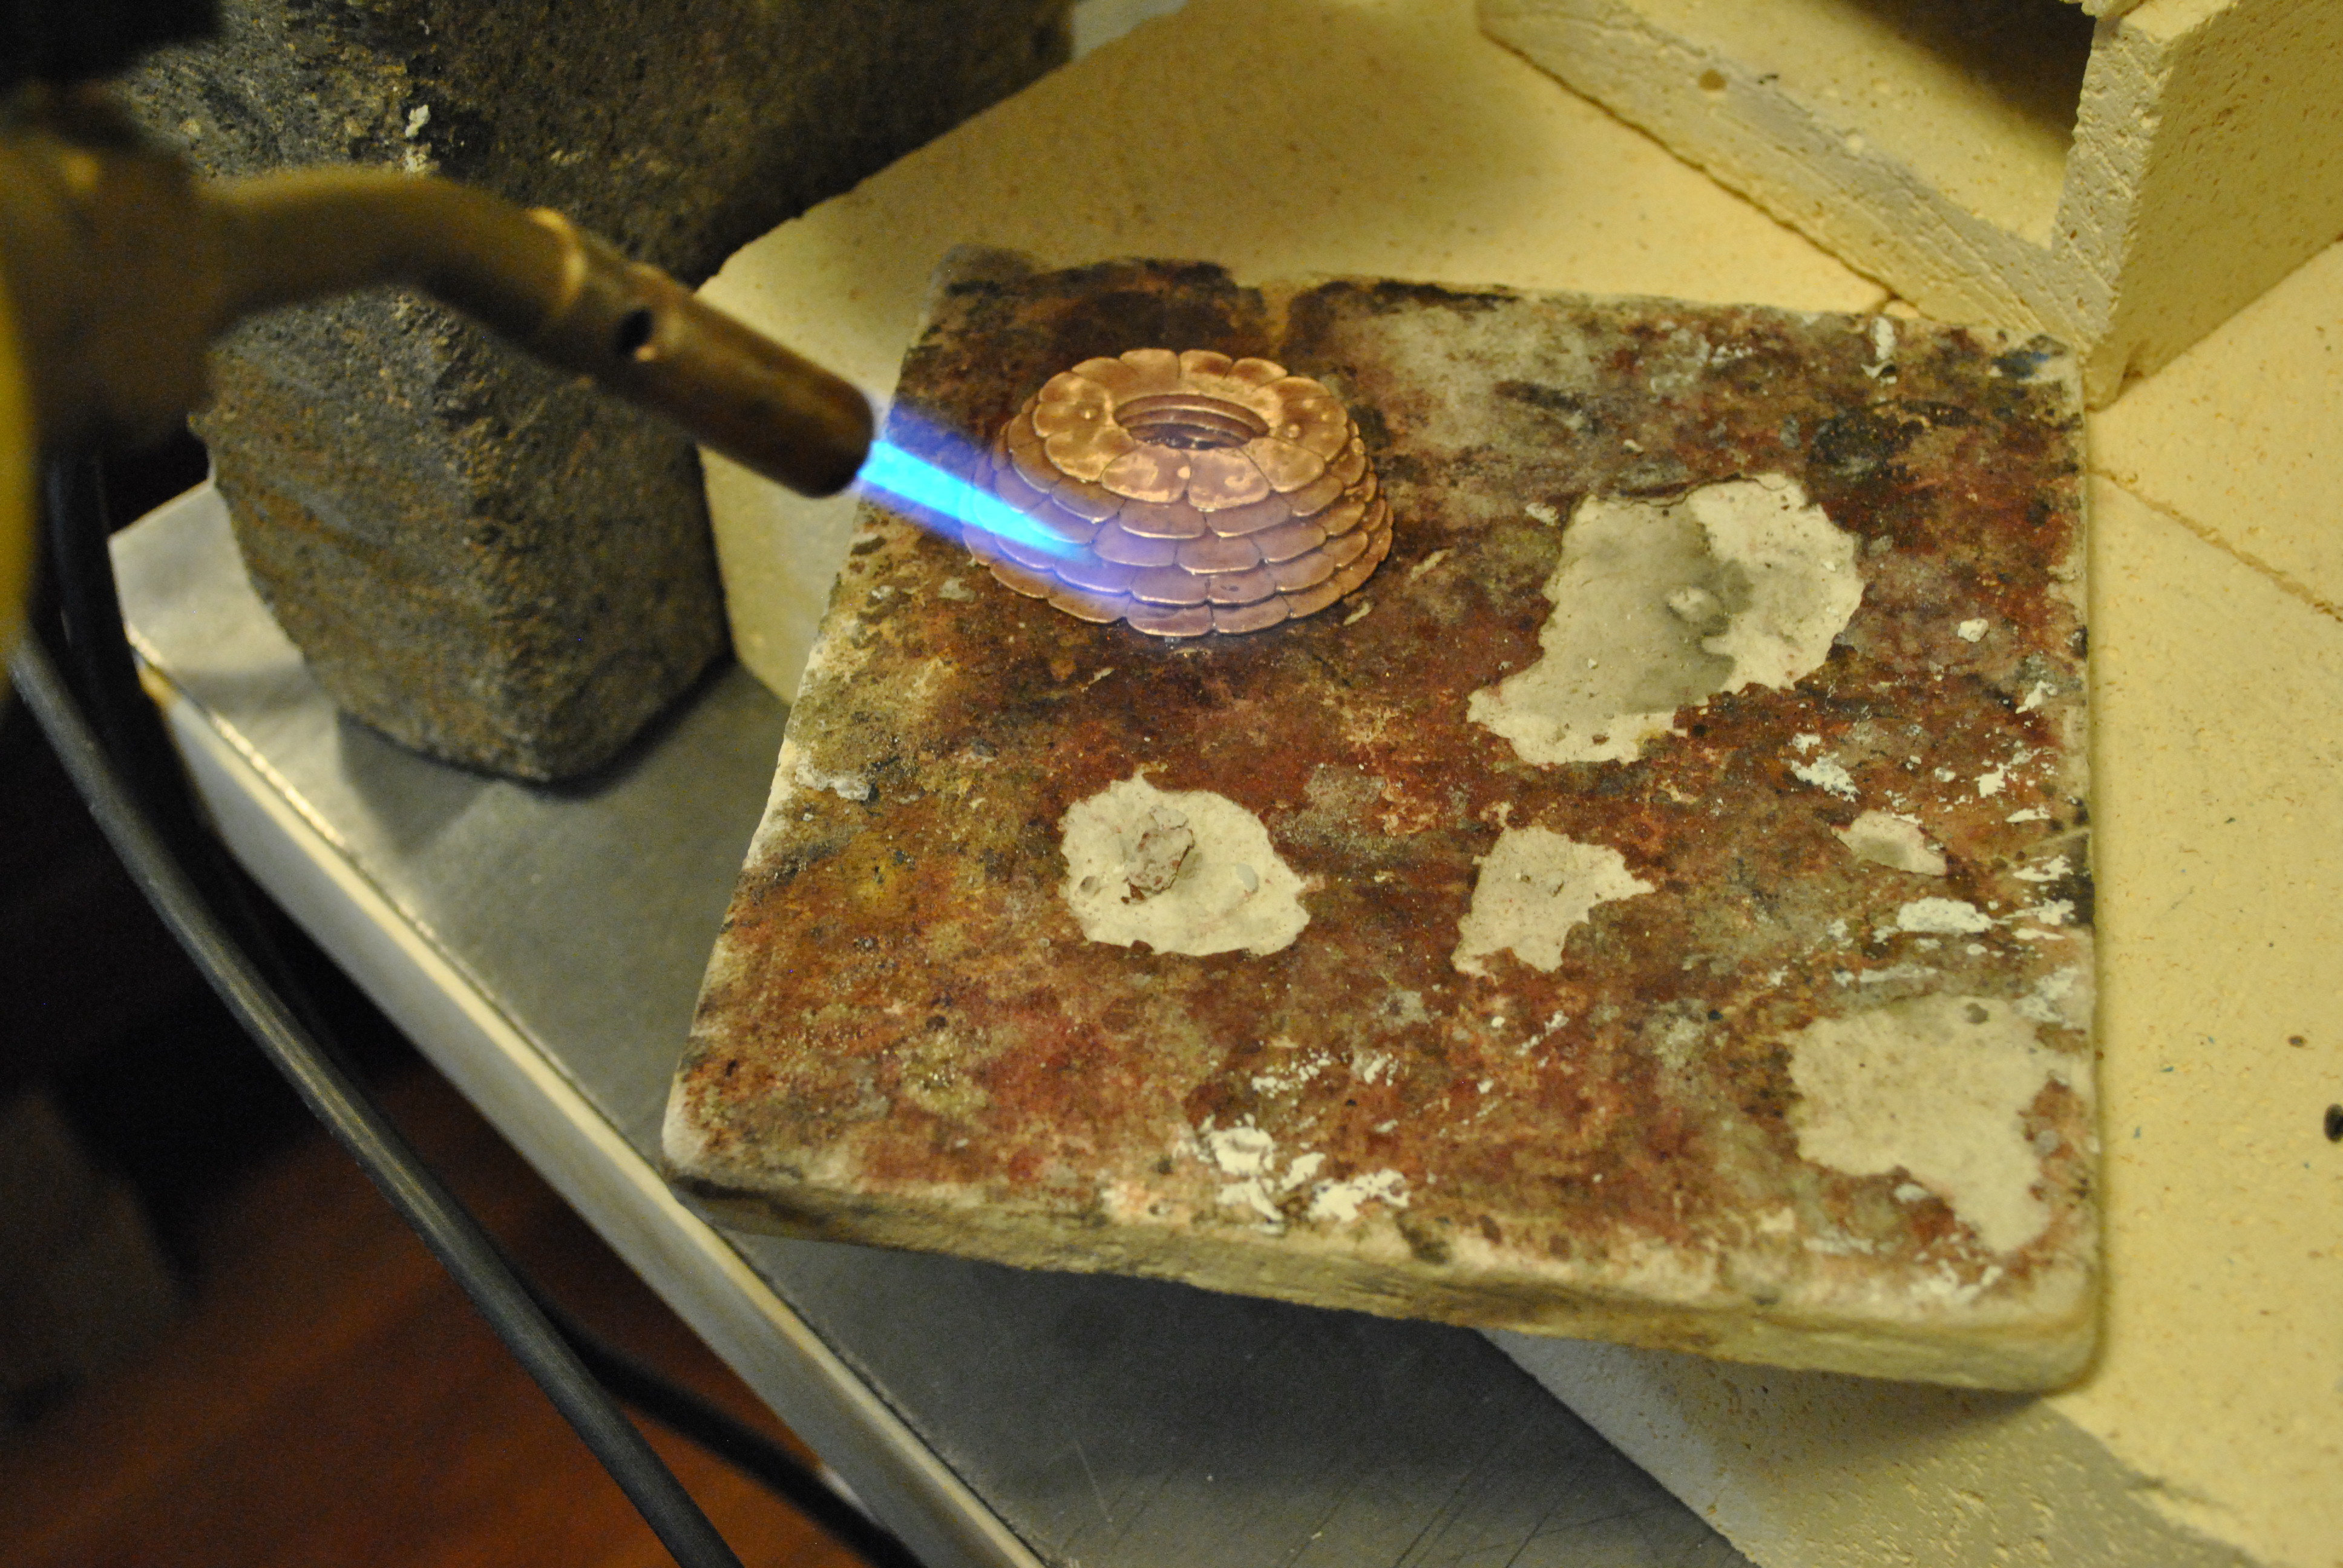
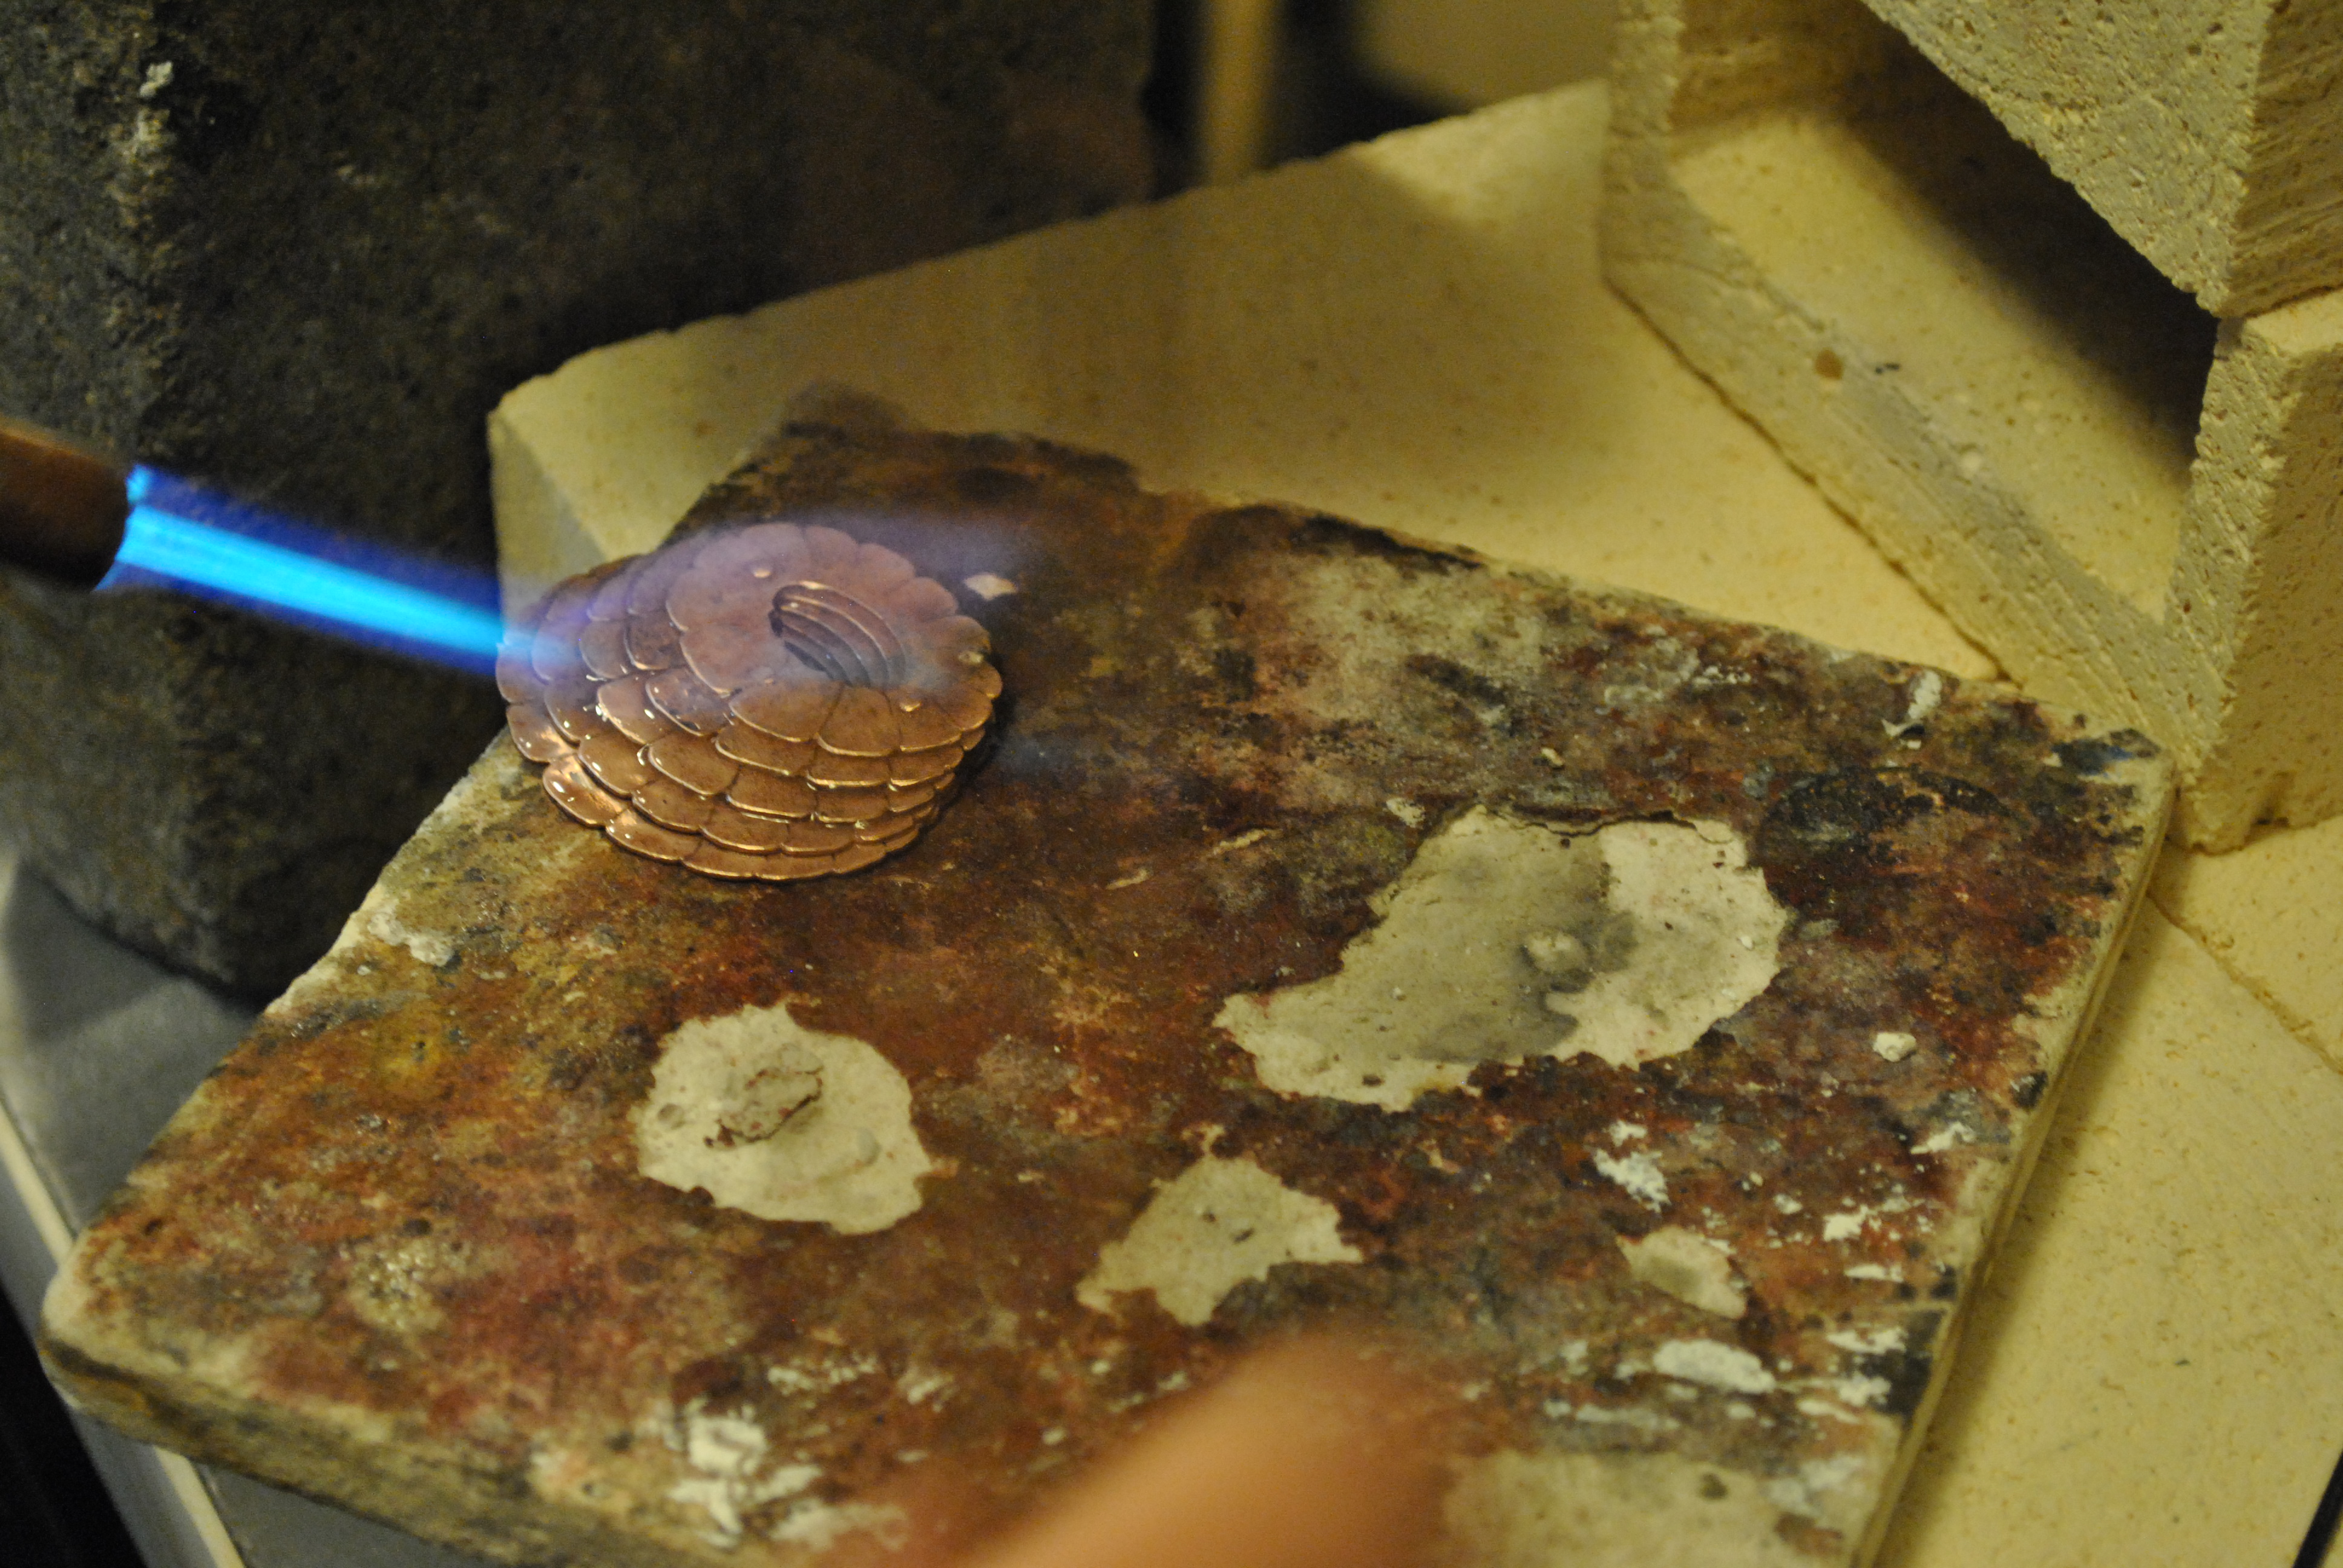
Five layers of brass is almost impossible to bend, so I annealed the metal to make it softer.
after a quick bath in the pickle it came out much softer and I was able to hammer it into shape with a plastic mallet. It also however is ugly from the fire scale.
After the initial hand polishing to get all the fire scale off and start the buffing process.
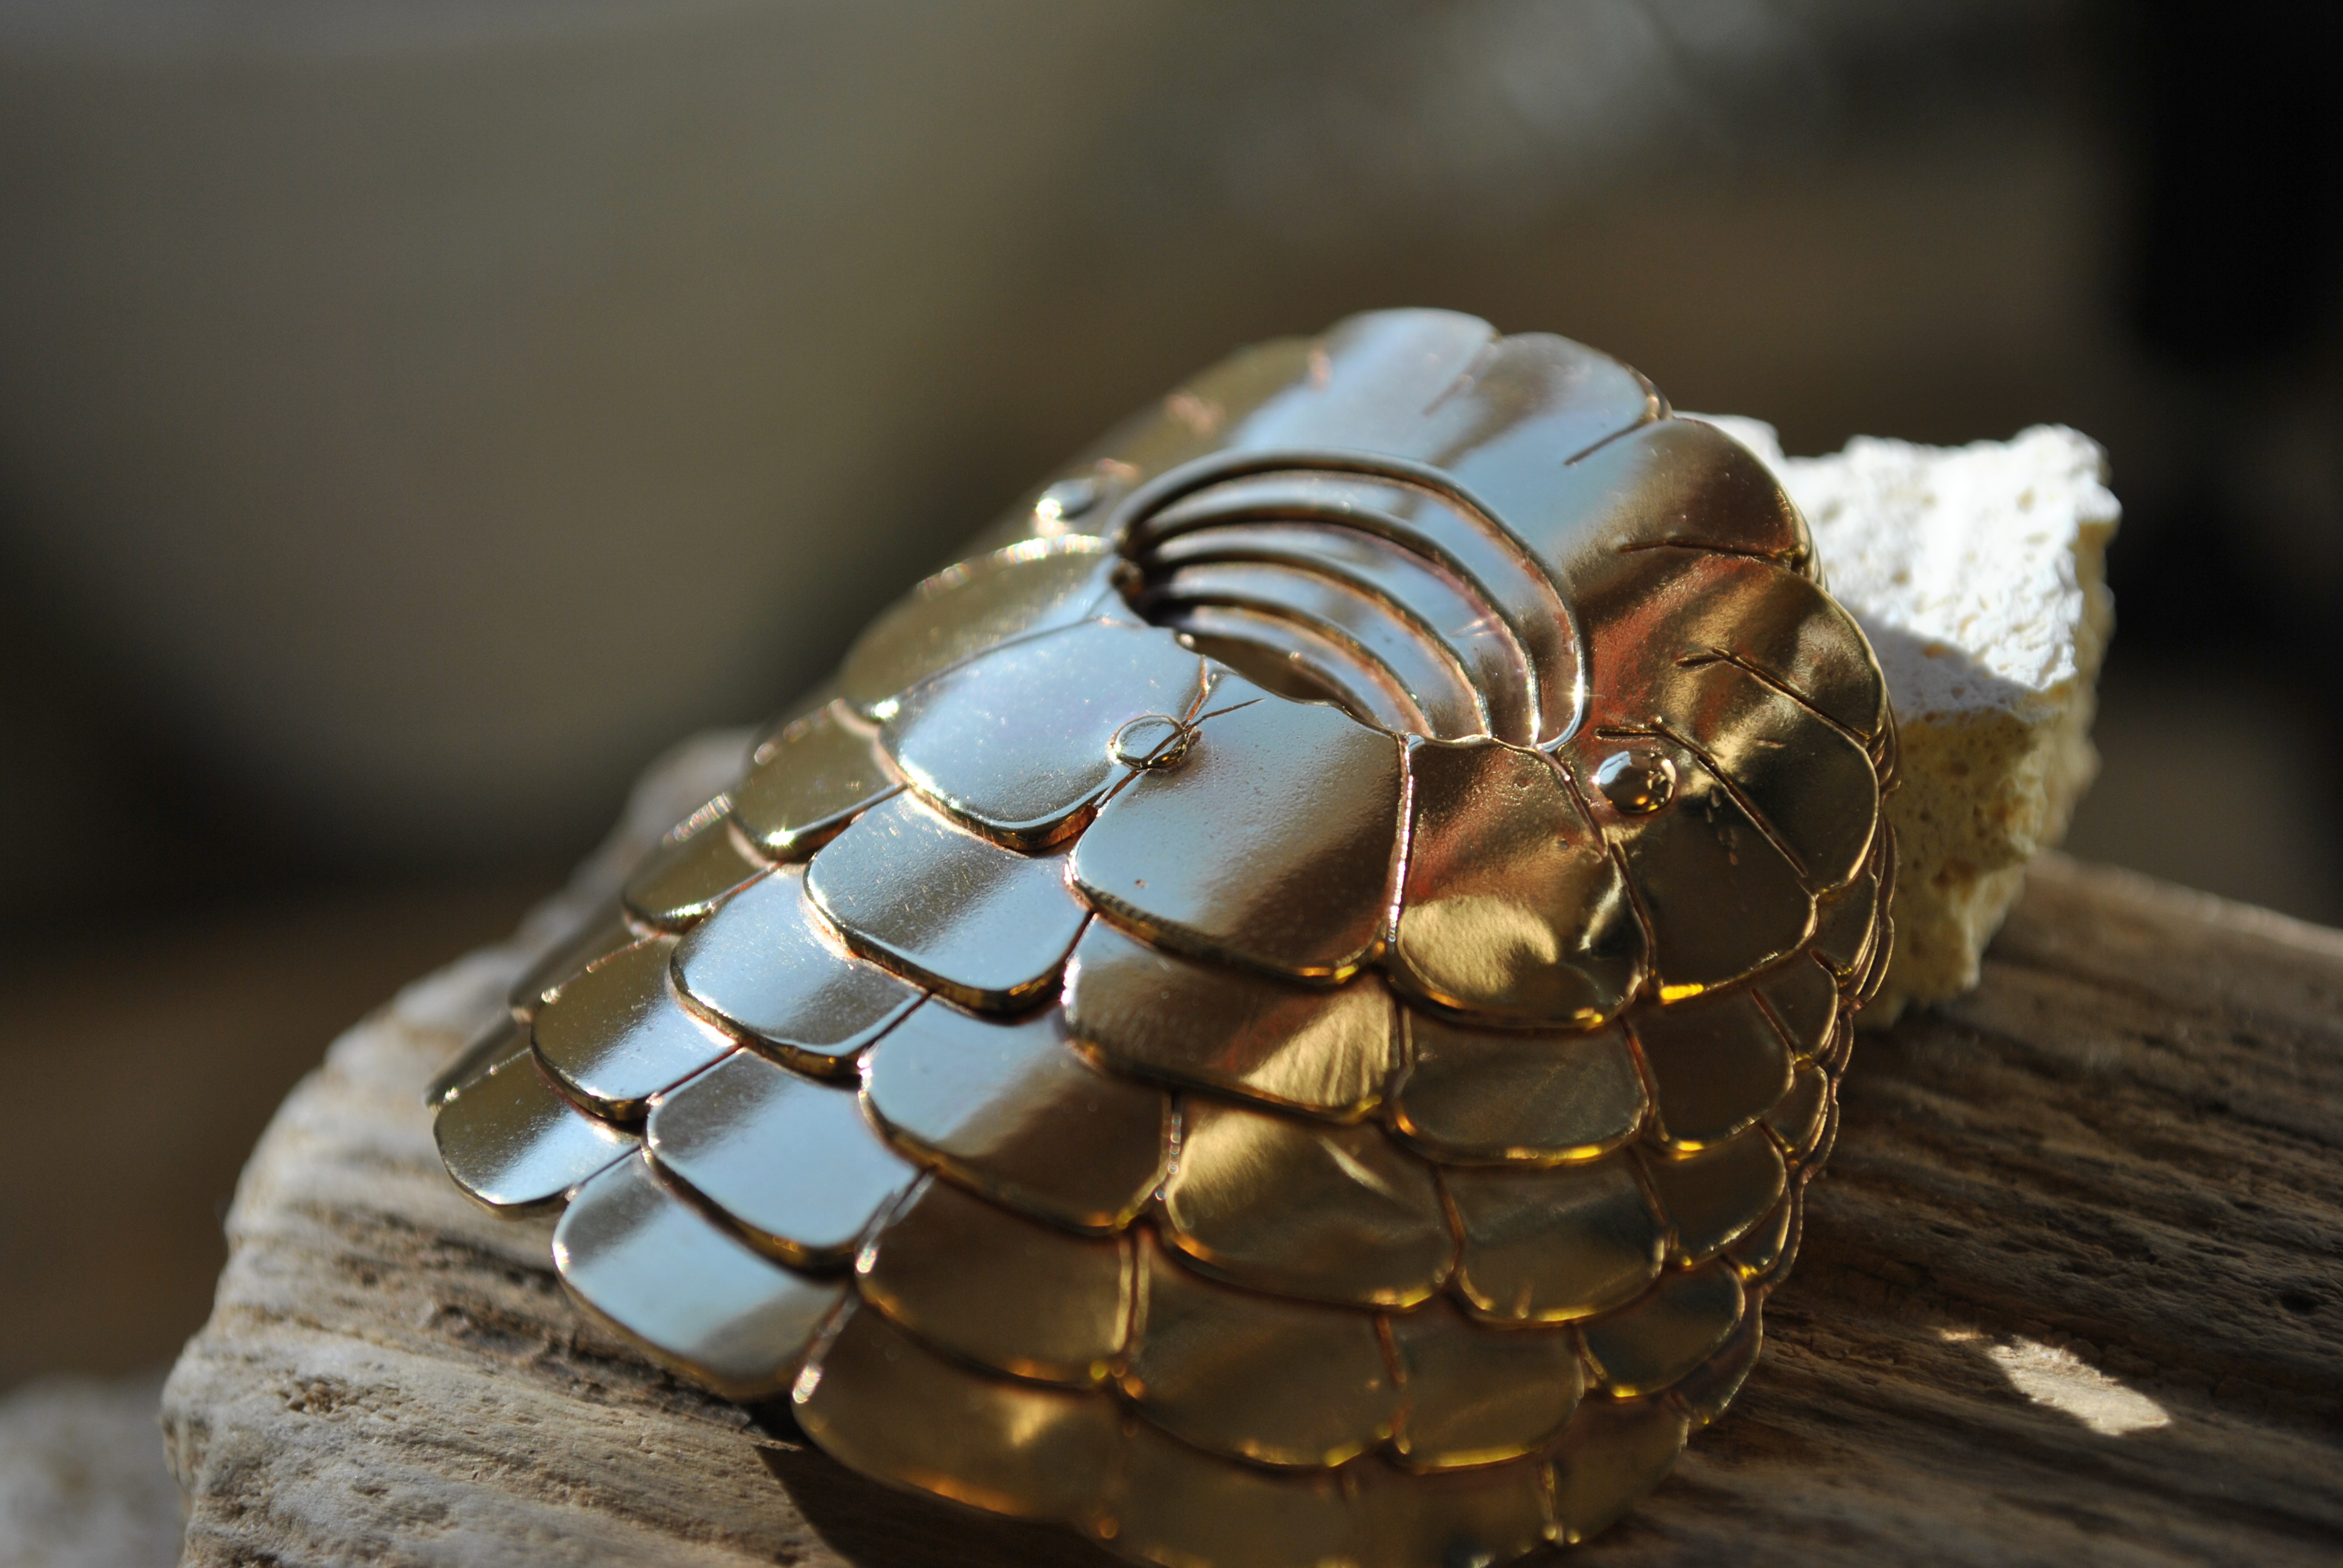
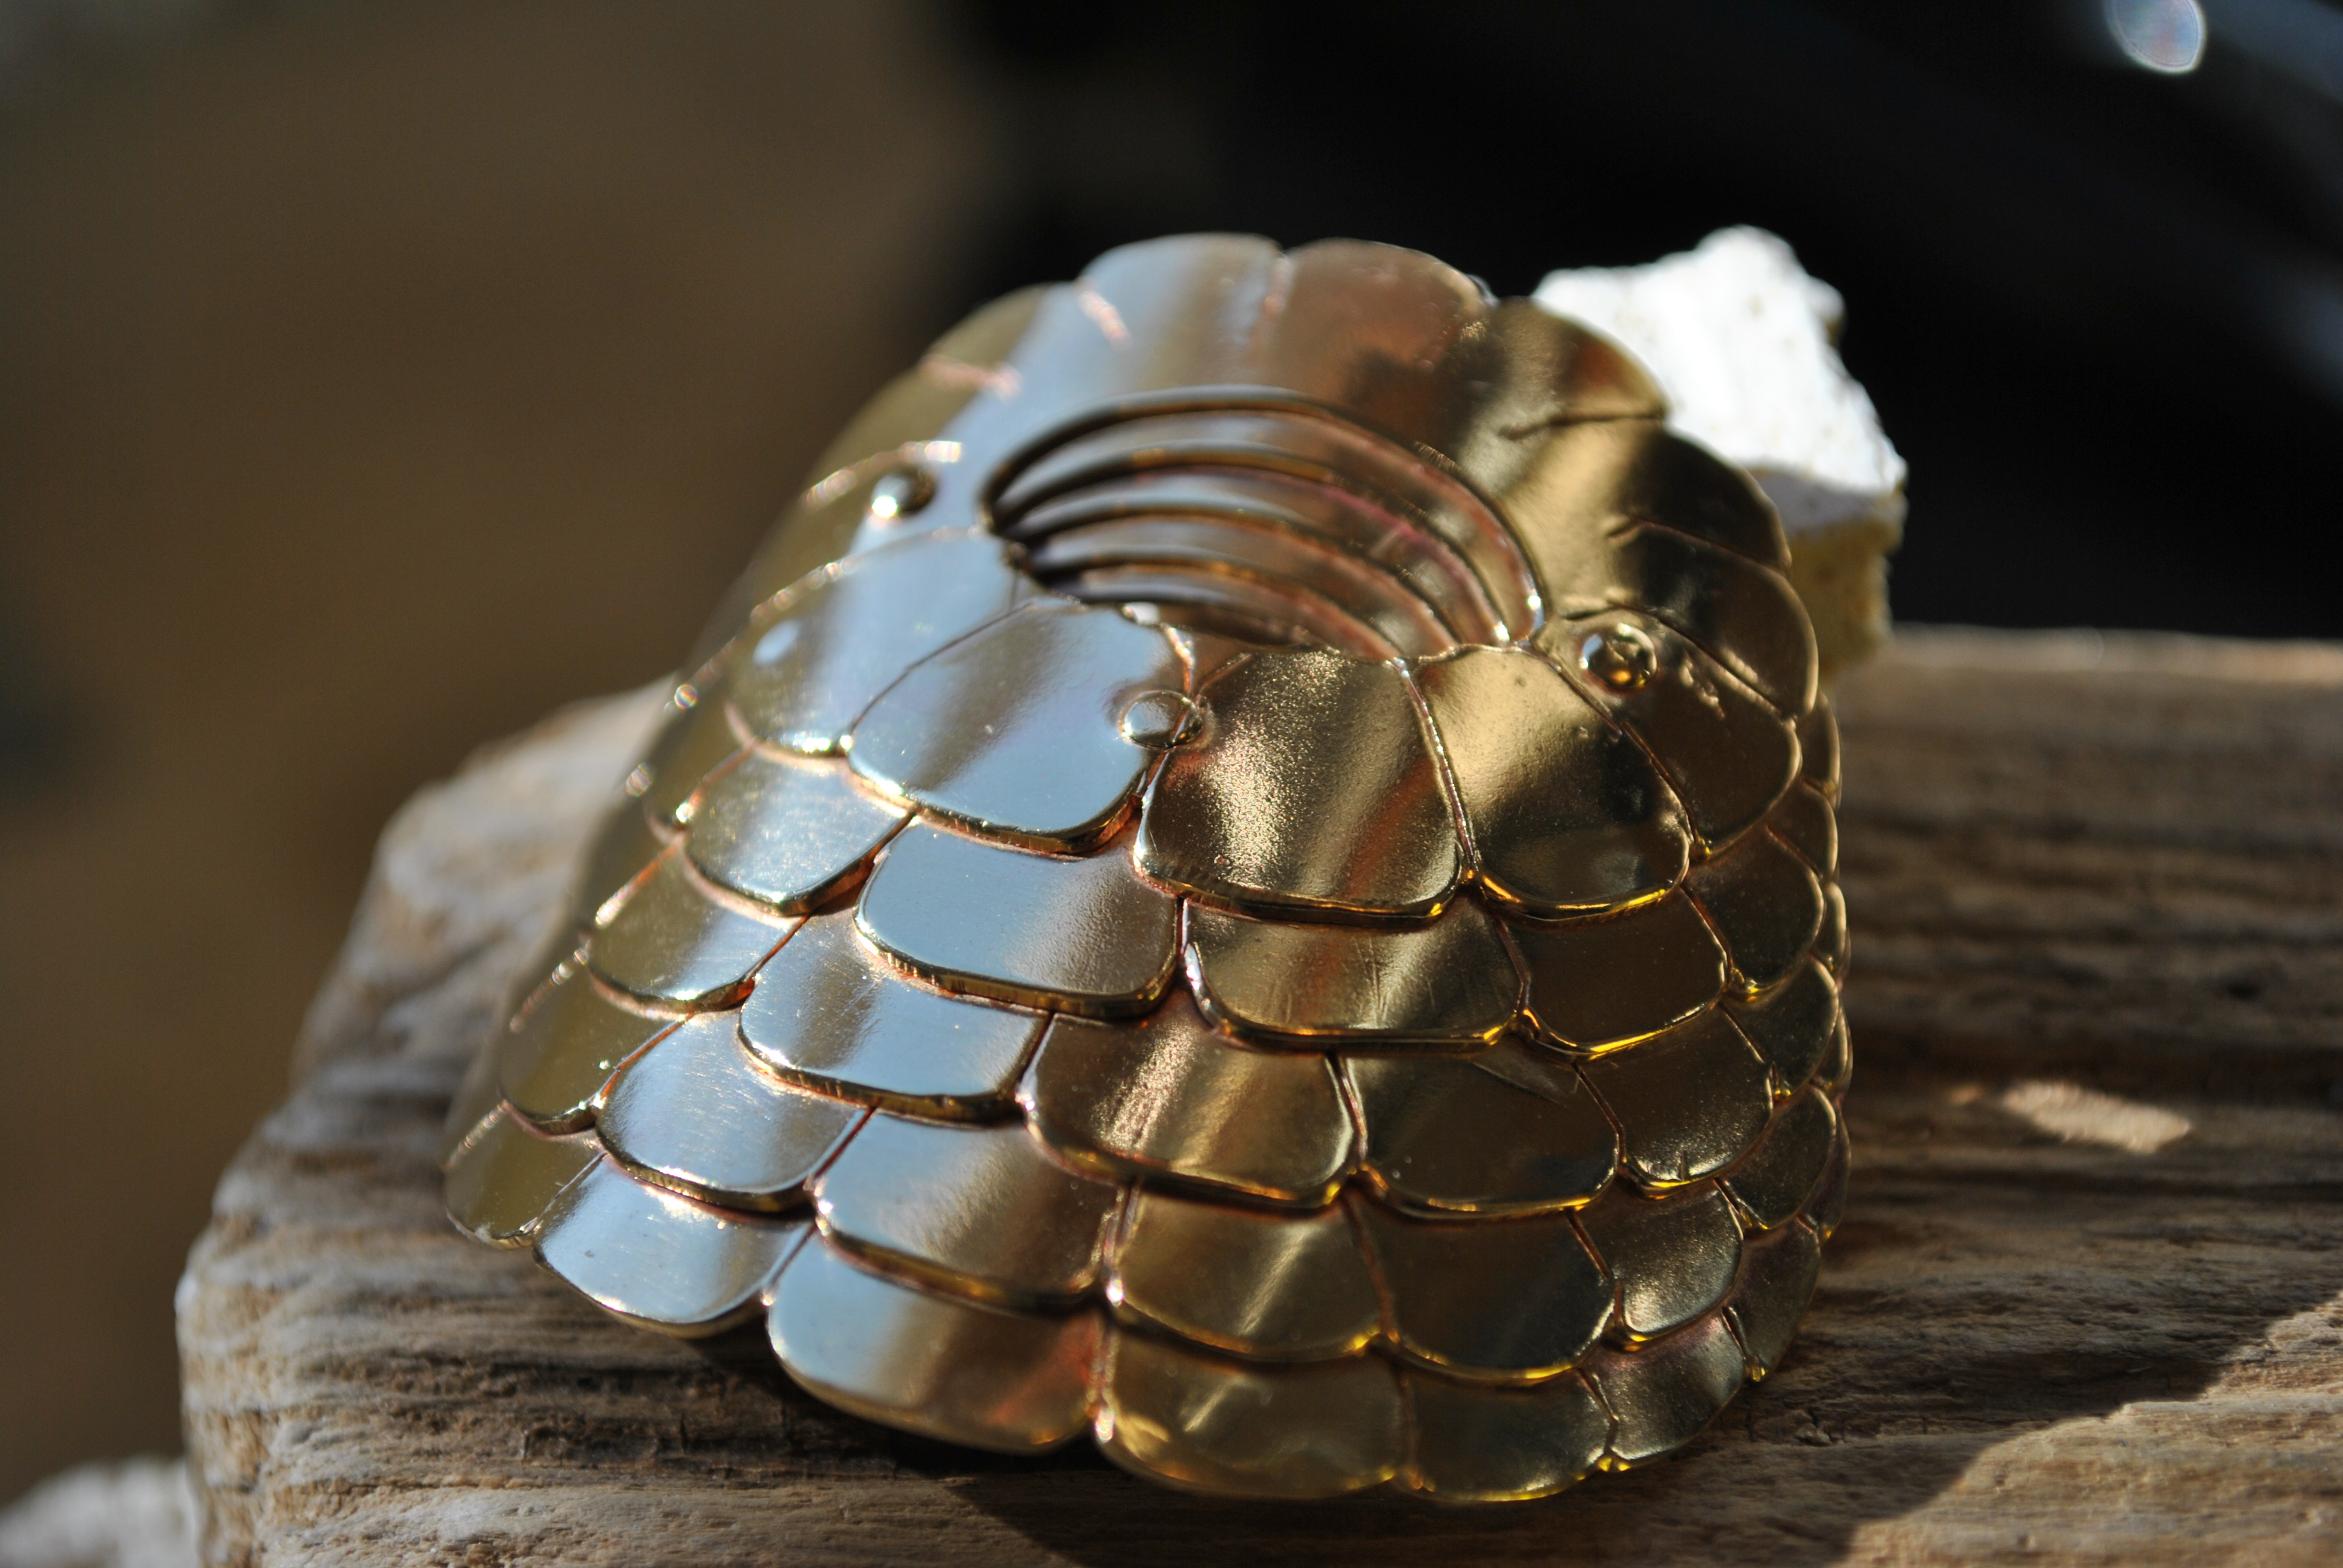
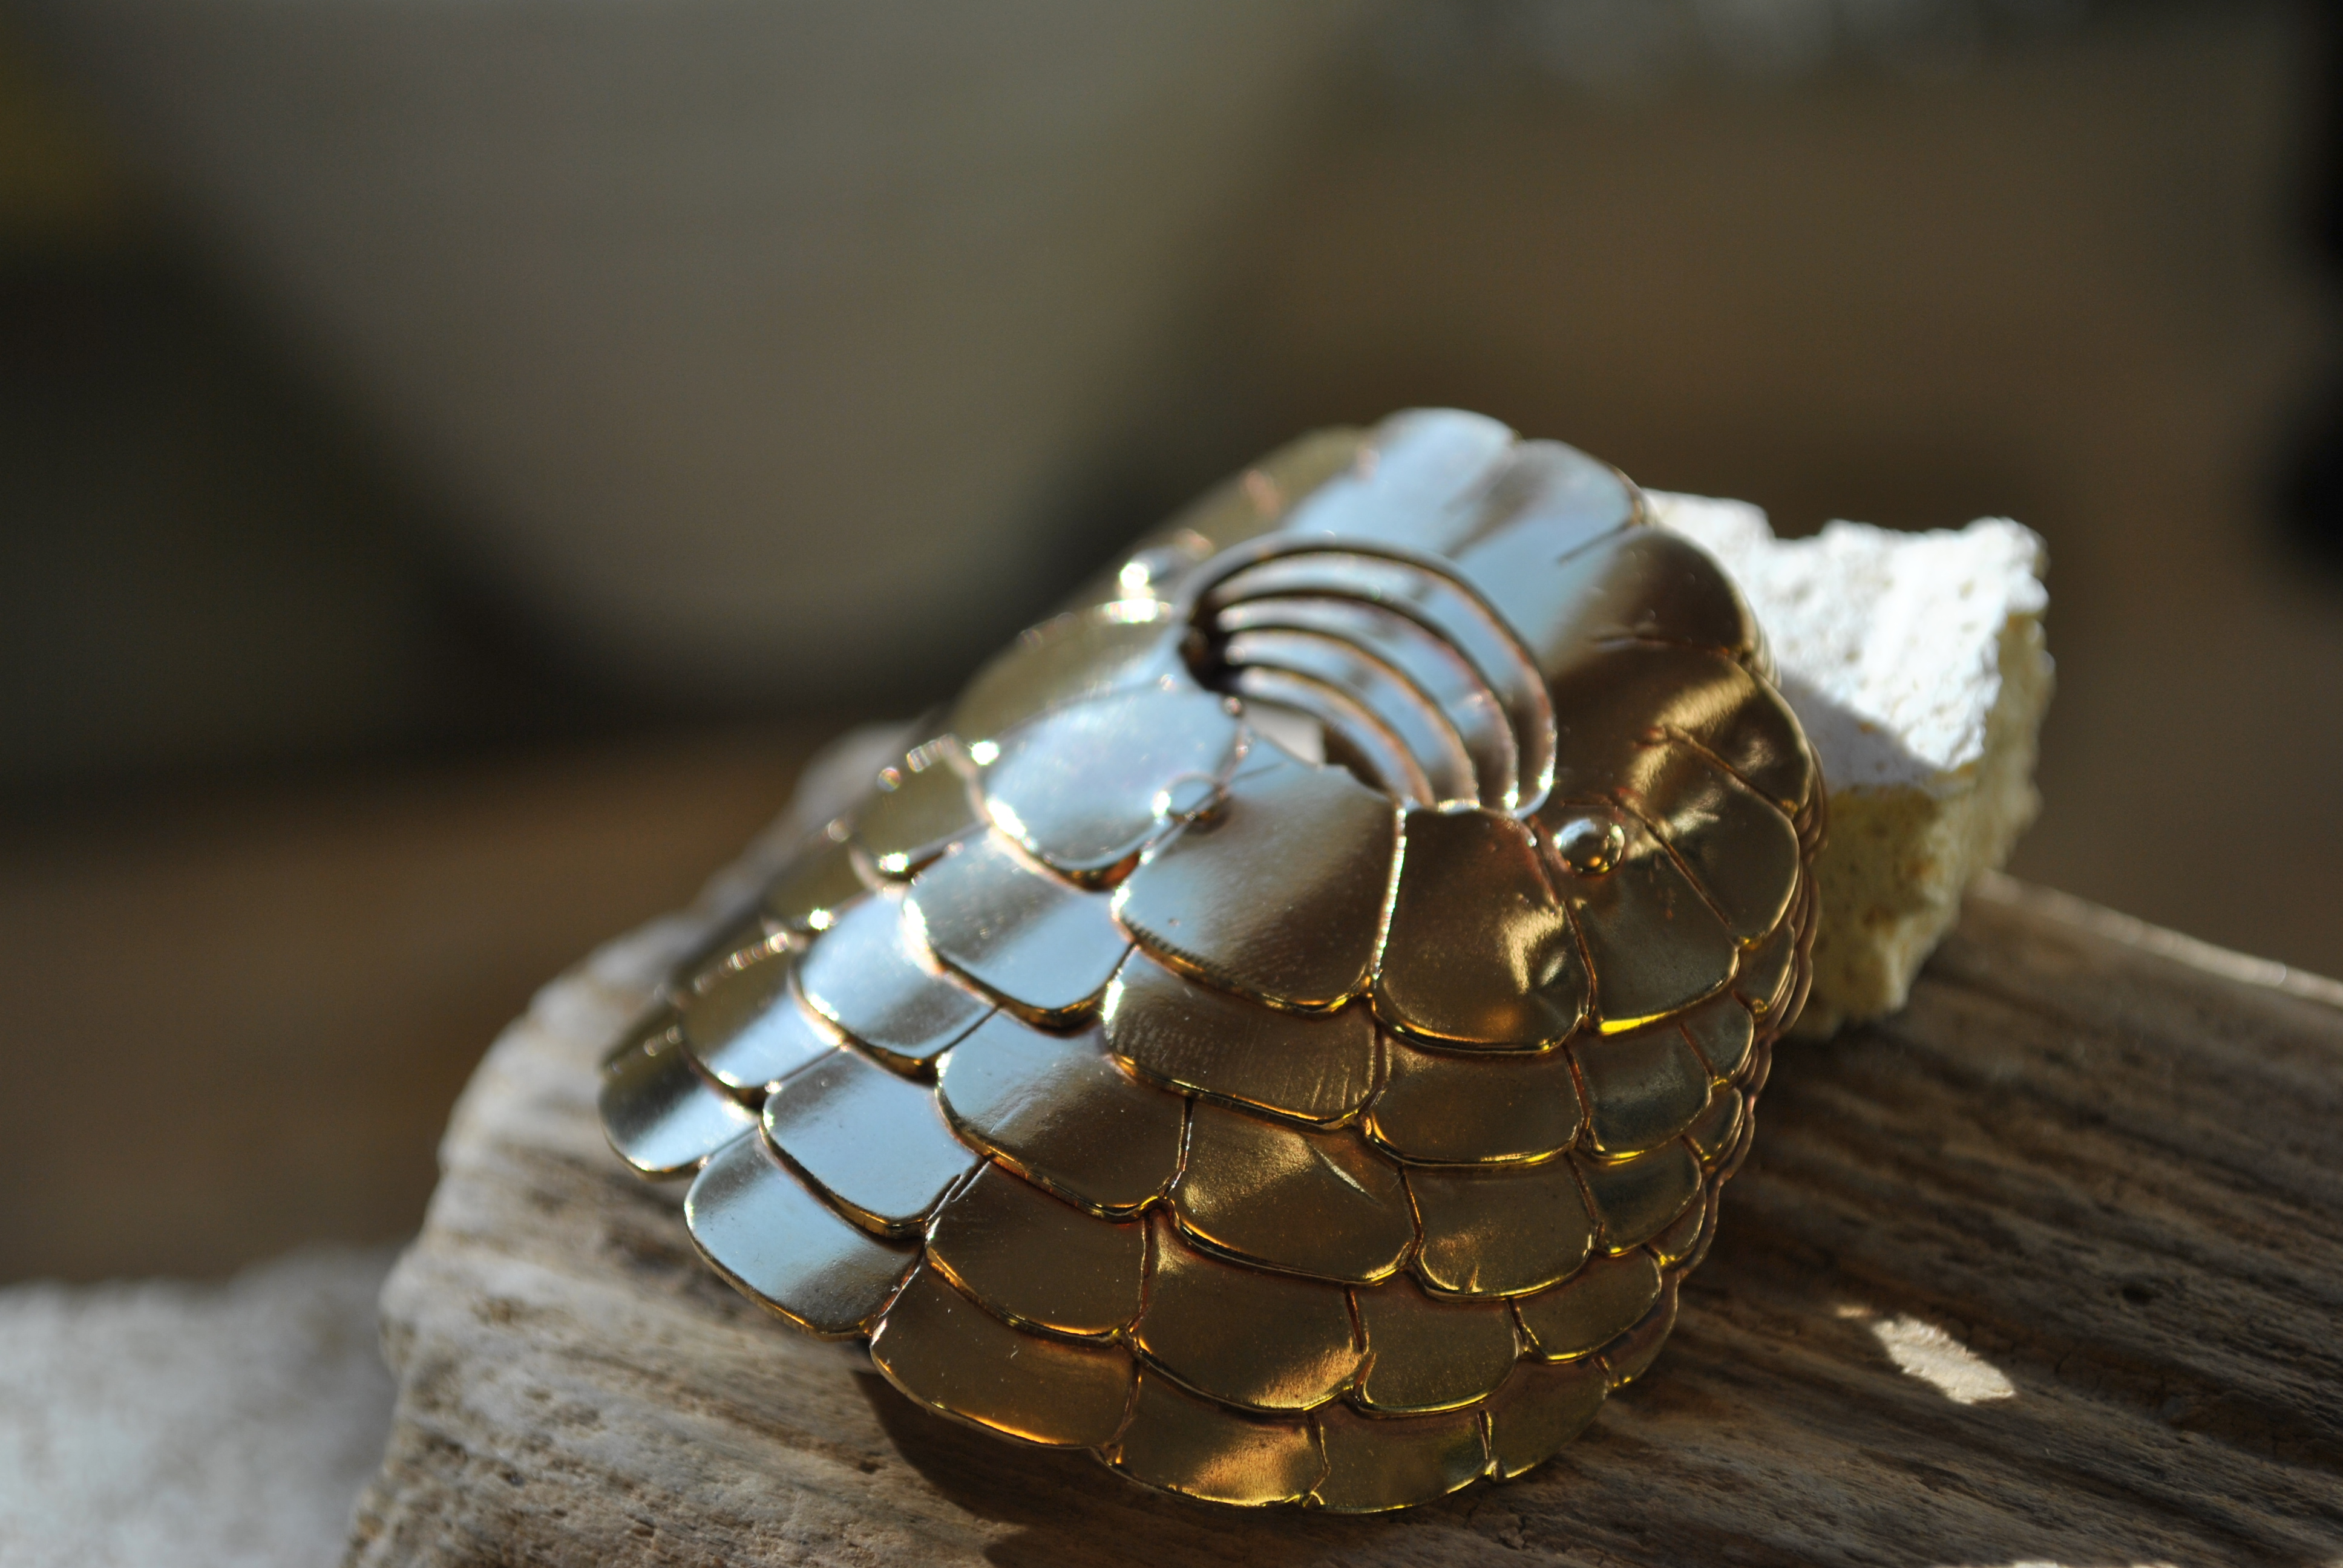
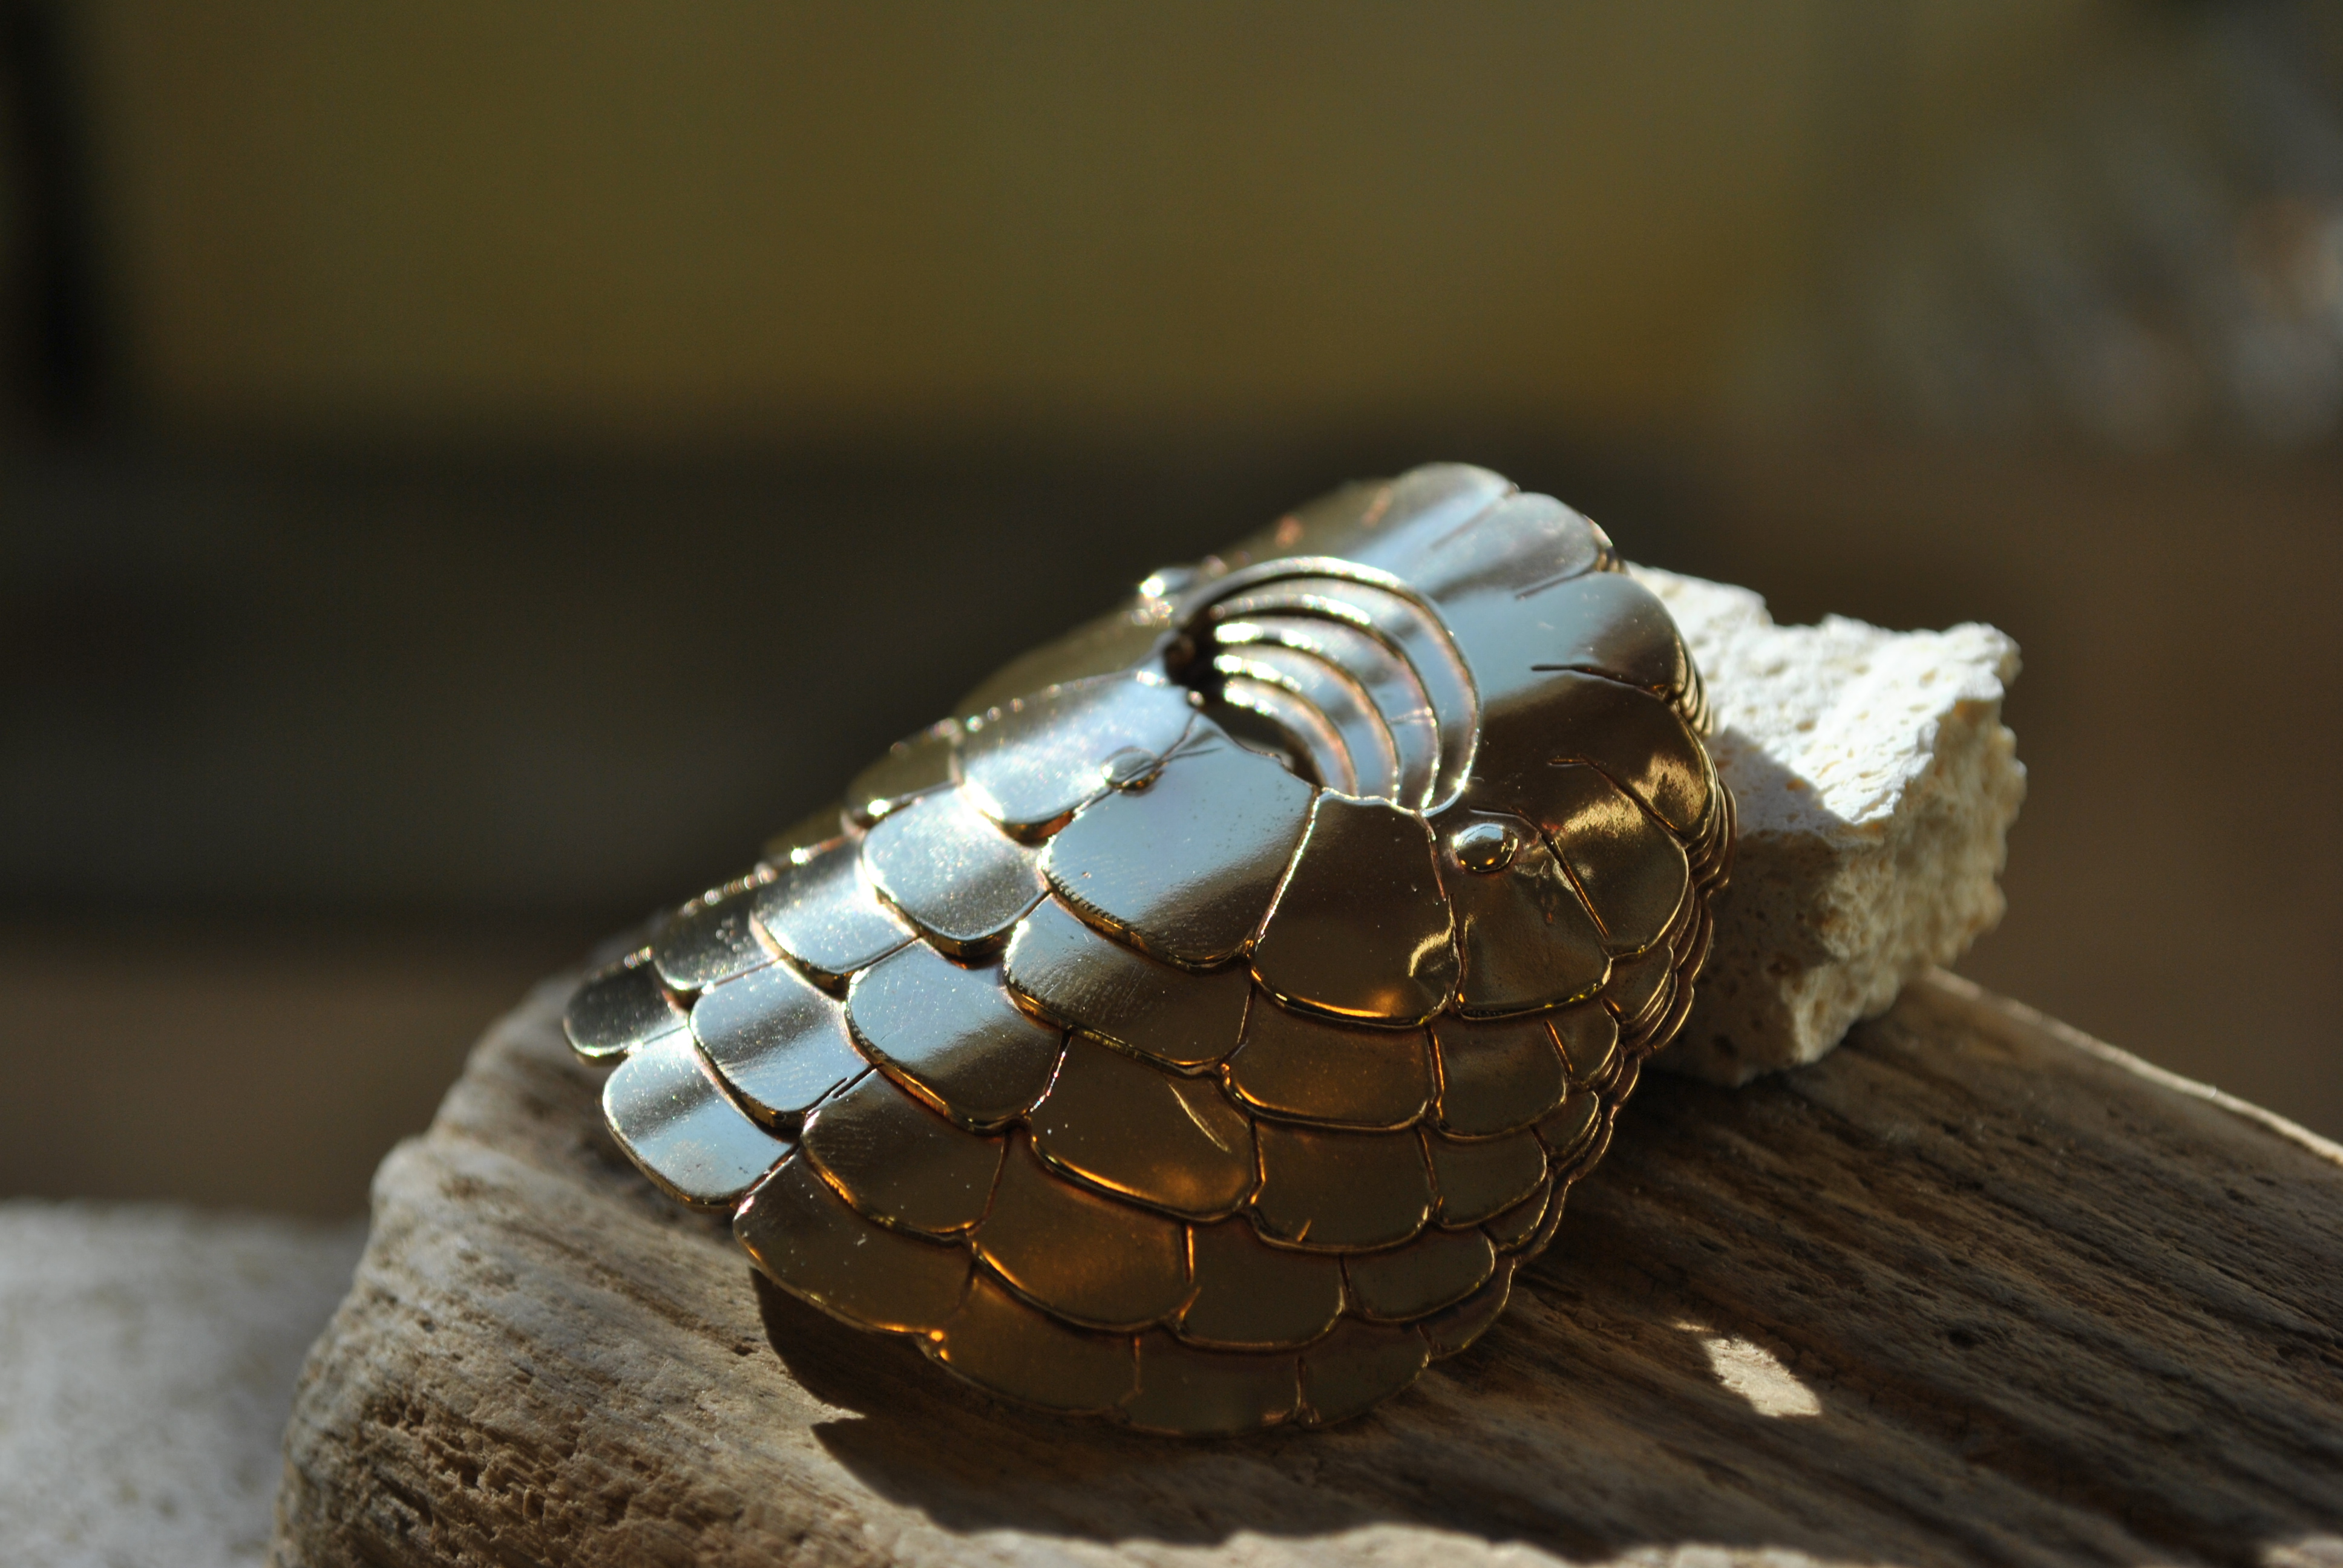
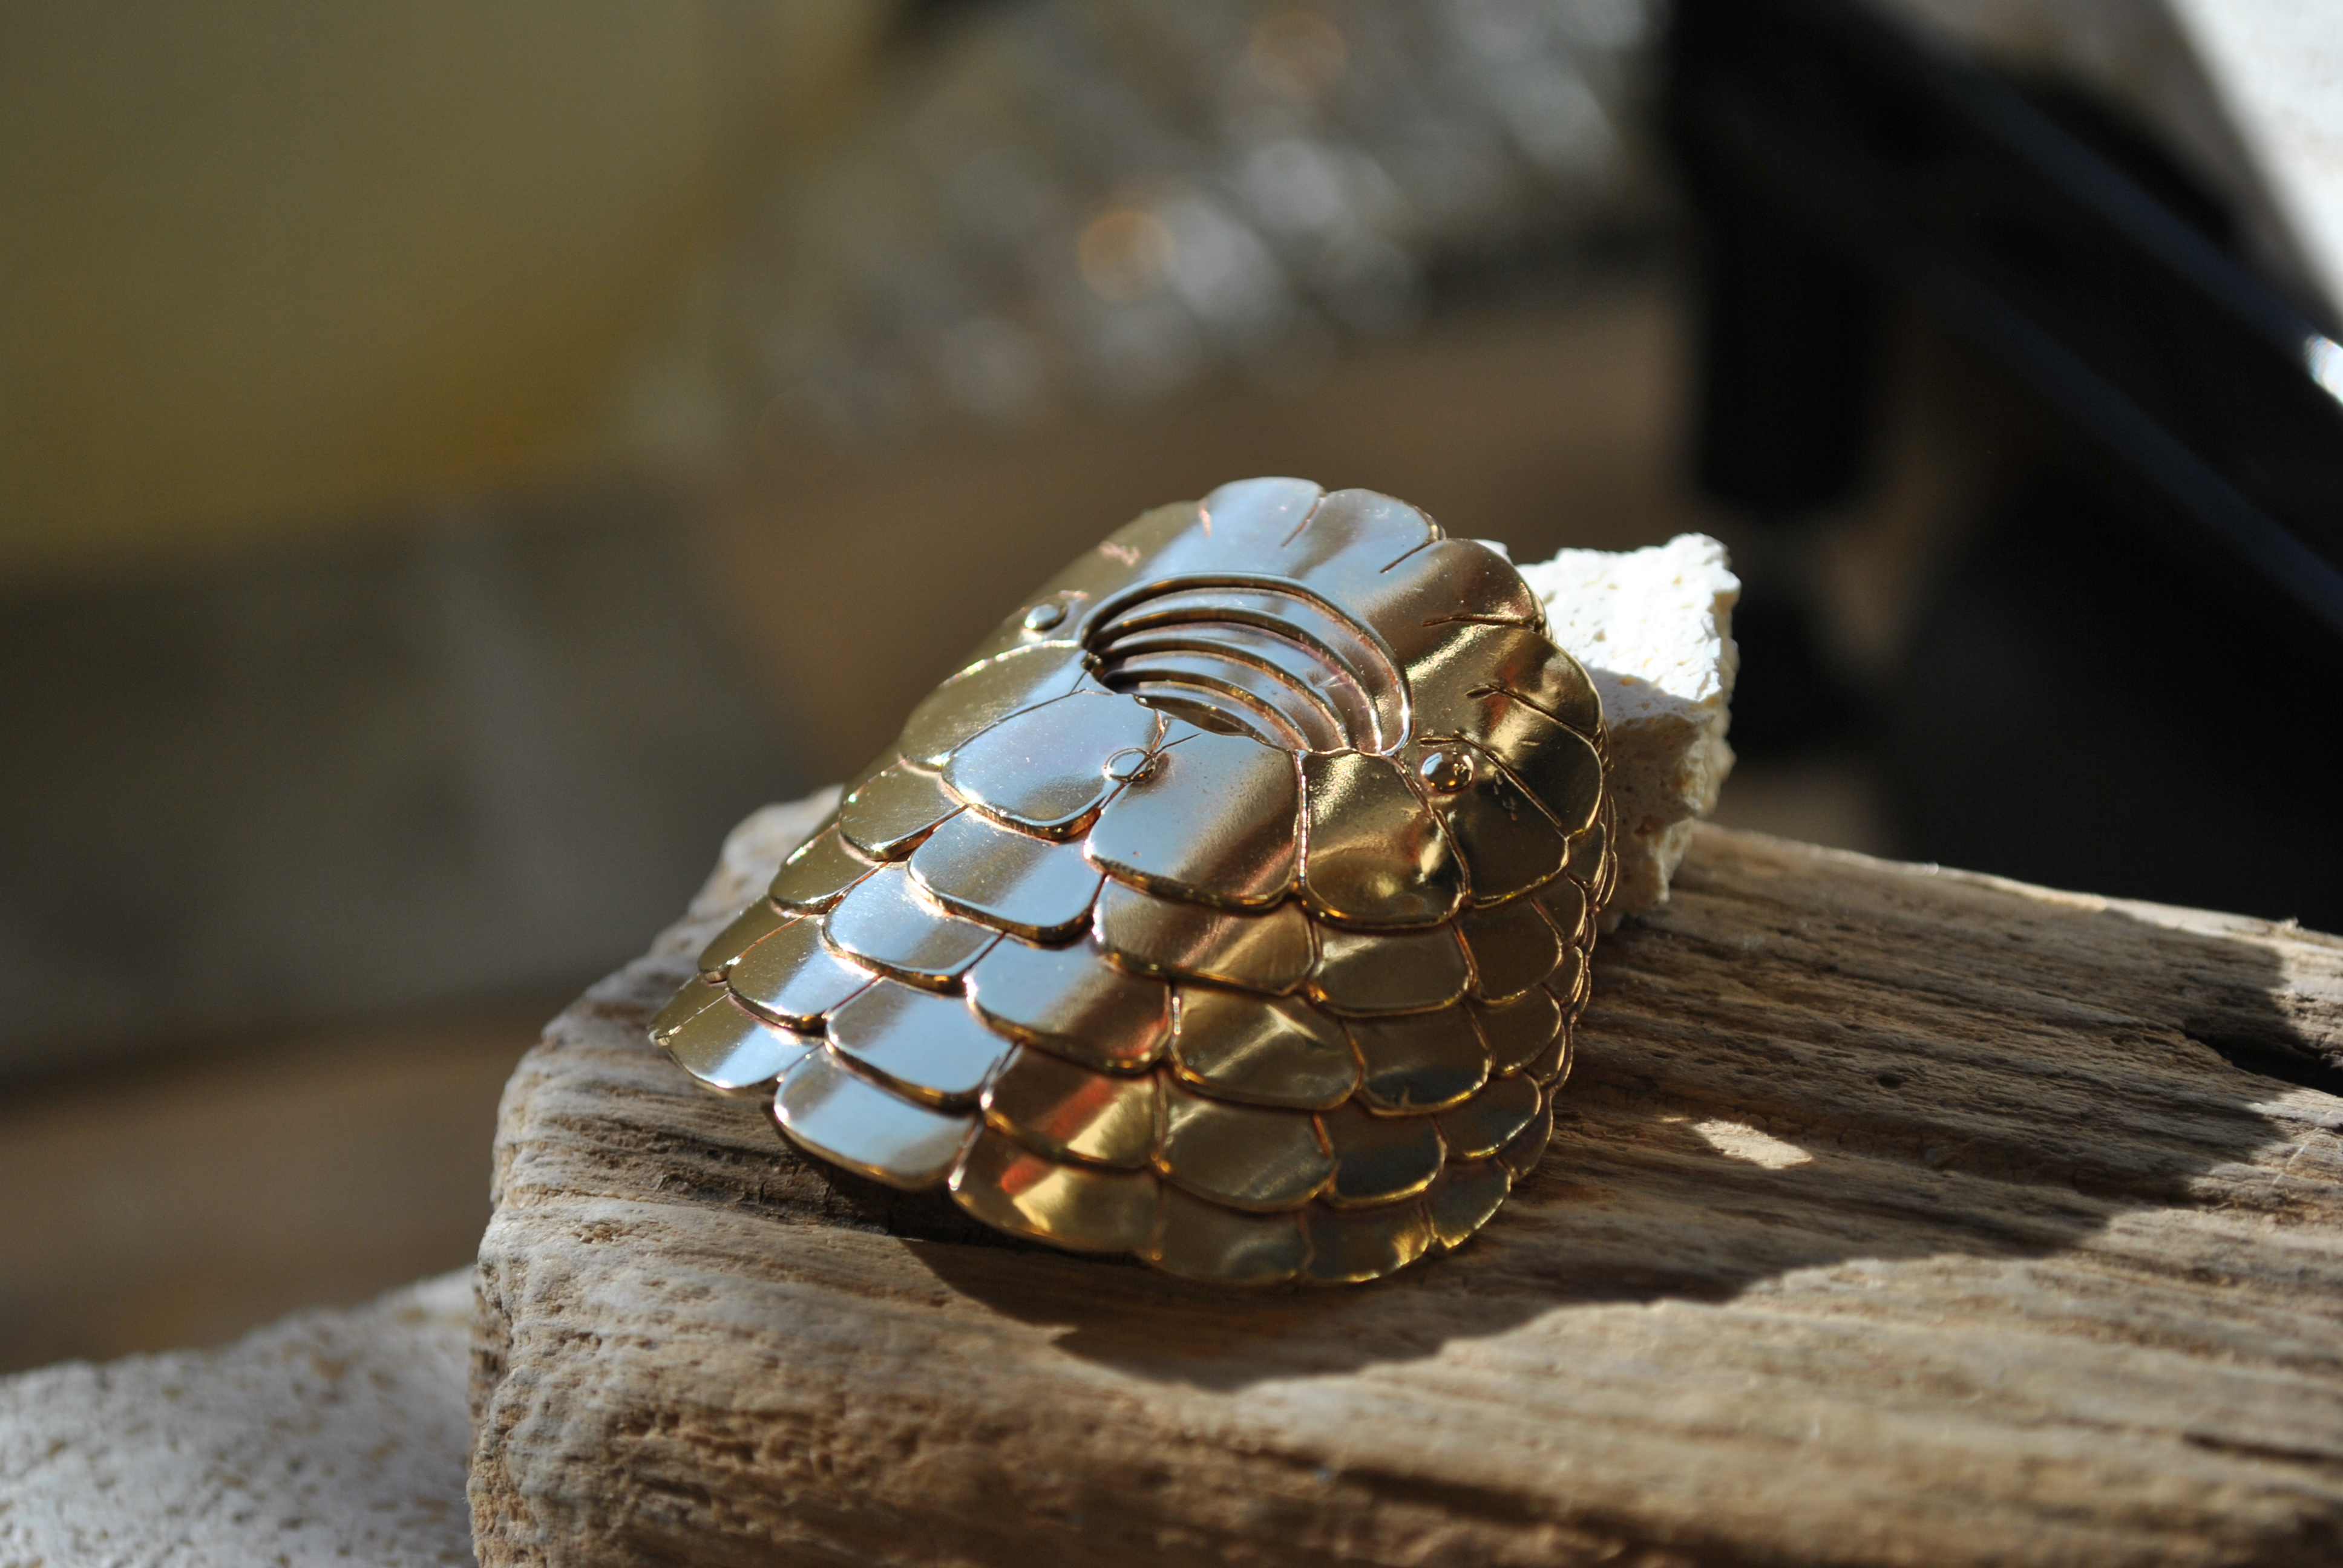
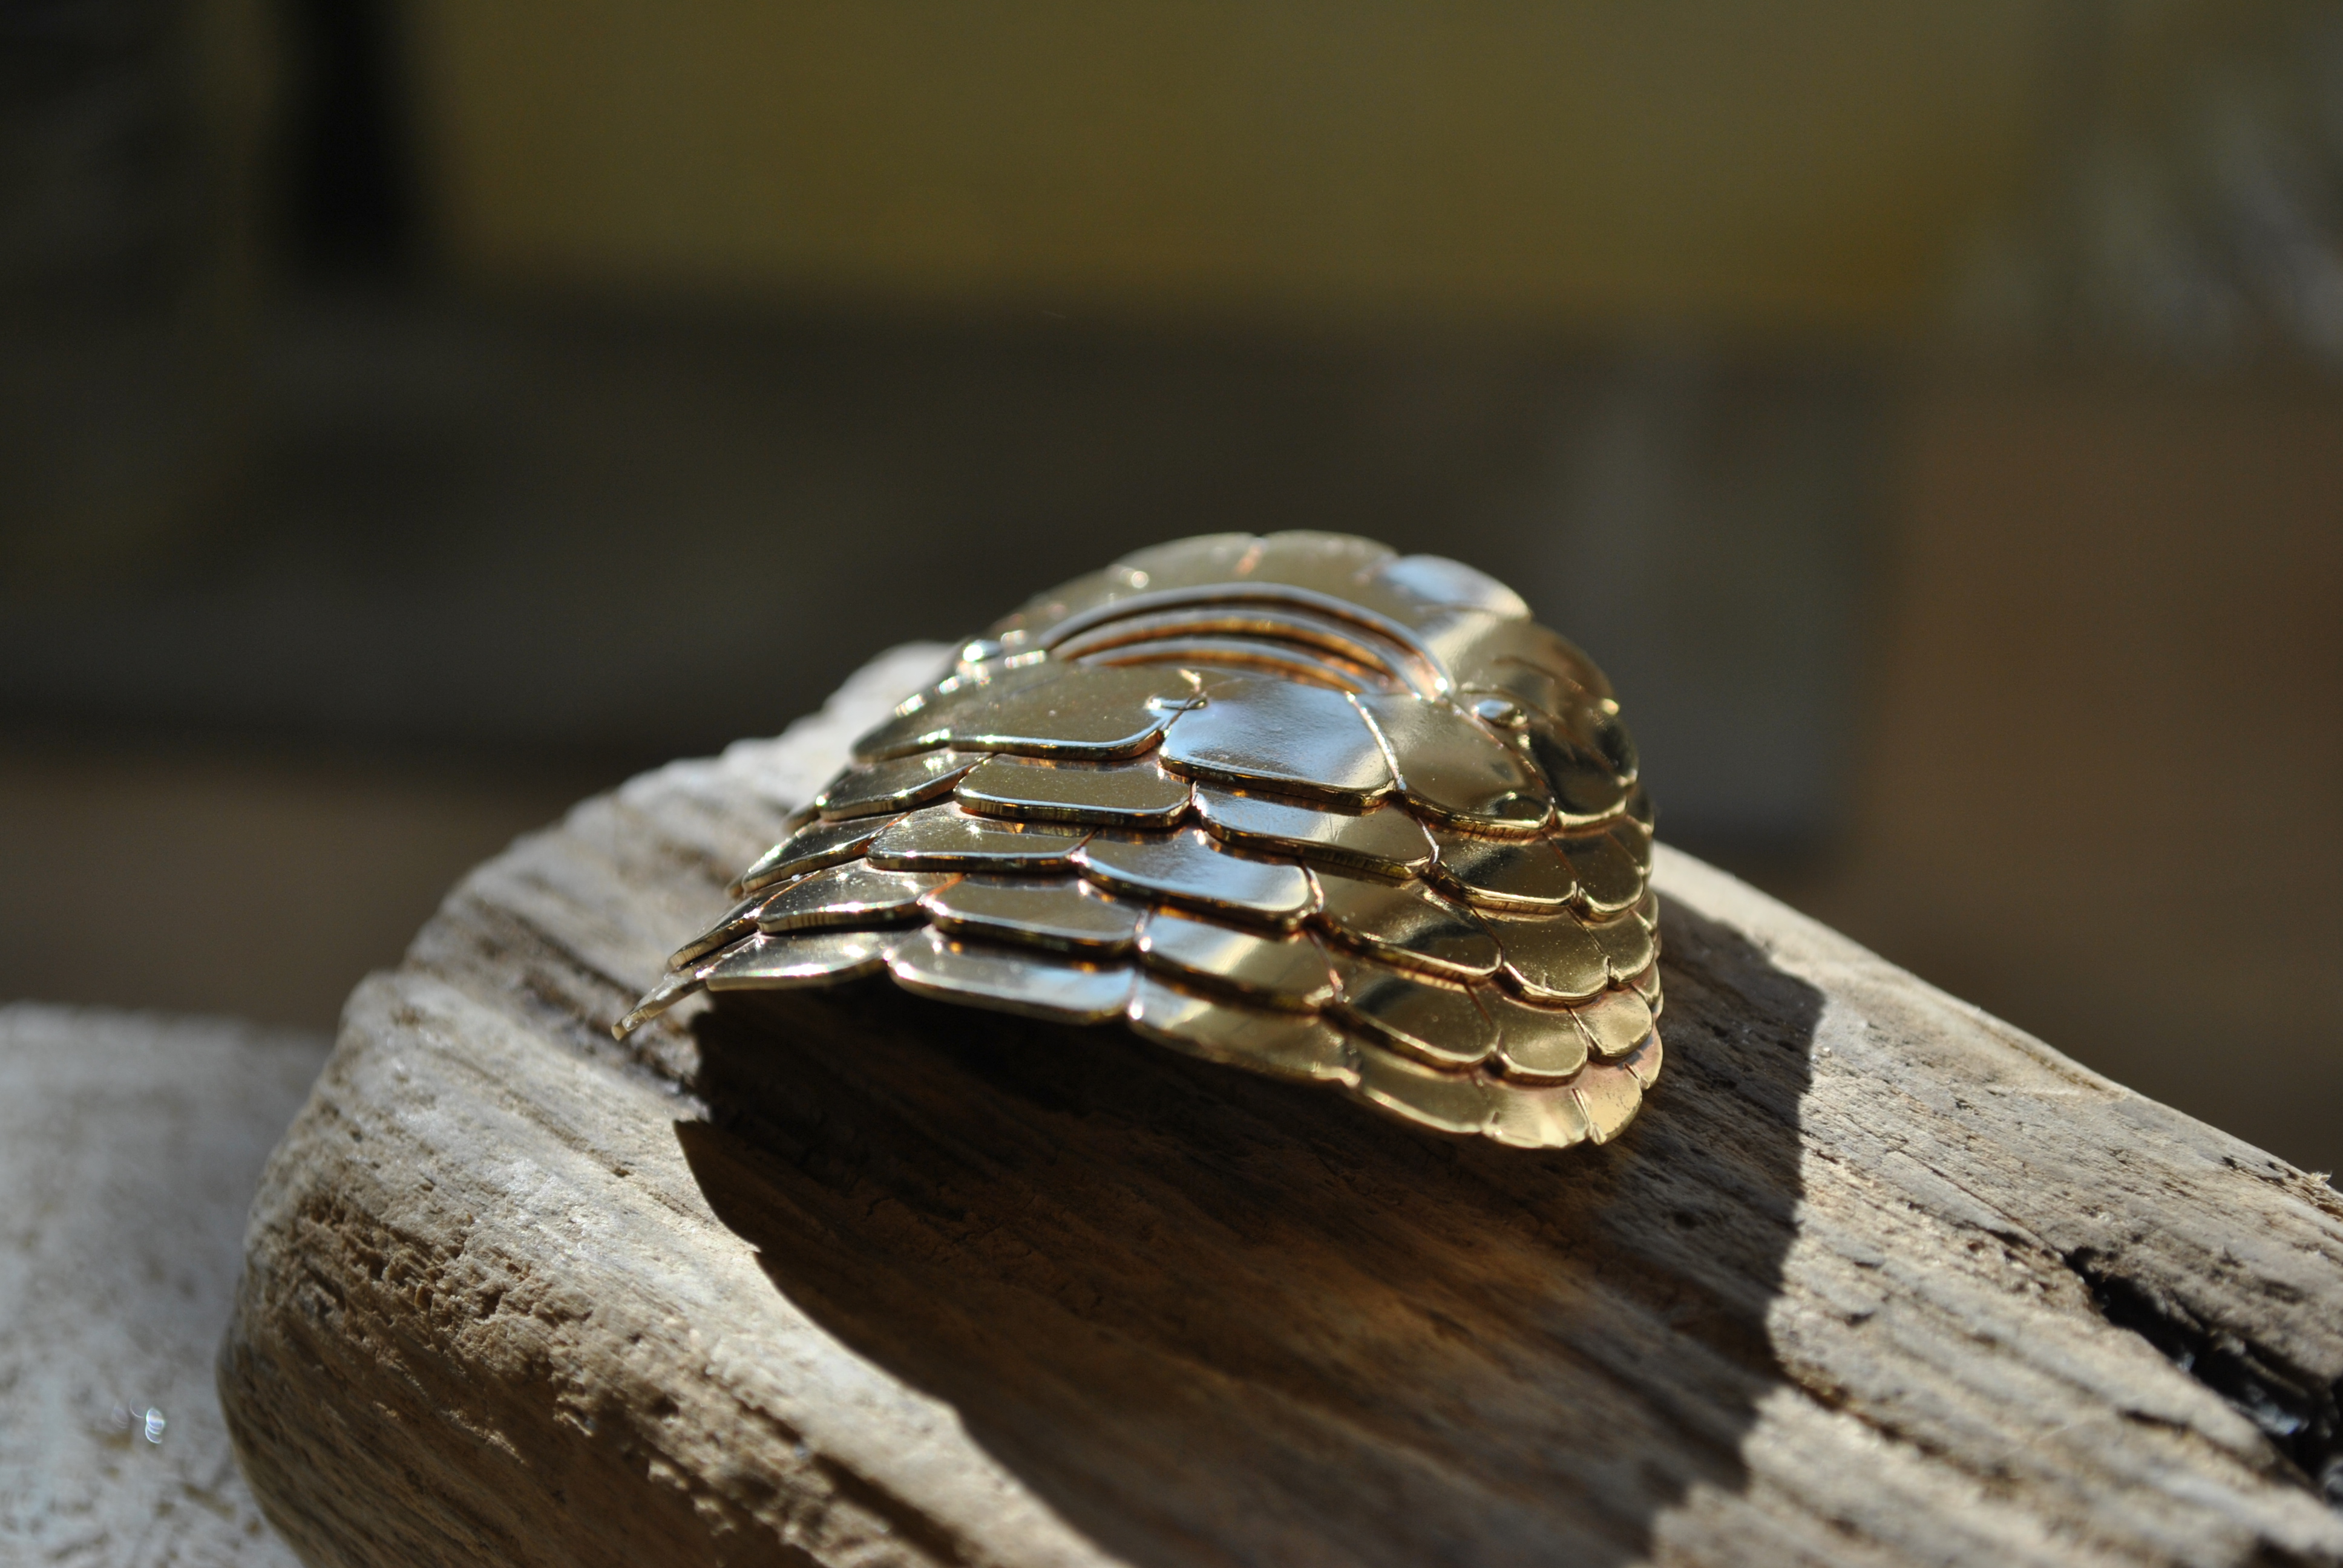
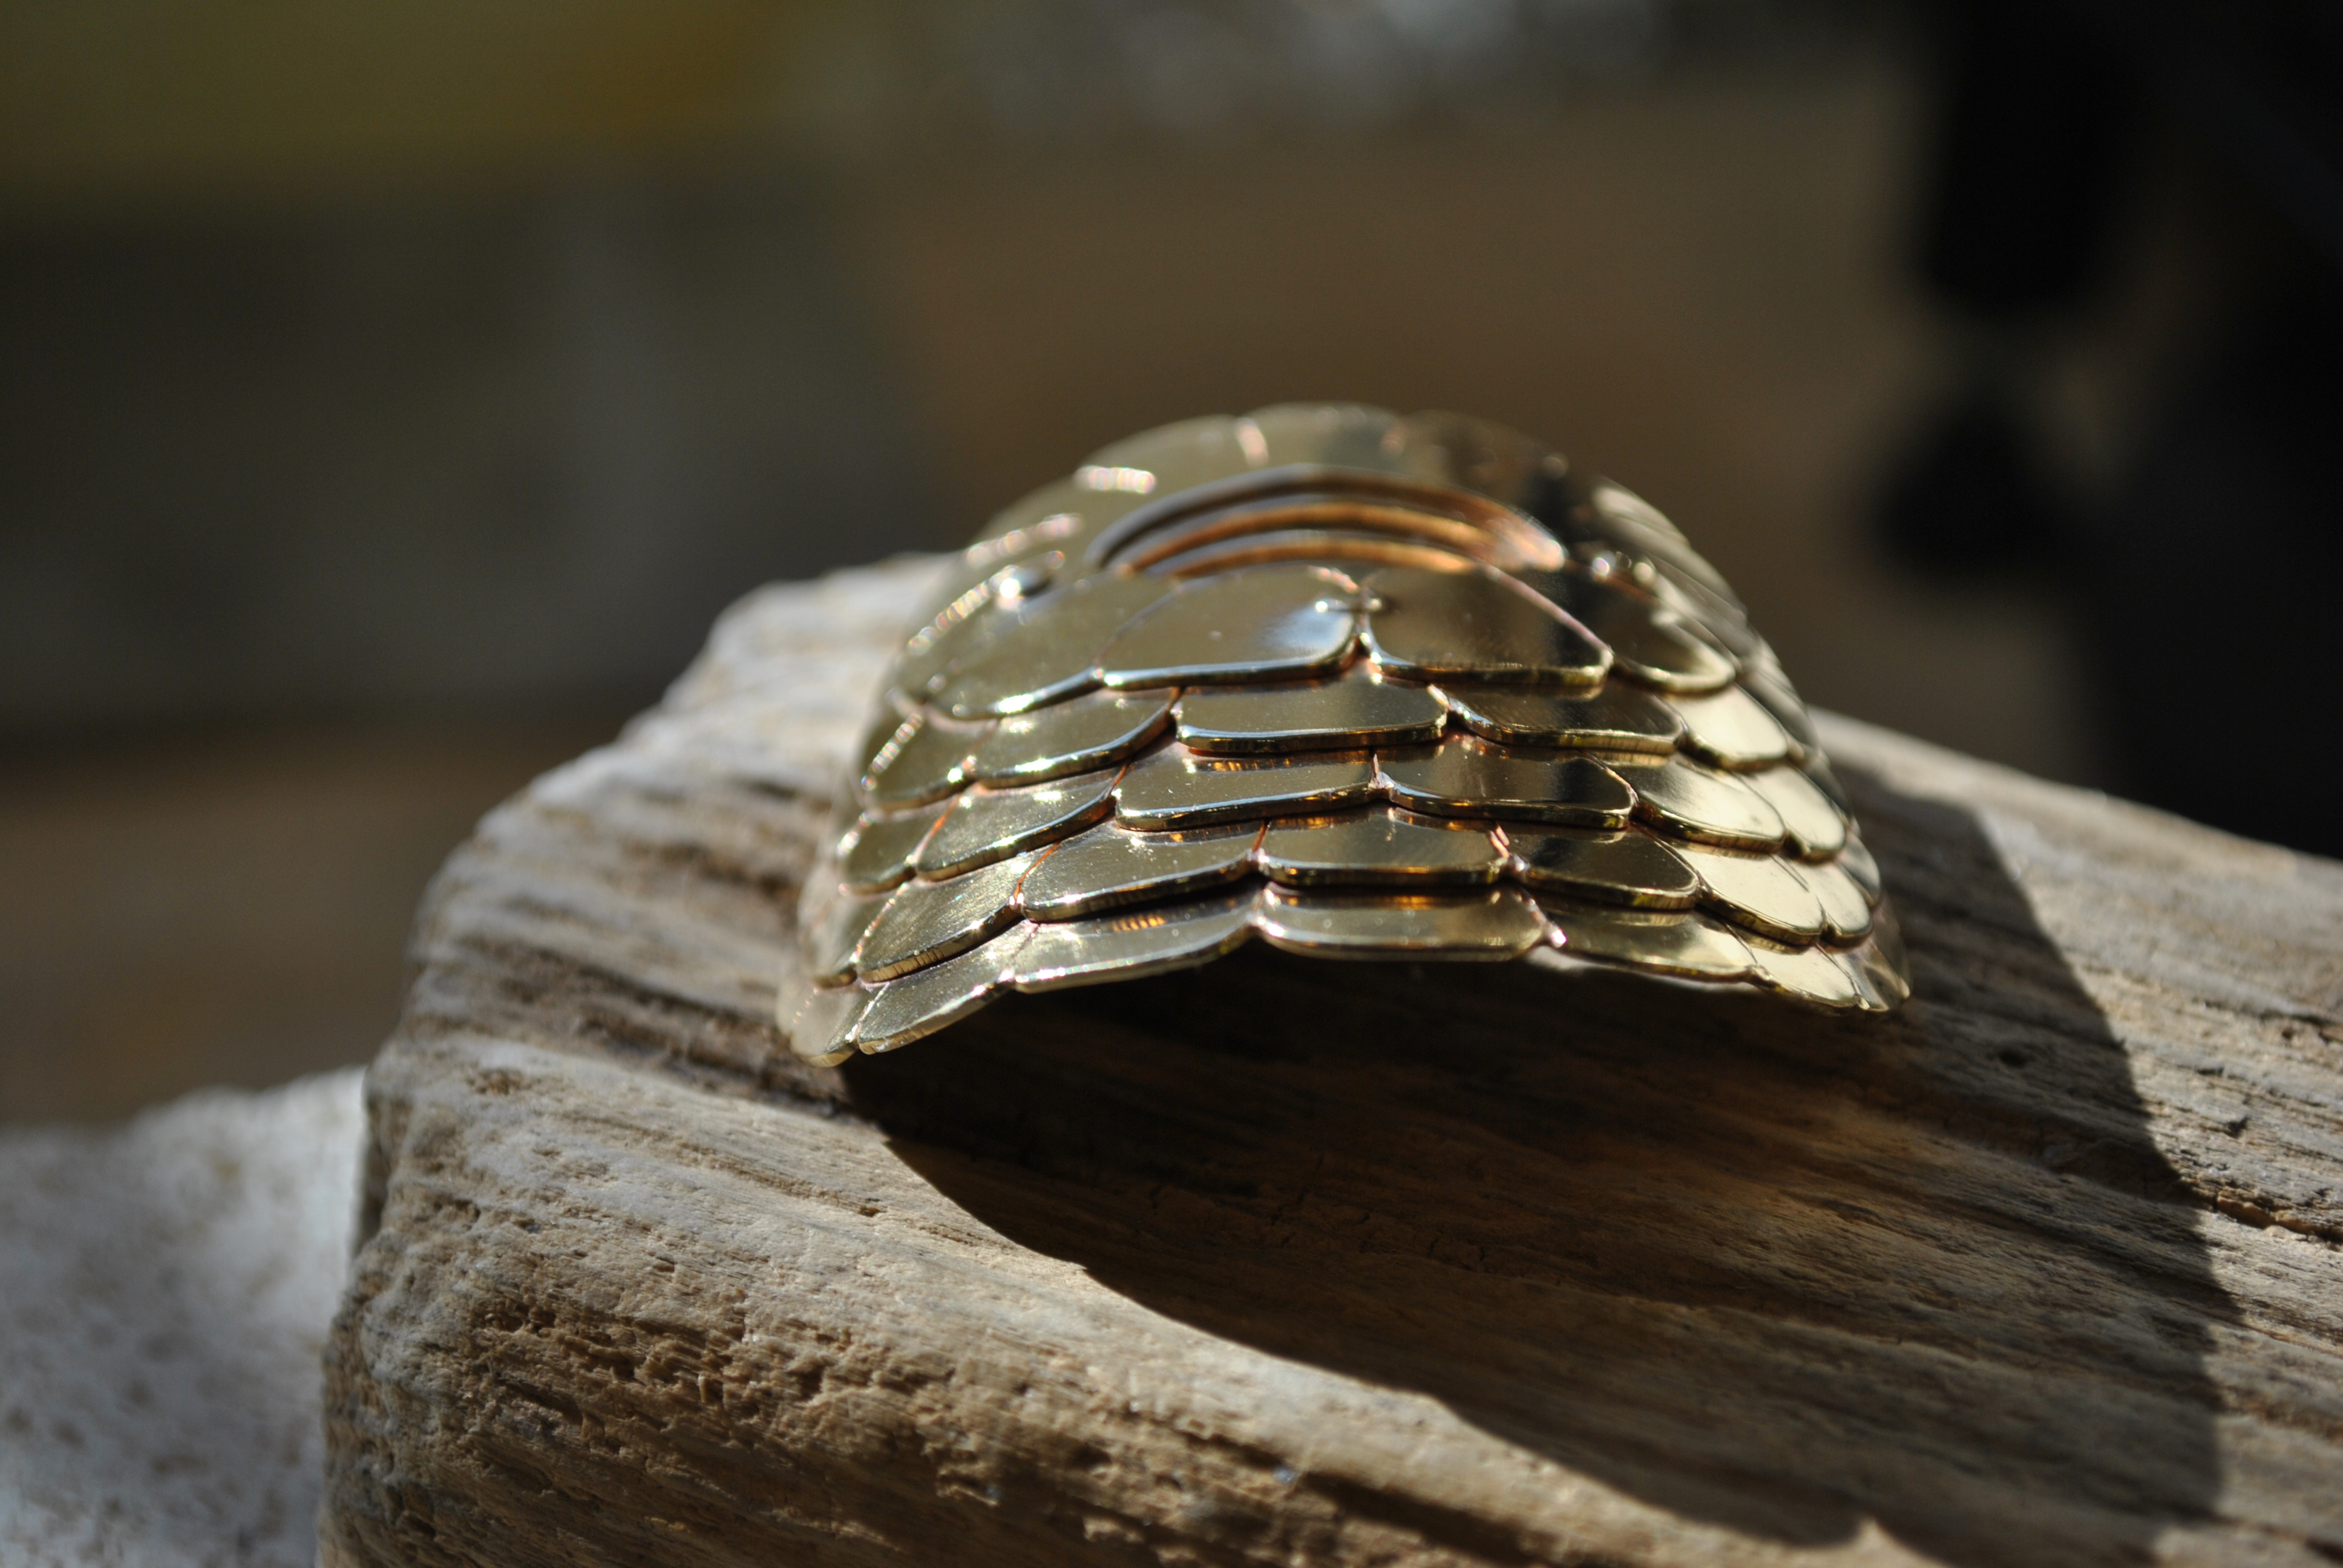
After an hour in the tumbler and some more buffing on a wheel it now has a high shine and glows gloriously in the sun. I really like the way this design came out, and it was fun using rivets instead of solder for a change.
Bronze Cat Badge
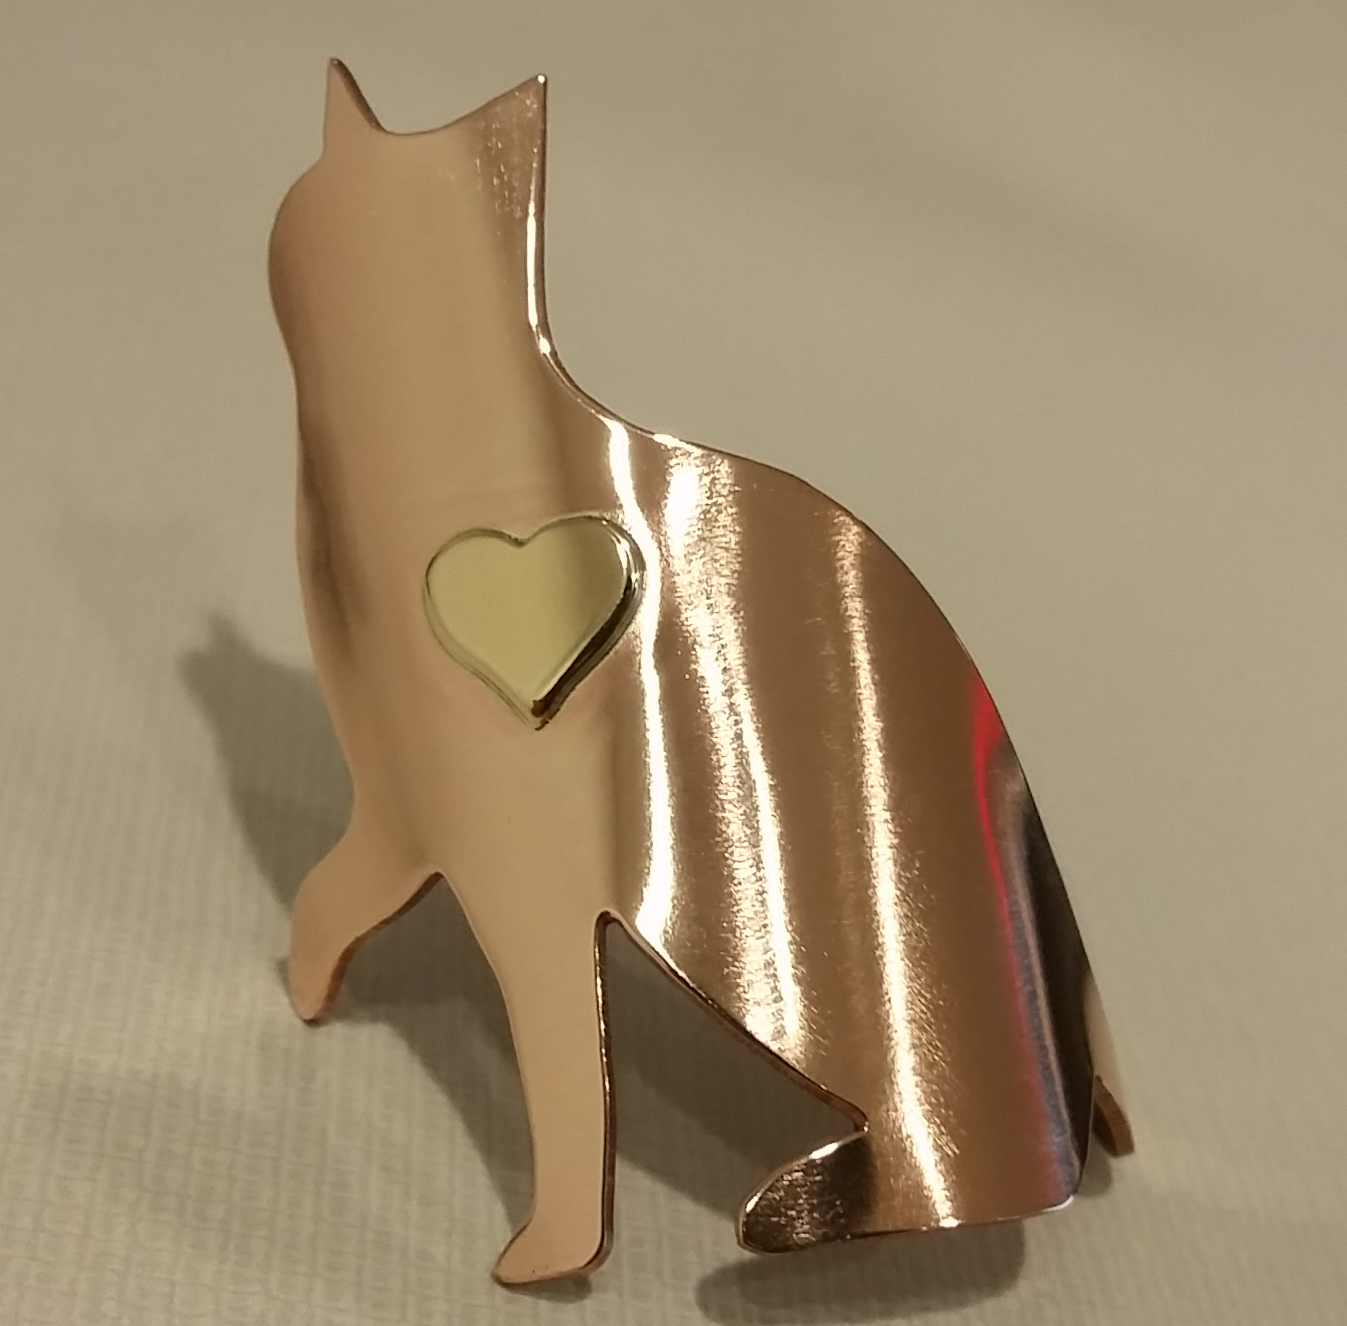
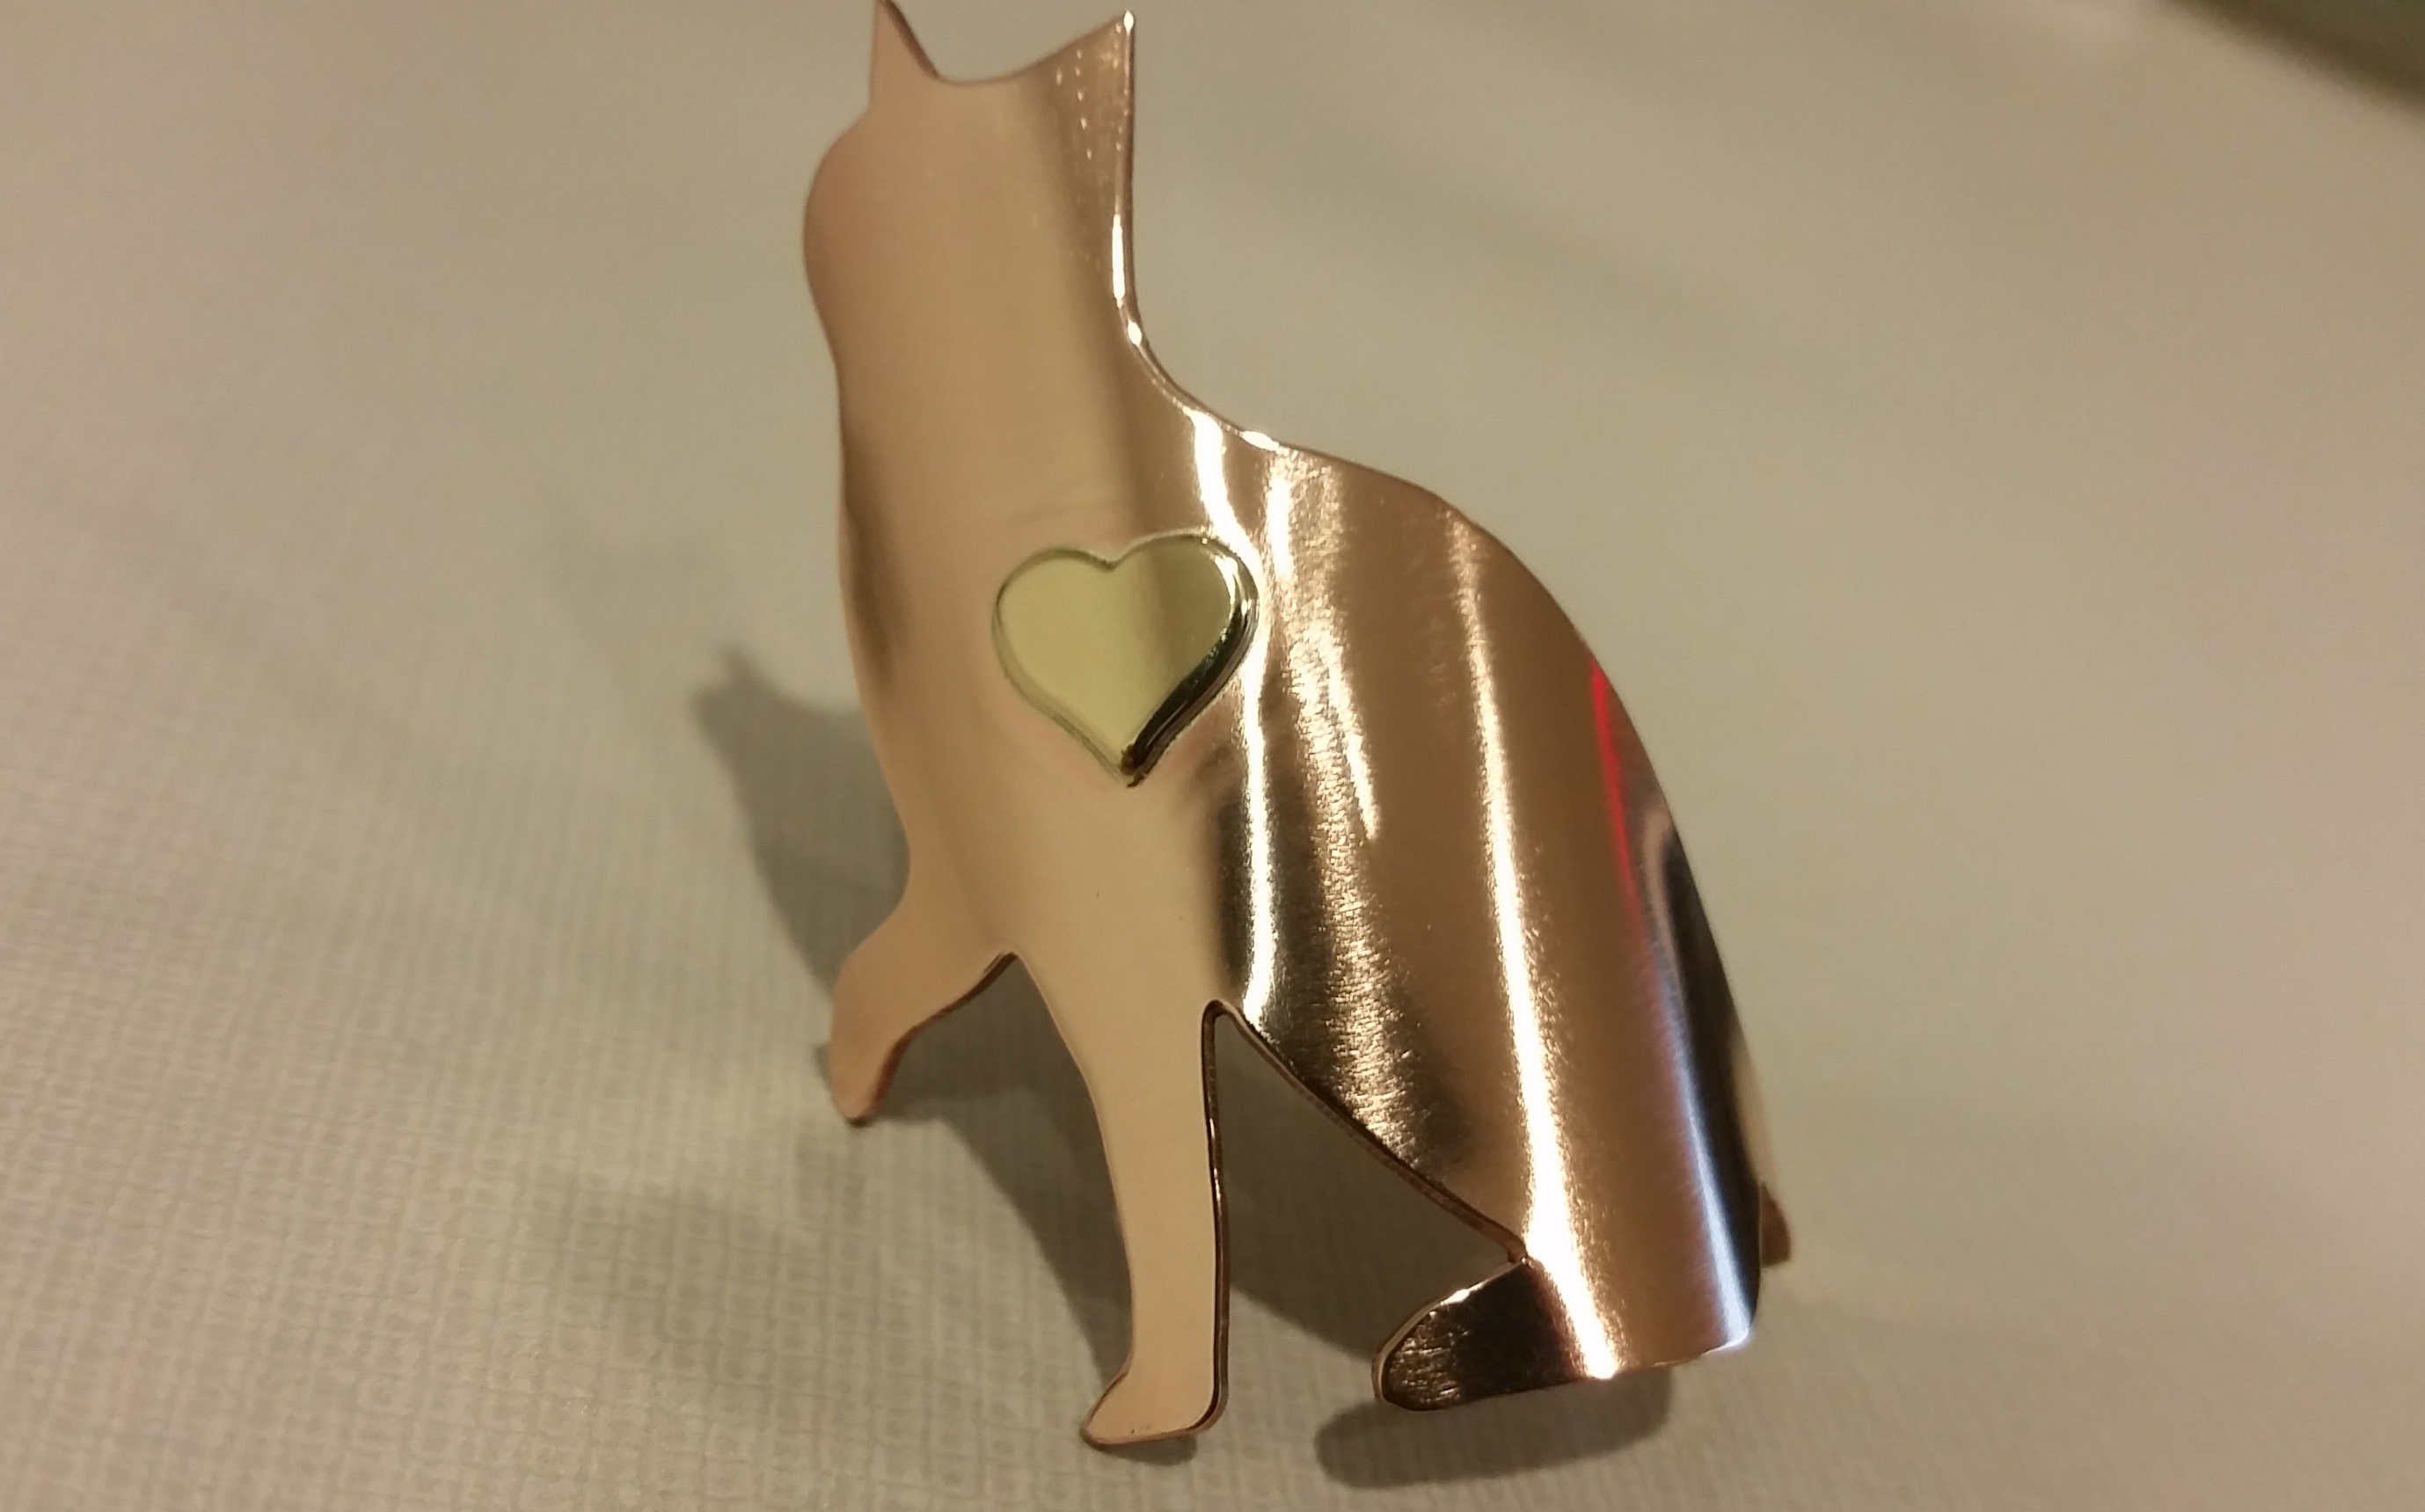
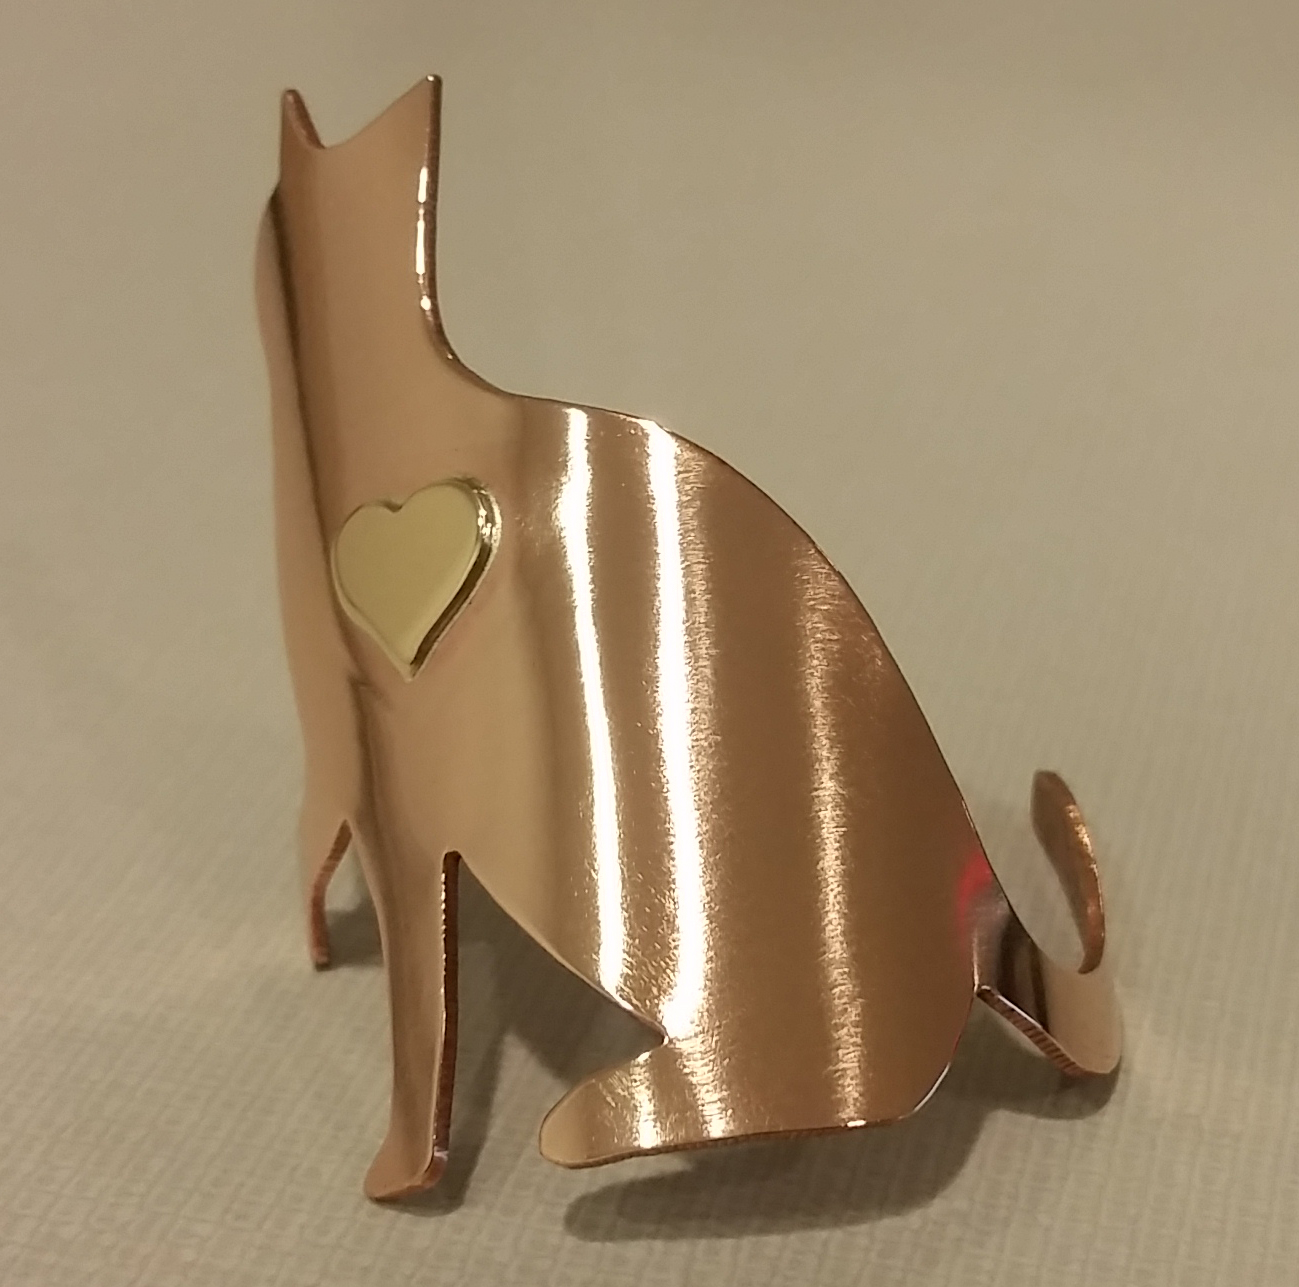
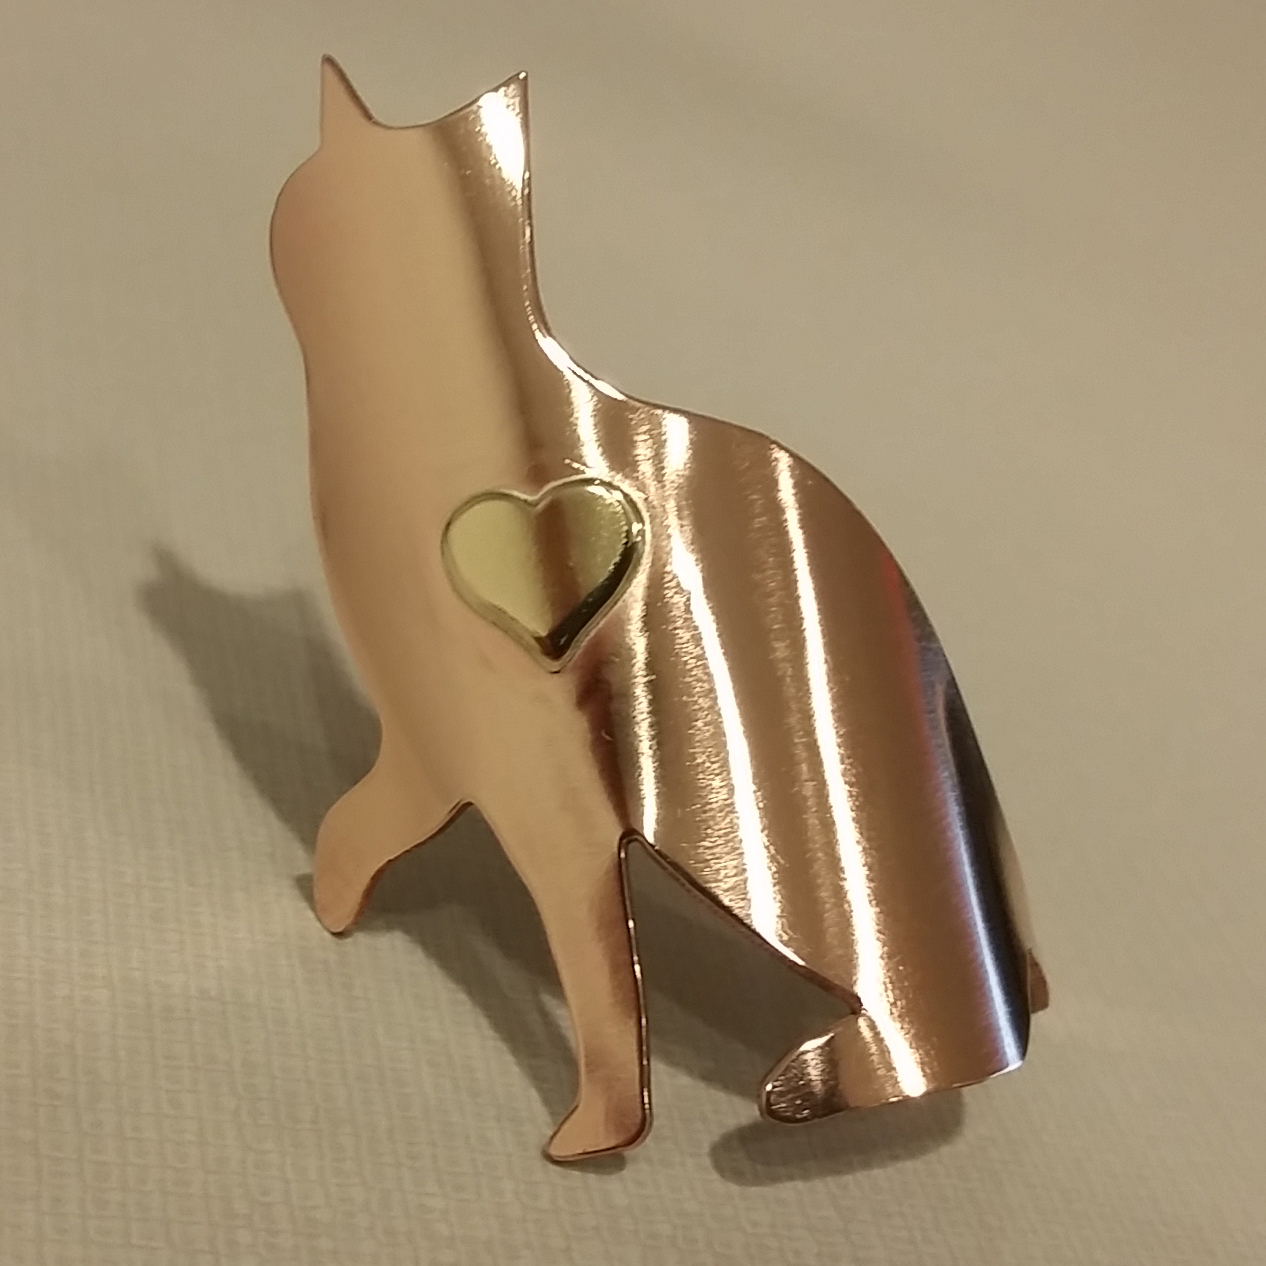
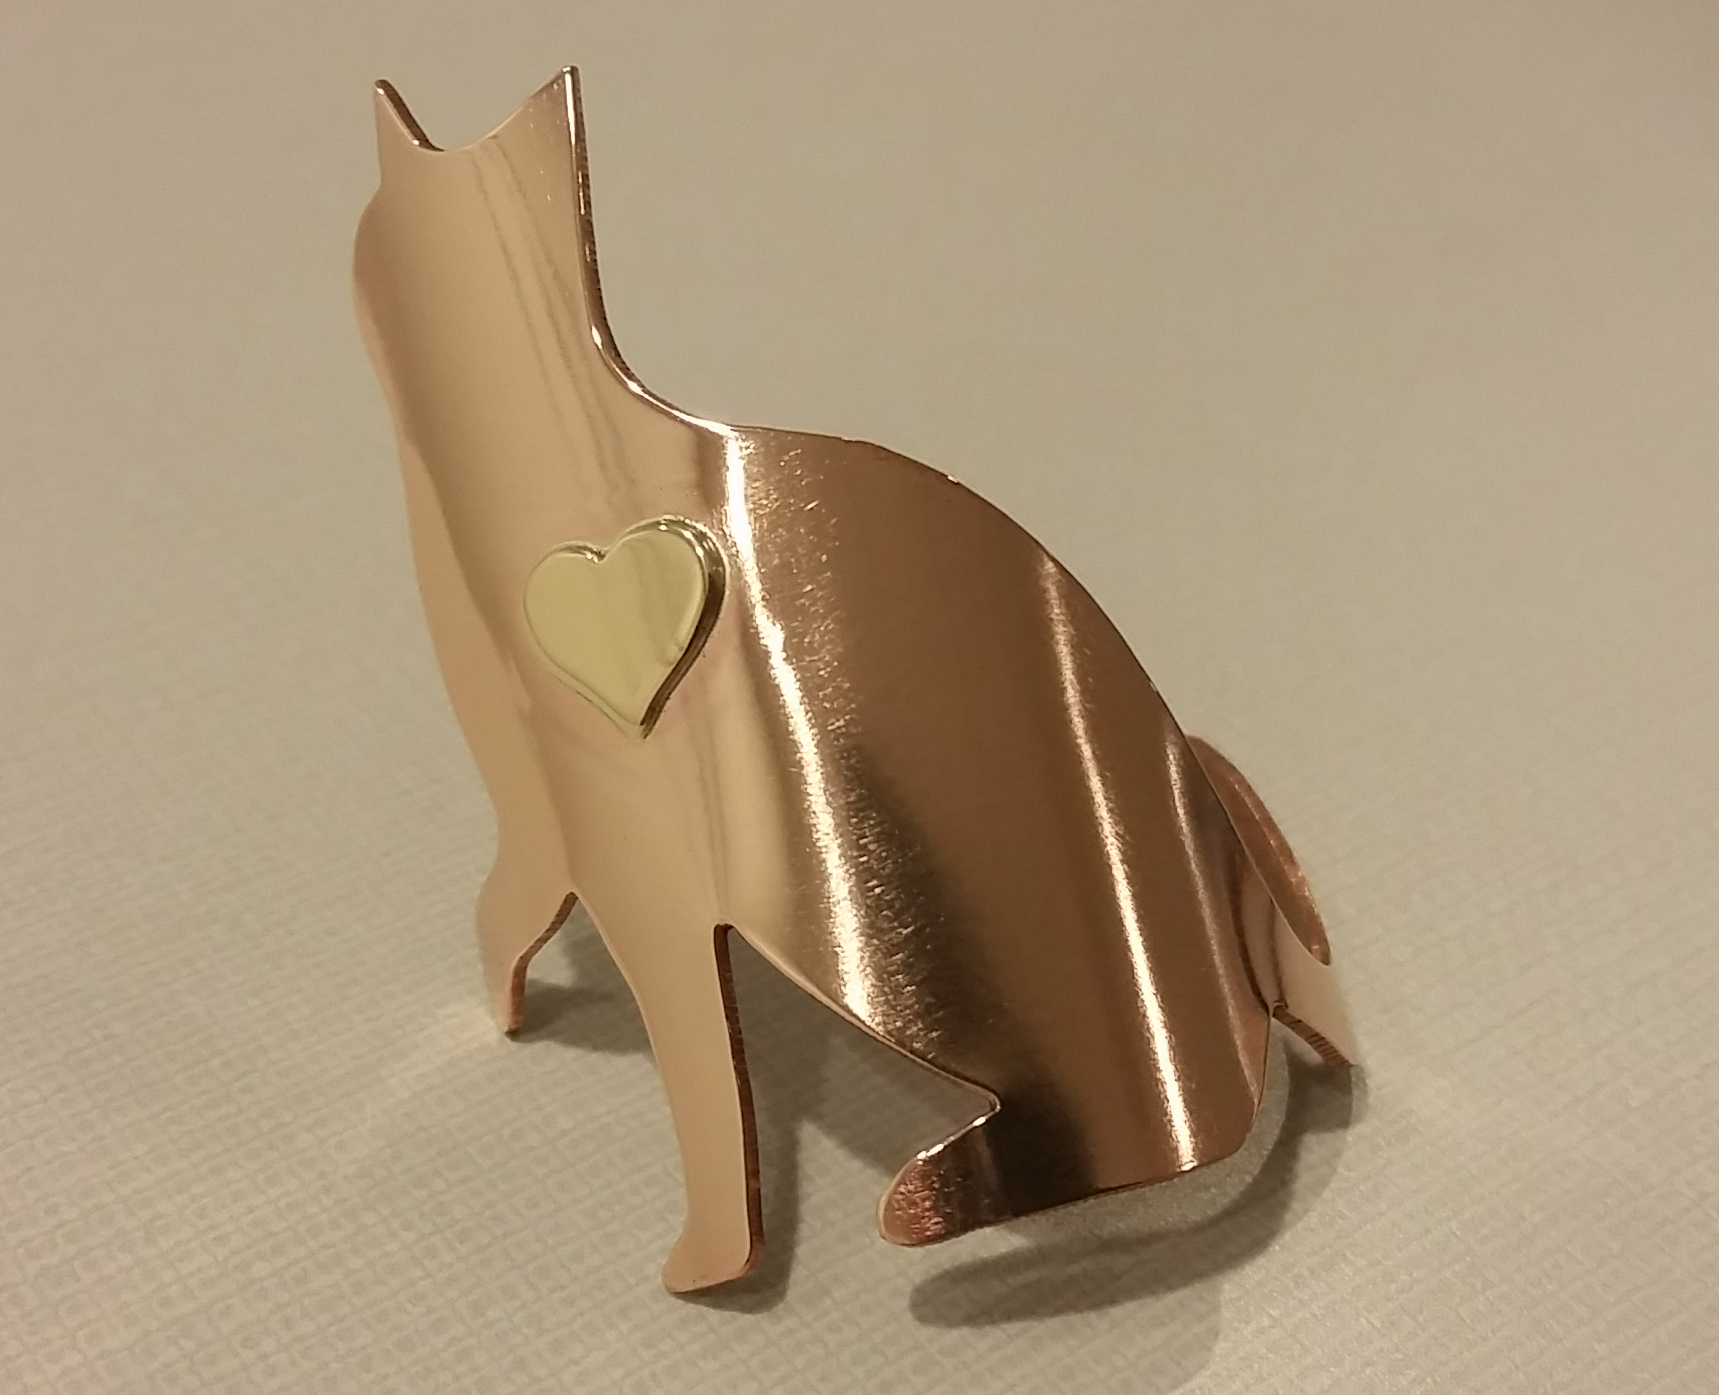
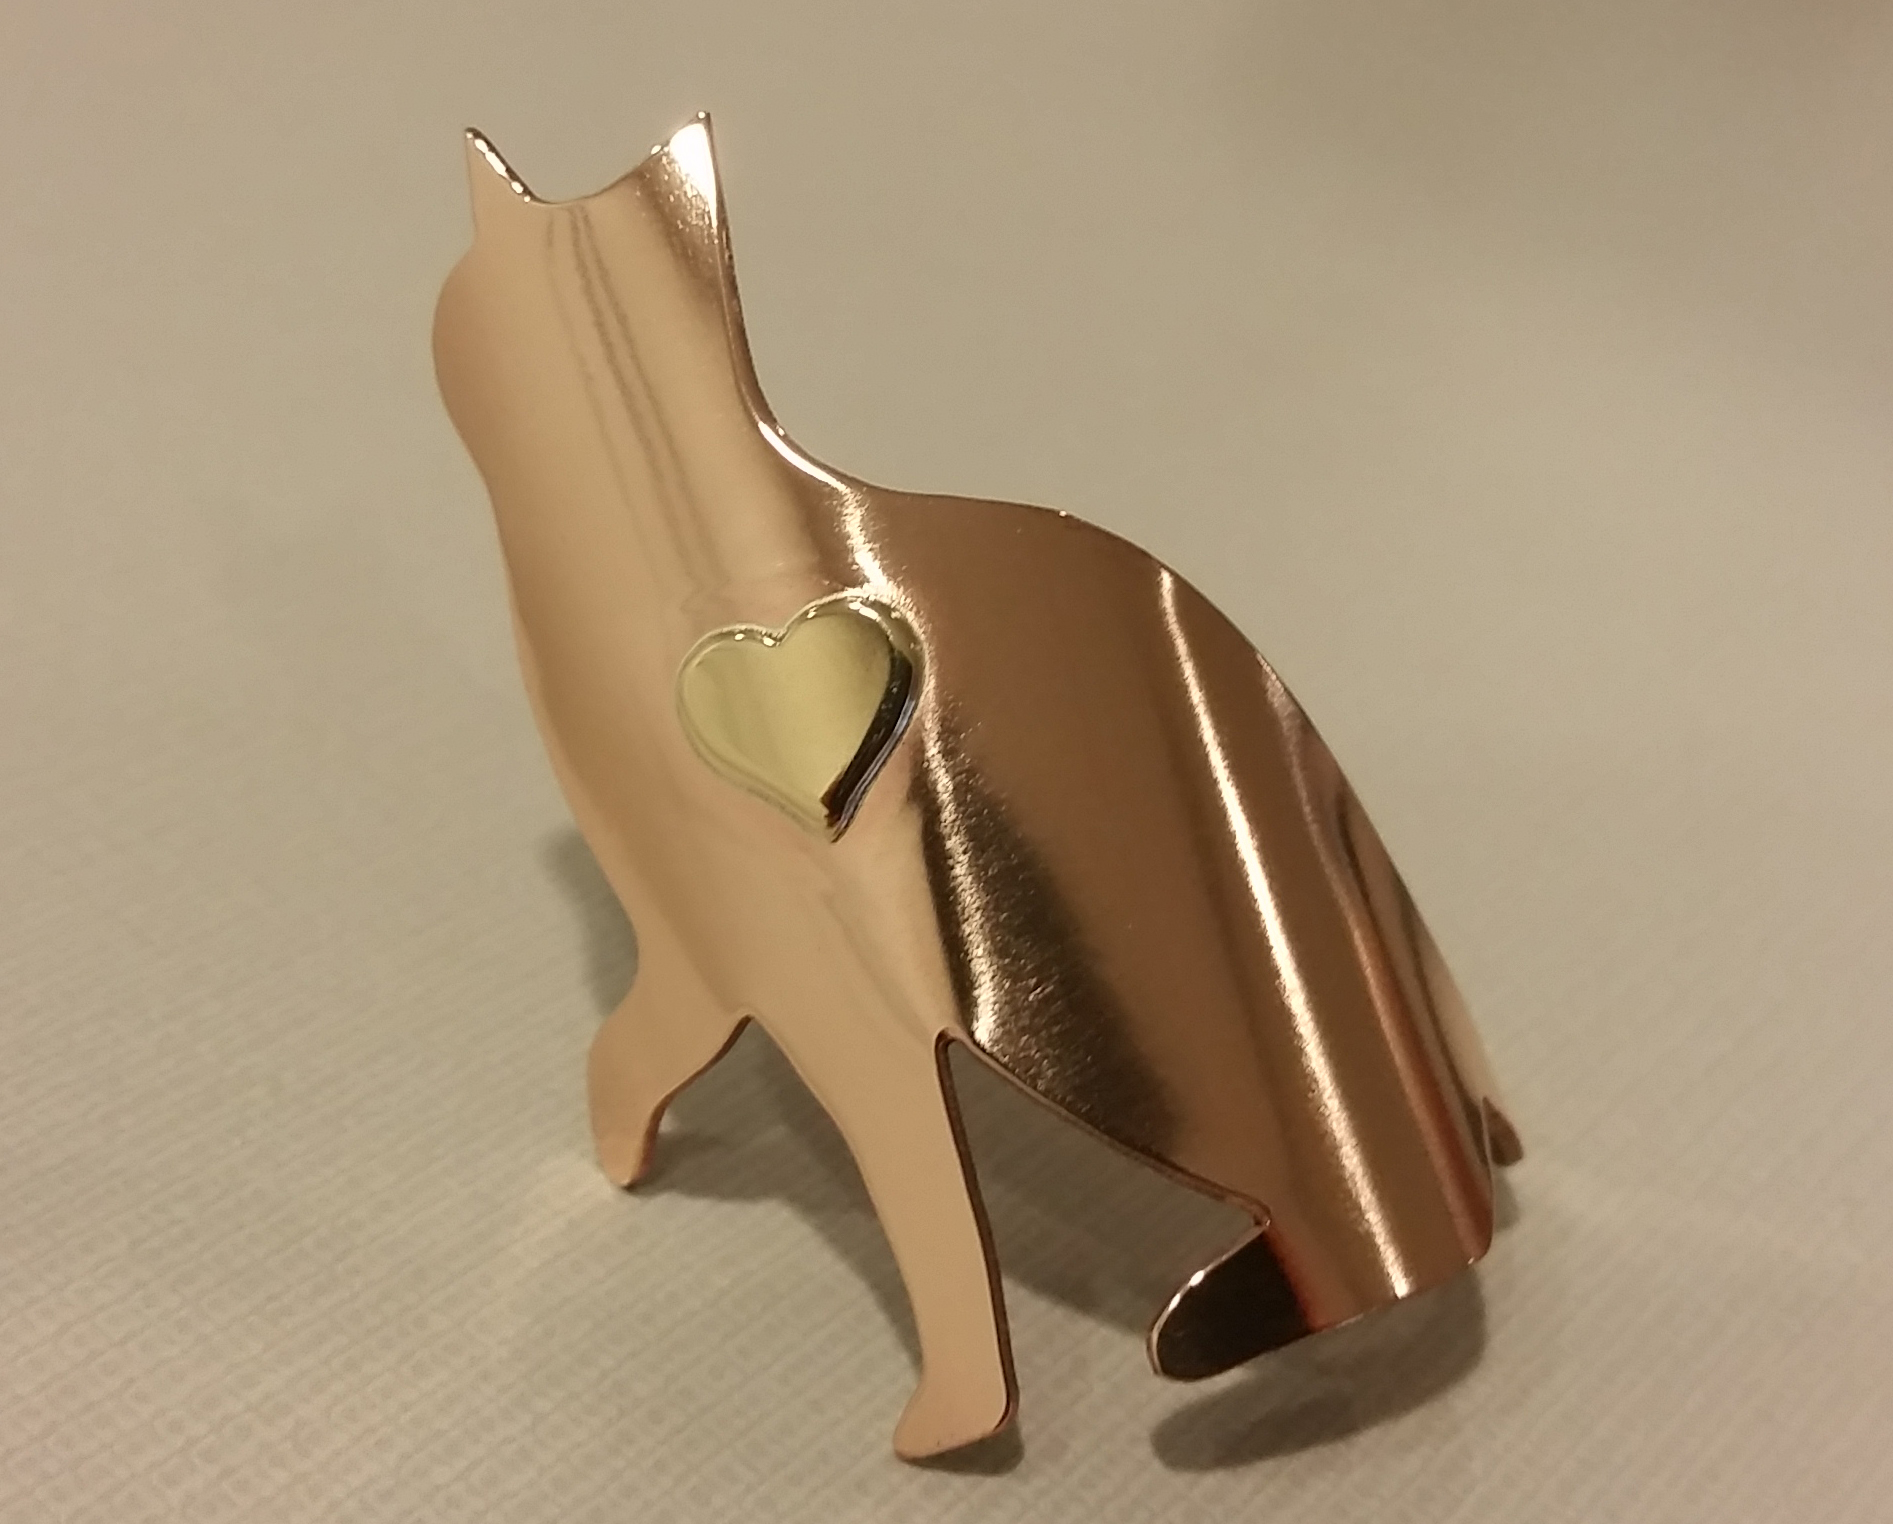
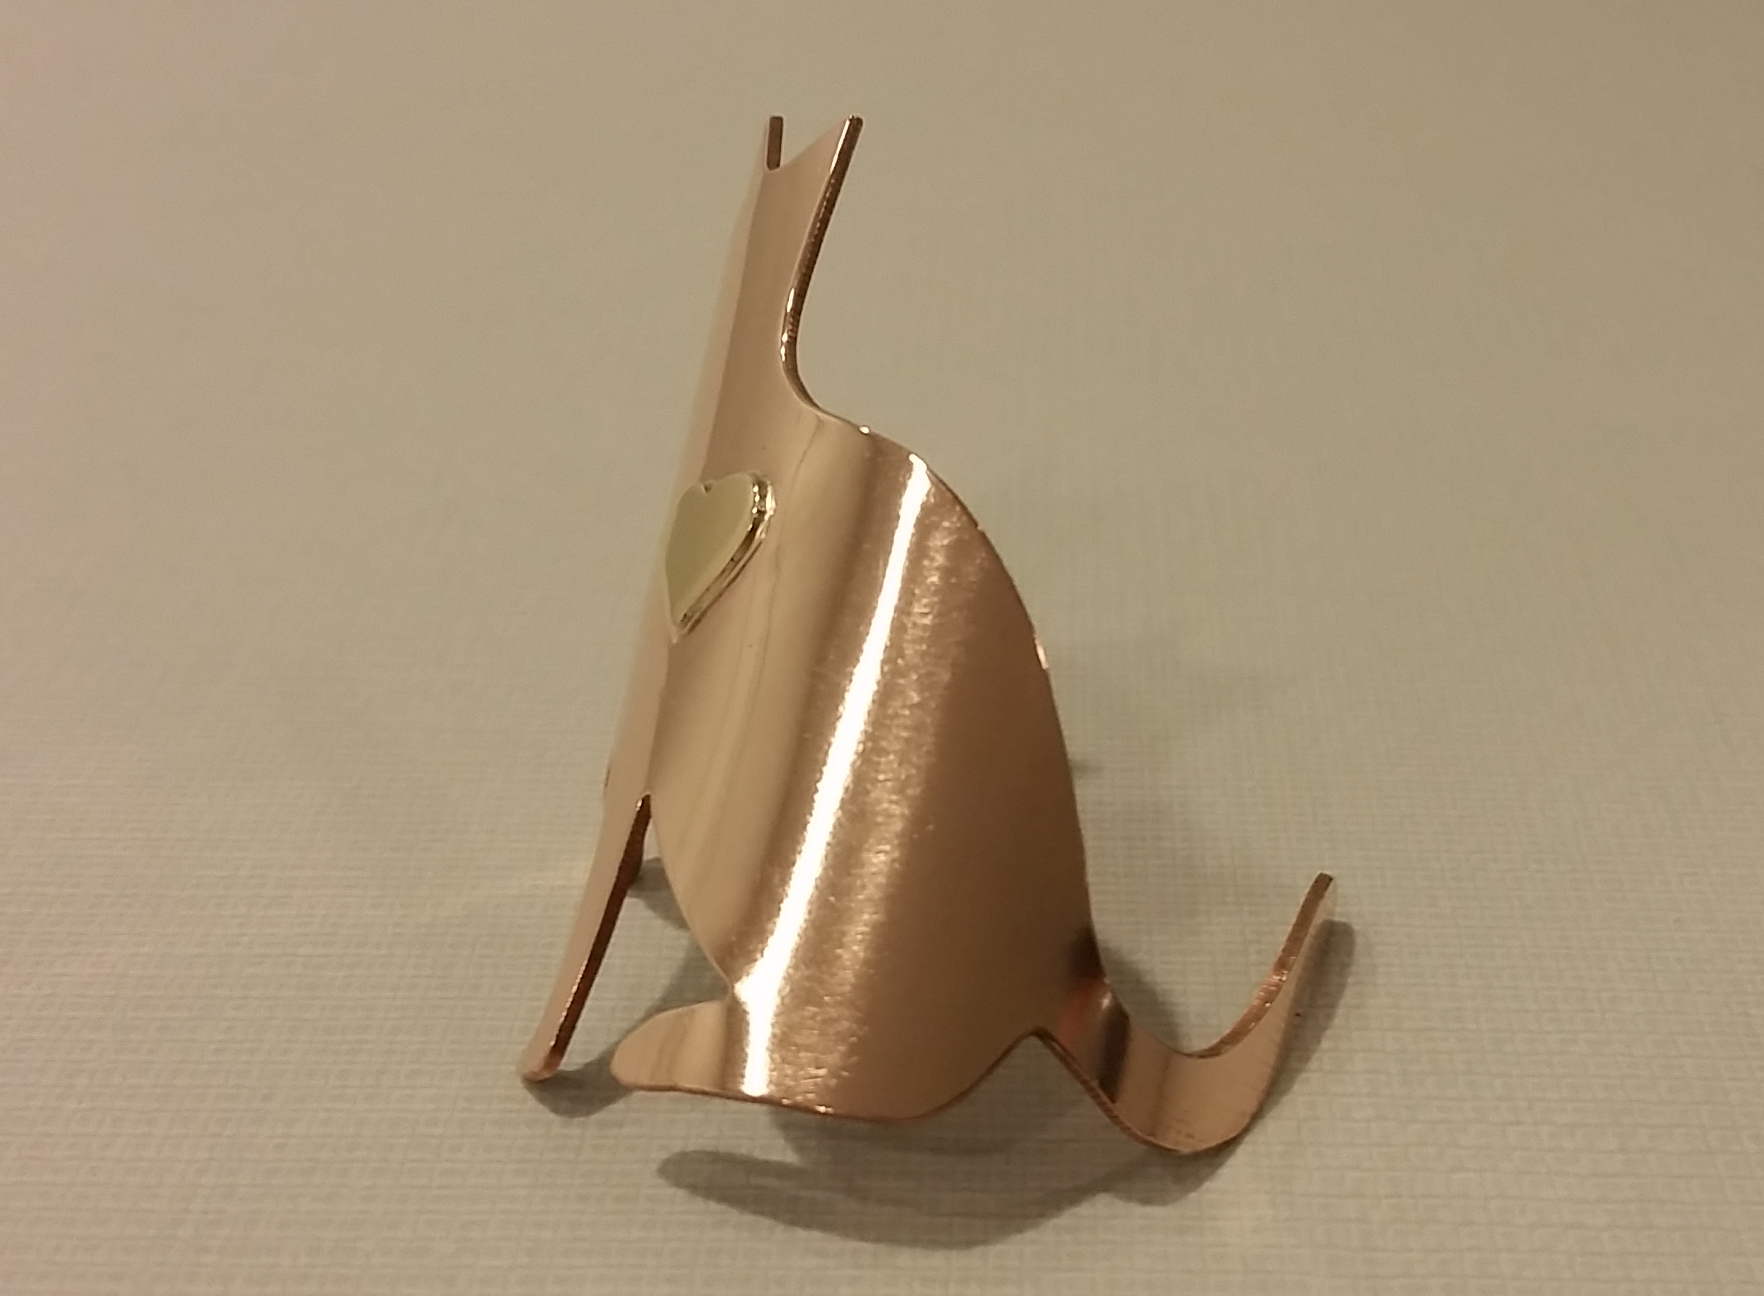
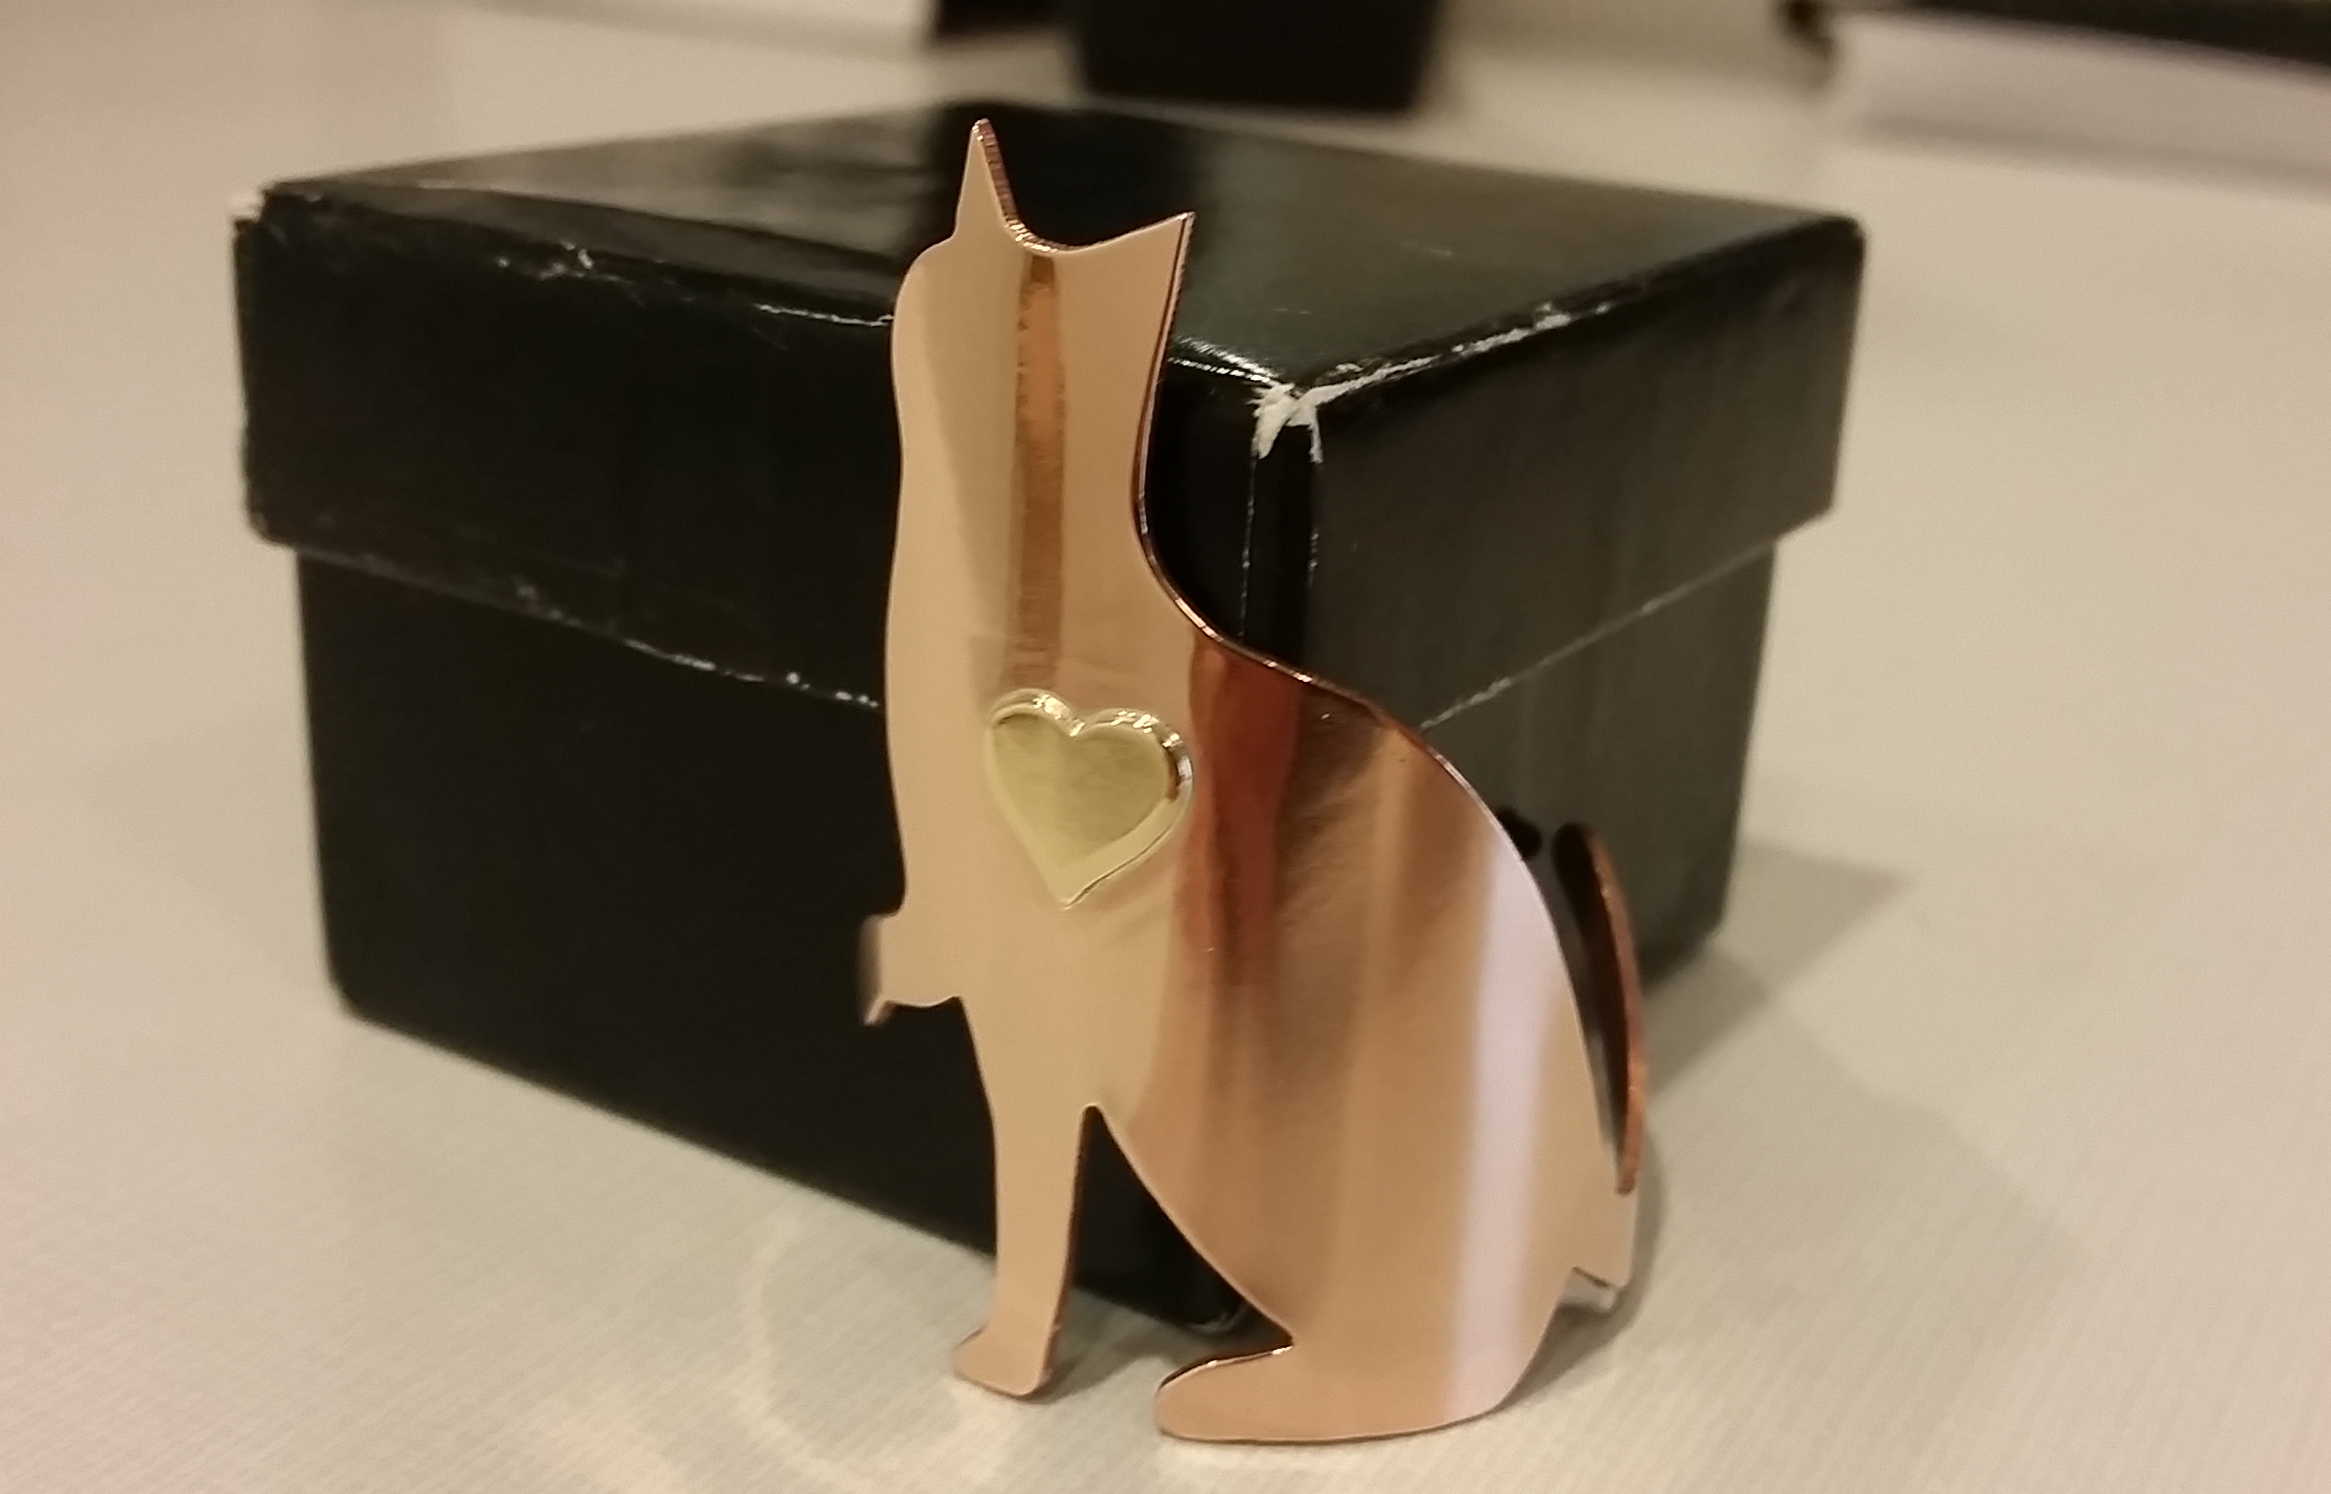
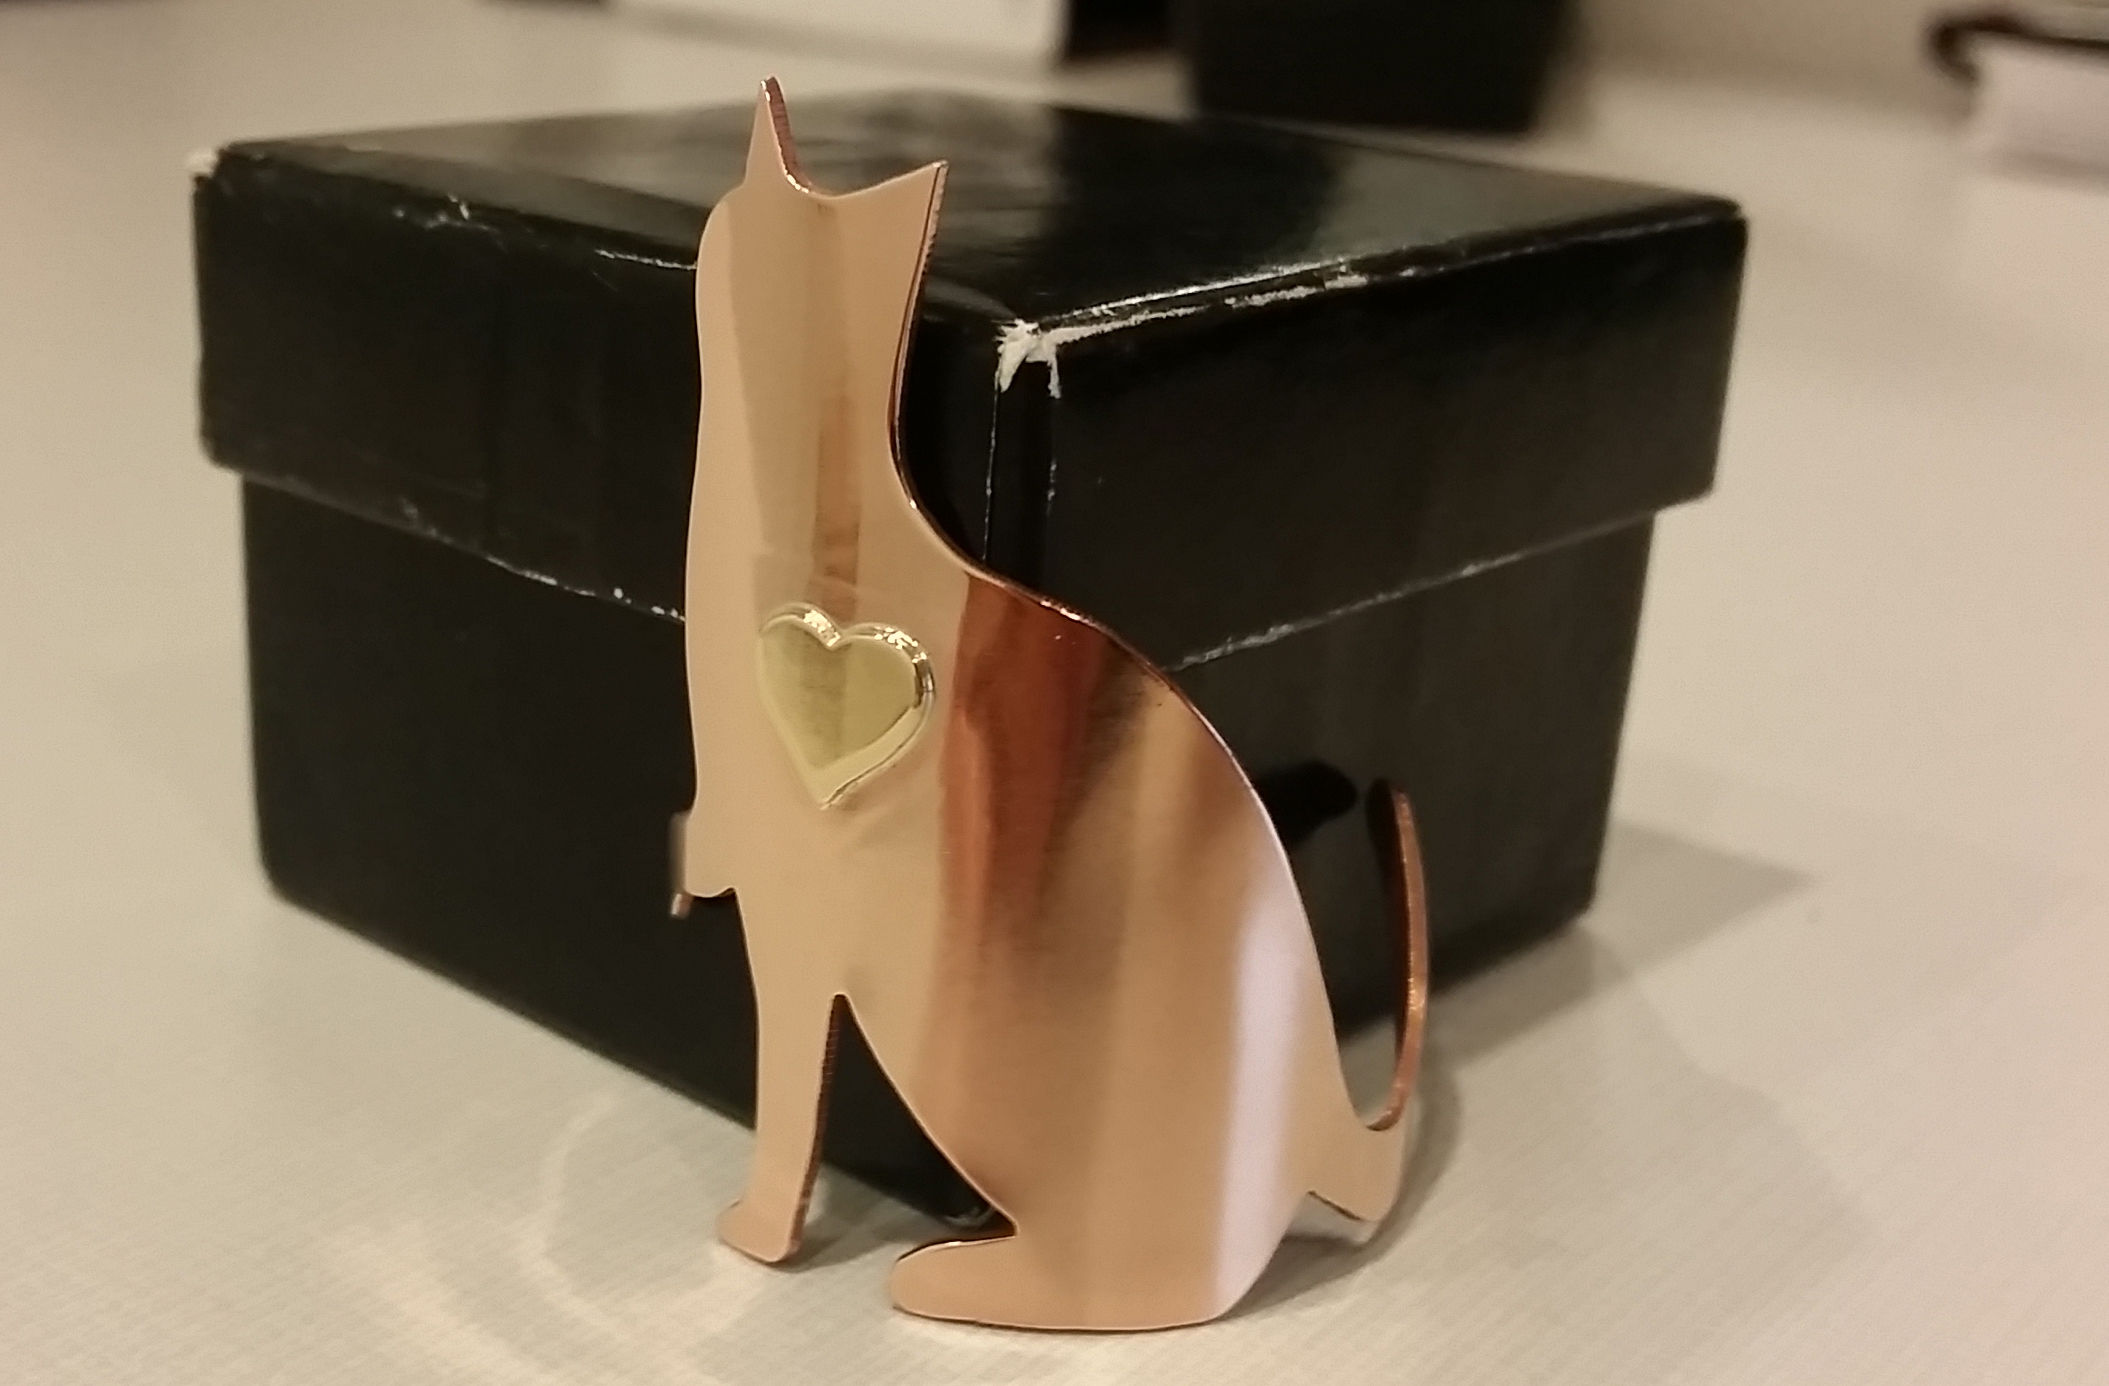
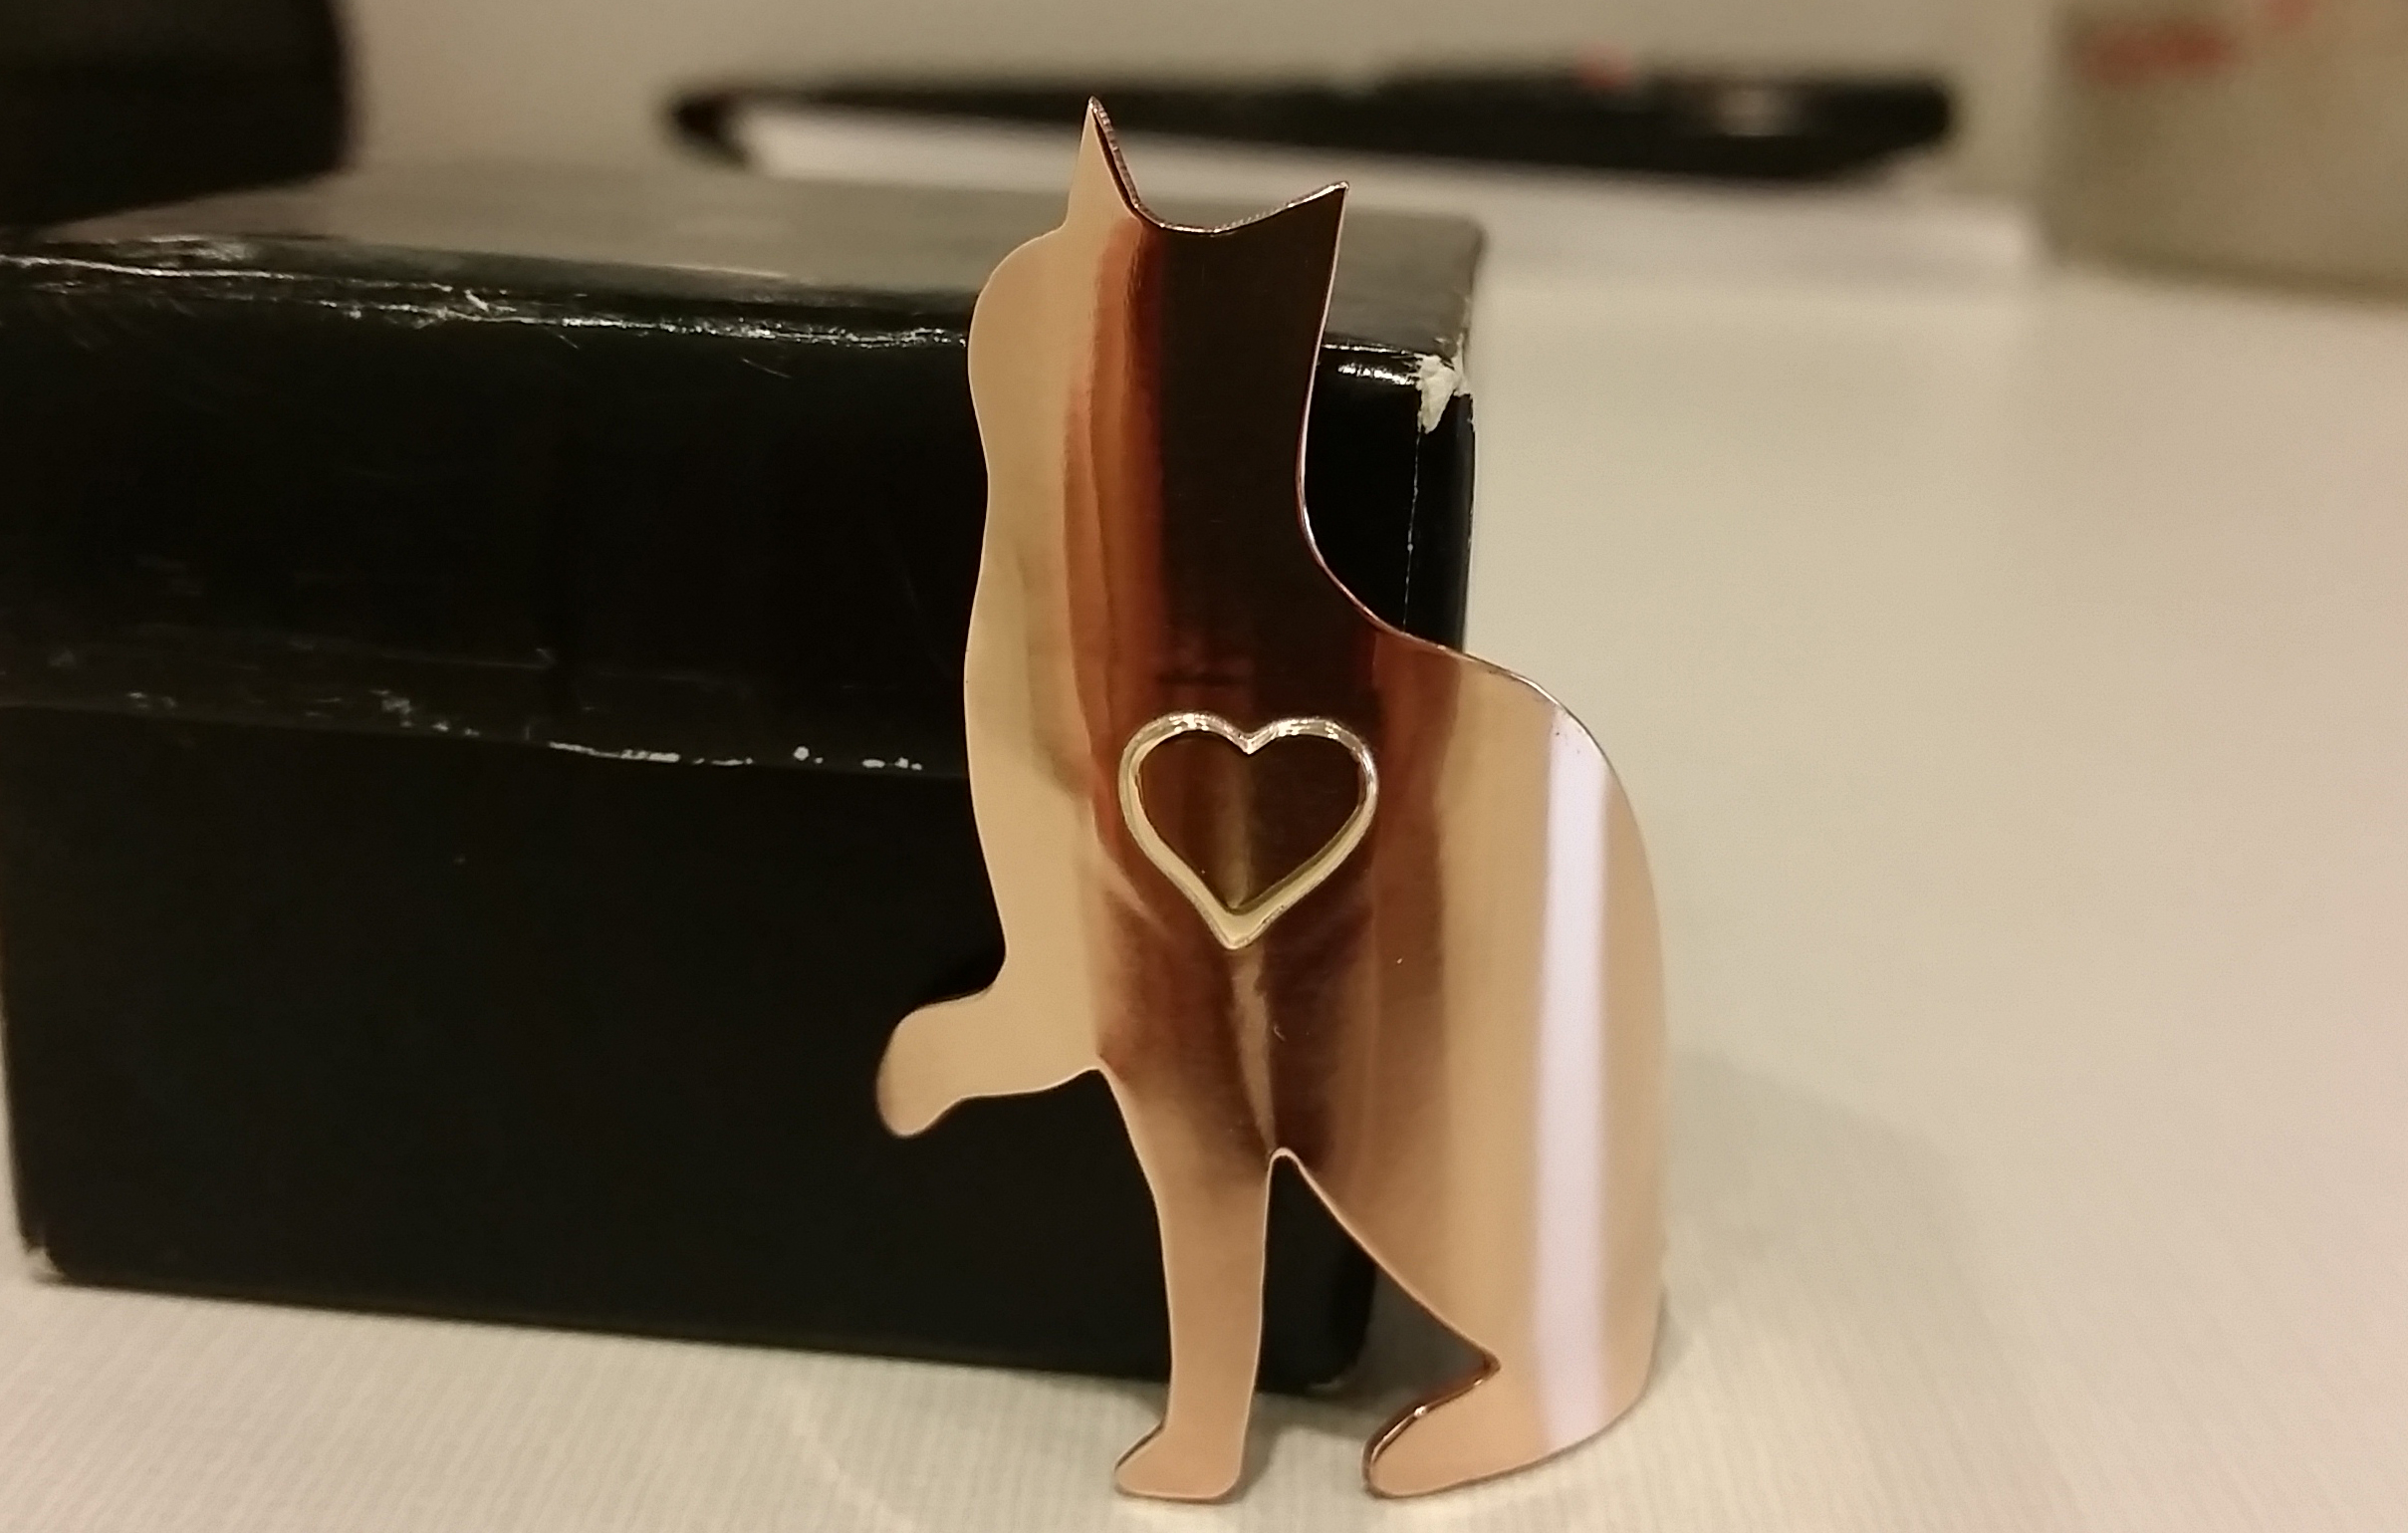
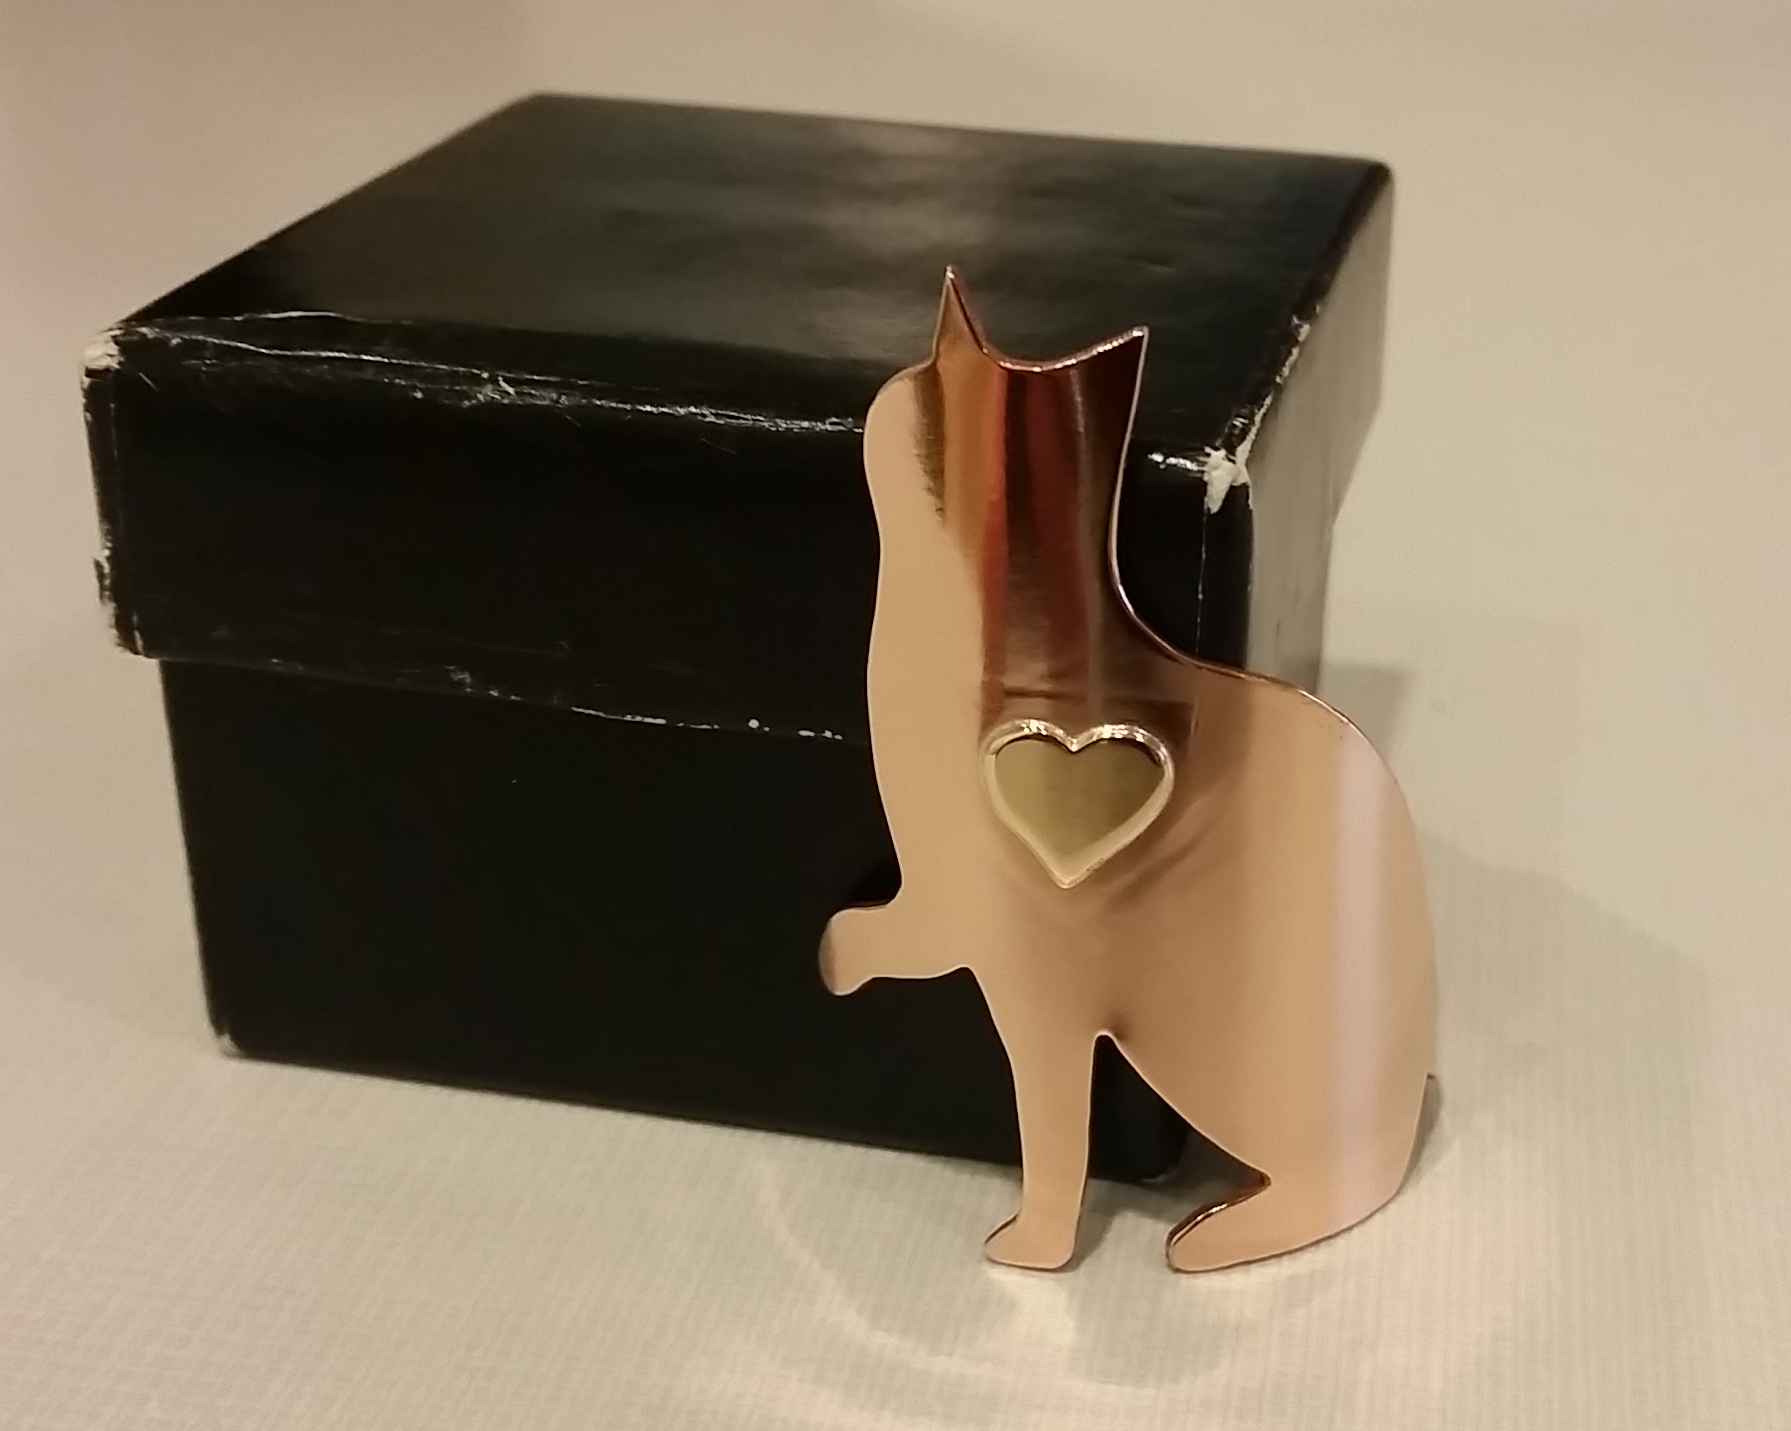
Made this for a customer, bronze with a brass heart, it positively glows with a lightly rose colored sheen. I am really into it.
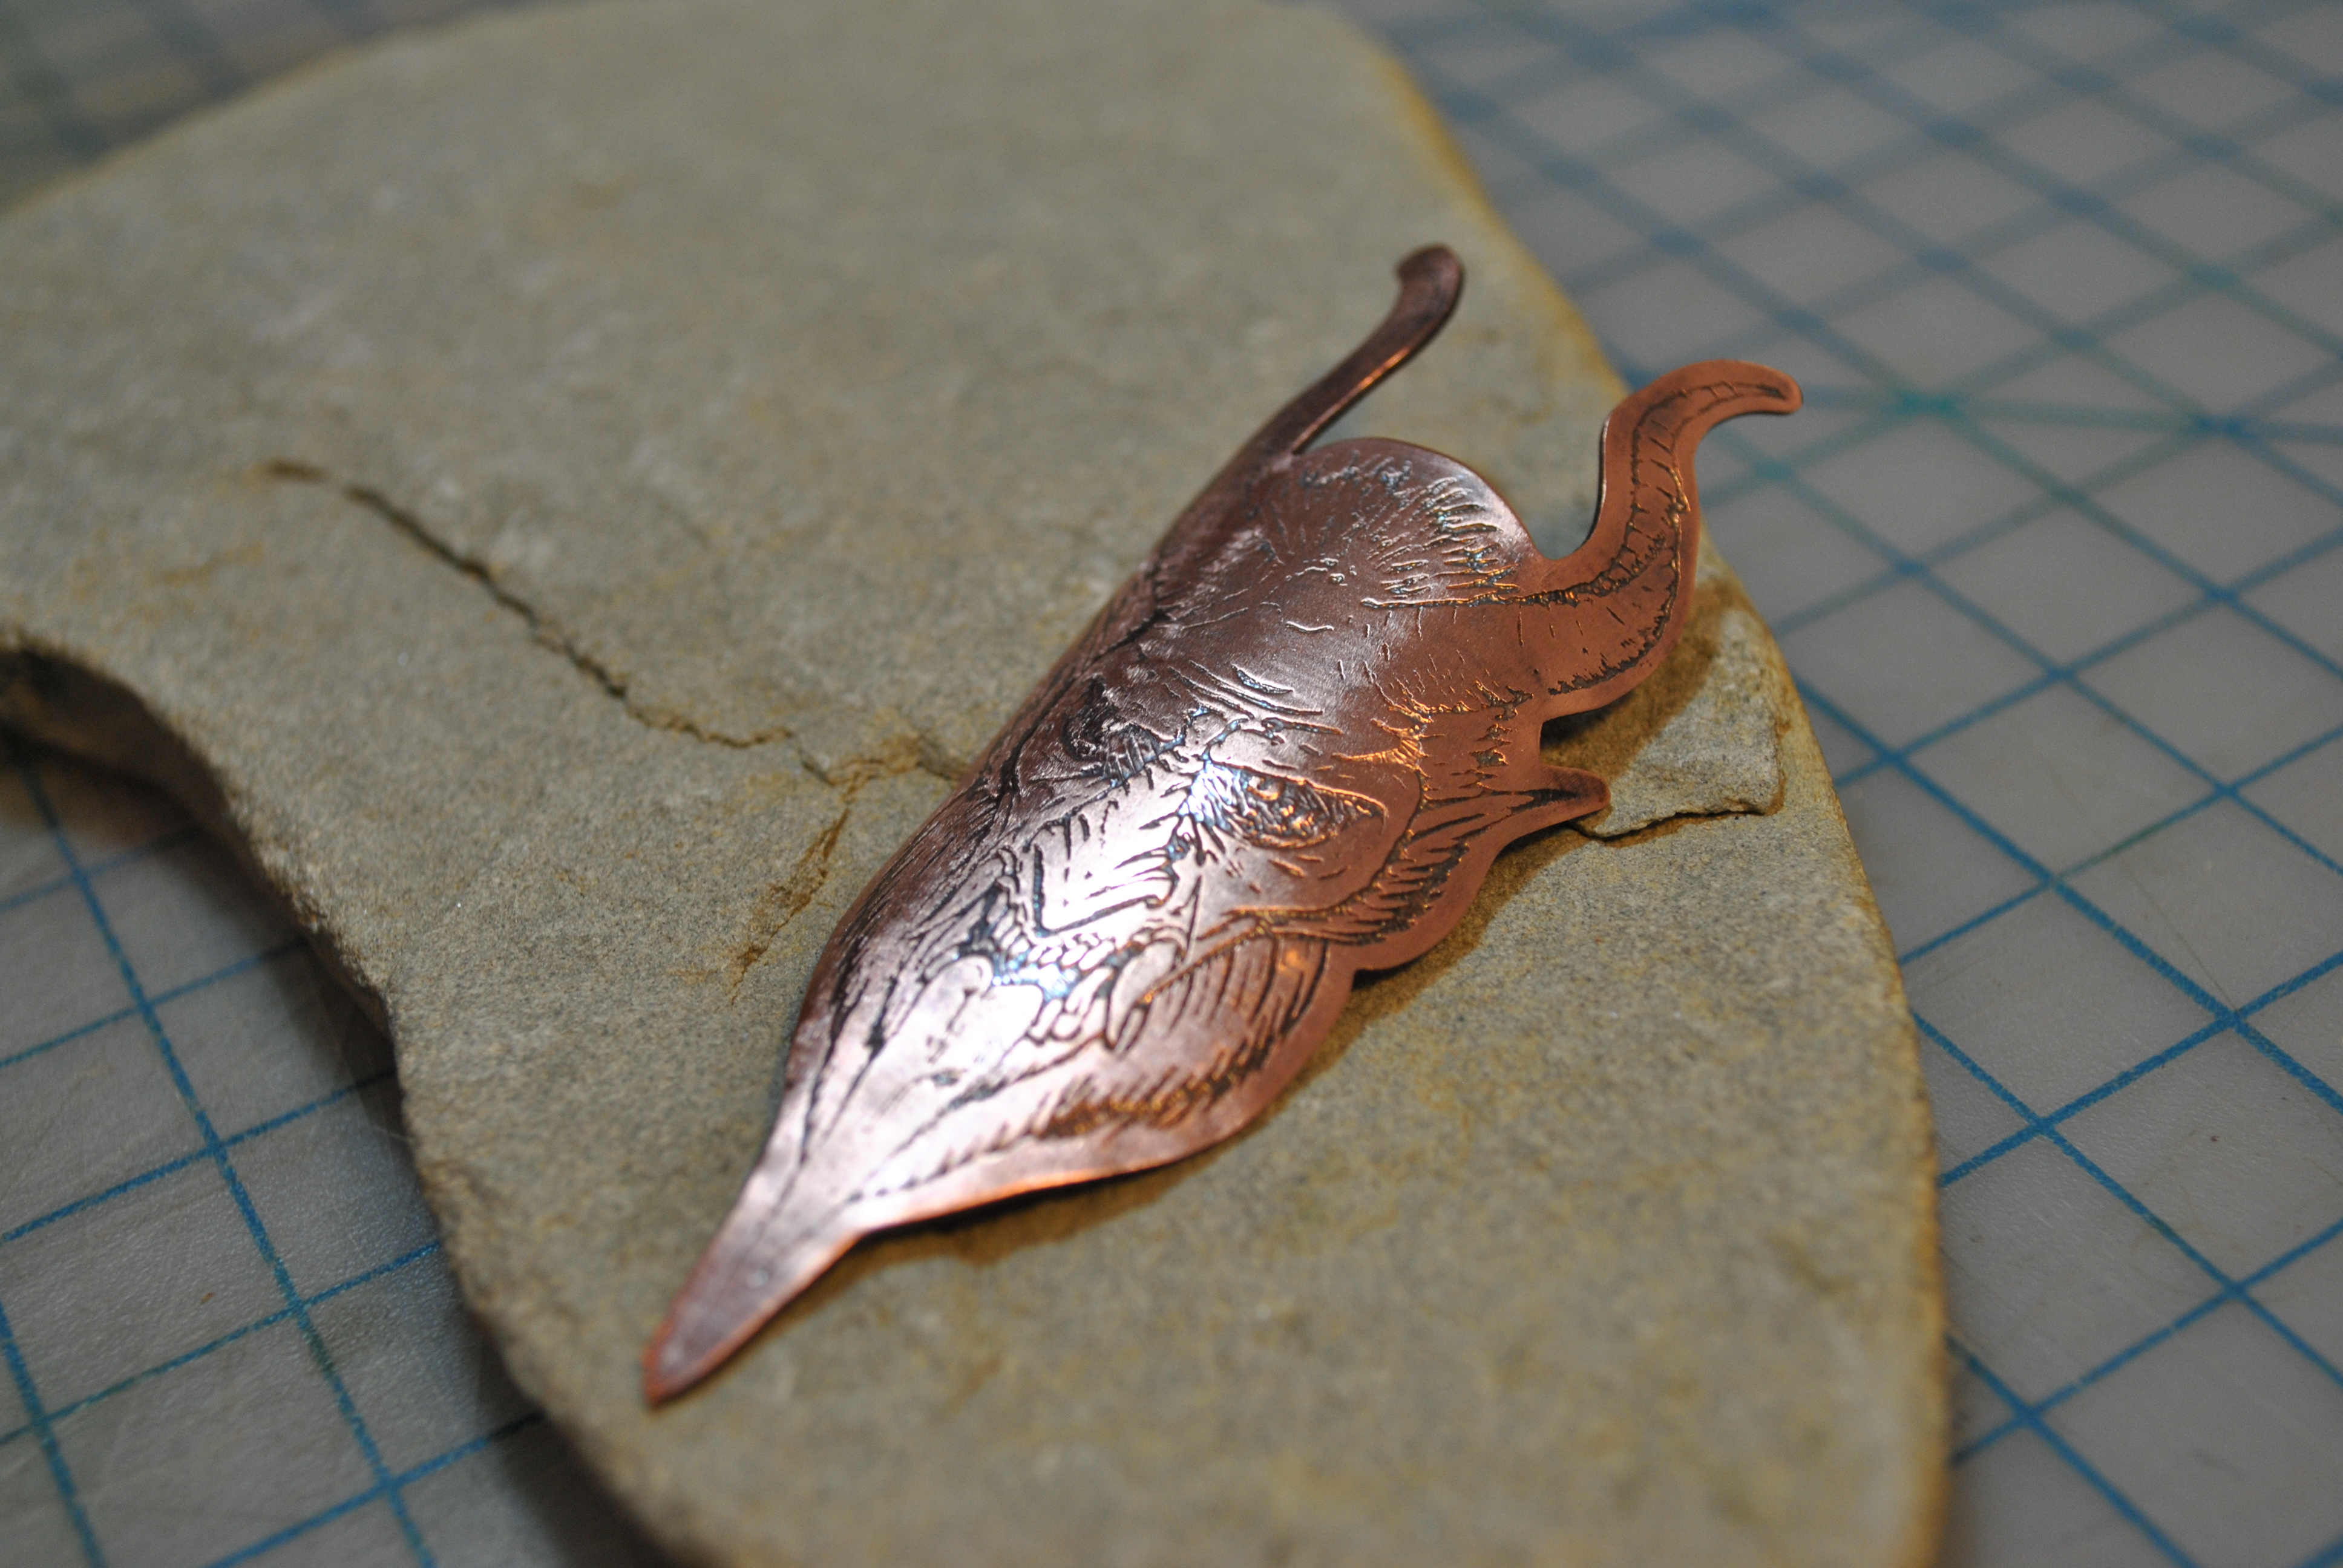
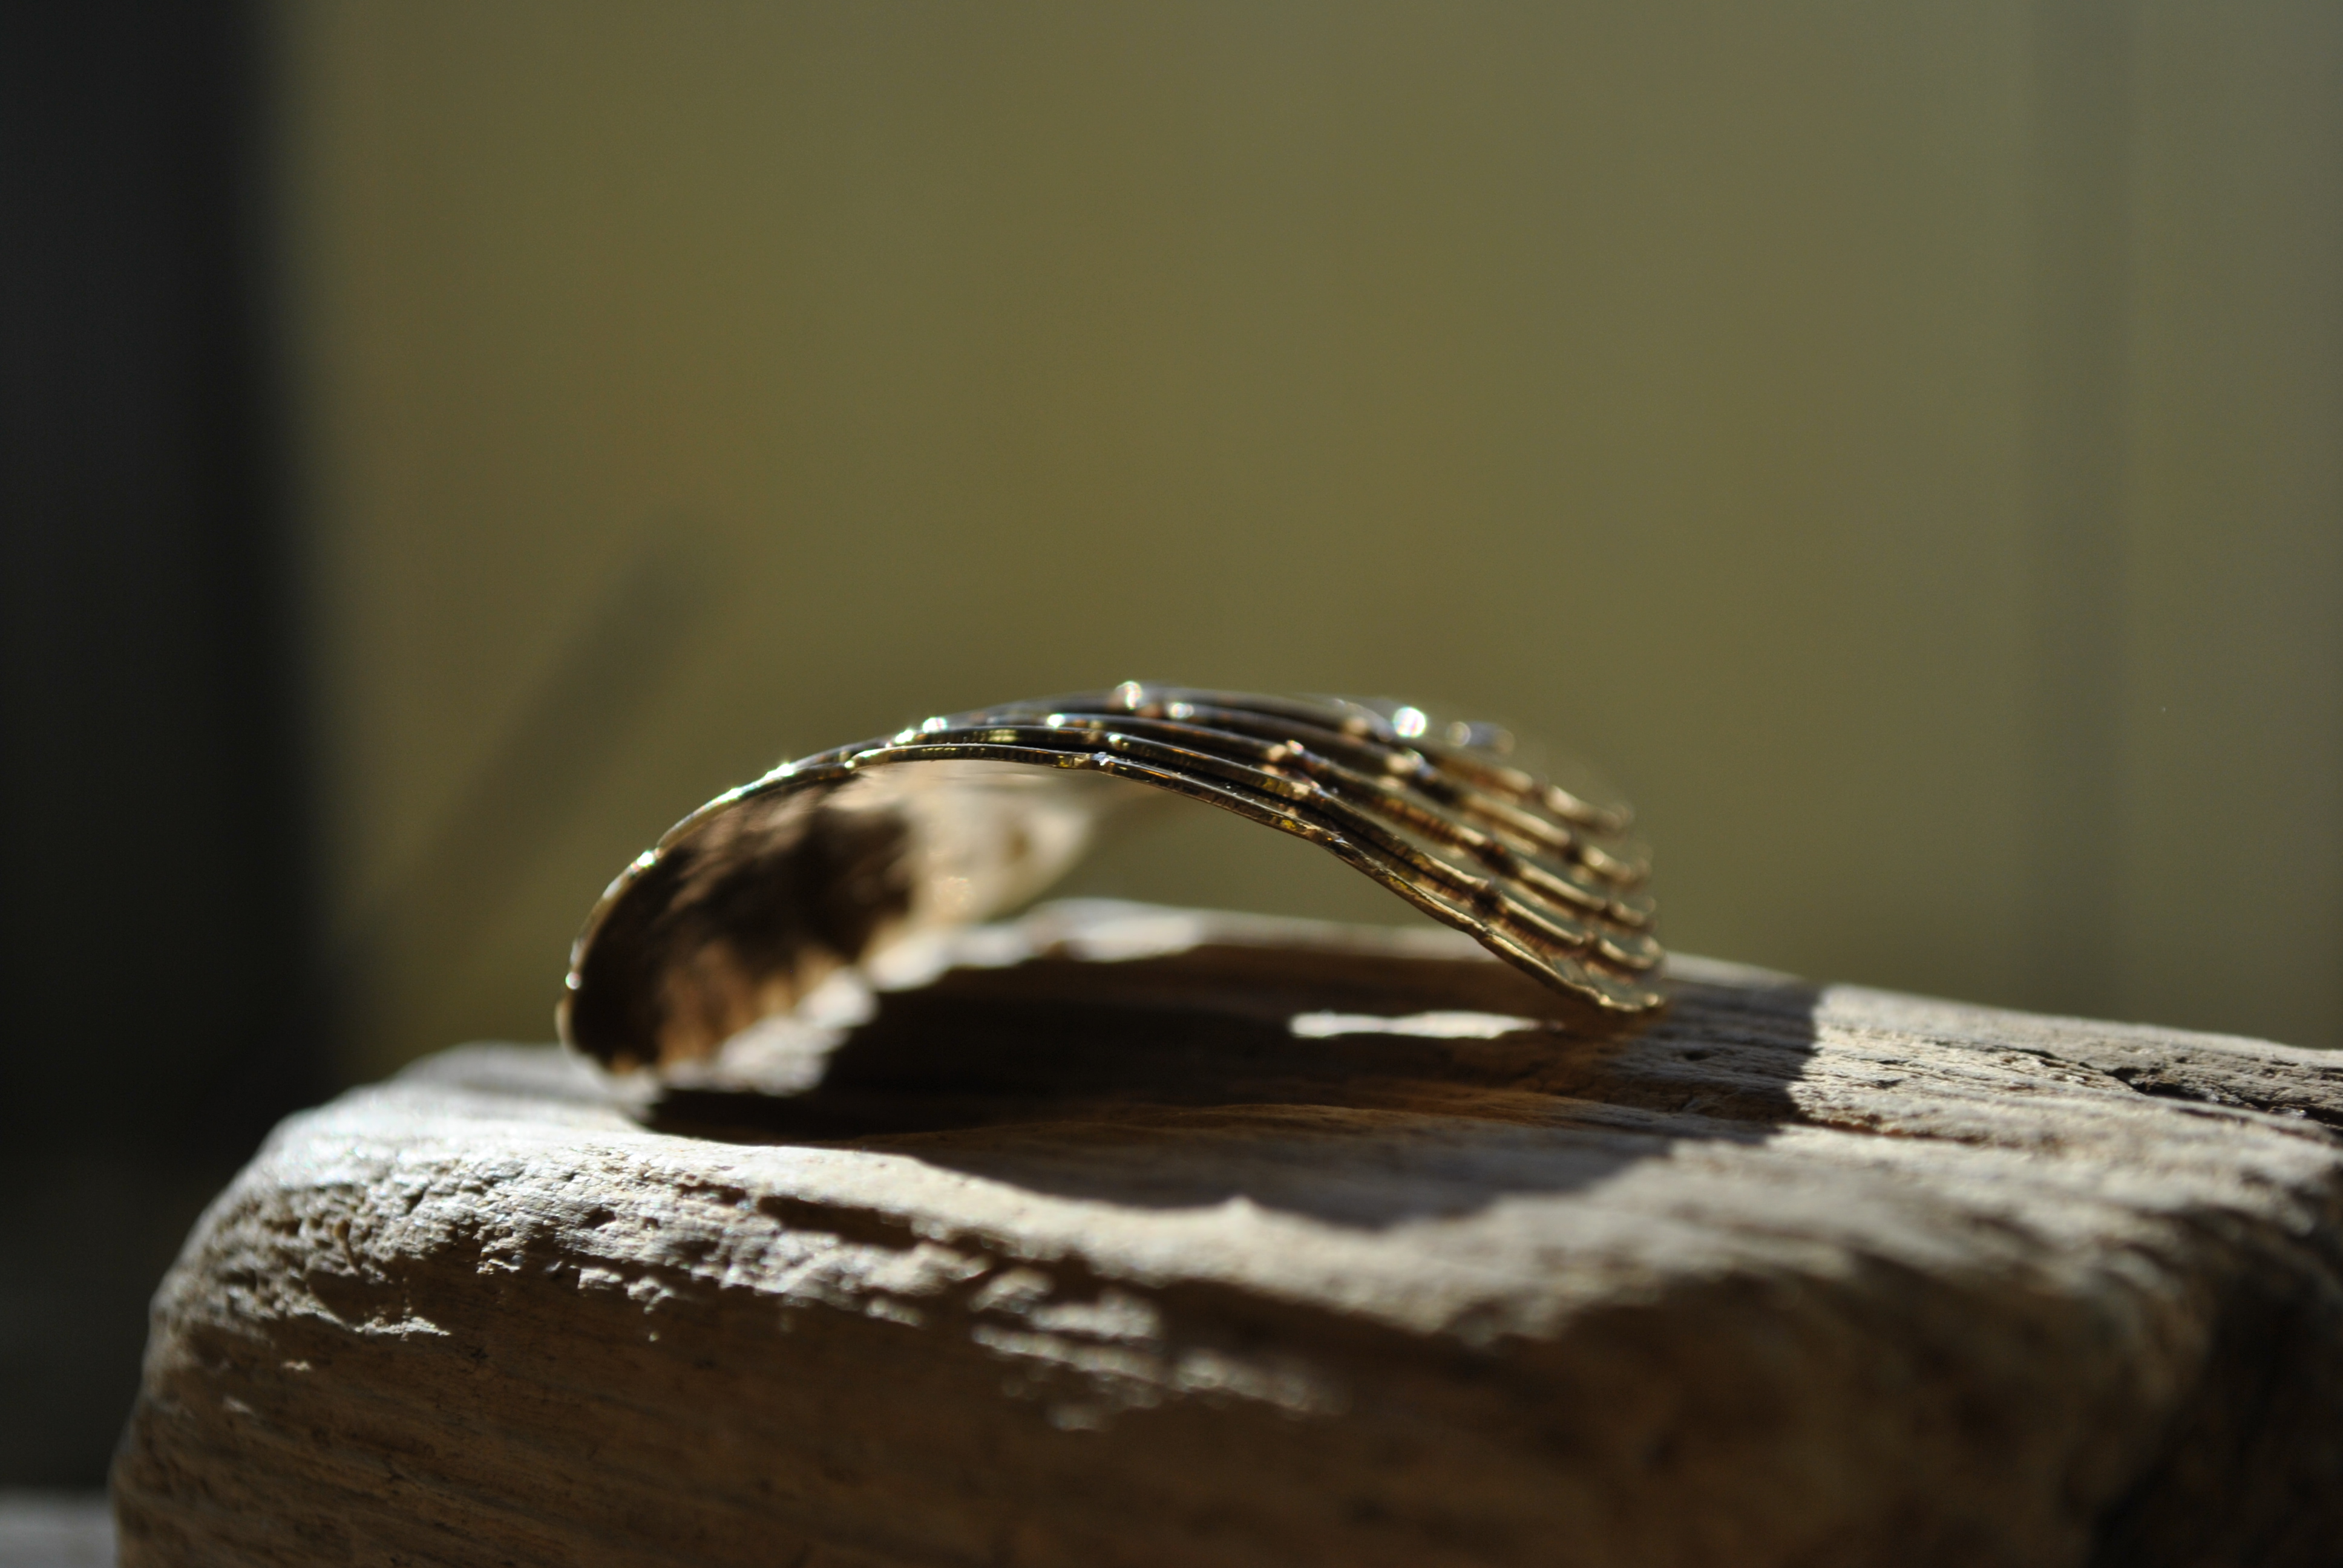
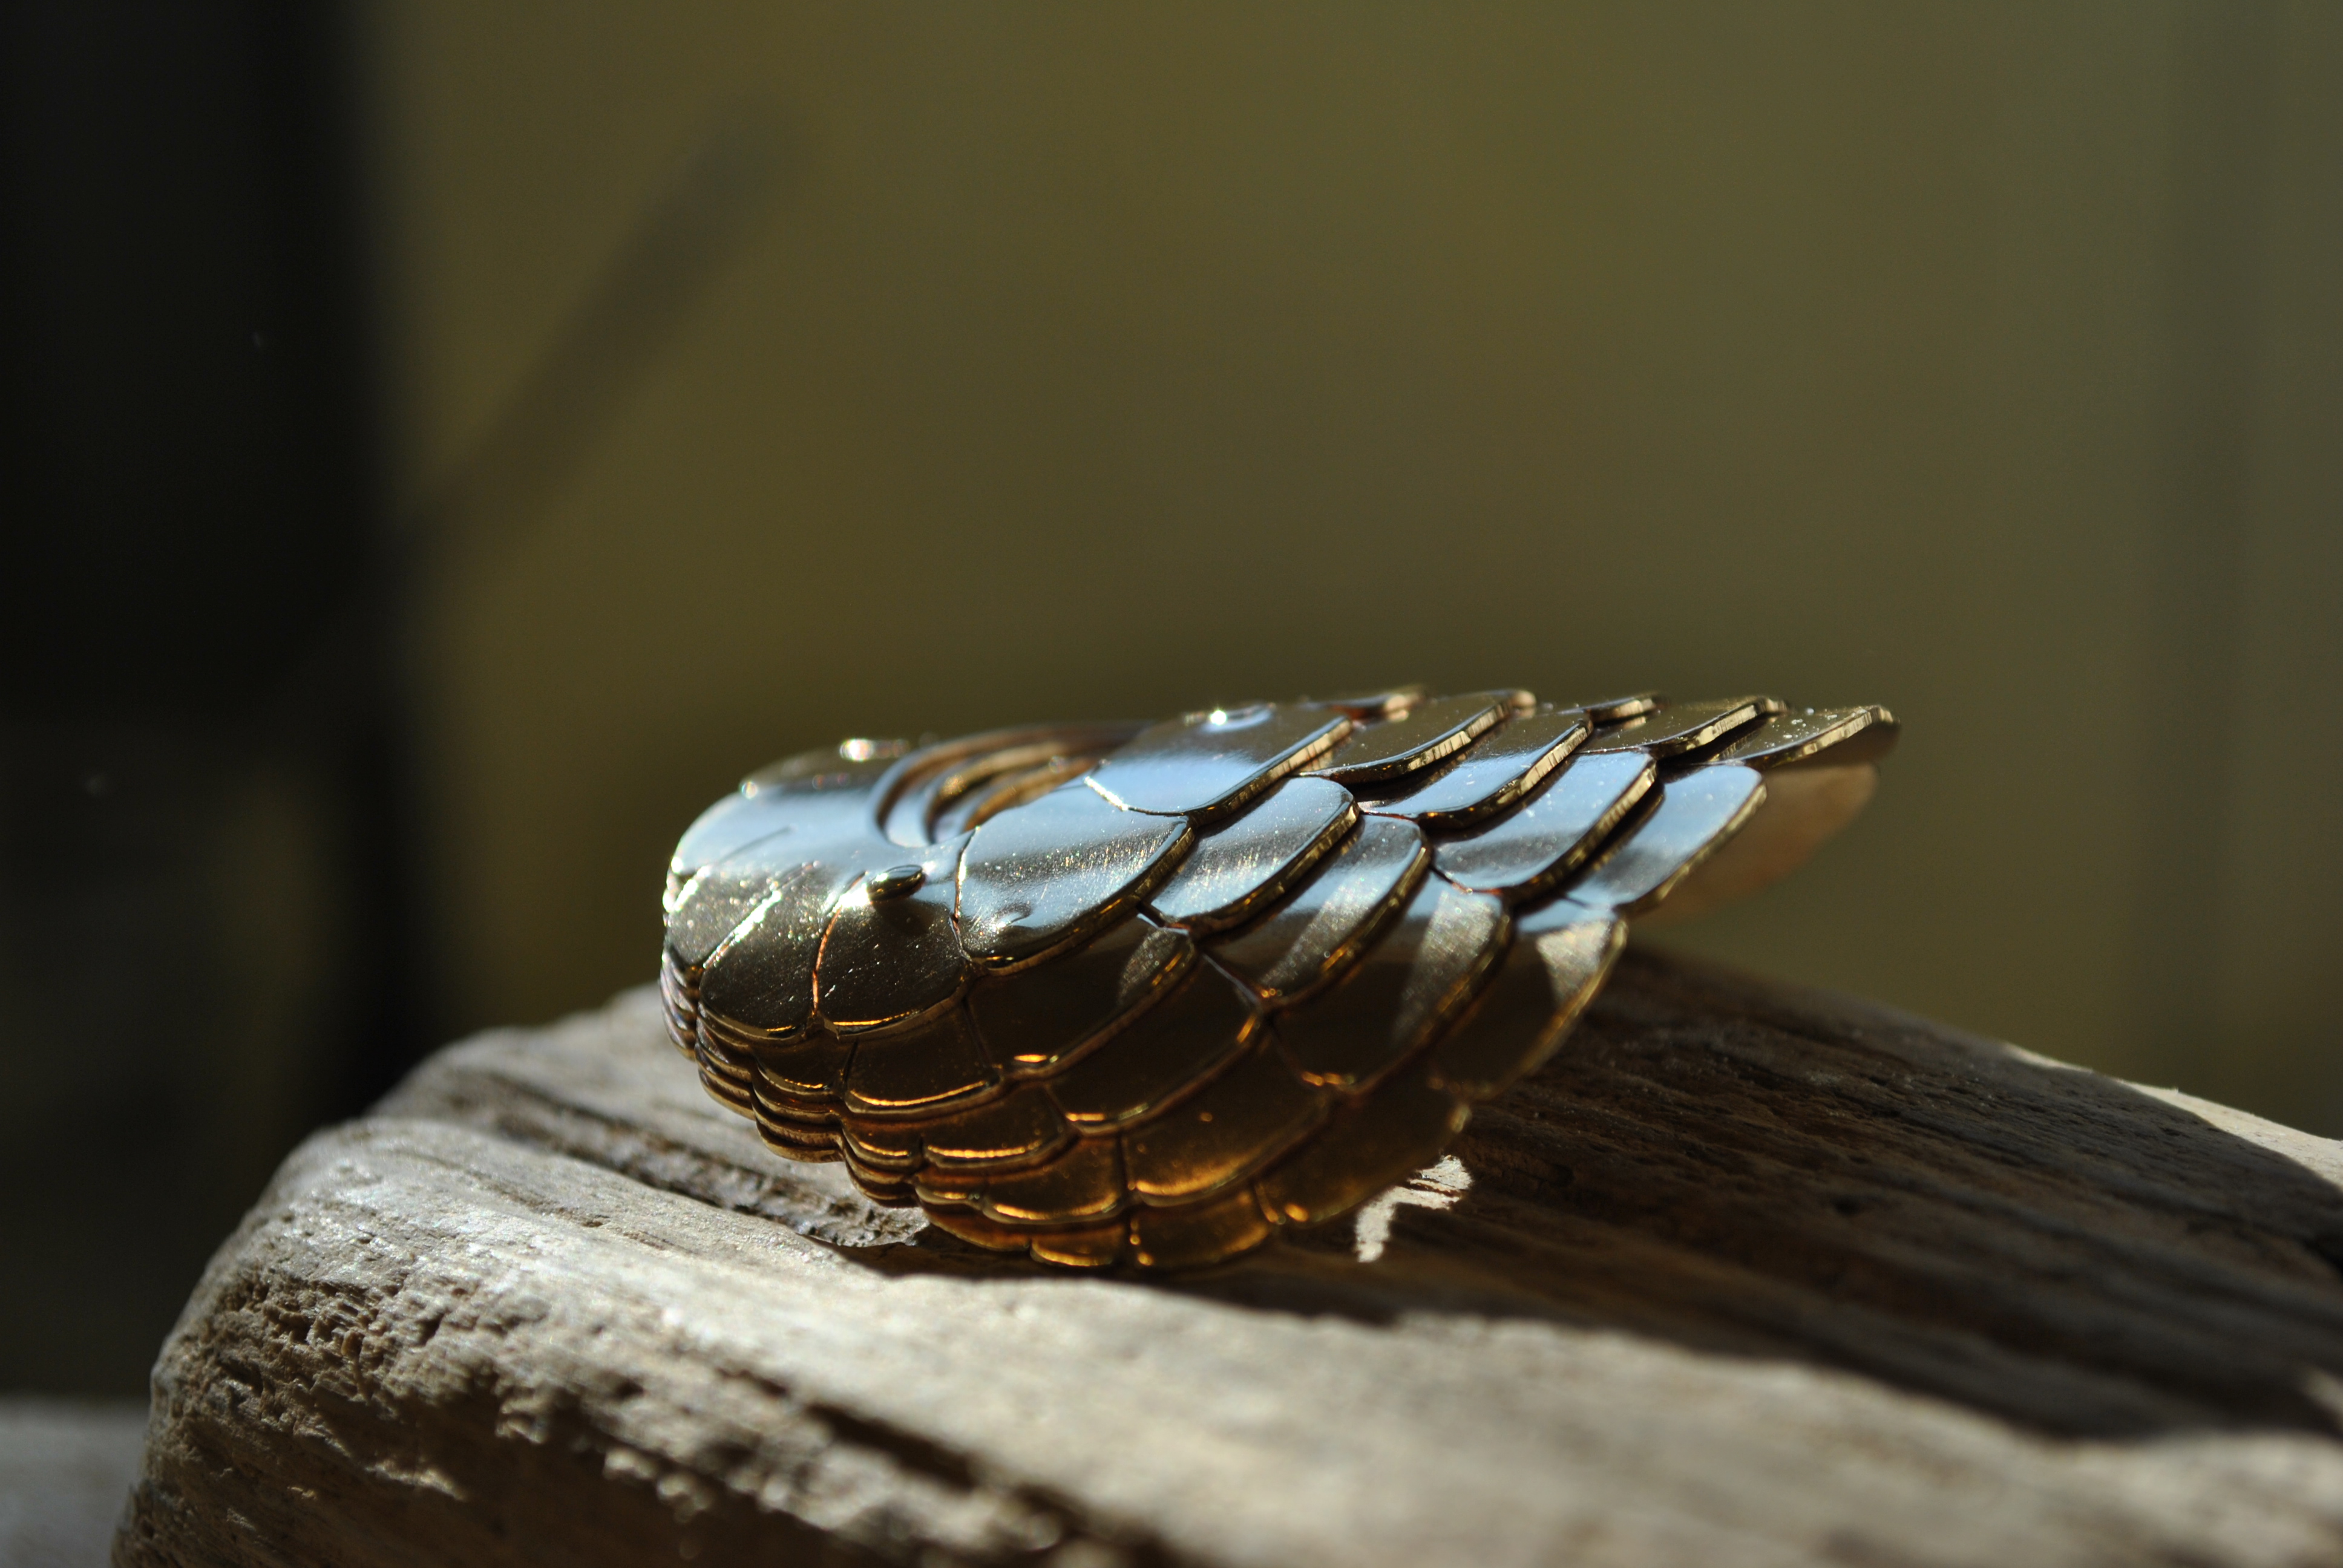
Hazel-Rah Rabbit Head Badge
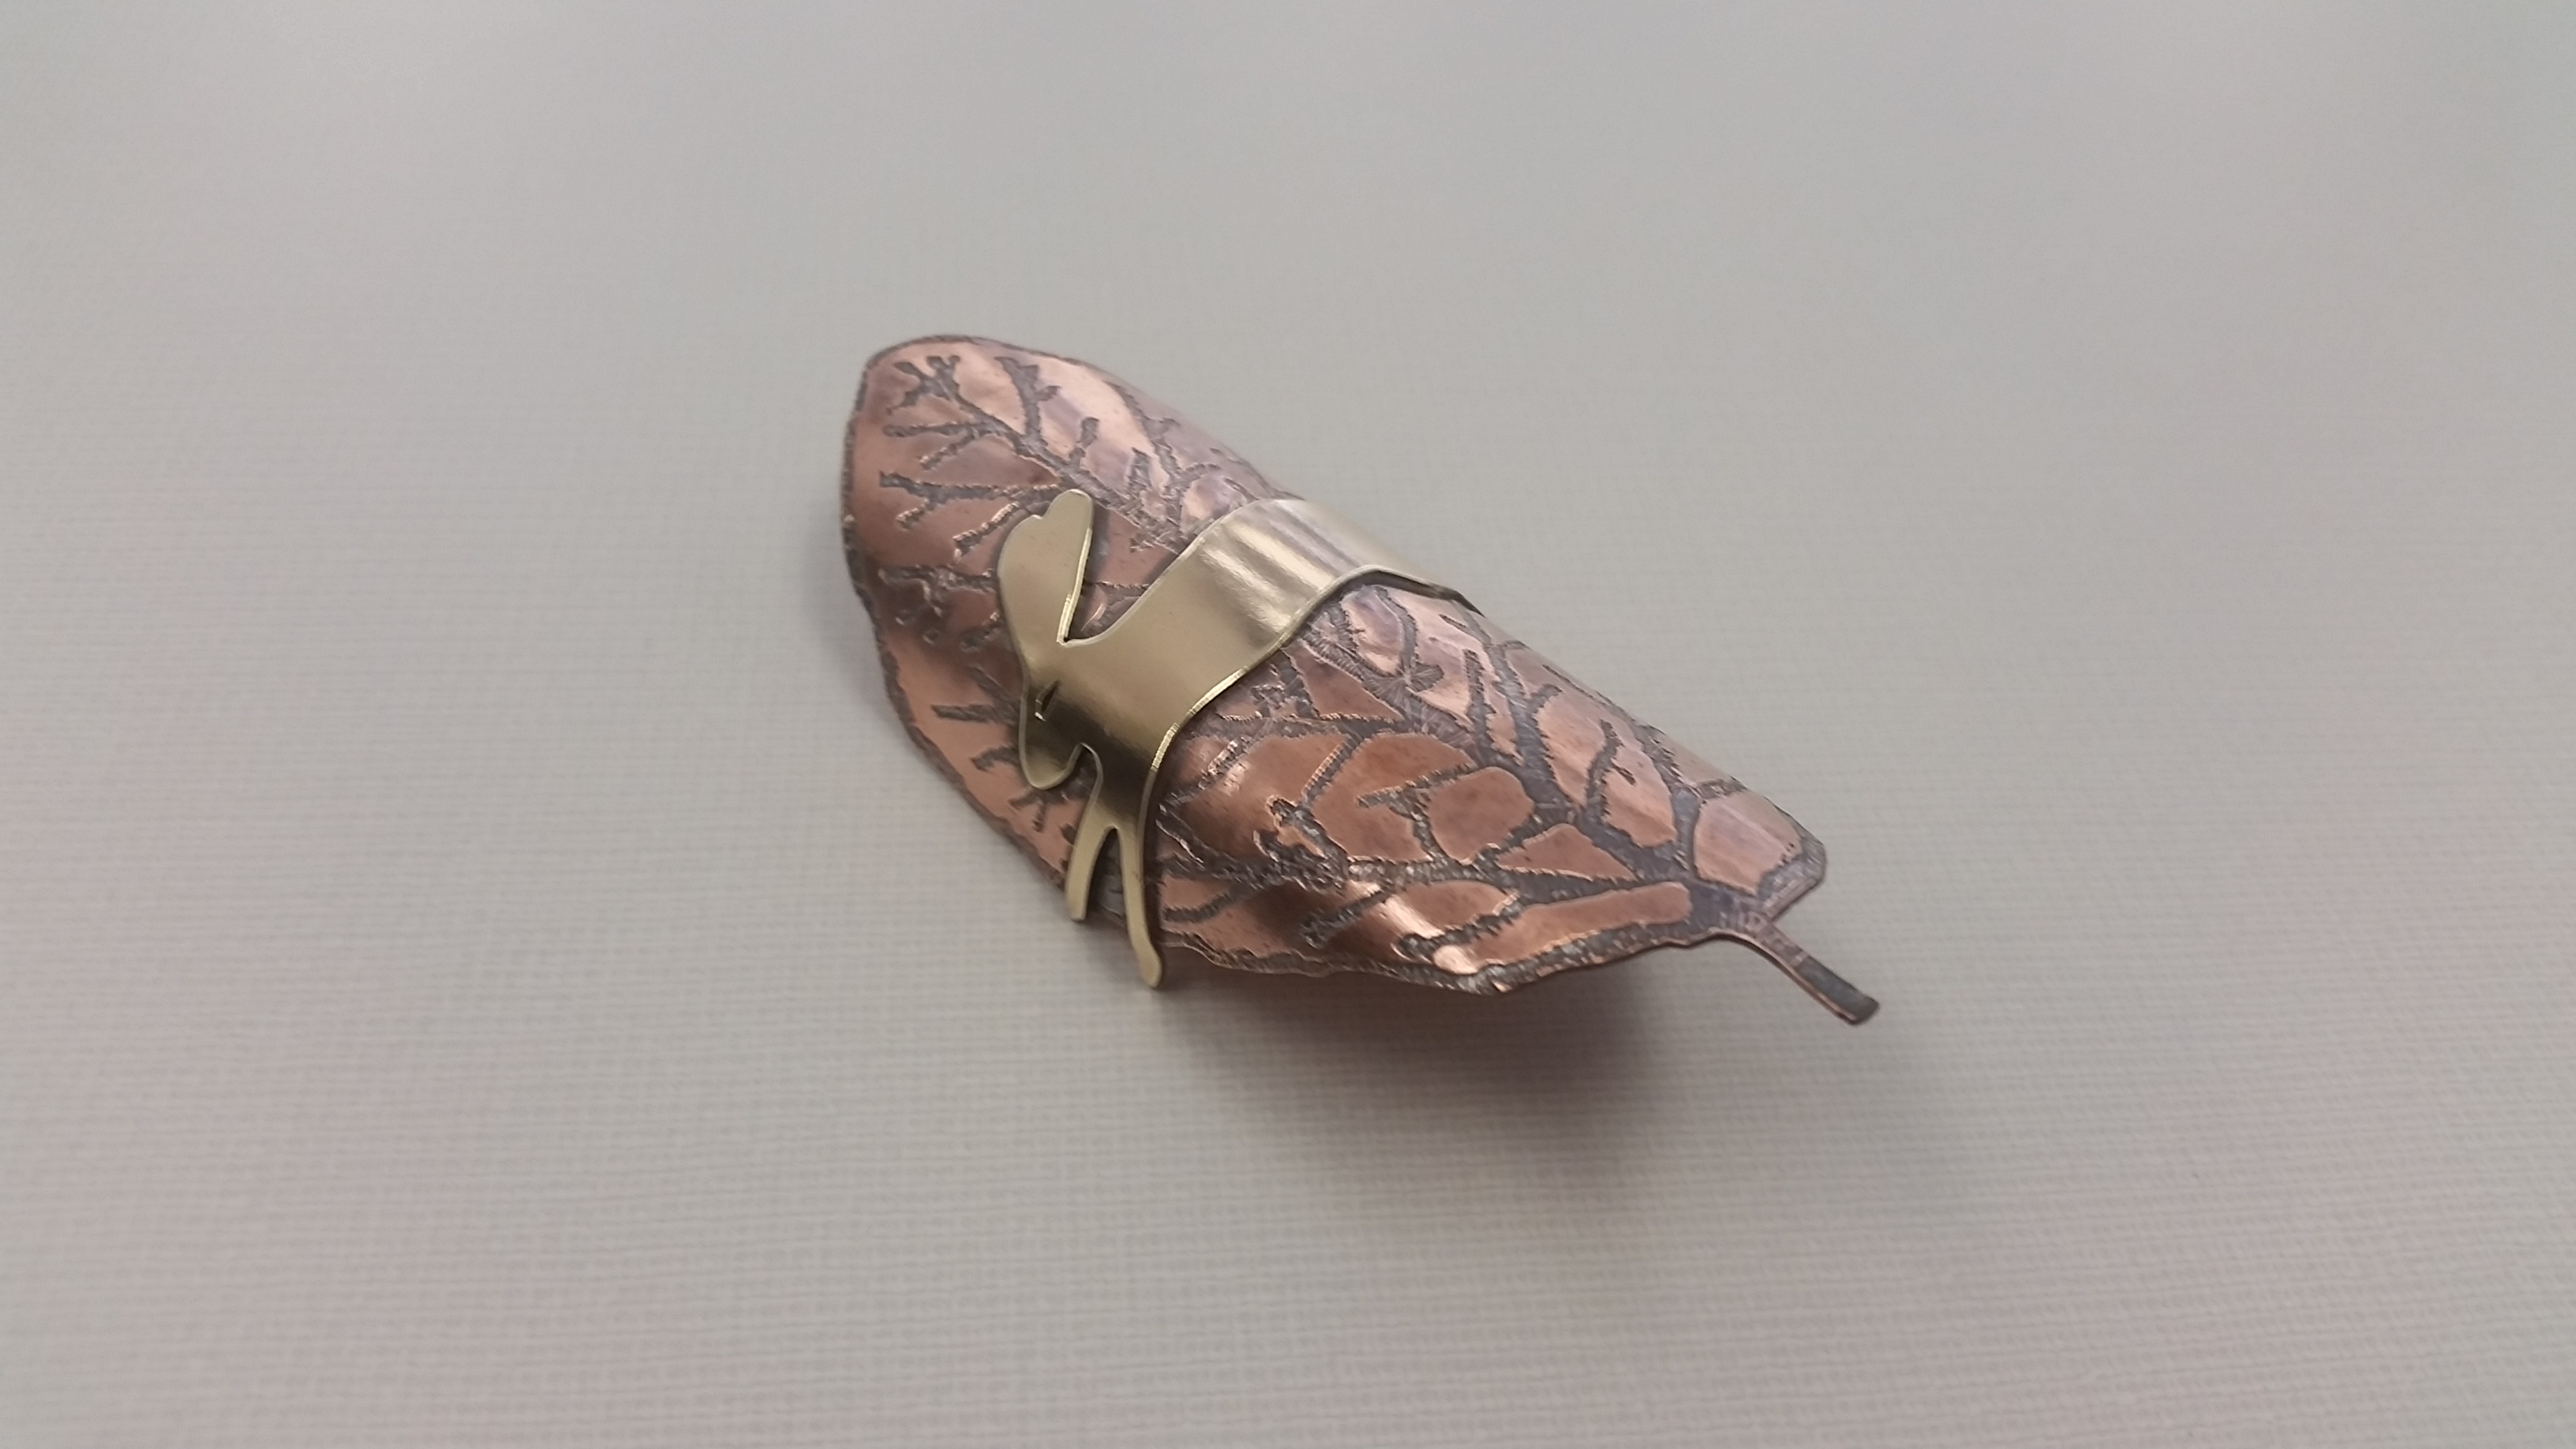
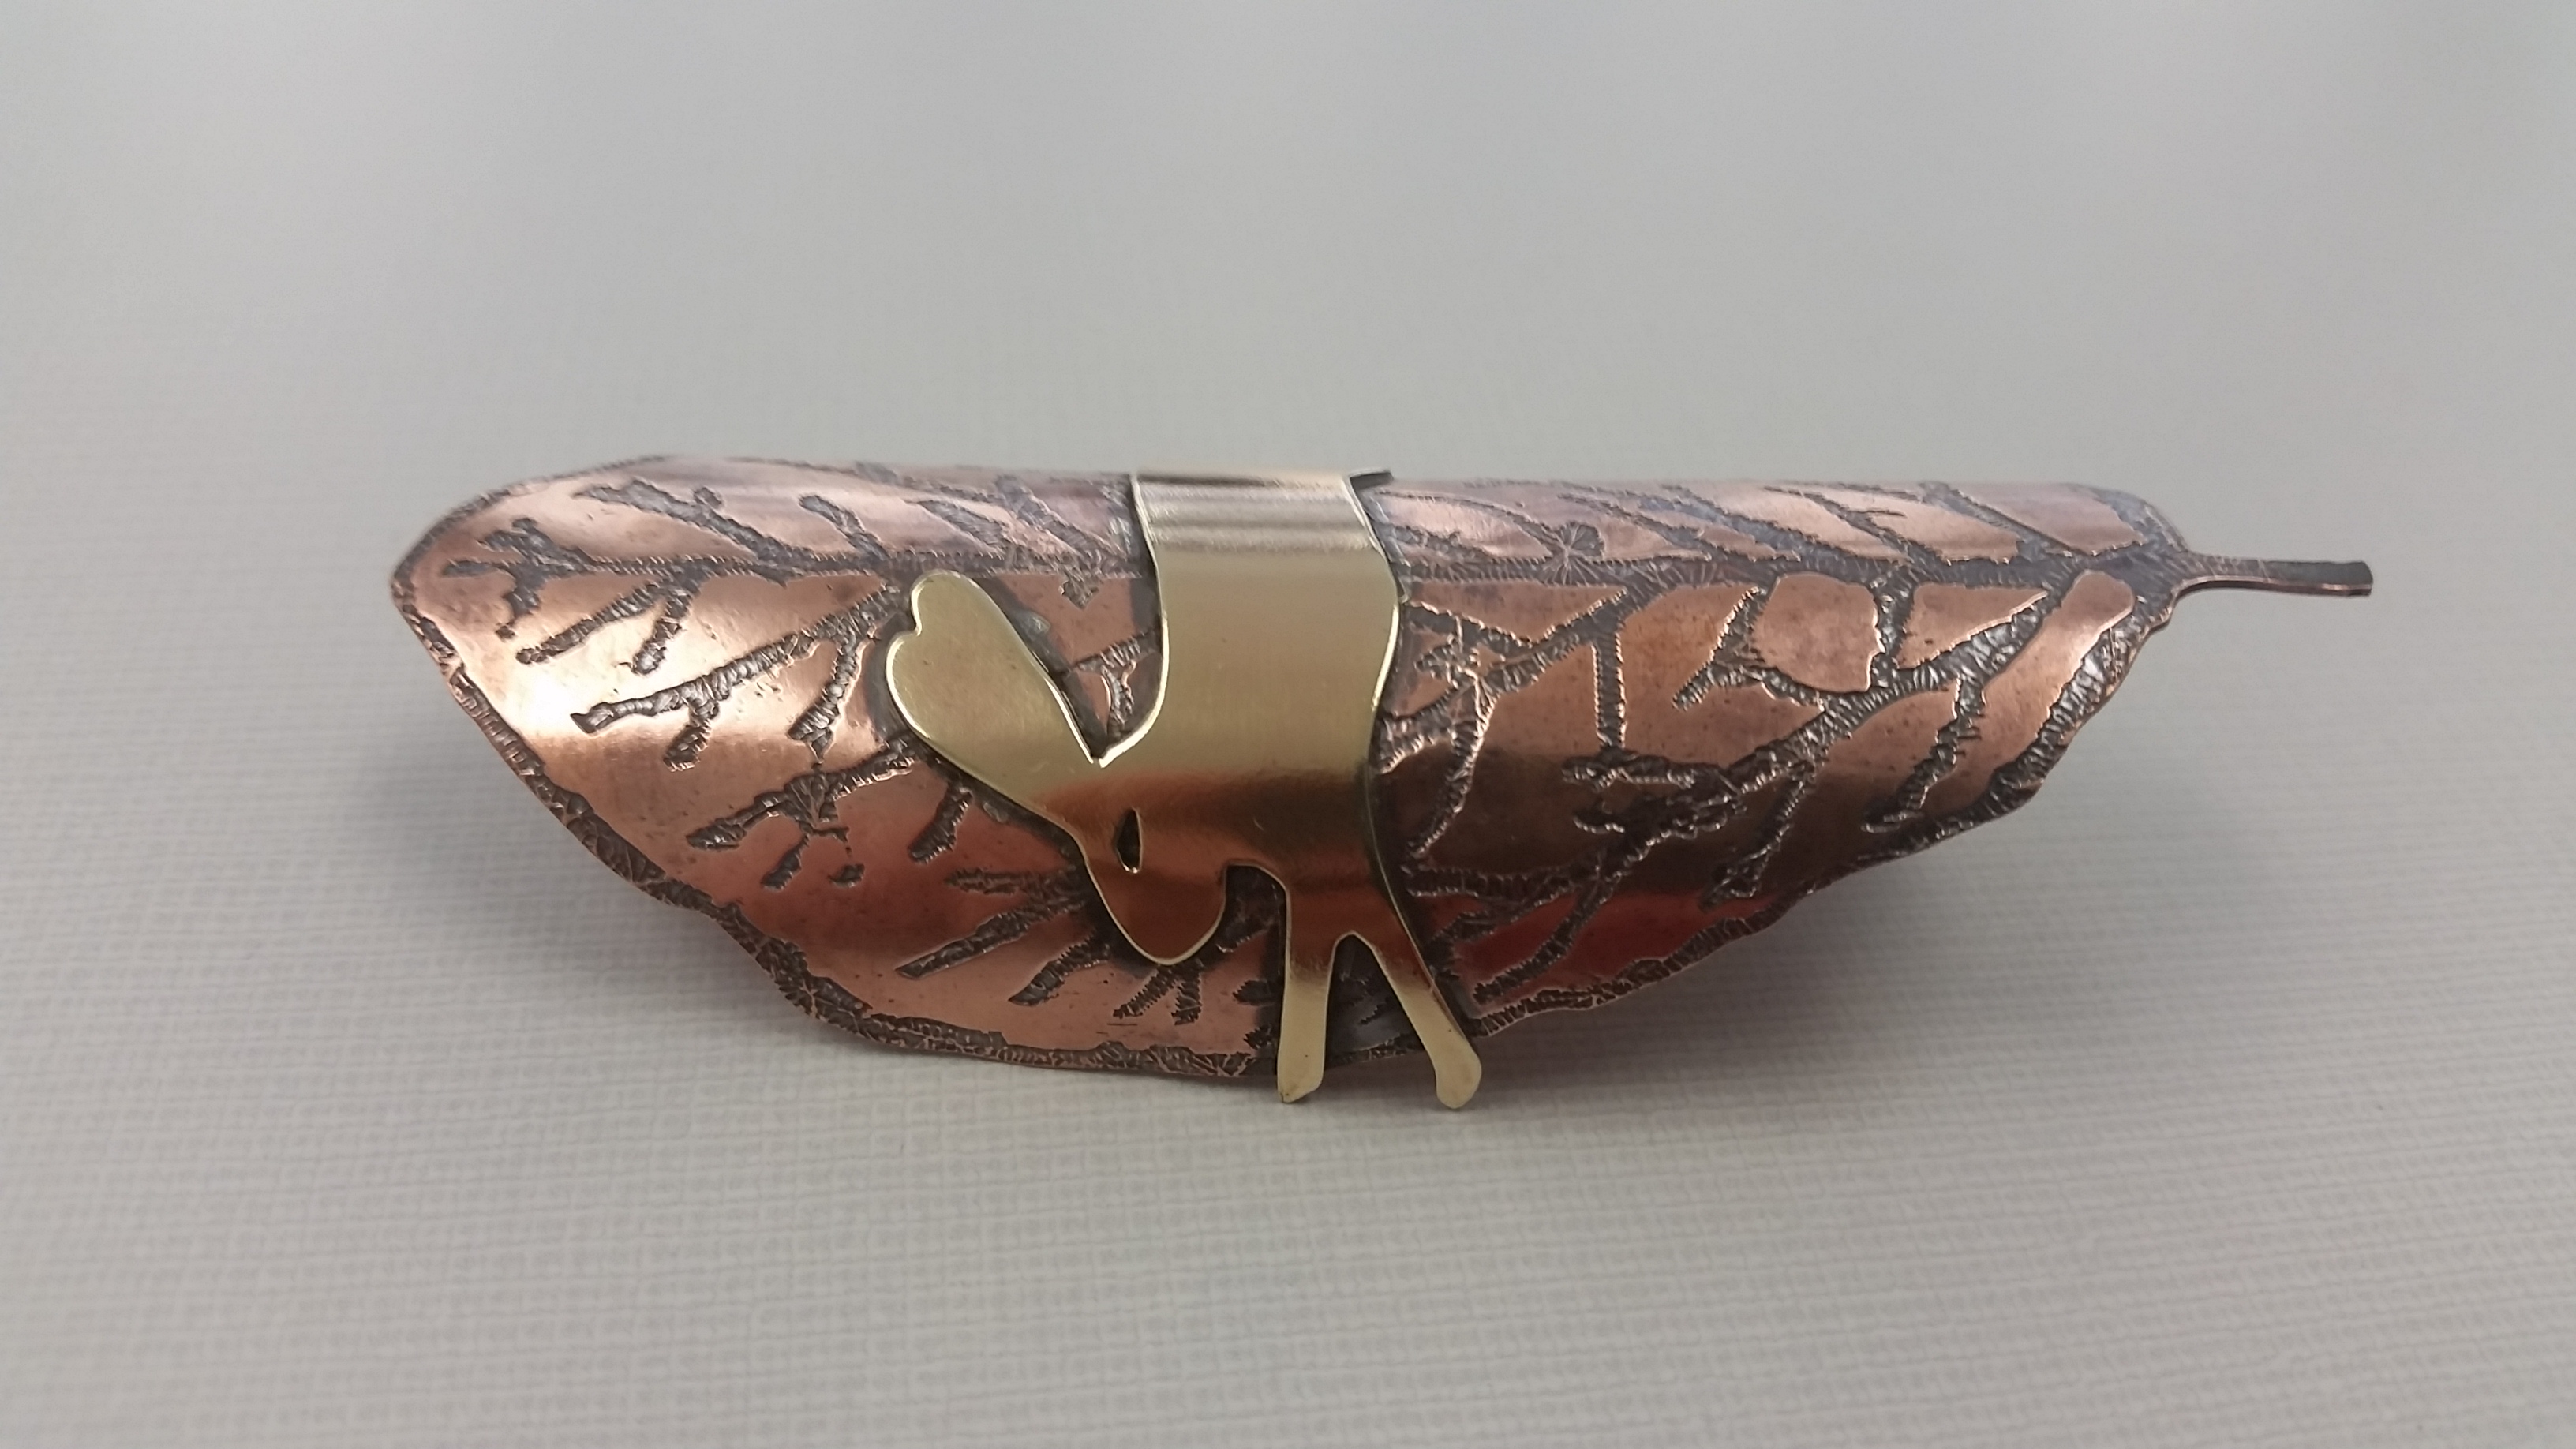
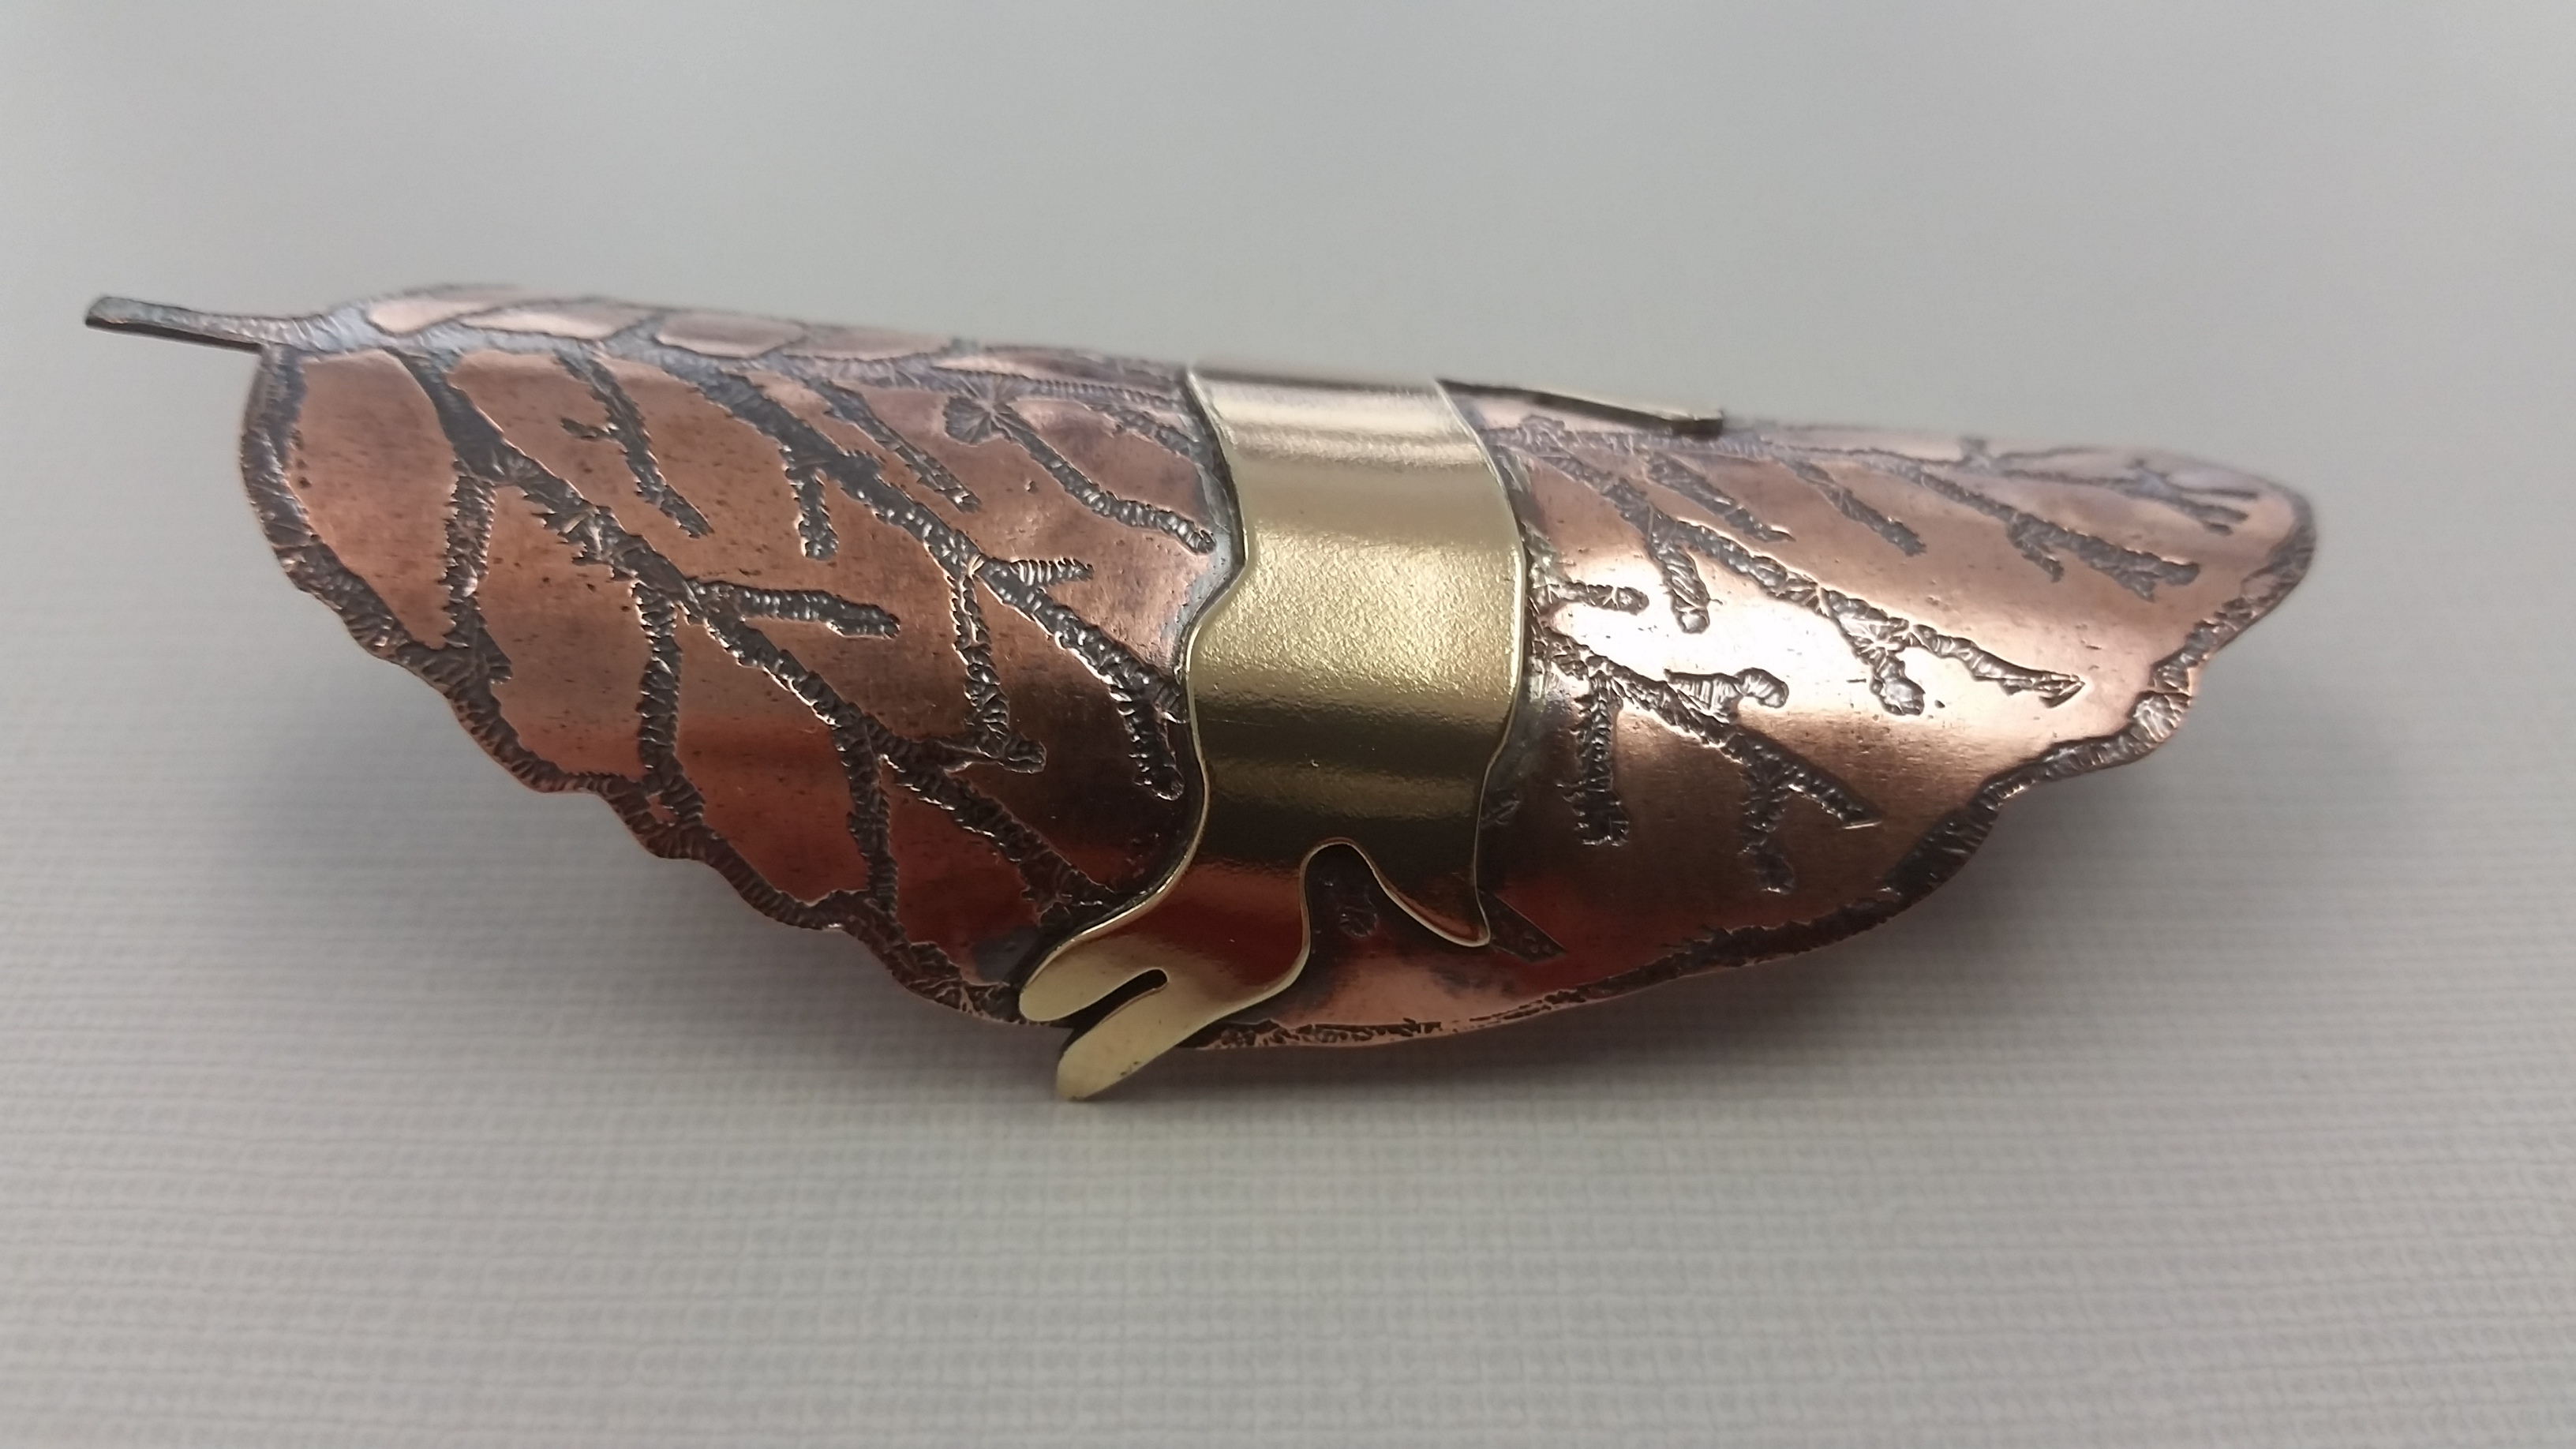
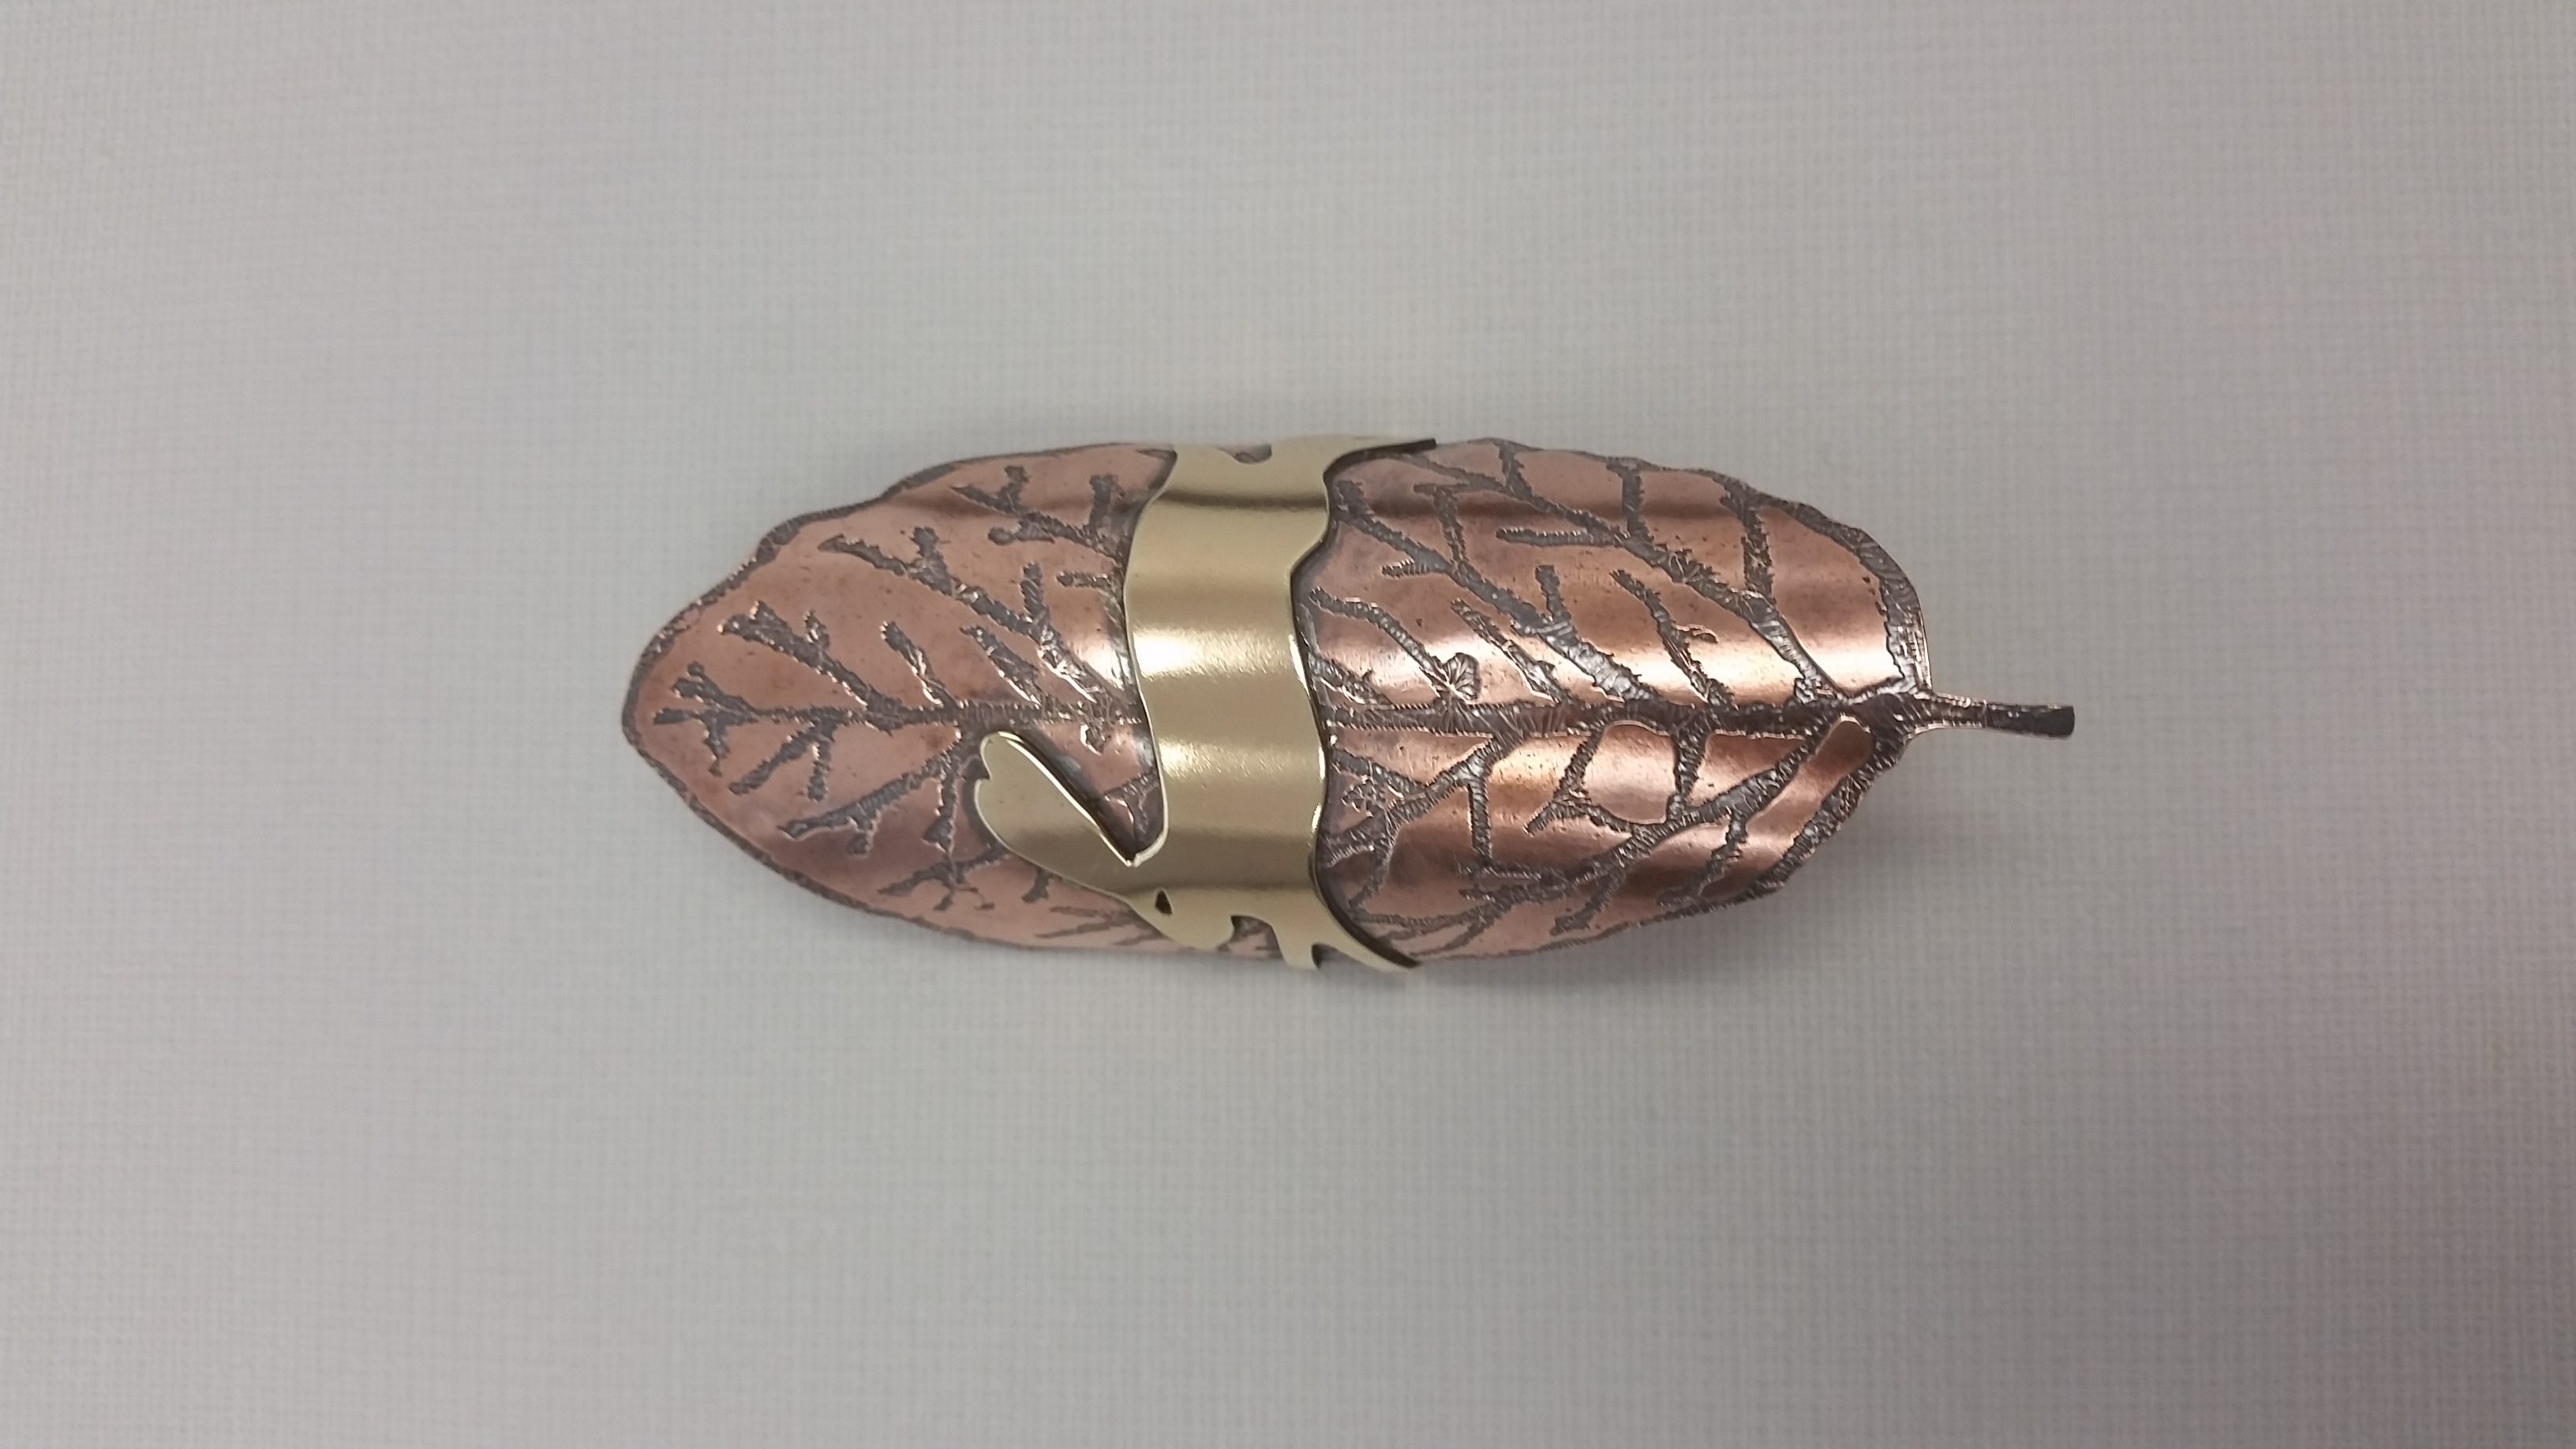
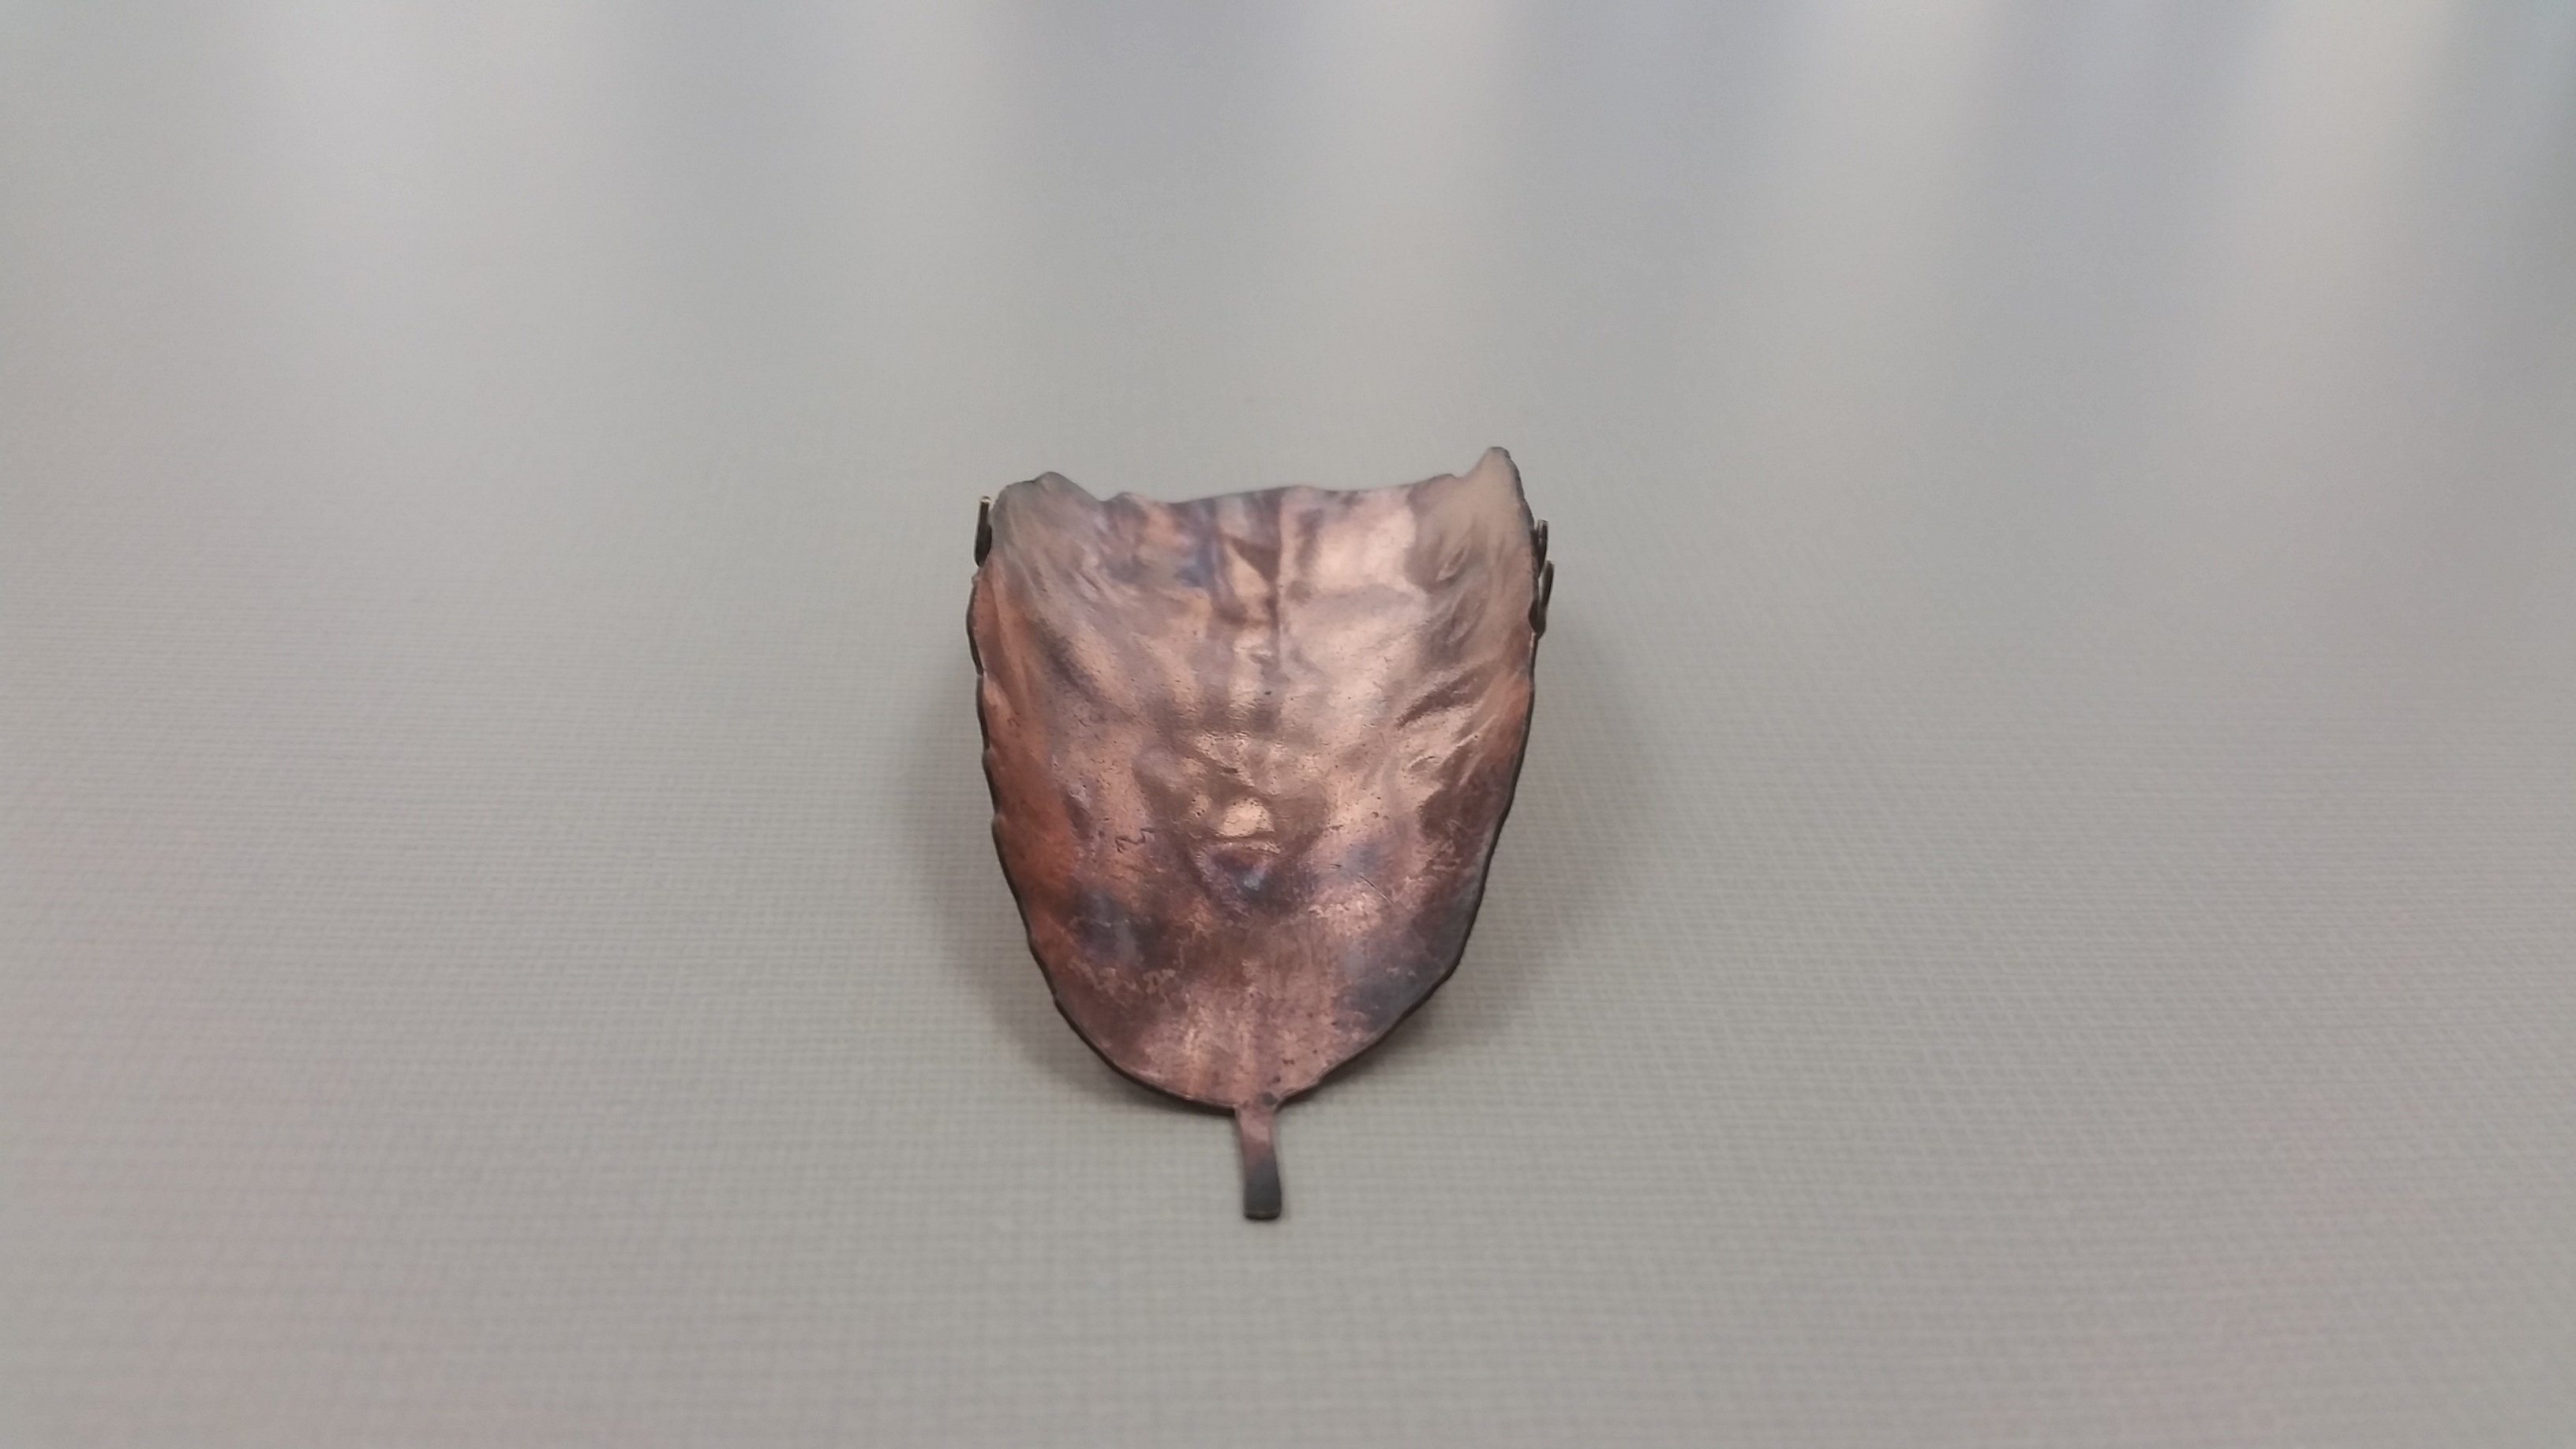
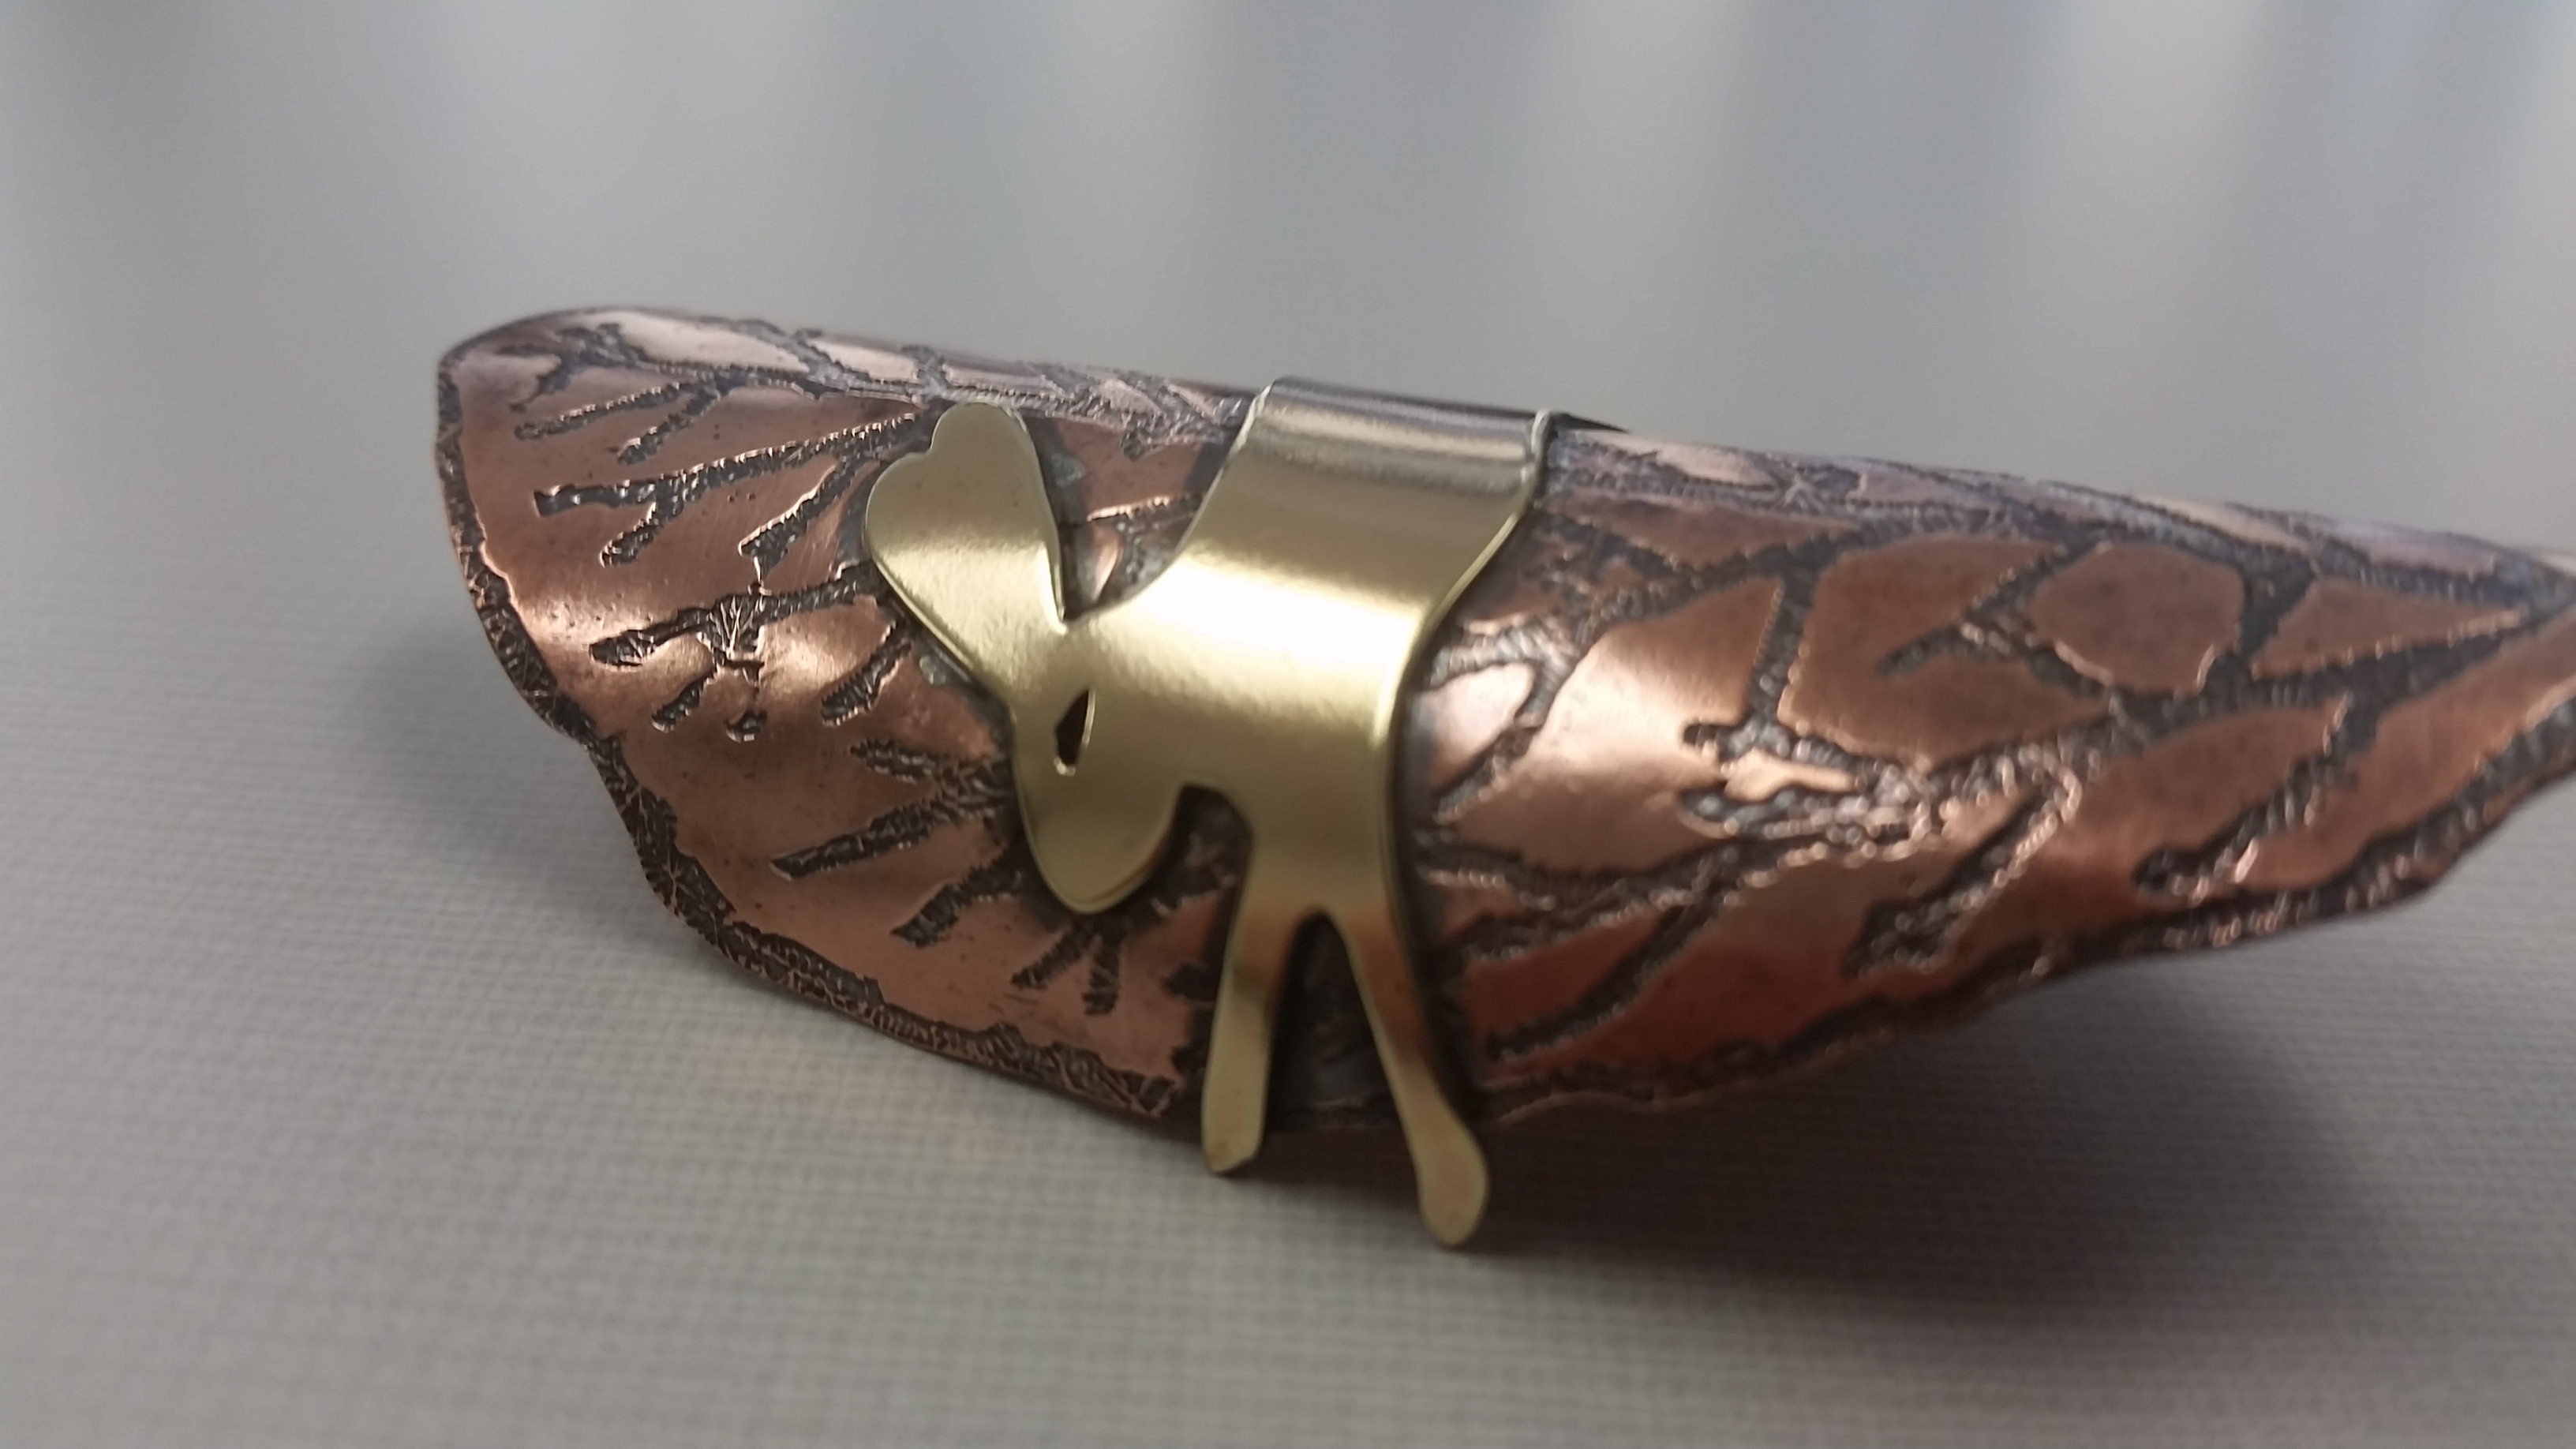
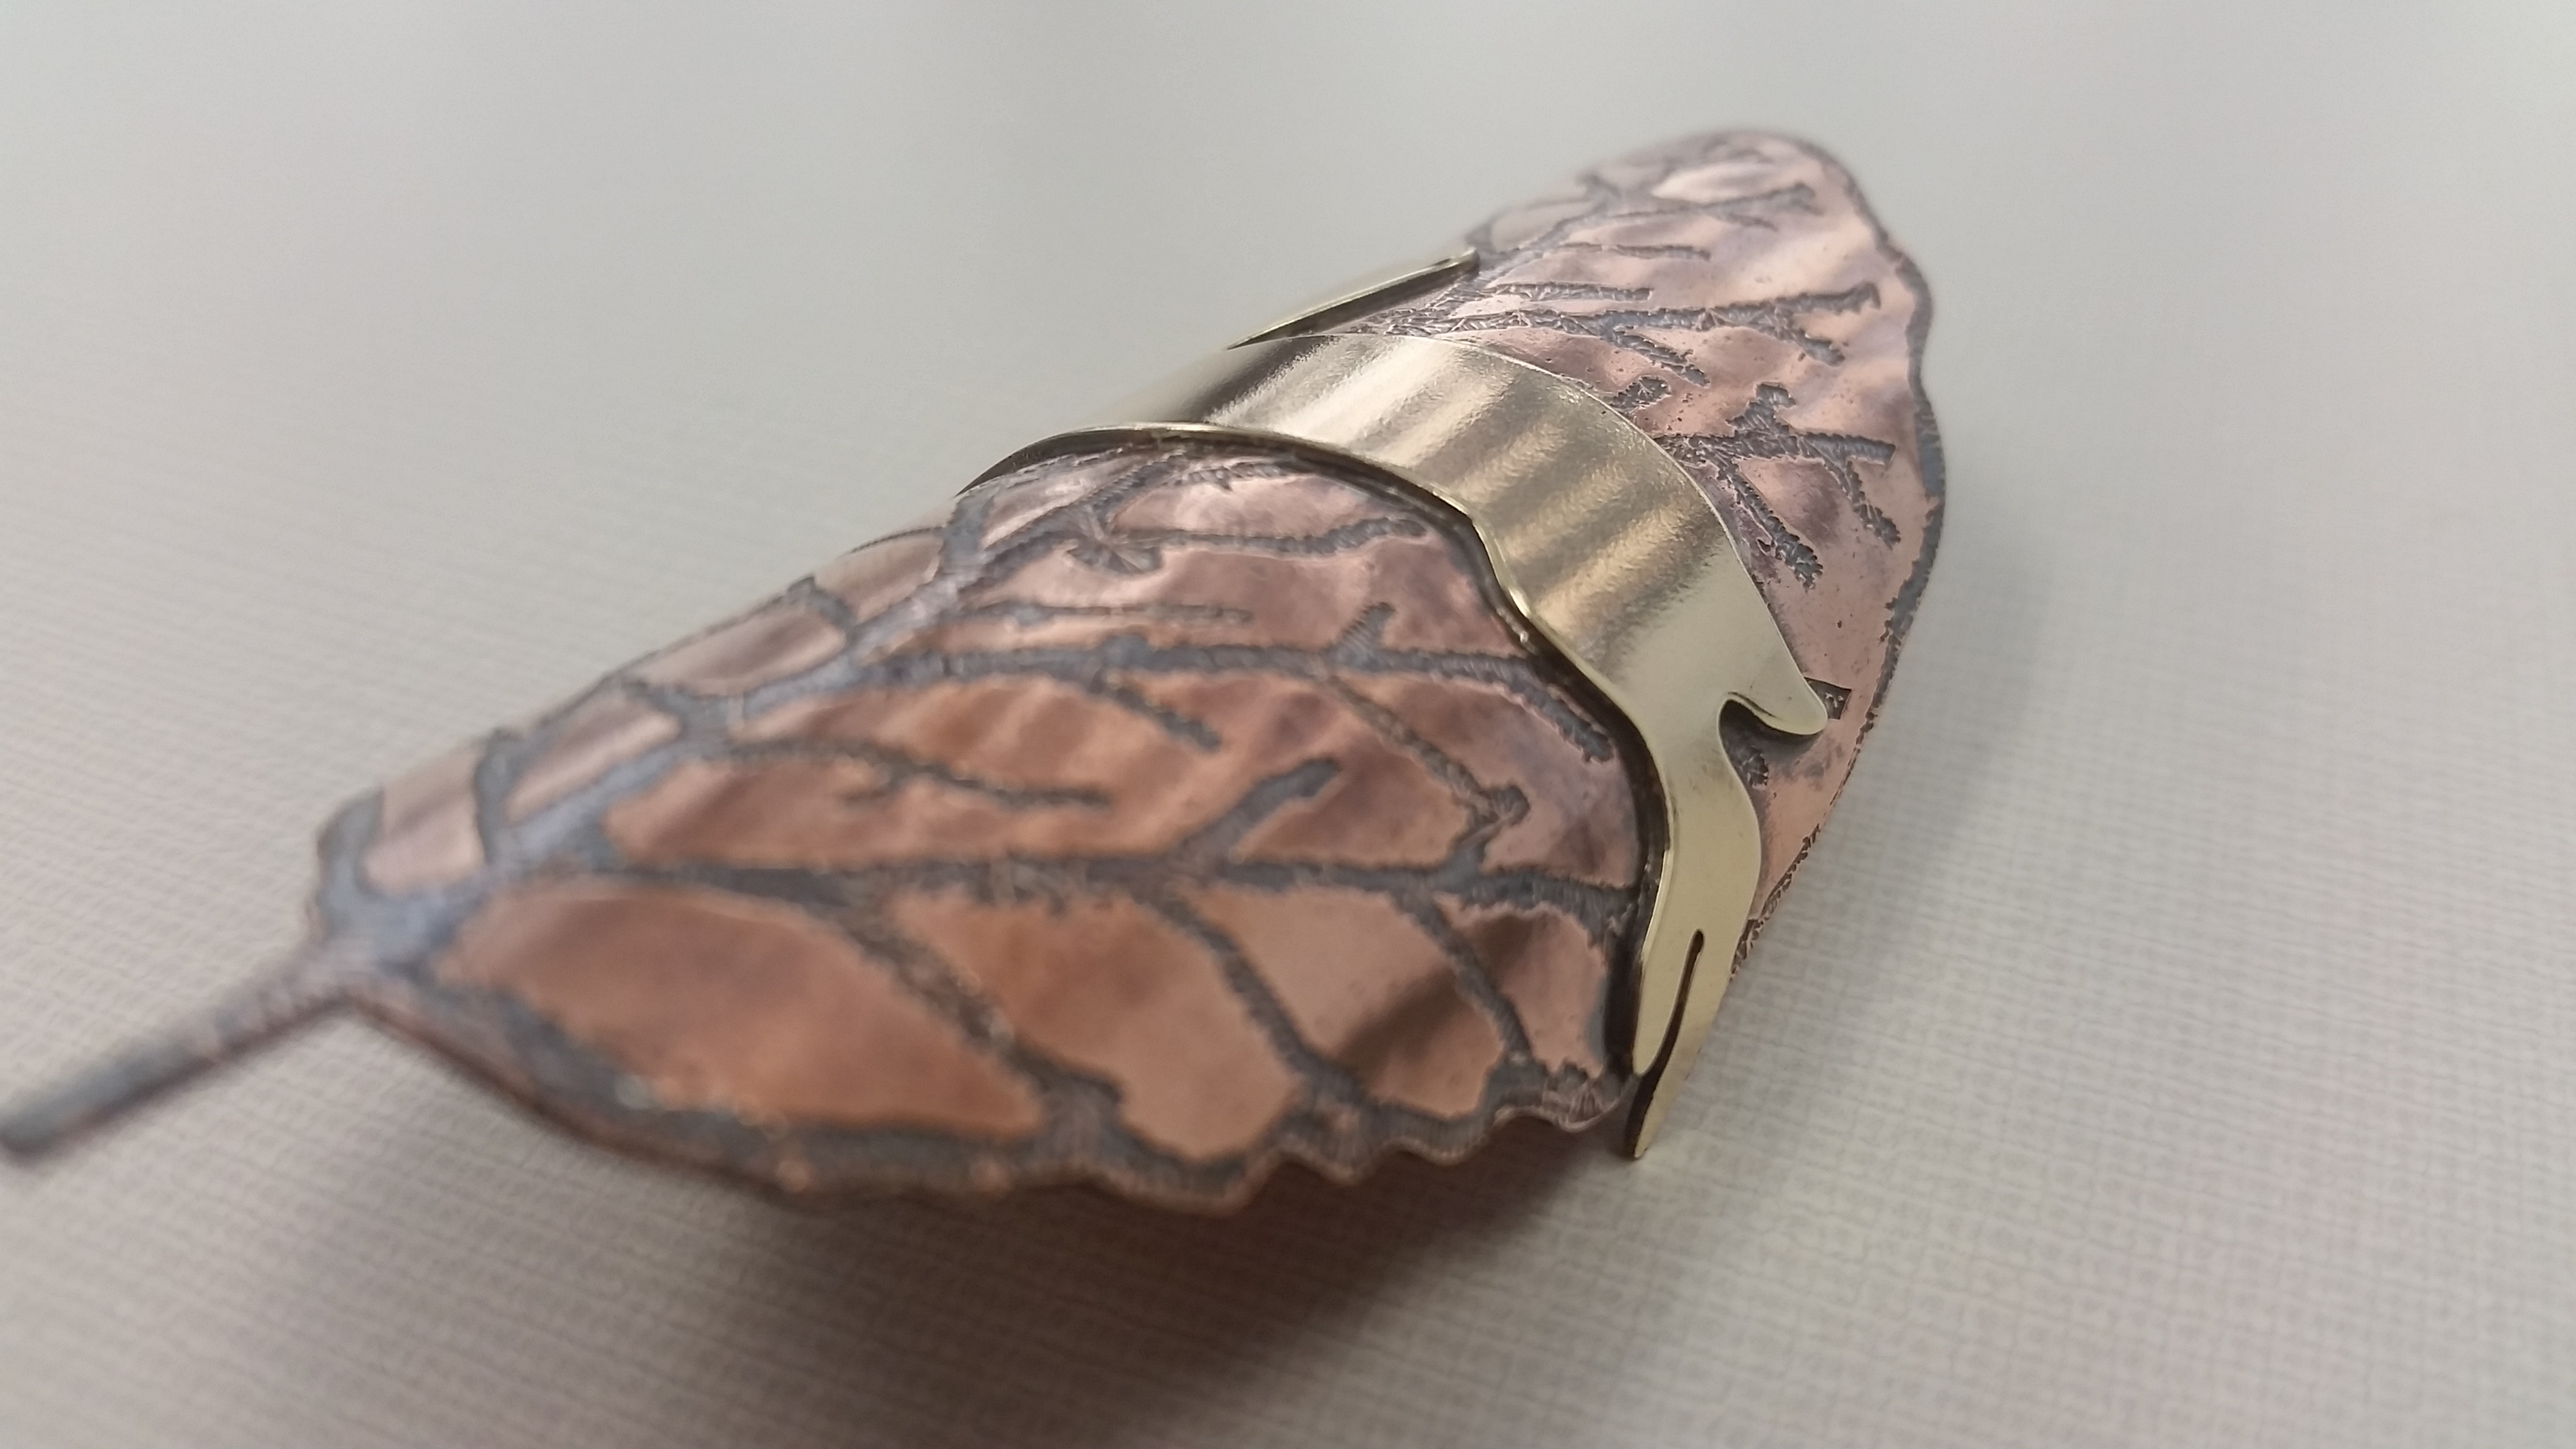
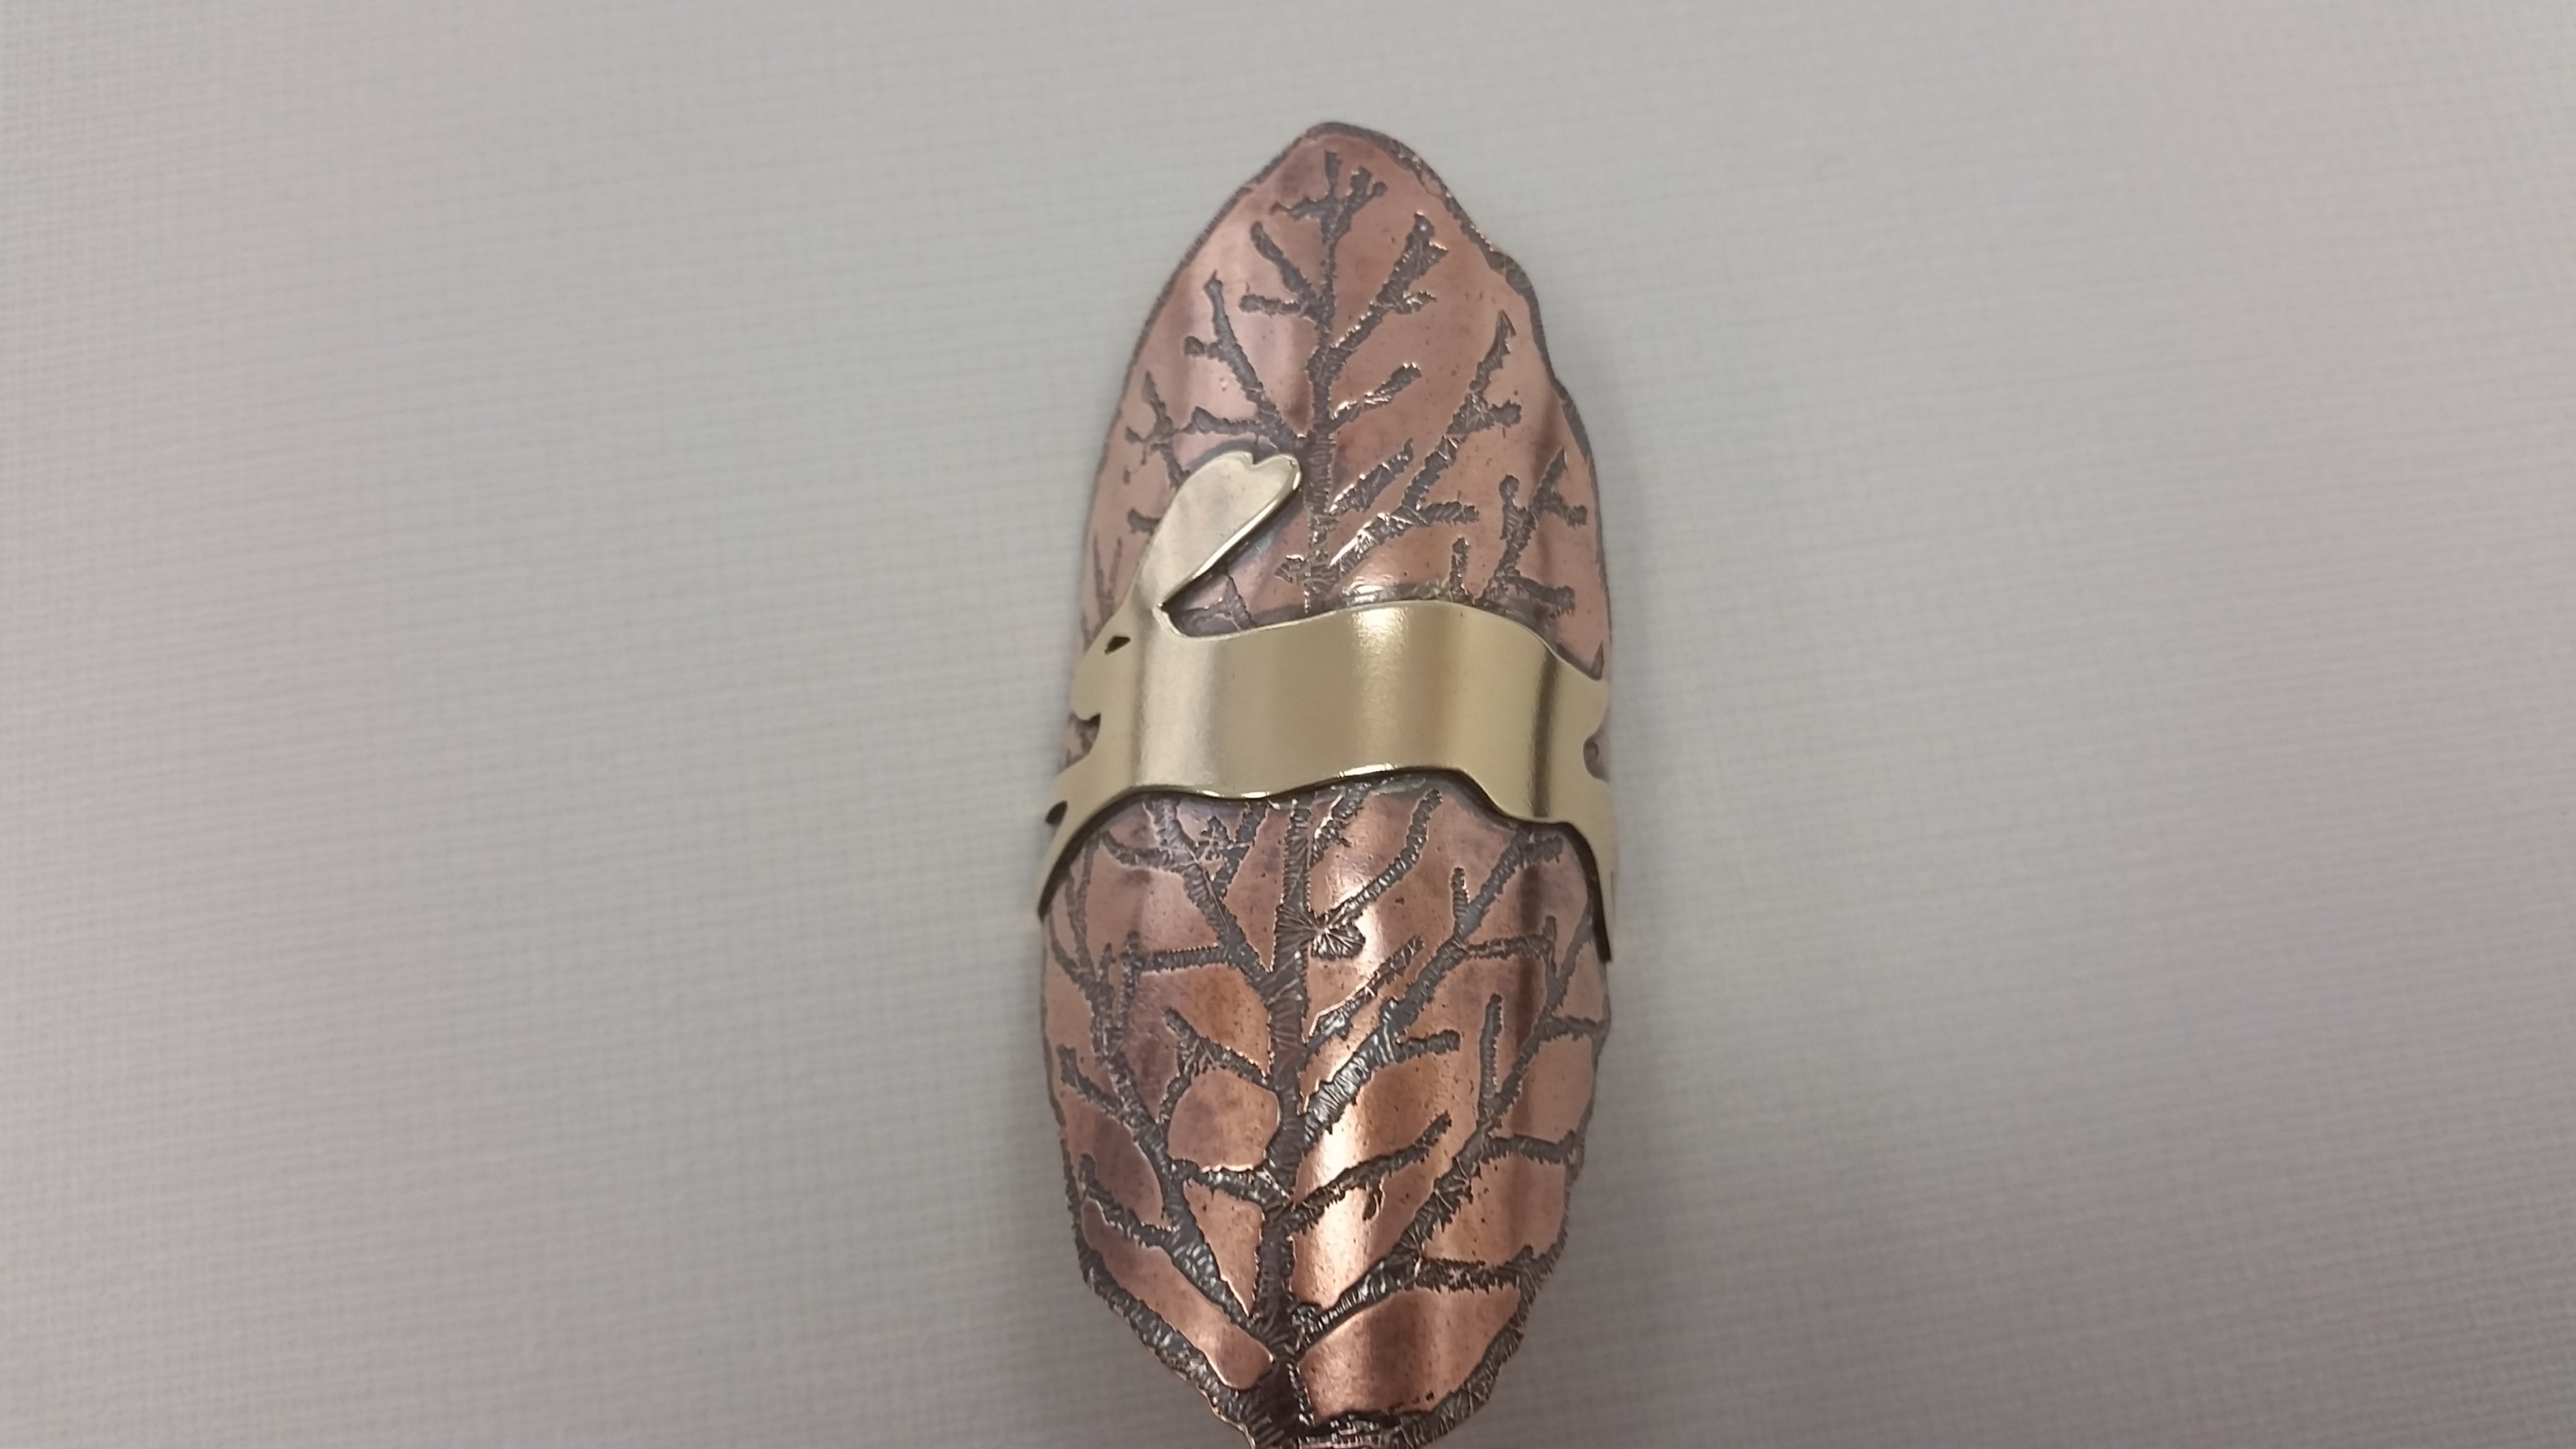
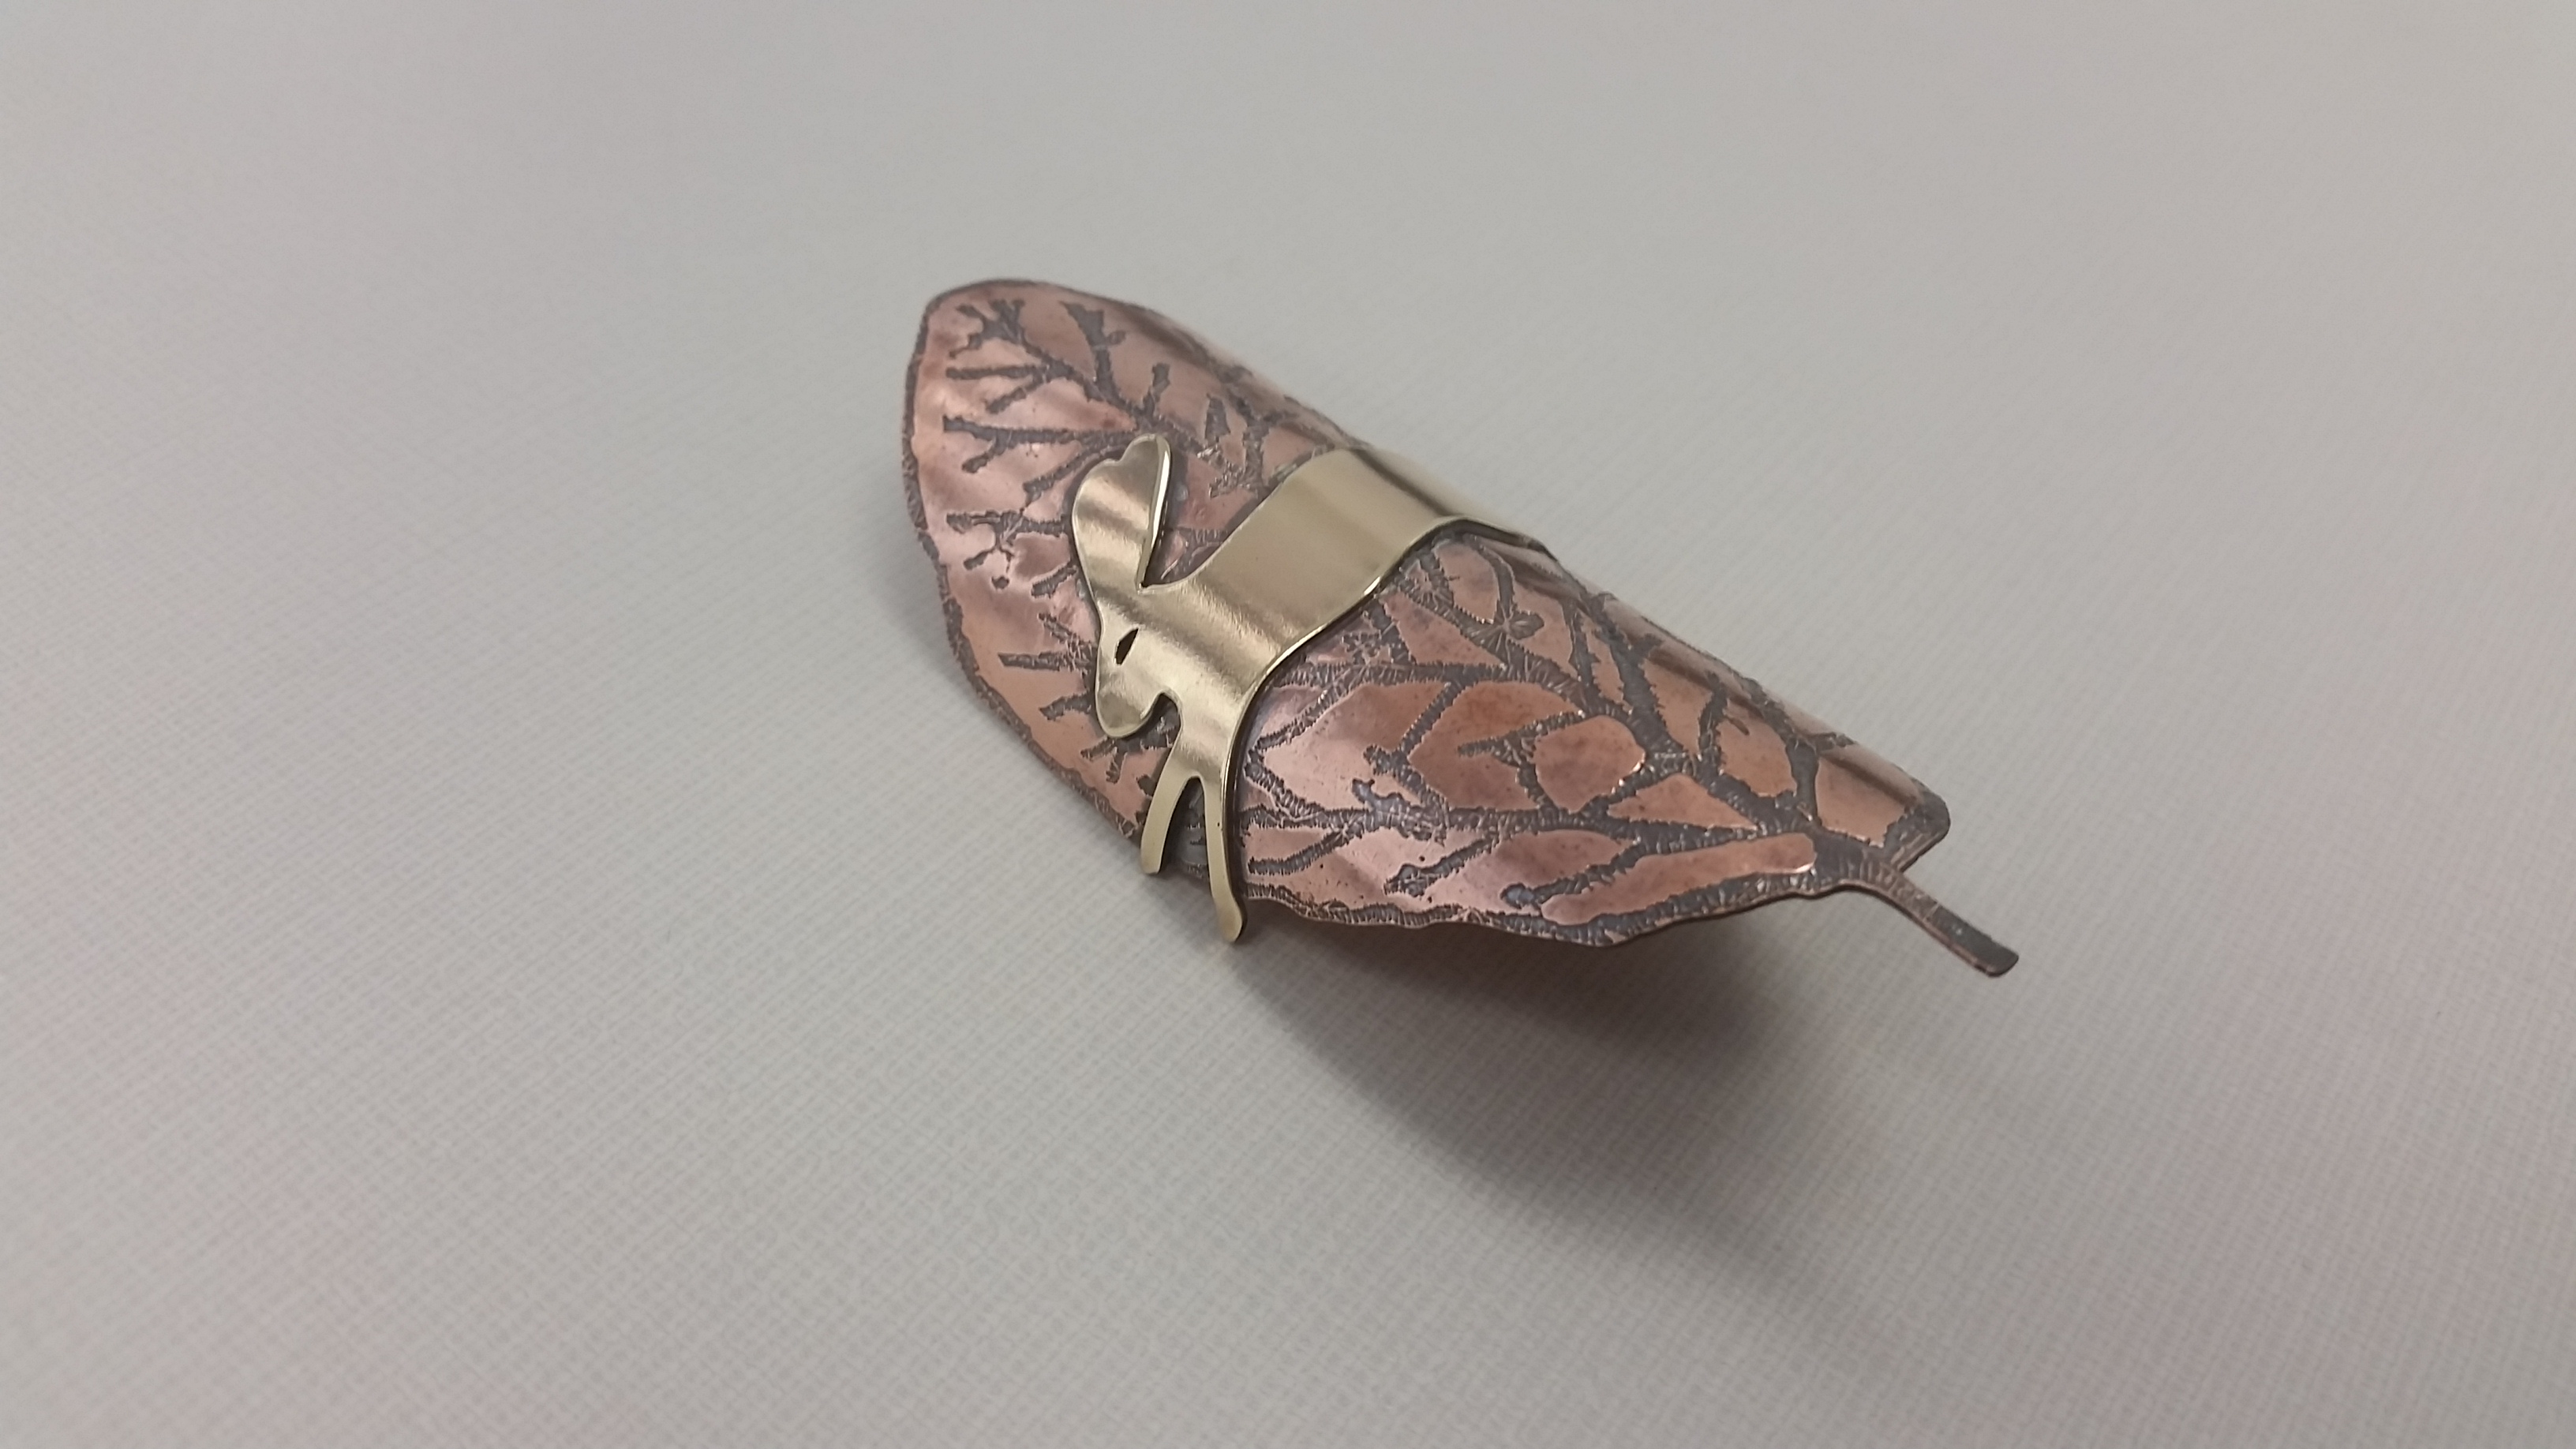
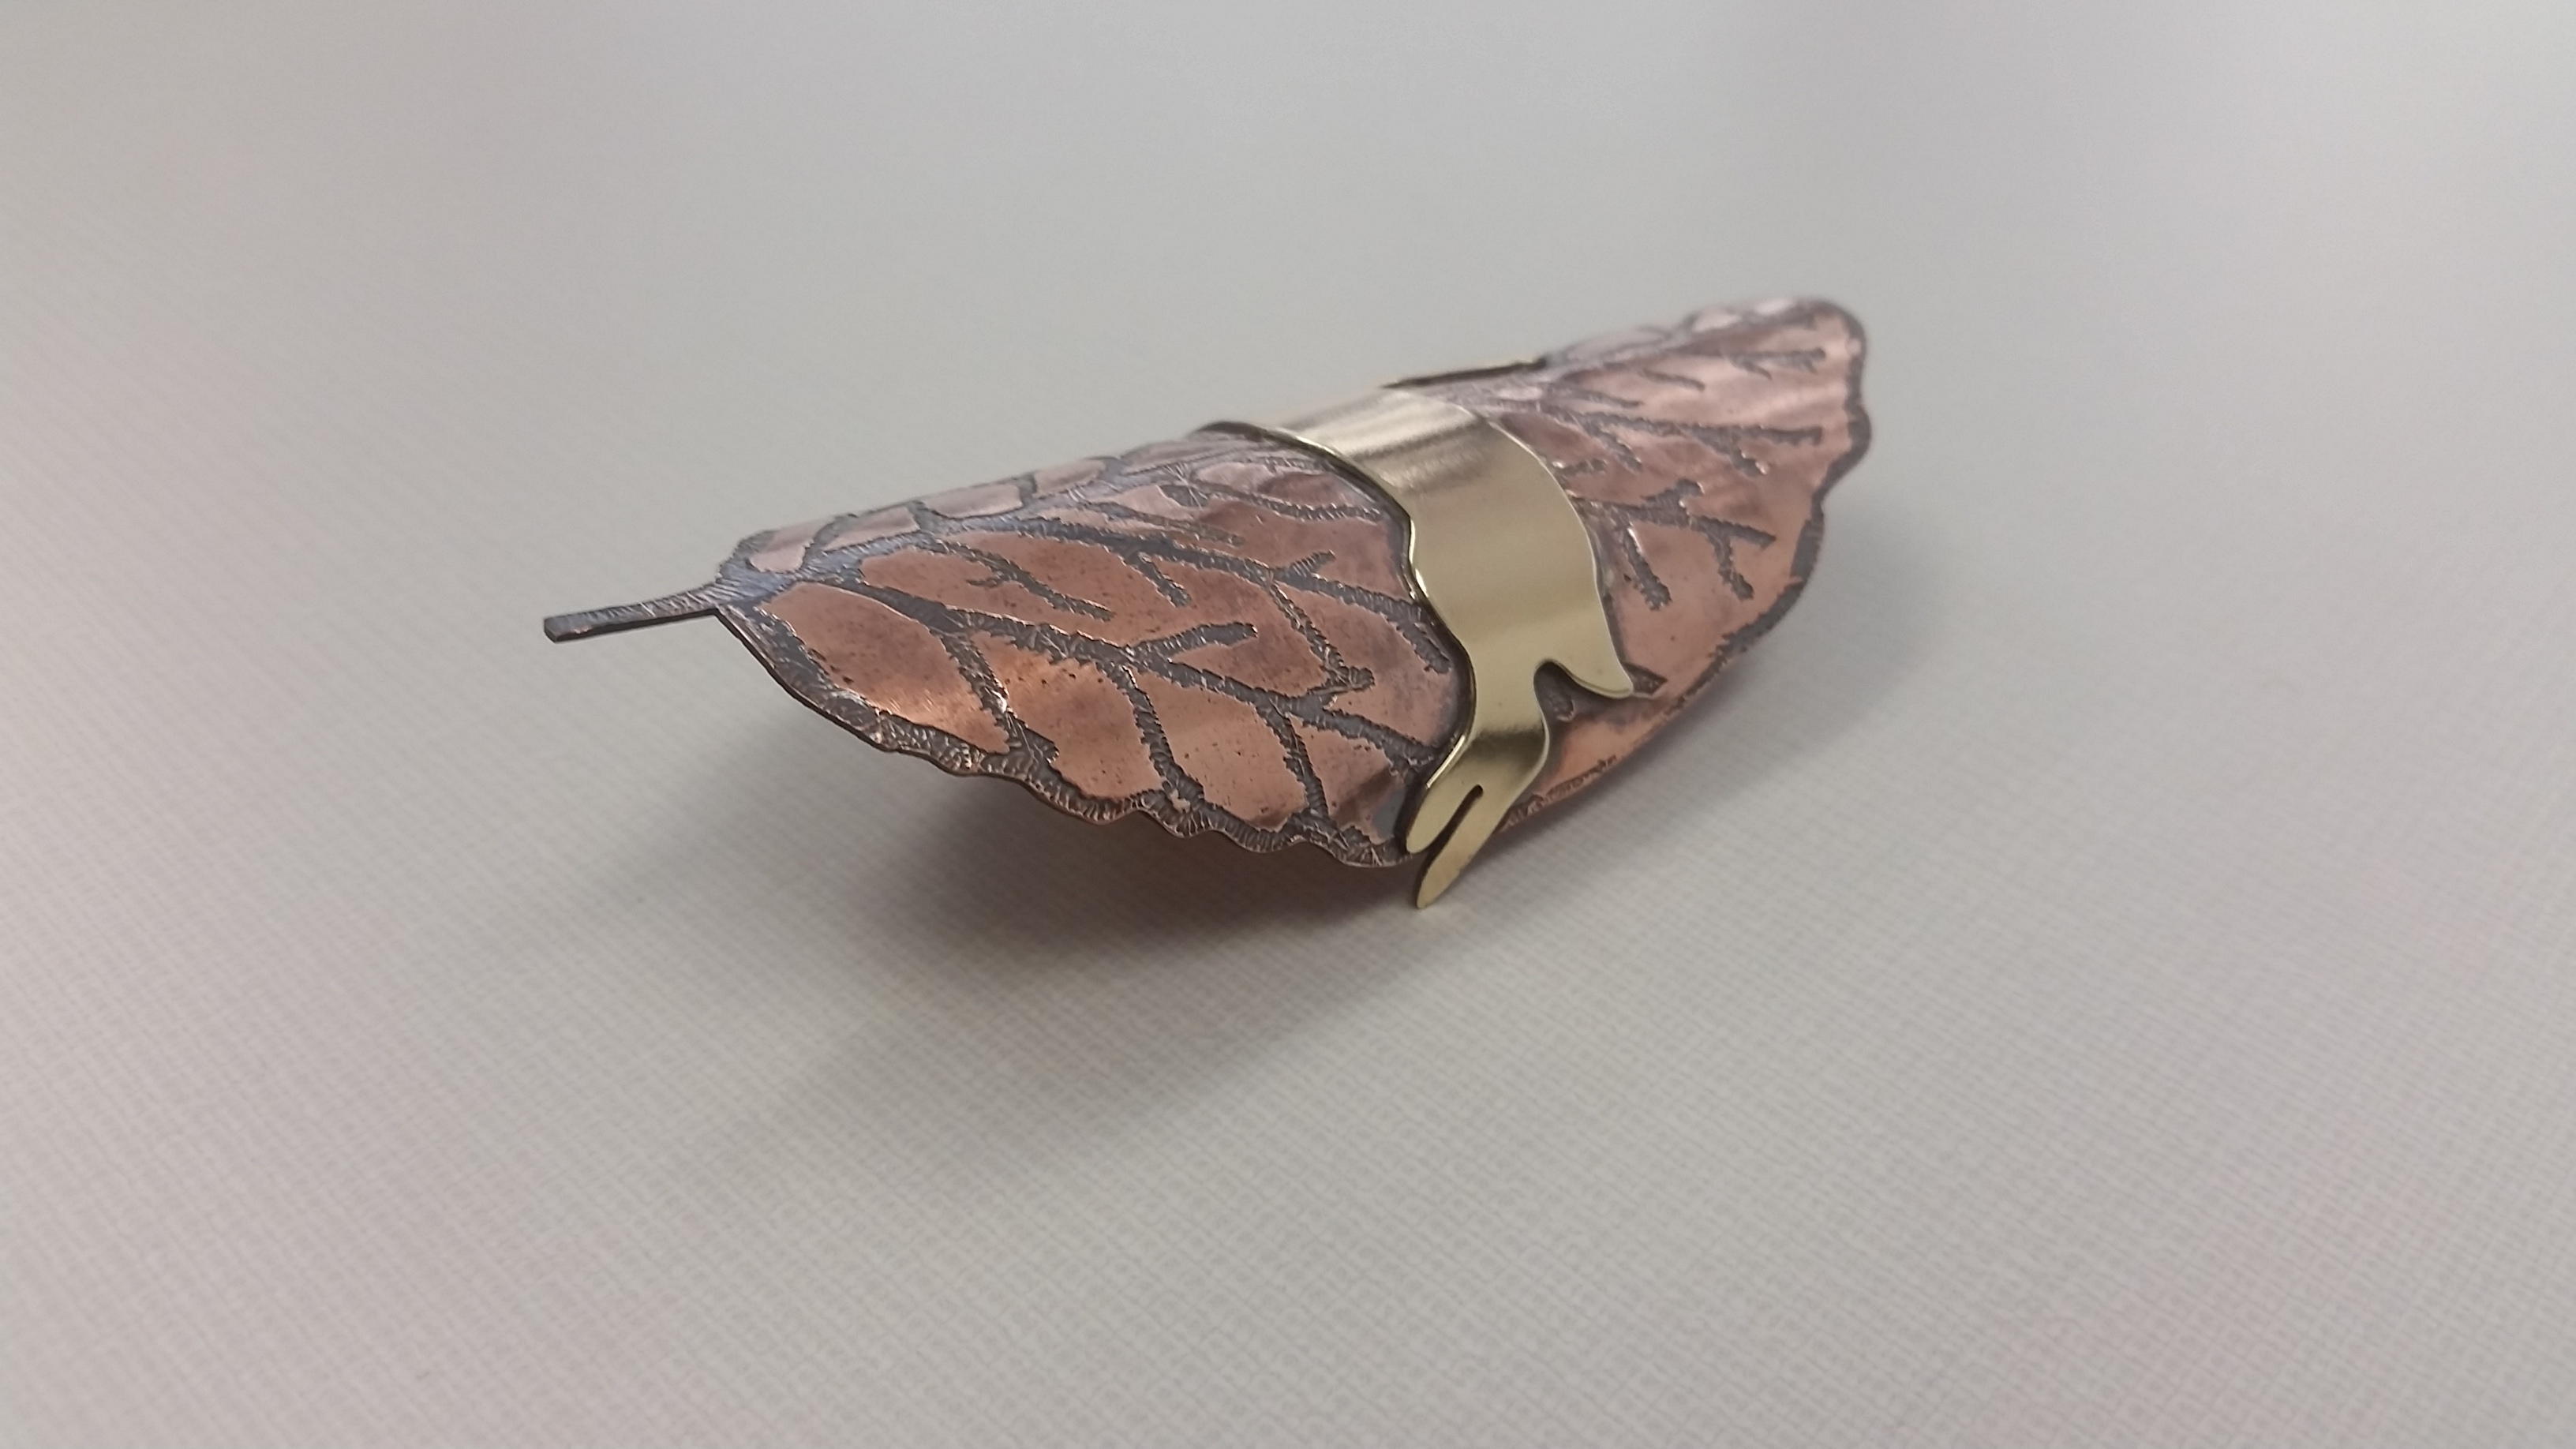
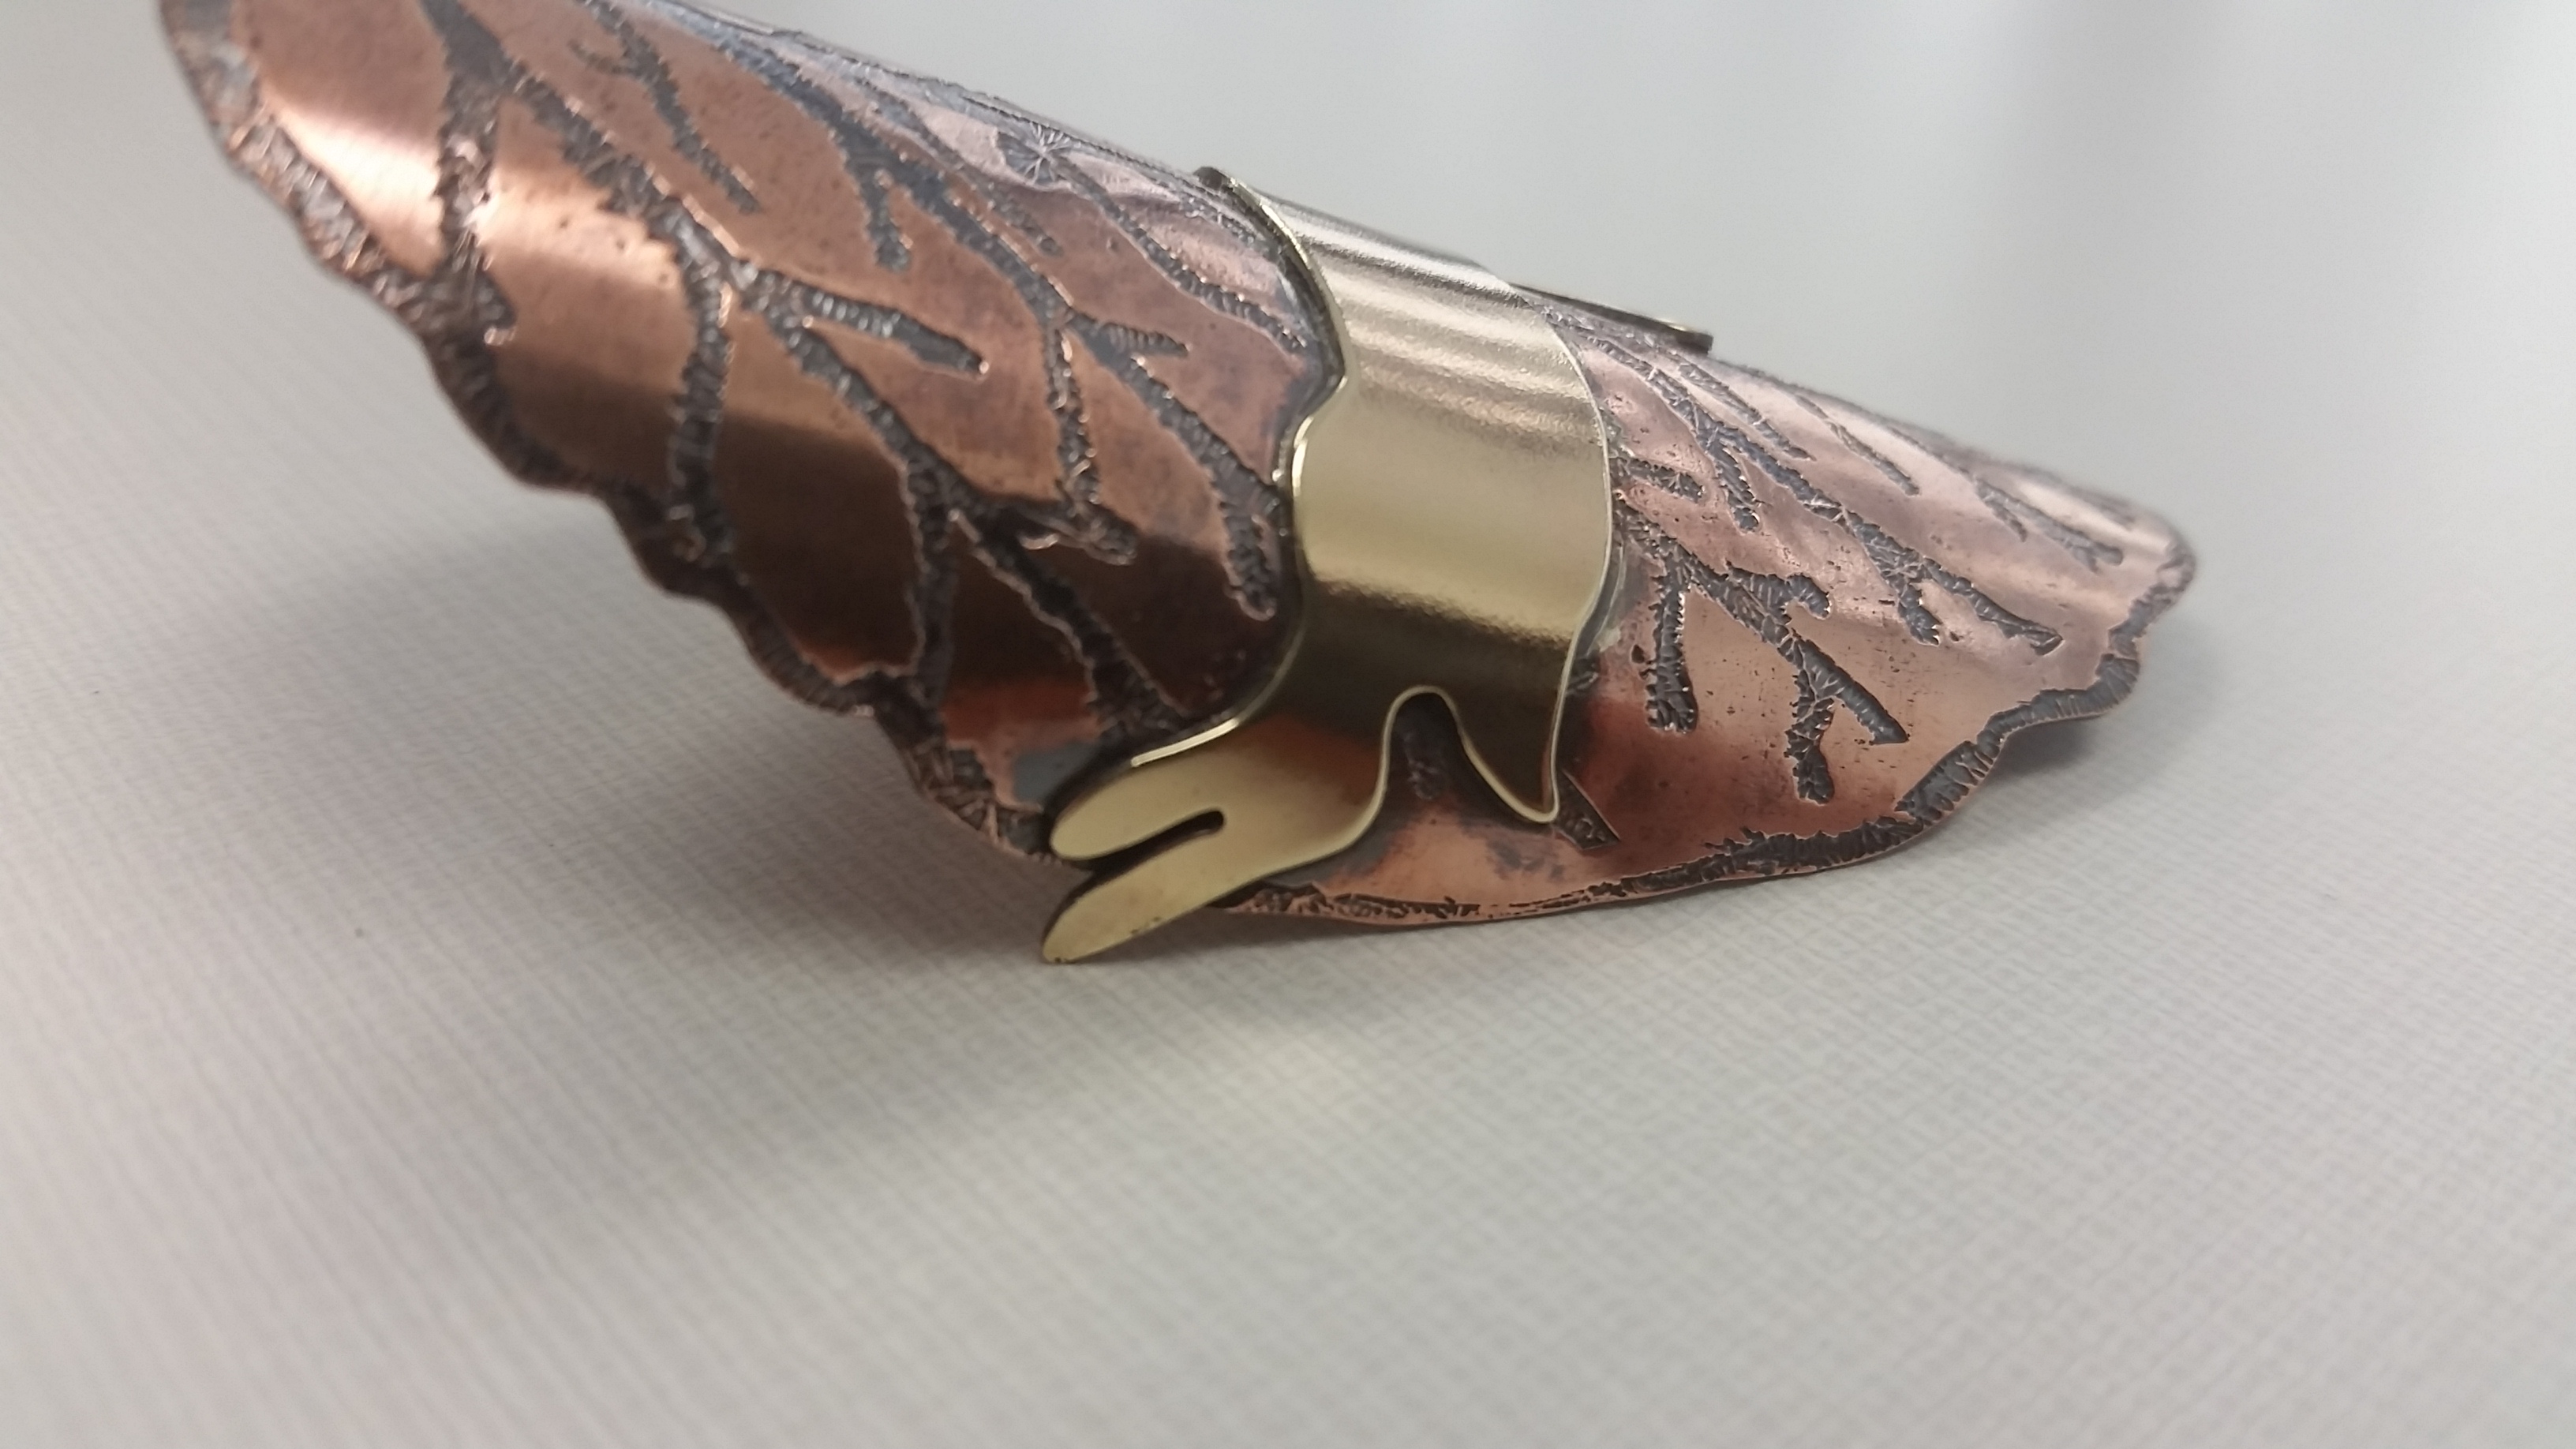
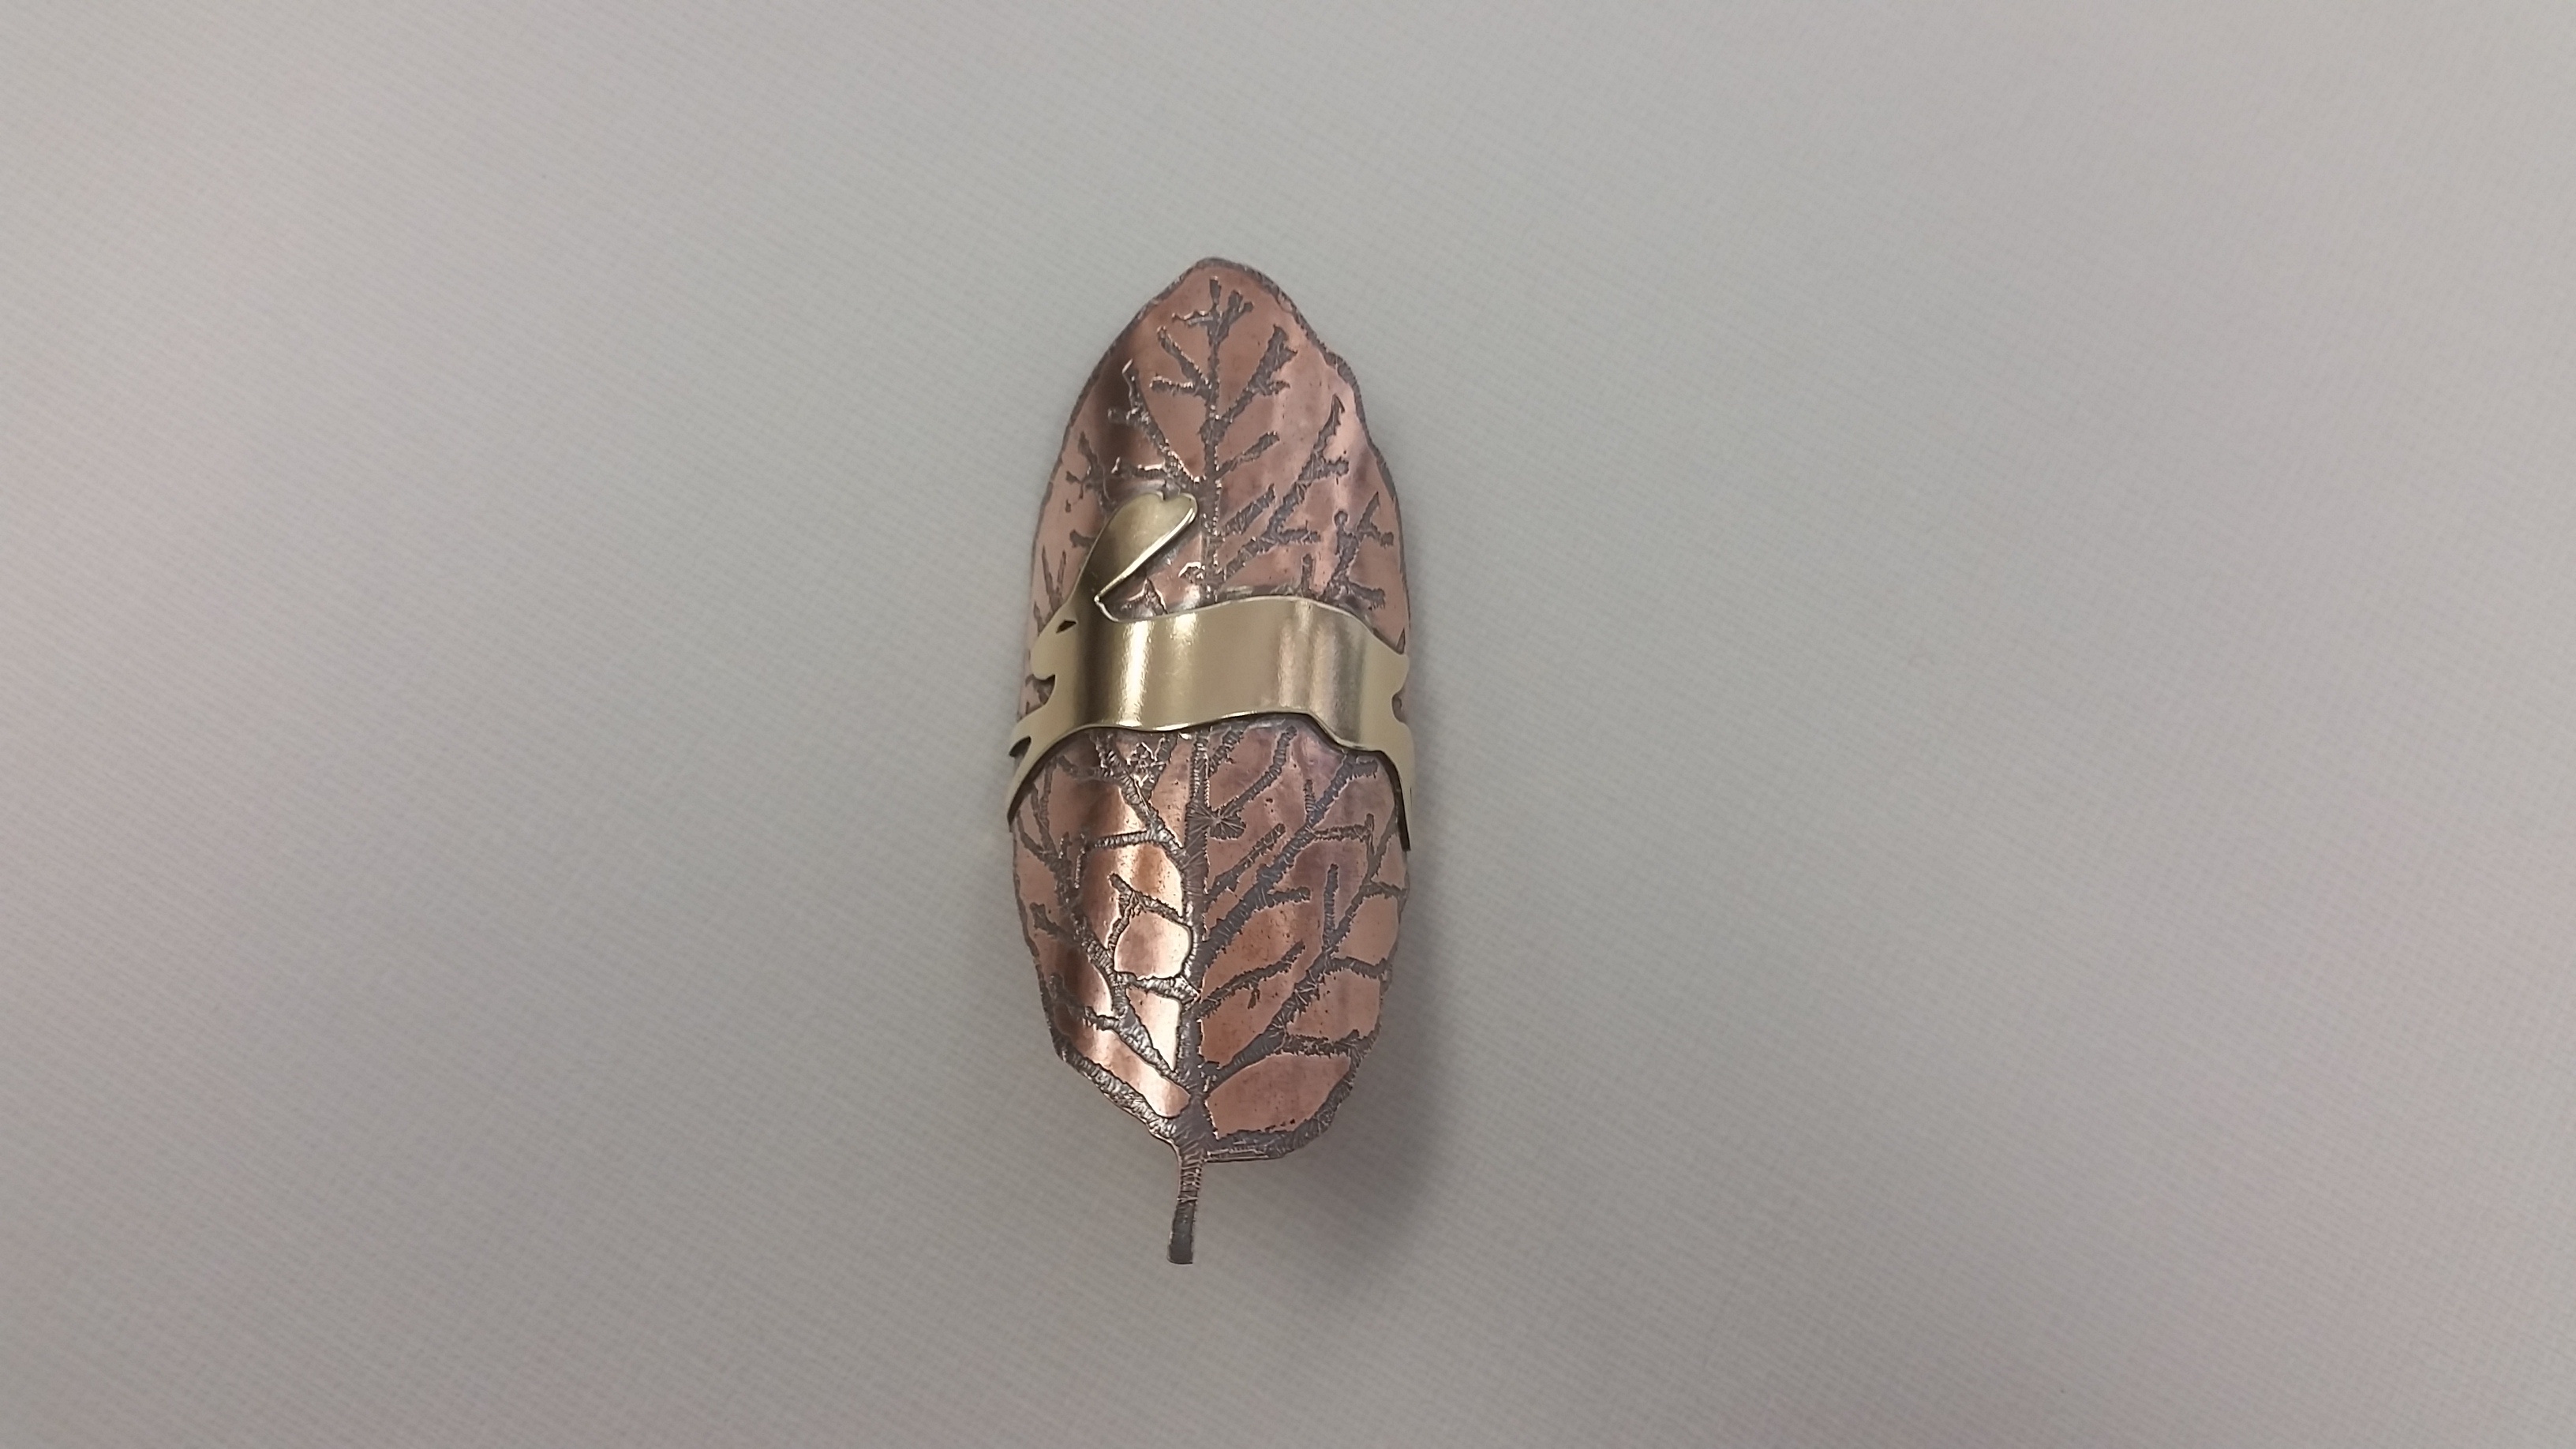
Inspired by Watership Down, this badge features an etched copper witch hazel leaf with high polish brass rabbit. I really like the way this came out!
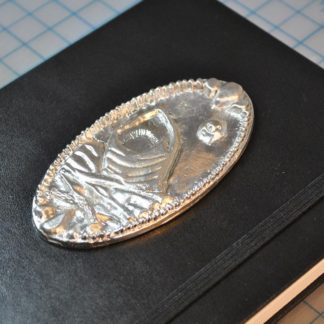
Custom Silver Star Trek Headbadge

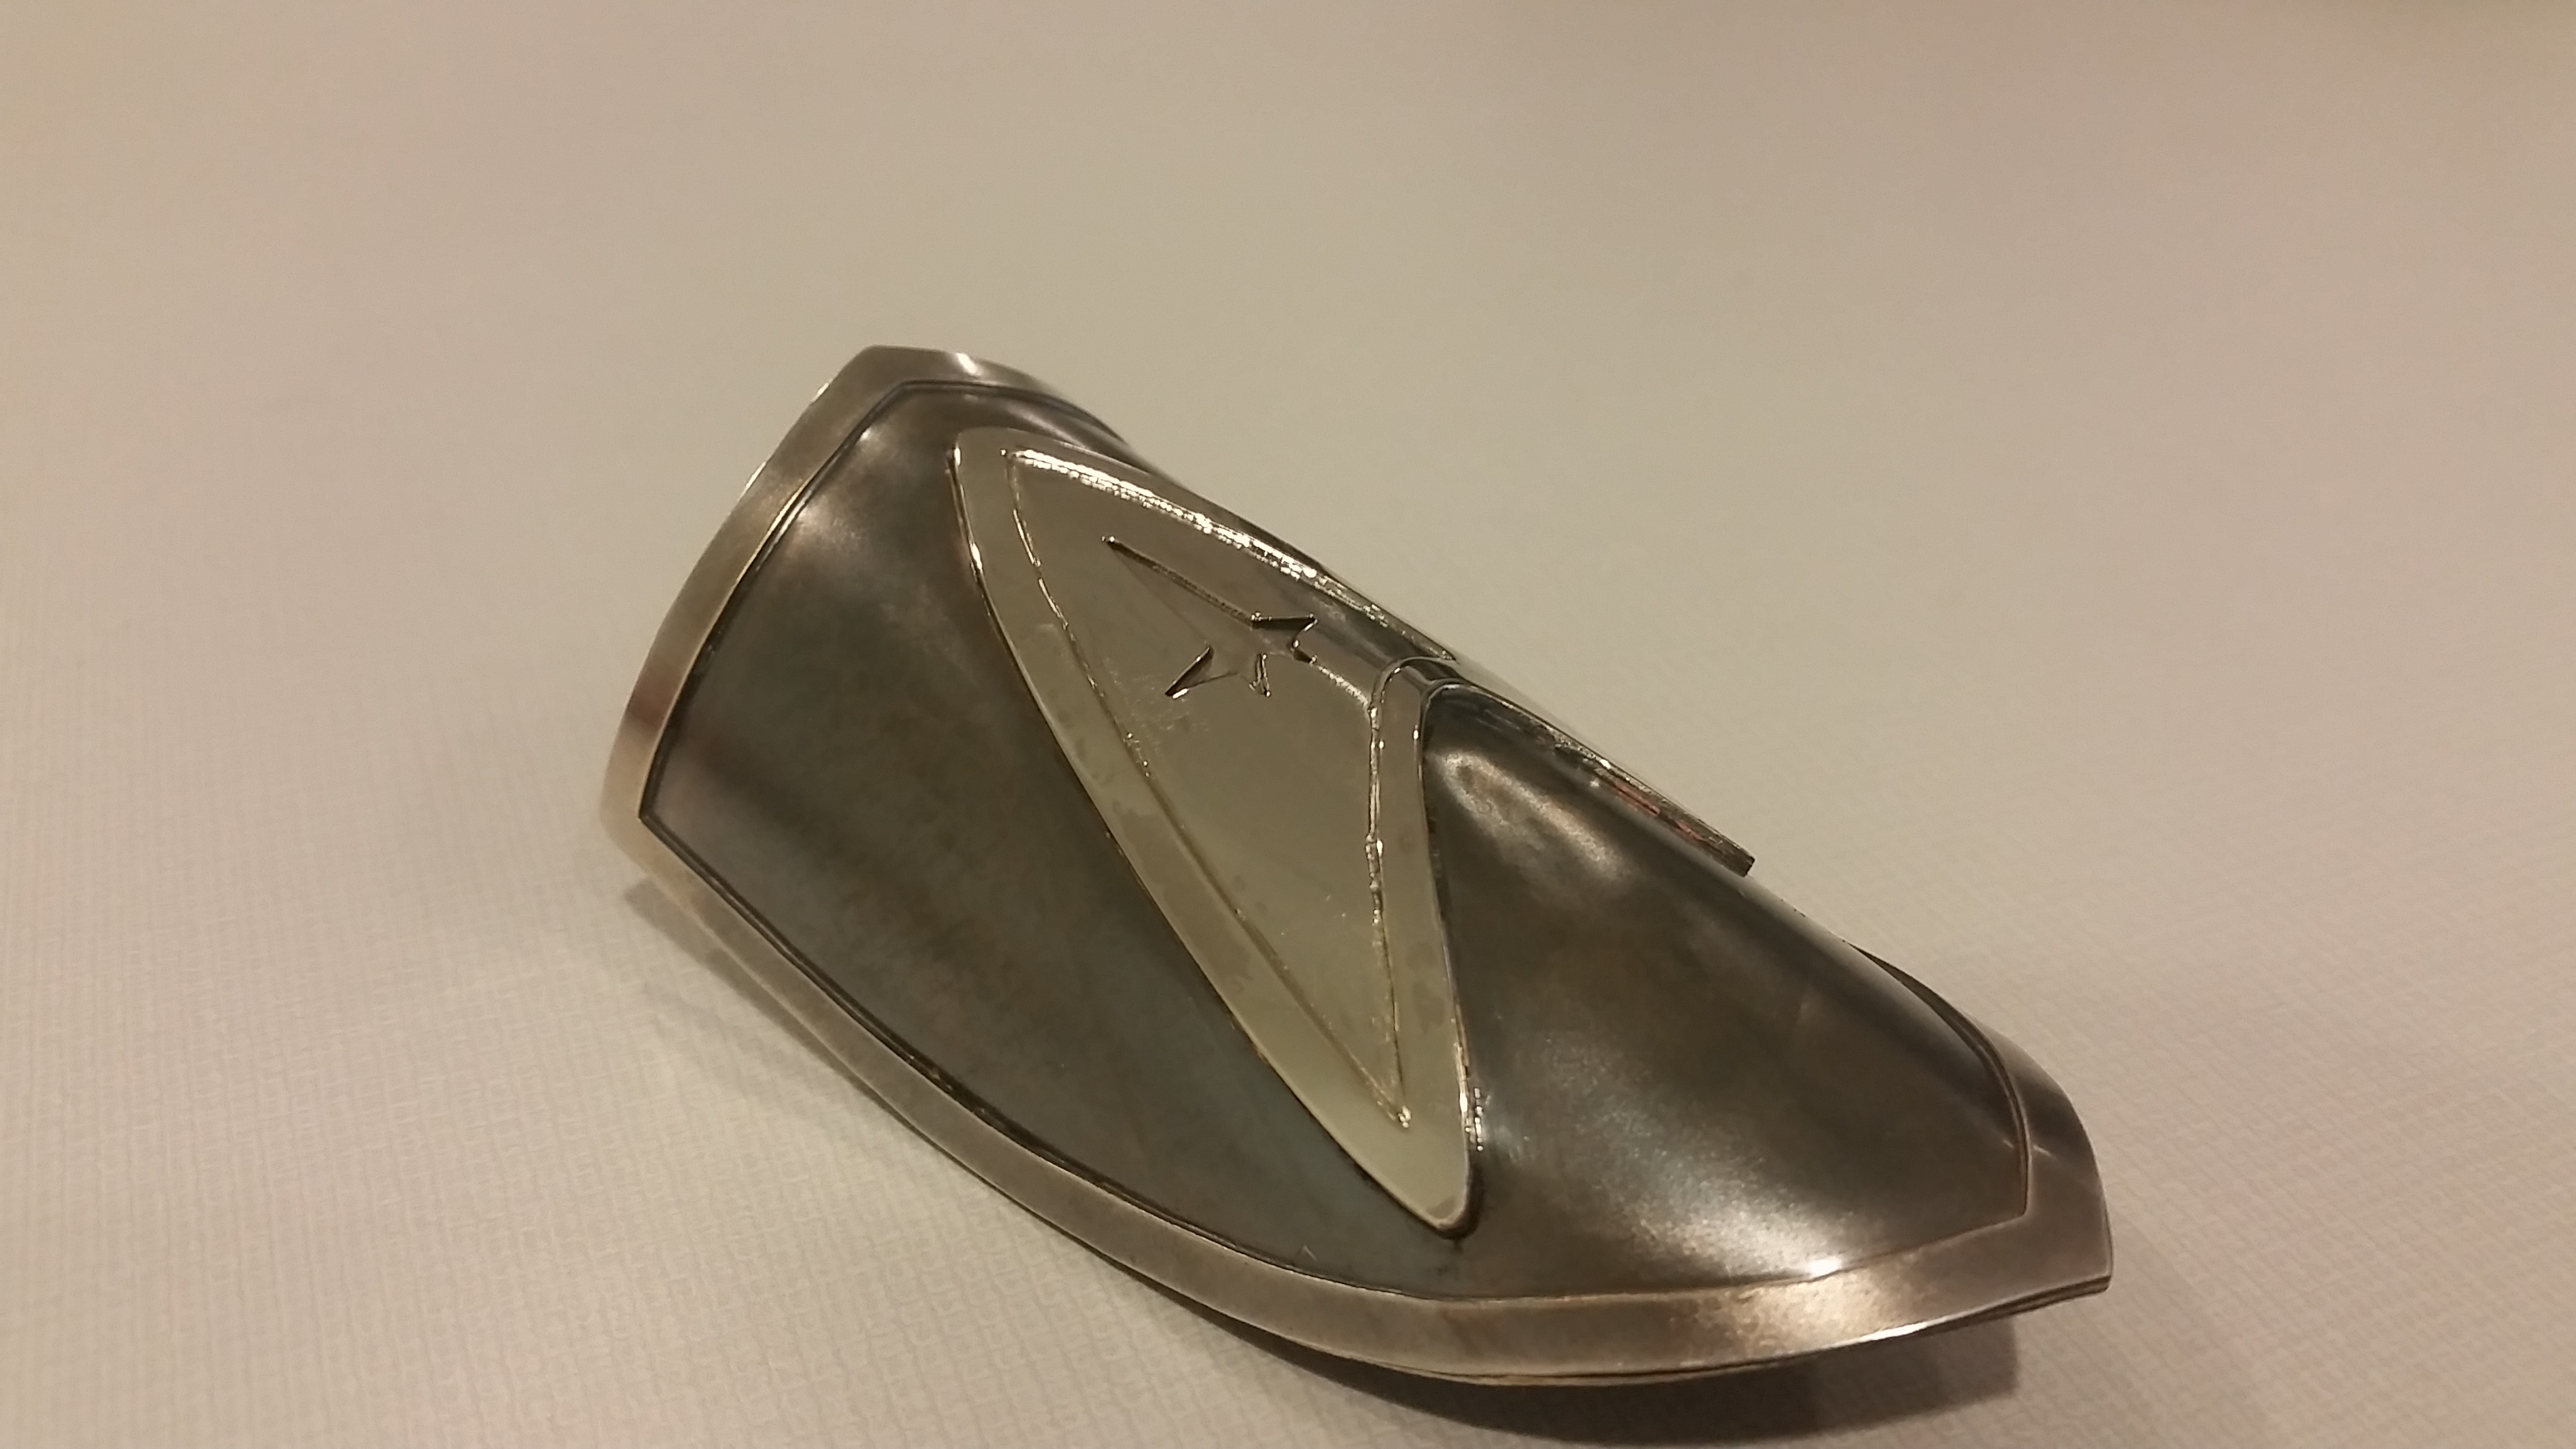

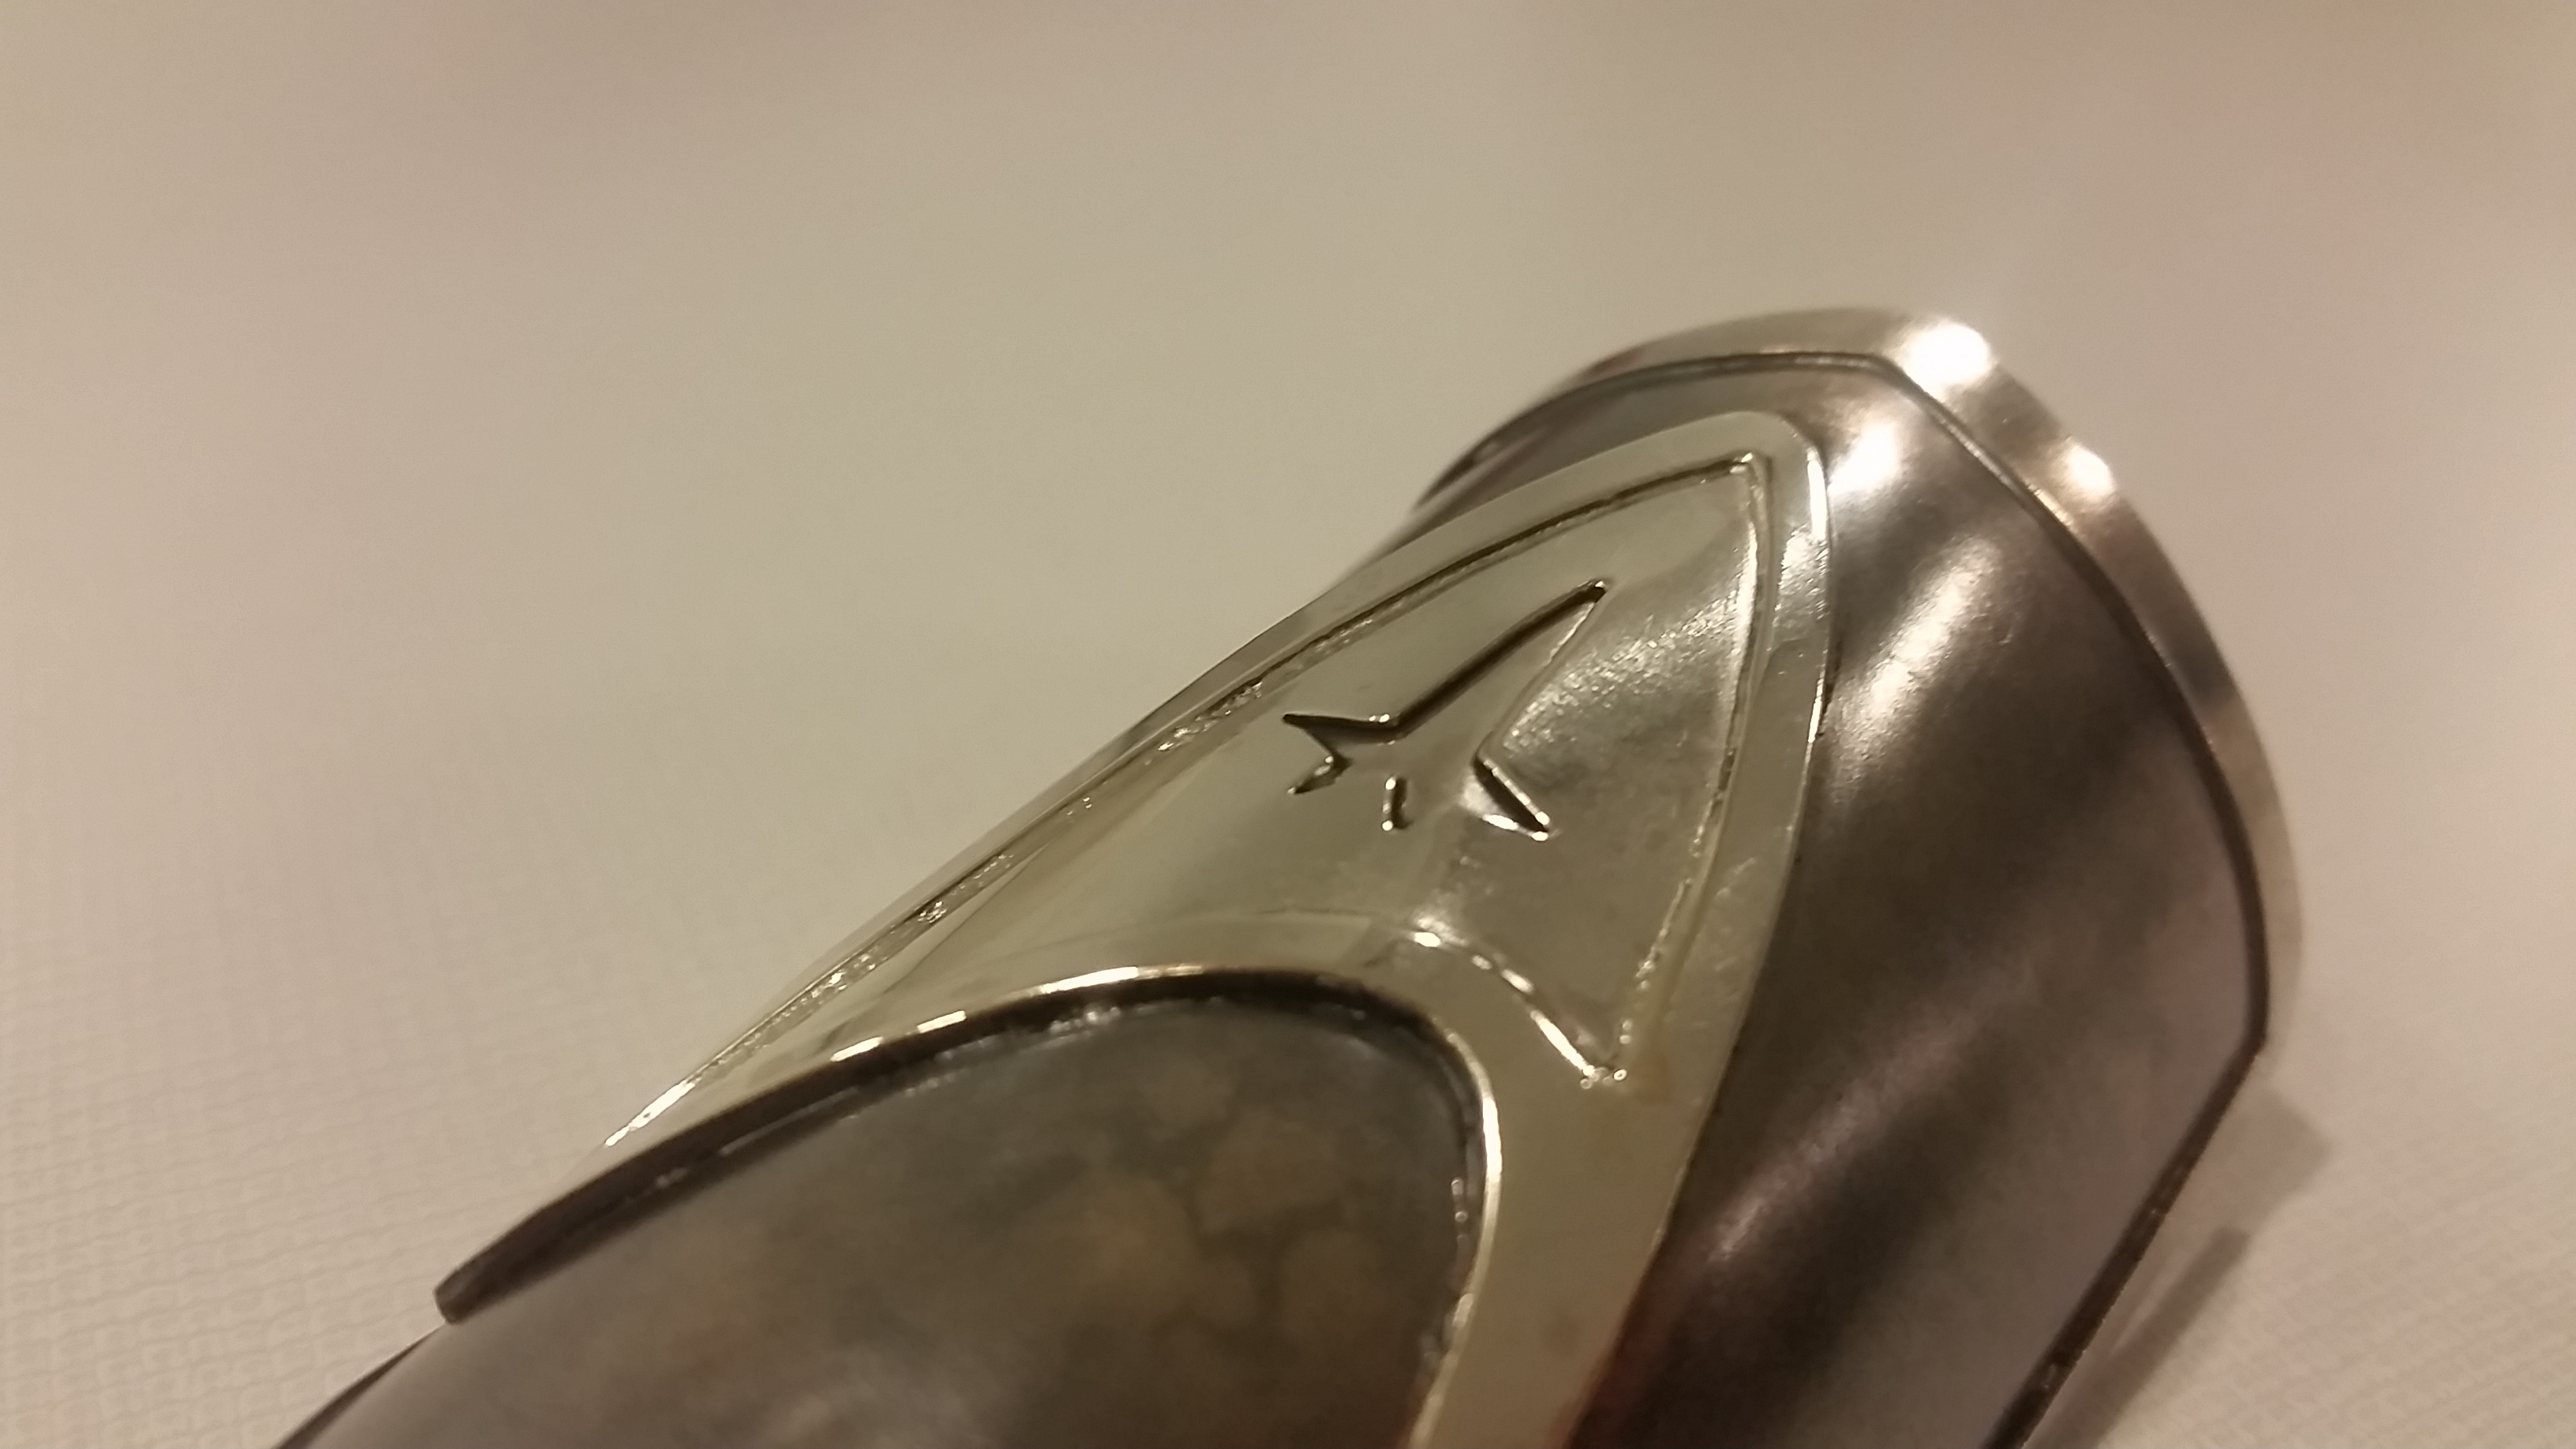
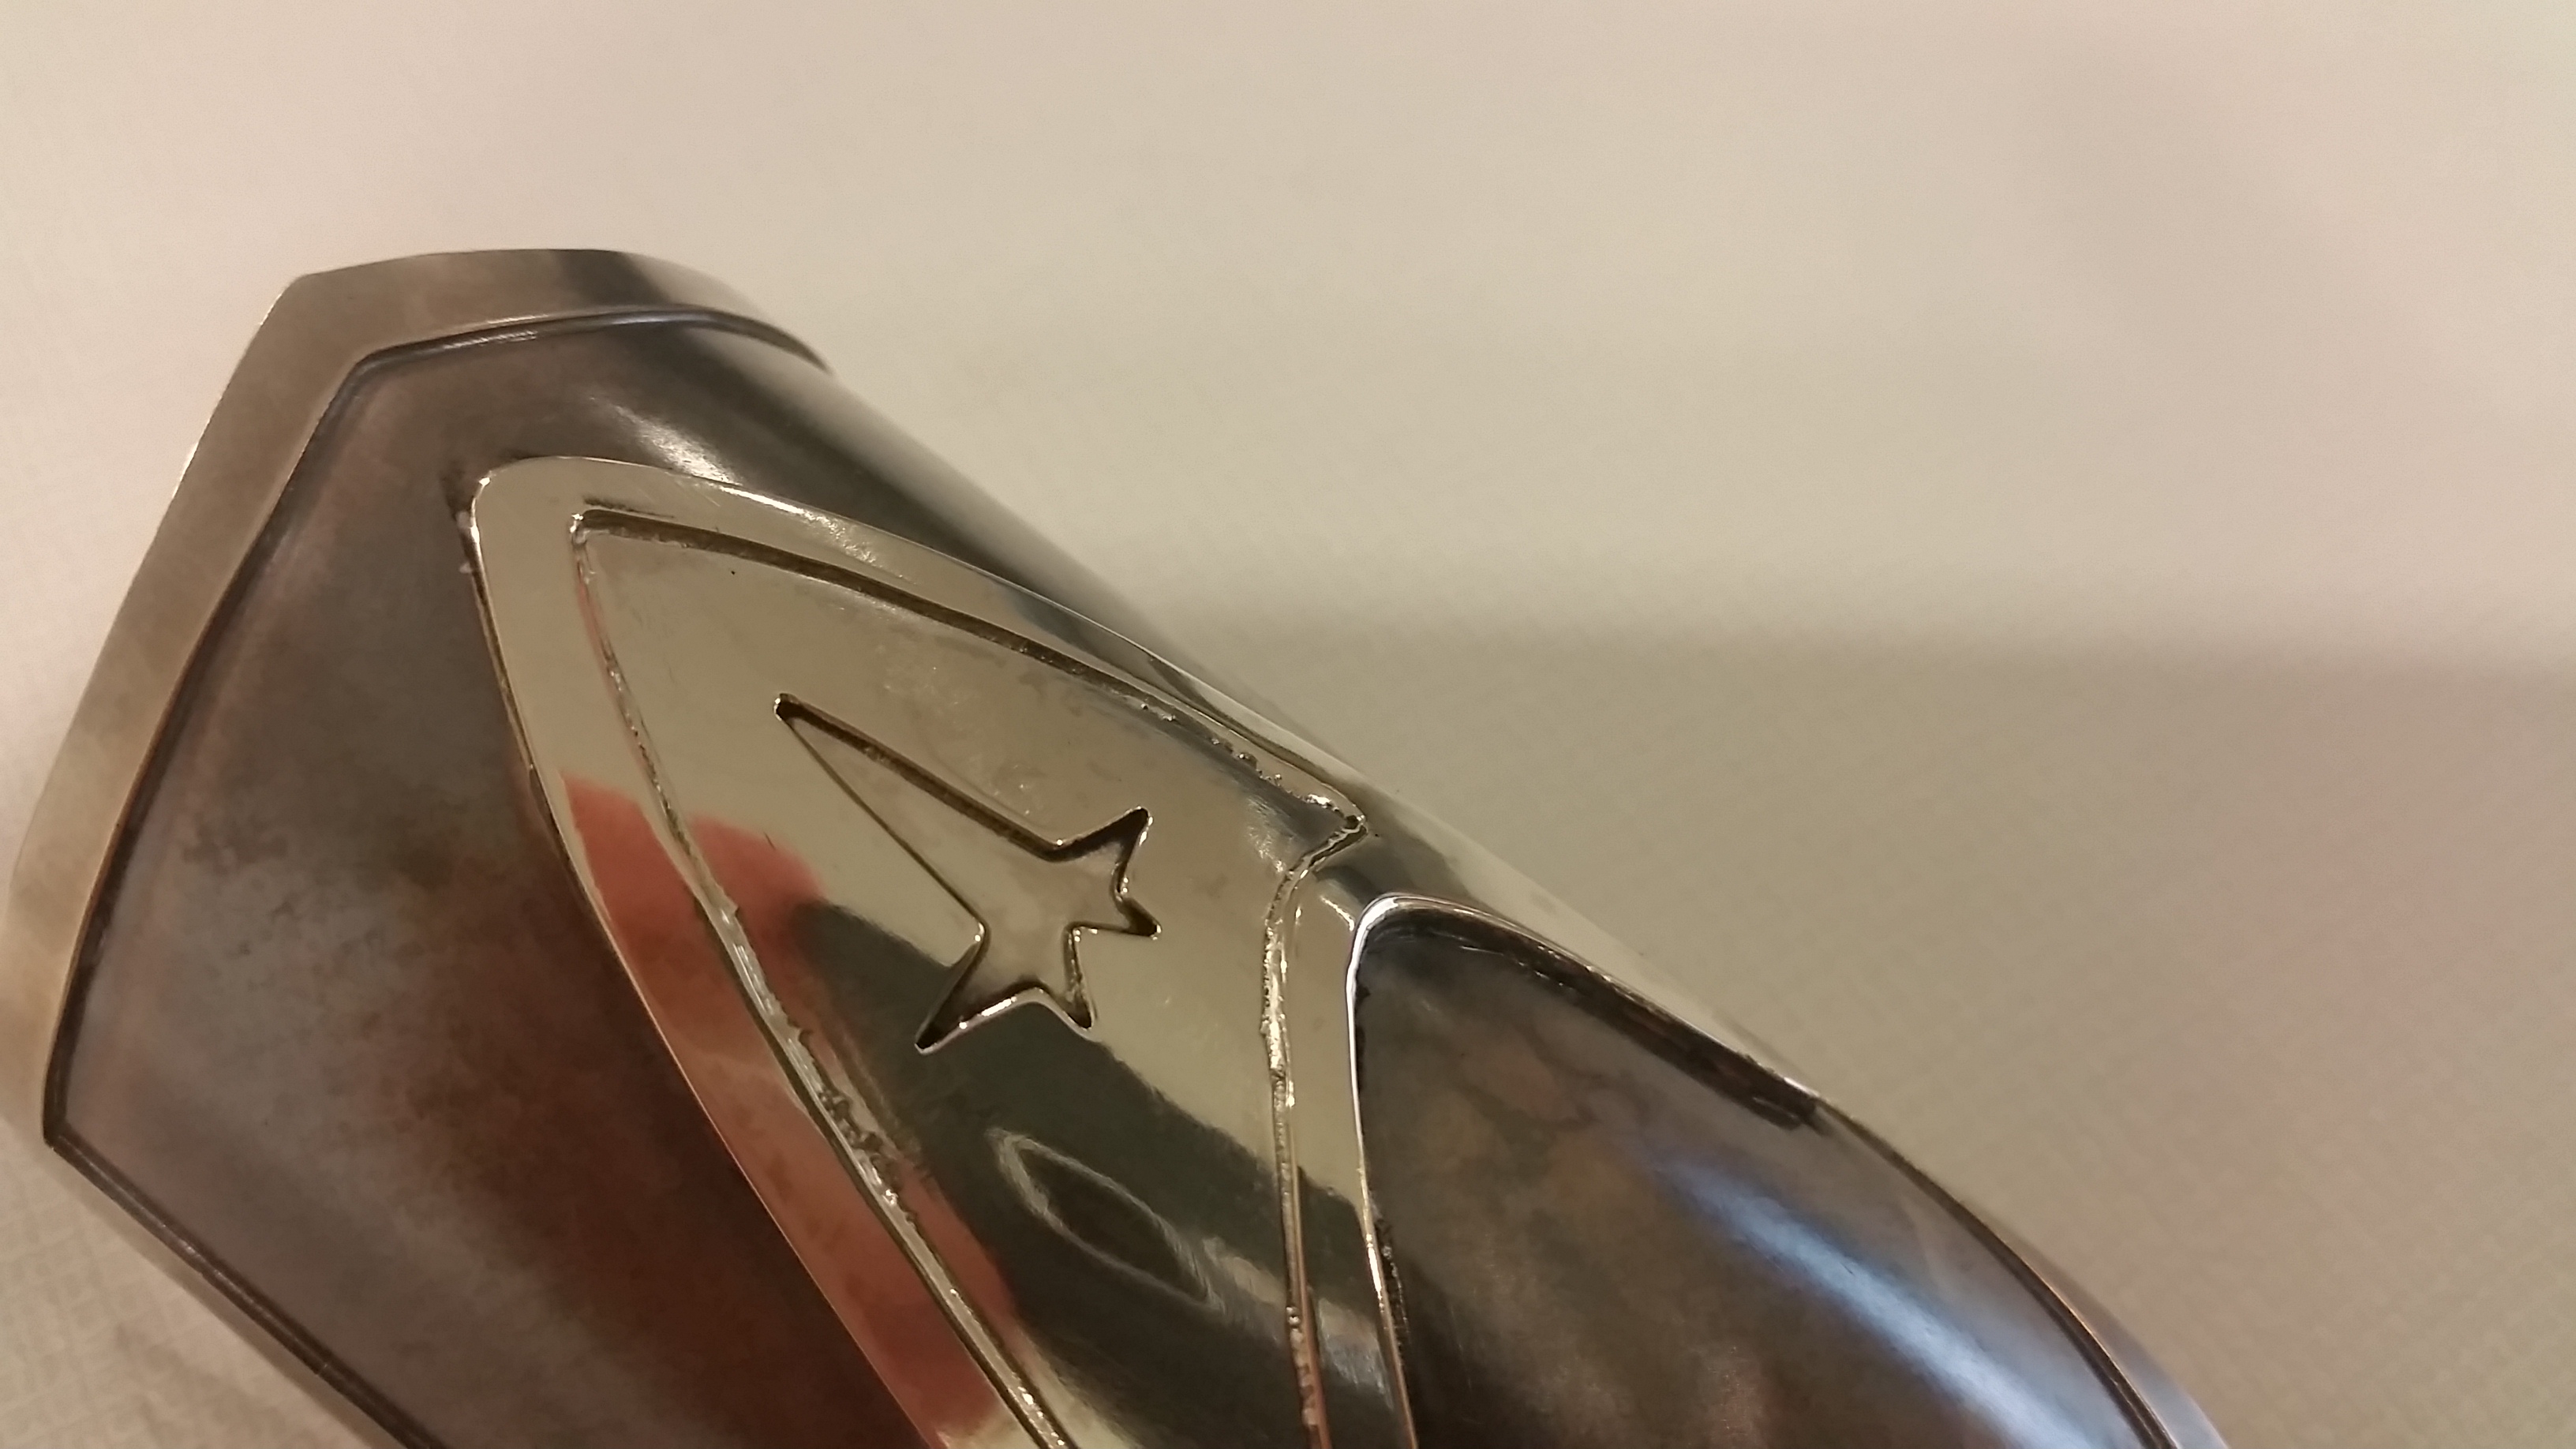
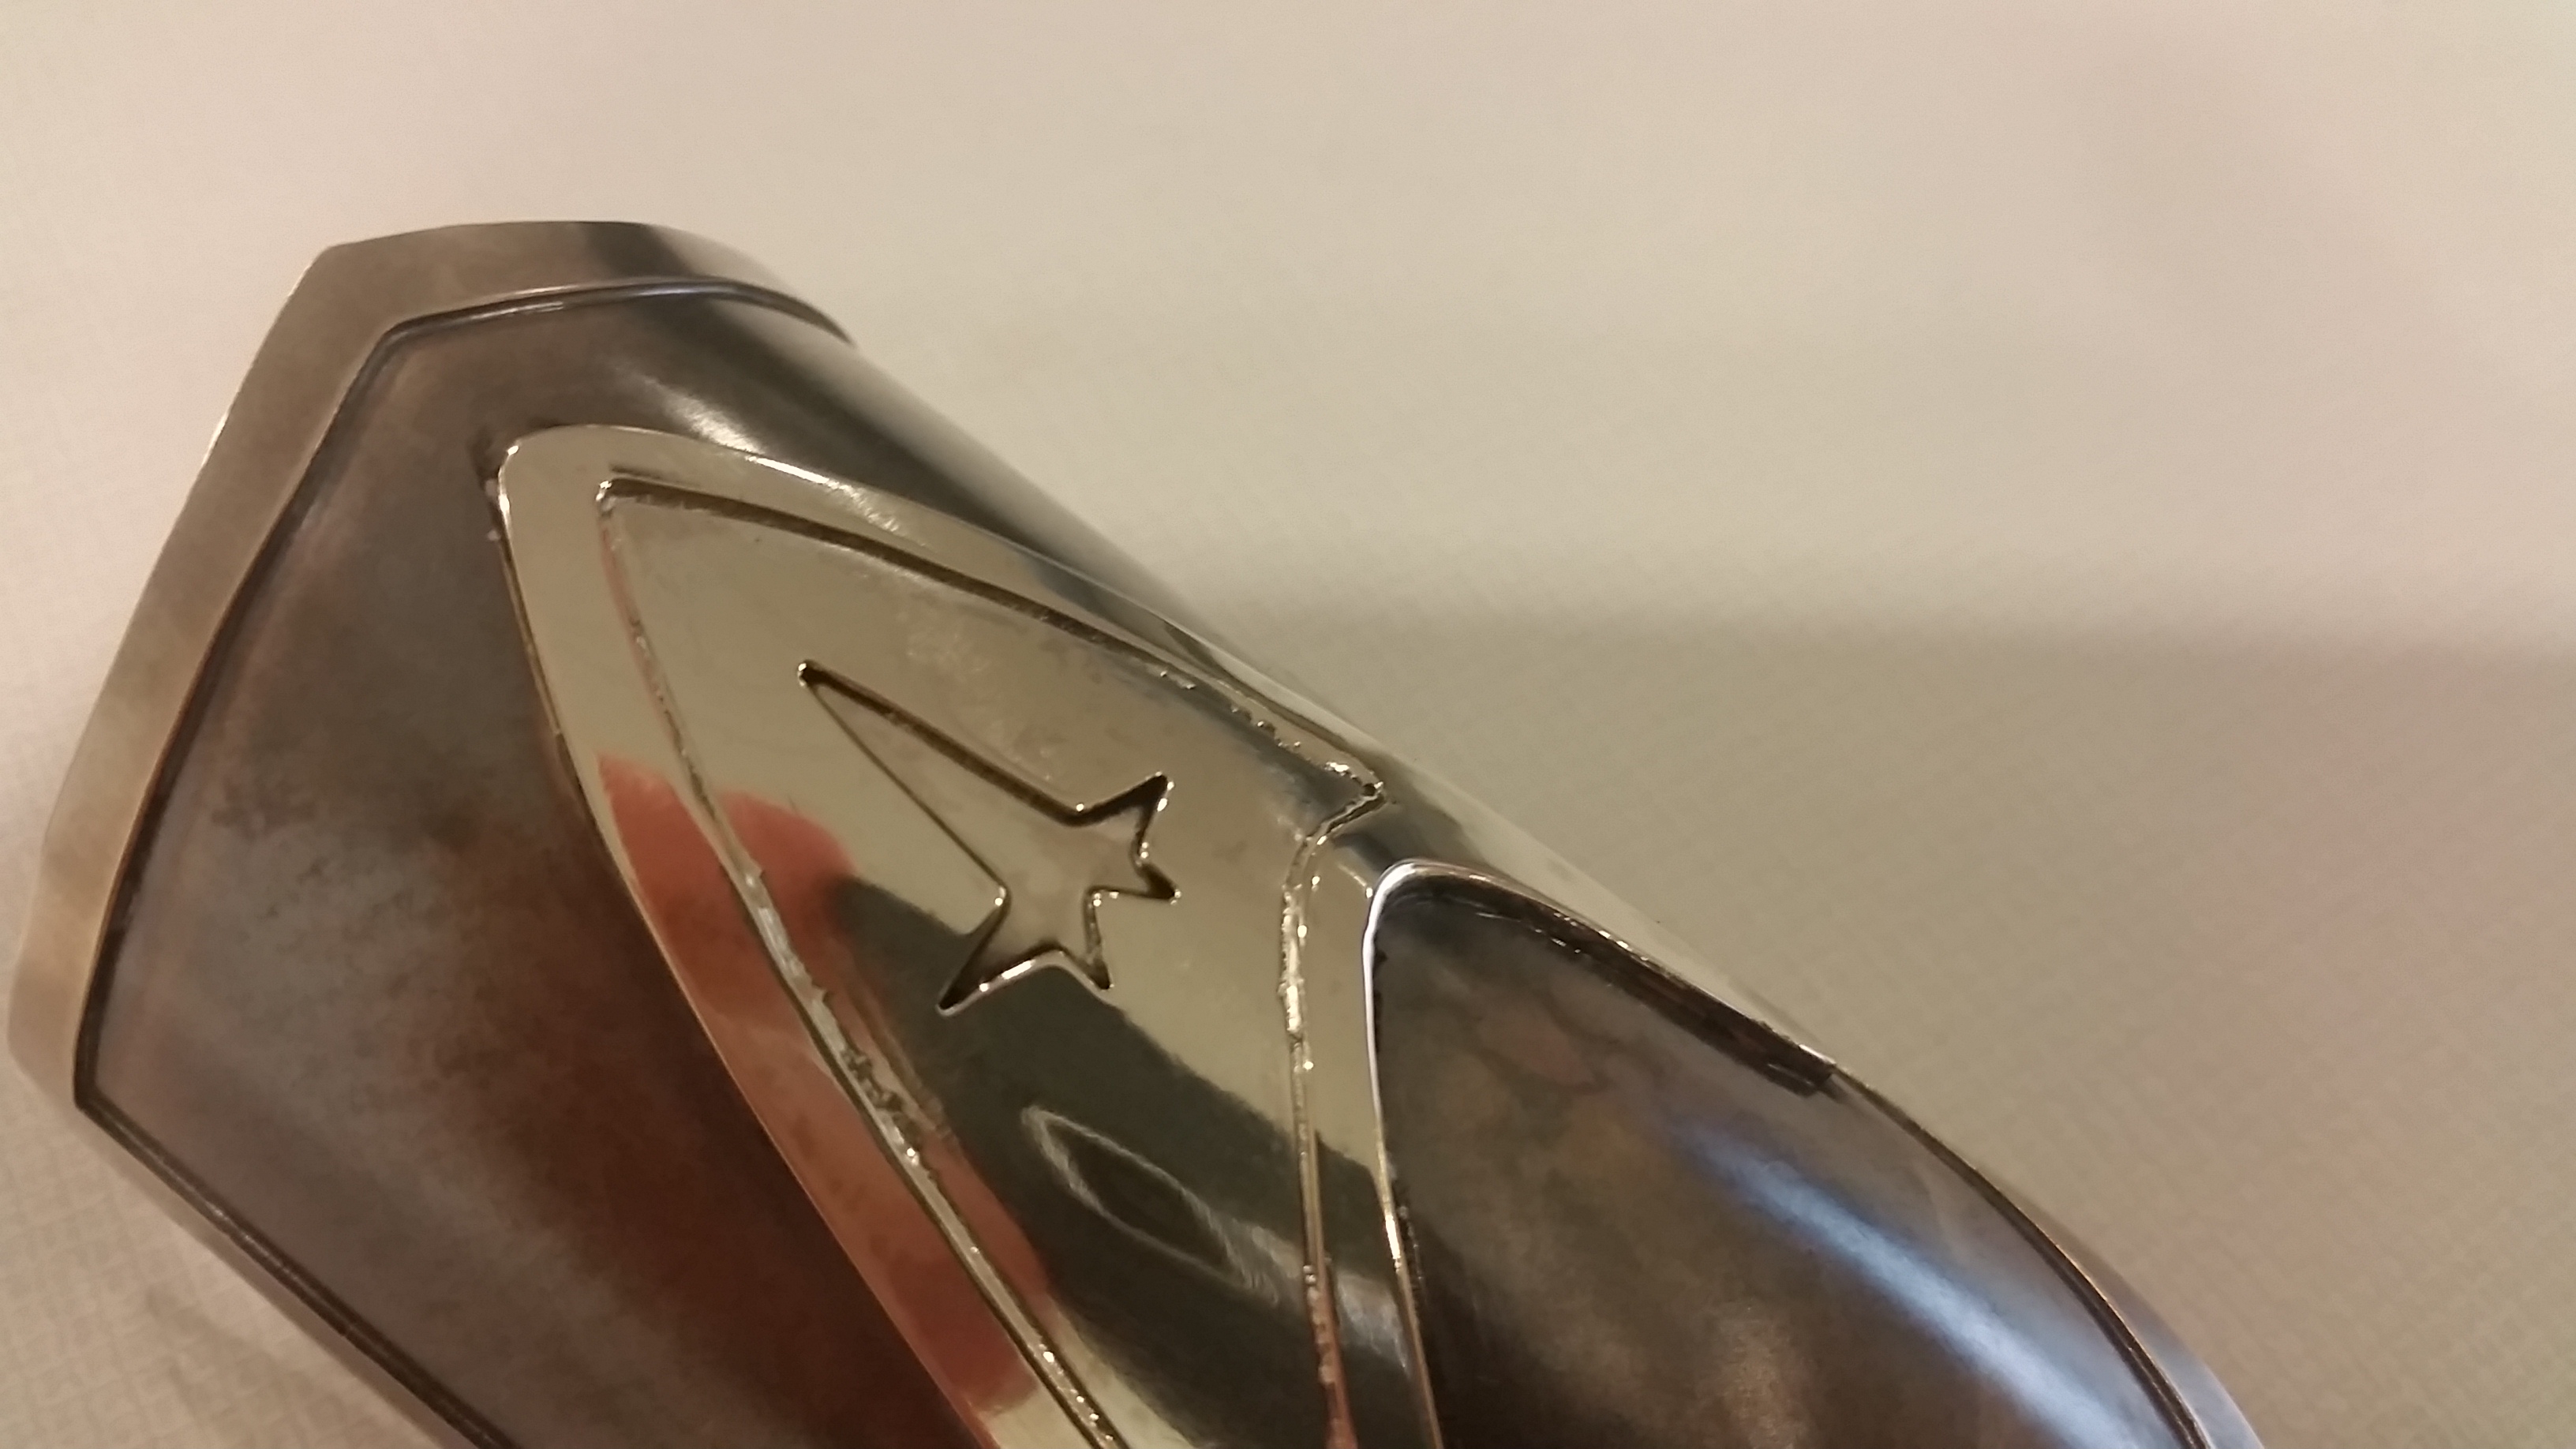
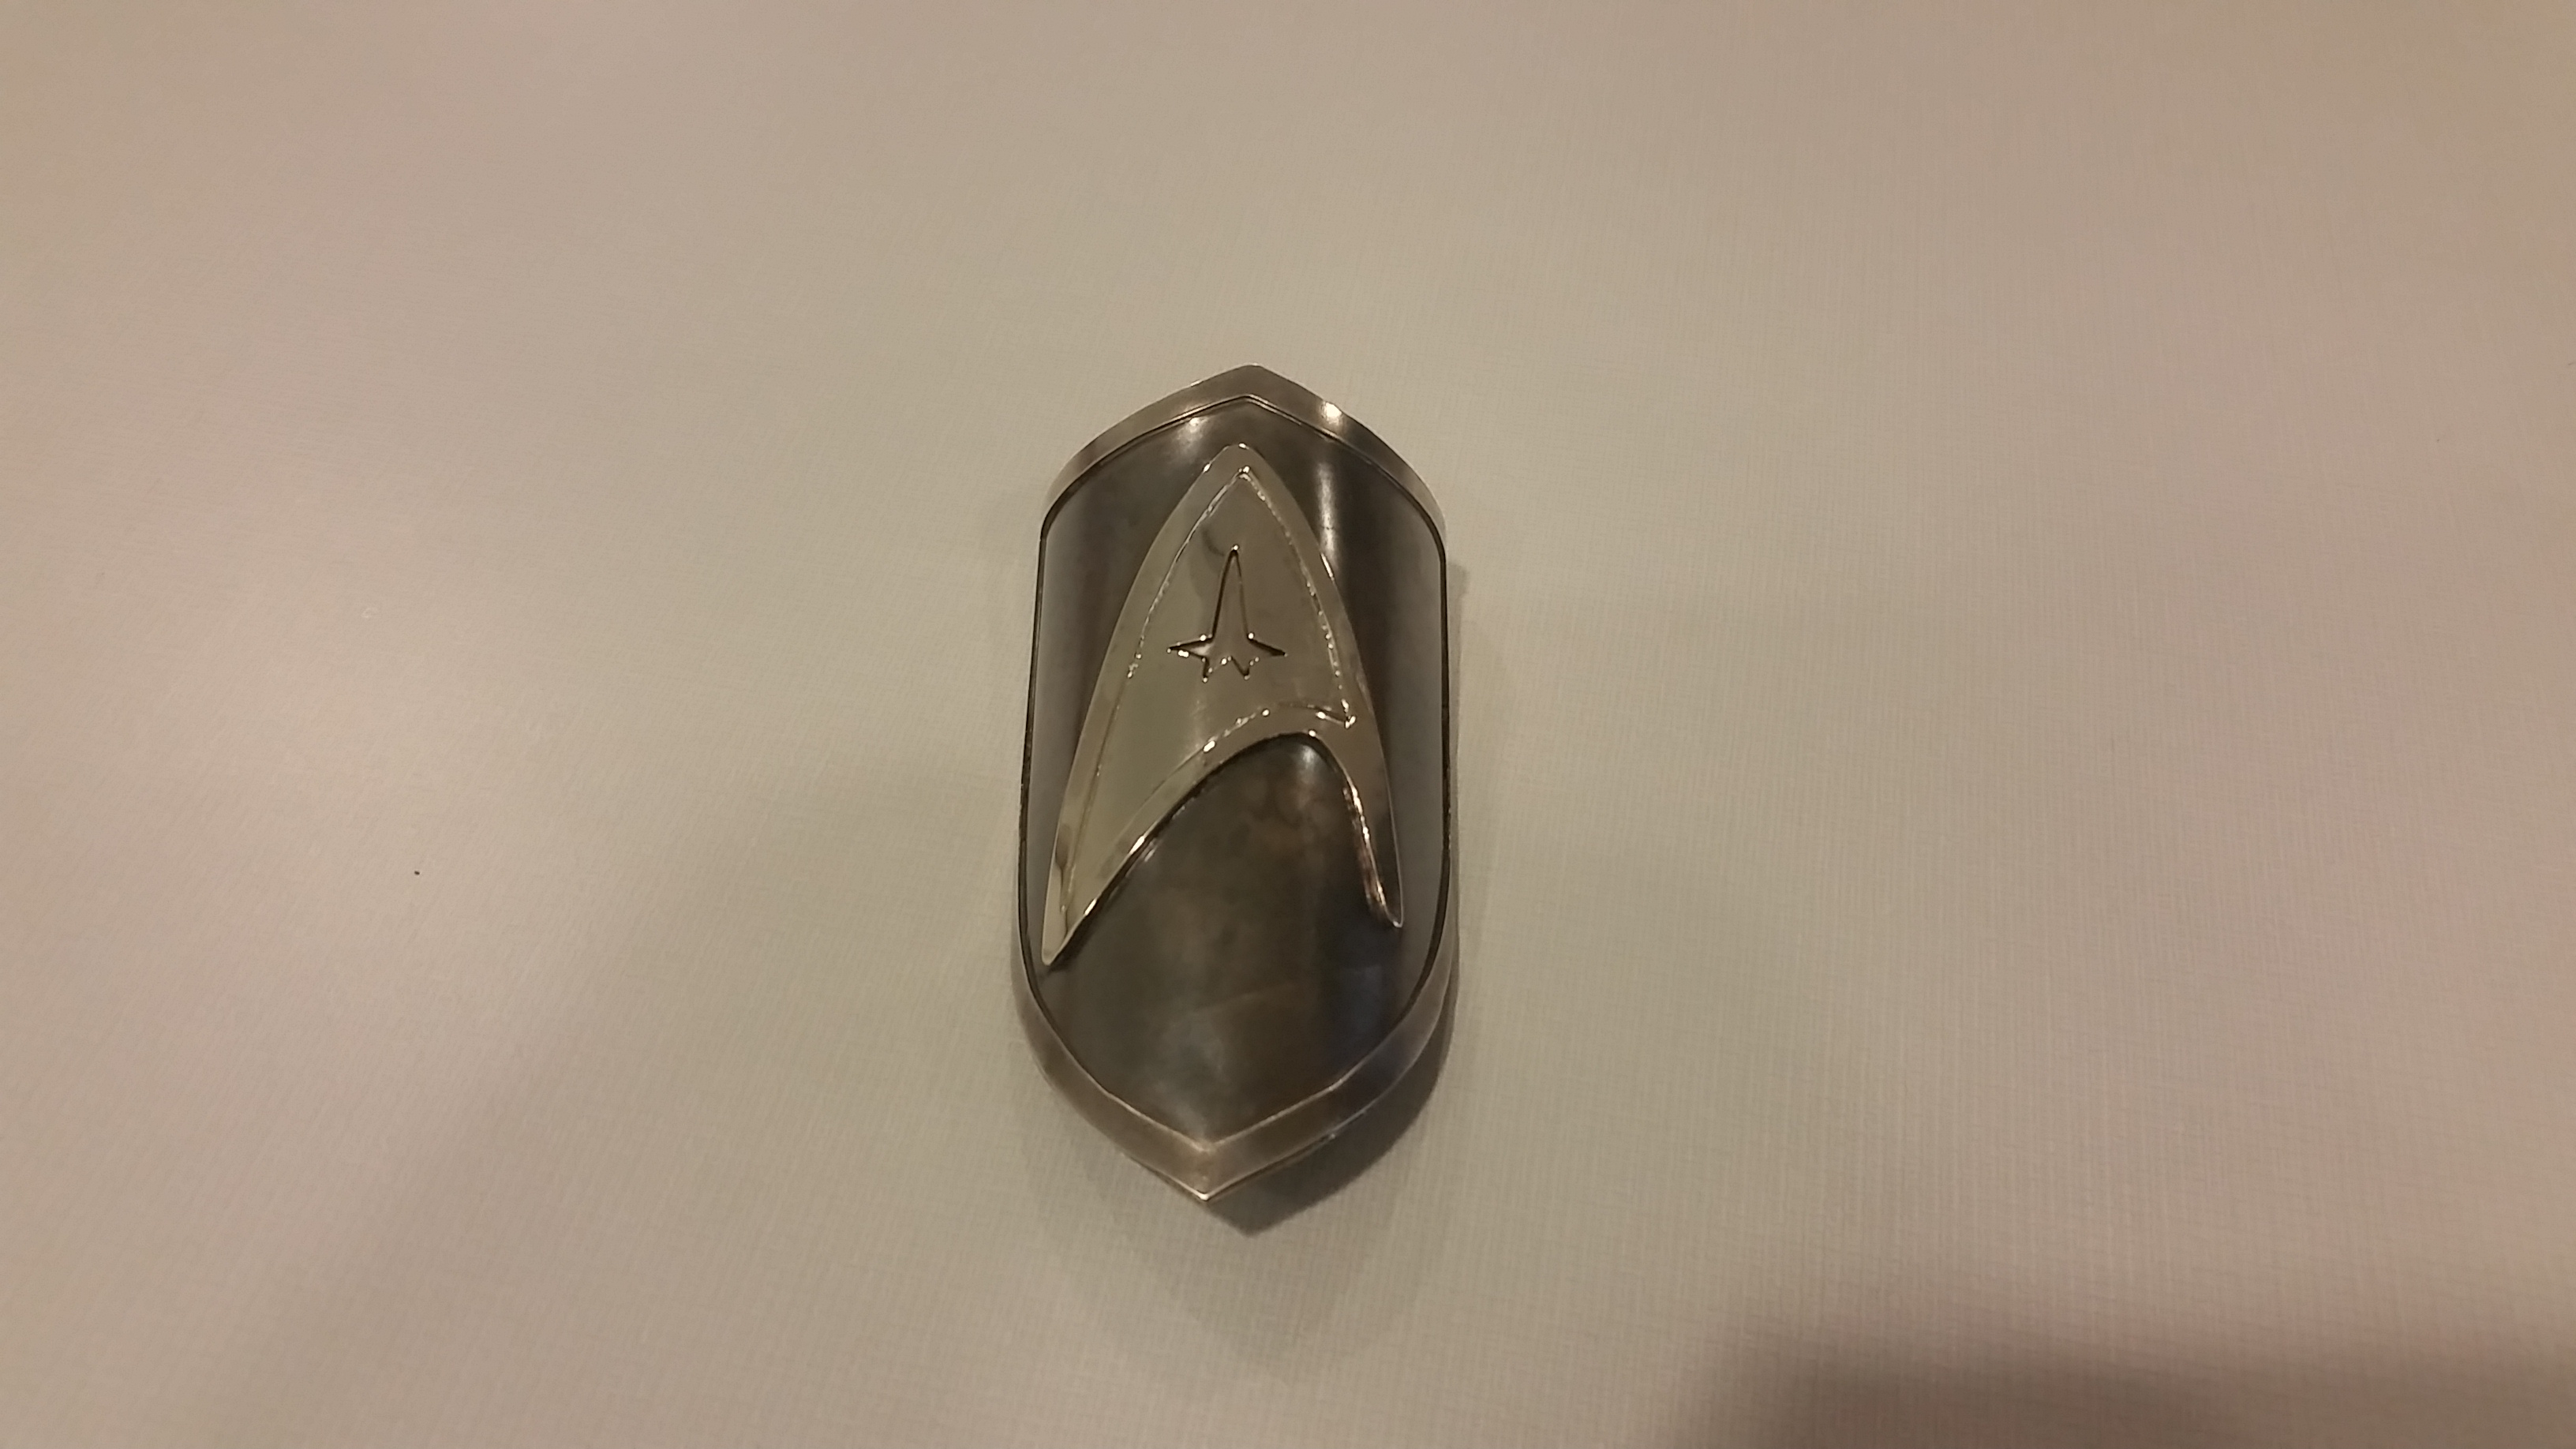
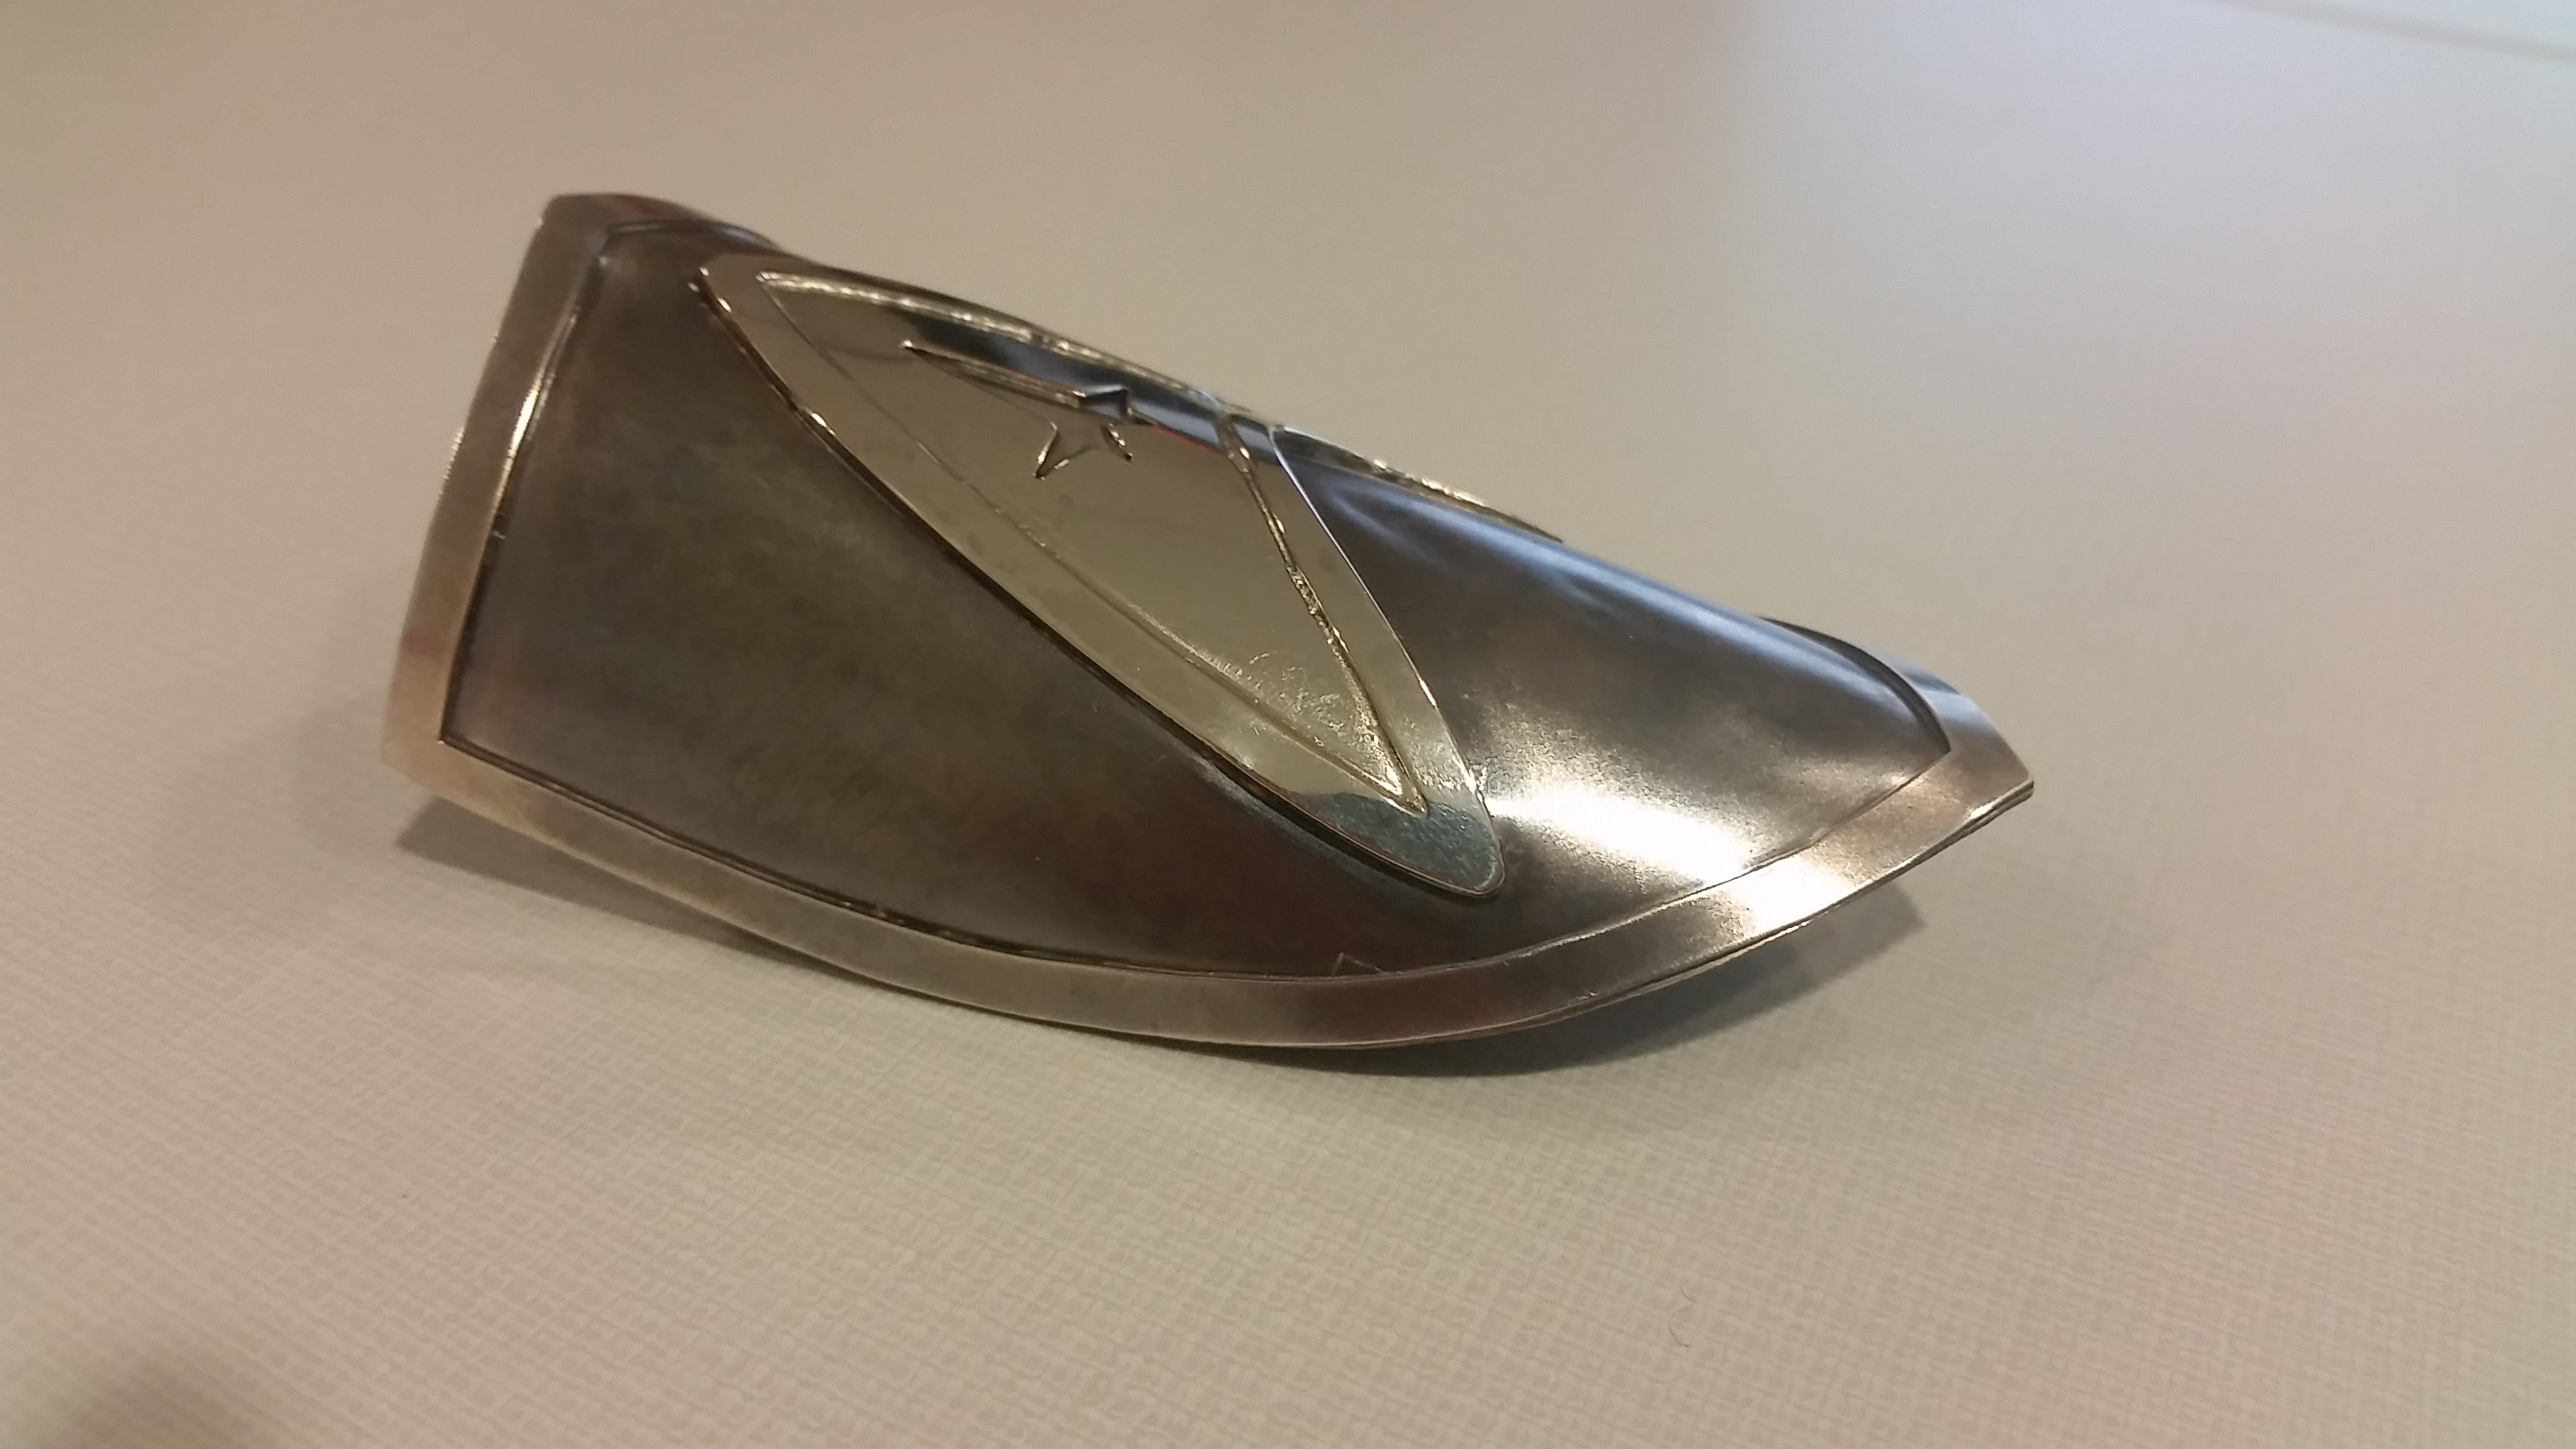
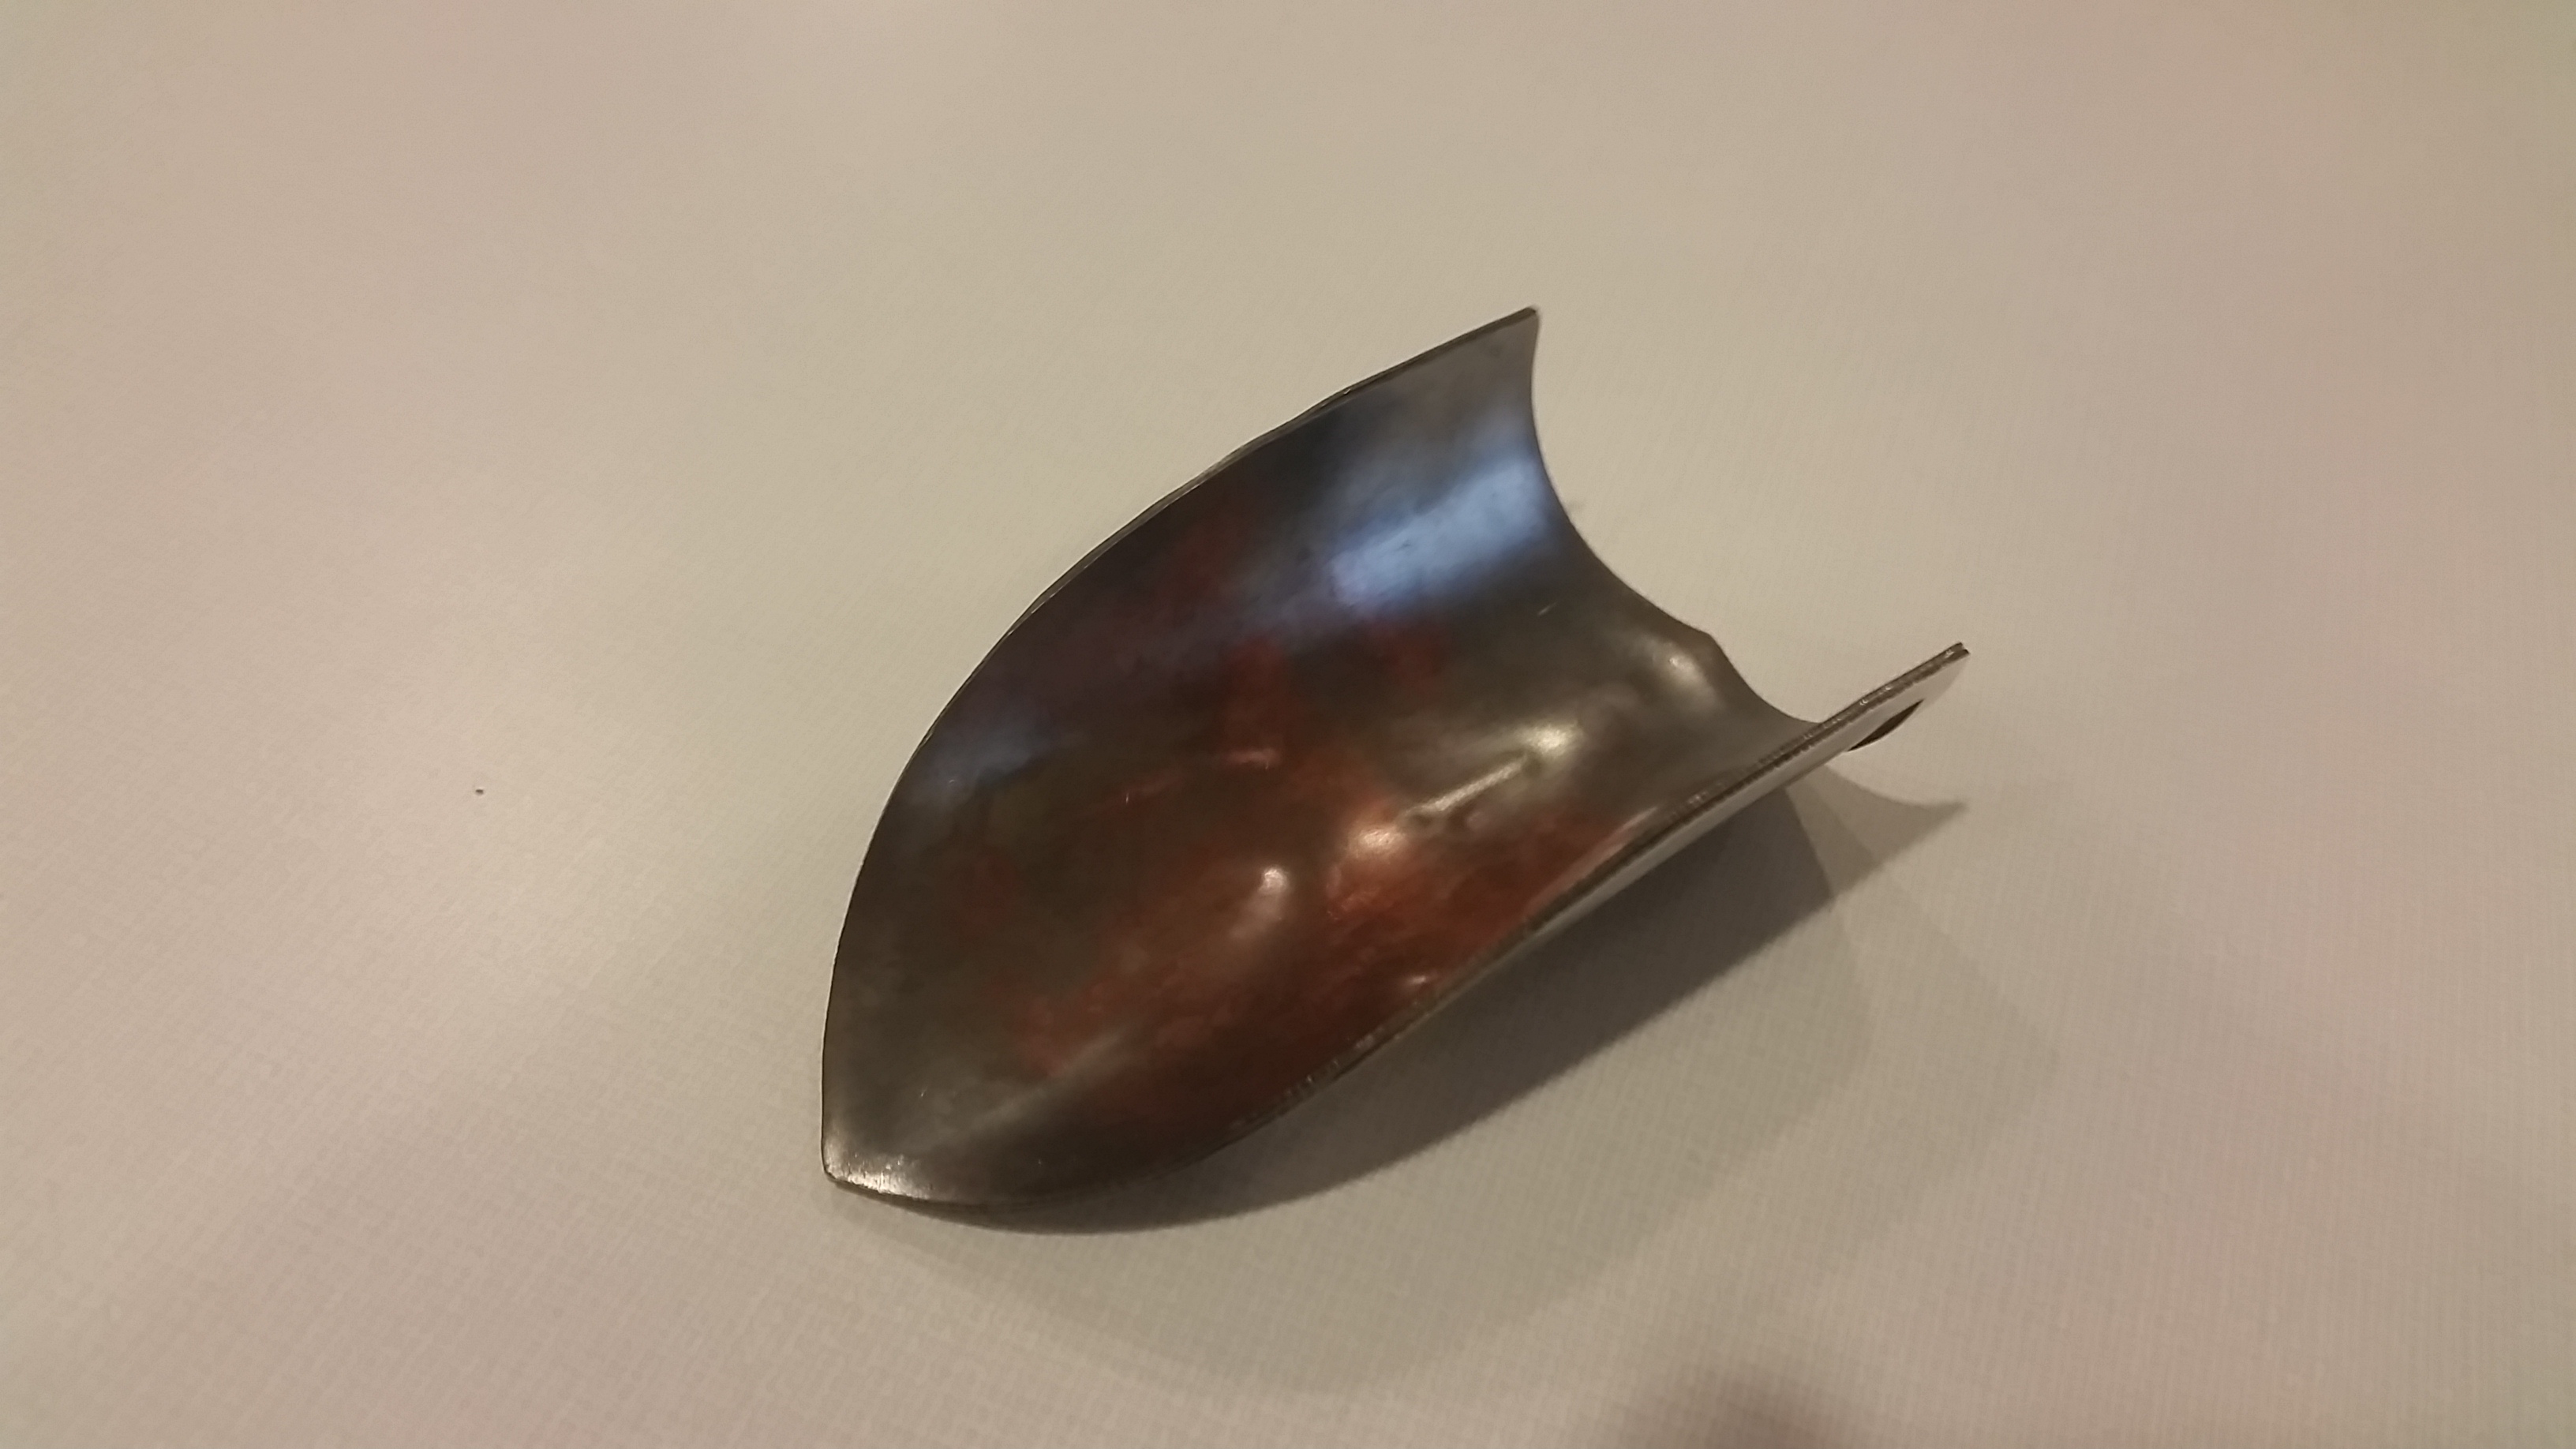
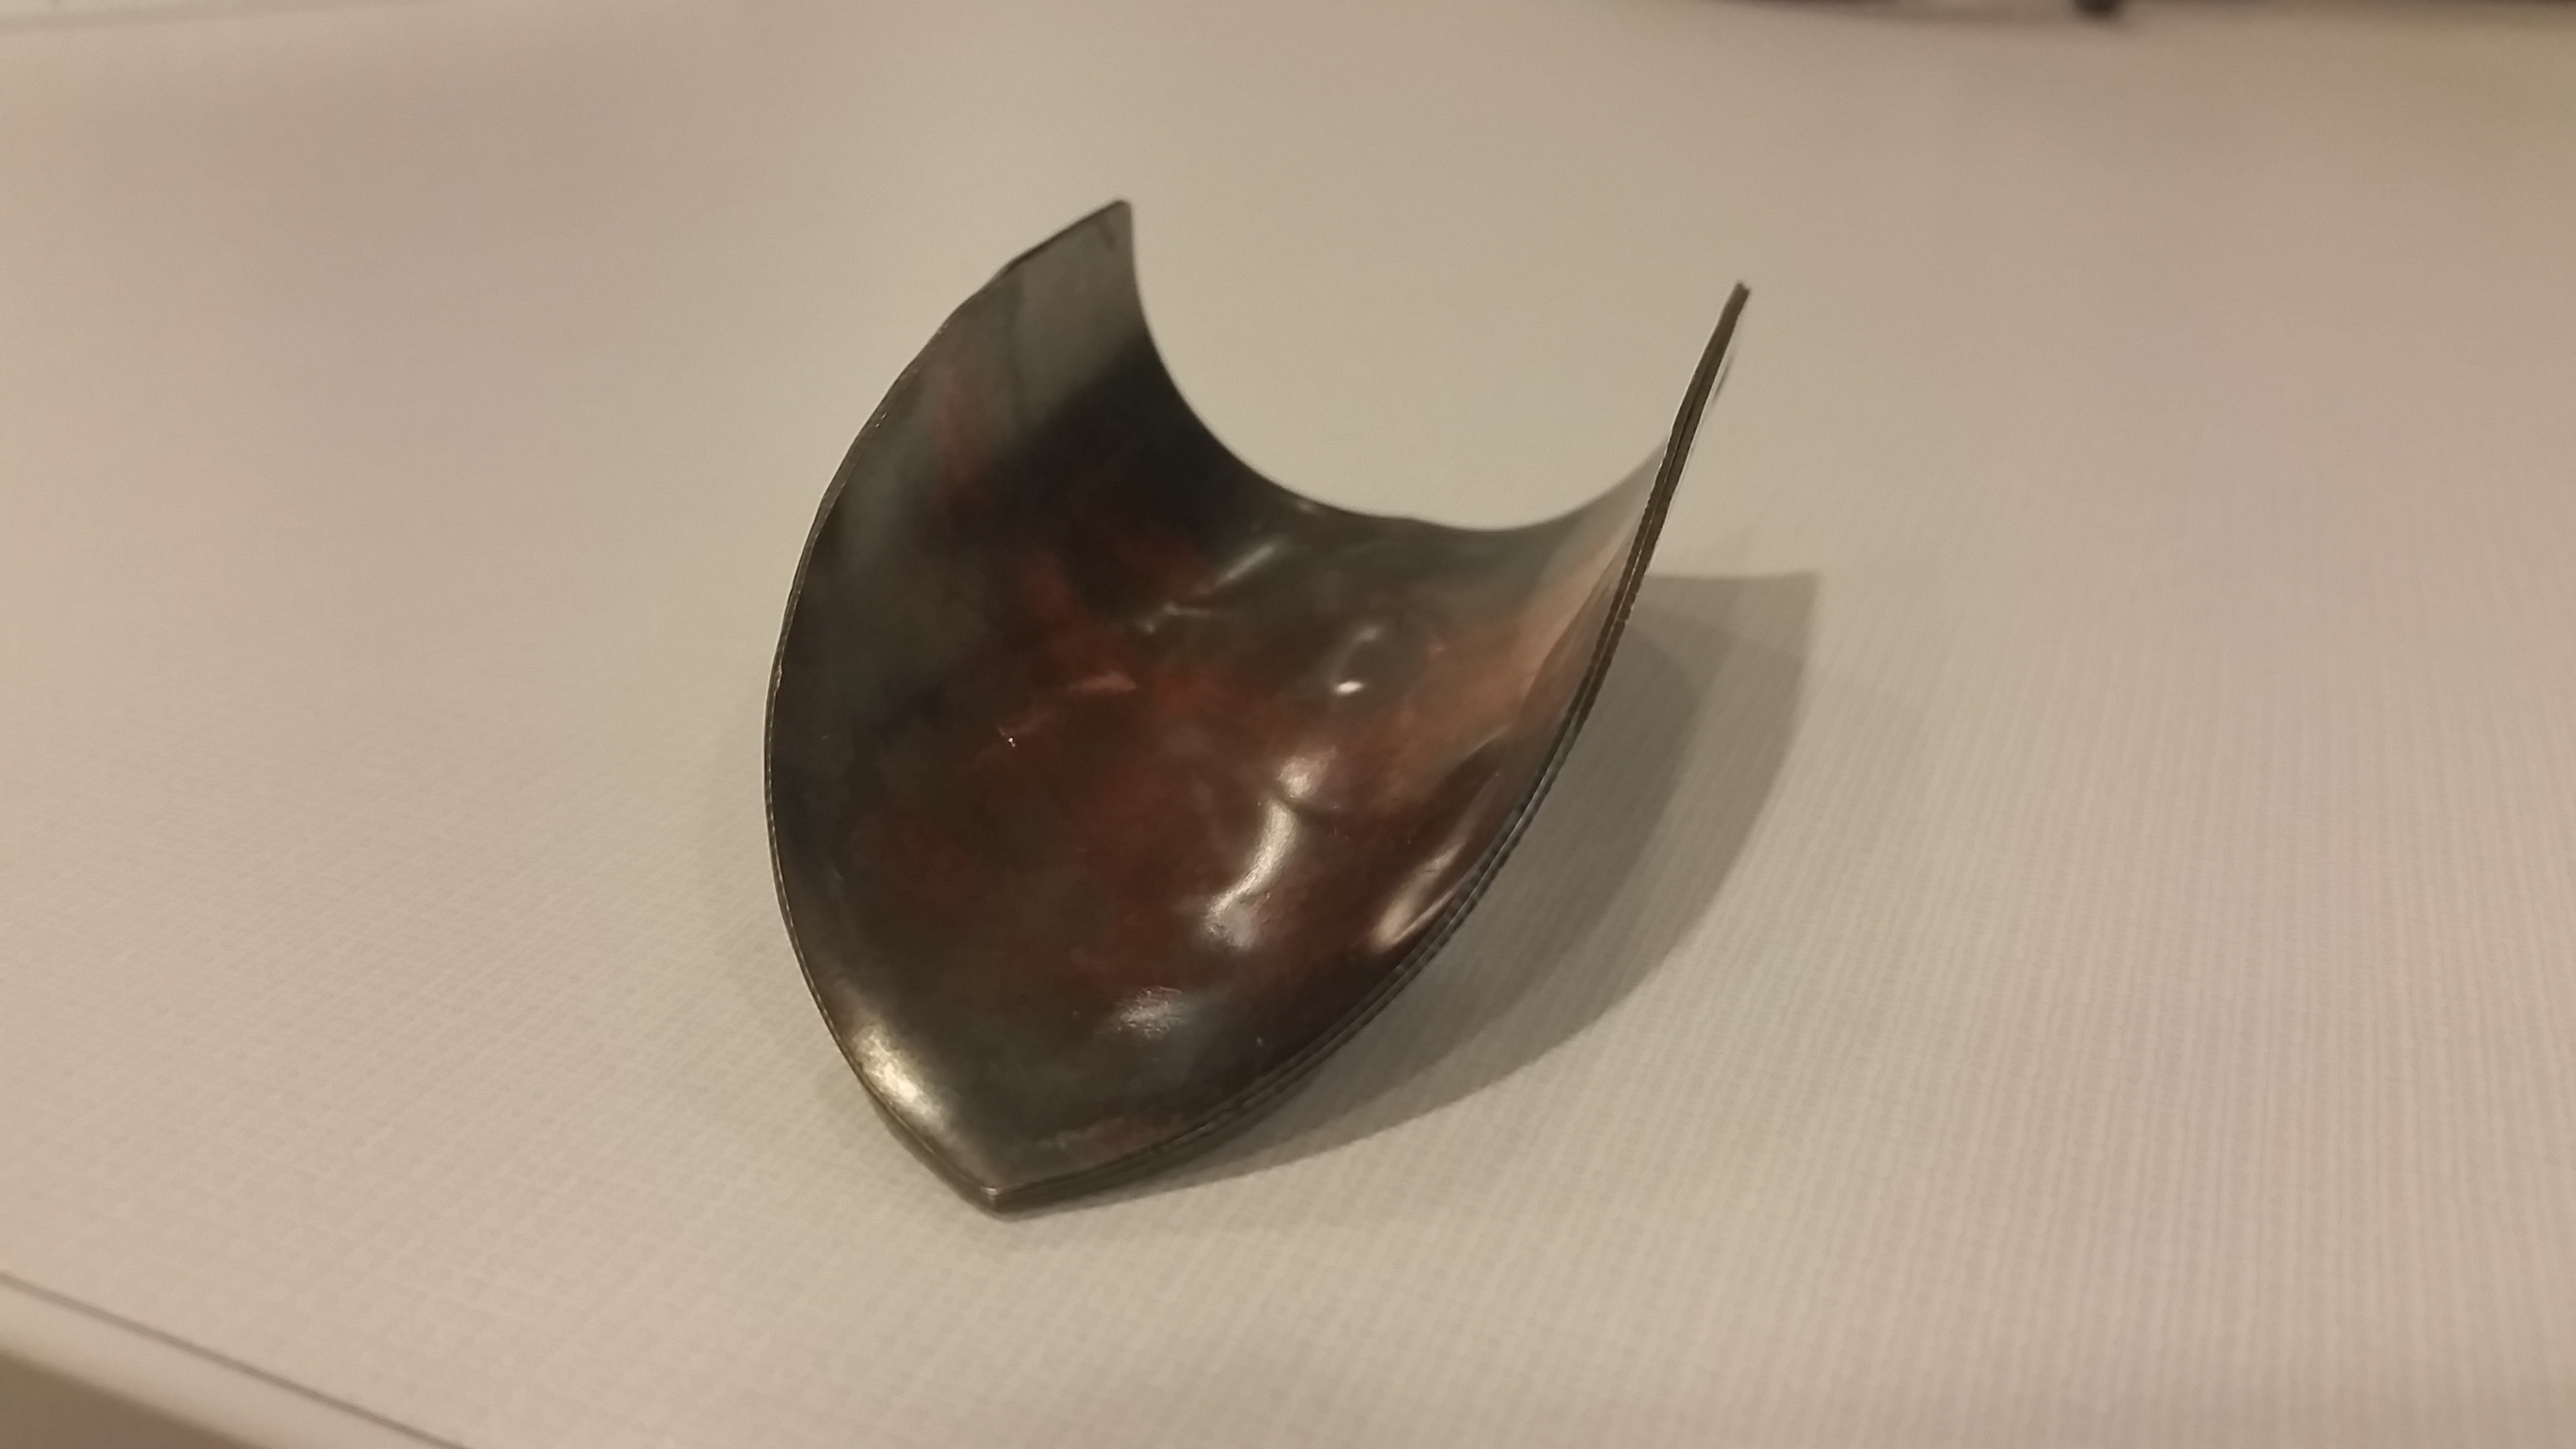
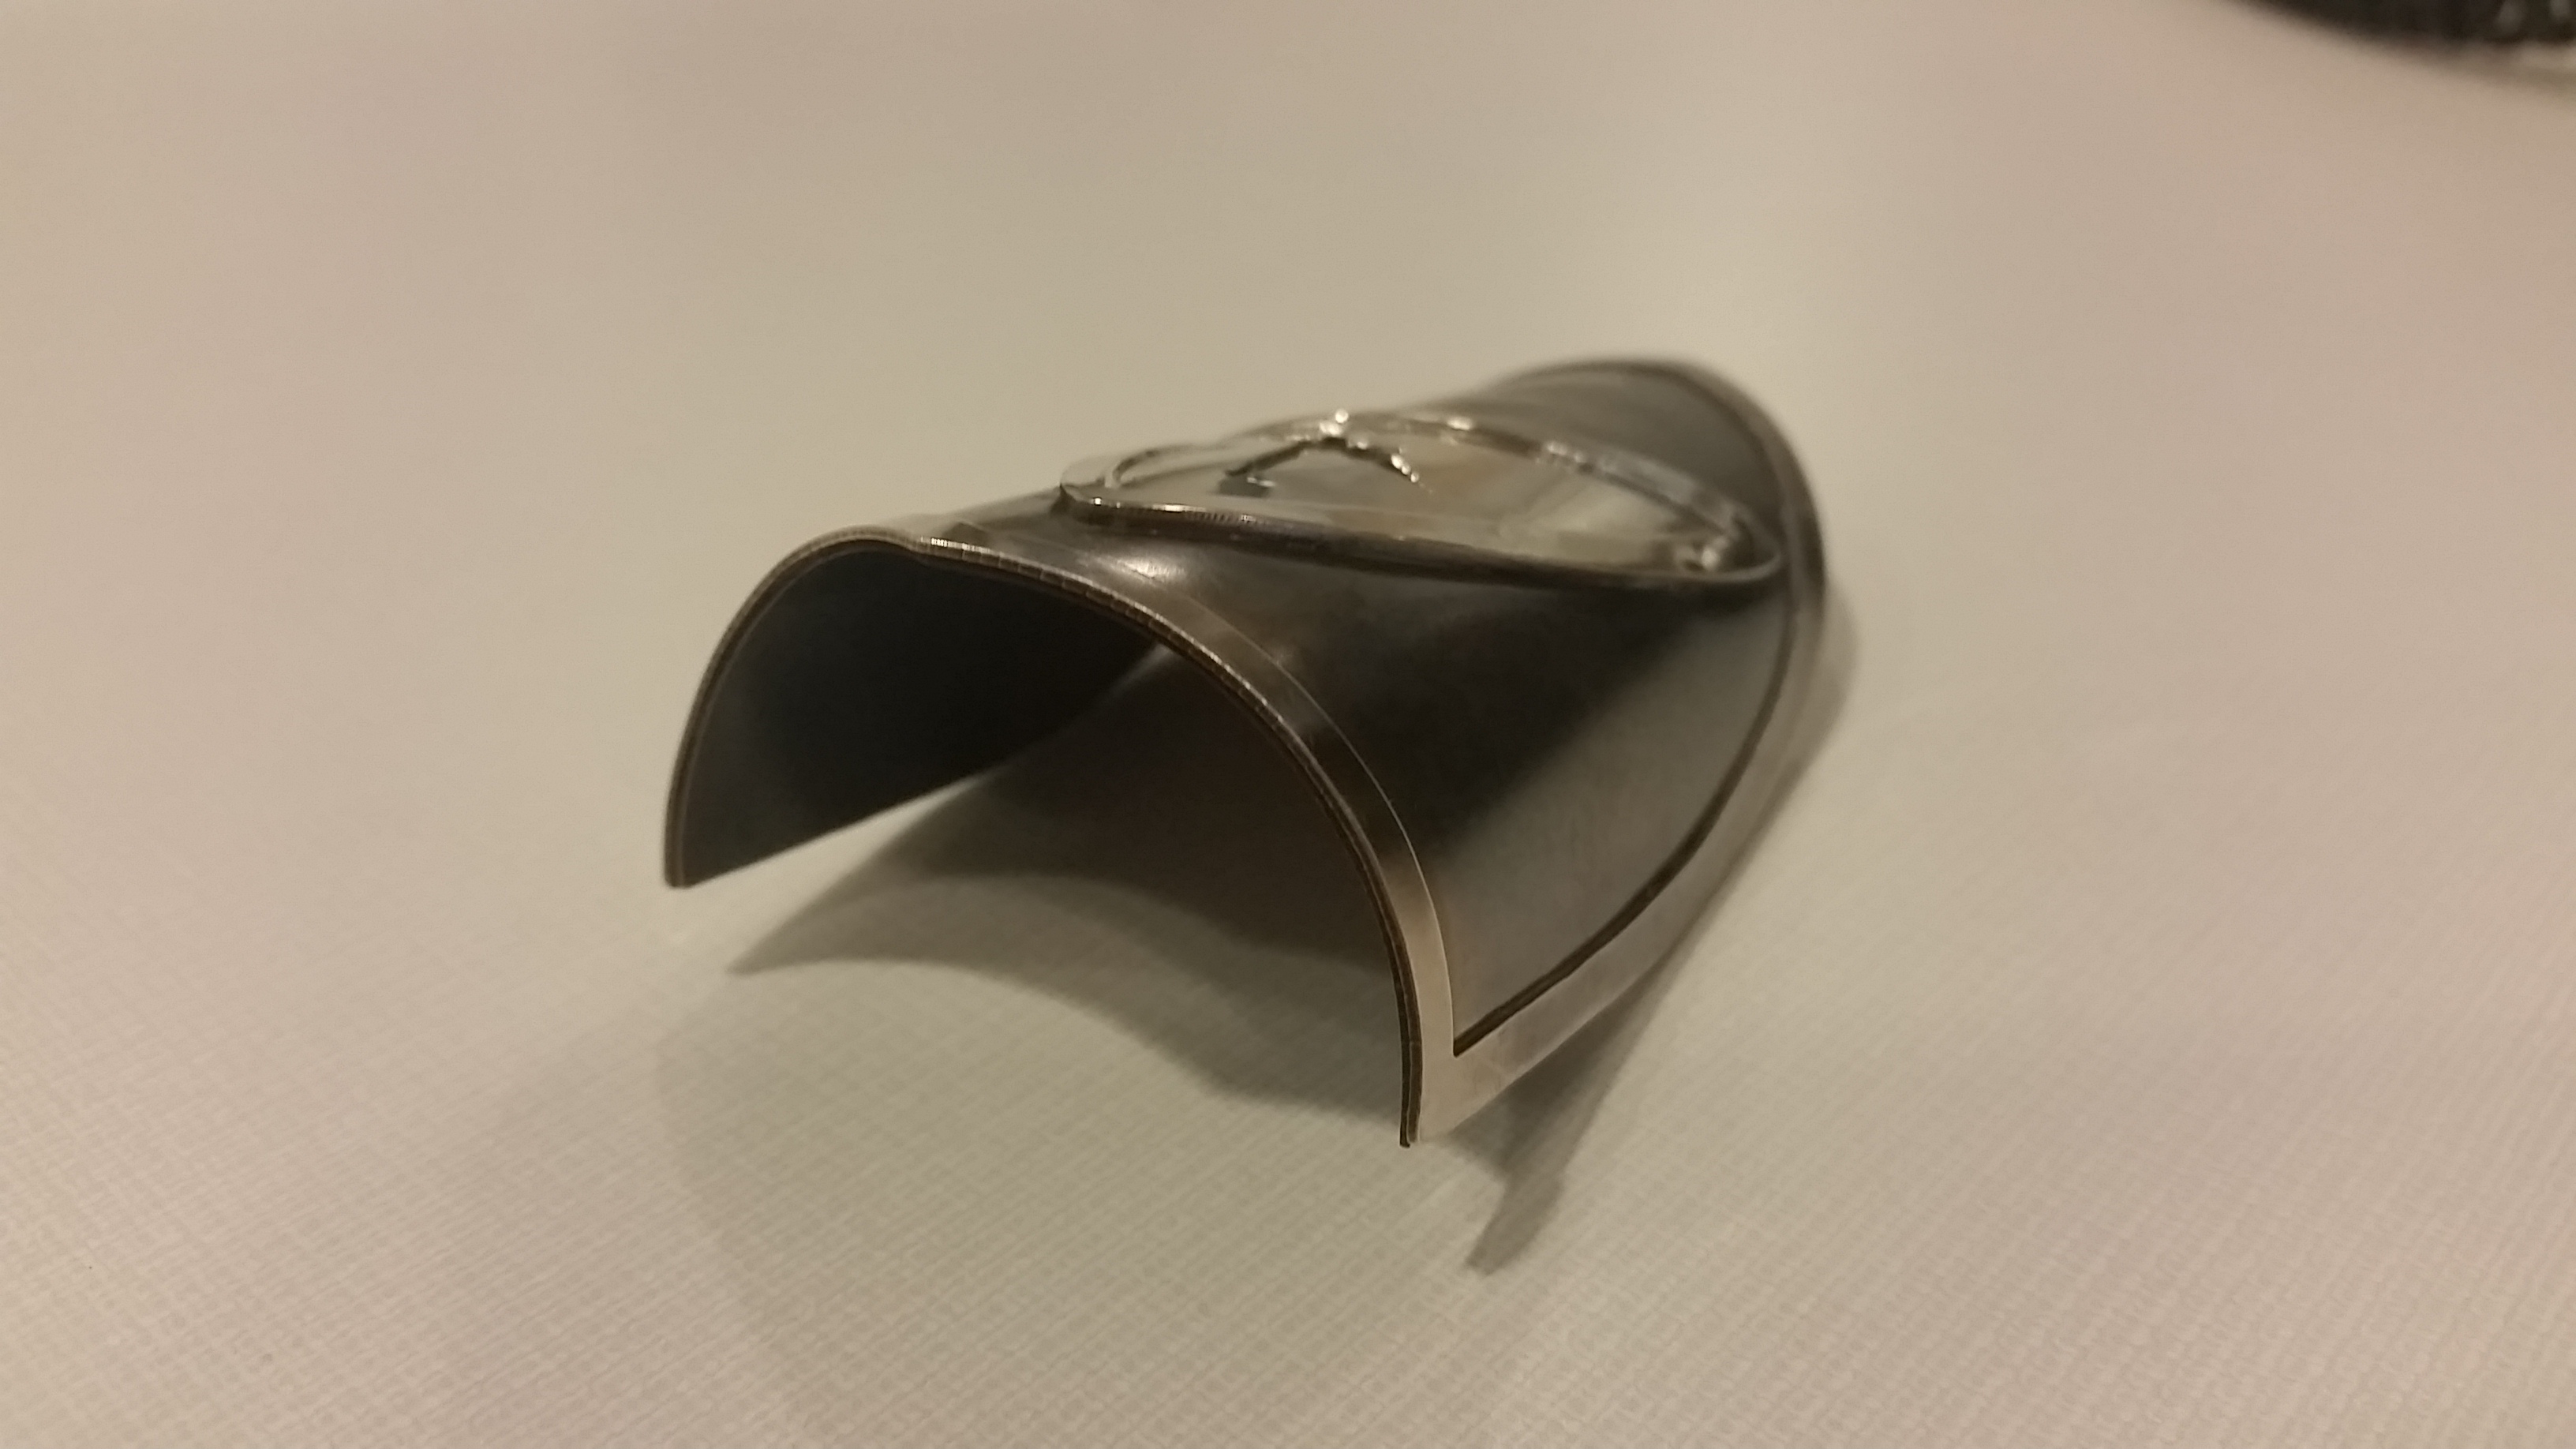
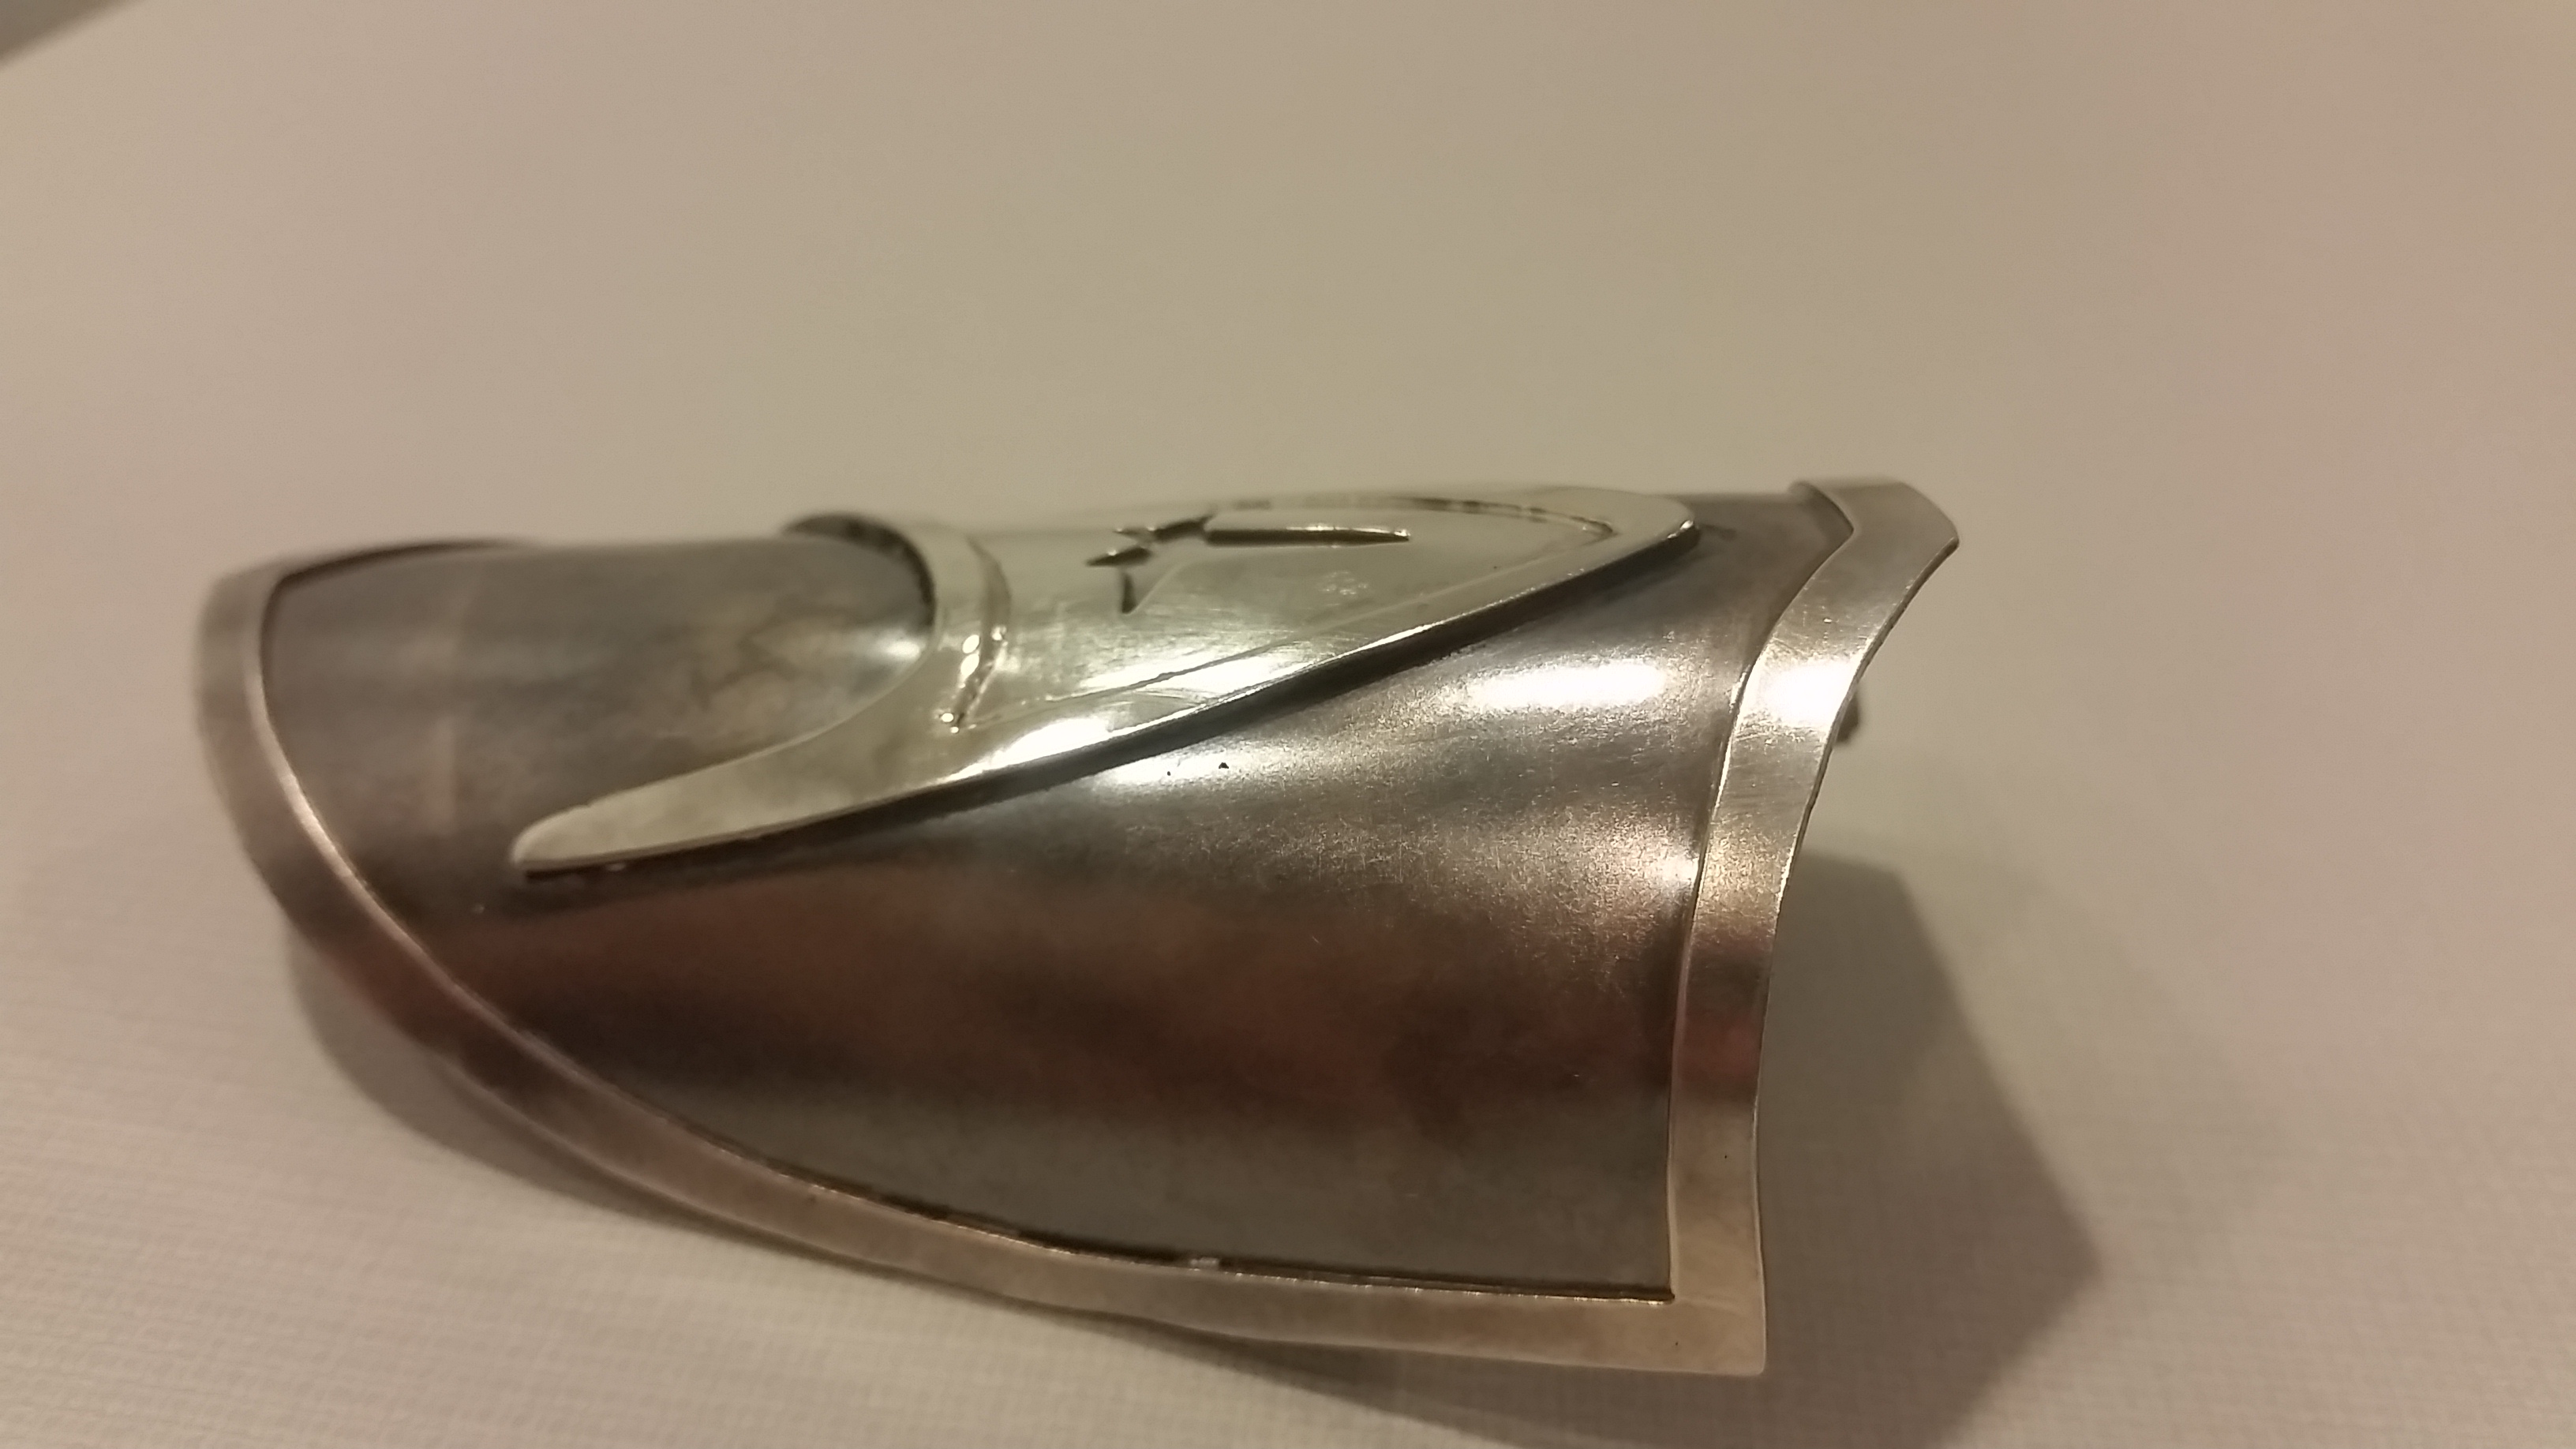
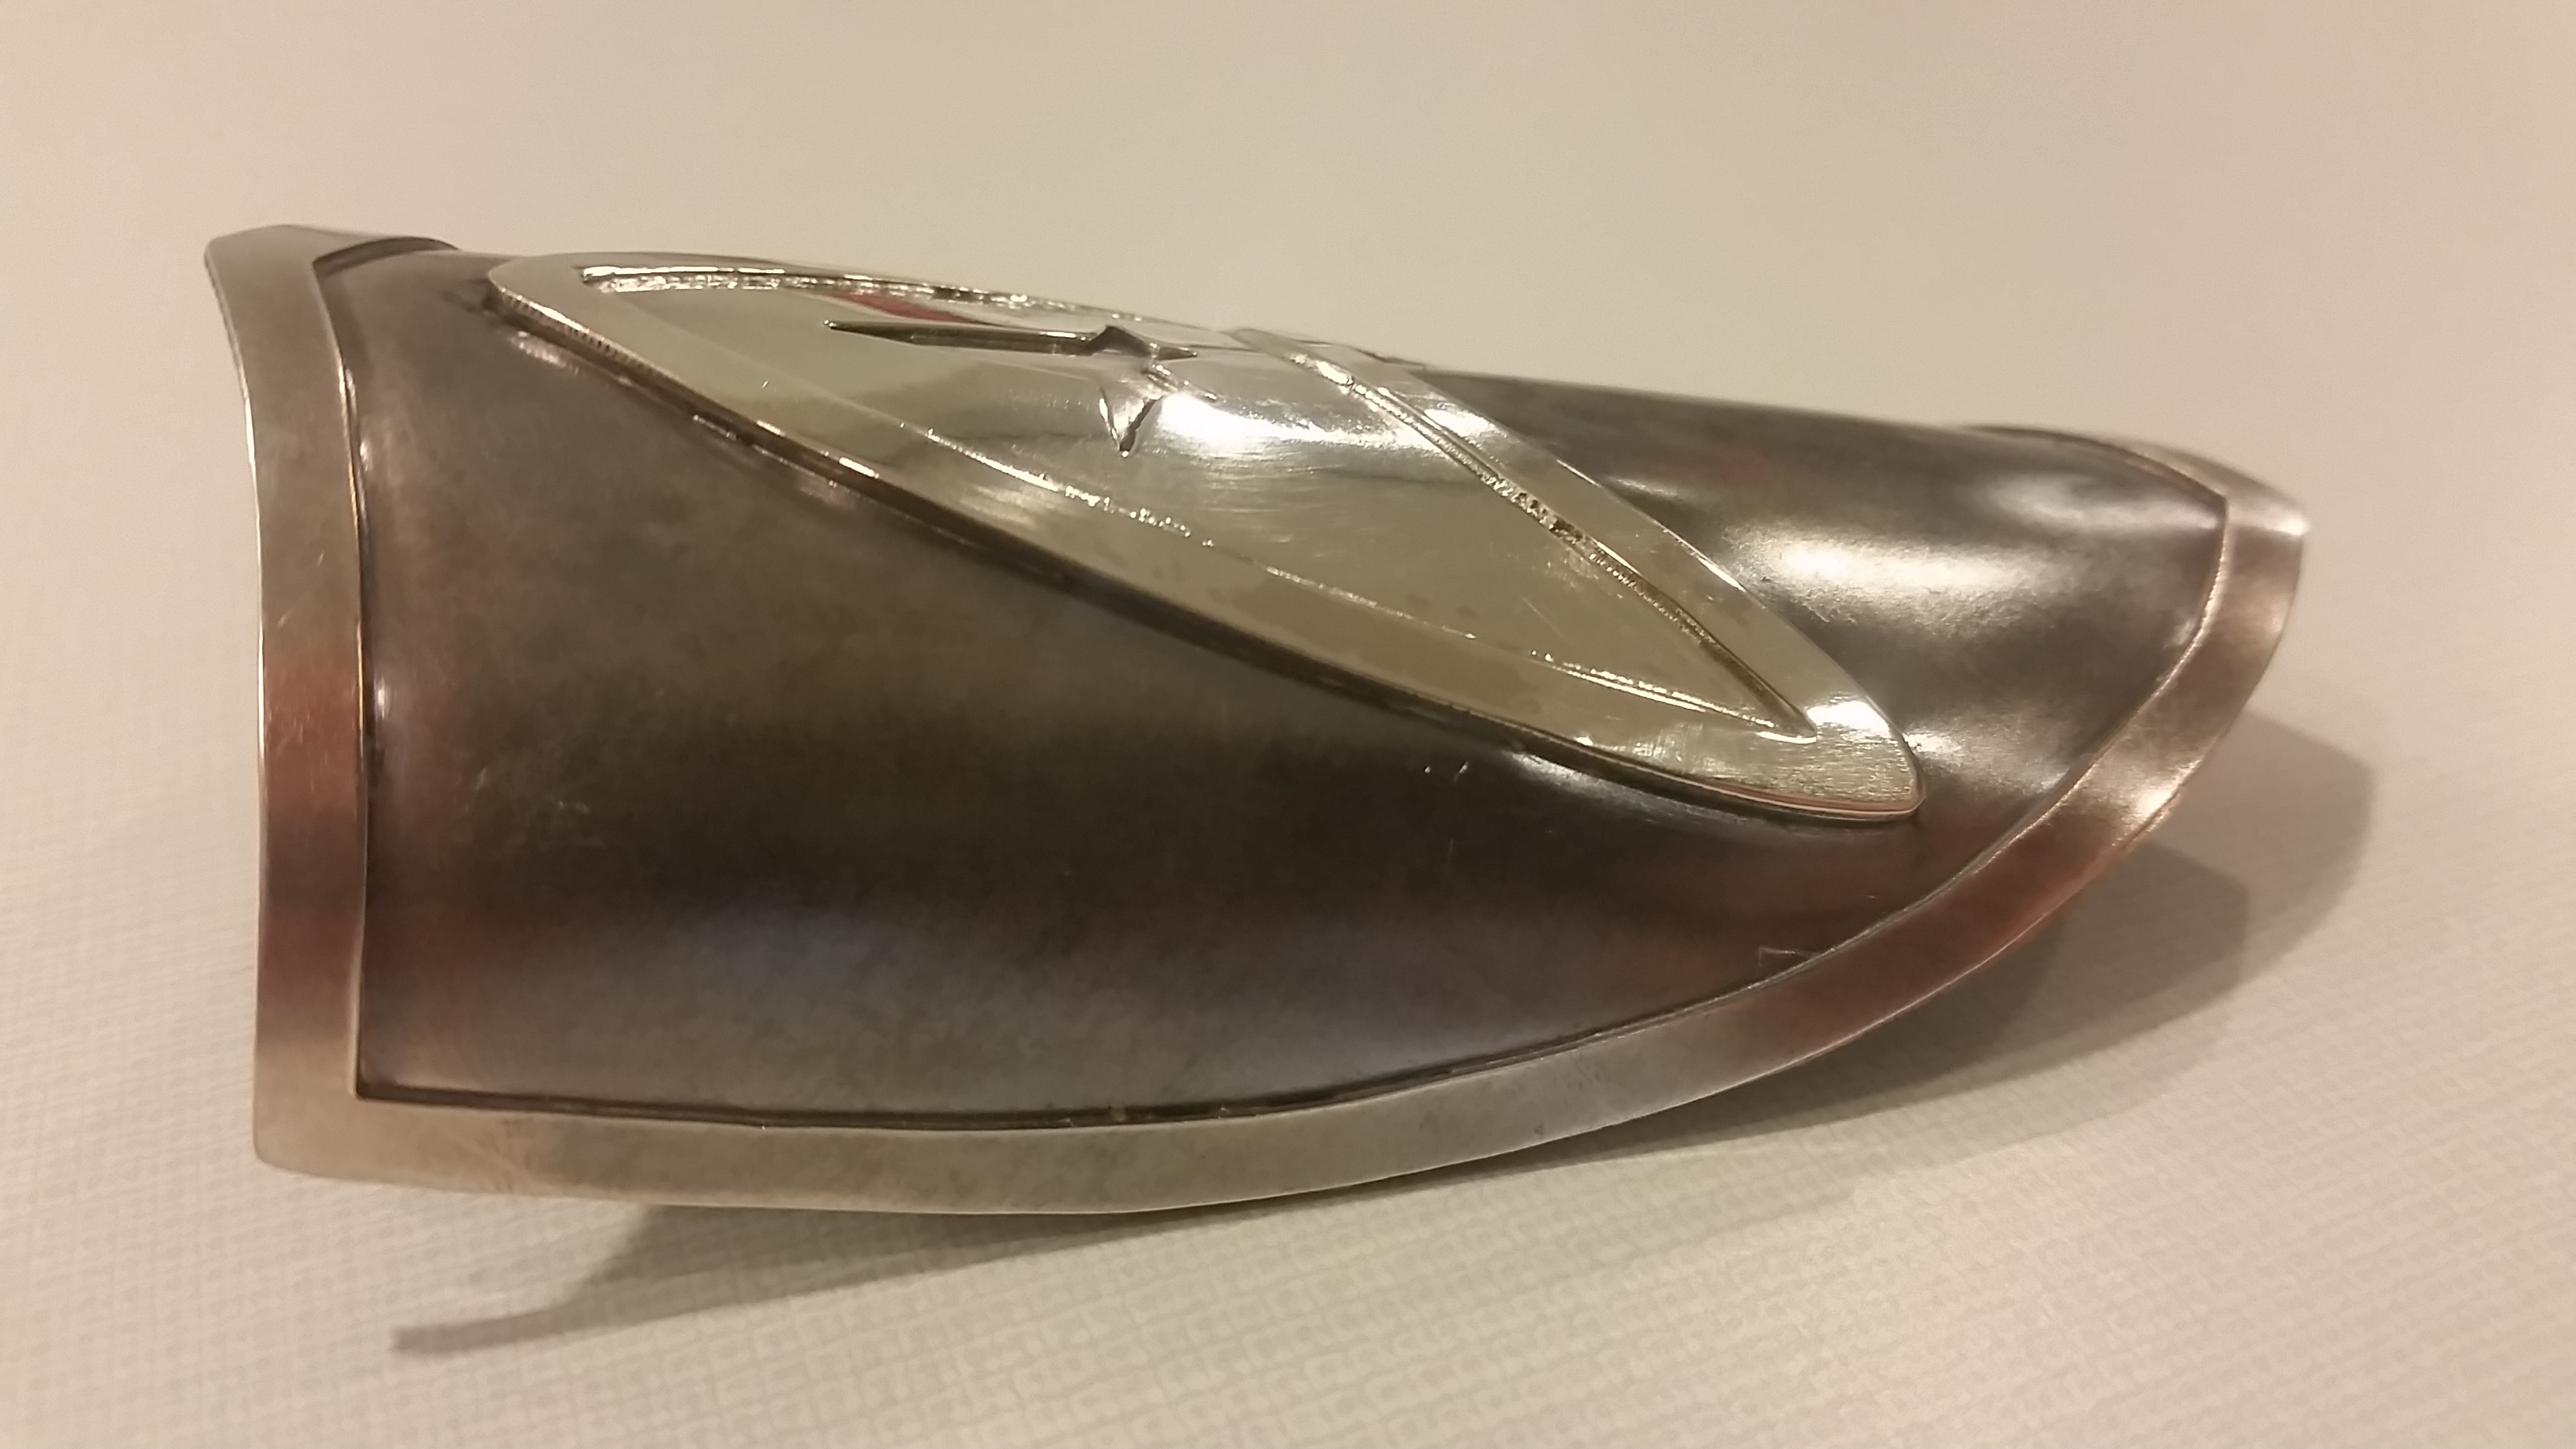
When I got the specs for this I knew it was going to be a larger badge, and the client wanted it in silver, so I was stoked to see a nice big badge with some classy materials. I really like the way it came out, with the layers, and the oxide providing some nice depth. It feels good in your hand like a little shield, and the star trek logo on the front fits well and is centered well. The client designed it, I just fashioned it, but I am stoked the way it came out.
Compass Rose Headbadge

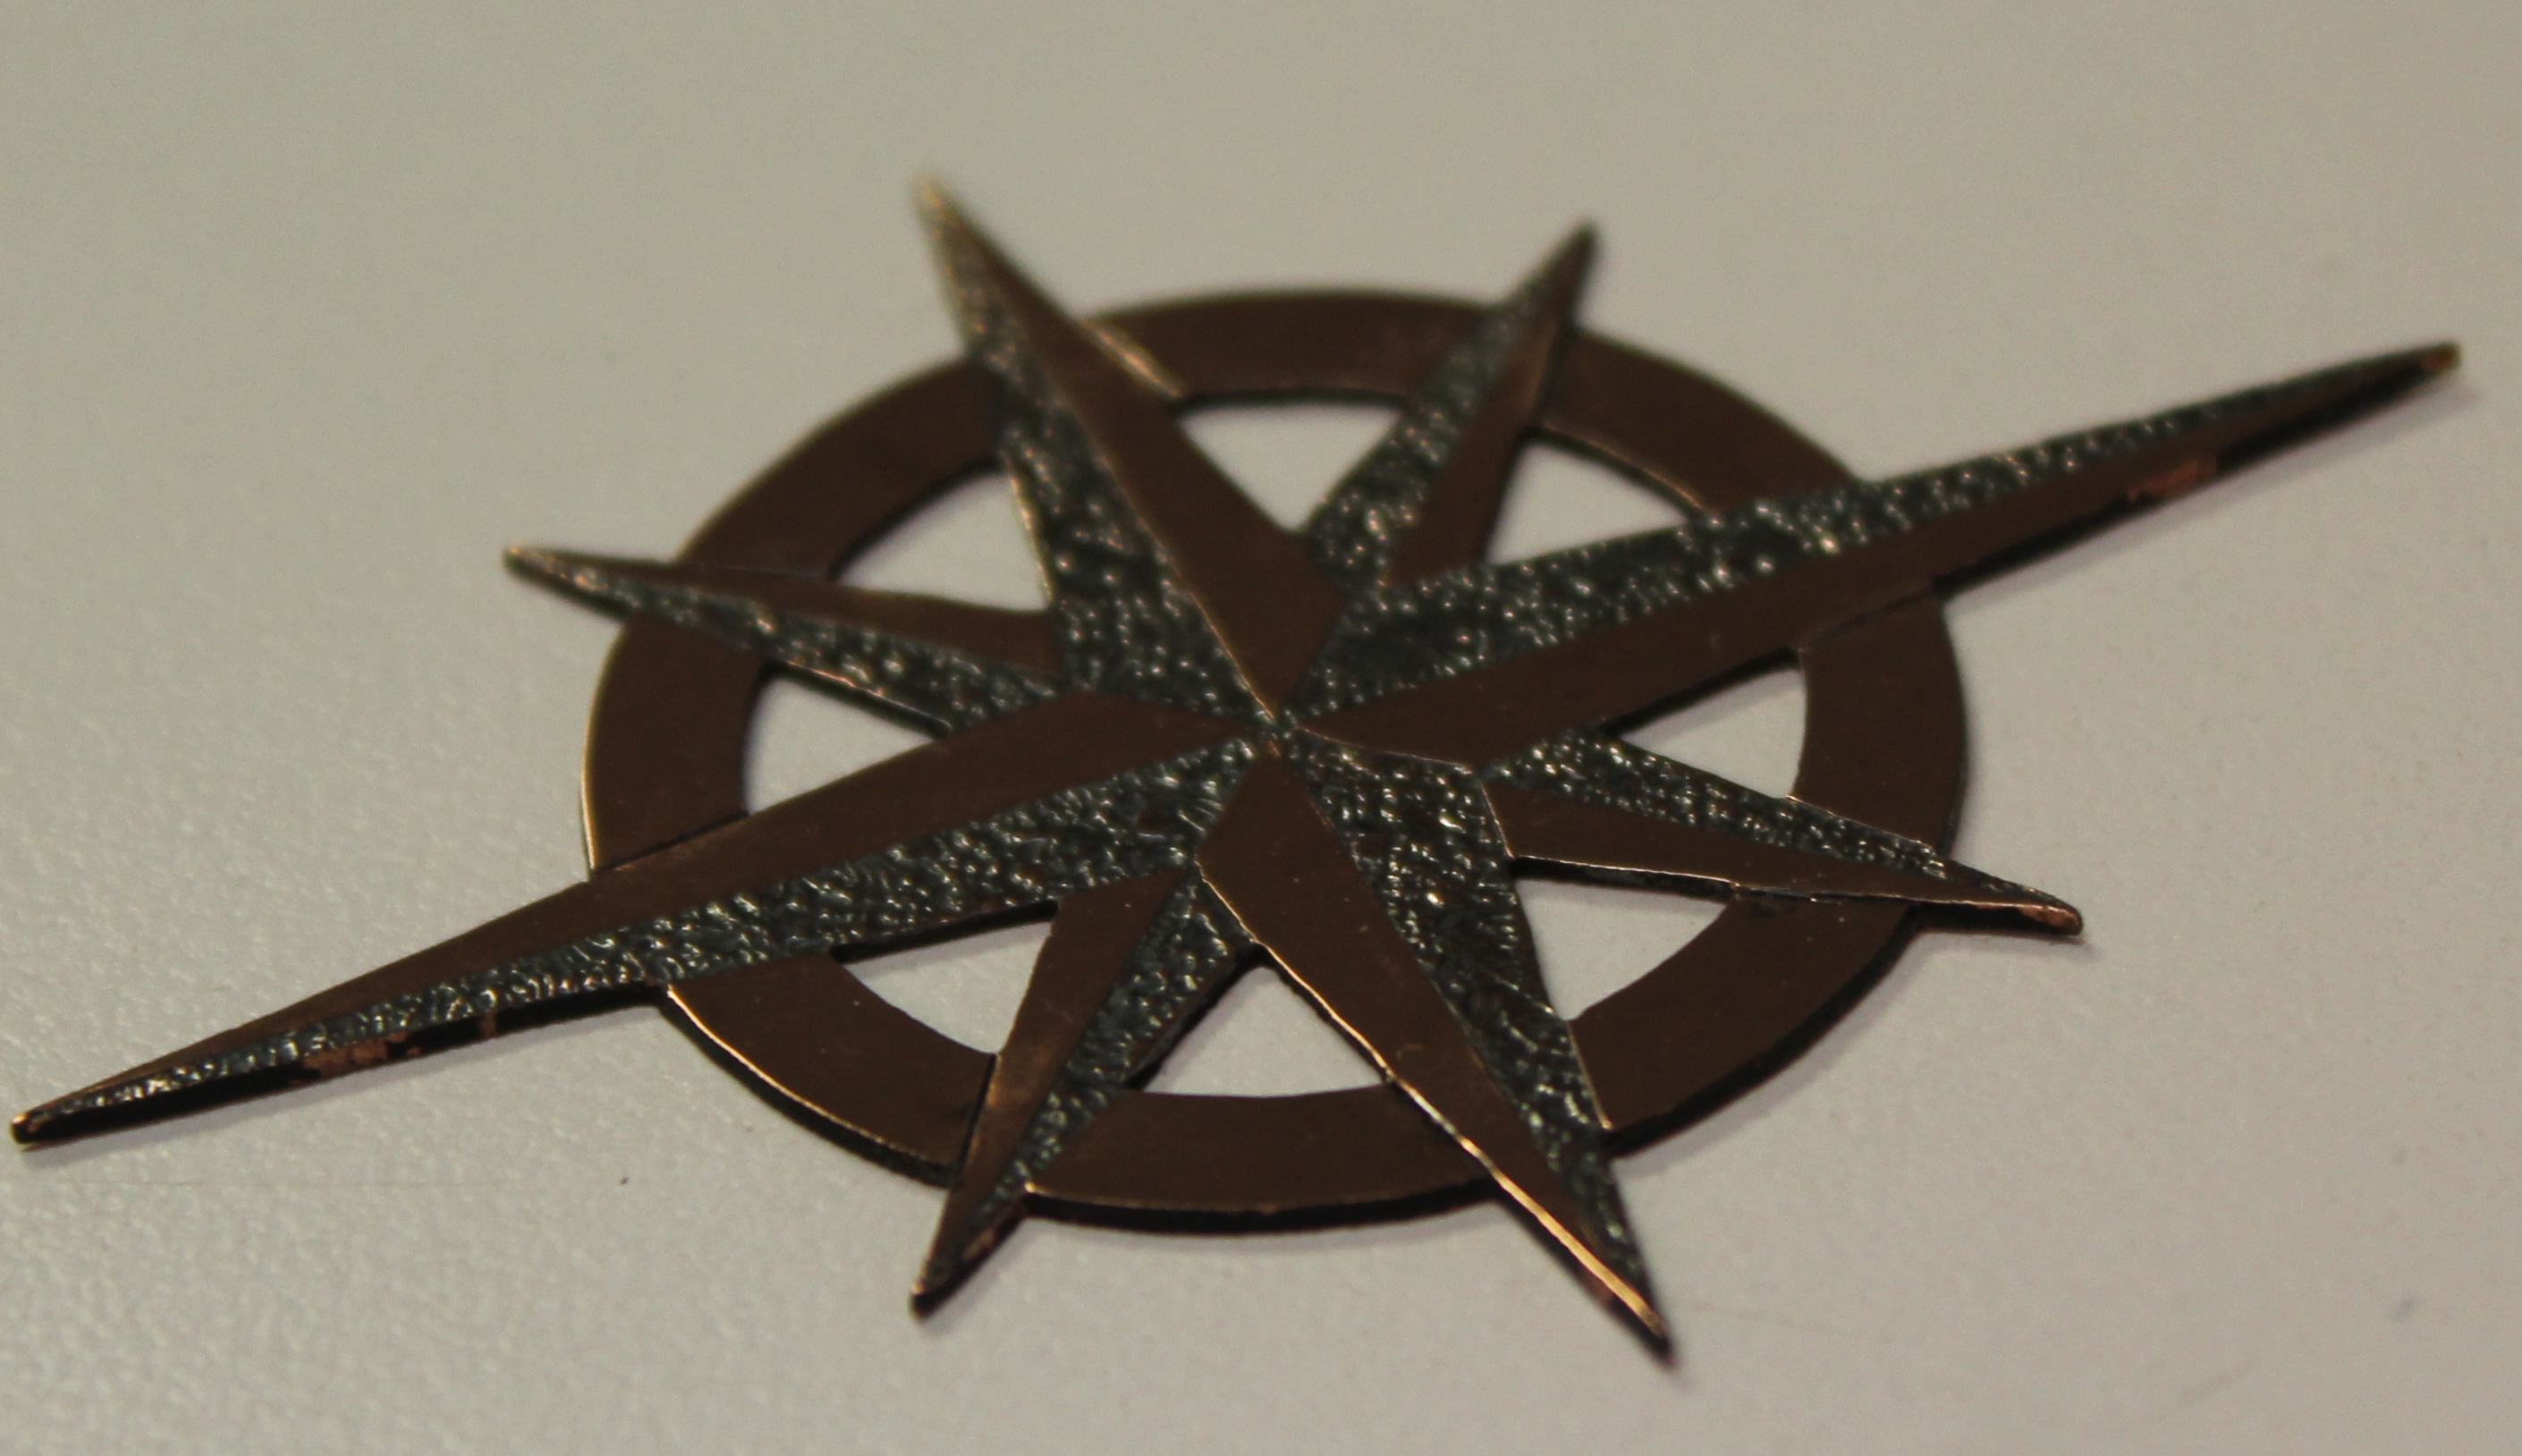
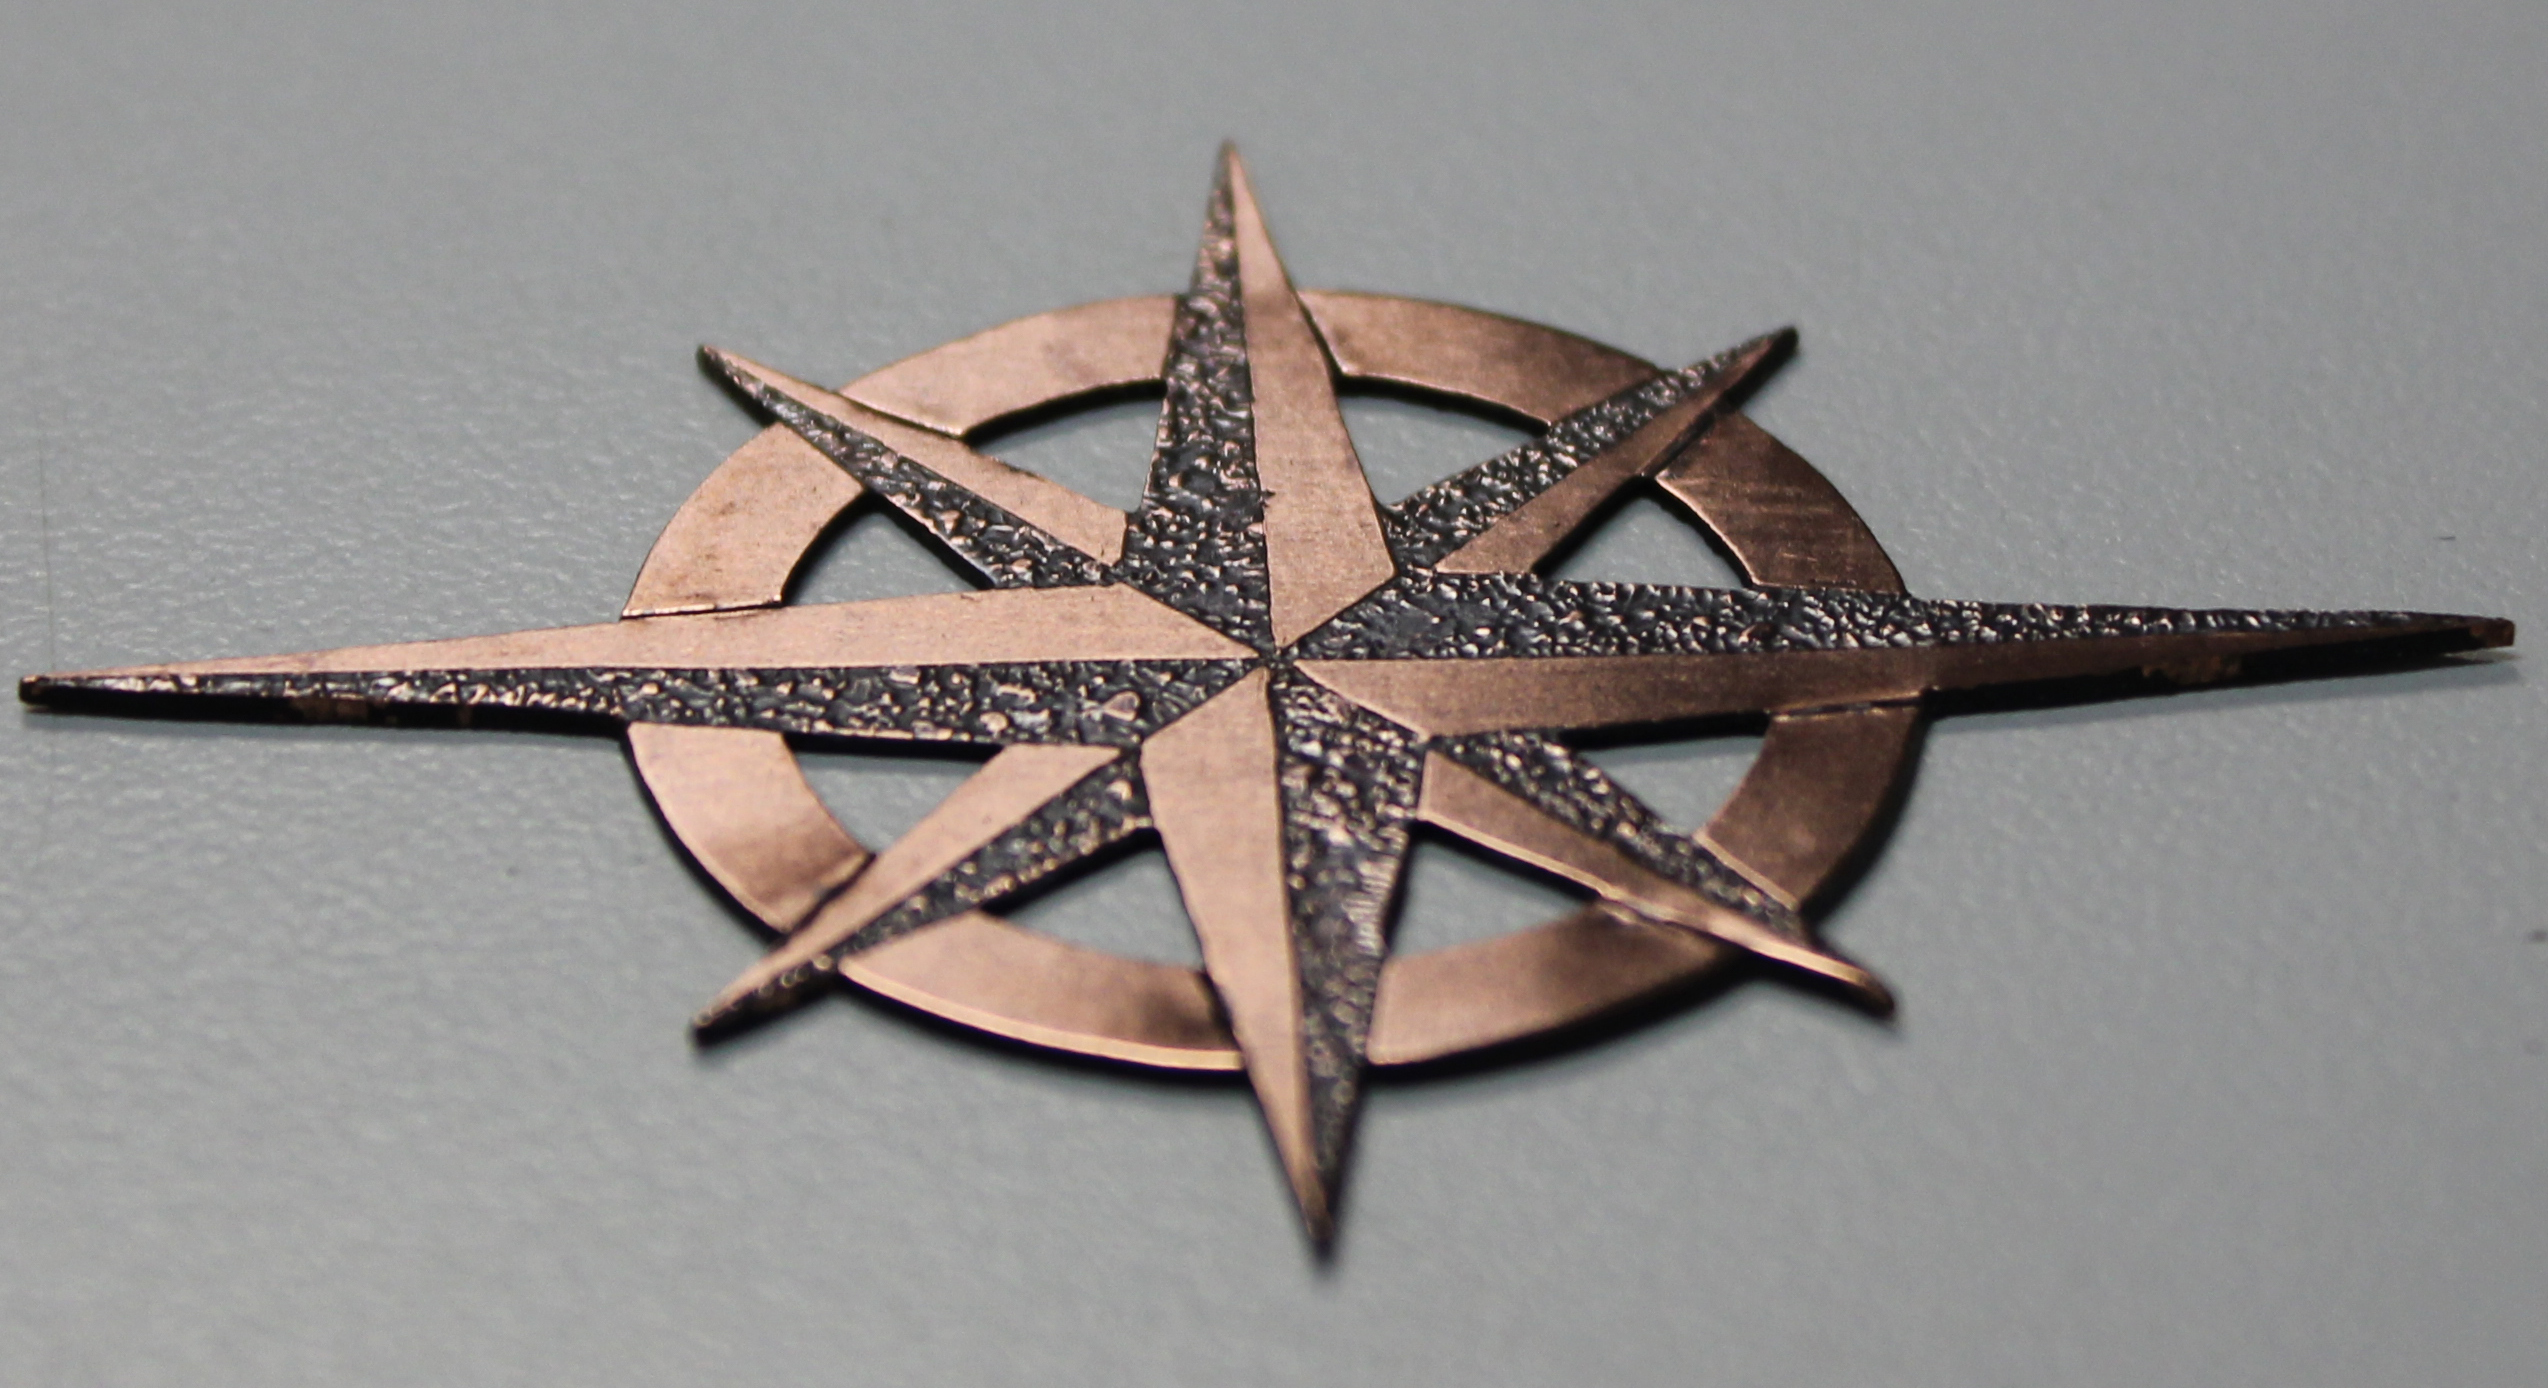
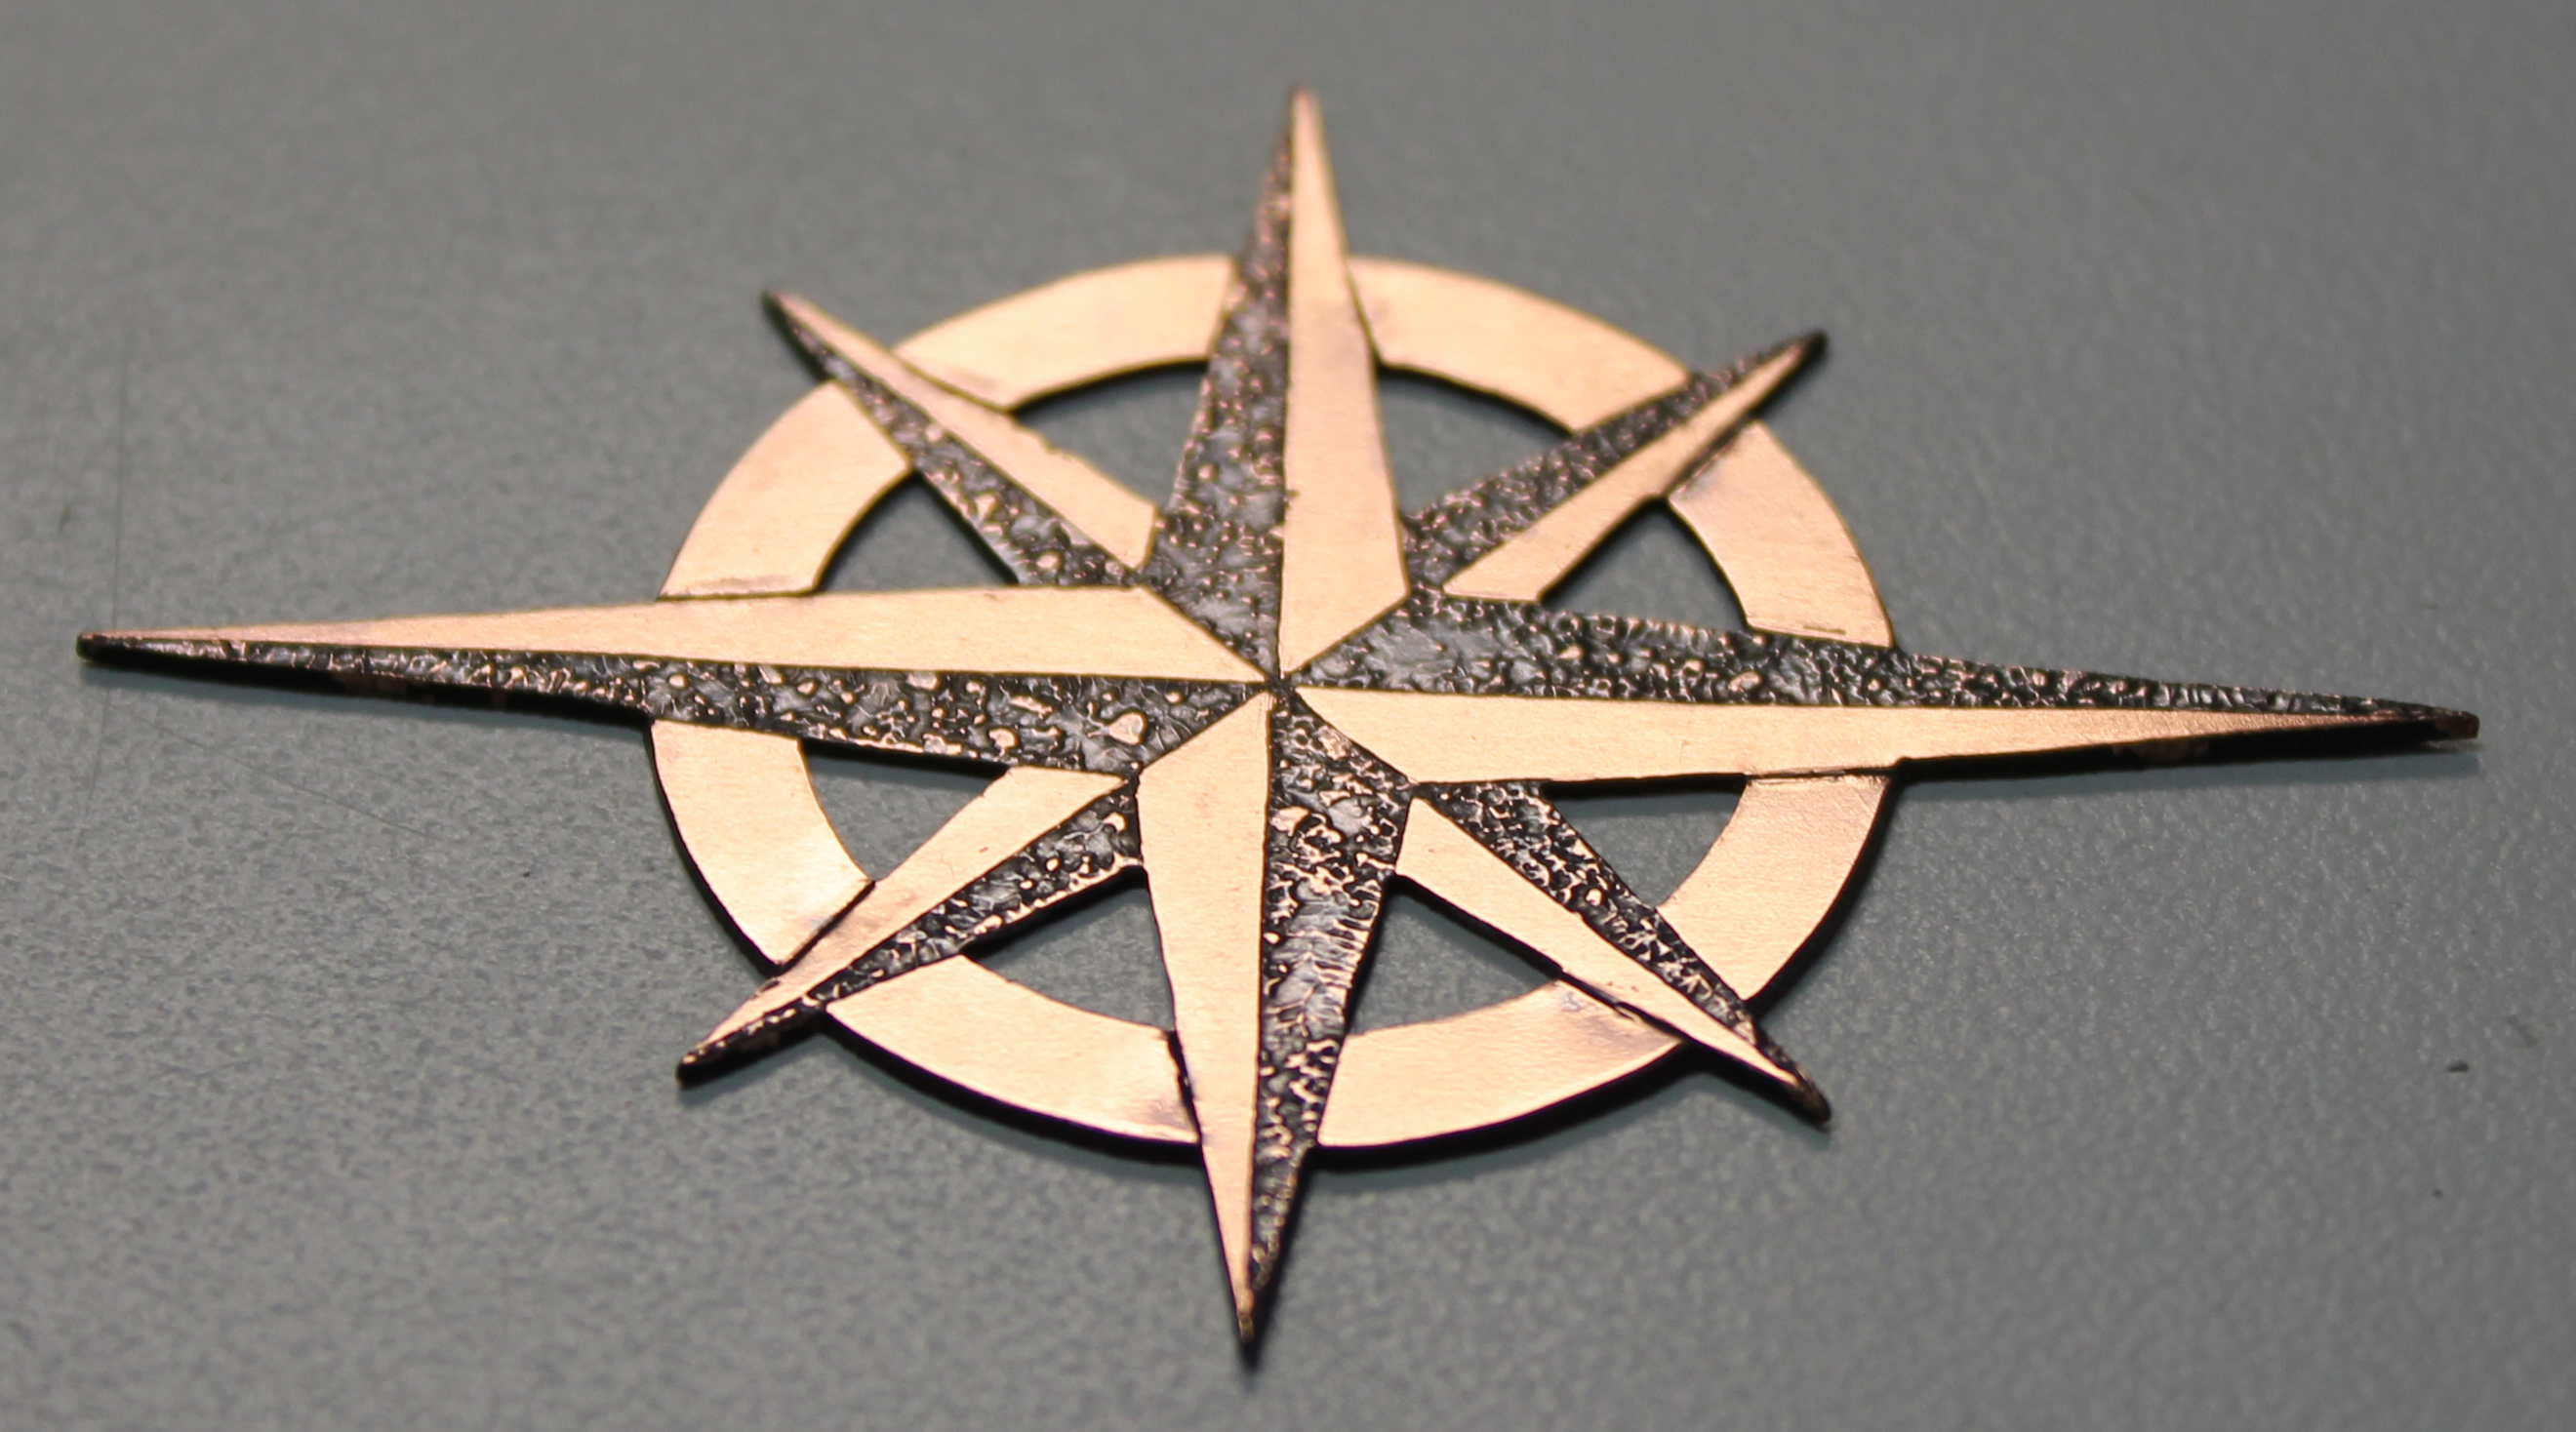
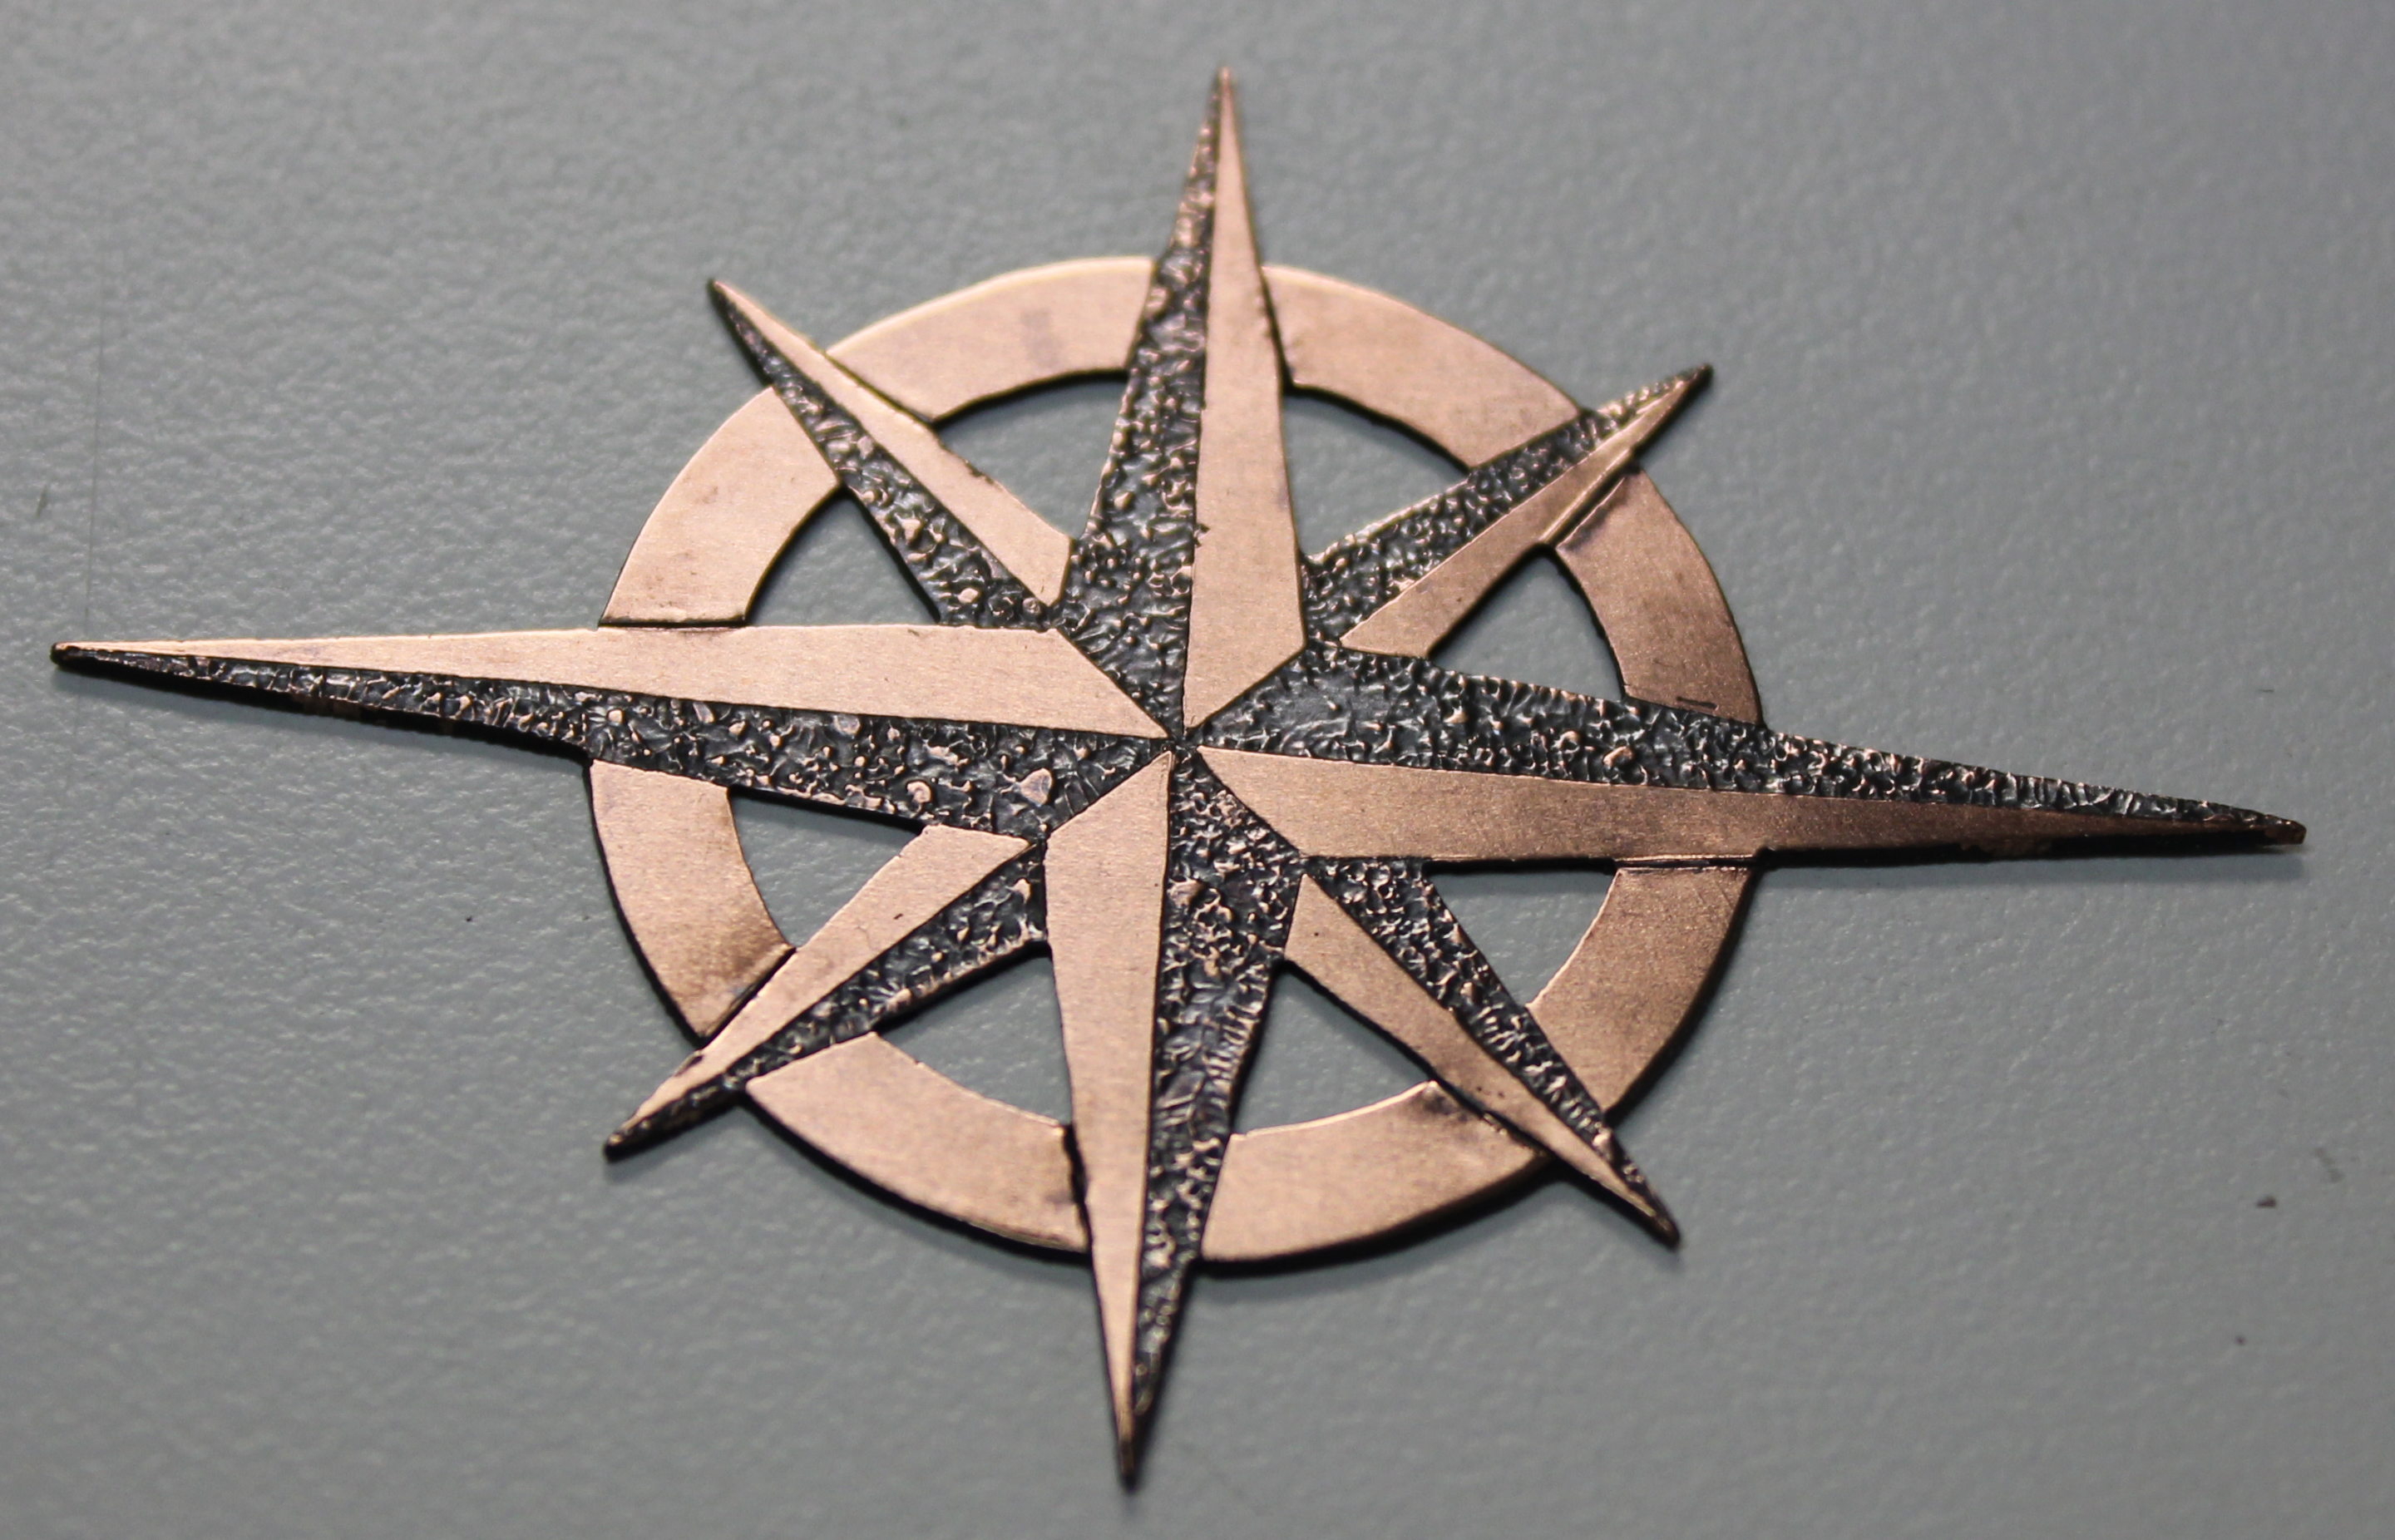
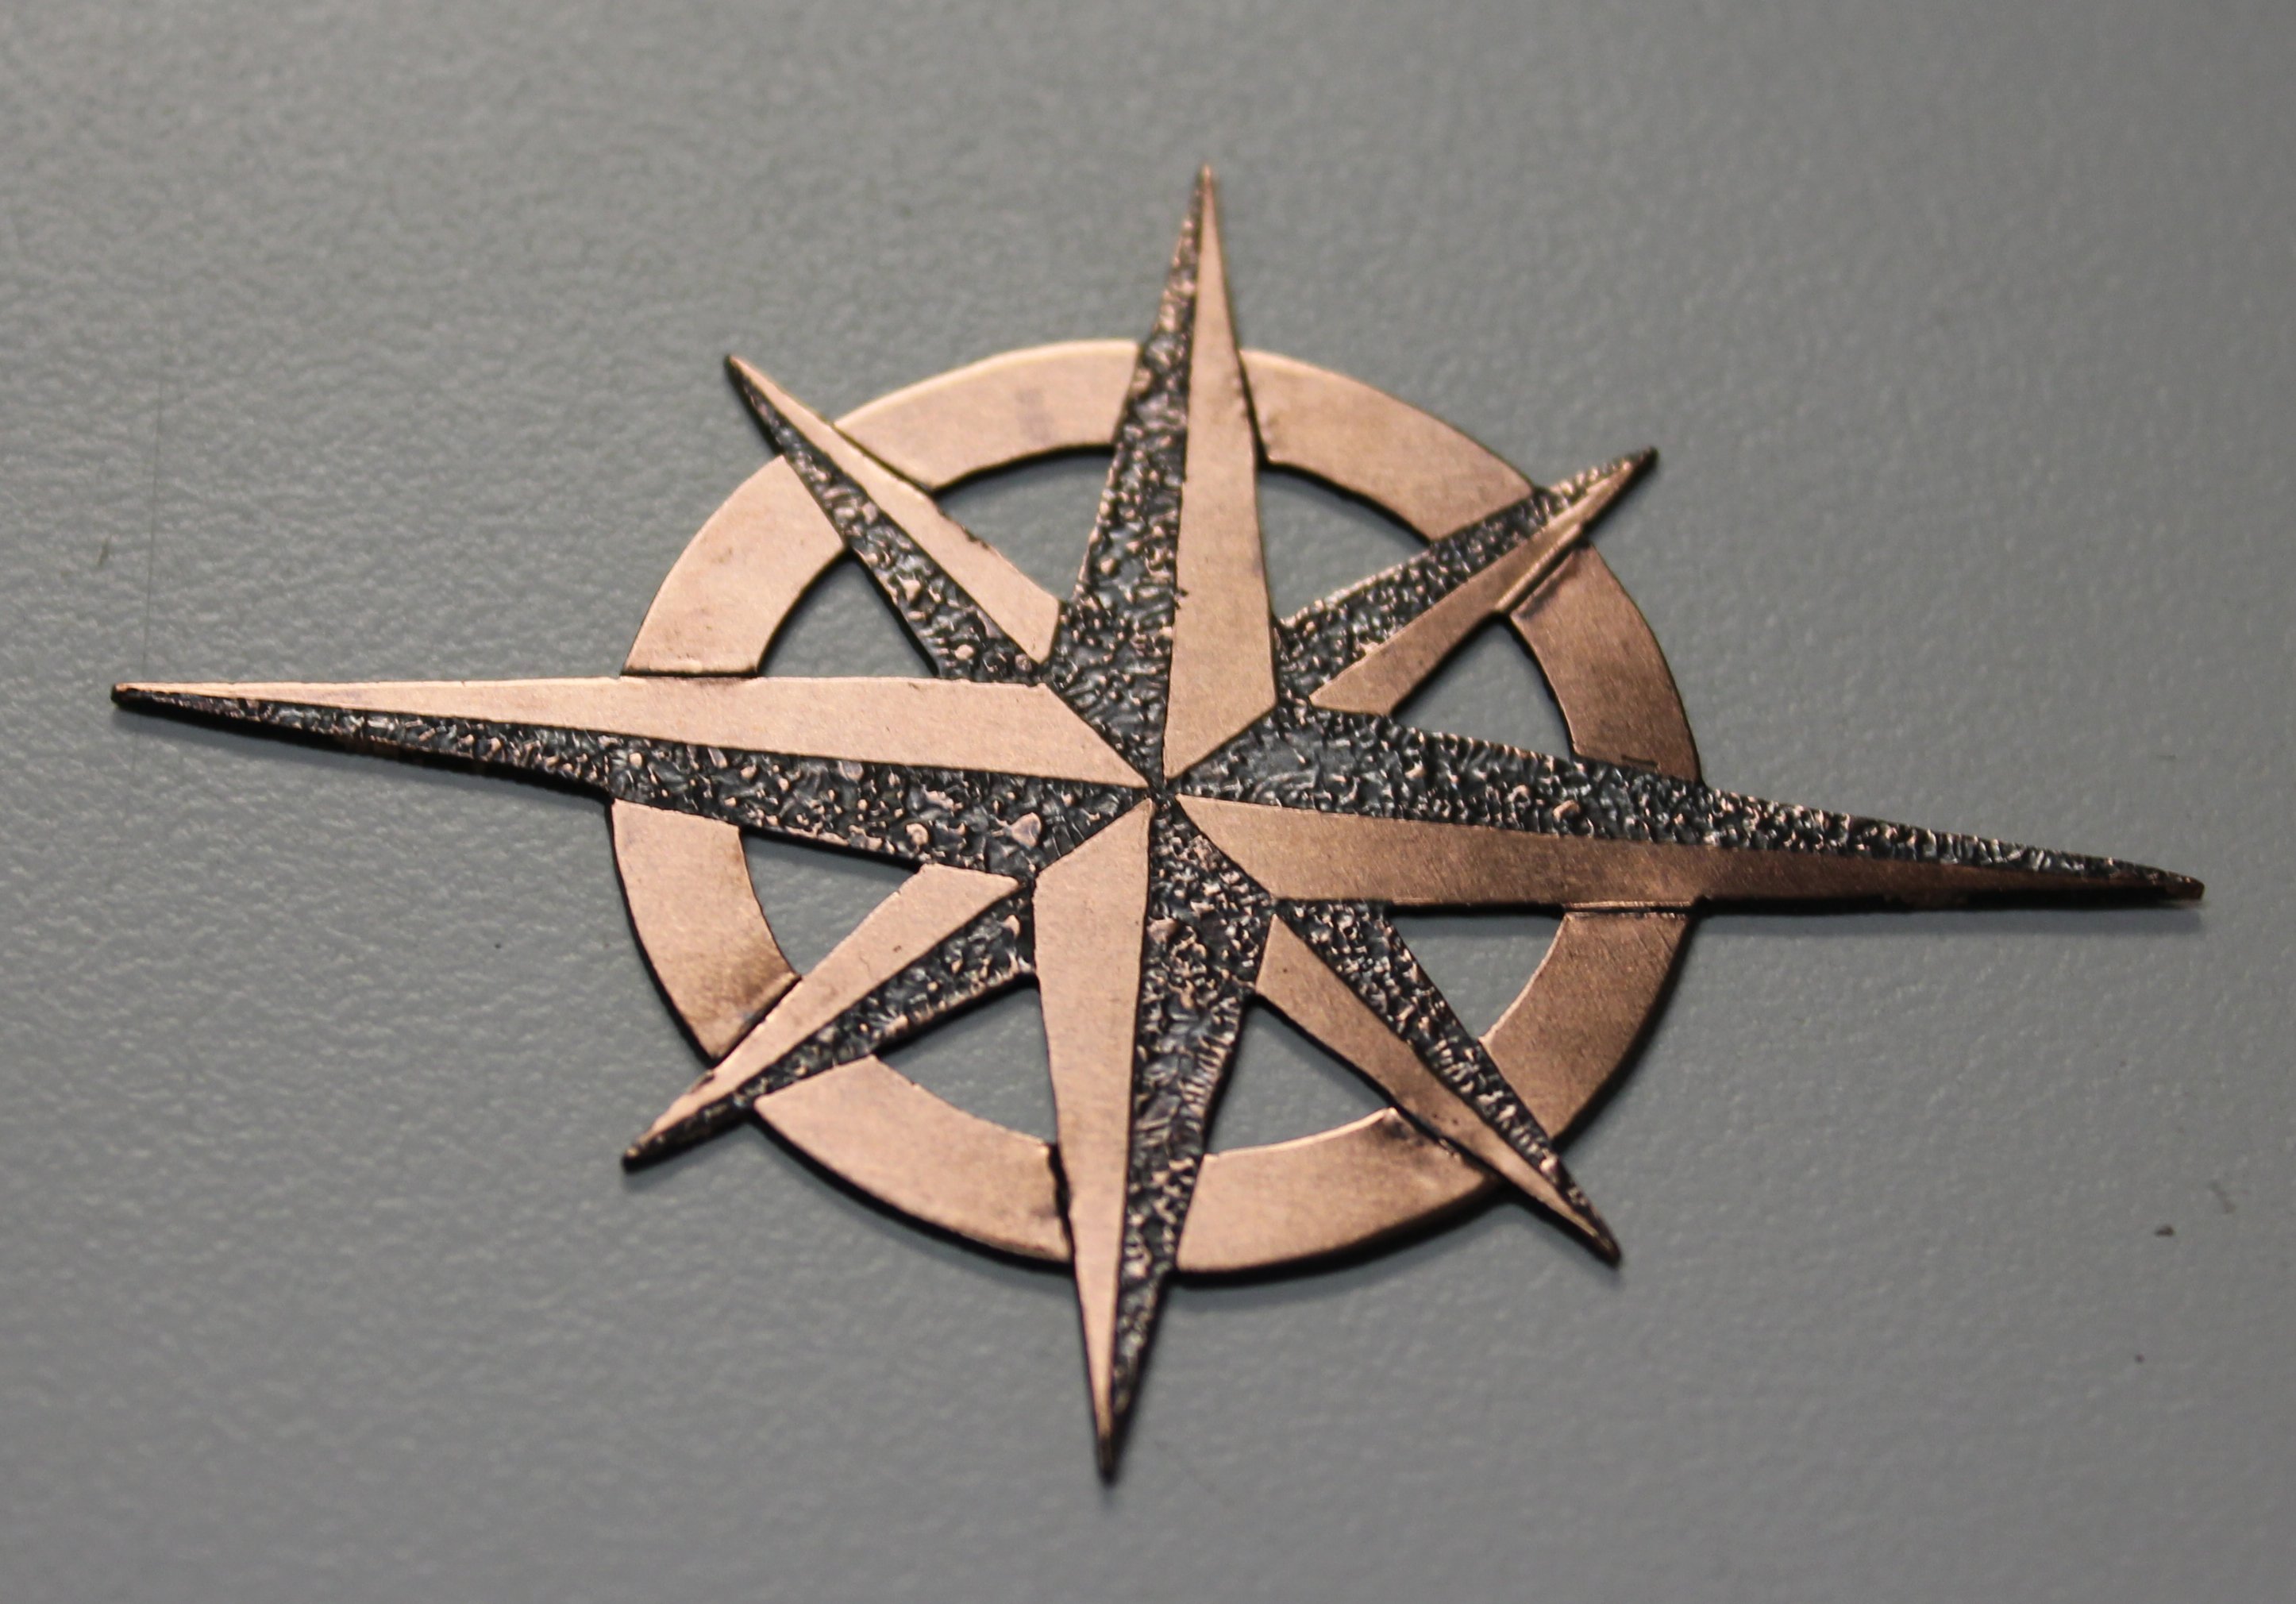
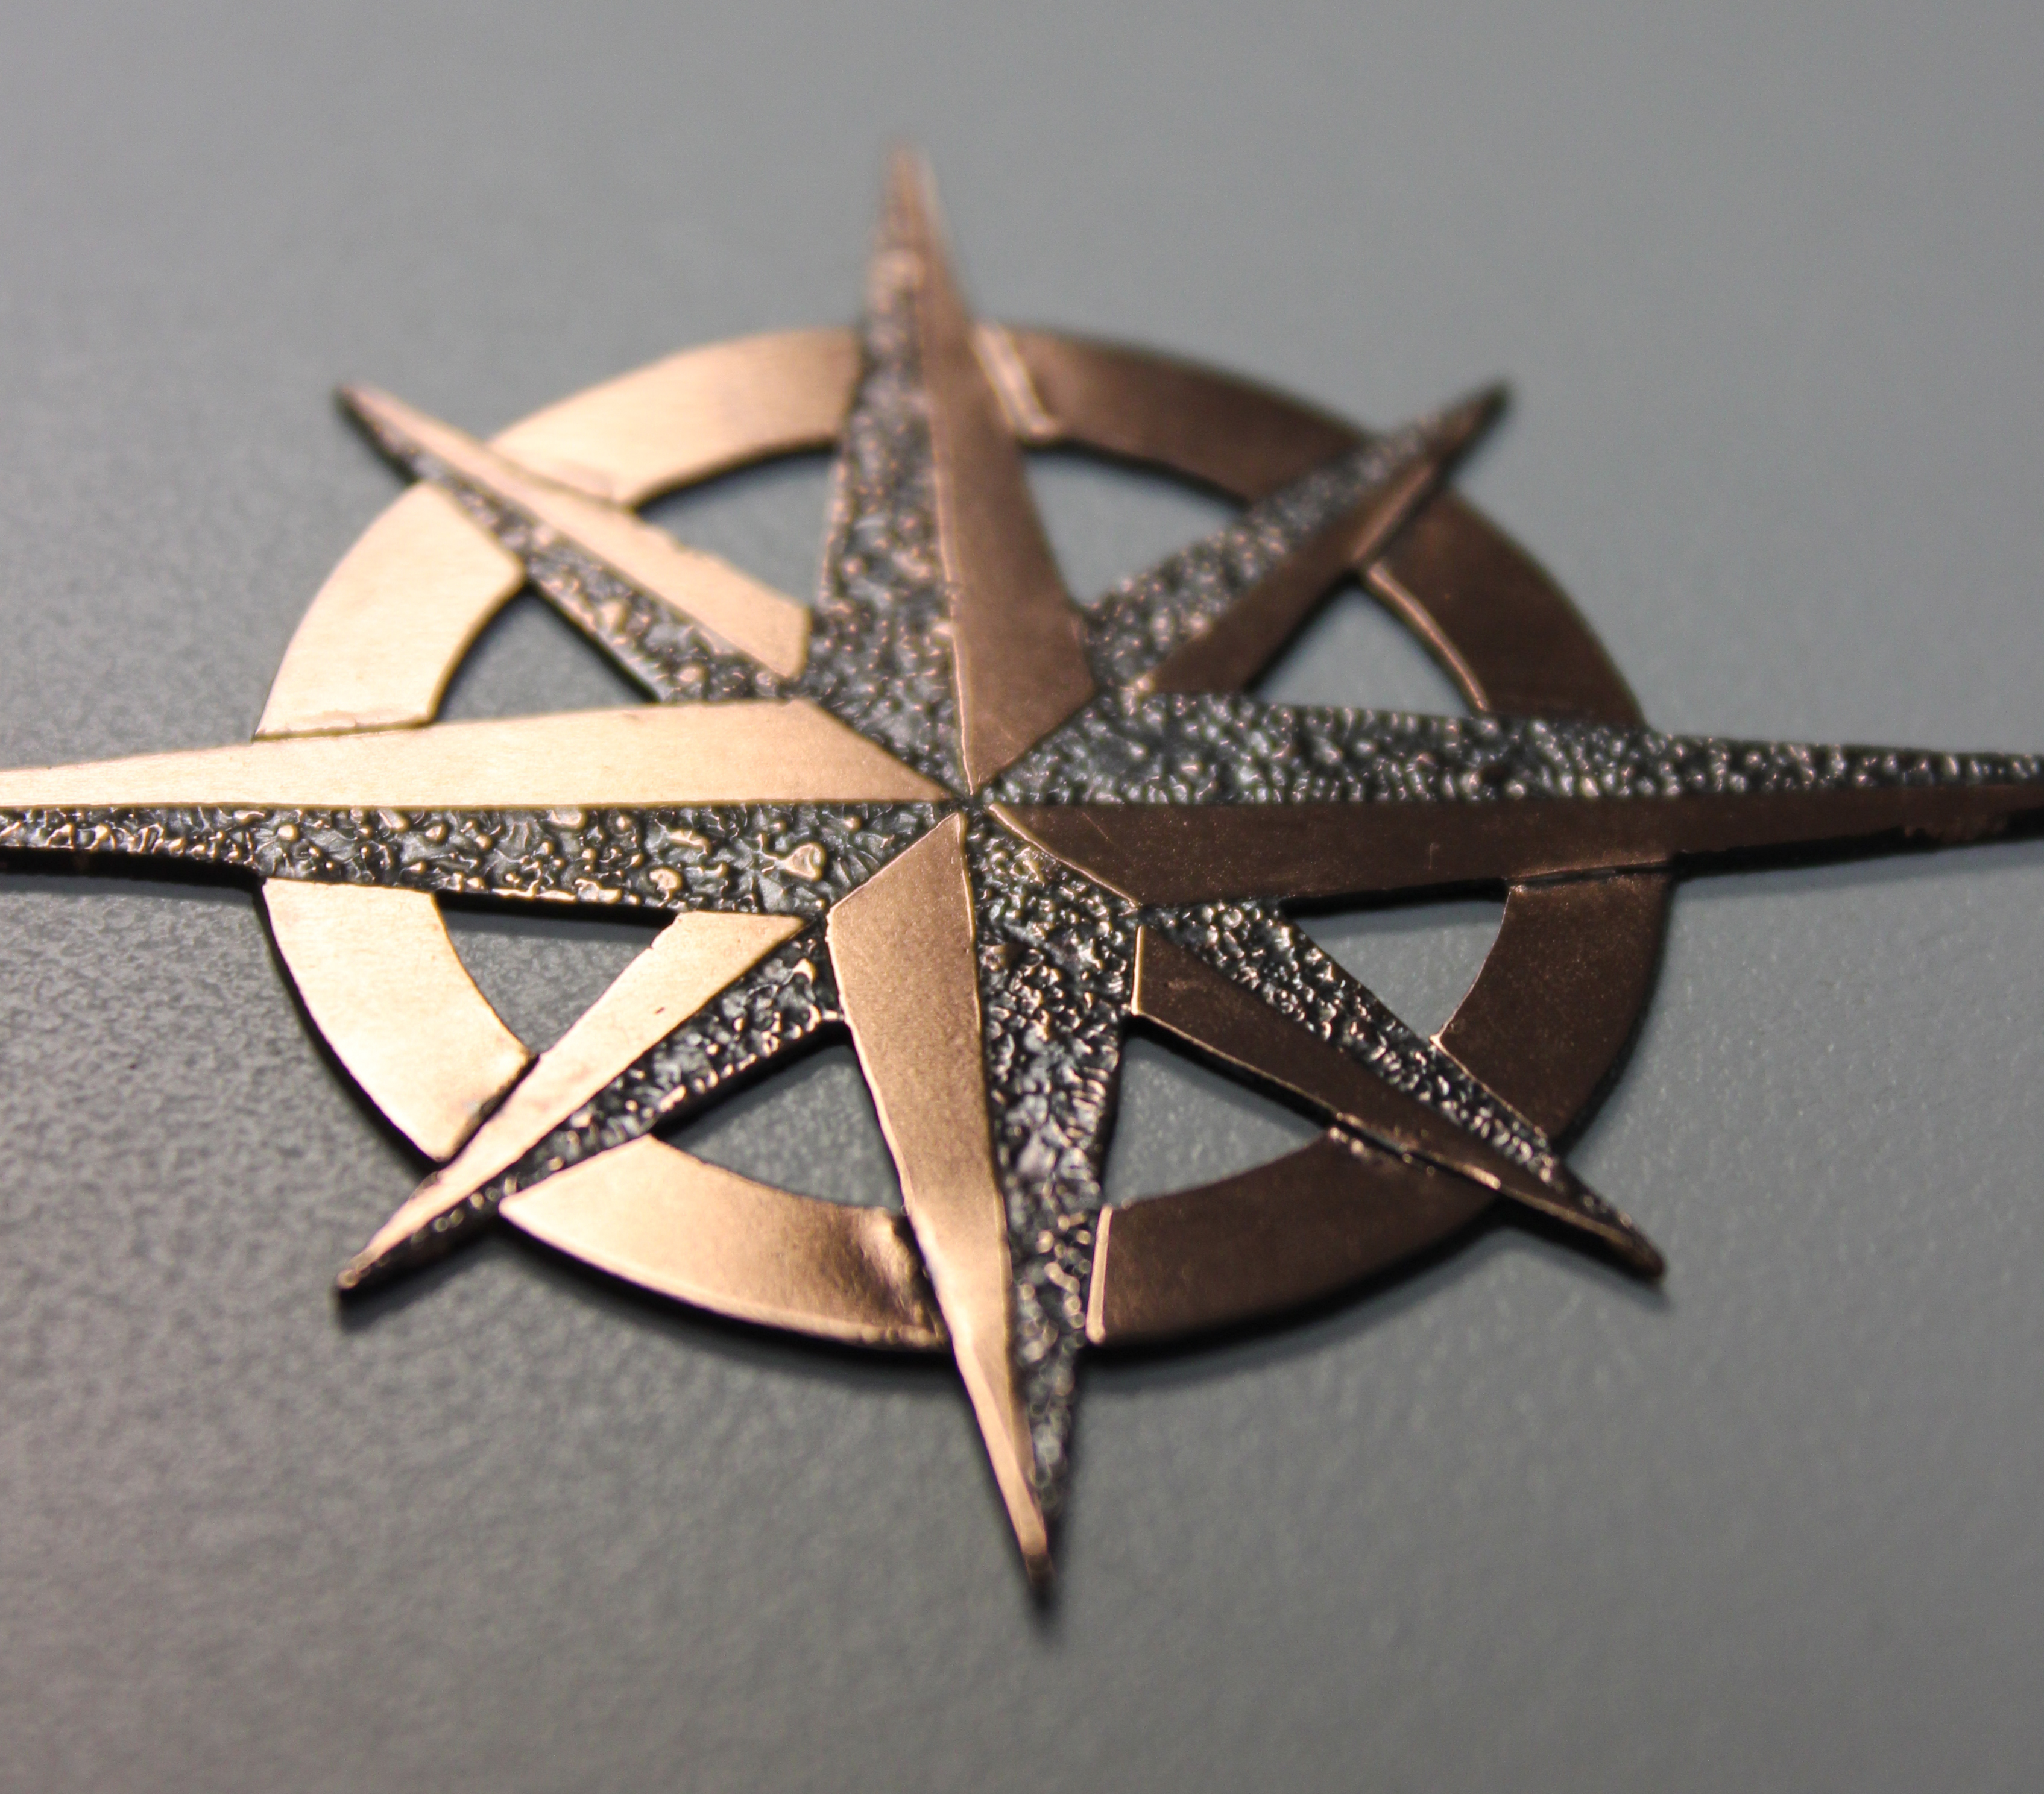
This thing came out so nice! I used paint marker masks, acid etching, and a dark black patina to really bring out the look on this. I really enjoyed making this, each step was slow and deliberate, from cutting the masks with a razor blade, to painting on the paint marker, to acid etching, to patina, each step was oddly satisfying. The final results are really nice.