
I really want to be able to do some lost wax casting at home. I have wanted this for years, but the sticking point has always been cost. I could go out and buy brand new casting equipment, and have the whole thing ready to go in a couple days…for a rather large price tag.
So I finally just decided that I was going to build what I need from what I have, what I can scrounge, what I can borrow beg or get for cheap.
Building a Bench:
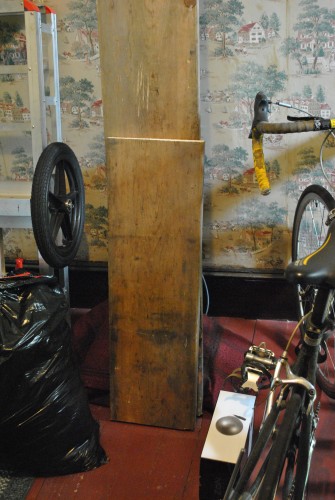
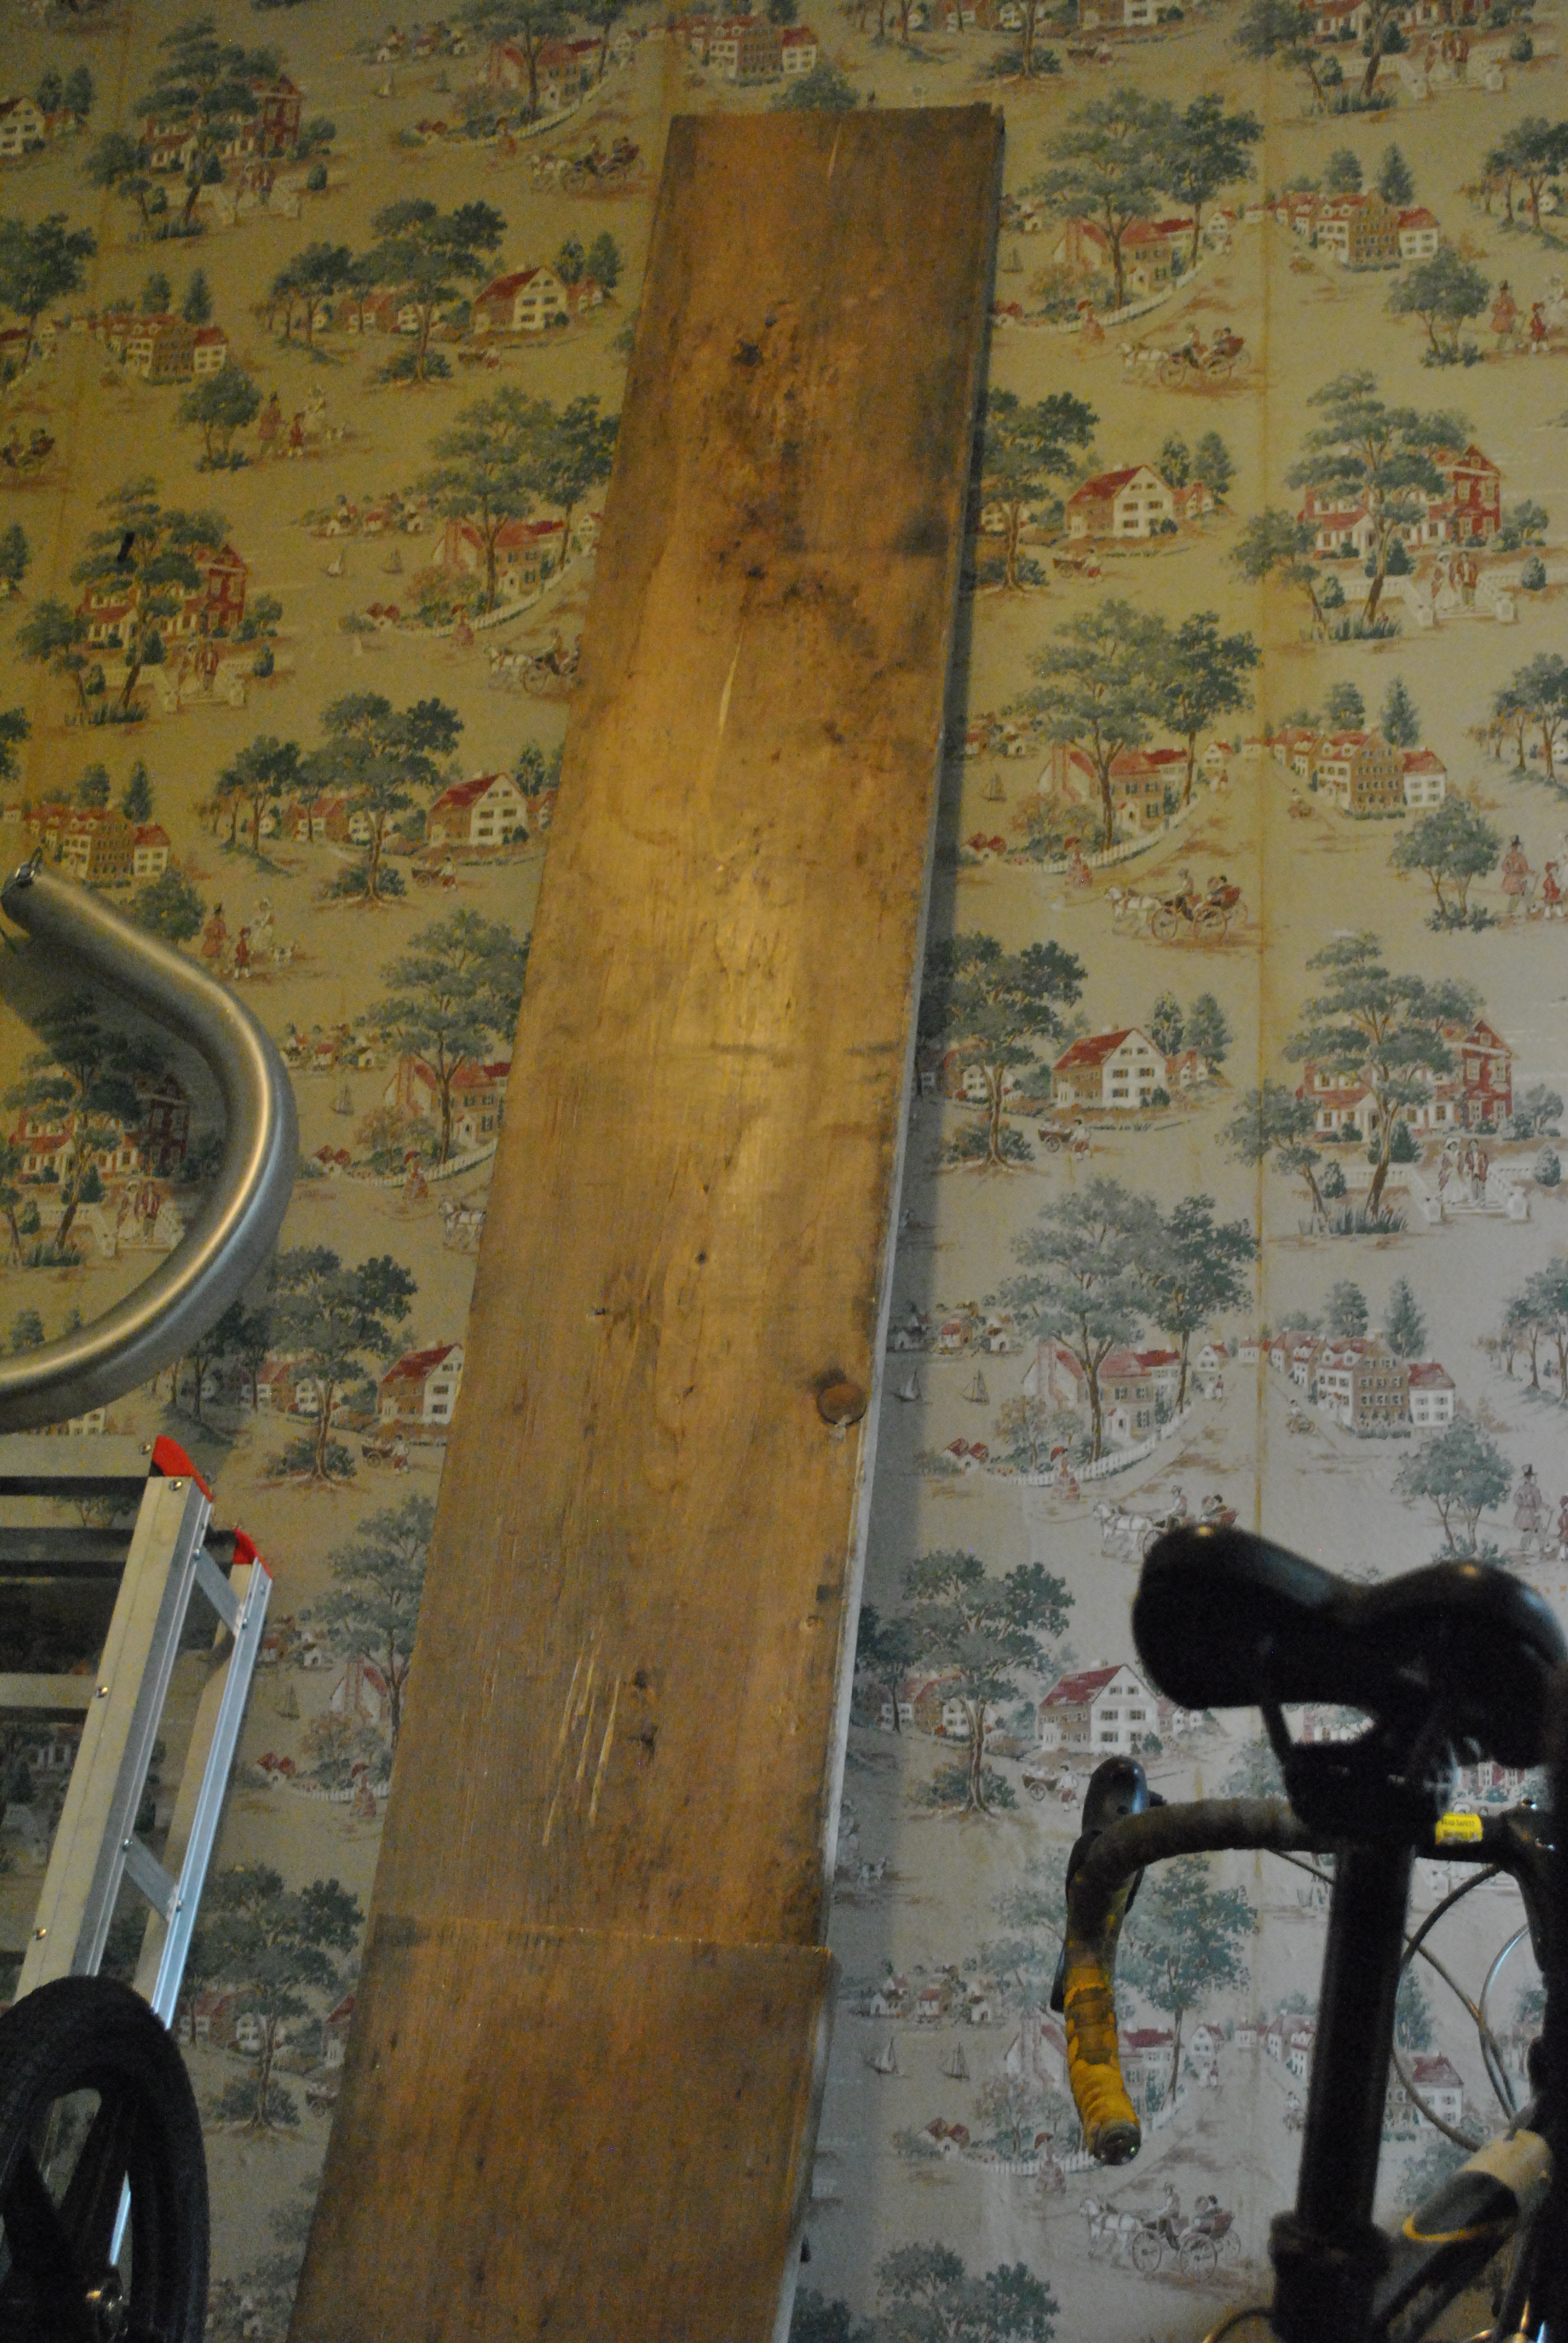
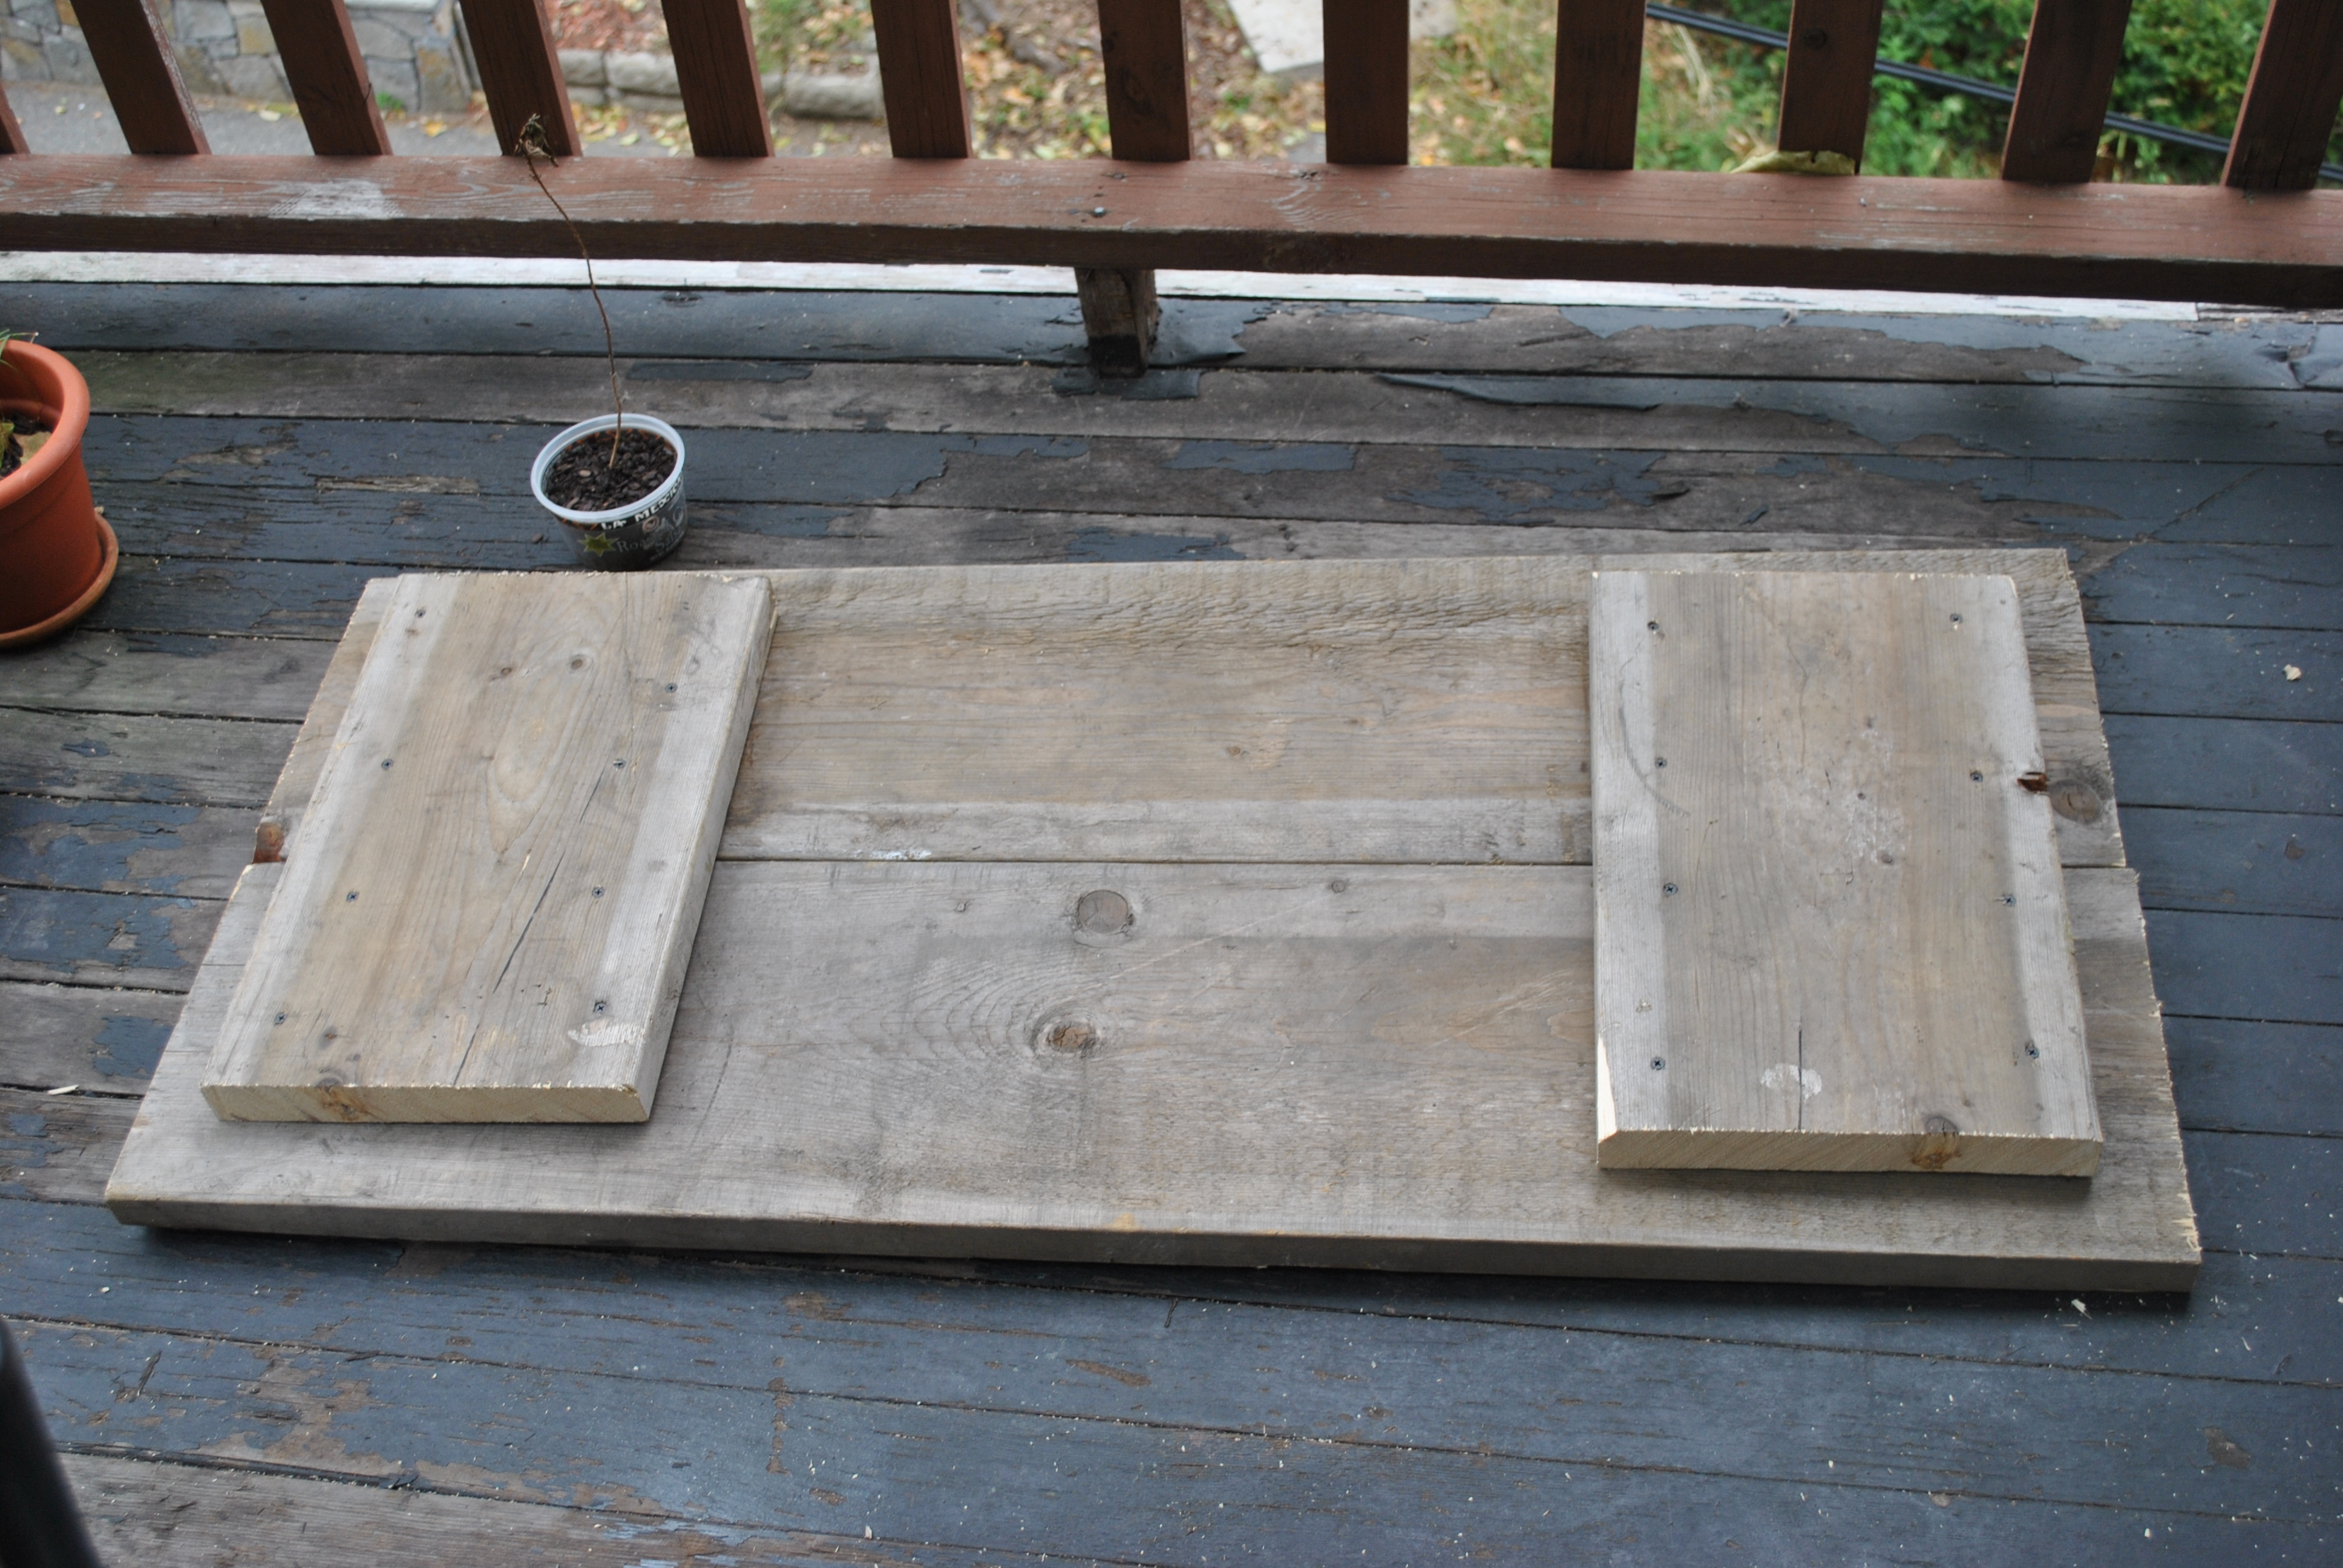
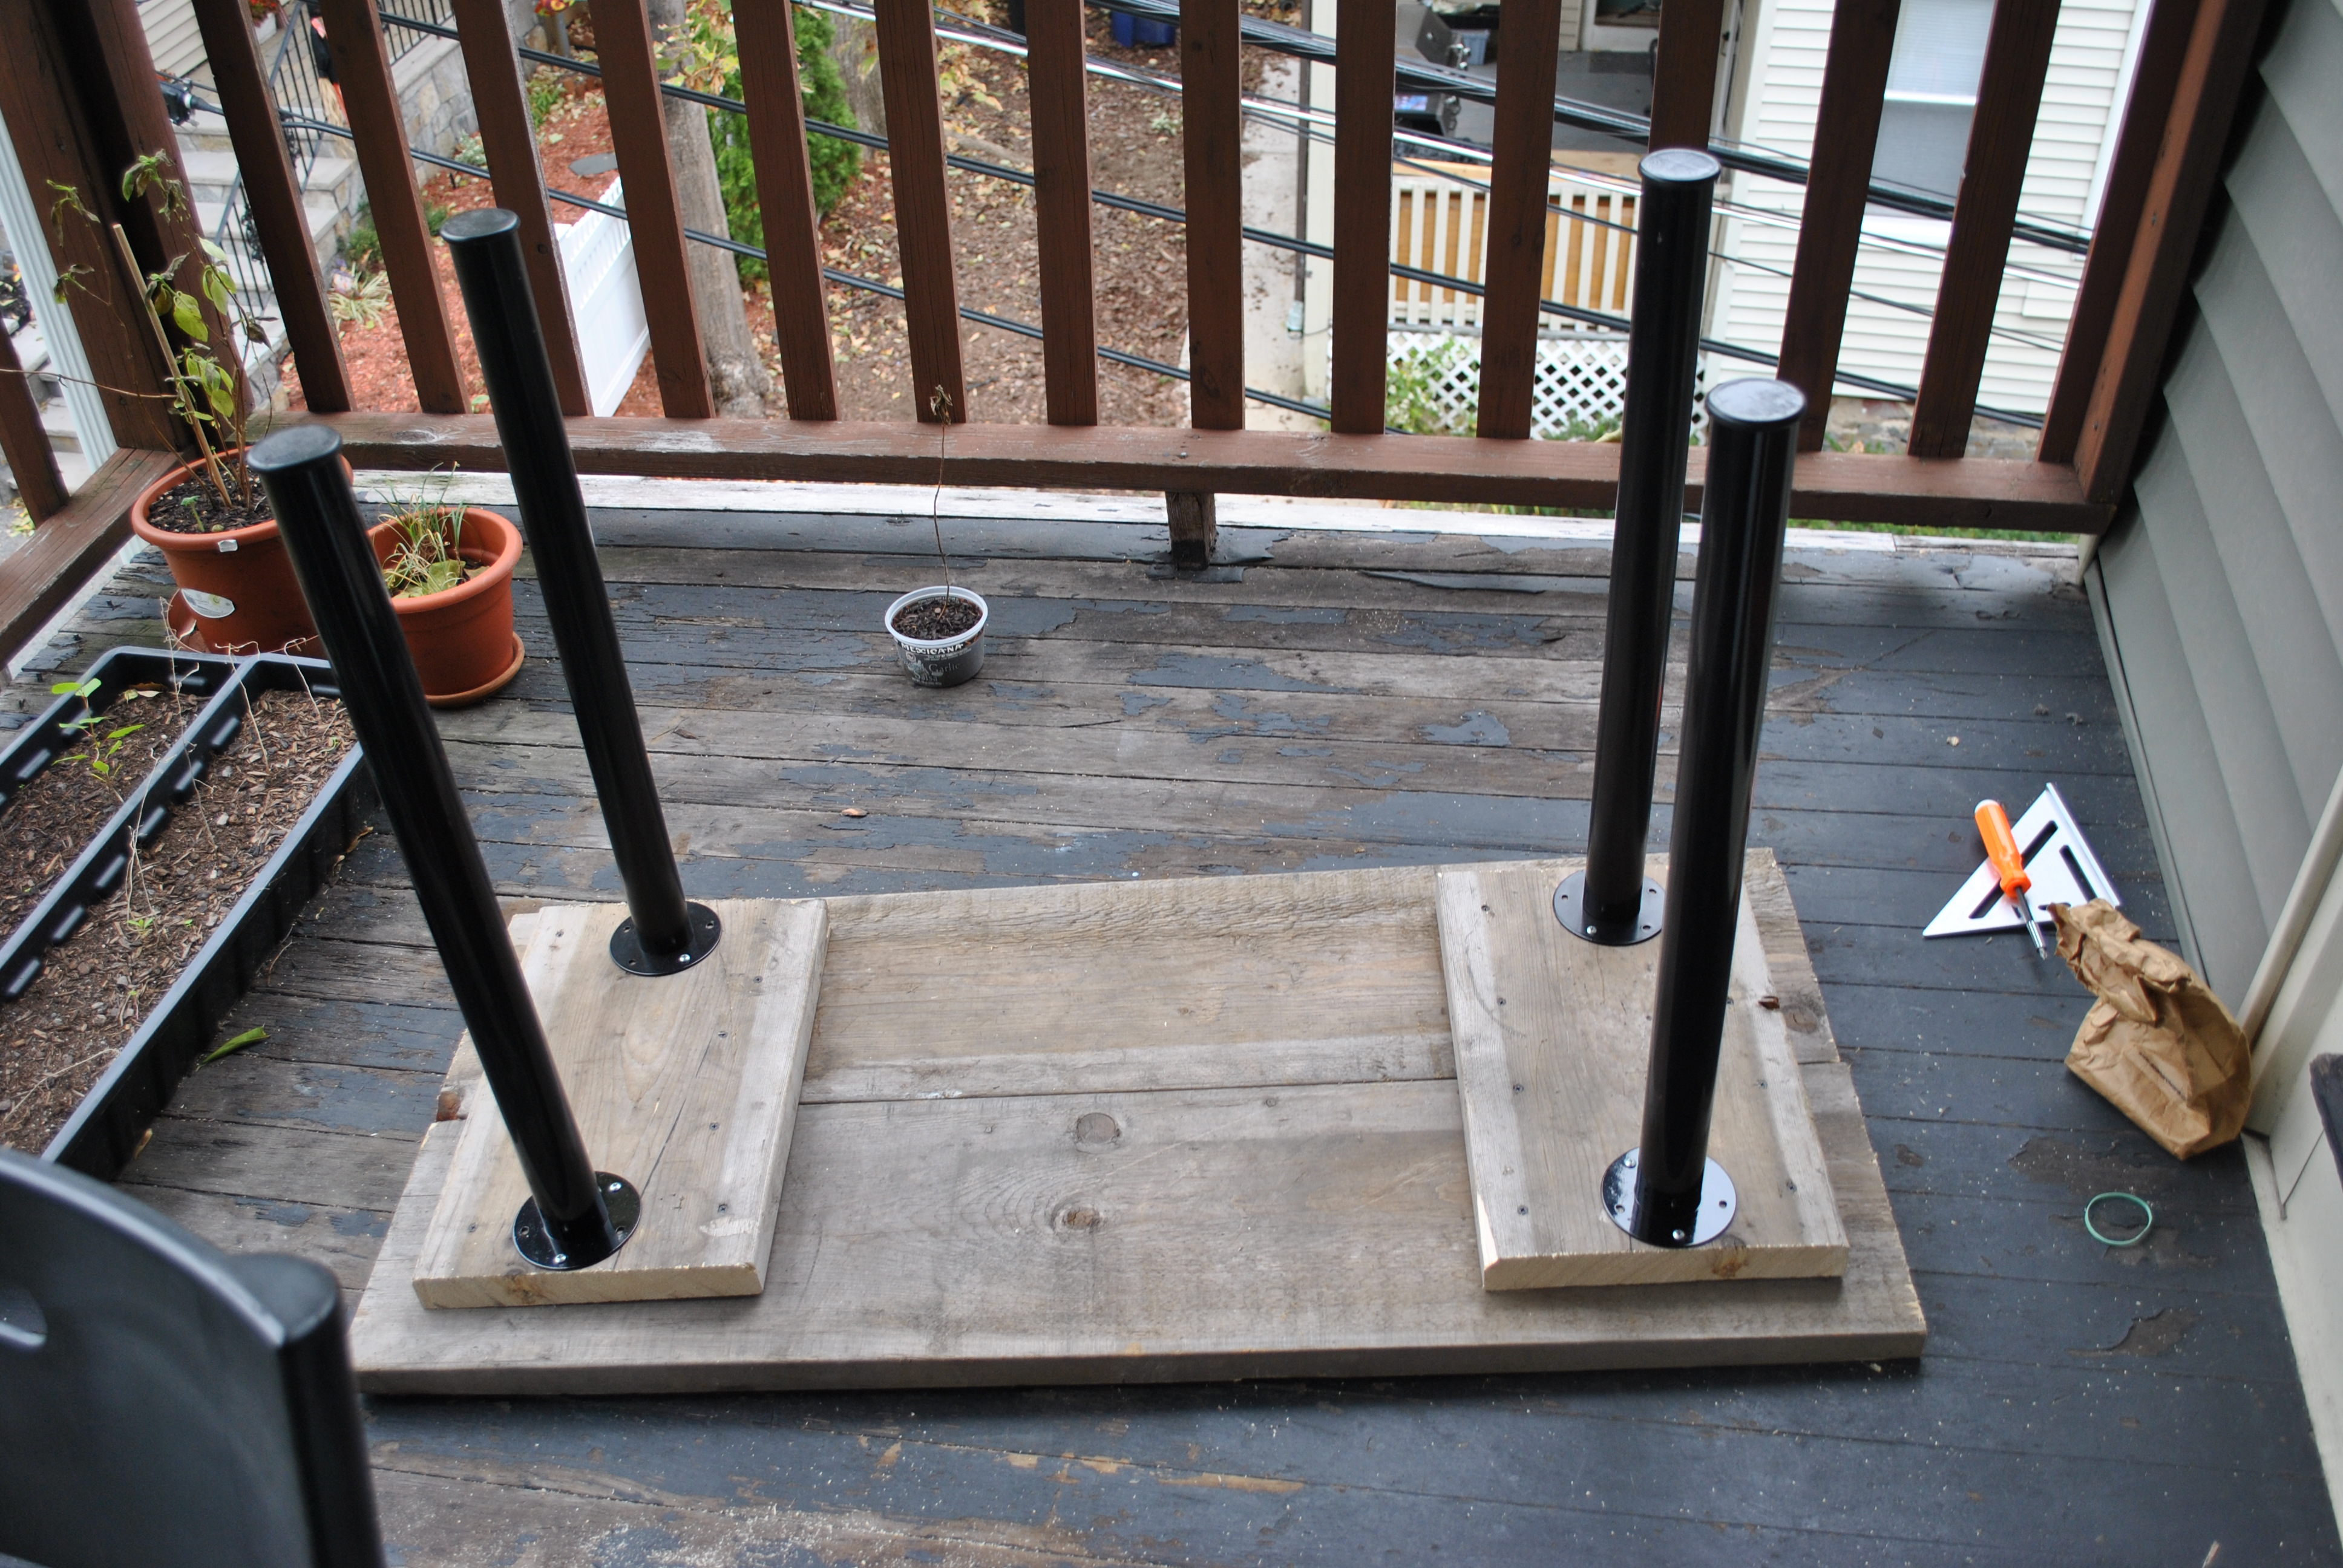
The first thing I need is a good sturdy bench to hold the kiln, the vacuum plate, the crucible area, and a fume extractor. I had found a giant piece of wood in a dumpster (it was a rafter, but it was warped so whoever was building a roof tossed it, their loss, my gain). It was 16 feet long and 11 inches wide, I used 5 feet of it for a shelf in my kitchen leaving me with an 8 foot chunk and a 3 foot chunk. (that’s my home made bicycle trailer on the left, I use it for just about any large hauling job I have)
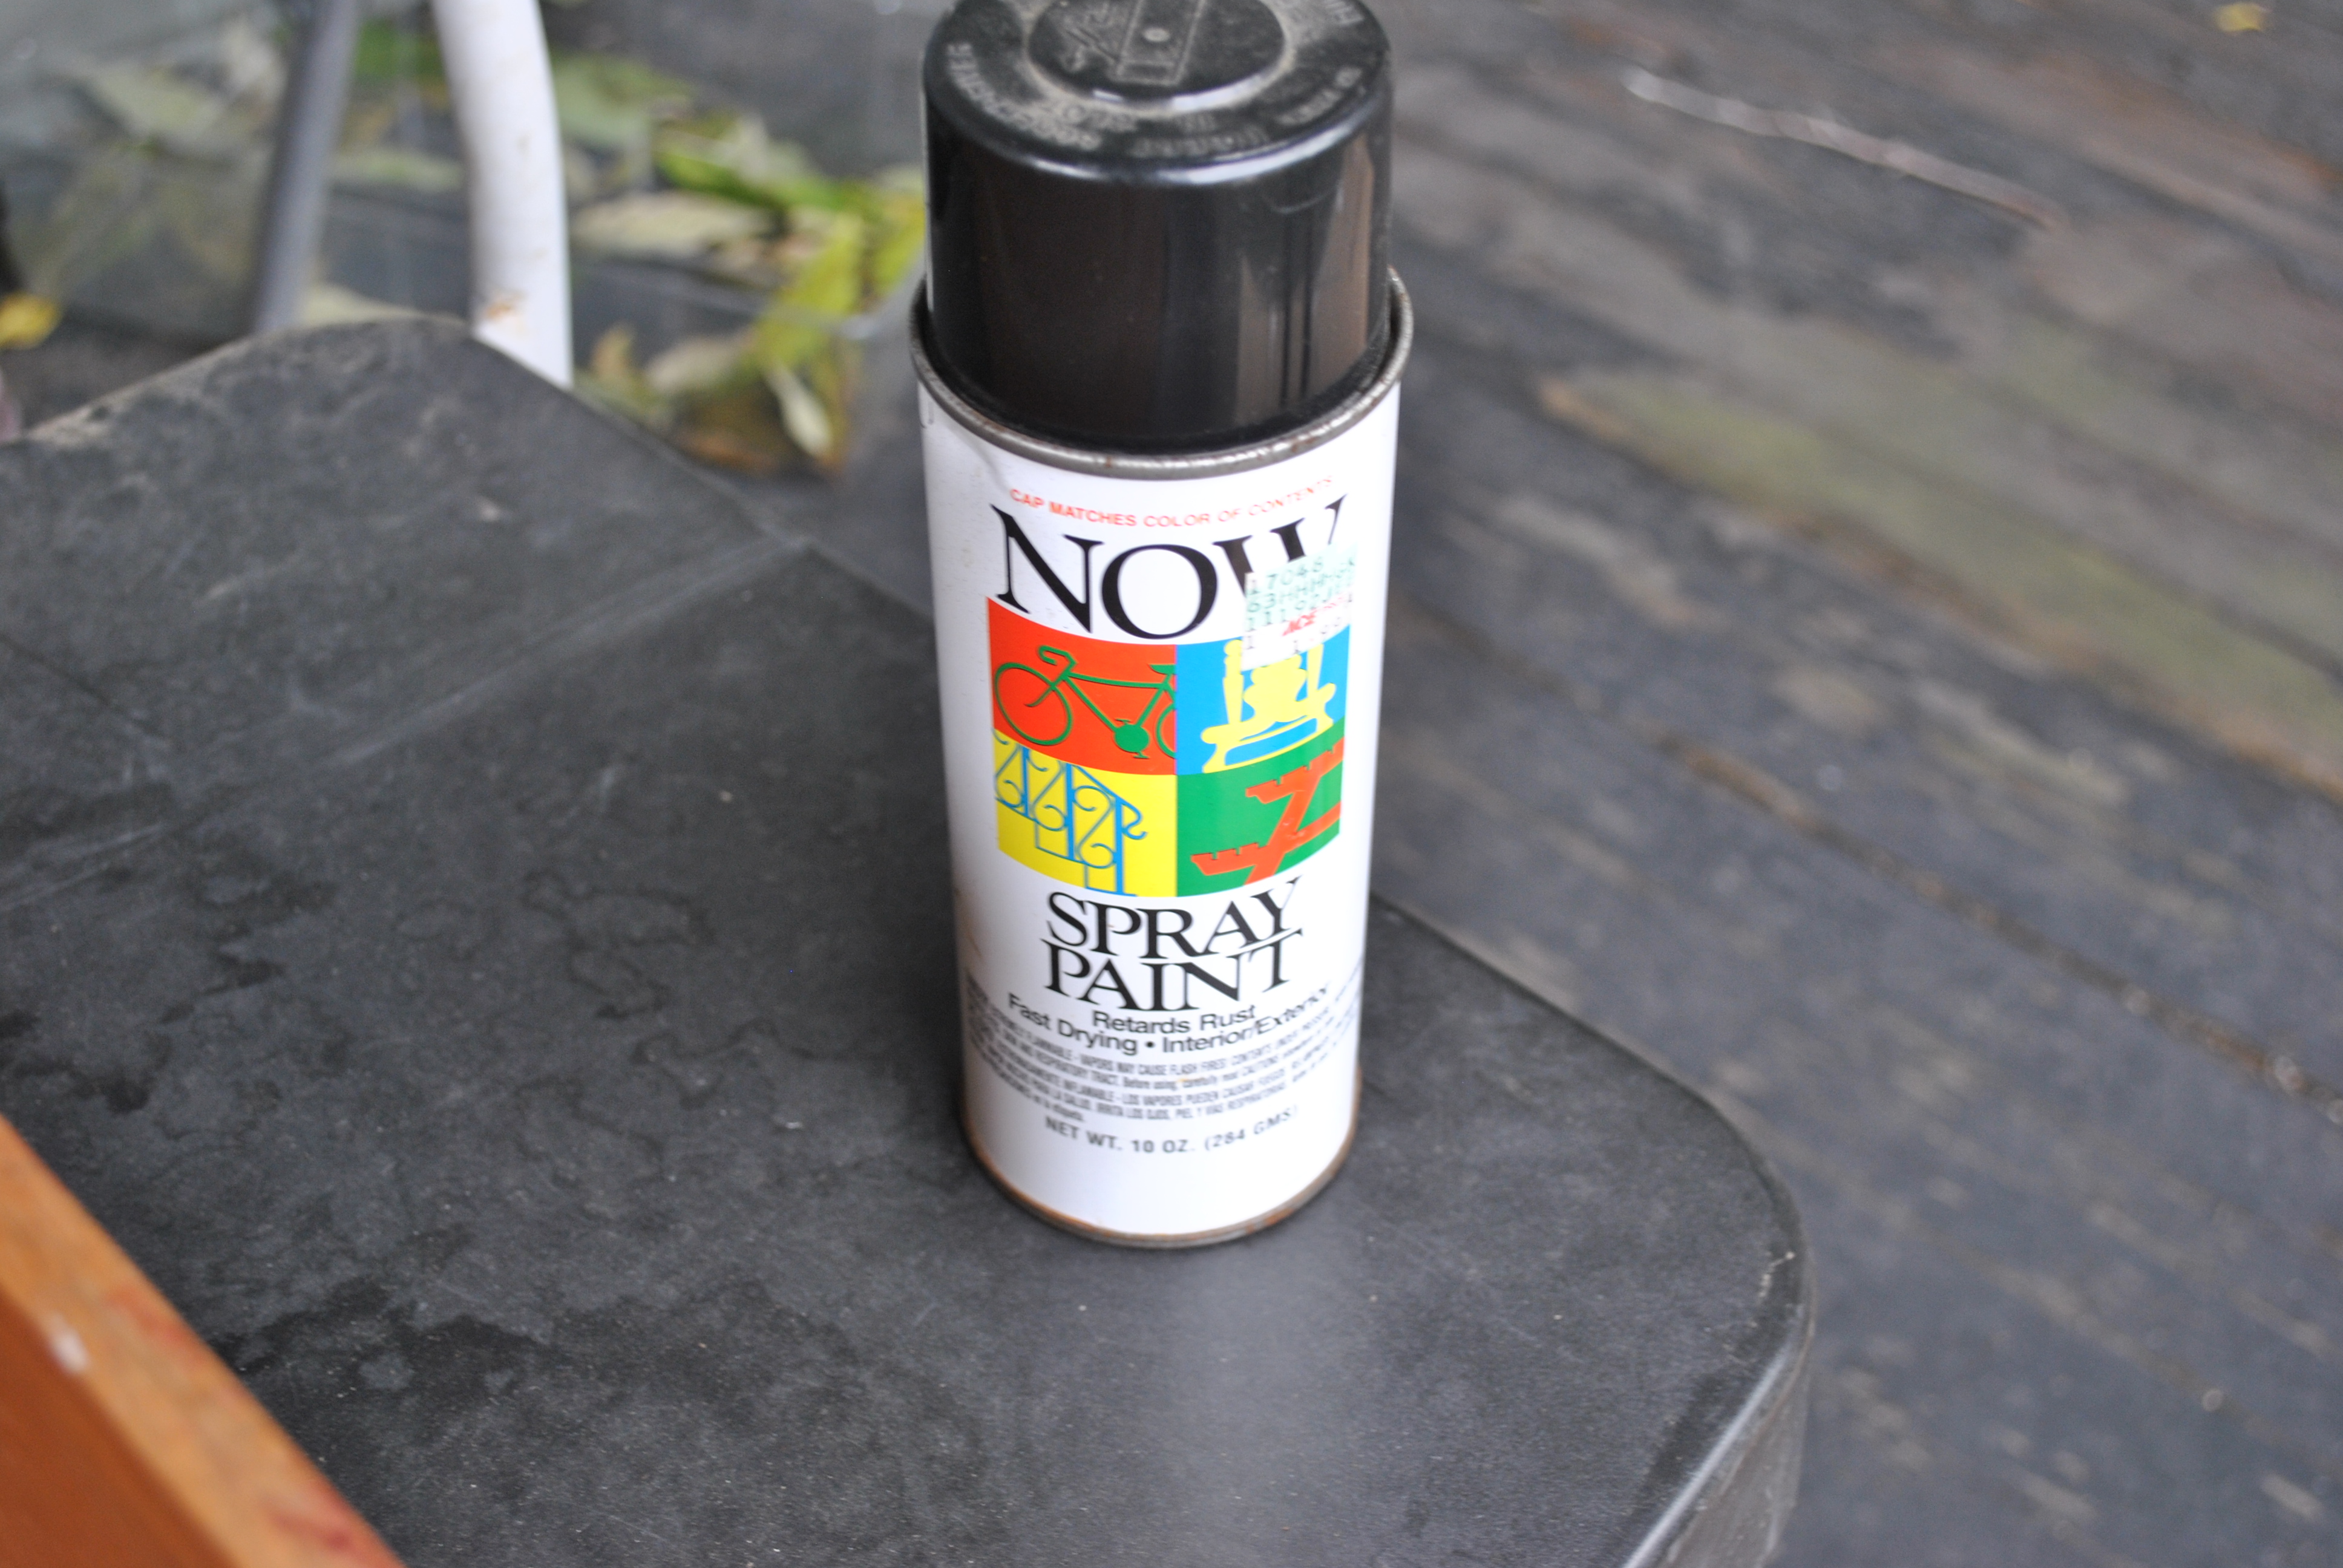
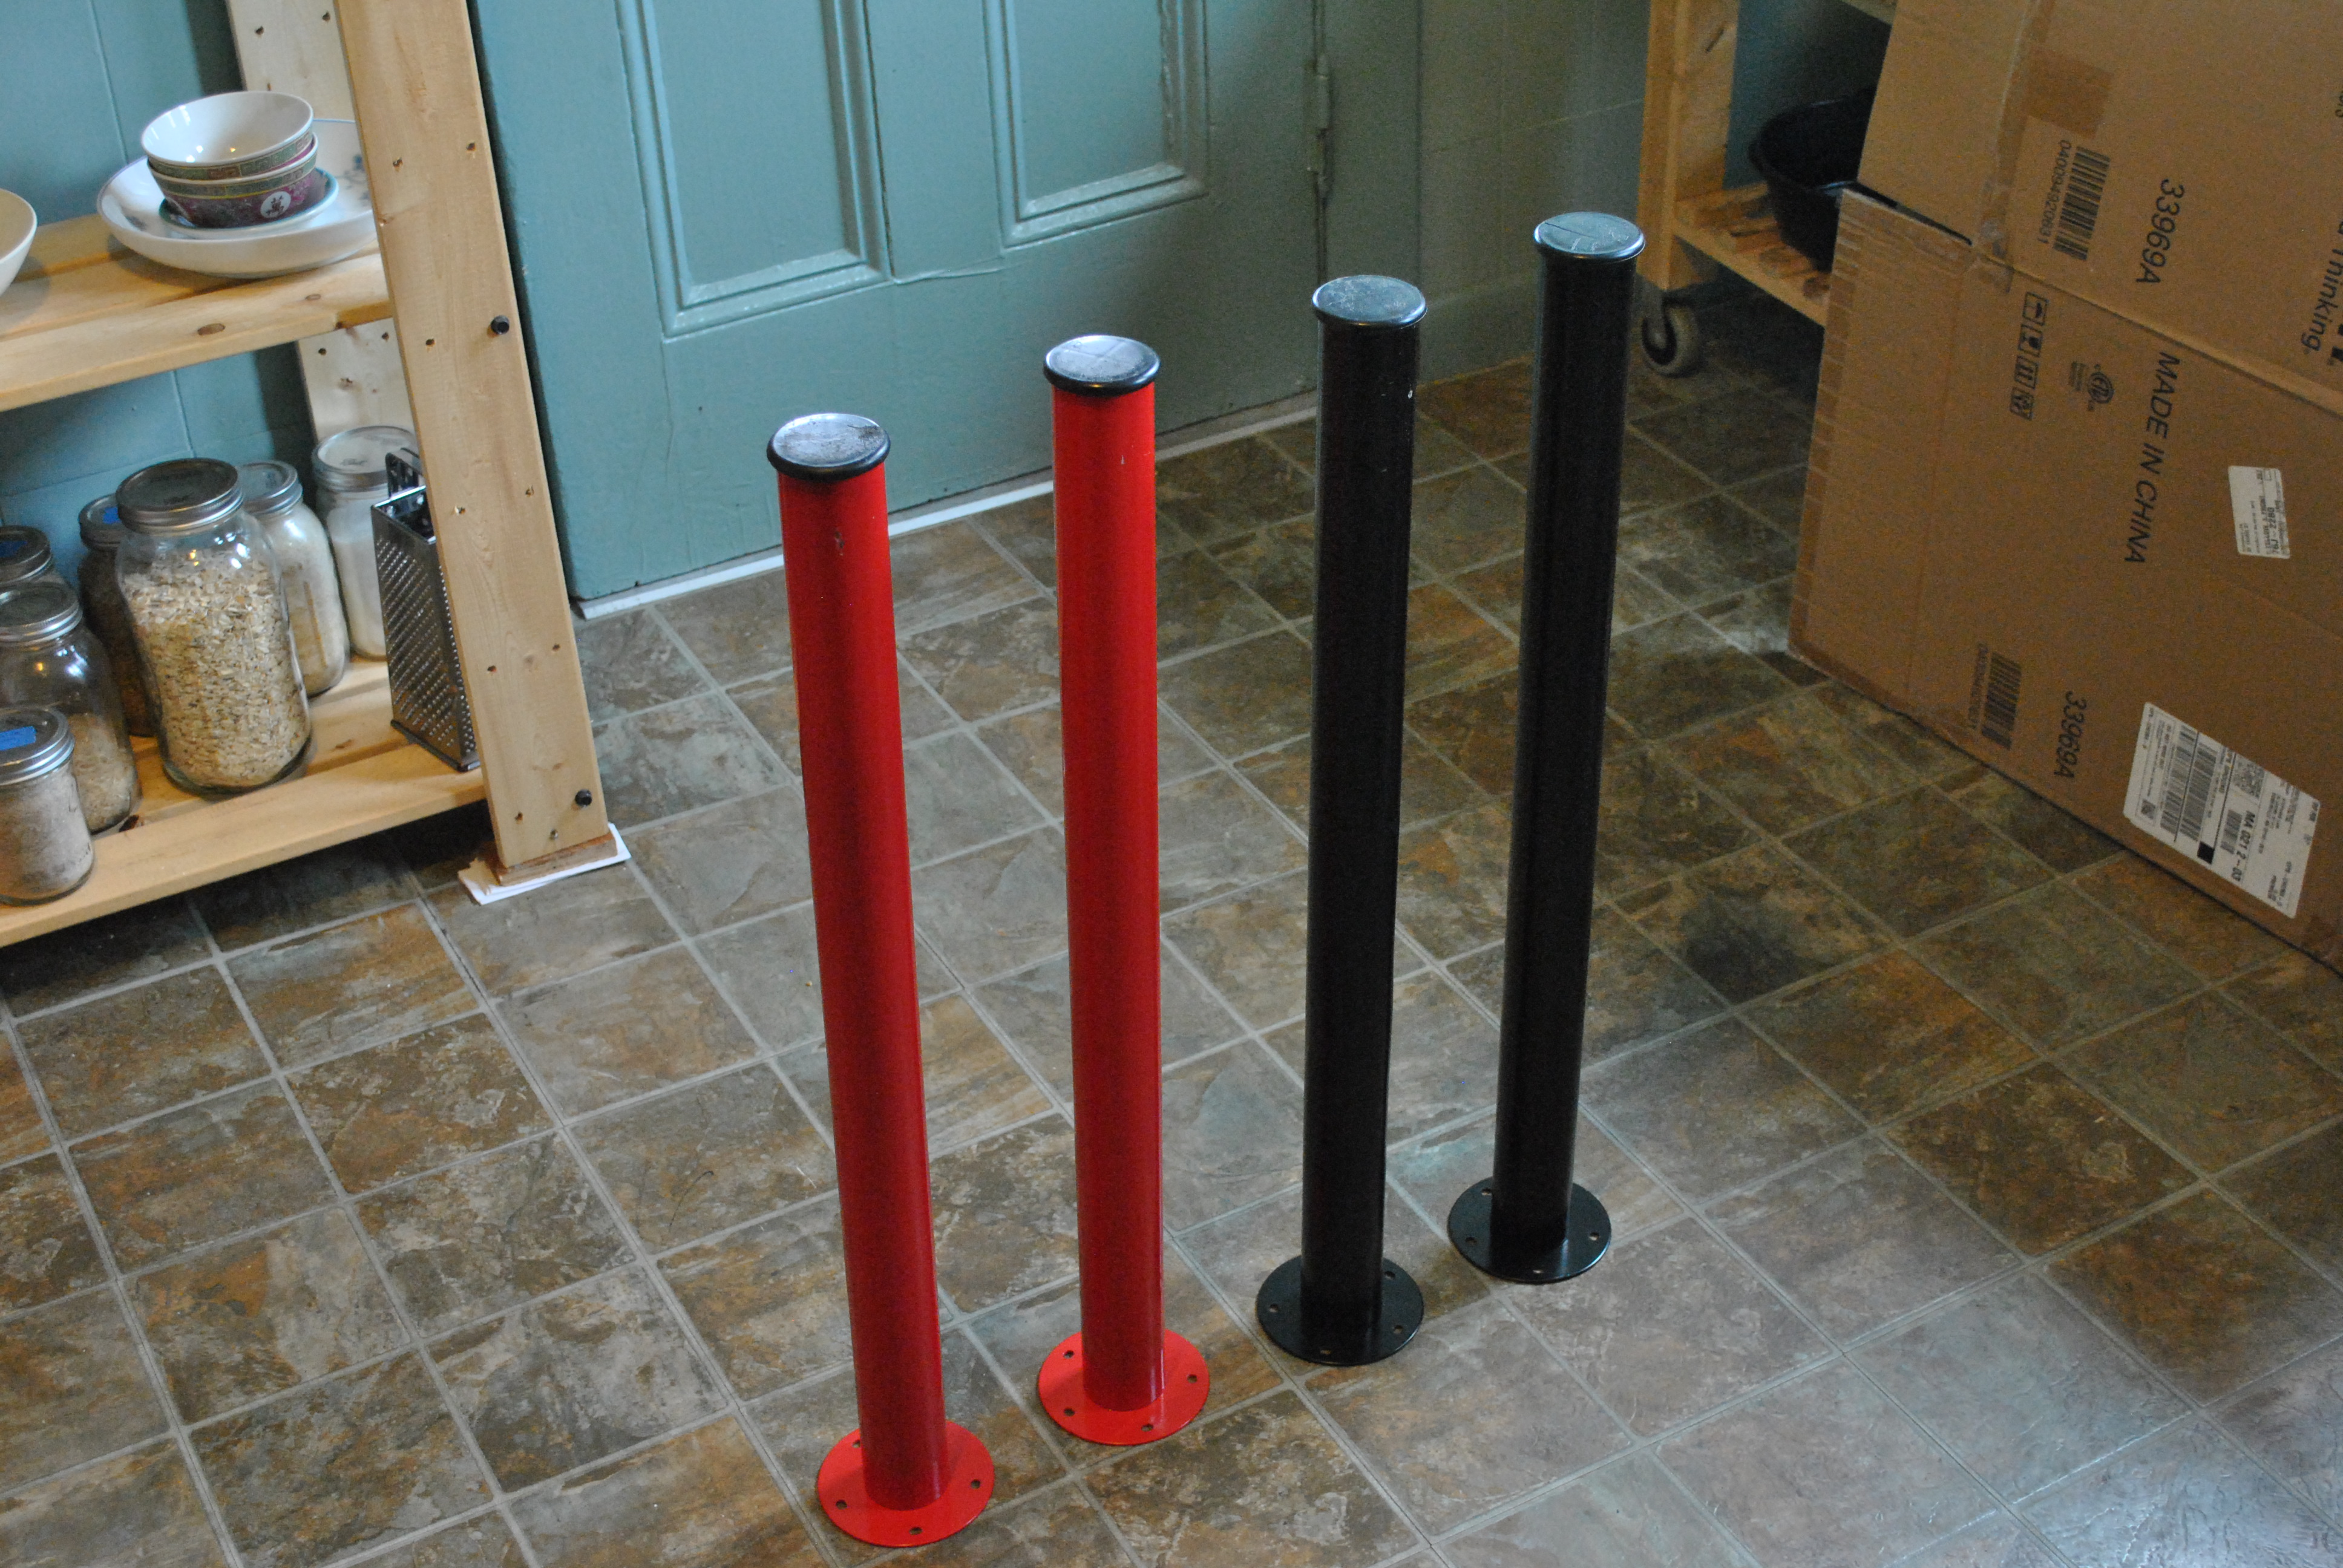
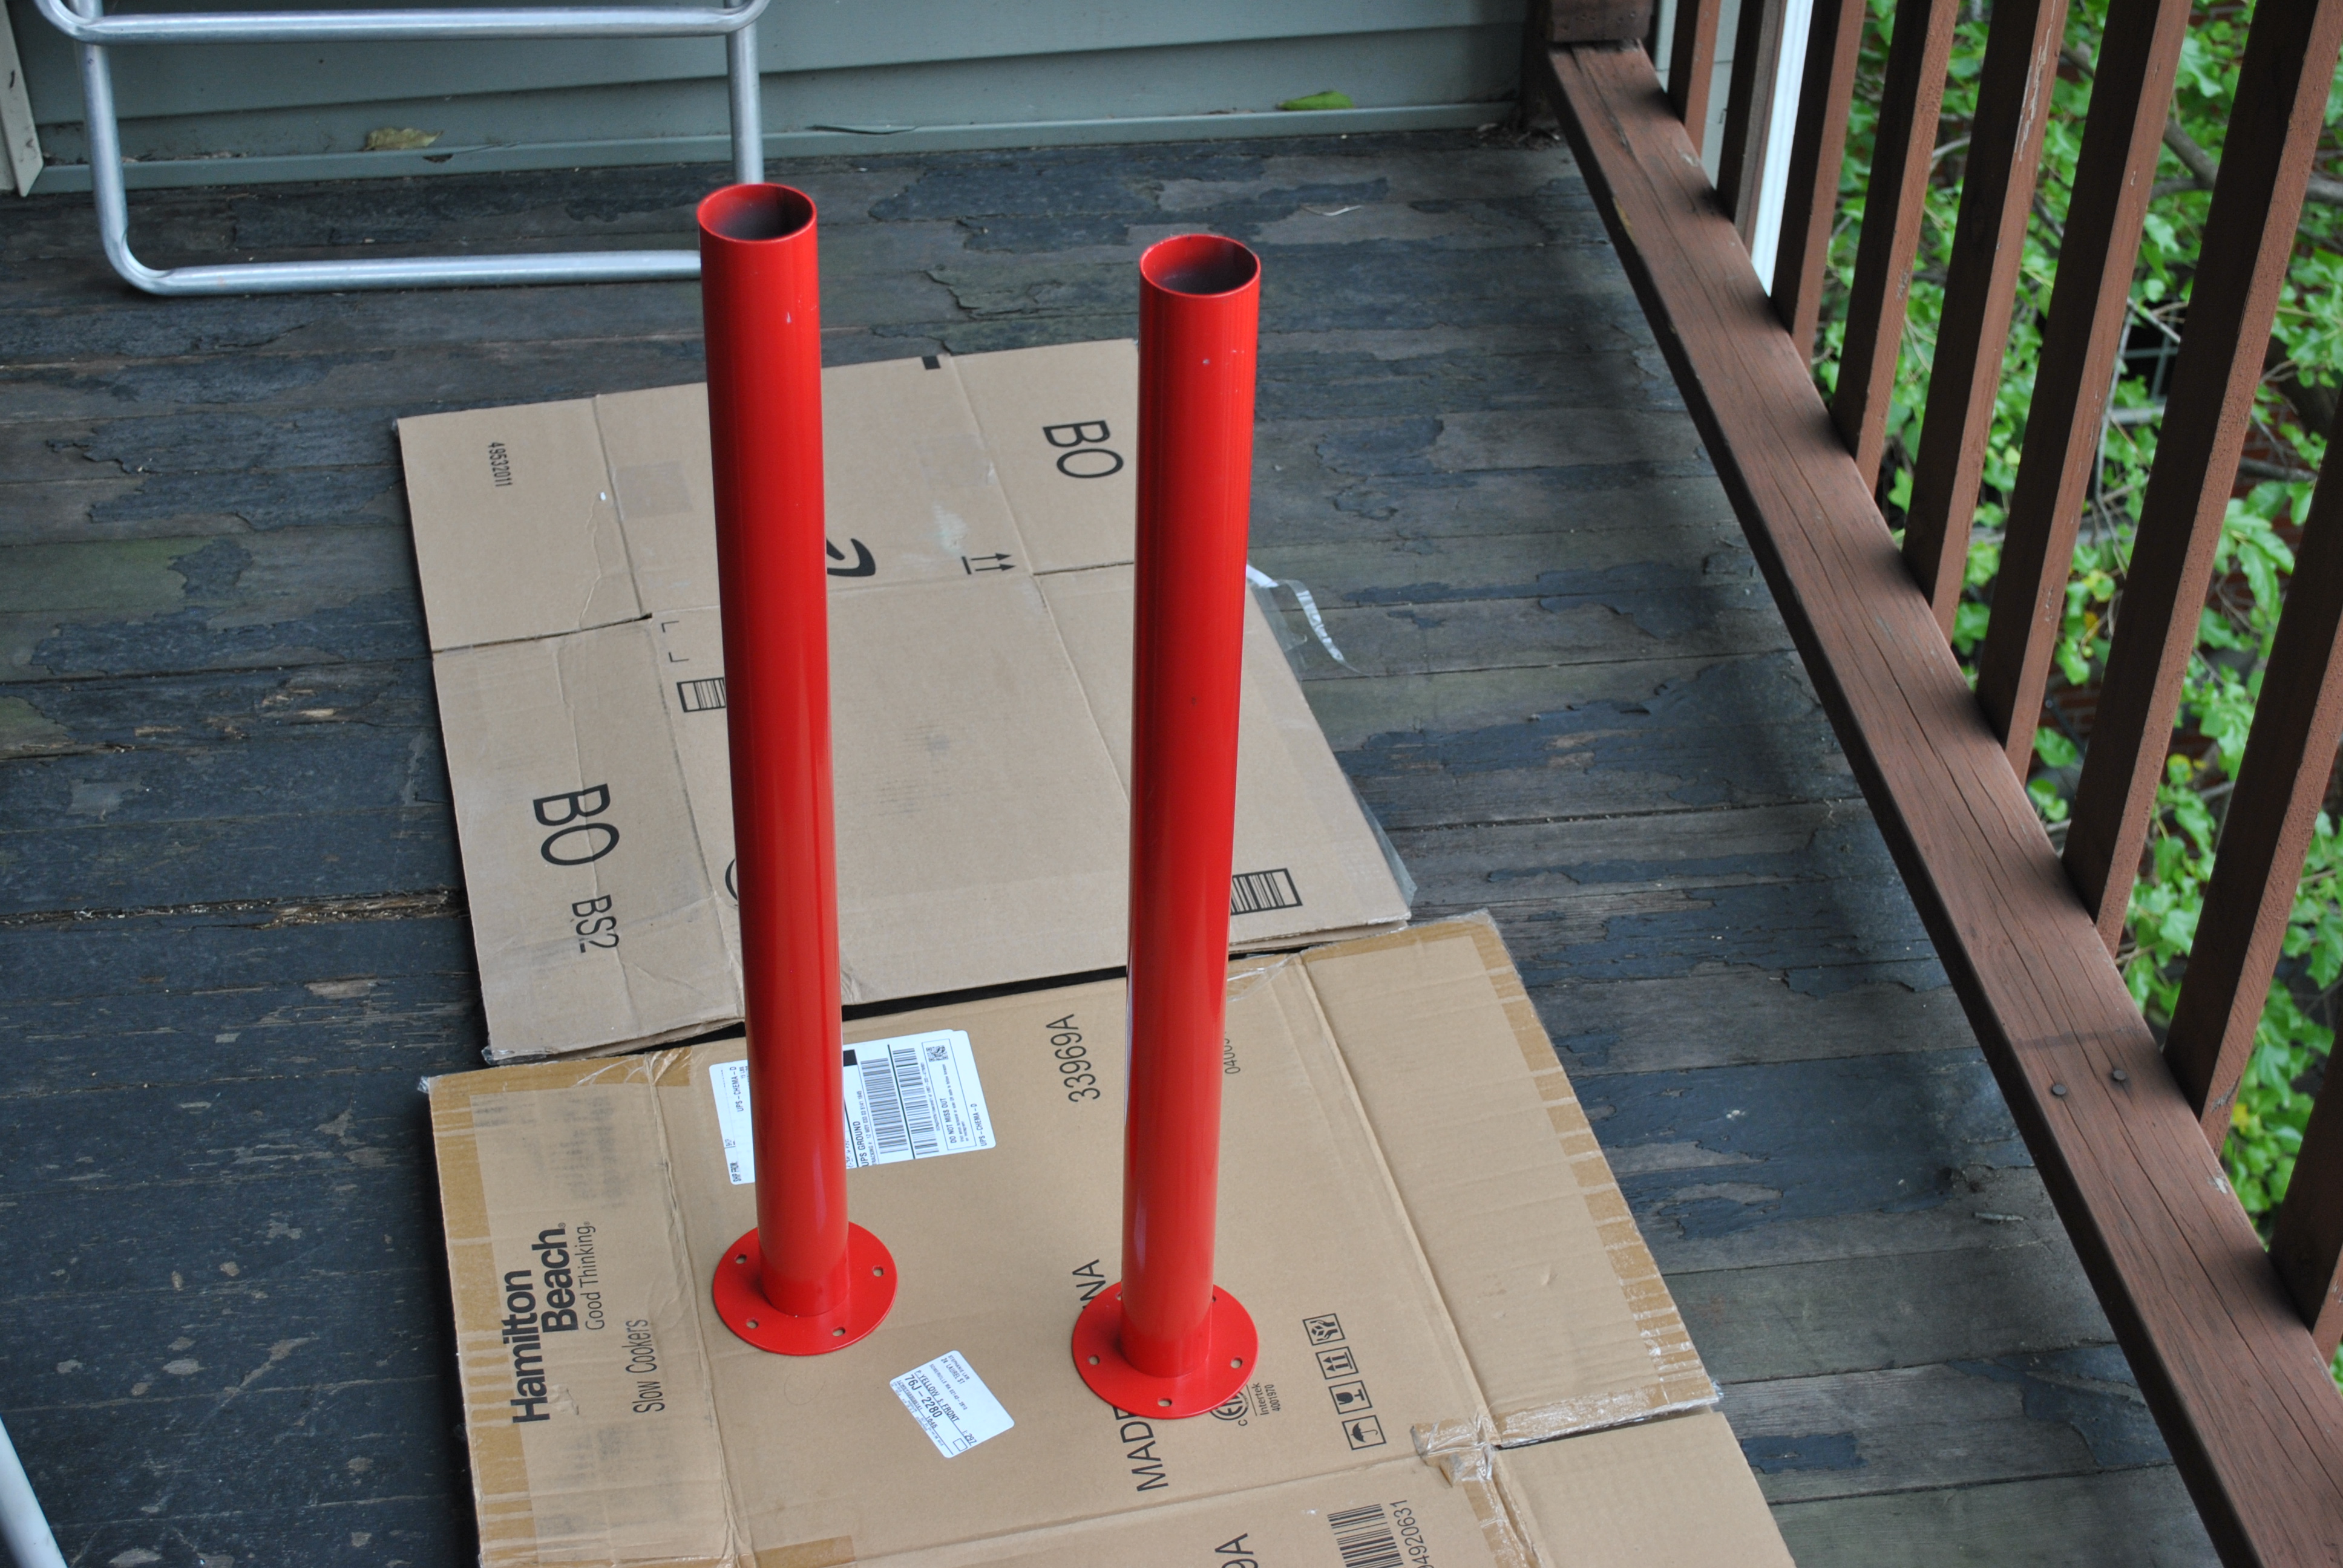
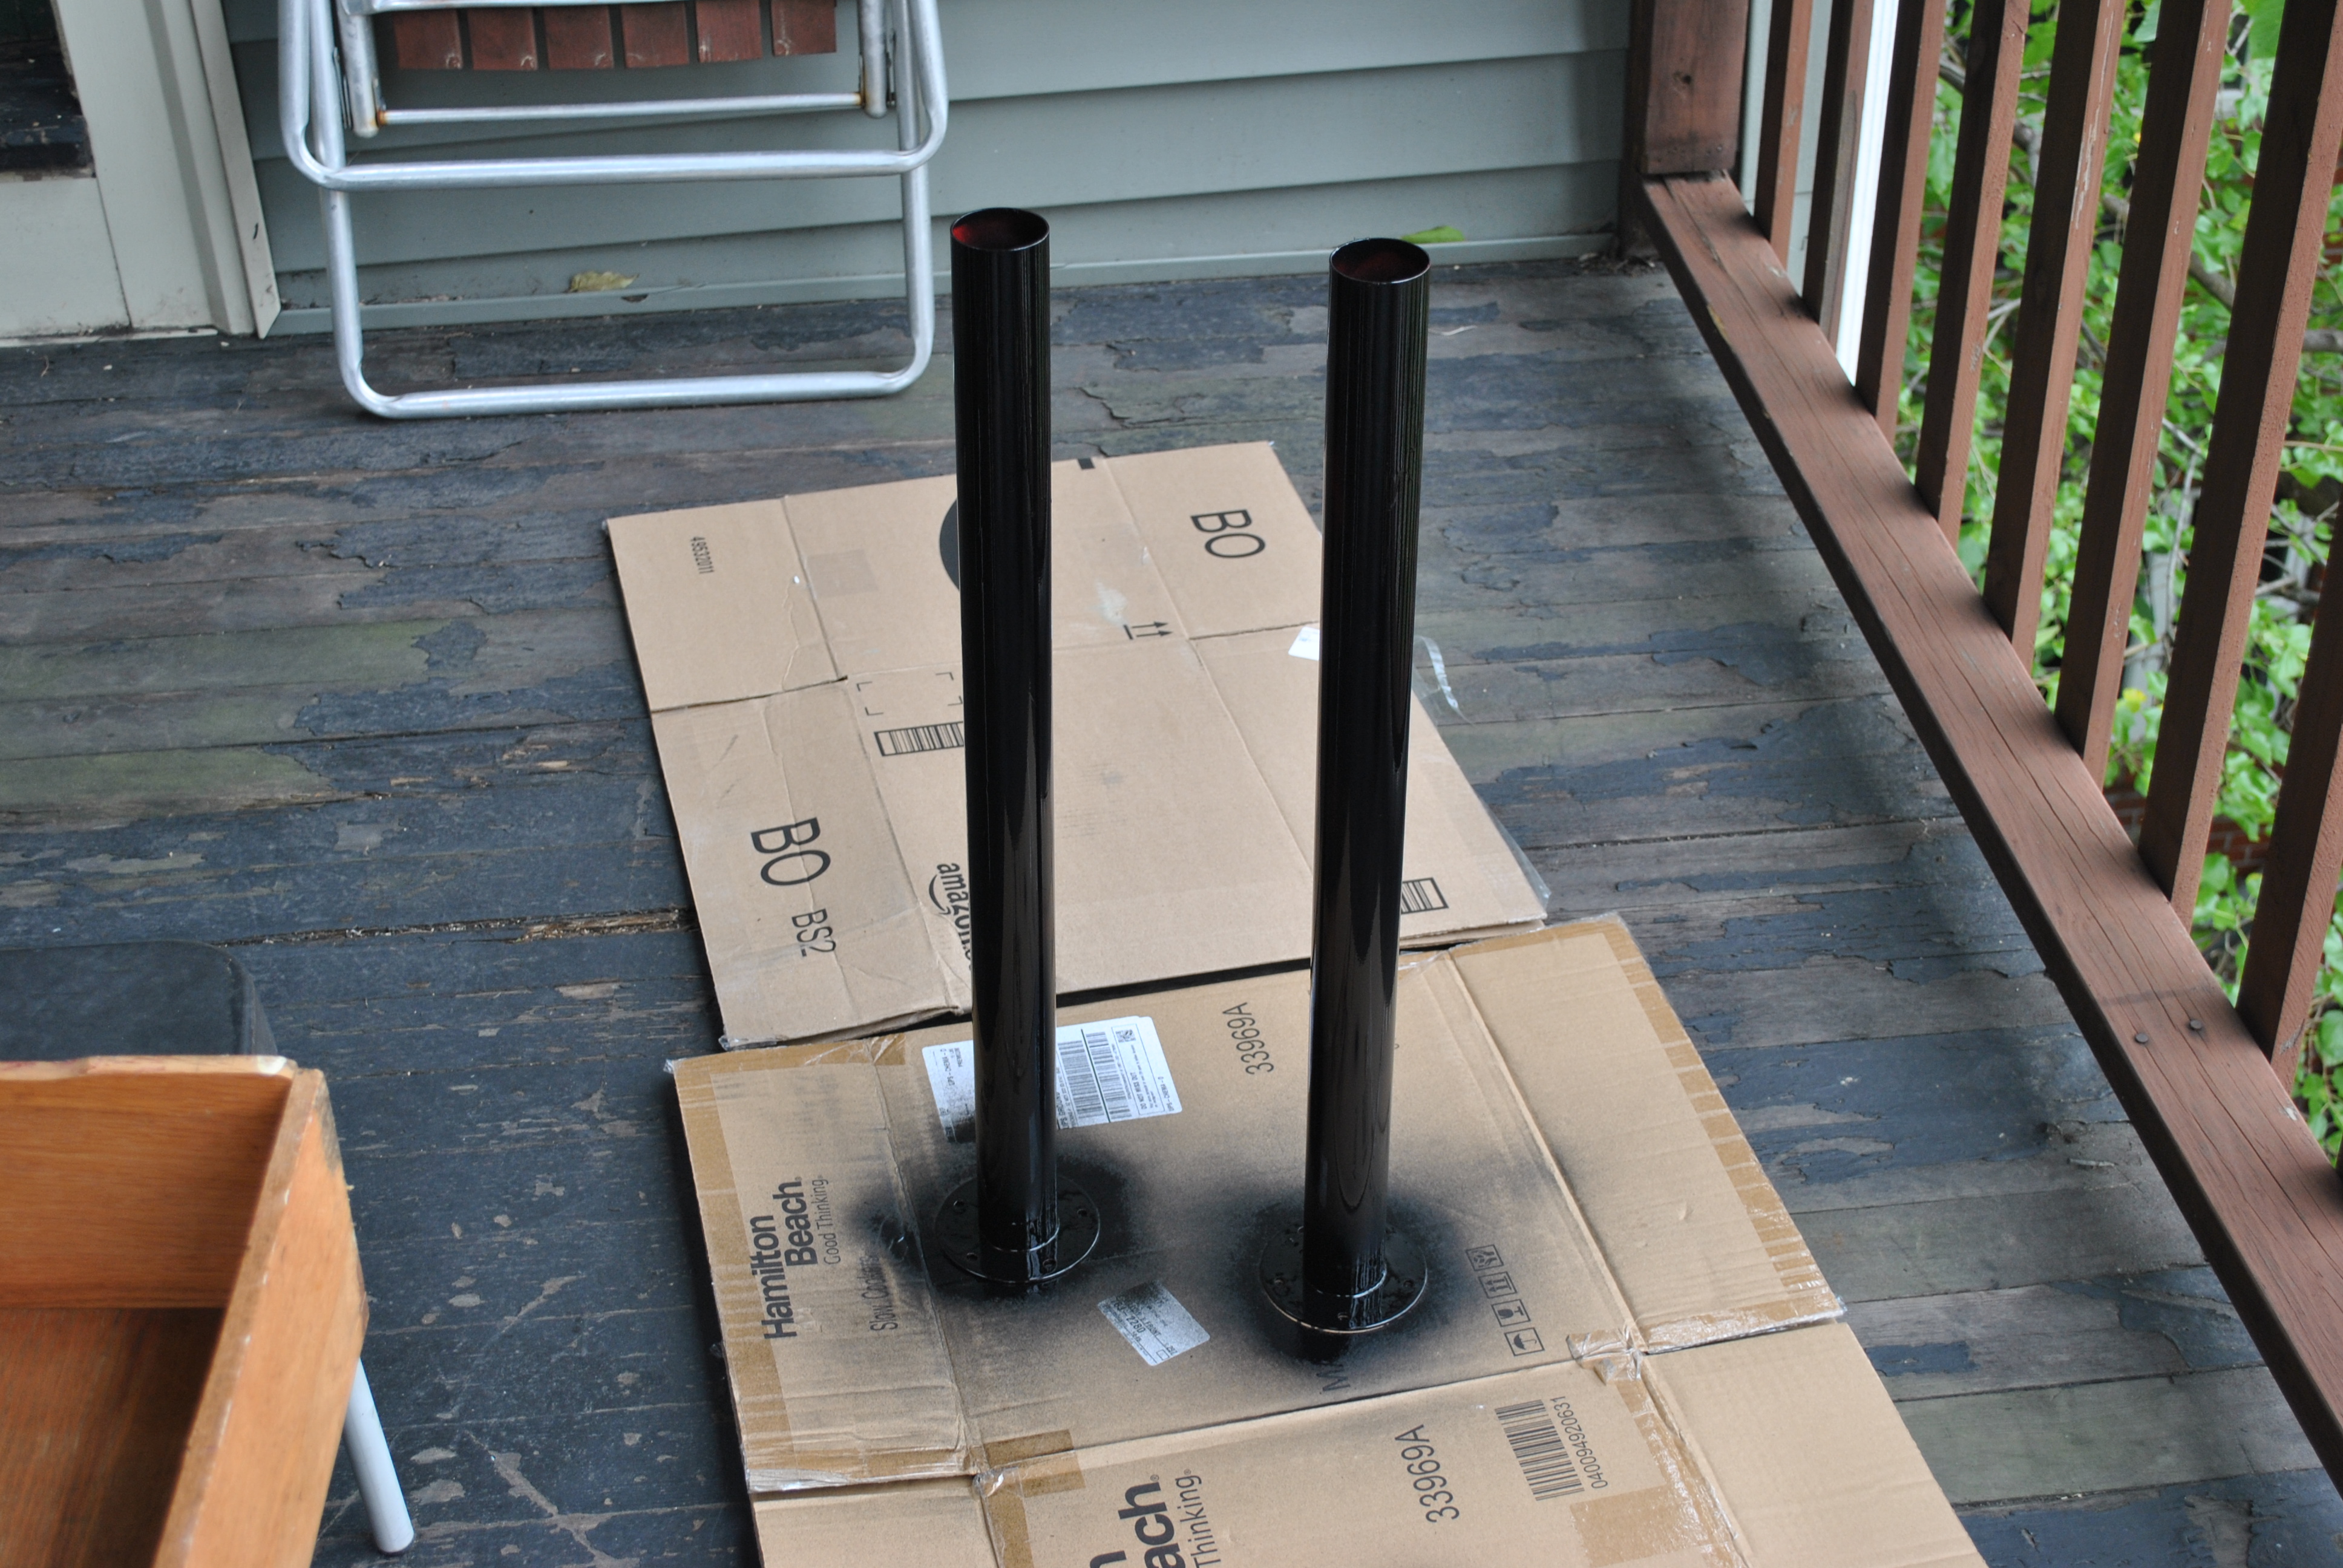
I also found an old IKEA table thrown out on trash day with a nasty particle board top that was all messed up. The legs however were sturdy steel so I unscrewed them and took them home. A quick spray with a can of black spray paint left them all the same color, which was more to my liking.
The largest bench I could get was 4 foot by 22 inches. The wood is pretty warped, and I have no way to fix it…so I threw caution to the wind, and just chopped it up and screwed it together. This thing just has to sit level on the ground, and hold up a lot of weight, it doesn’t have to be pretty.

Then I put the legs on!
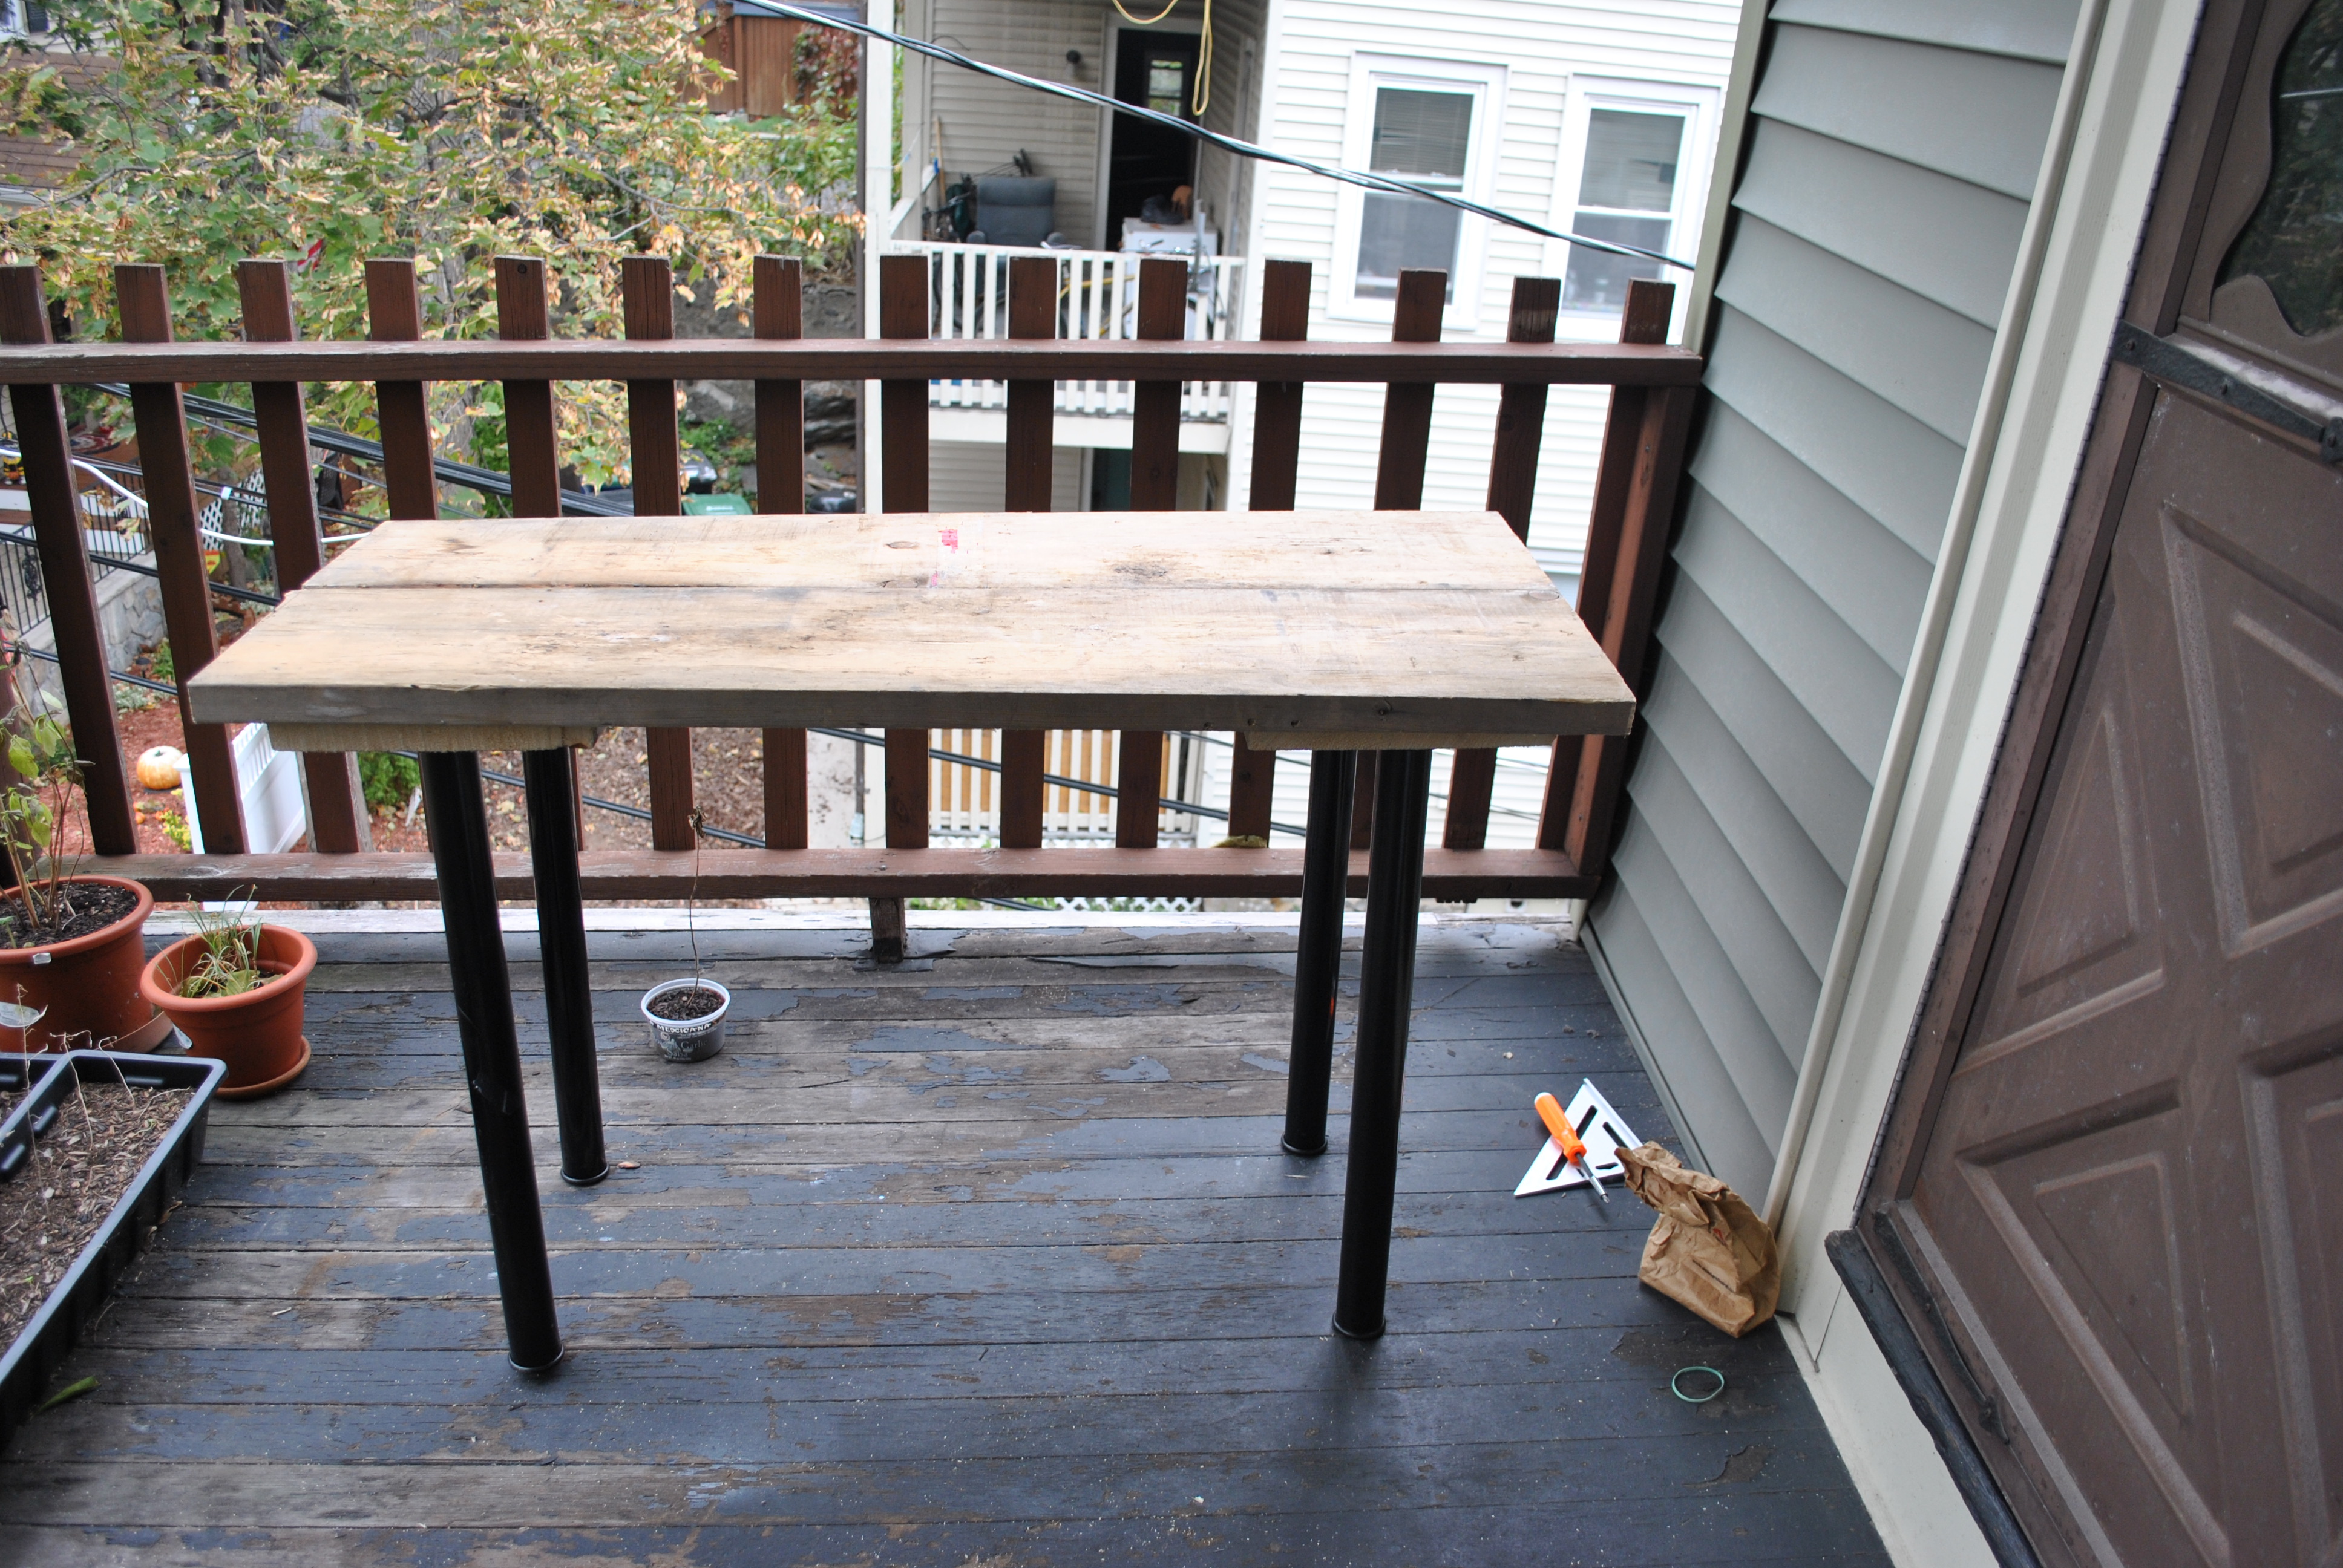
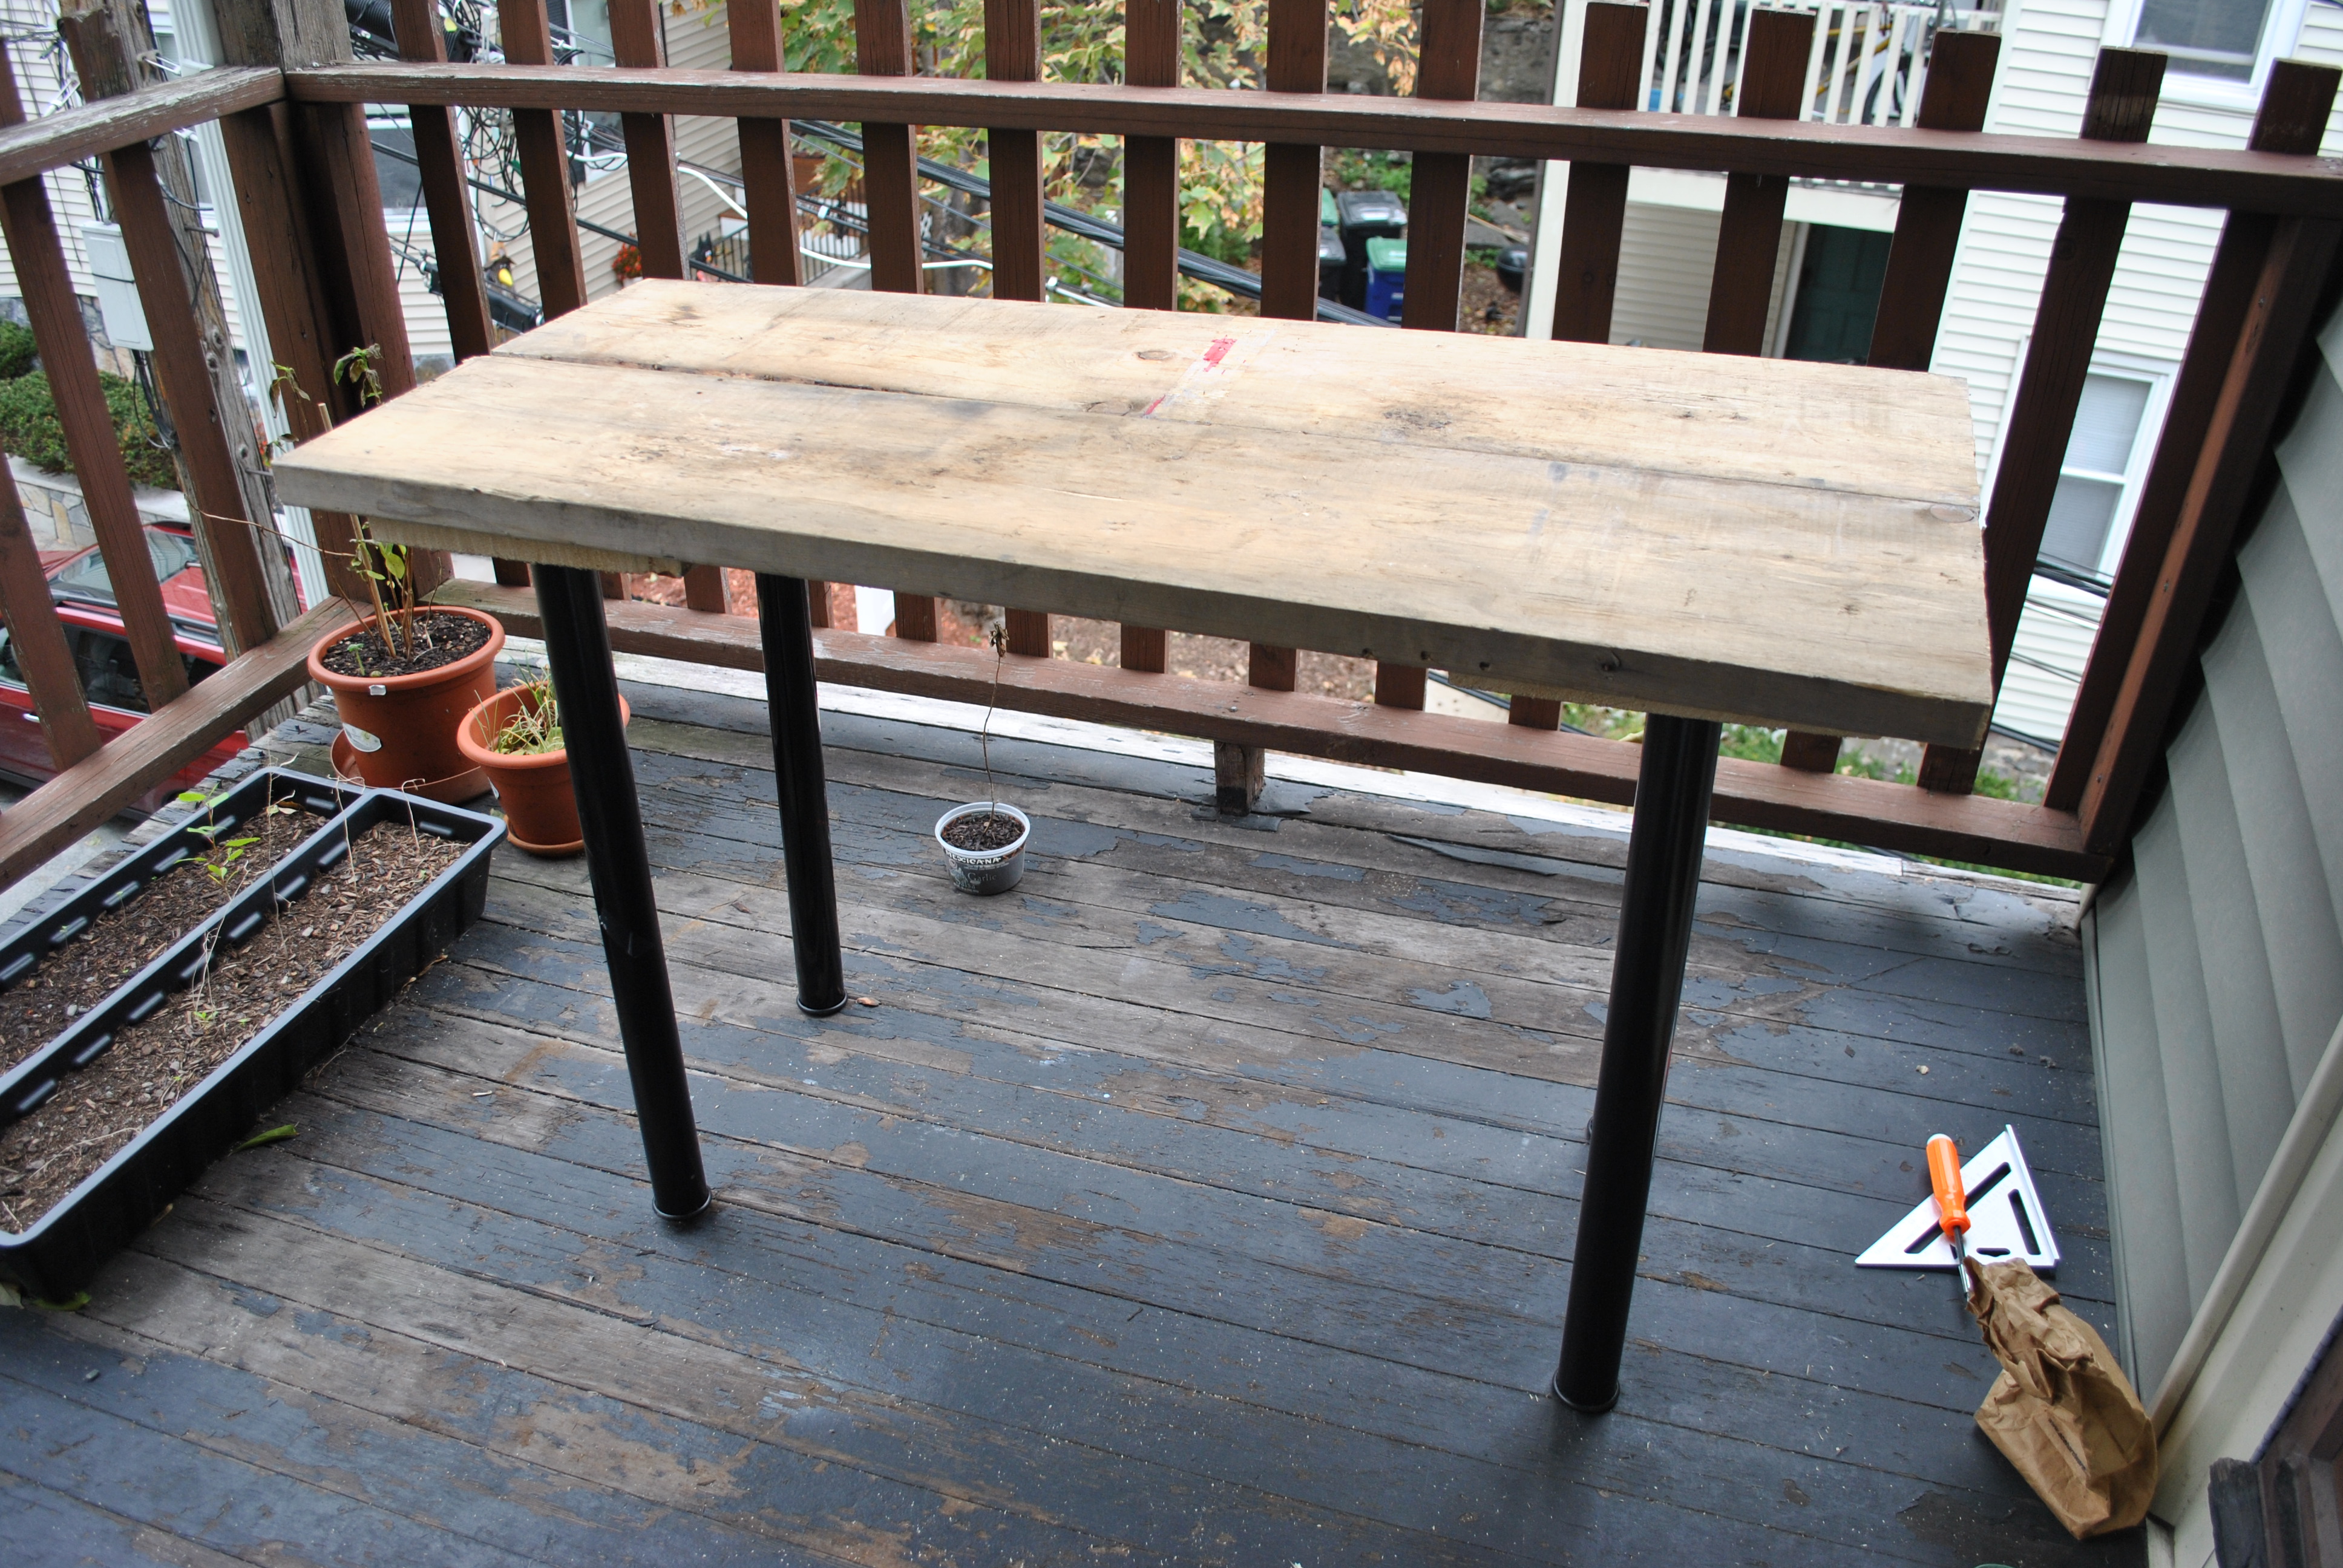
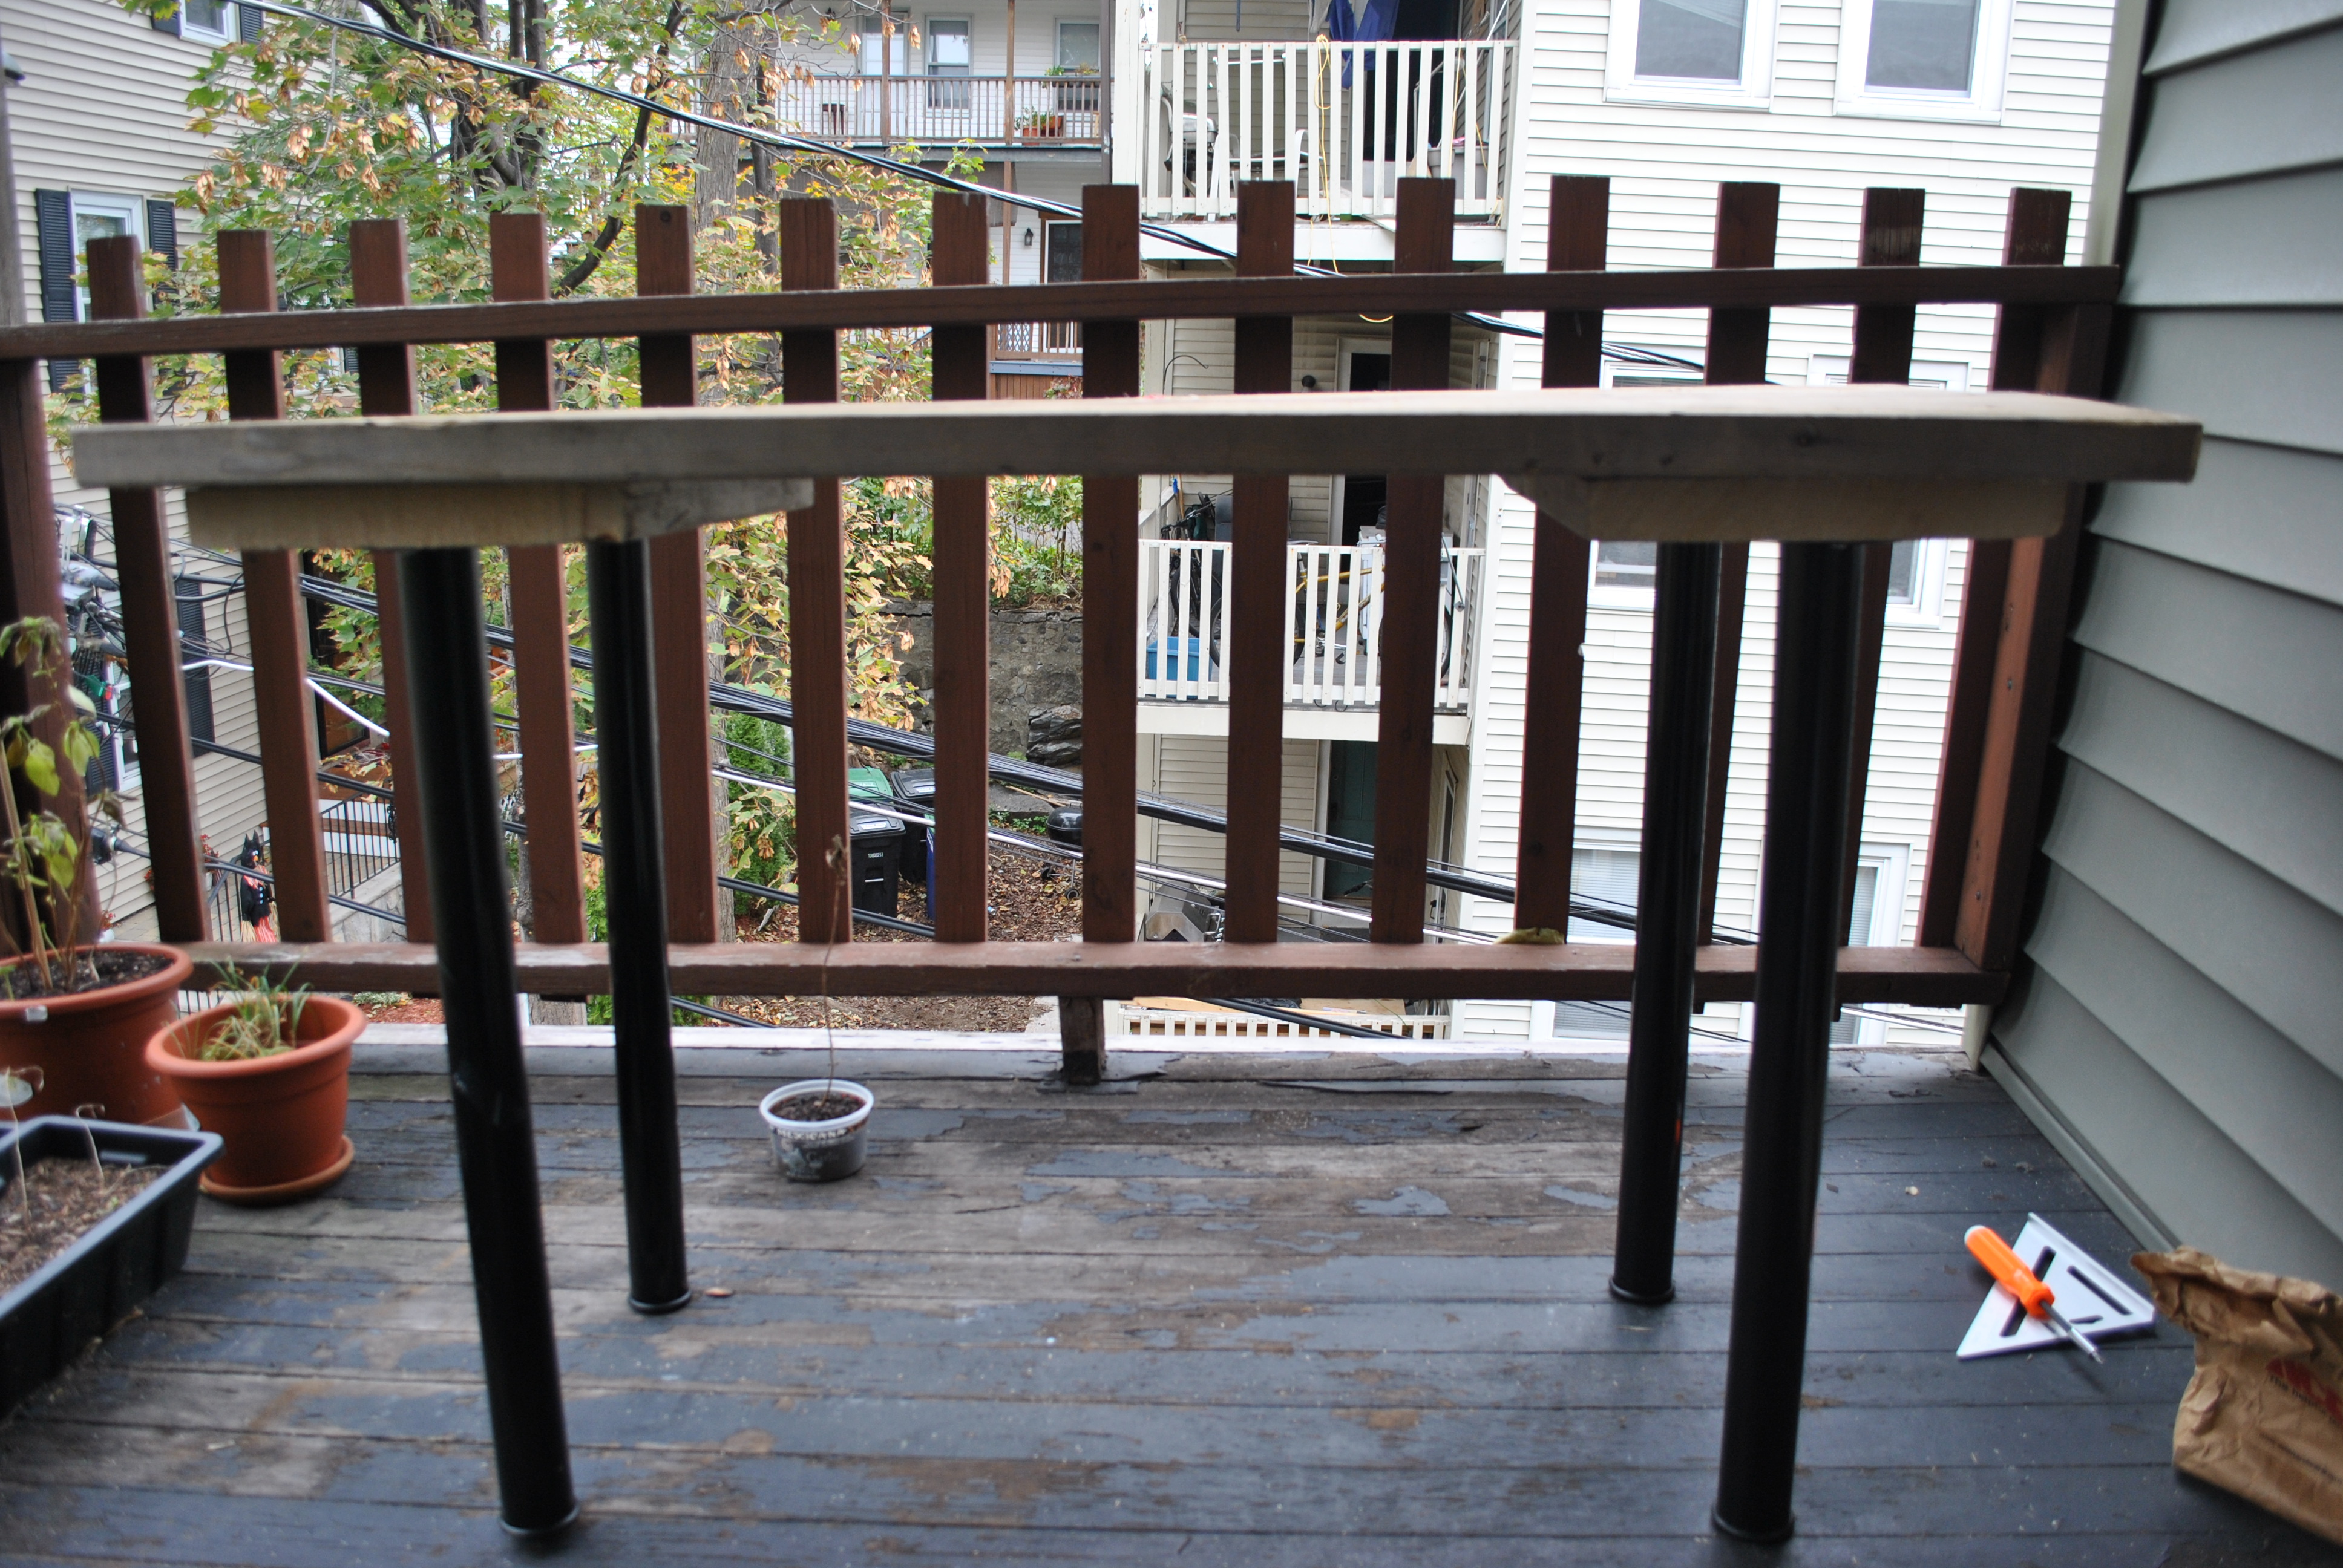
It is crooked…but the house isn’t level, so the damn thing fits almost perfectly into the space I had reserved for it. With only one shim required to bring it to full level!
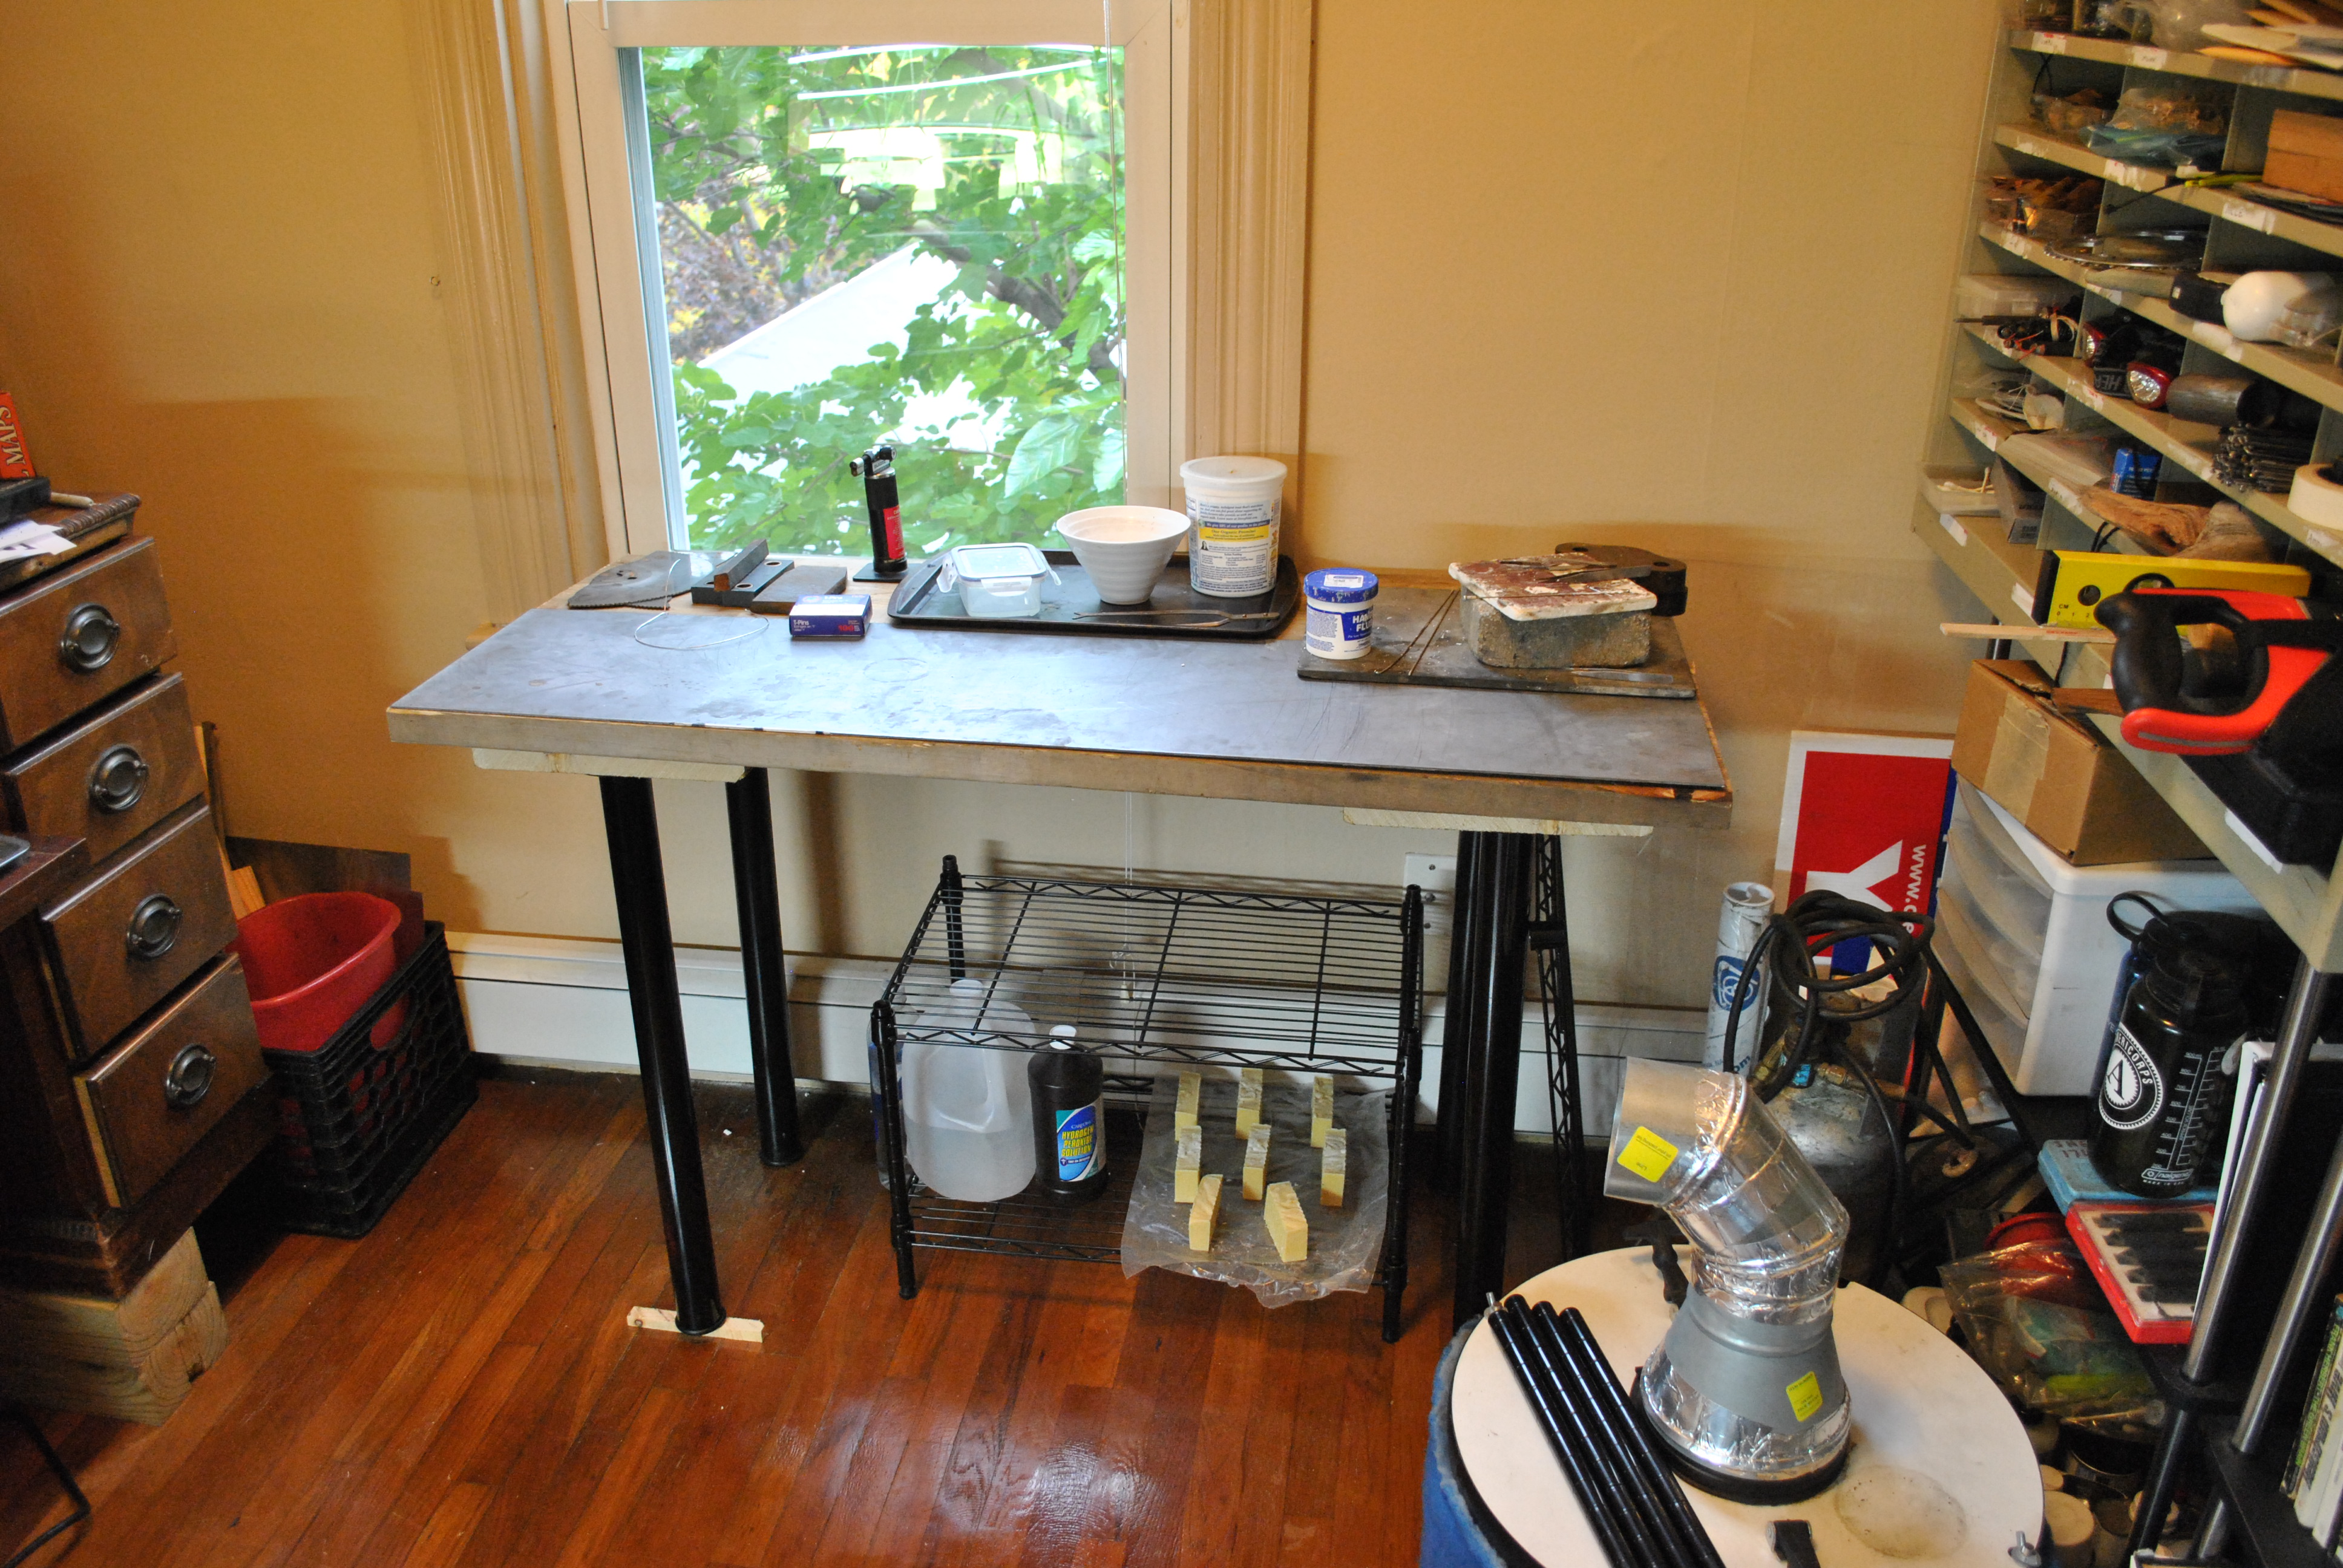
I had found a sheet of steel a couple years ago that I have been wondering what to do with for a while, it fits perfectly on the front of the bench making it fire proof on that side, it also covers the gap between the wood keeping things from falling in there. The back will be built up with fire bricks and wood.
That is some soap I just made drying under the bench, and there is a bunch of junk laying on the top, that is living there for a while. I will rearrange things as I build more stuff. Next up is the kiln, vacuum plate, and crucible area, as well as the fume extractor, and fire brick back stop. I will be building as many things as I can in this journey so it might take a while, but stay tuned.
Materials used:
found wood
wood screws
found metal legs
black pray paint
Tools used:
screw driver
hand saw
tape measure
Cost:
Total cost $0!
(In case you wondered, the wood was free, the legs were free, I already had the paint and the screws, the metal top was free, so total cost for this bench was $0.00 and the two blisters I got screwing all those screws in by hand)

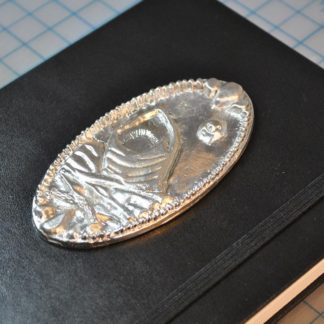
[…] tools online and picked the shapes that seemed to be most common. I then set up a pico-forge on my new bench, consisting of a hammer, a chunk of metal, and a tiny […]
“”And we should apply the discipline and contemplative nature of monastic
living to art production,” adds Christopher. When he saw Rubens immediately, he was impressed regarding his graceful bearings and extraordinary intelligence. They provide different deals frequently for clients who visit them frequently for work.