(read part one first if you haven’t already)
There are many ways to make chains, from the simple, to the complex. Once you have made enough jump rings (see part one), you can experiment and find some styles you like.
Every chain made in this way follows a basic procedure.
1. Grab jump ring
2. Thread jump ring
3. Close jump ring
4. Repeat
This can be a tedious project, but the results are often amazing.
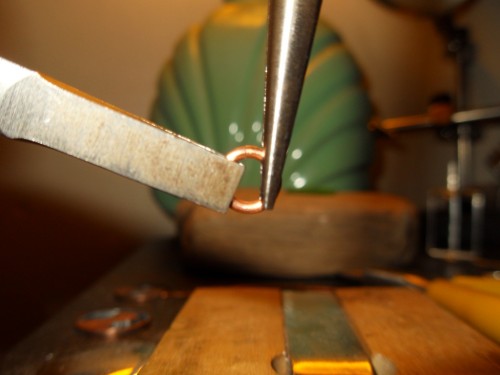
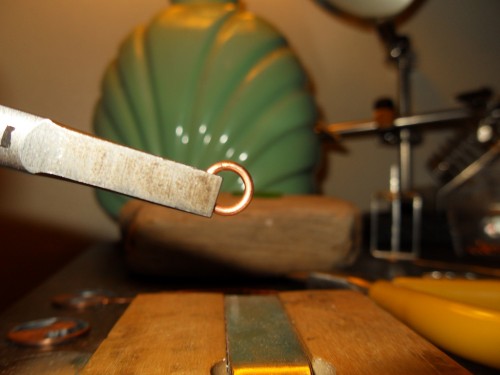
When you are closing the jump rings, be sure to use two sets of pliers, doing it with your fingers will lead to sub-standard results, and over time will destroy them (seriously this hurts).
Grab both sides of the jump ring, and move the two ends gently towards the gap, sort of wiggling them back and forth while pushing them together, when you are get it just right it looks like a ring.
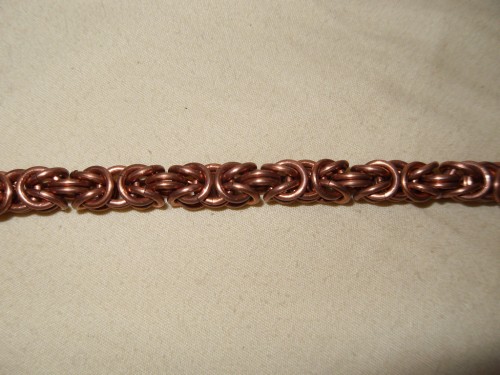
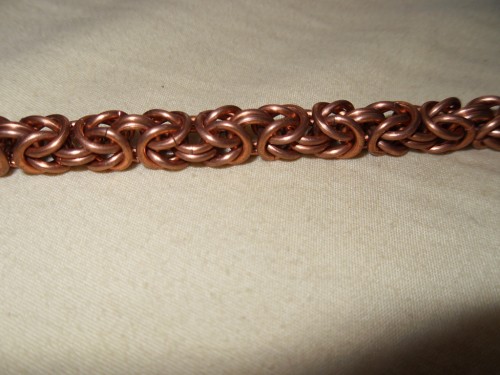
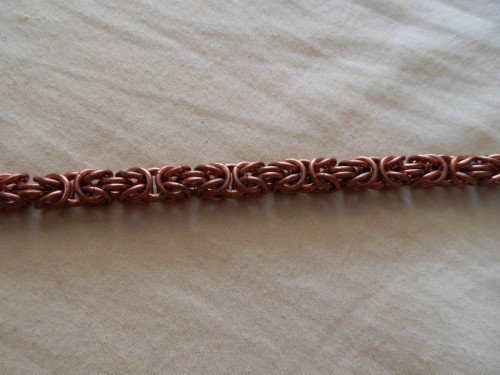
You can do simple patterns such as two rings then two rings then two rings, or you can do fancier stuff like the following.



[…] Keep reading part two […]