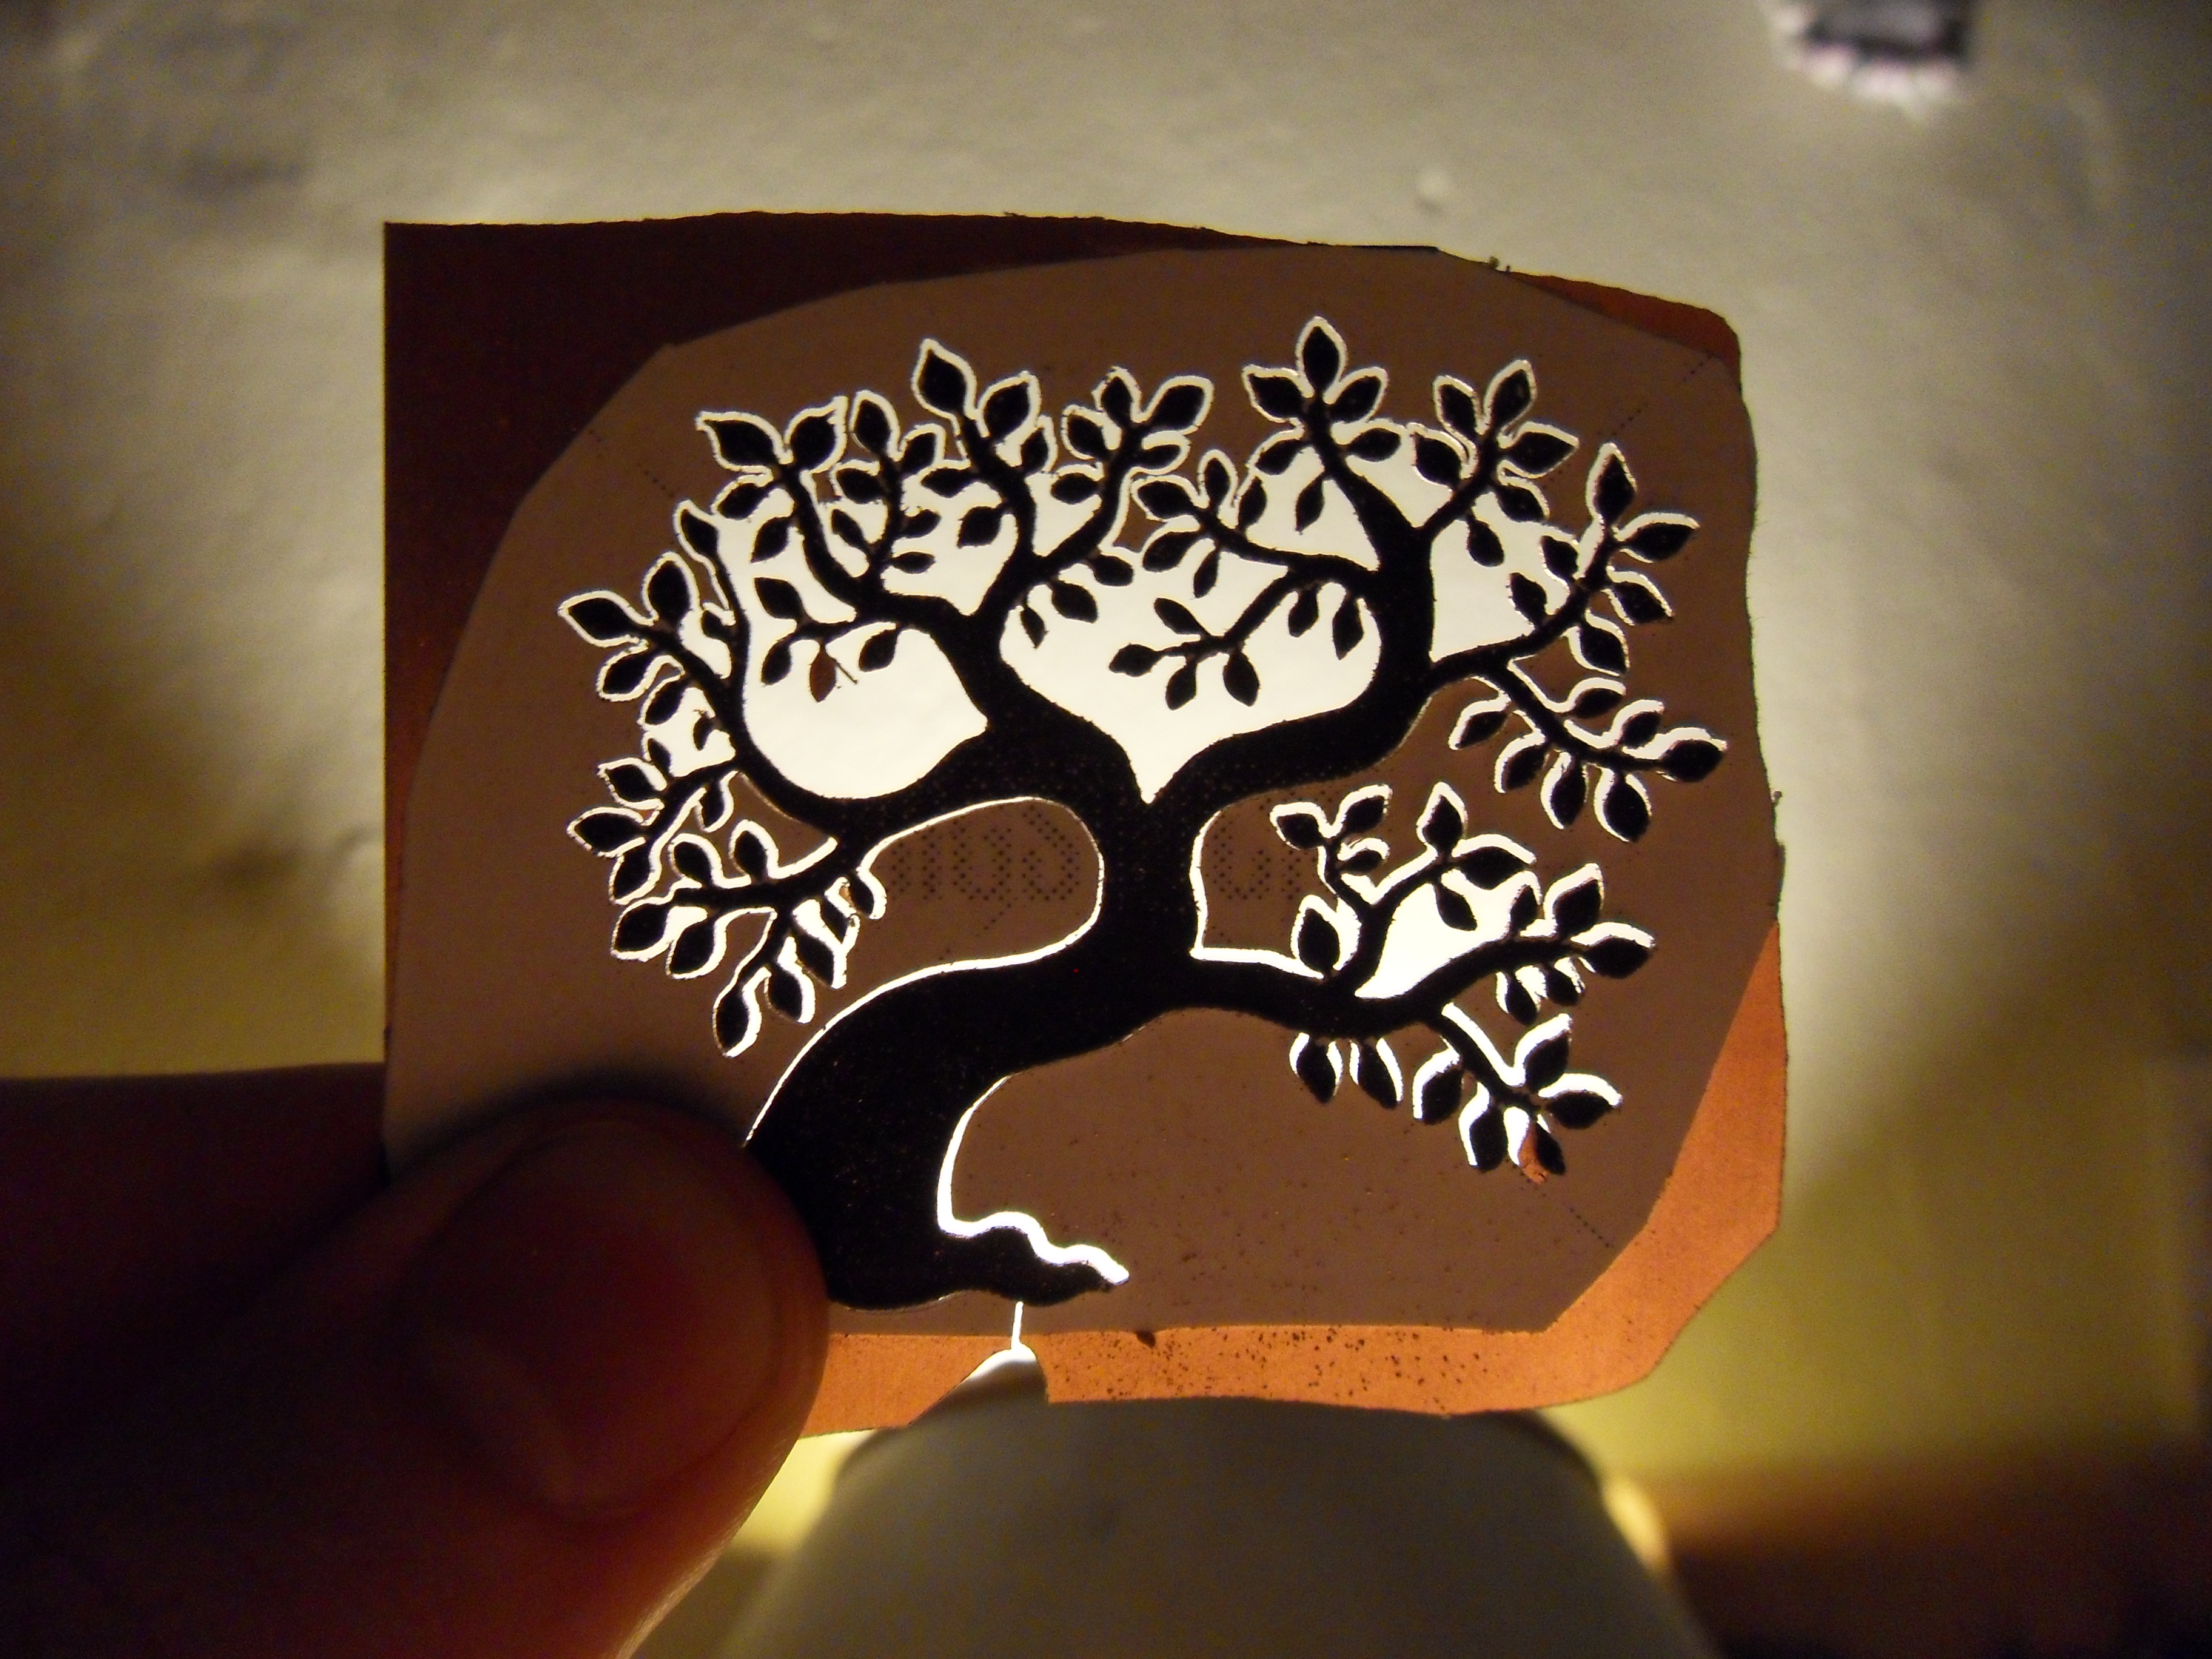
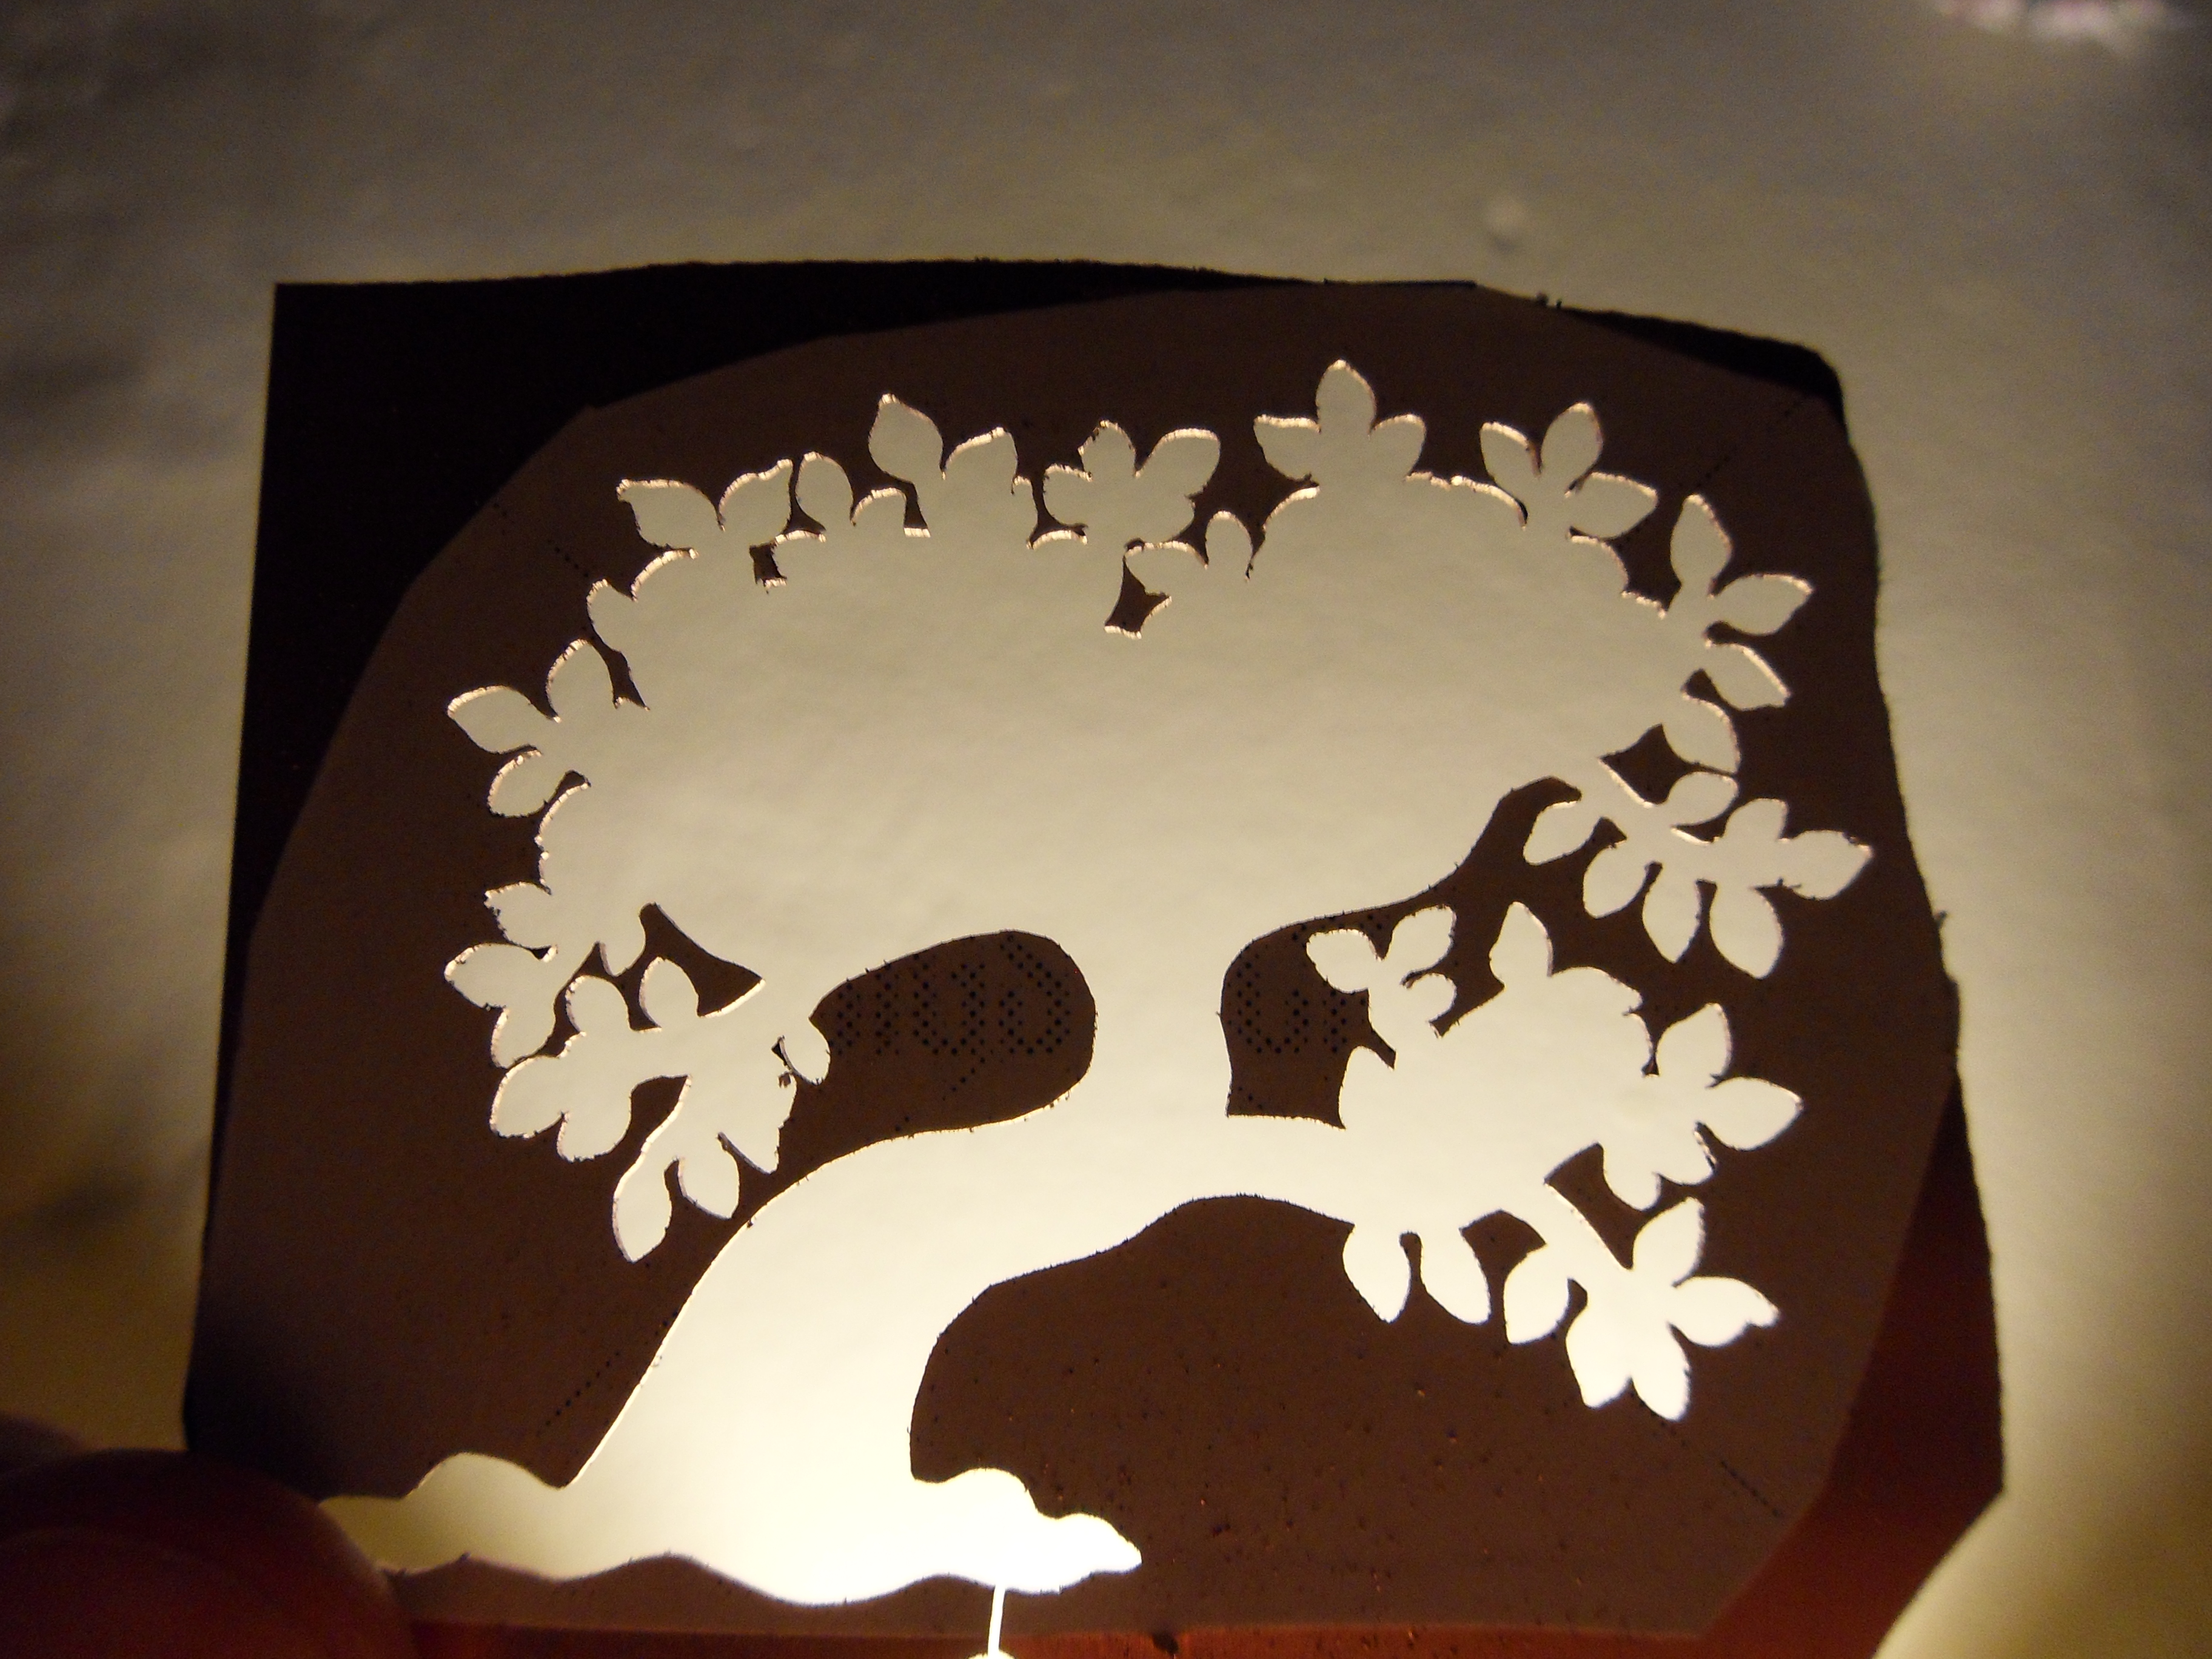
Even though these little guys take forever, and are very hard to finish (polishing requires a very fine touch), I really like the end result, and I bet it would look dead sexy on a bicycle, or a journal.
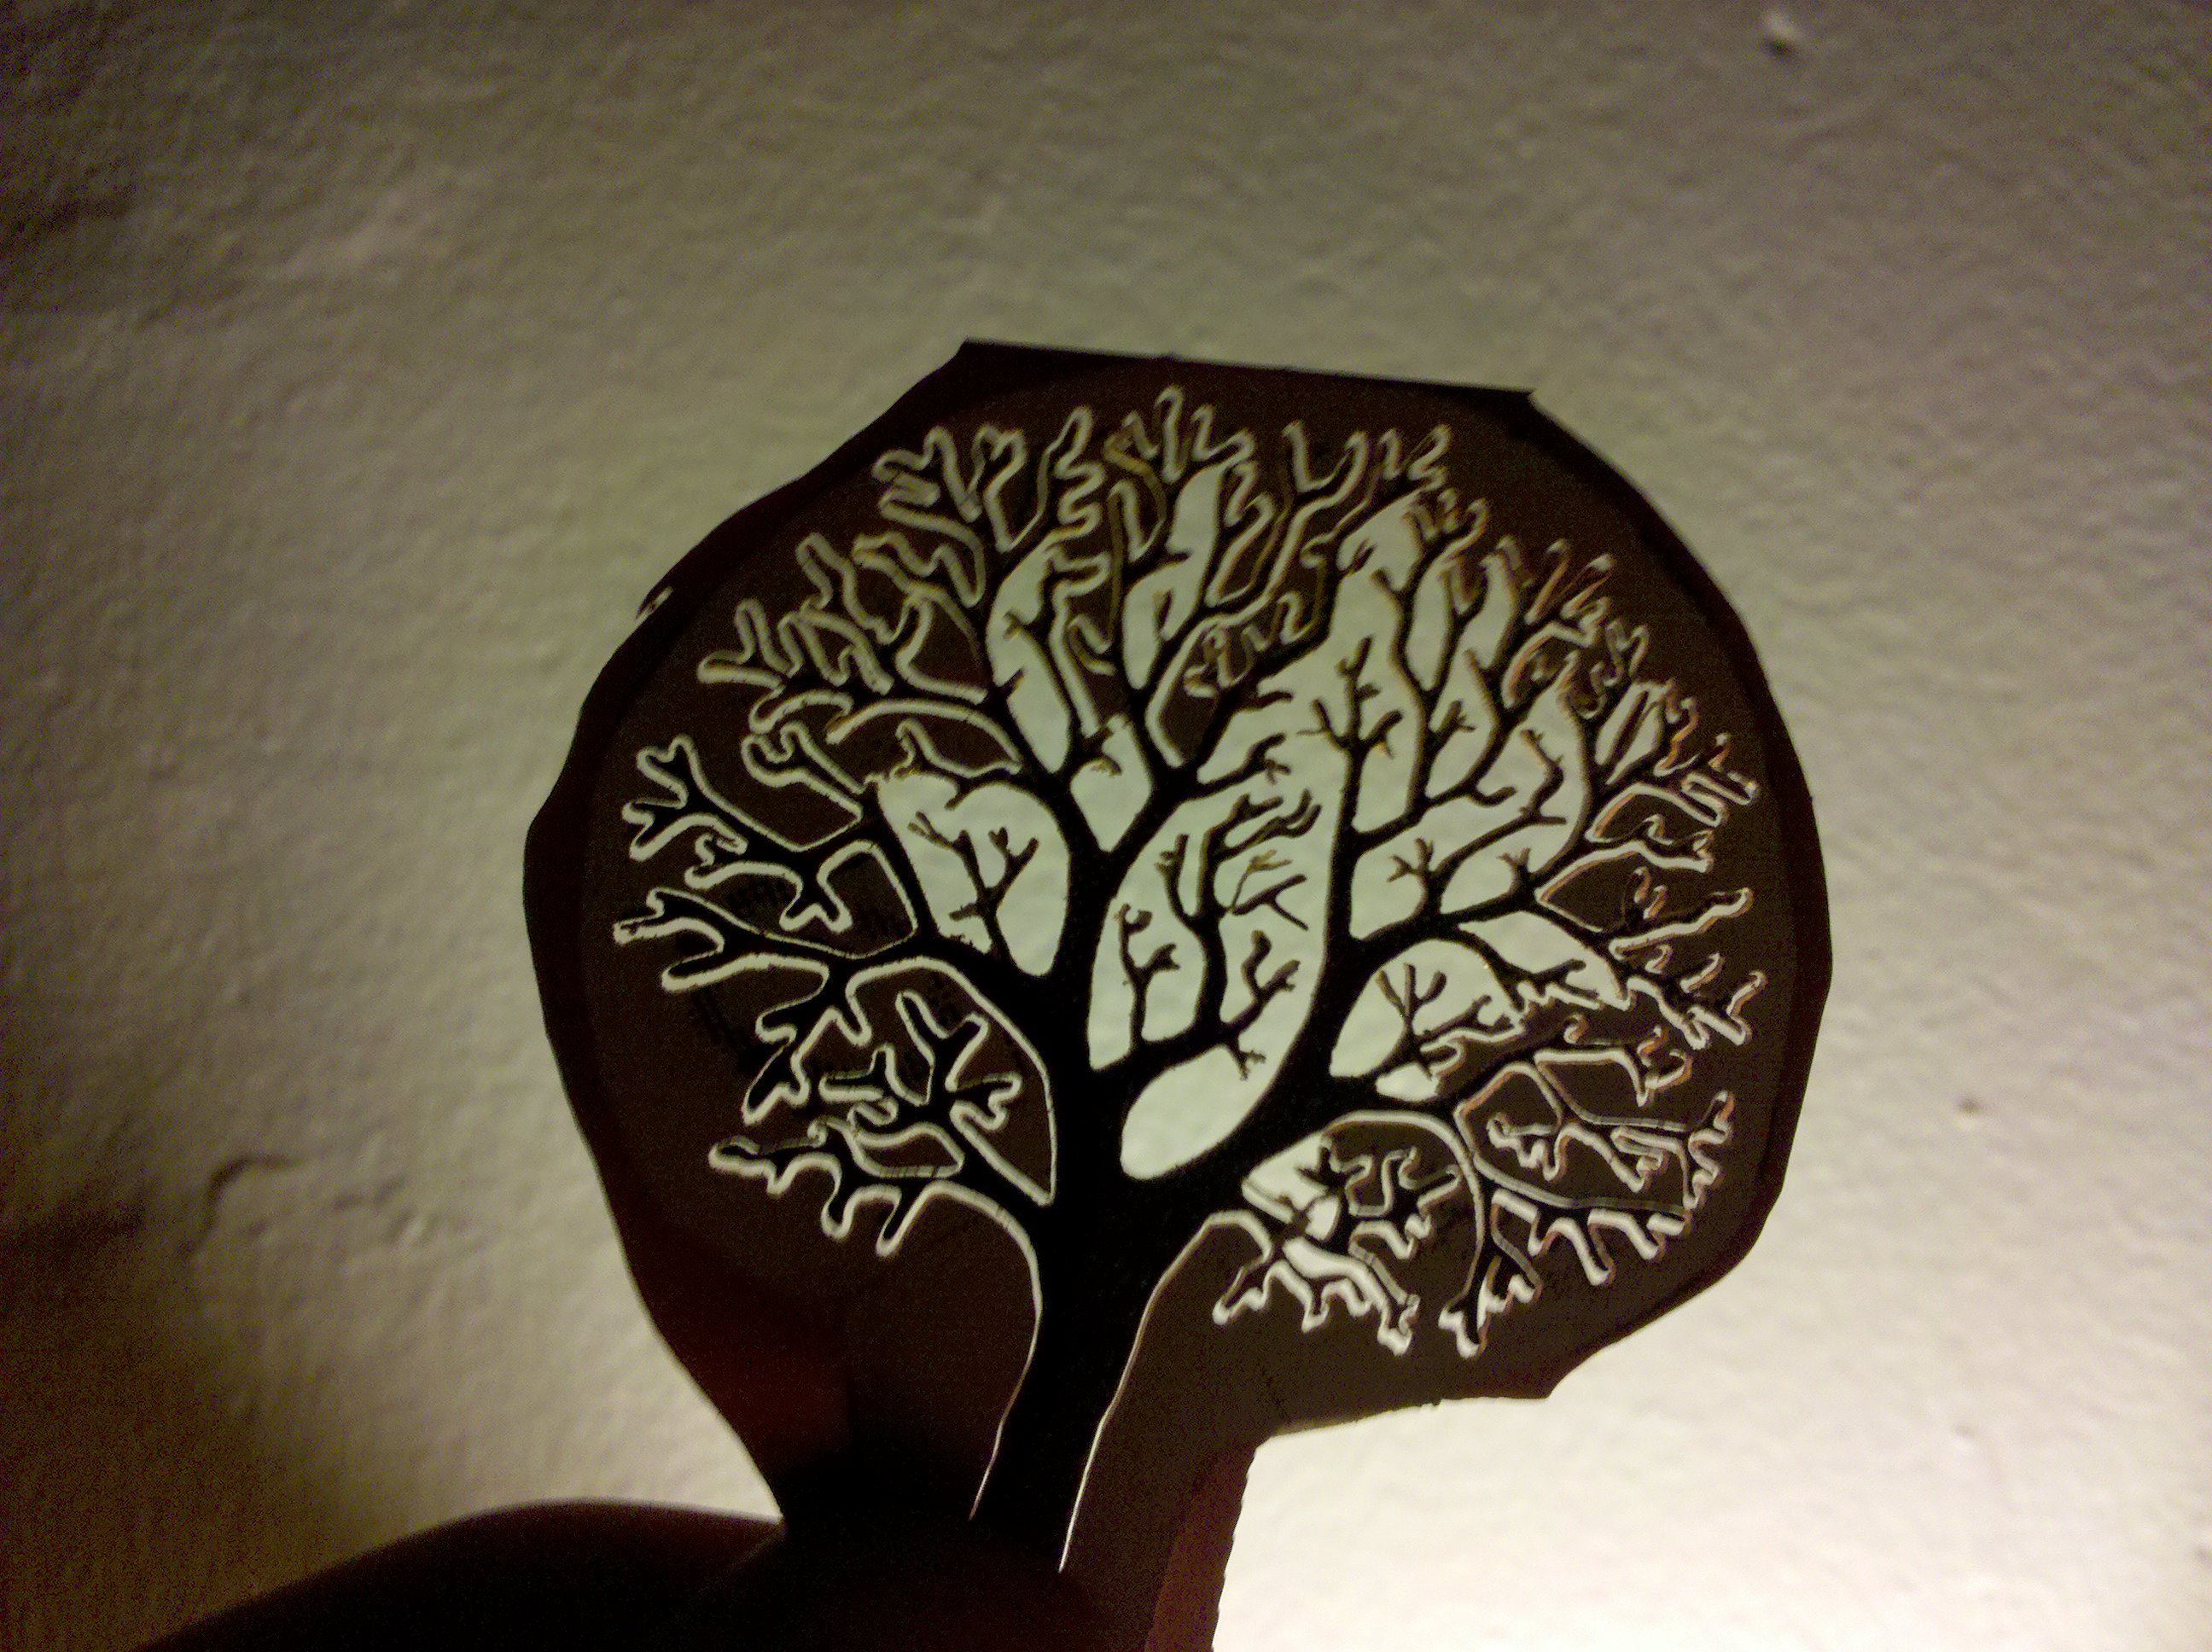
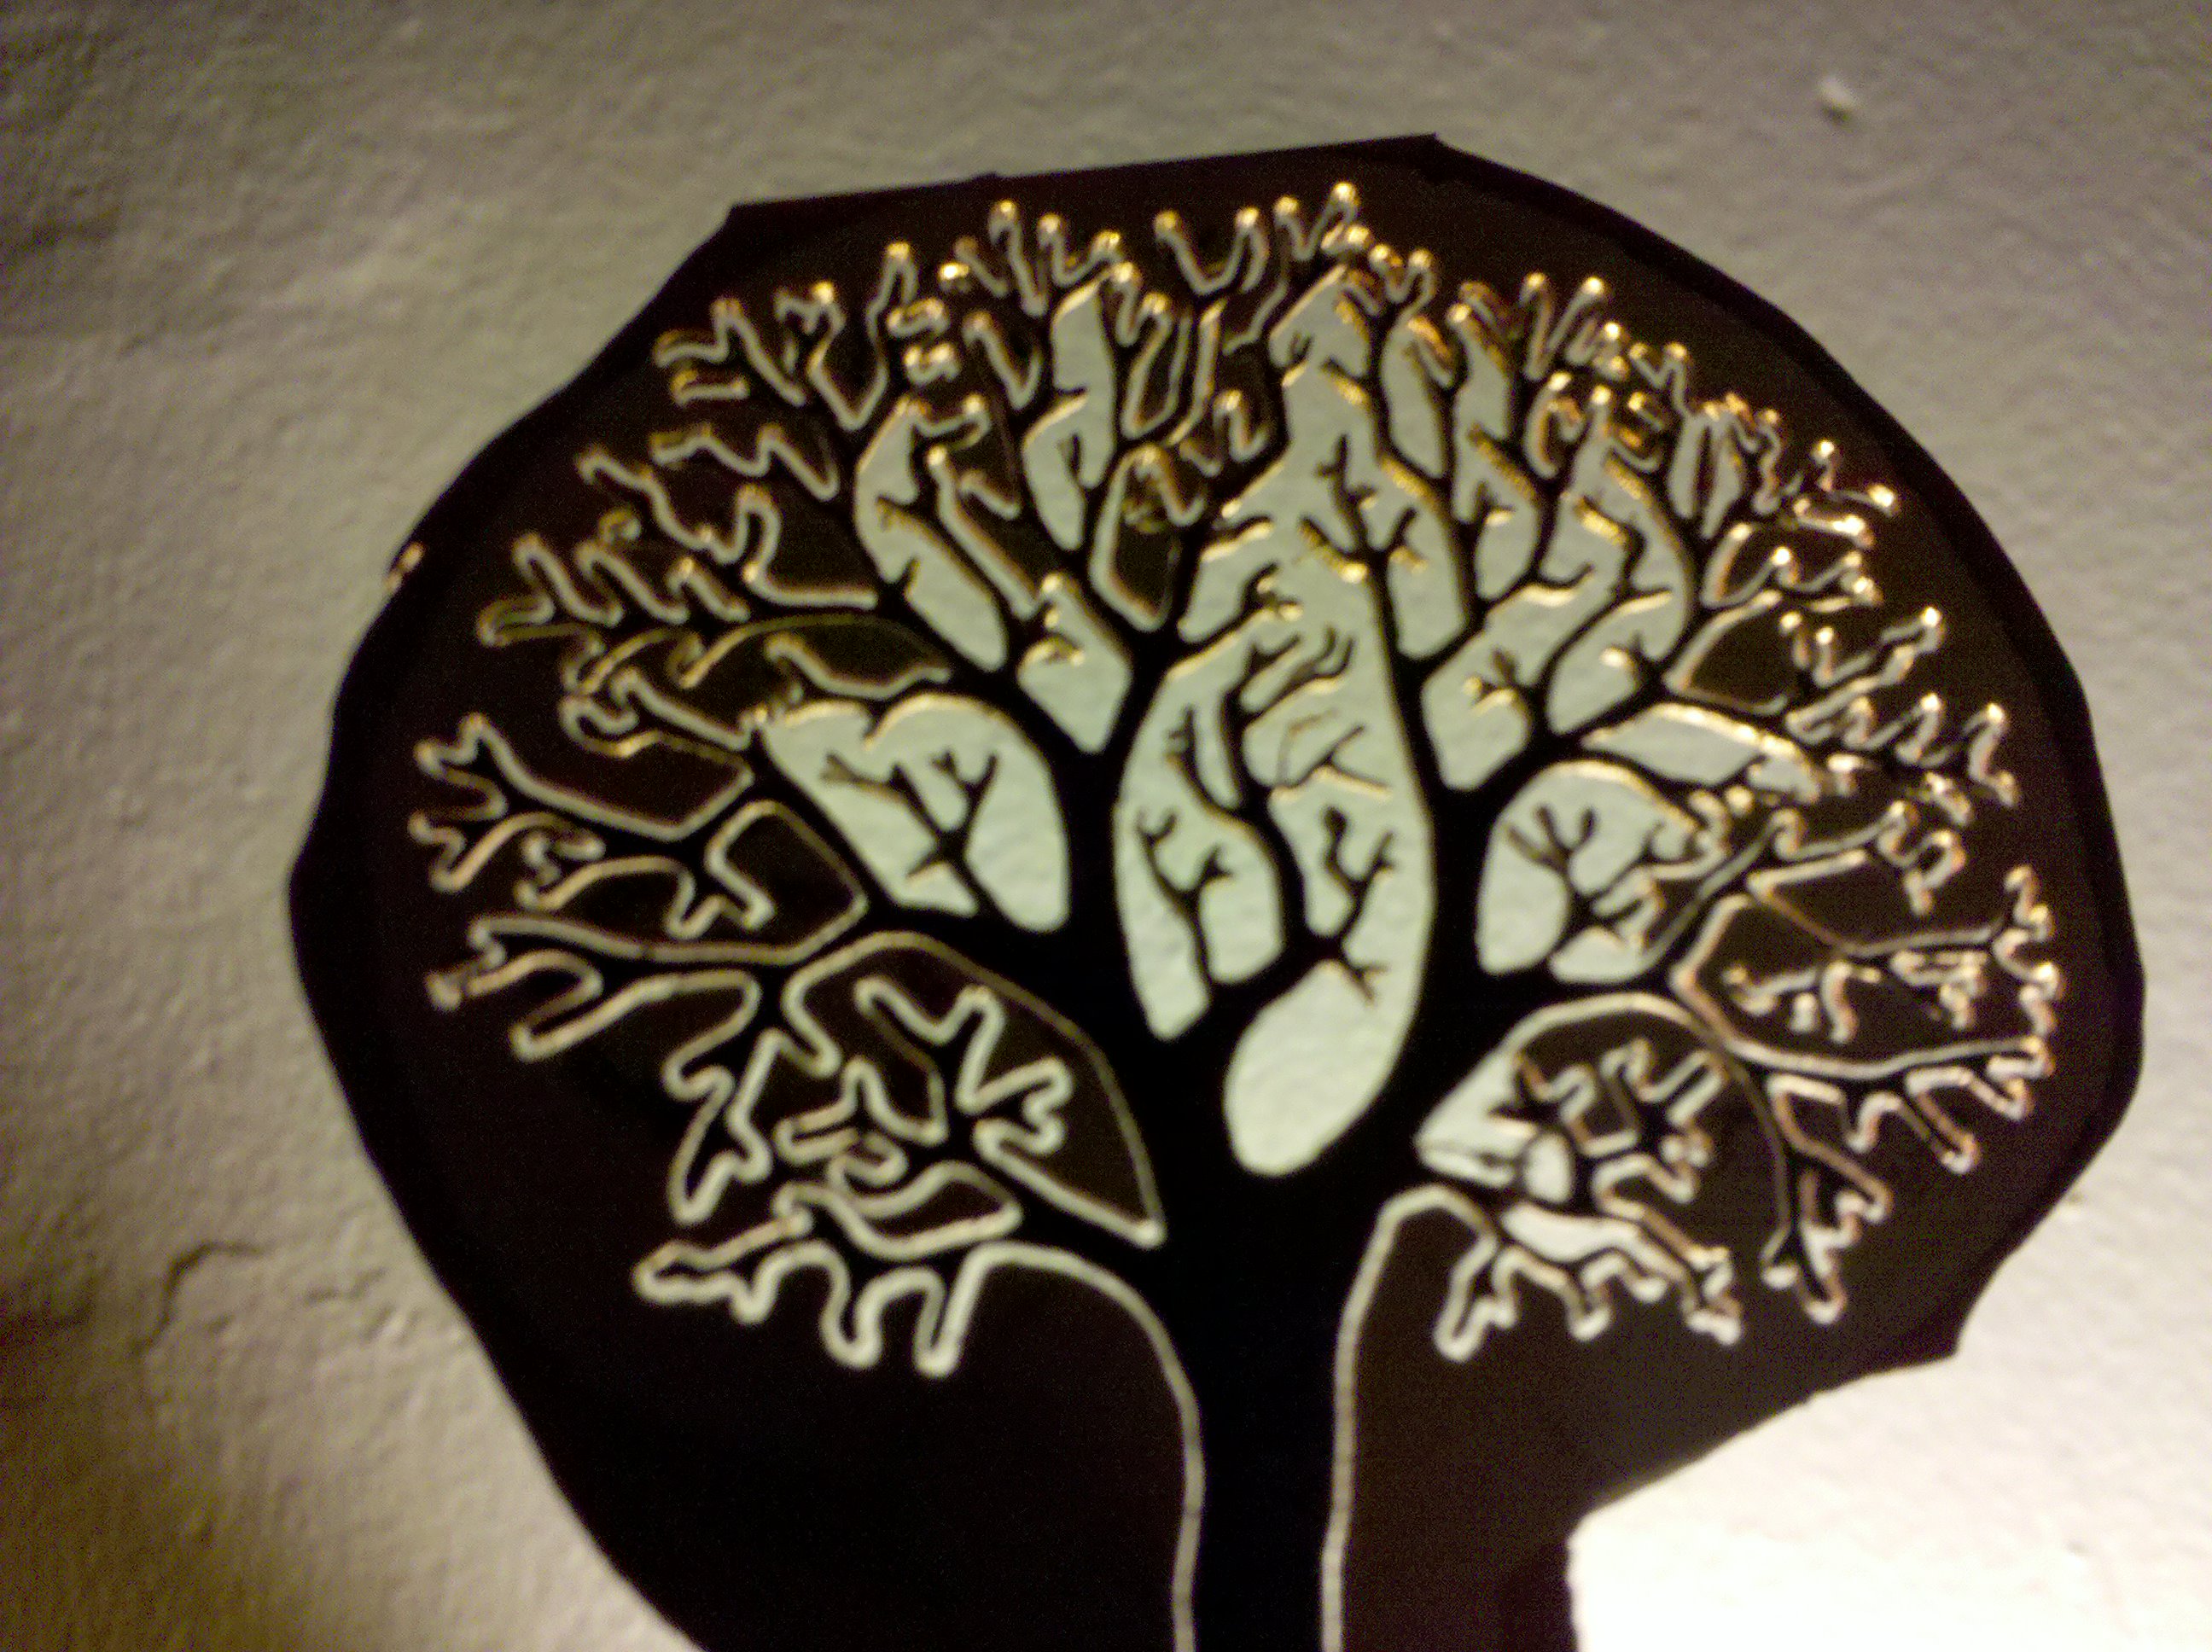
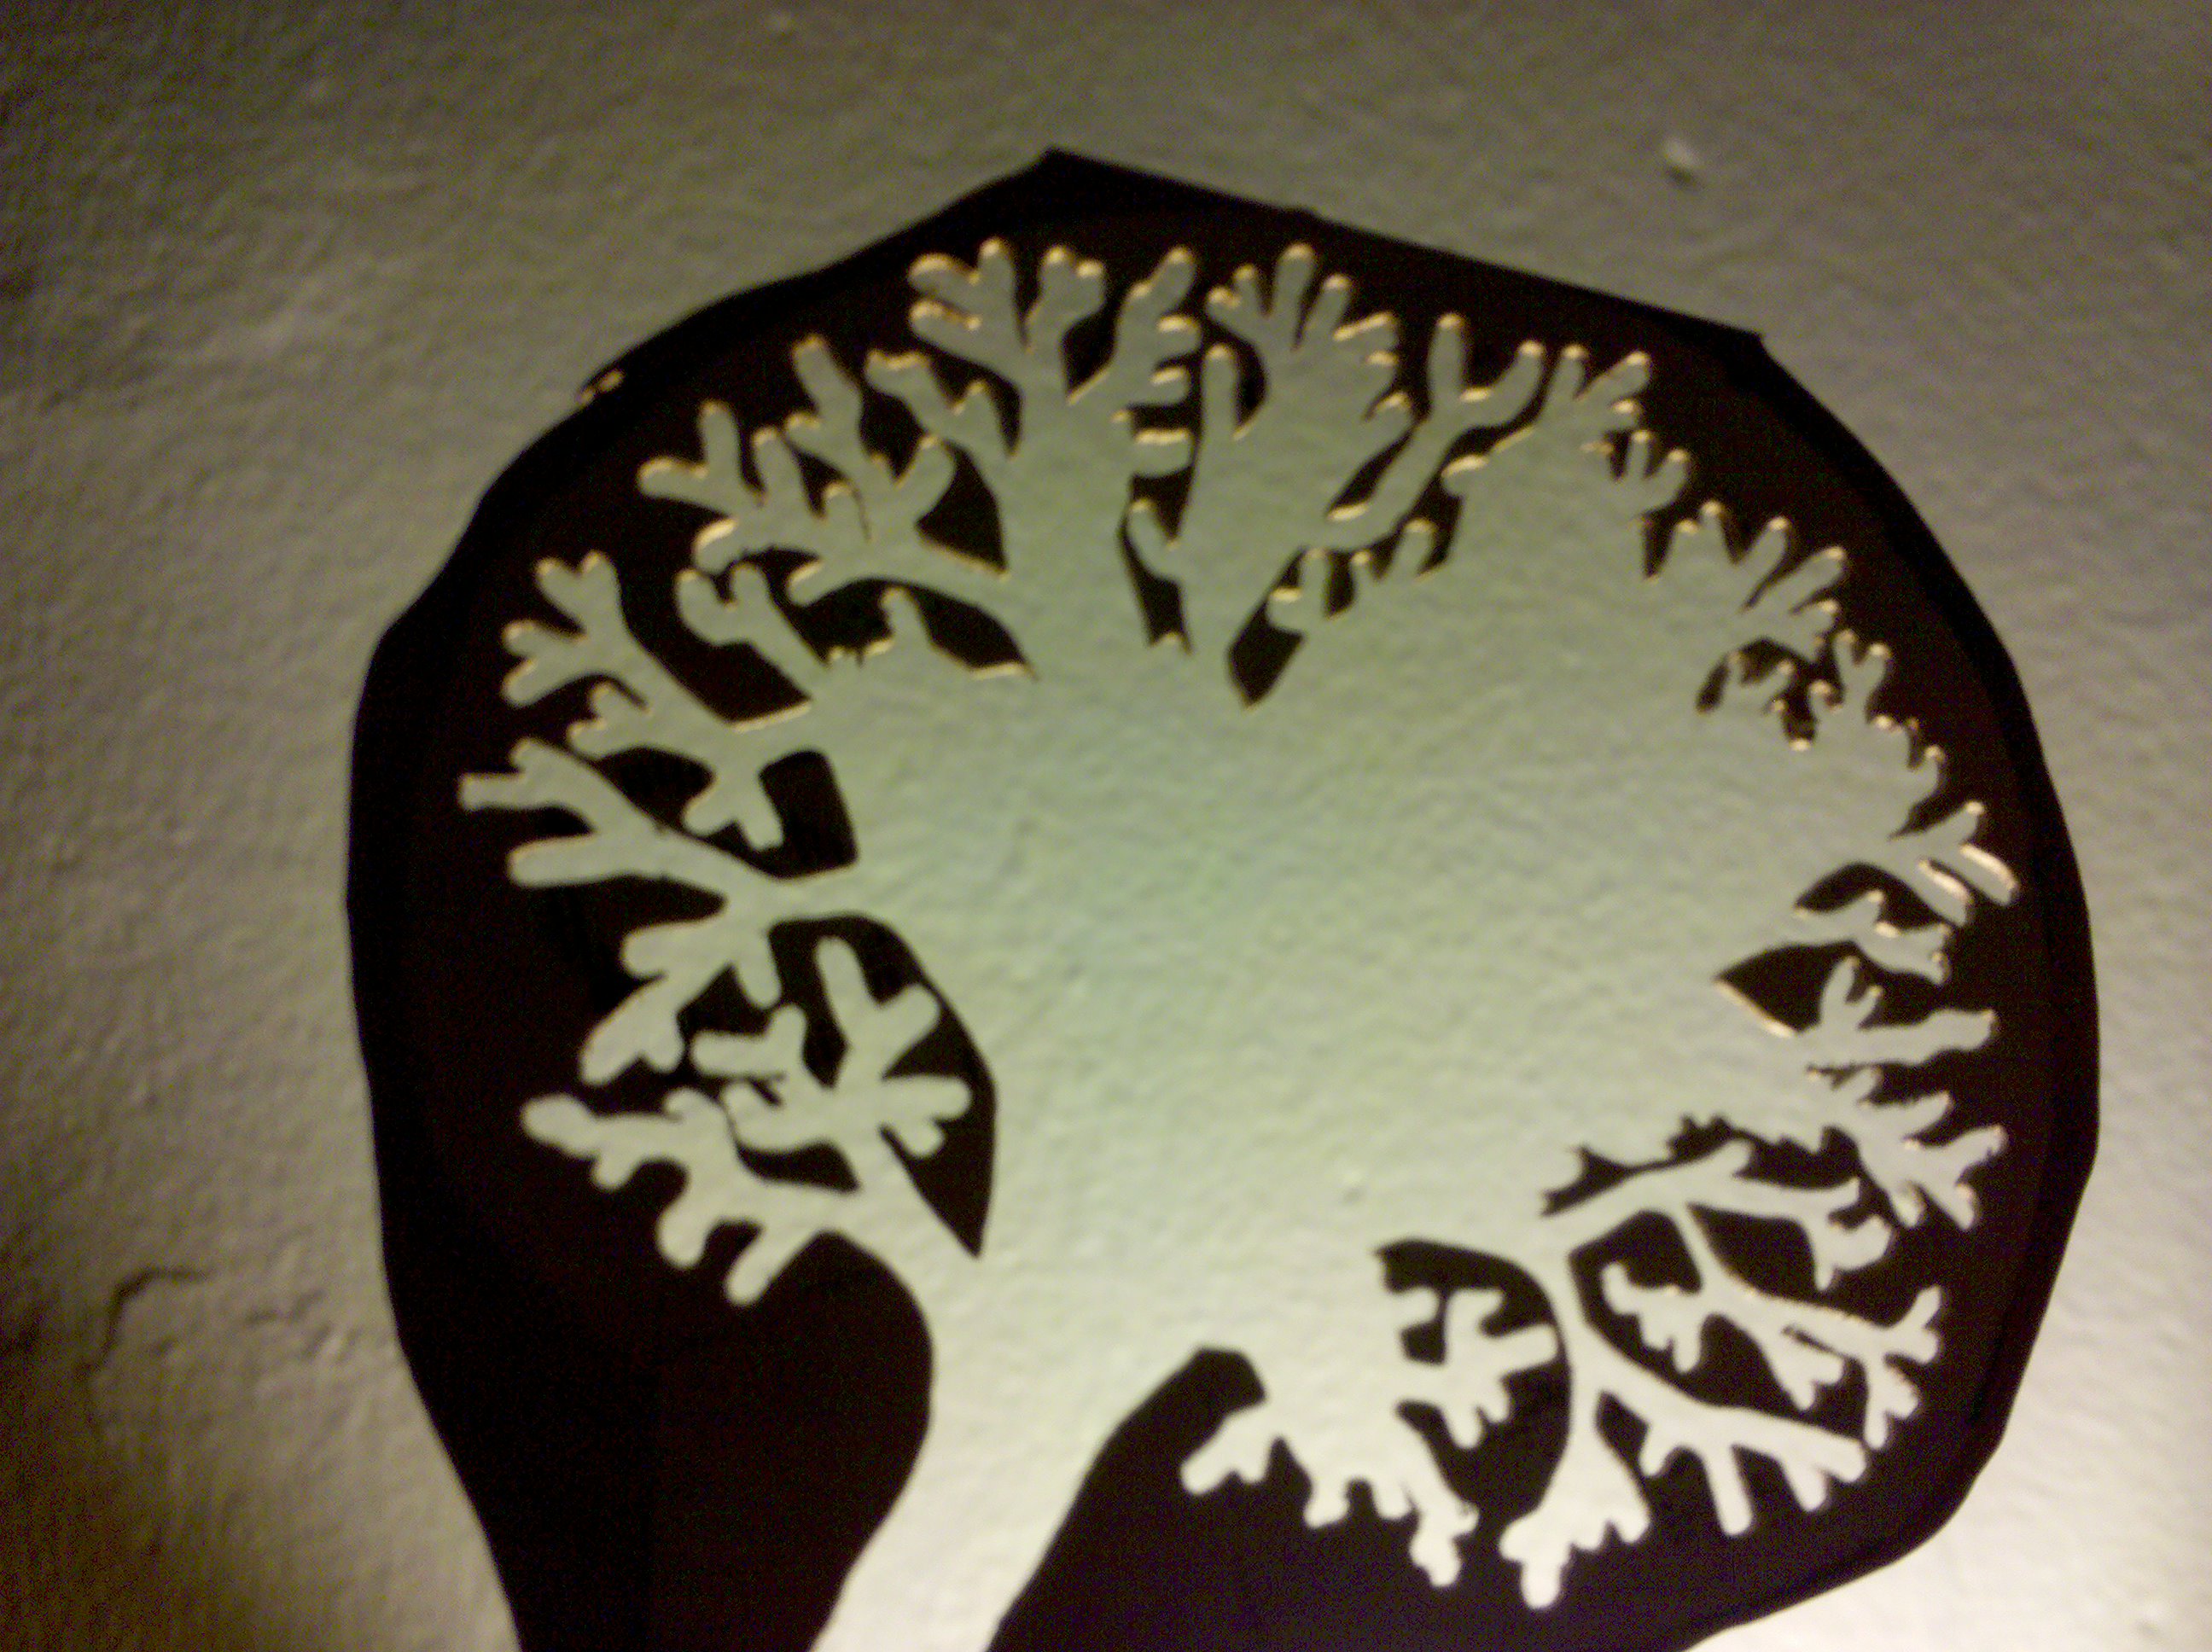

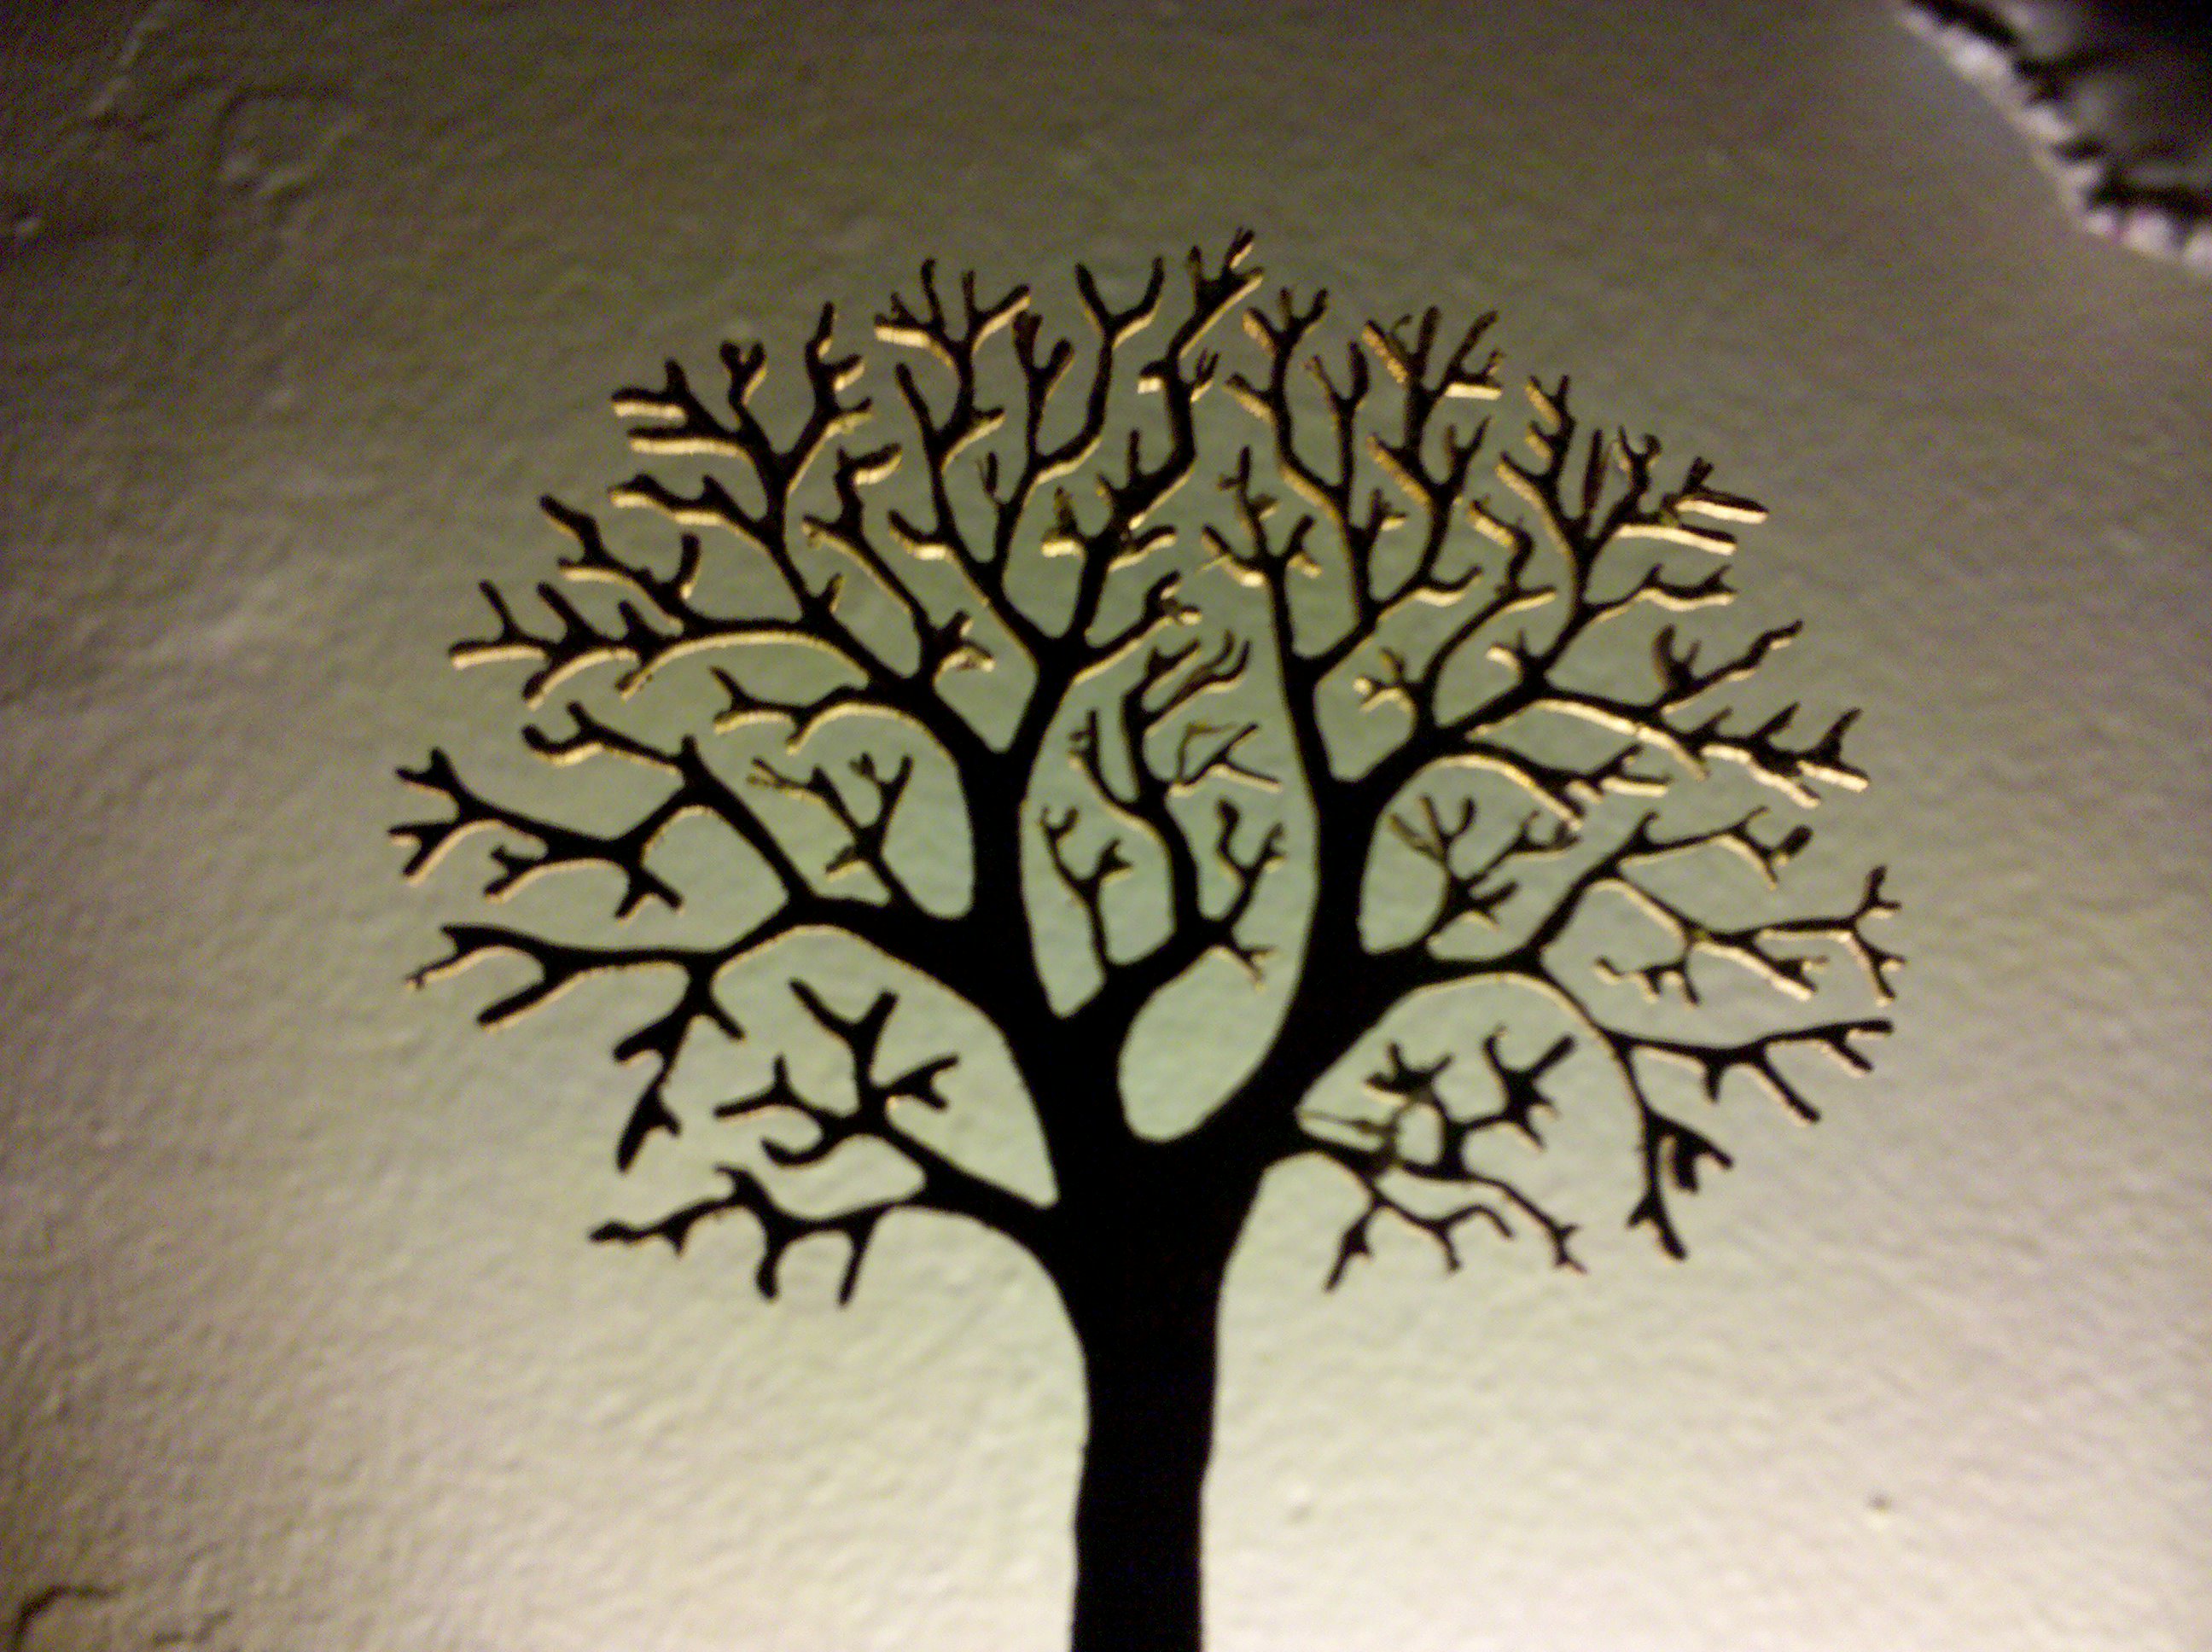
Even though these little guys take forever, and are very hard to finish (polishing requires a very fine touch), I really like the end result, and I bet it would look dead sexy on a bicycle, or a journal.
Its a super huge pain in the ass, but cutting really thick steel is possible with a jewelers saw. I have cut several R’s and H’s for a local bicycle maker Royal H.
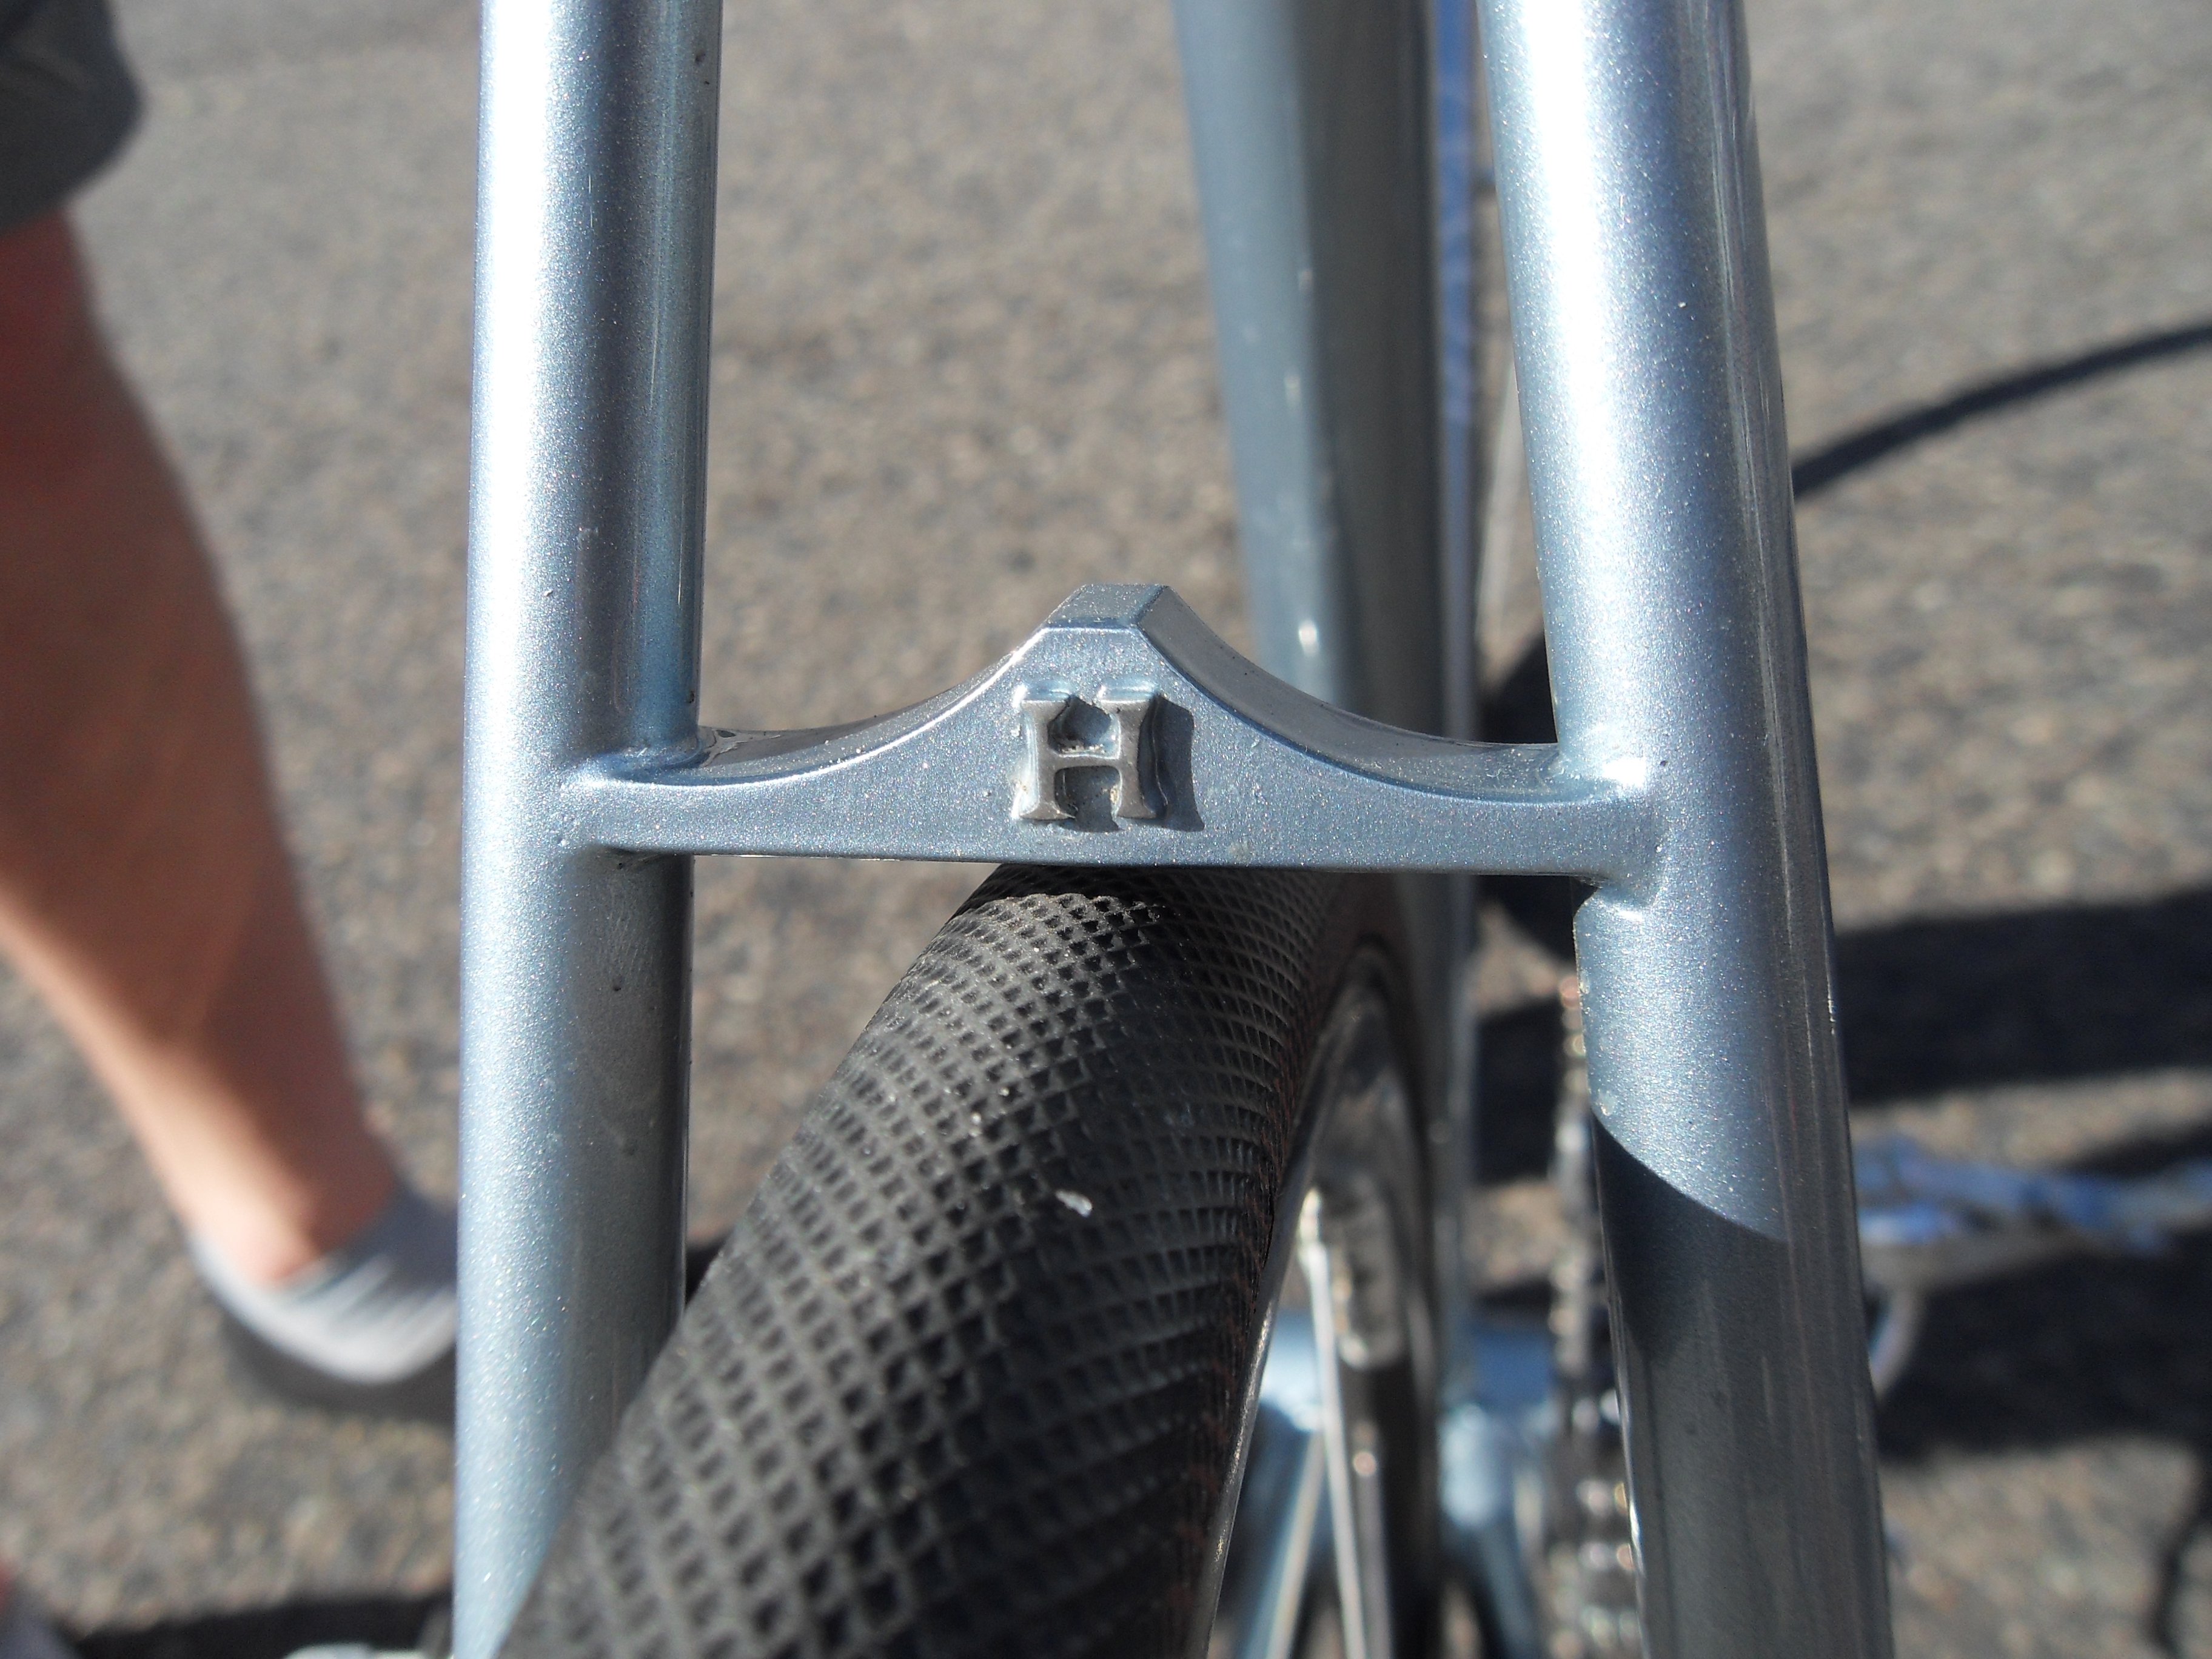
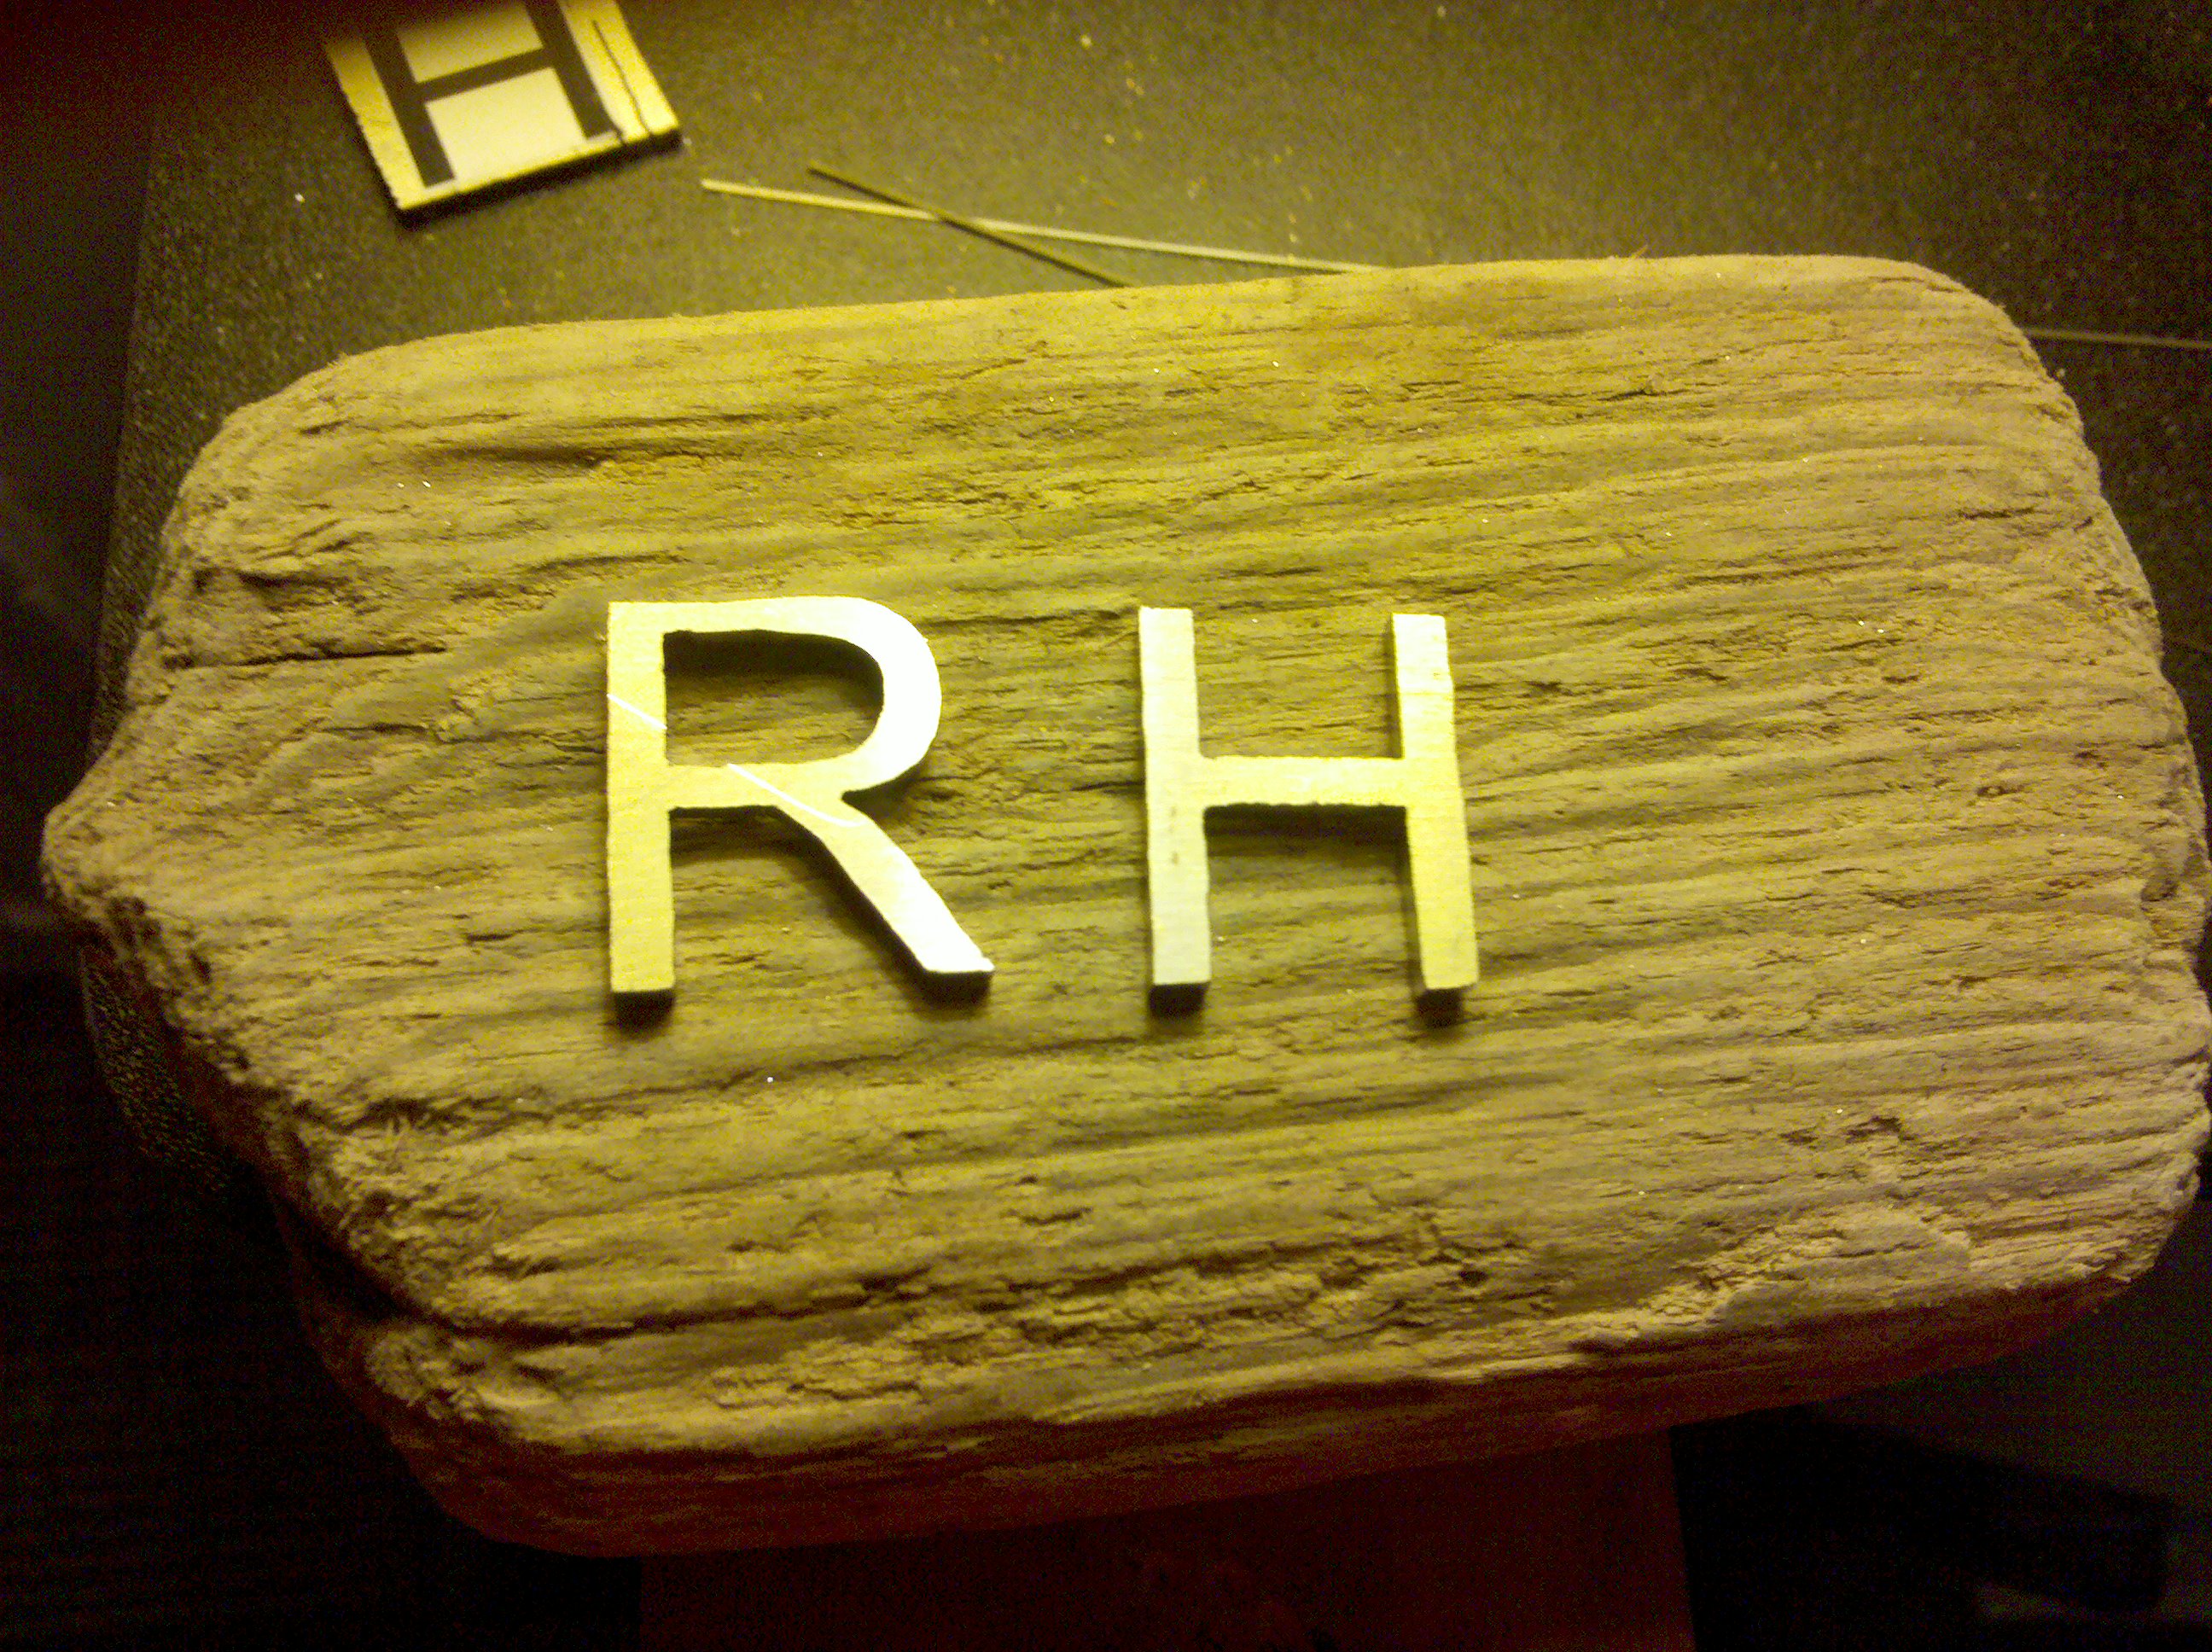
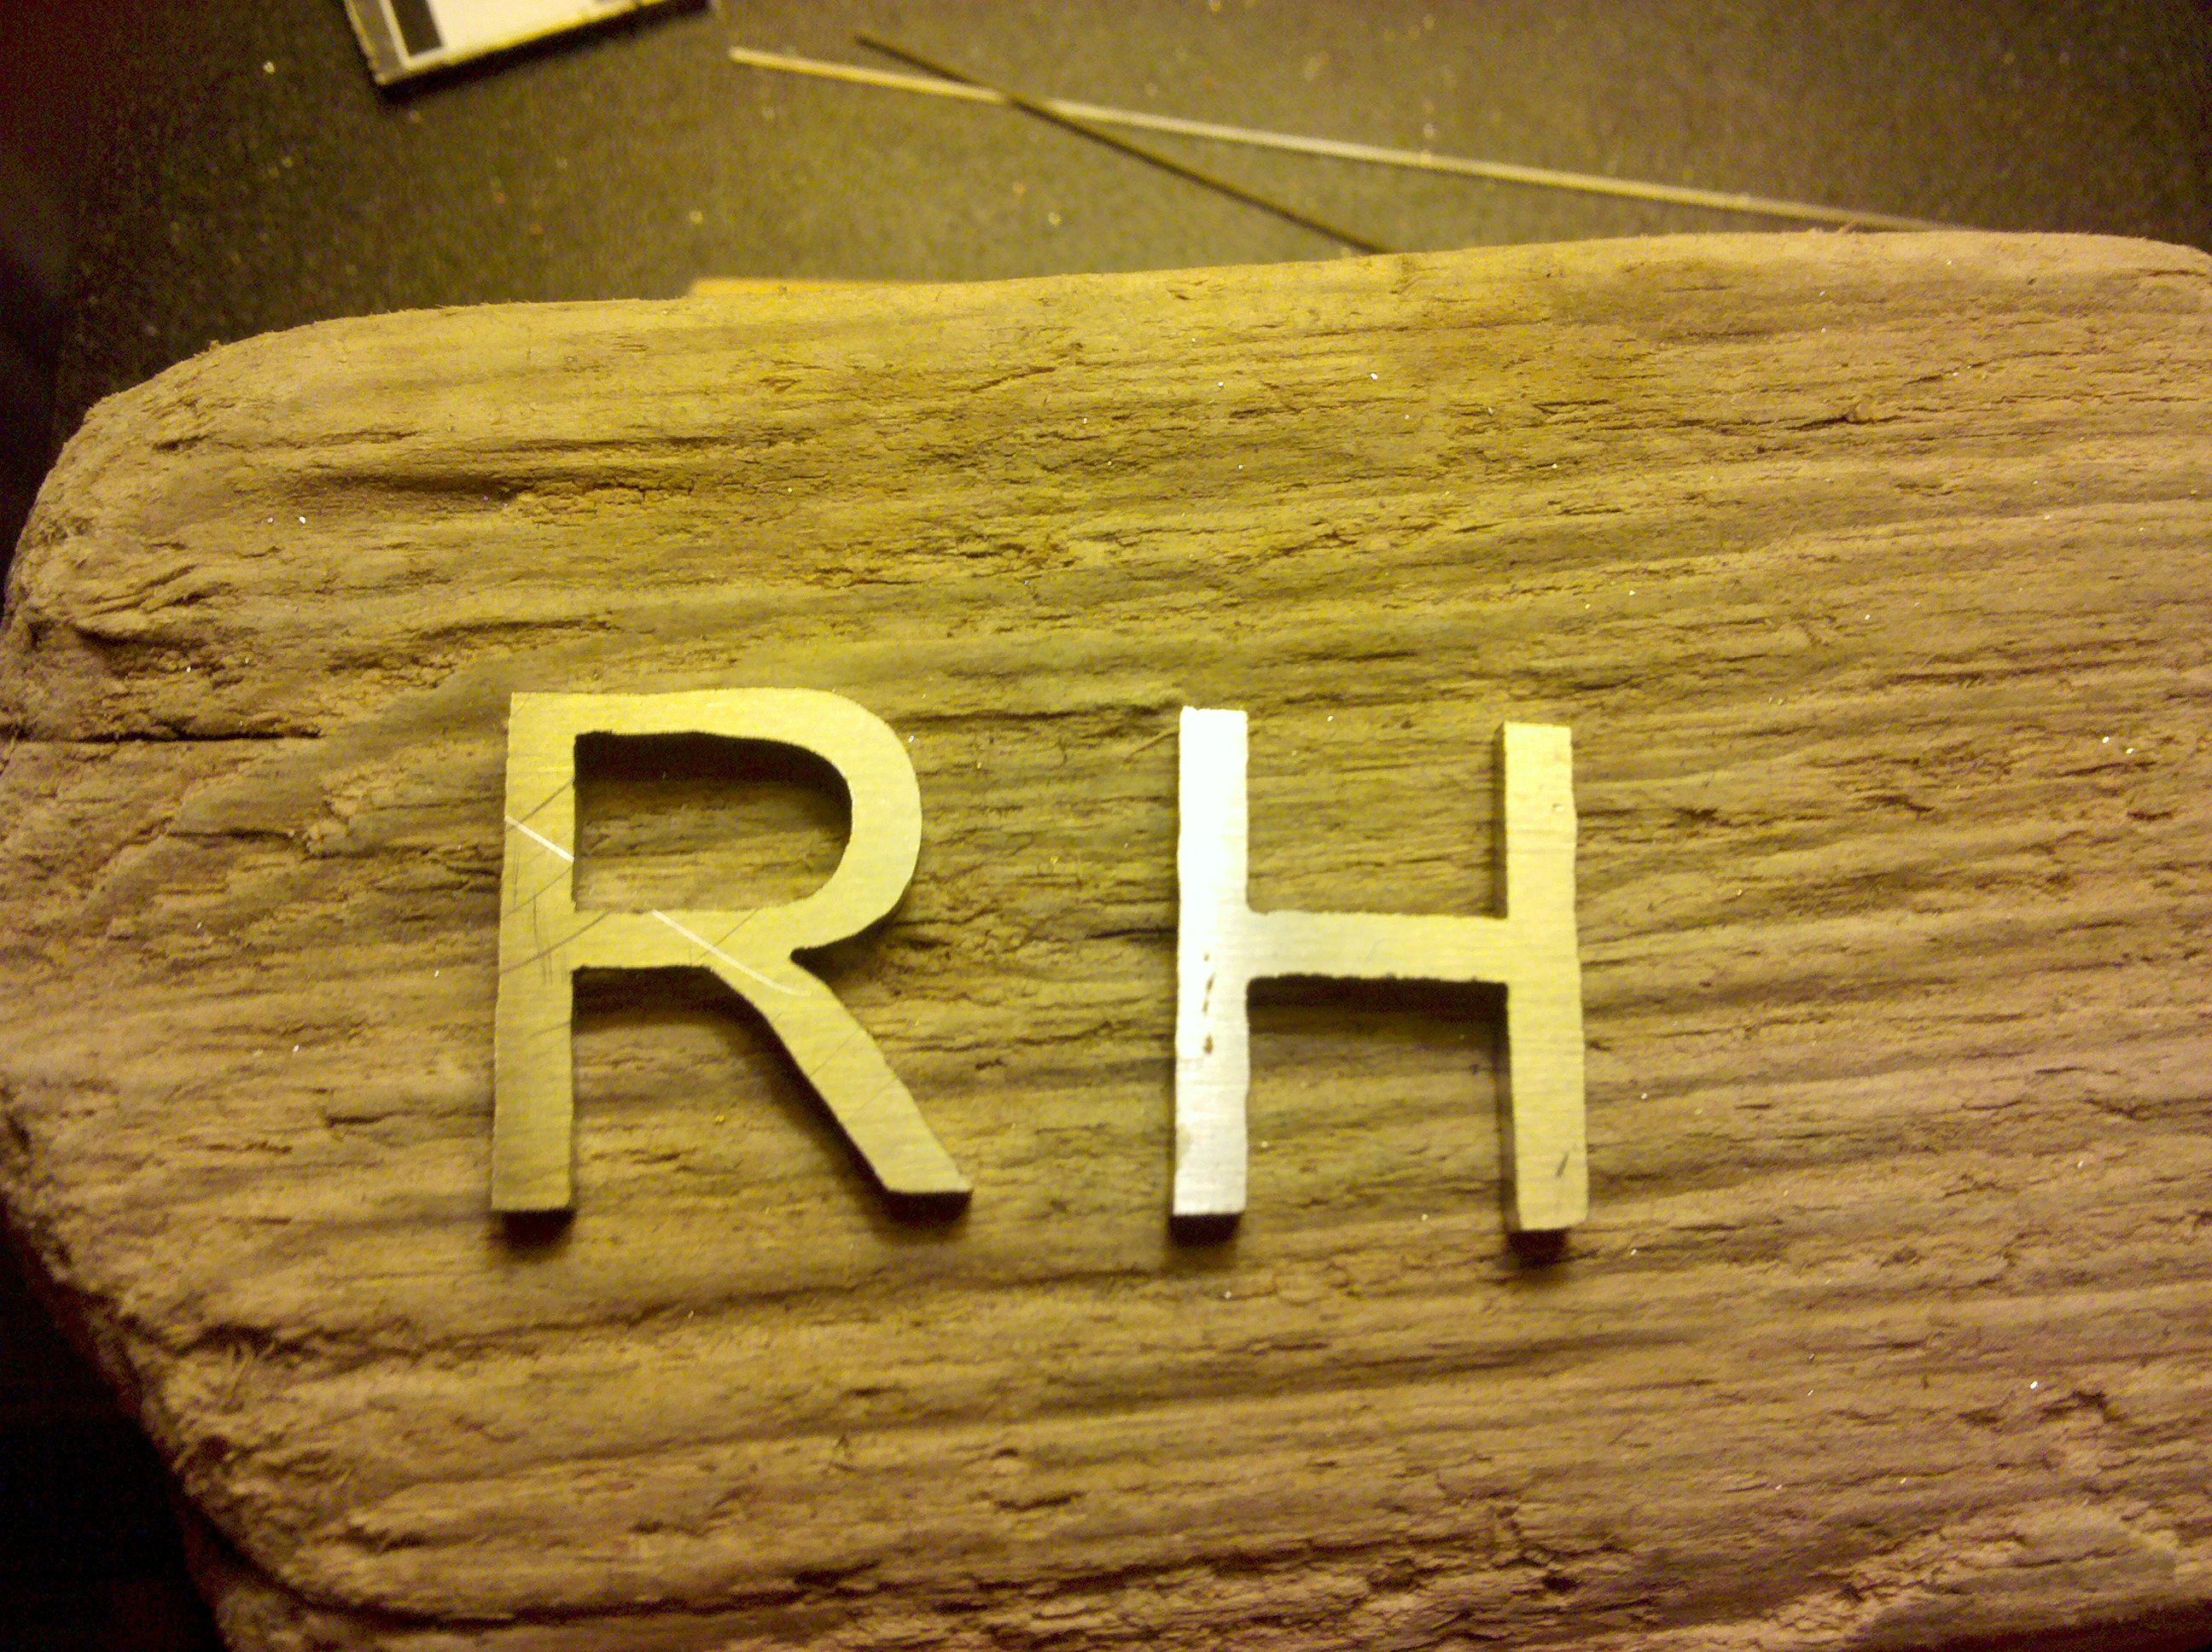
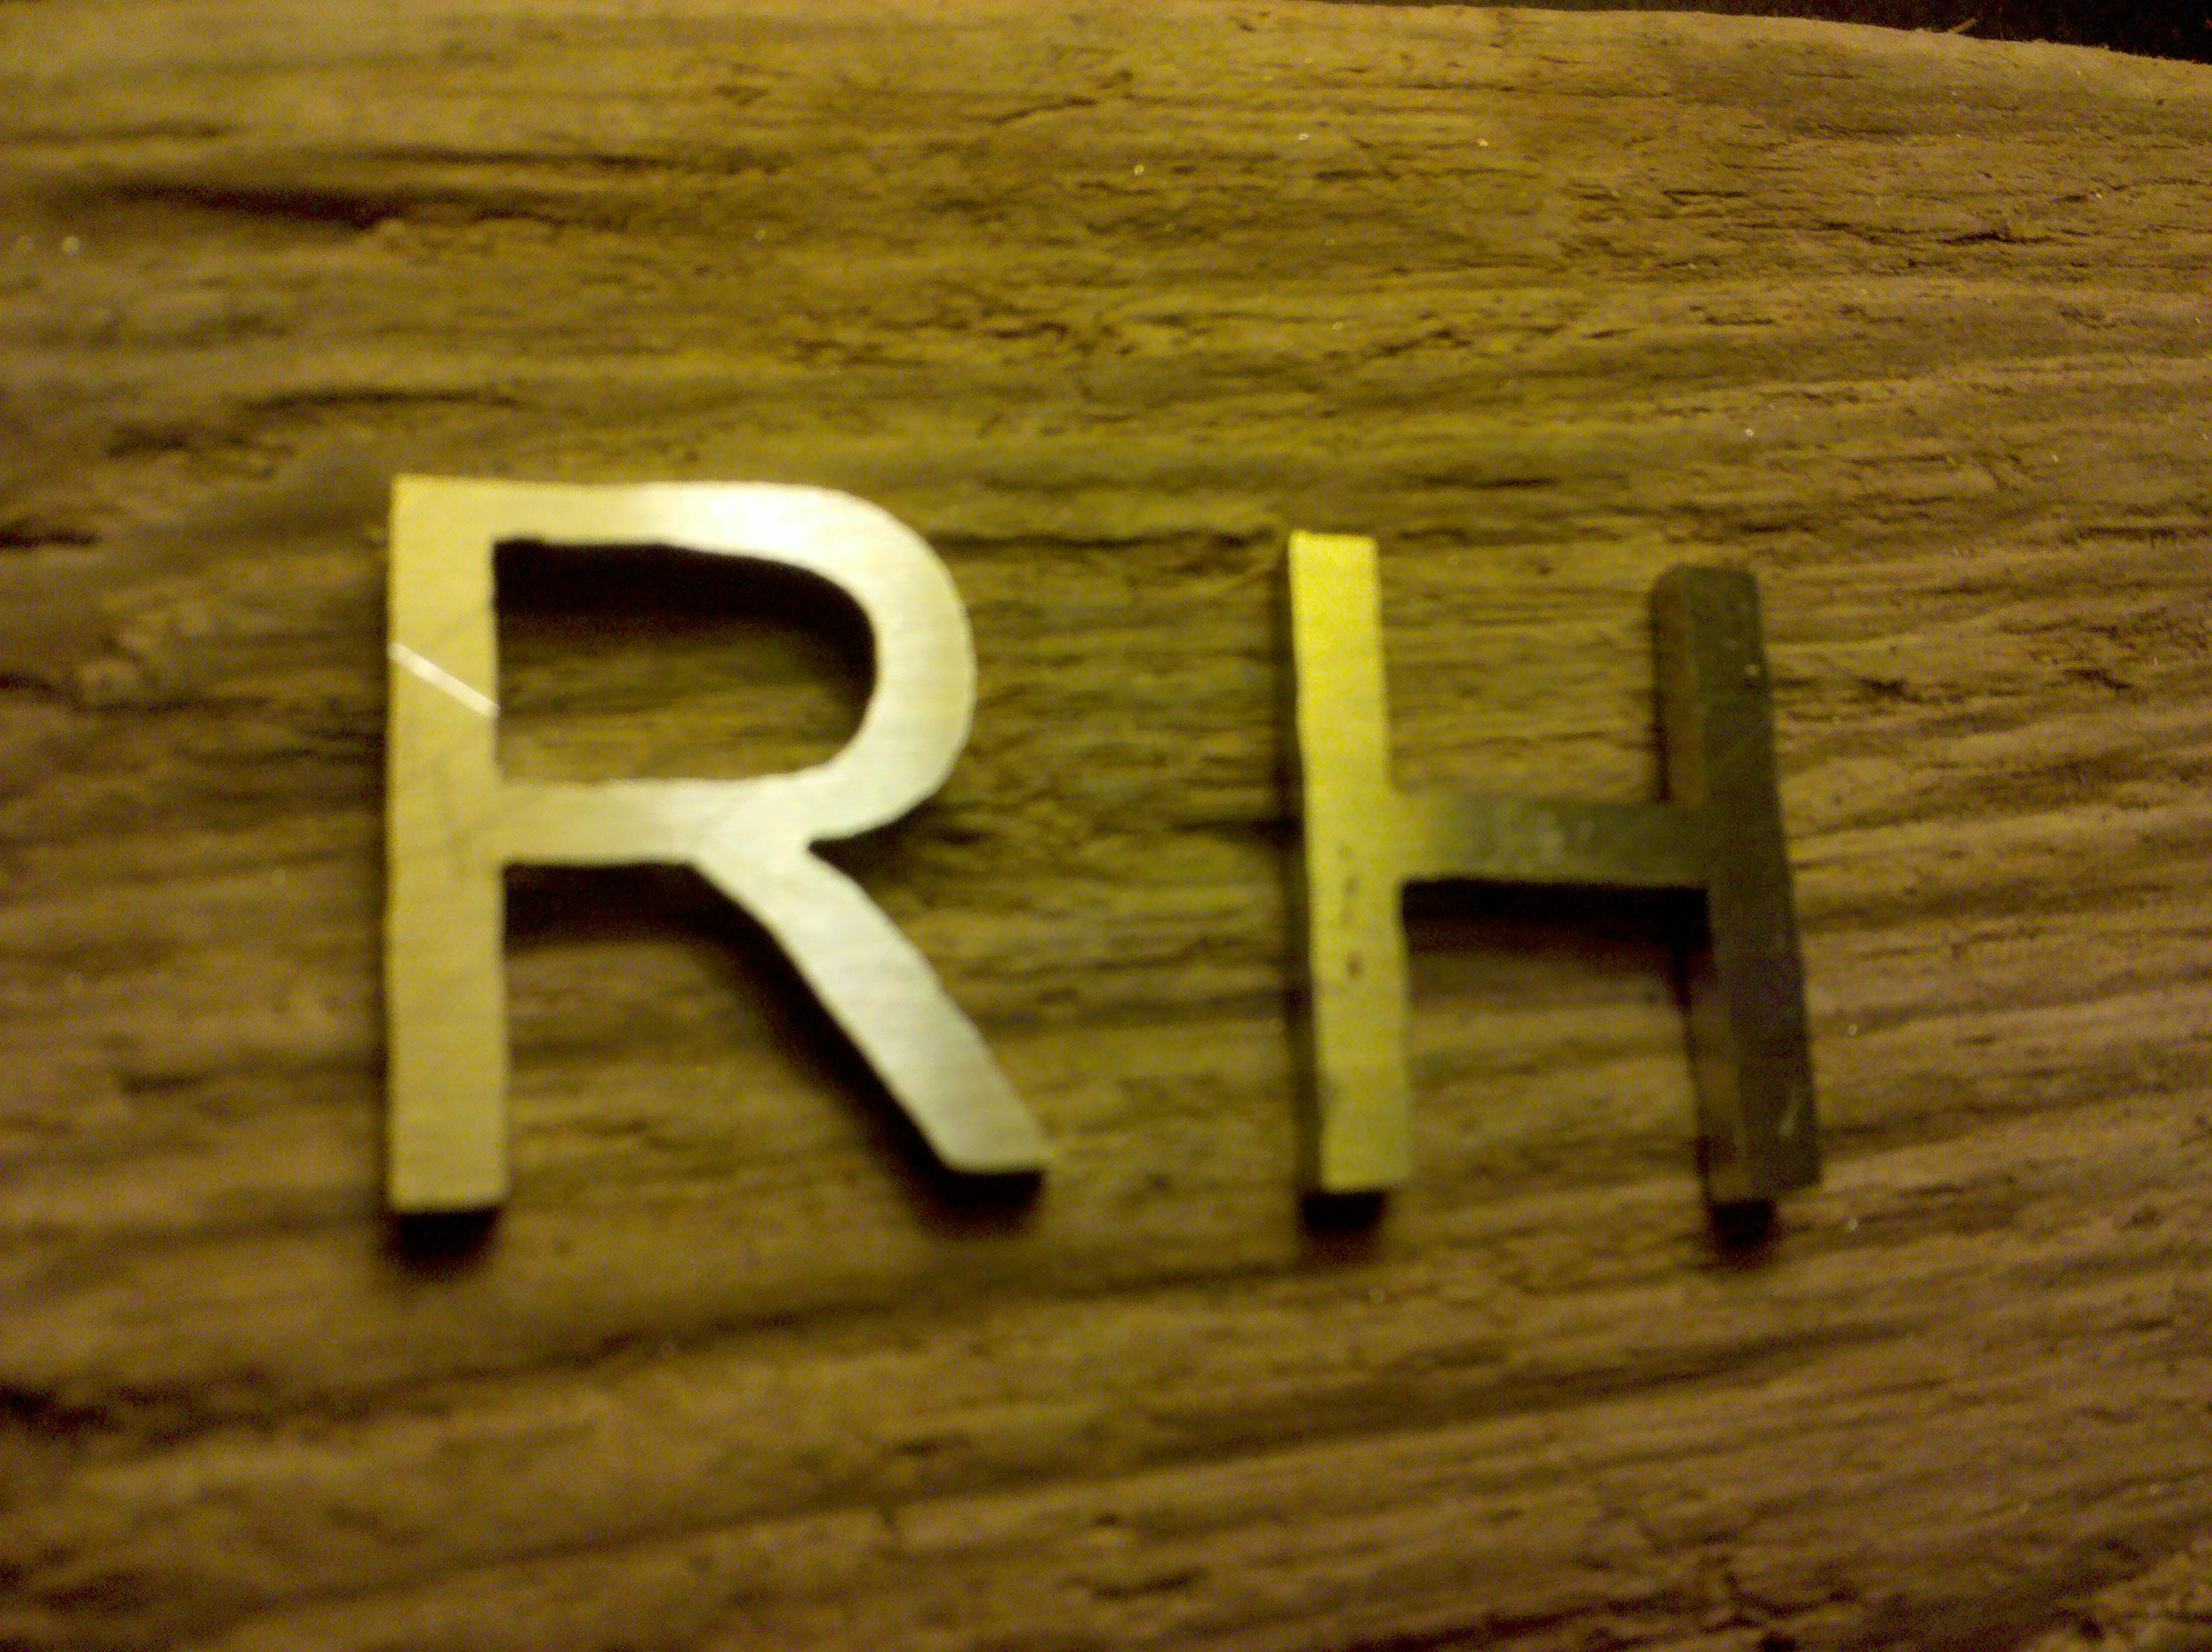
Its especially hard to keep a straight line when working with this thick steel, and you will break about a million blades but the results look nice and are durable as hell, so much so that they can be welded.

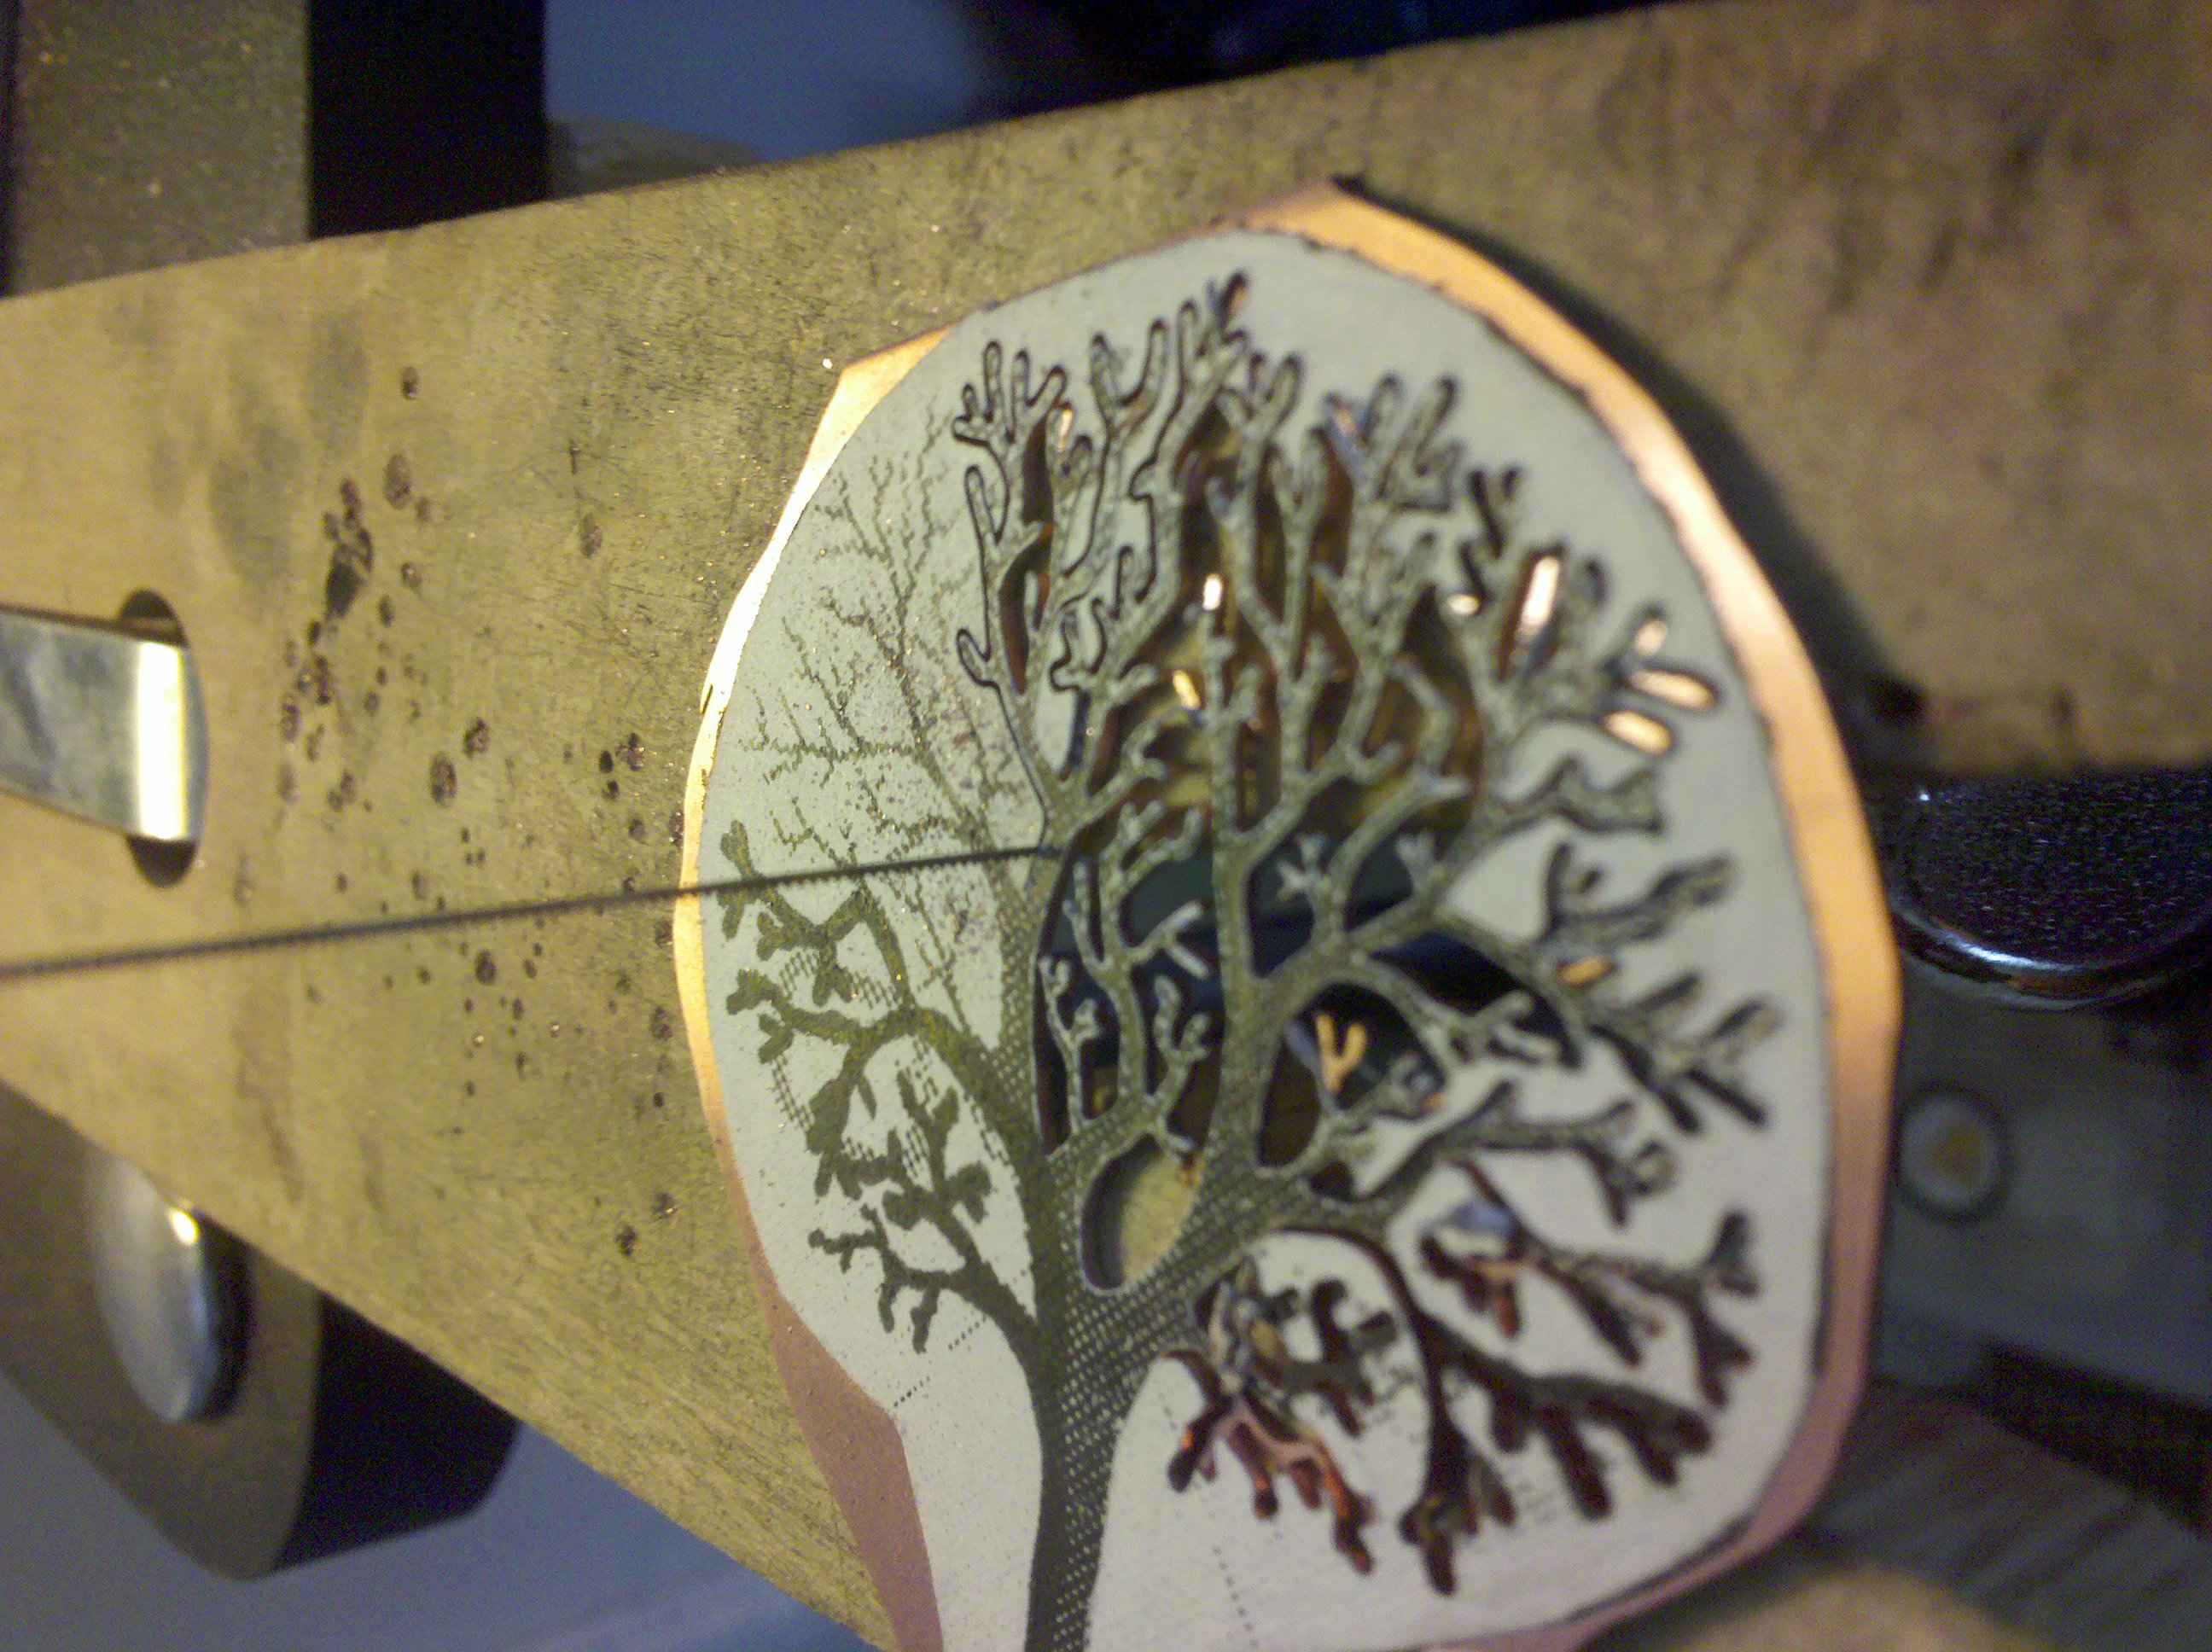
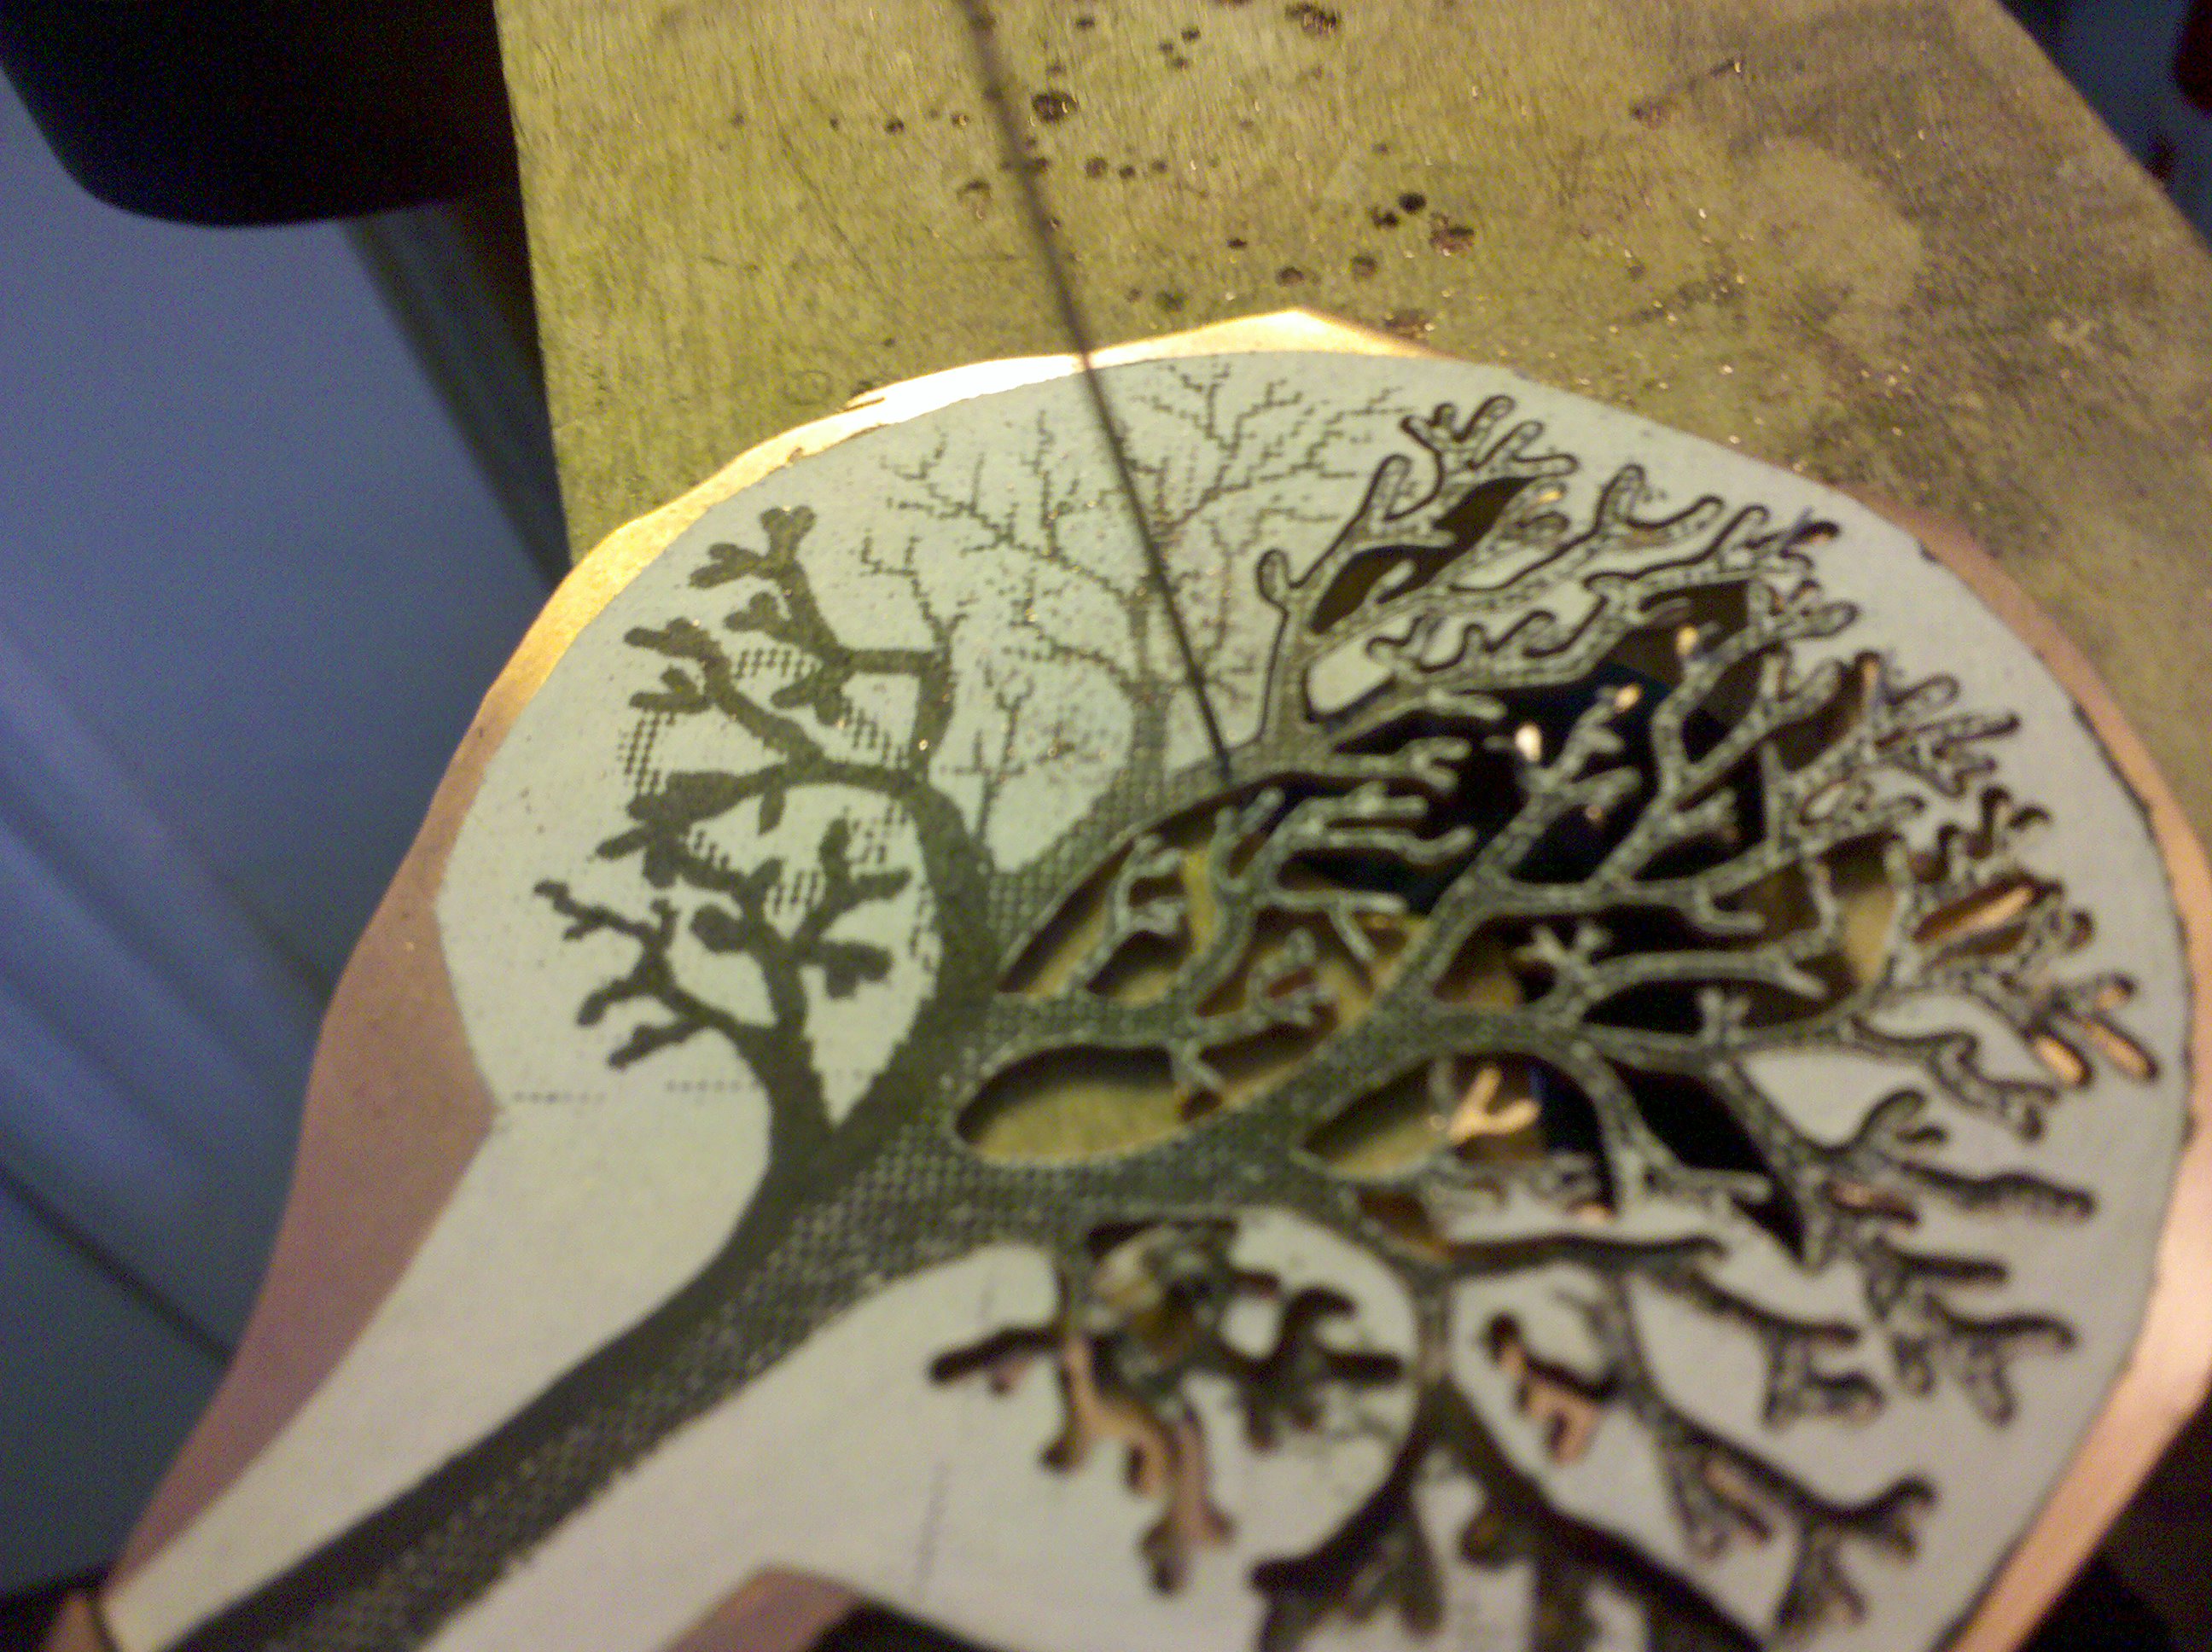
Its really hot, and all the copper dust is mixing with my sweat and turning my hands green. I like to sit and work on these in one continuous cut, it takes about two hours and my back gets very sore from hunching over, but if I take a break or do it in more than one cut they never seem to come out as good as if I just power though…
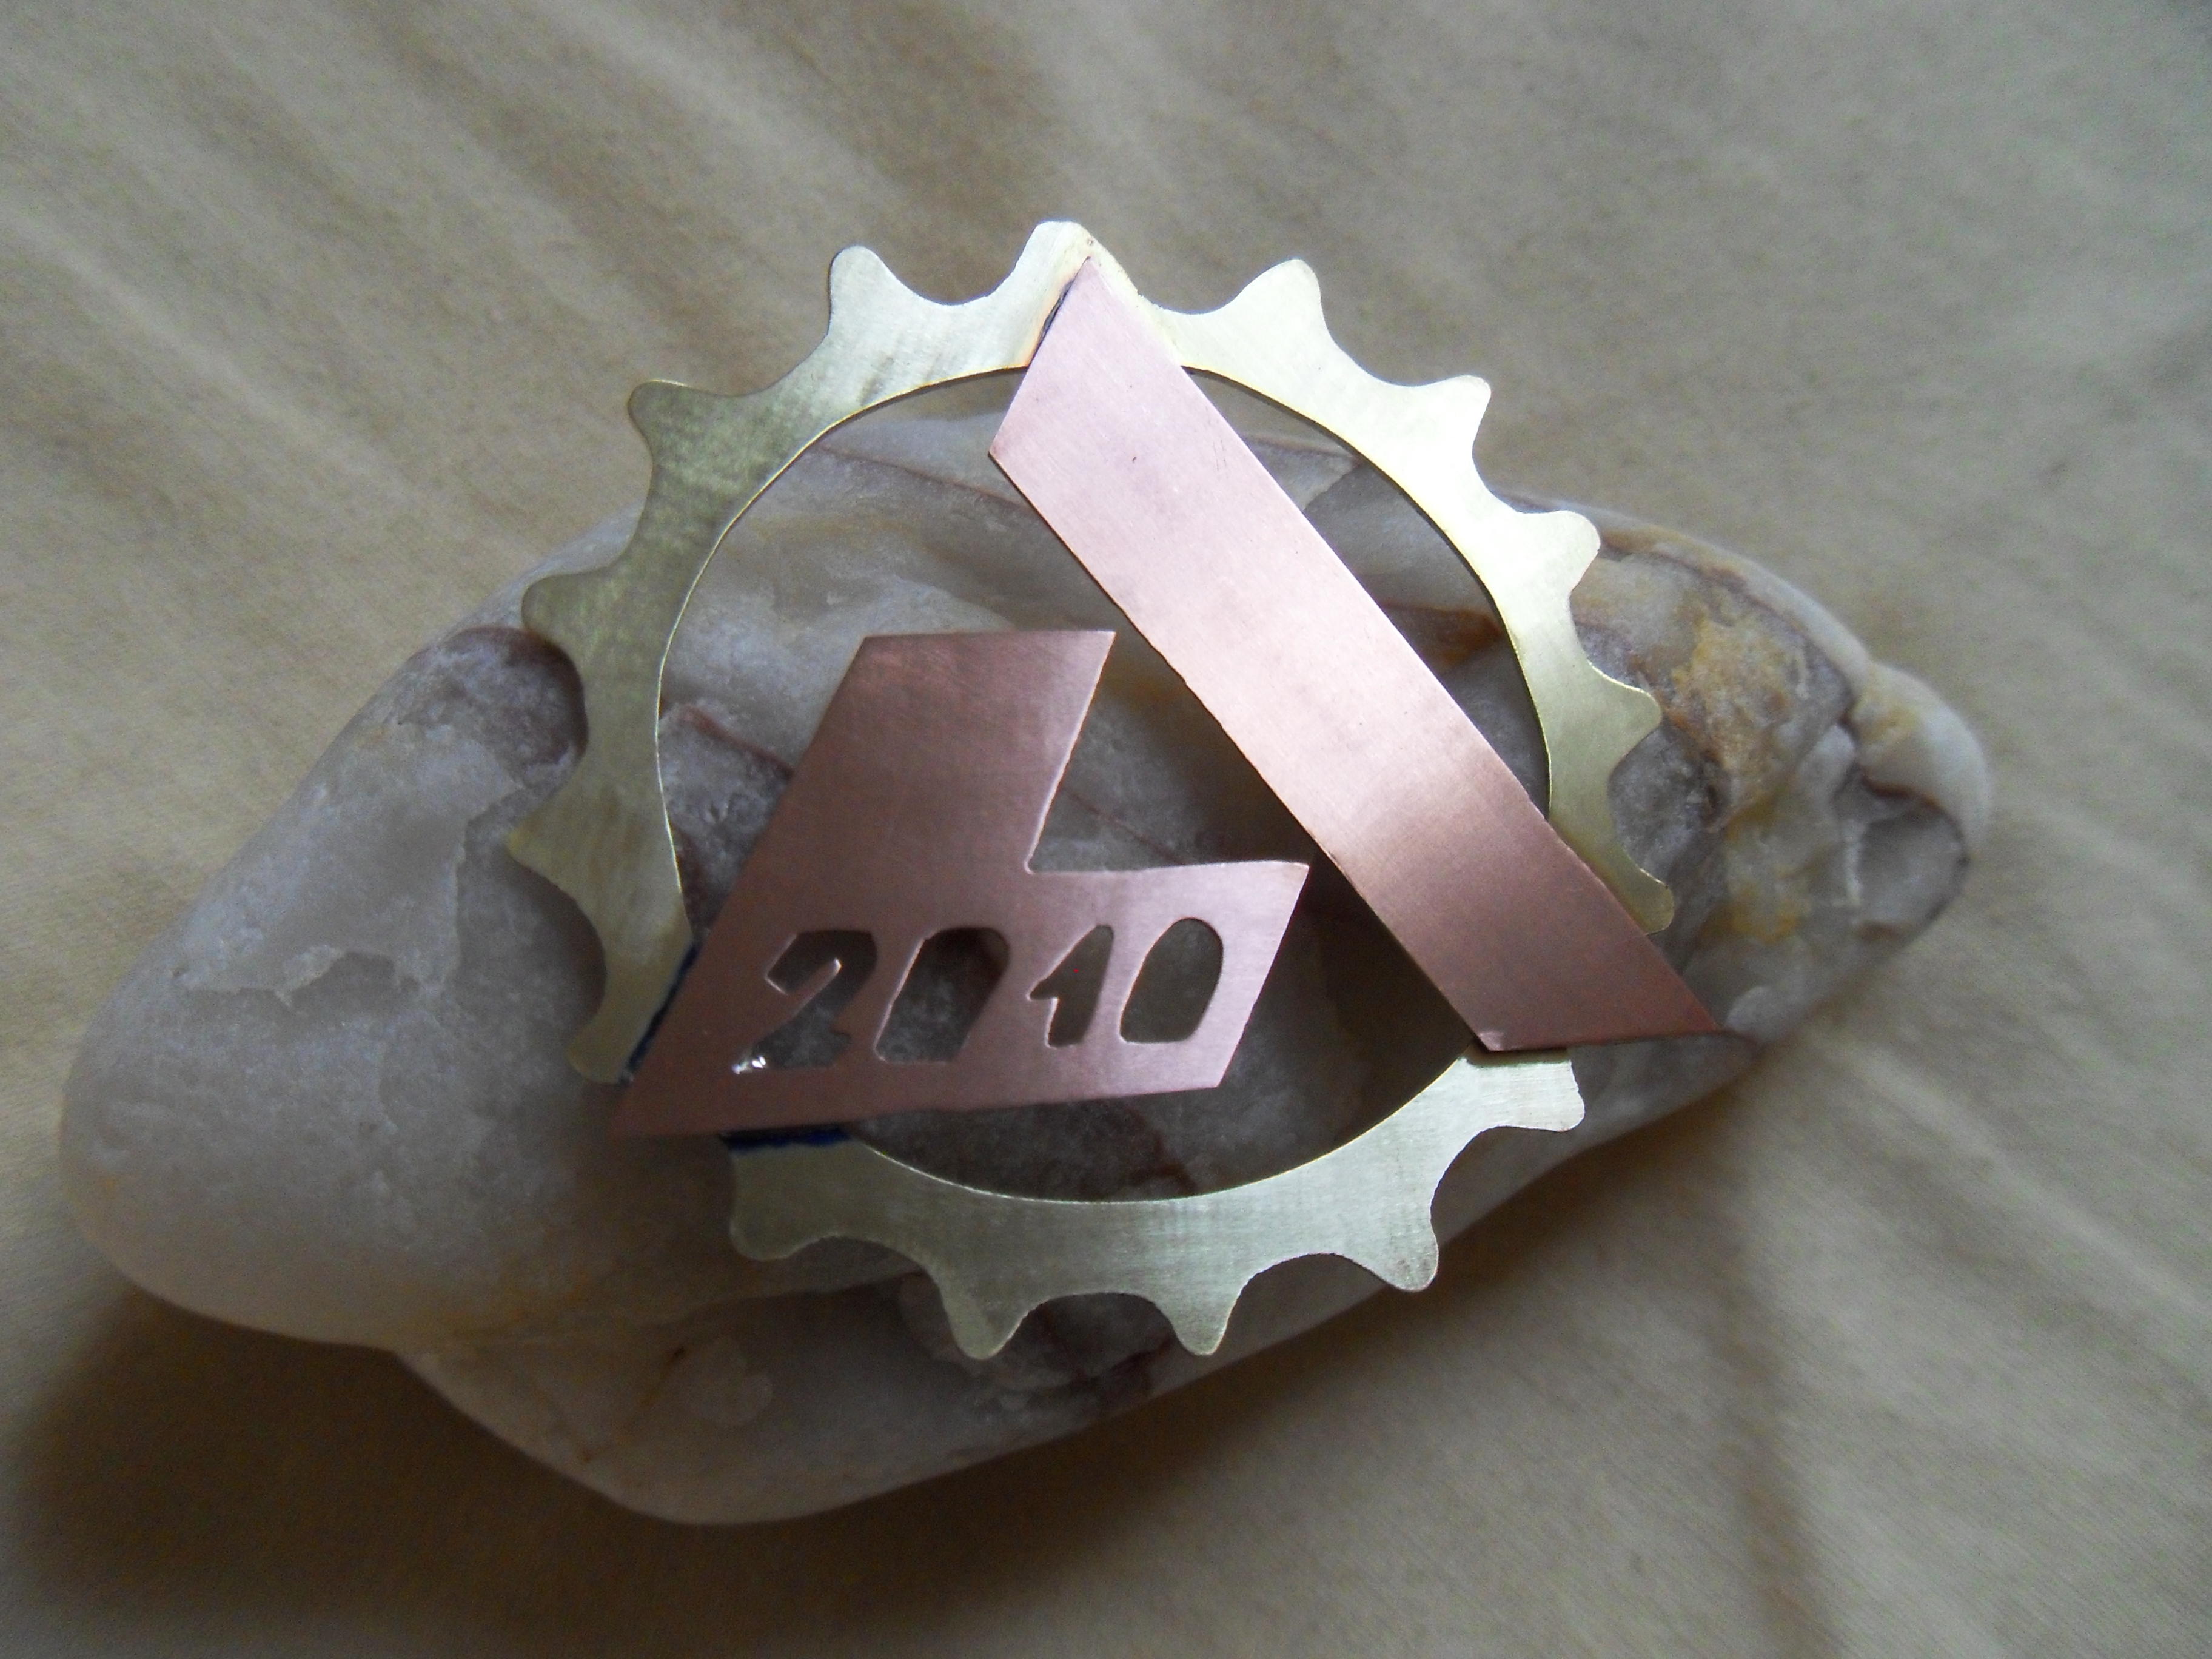
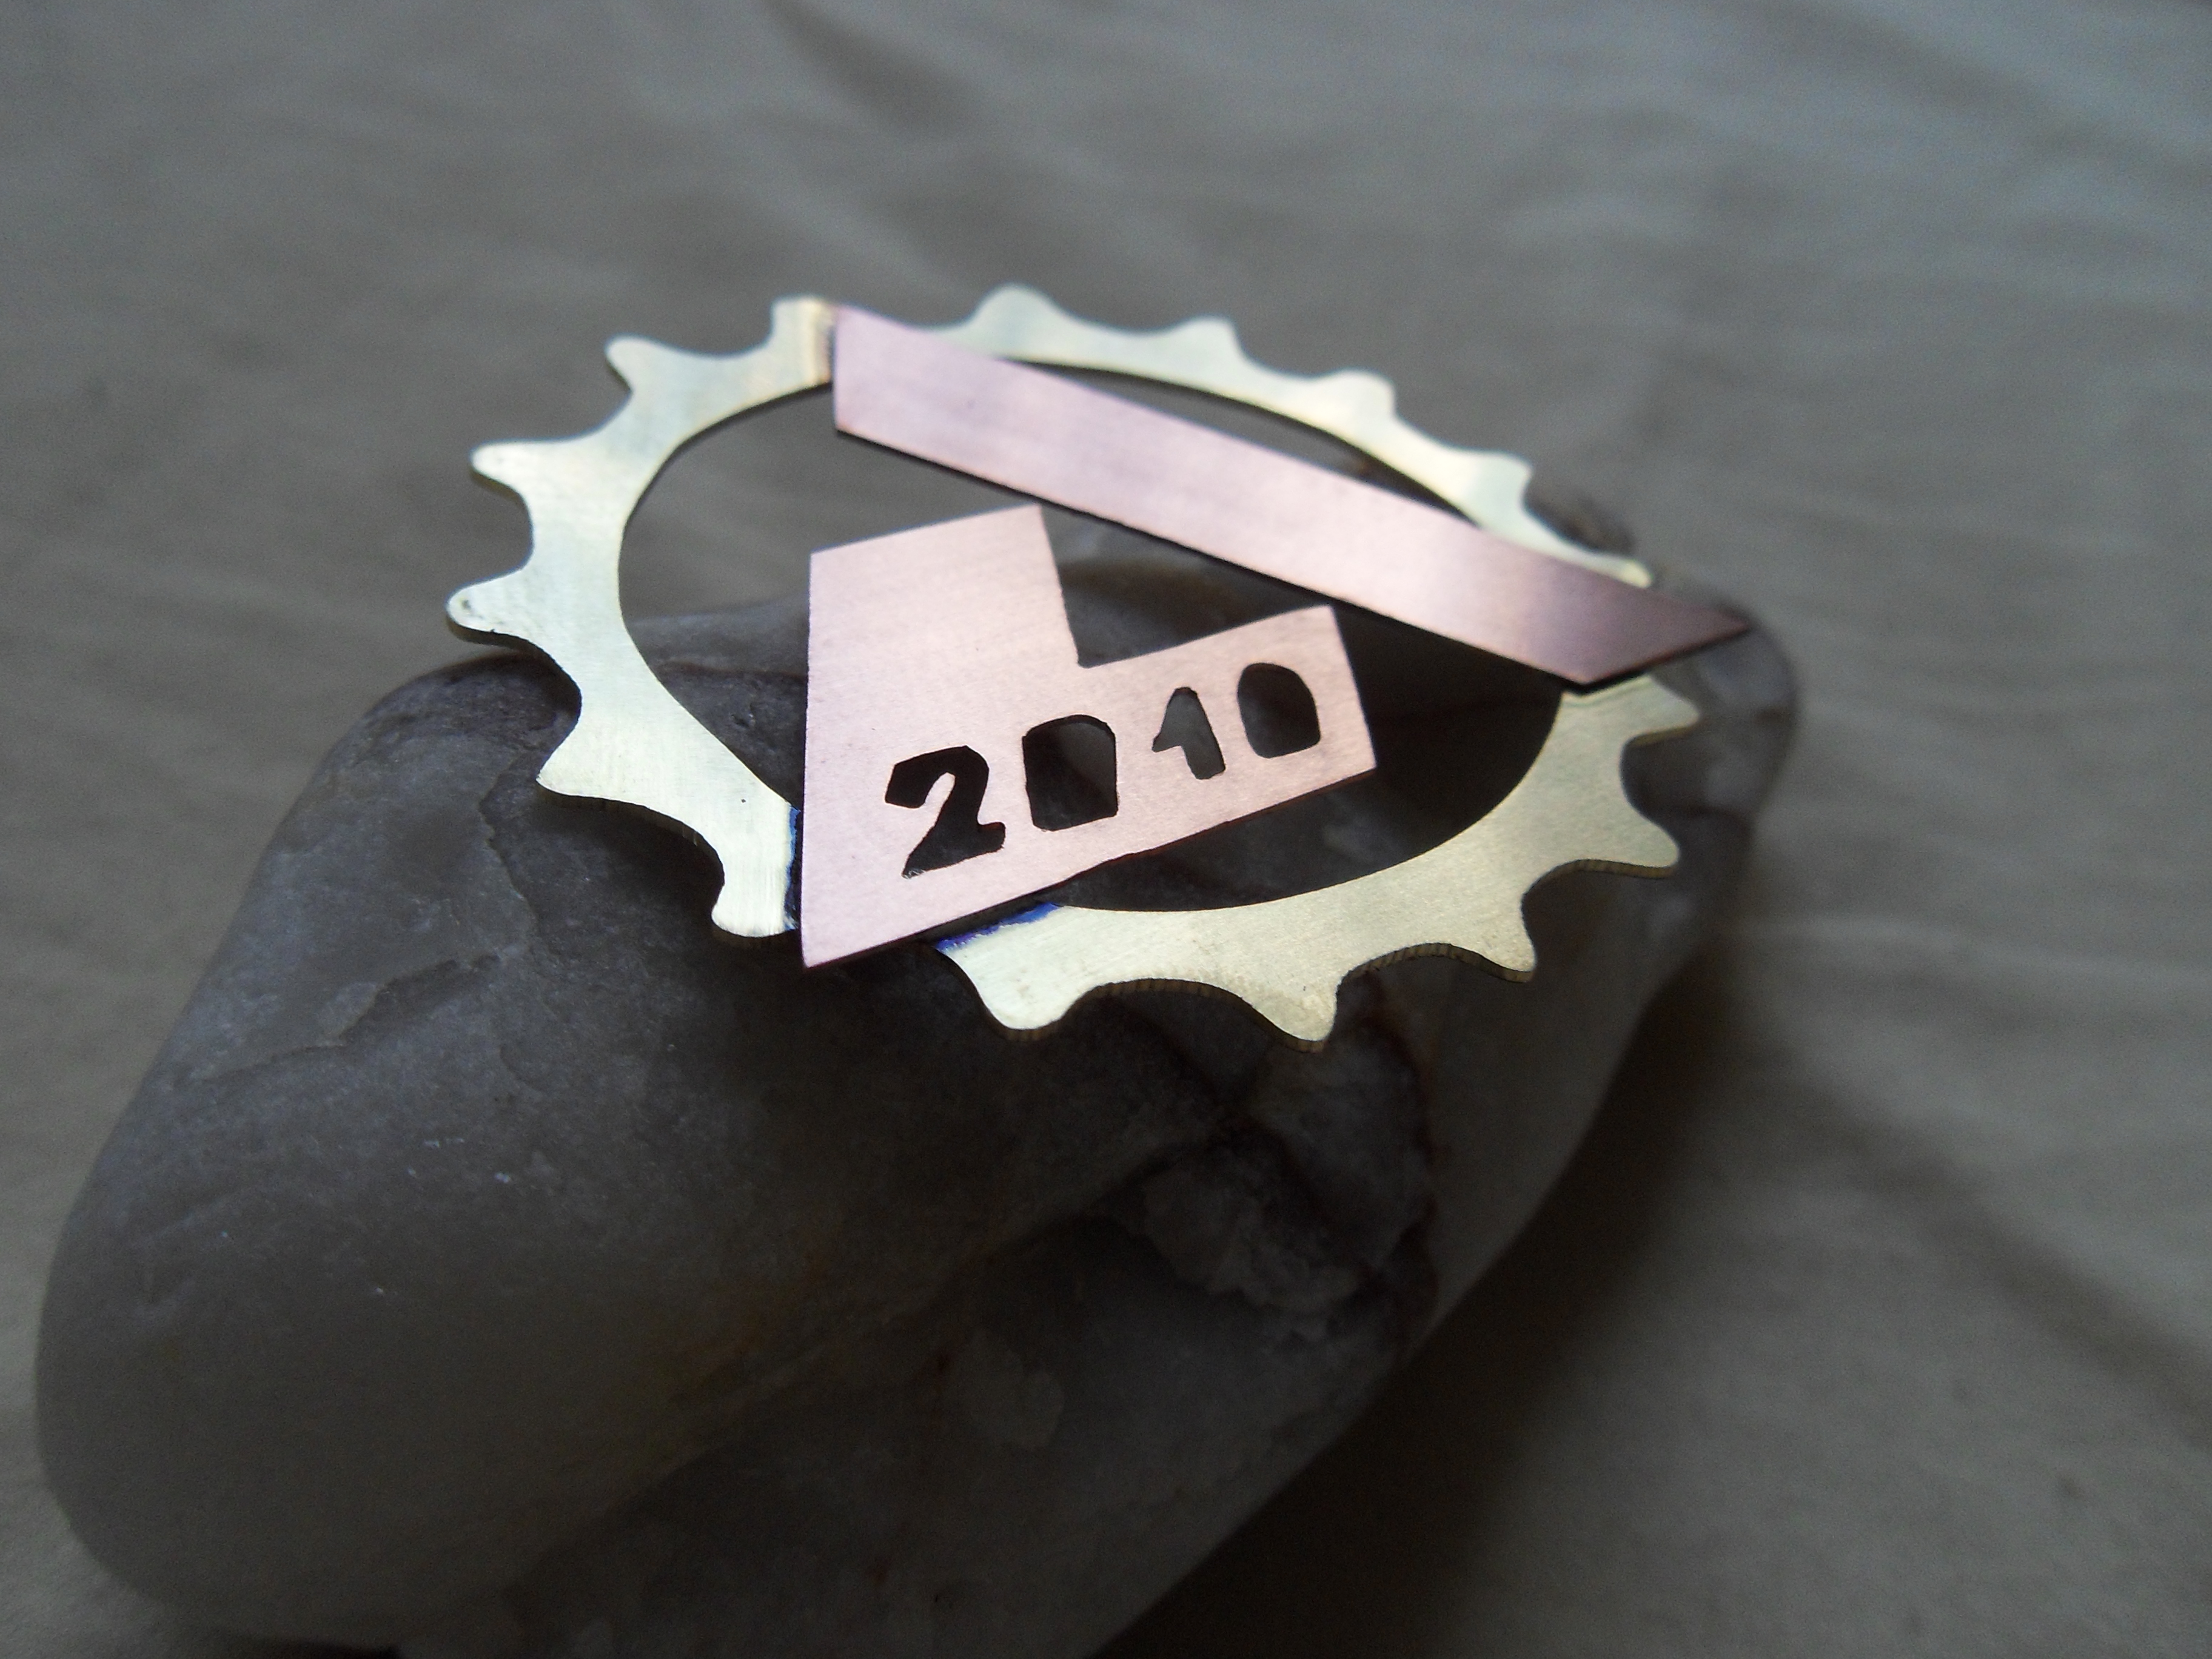
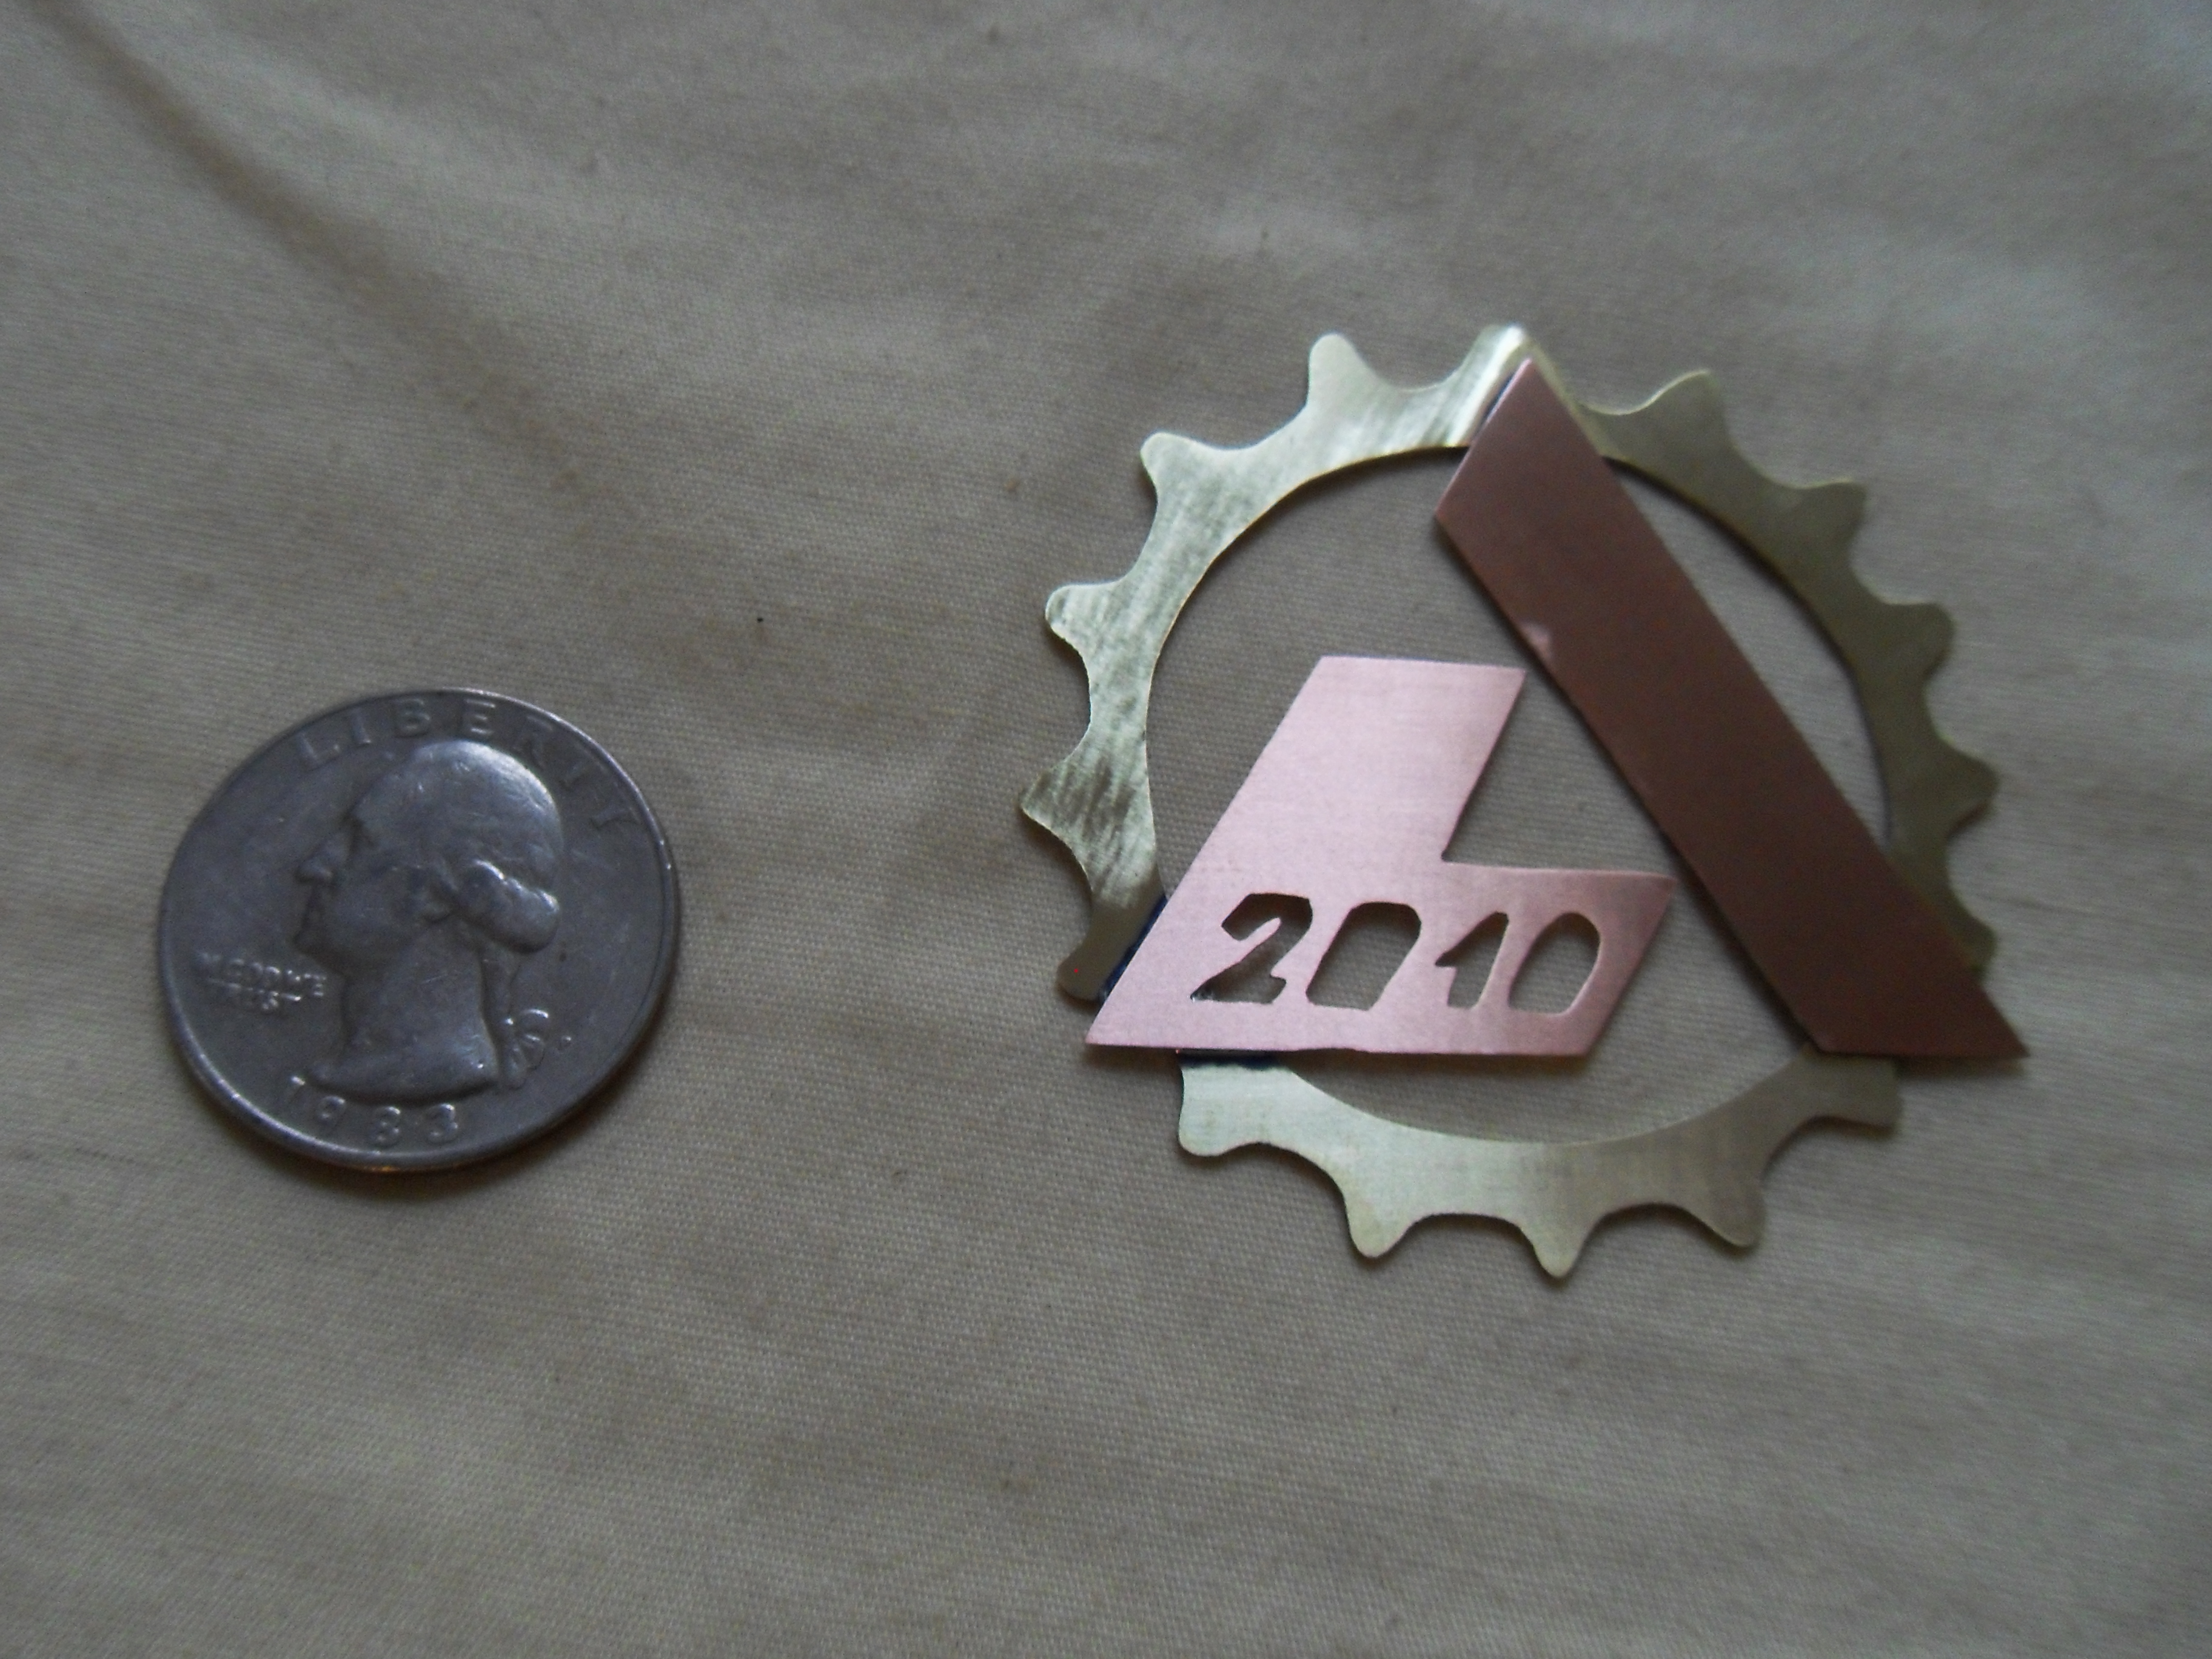
I made a headbadge for the race to Candy Land race next month. With all benefits going to support the American Diabetes Association.
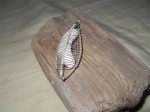
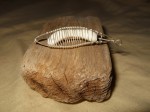
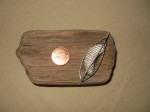
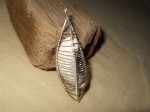
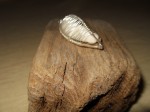
The silver wire took a long time to wrap delicately around the “bones” of the pendant, with special care spend on spacing and making sure each one is well adjusted. The shell had been weathered to a fine polish which really looks good when combined with the silver. I am happy how this came out as it was my first attempt at anything like this. I will be making more of these in the future. It is also nice because I really like to pick things up off the ground and put them in my pocket and I have a bucket of little nick nacks that I need to do something with.

This terror of the deep (at least if you are a giant squid) is off to a new home, bye whaley!

Making some whale headbadges.
Thanks Dan for purchasing this little guy. Hope he looks good on your bike.

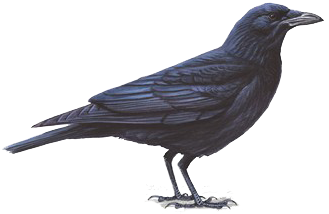
Going to be putting some more whale themed headbages up, and some crow themed ones. Look over there on the right, or check out my Etsy store.
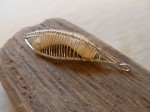
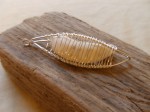
Previously I talked about how to make jump rings for chains (part 1 and 2), below are a couple more examples of chain patterns.
 14g copper on the left 18g aluminum on the right
 double double pattern on the top, Inca Puno pattern on the bottom
The type of chain you make is basically dependent on two features the thickness of the wire, and the size of the thing you wrap it around (mandrel). If your wire is too thick, or your mandrel too small you wouldn’t be able to do a complicated pattern (like the aluminum chain above), similarly if your wire is too thin, or mandrel too big your chain will be all floppy and not look good.
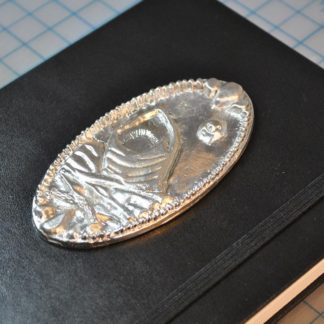
I tried to make my own wampum bead tonight, just one. For those who don’t know (and can’t be bothered to follow the link above), wampum are beads made from a certain kind of shell found on the east coast. These shells have a white area, but a small purple area as well, and that is the part you make the purple bead from.


All I have to say, is wow…this is hard. I mean first you bust the shell up into little chunks. This part was fun, and I got to use a hammer. Then you have to drill a hole through the chunk, this was a not hard, but took a long time.
Then you have to shape the bead…holy shit (pardon my French). You need some serious zen like patience. I think I am going to give up and go outside with a dremel and see what kind of mess I can make tomorrow because after about an hour of chipping away at this thing it doesn’t even look close to what I have seen in pictures.


You can also see that in my desire to drill through this bad boy I pushed too hard and the exit hole is a little ugly. If you ever get your hands on some of these beads that was made by hand (especially if they were made in the old way) you should treasure them, as they are really really hard to make!
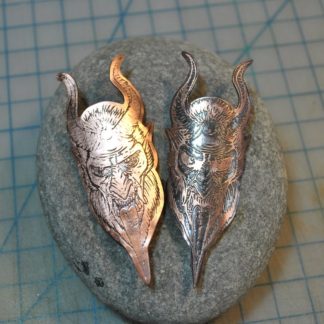 Krampus Head Badge
$65.00
Krampus Head Badge
$65.00
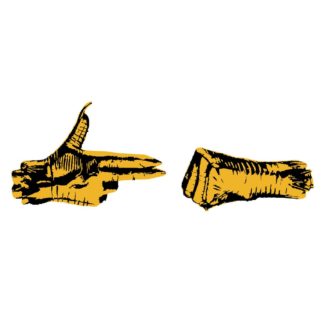 Run The Jewels Gold and Black Fist and Gun Logo Vinyl Sticker/Decal
Price range: $22.00 through $27.00
Run The Jewels Gold and Black Fist and Gun Logo Vinyl Sticker/Decal
Price range: $22.00 through $27.00
 Hand Carved and Cast Dune Themed Journal
$80.00
Hand Carved and Cast Dune Themed Journal
$80.00
 Mad Max Imorten Joe Head Badge
$65.00
Mad Max Imorten Joe Head Badge
$65.00
 My Other Ride Is Shai-Hulud Vinyl Two Color Sticker/decal
Price range: $9.00 through $13.00
My Other Ride Is Shai-Hulud Vinyl Two Color Sticker/decal
Price range: $9.00 through $13.00